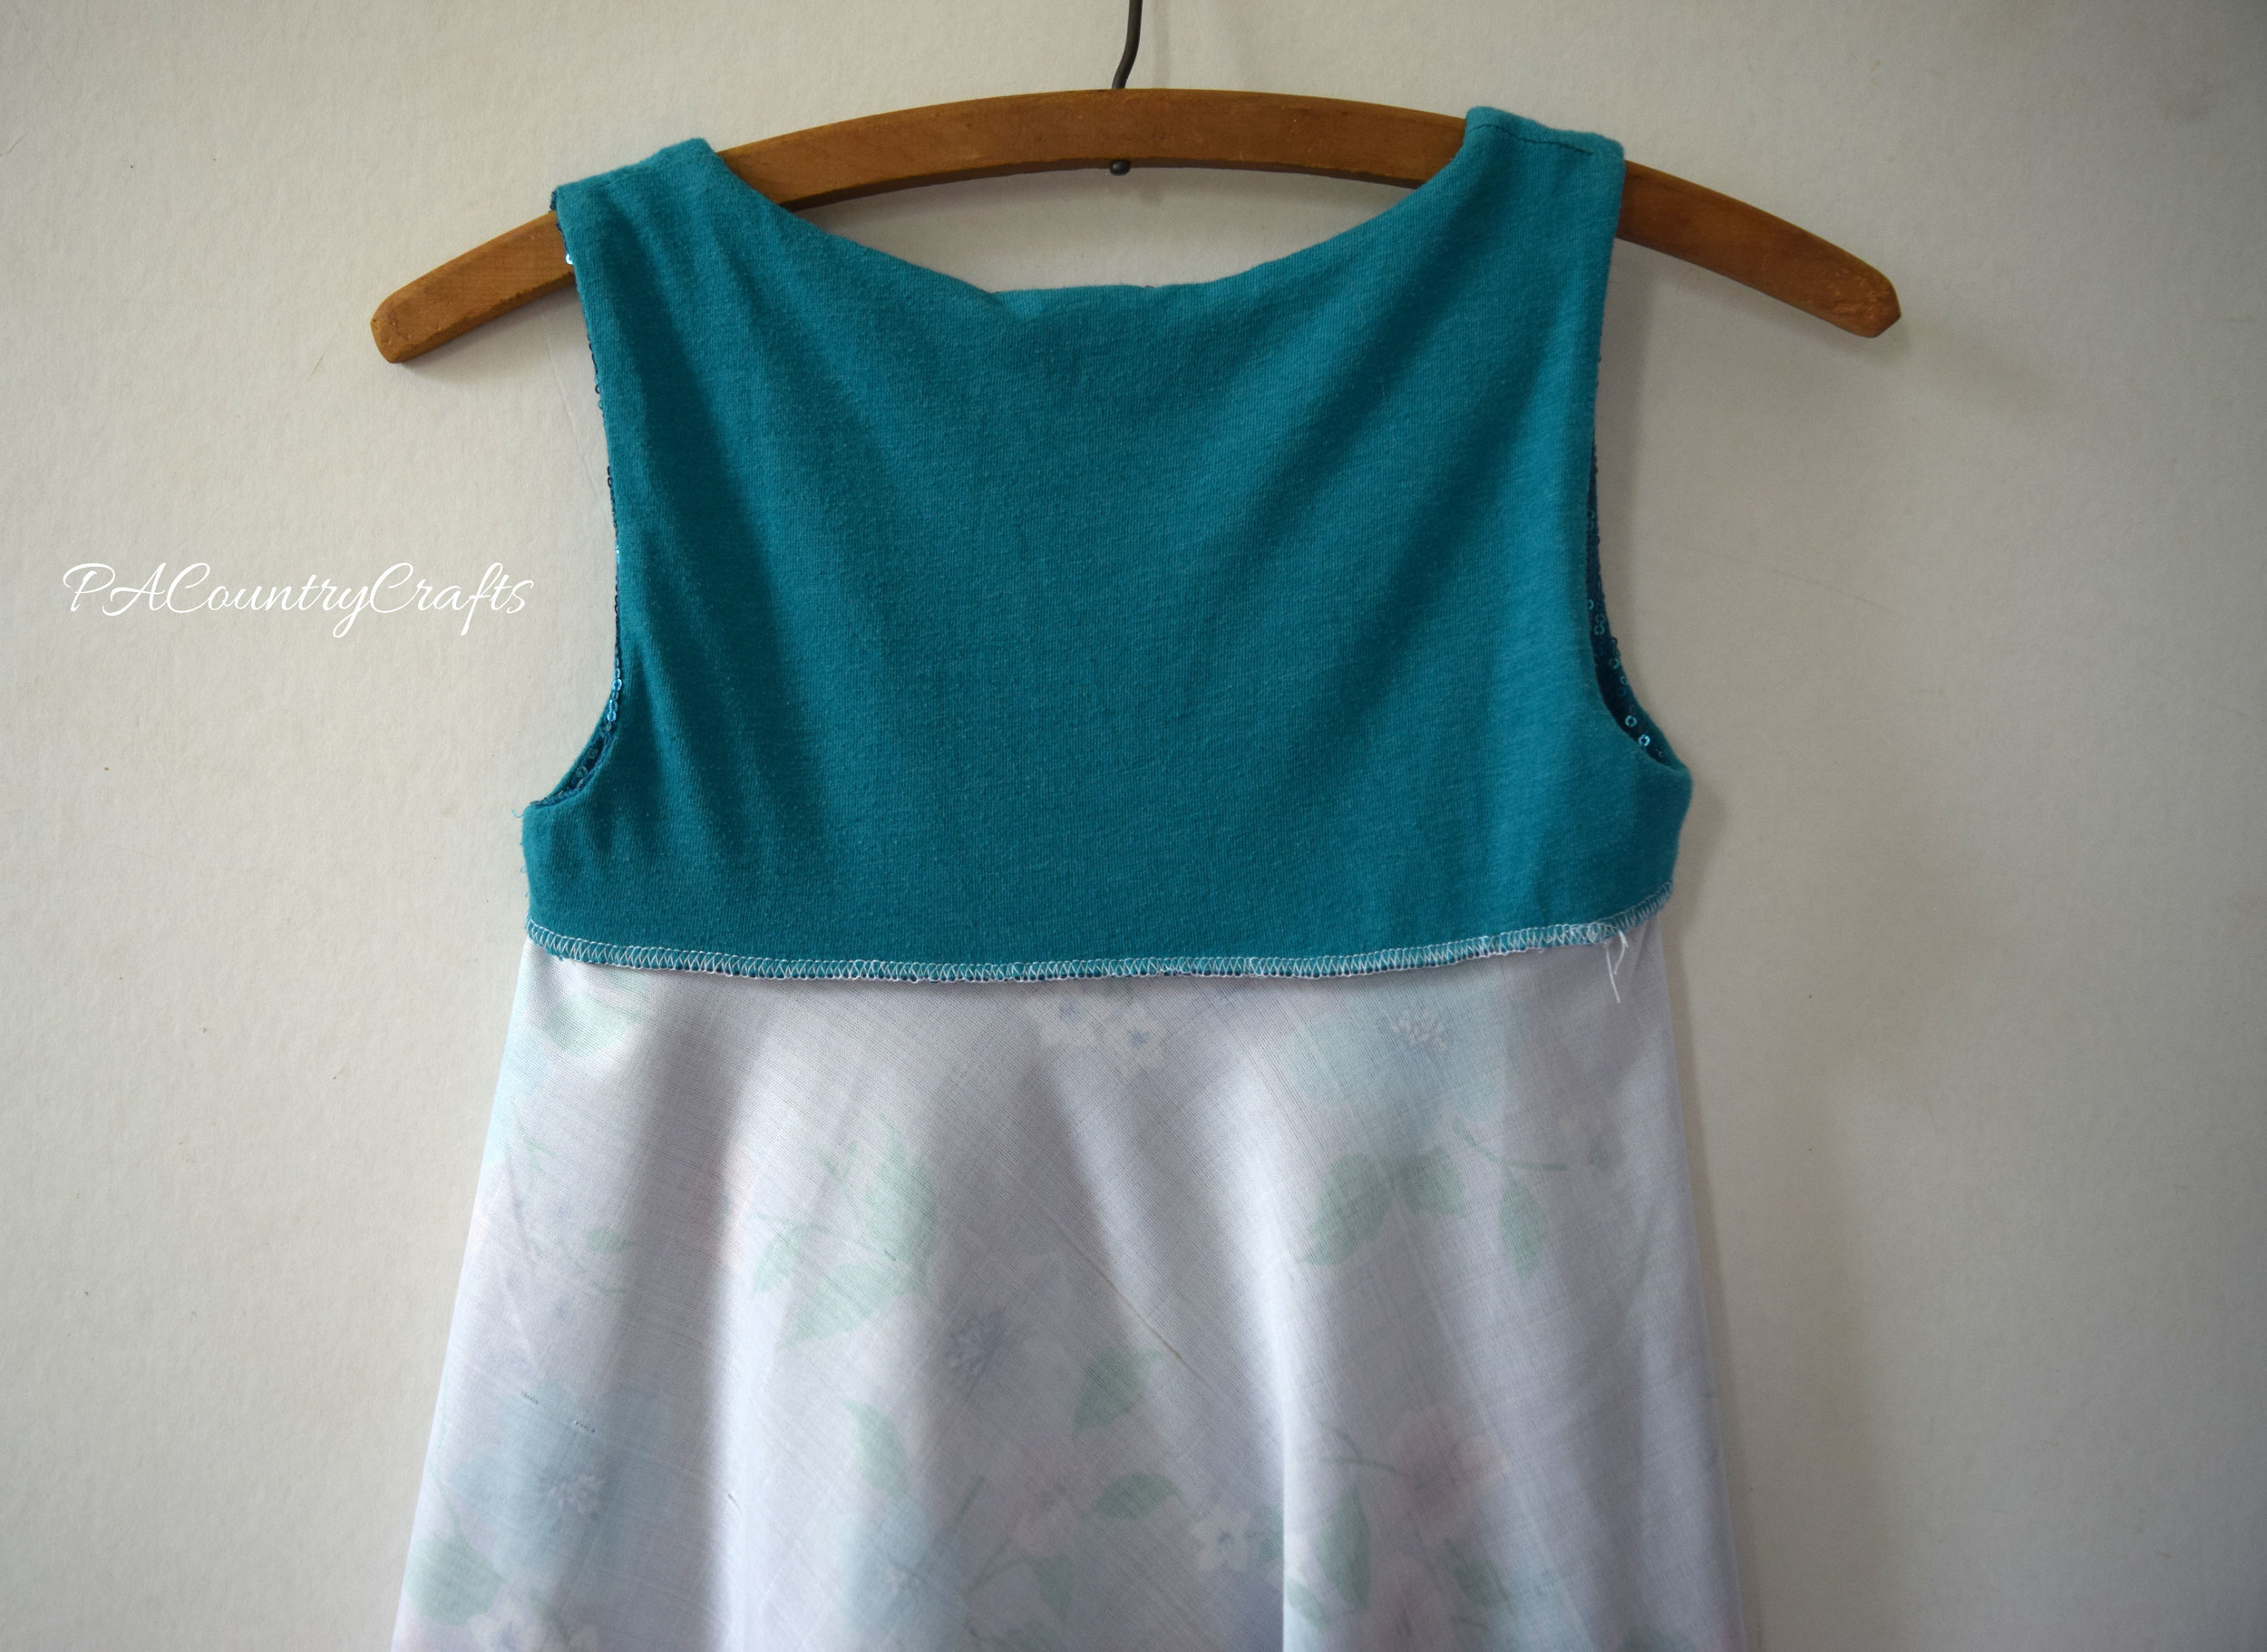
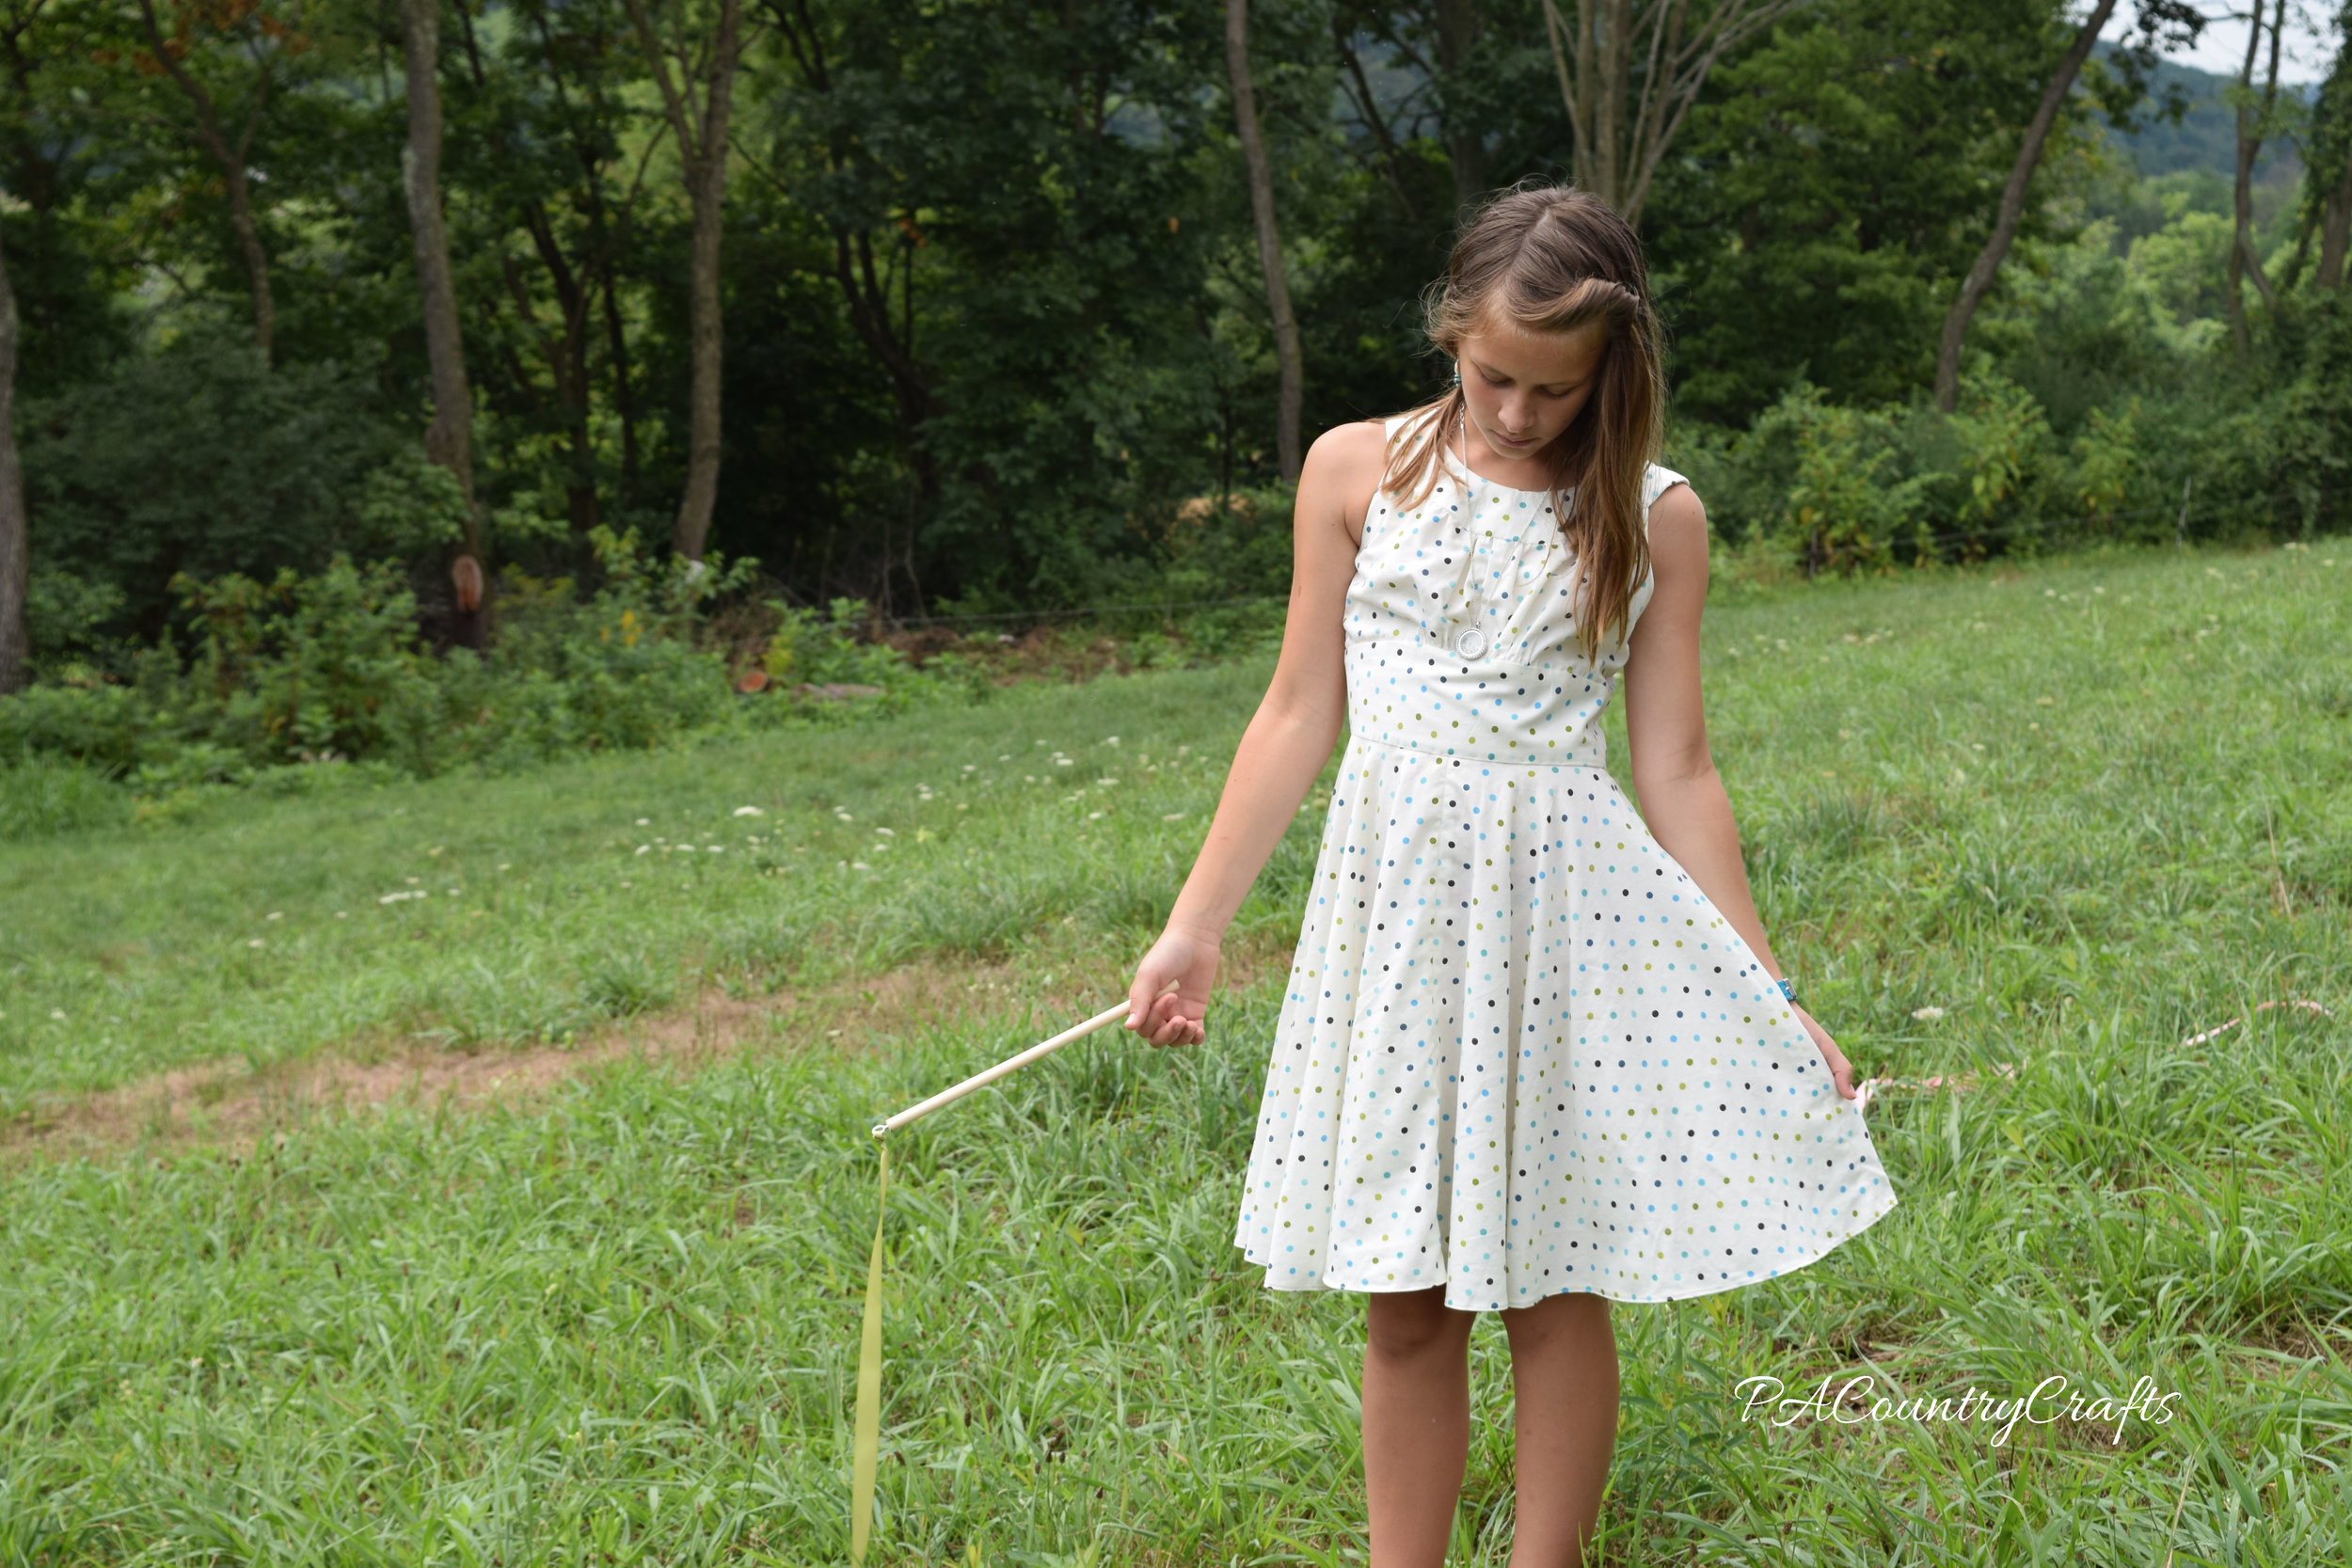
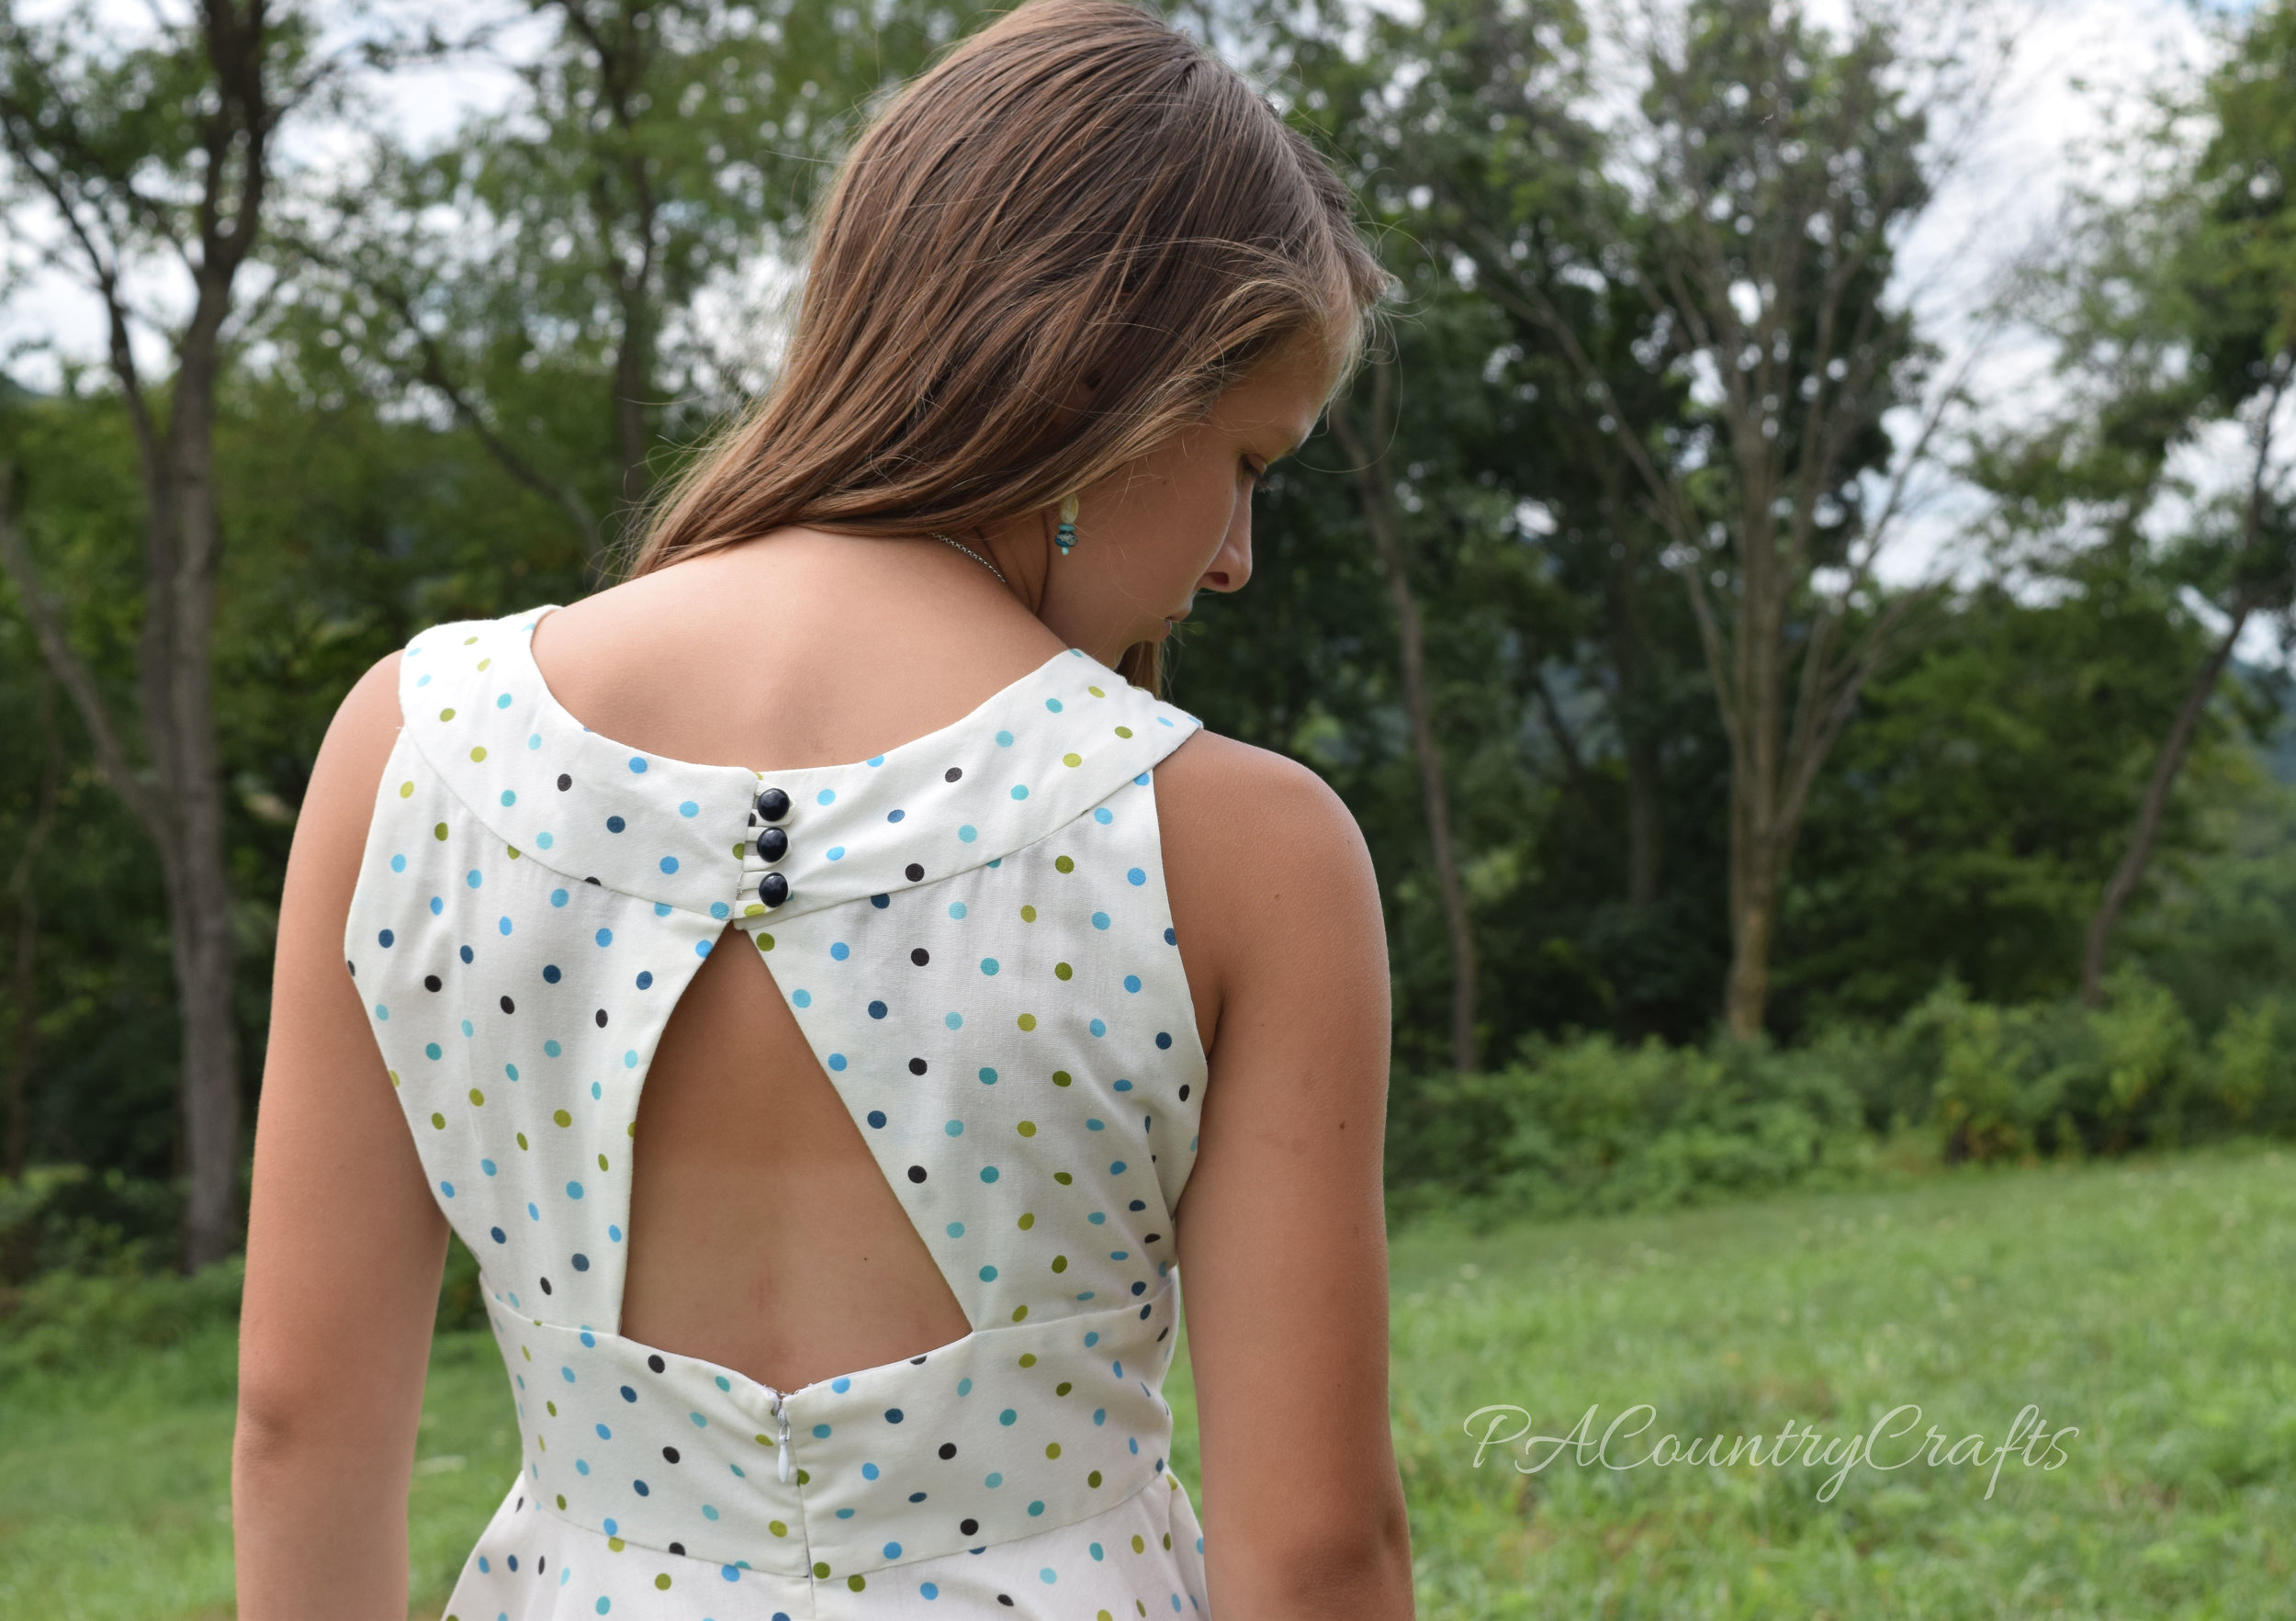
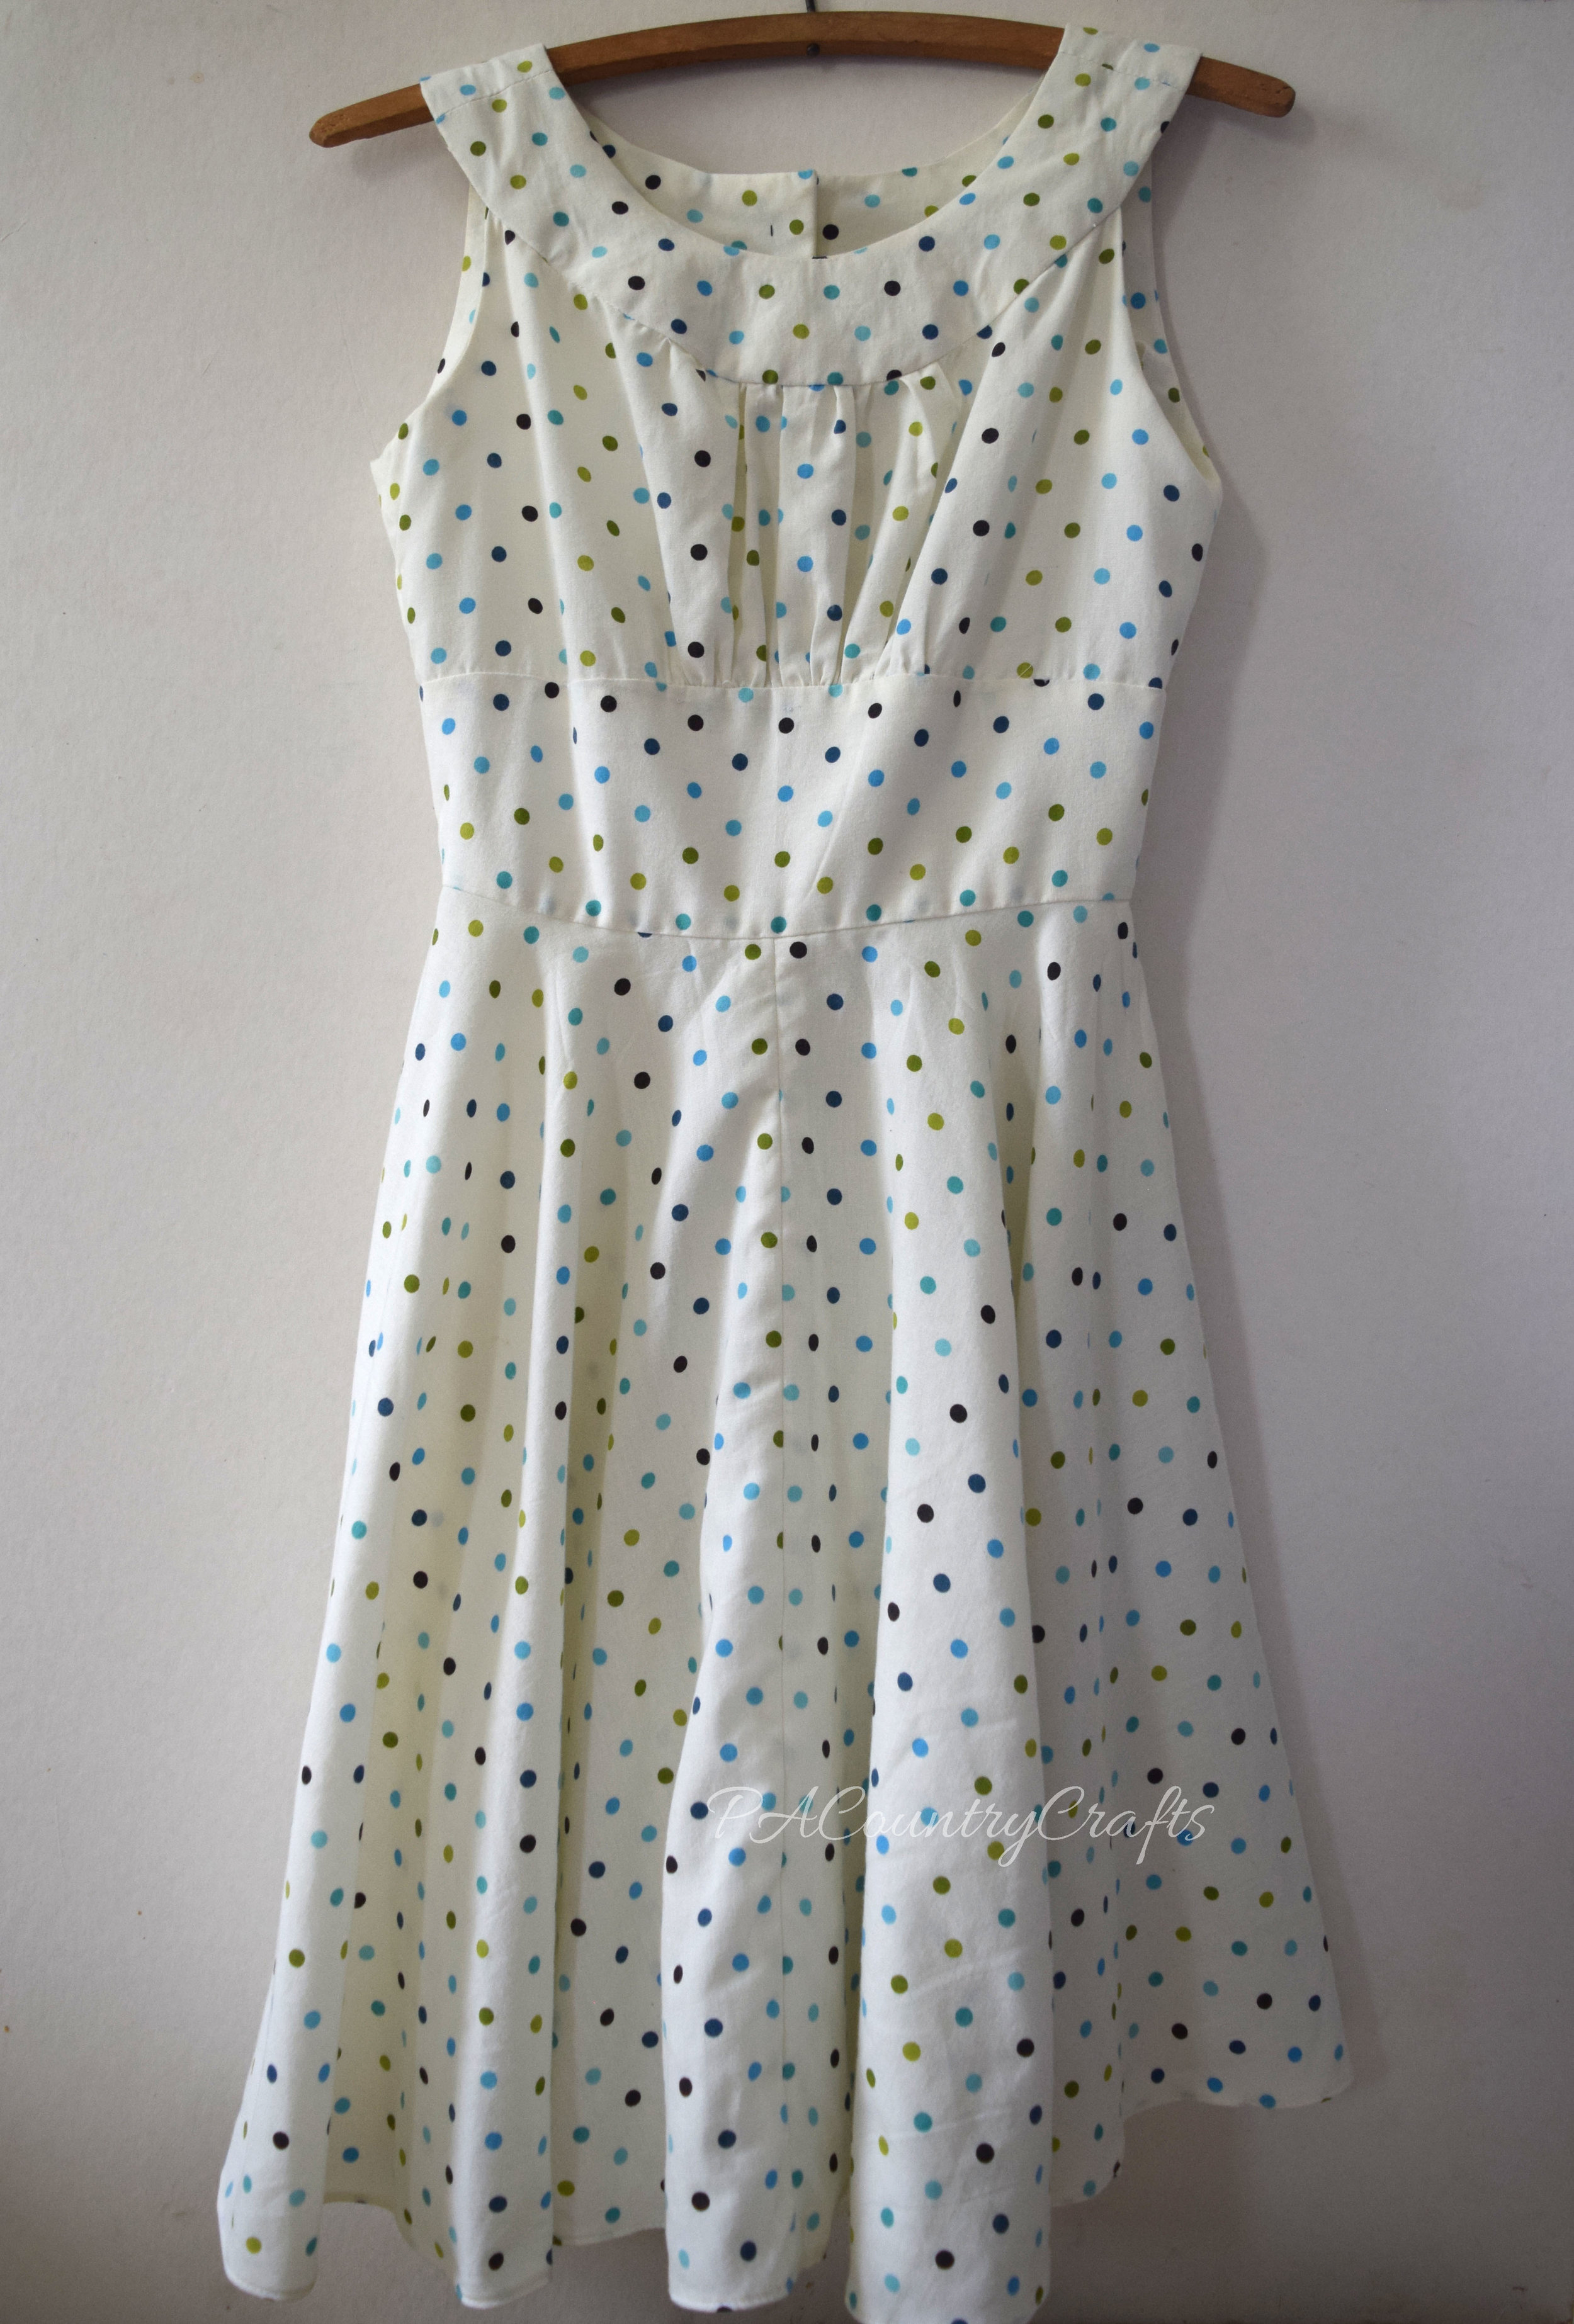
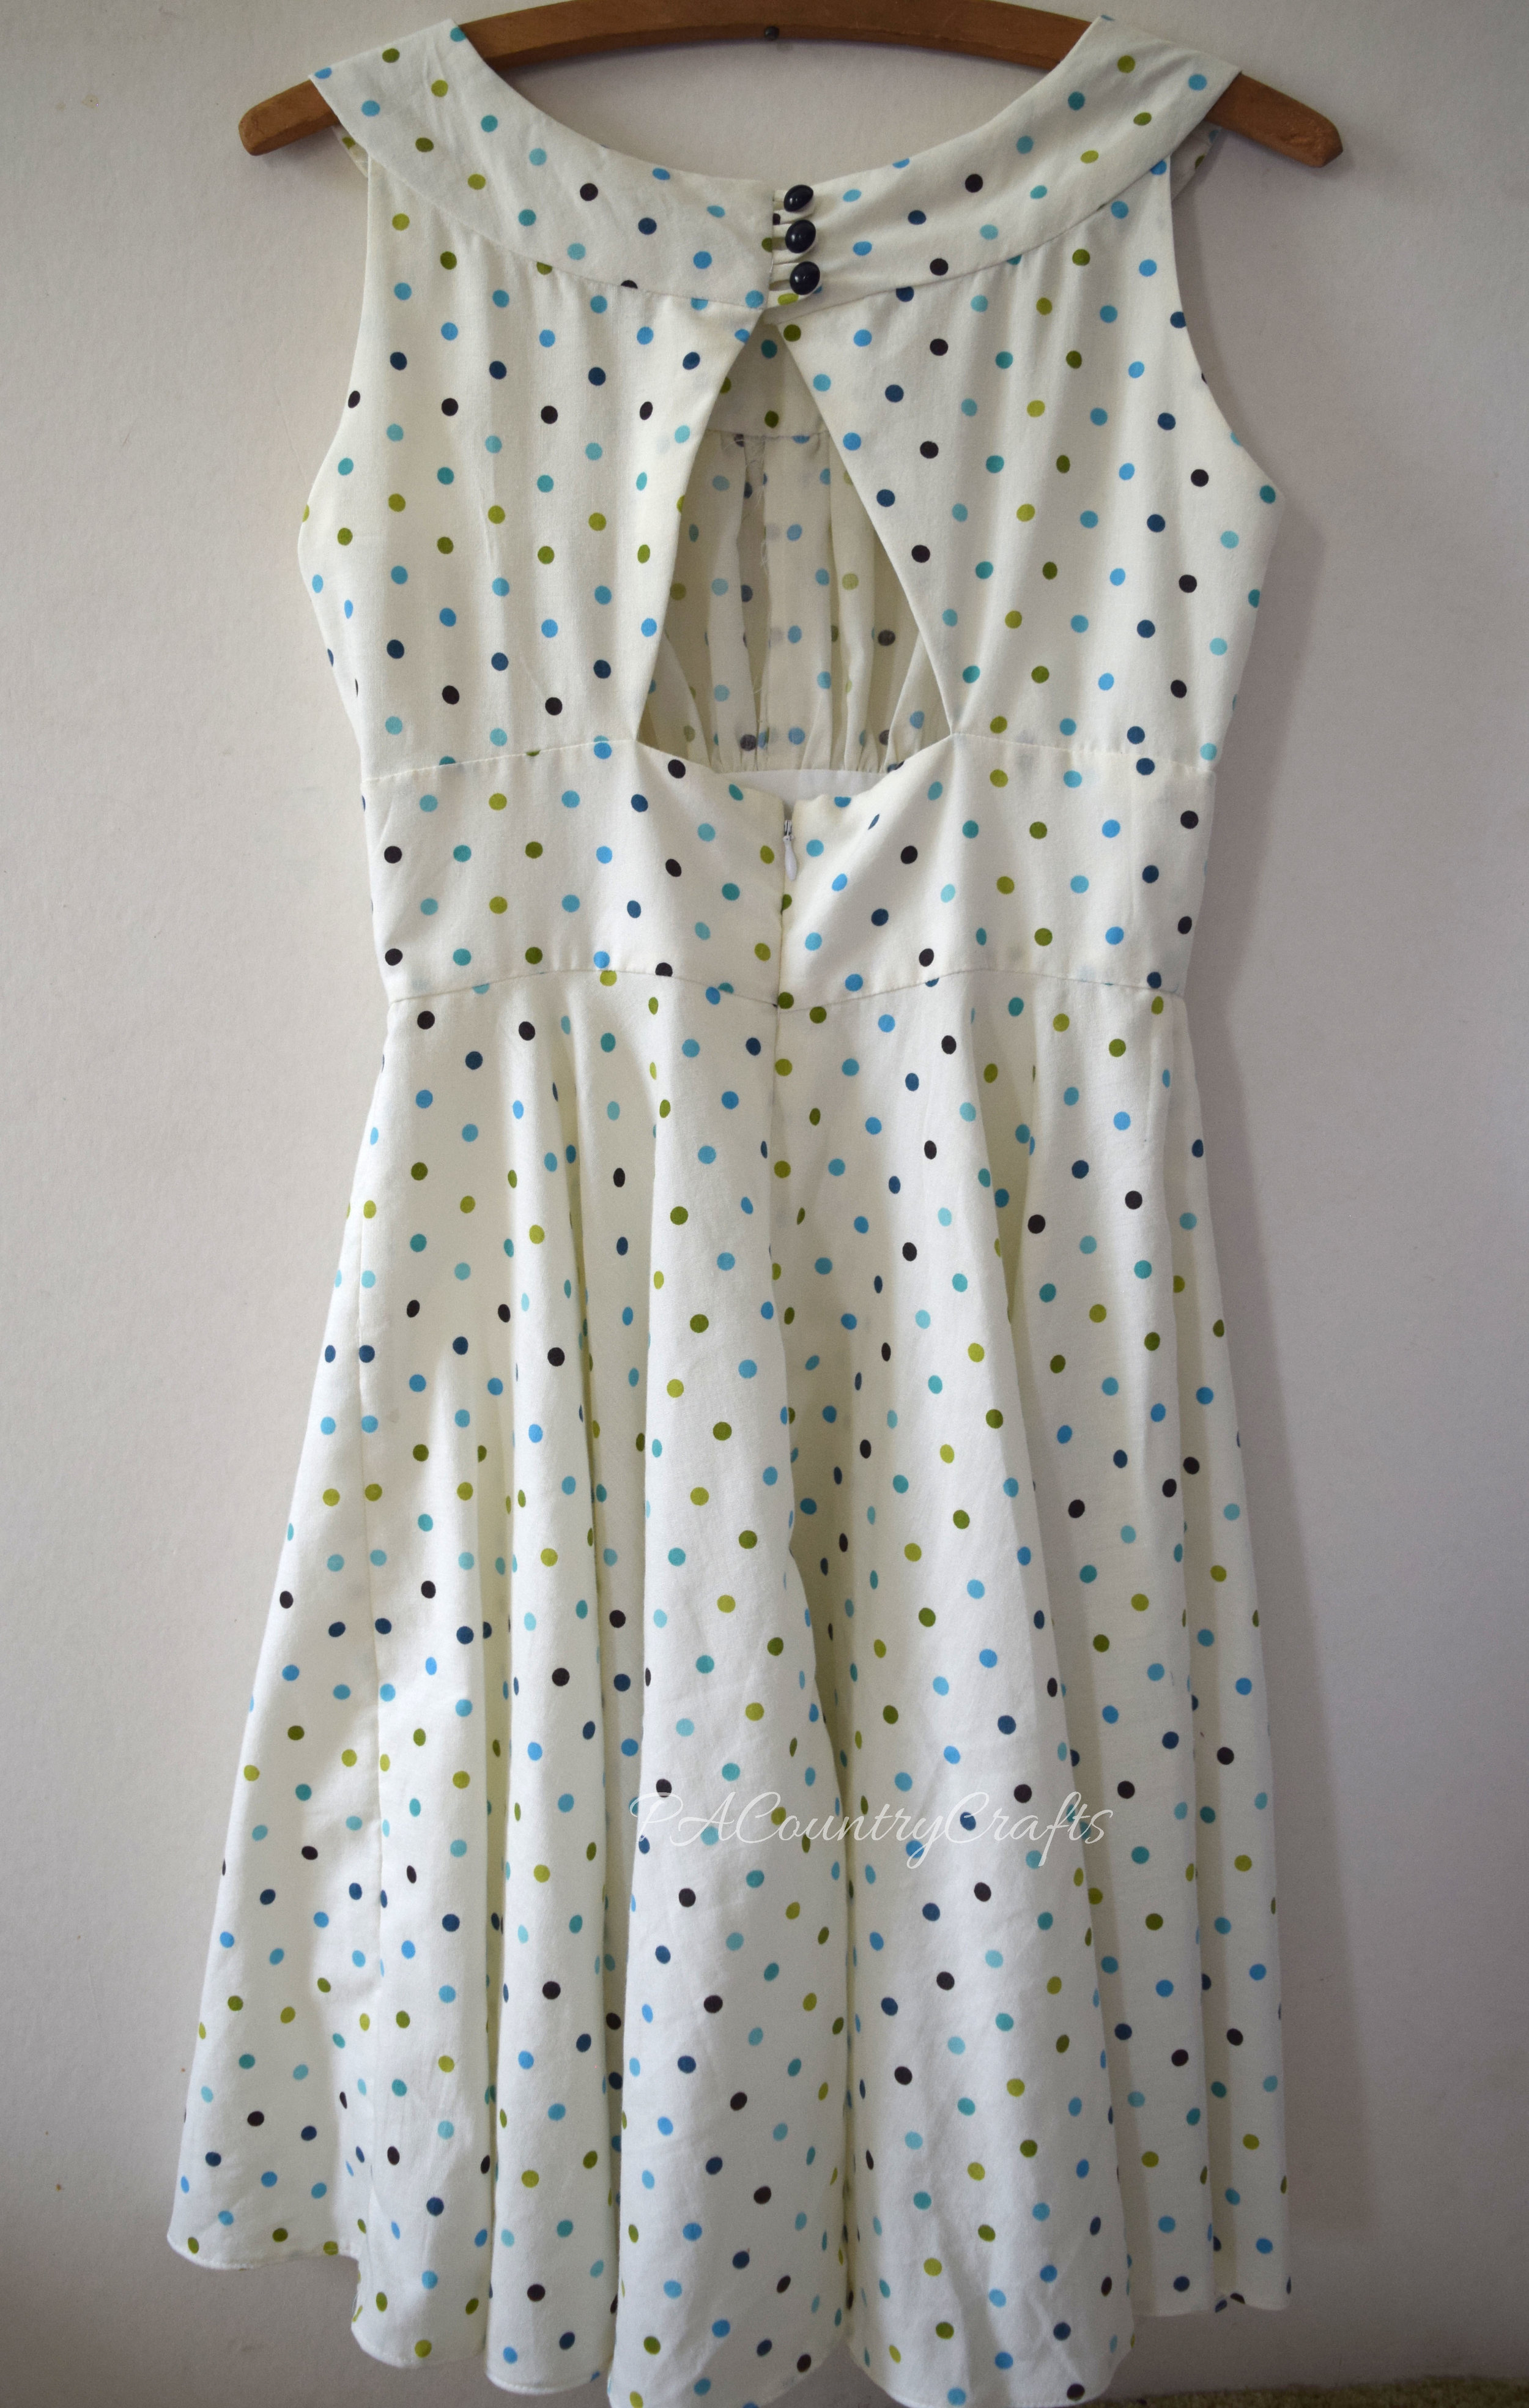
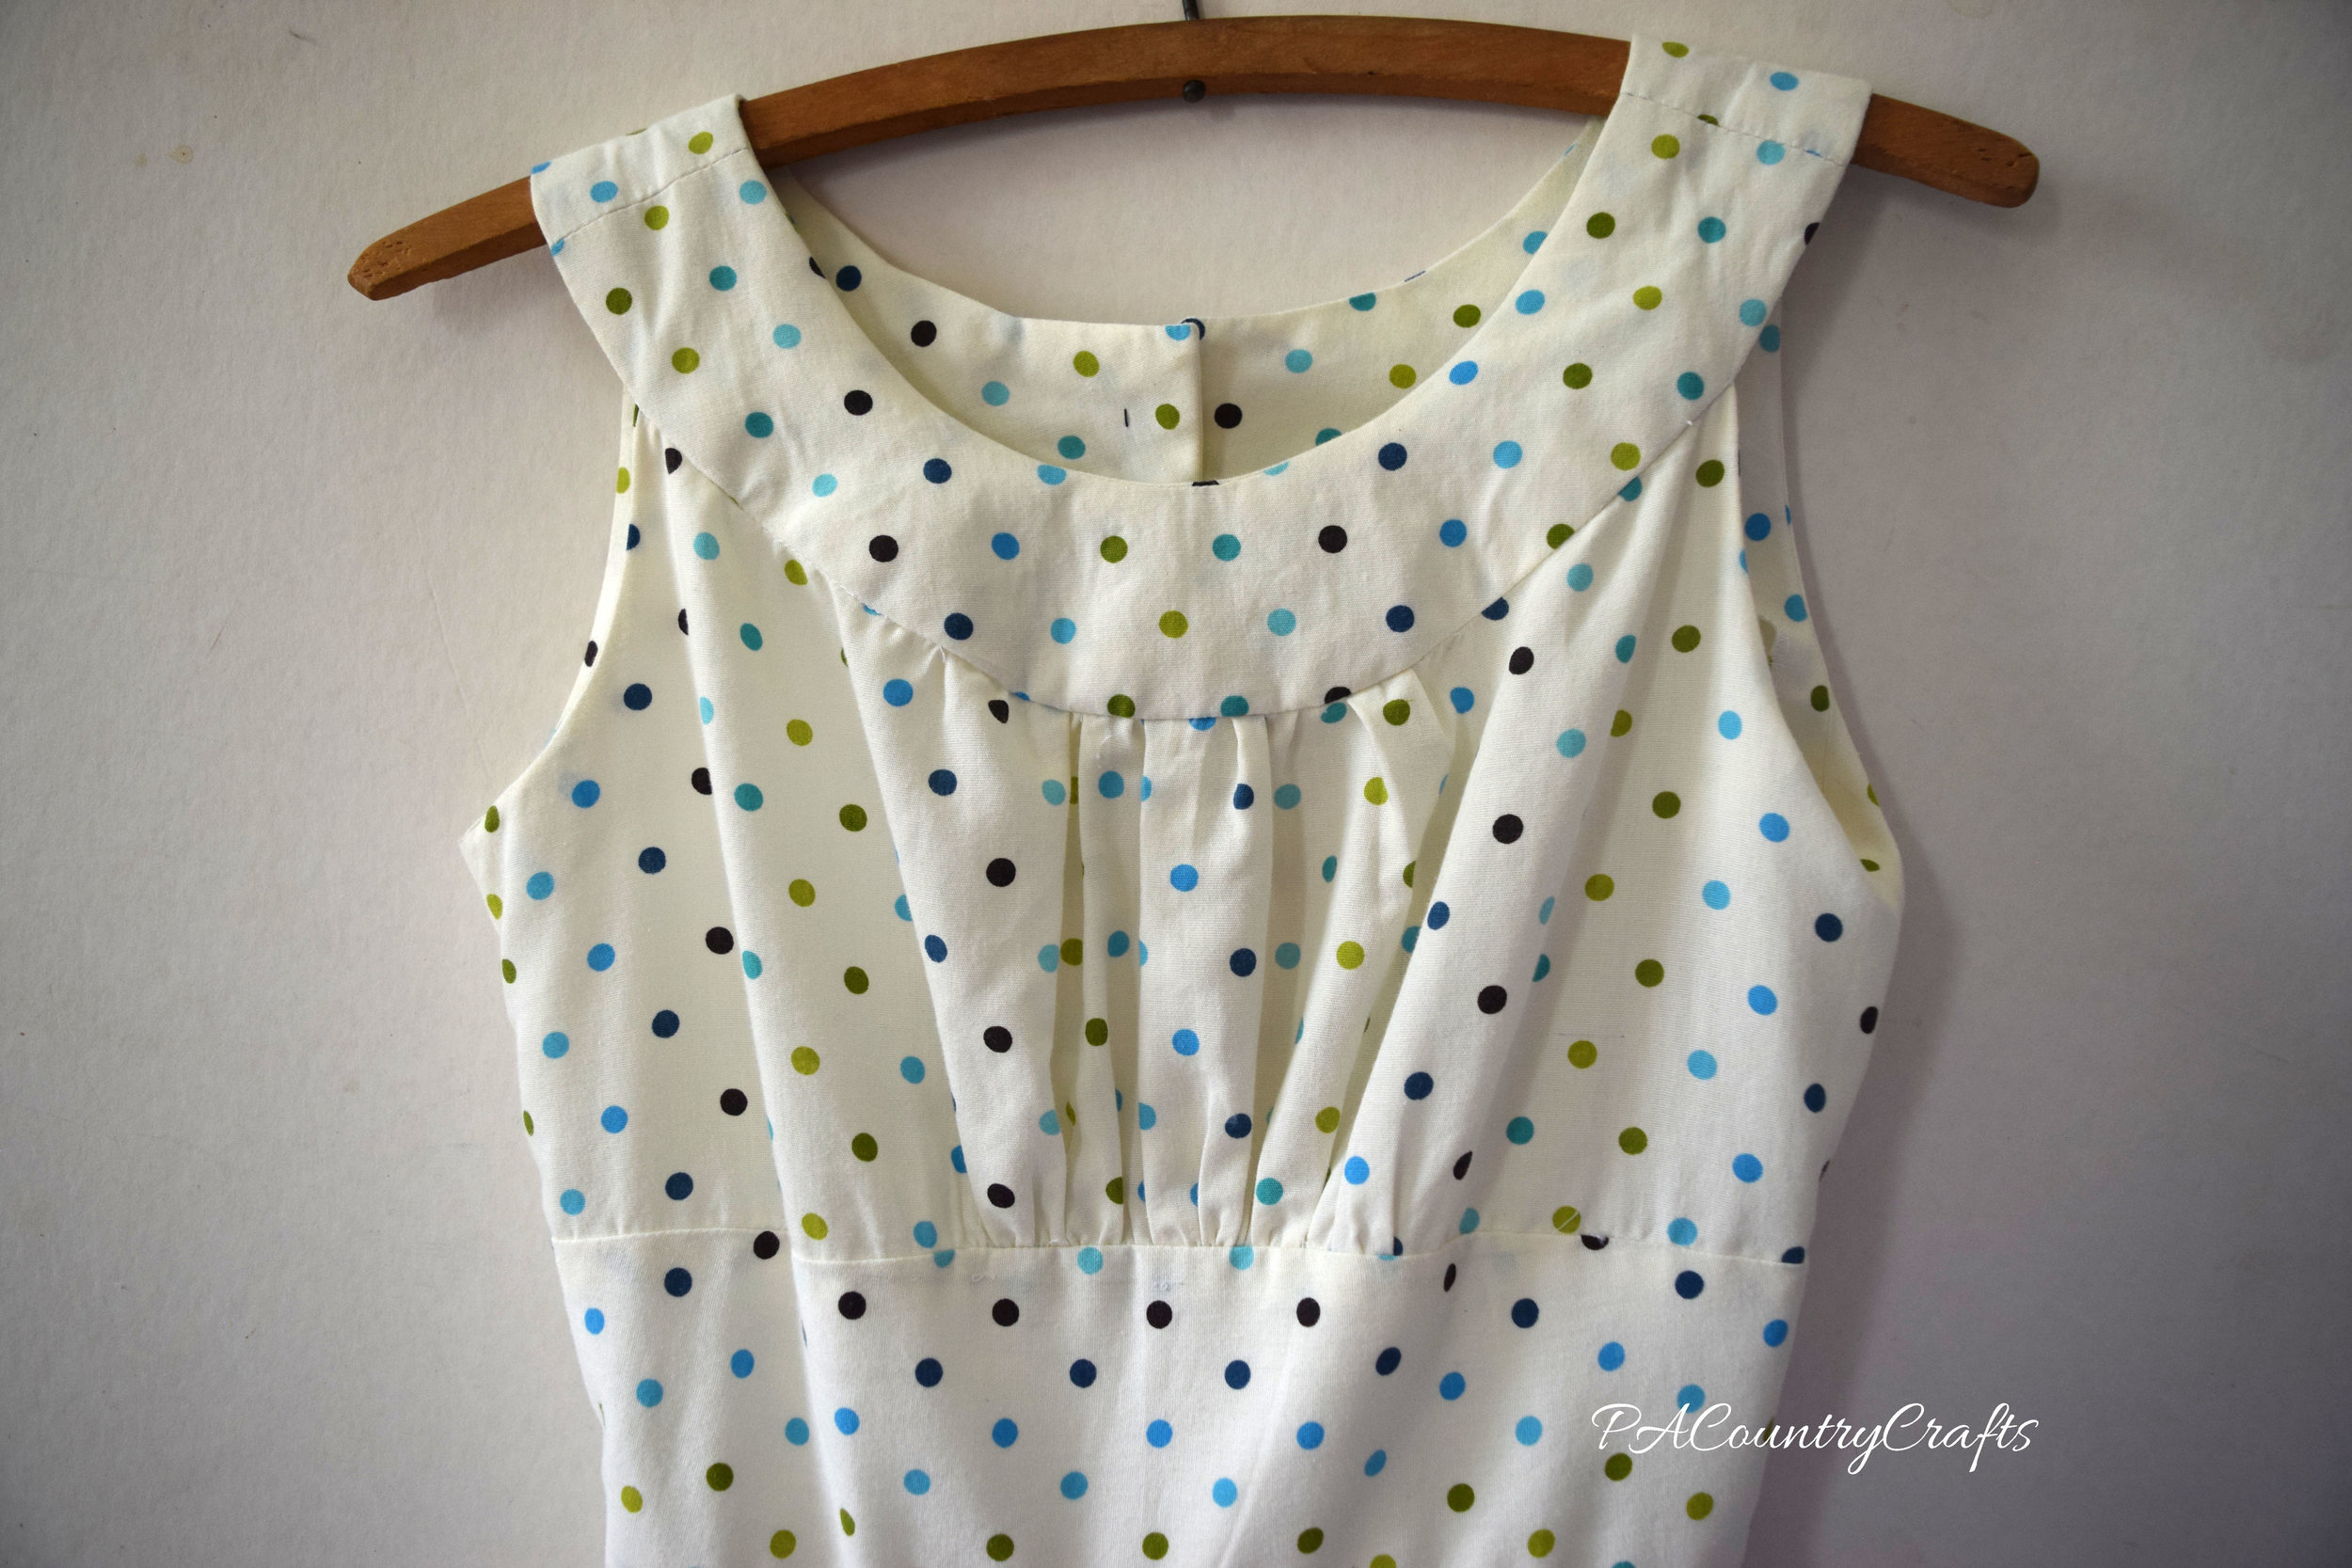
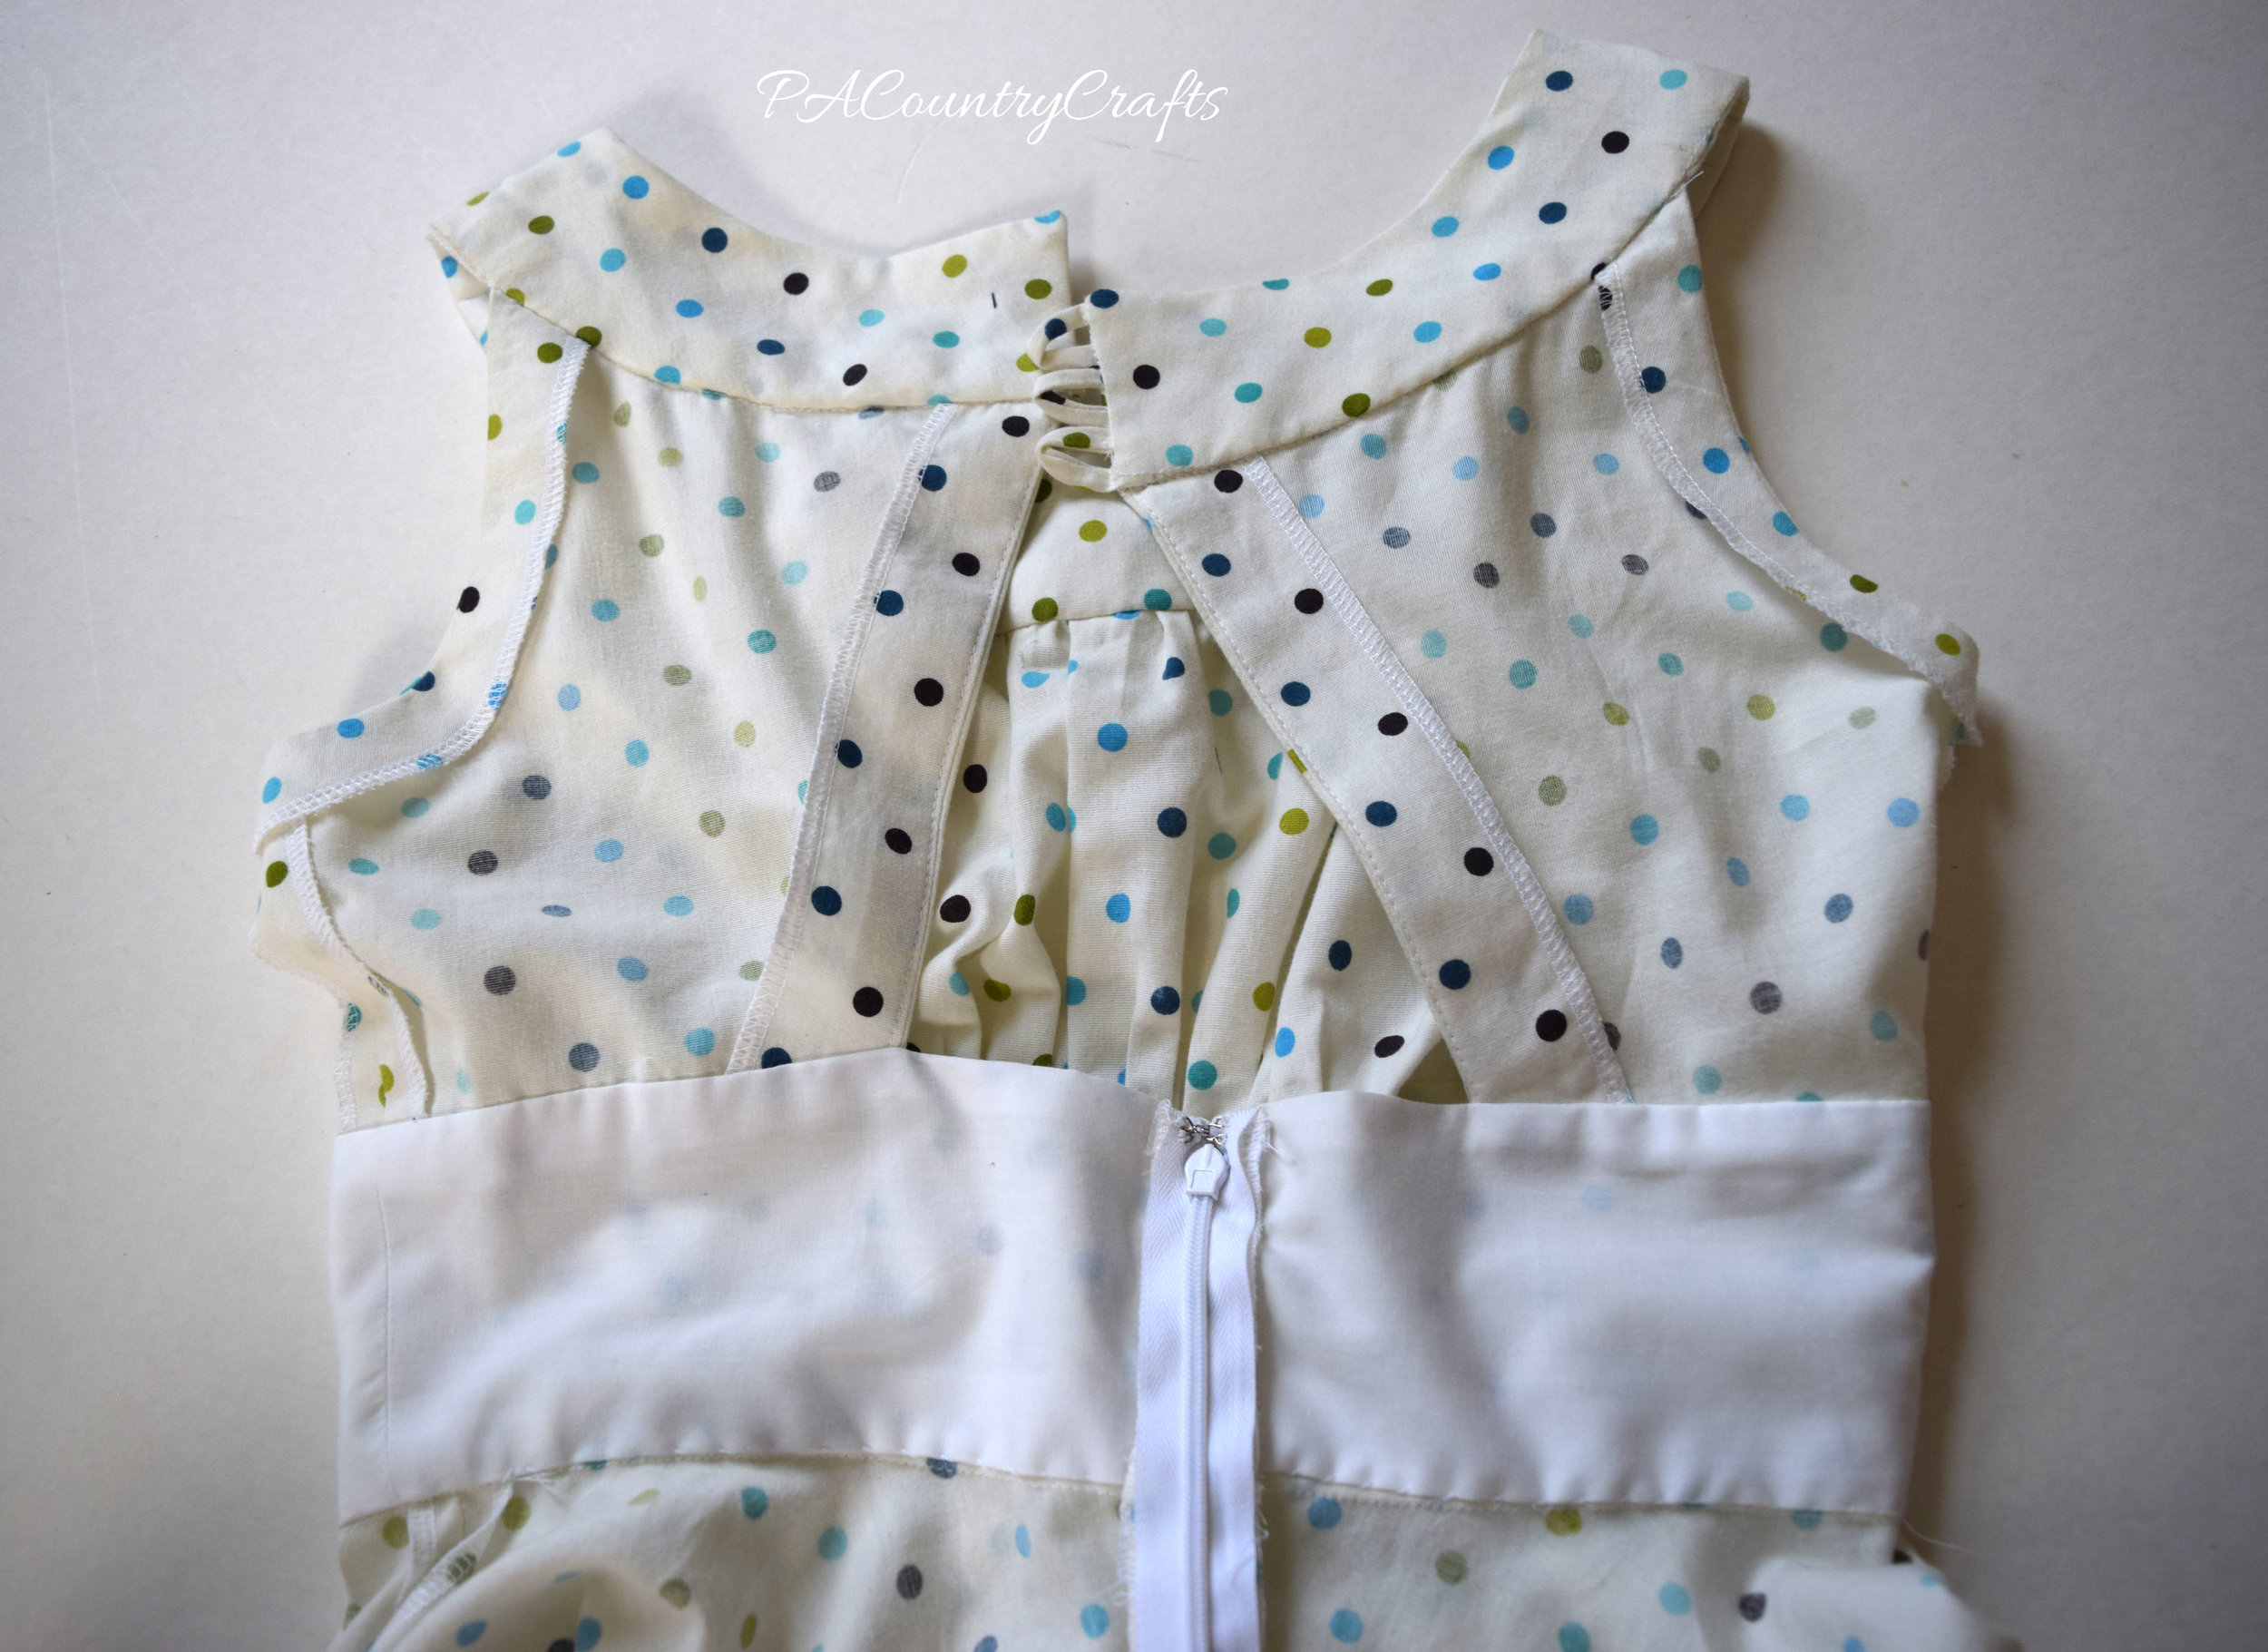
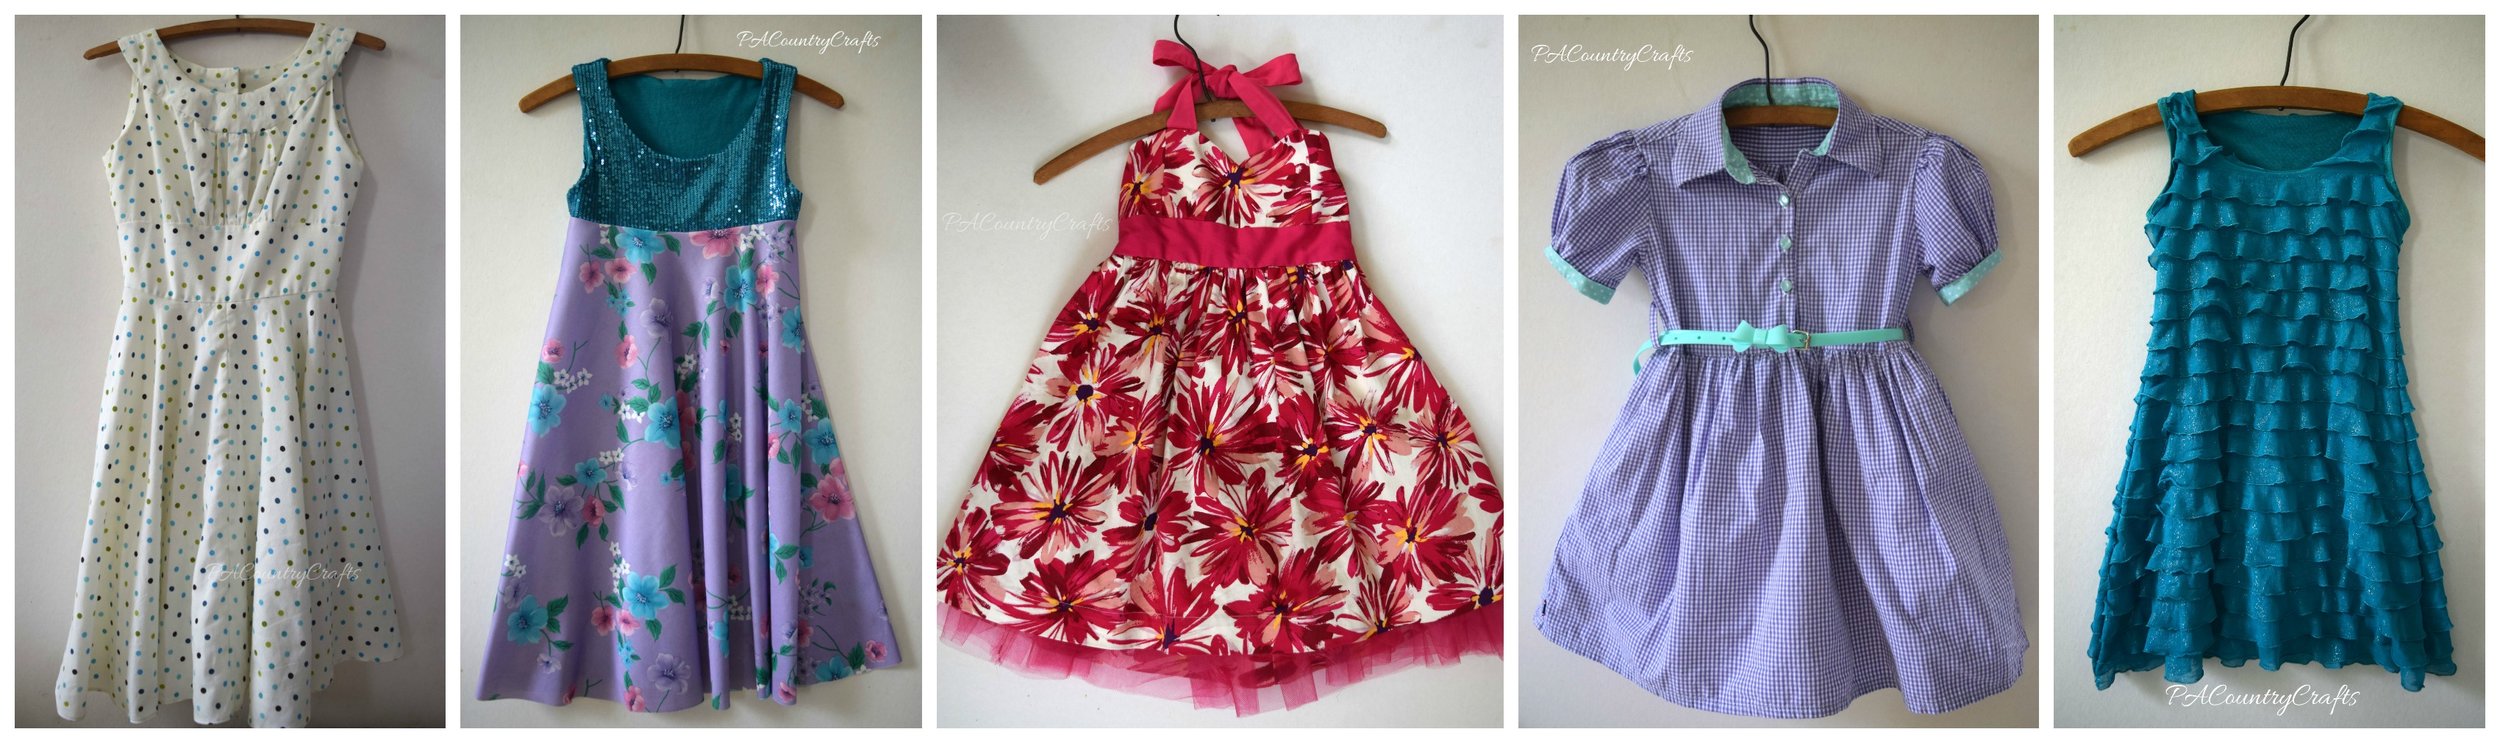
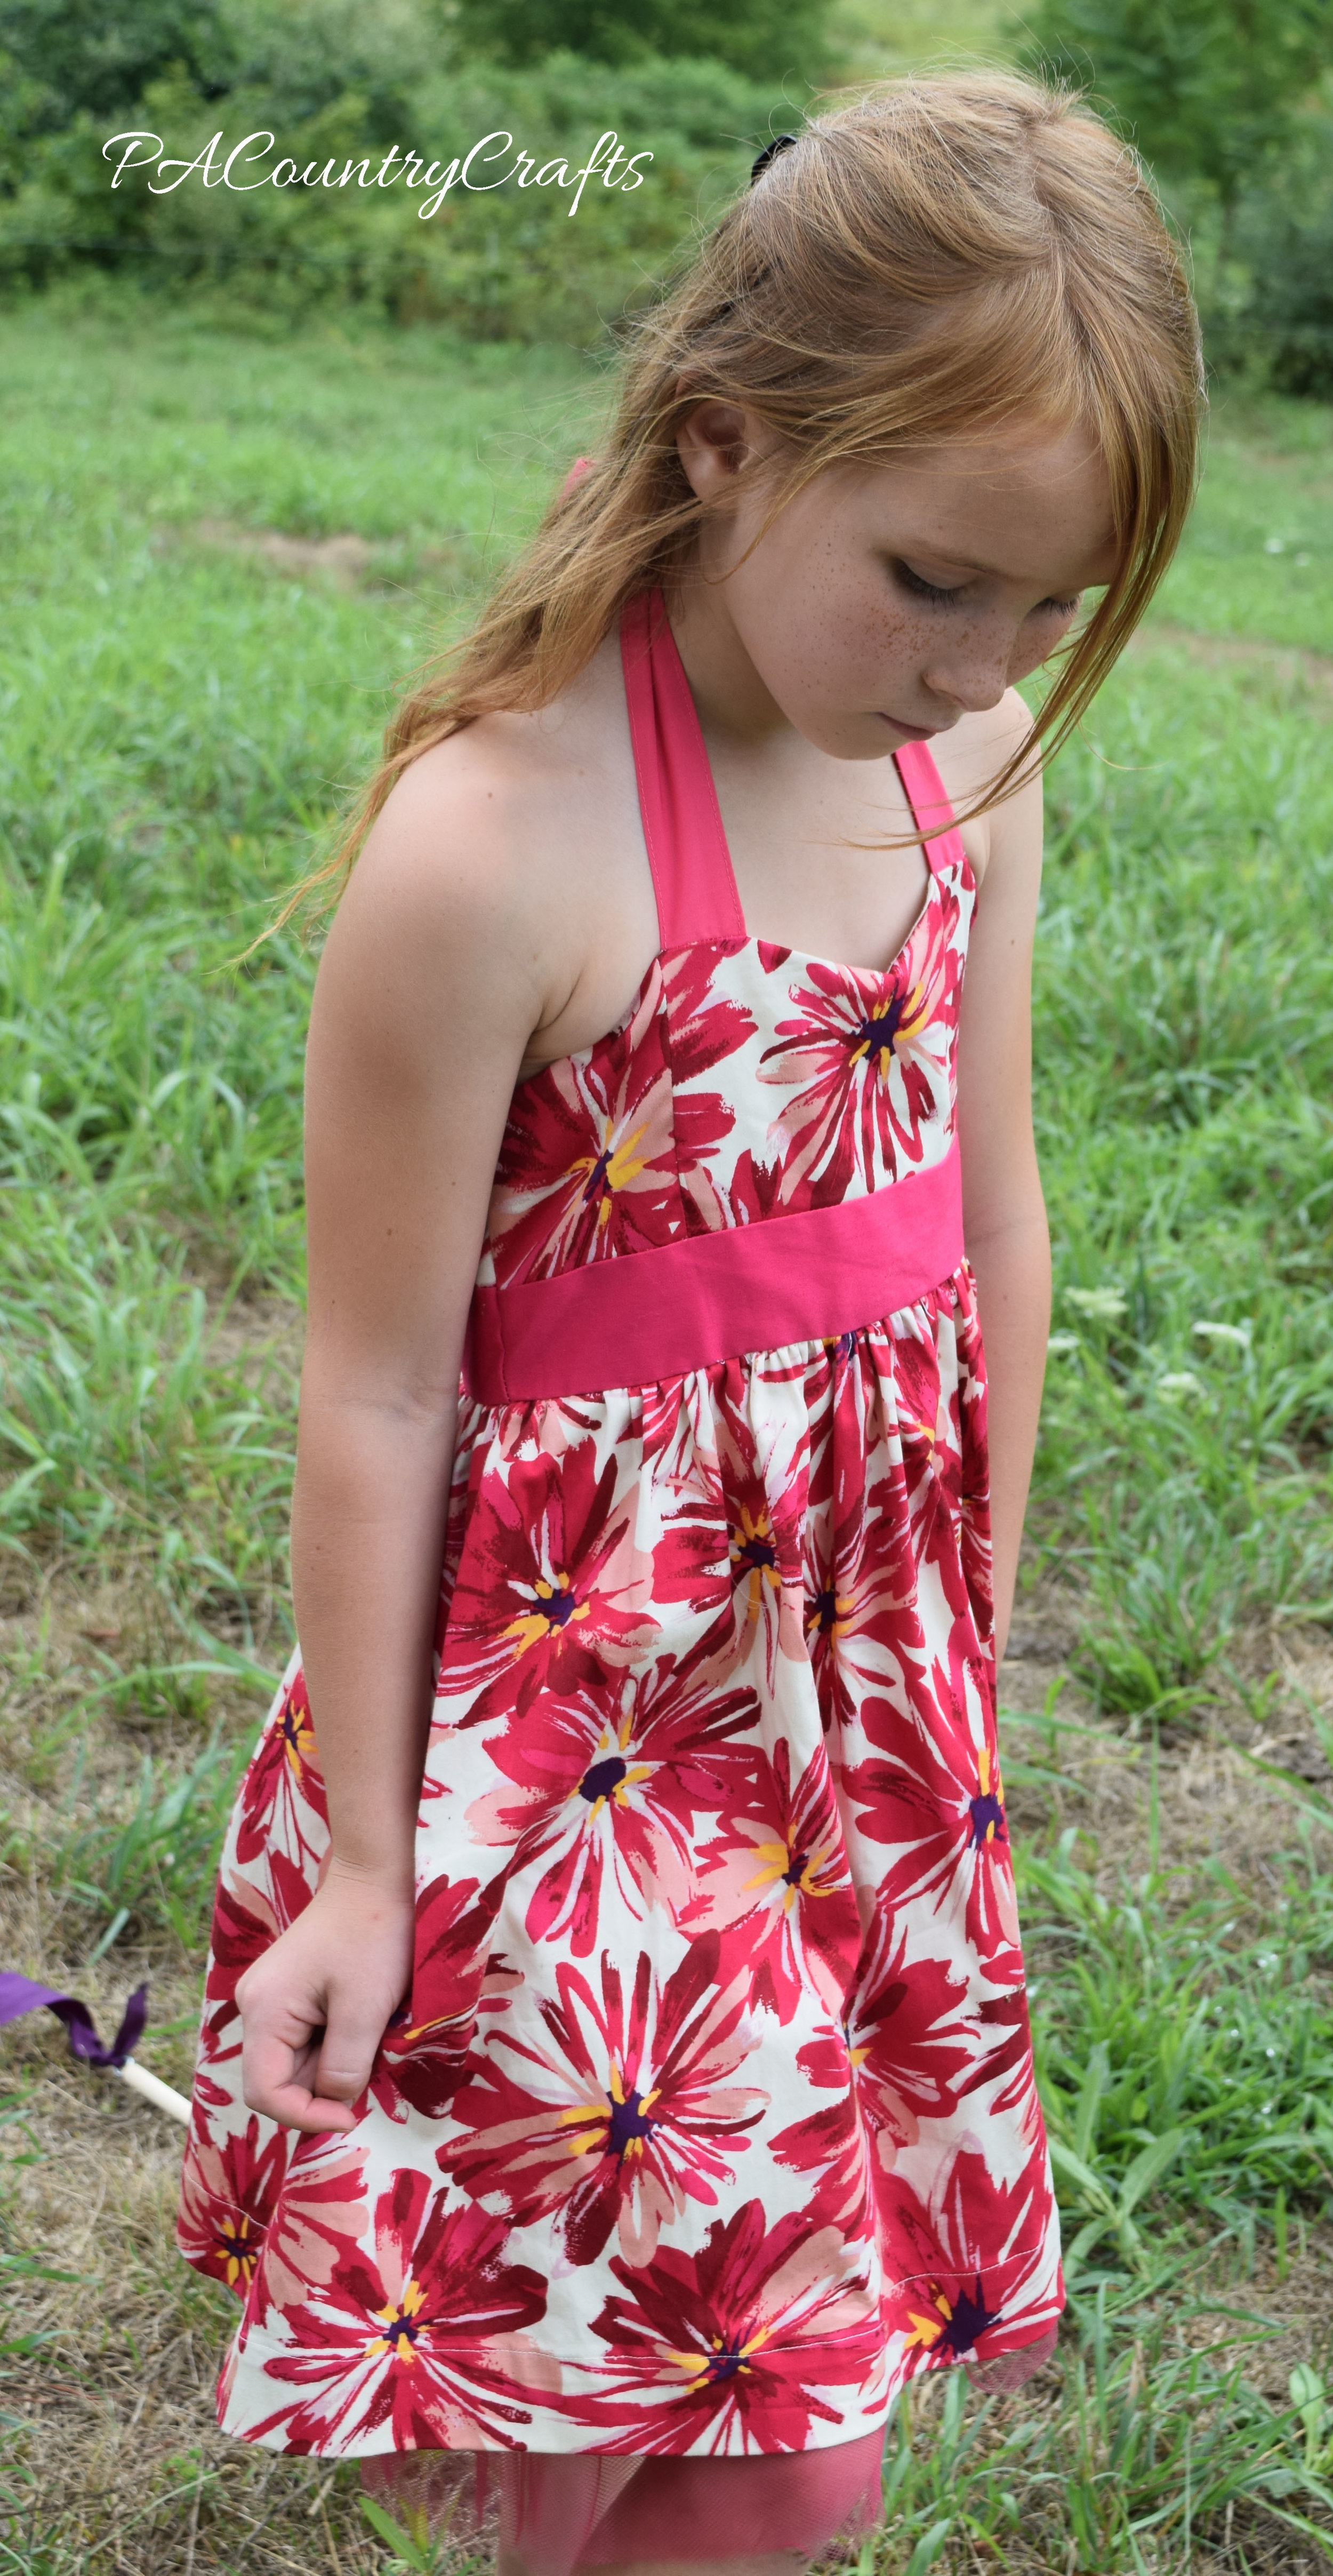
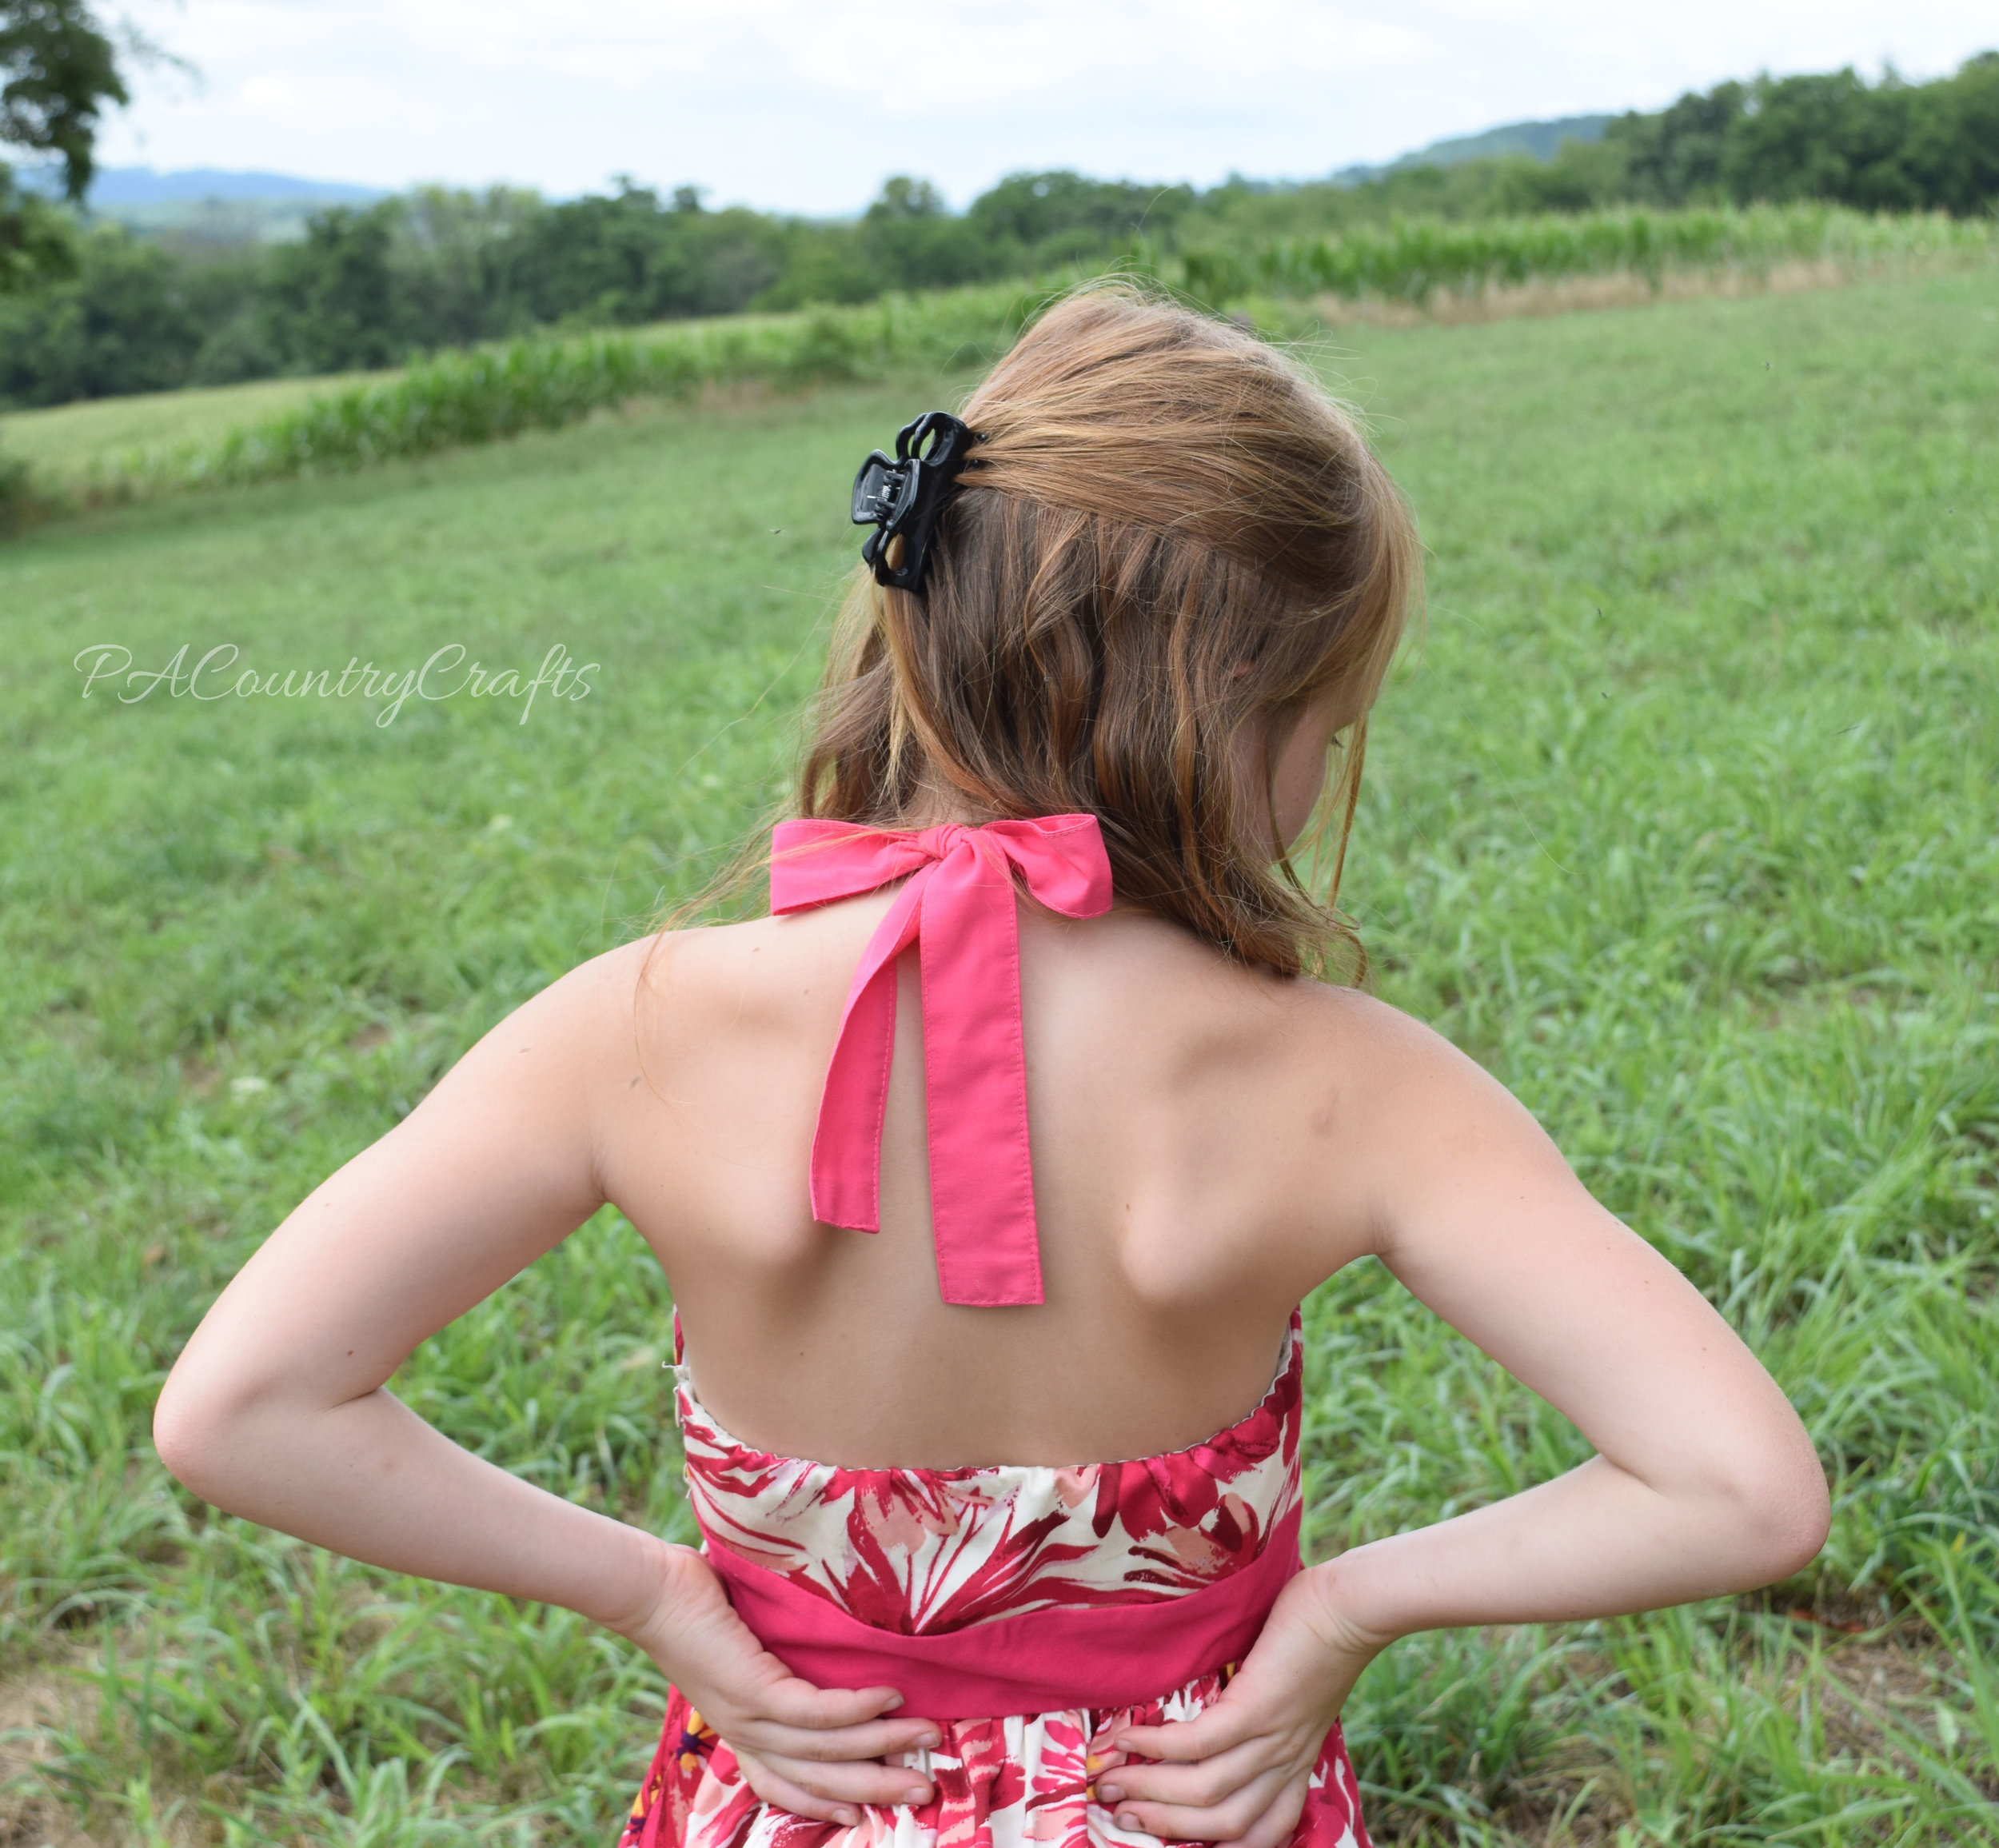
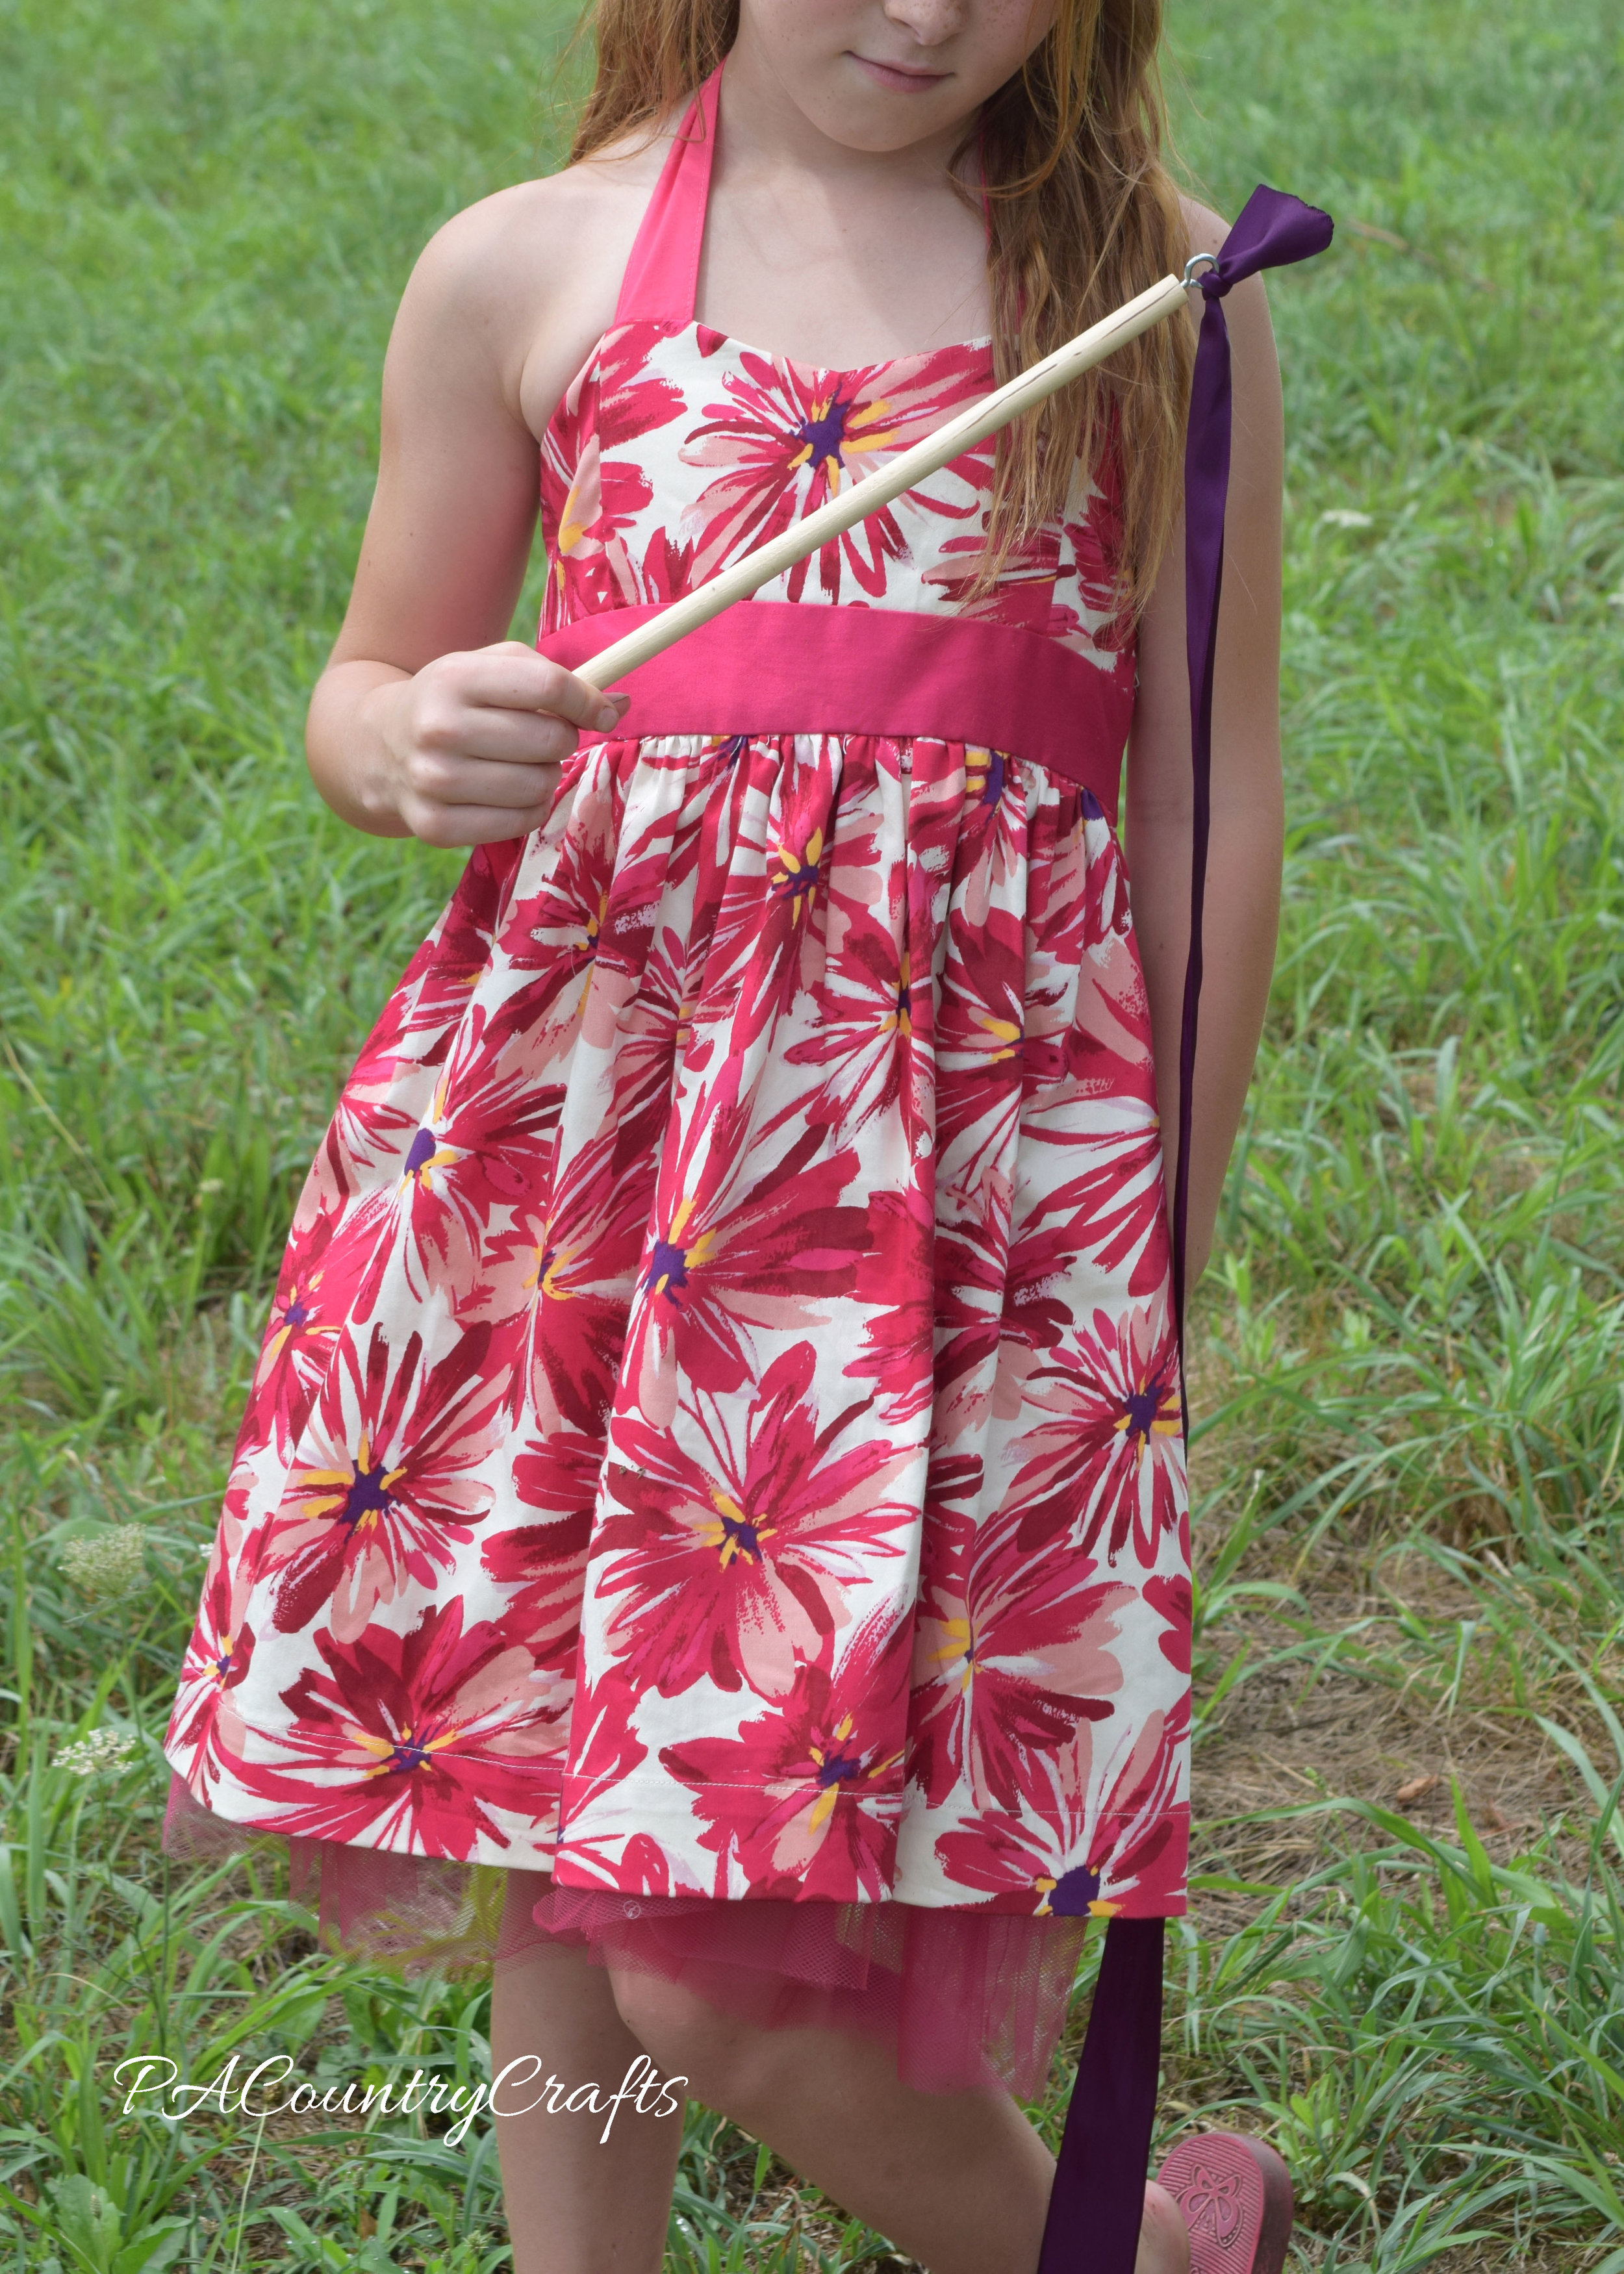
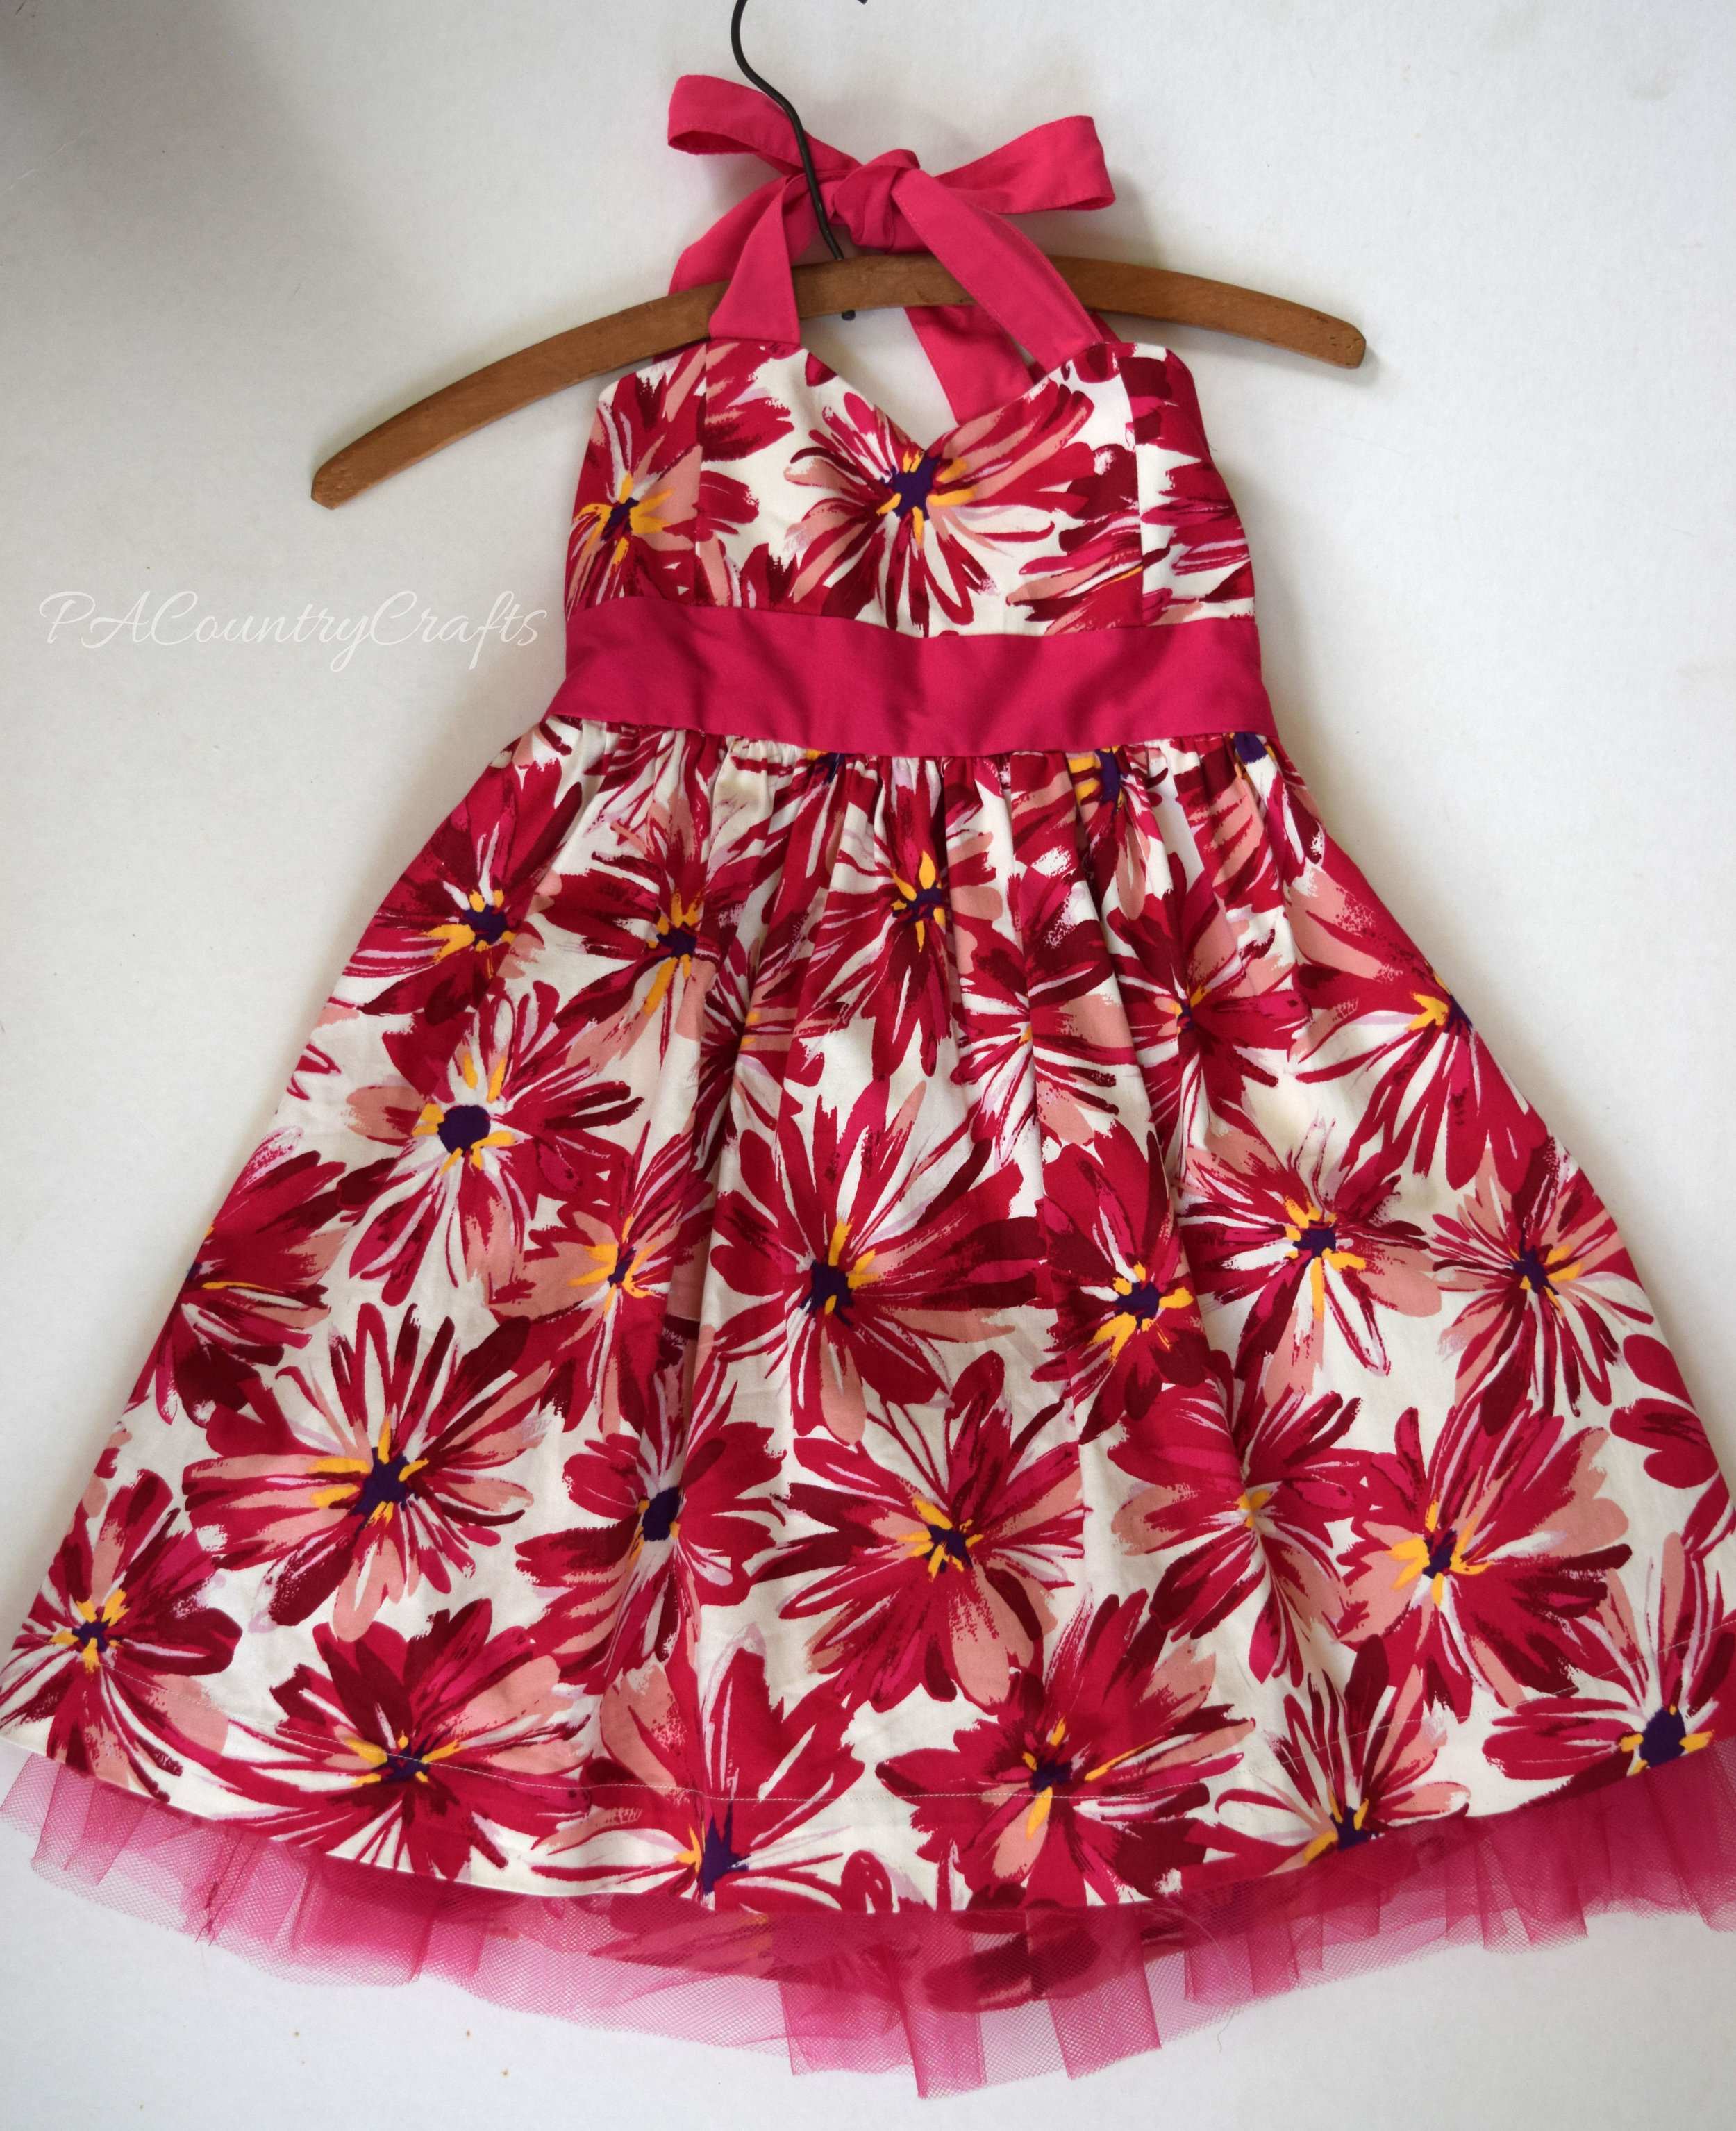
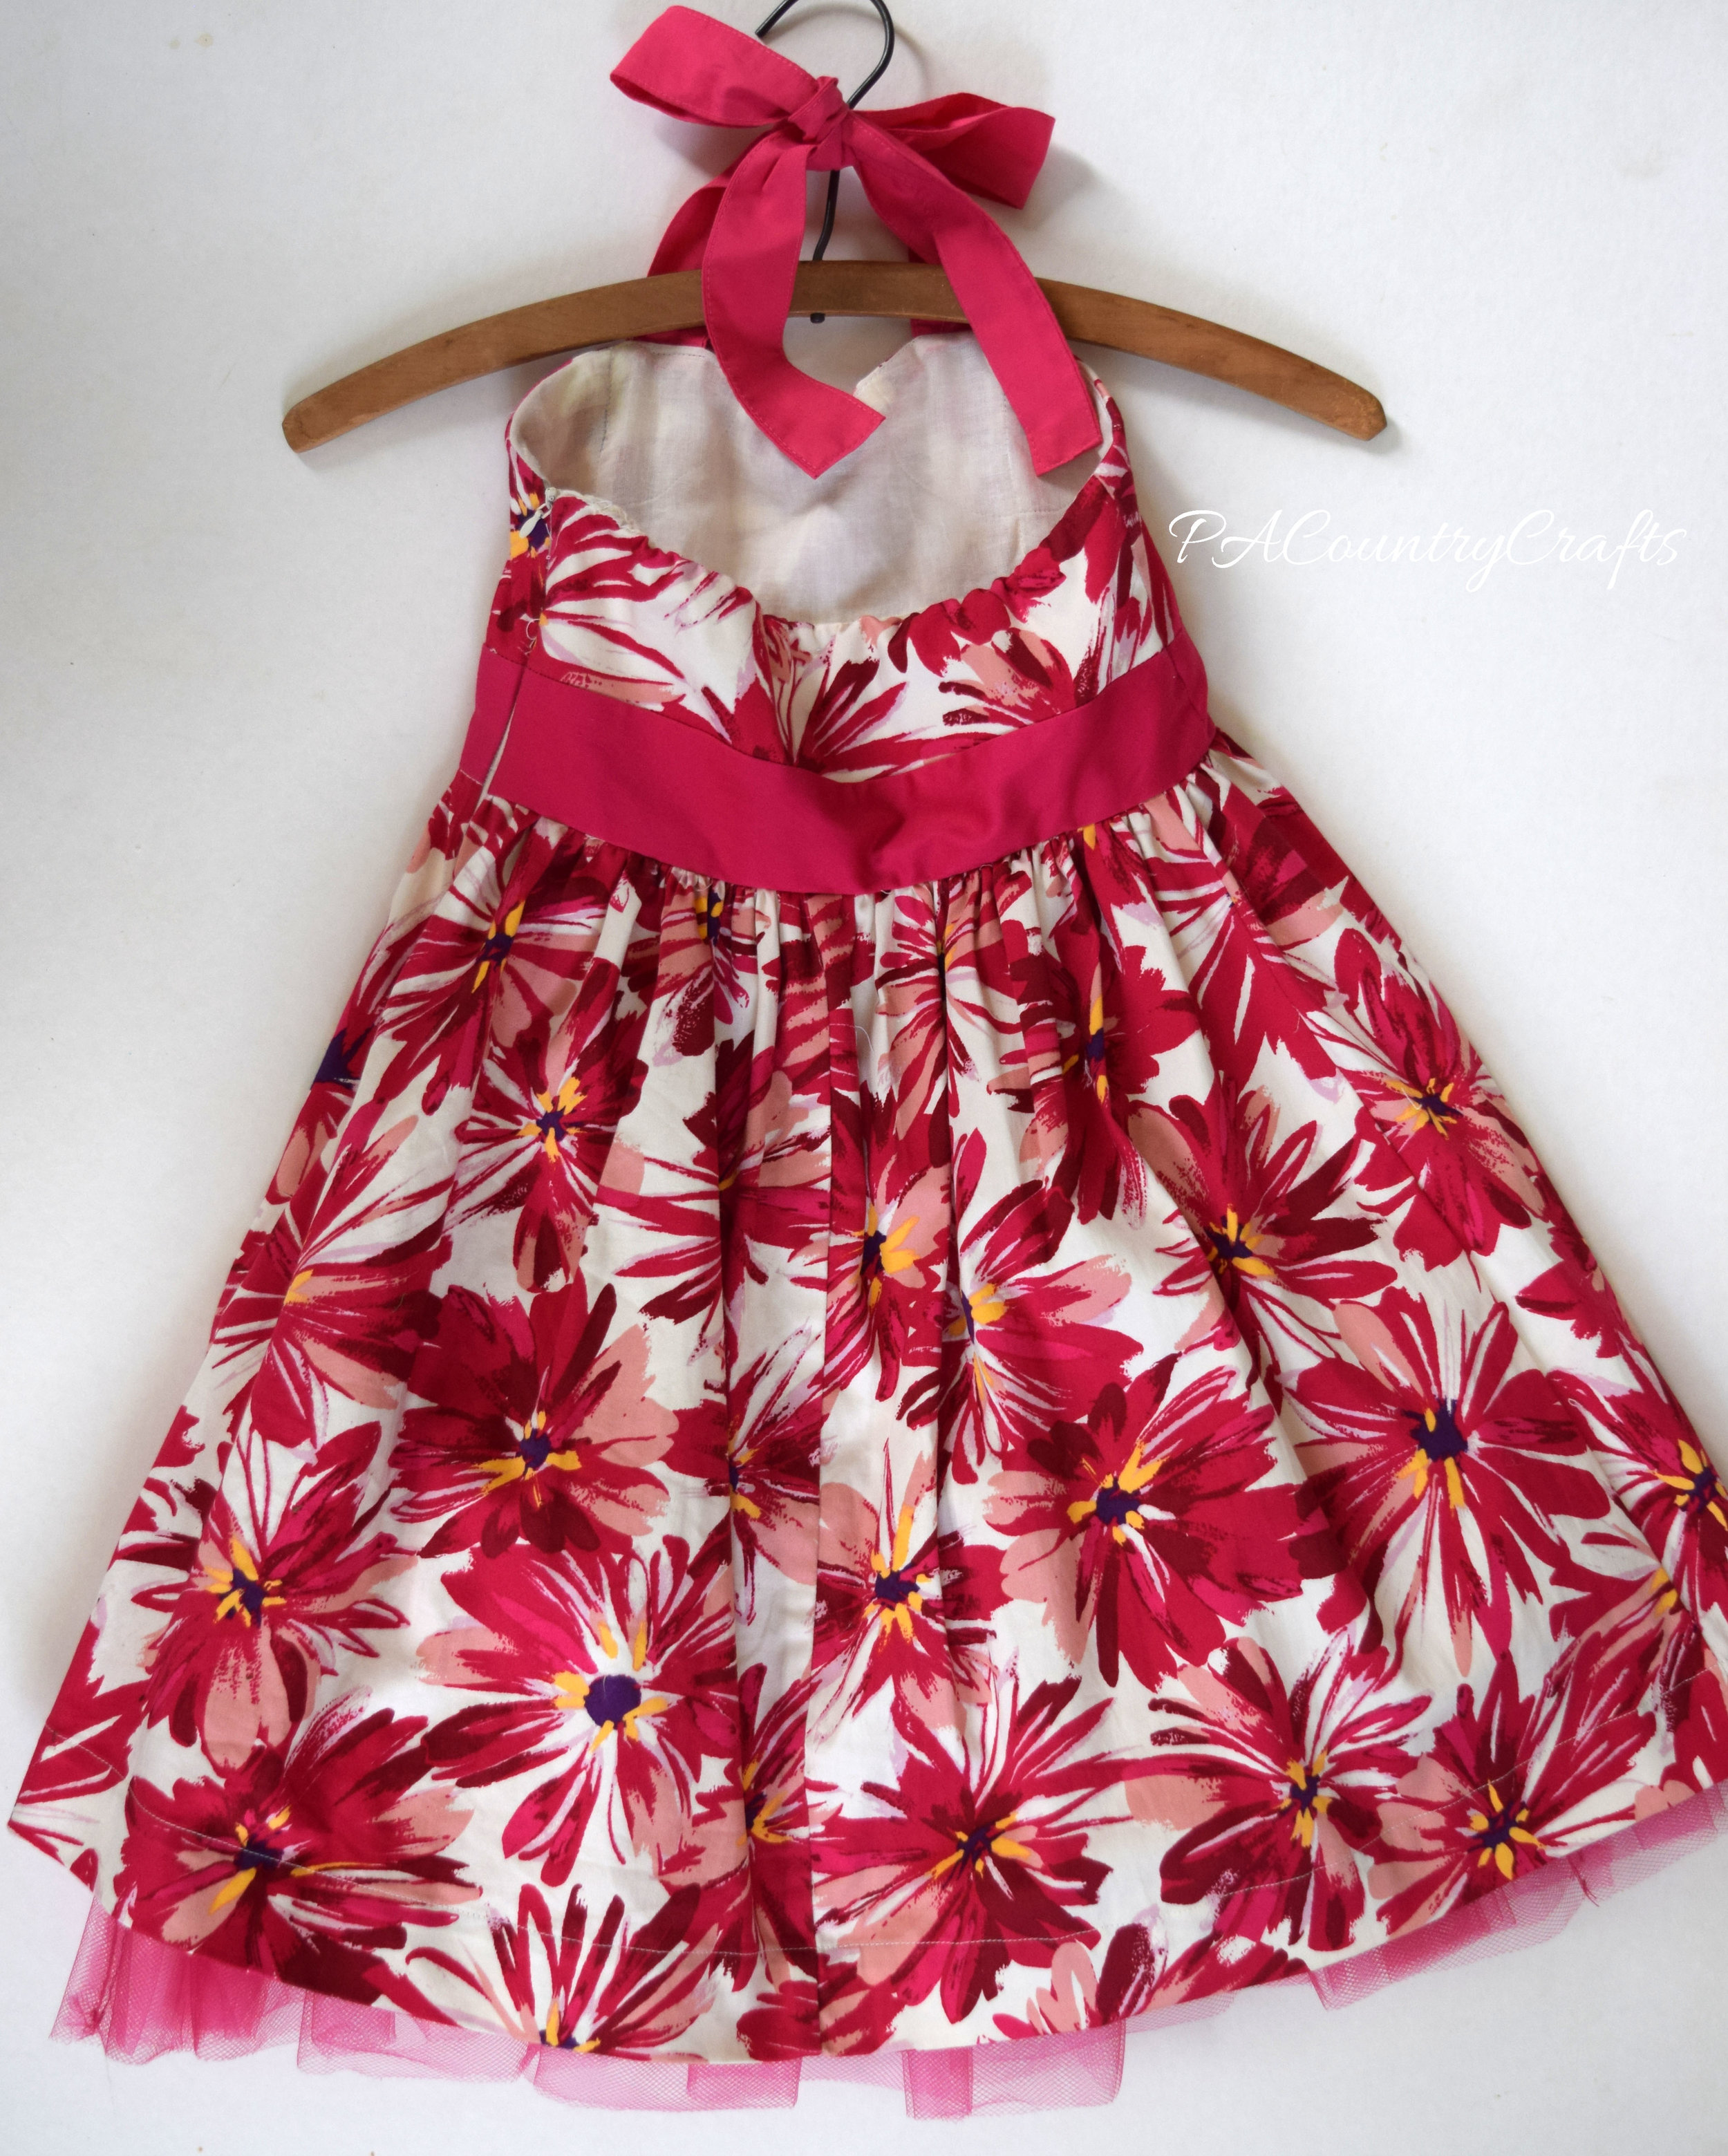
Women's Strapless Dress to Girls' Halter Dress

This dress was the least drastic transformation, but it required a lot more work than most of the other dresses to do it properly. It started out as a women's strapless dress, so I just had to remove the cups, take in and reshape the chest and sides, then add halter ties. However, it is fully lined and I ended up ripping the whole thing apart so it wasn't as easy as it looks. It turned out really cute and fits her really well, though.

Take in a women's dress and add straps to make a girls' halter dress.

Add halter ties to a women's strapless dress.
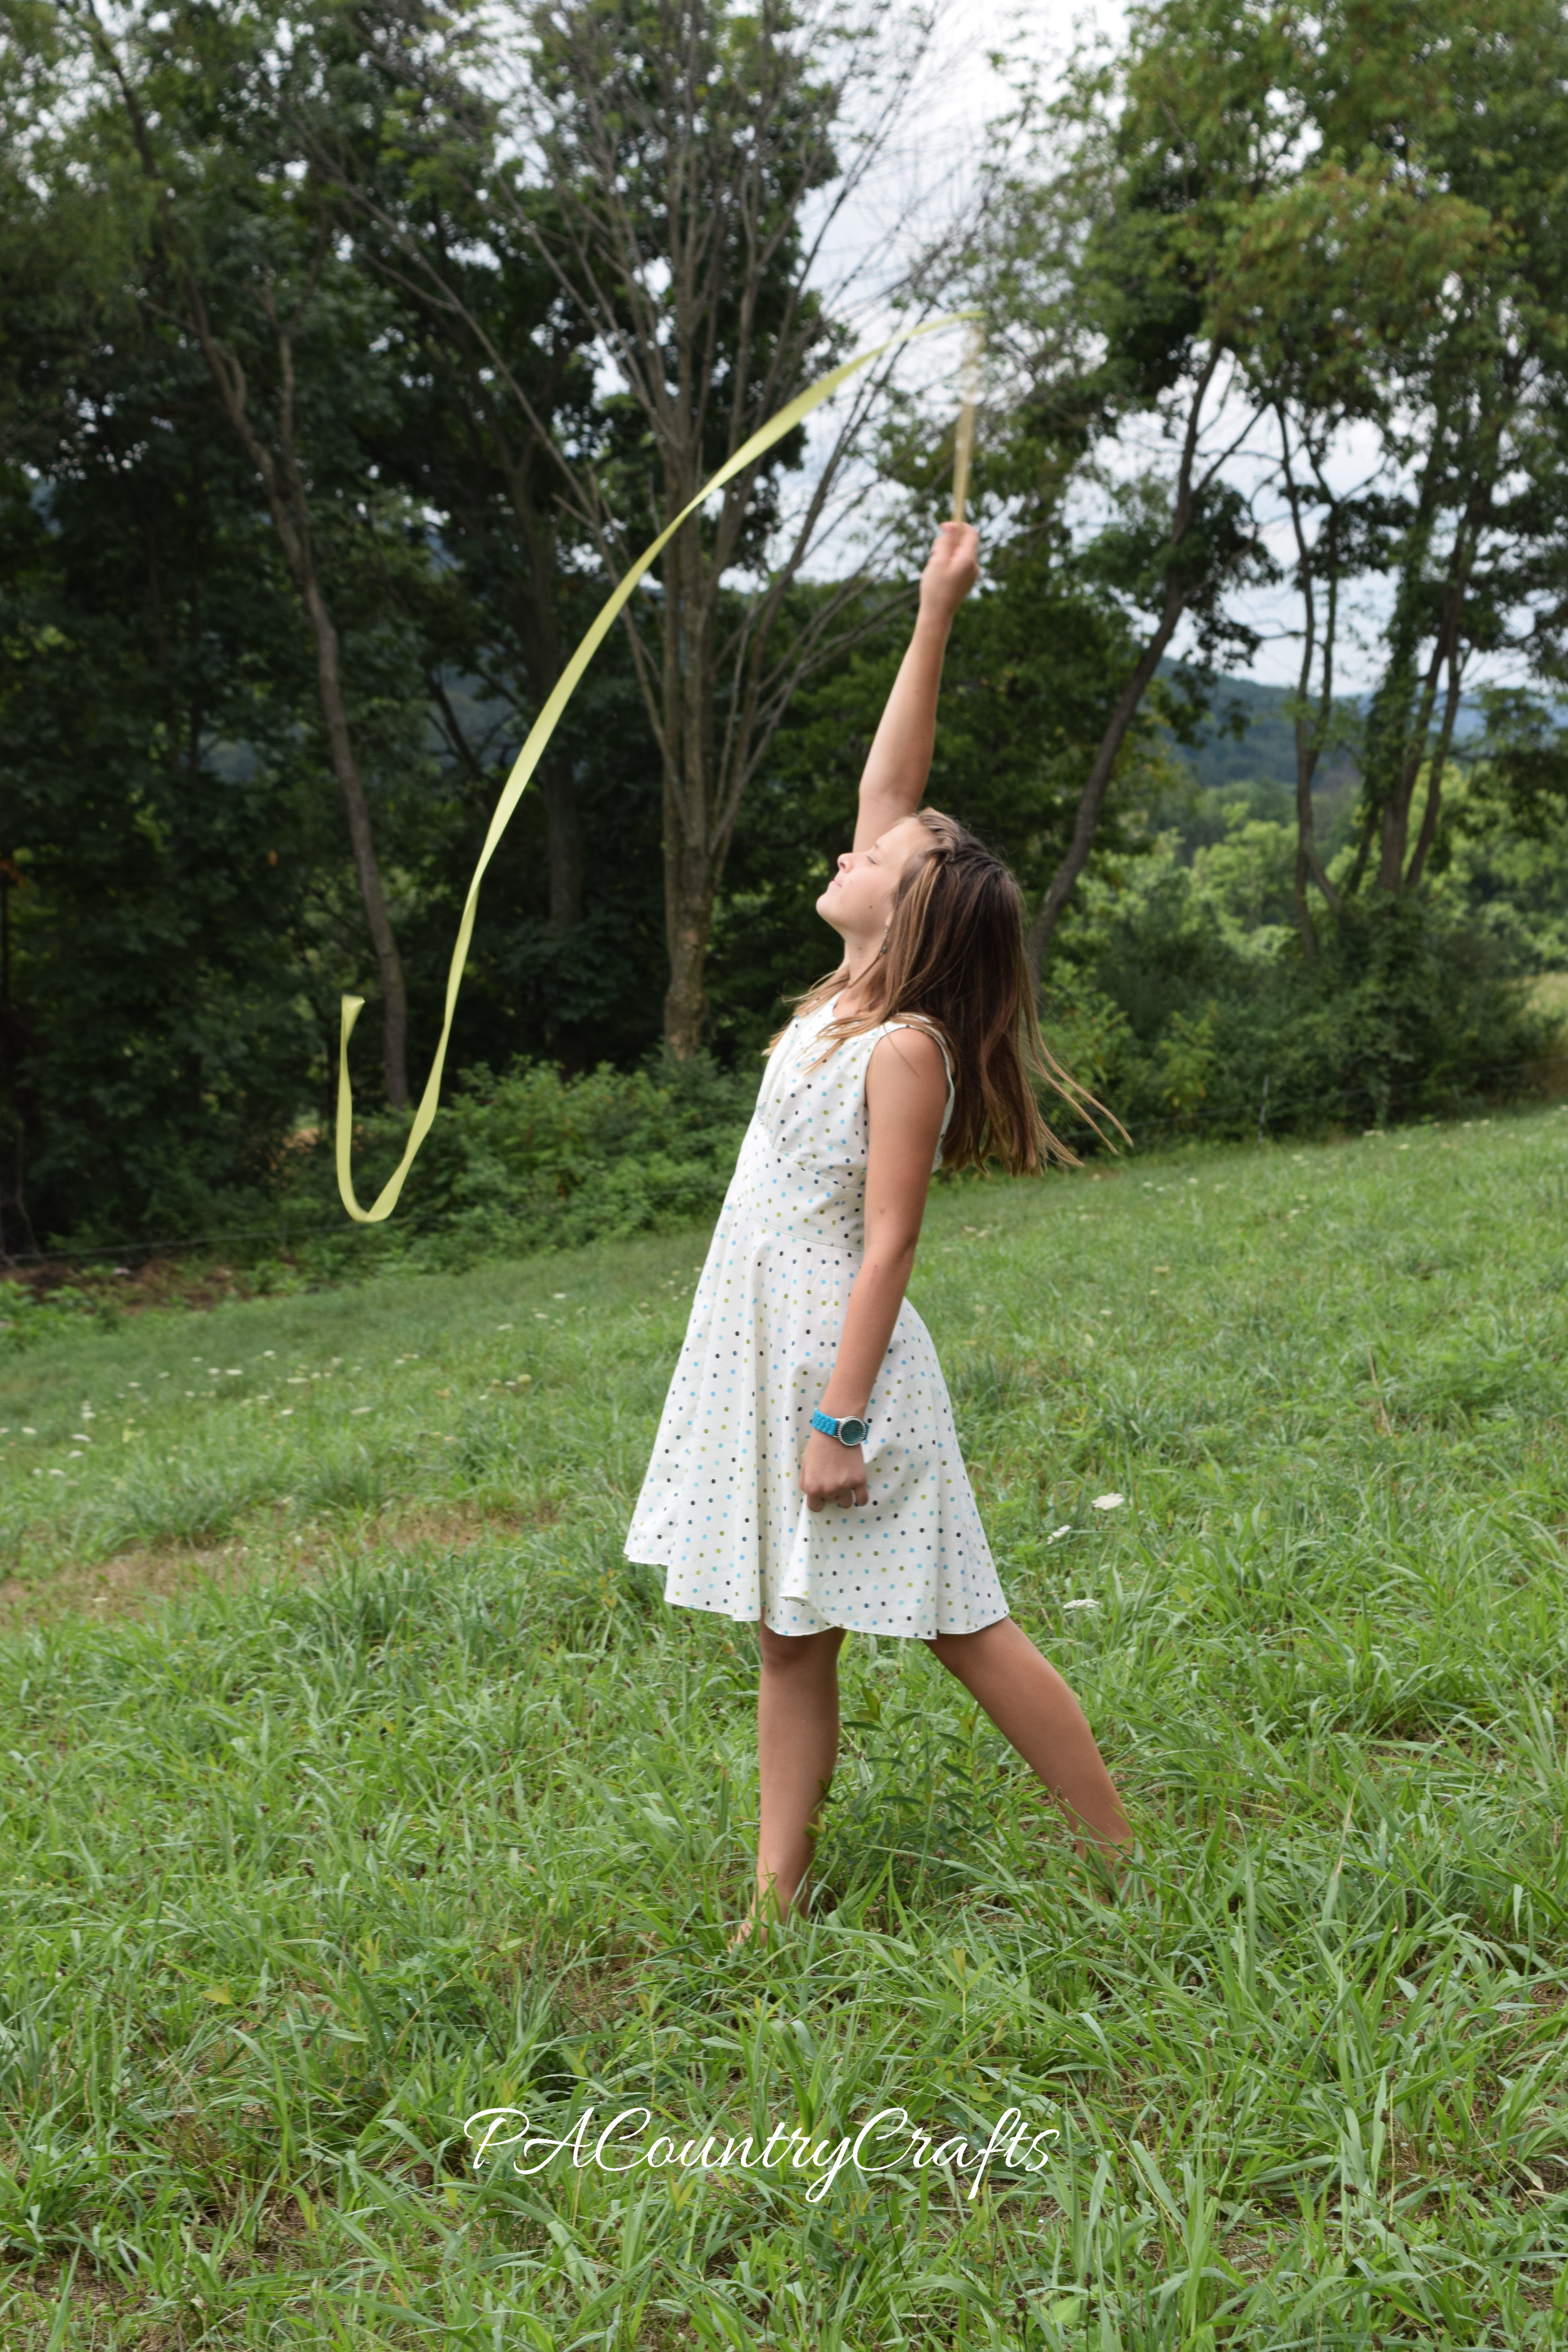
I like the idea of thinking outside the box and even if something doesn't fit or has features you don't like, you can redesign it and make it work for you. There are a lot of possibilities when refashioning clothing.

women's party dress to girls' halter dress refashion

refashioned girls' halter dress

back of girls' halter dress

Turn a women's strapless dress into a little girls' halter dress.Link Parties where I sometimes hang out…

Sparkly Womens Tank to Girls Dress Top

This dress was so simple to make, but my daughter loves it! The top is sparkly, the bottom is silky, it has a nice drape, and it is comfortable. sparkly womens tank to girls dress top

The outside is made from a women's sparkly tank and  the lining is made from a women's T shirt. The top was constructed using the Uptown/Downtown Dress pattern. This pattern is great for knit fabrics! I have used it several times just to save myself the hassle of drafting my own pattern for something so simple.

sparkly teal top girls dress

She wanted the skirt to be a high-low hem, but I messed up, so it isn't. It is made of fabric I got at a yard sale or something and I didn't even bother to hem it.

sparkly womens tank to girls dress

back of sparkly tank dress

I was really happy with how neat and tidy it looks on the outside and inside. I used a "burrito" method to sew around the arms.

sparkly tank top dress

inside of sleeveless dress

Overall, I like the simple design of this dress because it lets the beautiful fabrics stand out. I  had everything on hand and didn't have to buy anything, which makes it even better!

womens sparkly tank to girls dress top

Link Parties where I sometimes hang out…

1950s Retro Dress

I am a little behind. That is the story of my life. I ran out of steam and didn't finish the Easter dresses in time for Easter this year. I decided a happy mom spending time with her kids was better than a grumpy one frantically sewing. So, I finished them when I felt like it. The last one didn't get done until July 30.

And that is OK.

My "theme" this year was "upcycled" so this dress was constructed of a thrifted sheet.

1950s retro dress

halley back of dress wm

VIntage style dress made from a thrift store sheet

My 12yo chose a commercial pattern for her dress this year (Simplicity 8051). It is a retro style with a cute, triangle cutout in the back. We got it for $1 at Joann's so I was willing to give it a try. I have always hated patterns by those big companies. They are anything but "simple" and I would rather draft my own and figure it out myself. (I have found some pdf patterns by smaller designers to be very well done, however.)

rockabilly dress

open triangle back dress

She is also at a very awkward, in-between age. By measurements she fit a misses pattern, but I found that it wasn't designed for her body type. I had to remake the entire top and redraft the pattern quite a bit. Even then, I still had to make some changes. It was very frustrating and I could have just drafted it myself from the beginning.

retro dress

I learned some new techniques with this dress, but I did not like some of the construction process and ended up improving it. It meant a lot of hand stitching. It was tedious, but it looks so much better!

inside dress construction

I learned how to do a proper narrow hem on a curve. I was very, very happy with how that turned out.

narrow dress hem

I also made her a pettiskirt from a ruffled curtain, but she won't wear it. :(

Overall, the dress turned out OK. It isn't my favorite and doesn't fit as well as the ones I draft for her from measurements. It is a fun style, though.

I will be blogging about the rest of the girls' dresses in the next week or so, so keep checking back to see more!

 
The photo props...
Easy Ribbon Wands Tutorial
Link Parties where I sometimes hang out…

WIP Wednesday ~ Productive Week

bobbin2Bholder.jpg

I thought I would do another WIP Wednesday post to share what I have been doing around here lately.  I may not have blog posts up to prove it, but I have been super productive!

I finished up 2 out of 3 doll quilts, but did not get any pictures of them yet. Those sampler ones took so long that they deserve a full blog post. :) Plus, there is a piece on the doll bunk bed that needs fixed and nagging has not worked thus far. I may have to do it myself.

I made two stuffed bears from outgrown baby clothes (that was the sneak peek at the end last time!) and even a little blanket for one bear. I plan on posting the pattern I made for those, but I didn't get it perfected yet. I might even do another one just to test it out.

I started a crochet cow hat! It is almost done. I made one of those last year while I was on a blogging hiatus, so I never posted about it. Maybe I will show those pics when I get this one done, too. The first one is better because it is a brown cow. :)

Oh, and I am trying to do the 40 bags in 40 days challenge to declutter my house. Yesterday's task was my embroidery floss. It was all over the place, so my sewing table is much cleaner and the floss is super organized! I only got a sandwich bag worth to throw out, but I am counting it. :)

Speaking of organizing sewing stuff, I got this bobbin tower on clearance at Michaels a few weeks ago and it is awesome! I love being able to just reach up and grab the bobbin I need and the threads aren't hanging all over the place. I highly recommend it!

So, that is a little peek at what I have been working on this week. I am linking up with Silly Mama Quilts.

Shirt and Suspender Memory Pillow Covers

bottom2Bof2Bsuspender2Bshirt2Bpillow.jpg

I was asked to make these special pillow covers in memory of the recipients' loved one who had recently passed away. He was known for wearing these button down shirts and patriotic suspenders.

They were fairly easy to make. I had to iron all of the shirts really well, then slip my rotary cutting mat inside the shirt. Being careful of the placement of the buttons and pocket, I cut out a 16 1/2"square. I then cut another square out of the back of the shirt. I made loops out of navy bias tape that I had sewn together and sewed those to the bottom of the shirt panel.

Then, I just sewed the front and back all the way around. I serged the entire edge for durability. It was easy to use the button front to insert the pillow form. Last, I just hooked on the suspenders. It really was not too hard. I actually made six of these pillows, but just had Mom snap these pics of one of them on her phone.

A picture and a poem were placed in the pockets. I think this was a lovely idea, and I can't take credit for that part. I was honored to be a part of something special to make this Christmas a little nicer for the family.

Link Parties where I sometimes hang out...

Sew Can Do

,

 Monday Funday,

Motivate Me Monday

,

 Inspiration Monday,

Take a Look Tuesday

Naptime Creations

,

 The Gathering Spot

Carolyn's Homework

The Winthrop Chronicles

,

 Handmade Tuesdays

,

Your Whims Wednesday,

Weekly Homemaking Party

,

Create It Thursday

Treasure Hunt Thursday

Thursday Favorite Things, 

Wildly Original

Thriving on Thursday,

Grace at Home,

The 36th Party

Freedom Fridays

Feathered Nest Friday

Simple and Sweet Fridays

,

 Craft Frenzy Friday

Think Pink Sunday

, and 

Threading Your Way