Hula Hoop Wreath Tutorial
/Make a beautiful, floral wreath from a dollar store hula hoop with this easy tutorial!
Read MoreMake a beautiful, floral wreath from a dollar store hula hoop with this easy tutorial!
Read MoreStep by step tutorial for creating a market basket liner. It fits any size and has cute ties that go around the handles!
Read MoreFollow this simple tutorial for making farmhouse style pillows from drop cloth, paint, and stencils from Stencil Revolution!
Read MoreAdding just a few simple winter touches- greens, battery candles, galvanized accents- made it a little more cozy after the Christmas decor was put away. It isn’t Pinterest perfect, but I am trying to create a home that blesses my family by making the best out of what we have.
Read MoreIt is not too often that I actually make something for myself. I actually do not have a great place to display this wreath, but I made it anyway and I really love it!
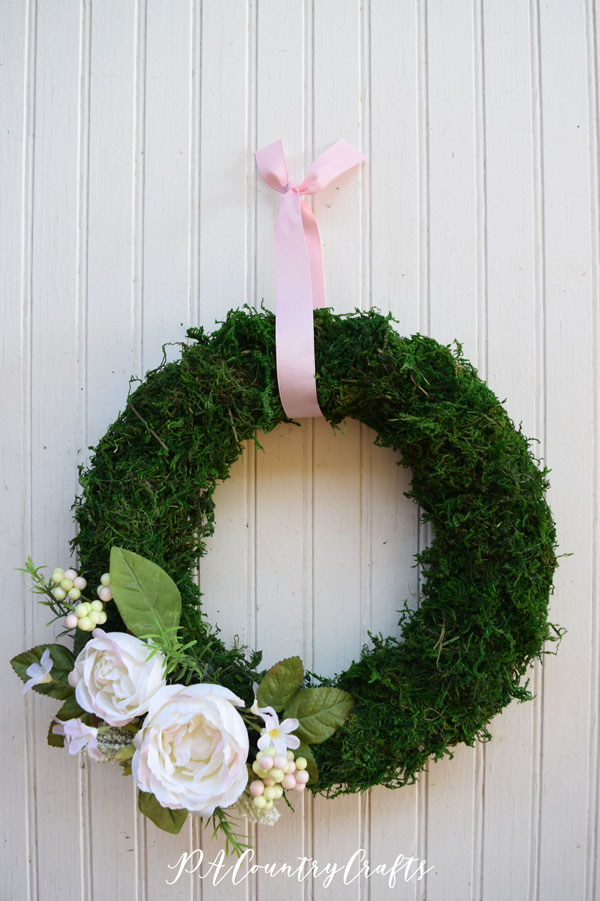
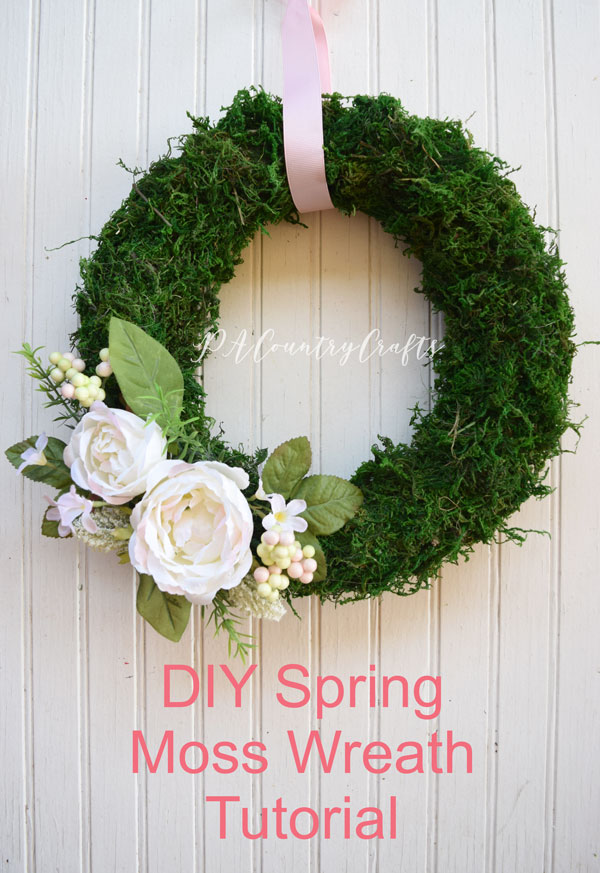
I had some foam wreath forms a friend had given to me a long time ago and I just hadn't found a use for them. Recently, I was browsing Pinterest and saw some cute moss wreaths I thought I could make. For myself!
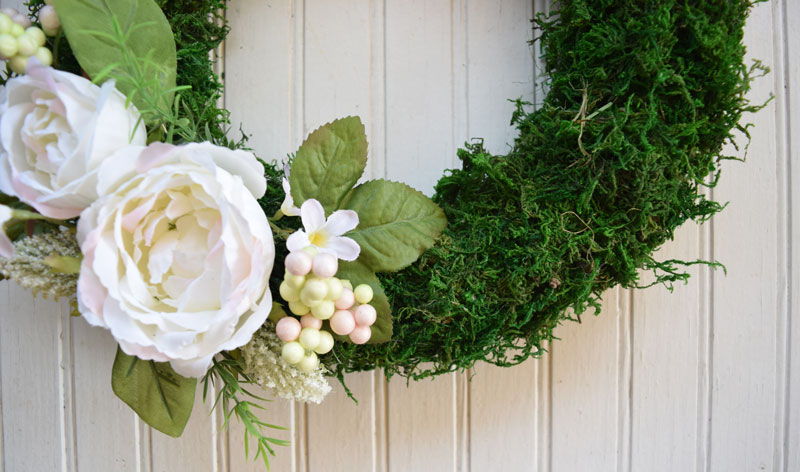
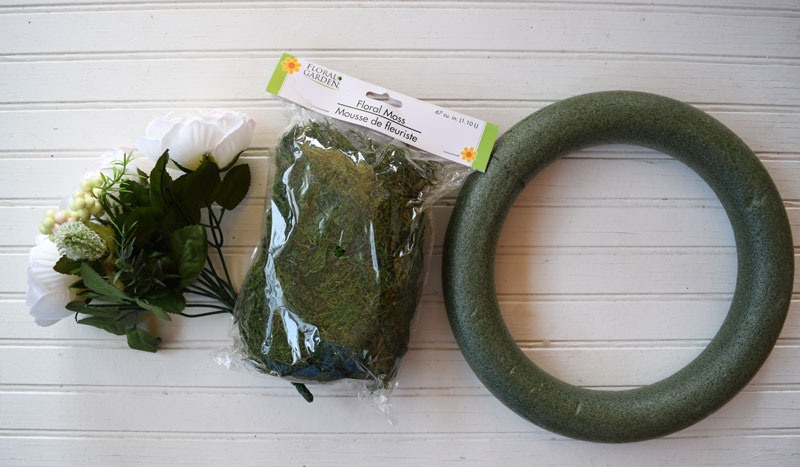
The wreath form was free, but they do carry slightly smaller ones at the Dollar Tree. I also got a bag of moss at the Dollar Tree. The flowers came from Michaels. I actually wanted coral ones, but there was a sweet older lady who asked my 12yo which flowers she recommended (I guess we have similar taste, my daughter and I) so I found something else. Anyway, this was a really cheap project!
So, gather all of your supplies...
A ribbon to hang would be helpful and is not shown. You also need hot glue sticks, a glue gun, toothpicks, and green floral tape.
Now, the moss part was a mess. I made this on my kitchen counter, but anticipate snibbles of moss everywhere!
Just take small bunches of moss and hot glue them onto the wreath form. It takes quite a few sticks of hot glue. Check for any thin spots and add more as needed.
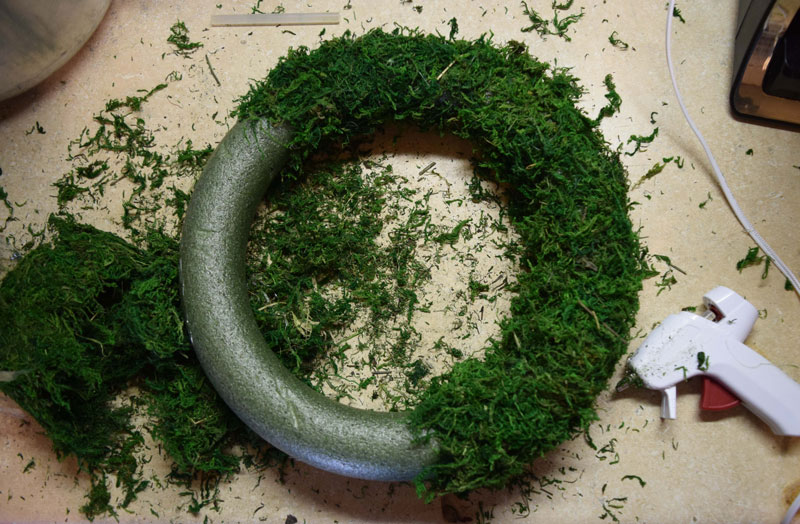
It is actually still pretty cute plain!

Next, add the flowers. Cut them apart and lay them on the wreath until you get an arrangement you are happy with. My flowers had enough stem to poke into the wreath but I added some hot glue around the bottom of the flower just in case. Attach the leaves to toothpicks using hot glue and green floral tape. Stick them into the wreath as well.


Pretty easy, right? Hot gluing the moss is a little messy and tedious, but I priced similar wreaths at $30. The moss sheds a little, so I don't want to hang it on a door that is opened and closed a lot, but on a wall it is pretty!
If you want to pin it for later...
You may also like these posts...
A little bit of fall decorating around the house with a rustic, metallic look.
Read MoreI think my 17yo son inherited some of my crafty genes. When I took him school shopping he asked to go to craft stores to get inspiration for his girlfriend's birthday gift. I didn't mind. ;) They are renovating her bedroom, so he wanted to make something for her new room. He combined inspiration from a few different pieces that we saw, made a small tray for a practice run, then built the final product.
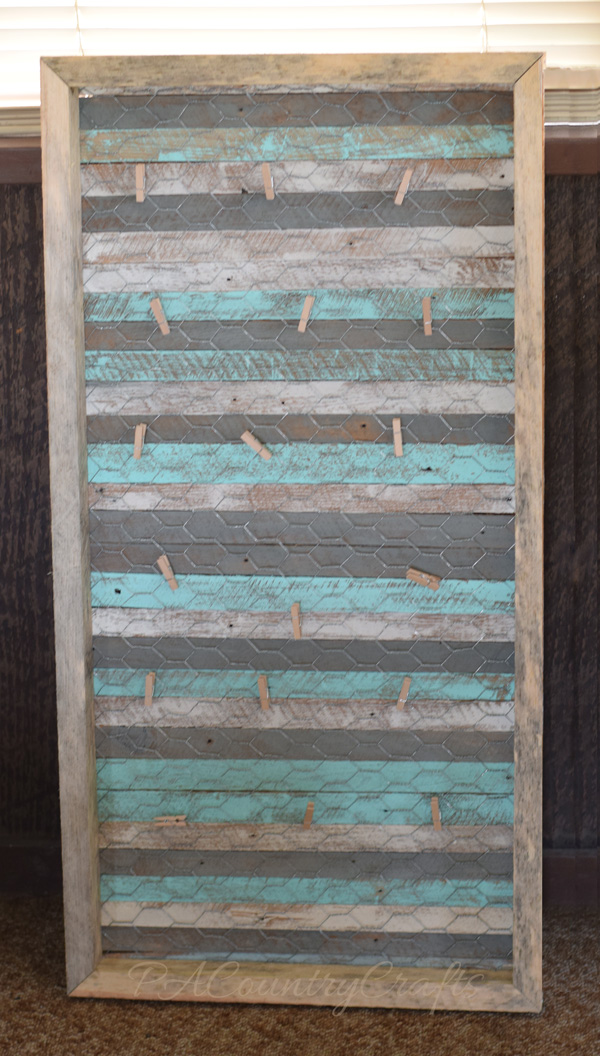
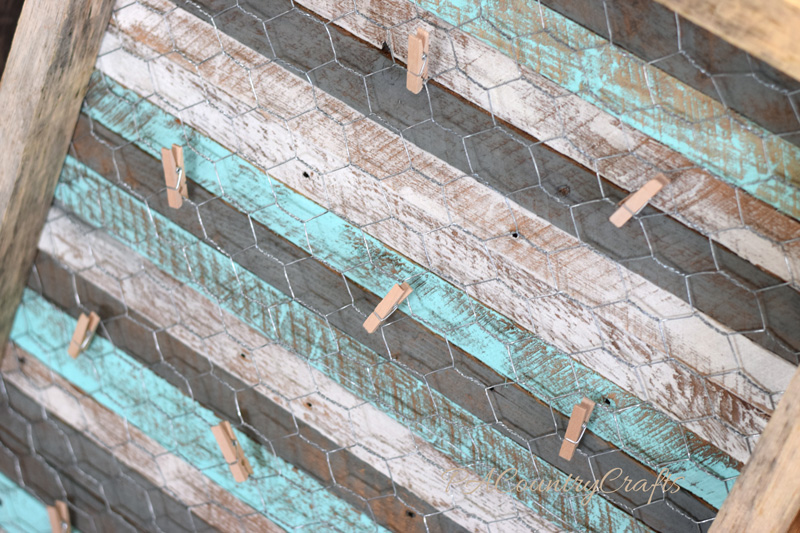
He chose the paint colors (the aqua will match her decor) and did everything by himself. The back of the display is made of plaster lath so it has a rough texture that looks really rustic when painted.
His sisters also wanted to make something for her birthday. They insisted that I was not allowed to help them, but somehow blamed me when things didn't work. (You can't hot glue shells to wet sand!) On the third attempt, after much fighting and drama, they finally succeeded.
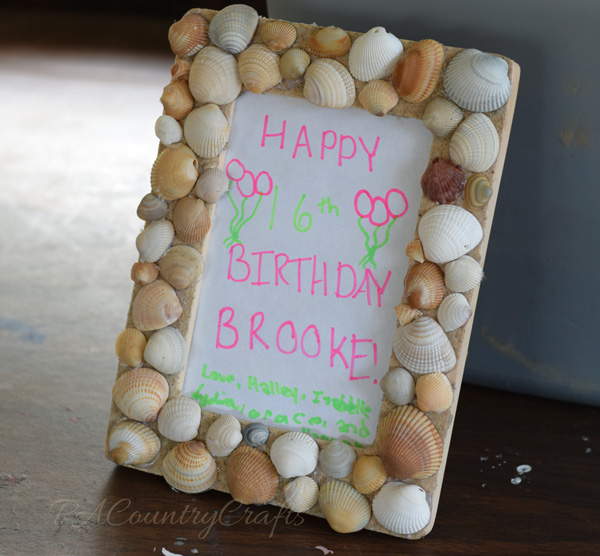
Hopefully she likes to decorate with pictures. :)
Sewing, crafts, tutorials, recipes, and a little look at our life in the country - raising half a dozen children.

Hi! Thanks so much for stopping by! My name is Lindsay and on this blog you will find sewing, crafts, decorating, recipes, and tutorials with a little bit of honesty and encouragement.