Drop Cloth Farmhouse Pillows Tutorial
/When I made pillow covers for my daughter’s bed a few years ago, I ordered quite a few pillow forms because I got a great deal on them. That big box sat around in my sunroom for a very long time, waiting for me to make some throw pillows for our living room. I tend to drag things out. Fluctuating on what kind of pillows to make, being picky about drop cloths, ironing, deciding what to paint on them,… I stretched this out for months! I was finally making progress on this project last summer and then my sunroom, where I do all of my painting, was flooded. When the mold started, I couldn’t be out there because I have allergies. So everything got tucked away in my bedroom on piles. I do enough procrastinating on my own. I really didn’t need any help!
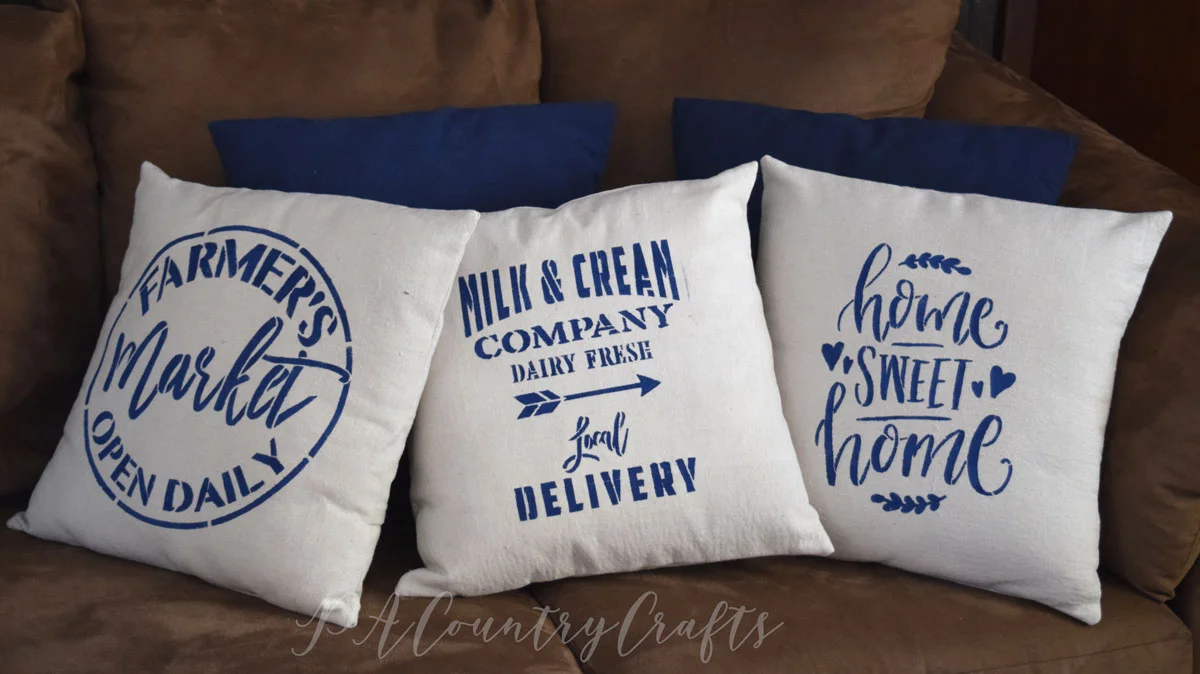
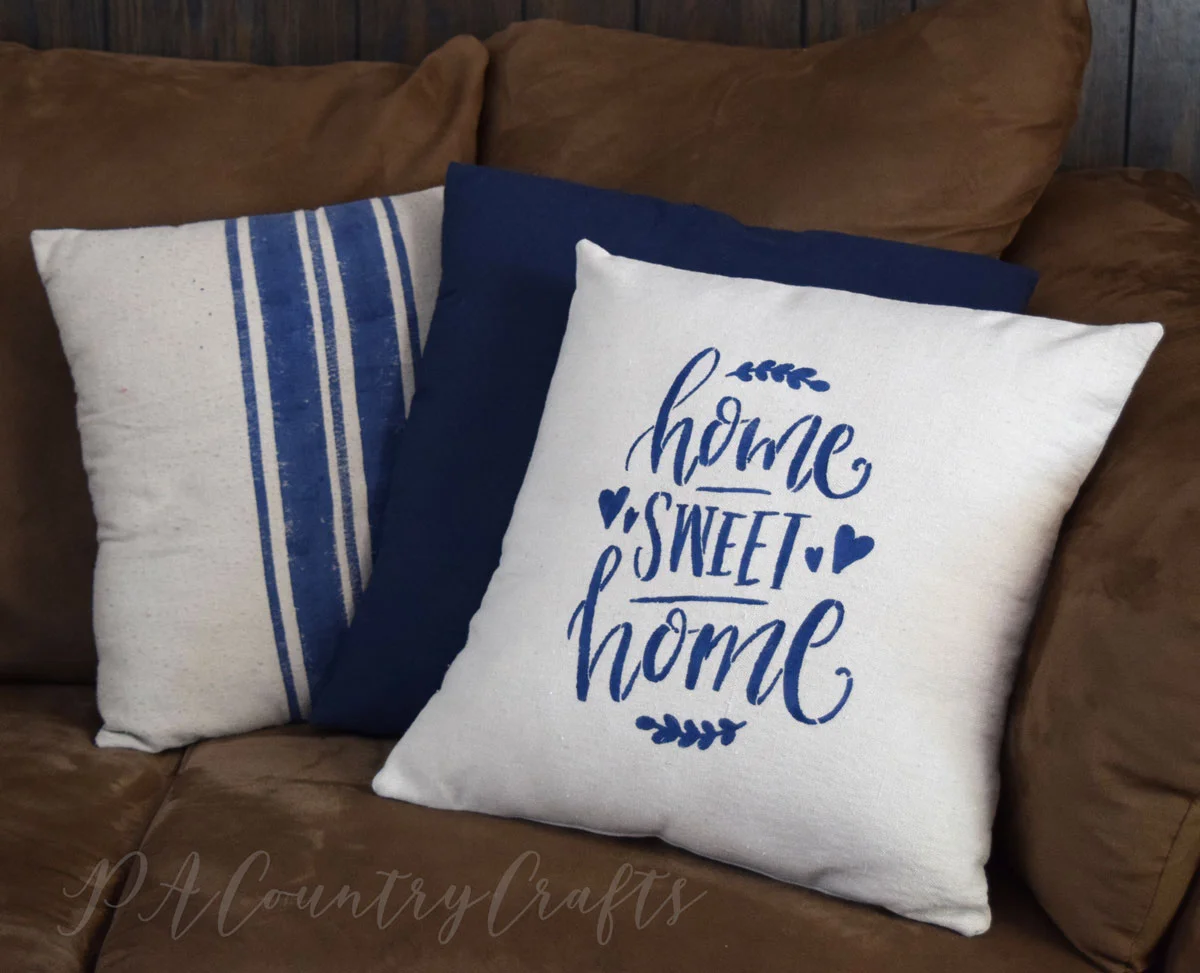
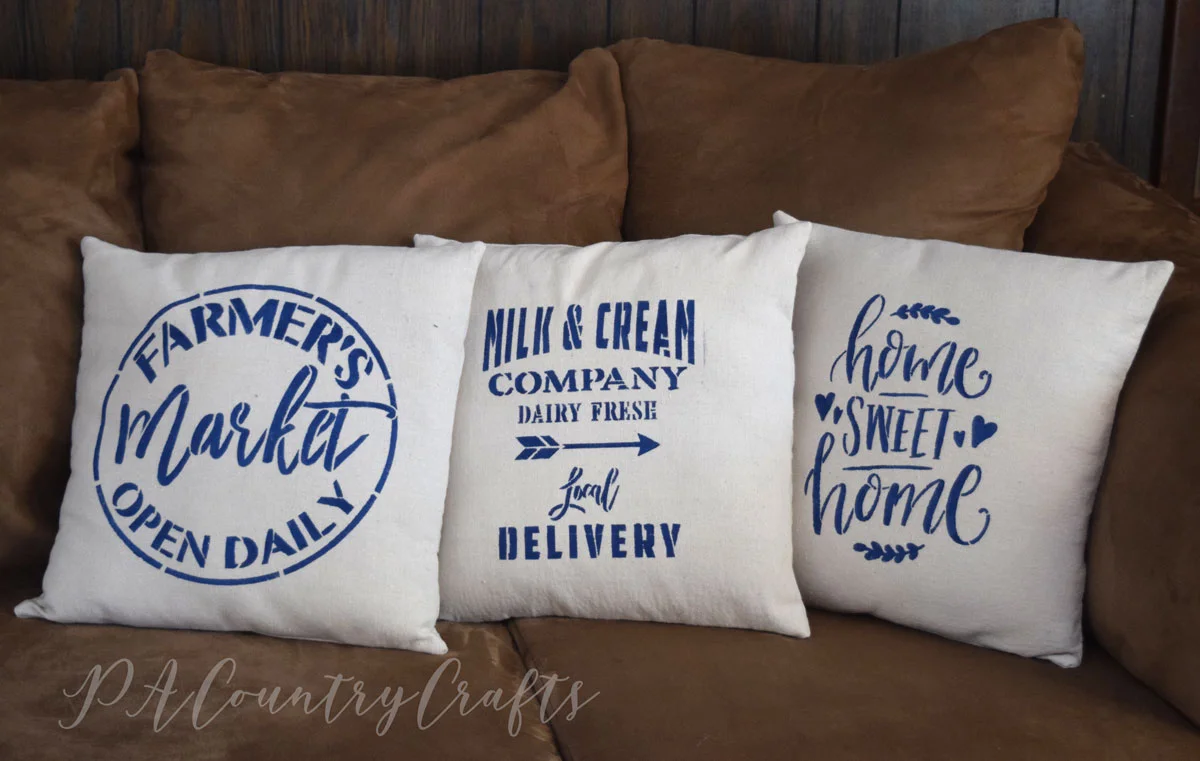
As I was decluttering my bedroom, I decided that I had had enough. I got a table set up in the kitchen and had them all painted in one evening. I really need to stop procrastinating so much! The pillows turned out GREAT! My son even asked where I bought them.
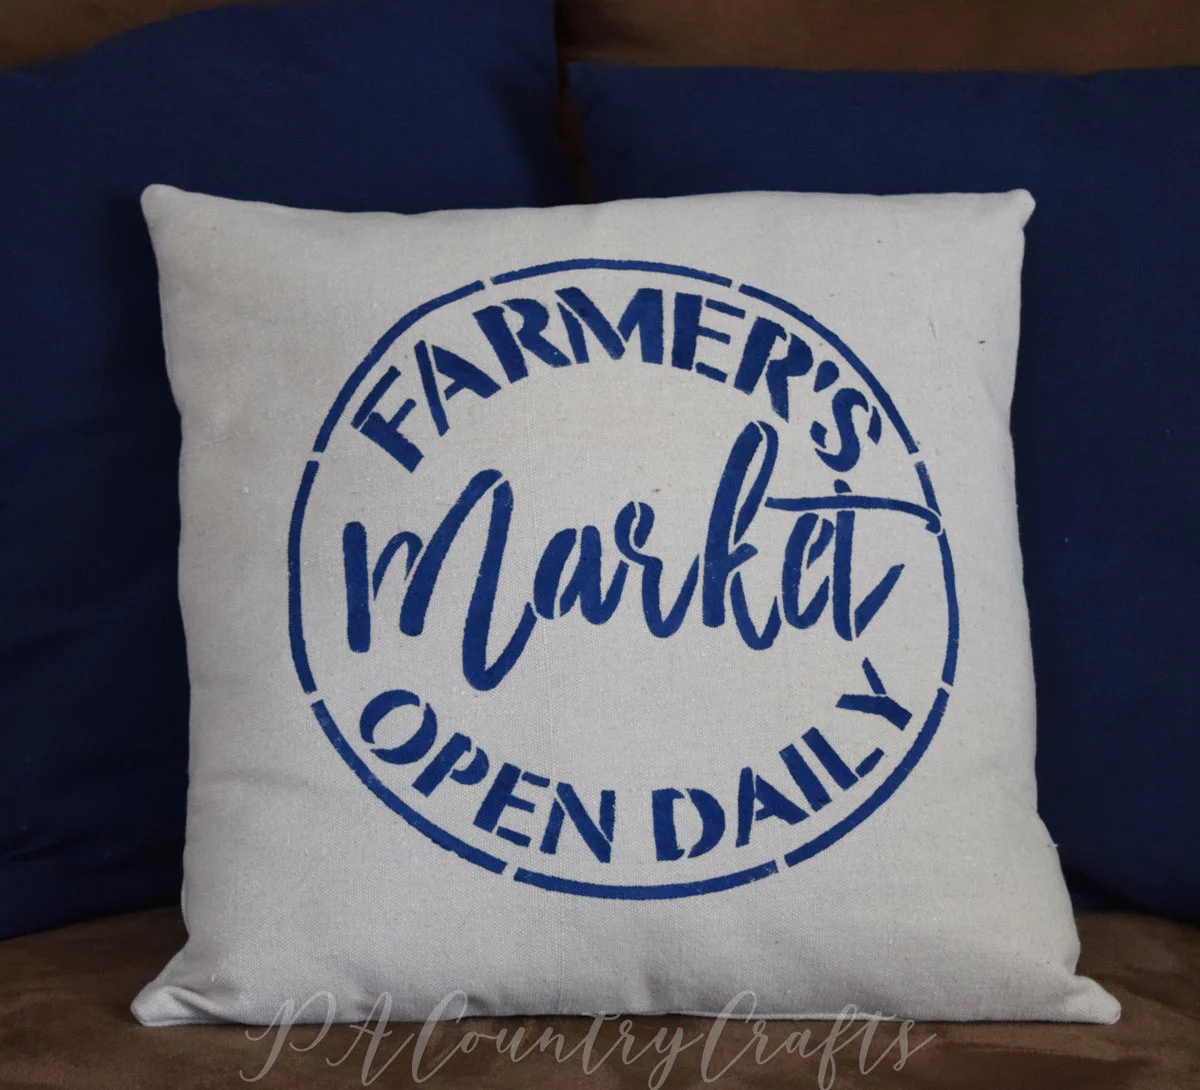
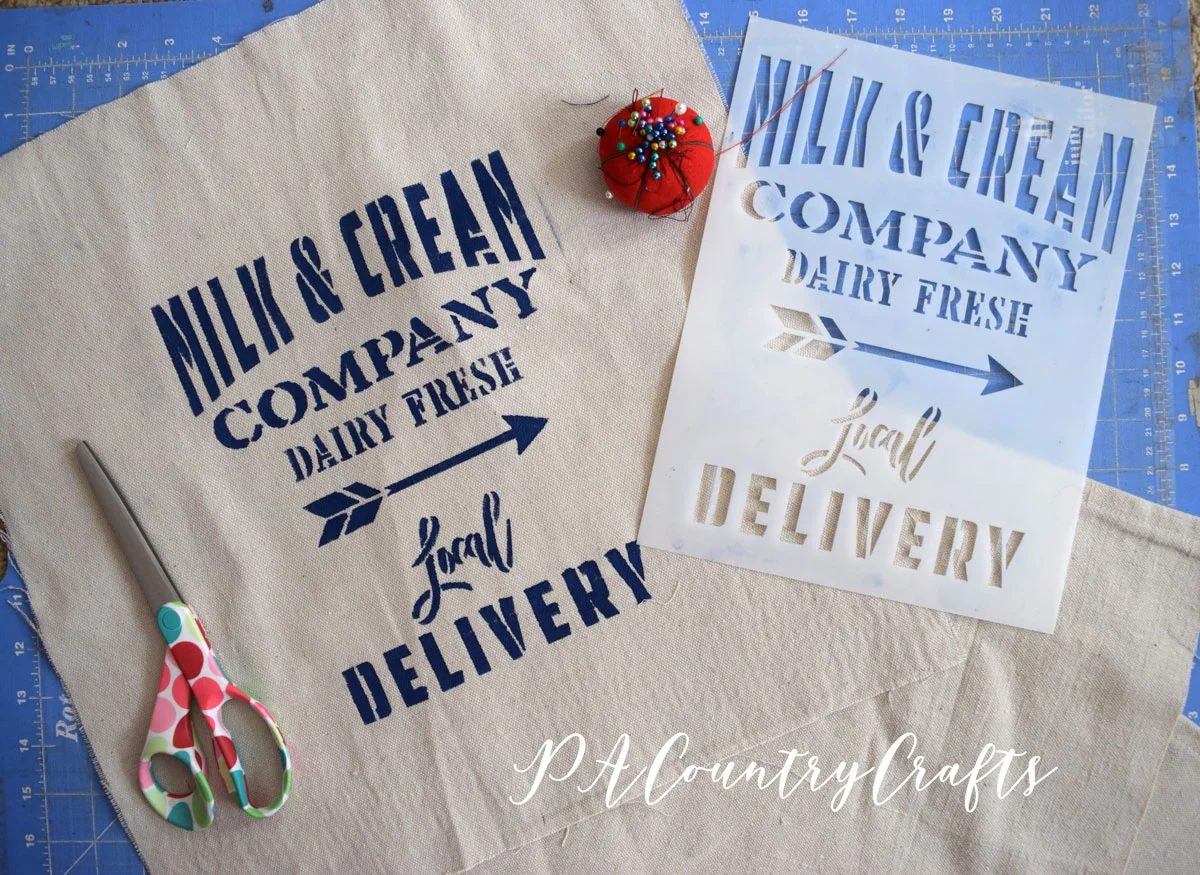
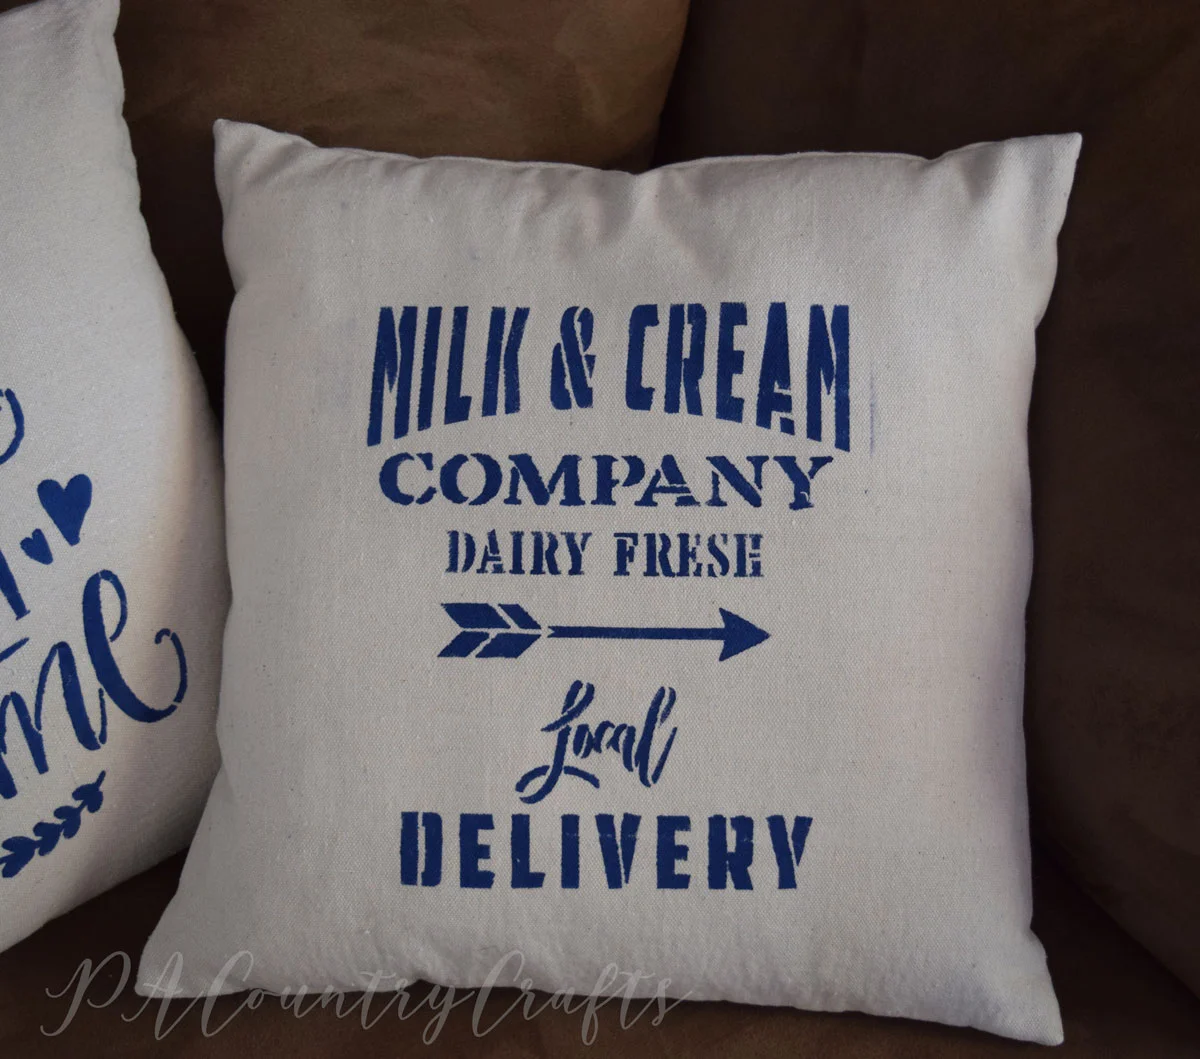
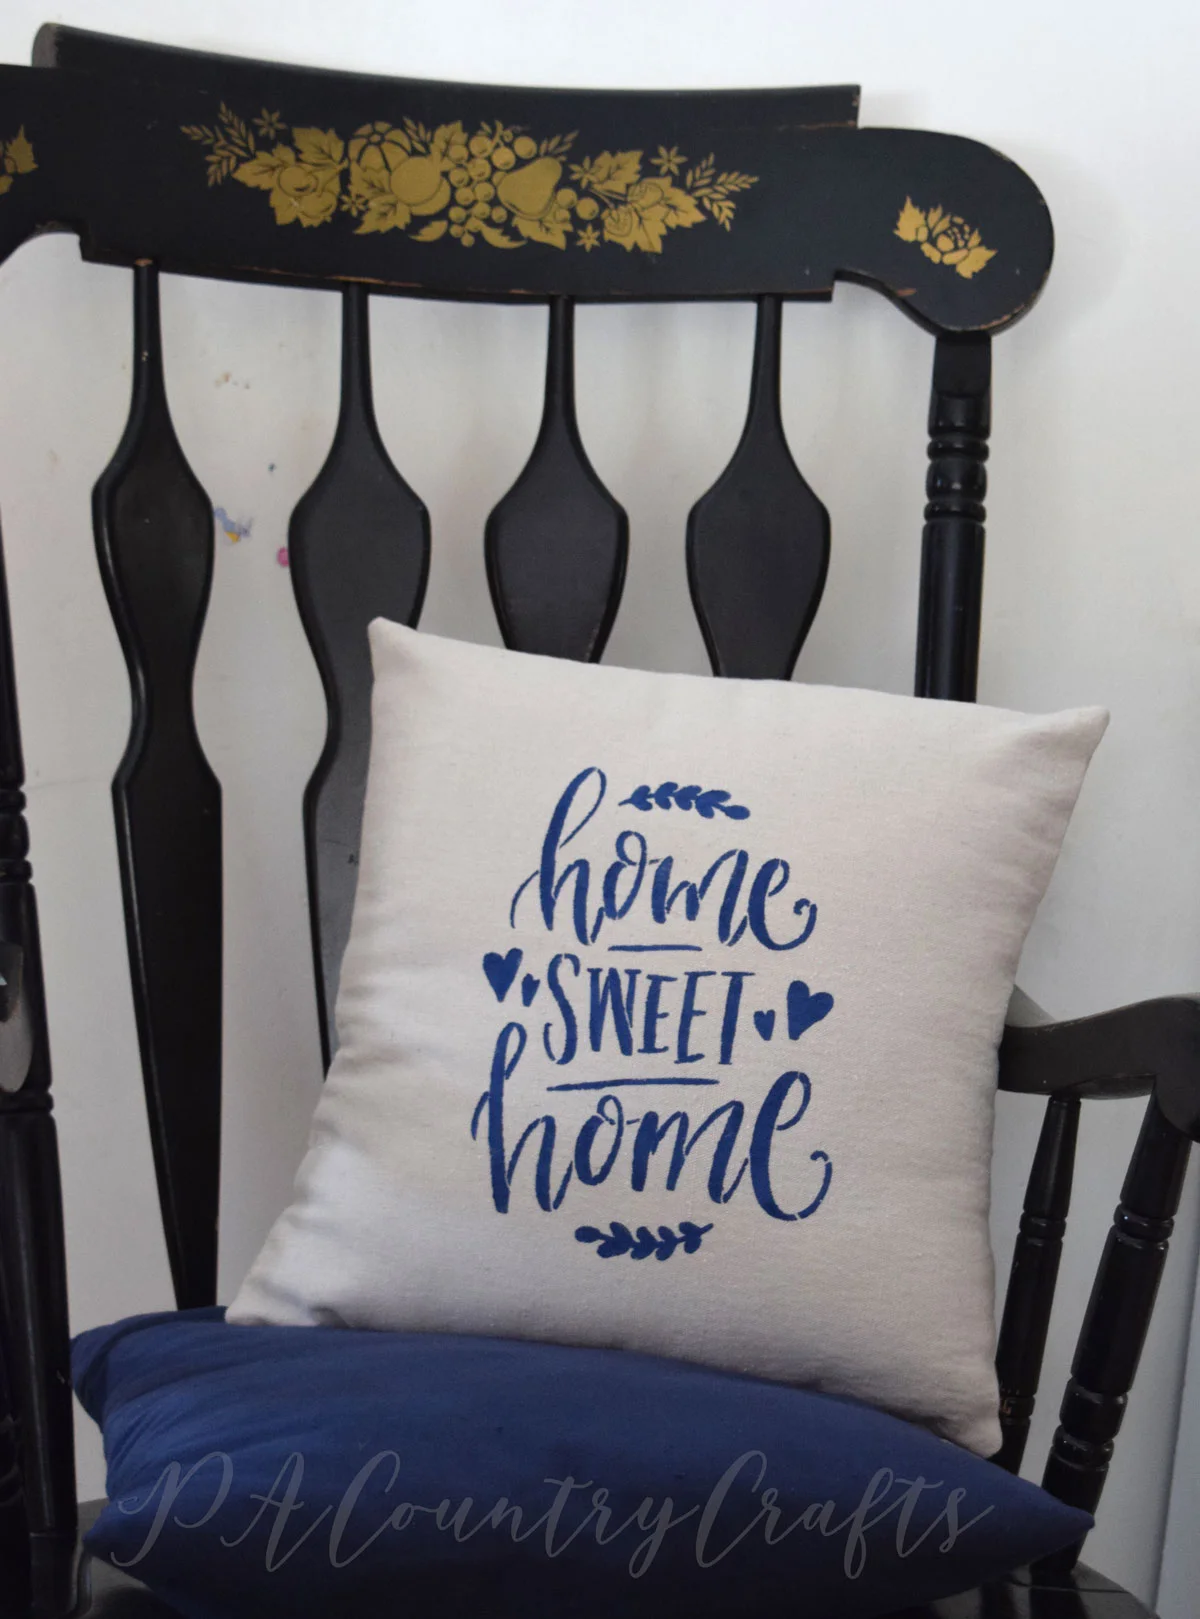
For most of them I used stencils from Stencil Revolution. I just love how neat and crisp they look!
I snapped some pics as I was making them so that I could put together a little tutorial.
You will need:
canvas drop cloth (size depends on how many pillows you are making)
scissors
pins
sewing machine
thread
paint
stencils
painter’s tape
pillow forms
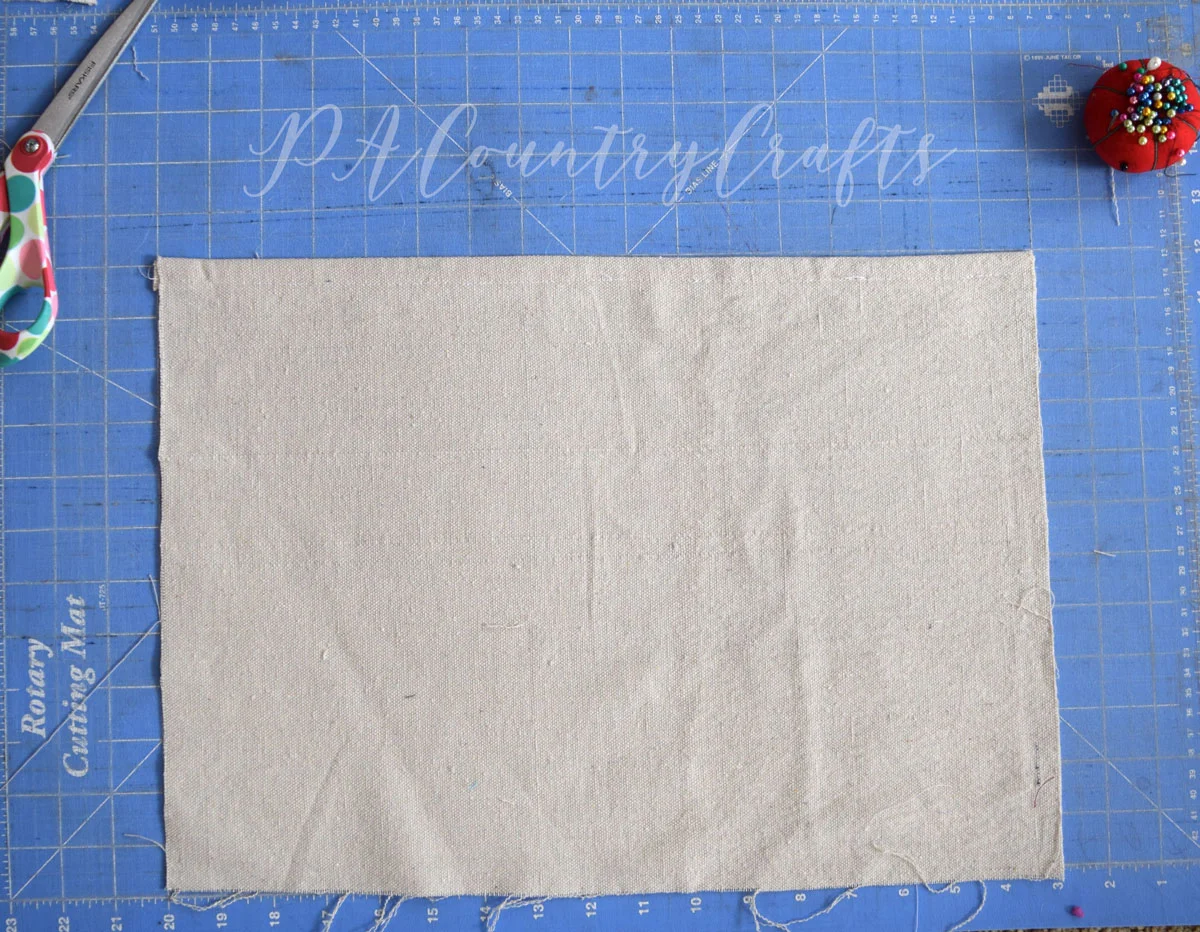
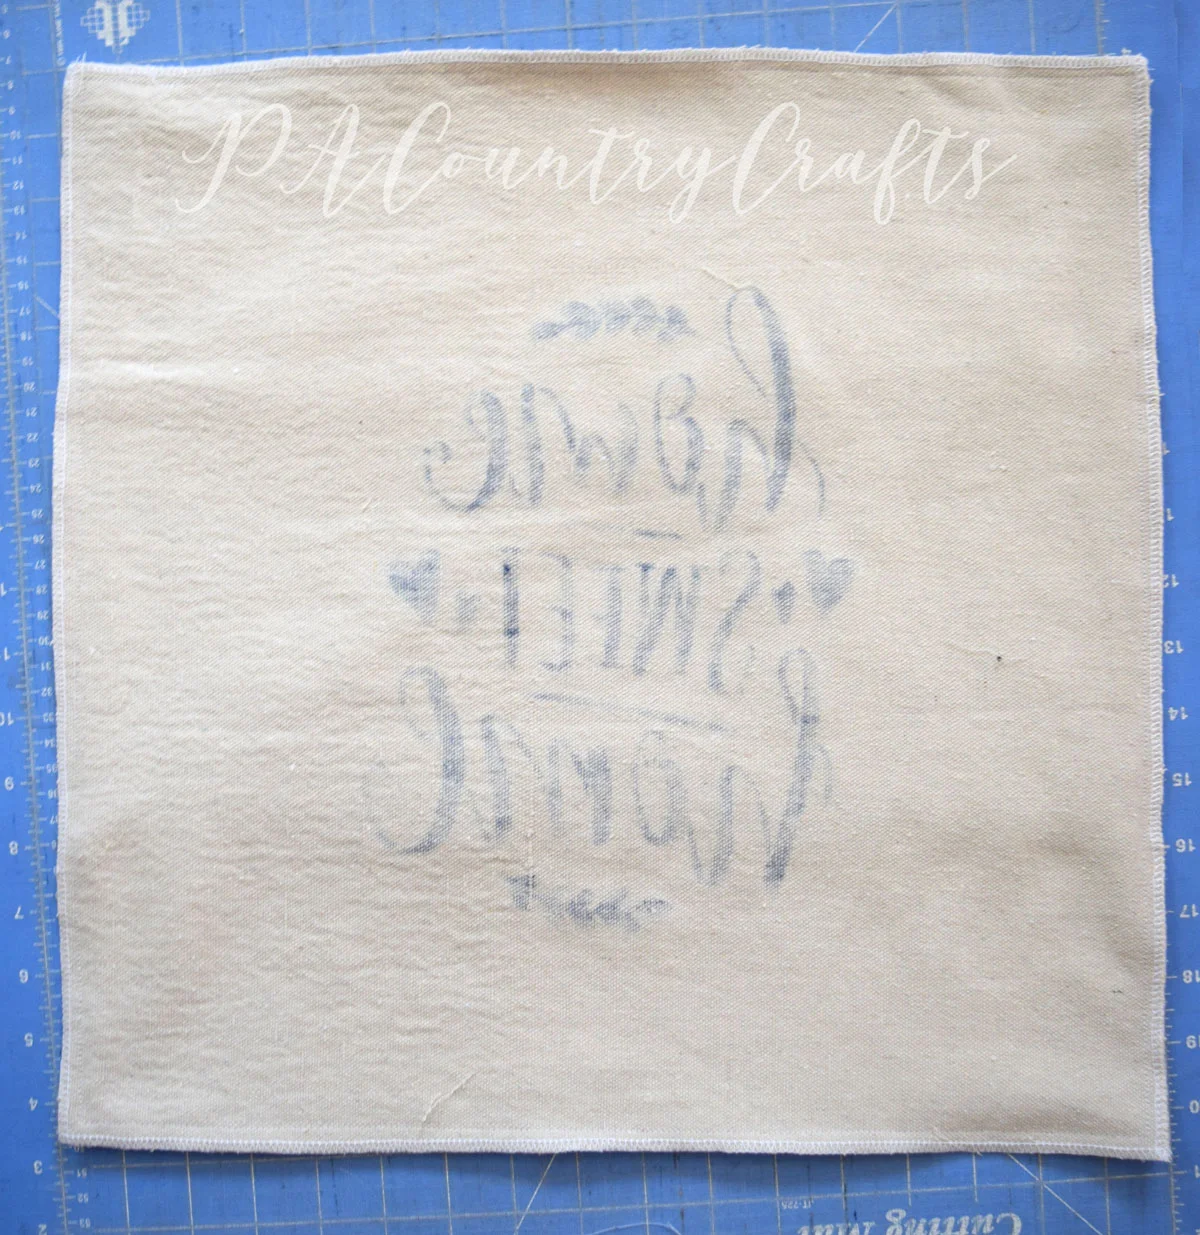
First, you will need to wash, dry, and iron your canvas drop cloth. Cut your front panel 1” bigger than your pillow form. I used a 16“ pillow form so I cut mine at 17” x 17”. The back panels need to overlap a few inches. I cut mine at 17” x 13”.
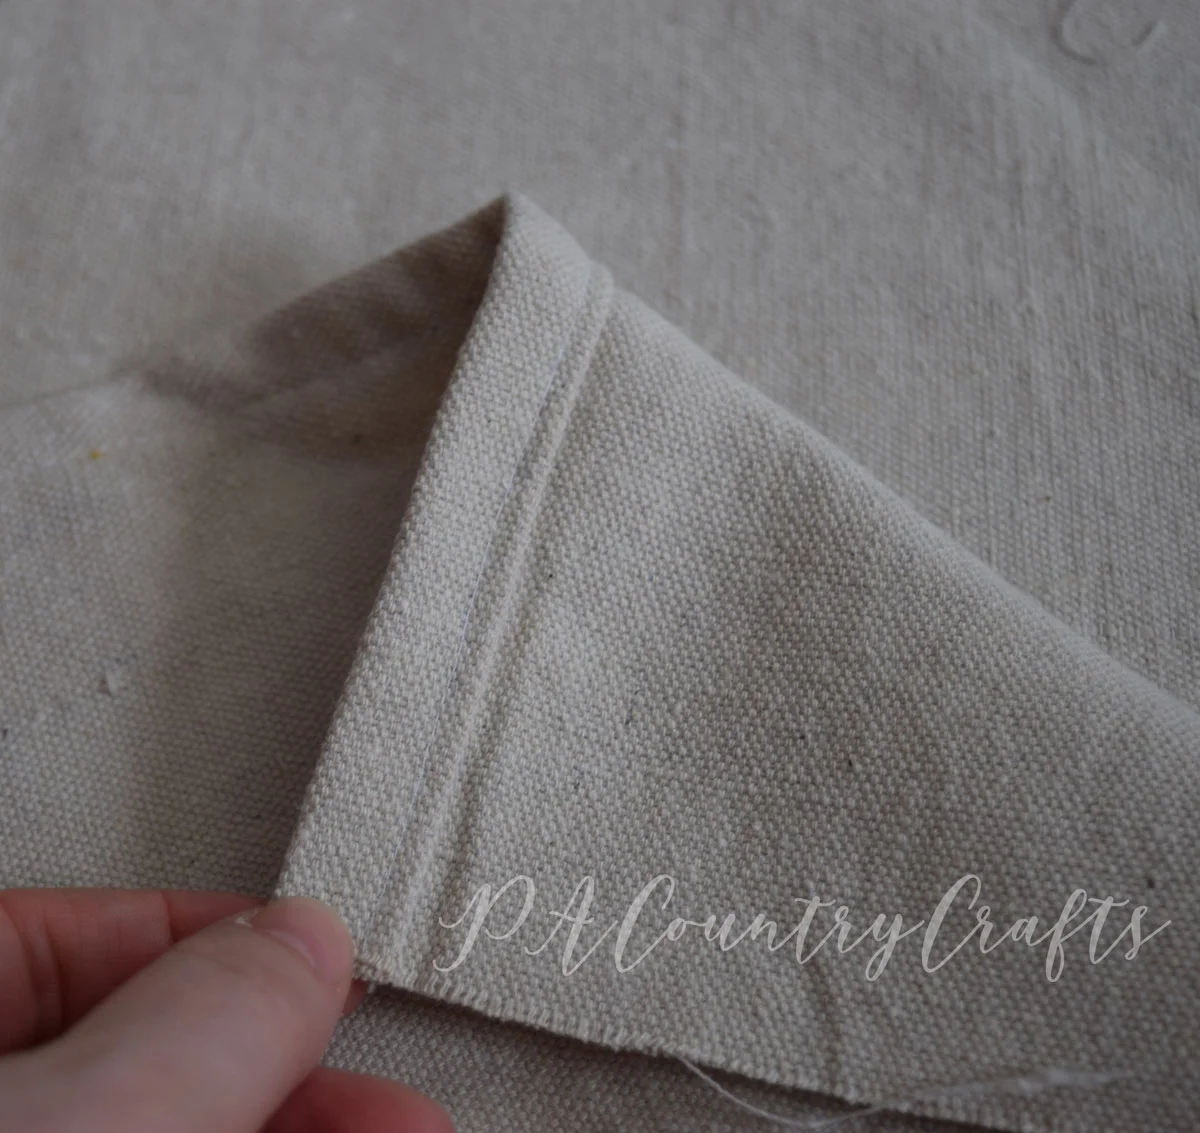
Hem one long side of the back panels by turning it under 1/2” and again 1/2”, then stitching in place.
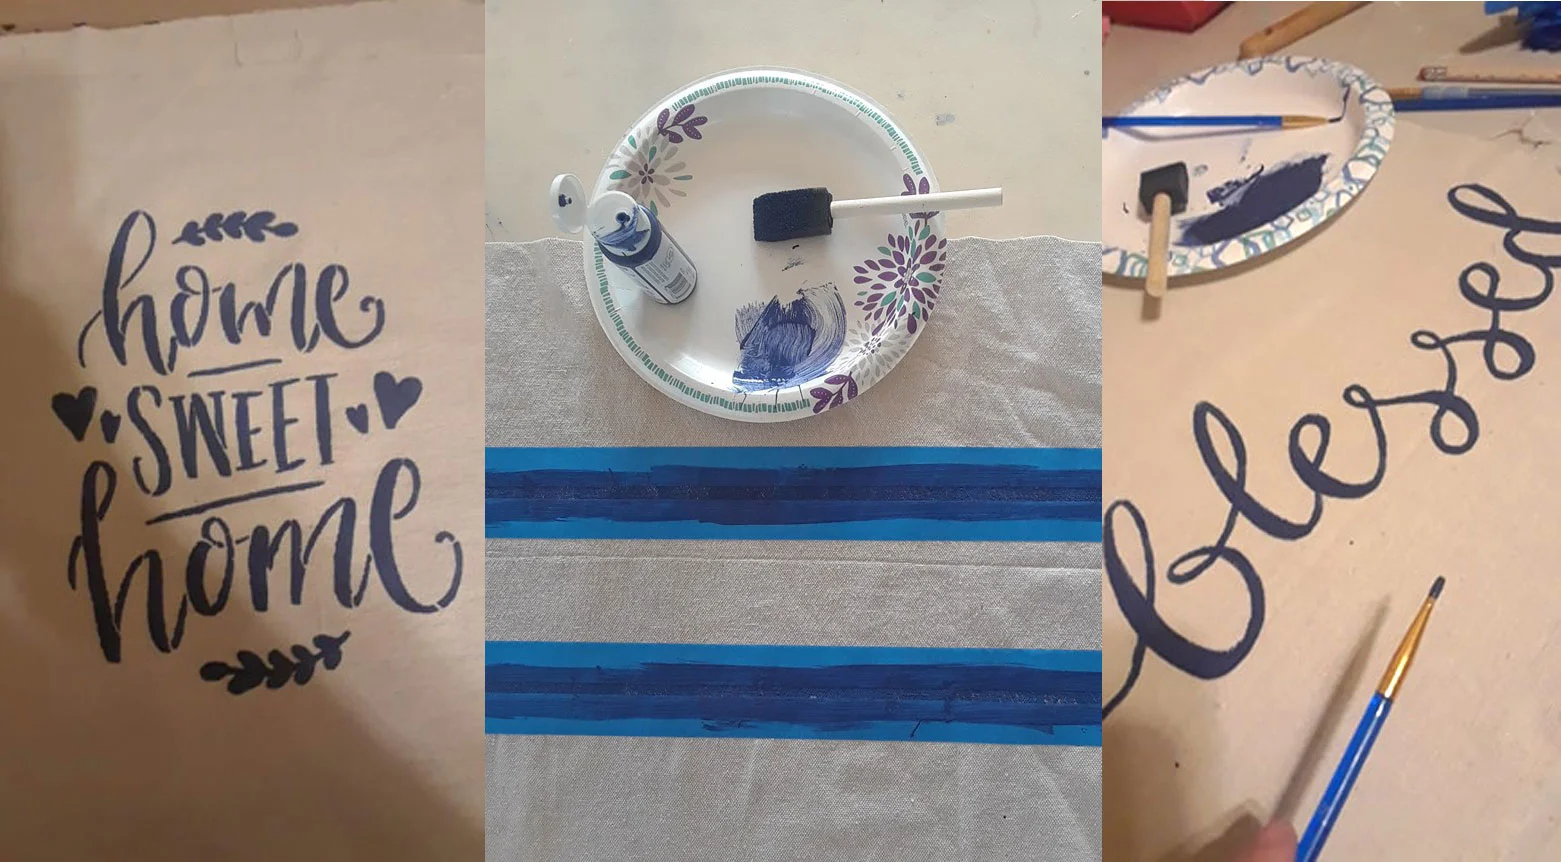
Set those aside and prepare the front. I just used regular acrylic paint. Yes, it does get a little stiff. These are decorative pillows, so I don’t care. You can also use fabric paint or add a fabric medium to your acrylic paint.
I tried making these pillows a few different ways. I taped the stencils to the center of each panel and used a foam brush. I also painted stripes on a few using painter’s tape to make them look like vintage grain sacks. Finally, I hand painted some with a brush. That was a pain and took forever. Stencils are much easier.
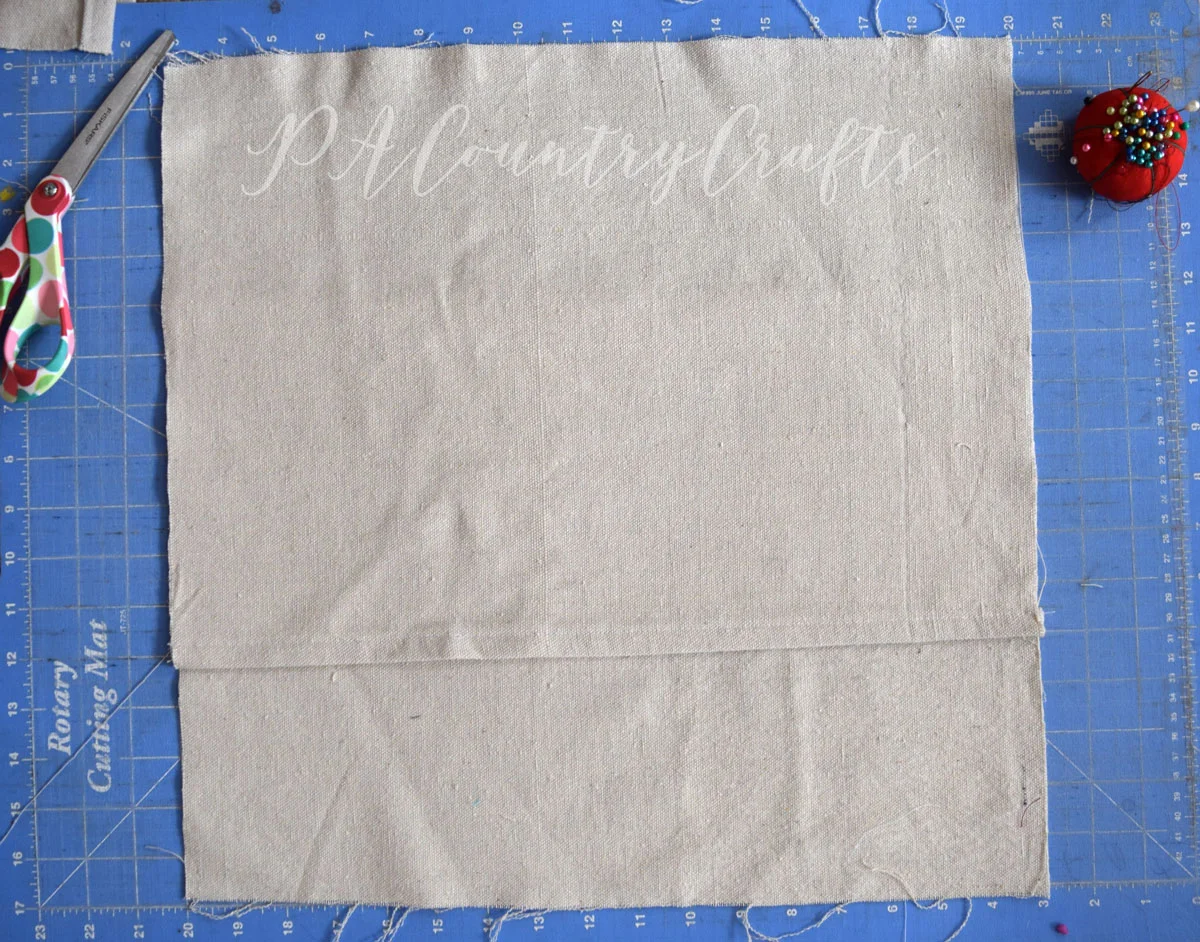
Now it is time to sew. Place the lower back panel right side up with the hemmed edge towards the top.
Place the upper back panel on top so that they form a square the same size as the front panel (17” for mine.) The hemmed edge should be on the bottom and the right side facing up.
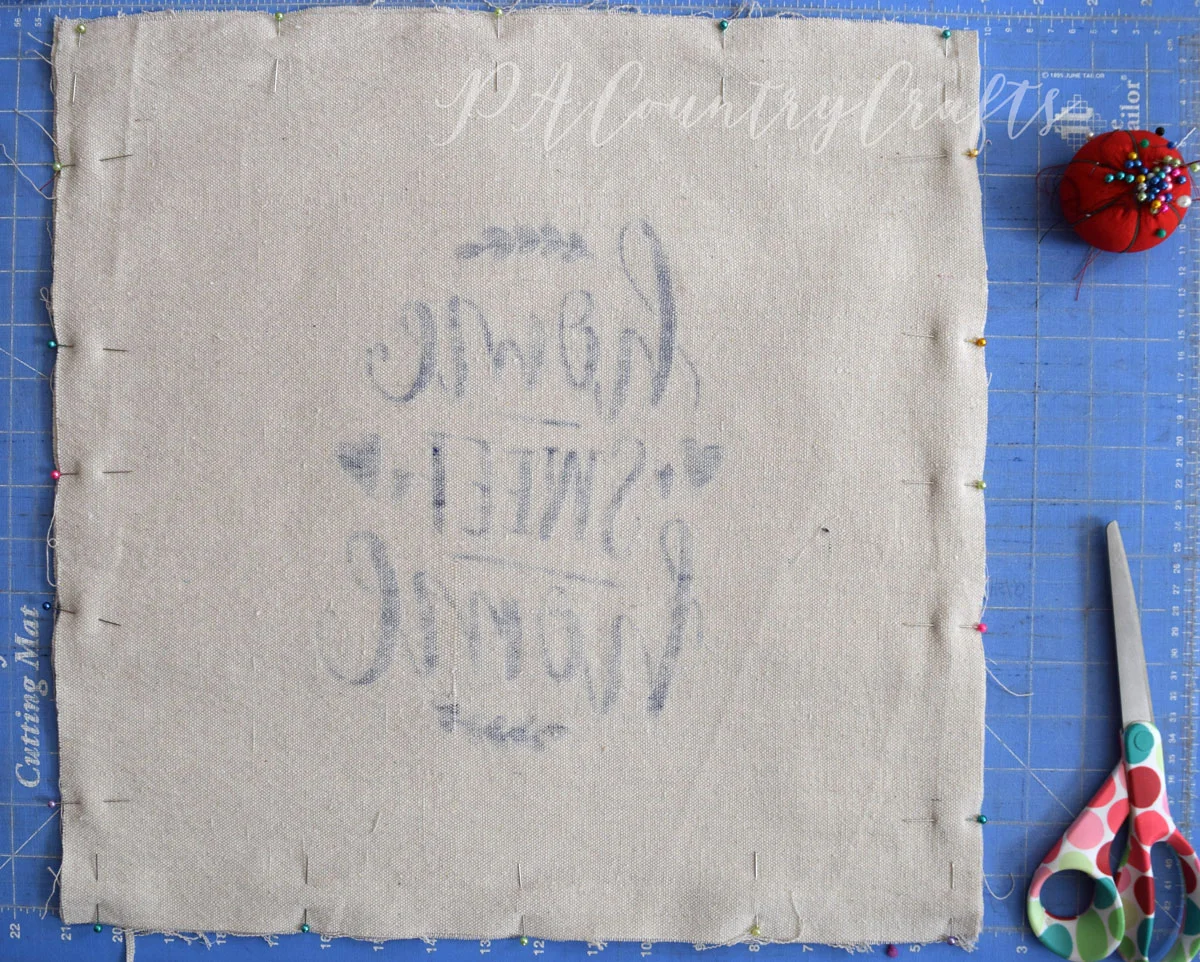
Place the front panel over the back panels with the right side down. Pin on all four sides.
Sew all the way around using a 1/2” seam allowance. Finish the seams using an overlock machine or zig zag stitch. Drop cloth does fray quite a bit.
Turn the pillow cover right side out, making sure to poke the corners out well. Insert the pillow form into the pillow cover and you are finished!
The pillows made with stencils were the best and easiest. The stripes and freehand pillows are OK, too. I made some solid navy pillow covers with linen fabric as well.
Thank you to Stencil Revolution for sending me the stencils to use in this project!
Here are the links to the stencils that I used for this project:
Here are some more posts you might like:


