Market Basket Liner Tutorial
/If you haven’t head, Project Run and Play recently released “Project Farmer’s Market”- 10 patterns from different designers all coming together to make a capsule wardrobe collection with a “farmer’s market” theme. They have been doing a pattern tour with lots of freebies to celebrate its release! I was able to contribute to the lookbook (see it HERE- it is amazing!) and decided to make a market basket with a liner to compliment the theme.
I learned to weave baskets in 4H as a kid, but sewing liners is something that has developed over the last 10 years. When a basket has handles, the liners can be a little trickier.
I took pictures of this process to share a tutorial. It does involve some math, as every basket has different dimensions. I will attempt to be very thorough for those of you who don’t love math as passionately as I do.
1. Determine the dimensions of the liner pieces.
Starting with the narrower side of the basket, use a measuring tape to measure both sides and the bottom of the basket.
Measure how far down you want the liner to fold over the outside of the basket. I am calling this the cuff.
The cuff is on both sides of the basket, so add TWICE that number to the sides and bottom measurement and add 1” for the hem to the total as well. I love algebra, so here is a formula:
Sides and Bottom + (2 x Cuff) + 1” Hem = Width
Mine measured 17” and I wanted a 1.5”“ cuff (doubled = 3”), plus the 1” for hemming, so I needed my liner pieces to be 21” across.
Now we need to figure out the height of our liner pieces. Measure the sides and bottom of the basket as shown.
Divide that number in half because we are making a seam down the center so that the bow ties can be added. Now, add your desired cuff (just one!), 1” for the hem, and 1/2” seam allowance. Formula for the algebra-lovers:
(1/2 x Sides and Bottom) + Cuff + 1” Hem + 1/2” Seam Allowance = Height
I am such a nerd. I know.
My basket measured 21”. I divided that by 2 and got 10.5”. Add the 1.5”cuff, the 1” hem, and the 1/2” seam allowance so my height was 13.5”
Cut two pieces with the dimensions you just calculated. You are going to need ties as well, but we will get to that later.
2. Sew the center seam.
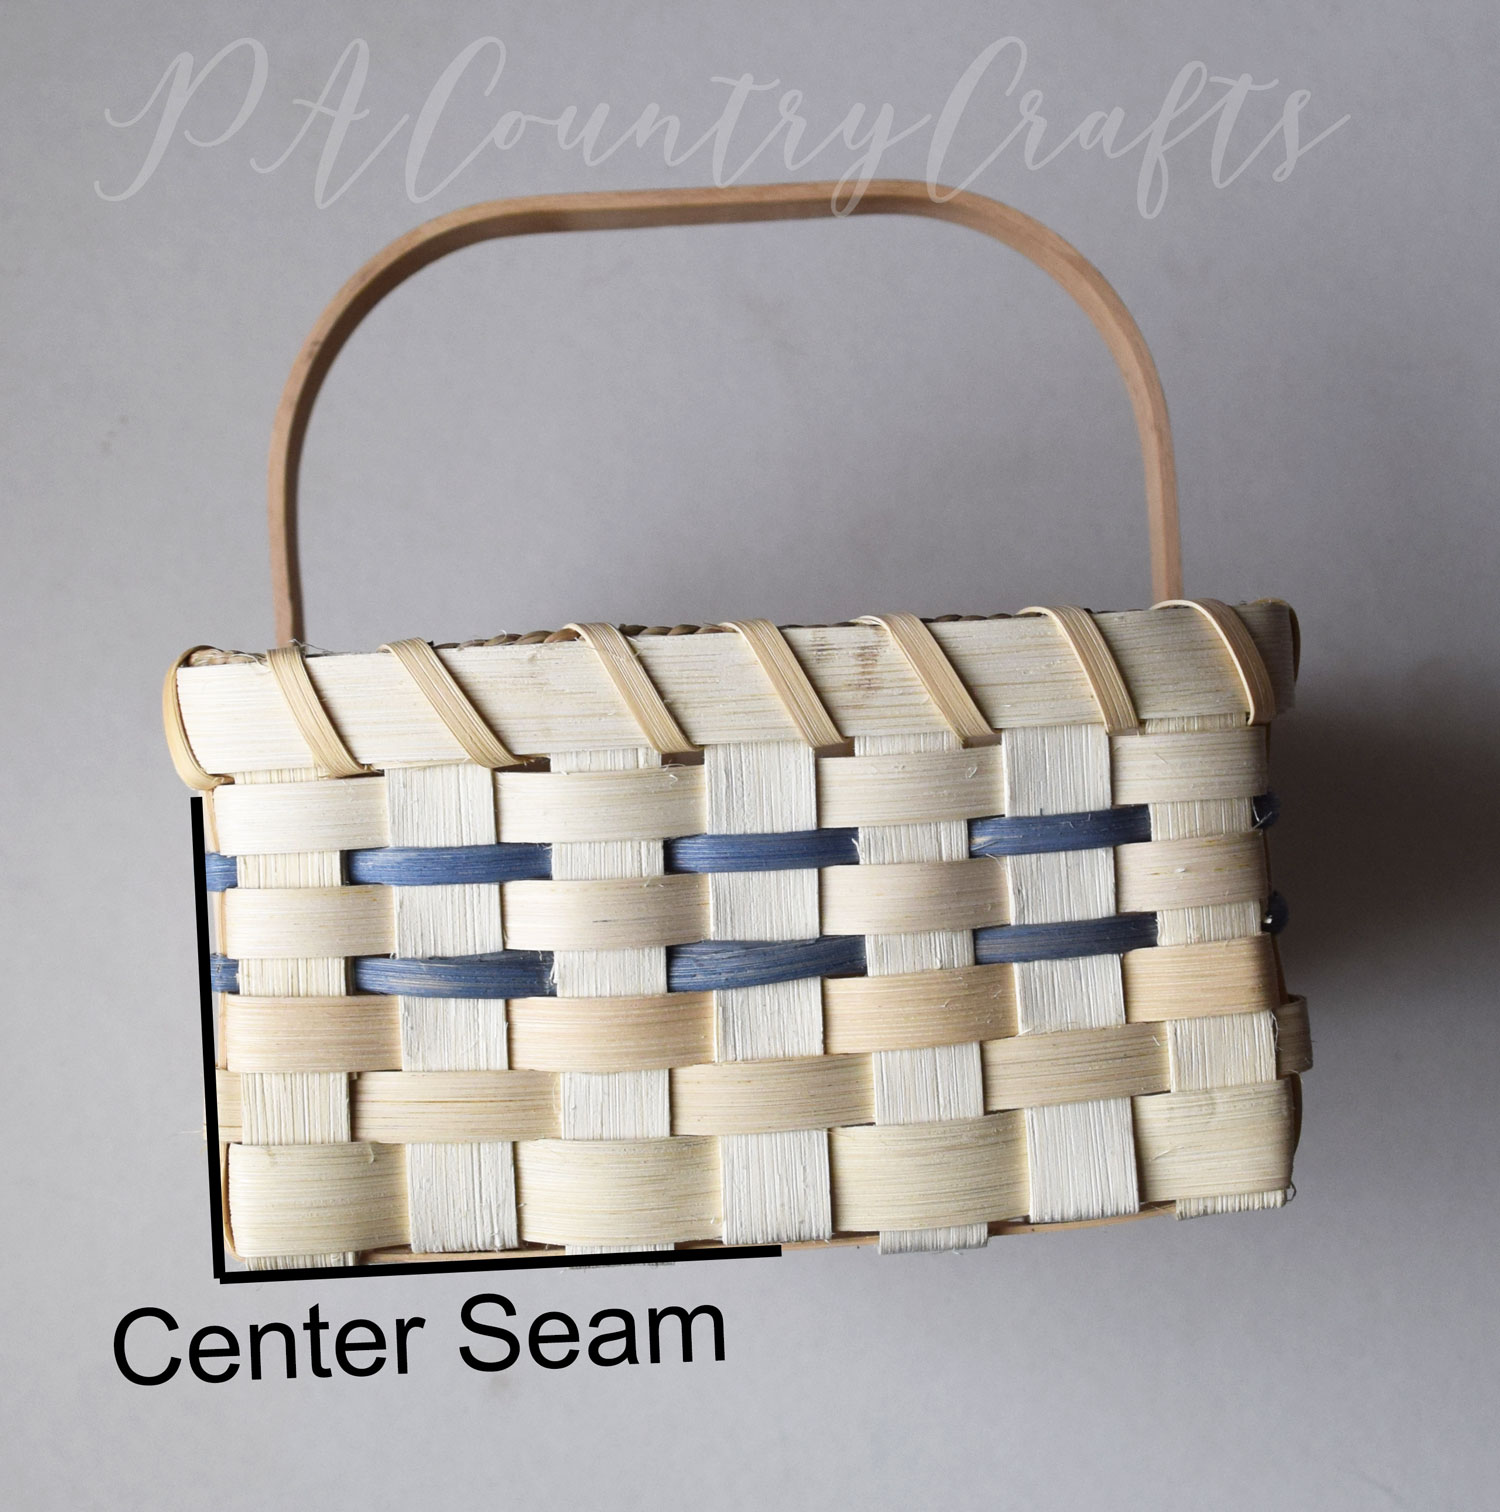
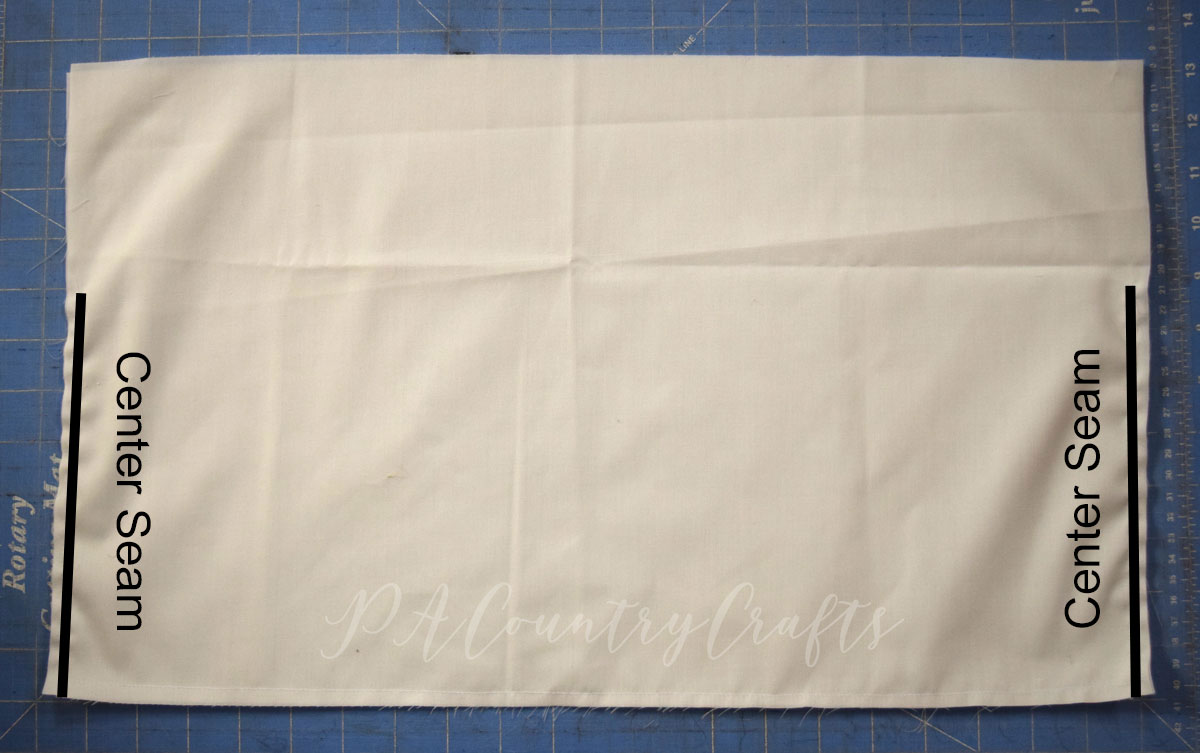
Measure from the center of the bottom to the bottom of the basket rim.
Place the liner pieces right sides together. Mark the center seam distance from the bottom corners. That is where you are going to start and stop when sewing the pieces together. The top has to be left open in order to go around the handles. Mark it with a pin.
Using a 1/4” seam allowance, sew from the top of one center seam, across the bottom, and back up to the end of the other center seam.
Finishing off those edges with an overlock machine makes this much nicer, but if you don’t have one I think it would be OK. It is not going to be washed frequently.
3. Shape the liner.
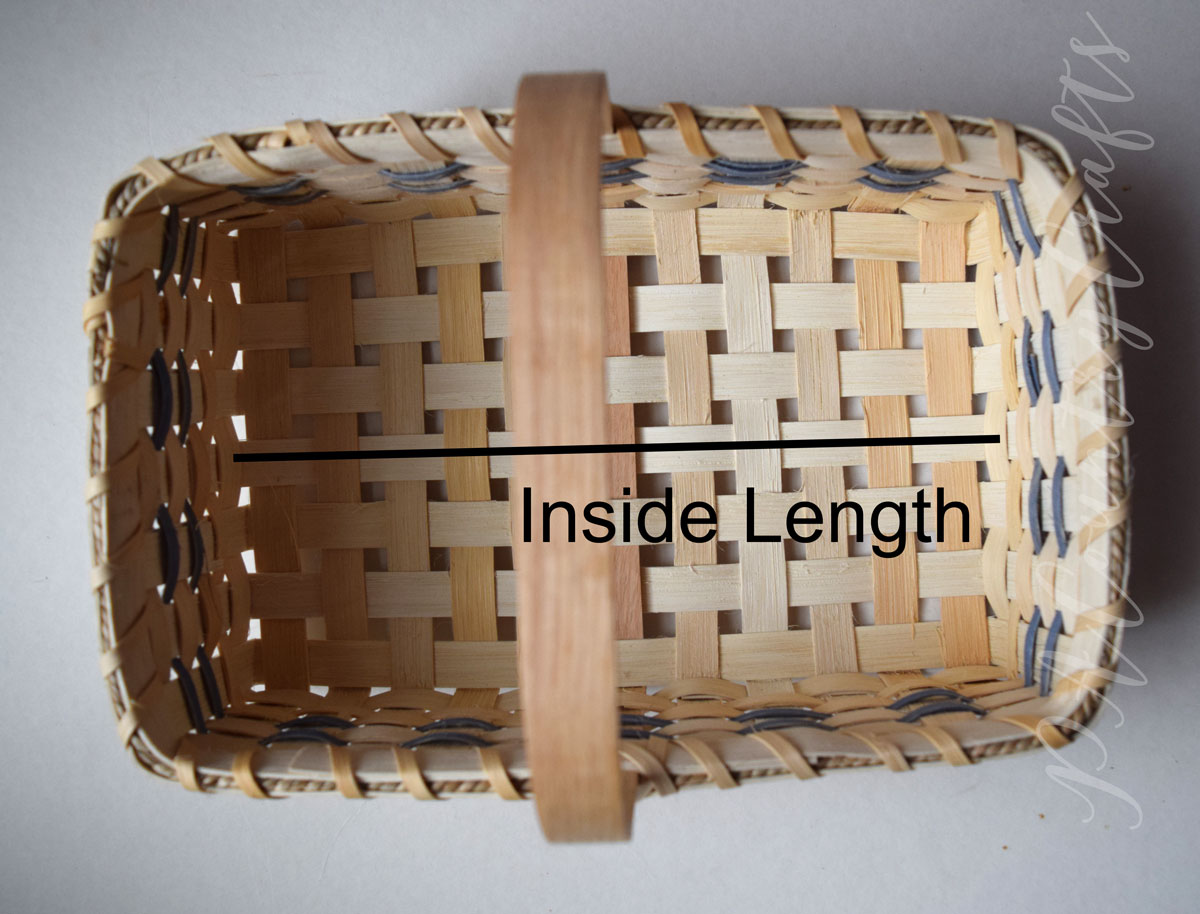
First, measure the inside length of the basket.
Now, grab one bottom corner of the liner and line up the bottom and side seams, RST, making a triangle. Press to make it flat and crisp. Then mark a line perpendicular to the seam and equal to the length you measured. Yes, math words again. Here is a picture:
Sew along that line. Repeat for the other corner.
Now fold those flaps towards the center and sew them together to the liner.
The math stuff is done. I promise.
4. Hem the Sides
Remember the part of the sides that was not sewn? Well, hem that very carefully. I just fold under twice and pull. It tapers to about 1/8” in the middle and then back out.
I prefer to overlock the top edges now, but if you do not have one it will still be OK.
5. Make the Ties
It is time to make the ties! You can use ribbon if you prefer. That works well, too. If so, cut 4 pieces 11“ long, fray-check or melt the ends, and skip to the next step.
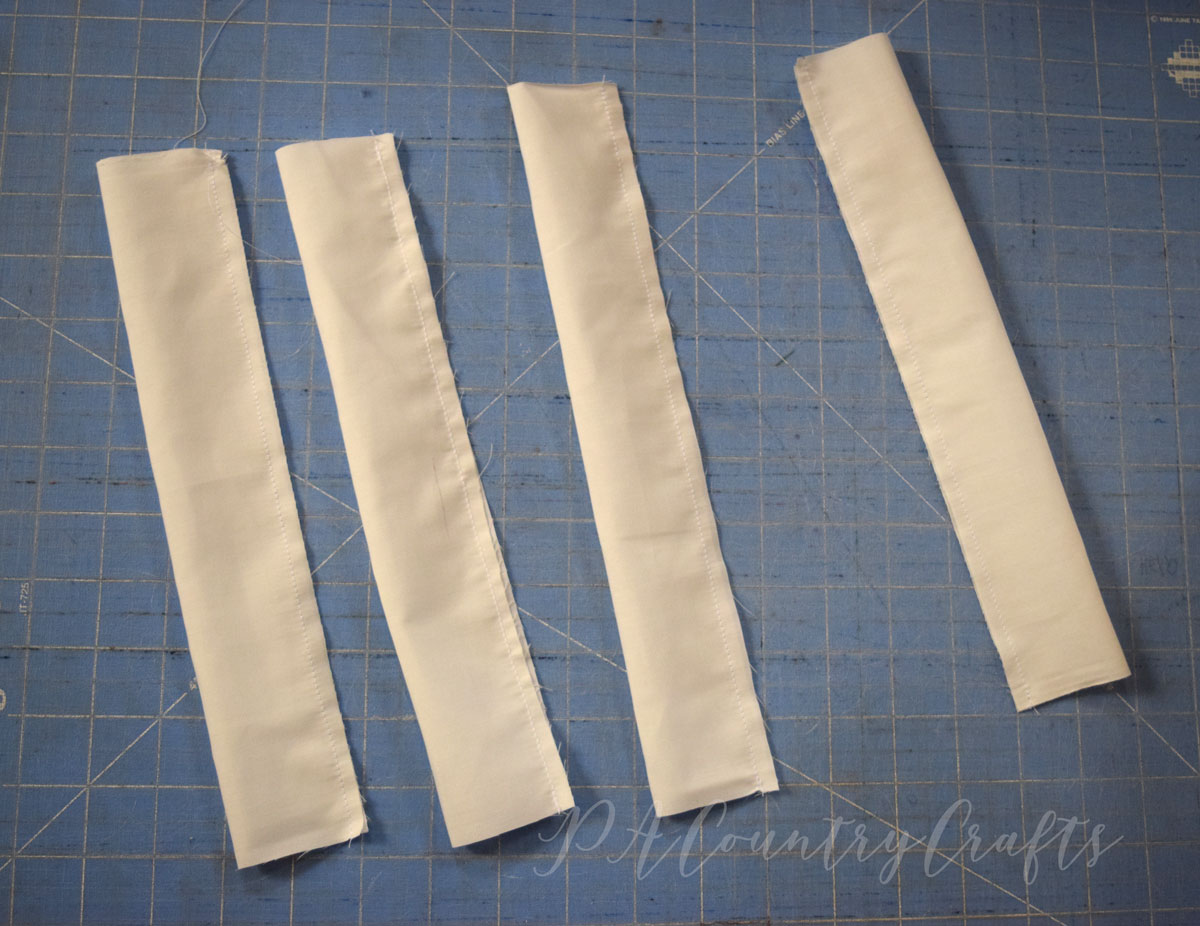
I wanted wide, fabric ties to make a big bow so I cut four pieces 4” by 11”. If you want smaller bows, make them narrower.
Sew the long sides, right sides together.
Turn them right side out, press, and hem one side by folding the raw edge inwards 1/4” and stitching across 1/8” from the end.
6. Attach the Ties and Hem the Top
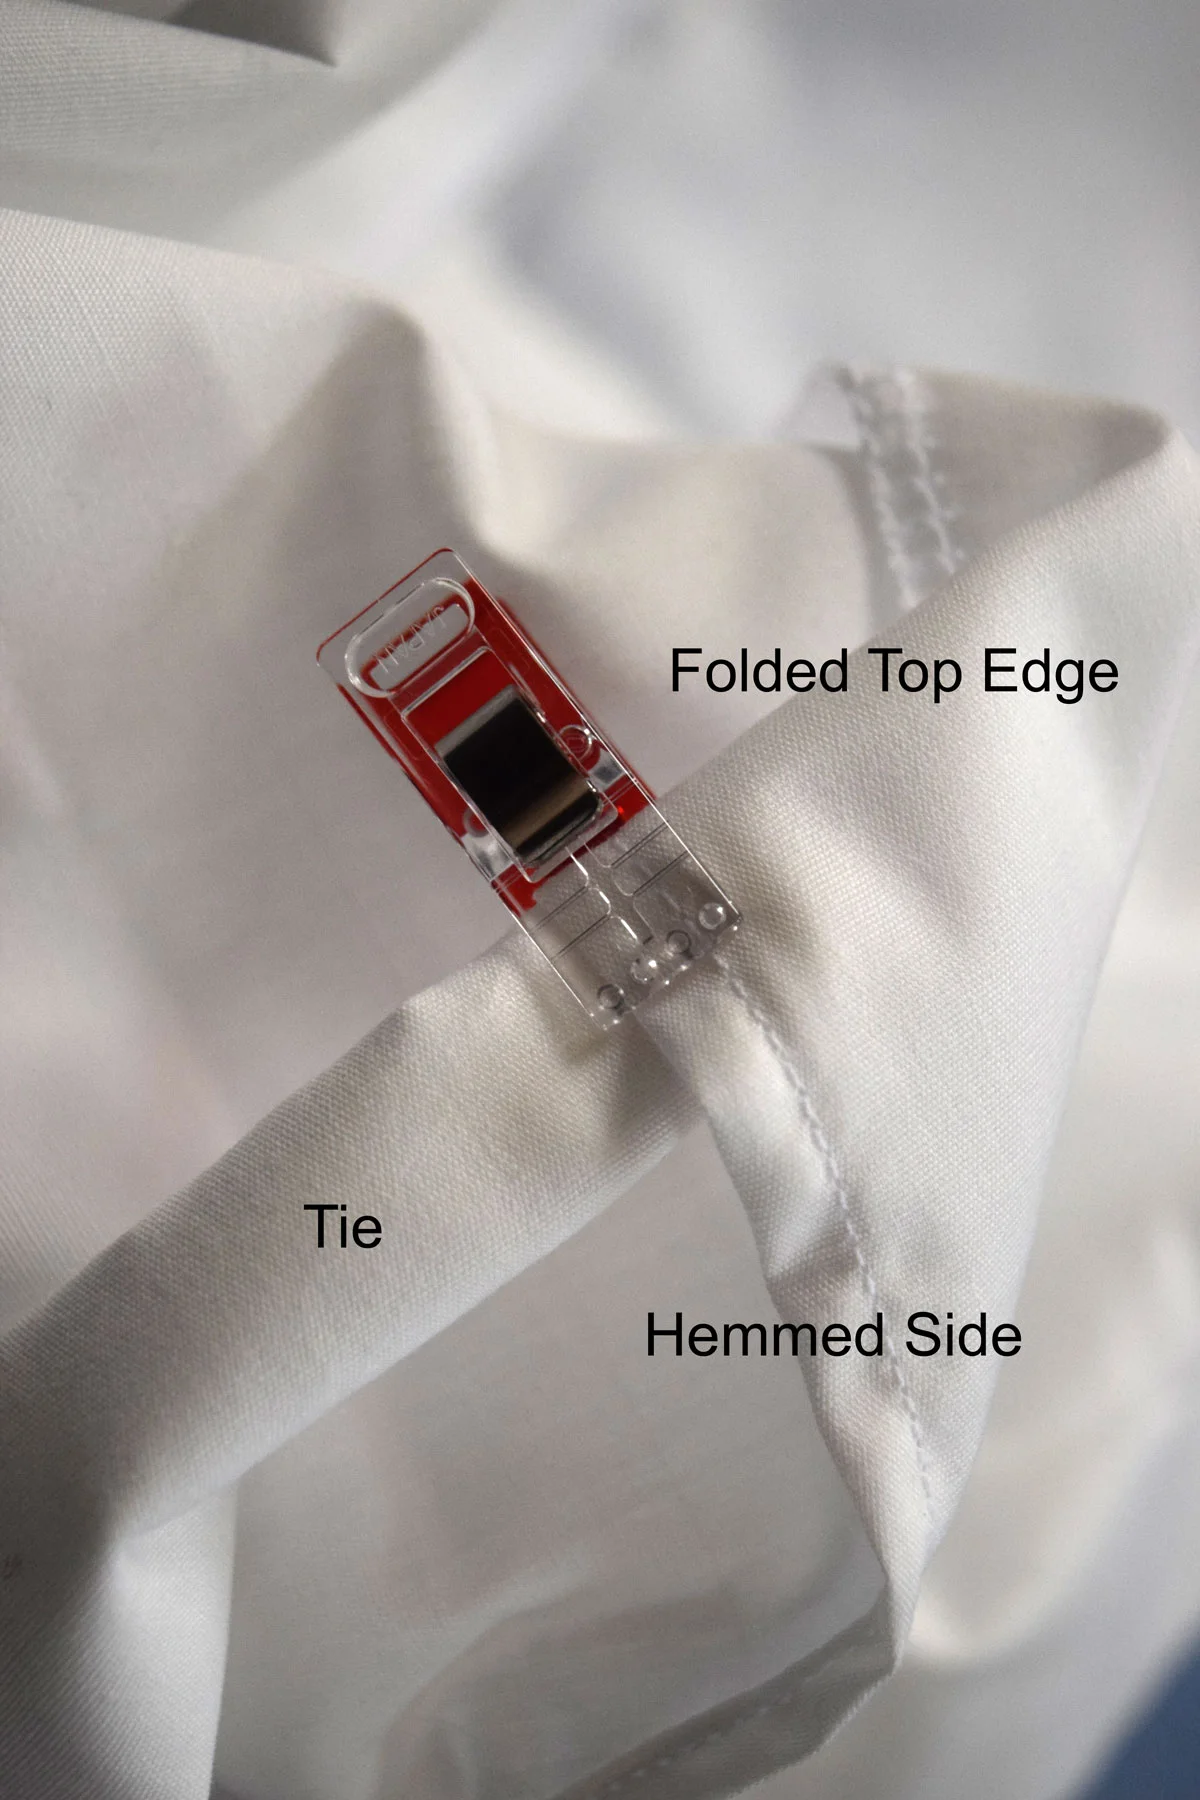
Hemming the top and attaching the ties is all done in one step. The hem is only 1/2”, so I folded my wide ties to make them narrower. If you chose ribbon or made narrow ties, you can skip this step as well.
Fold the top of the liner down 1/2” and pin the tie in between the fabric. Repeat for the three remaining ties.
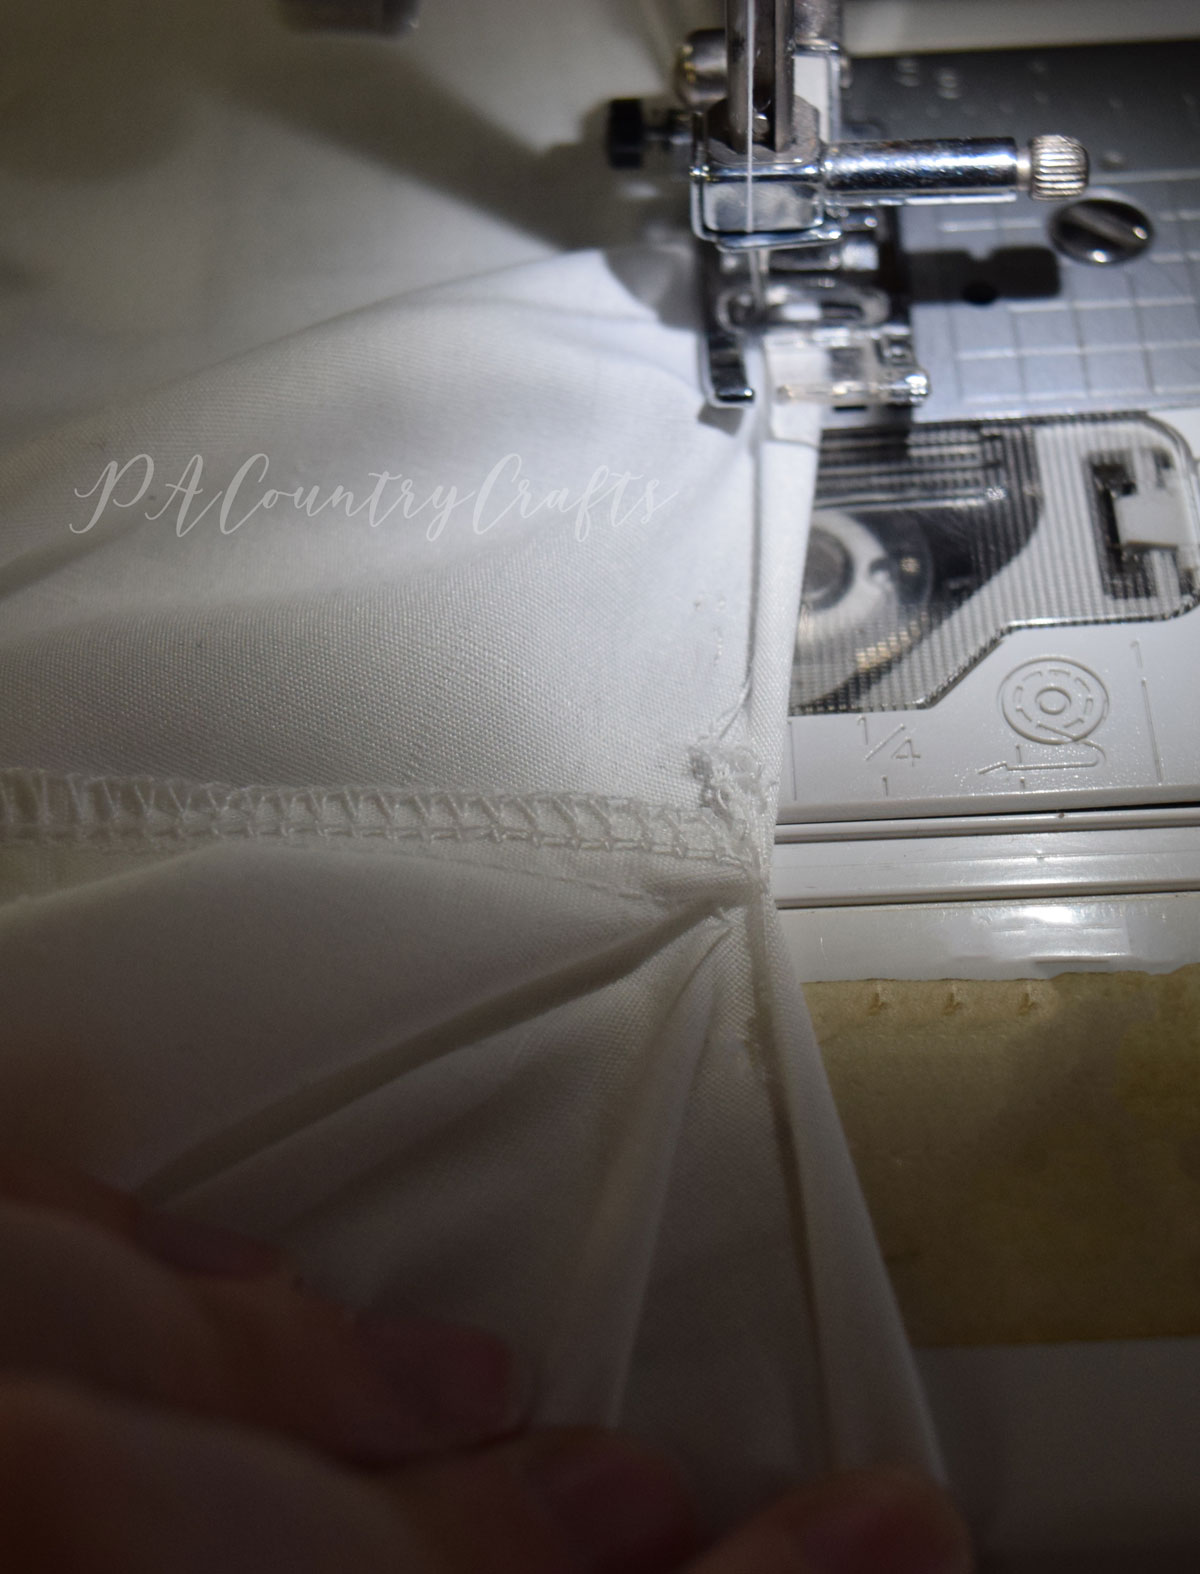
Start sewing by using a wide, short zig zag stitch to hold the tie in place. Then change to a straight stitch and sew the top of the liner, creating a 1/2” hem. When you get to the other tie, finish with a zig zag stitch again.
I always do it this way when doing narrow or ribbon ties, but now that I look at my pictures, a straight stitch on the end would probably be better for holding the ties in place when they are wider.
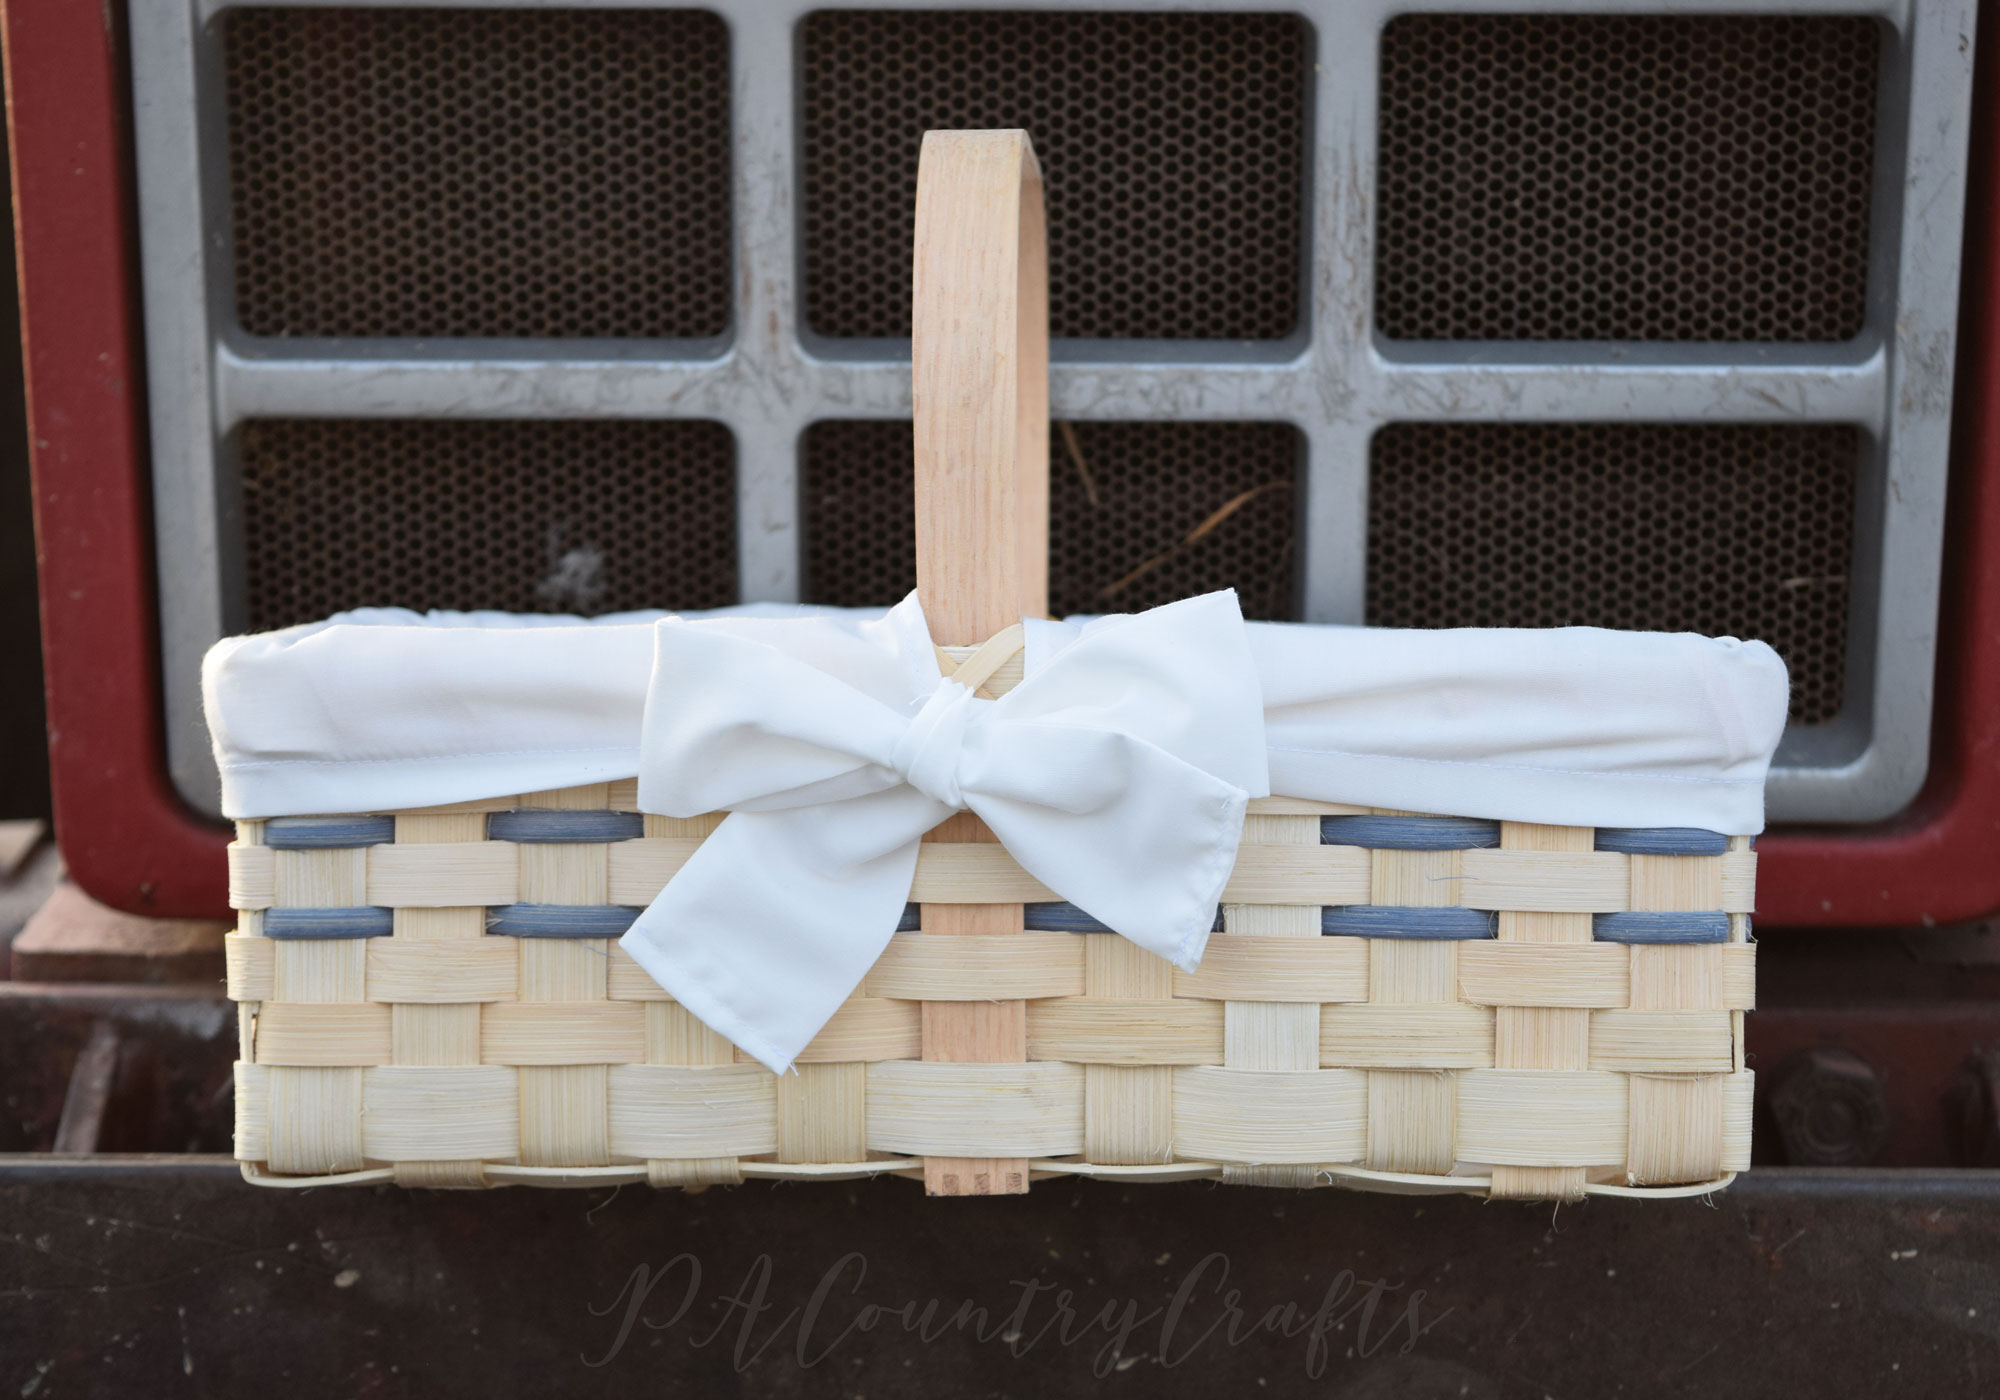
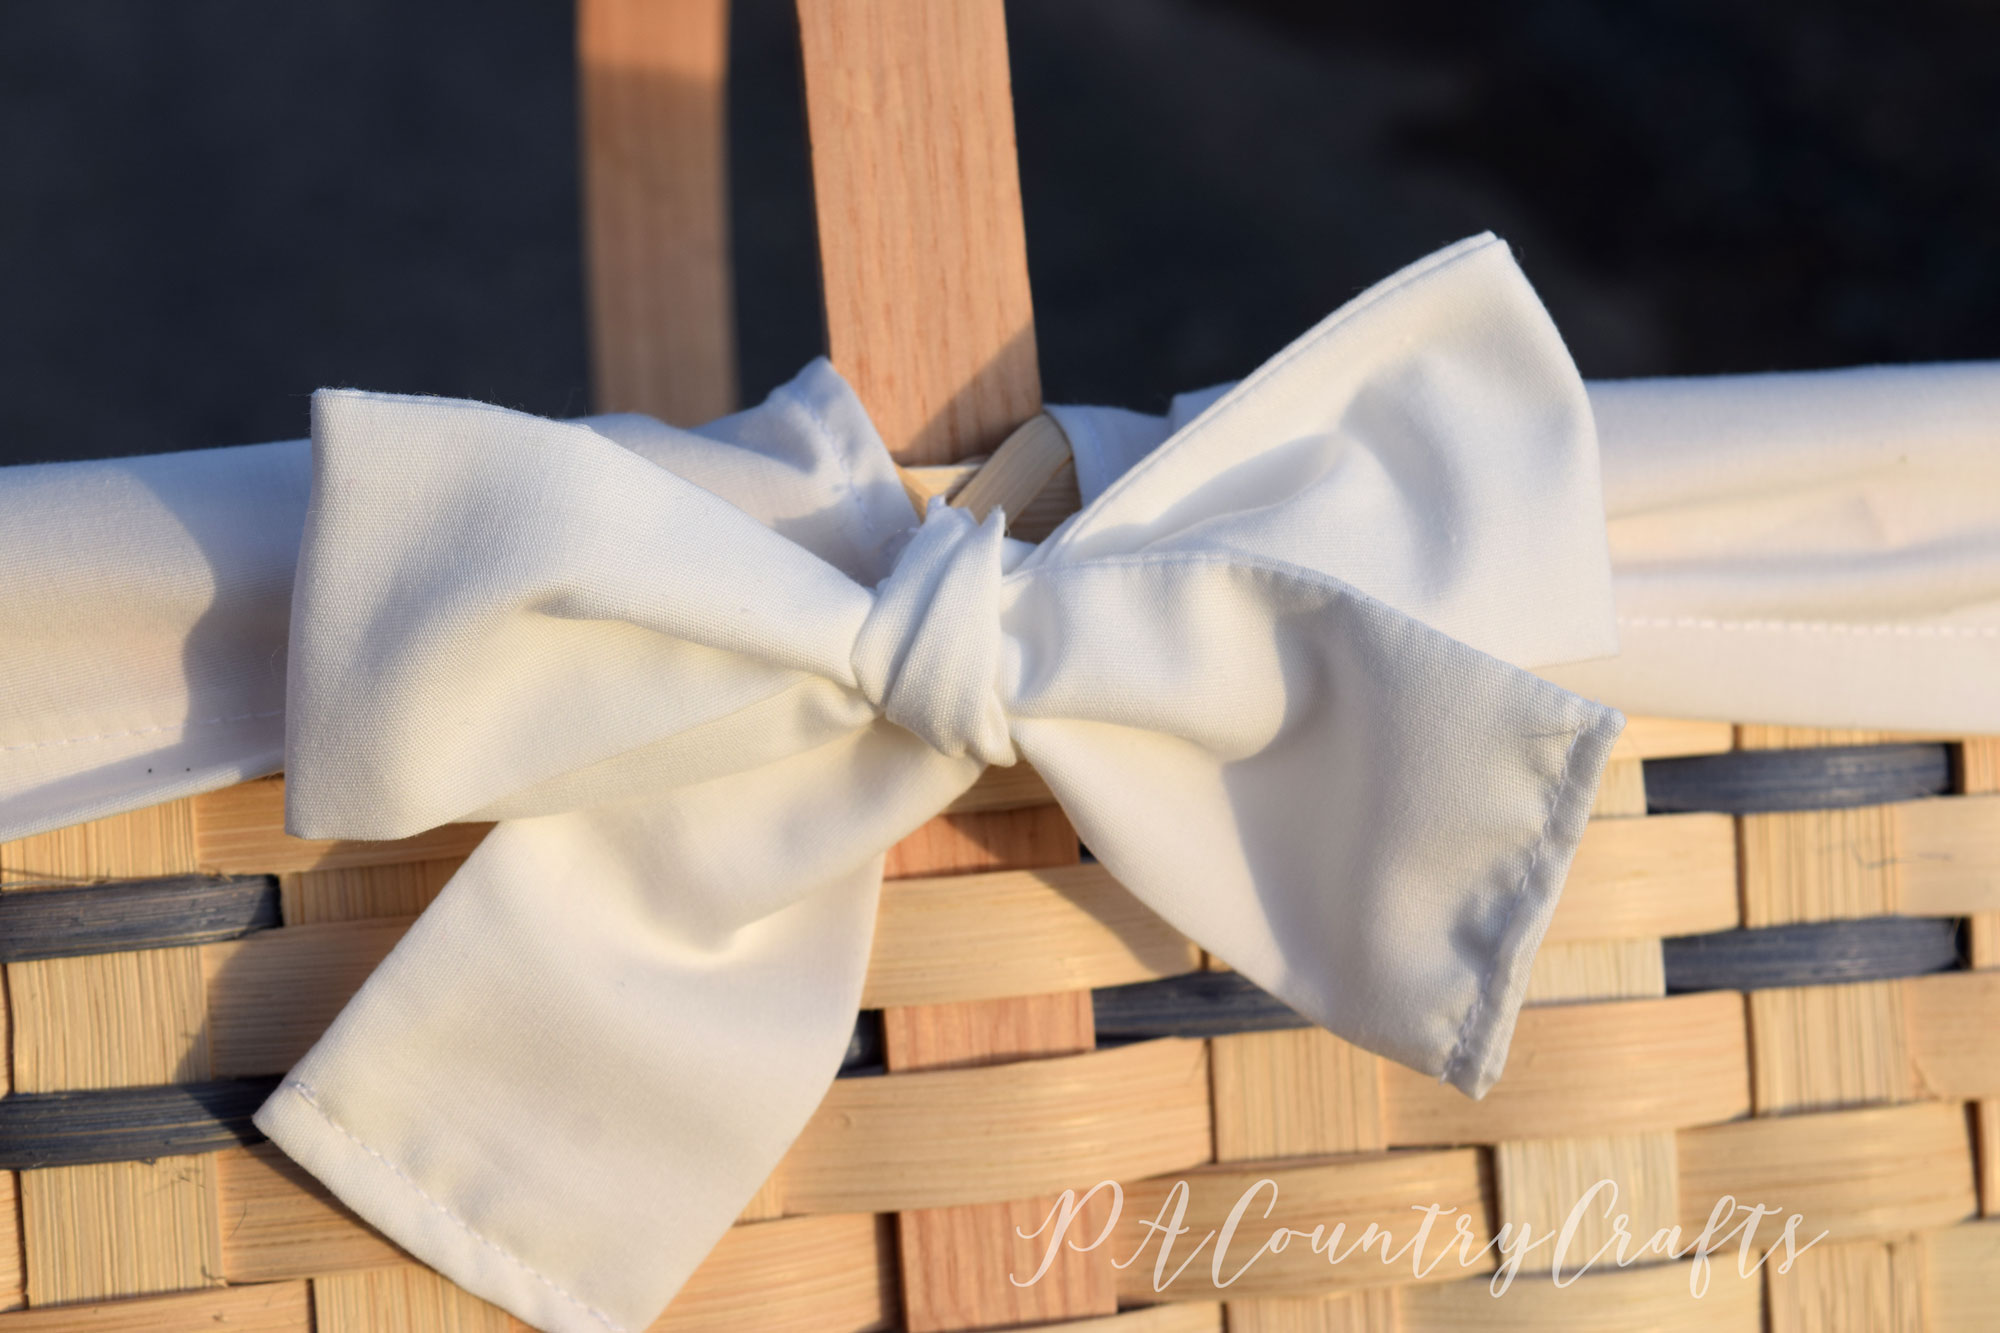
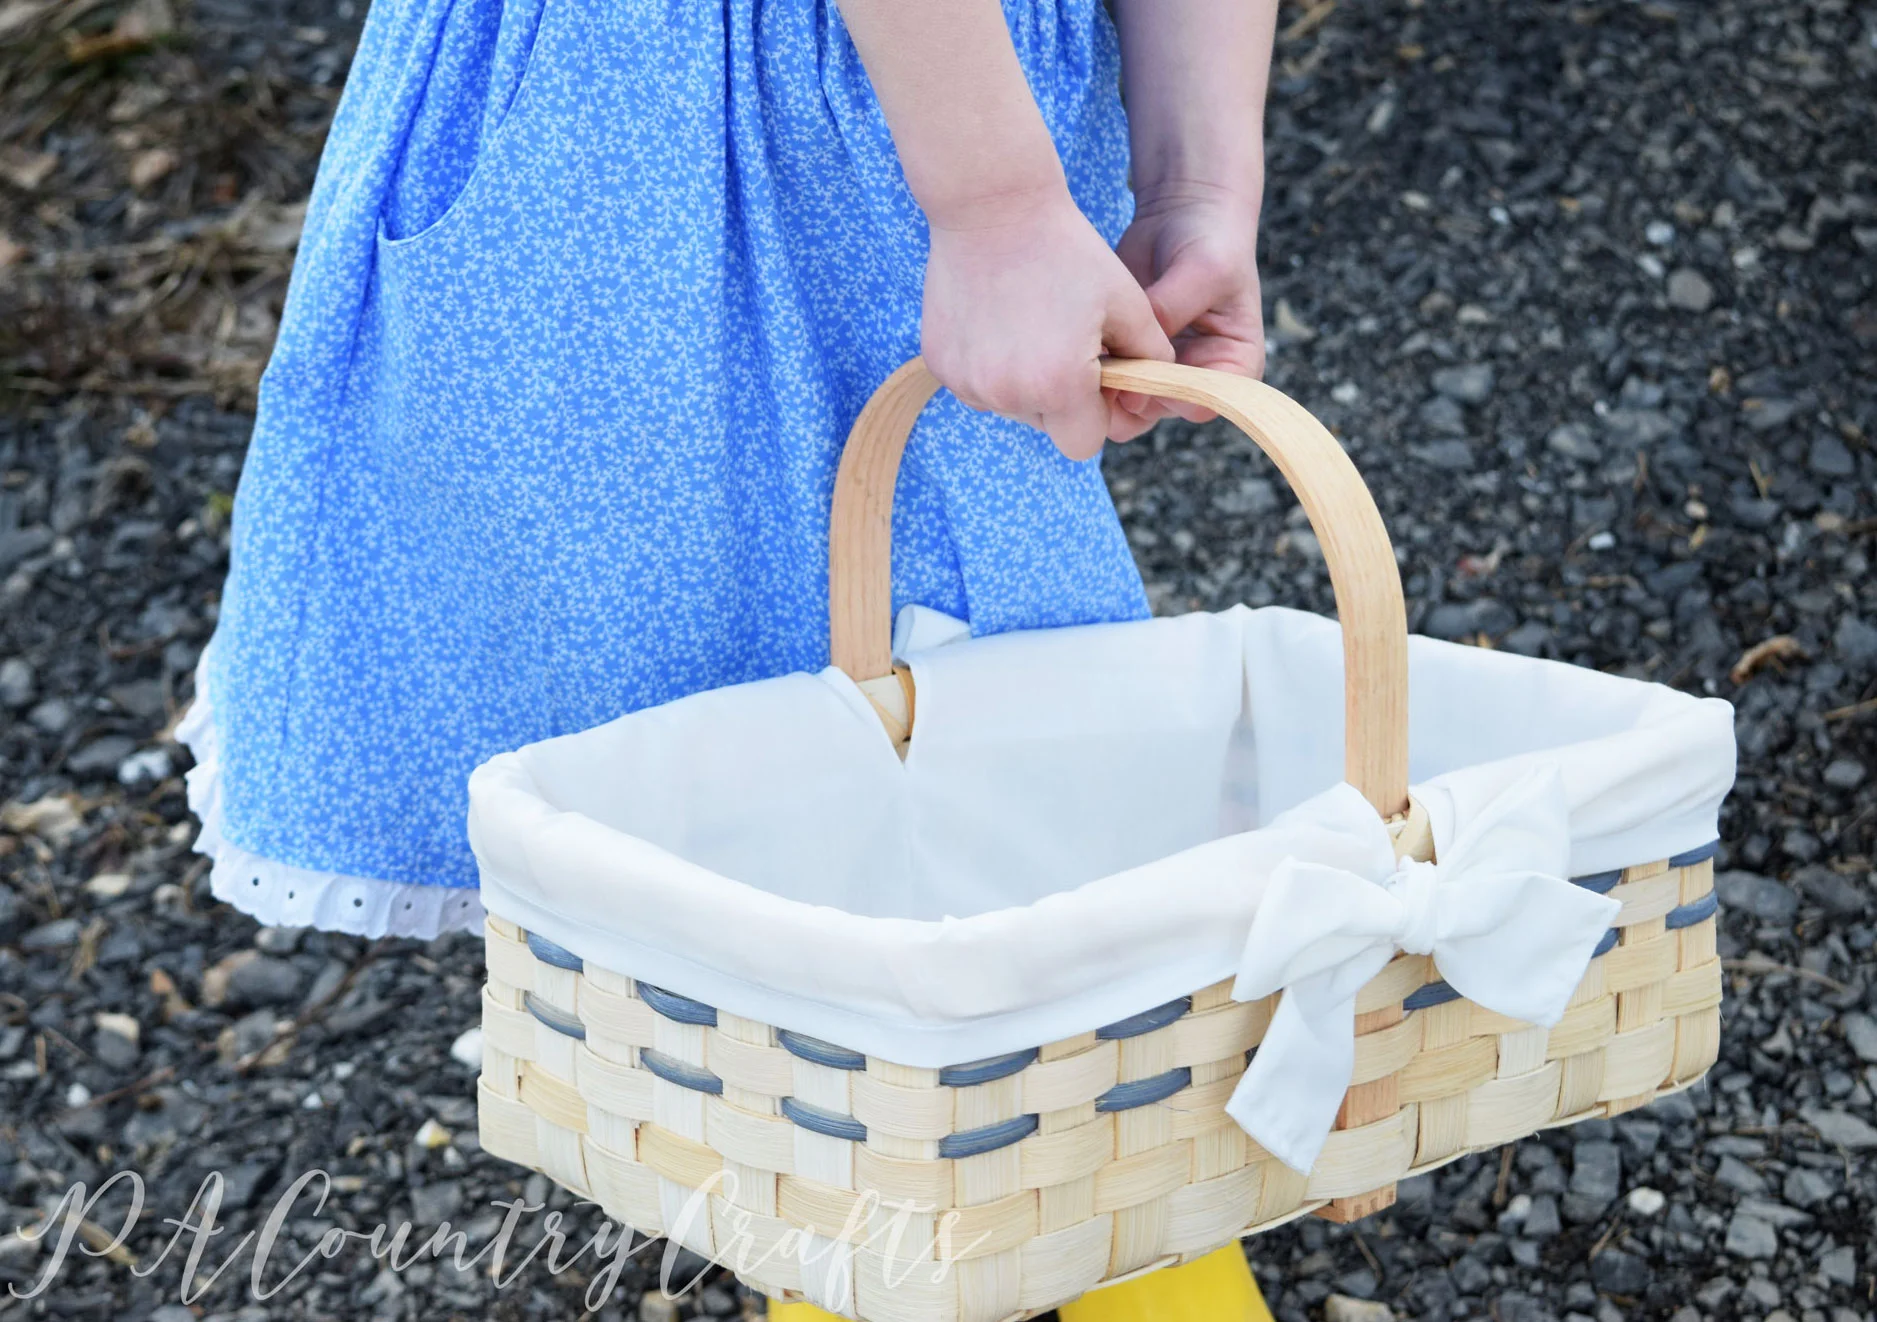
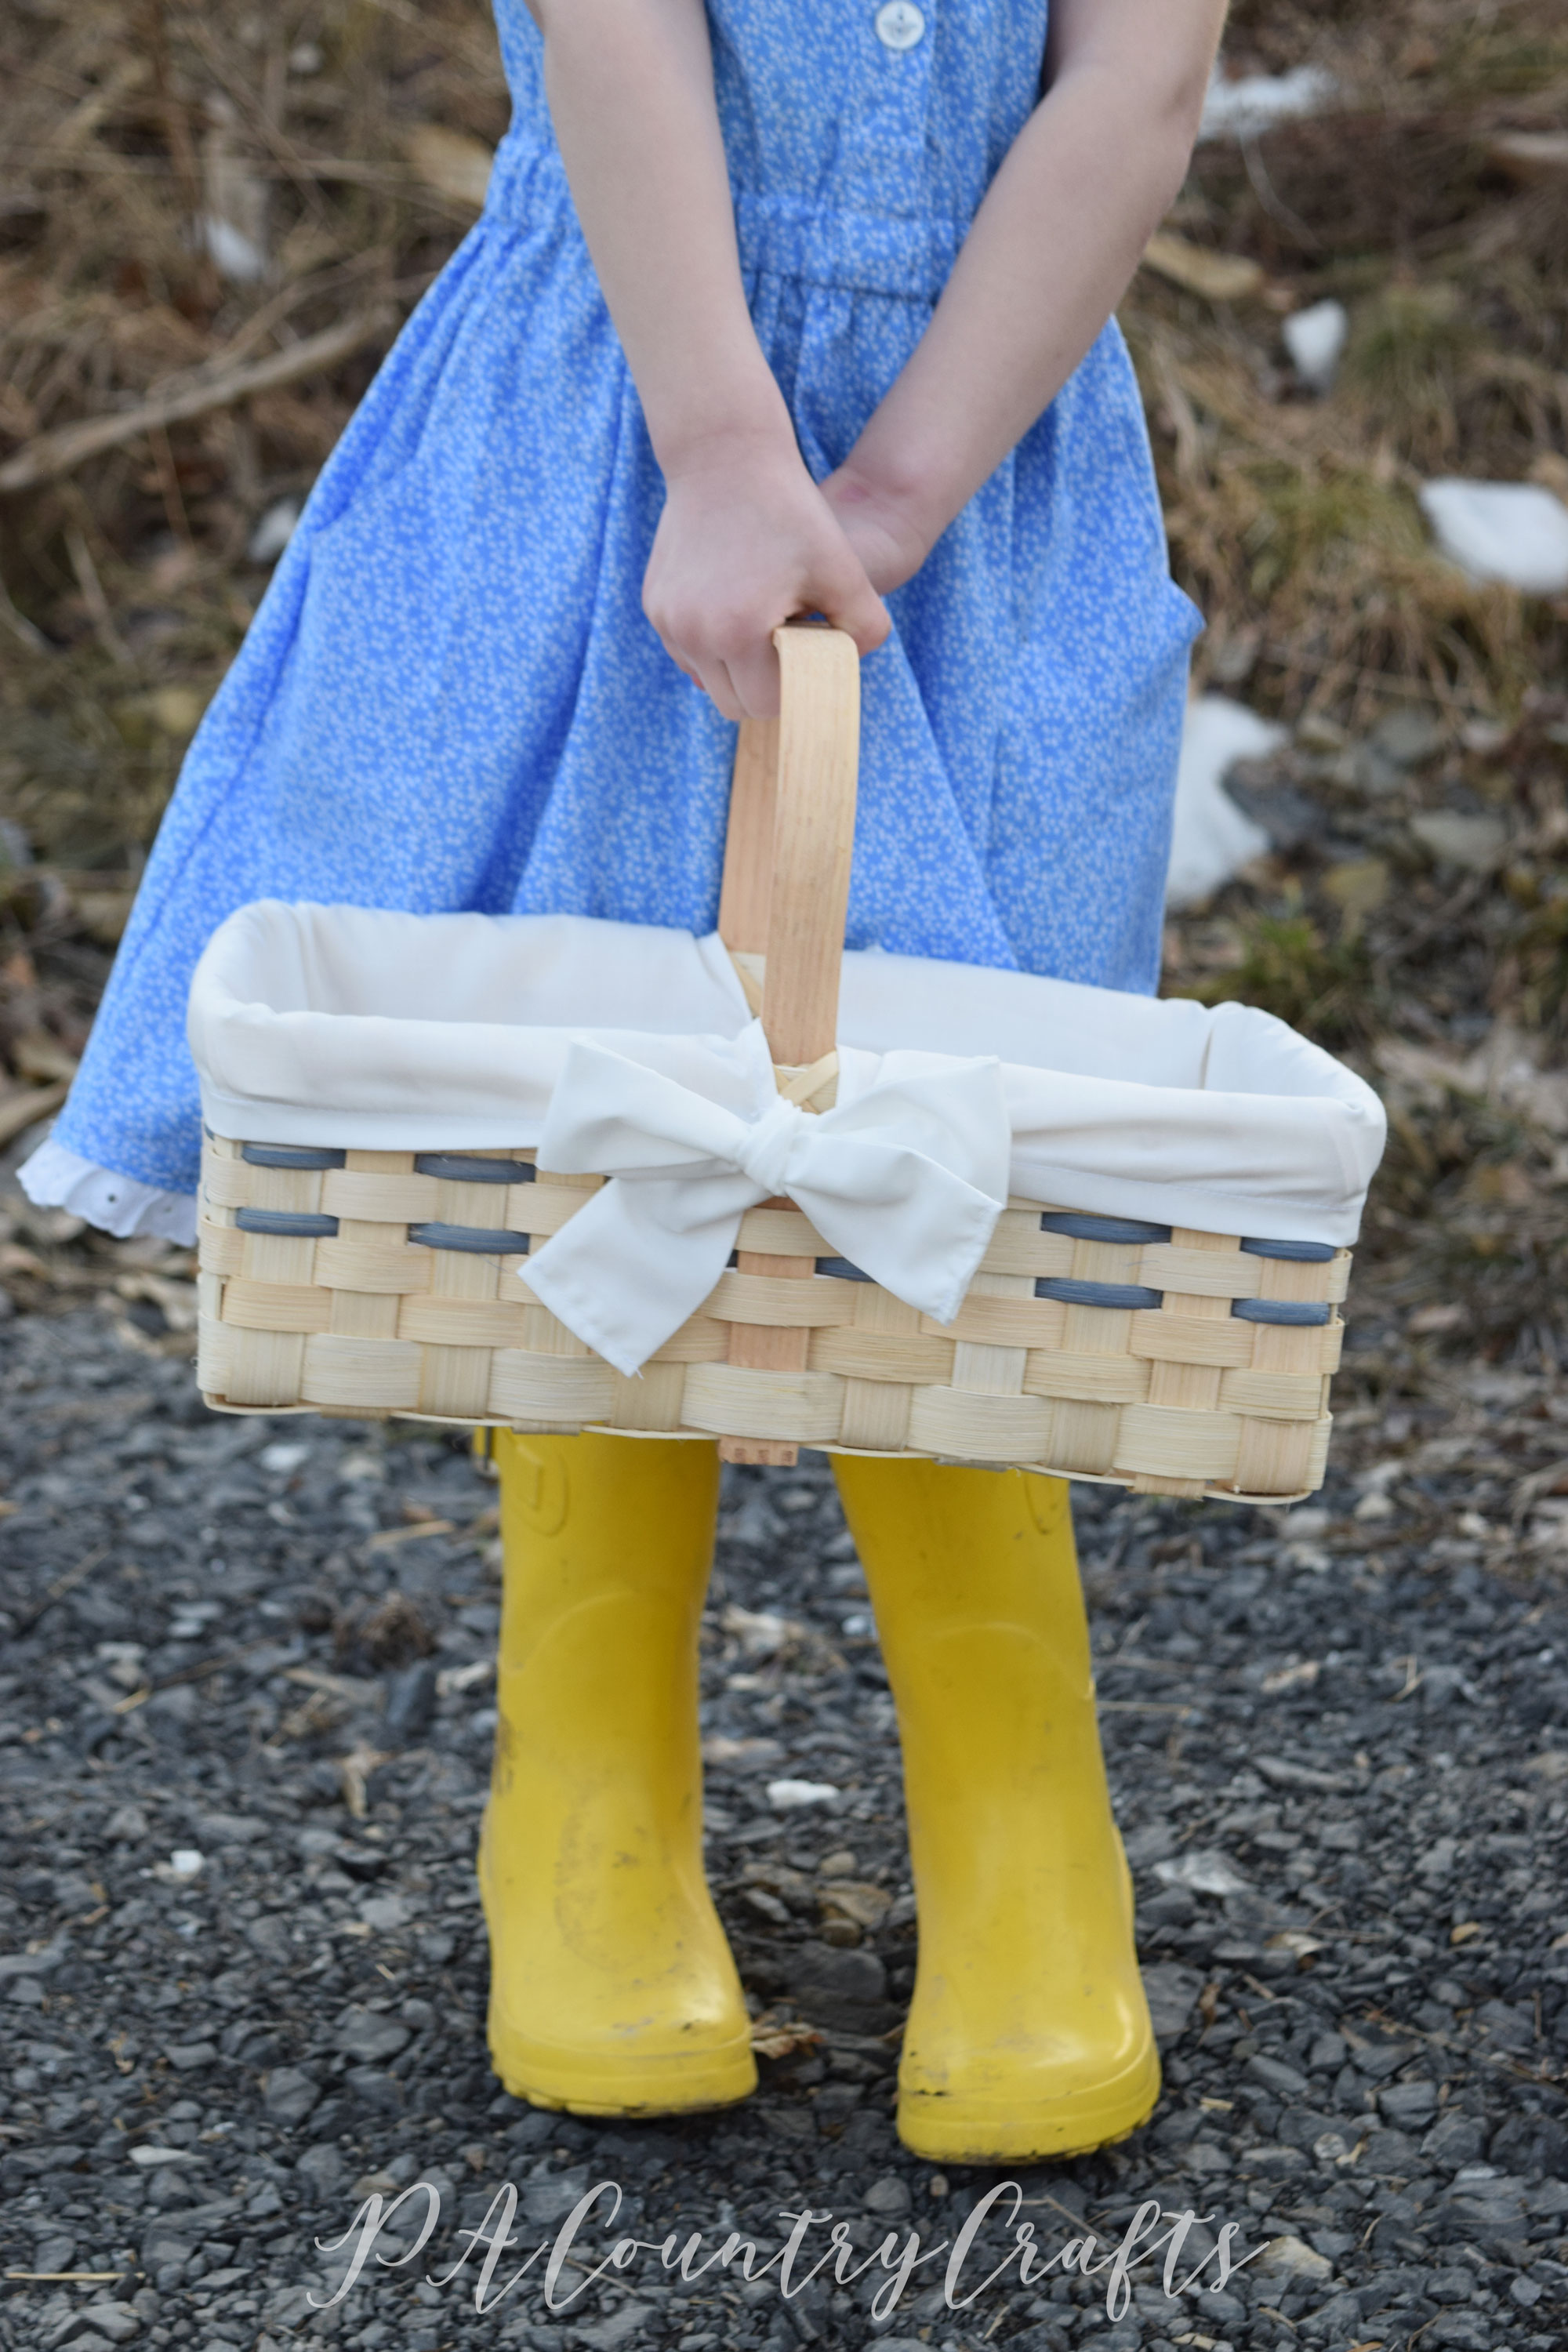
Now just put the liner on the basket and tie the bows!
Here is another look at the basket and a peek at what I made from the Project Farmer’s Market collection…
Click on the links below to learn more and see the entire capsule wardrobe collection:
Project Farmer’s Market Capsule Wardrobe Collection
Project Farmer’s Market Lookbook
If you want to pin this tutorial for later…
You may also like…


