DIY Handwriting Copy Sign Tutorial
/A new trend I have noticed is displaying portions of handwritten notes enlarged as a sign. I think it is a lovely way to remember special words. I was recently asked to create a sign with a portion of Clarence's note from It's a Wonderful Life so I thought I would snap a few pictures of the process to share a tutorial on the blog.

I happened to have the perfect size board already on hand. It is a rough cut board sanded slightly, so it has the rough edges and saw blade marks still visible. It really gives the piece some rustic character. I just lightly brushed some cream paint onto the board to get a weathered effect. You can also sand the edges to remove paint and make it more rustic.
Next, I resized the portion of the original note I was using and printed it out. (I just use Microsoft Word because I can use the page size to estimate dimensions.) I used carbon paper to transfer the image to the painted wood.


I used a fine tip black paint marker to paint the words onto the wood. It is more natural to make handwriting with a paint marker vs. a paintbrush. I also let the roughness of the wood texture the lettering by not filling in chips and grain.

Finally, I applied an antiquing wax to further age and seal the piece.

I think this technique would be really sweet for old love notes from your spouse, cards from special occasions, or even treasured family recipes!
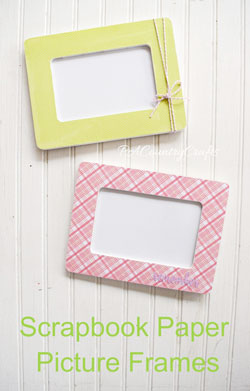
You may also like...