2017 Crafty Year in Review
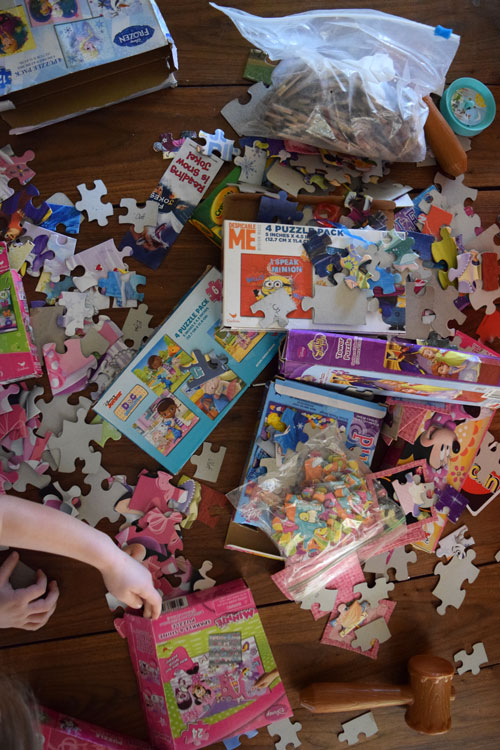
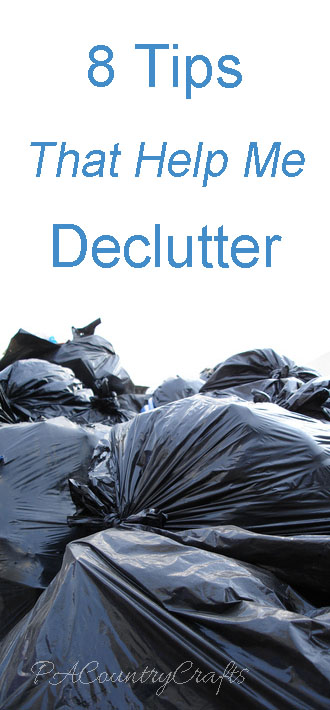
WOW! So much has happened this past year! I thought it might be fun to throw together one last blog post for the year recapping some of my favorite posts from 2017. Everything is linked if you missed it and want to go check it out! I started off 2017 very strong in the decluttering and organizing area. I keep a tally sheet and I have actually purged 95 garbage bags of "stuff" this year! Some was garbage and a lot was donated. This coming year I plan to be more intentional about what I bring into our home (especially craft supplies!) Also, look for more blog posts about this topic in the coming year.

8 tips that help me to declutter!

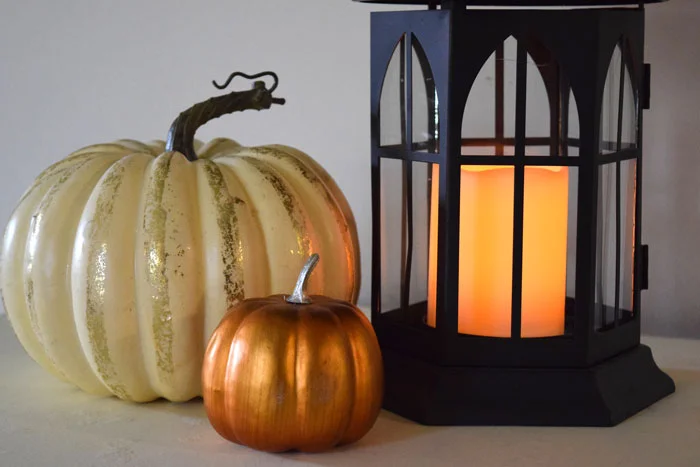
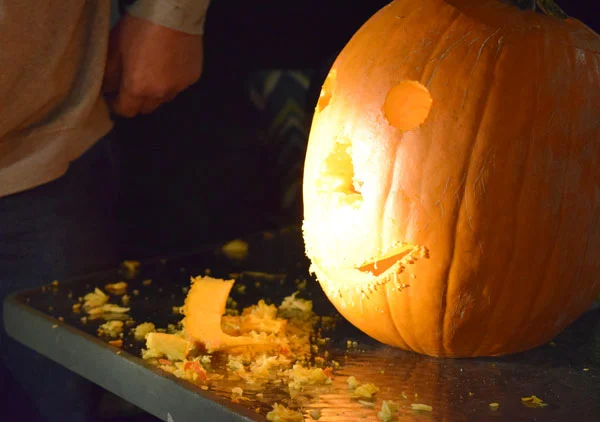
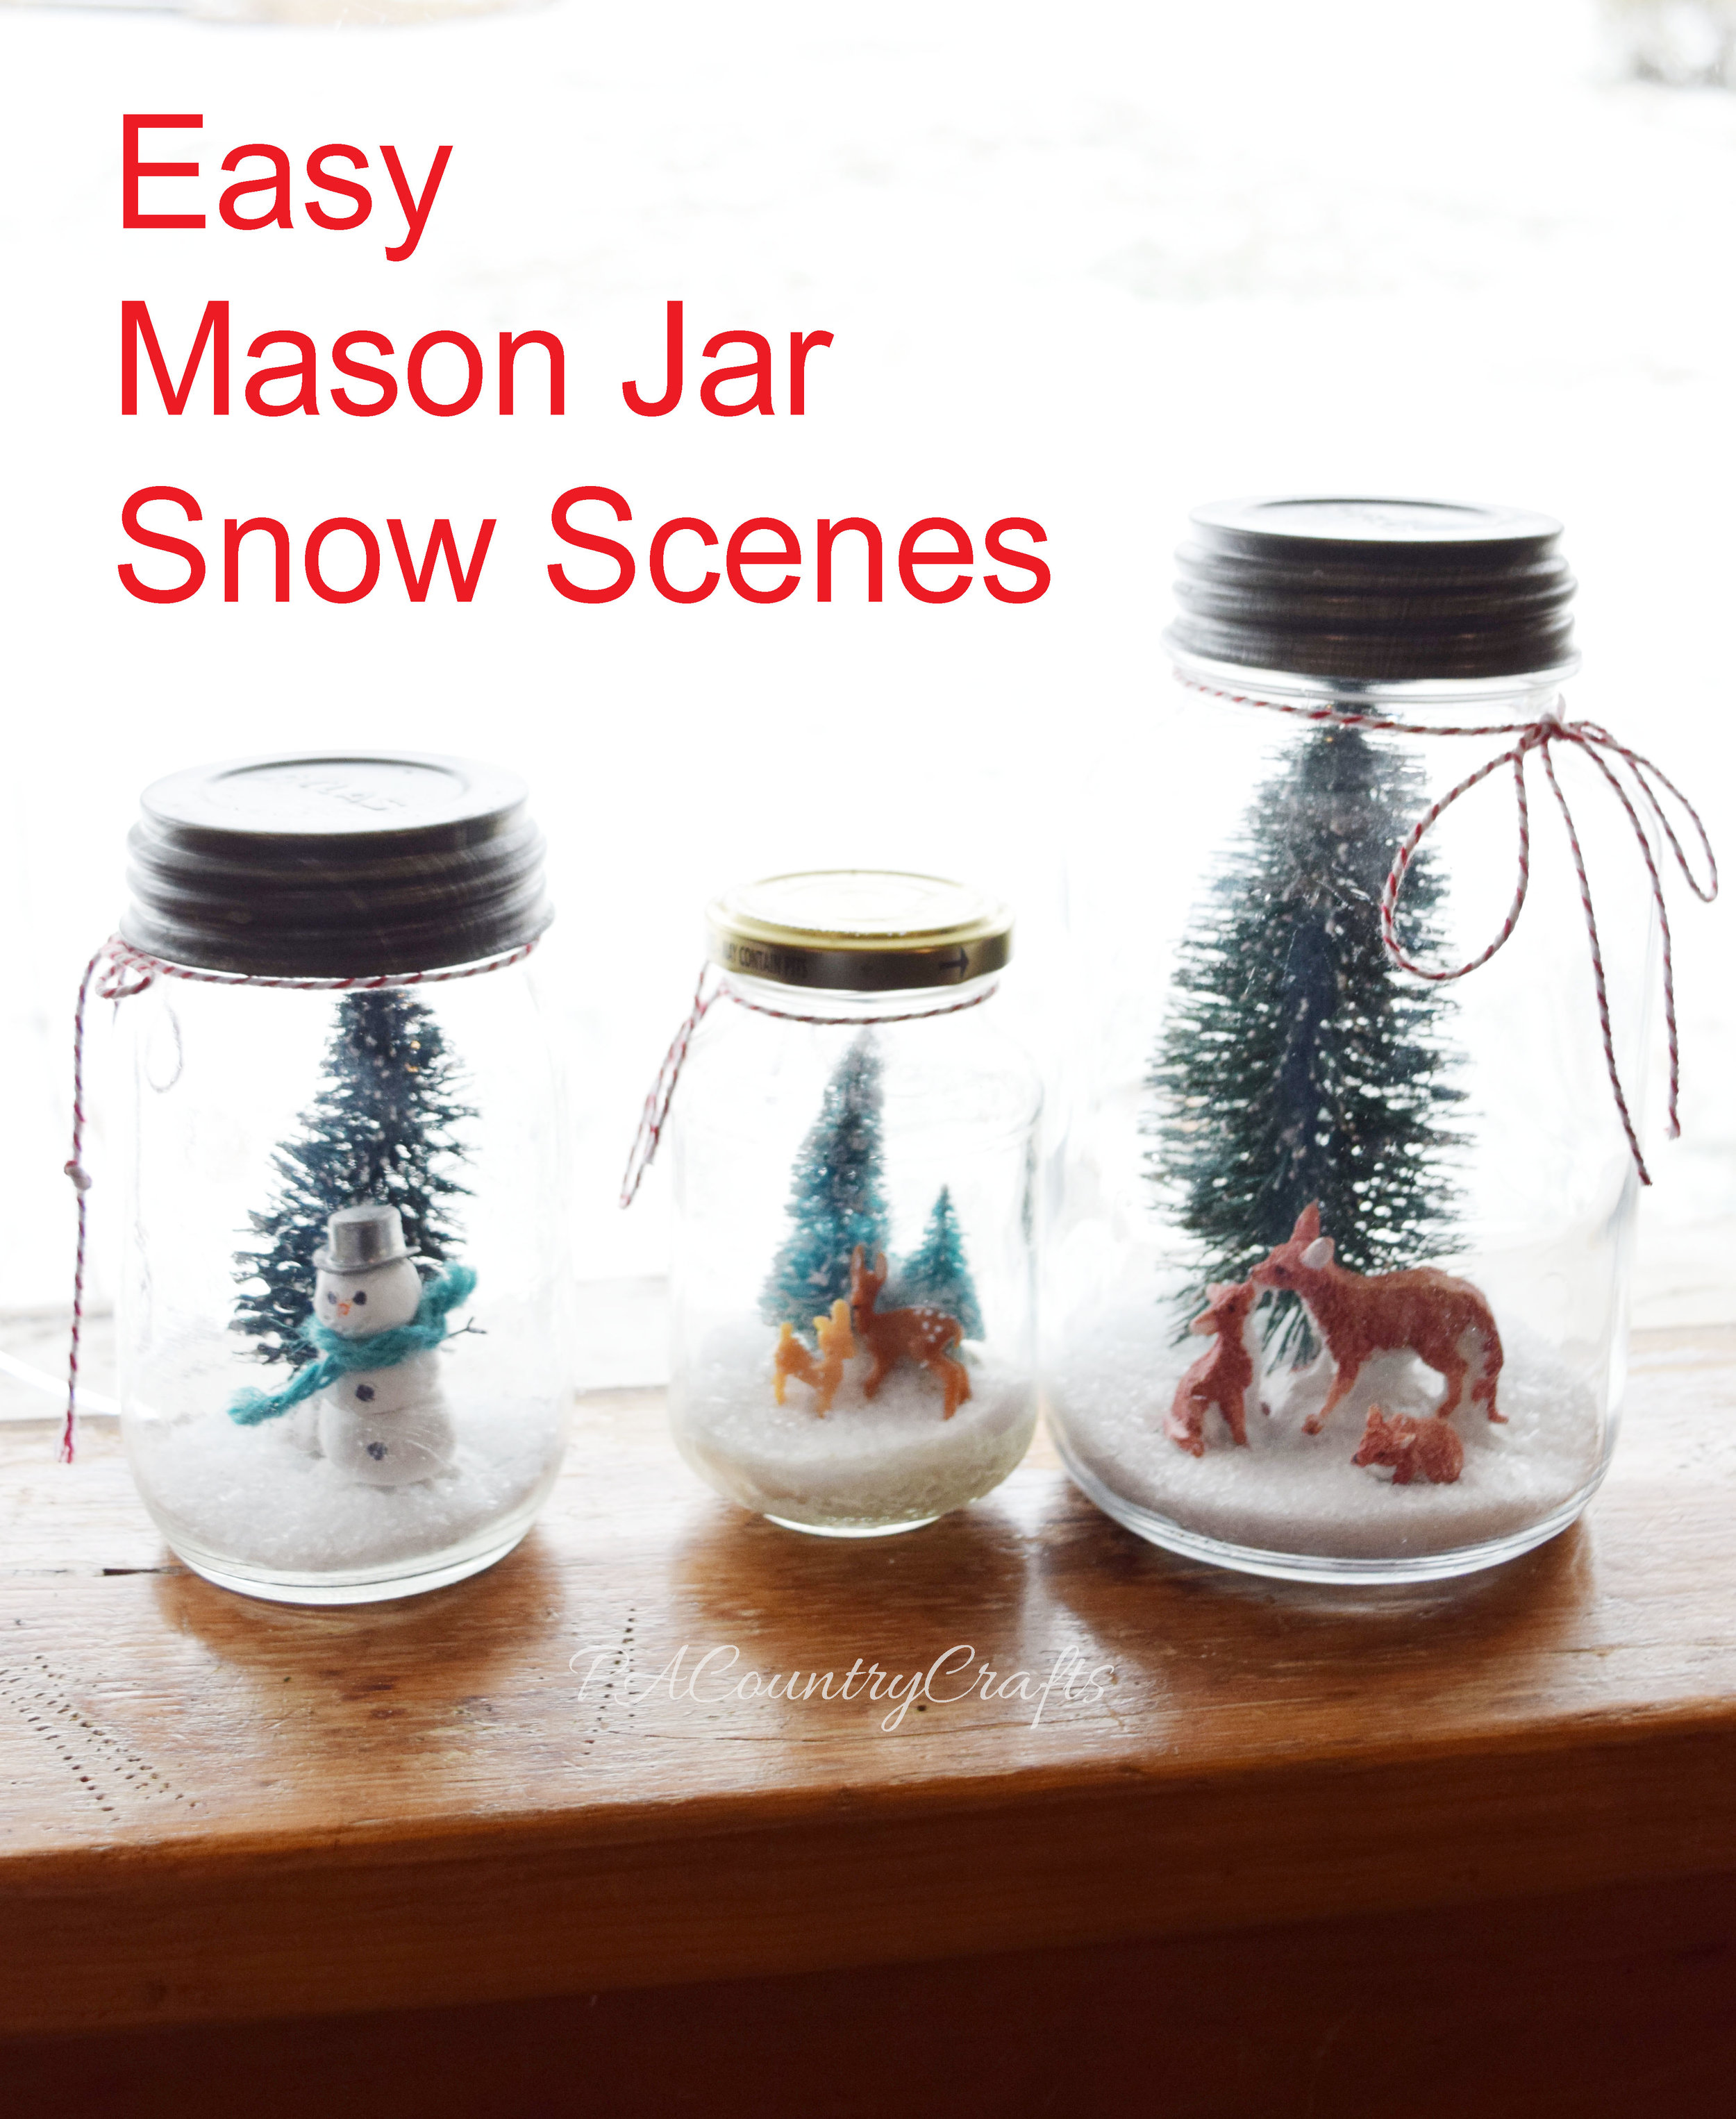
I did some winter decorating. (I can't wait to get all of that stuff back out next week when the kids go back to school! Yay!)

Rustic Winter Tree


Easy Mason Jar Snow Scenes

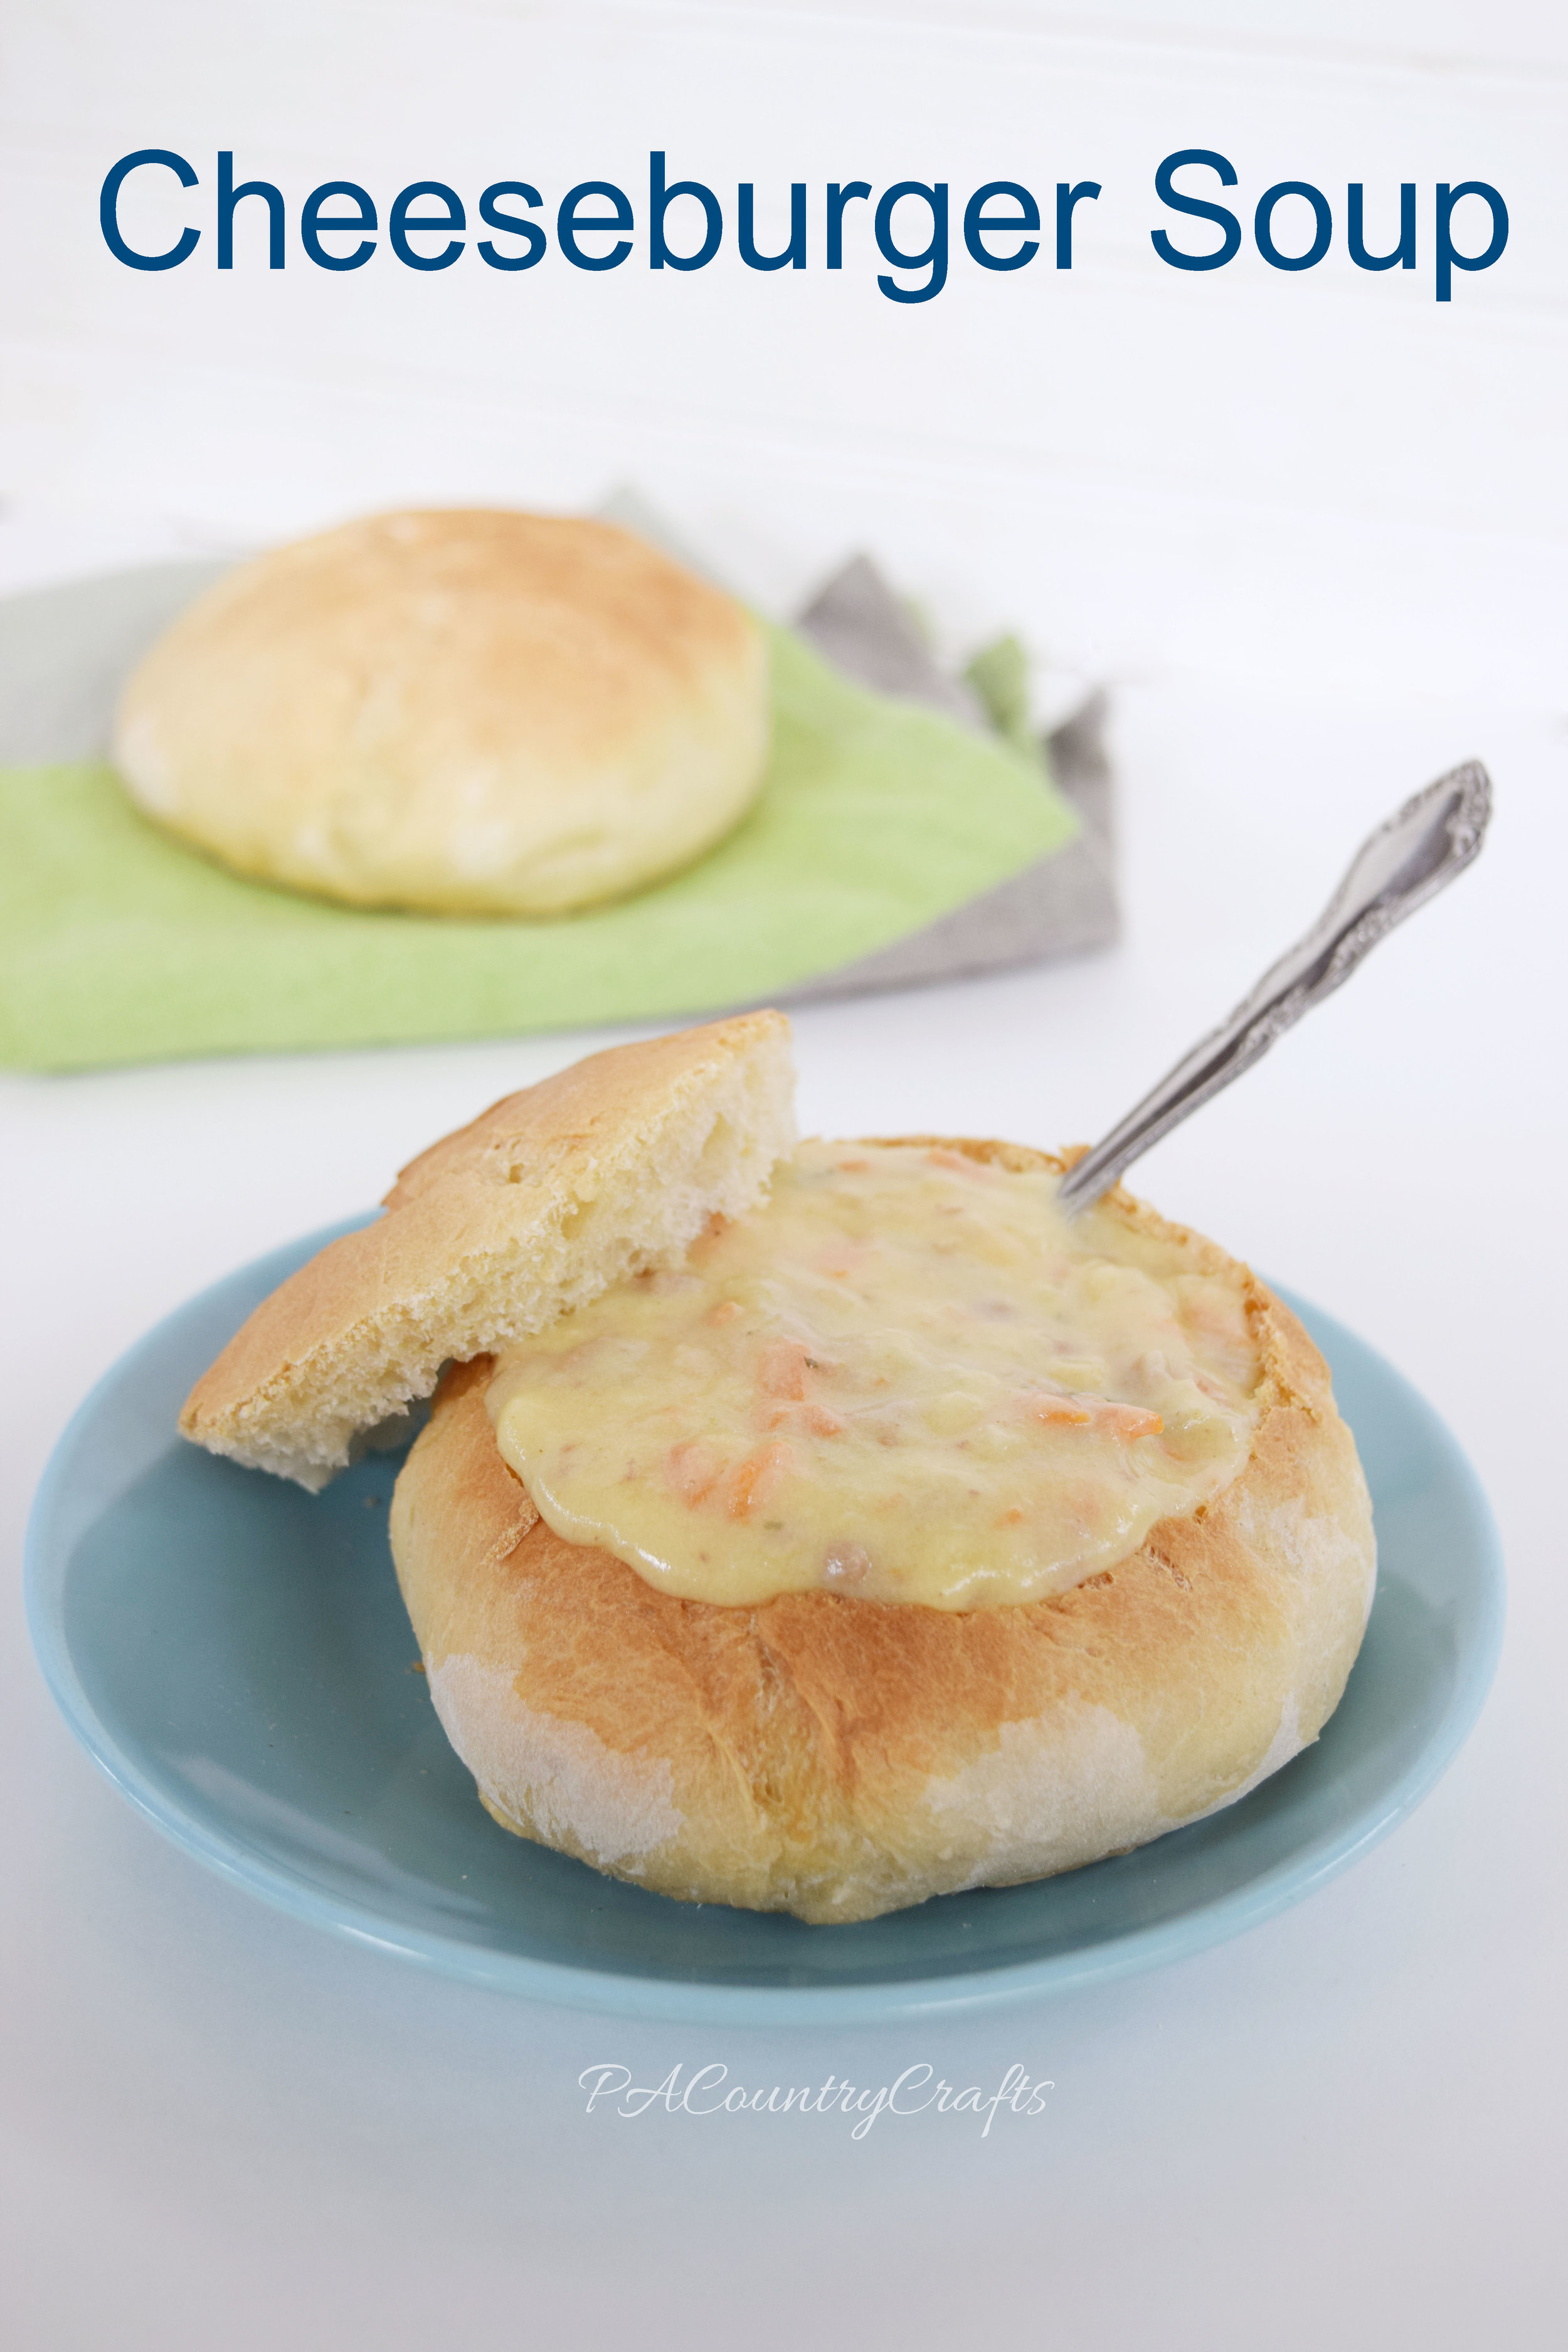
I shared some of my favorite recipes. This year, I am hoping to add more gluten free recipes since my husband is not friends with wheat.

Easy and delicious- cheeseburger soup!

Homemade Sweet Chili Sauce Recipe

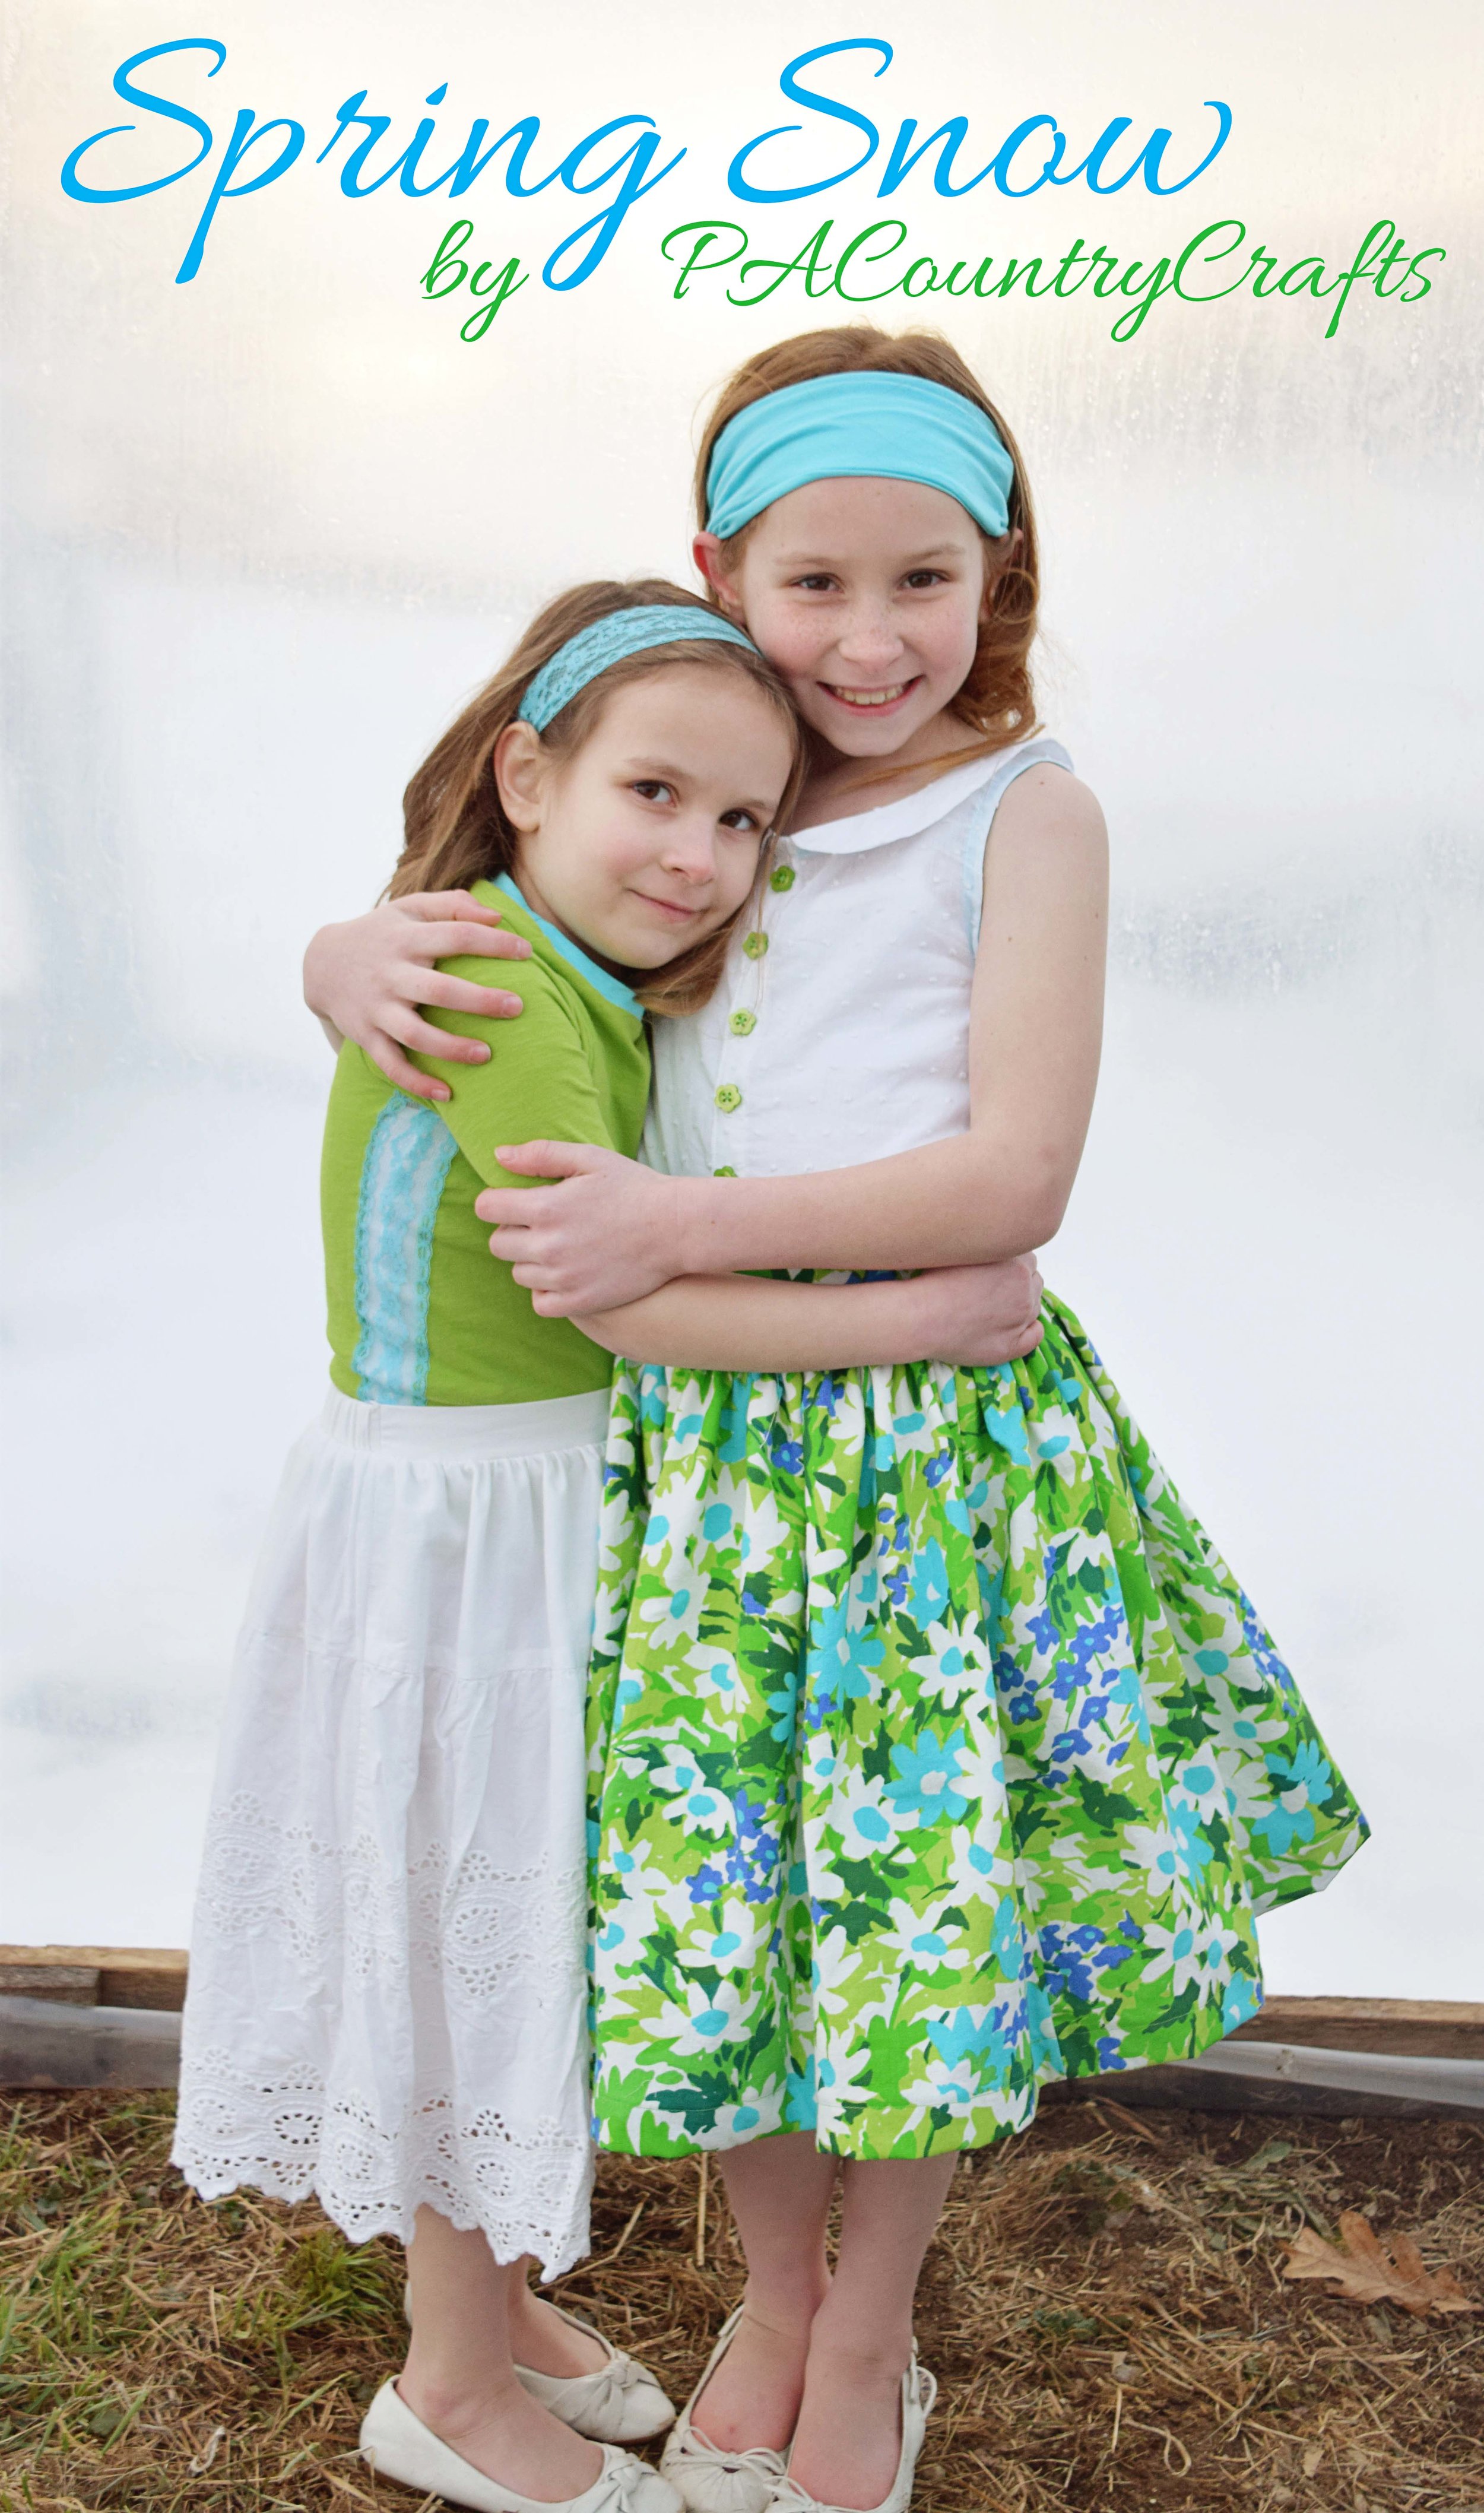
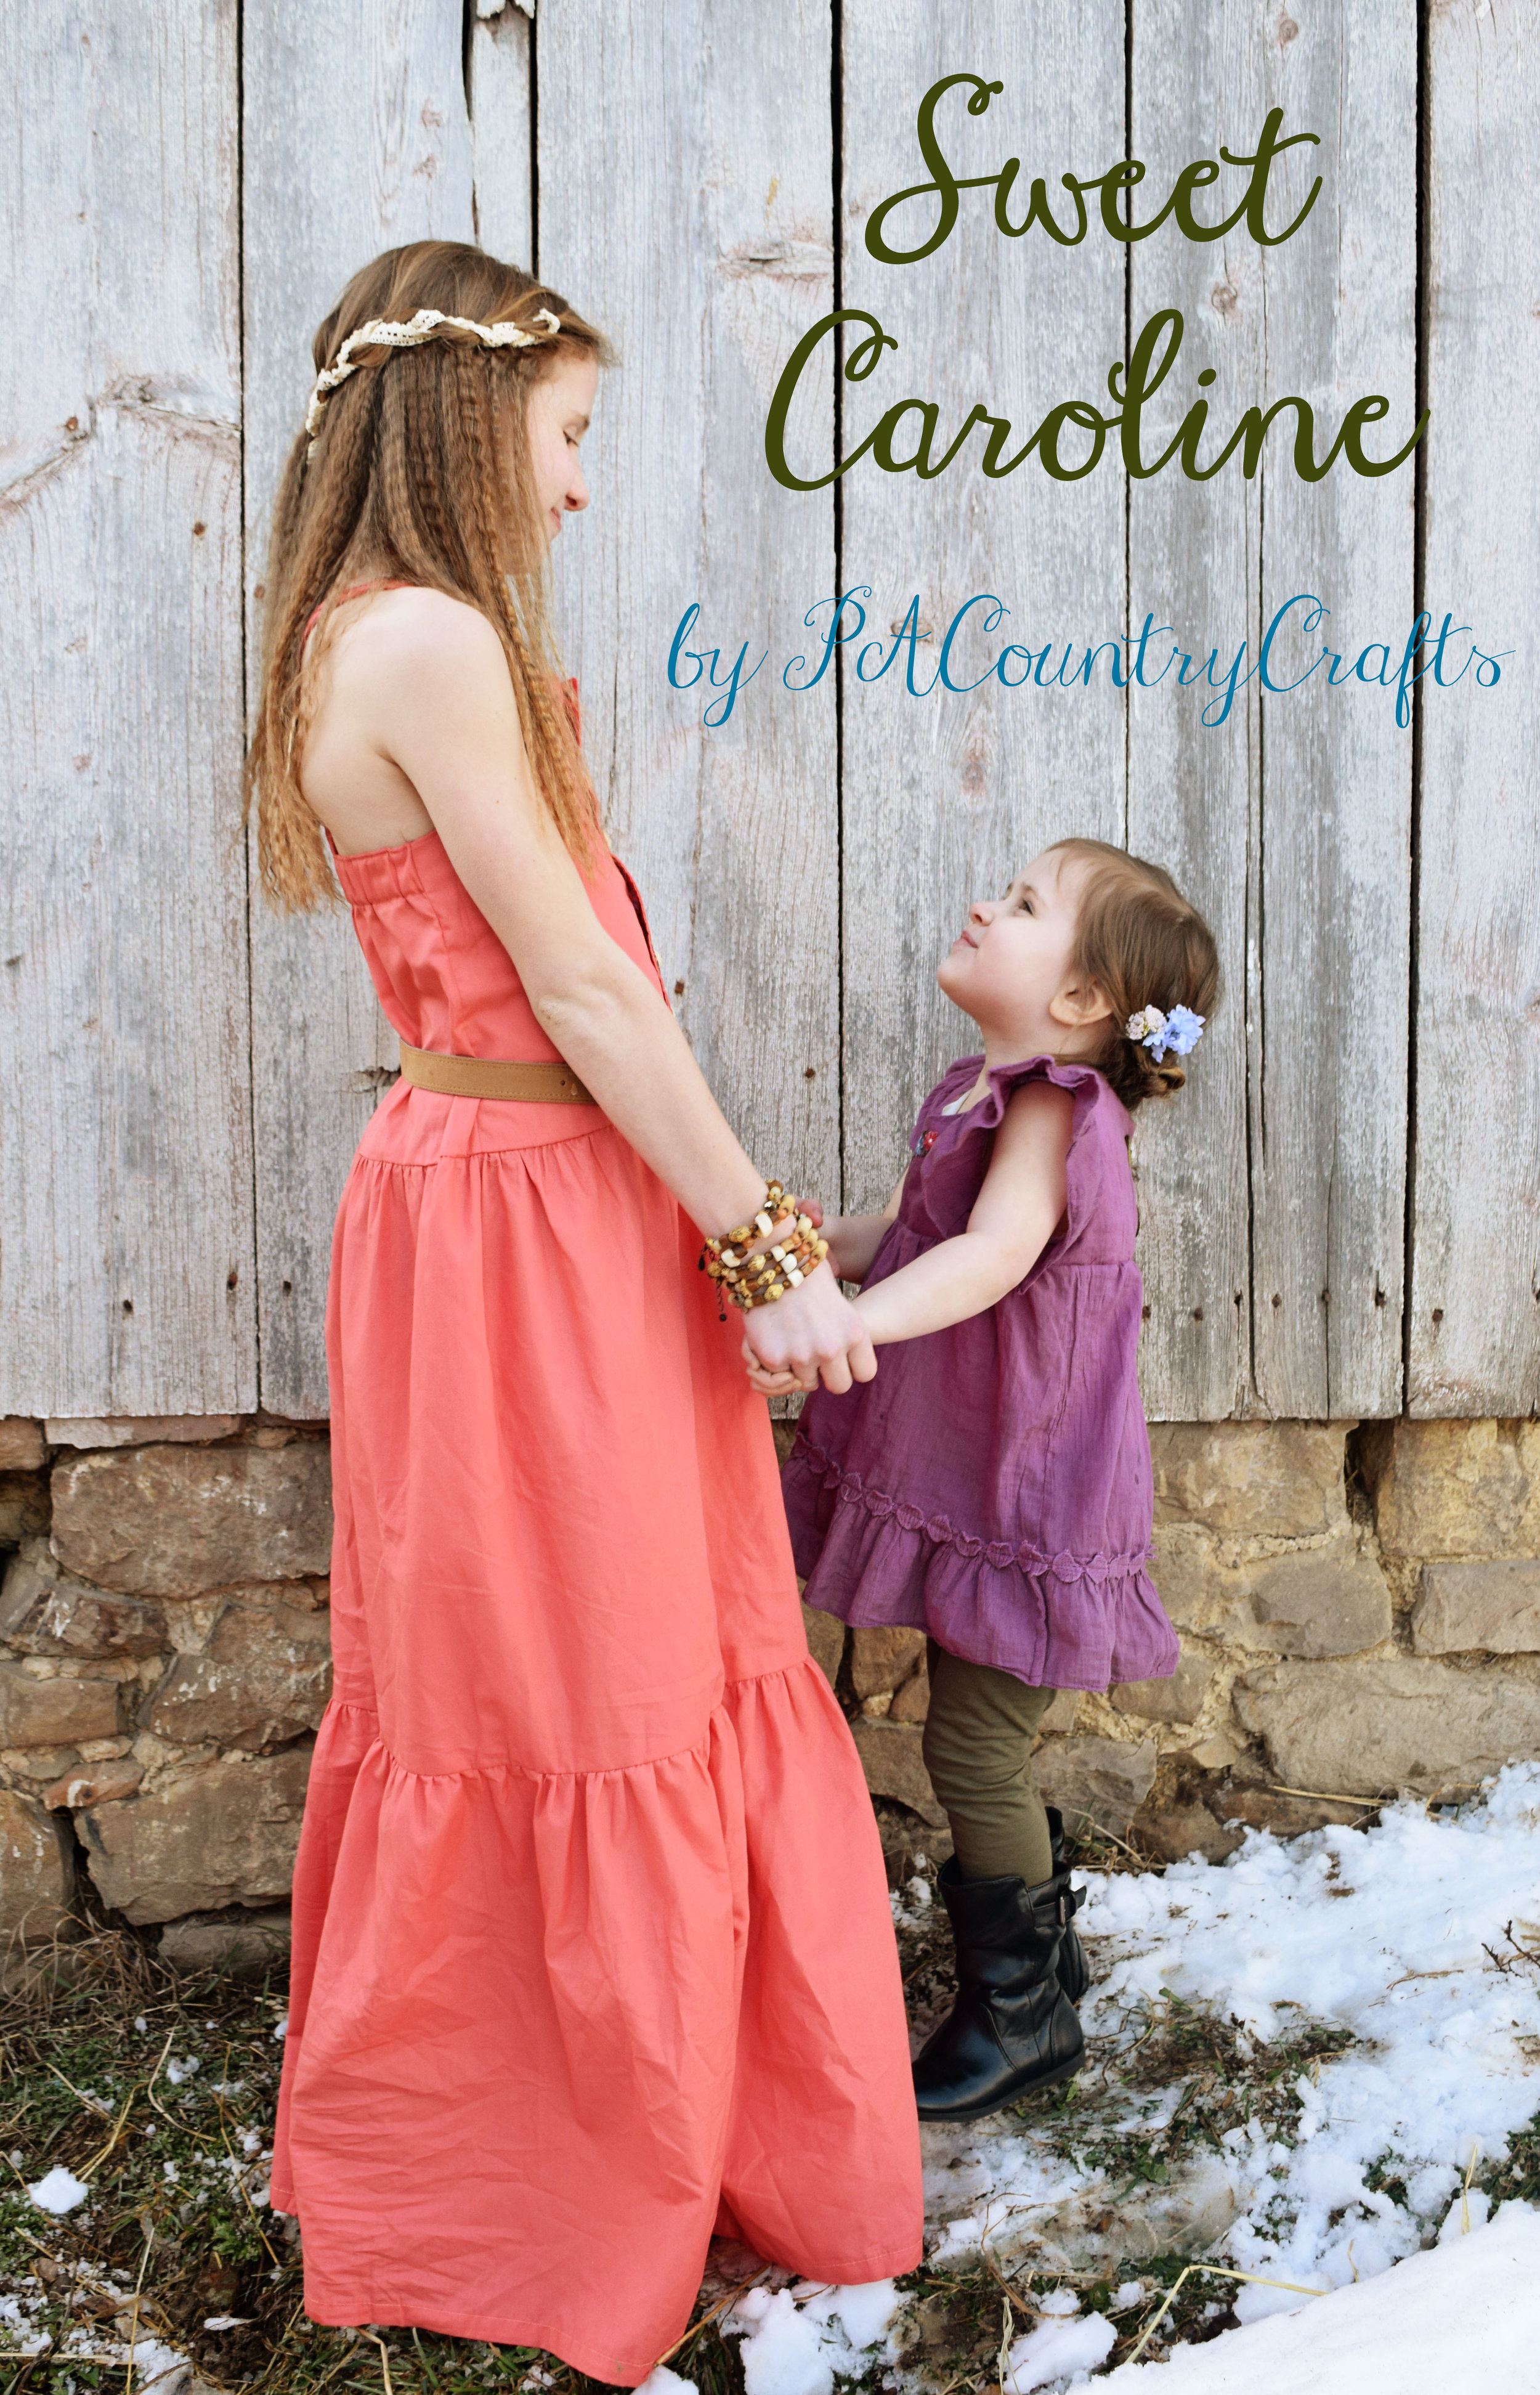
The biggest to happen on the blog this year was that I was chosen to participate in Project Run and Play... and I actually won! I was so intimidated by the other designers and it was so stressful (I might have burned myself out a bit) and the weather was absolutely horrible (a March blizzard!) but it was an amazing journey. I really pushed my limits through the competition.

A Notre Dame cathedral inspired dress with an applique circle skirt.

main-pic

Boho week for Project Run and Play!

the-last-easter-dress

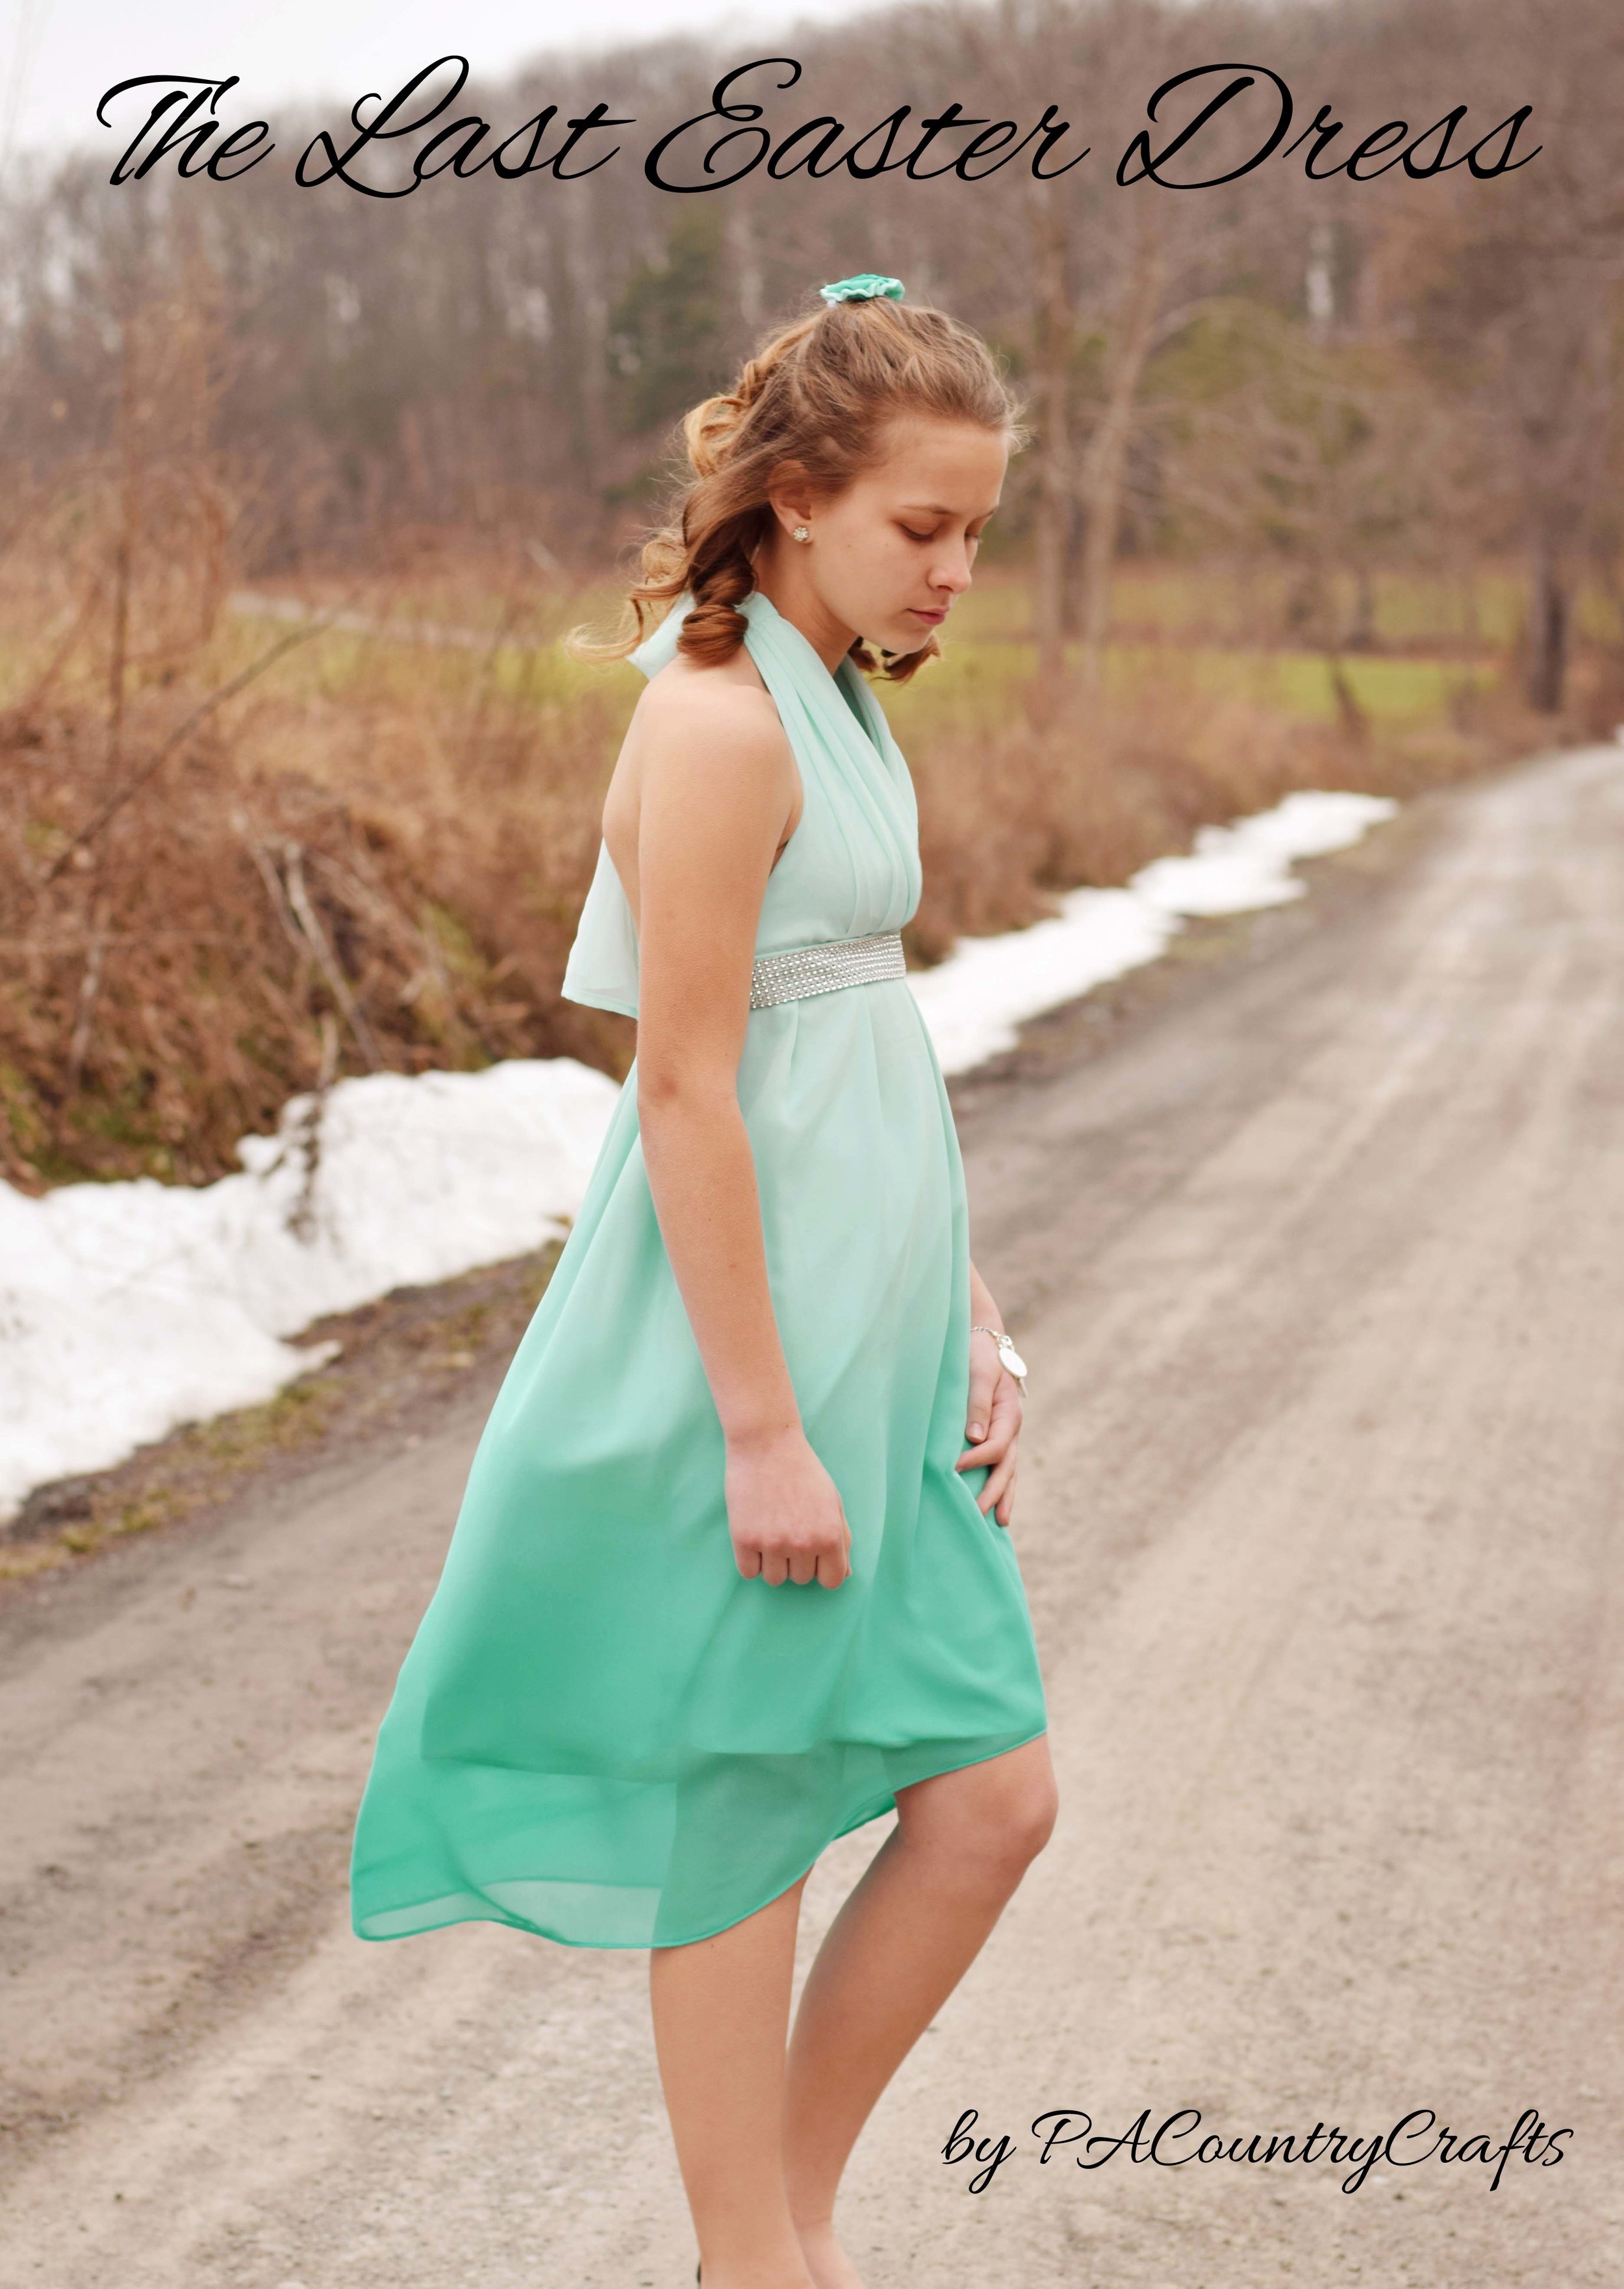
I never did sew Easter dresses for the rest of the girls after the competition was over this year. I really needed a break from sewing. I did, however, whip up some beautiful flower girl dresses for my niece's wedding. I really loved them!!!

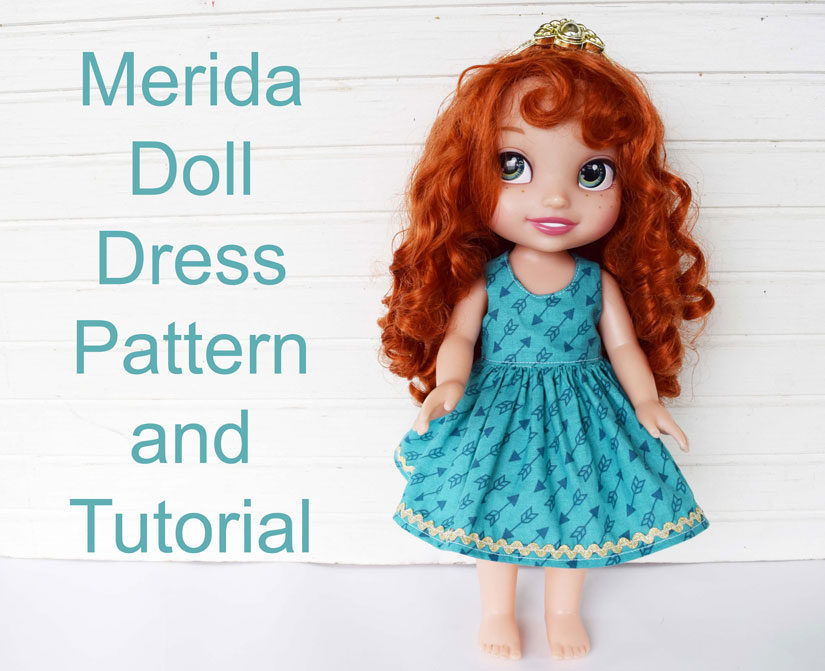
I added a new doll dress pattern and tutorial. These also fit Wellie Wisher dolls if anyone got one of those for Christmas! I have several new free patterns I hope to release soon.

free pattern and tutorial for a 14" doll dress

Sometimes I let my kids do some blogging, too. My 13yo had an entire week devoted to her love of washi tape.


Washi Week 2017

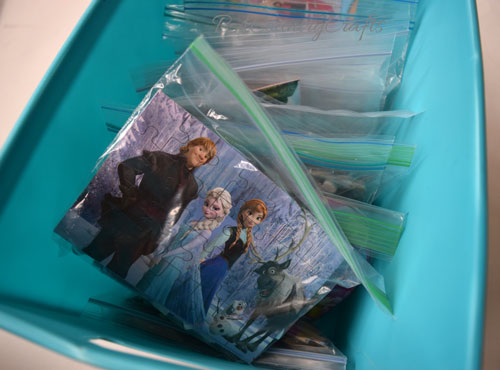
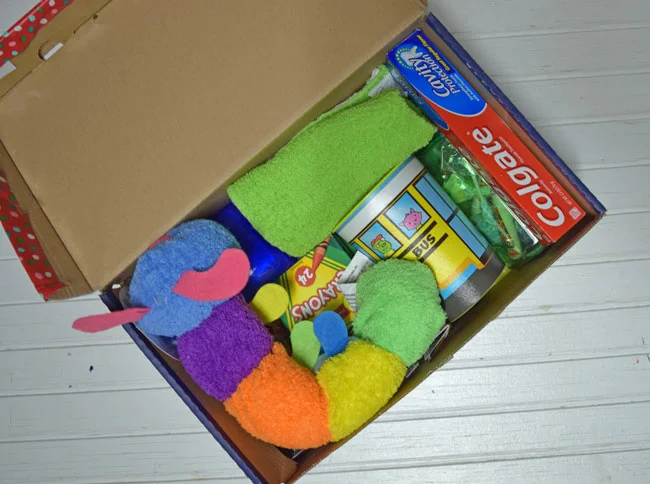
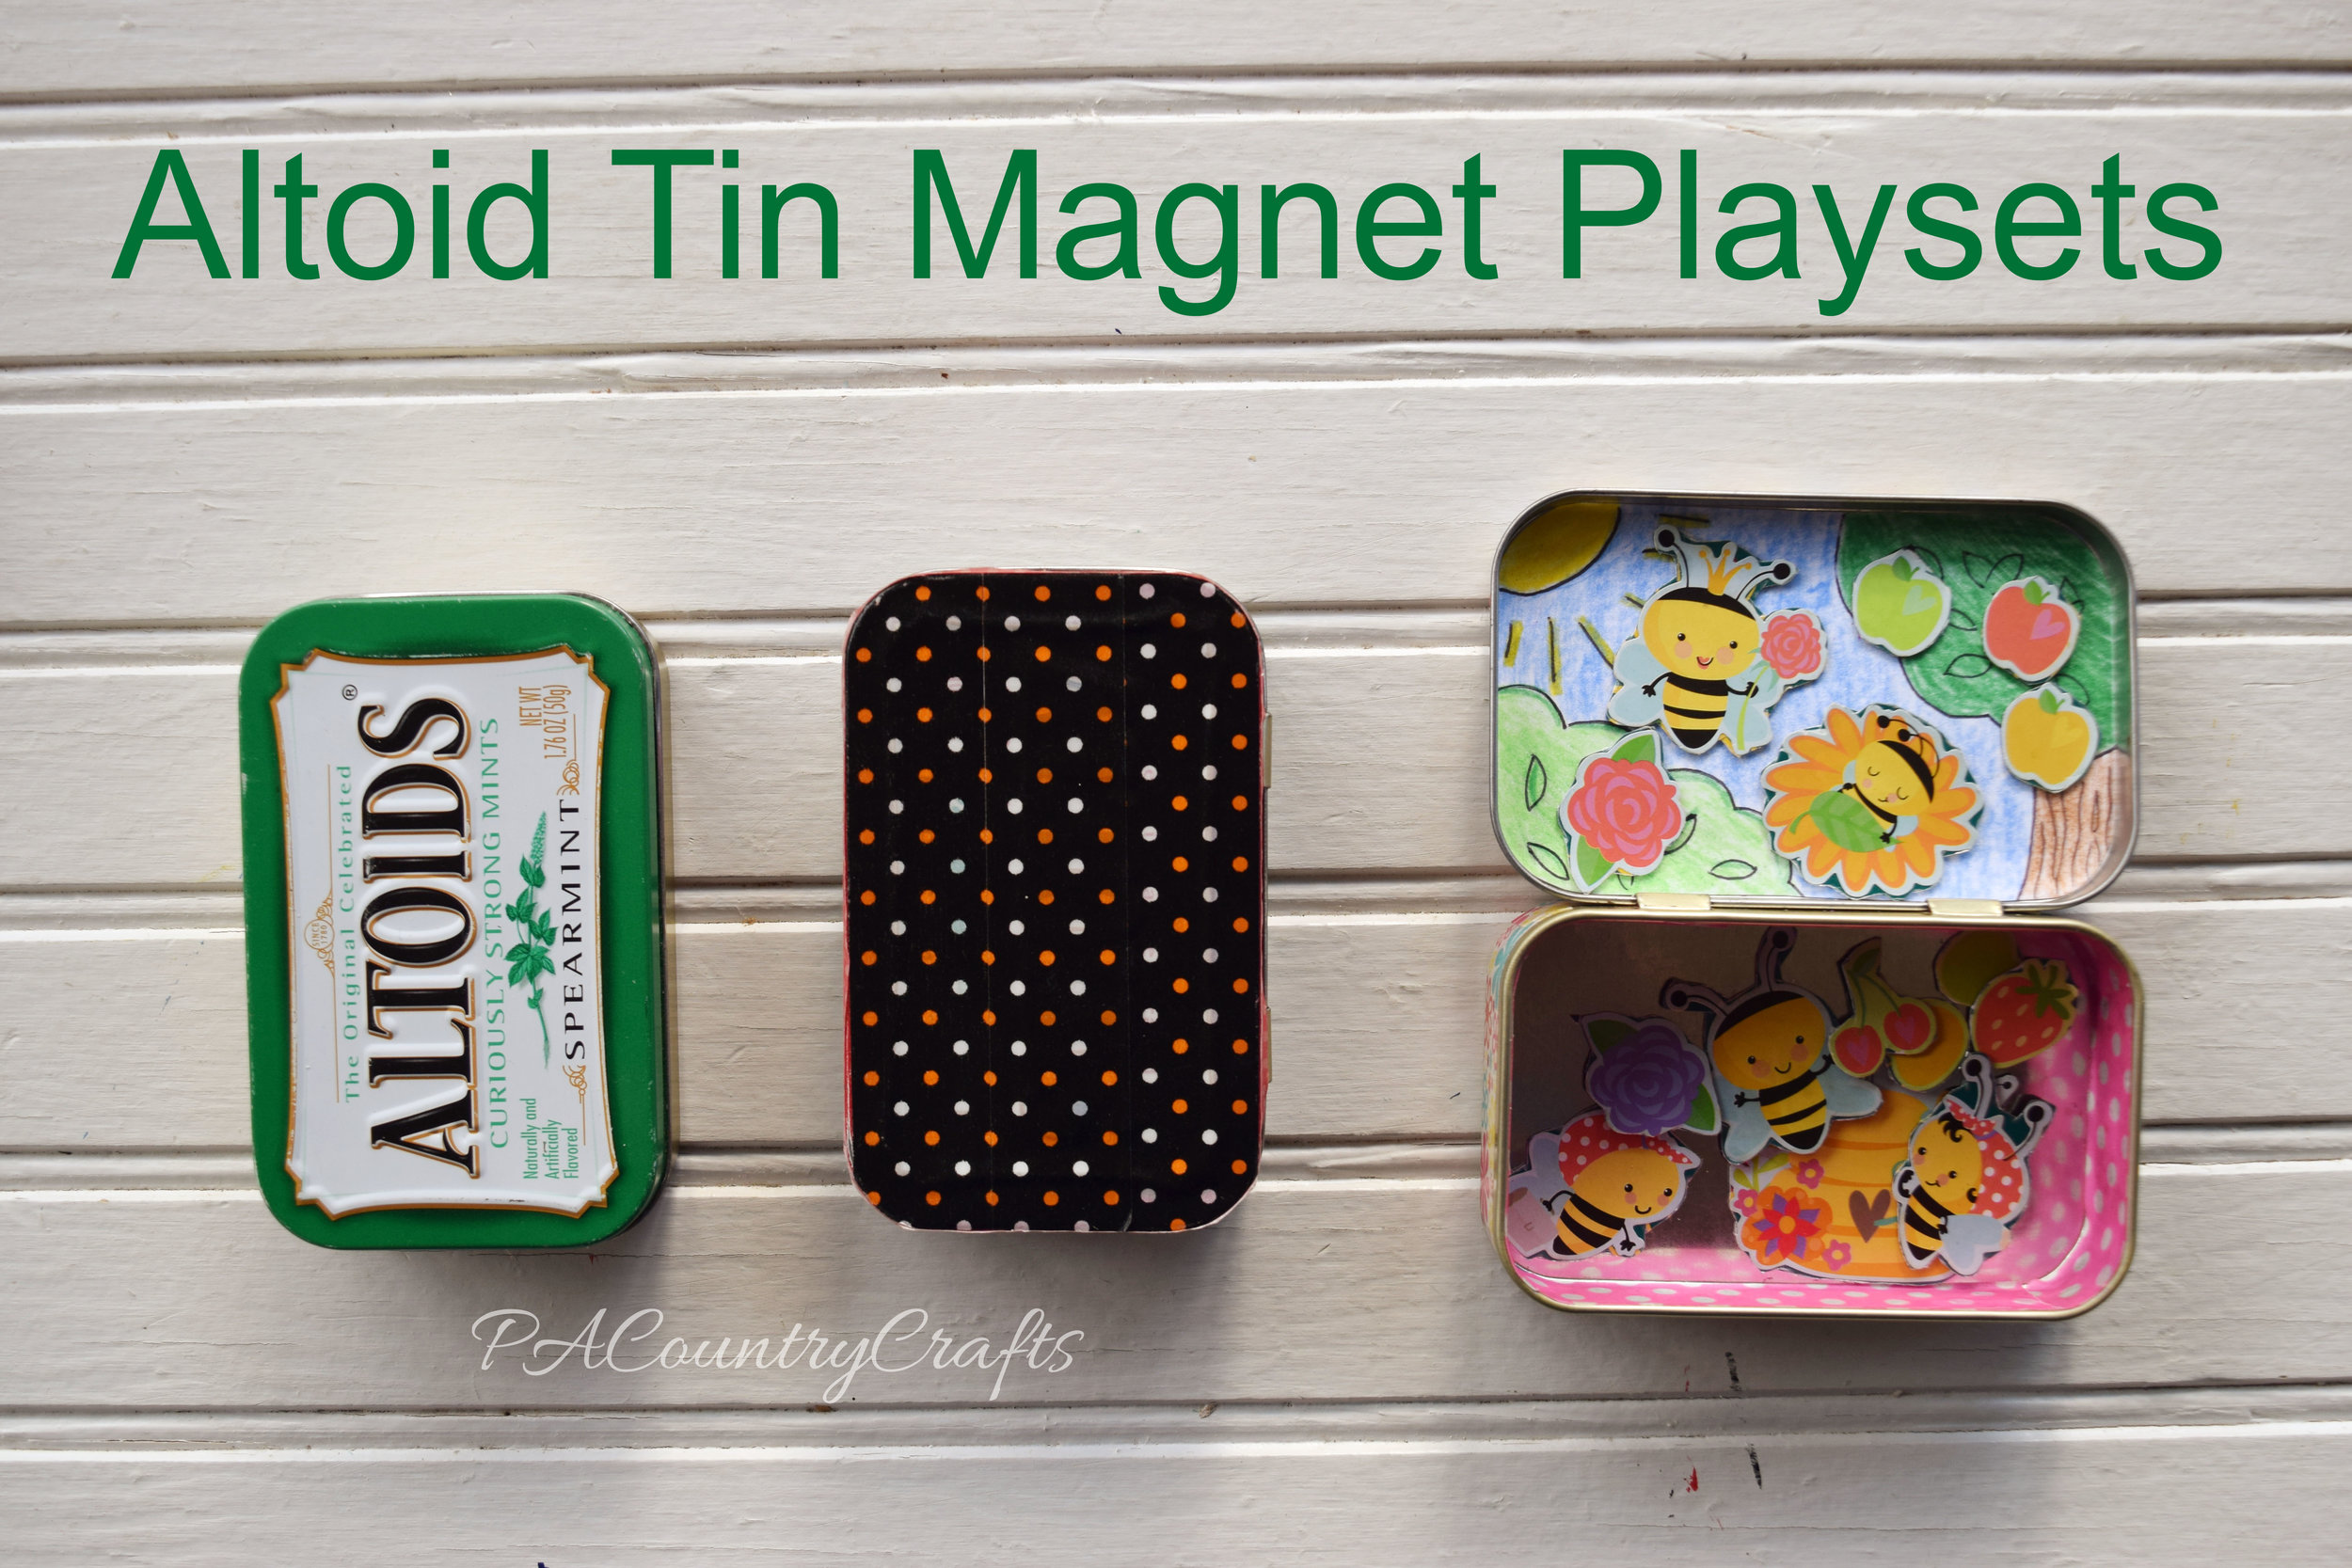
I had quite a few posts about kids crafts and activities. Here are some of my favorites...

felt penguin dress-up busy bag

Altoid Tin Magnet Playsets- perfect to tuck into the purse or diaper bag!

I expect 2018 to be a year of big changes- my oldest graduating high school and my youngest starting Kindergarten. These changes will likely affect my blogging in many ways. Expect a lot of weepy, sentimental posts. You have been warned. Perhaps I will have more time to sew/craft/blog this fall, but I doubt it. My kids are all getting older and entering new stages, so I won't be sewing or crafting the same things.

Also, blogs seem to be a dying art. I don't read blogs daily as I used to years ago. Social media is constantly changing, too. For now, I am pretty active on facebook and instagram, so you can follow me there if you are also not a daily blog reading type.

I hope your 2018 is an amazing year, no matter what changes it may bring!

Wordless Wednesday- Christmas

December is always a pretty slim blogging month for me. Other bloggers are sharing all of these awesome Christmas craft tutorials and I am usually just stuck at the idea stage of any Christmas craft projects. I get all of these fabulous ideas, perhaps even purchase the supplies, and then we just get busy. That is life. I have been trying to simplify Christmas as much as possible. I don't want it to be a stressful time of year. I want it to be a joyful time of year.

Everything went pretty smoothly and we had one of the nicest Christmases that I can remember.

But Christmas break is kicking my butt. It is hard to enjoy the time with your children when they steal coffee, fight, act out, trash the house, etc. I took all electronics on Day 2. We have no TV. It is too cold to play outside. They are definitely getting bored. Yet, I feel like if I take them anywhere fun it will be a reward for their awful behavior.

Yesterday I ate a half of a bag of m&m's.

So, I am trying to blog, but the words are stuck. So, although I just typed out a bunch of stuff, I am now giving you a "wordless Wednesday" post, inspired by the good old days when people read blogs daily. It is a conglomeration of fun pics snapped around the house and assorted crafts. Enjoy.


DIY Handwriting Copy Sign Tutorial

A new trend I have noticed is displaying portions of handwritten notes enlarged as a sign. I think it is a lovely way to remember special words. I was recently asked to create a sign with a portion of Clarence's note from It's a Wonderful Life so I thought I would snap a few pictures of the process to share a tutorial on the blog.

DIY Handwriting Copy Sign Tutorial

I happened to have the perfect size board already on hand. It is a rough cut board sanded slightly, so it has the rough edges and saw blade marks still visible. It really gives the piece some rustic character. I just lightly brushed some cream paint onto the board to get a weathered effect. You can also sand the edges to remove paint and make it more rustic.

Next, I resized the portion of the original note I was using and printed it out. (I just use Microsoft Word because I can use the page size to estimate dimensions.) I used carbon paper to transfer the image to the painted wood.

It's a Wonderful Life Quote
Use carbon paper to transfer handwriting to wood
How to transfer handwriting to signs

I used a fine tip black paint marker to paint the words onto the wood. It is more natural to make handwriting with a paint marker vs. a paintbrush. I also let the roughness of the wood texture the lettering by not filling in chips and grain.

How to easily make a sign from handwriting

Finally, I applied an antiquing wax to further age and seal the piece.

It's a Wonderful Life sign- Clarence's note

I think this technique would be really sweet for old love notes from your spouse, cards from special occasions, or even treasured family recipes!

You may also like...

Puzzle Organization

Hey there! I am still here. You can always assume that if I am not blogging it is because I am super busy with real life stuff. I tend to take on too much and end up getting really burned out. That usually results in getting sick, too. It is like my body is forcing me to slow down and take care of myself. Unfortunately, moms don't get sick days. Even though my 4yo was struggling with a nasty cold herself, she still had way more energy than I could handle. I have written before about utilizing busy bags, quiet books, or stashes of special toys/activities to keep little ones occupied. The past few days we have gone through quite a few of them.

At the beginning of the year I was on a major decluttering and organizing spree. One of the things I tackled was the puzzles. I decided to throw away any puzzles that did not have all of their pieces. Most of them are from the Dollar Tree so it was not a great loss. It made it easier to clean the rest of the house because I tossed any pieces I found instead of saving them and trying to put them in the right box later. Here is the before picture...

Puzzle boxes take up a lot of space for the tiny pieces that they hold. They also come in all shapes and sizes, so the boxes do not stack neatly anywhere. I decided that it was easier to put them all in bags instead. All of the bags fit in one bin from the Dollar Tree. (Honestly, I don't shop there very often!) I cut the pictures off of the boxes so that they know what it is supposed to look like.

I can fit dozens of puzzles in that little bin!

It was a simple storage solution for us. Although, the puzzle my daughter chose to do was actually missing one piece. Figures!

Other posts that you may find helpful…

8 Tips that Help Me Declutter

Kitchen Decluttering and Organizing

Kitchen Organization for Lunchbox Stuff

Kitchen Drawer Organizing