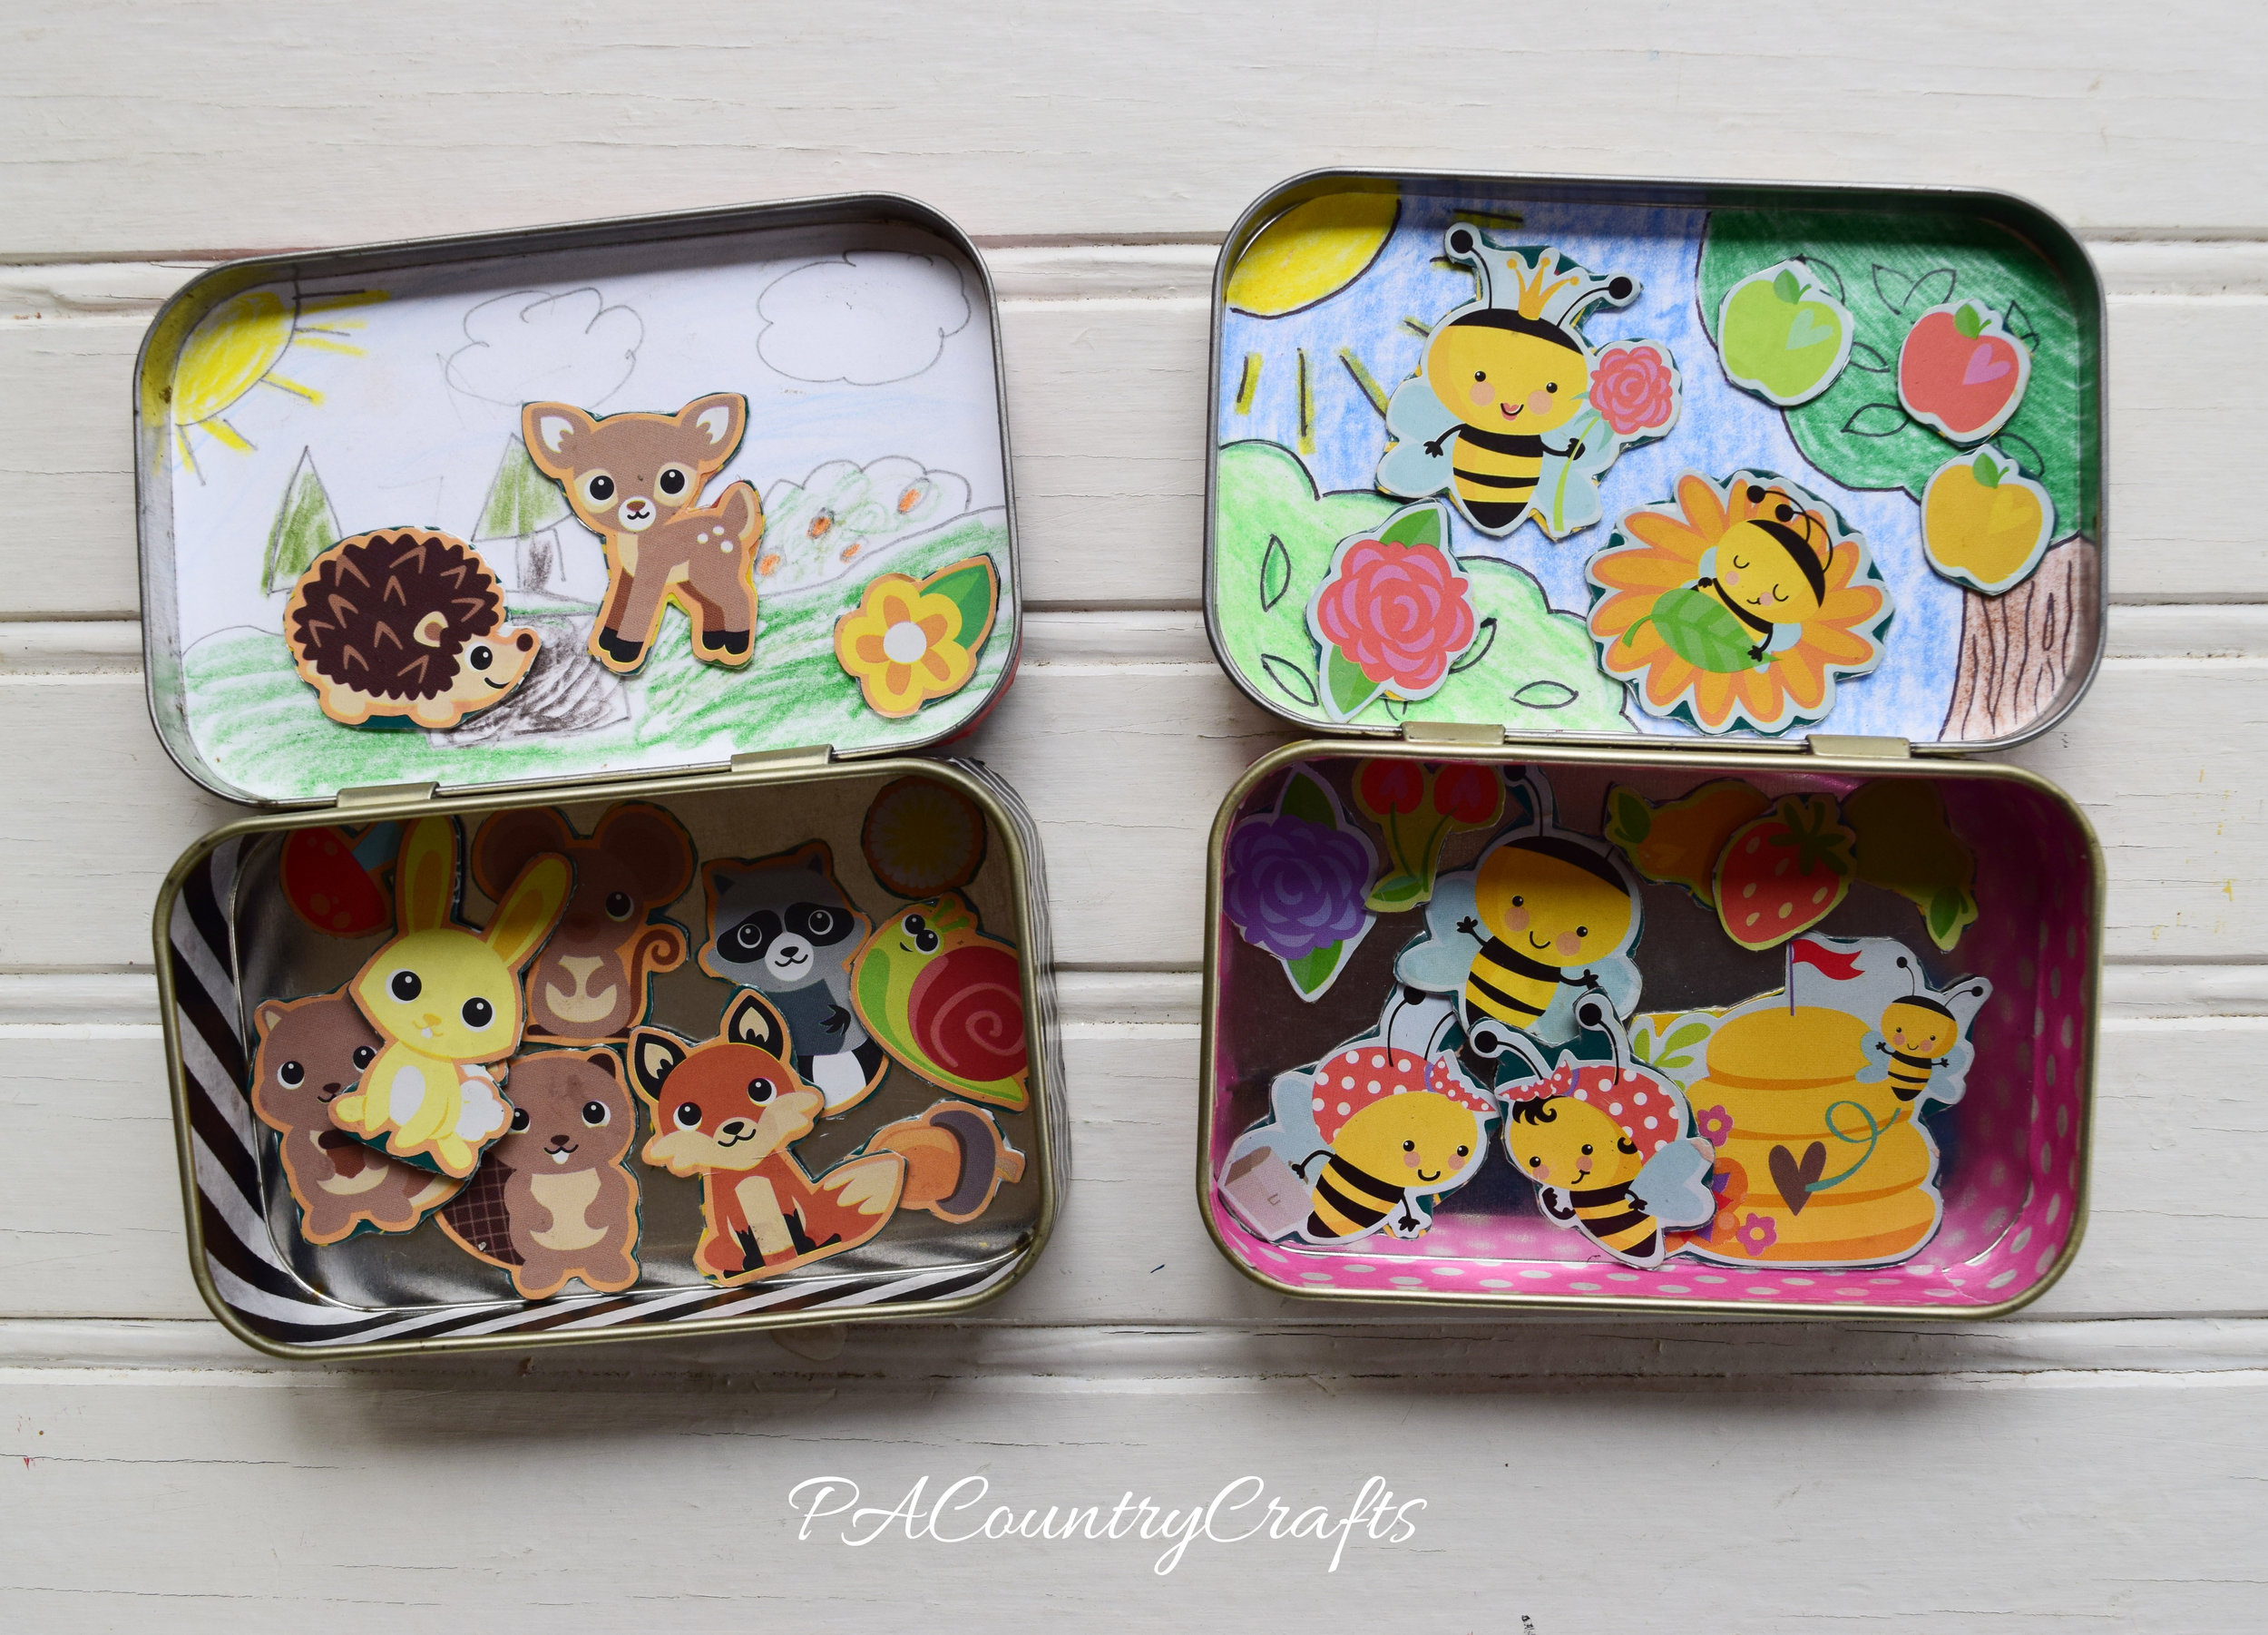
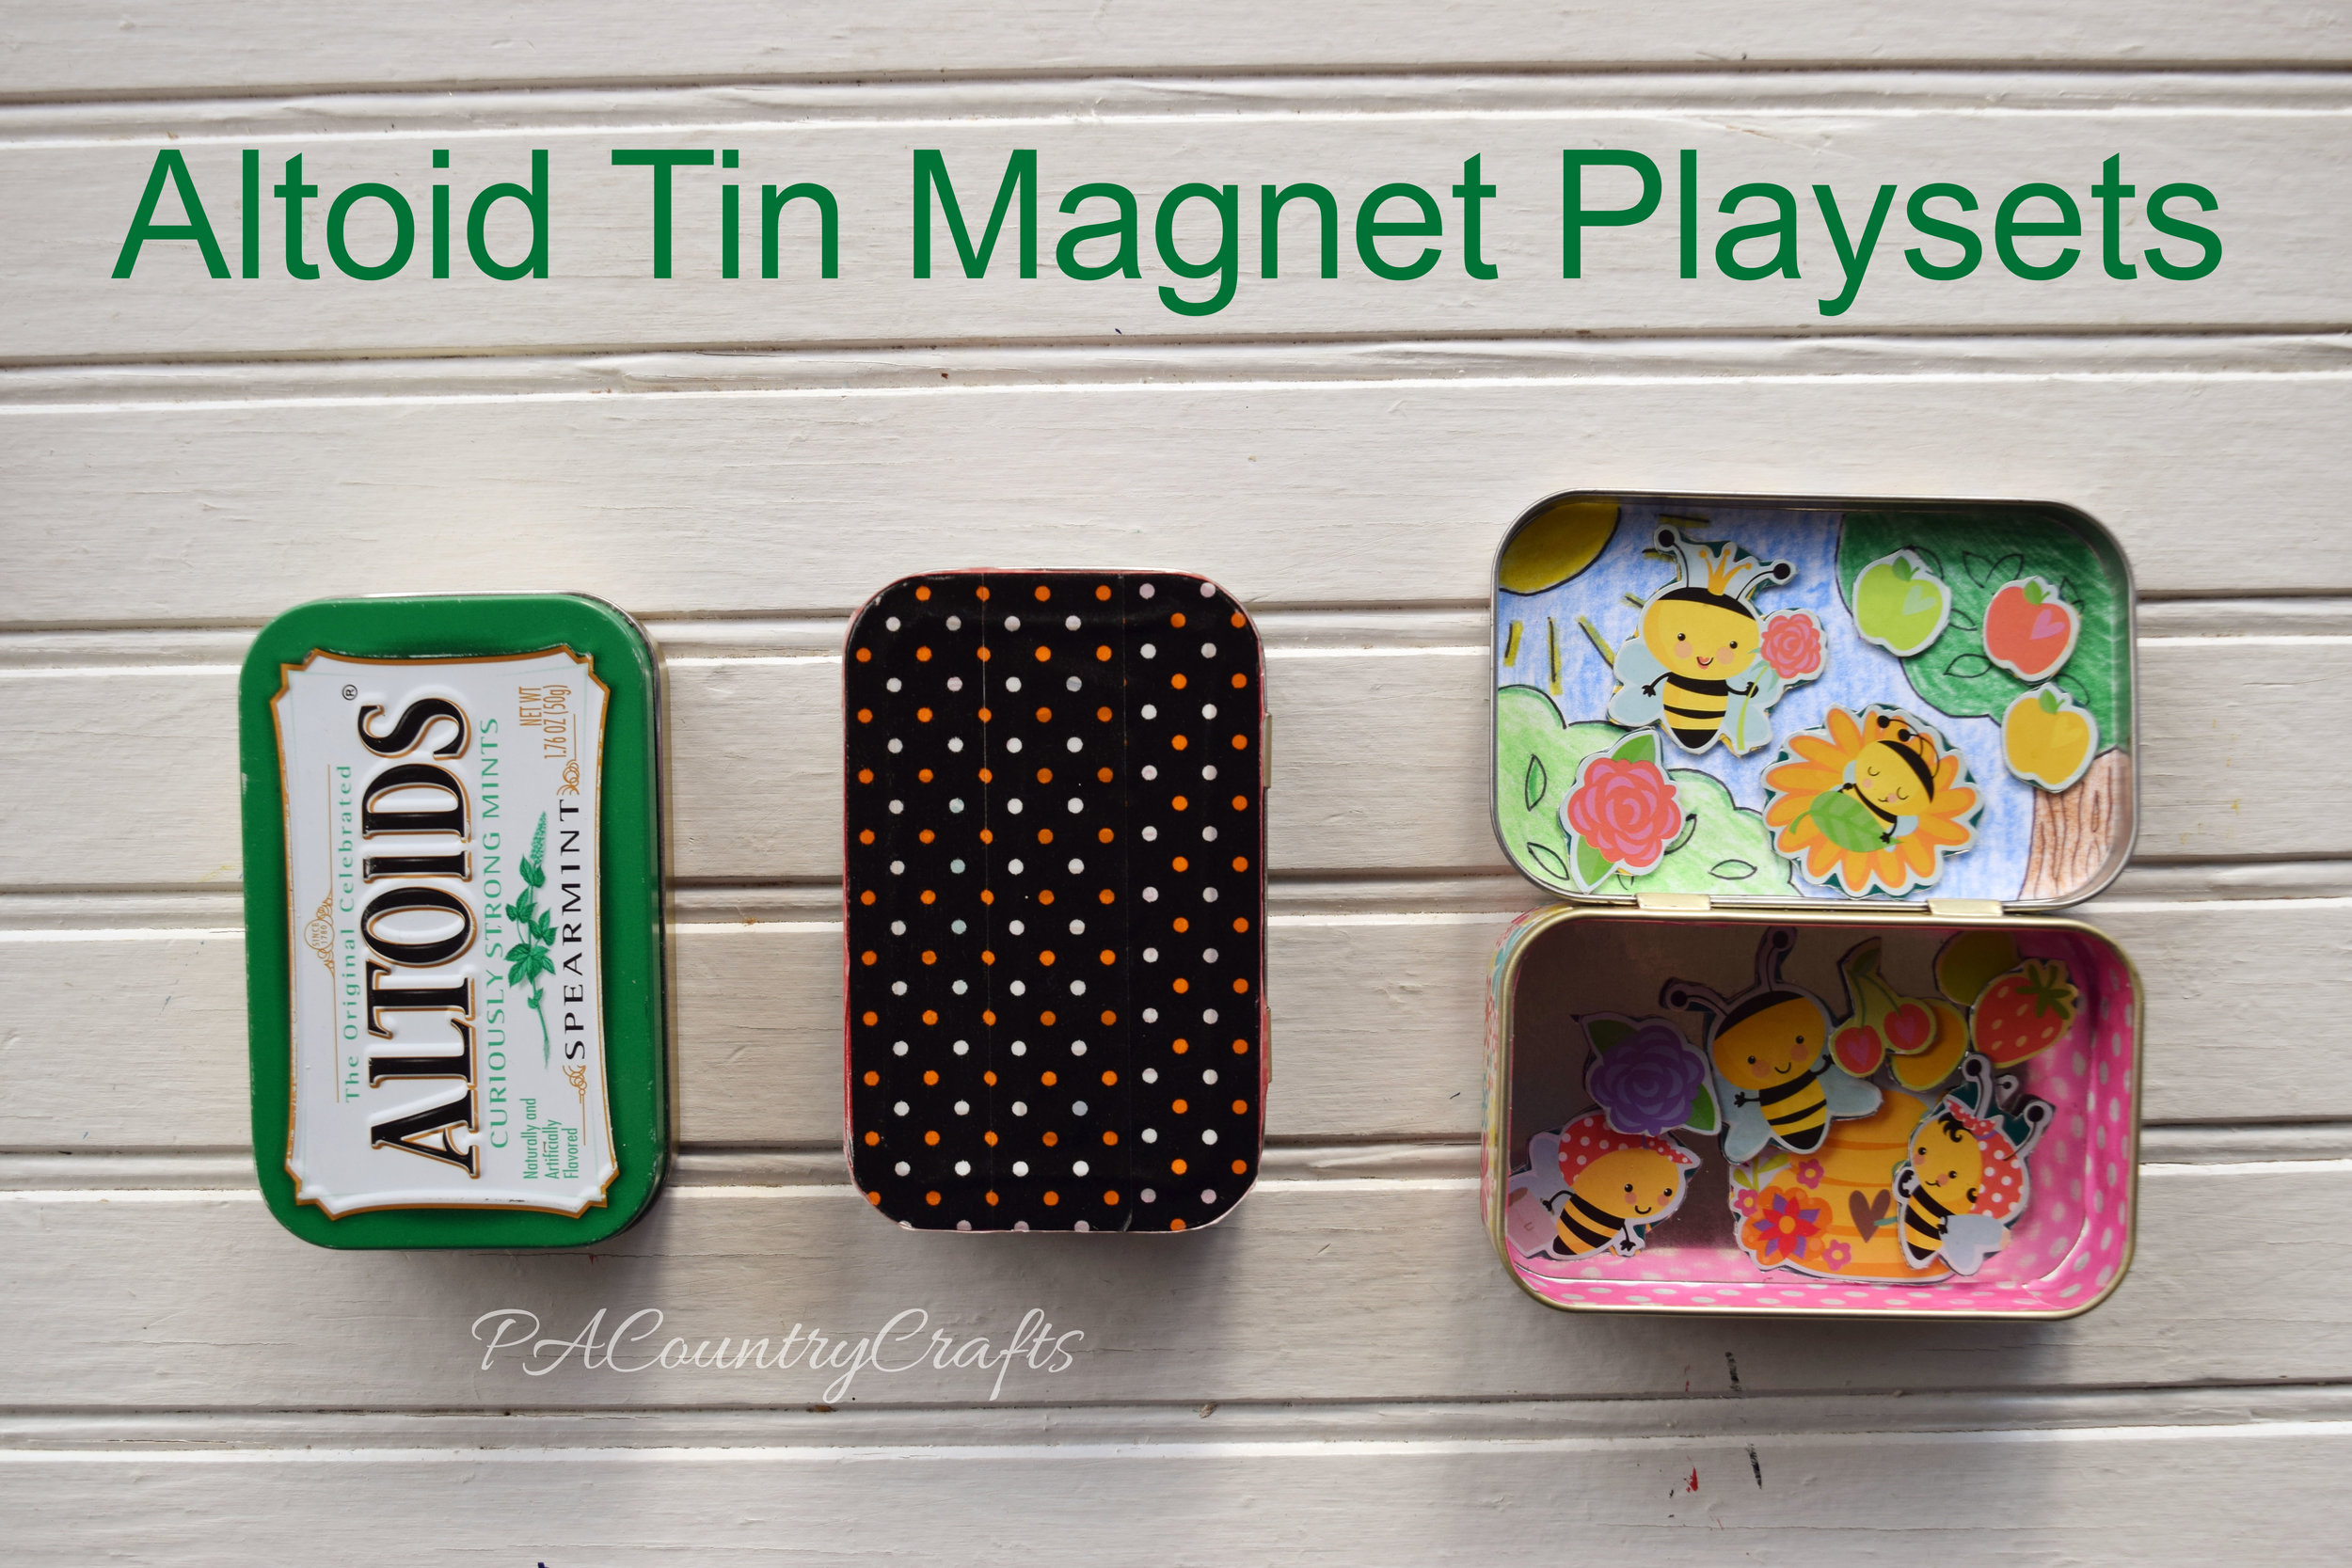
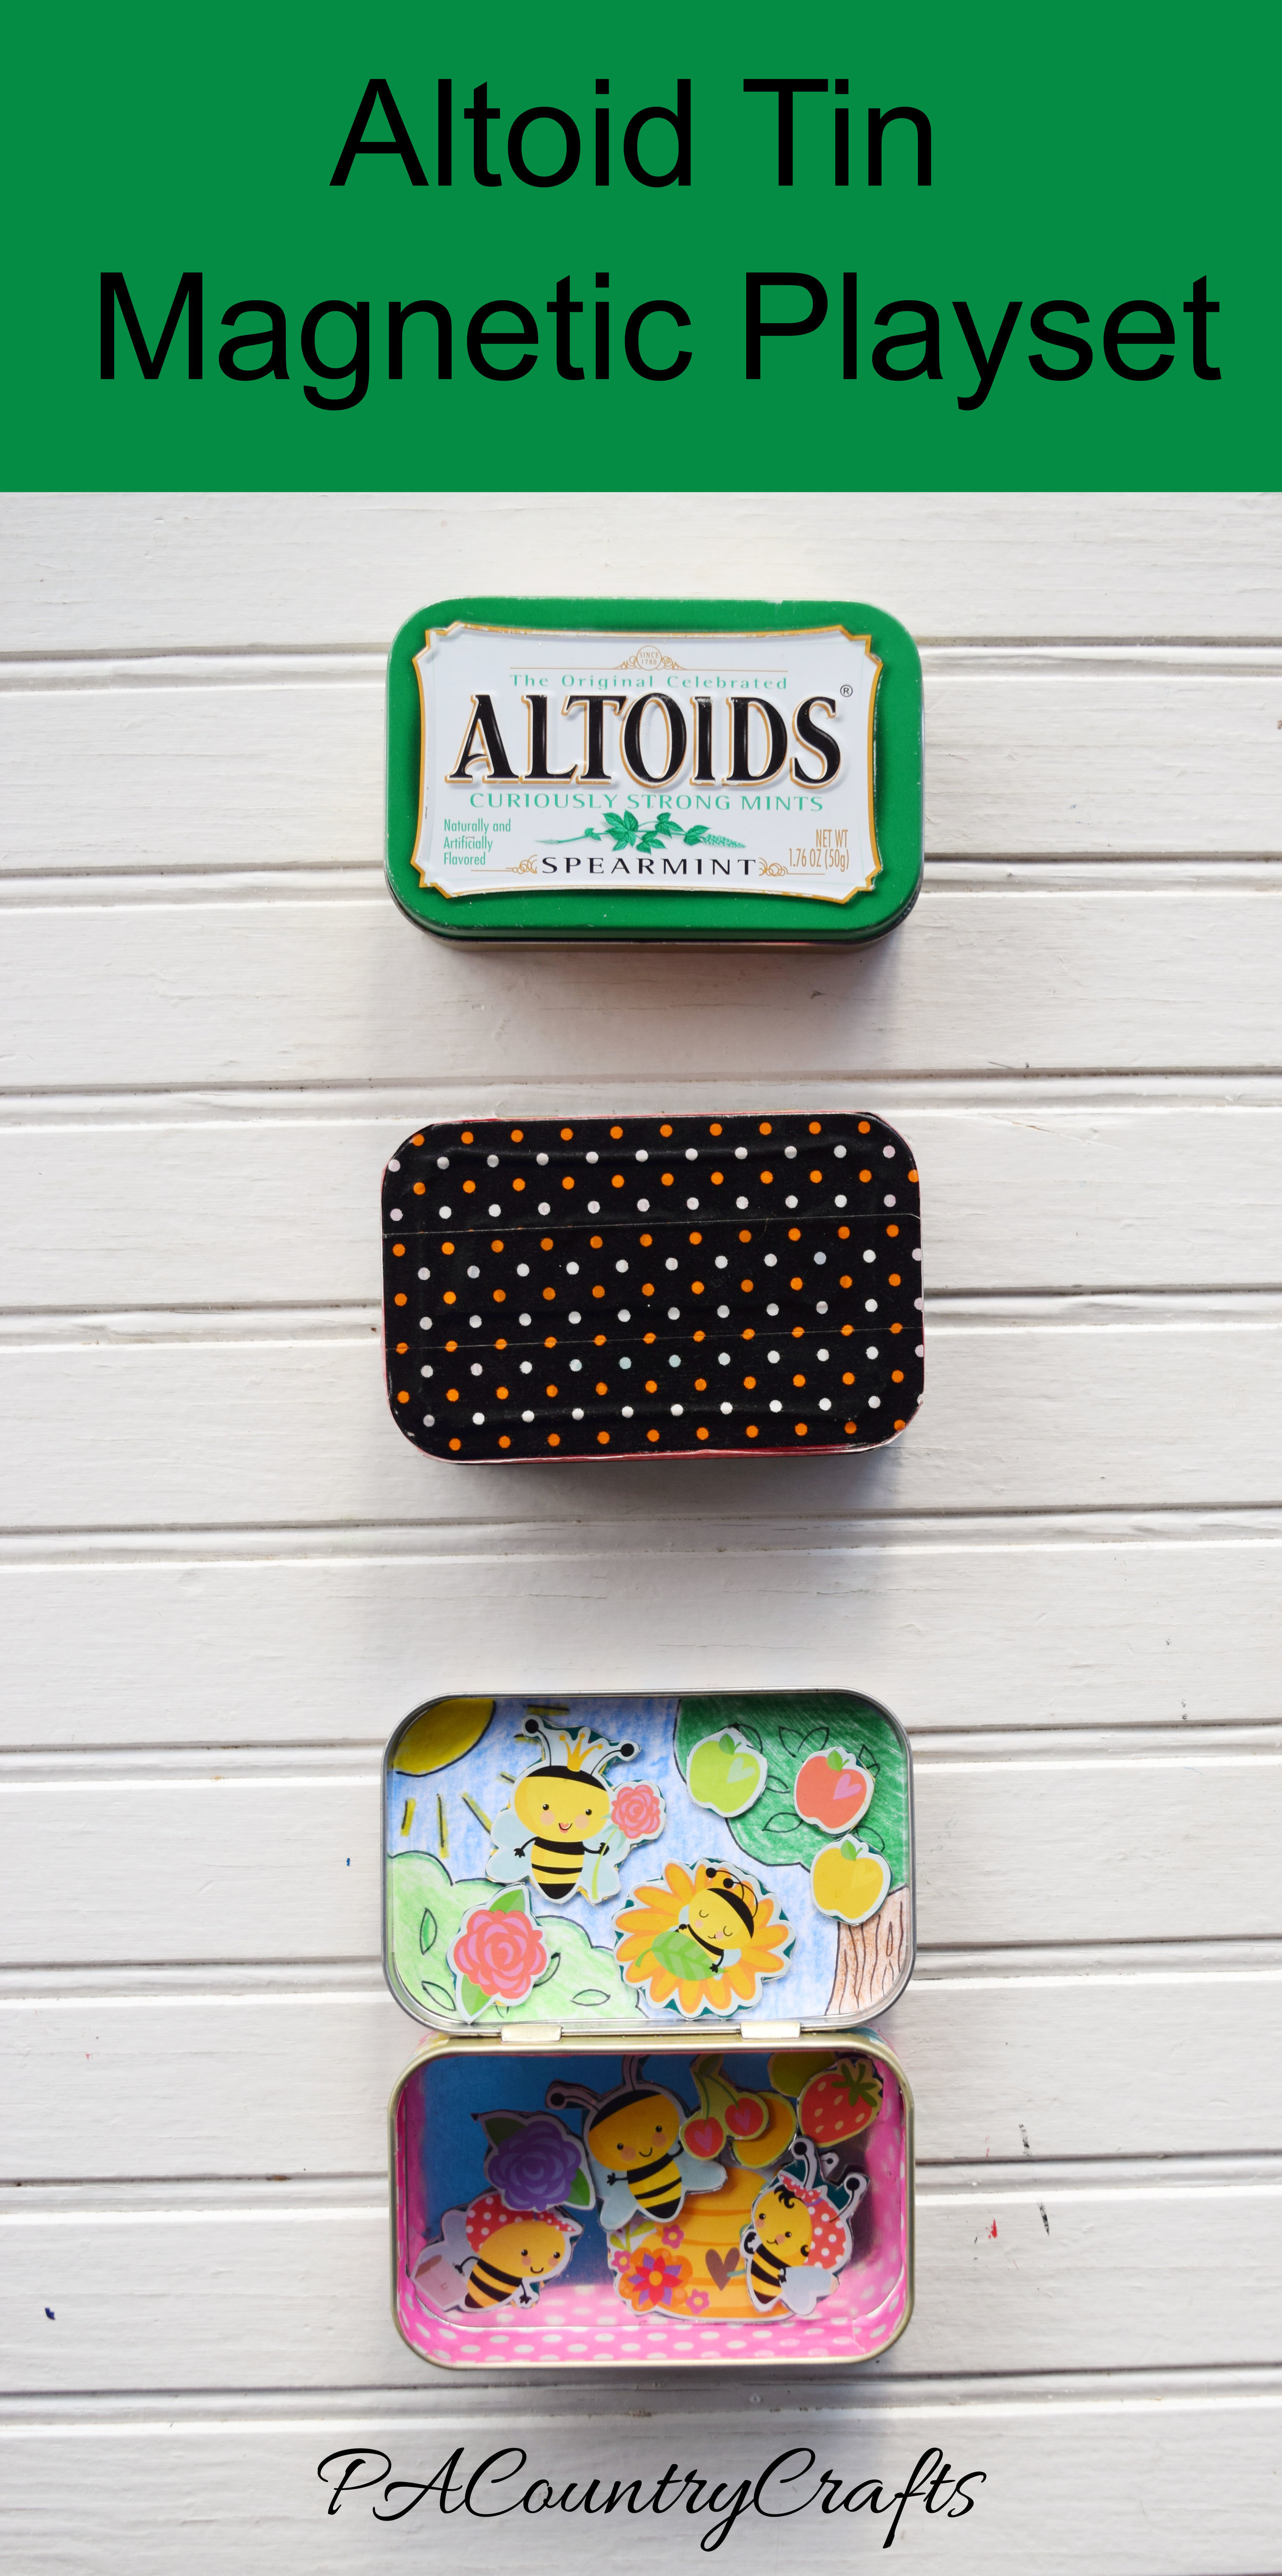
Altoid Tin Magnetic Playset Tutorial
/This was a craft project that I had been wanting to do for a long time. It took awhile to empty one of those Altoid tins because it was well hidden in my purse and they are so curiously strong that the kids won't steal and eat them all in one sitting even if they do find them. My mom also donated a few to the cause, so we were finally able to craft with them last fall. We made several of them to include in our shoeboxes for Operation Christmas Child and another one to keep. These would be perfect to tuck into a purse to keep kids quiet in waiting rooms or at church.
So, I came up with a tutorial to show you how we made ours, even though they are pretty easy.
This was a free project, using only things we had on hand. Not everything is pictured, but you need...
Altoid tin
stickers
magnets
cardstock
glue stick
washi tape
scissors
pen
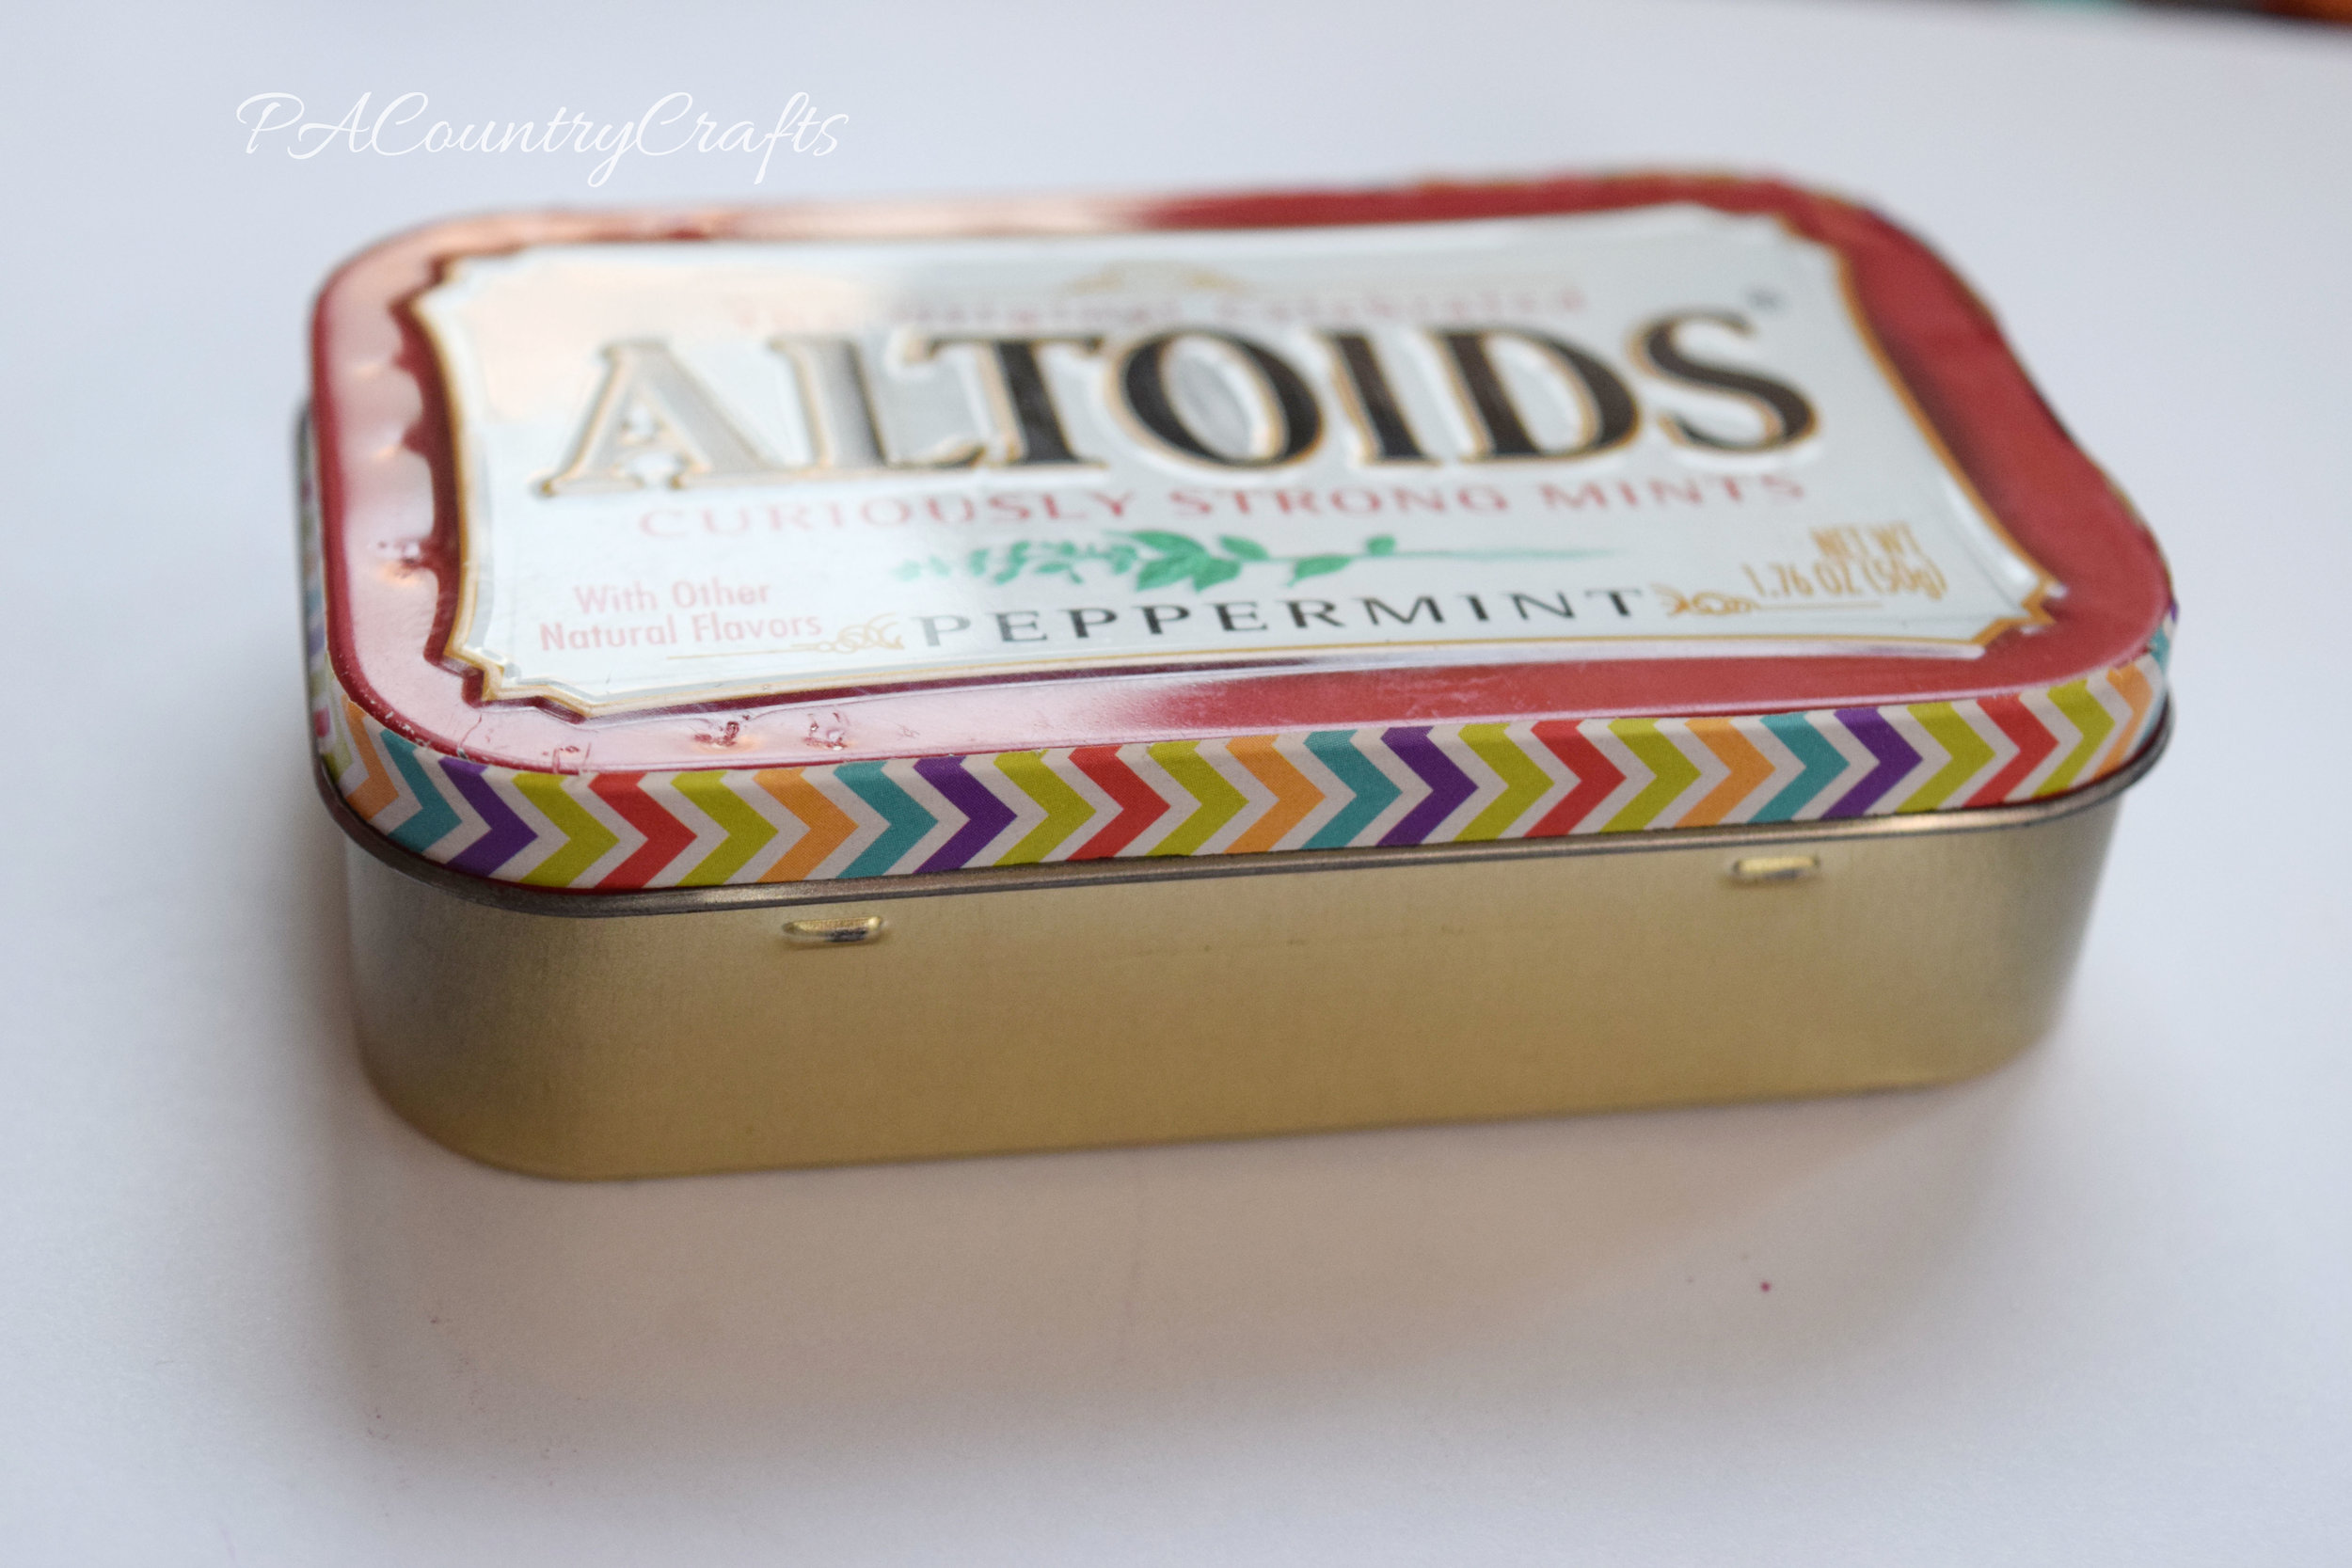
Put washi tape around the outside of the lid. You can use a thin washi tape, but I just cut some in half to make do with what we already had.
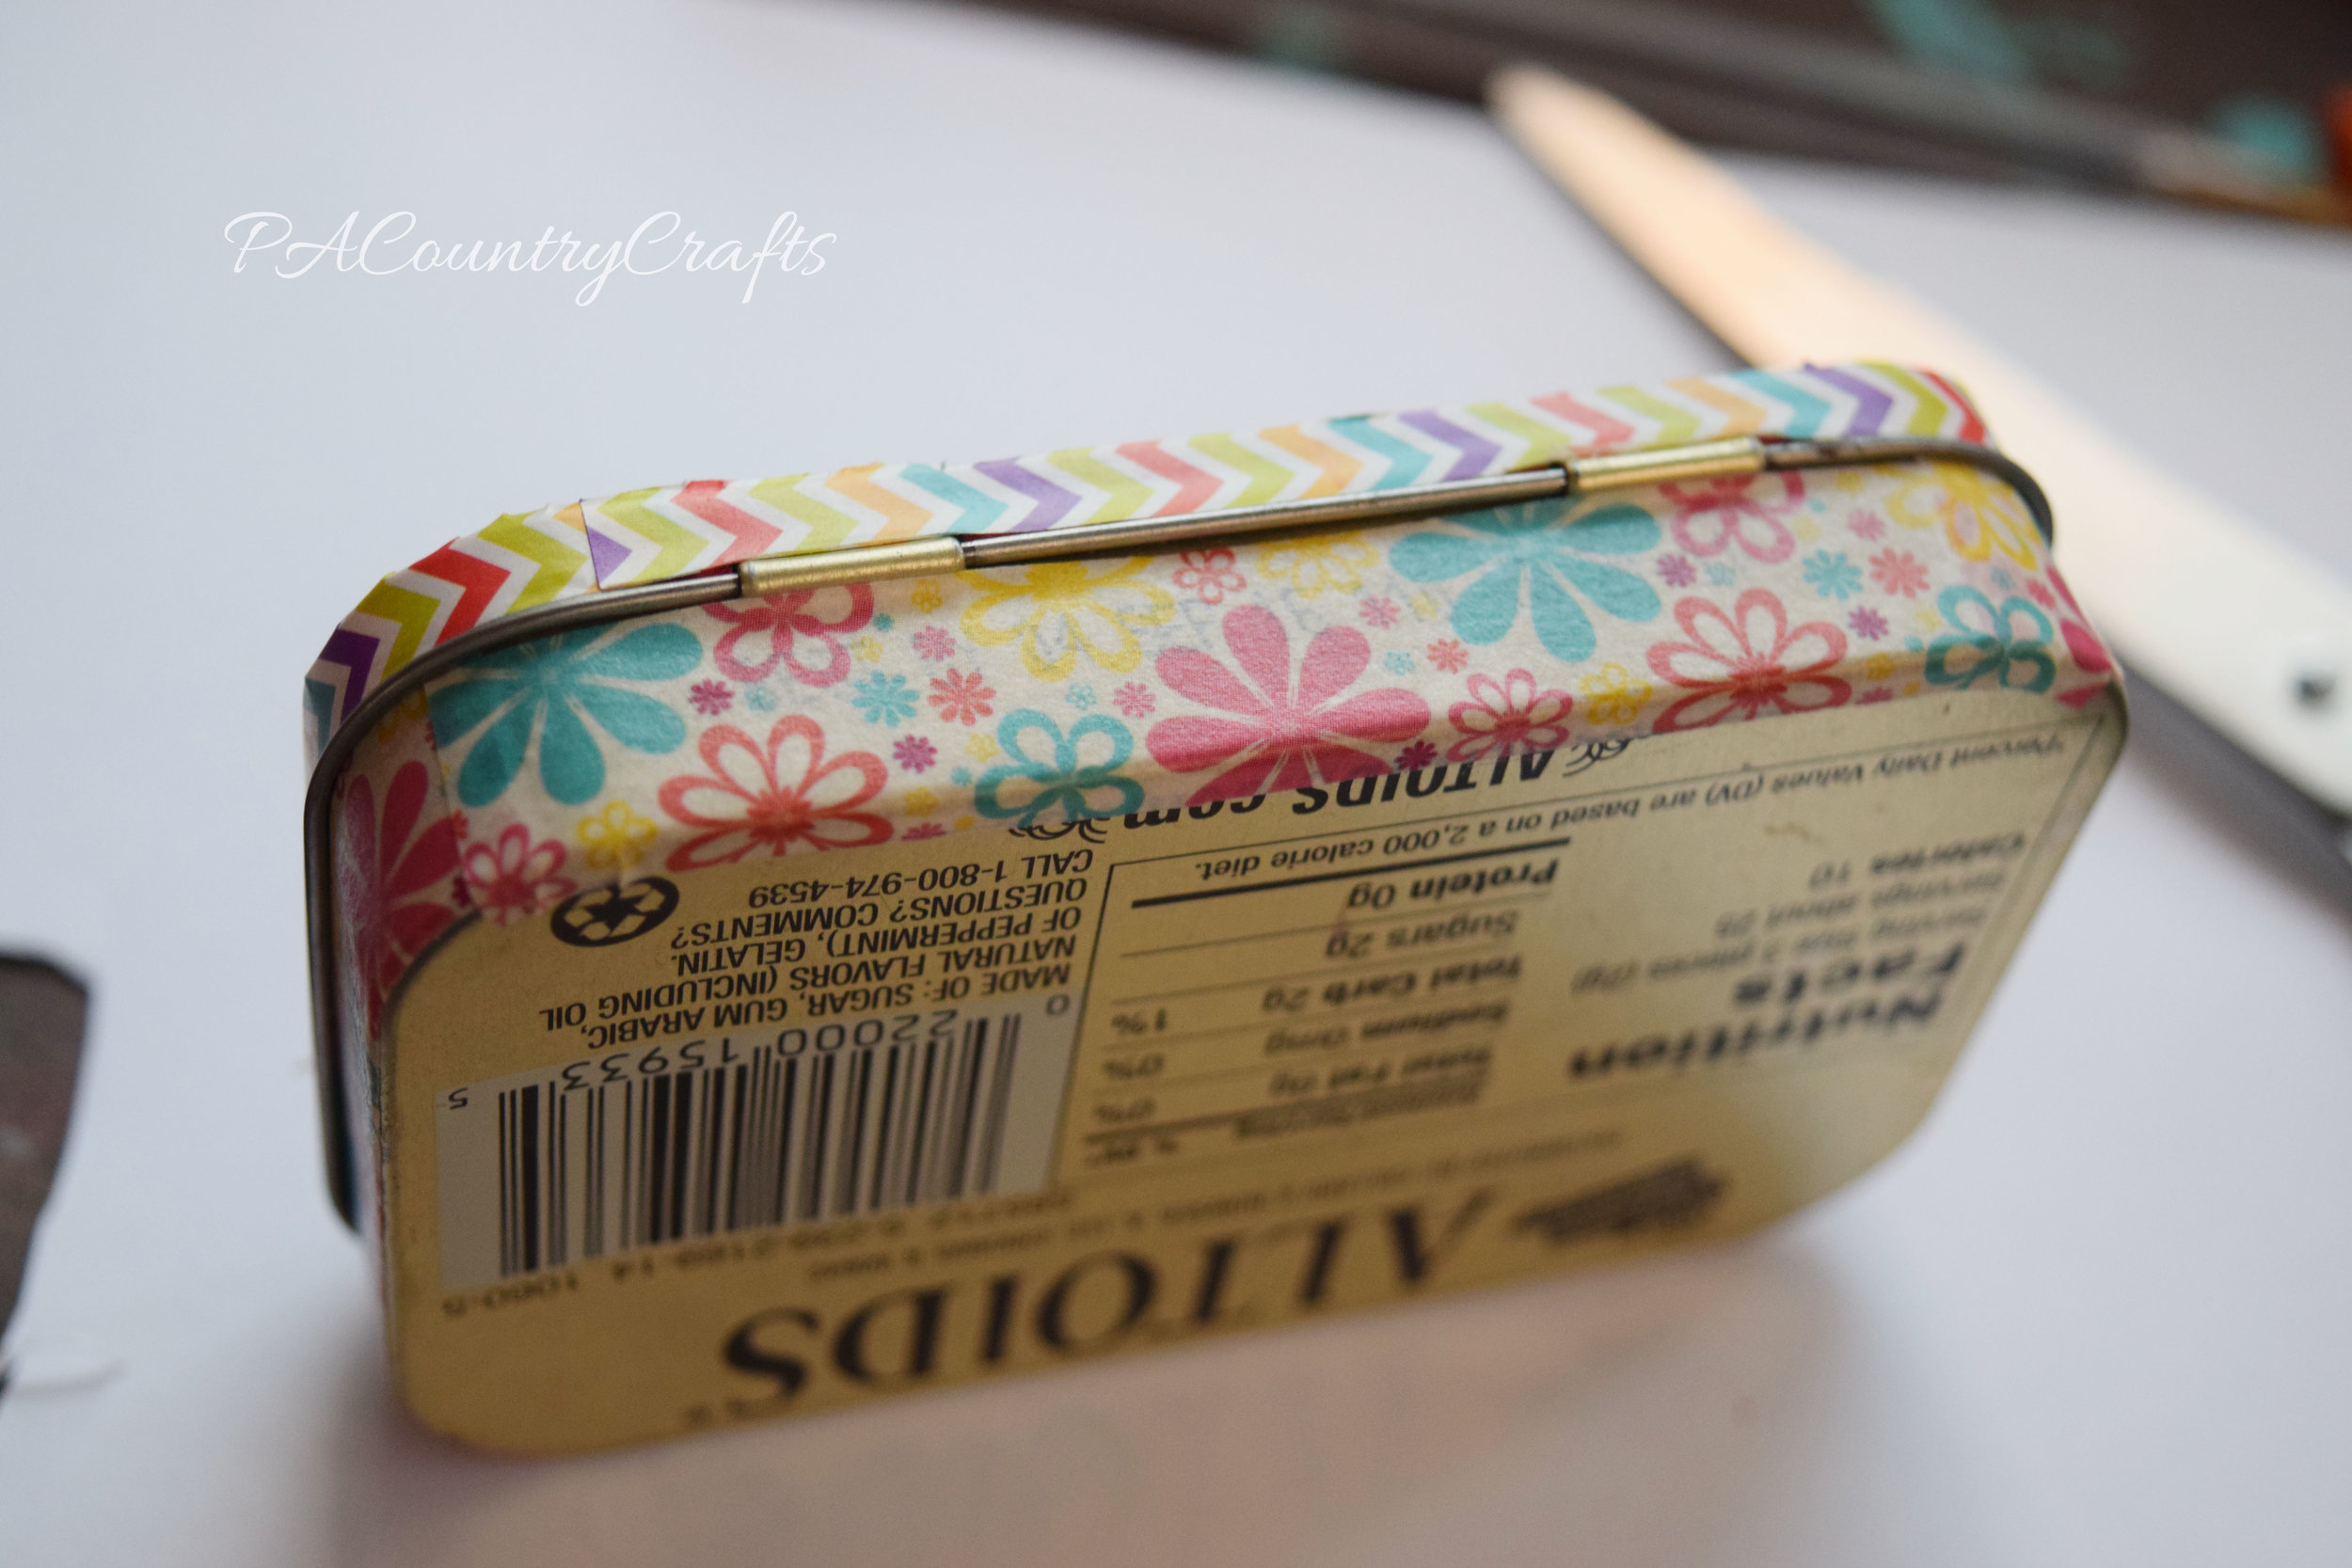
Washi tape around the bottom, leaving an opening where the hinges go.
Washi tape the back below the hinges. Wrap the extra under the bottom if needed.
Cover the lid with washi tape, leaving a little extra all around.
Trim off the extra with scissors and press the edges down well.
Now, for the inside...
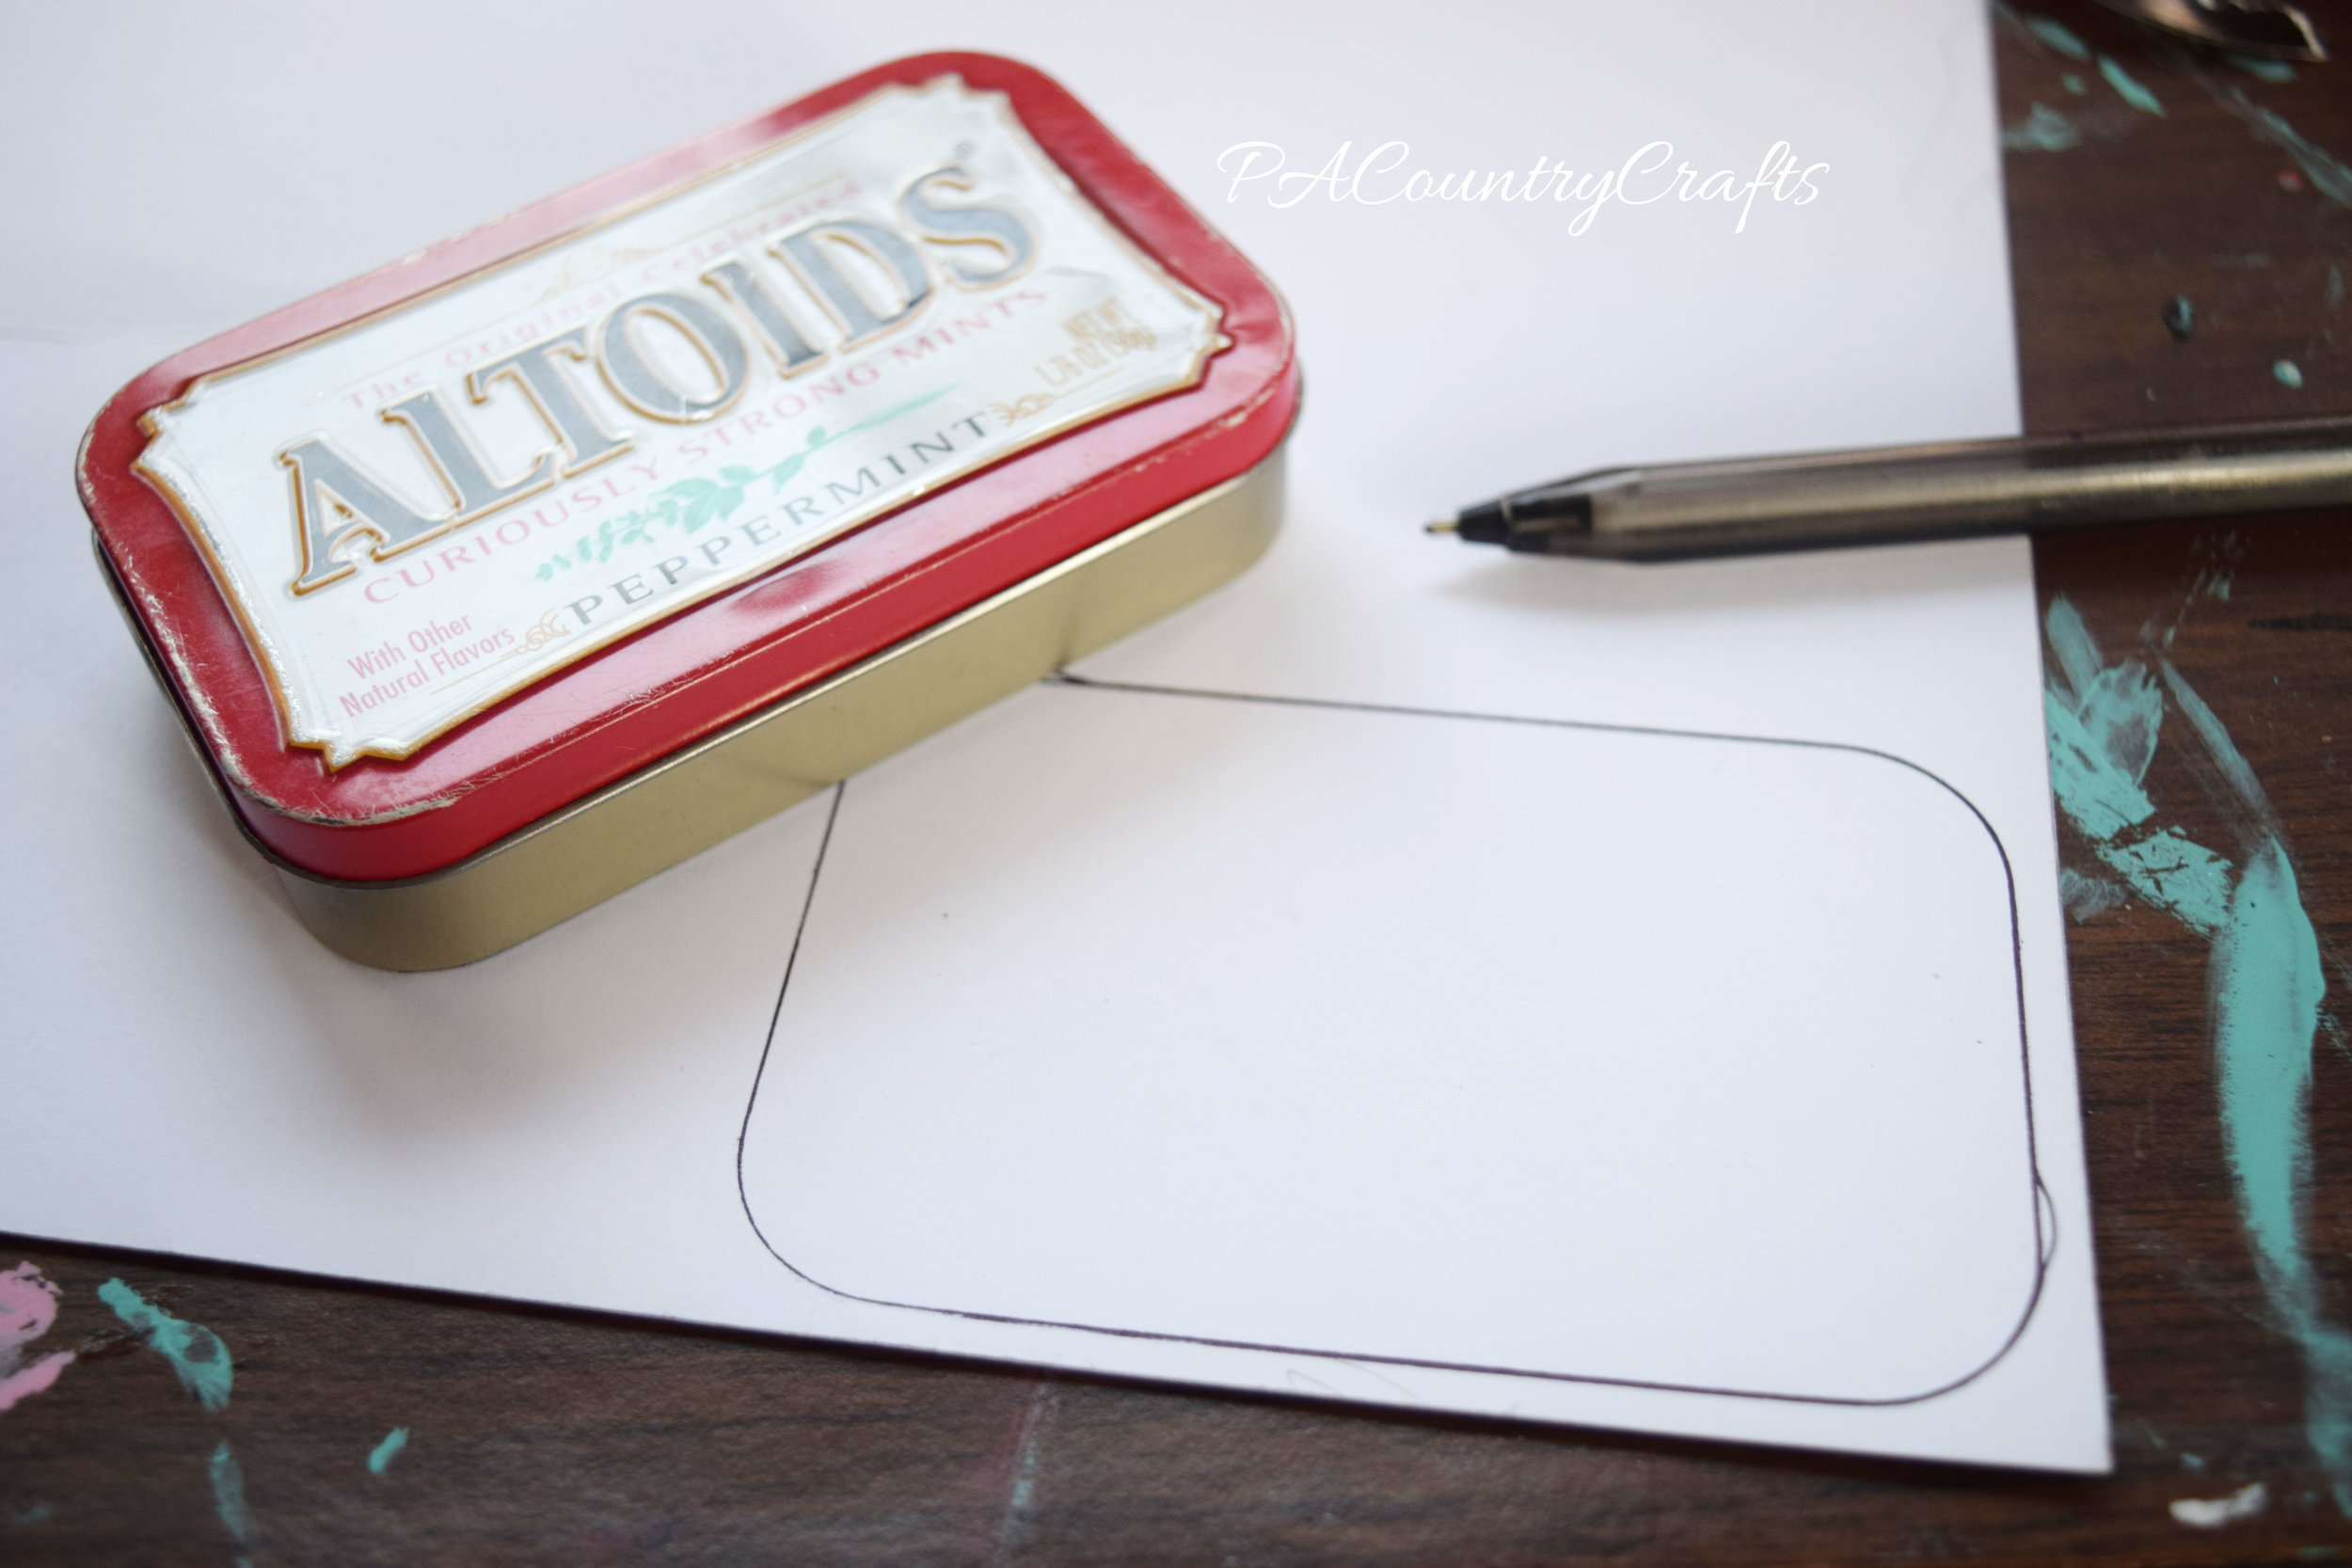
Trace the bottom of the tin on some cardstock.
Draw a scene to coordinate with the magnets. The kids loved doing this!
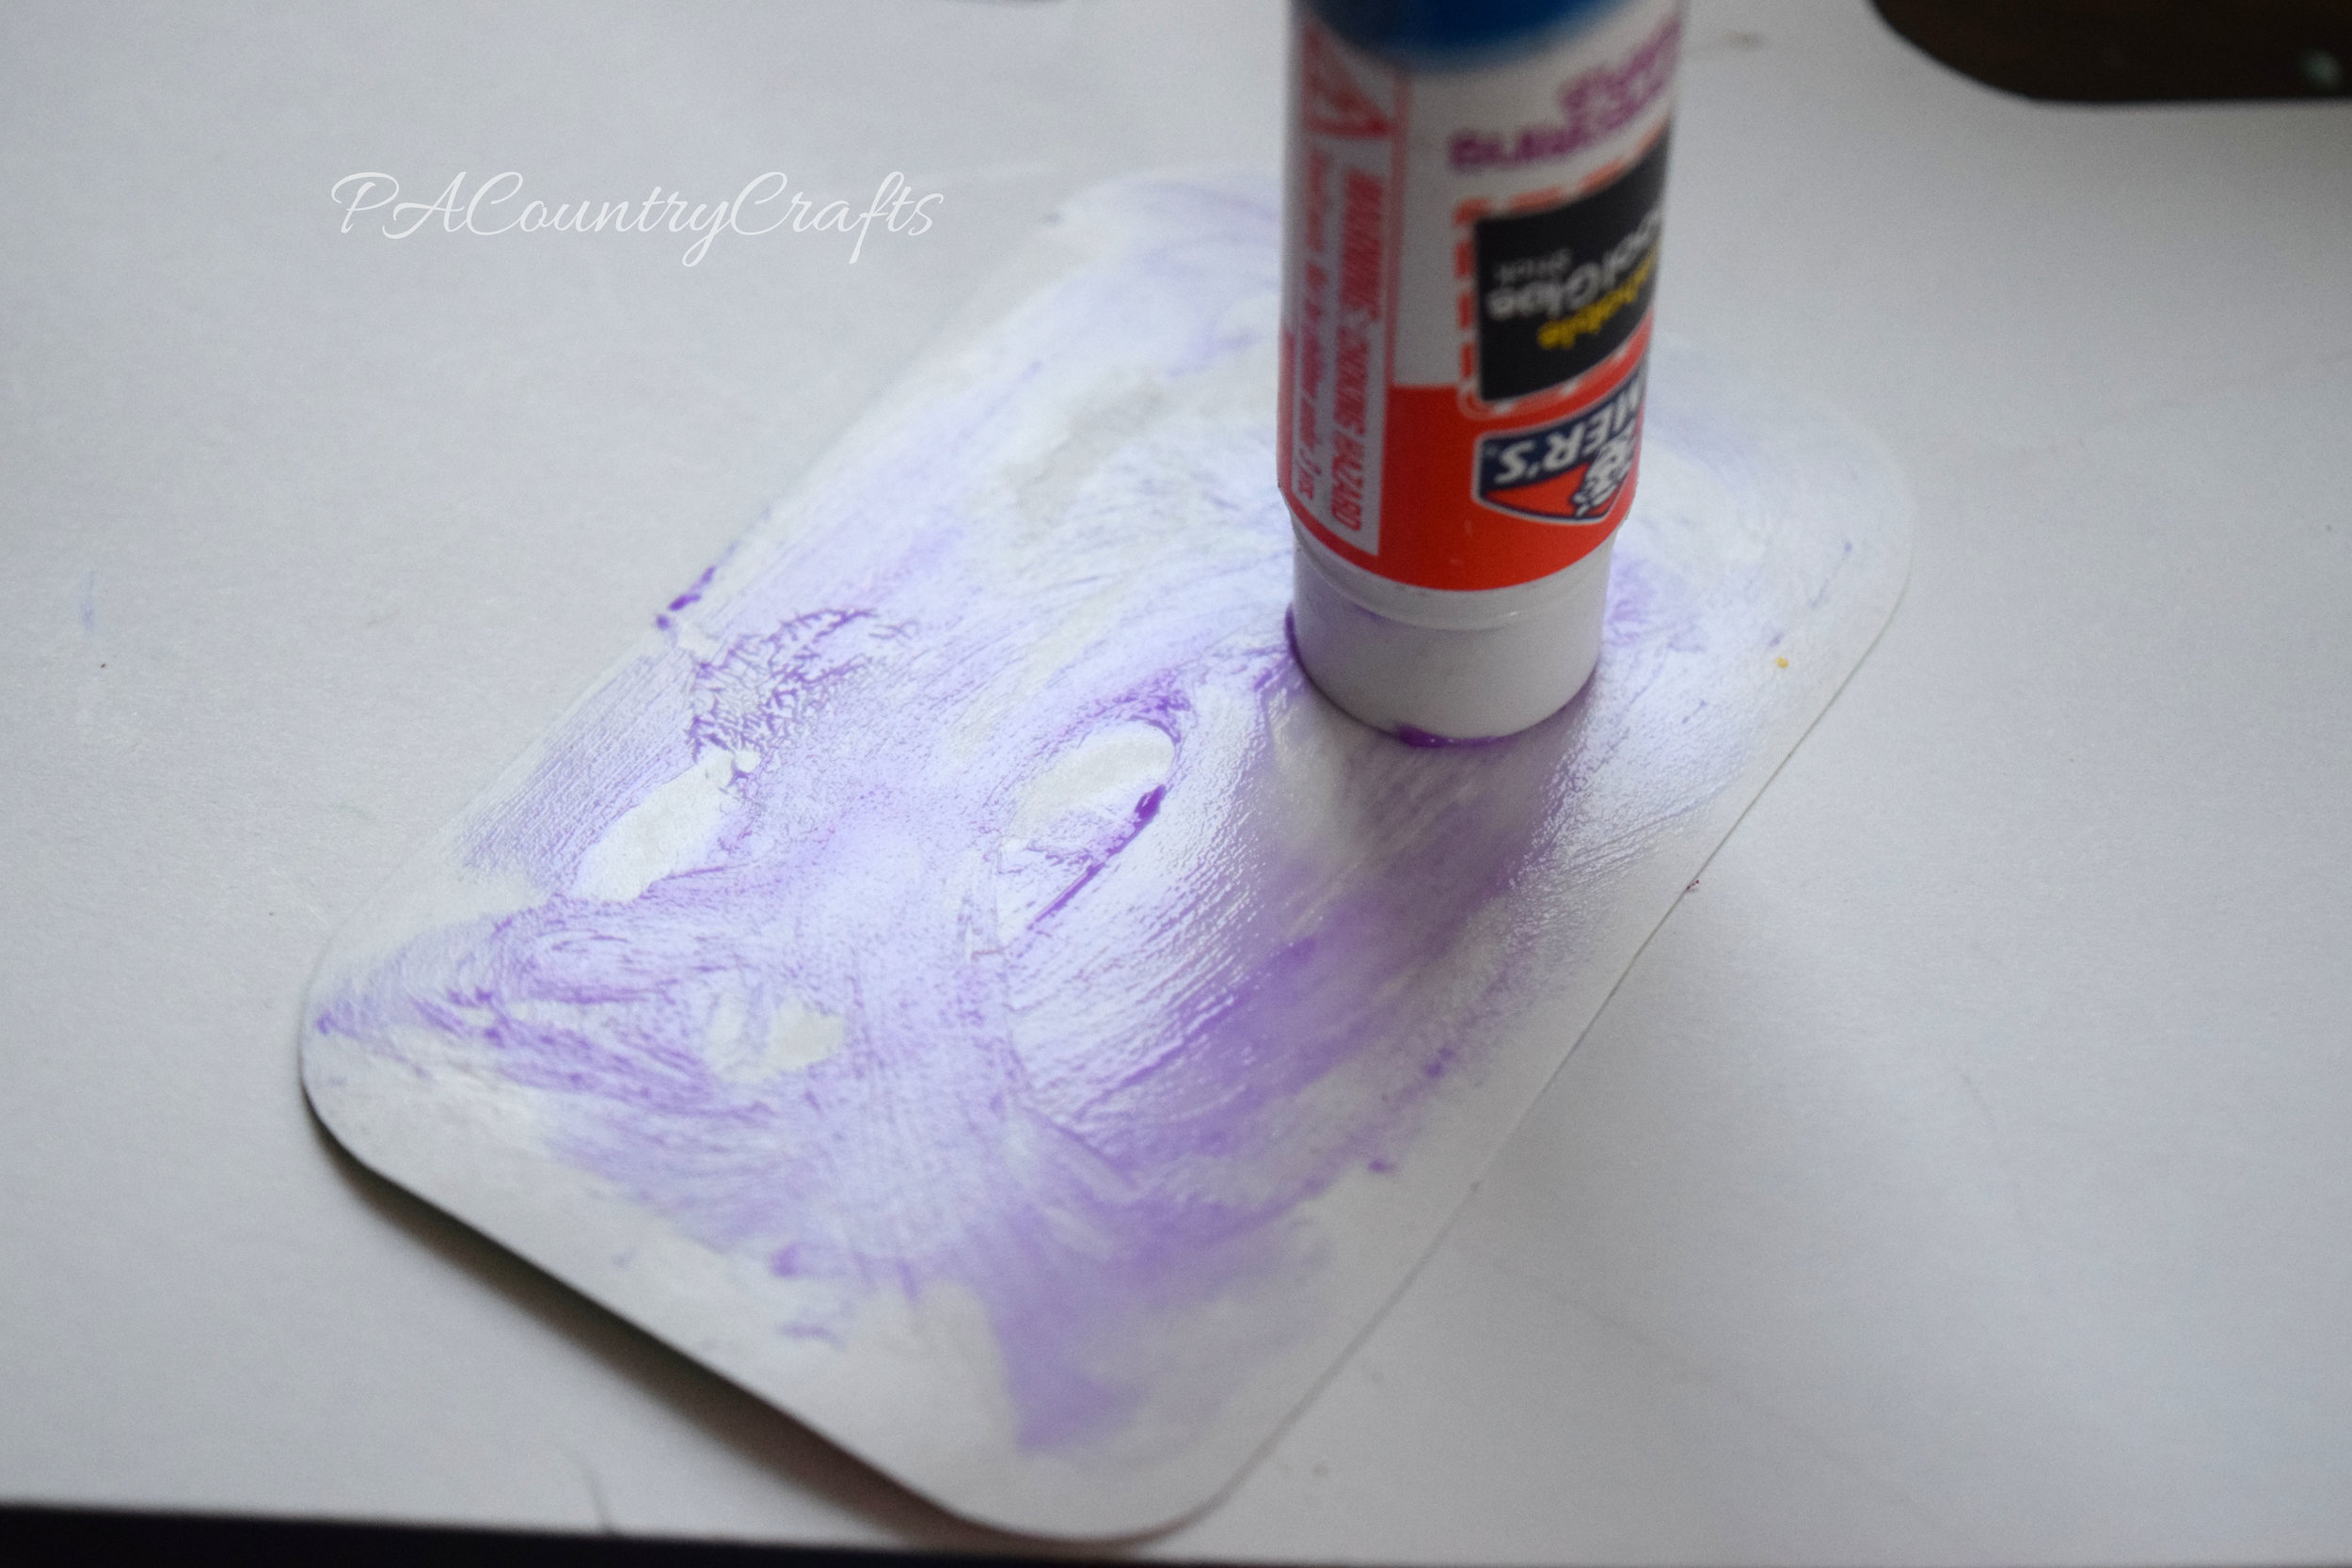
Cut it out, check the sizing, and use gluestick to adhere the cardstock to the inside of the Altoid tin lid.
Finally... the magnets! Place stickers on the magnets. We had some free promotional magnets that worked great! You want them to be relatively thin anyway.
Use scissors to cut around the stickers.
If you would like, you can also add washi tape to the inside of the bottom.
There are a lot of possibilities with these! Feel free to pin it for later...
Other posts you may like...


