

How to get the authentic farmhouse look in 5 easy steps
/Fixer Upper seems to have sparked a huge decorating trend. Everyone wants the "farmhouse look" in their homes. I grew up on a farm. We have a little farmette now. I have a little bit of insider perspective.
So, here is how to get the farmhouse look in 5 easy steps.
1. Buy a farm. I never said it was gonna' be cheap.
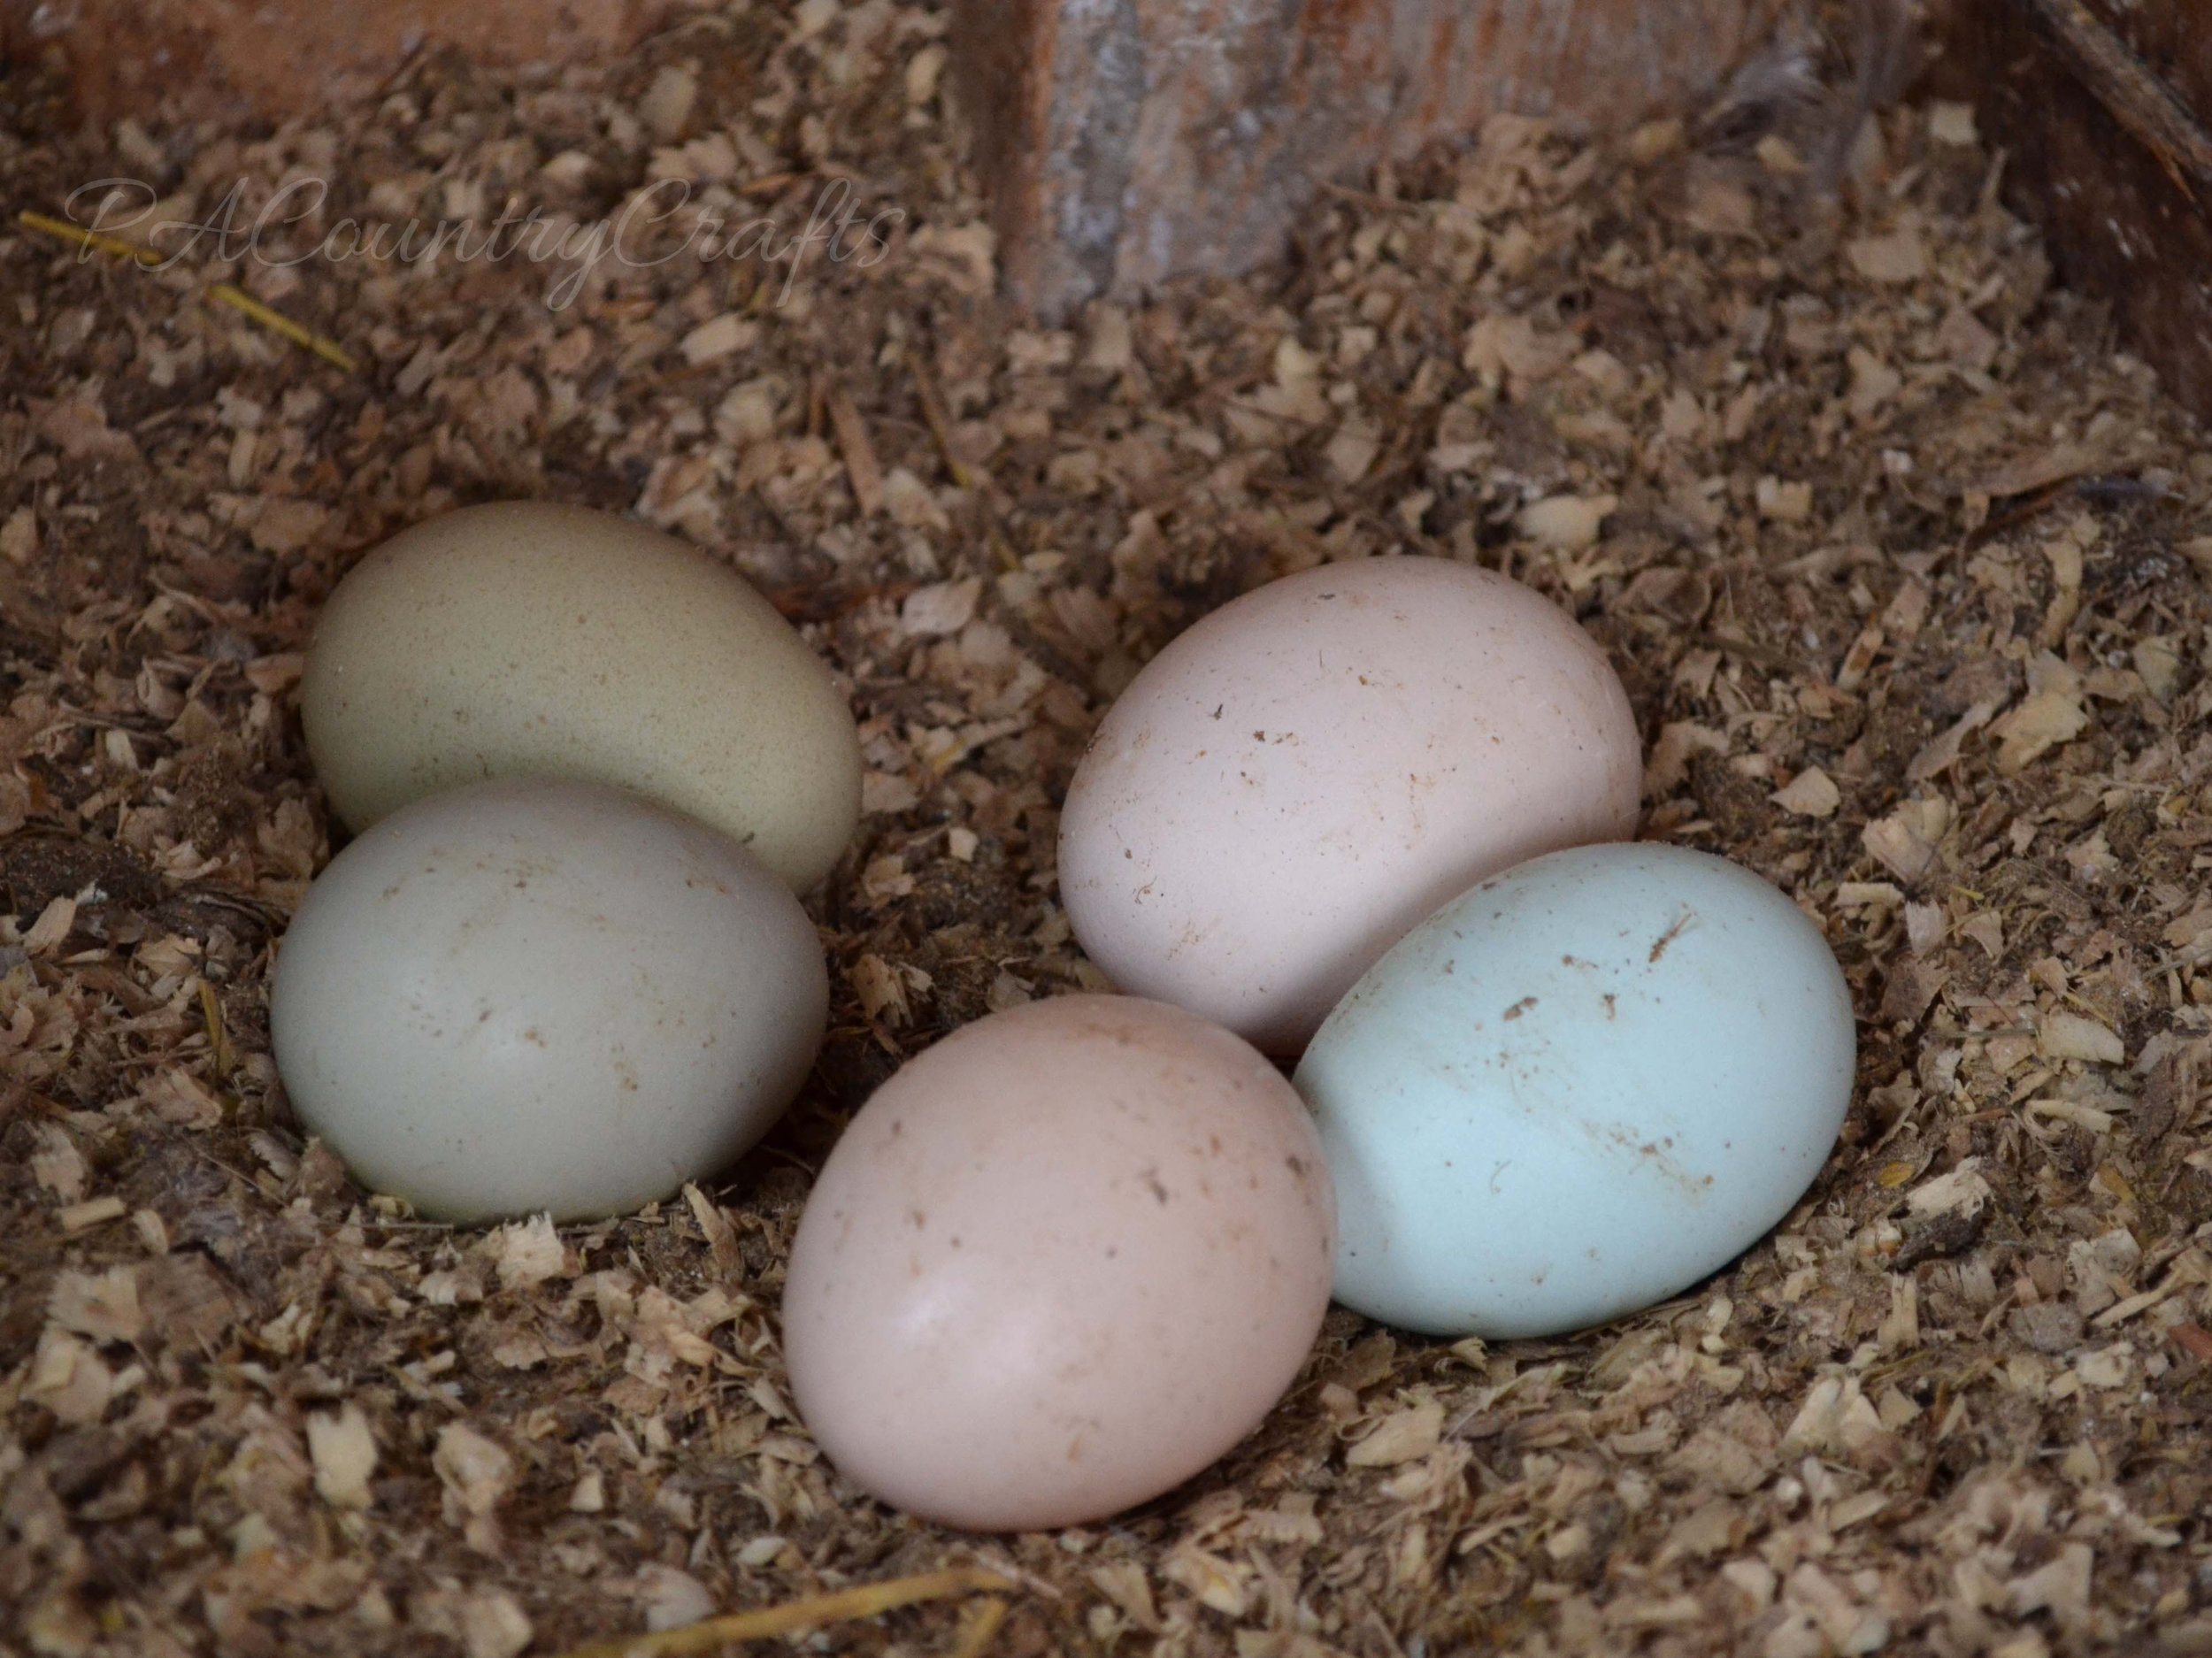
2. Get some animals. It seems like everyone starts with chickens. That is great! You will get some farm fresh eggs and can probably even find a cute sign to decorate with that now feels legit. You get bonus points for pretty, colored eggs from heritage breeds. Oh, but those eggs are not always very clean, so you have to wash them. And chickens poop. Poop brings flies. So, your farmhouse decor with those pretty white walls and cupboards will now be speckled with fly dirt. True farmhouse style.


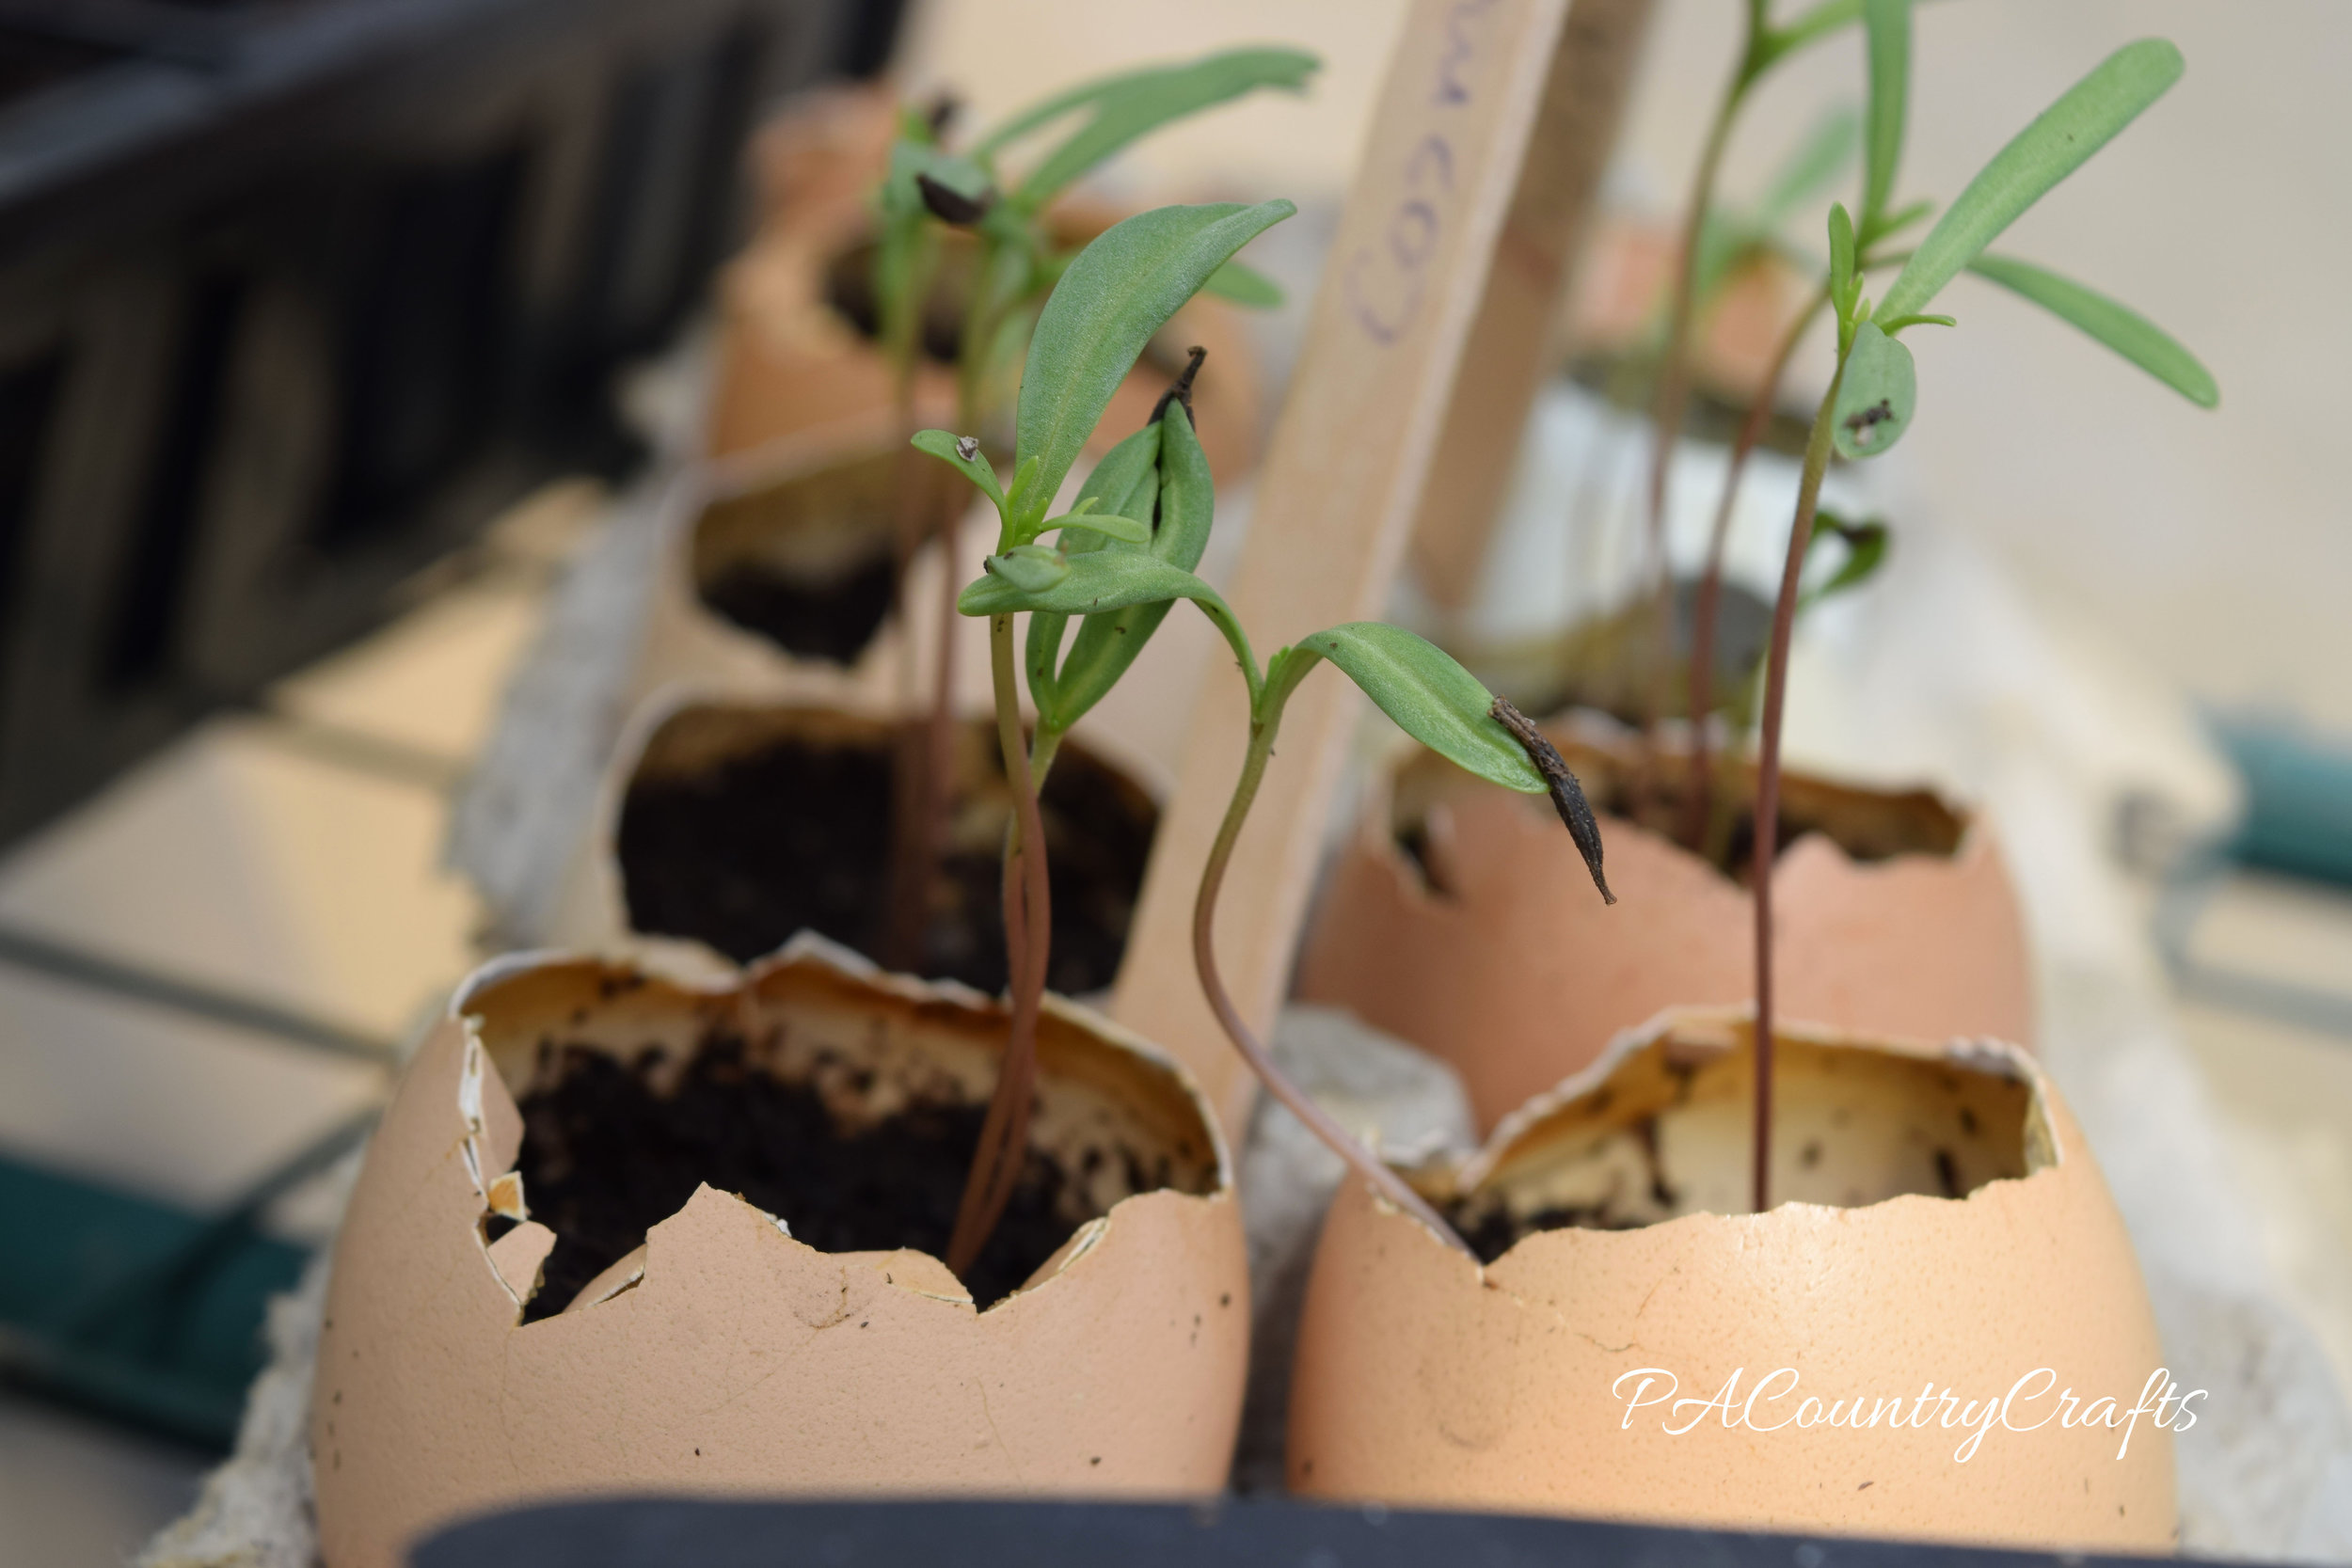
3. Start a garden. It is so exciting to watch plants grow and be able to eat fresh food that you grew yourself. Only, you have to deal with dirt, worms, bugs, and the gigantic mess that cooking will make all over your kitchen. Tomato splatter all over the pretty white walls and cupboards and subway tile back splash just gives even more farmhouse charm.


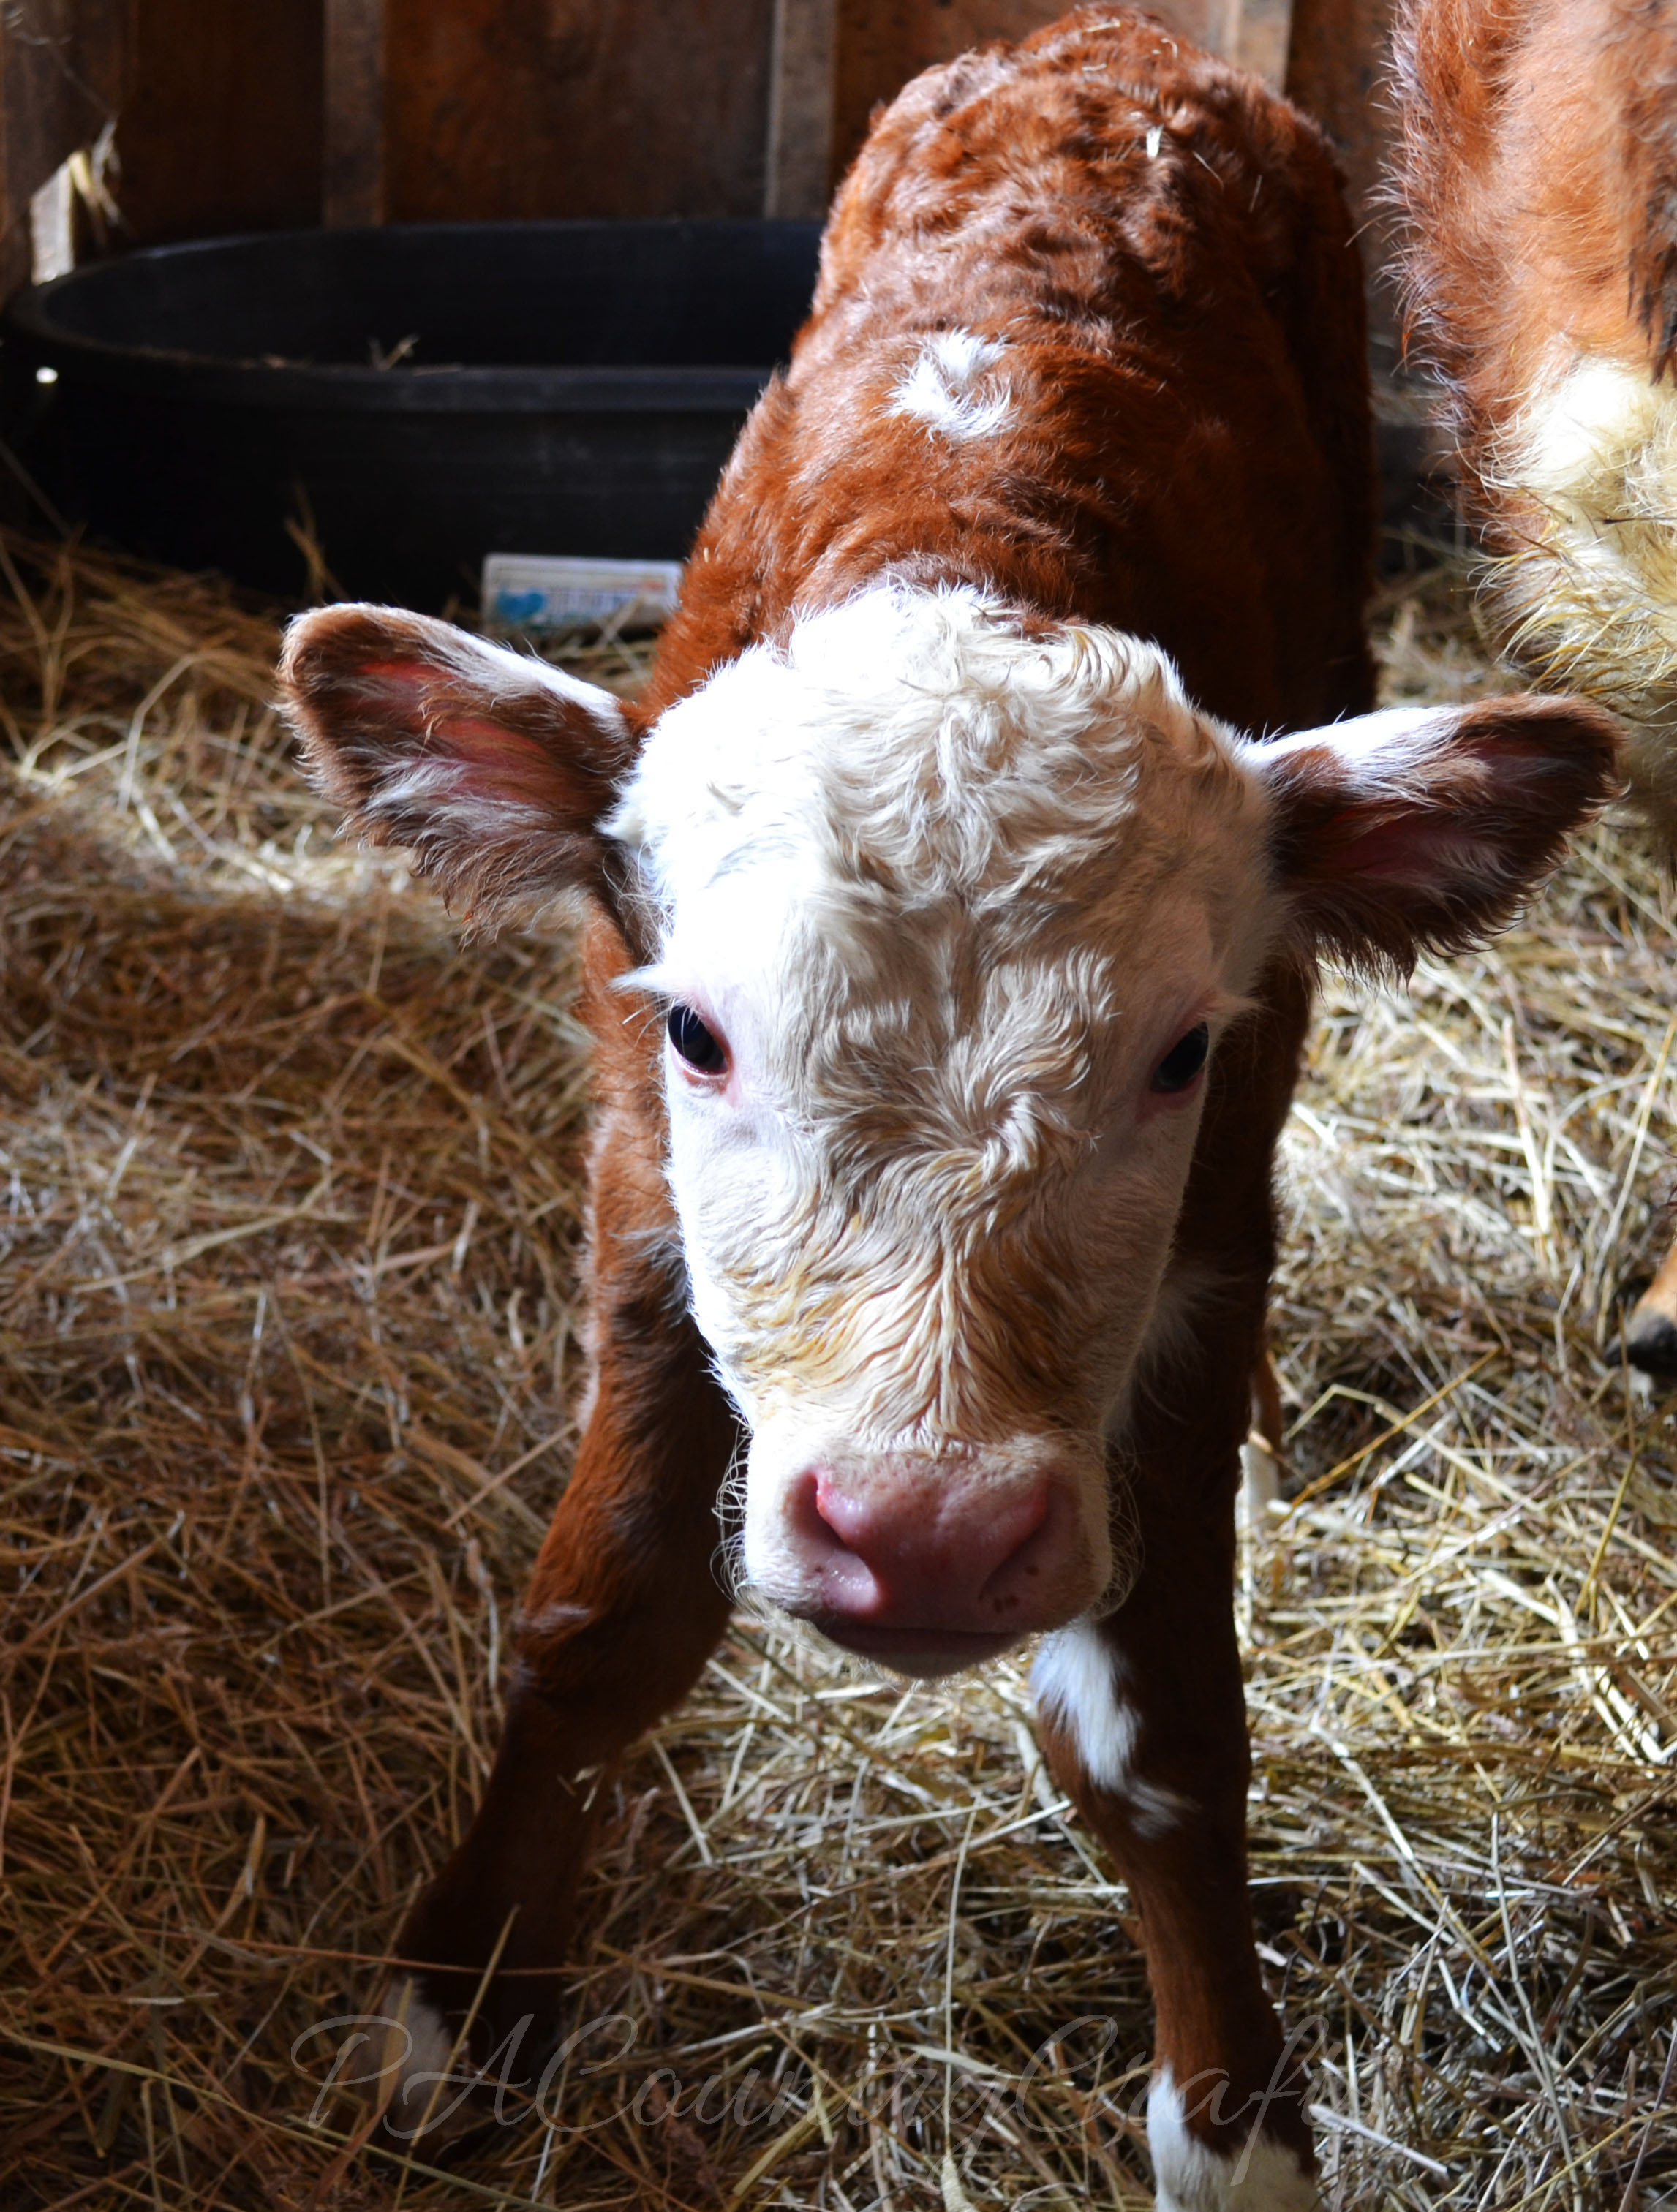
4. Add even more animals! Now, there is no need to add cats. Those will be supplied by strangers who think that dropping off cats at any random farm is a lovely anonymous gift. And they multiply, so it is the gift that keeps on giving. They will decorate your porch and work as a doorstop- stopping you from being able to open any doors. Instead, get some cows and/or horses. That will really increase the amount of poop produced on your farm and contribute to the aroma of your property. Correspondingly, the flies will also increase. At this point, you will need to keep those lovely windows closed tightly, invest in fly strips, and scream frantically at anyone who dares to open your lovely farmhouse french doors any more than necessary. Those raised ceilings and crown molding will also be speckled in fly dirt, so be sure to enjoy that farmhouse style as you are scraping it off. Oh, and "muddy" boots will also be the most common accent piece for your home at this point.


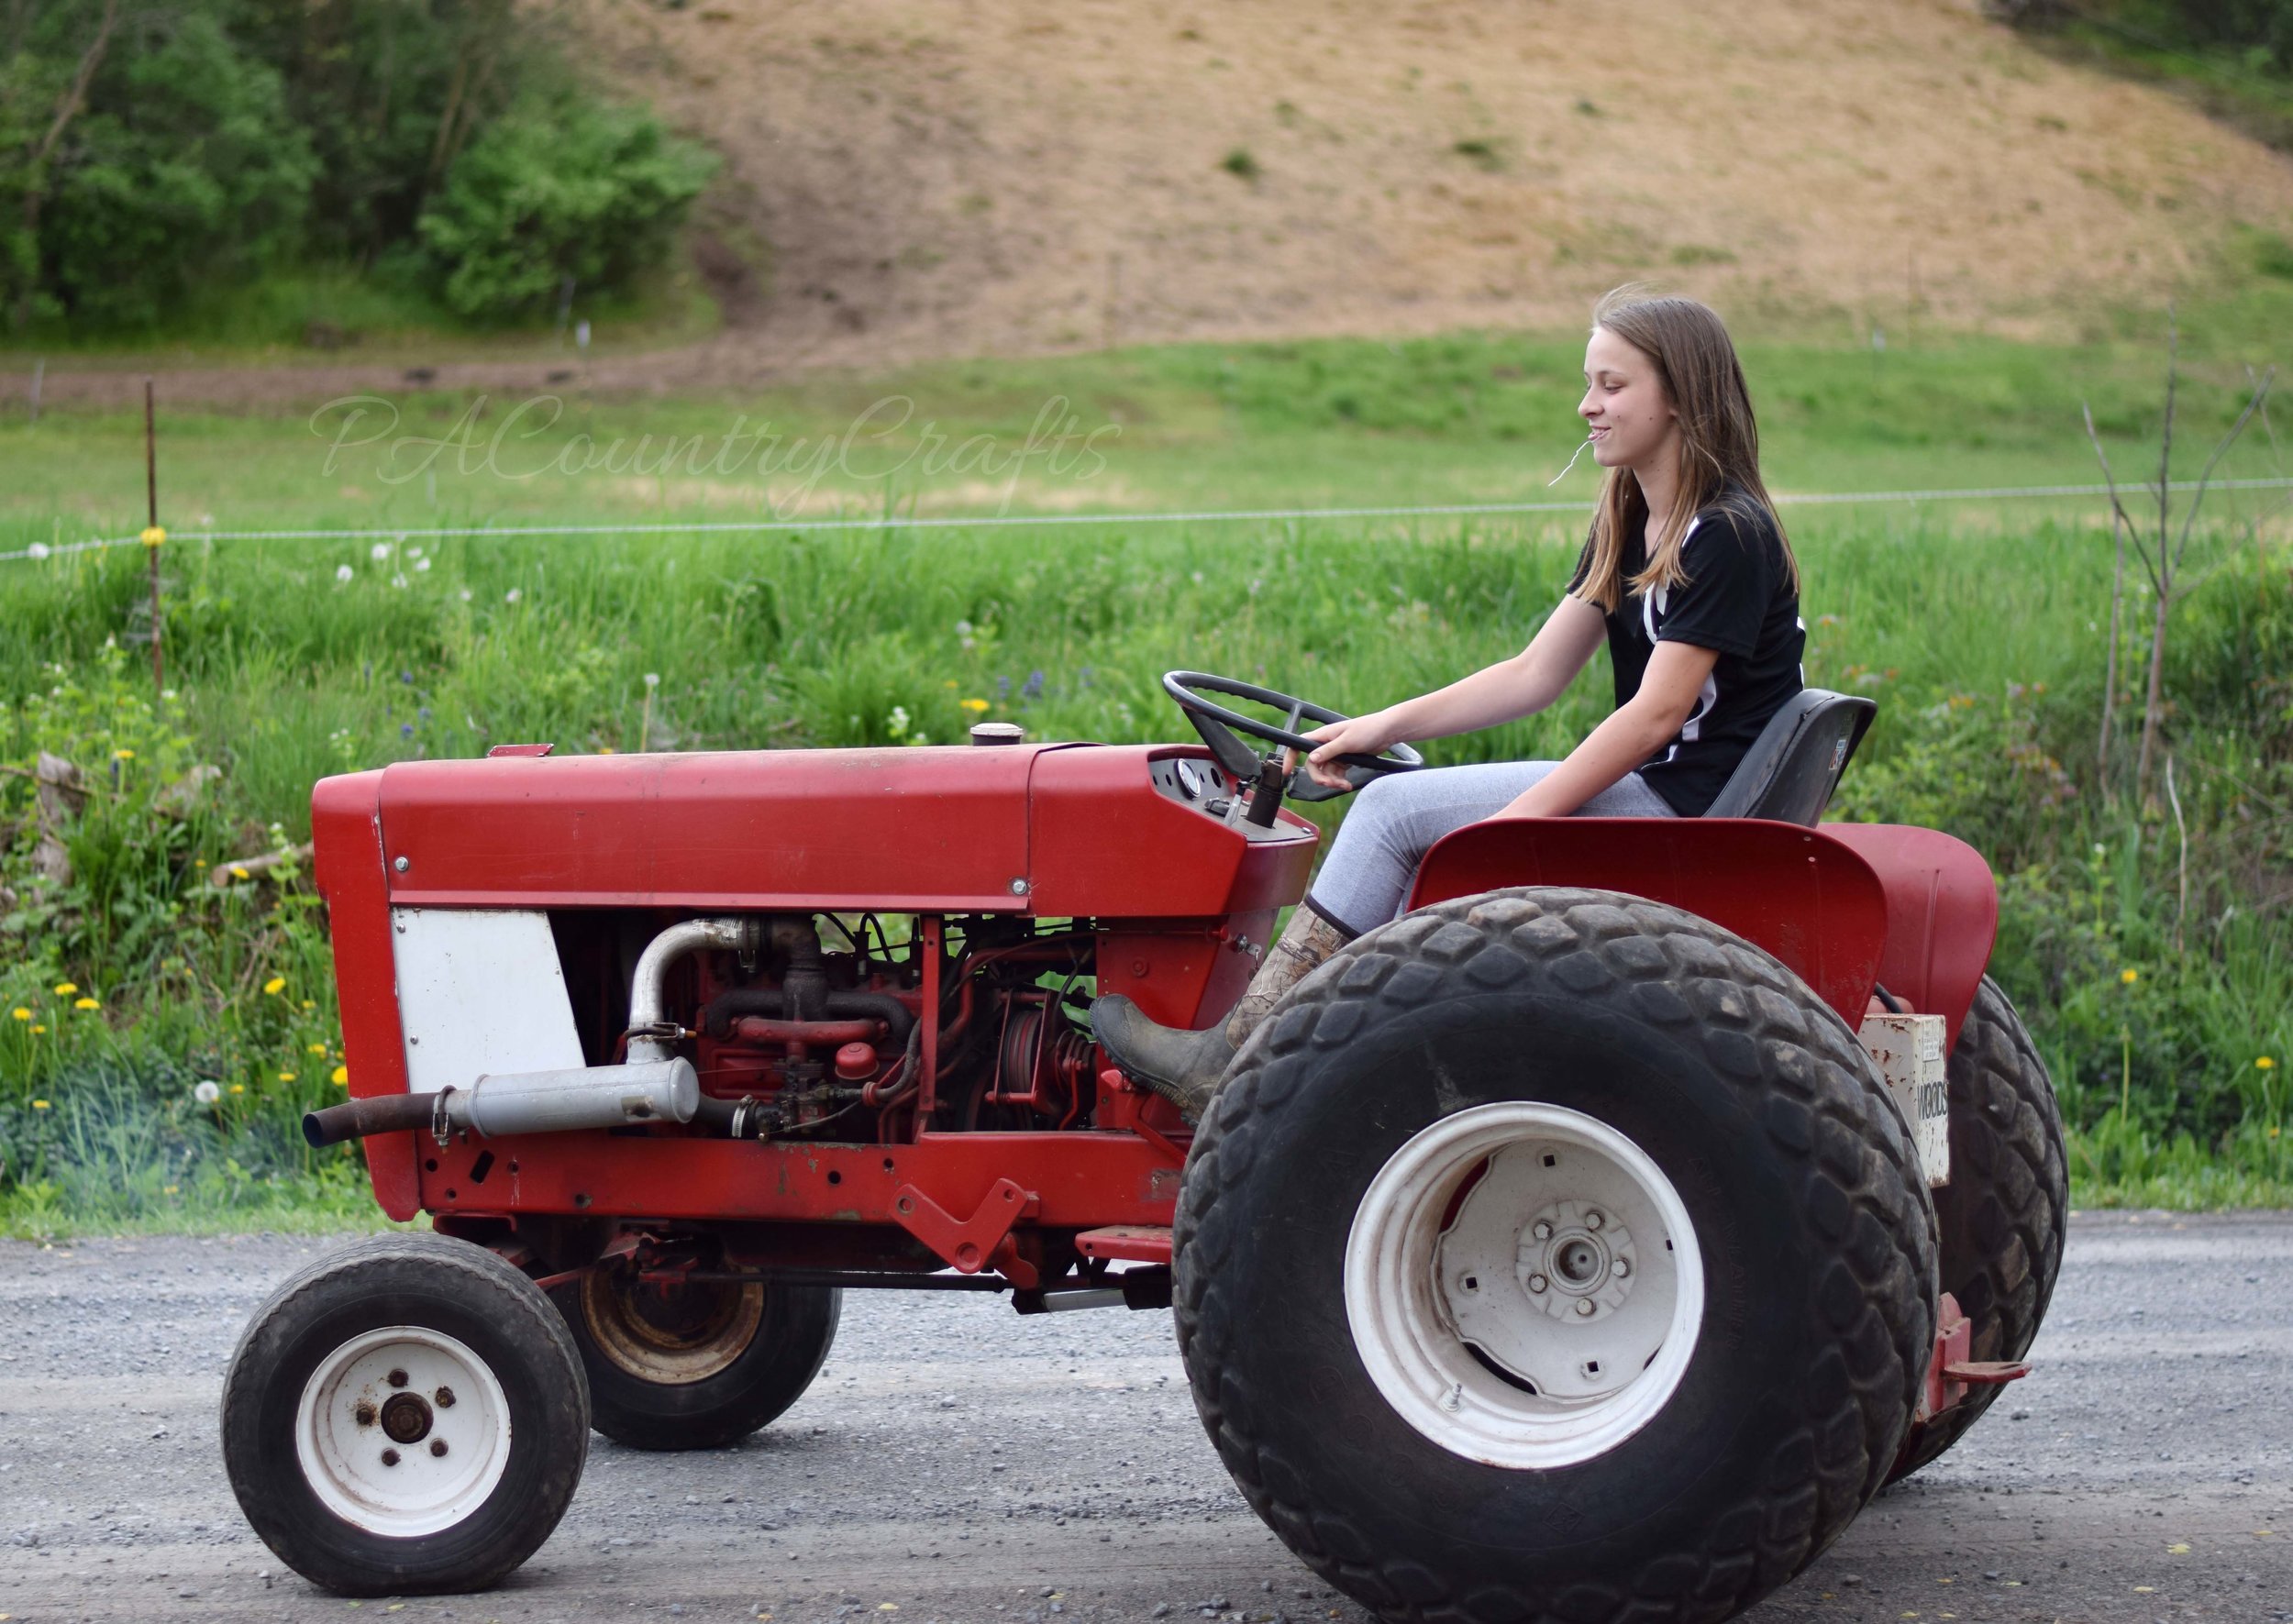
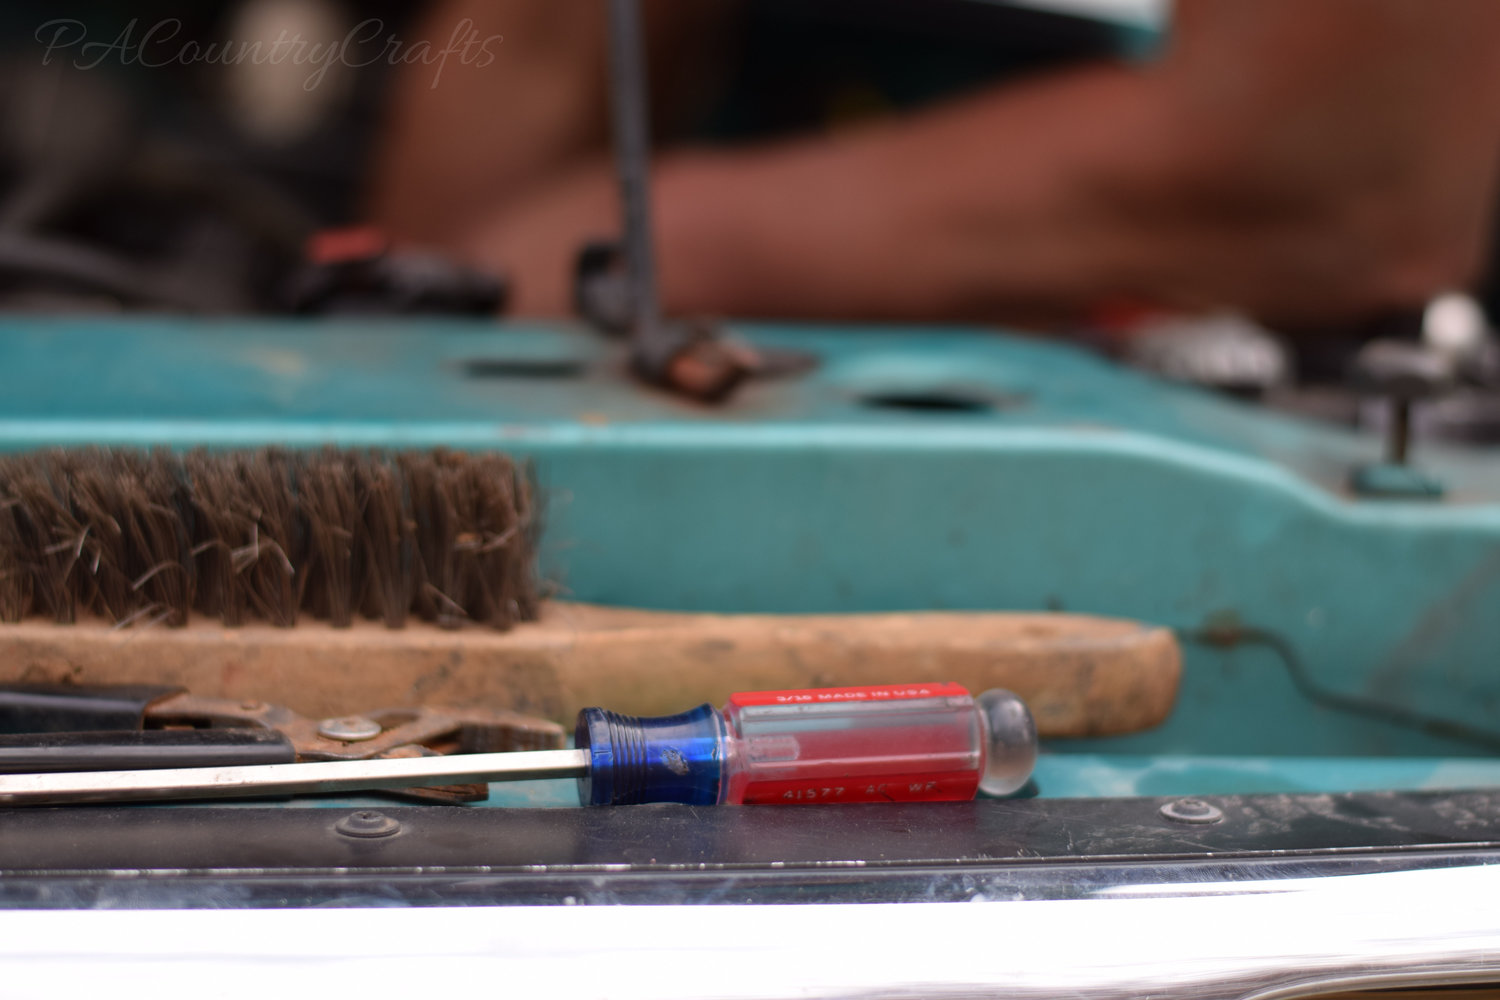
5. Get a tractor. No, not a lawnmower. A REAL tractor. Preferably a red one that is very, very old. Before too long, you will have a large assortment of implements to go with it- plows, planters, disks, rotary mowers, etc. There will also be many, many repairs. Your charming little barns will be filled. When a repair needs to be done, prepare to park in the garage next to a tractor that is split in half. (Just be careful not to pull in when a freshly painted hood is in your spot!)


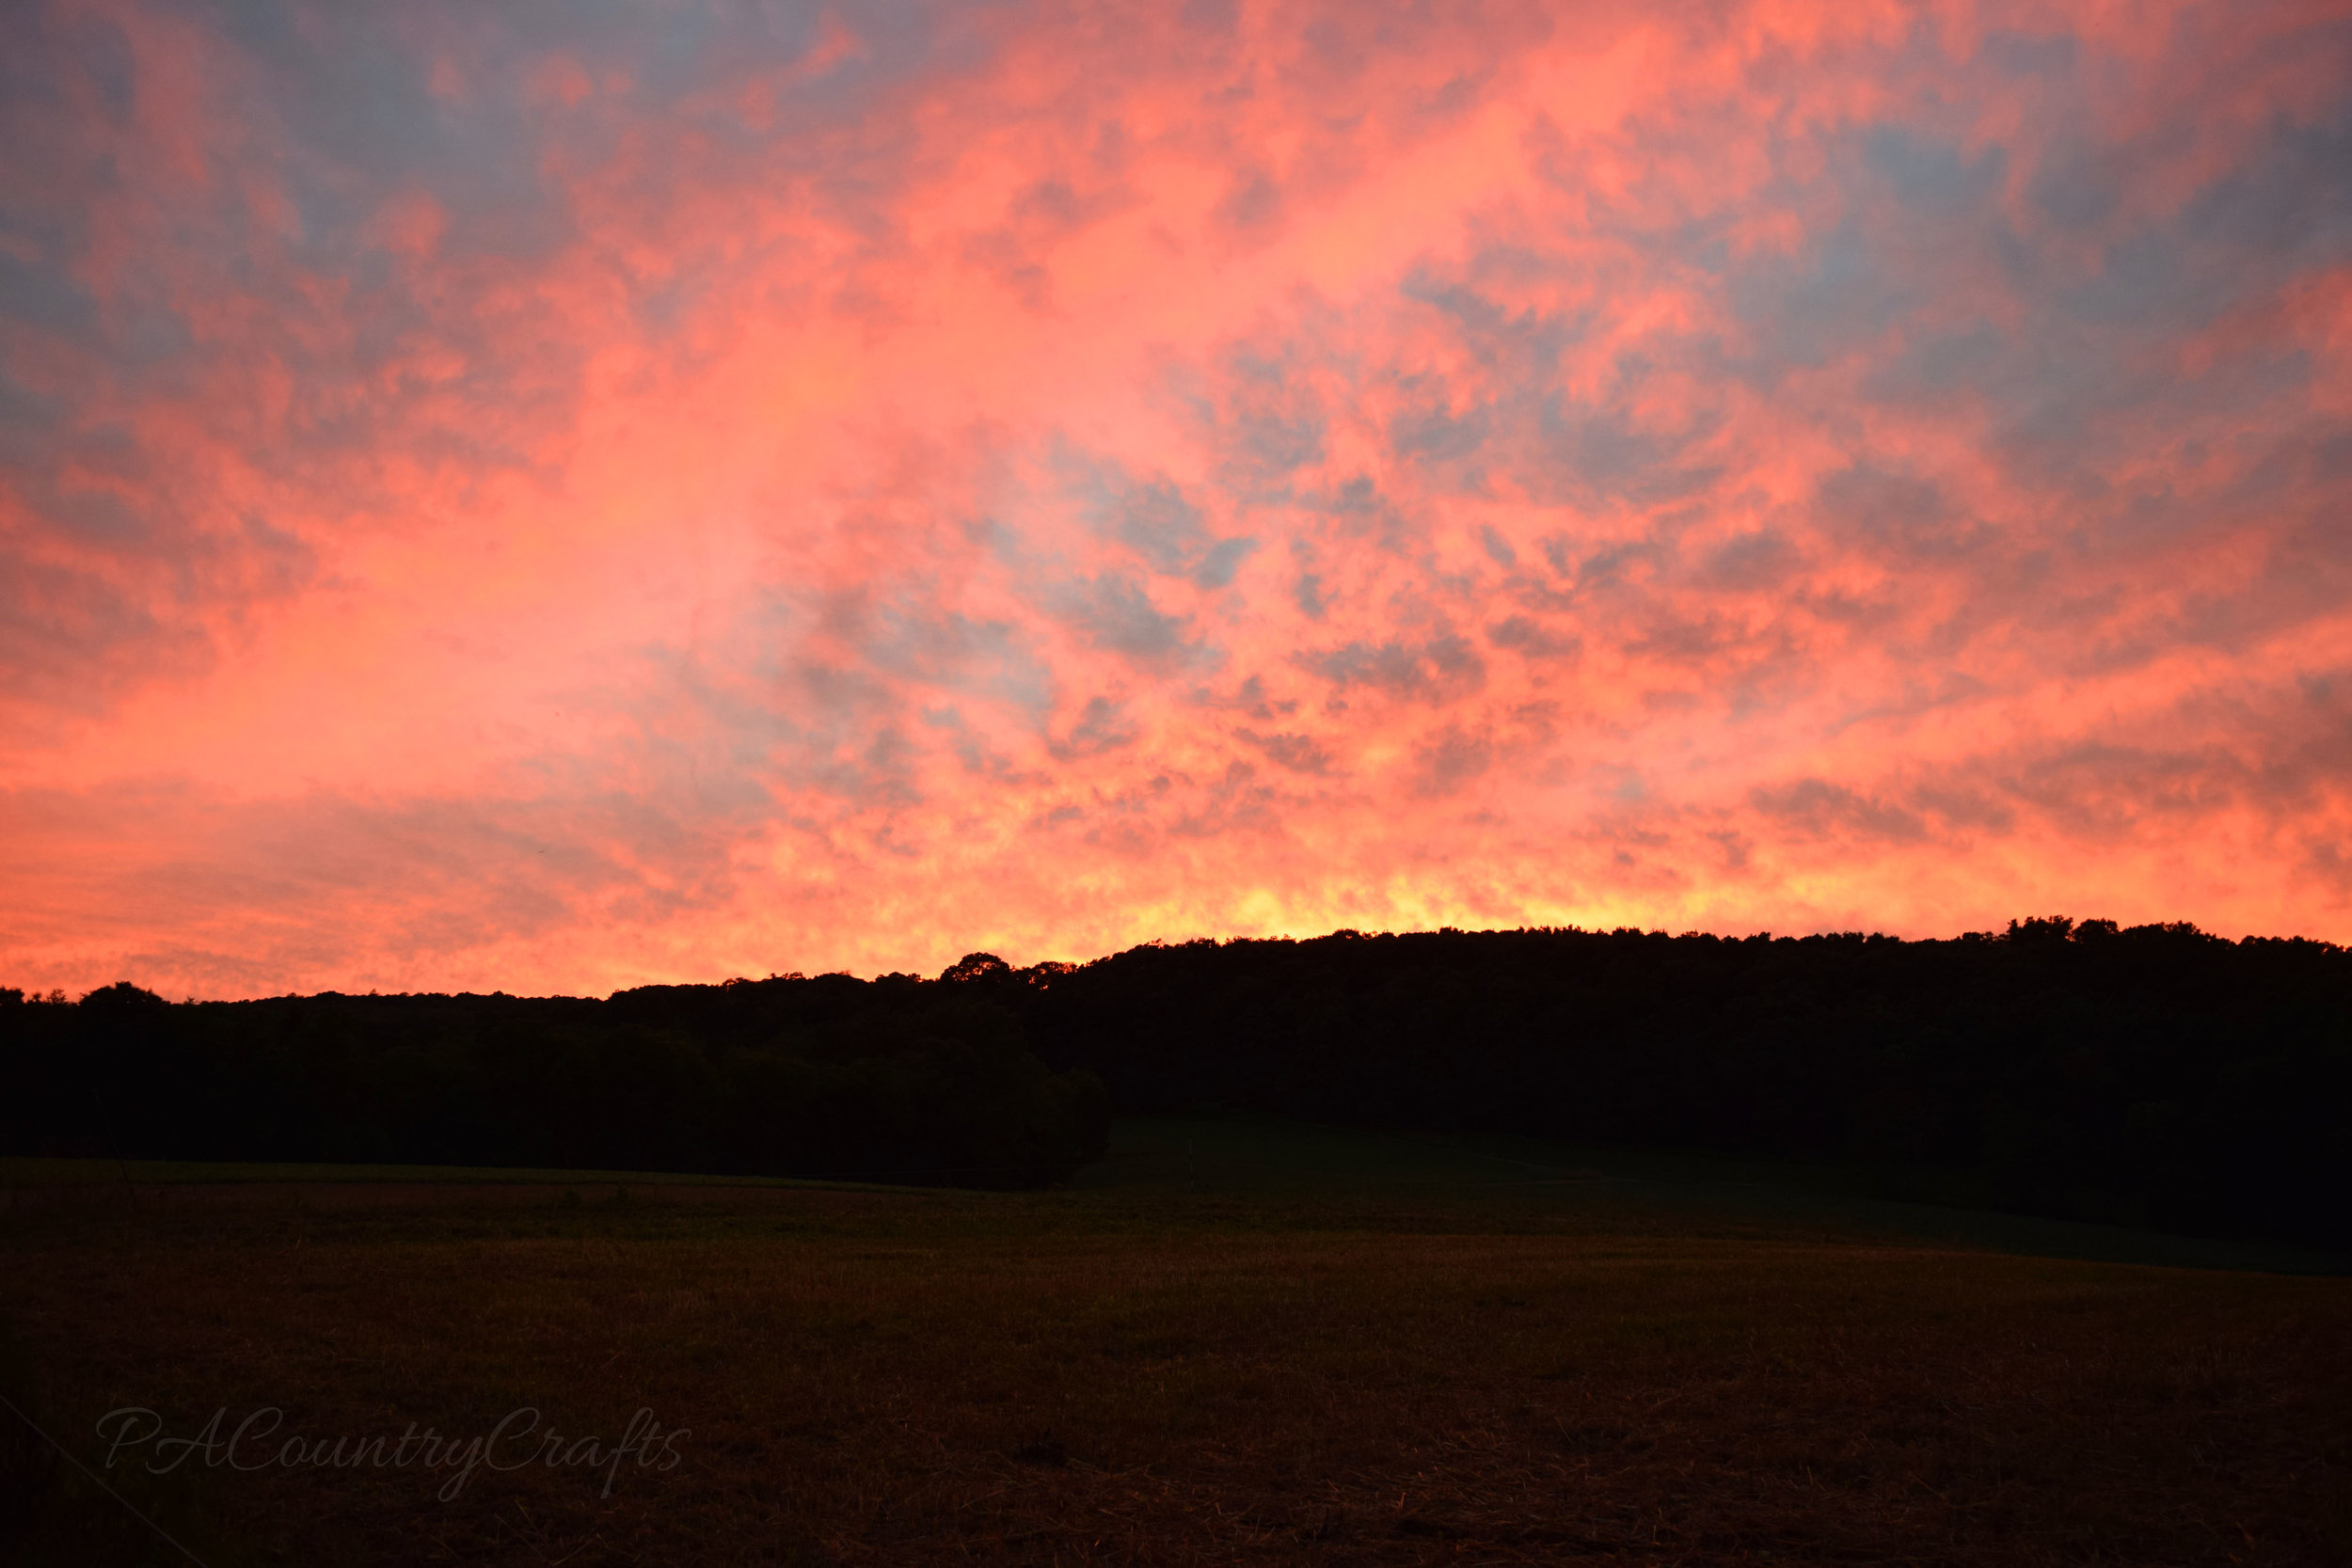
All joking aside, there is a lot of hard work, sacrifice, risk, and expenses that go along with farming. I do love farming and we are blessed to be able to own a lovely piece of land. I love being able to raise our children with these experiences. But, there are a lot of things that we give up and there are a lot of hard things we have to do so that we can have this lifestyle. Like anything in life, it isn't all picture-perfect.
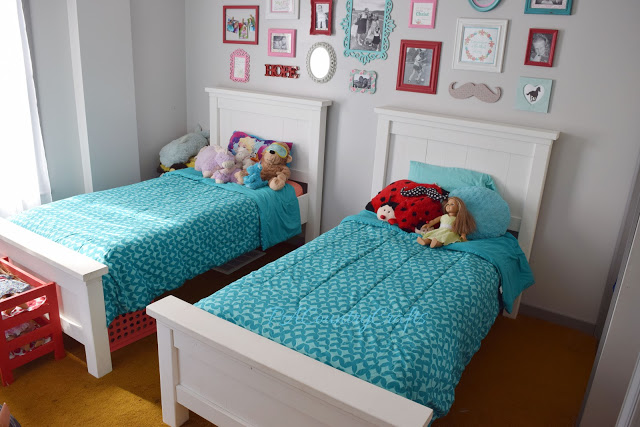
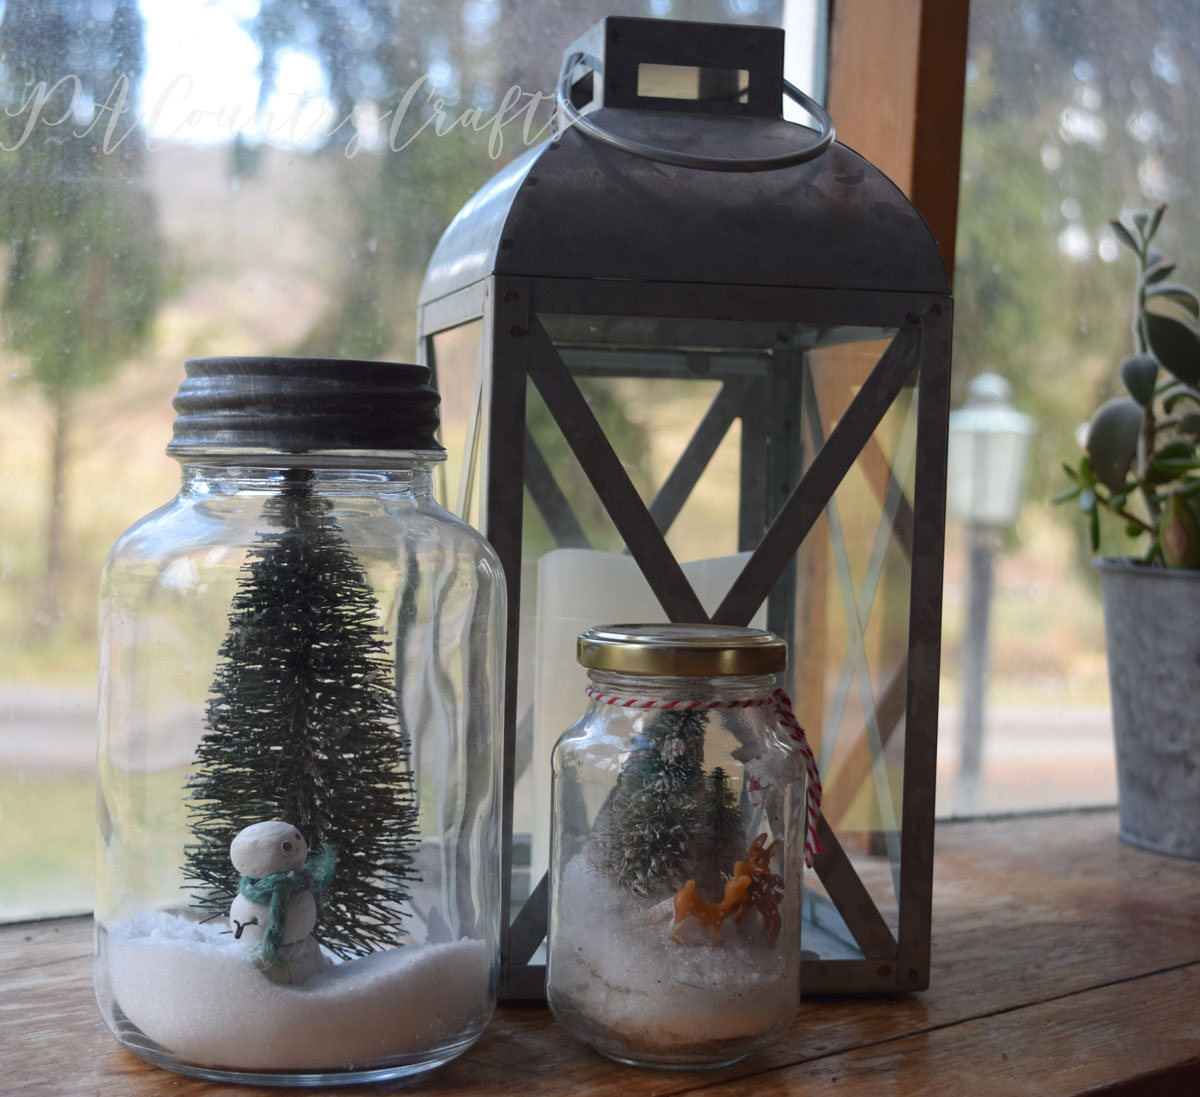
If you truly love the farmhouse look (I do!) by all means, paint everything white and hang a cute "Farmer's Market" sign up on the wall. I am really considering painting my kitchen cupboards white, too. However, no matter how adorable the decor may be, the real beauty is found outside of the farmhouse.


More authentic farmhouse inspired posts…


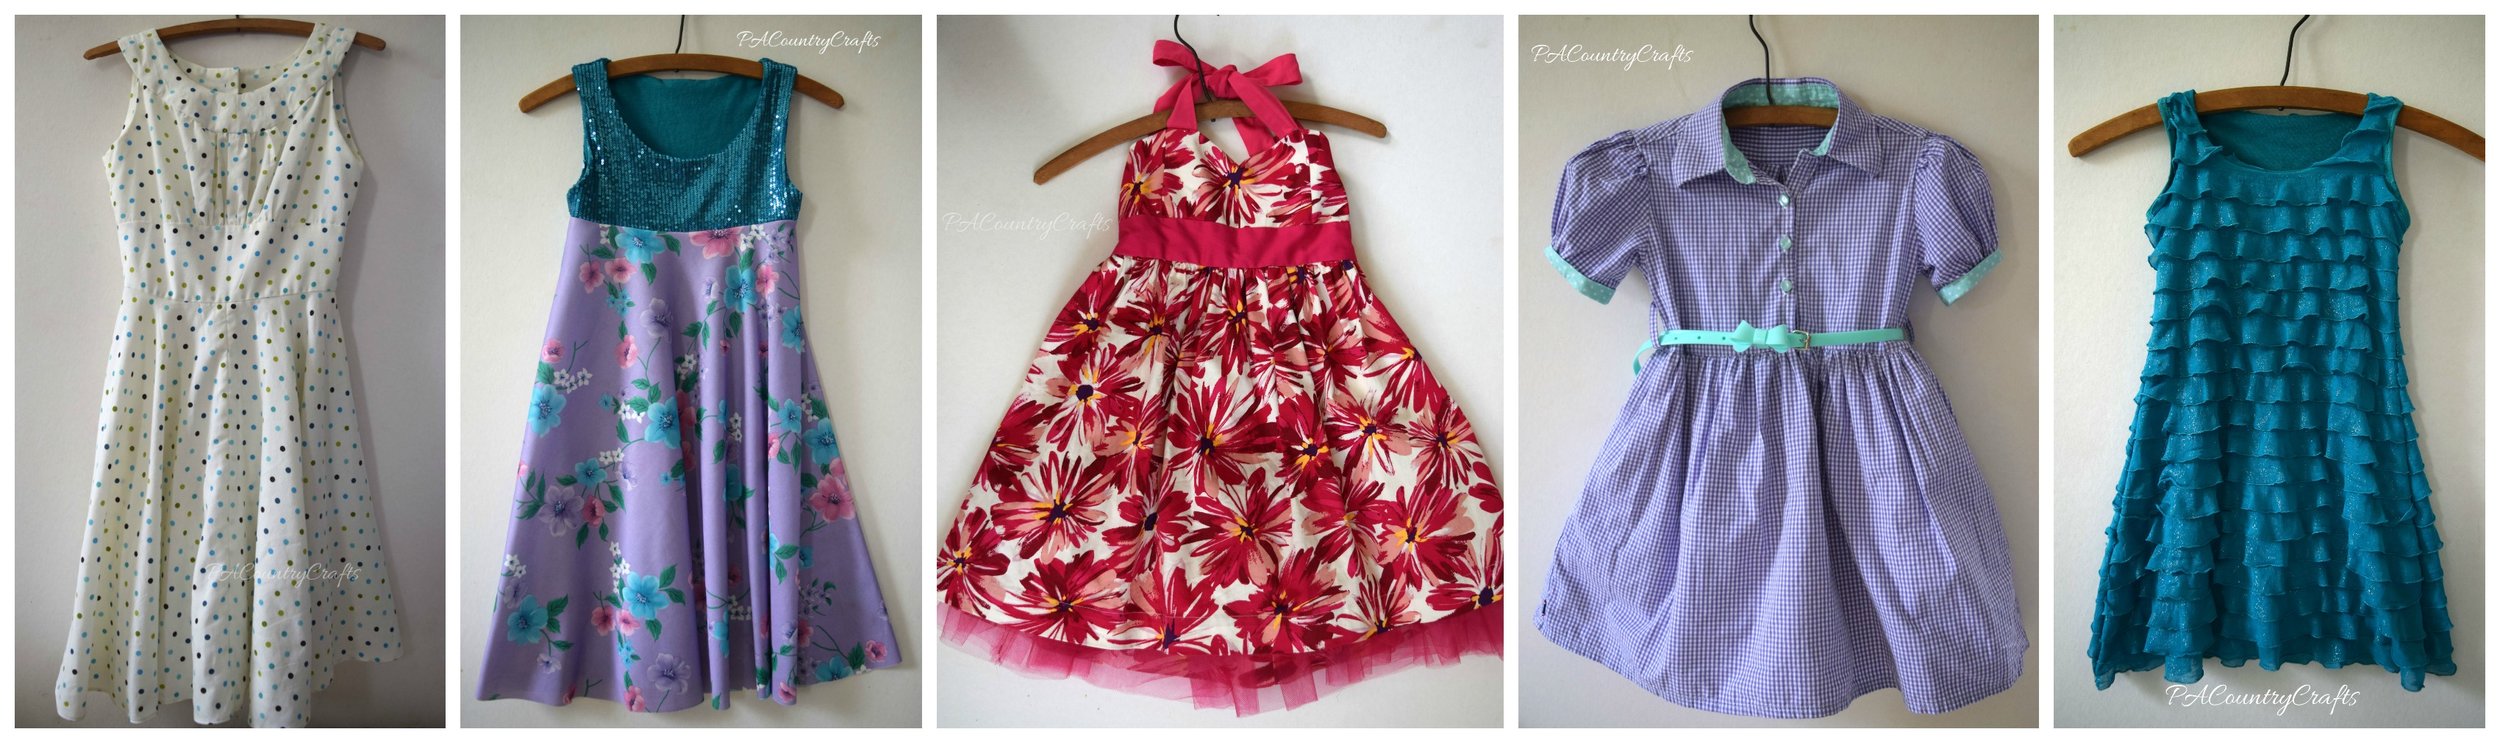

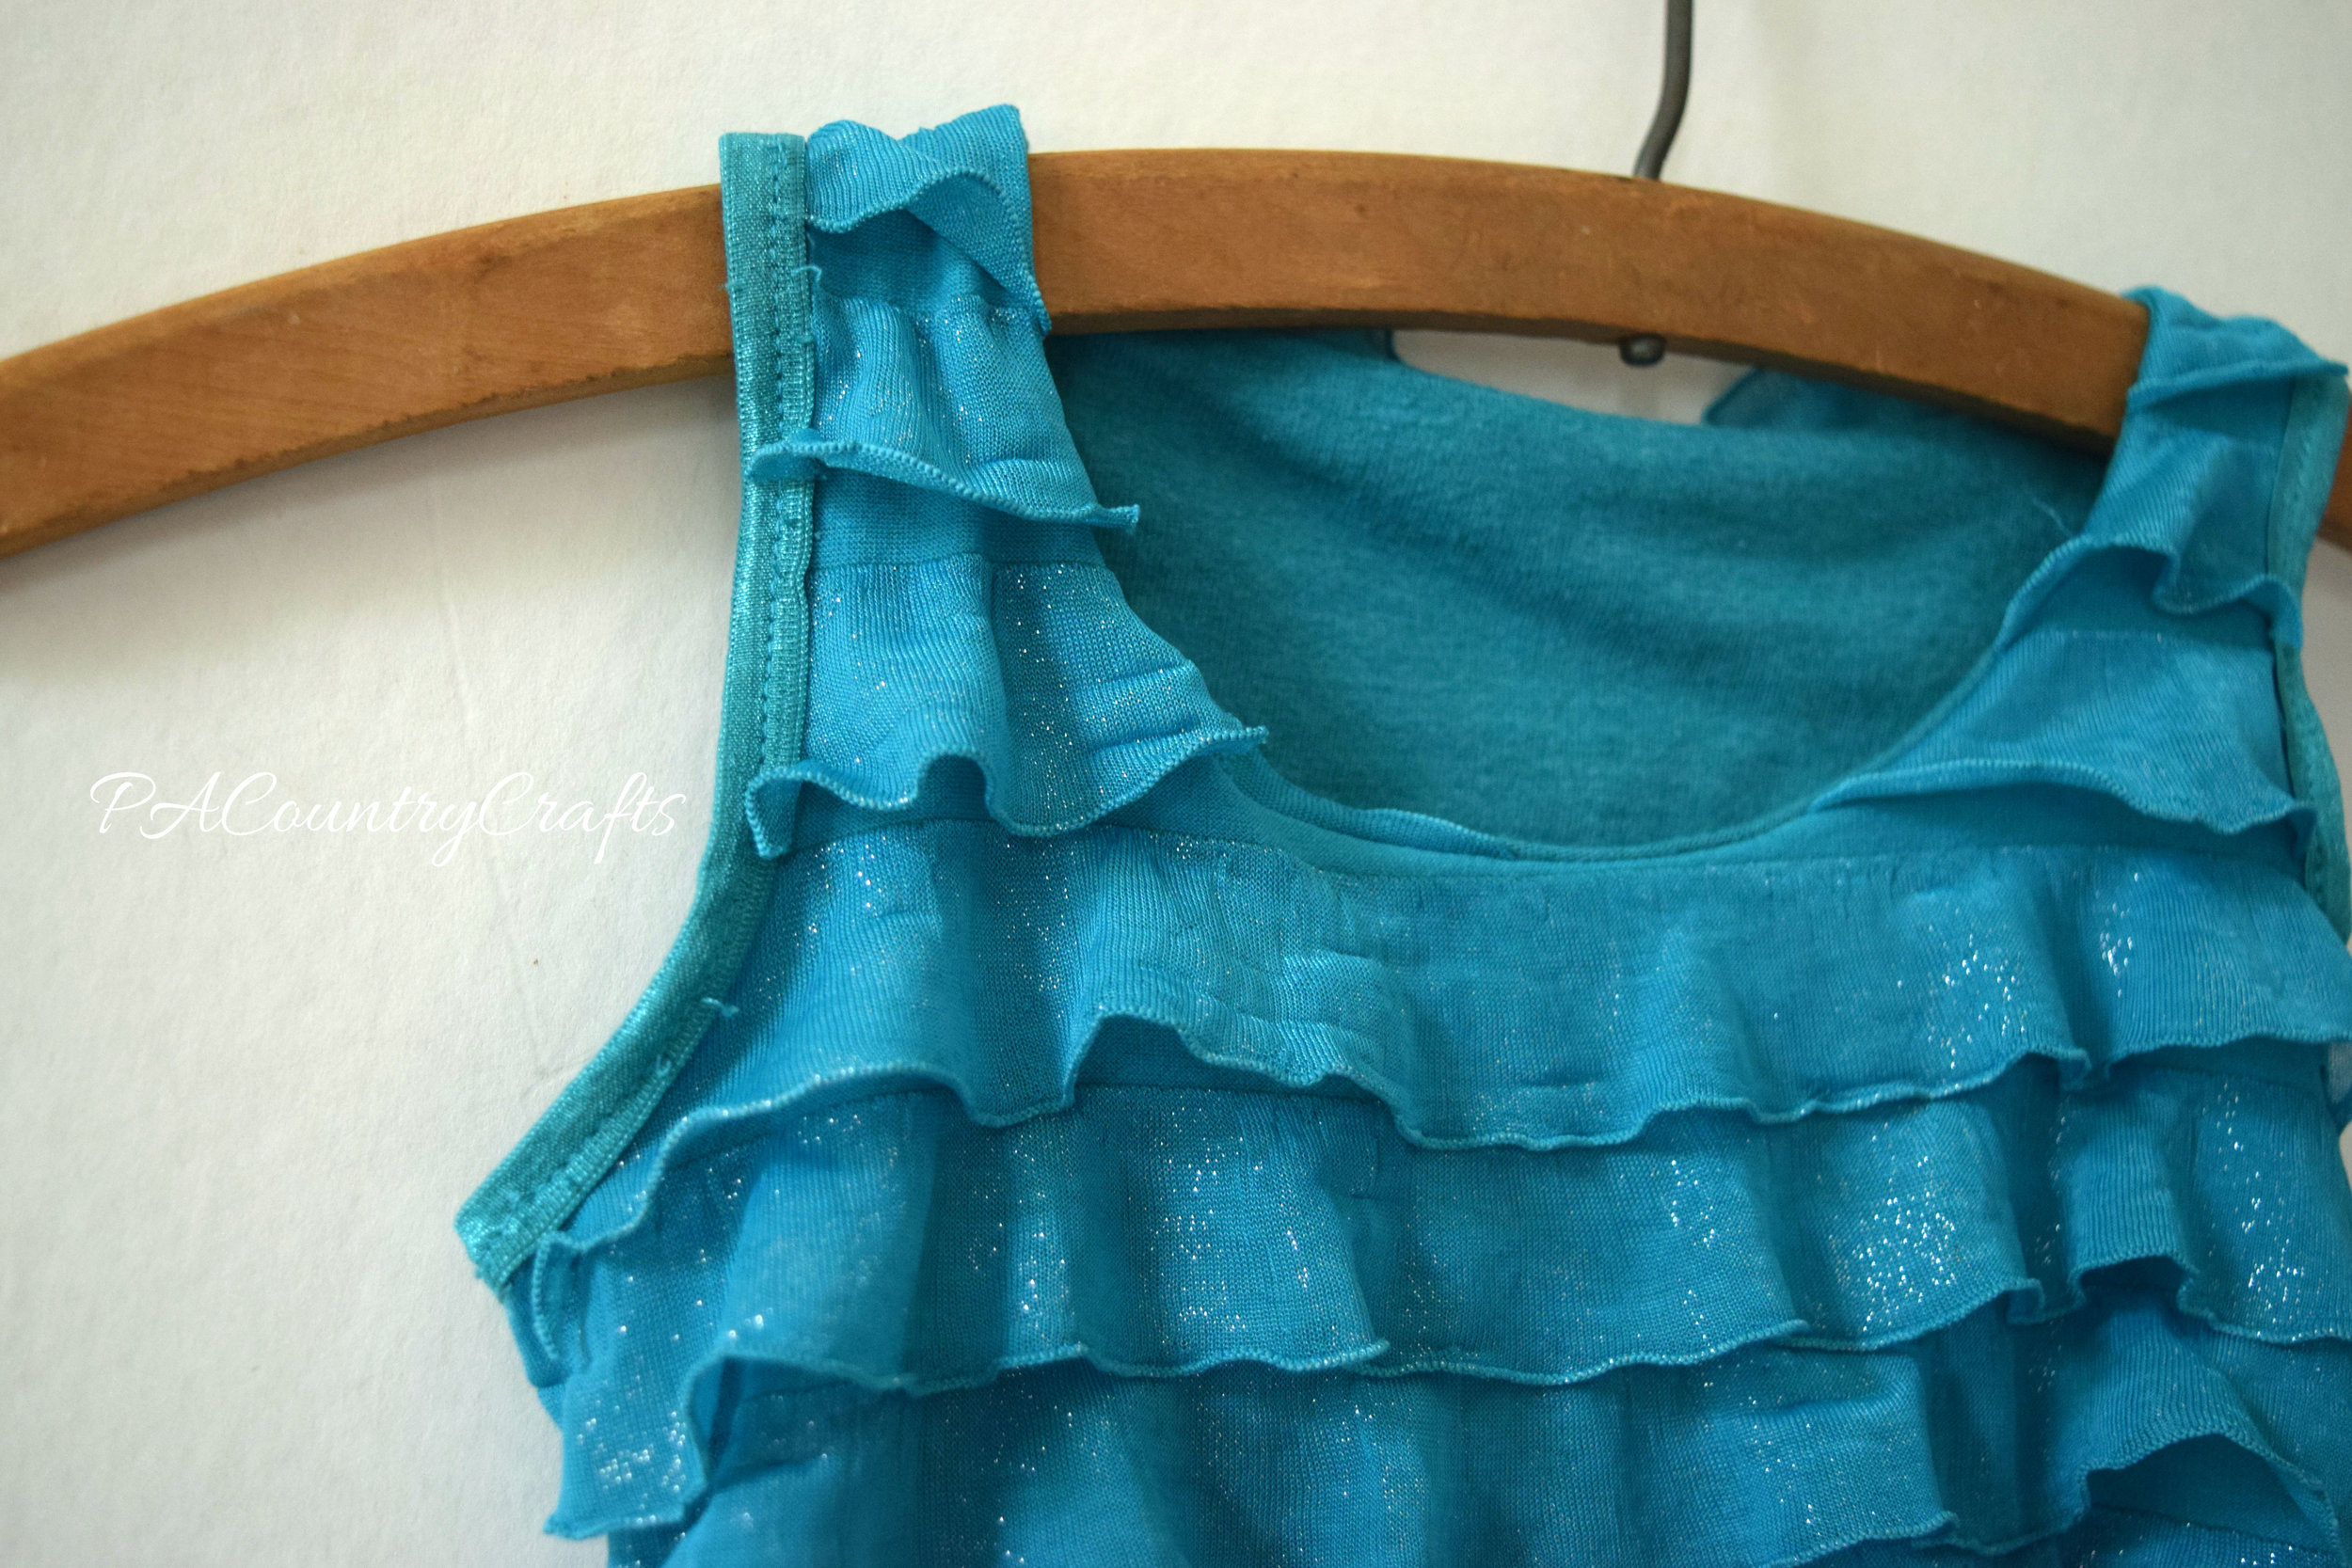
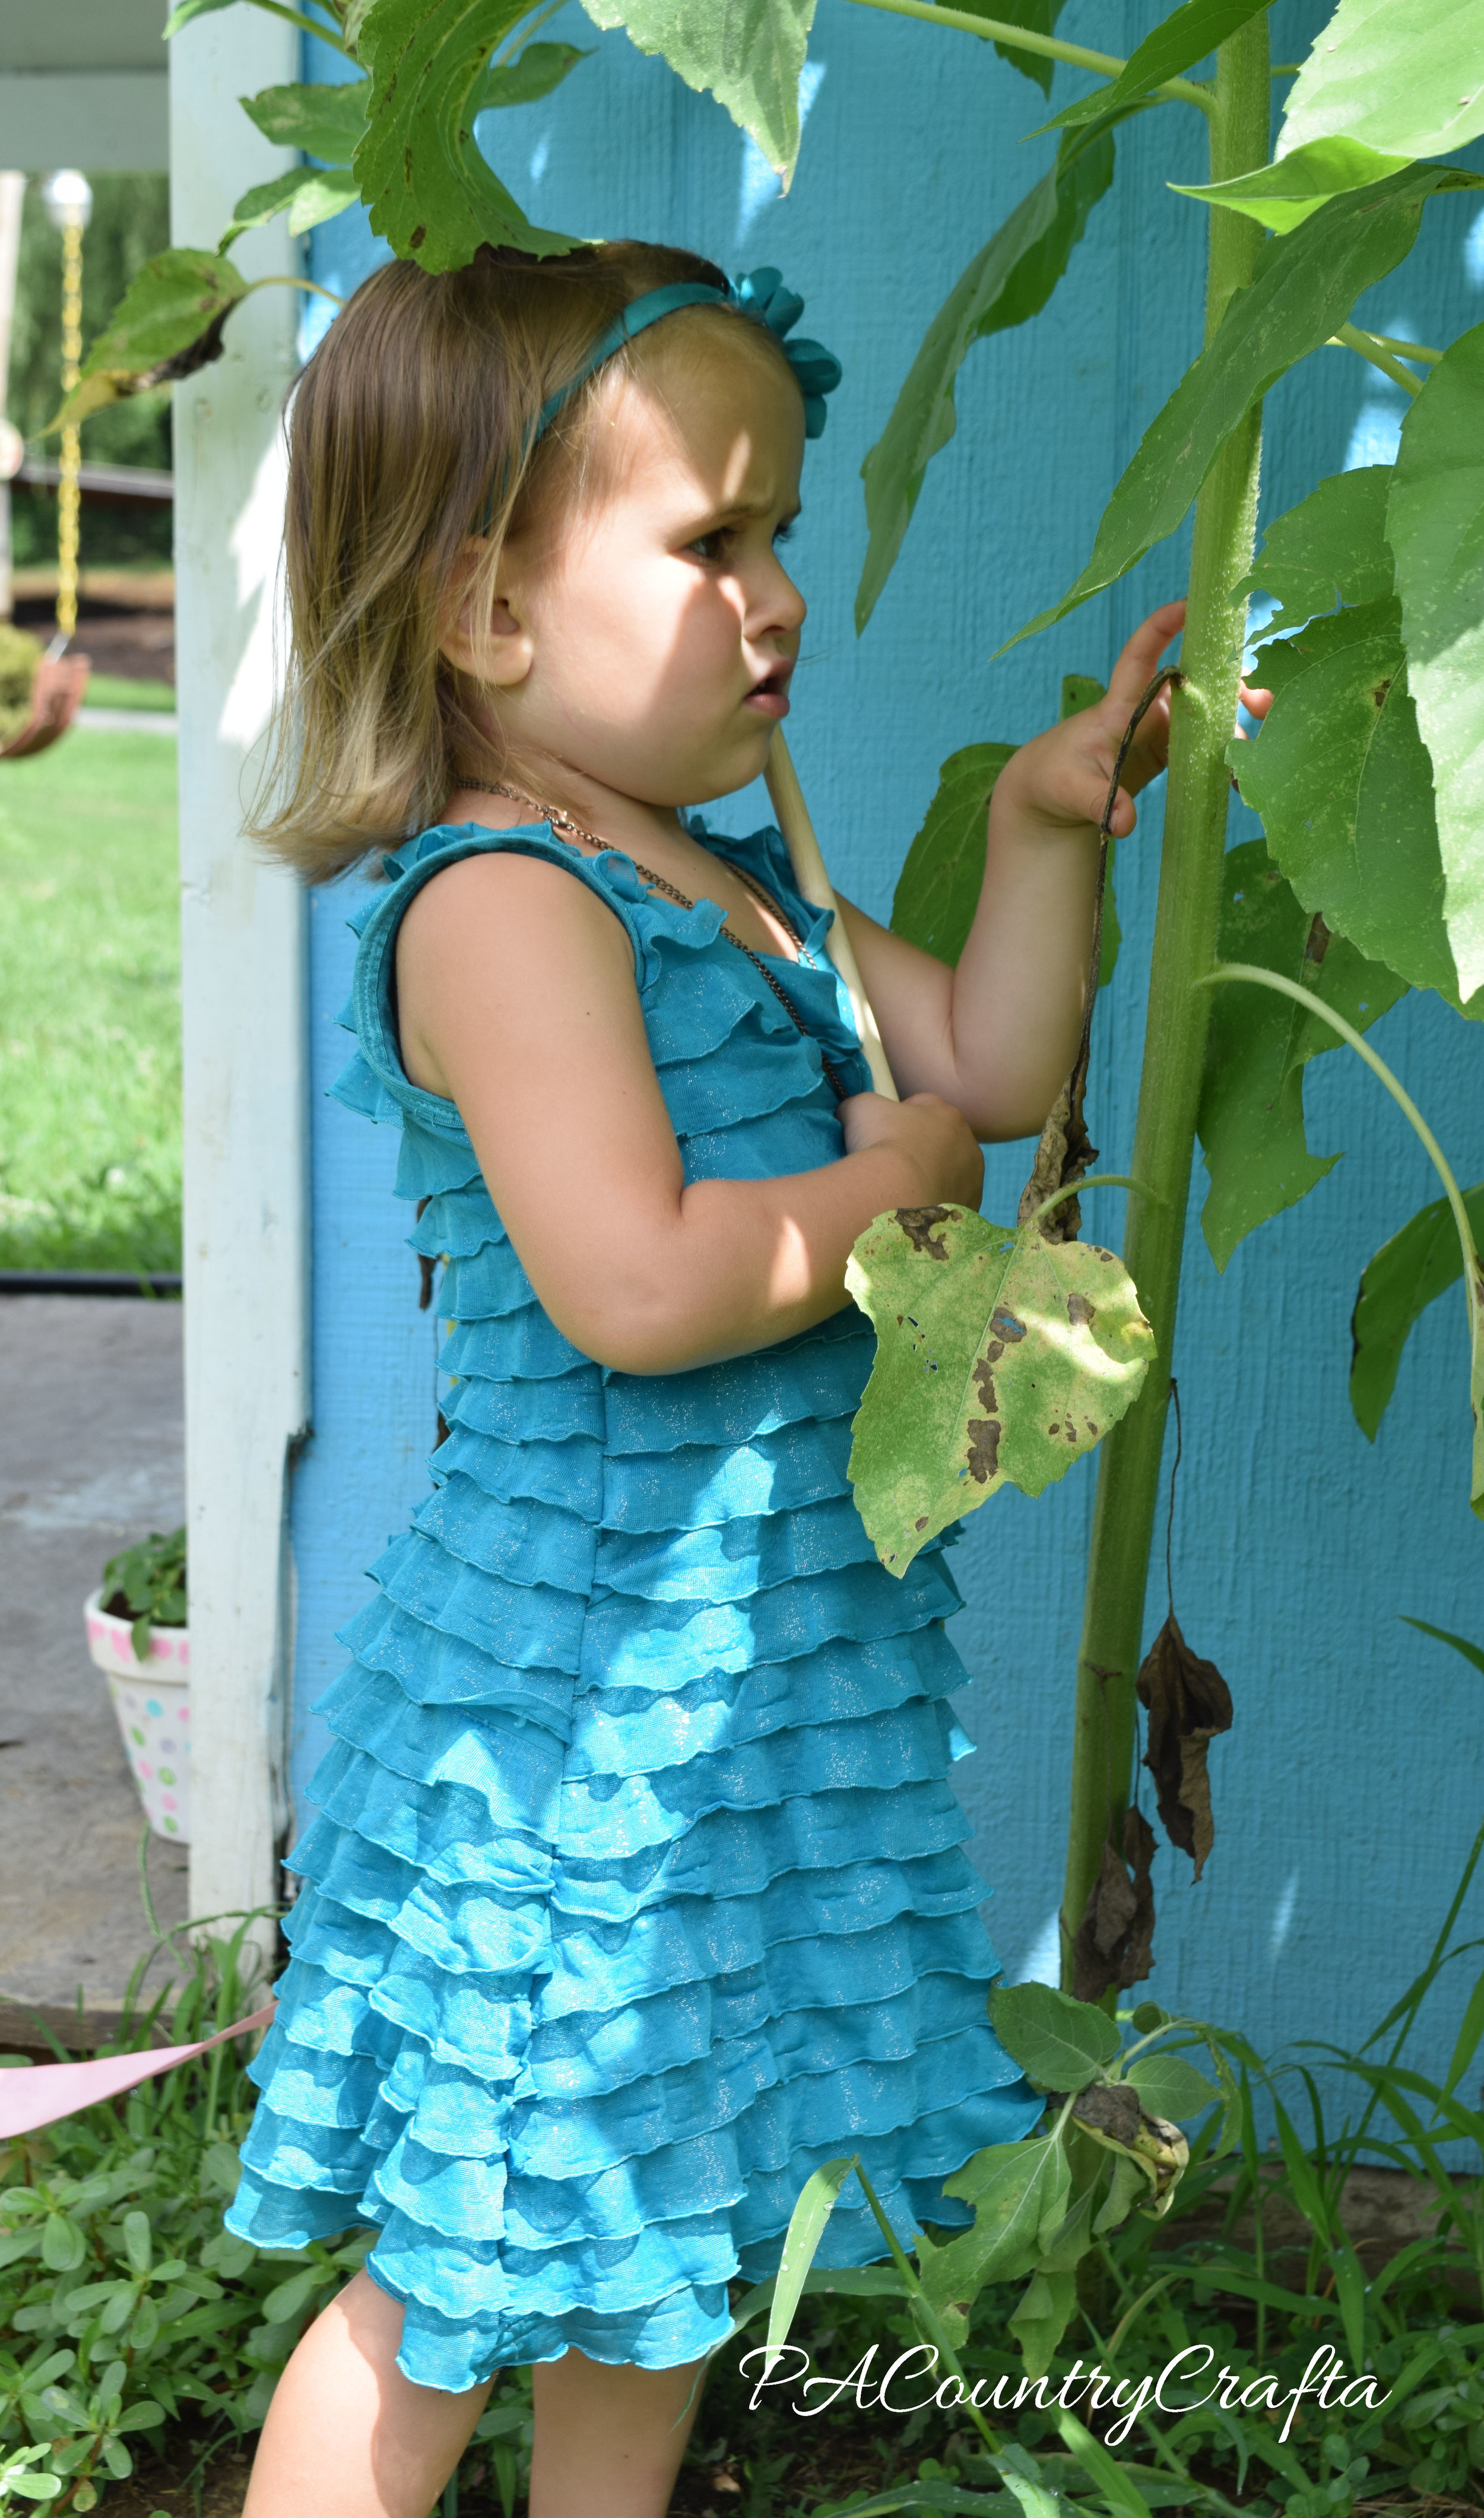
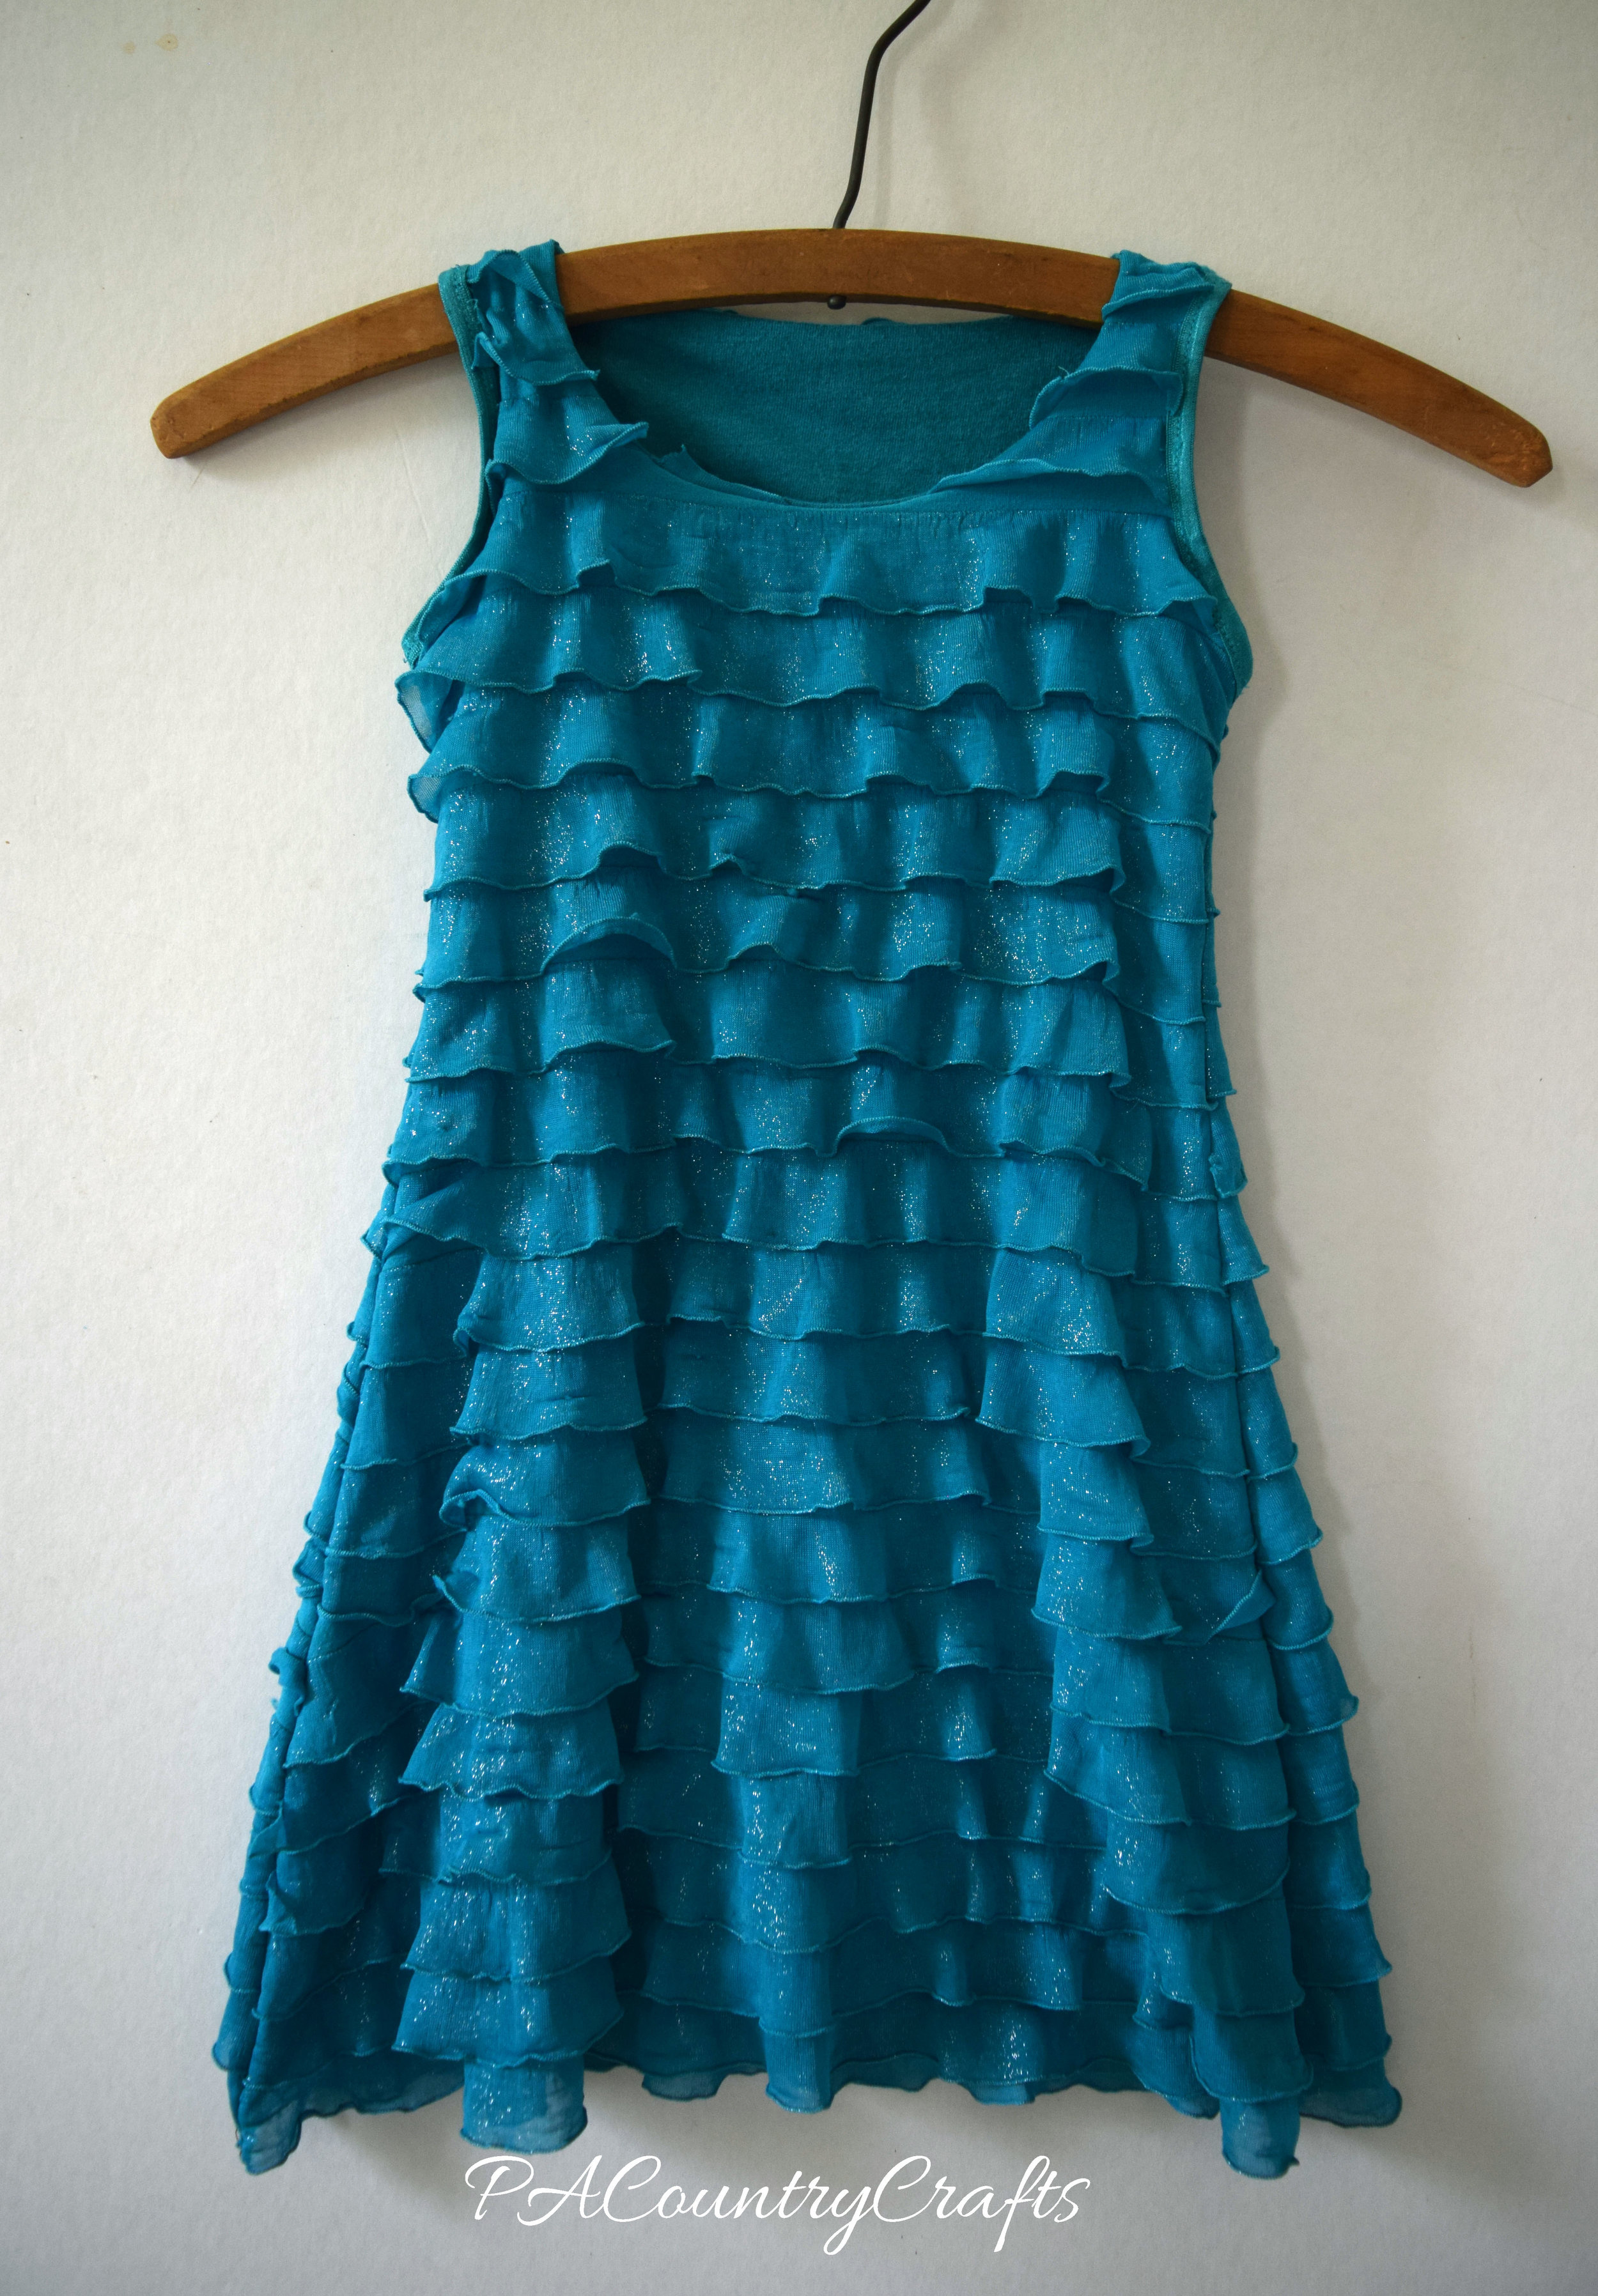
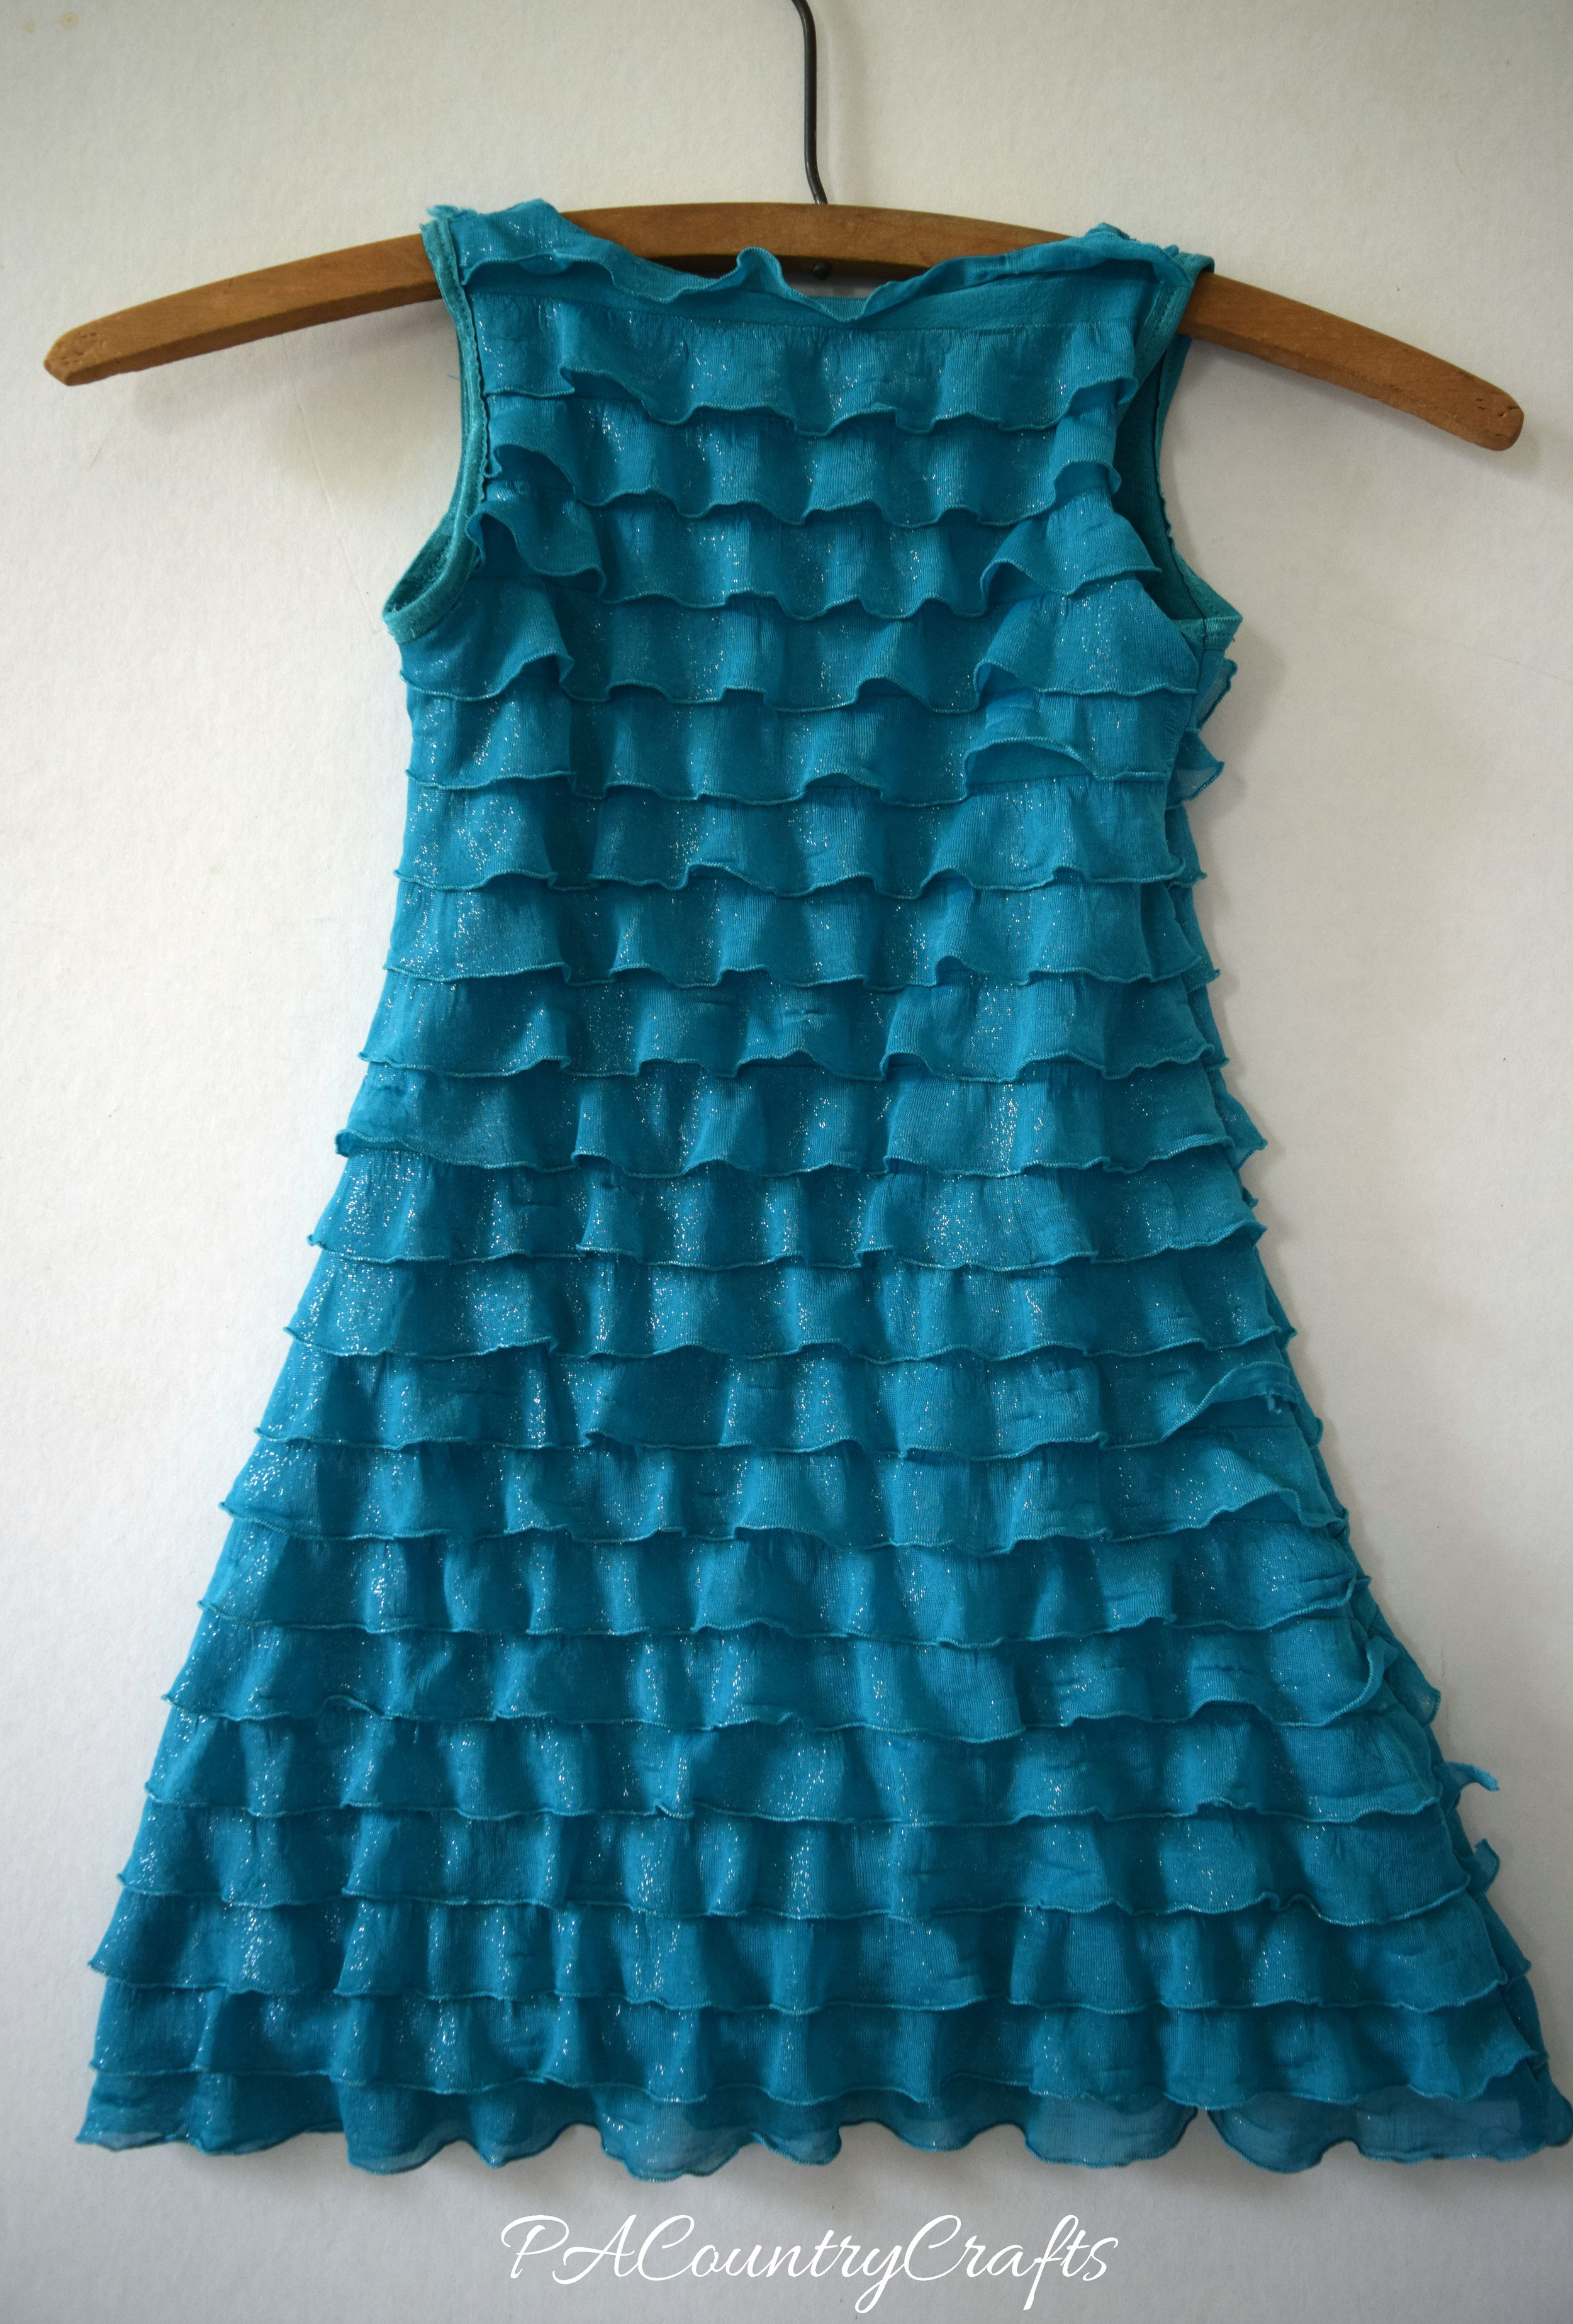


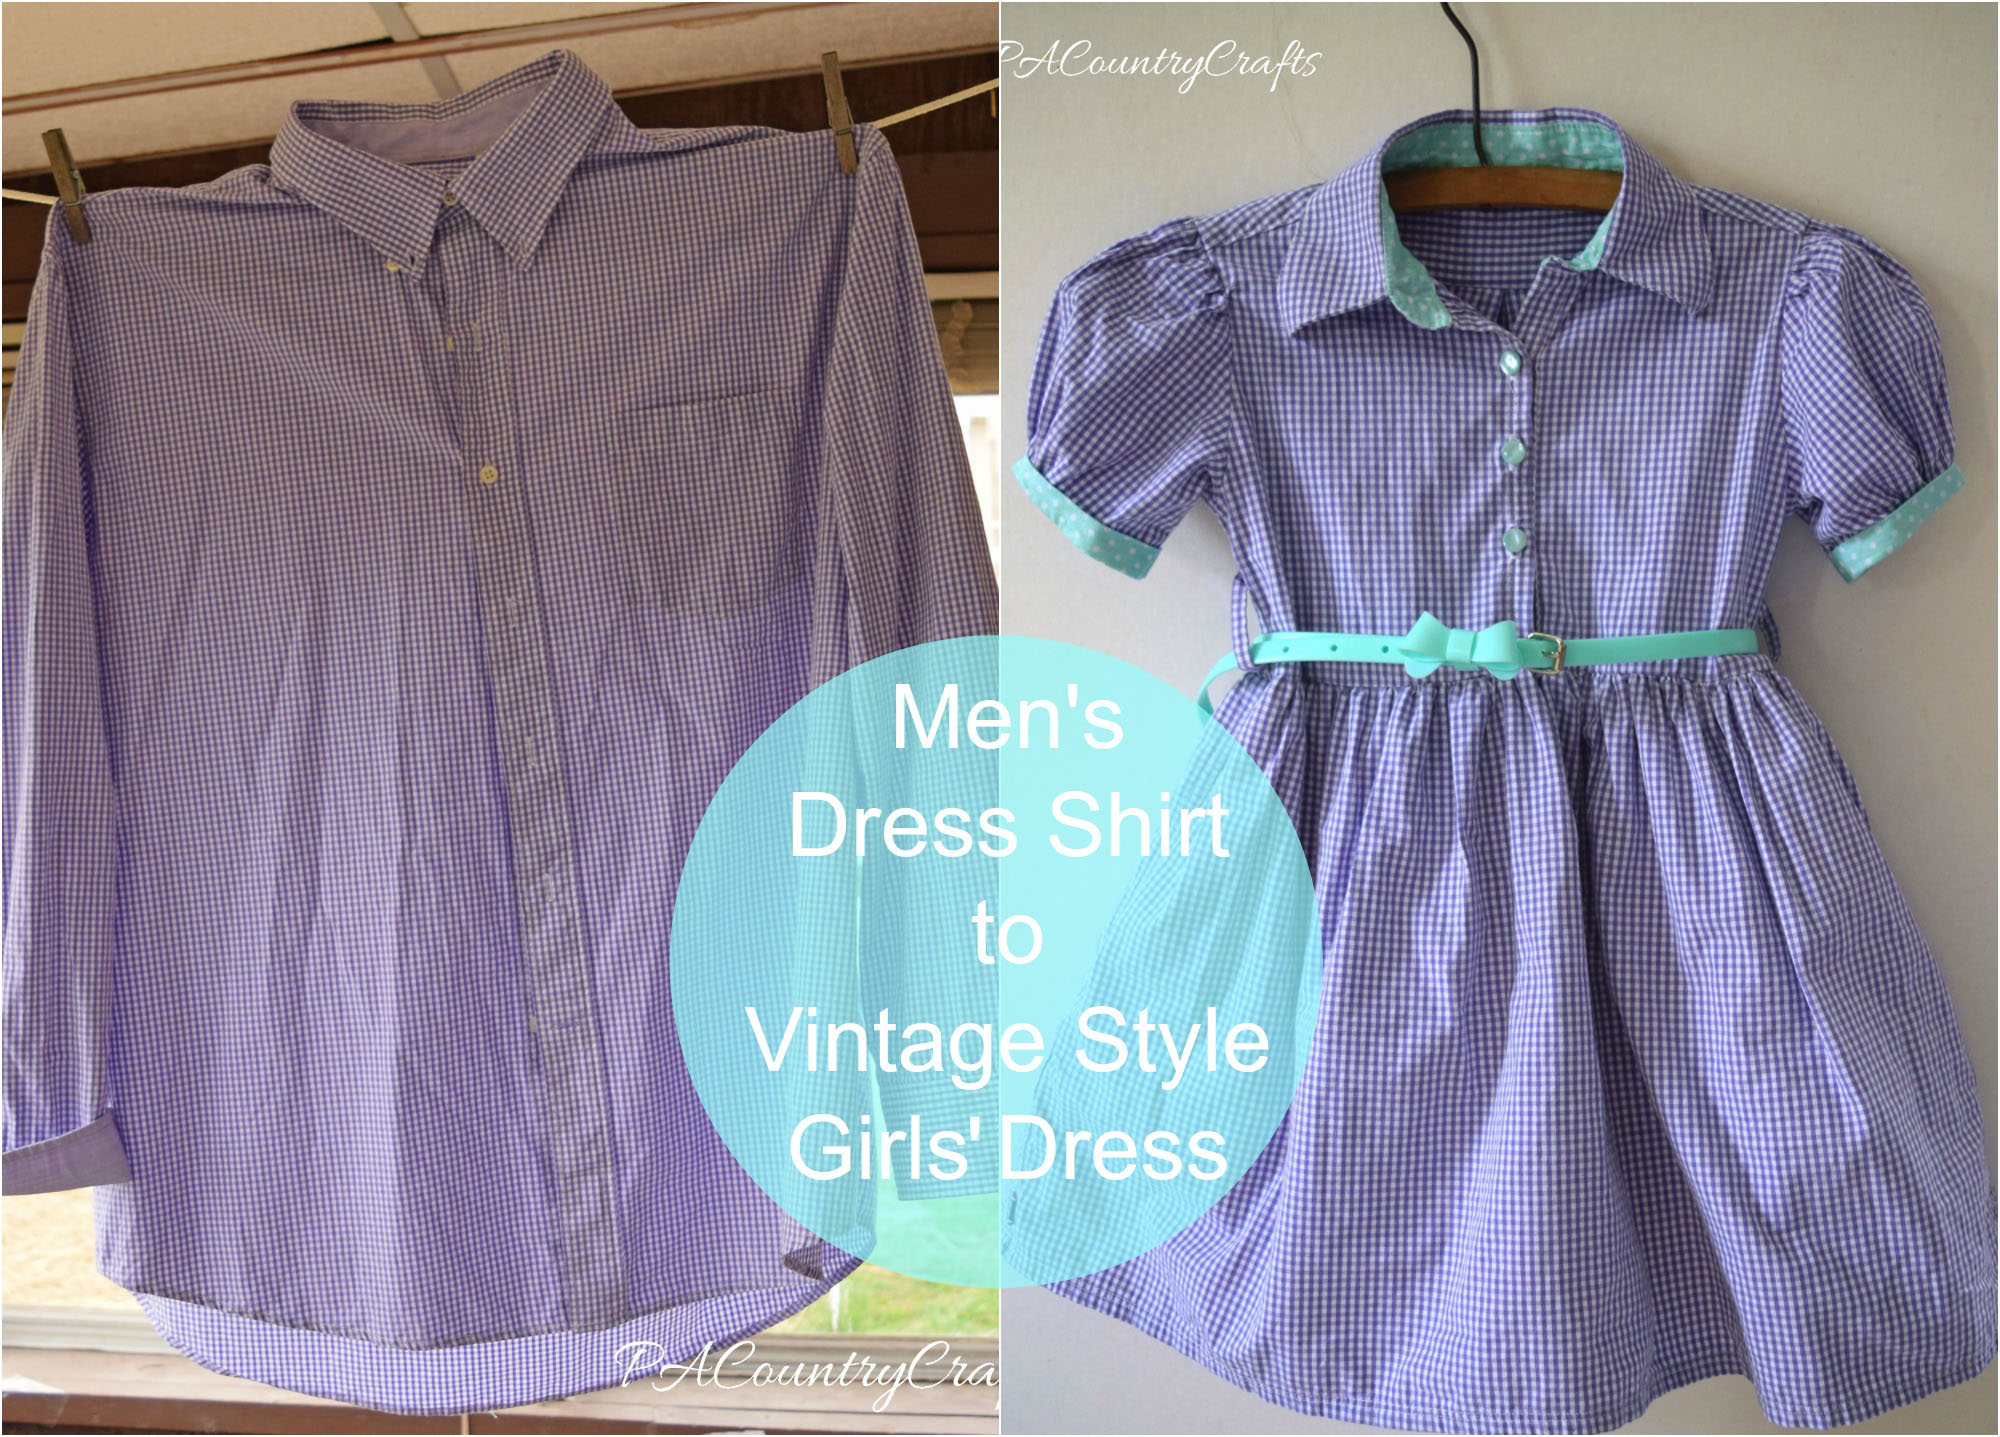
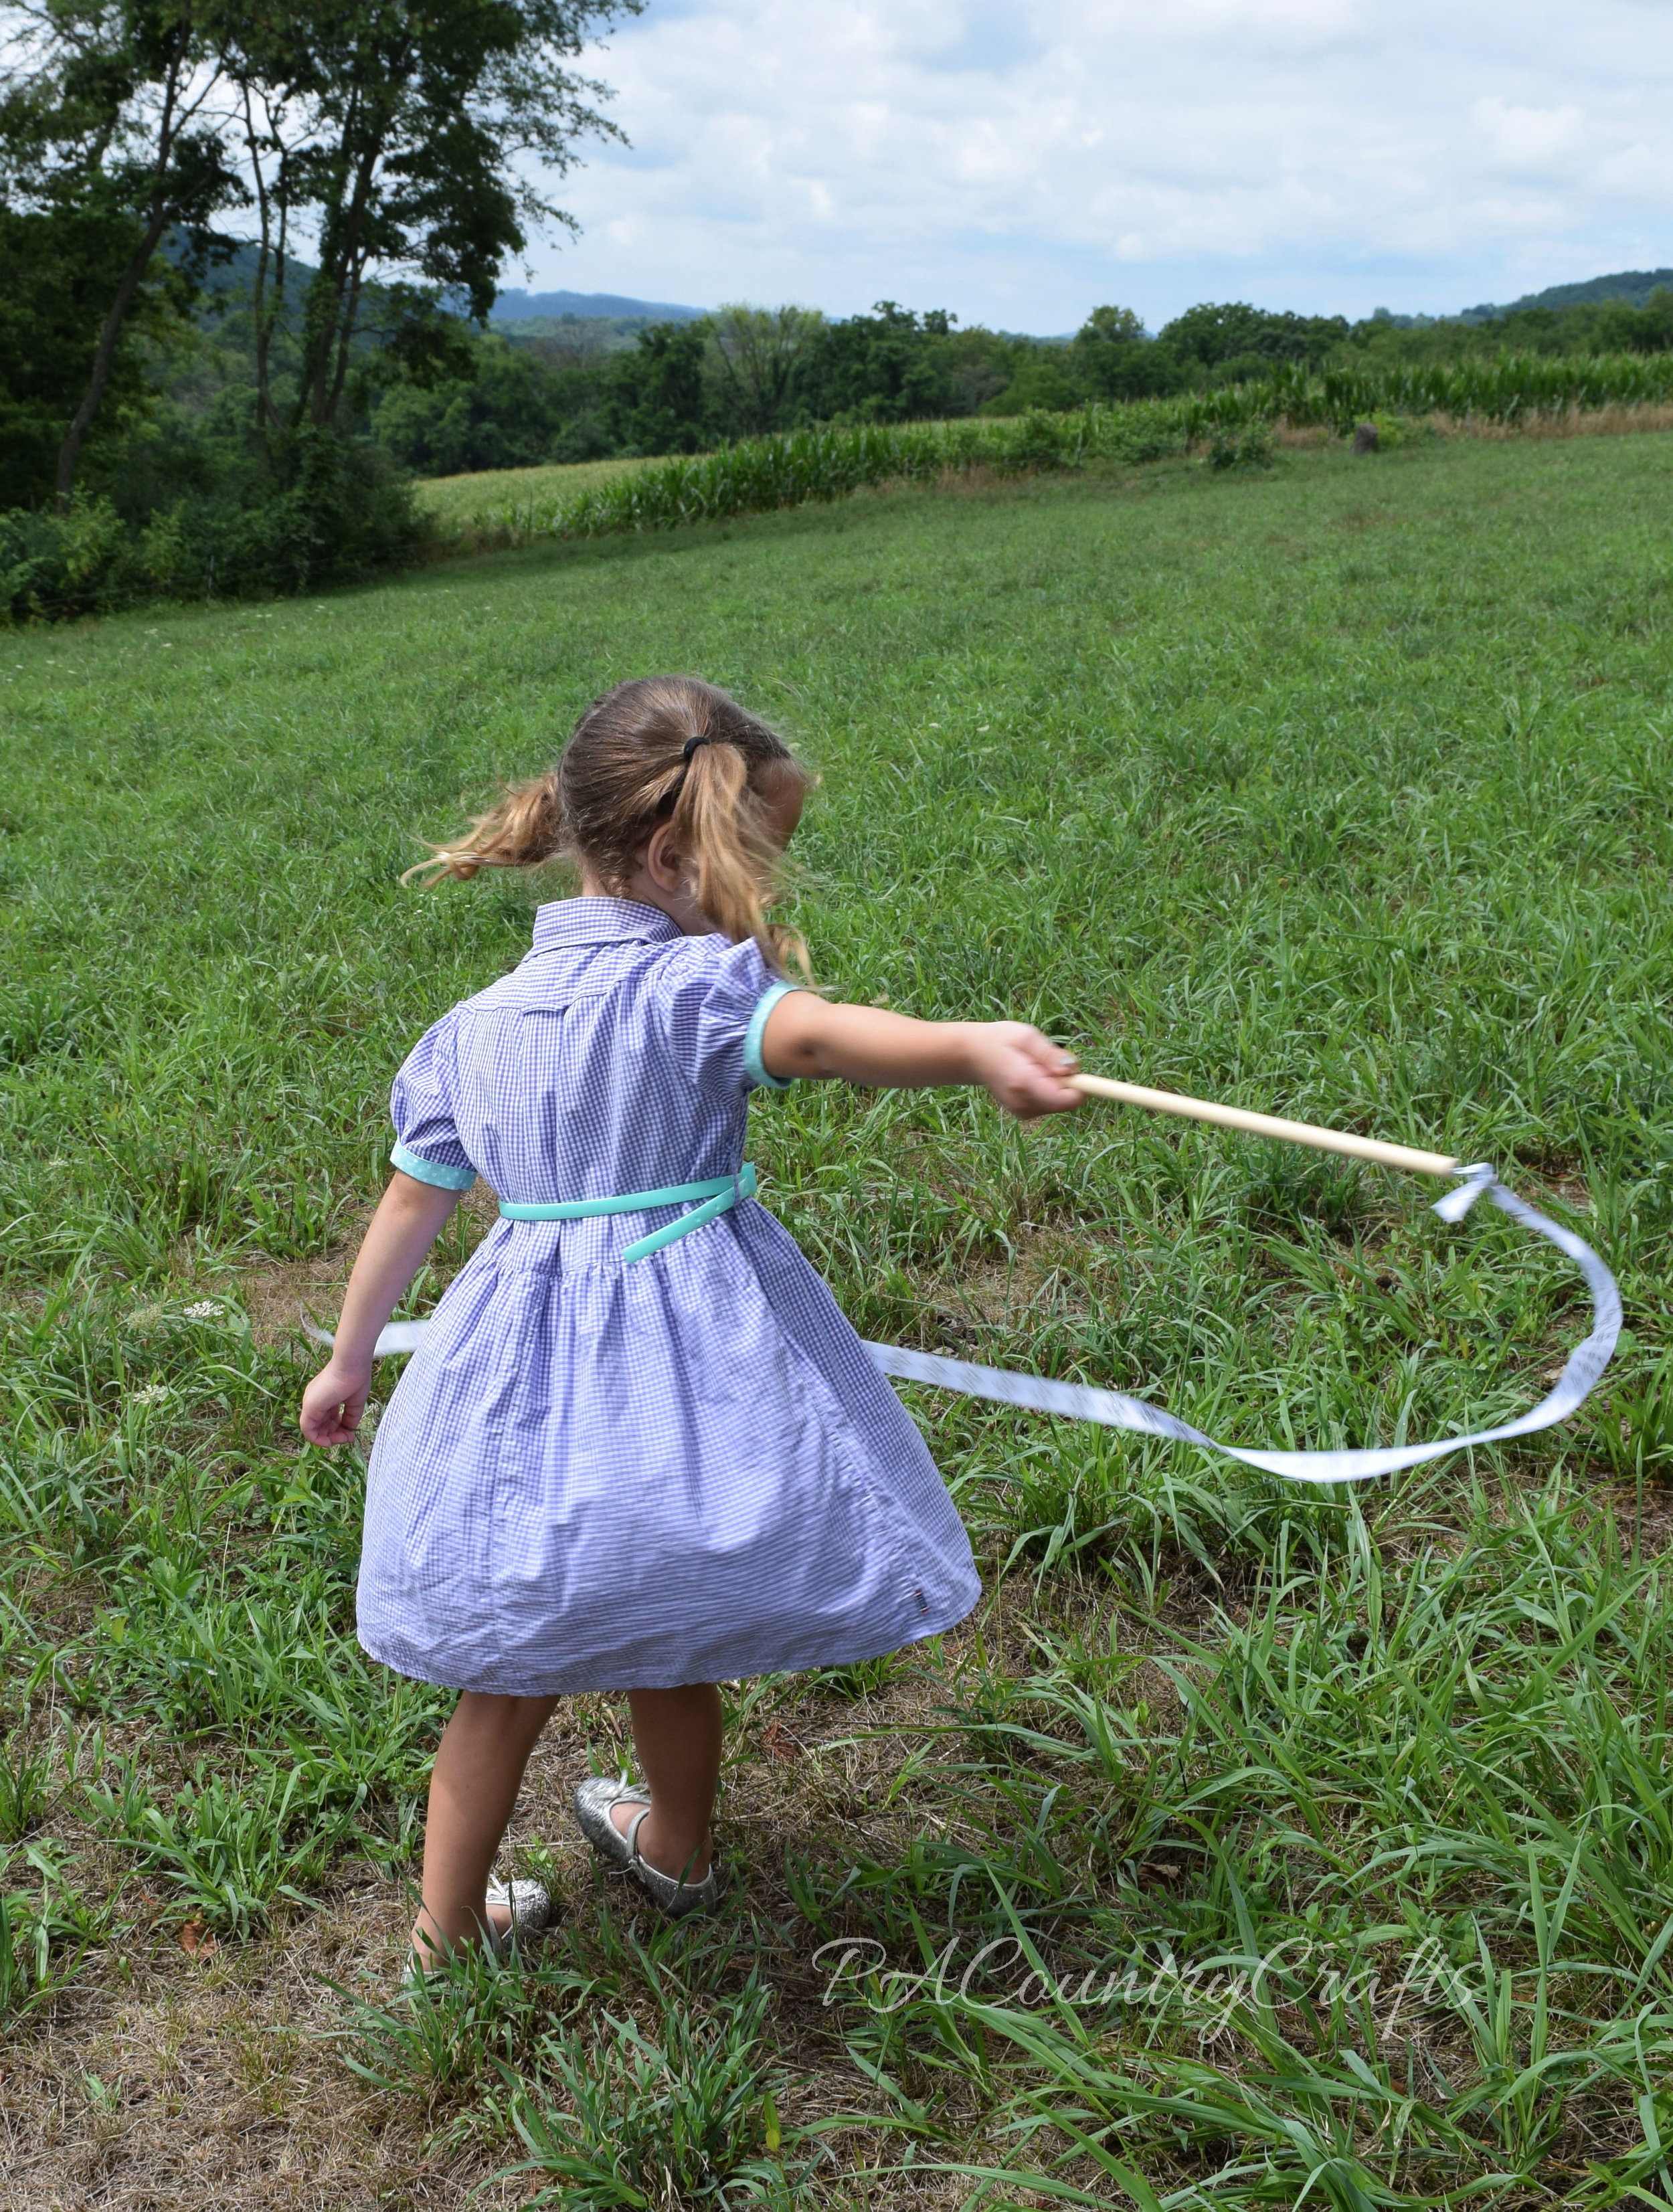
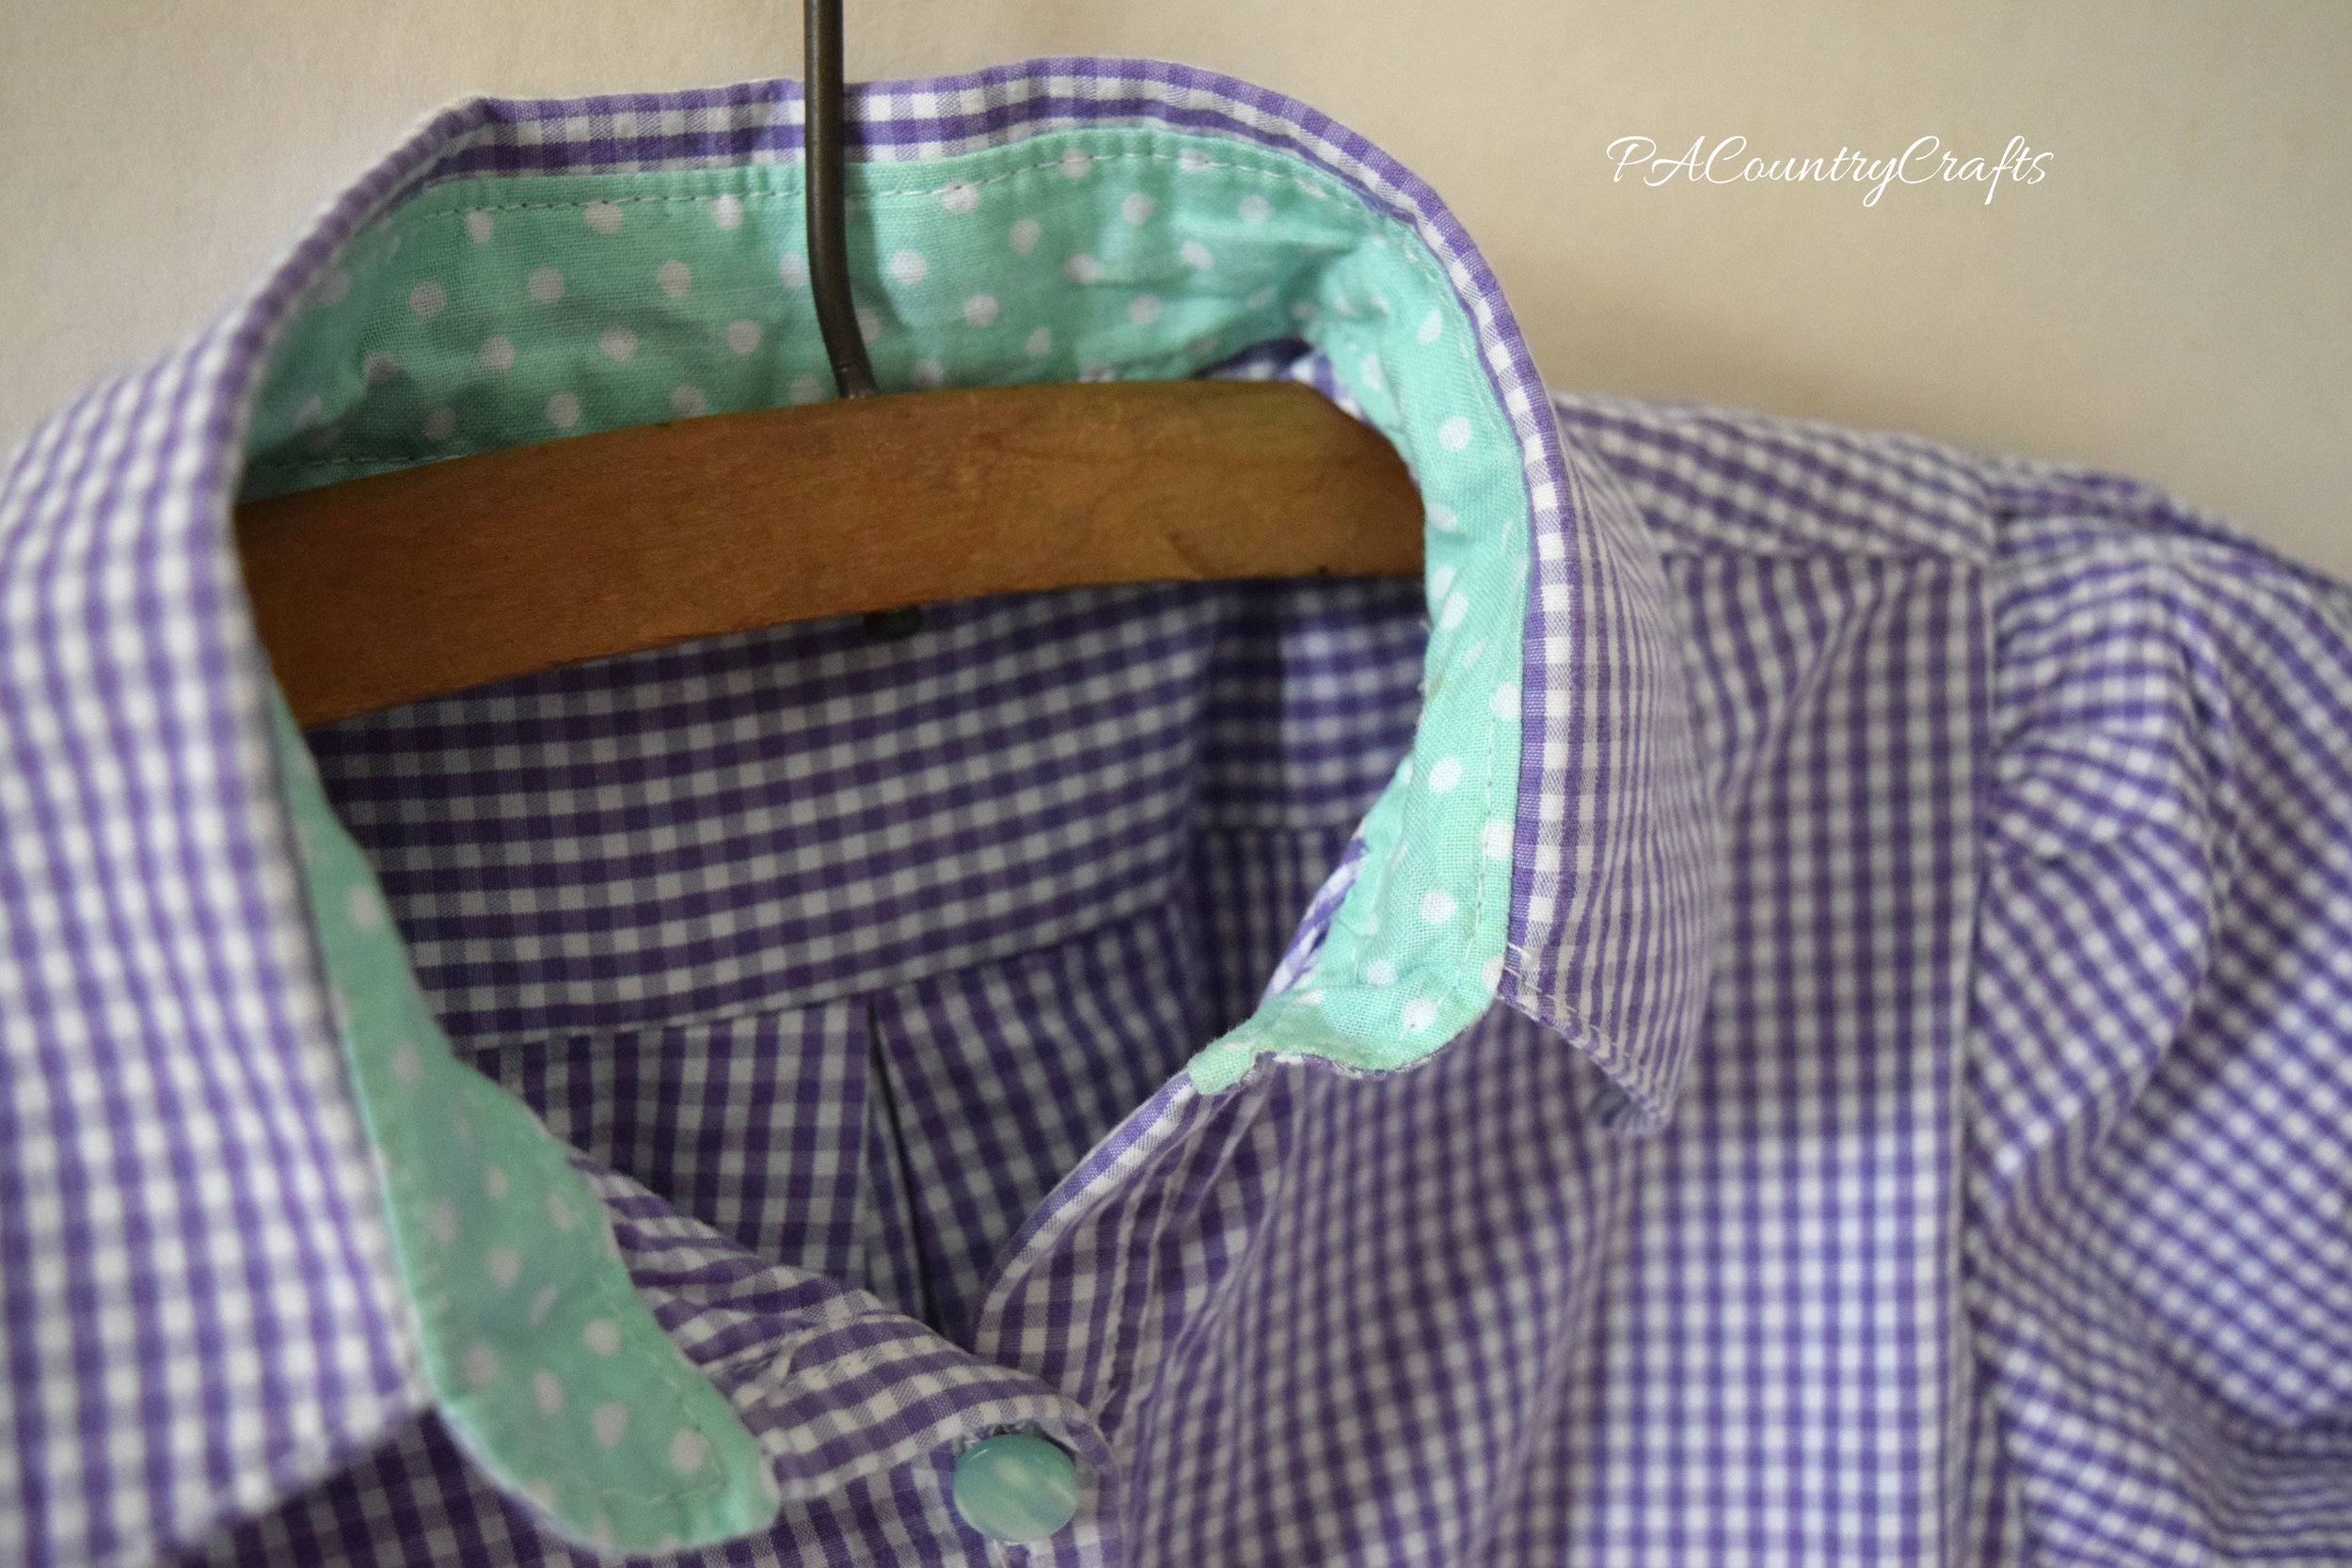
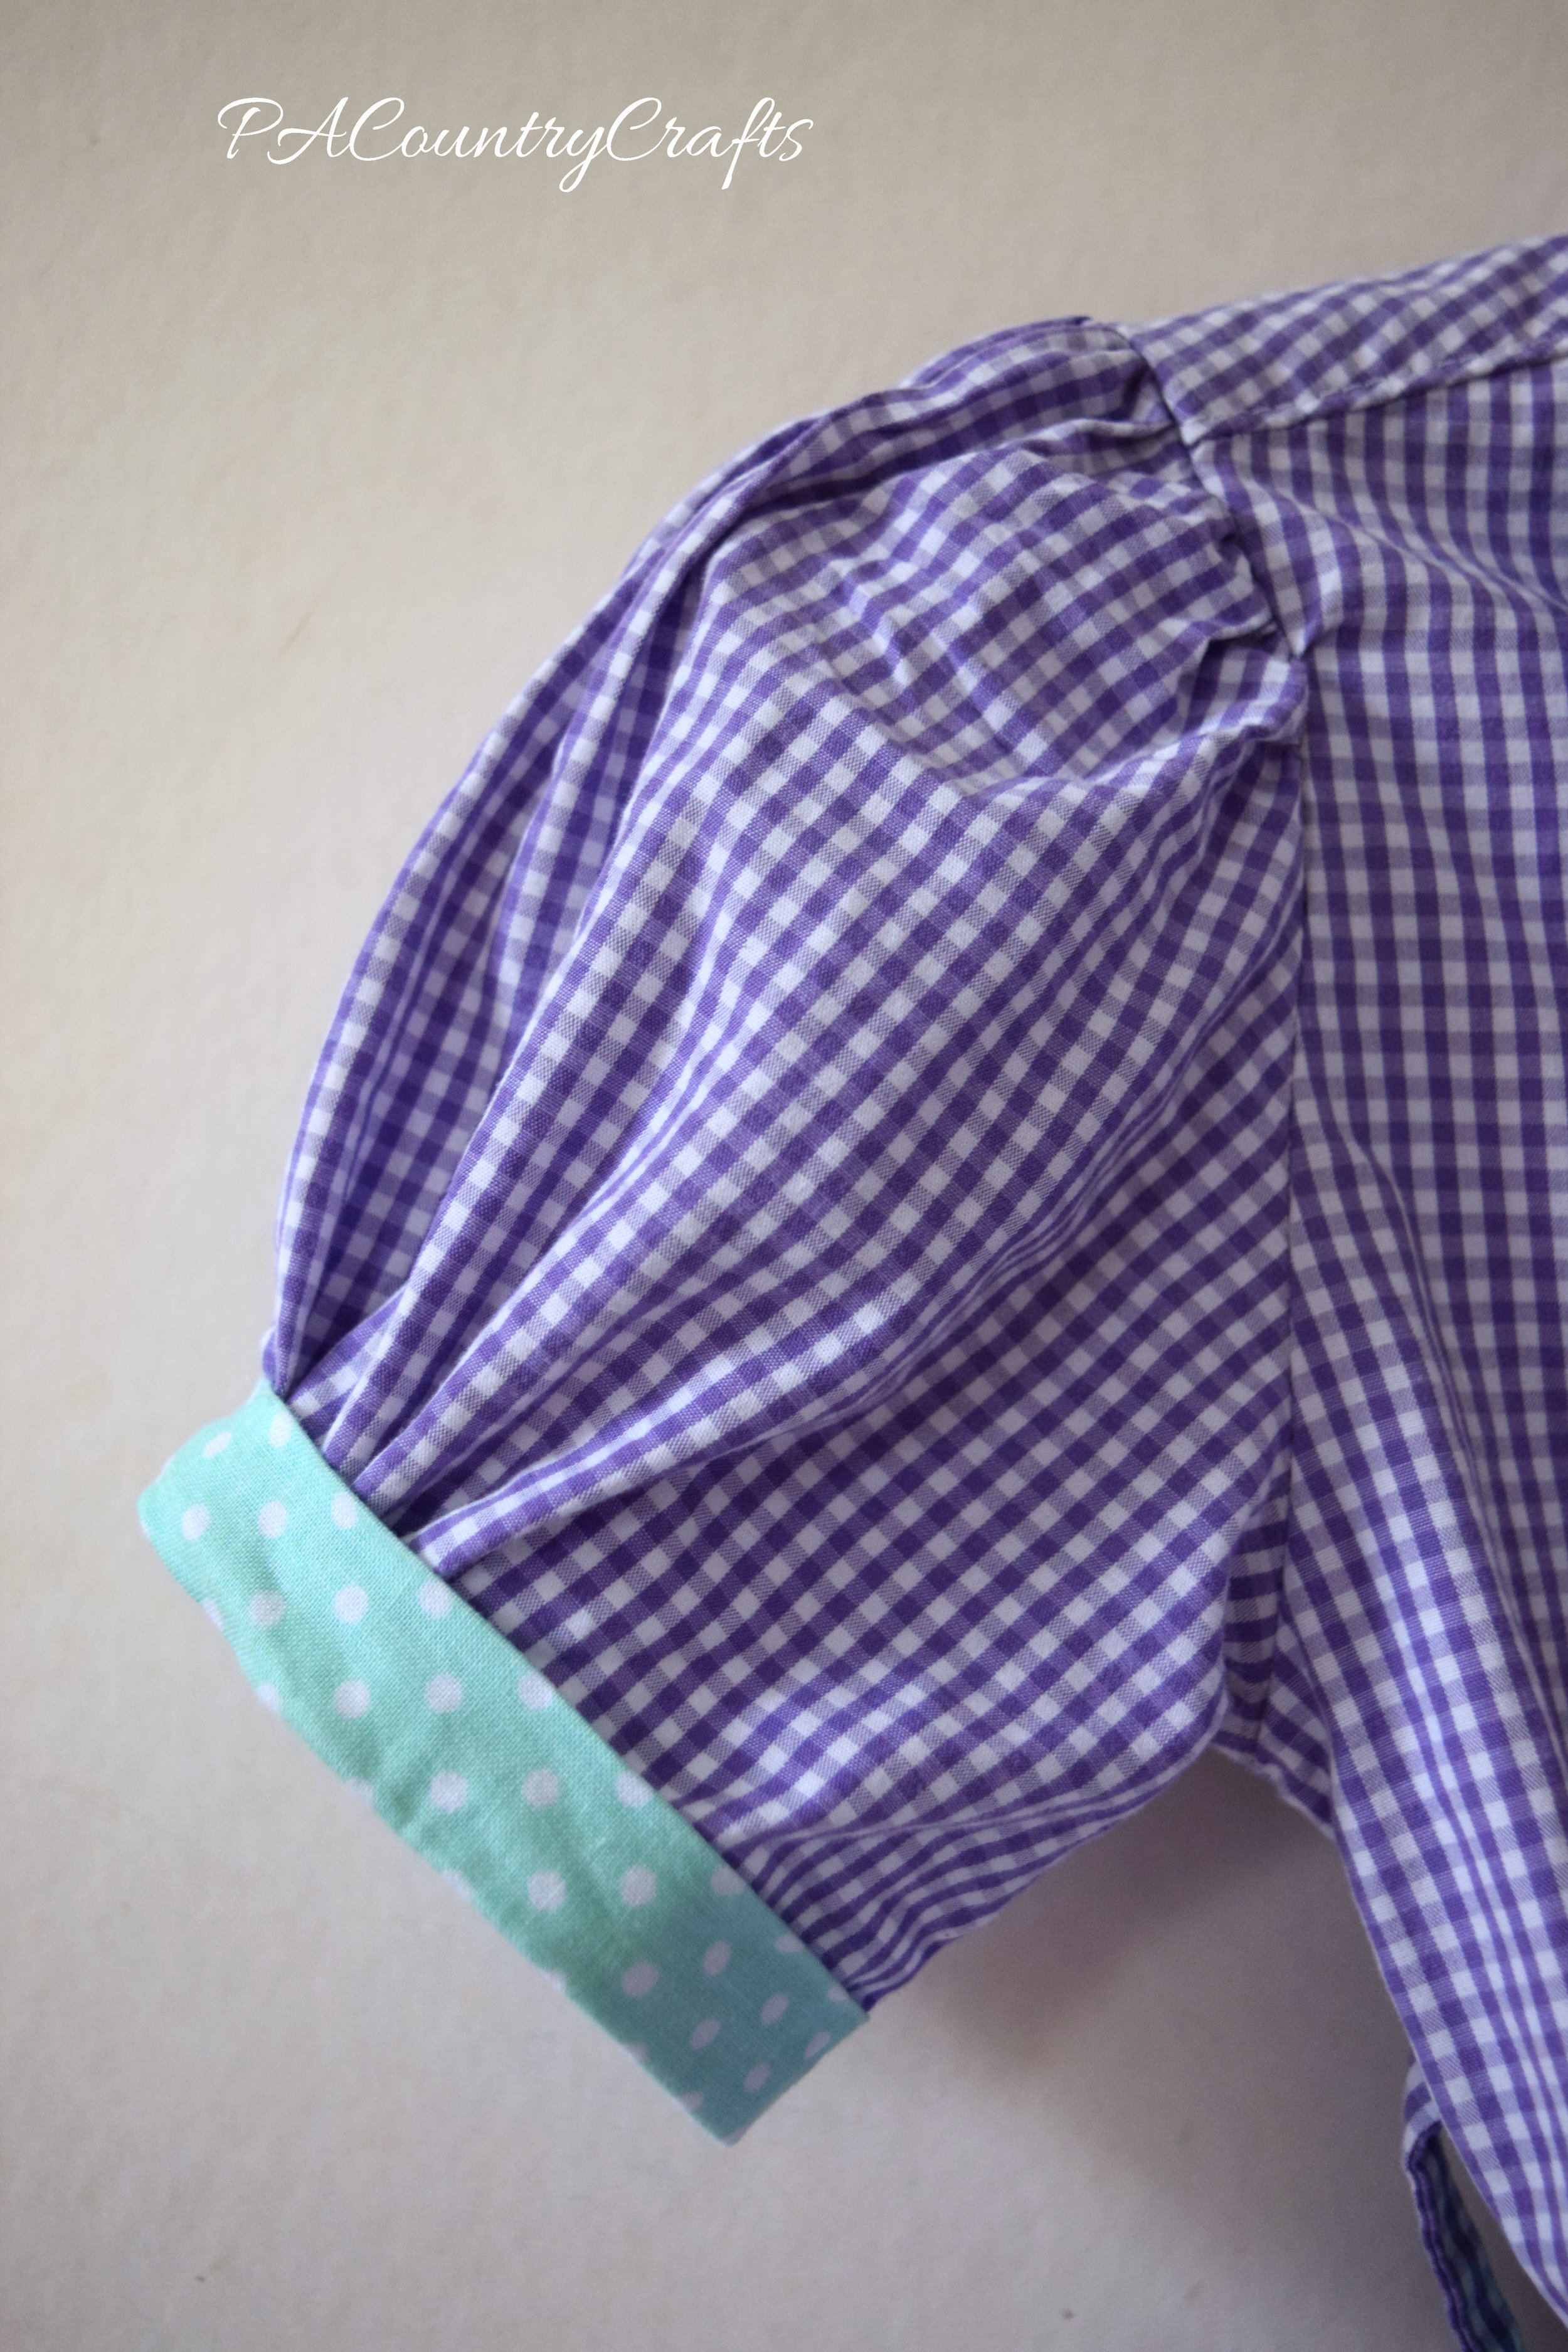

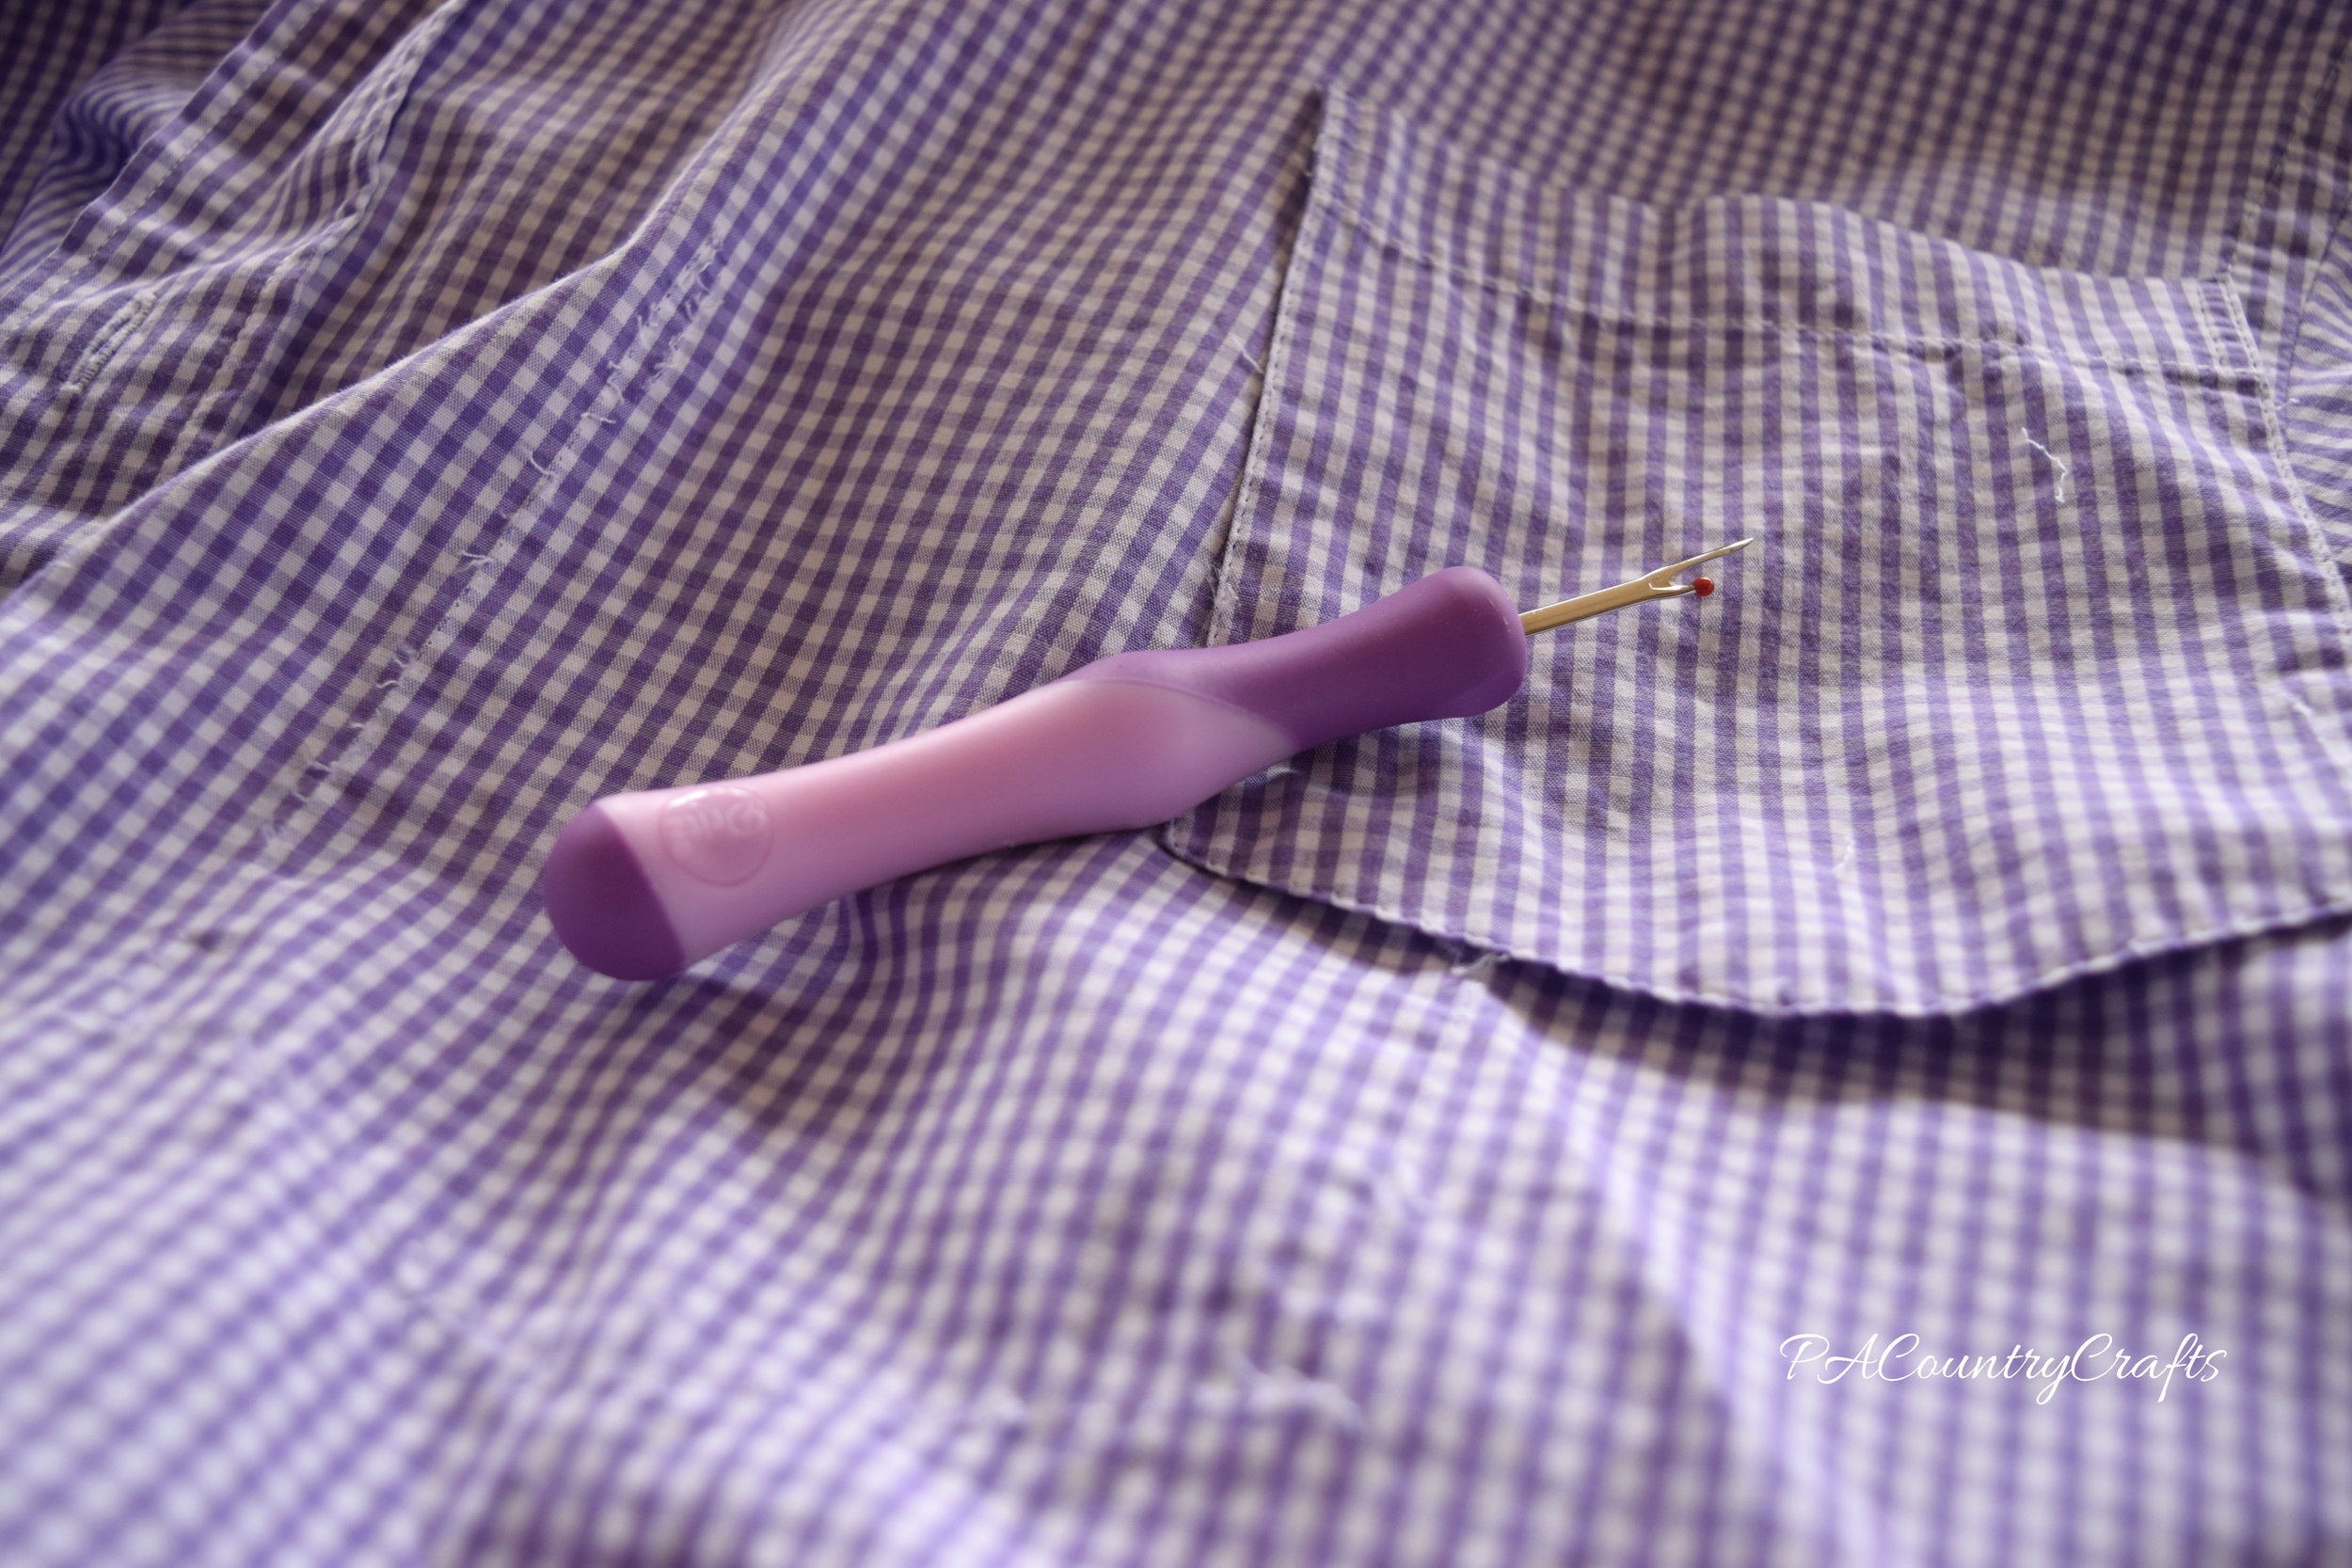
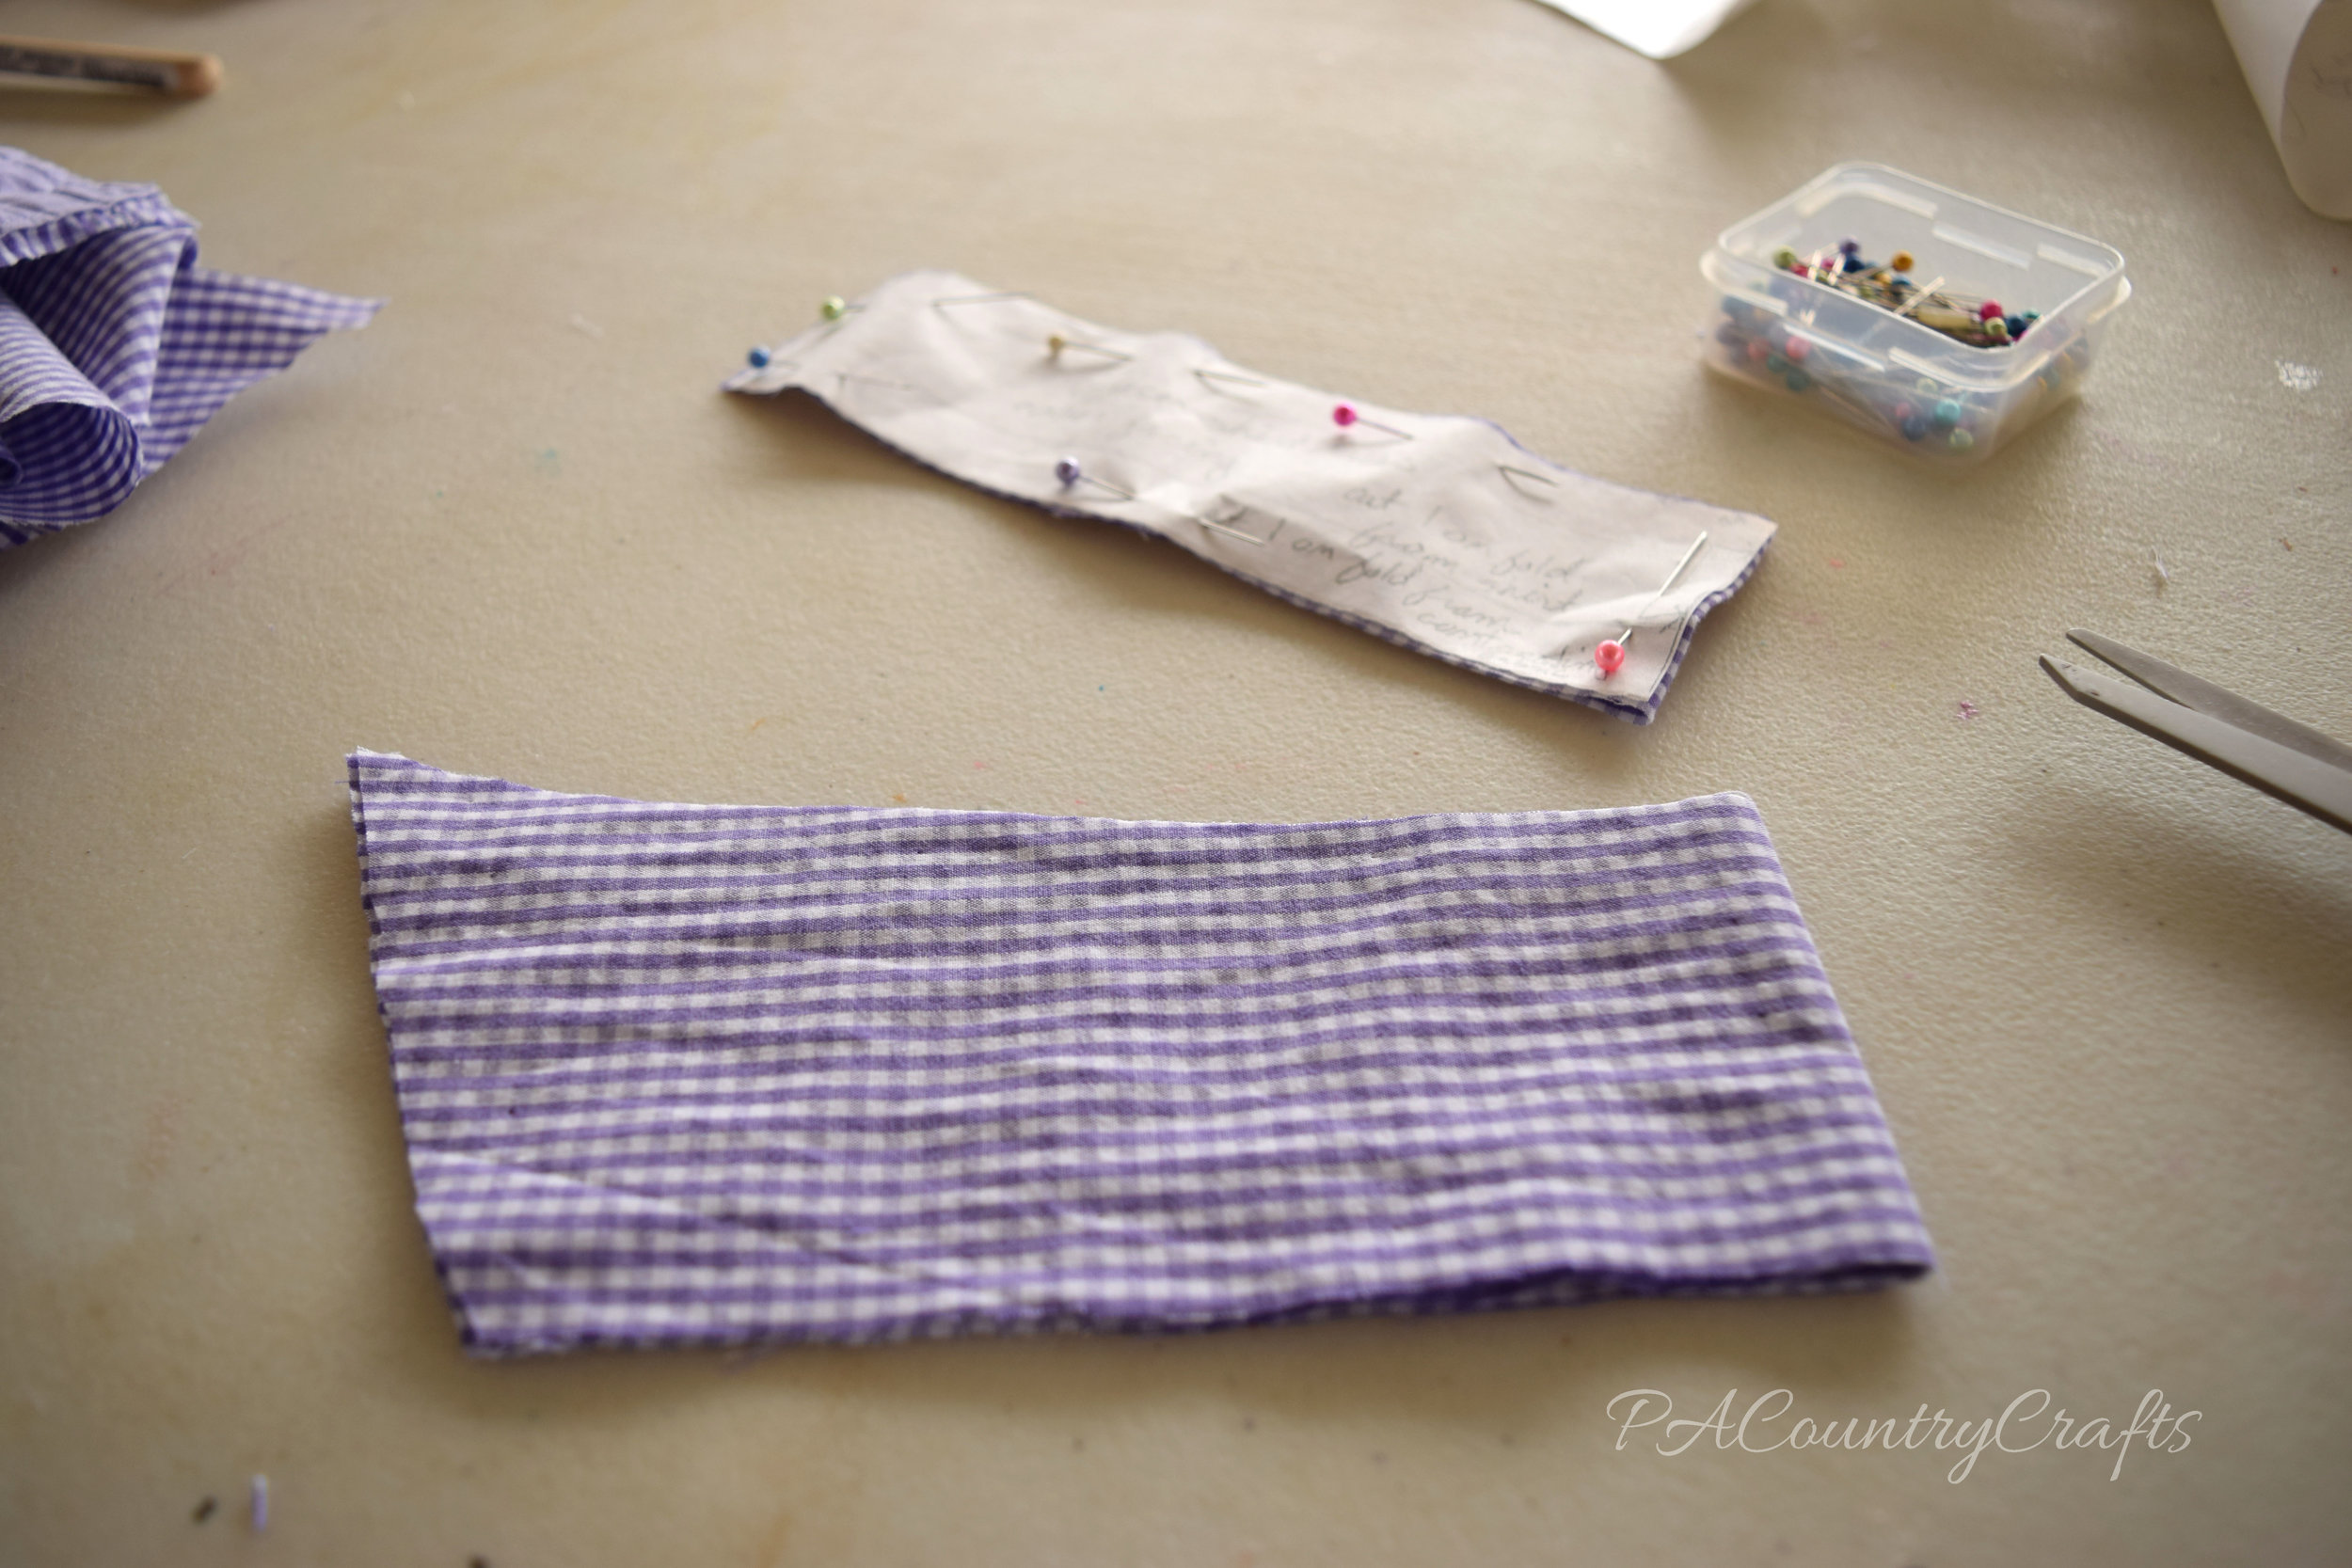
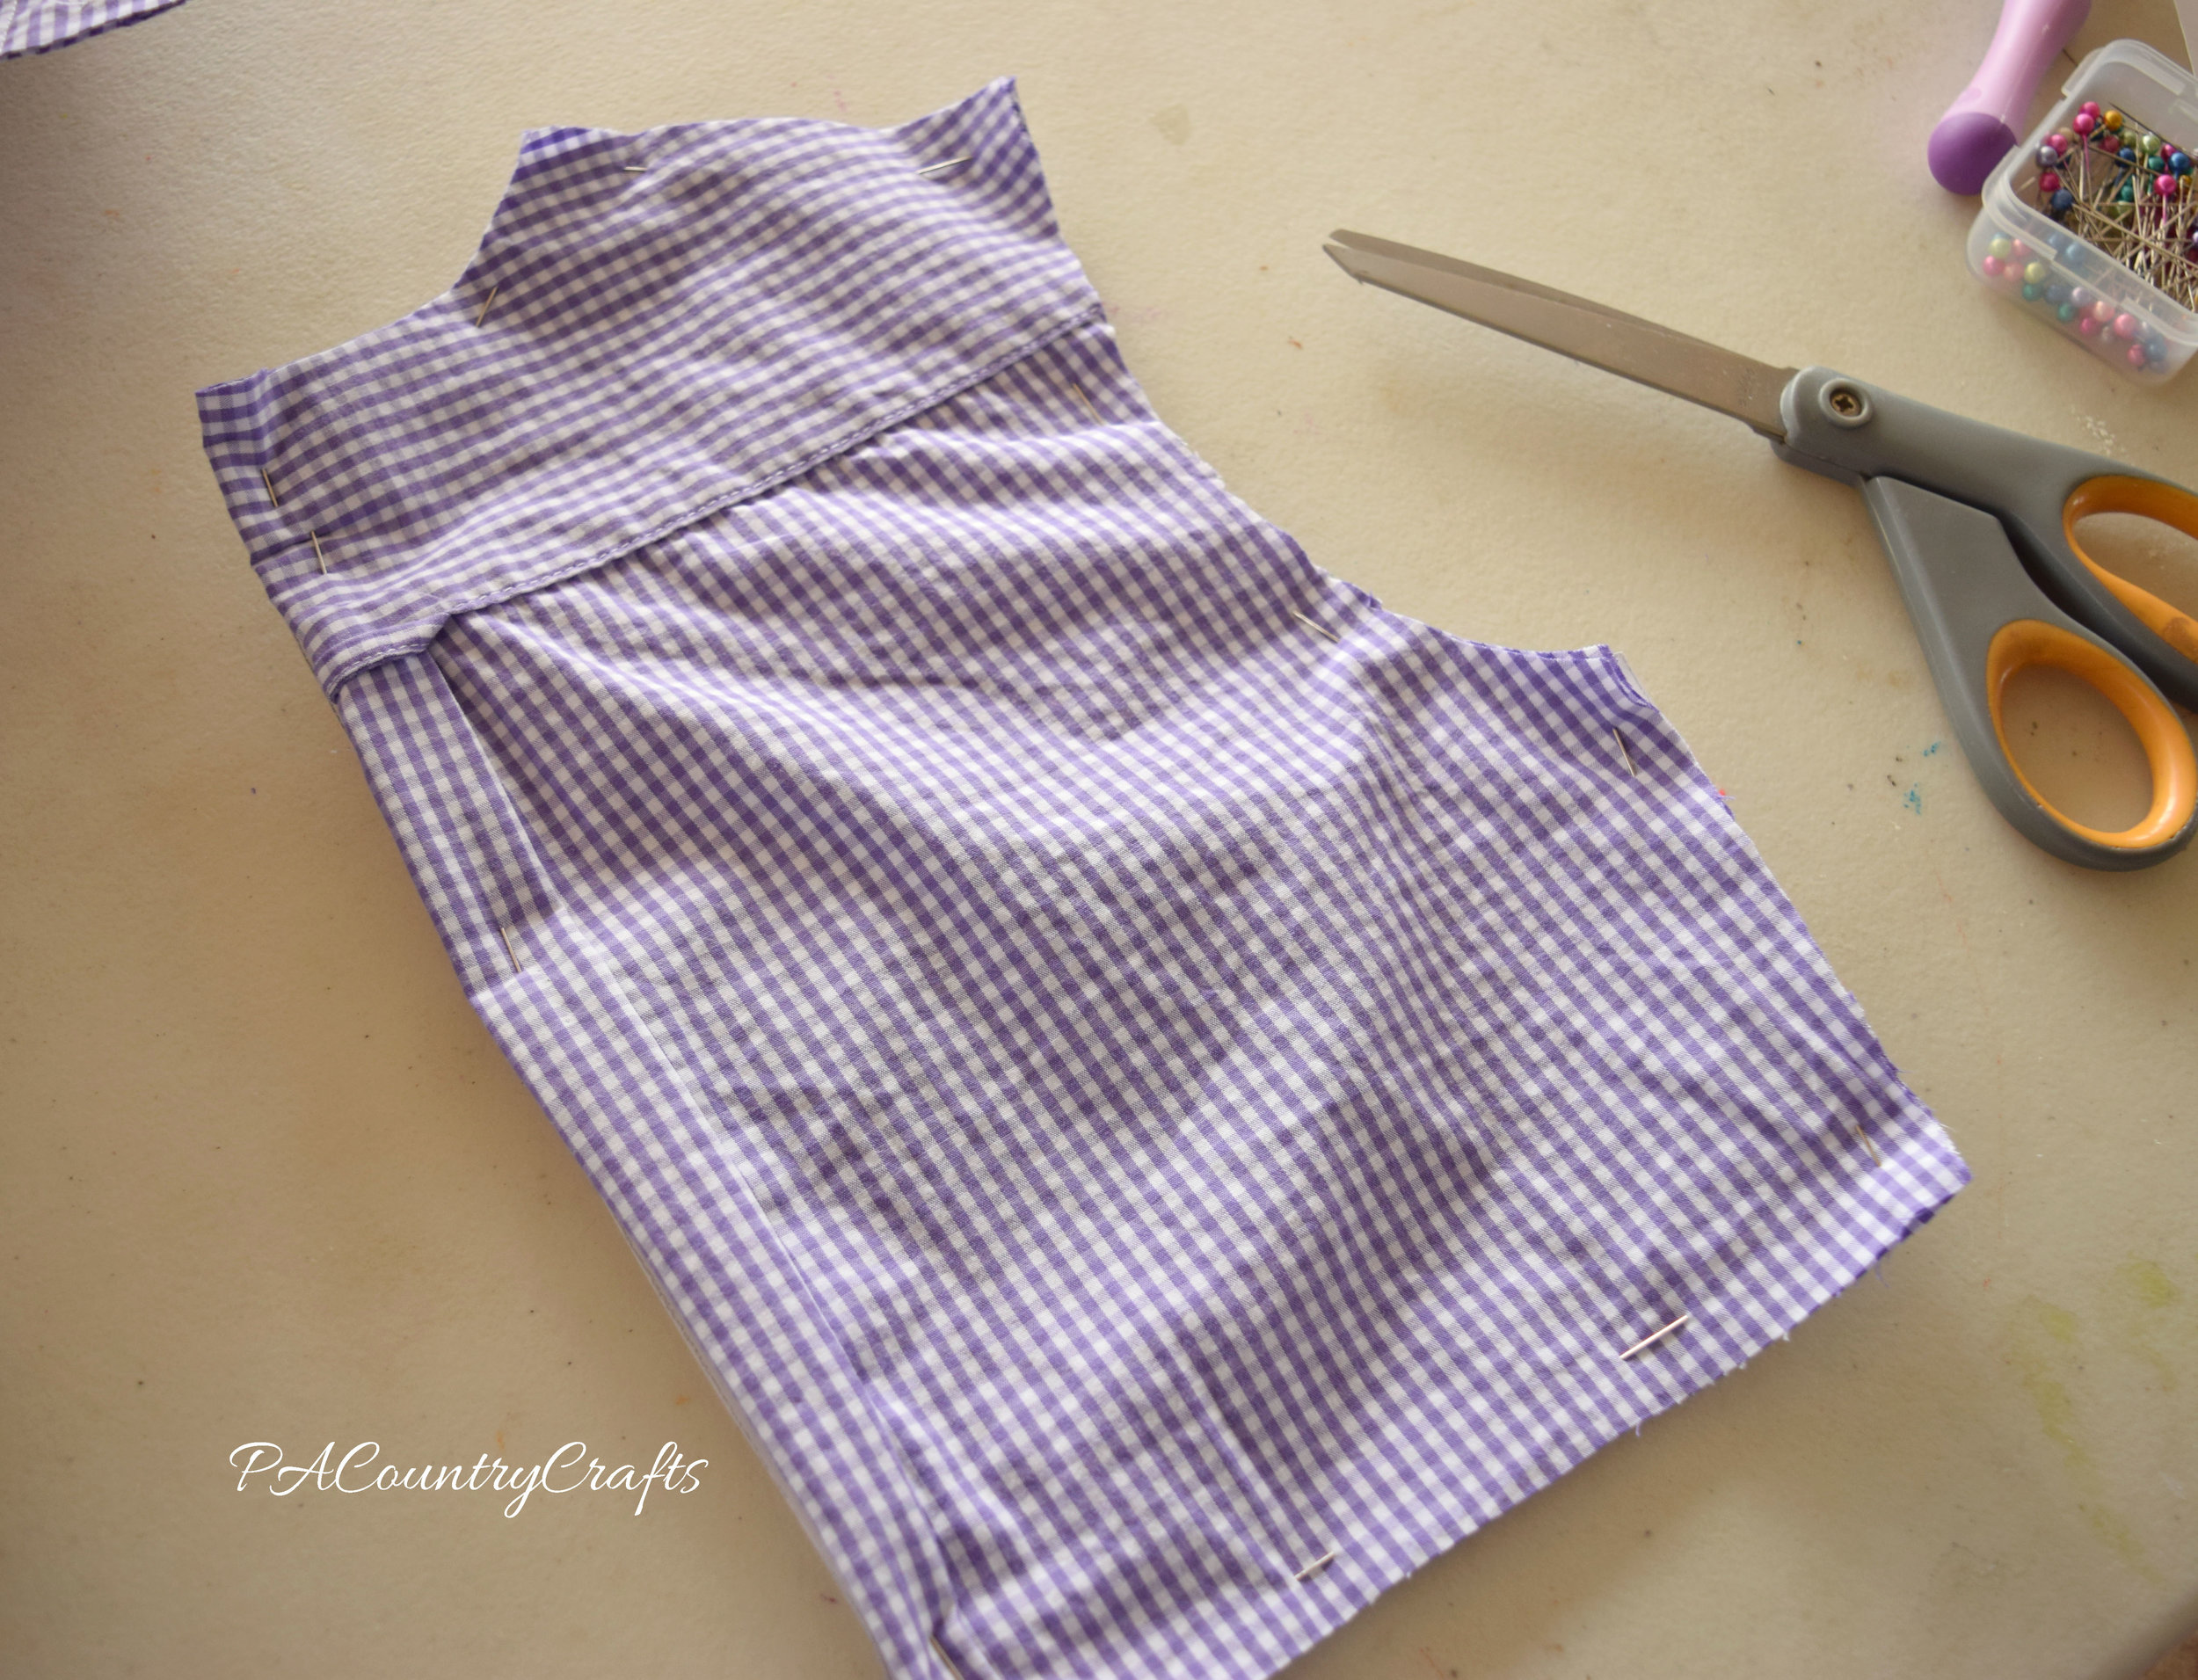
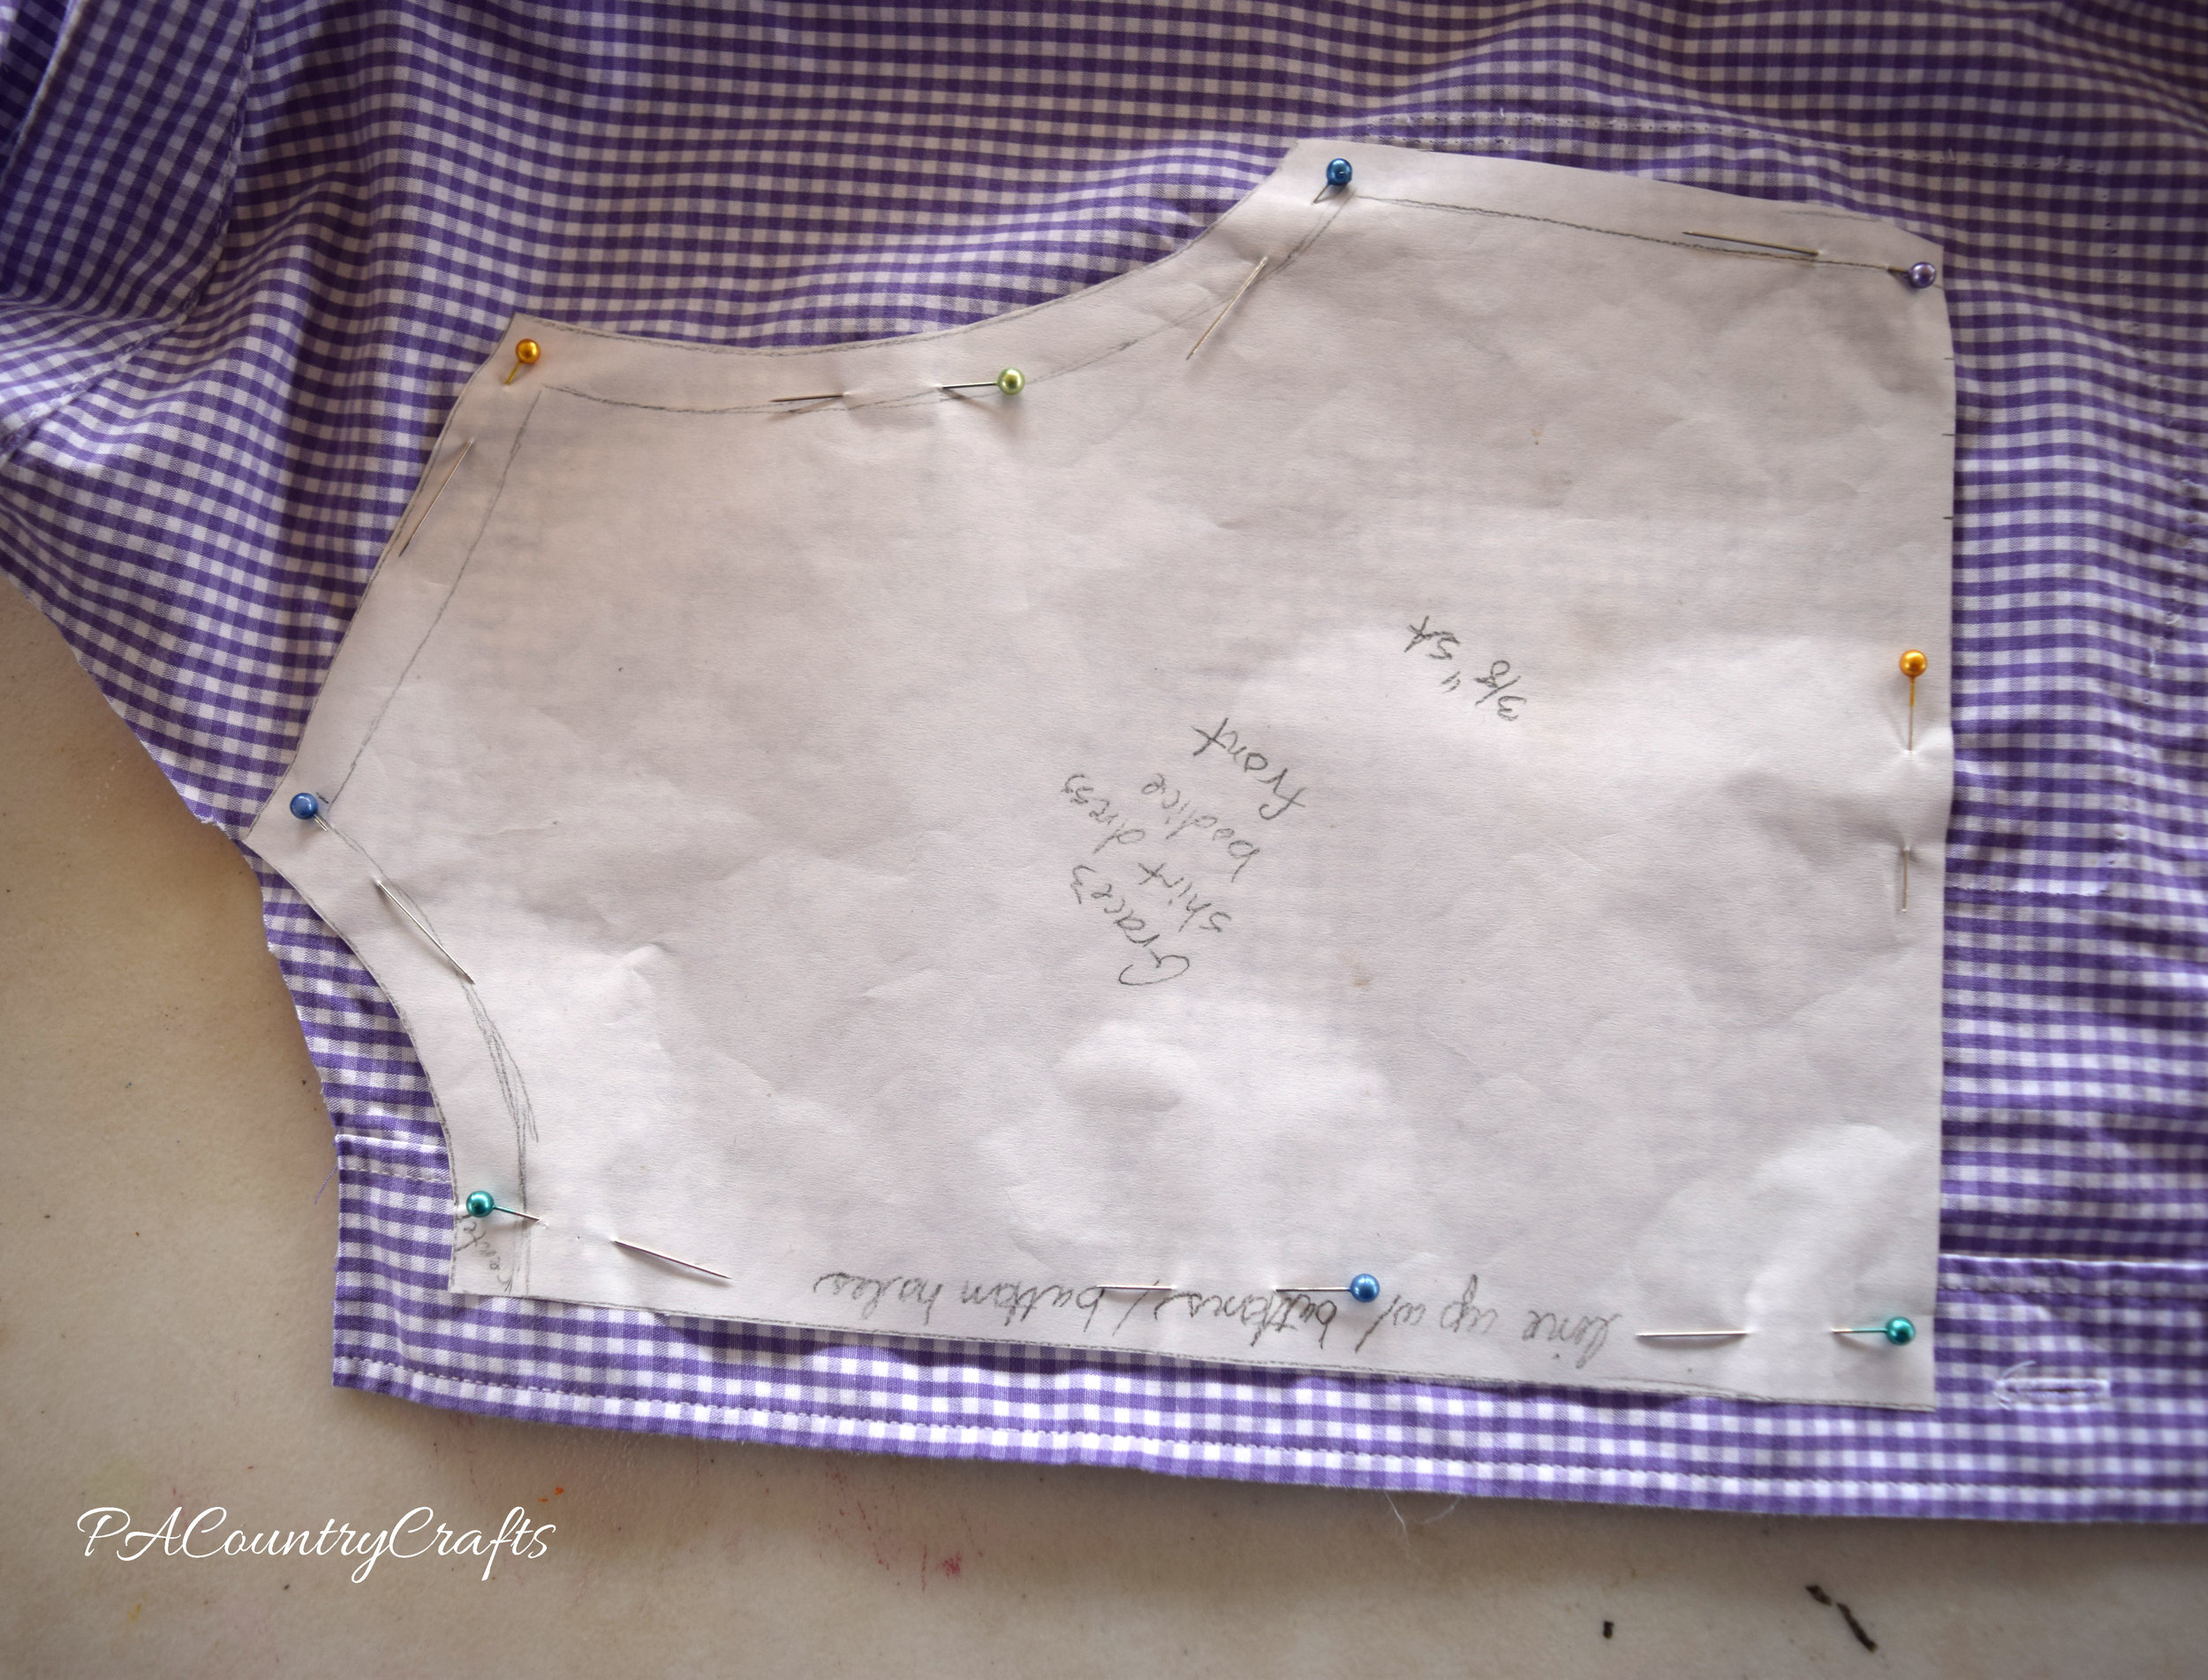
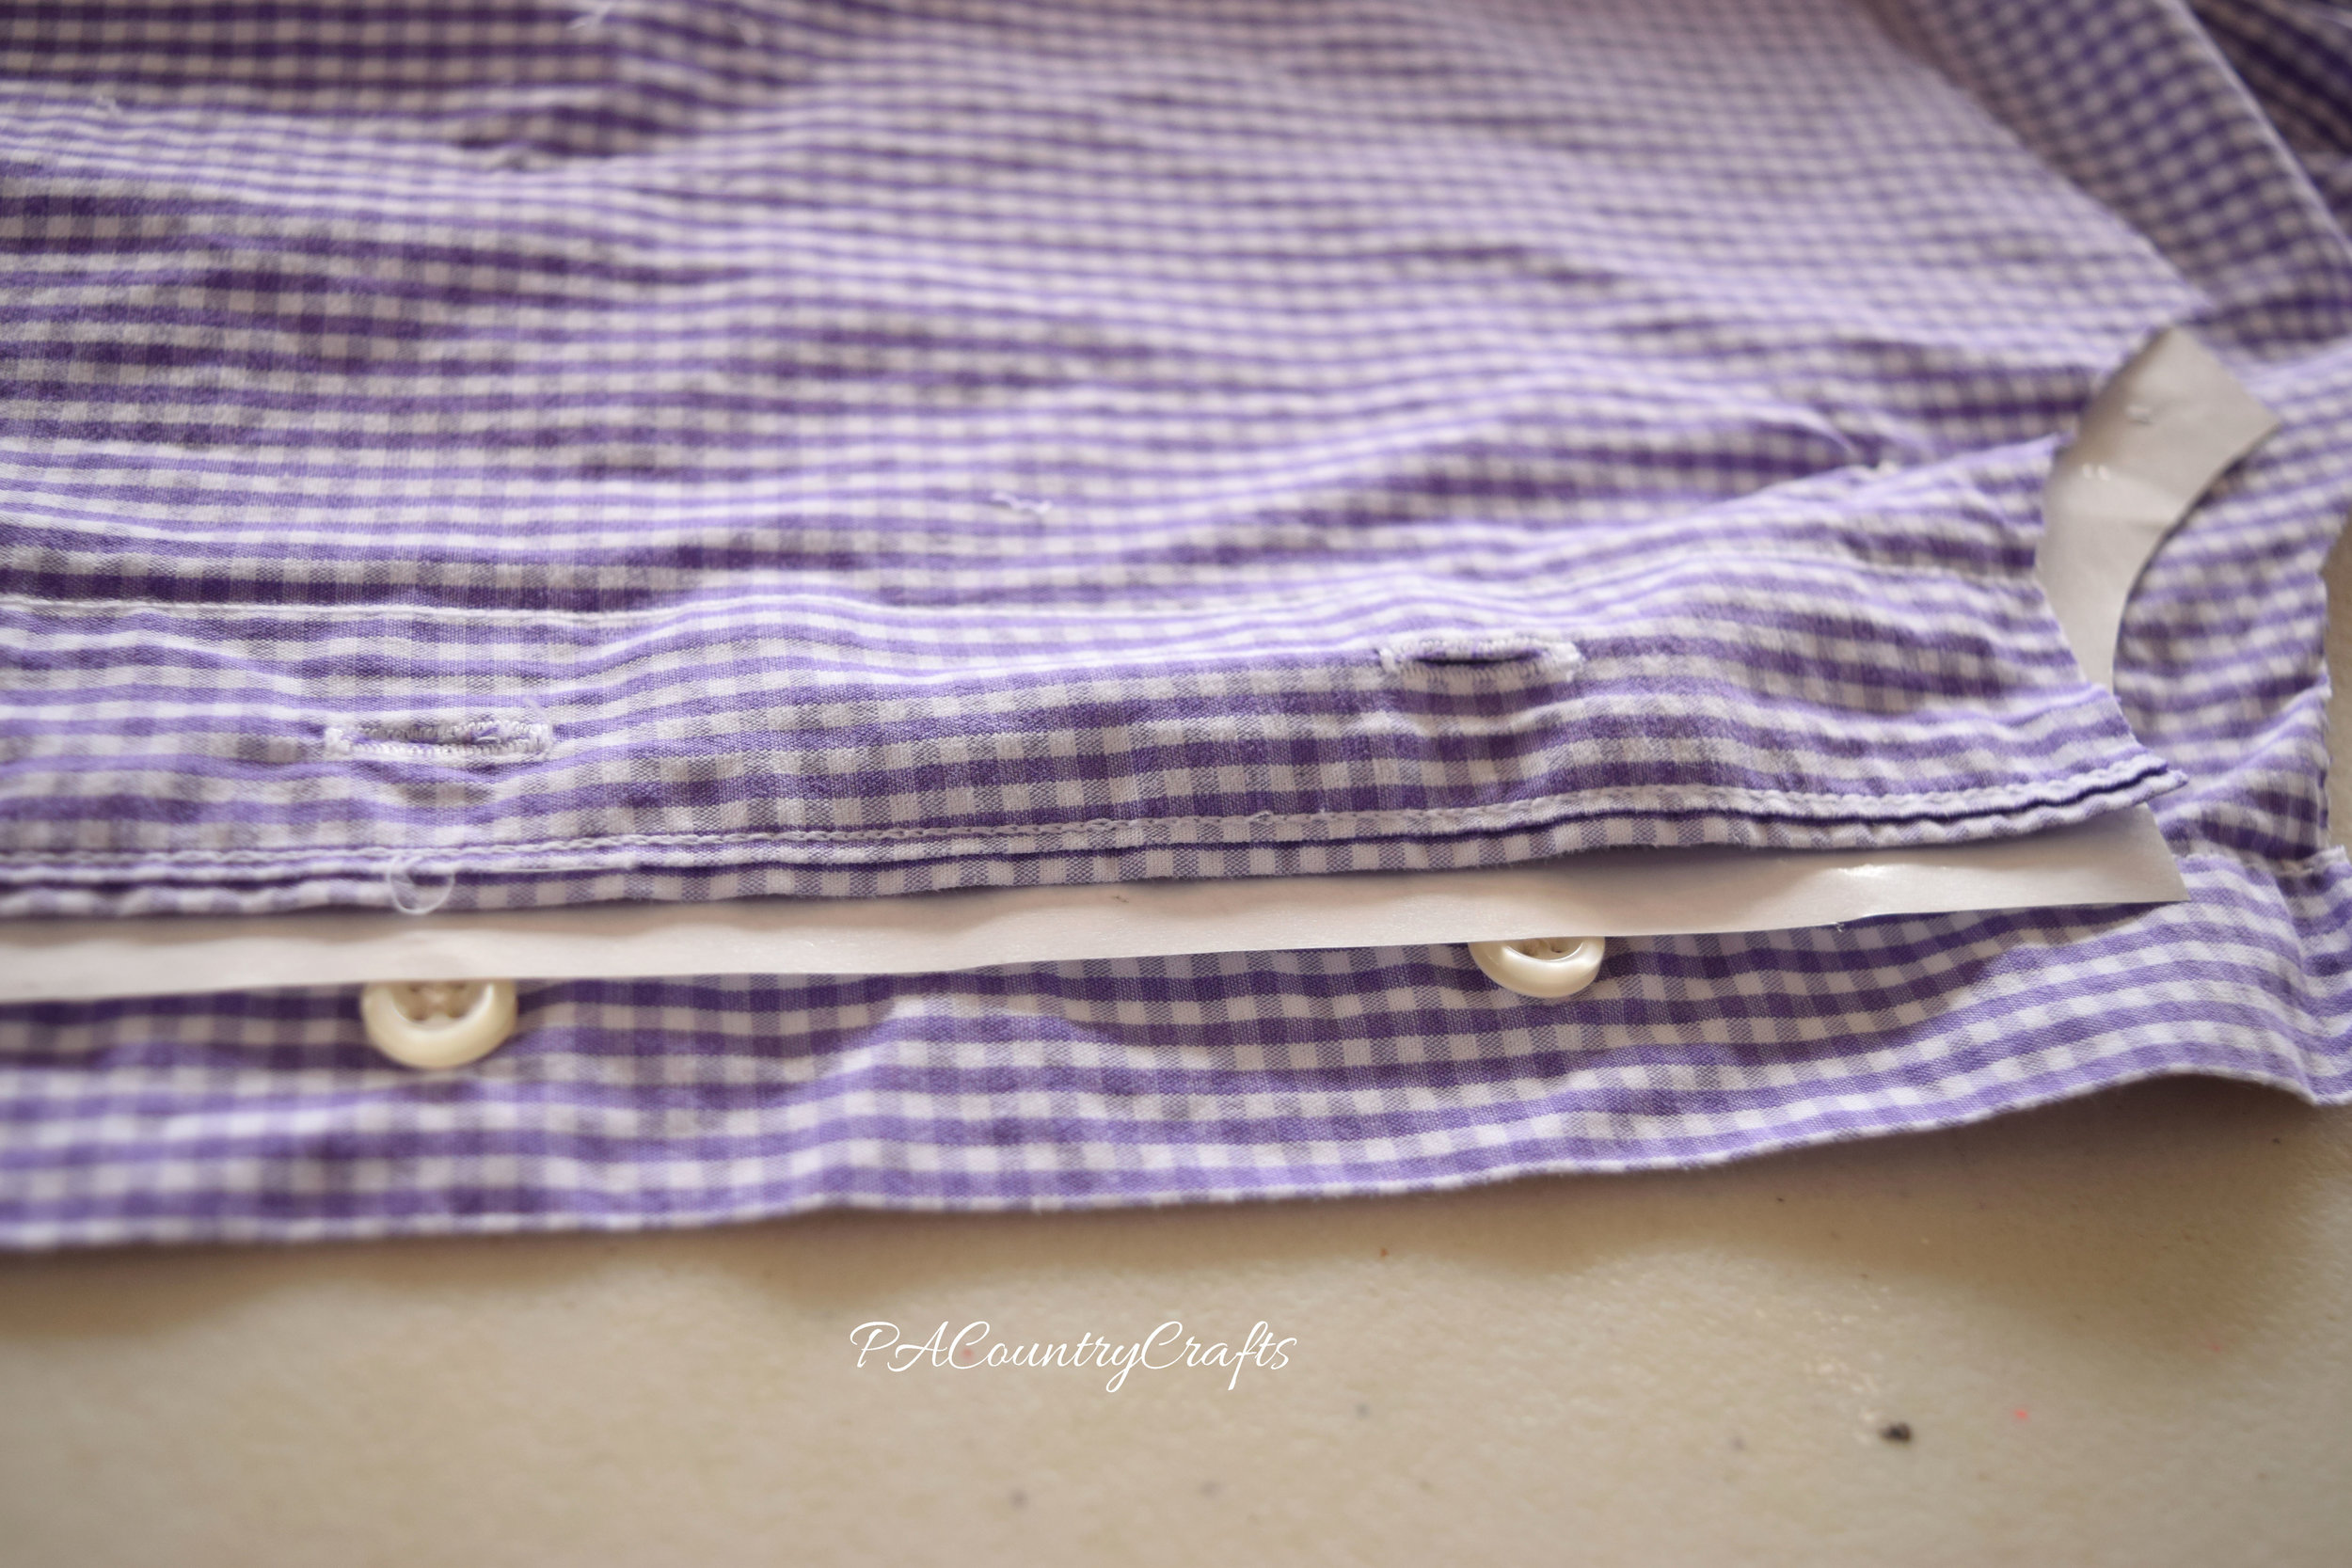
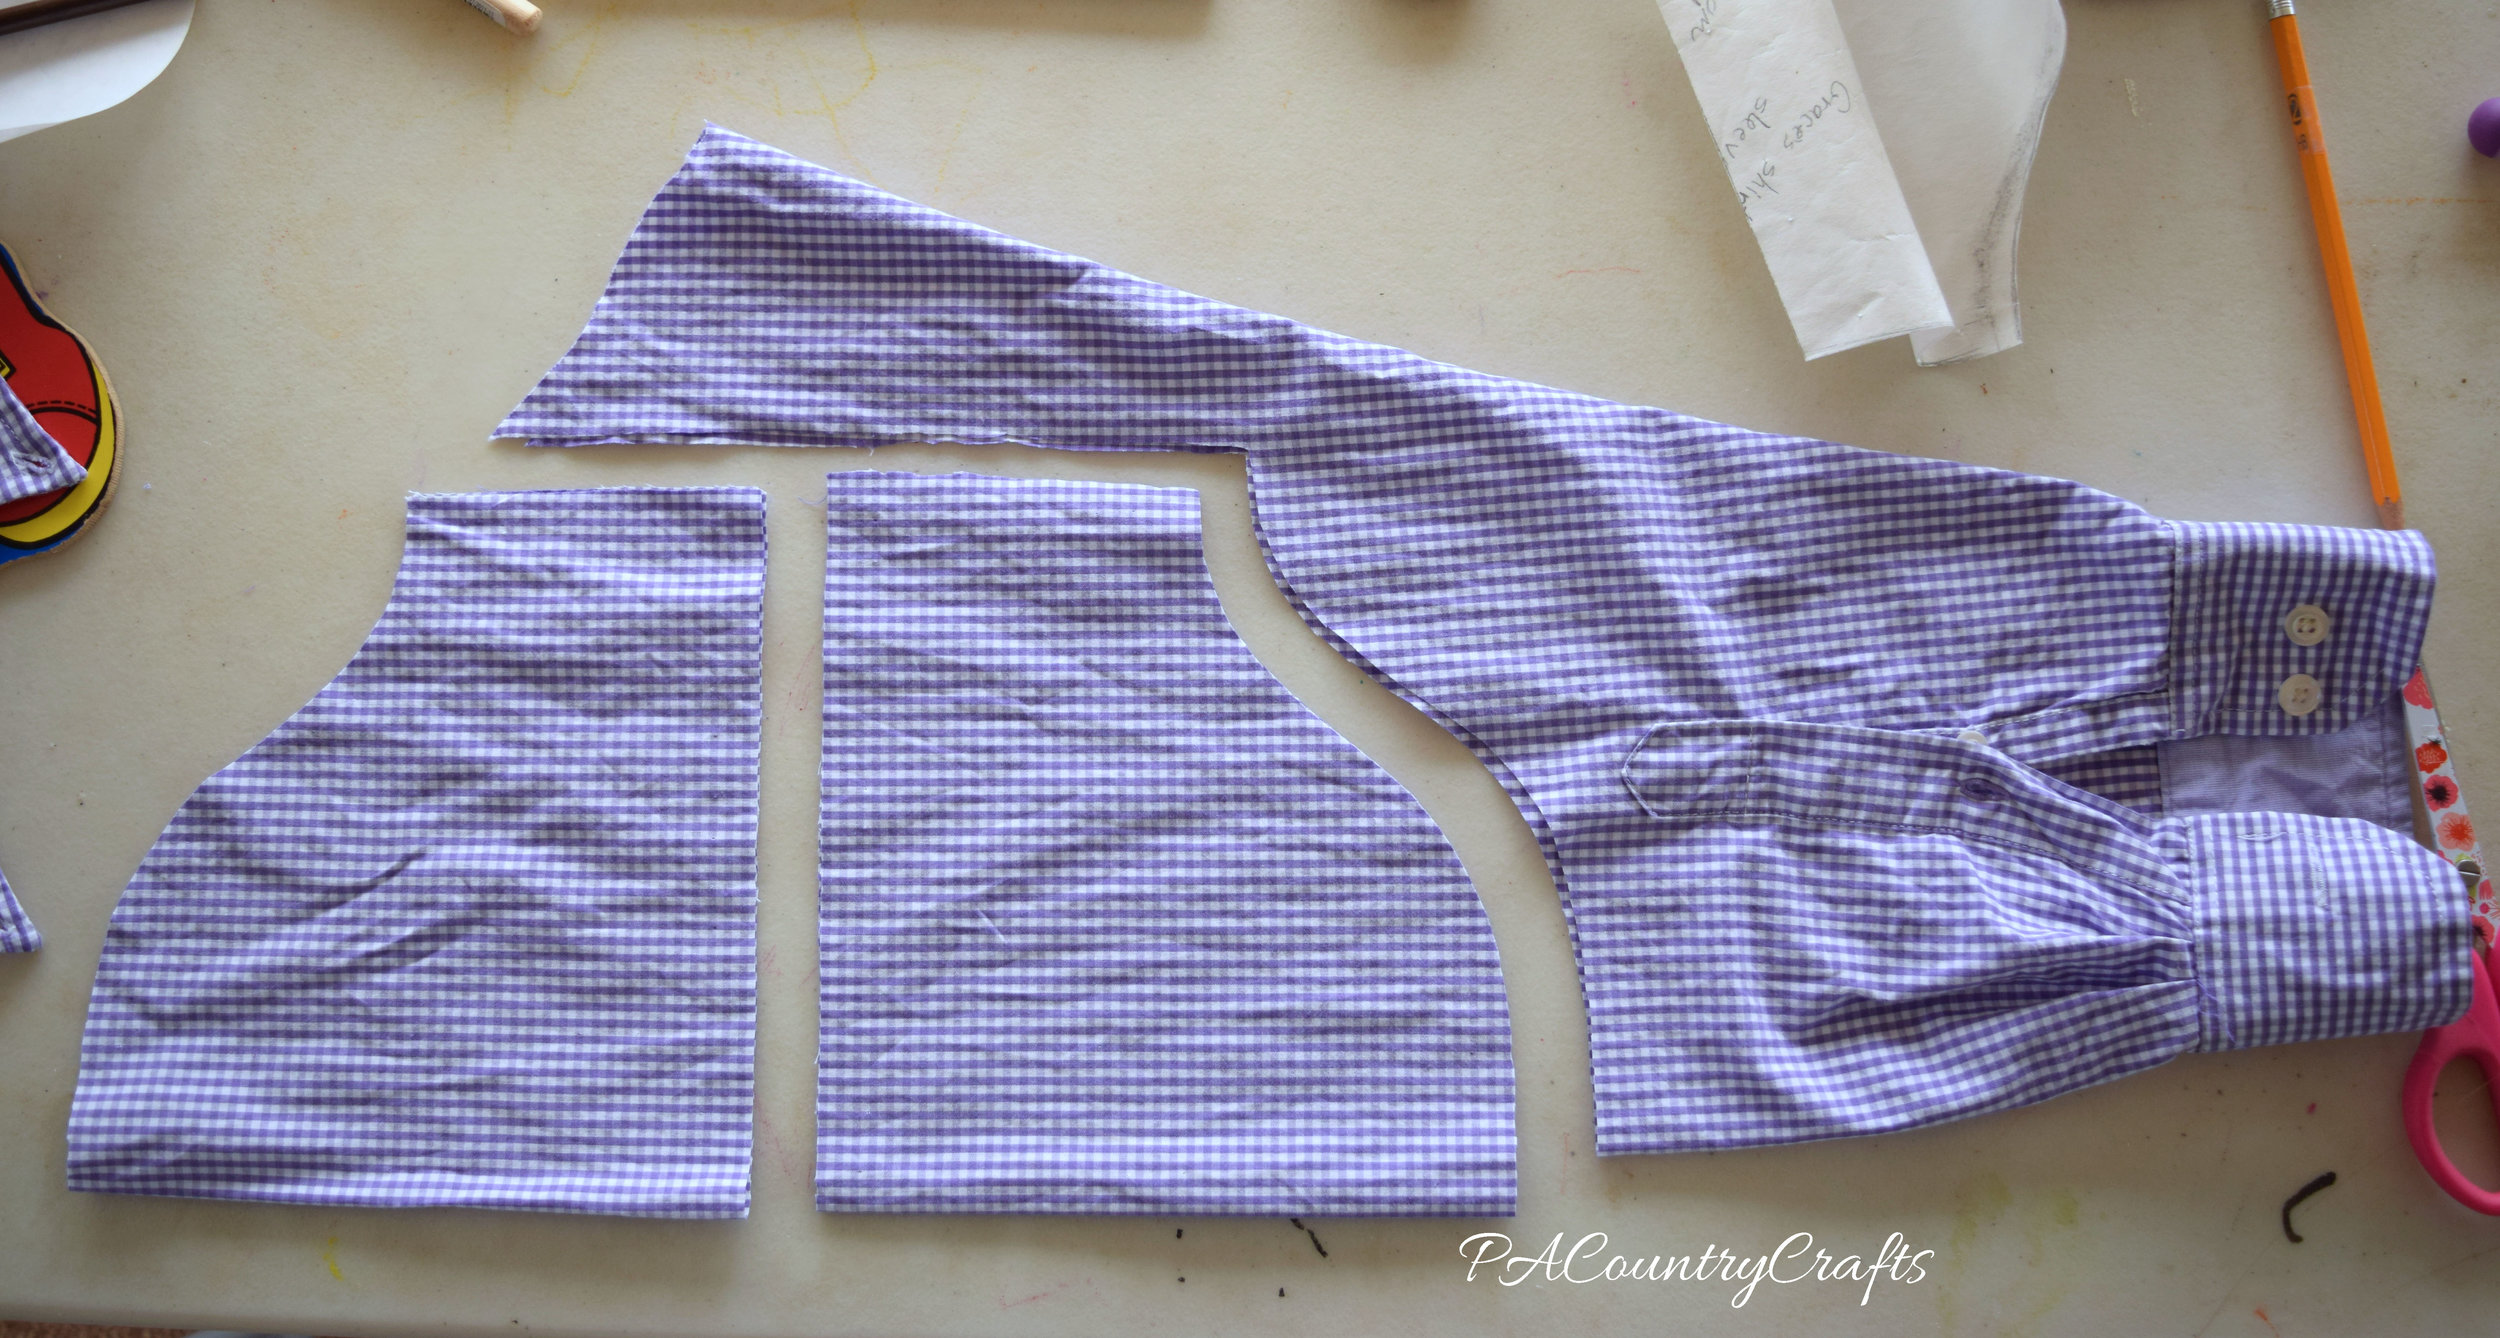
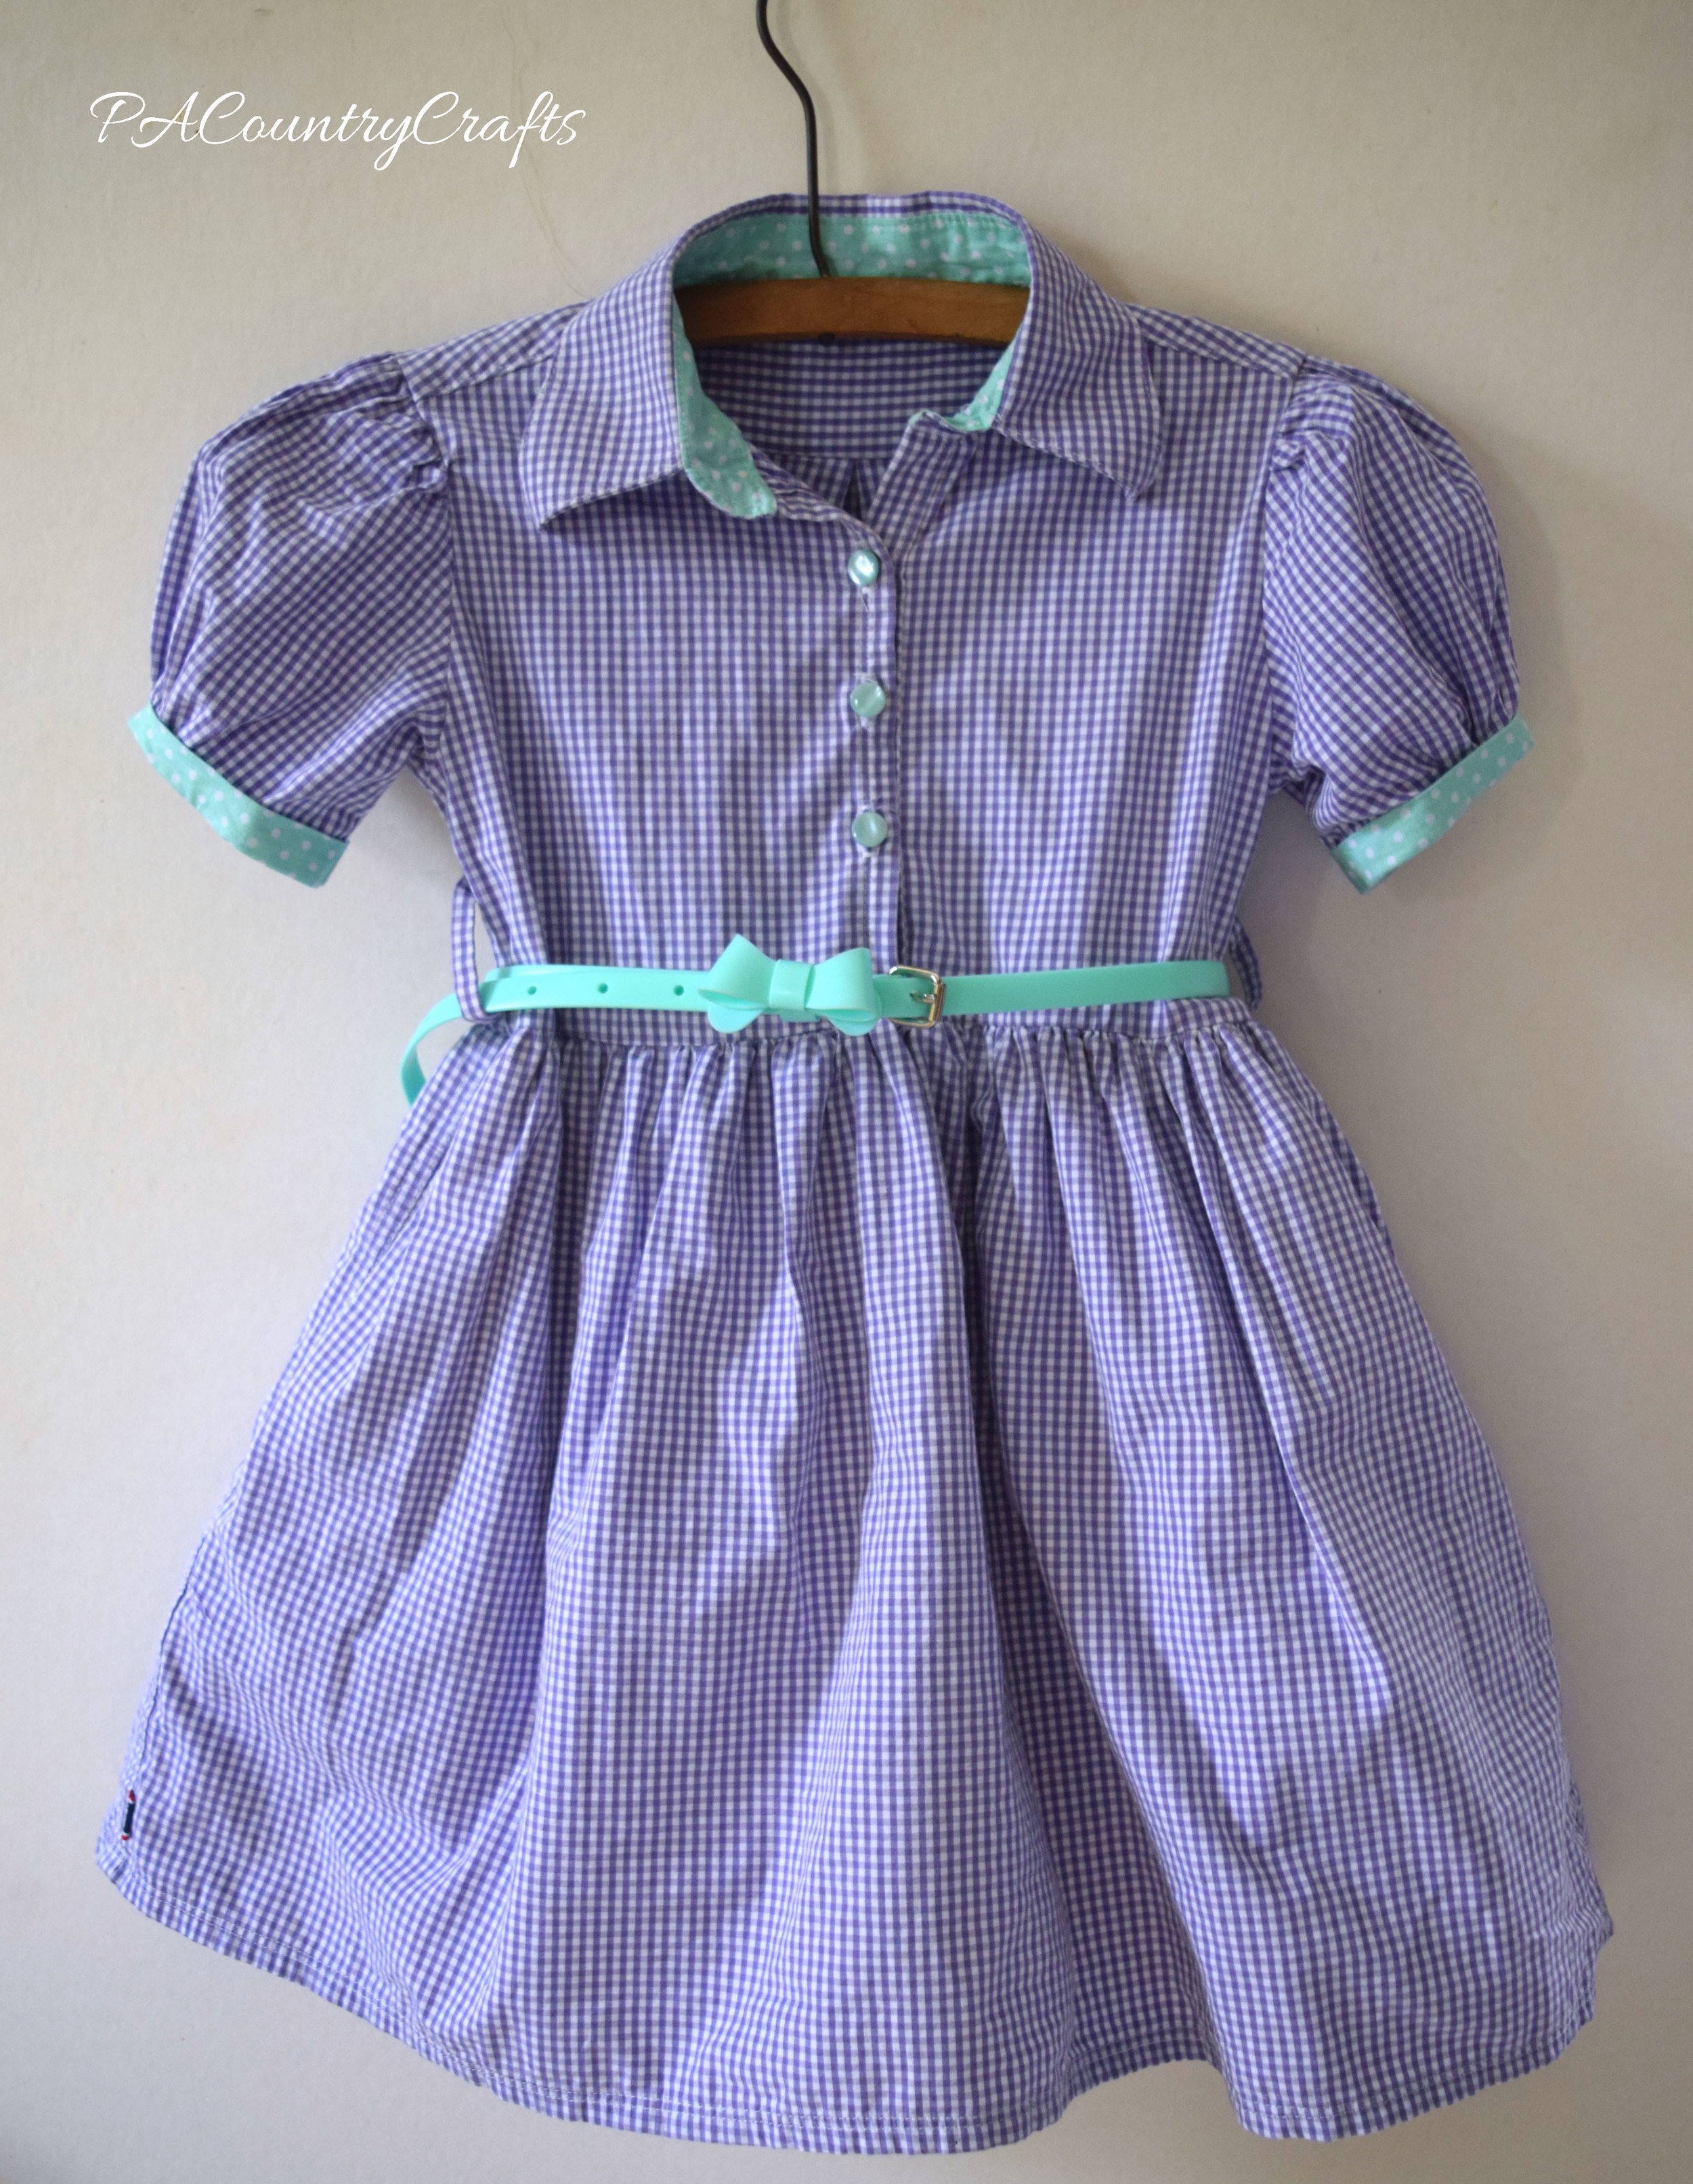
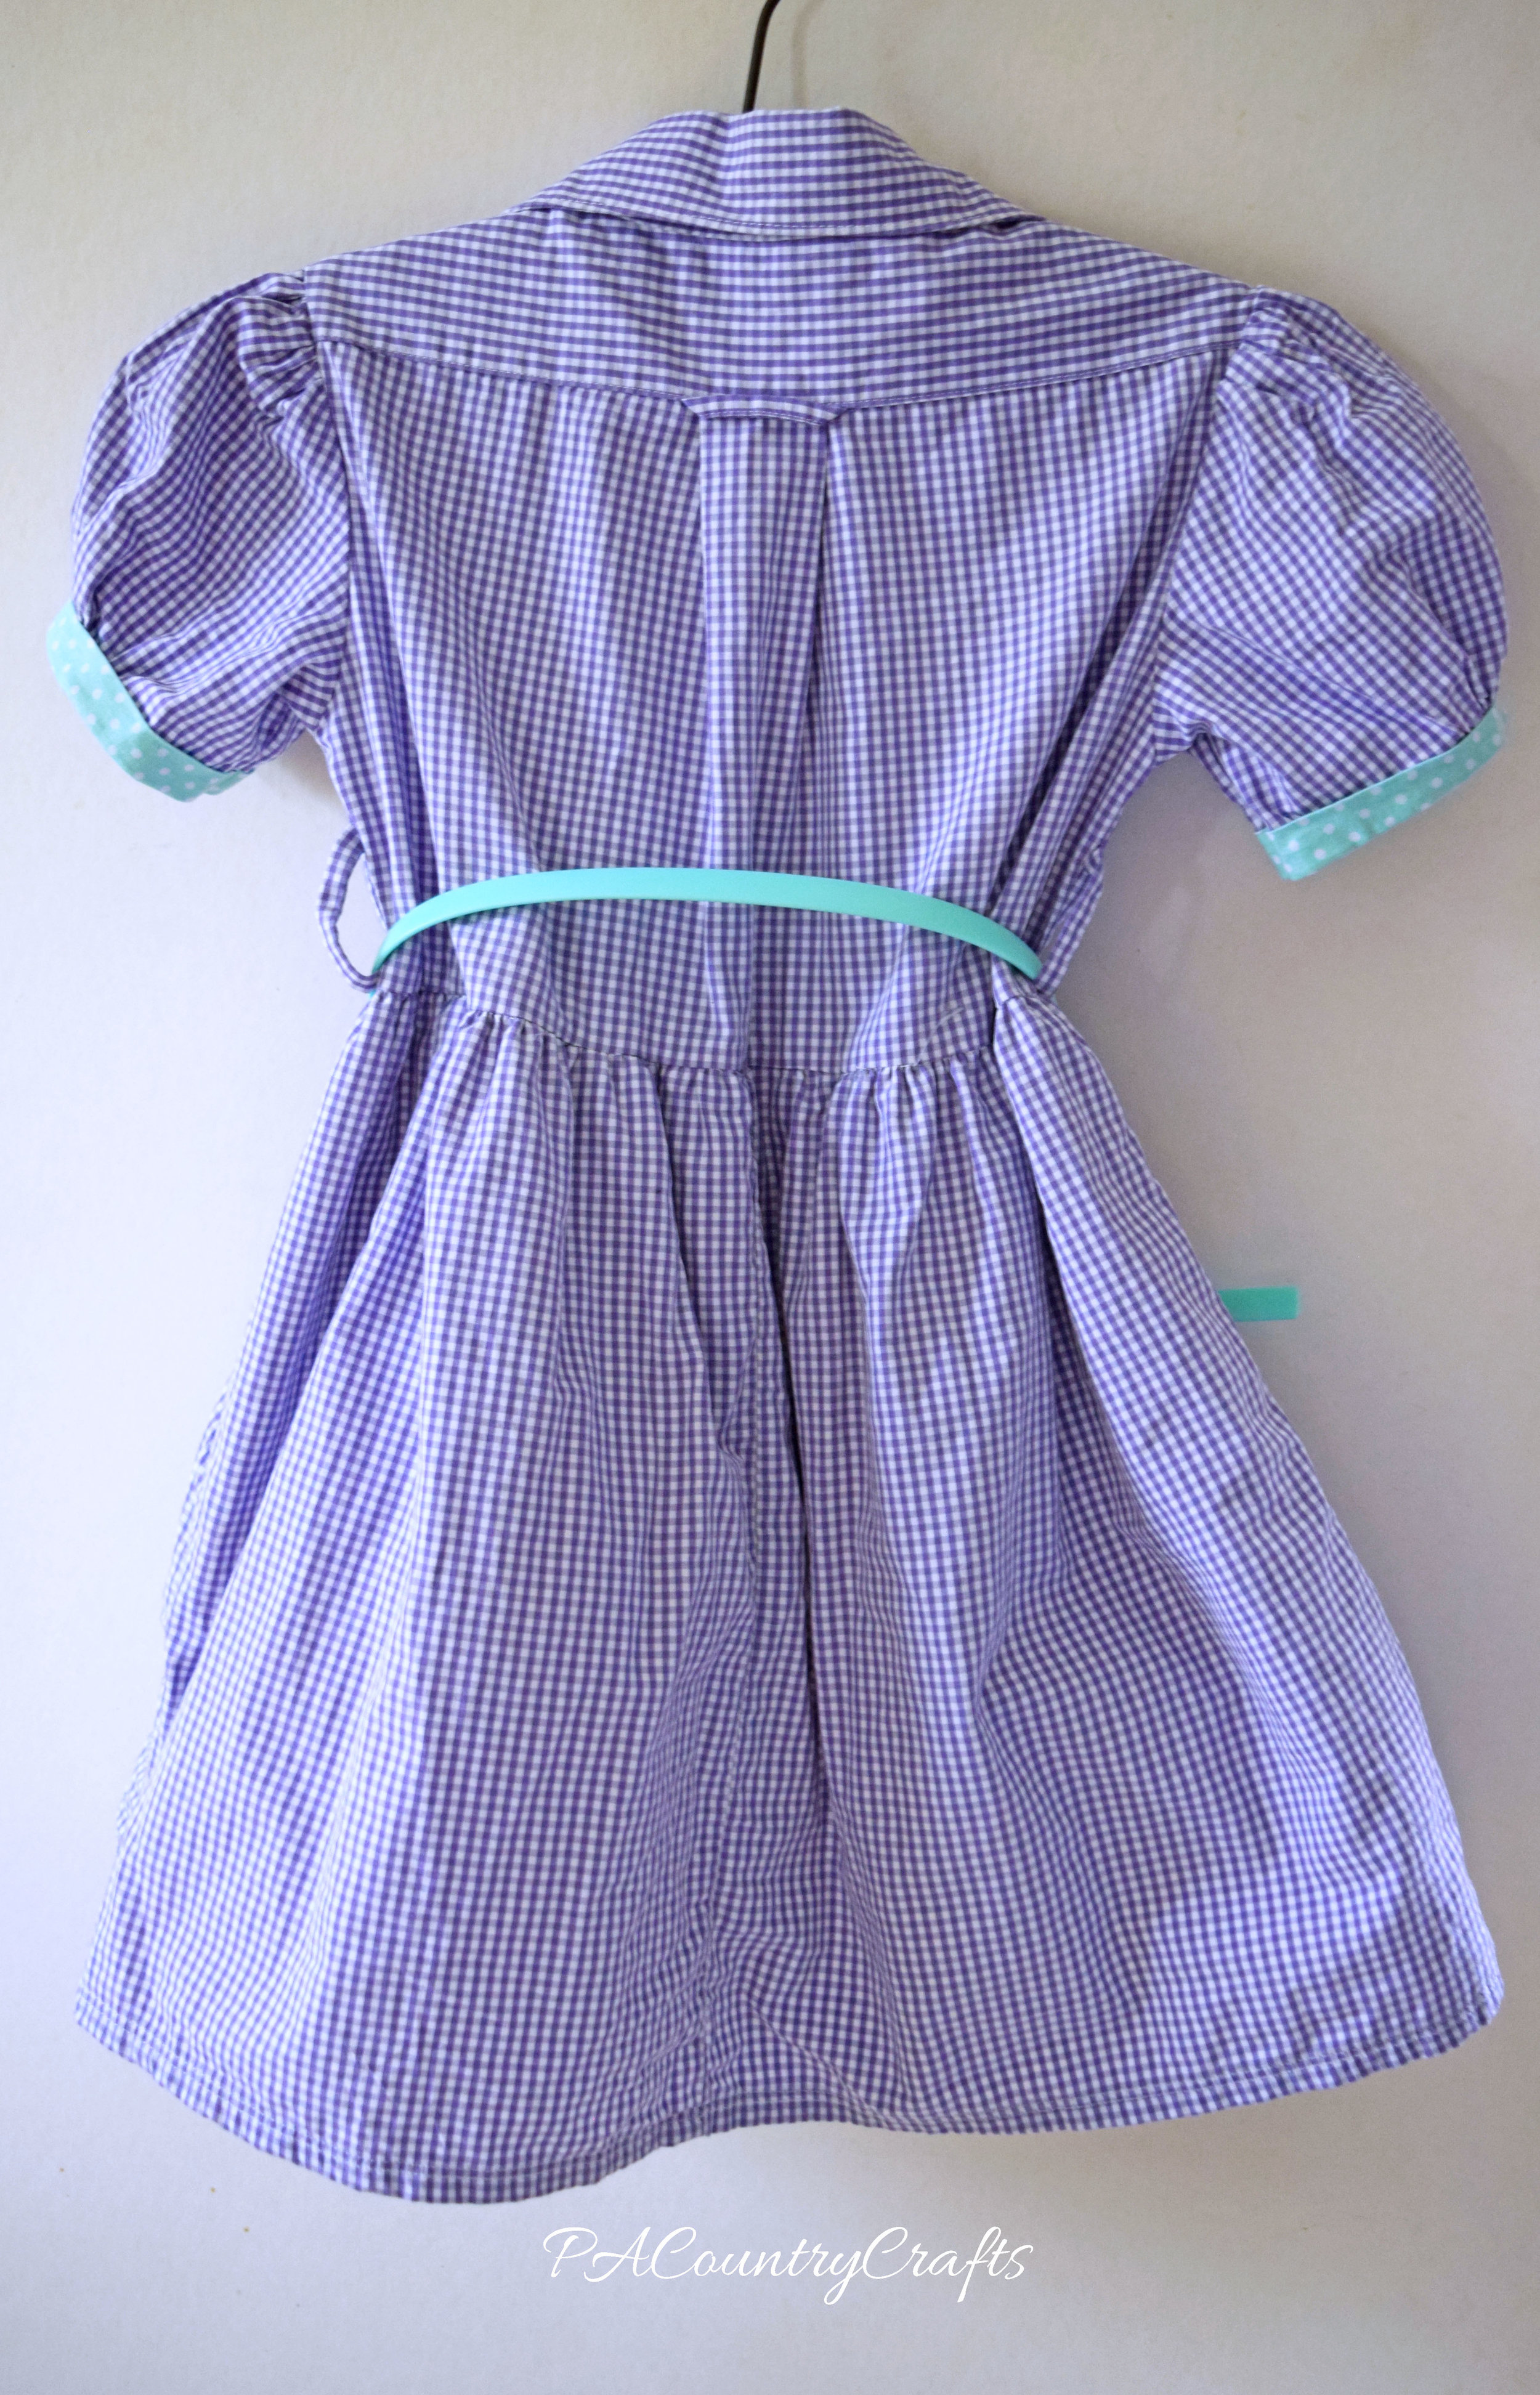
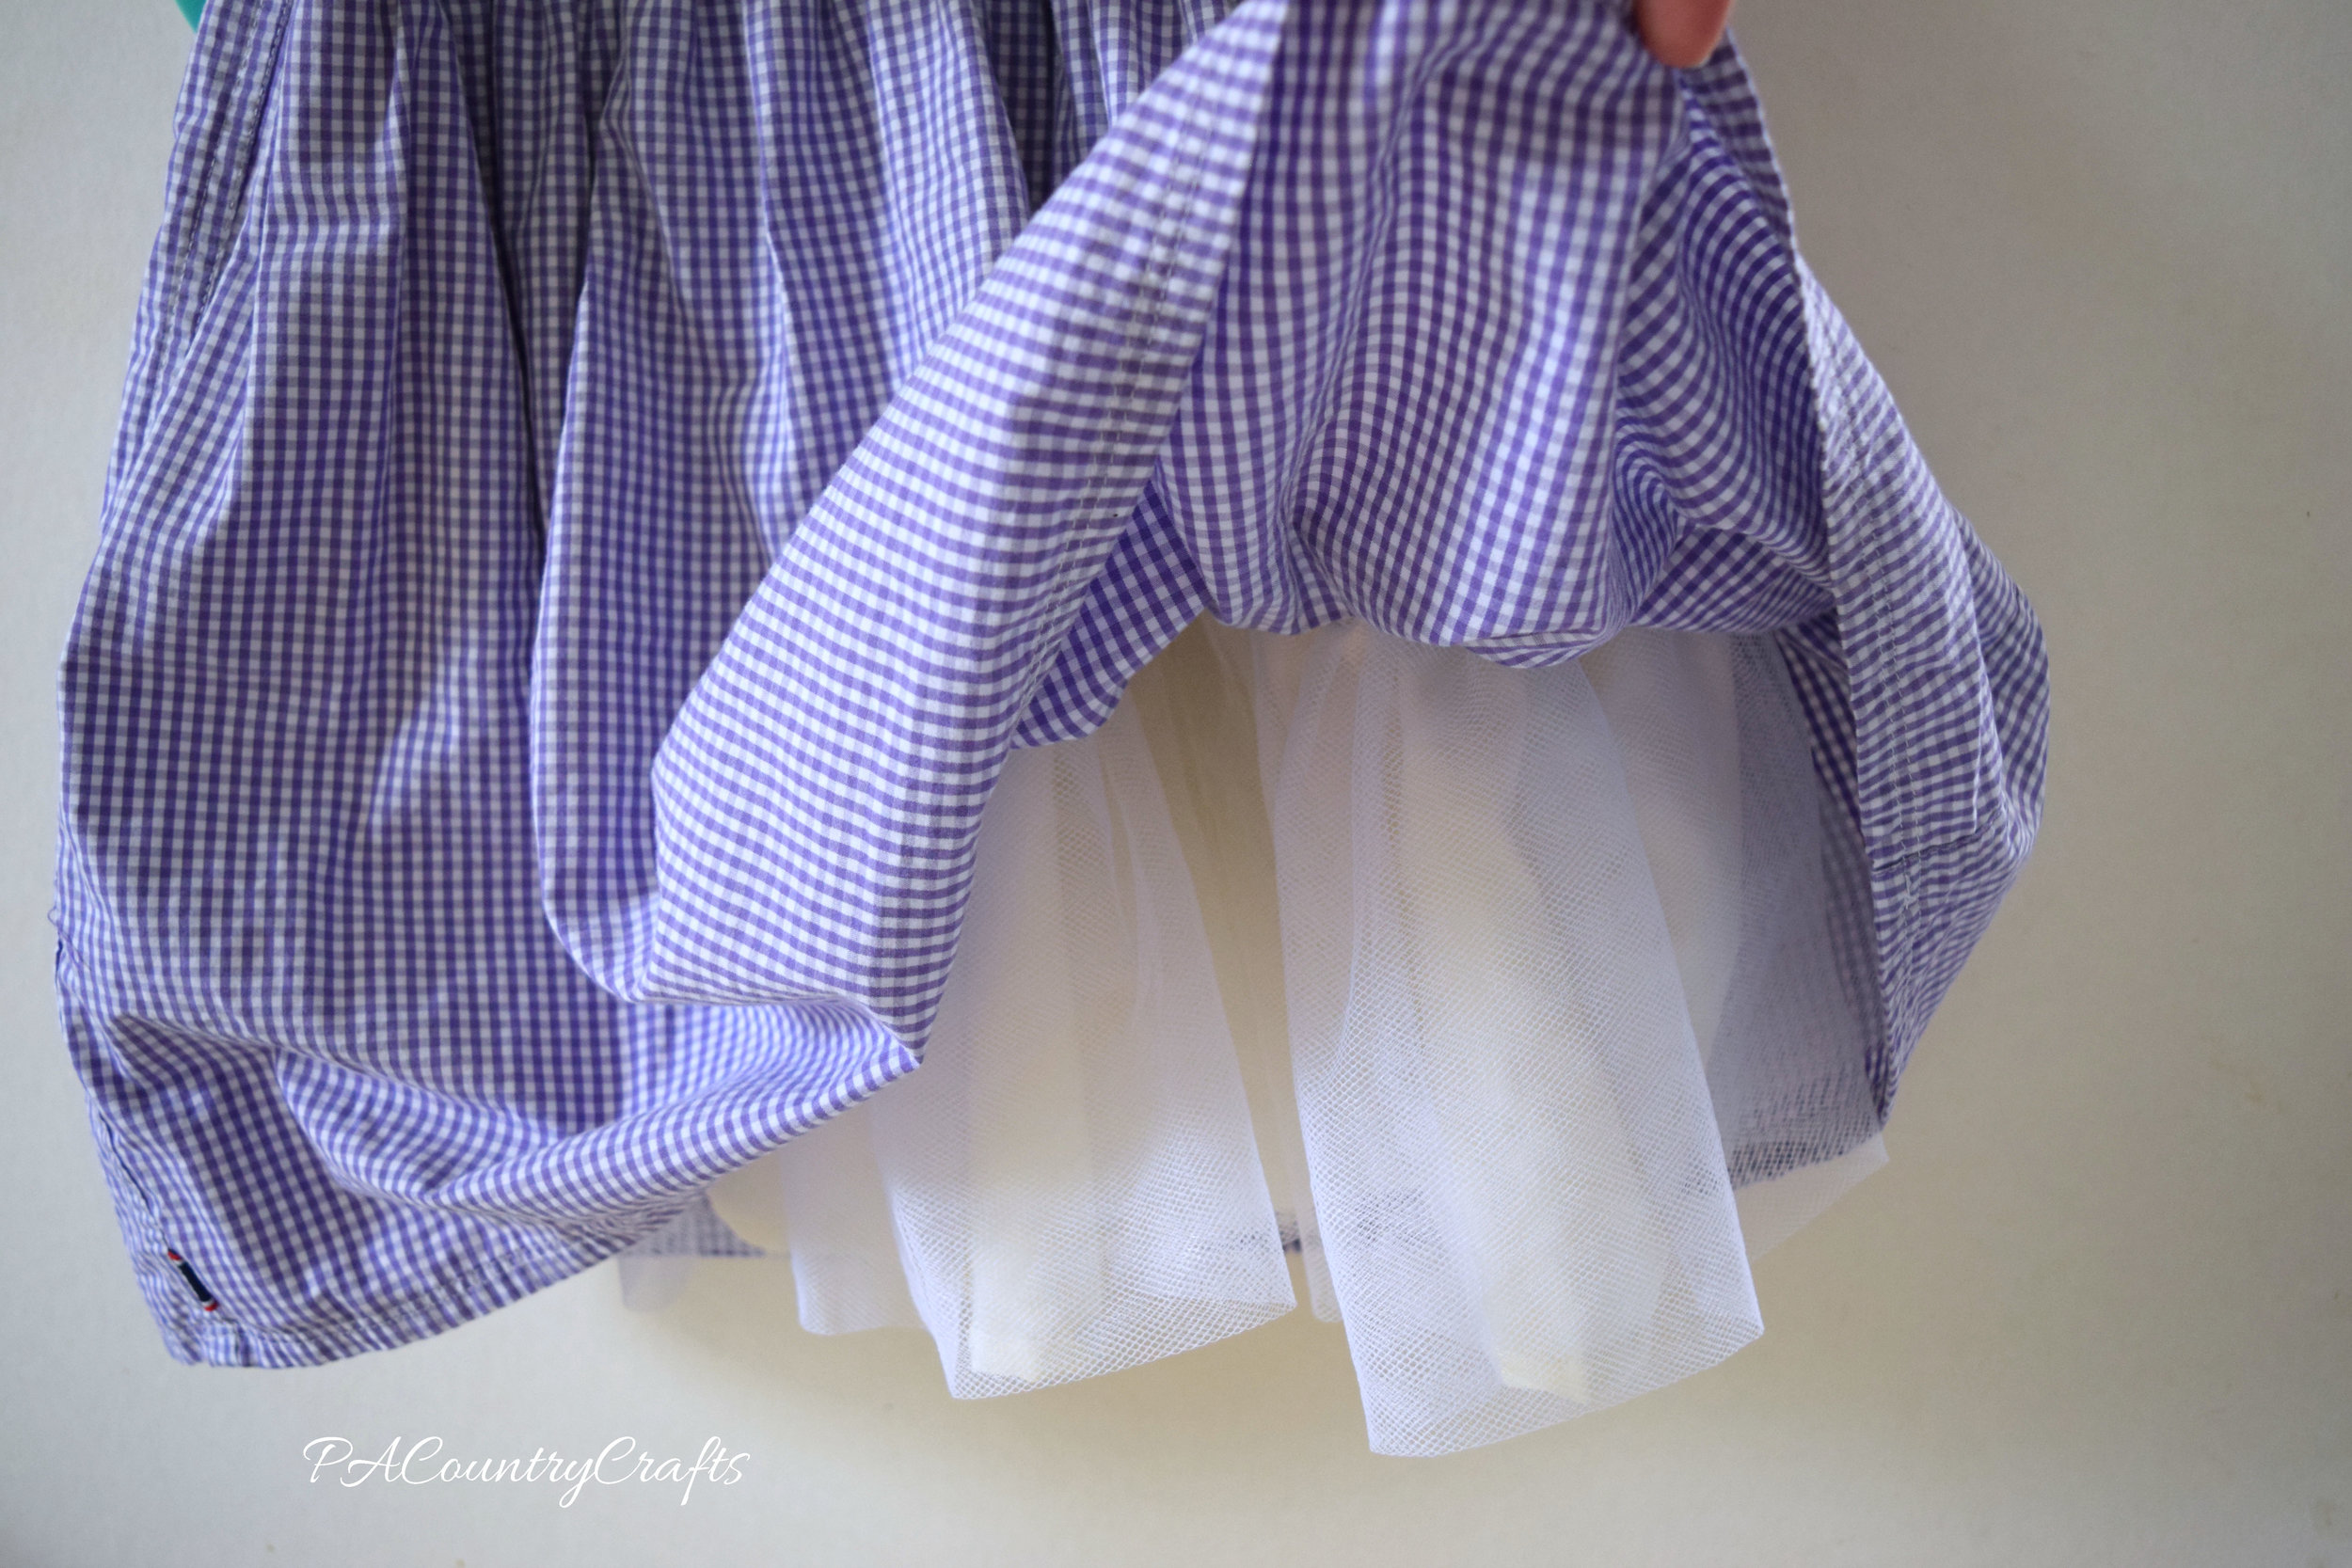
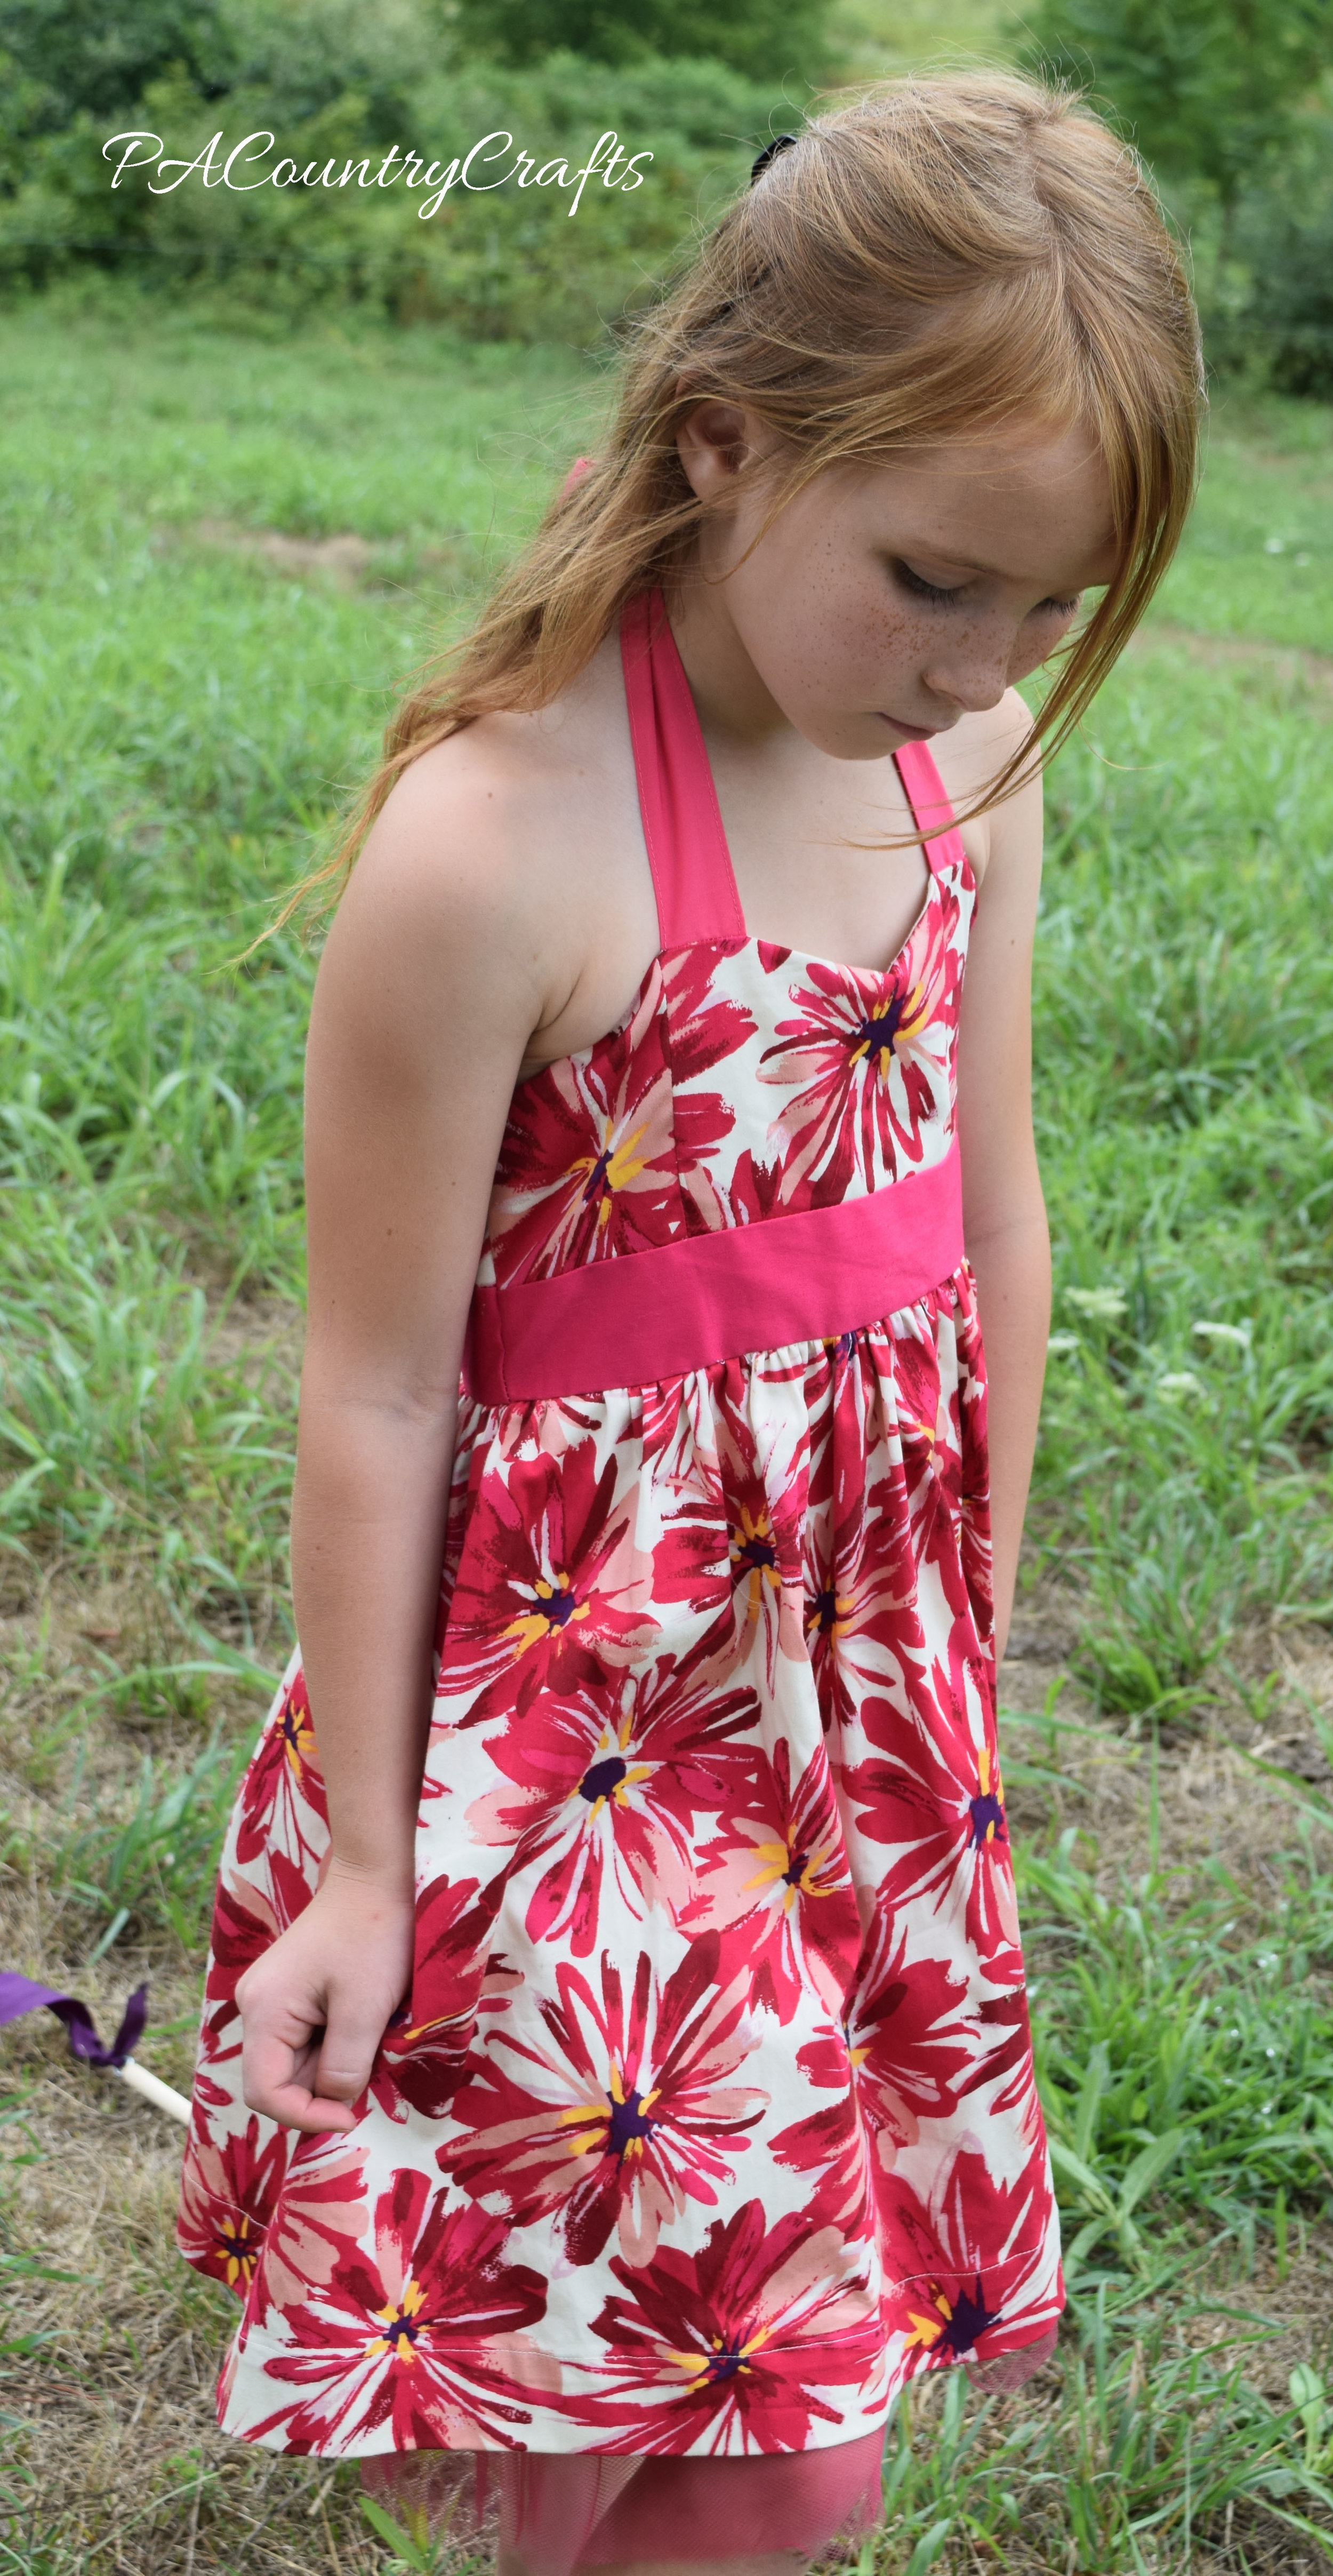
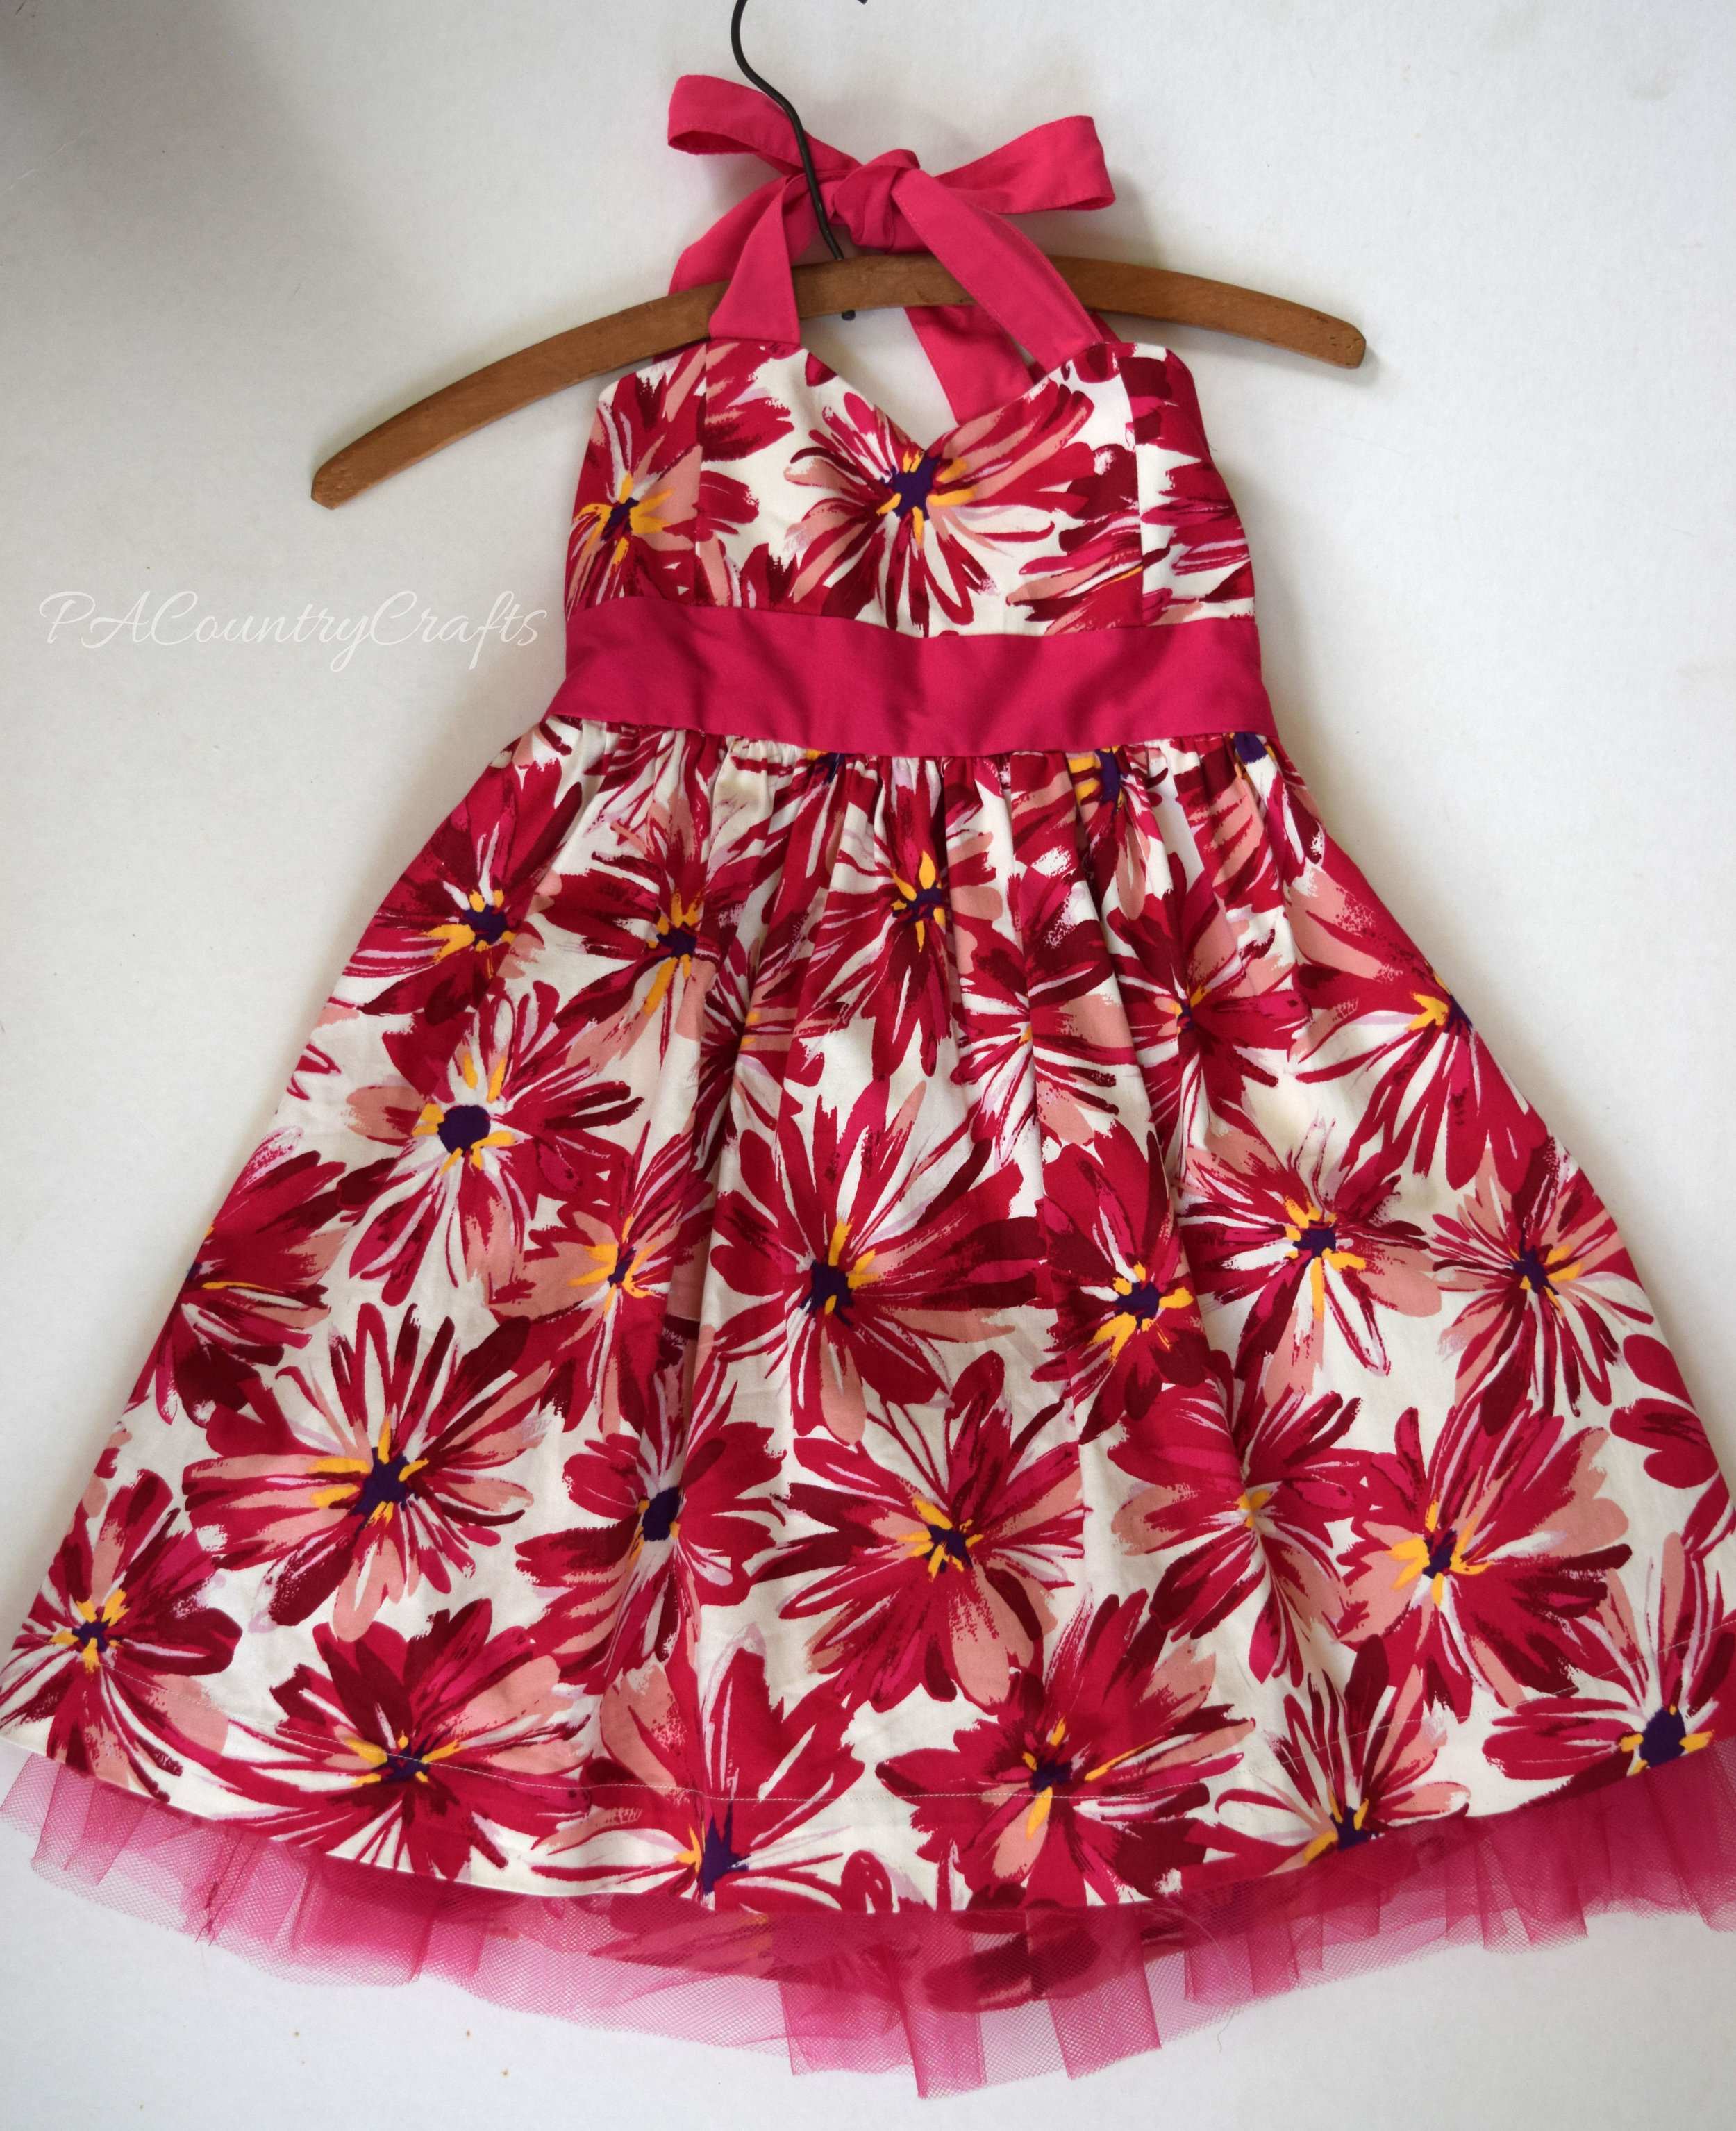
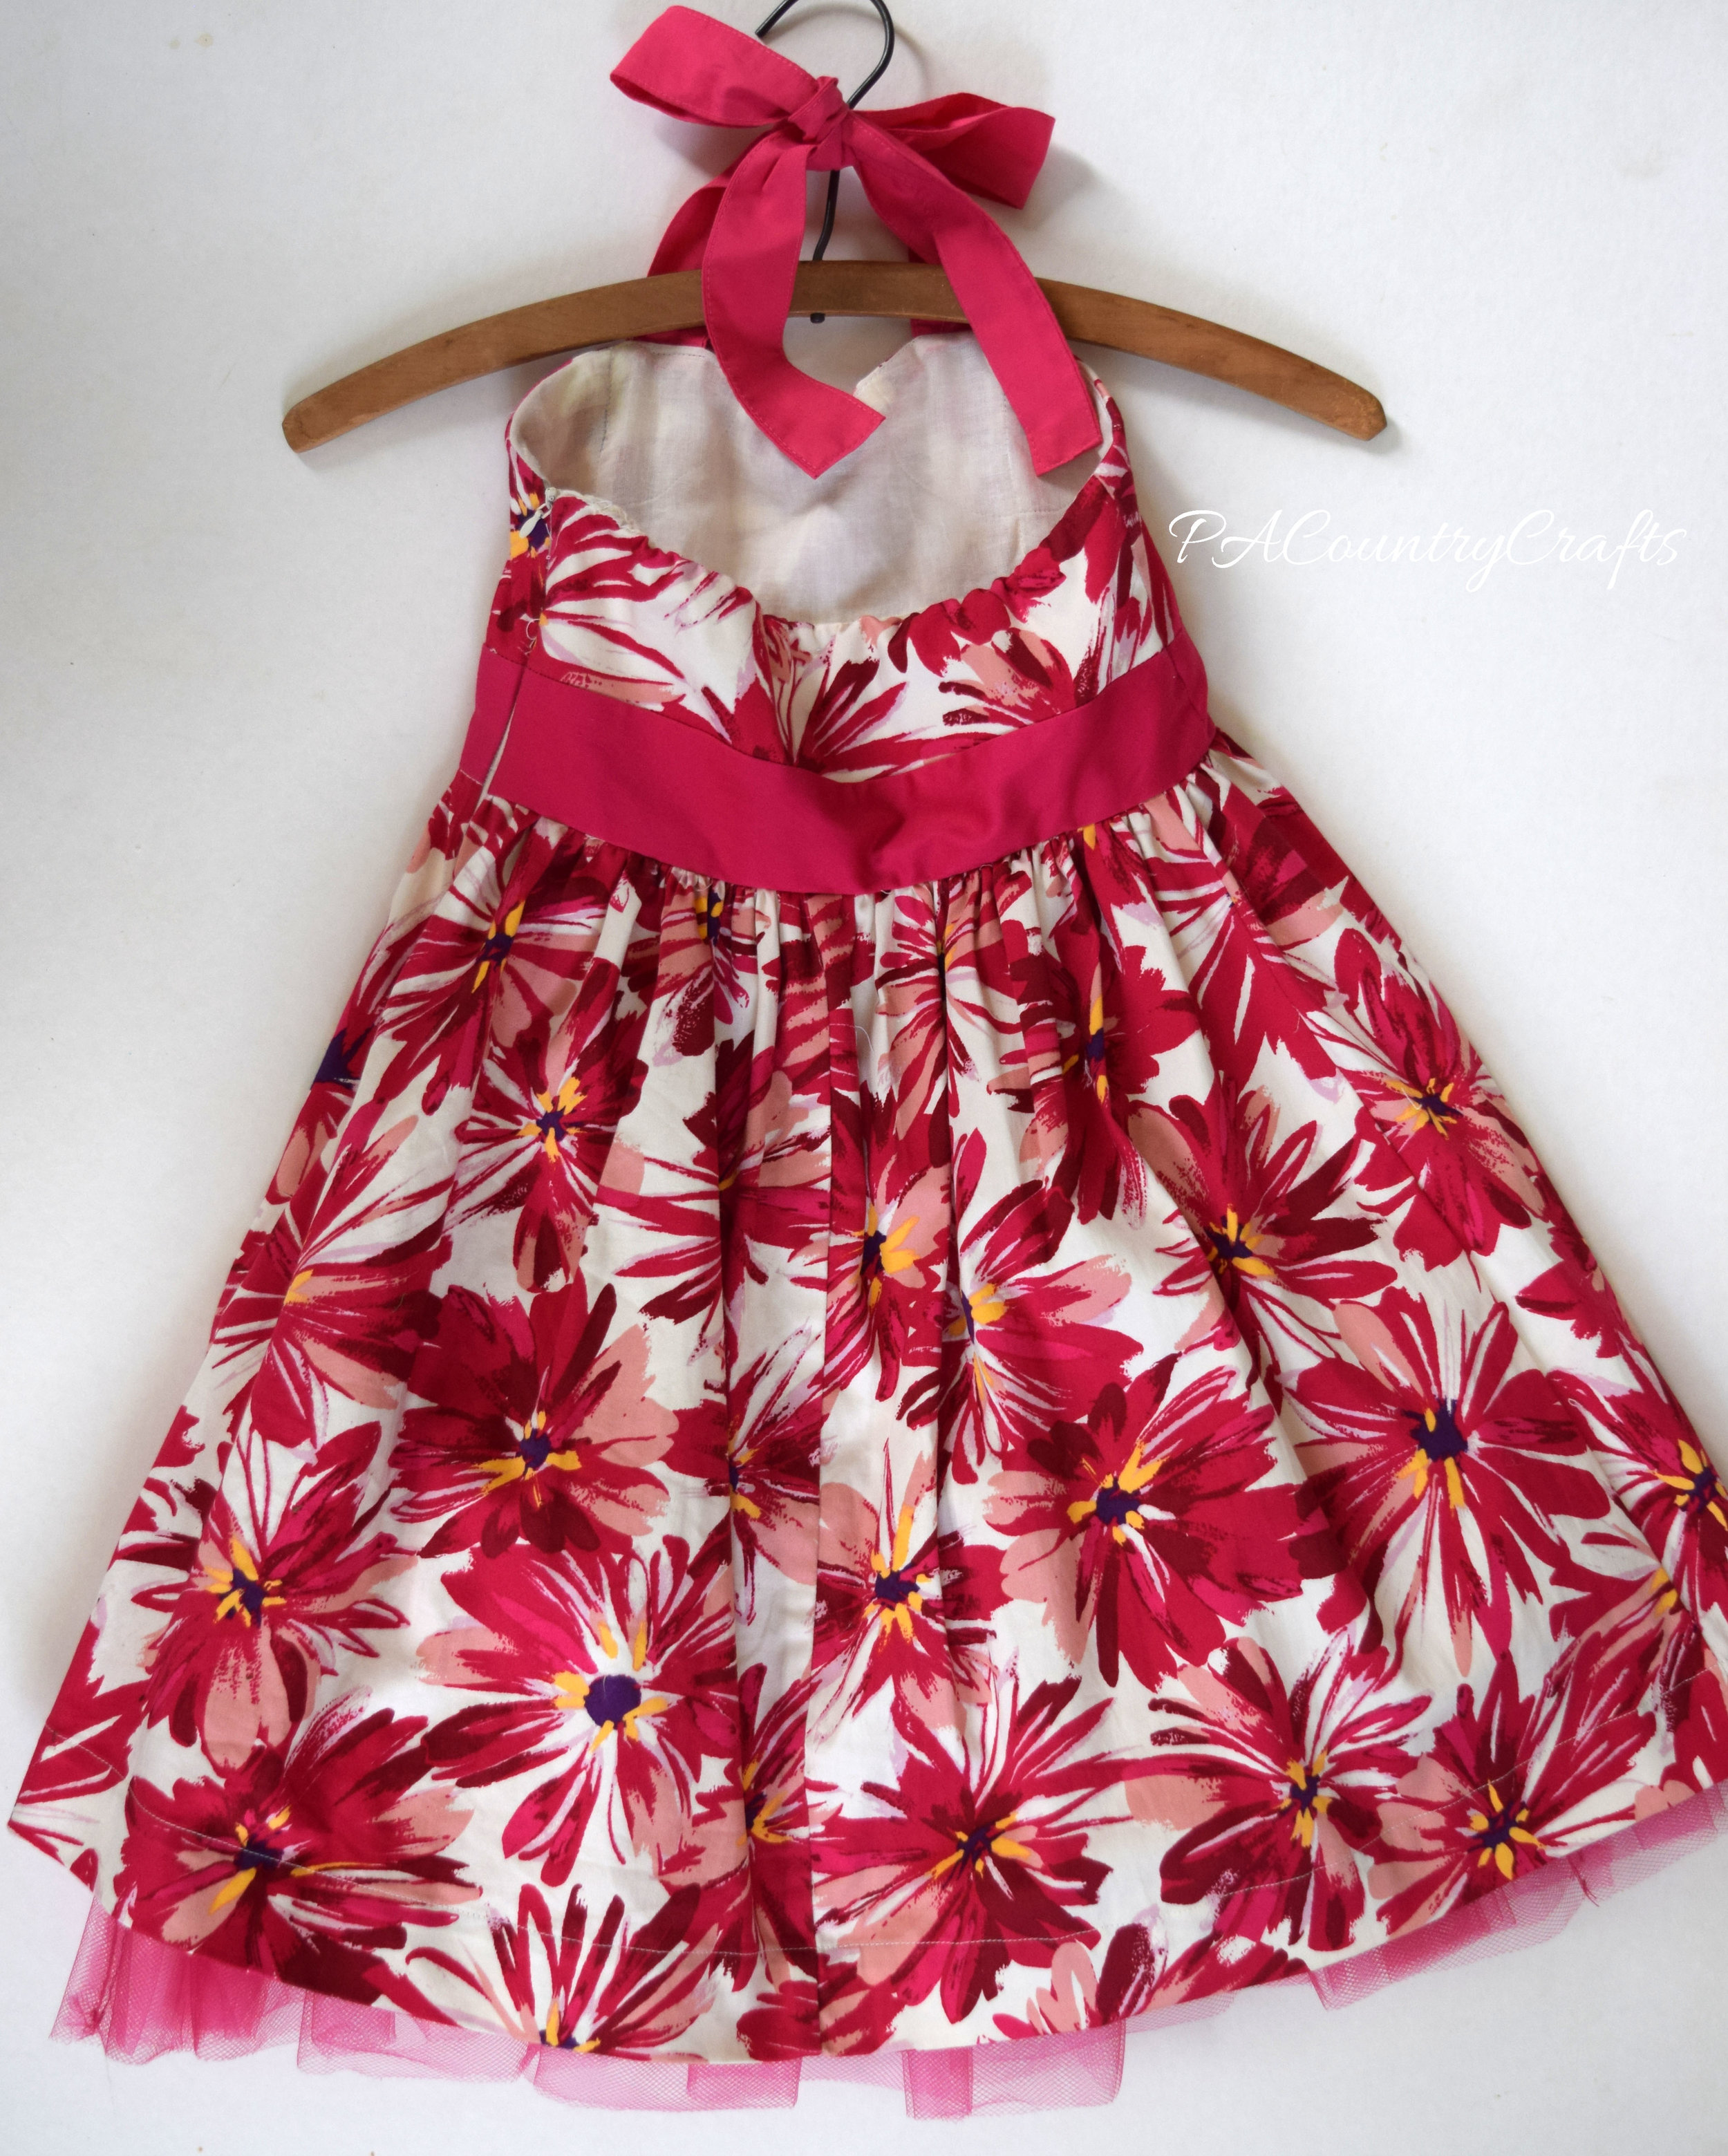
 I like the idea of thinking outside the box and even if something doesn't fit or has features you don't like, you can redesign it and make it work for you. There are a lot of possibilities when refashioning clothing.
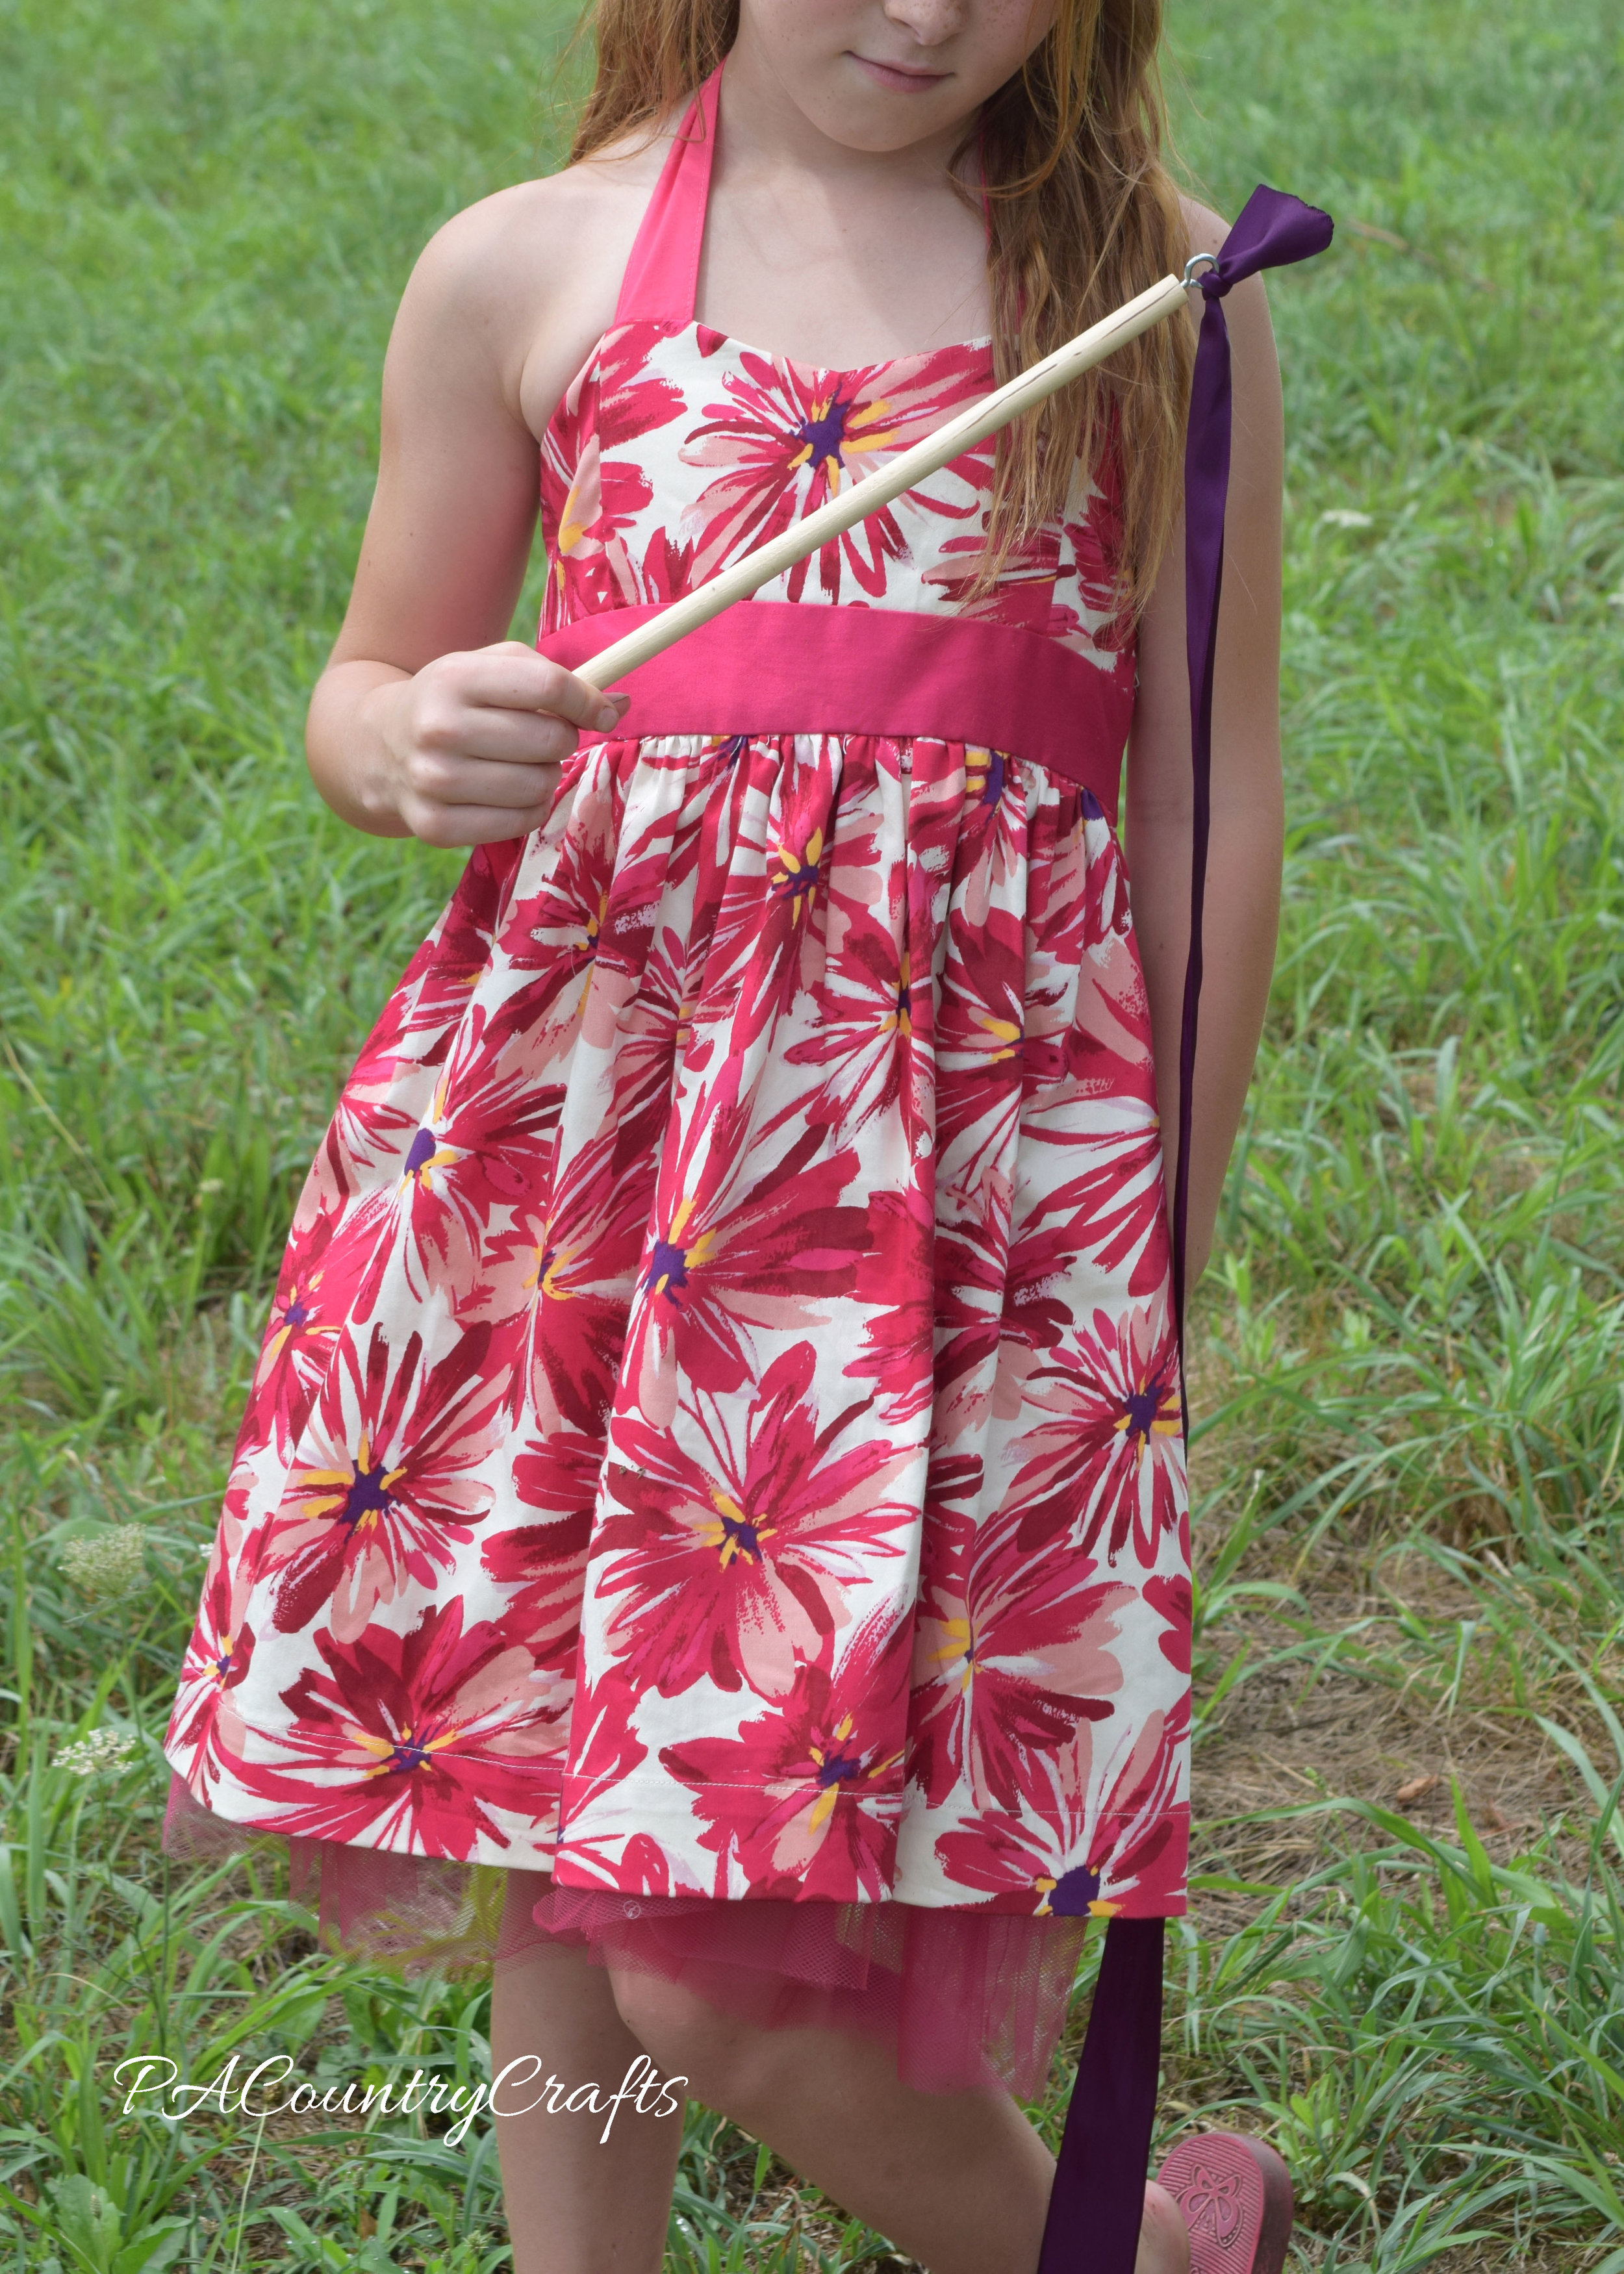
 Link Parties where I sometimes hang out…


