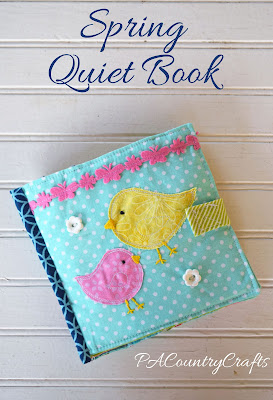
I am a little behind. That is the story of my life.
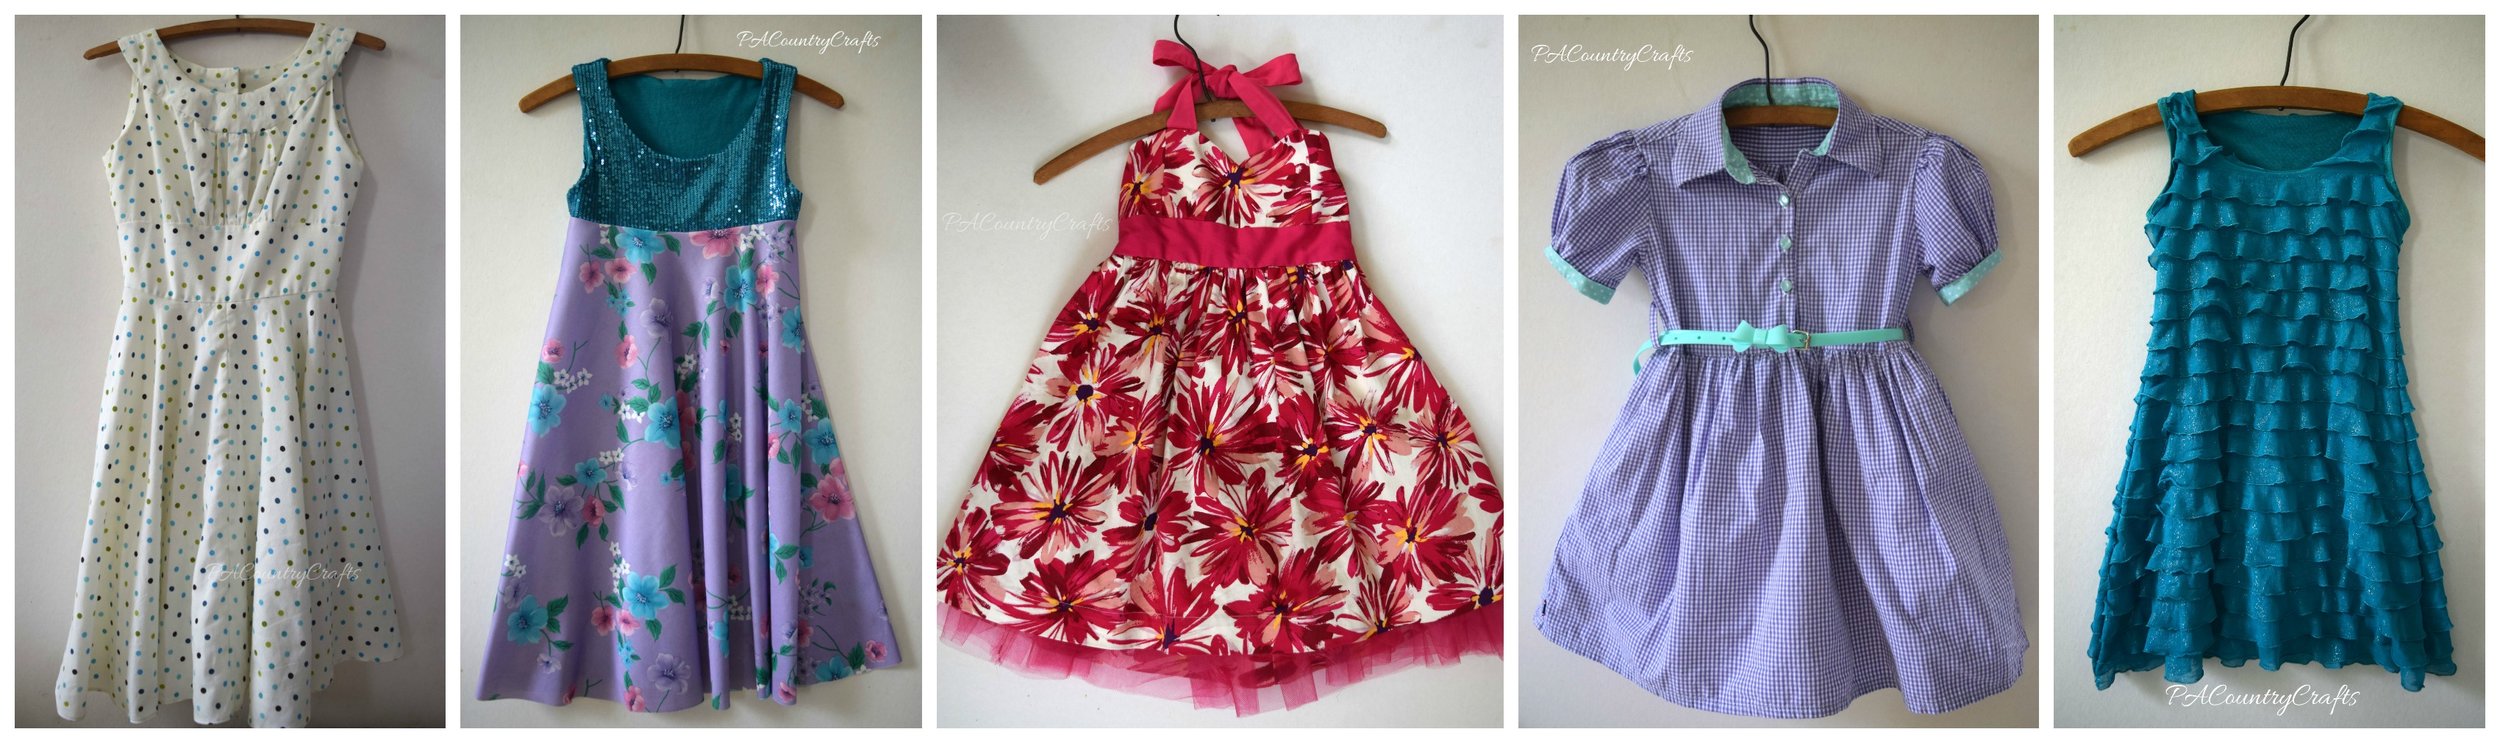
I ran out of steam and didn't finish the Easter dresses in time for Easter this year. I decided a happy mom spending time with her kids was better than a grumpy one frantically sewing. So, I finished them when I felt like it. The last one didn't get done until July 30.
And that is OK.
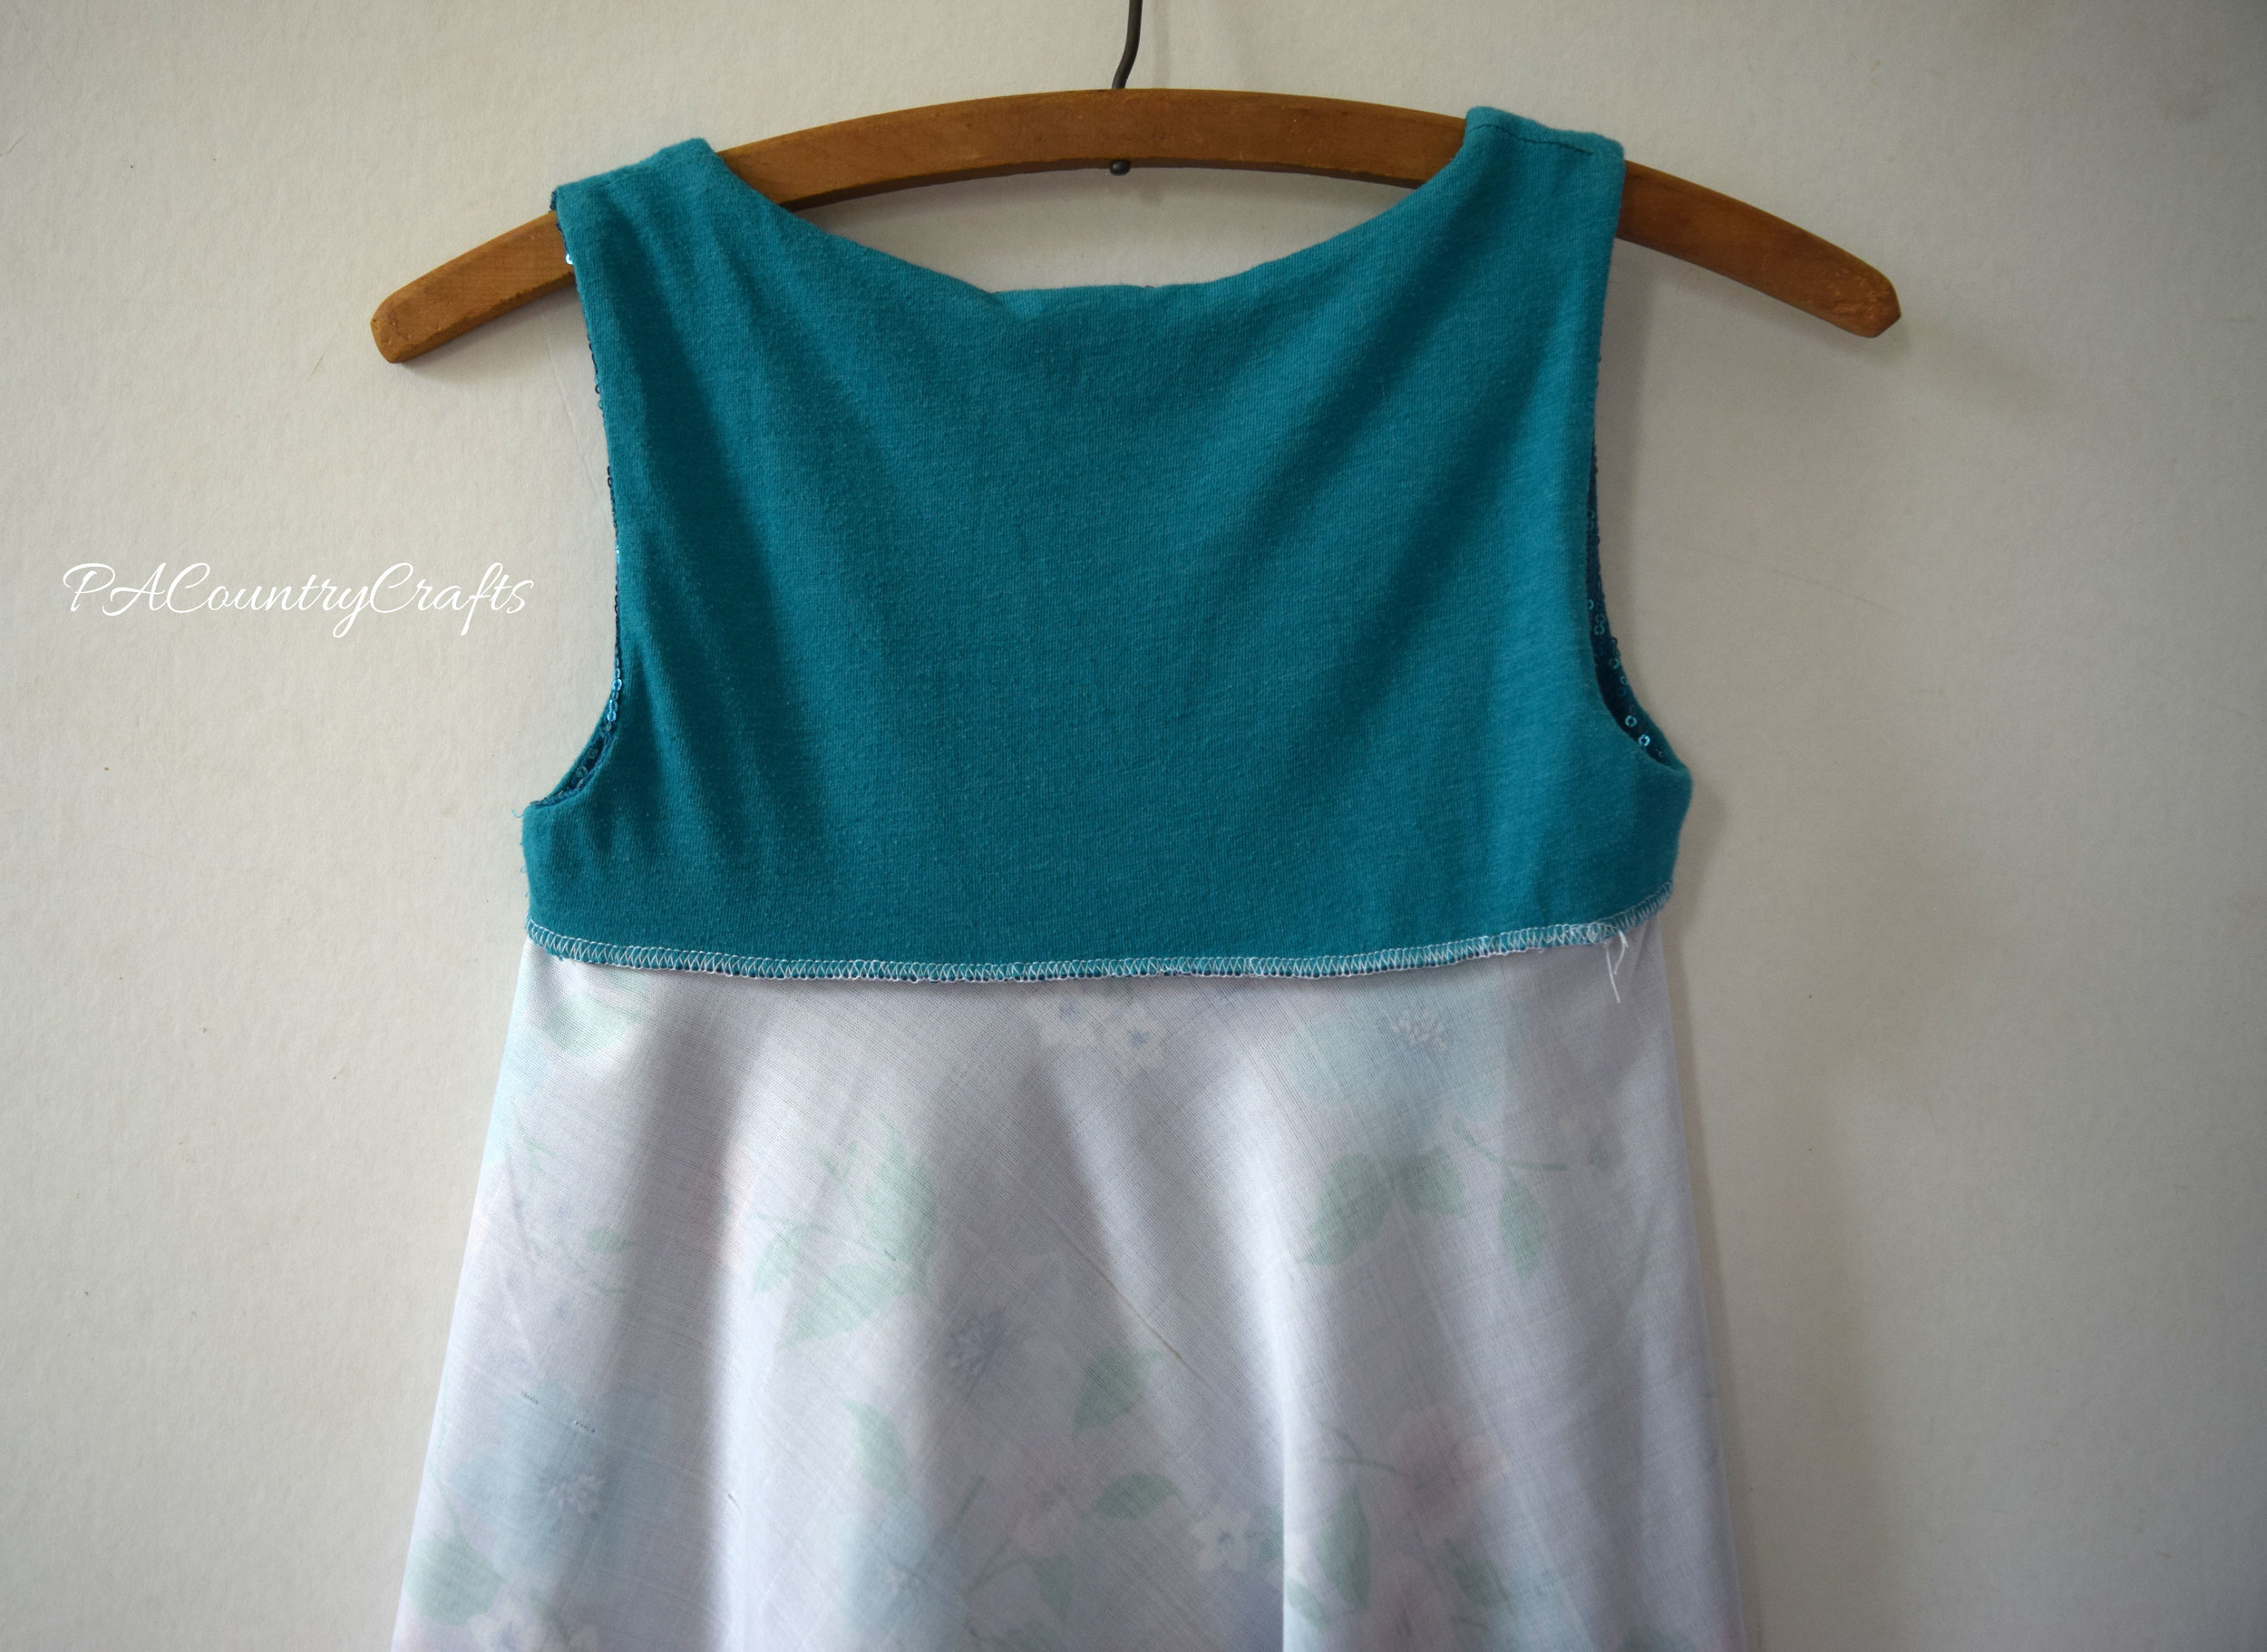
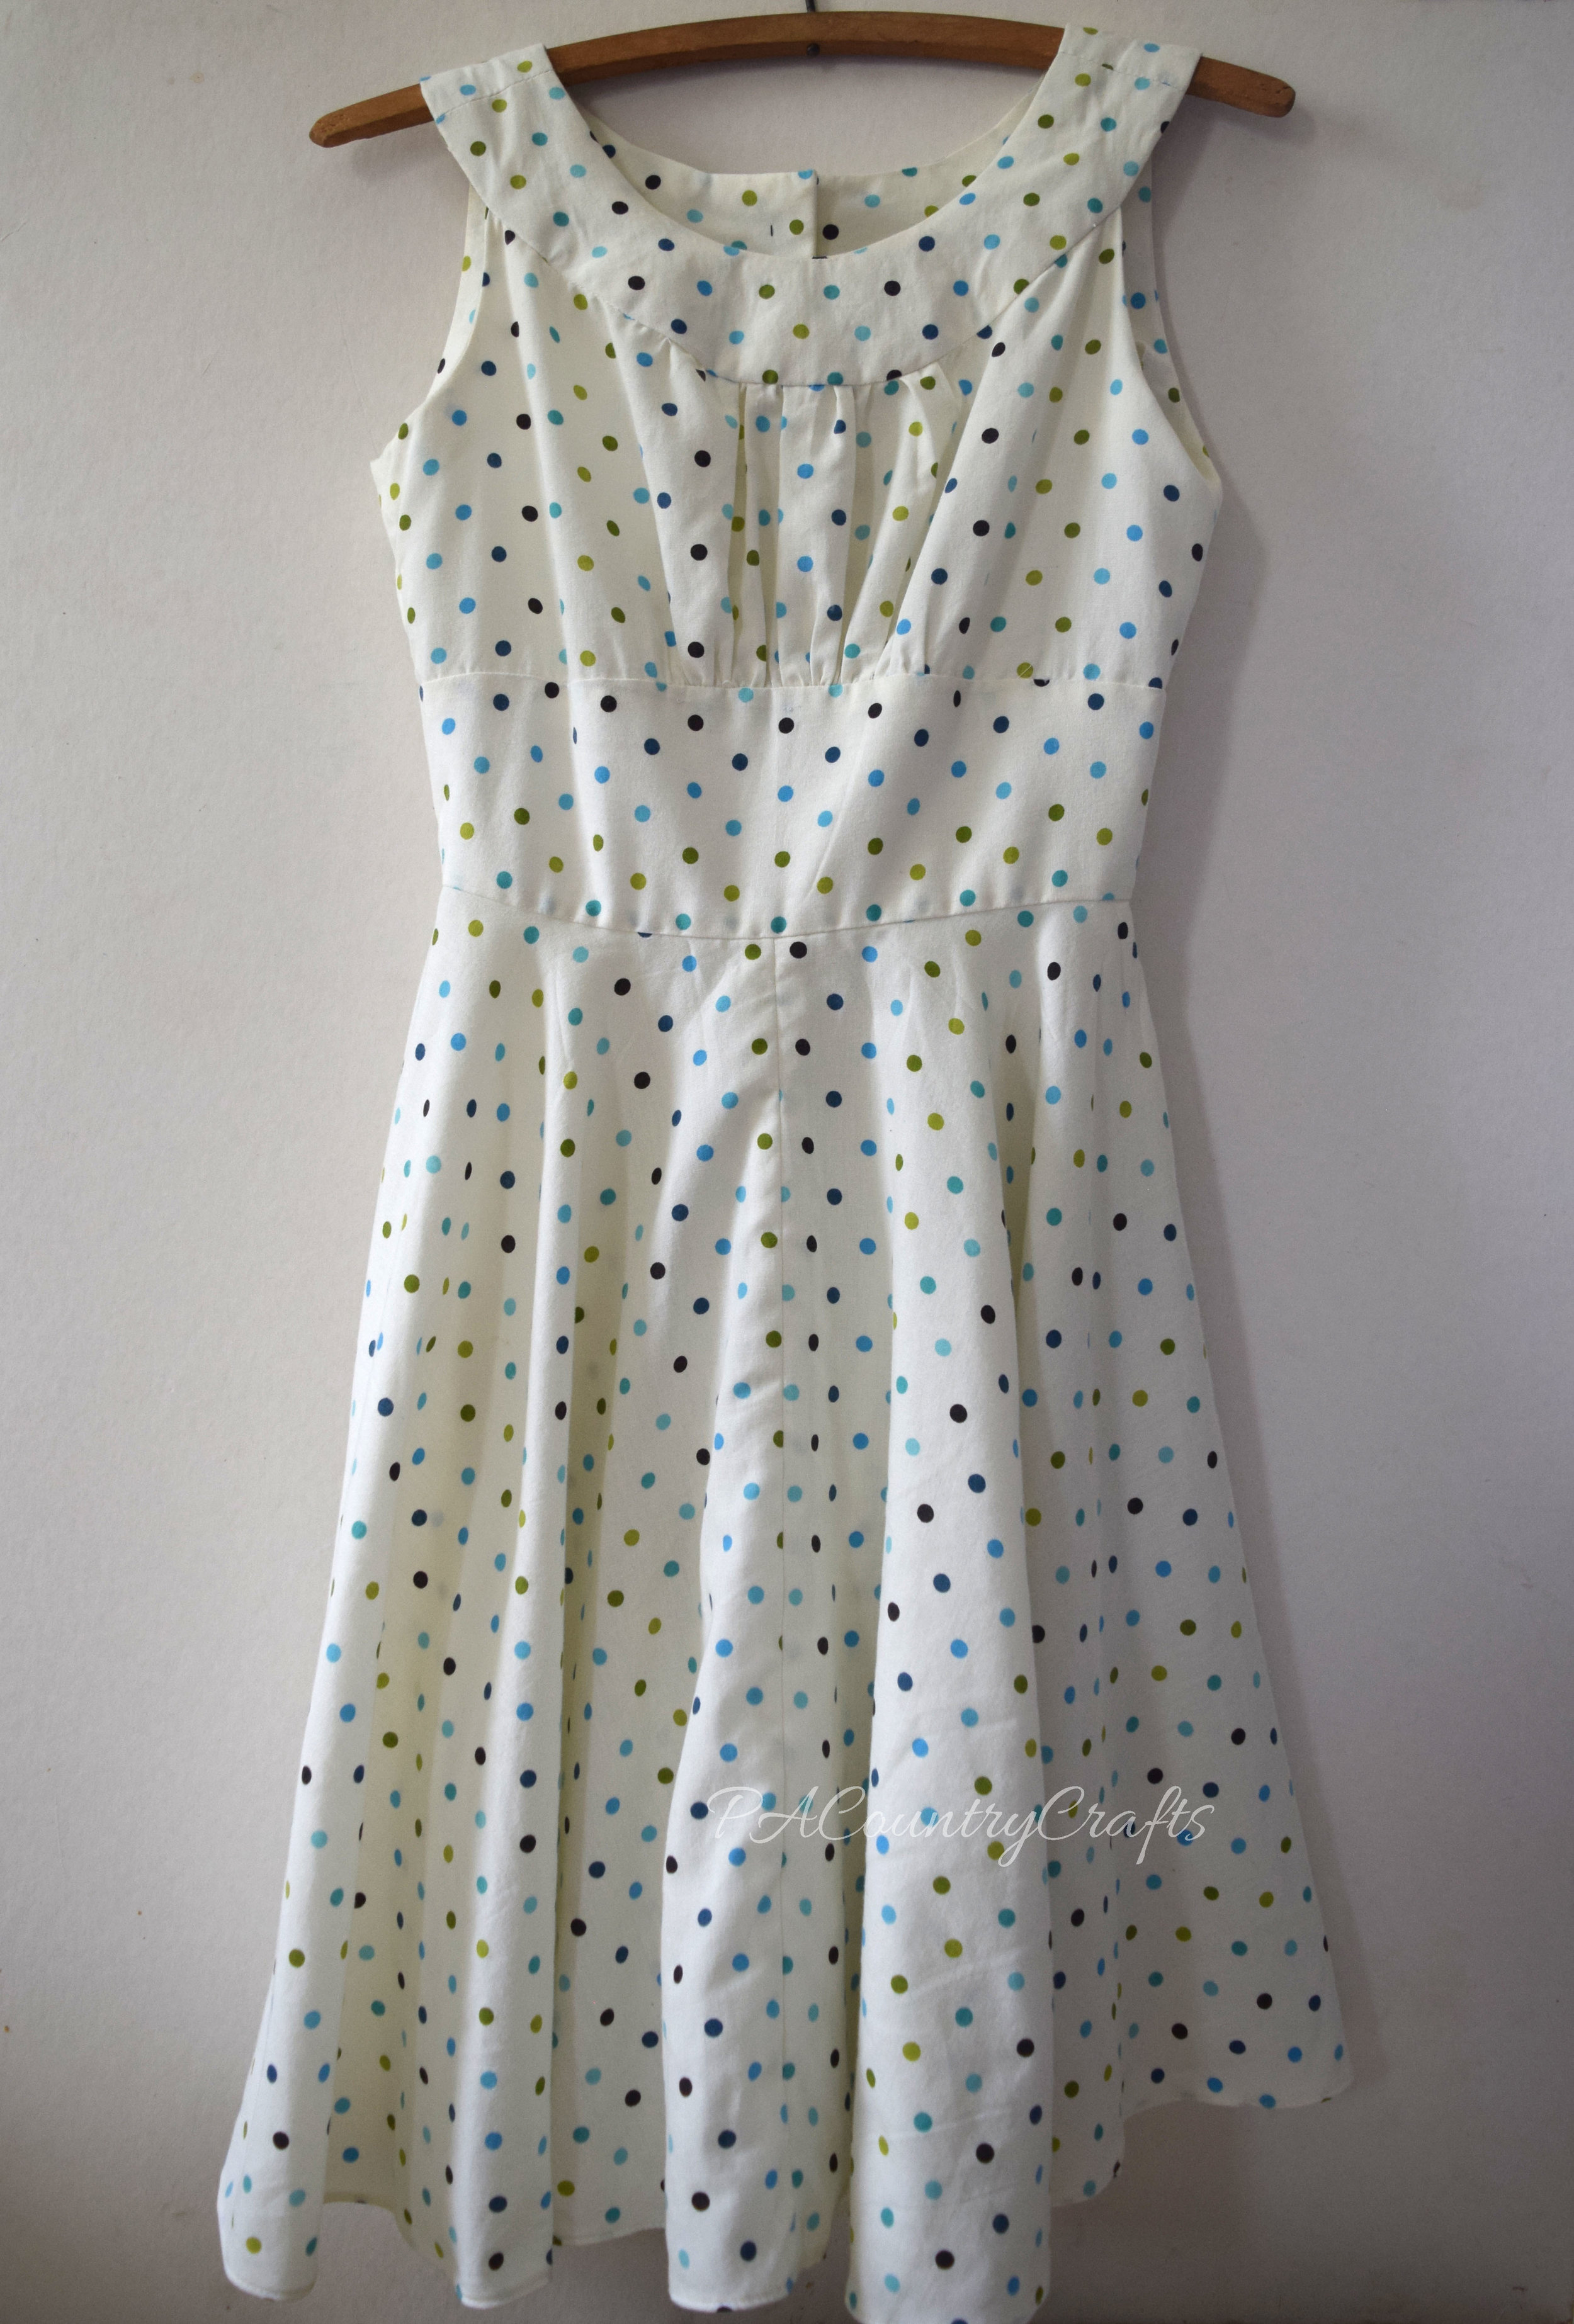
My "theme" this year was "upcycled" so this dress was constructed of a thrifted sheet.
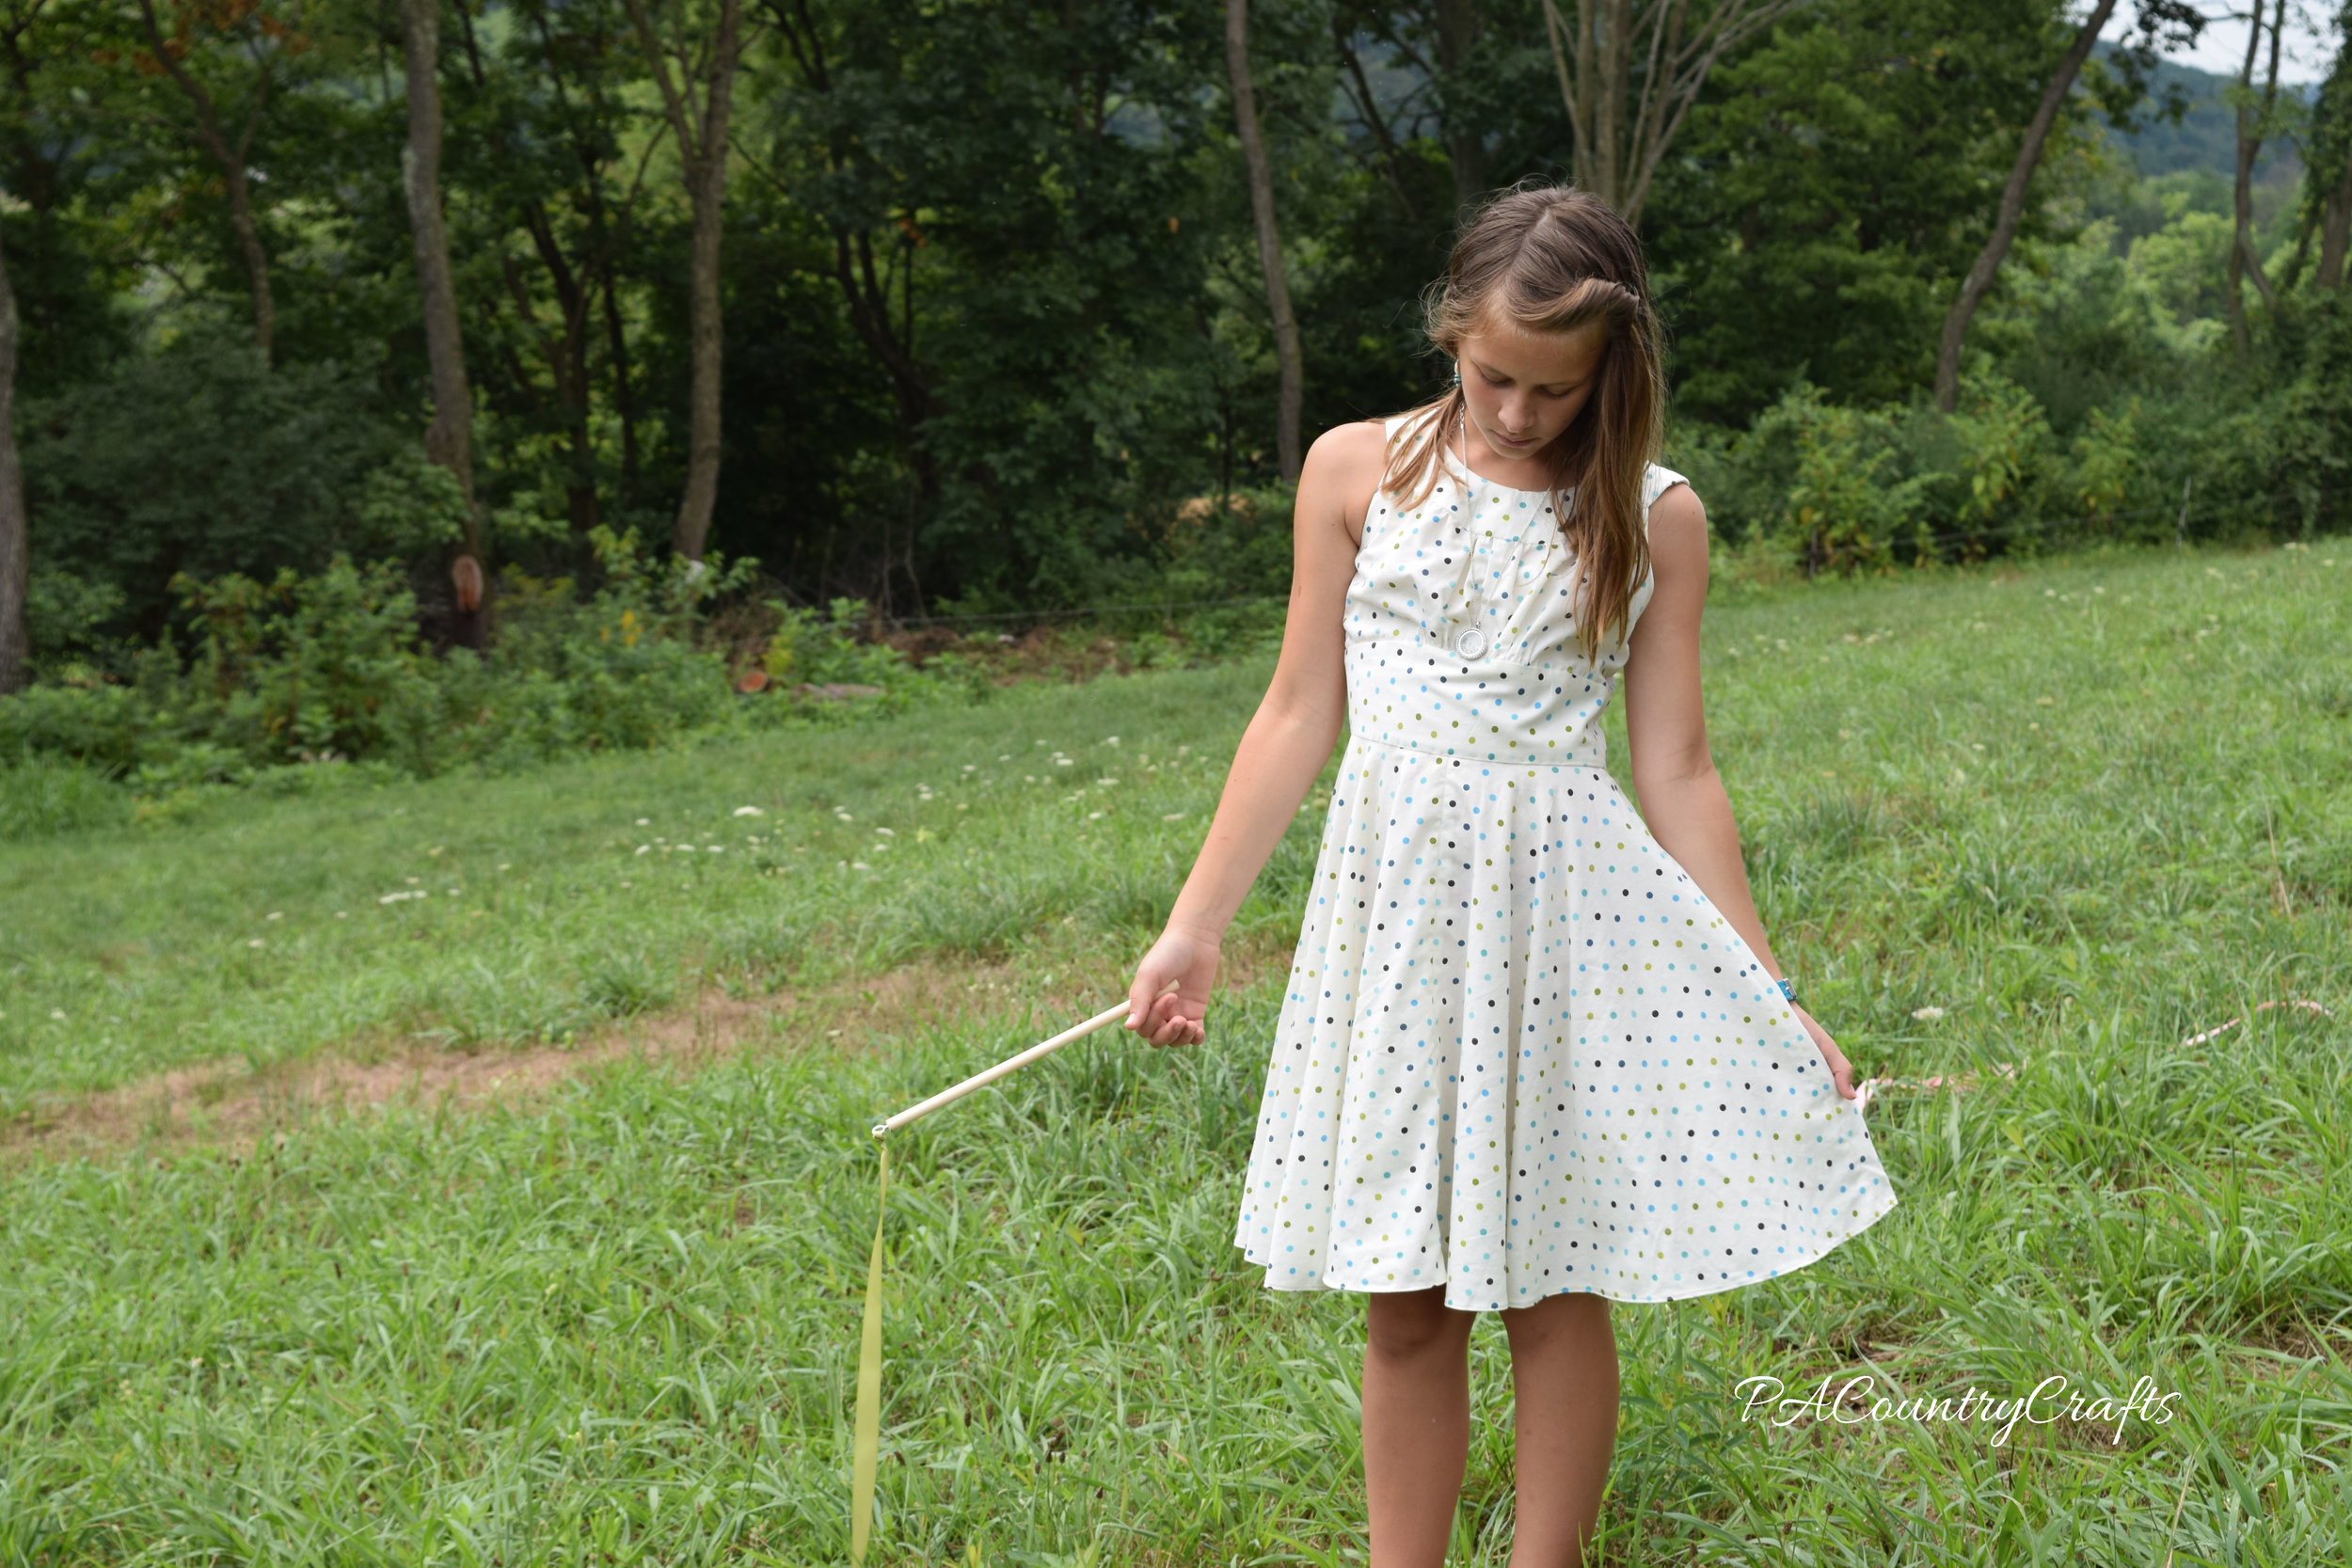
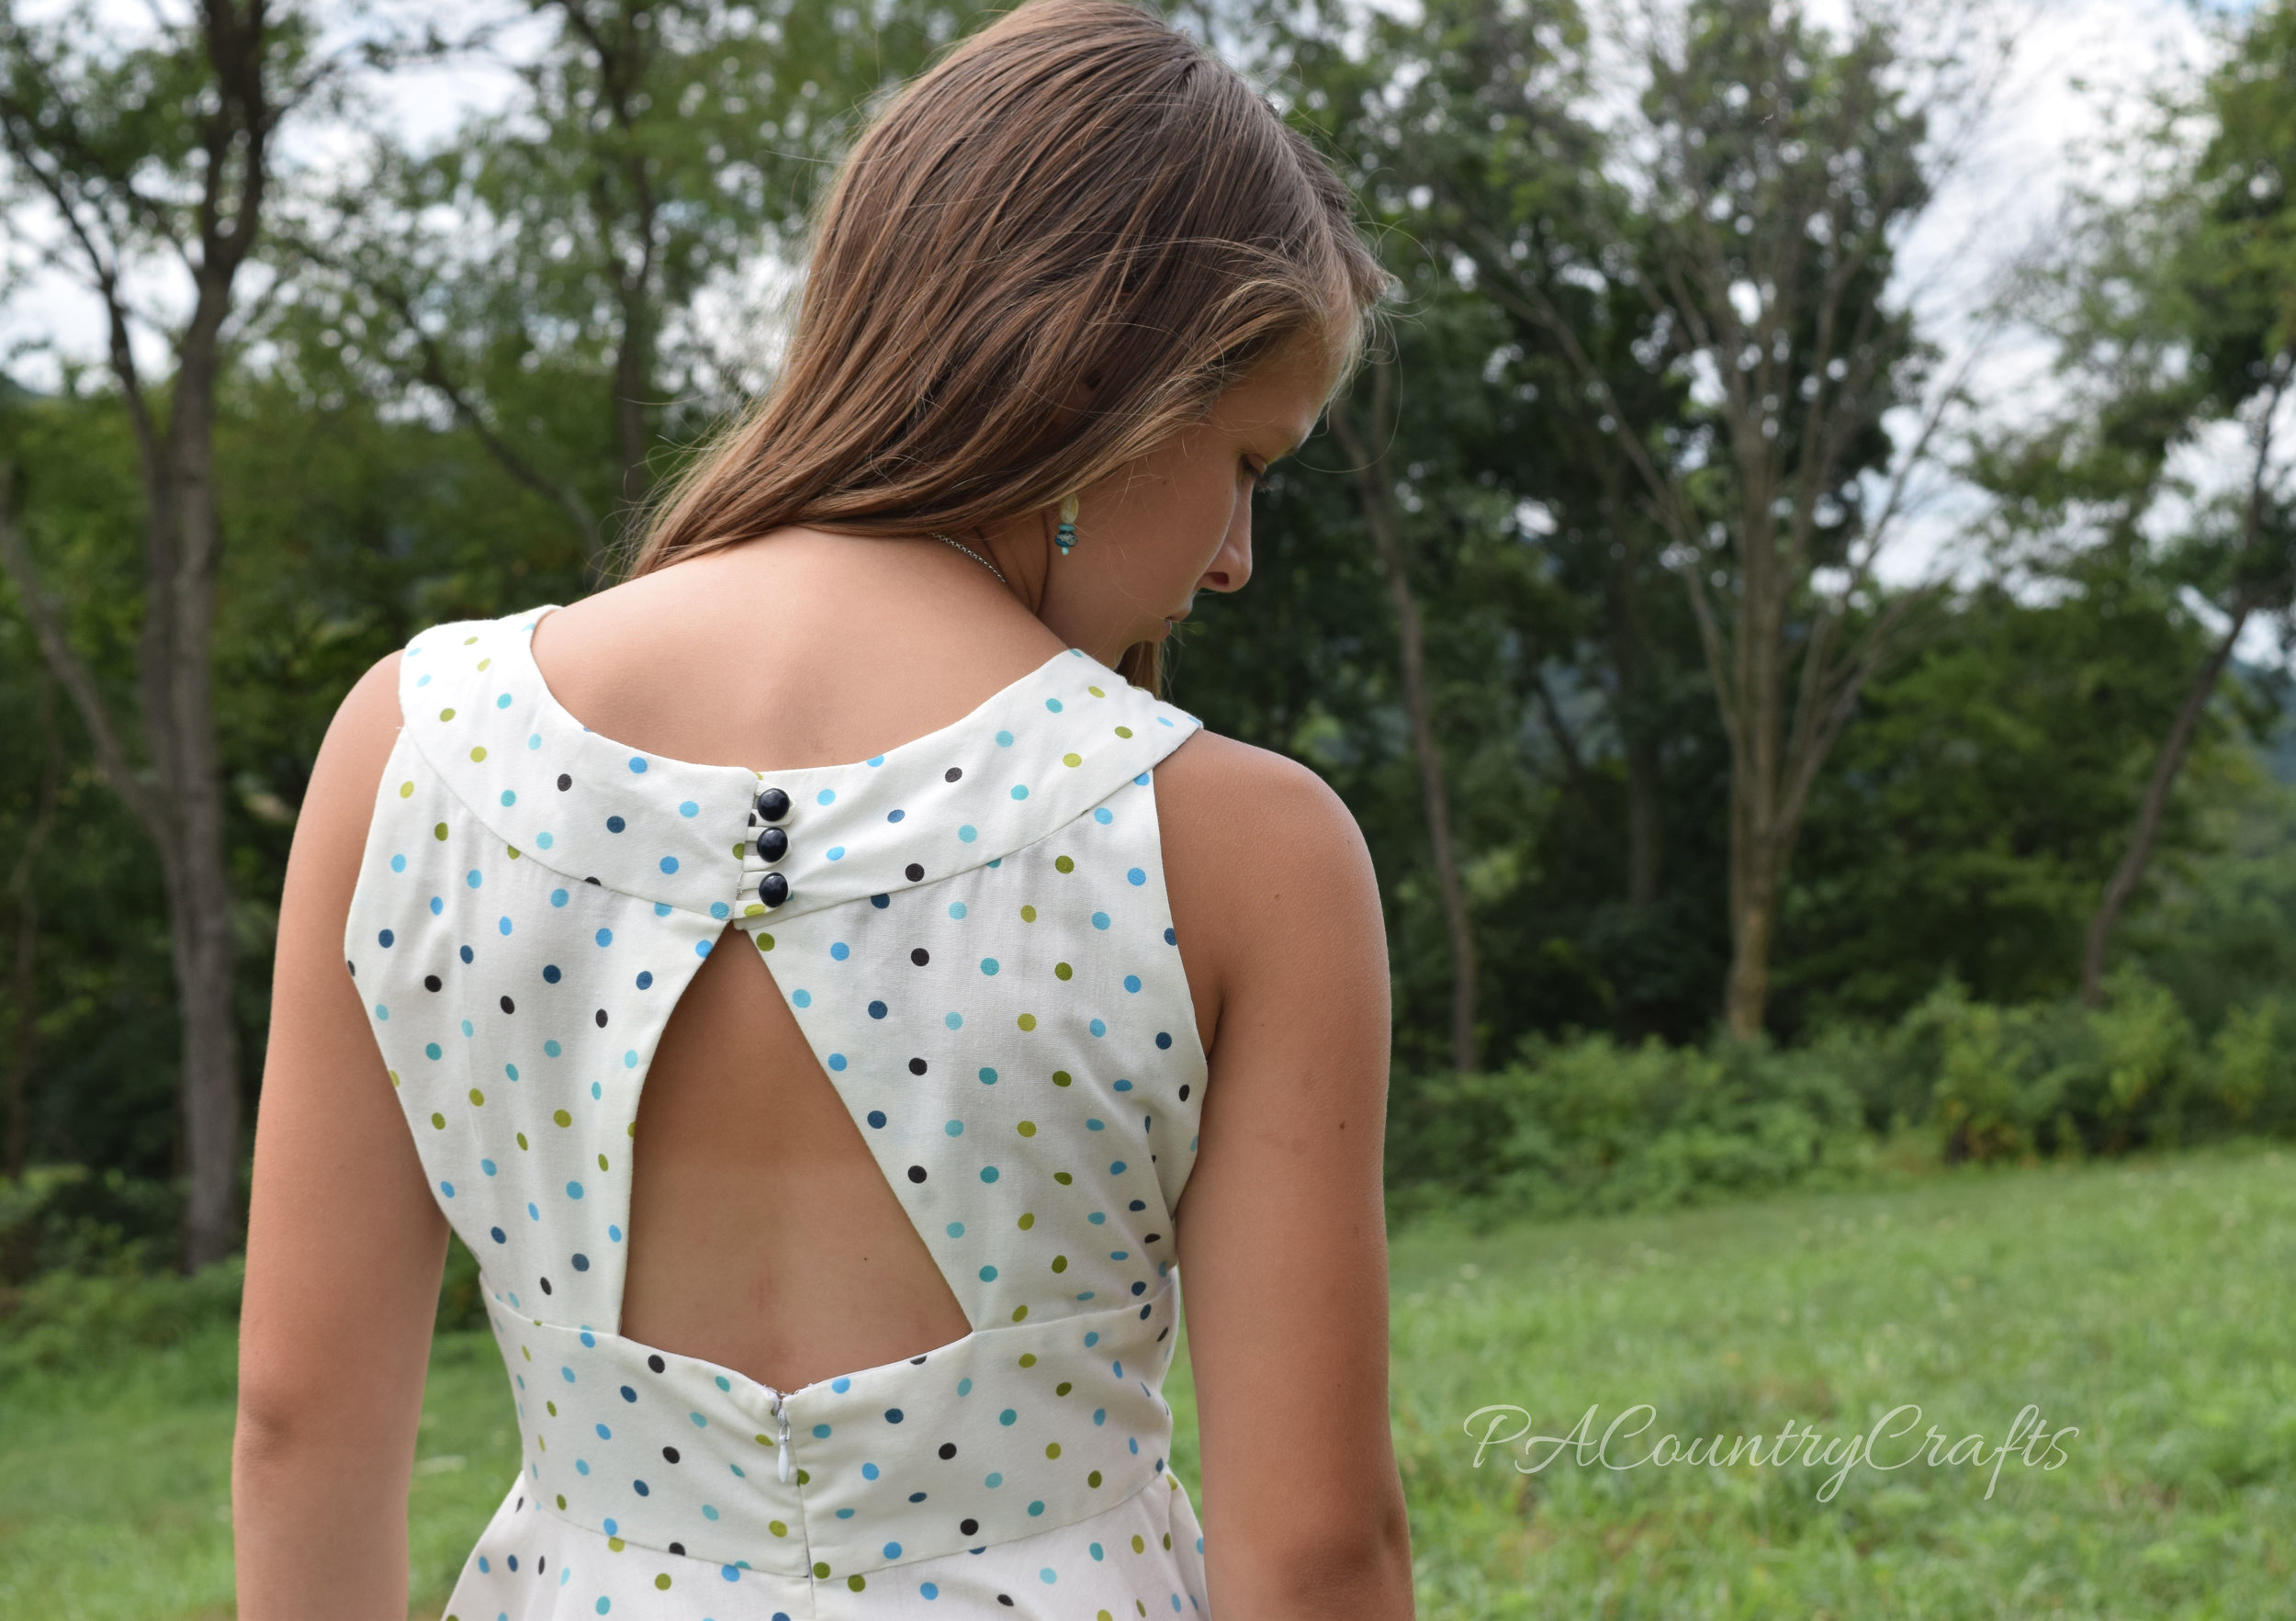
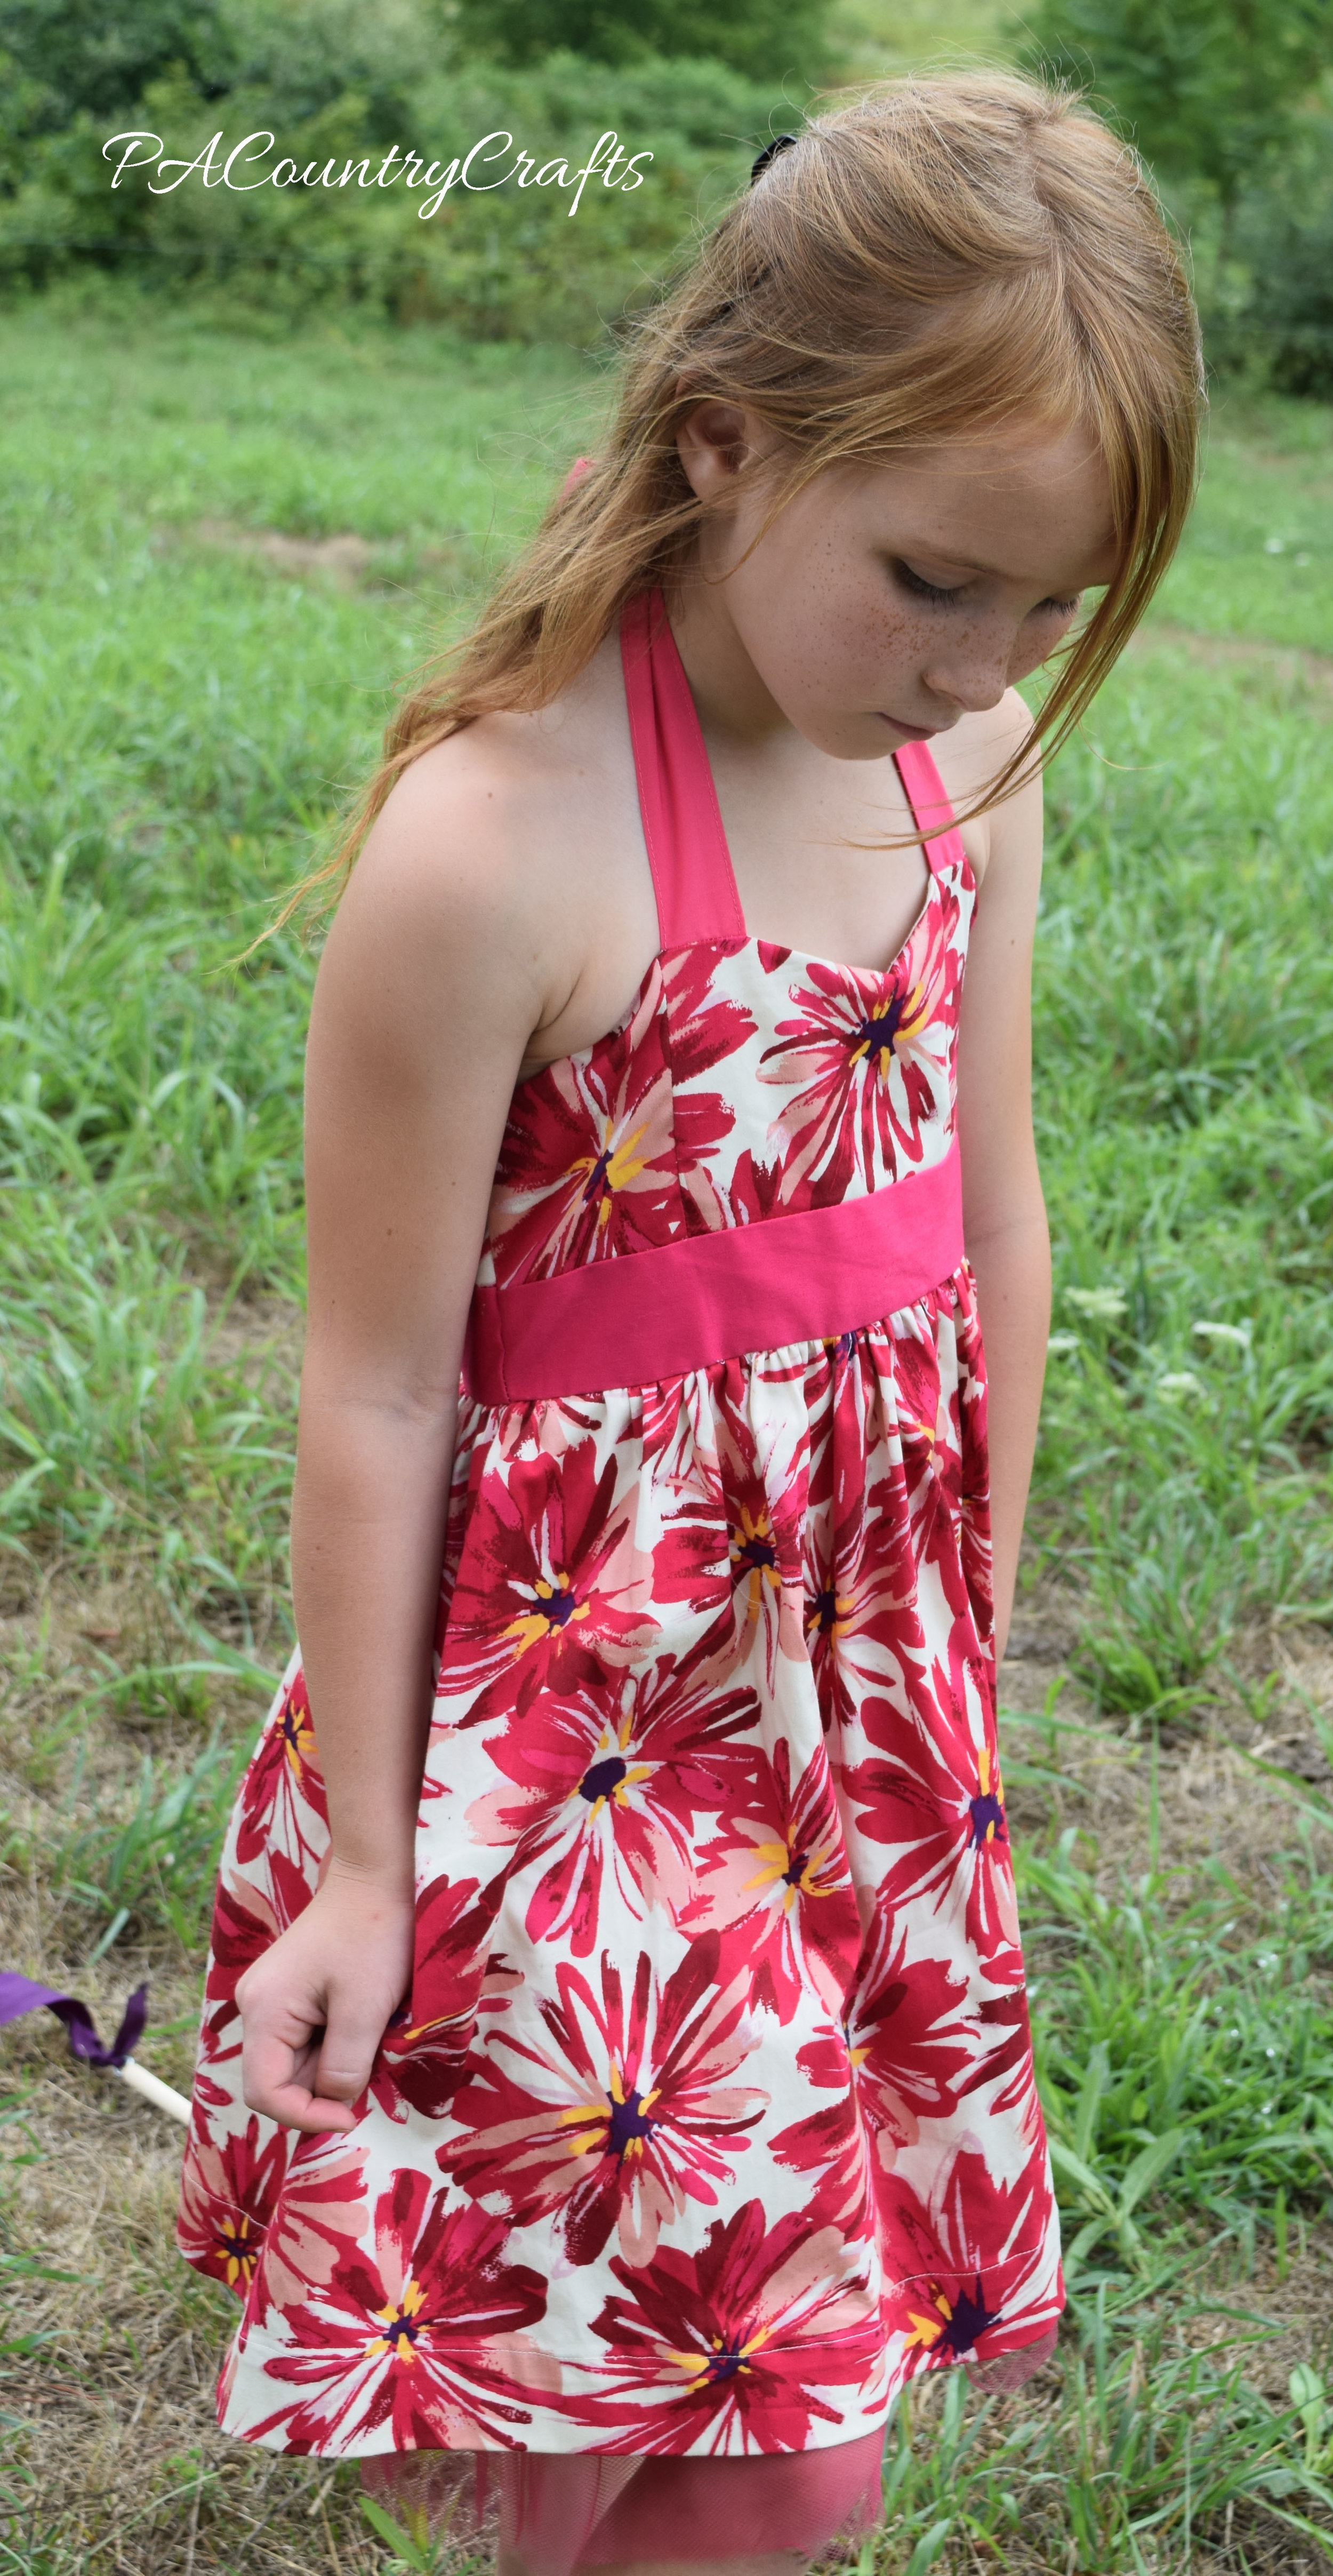
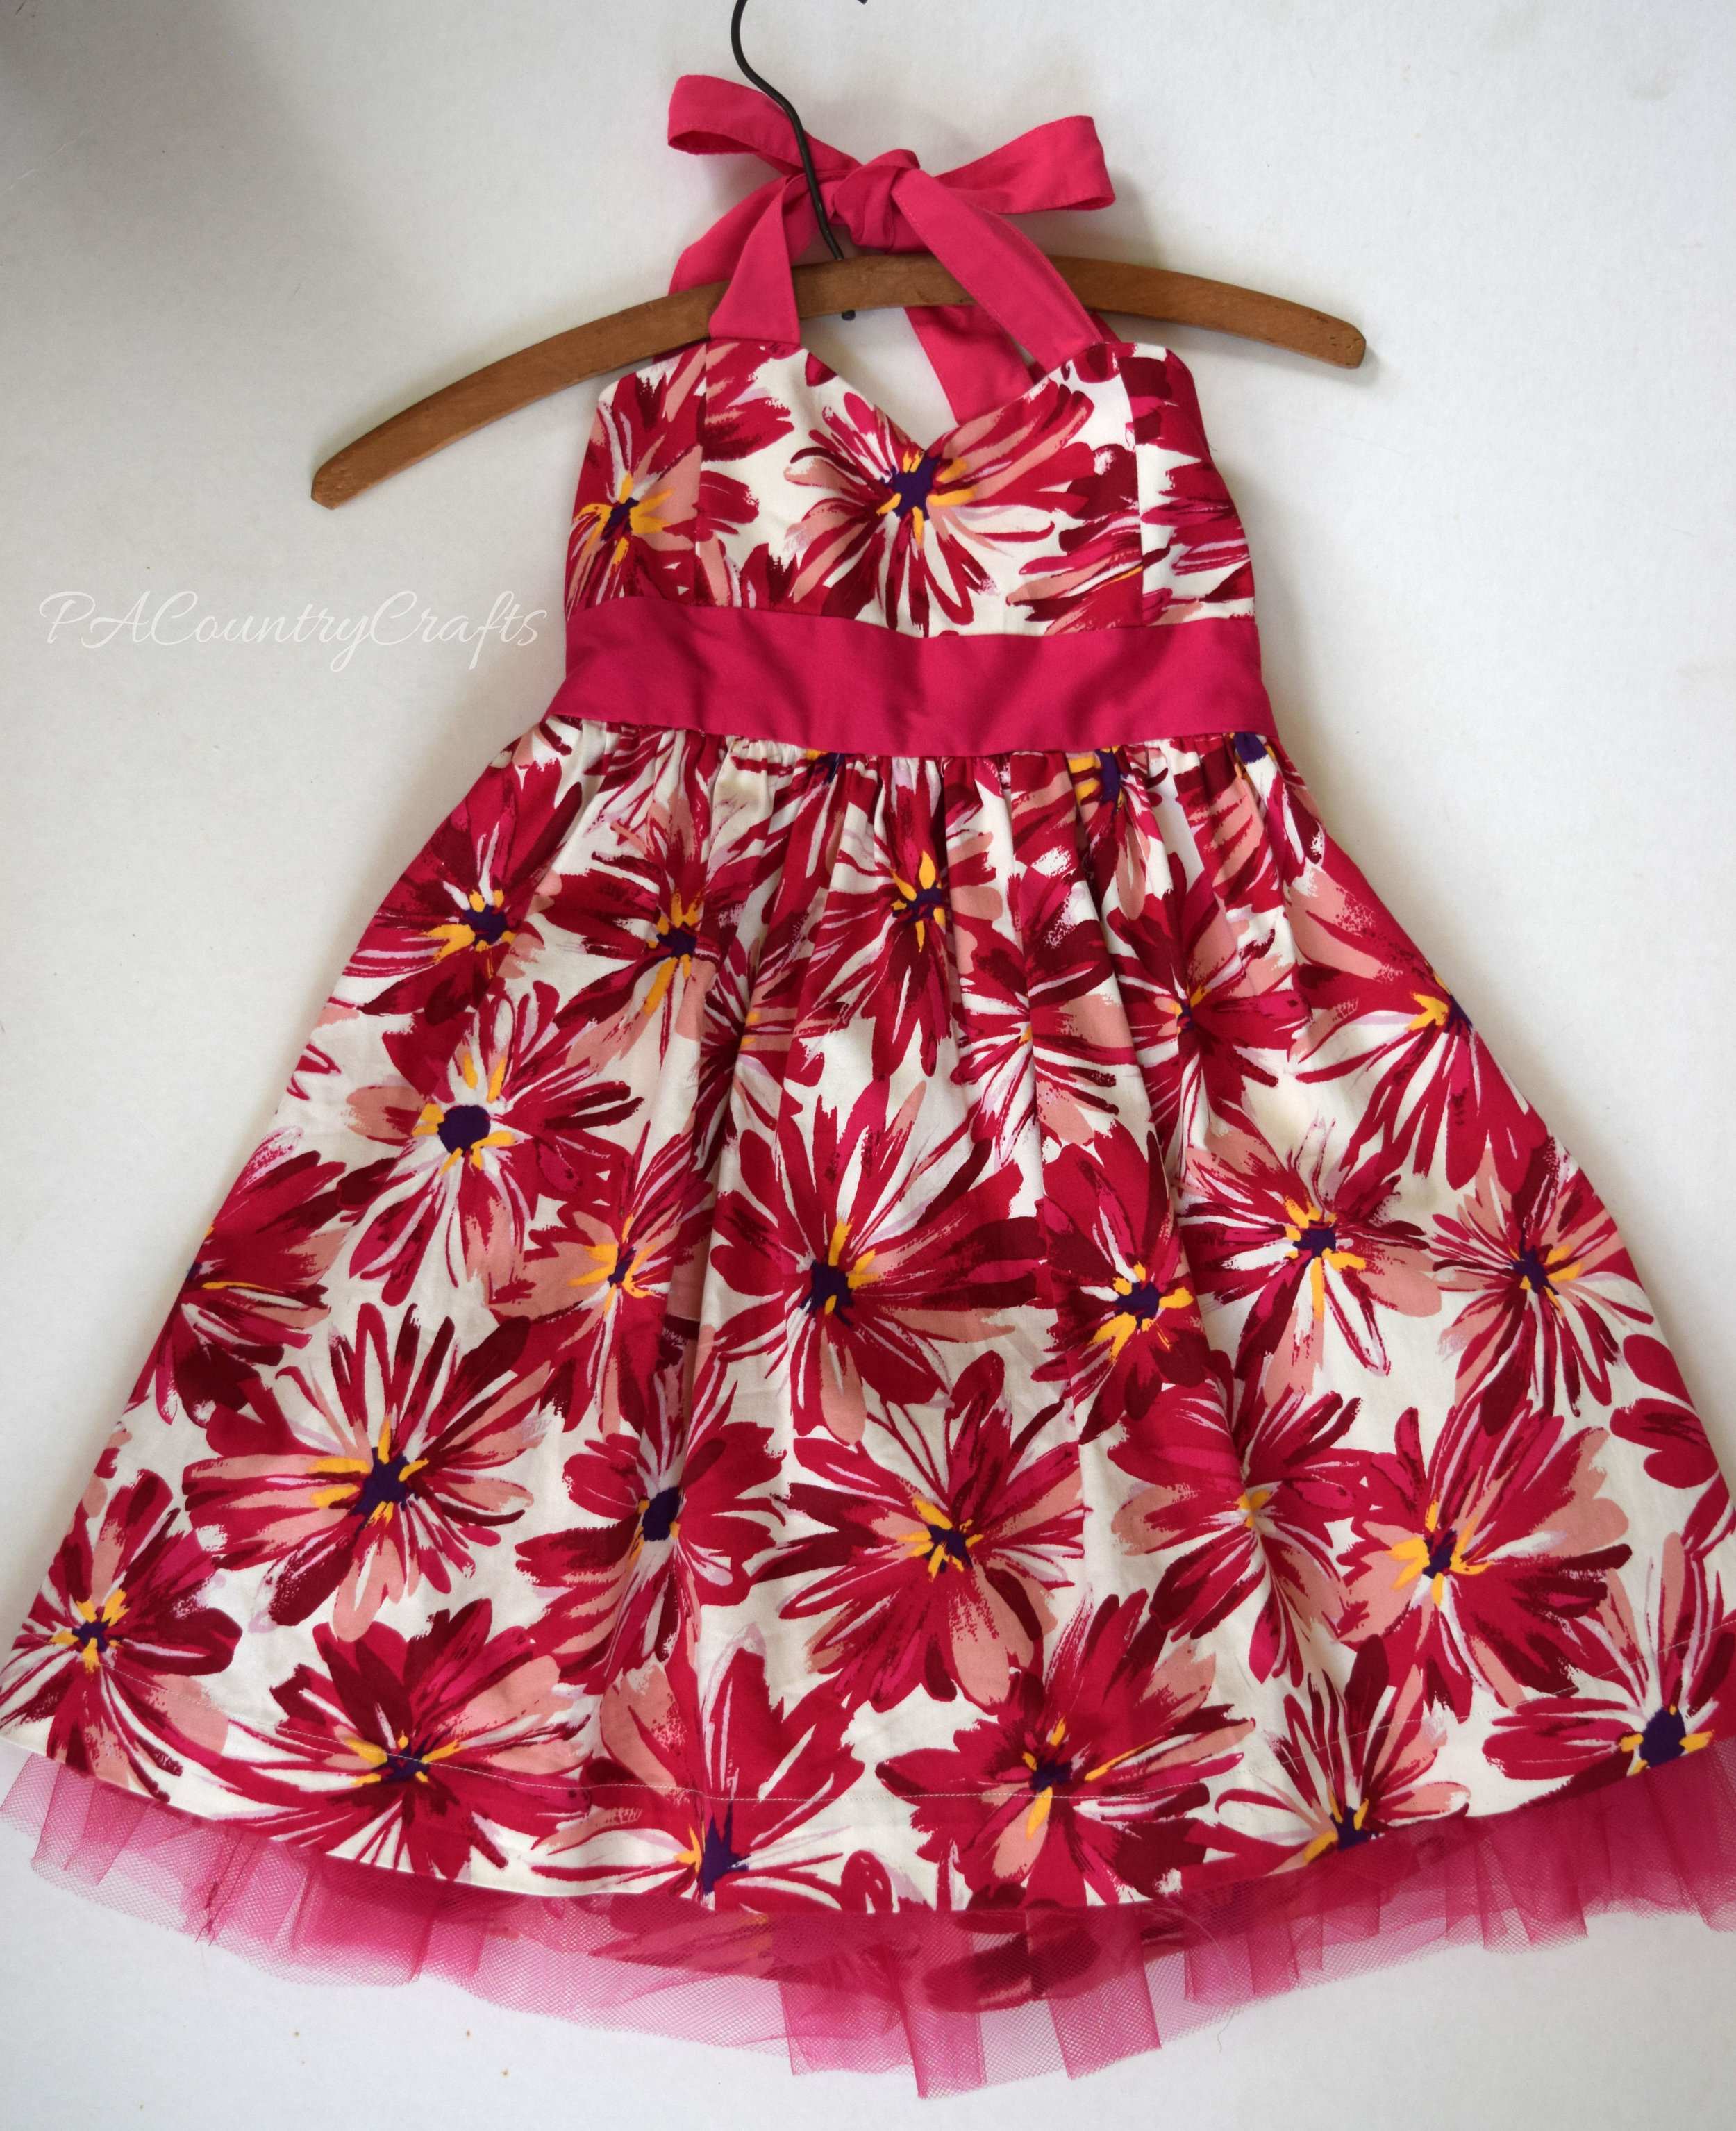
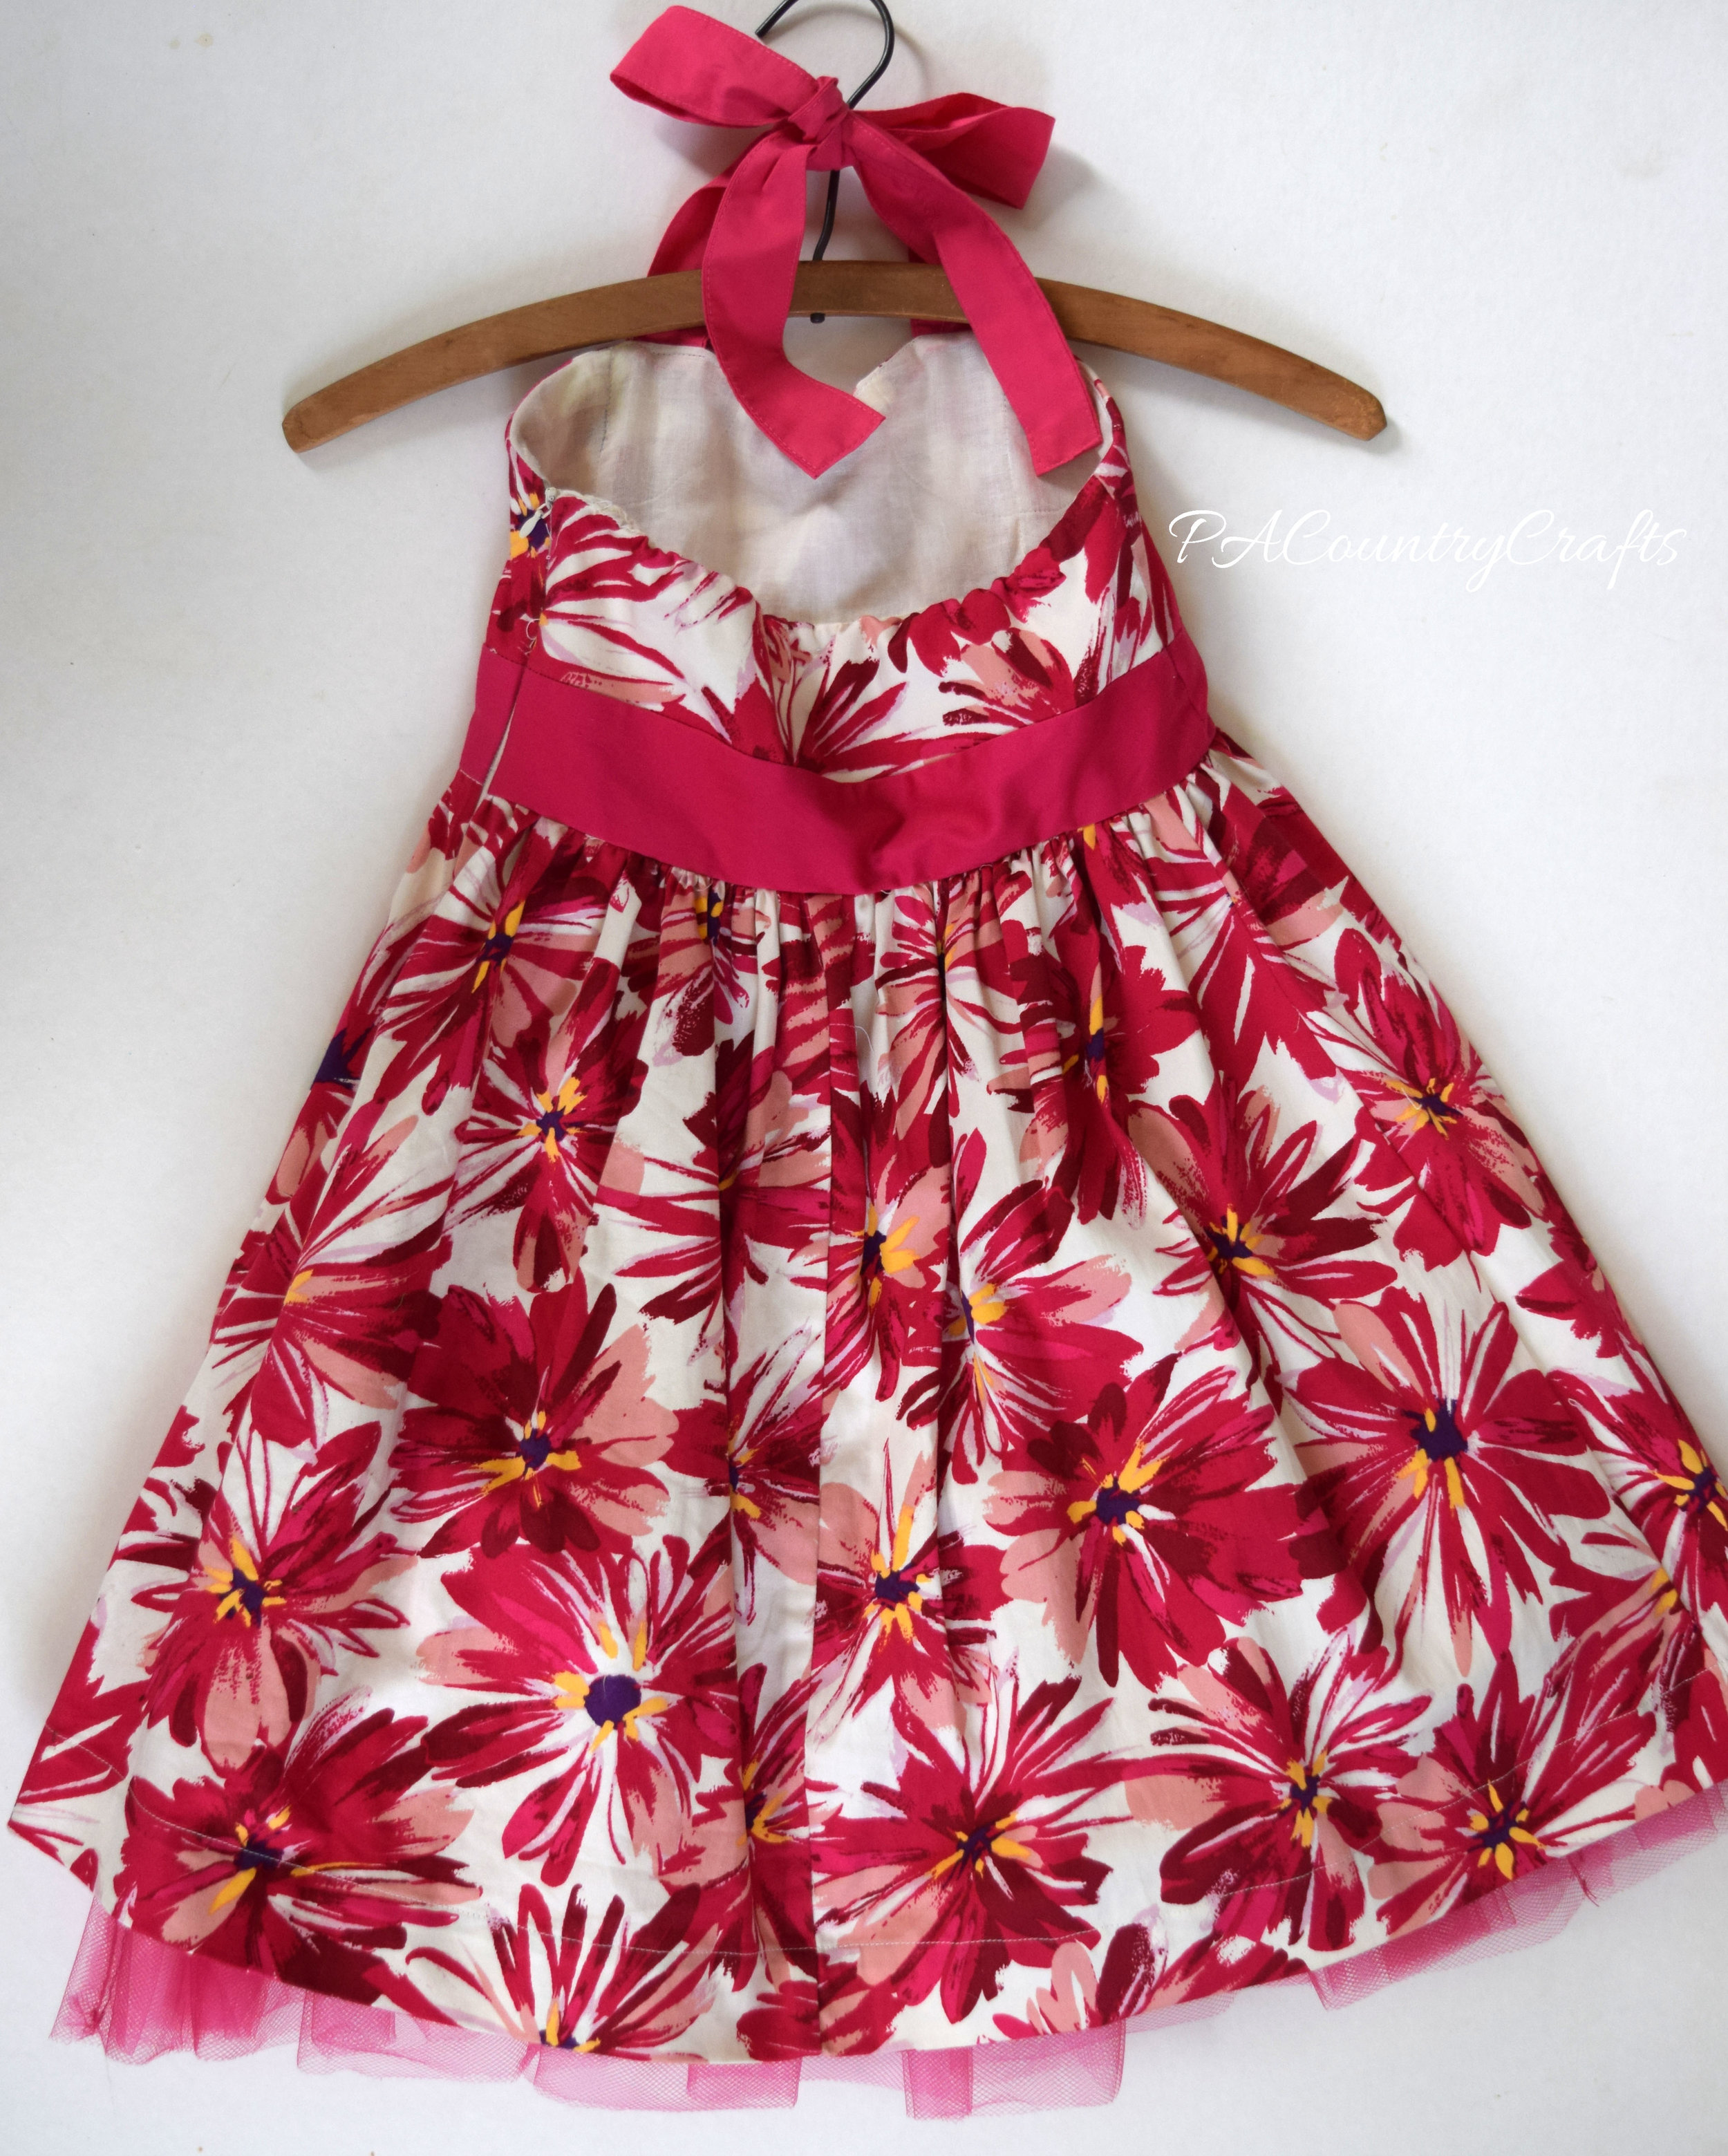
My 12yo chose a commercial pattern for her dress this year (Simplicity 8051). It is a retro style with a cute, triangle cutout in the back. We got it for $1 at Joann's so I was willing to give it a try. I have always hated patterns by those big companies. They are anything but "simple" and I would rather draft my own and figure it out myself. (I have found some pdf patterns by smaller designers to be very well done, however.)
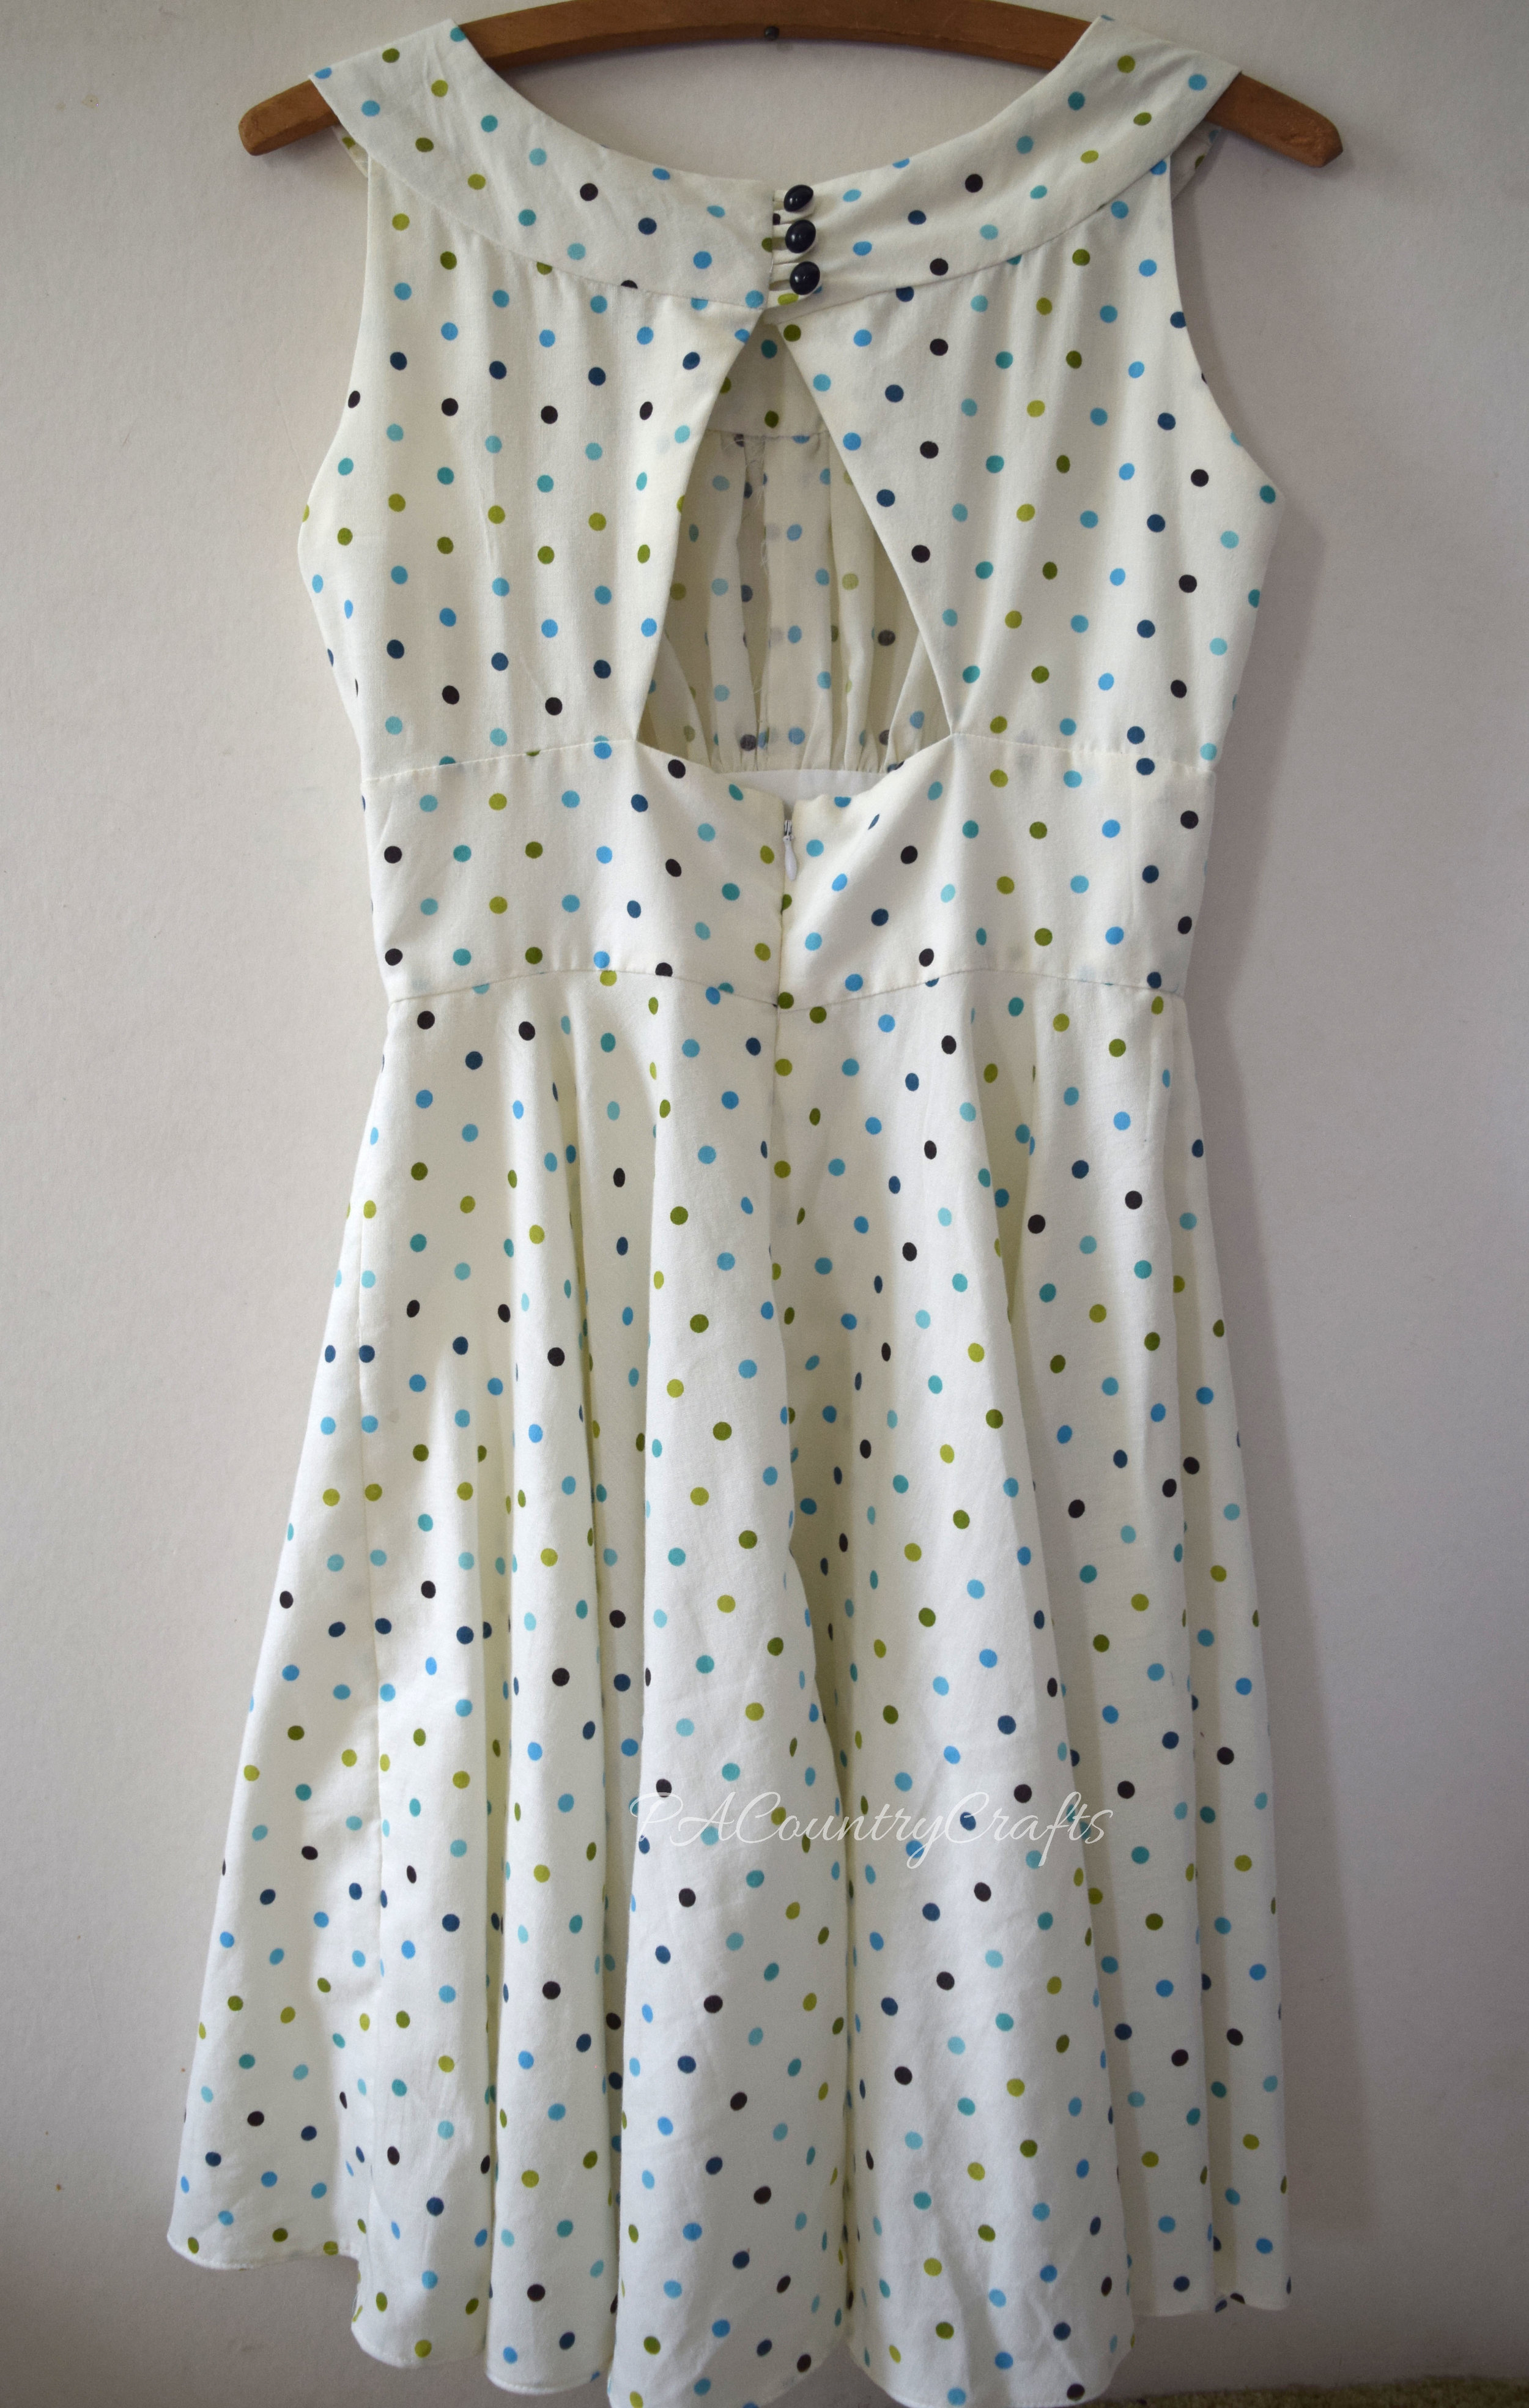
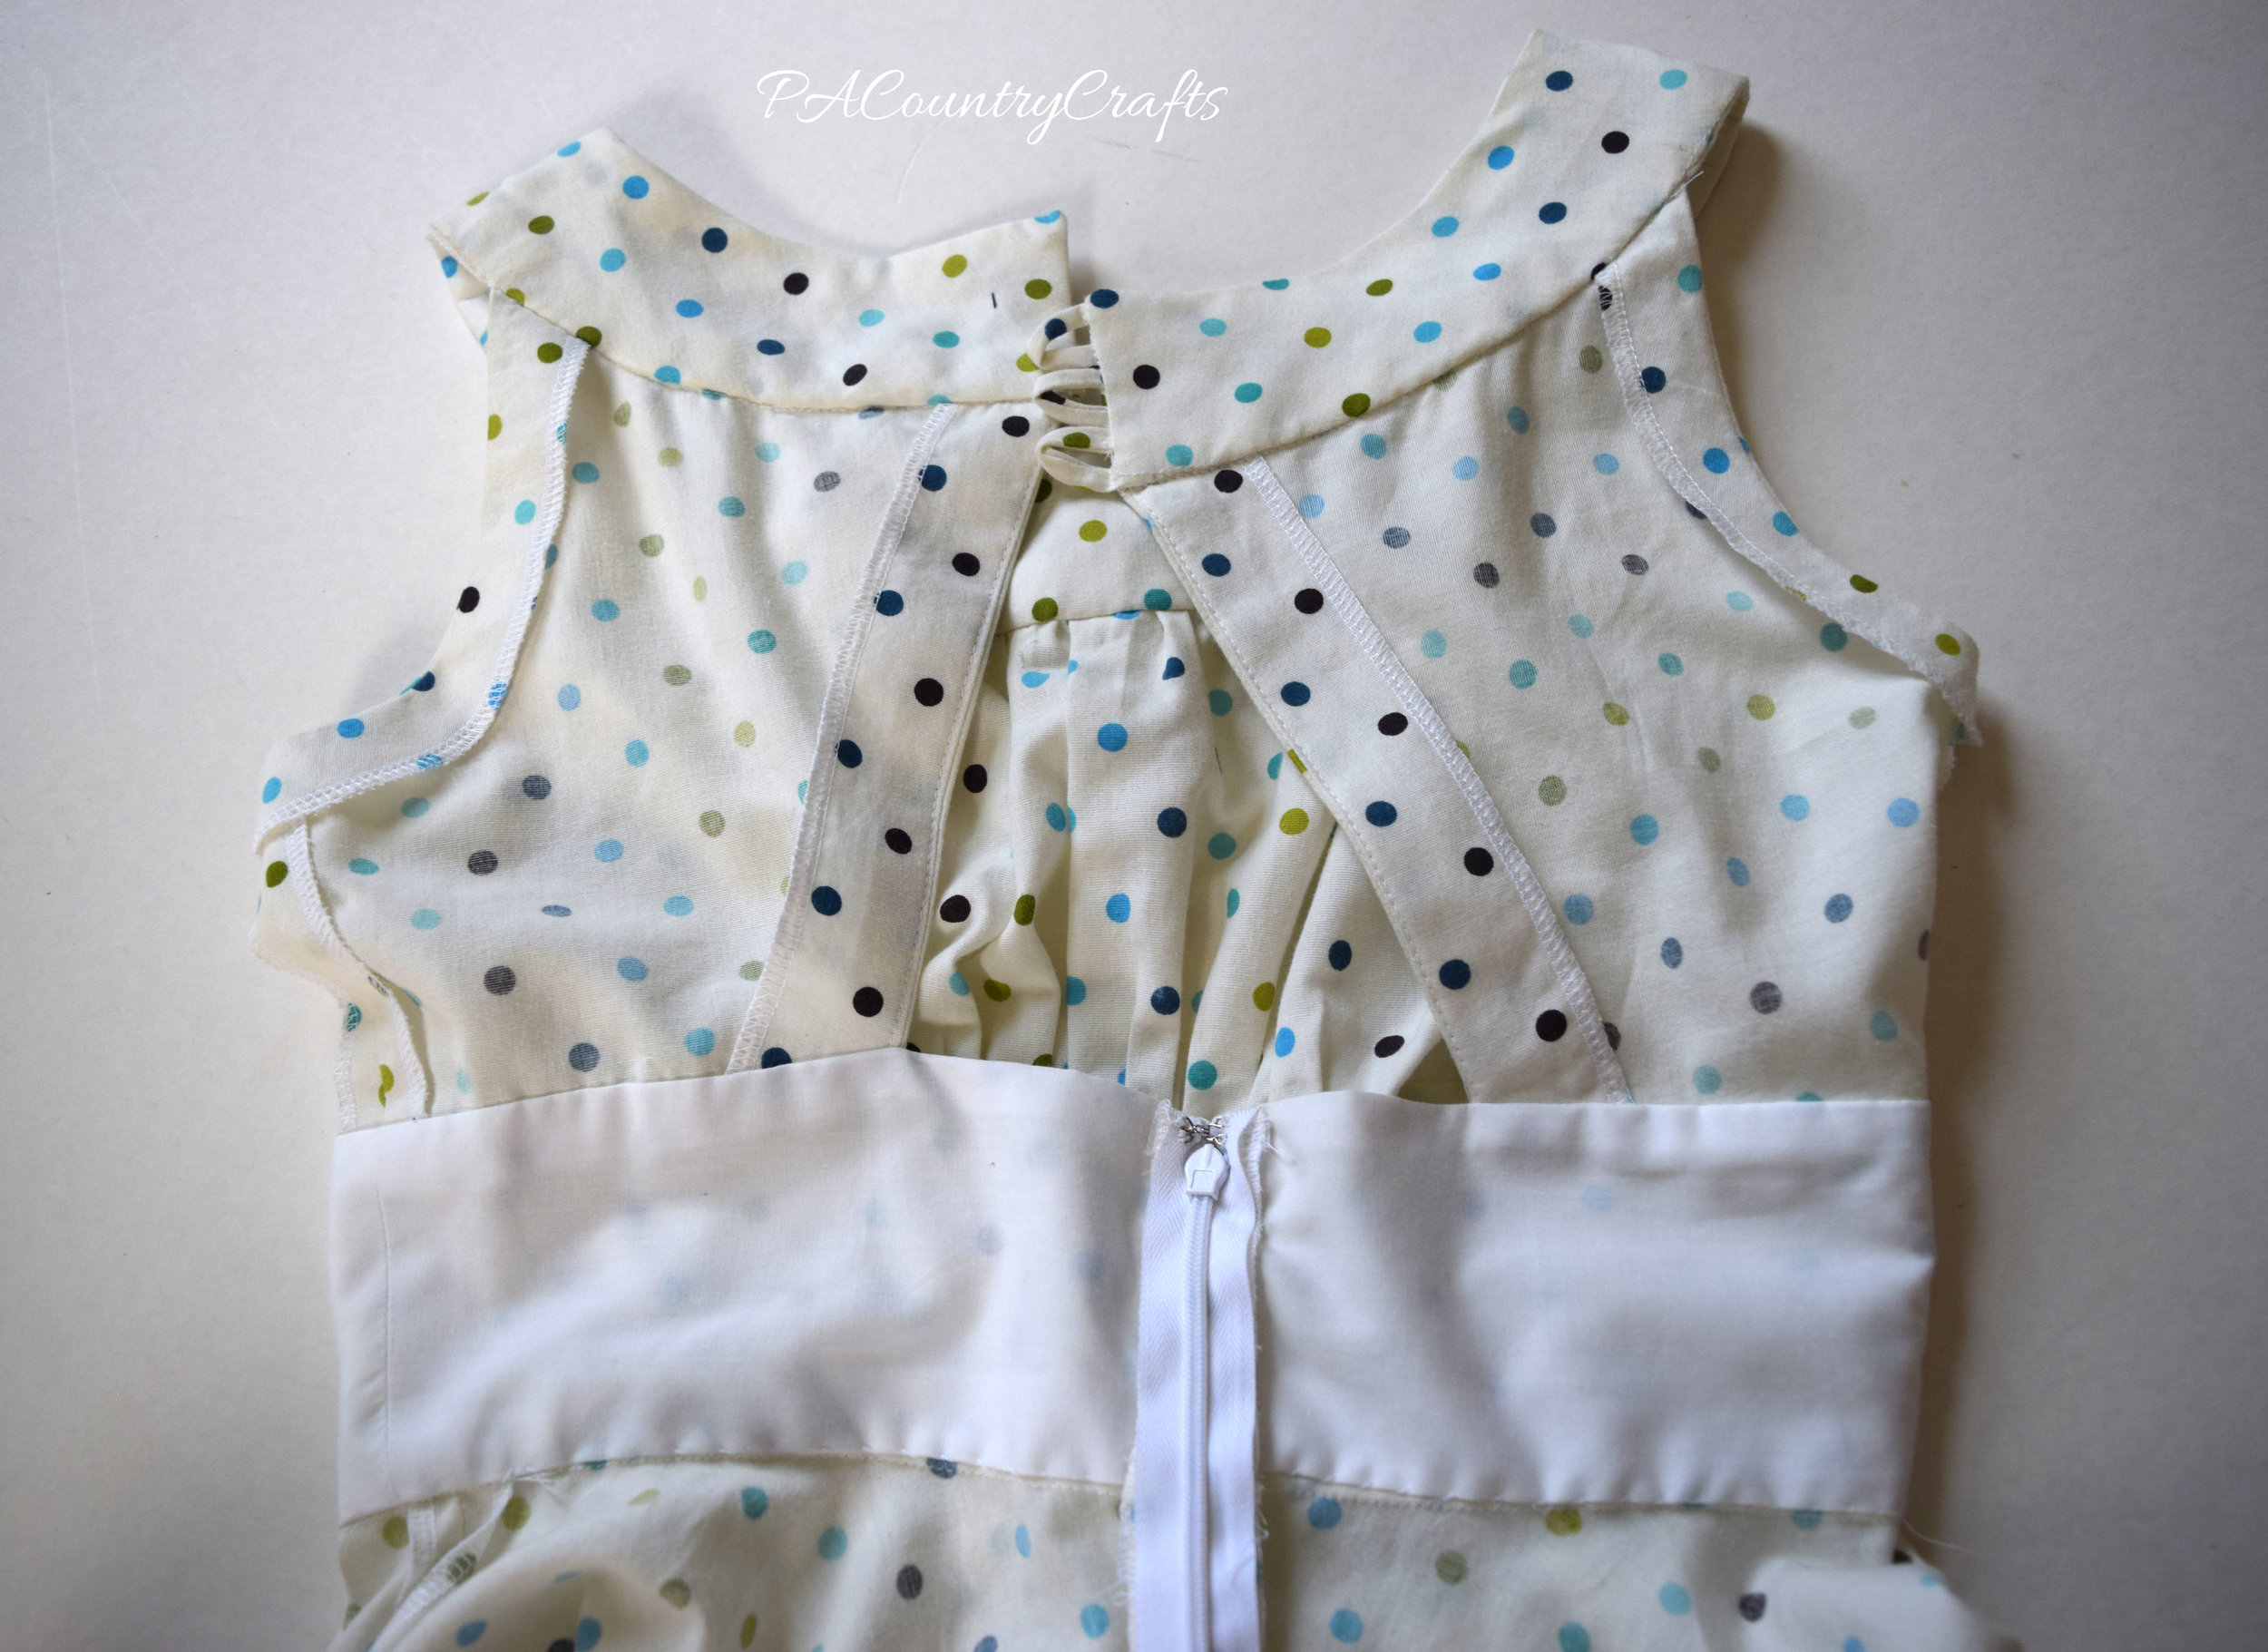
She is also at a very awkward, in-between age. By measurements she fit a misses pattern, but I found that it wasn't designed for her body type. I had to remake the entire top and redraft the pattern quite a bit. Even then, I still had to make some changes. It was very frustrating and I could have just drafted it myself from the beginning.
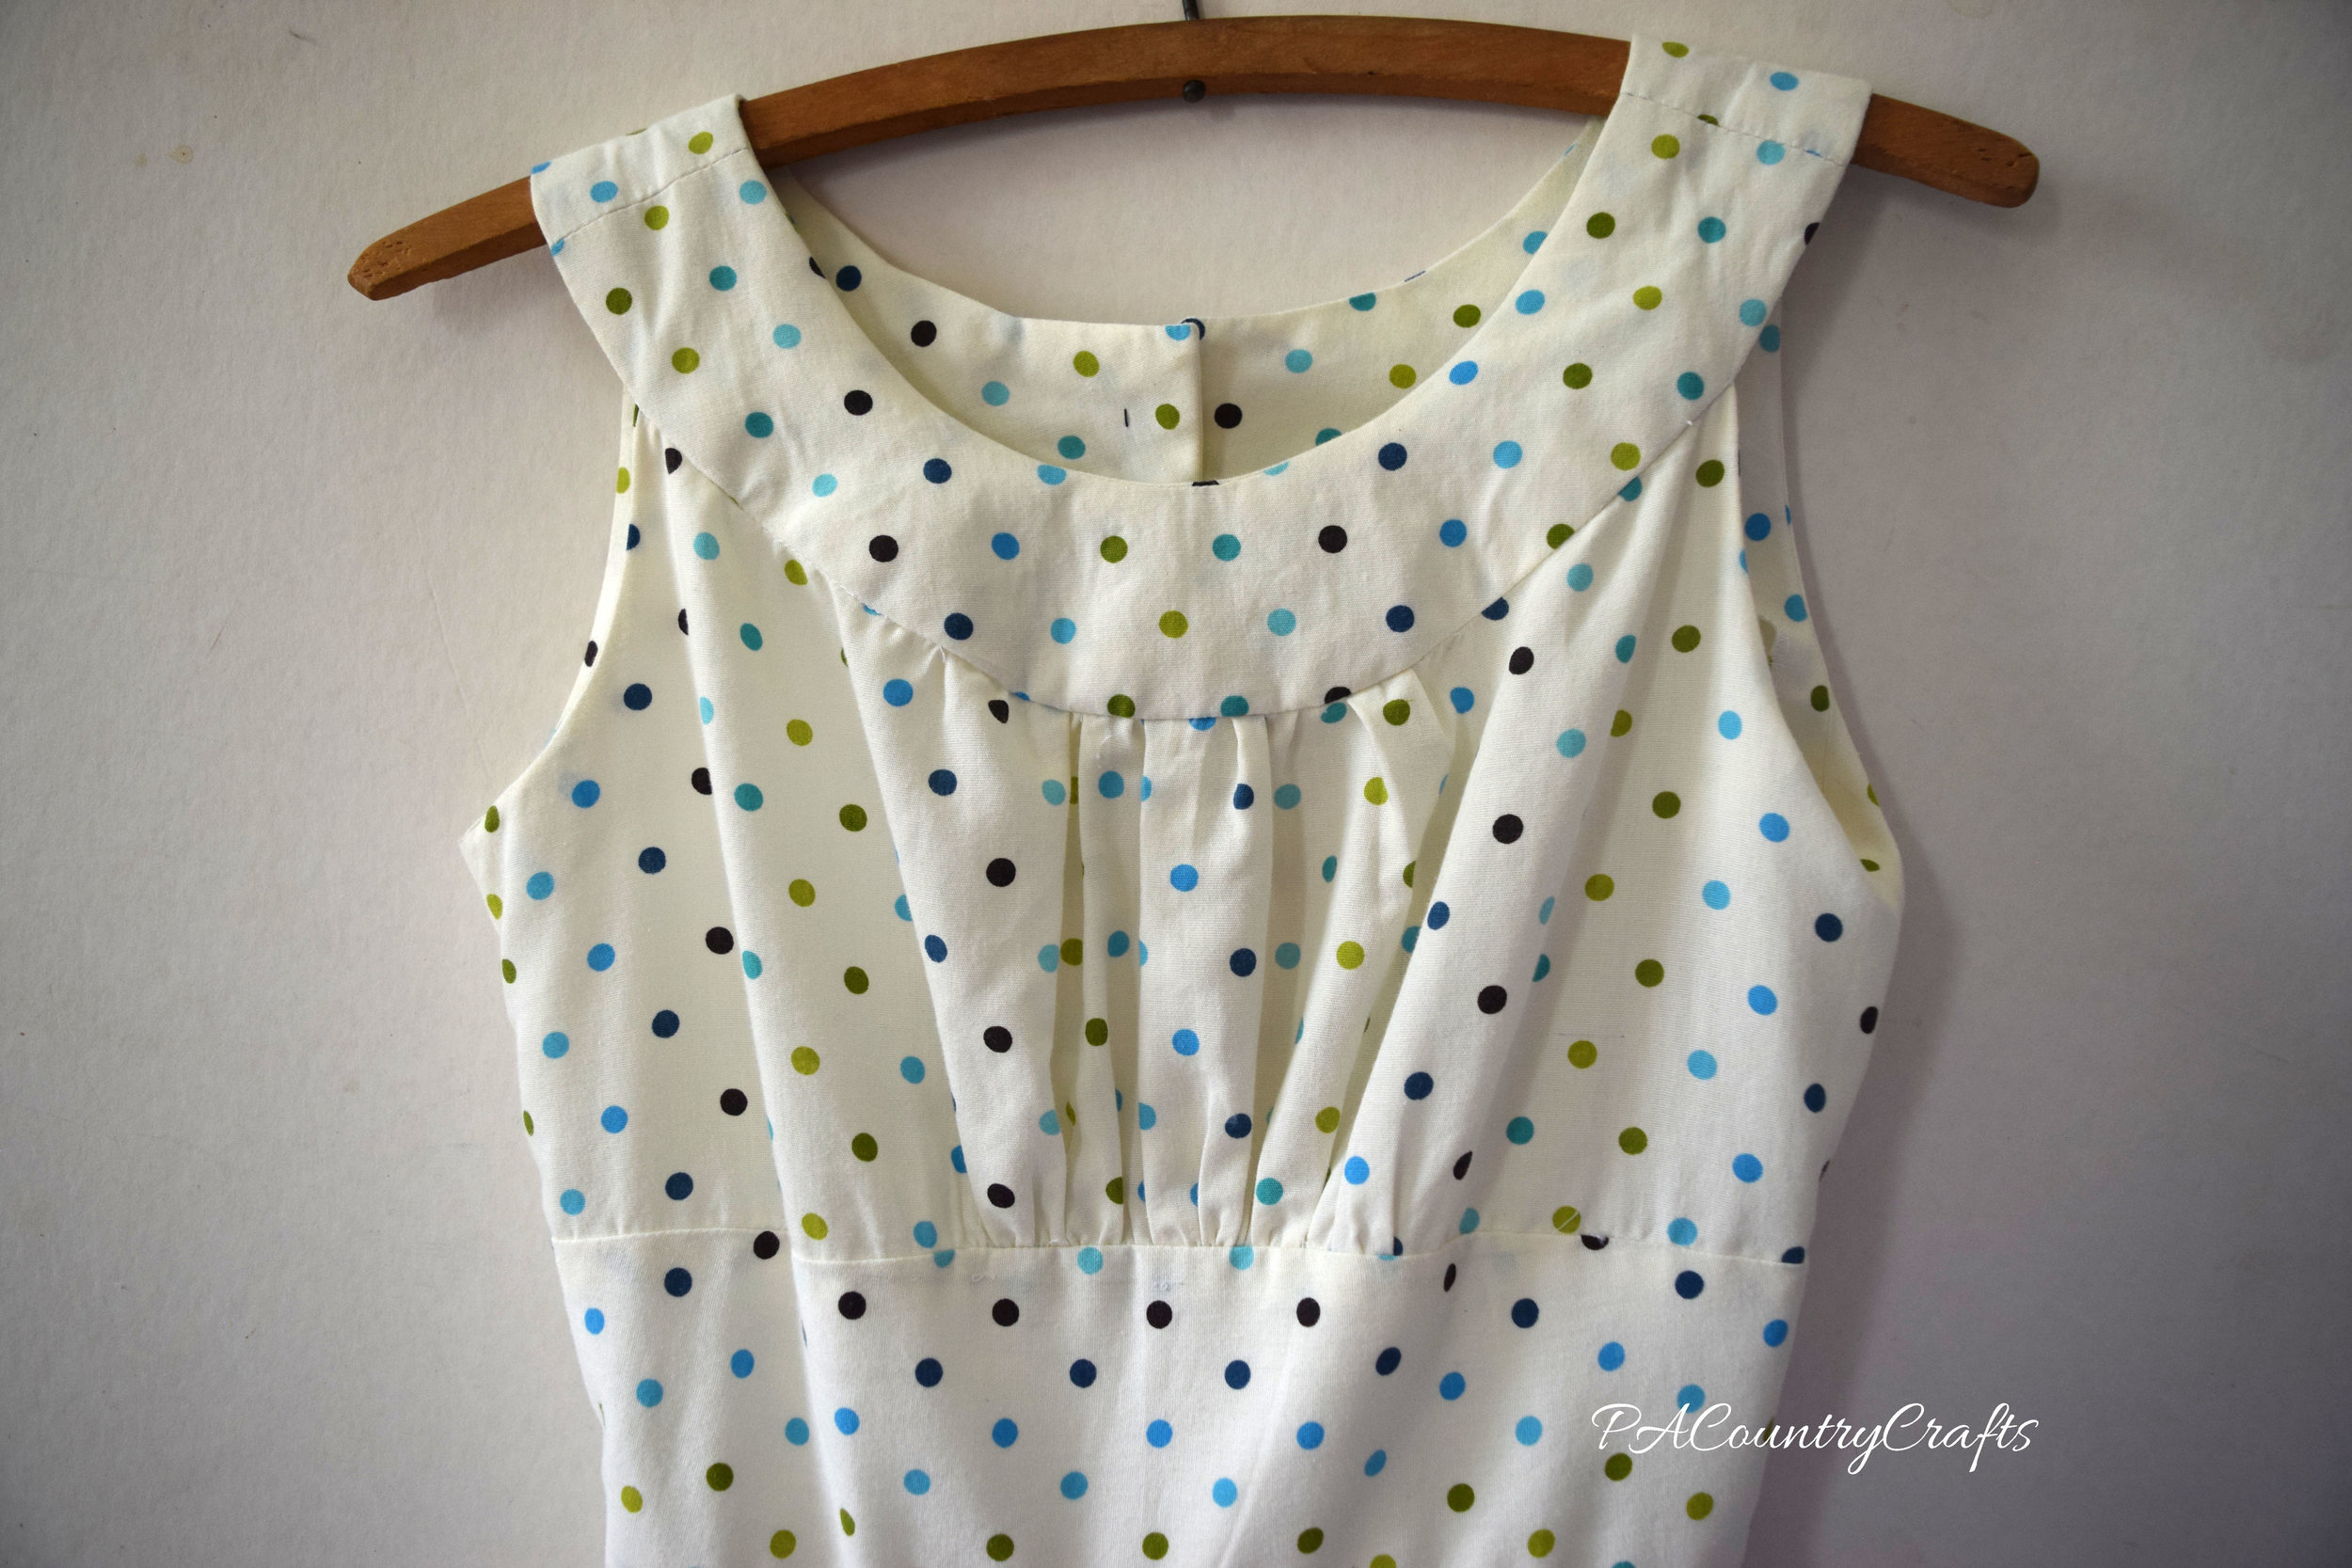
I learned some new techniques with this dress, but I did not like some of the construction process and ended up improving it. It meant a lot of hand stitching. It was tedious, but it looks so much better!
I learned how to do a proper narrow hem on a curve. I was very, very happy with how that turned out.

I also made her a pettiskirt from a ruffled curtain, but she won't wear it. :(
Overall, the dress turned out OK. It isn't my favorite and doesn't fit as well as the ones I draft for her from measurements. It is a fun style, though.
I will be blogging about the rest of the girls' dresses in the next week or so, so keep checking back to see more!
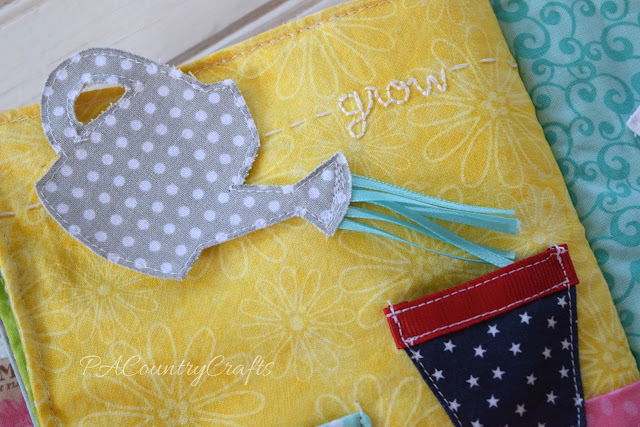
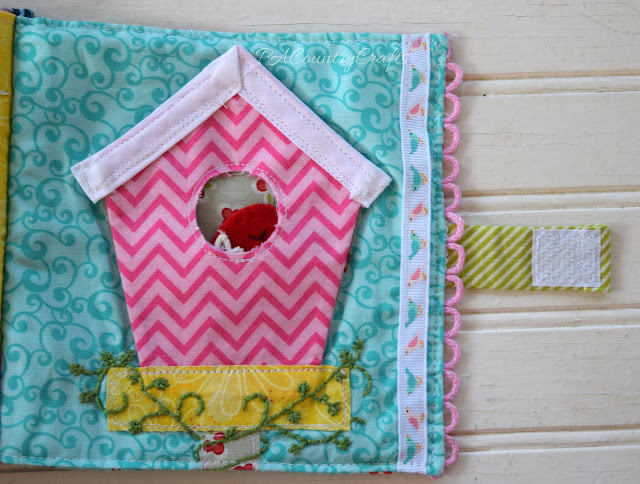
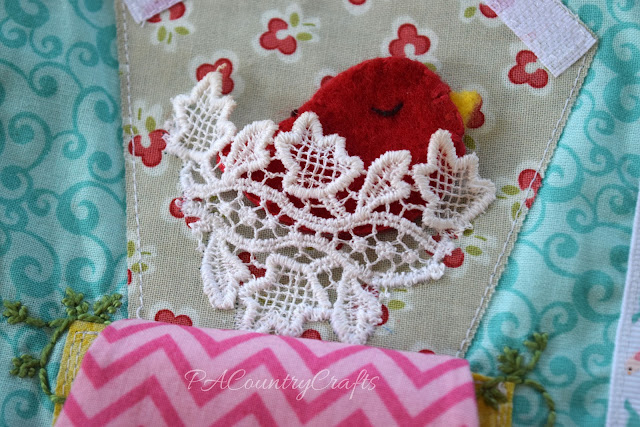
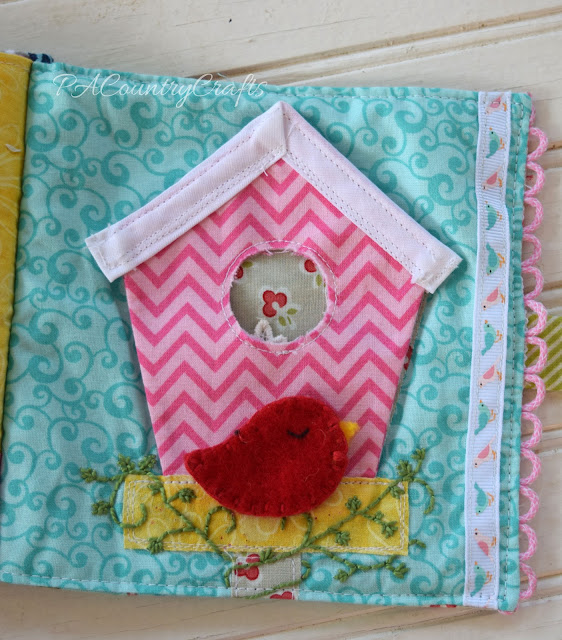
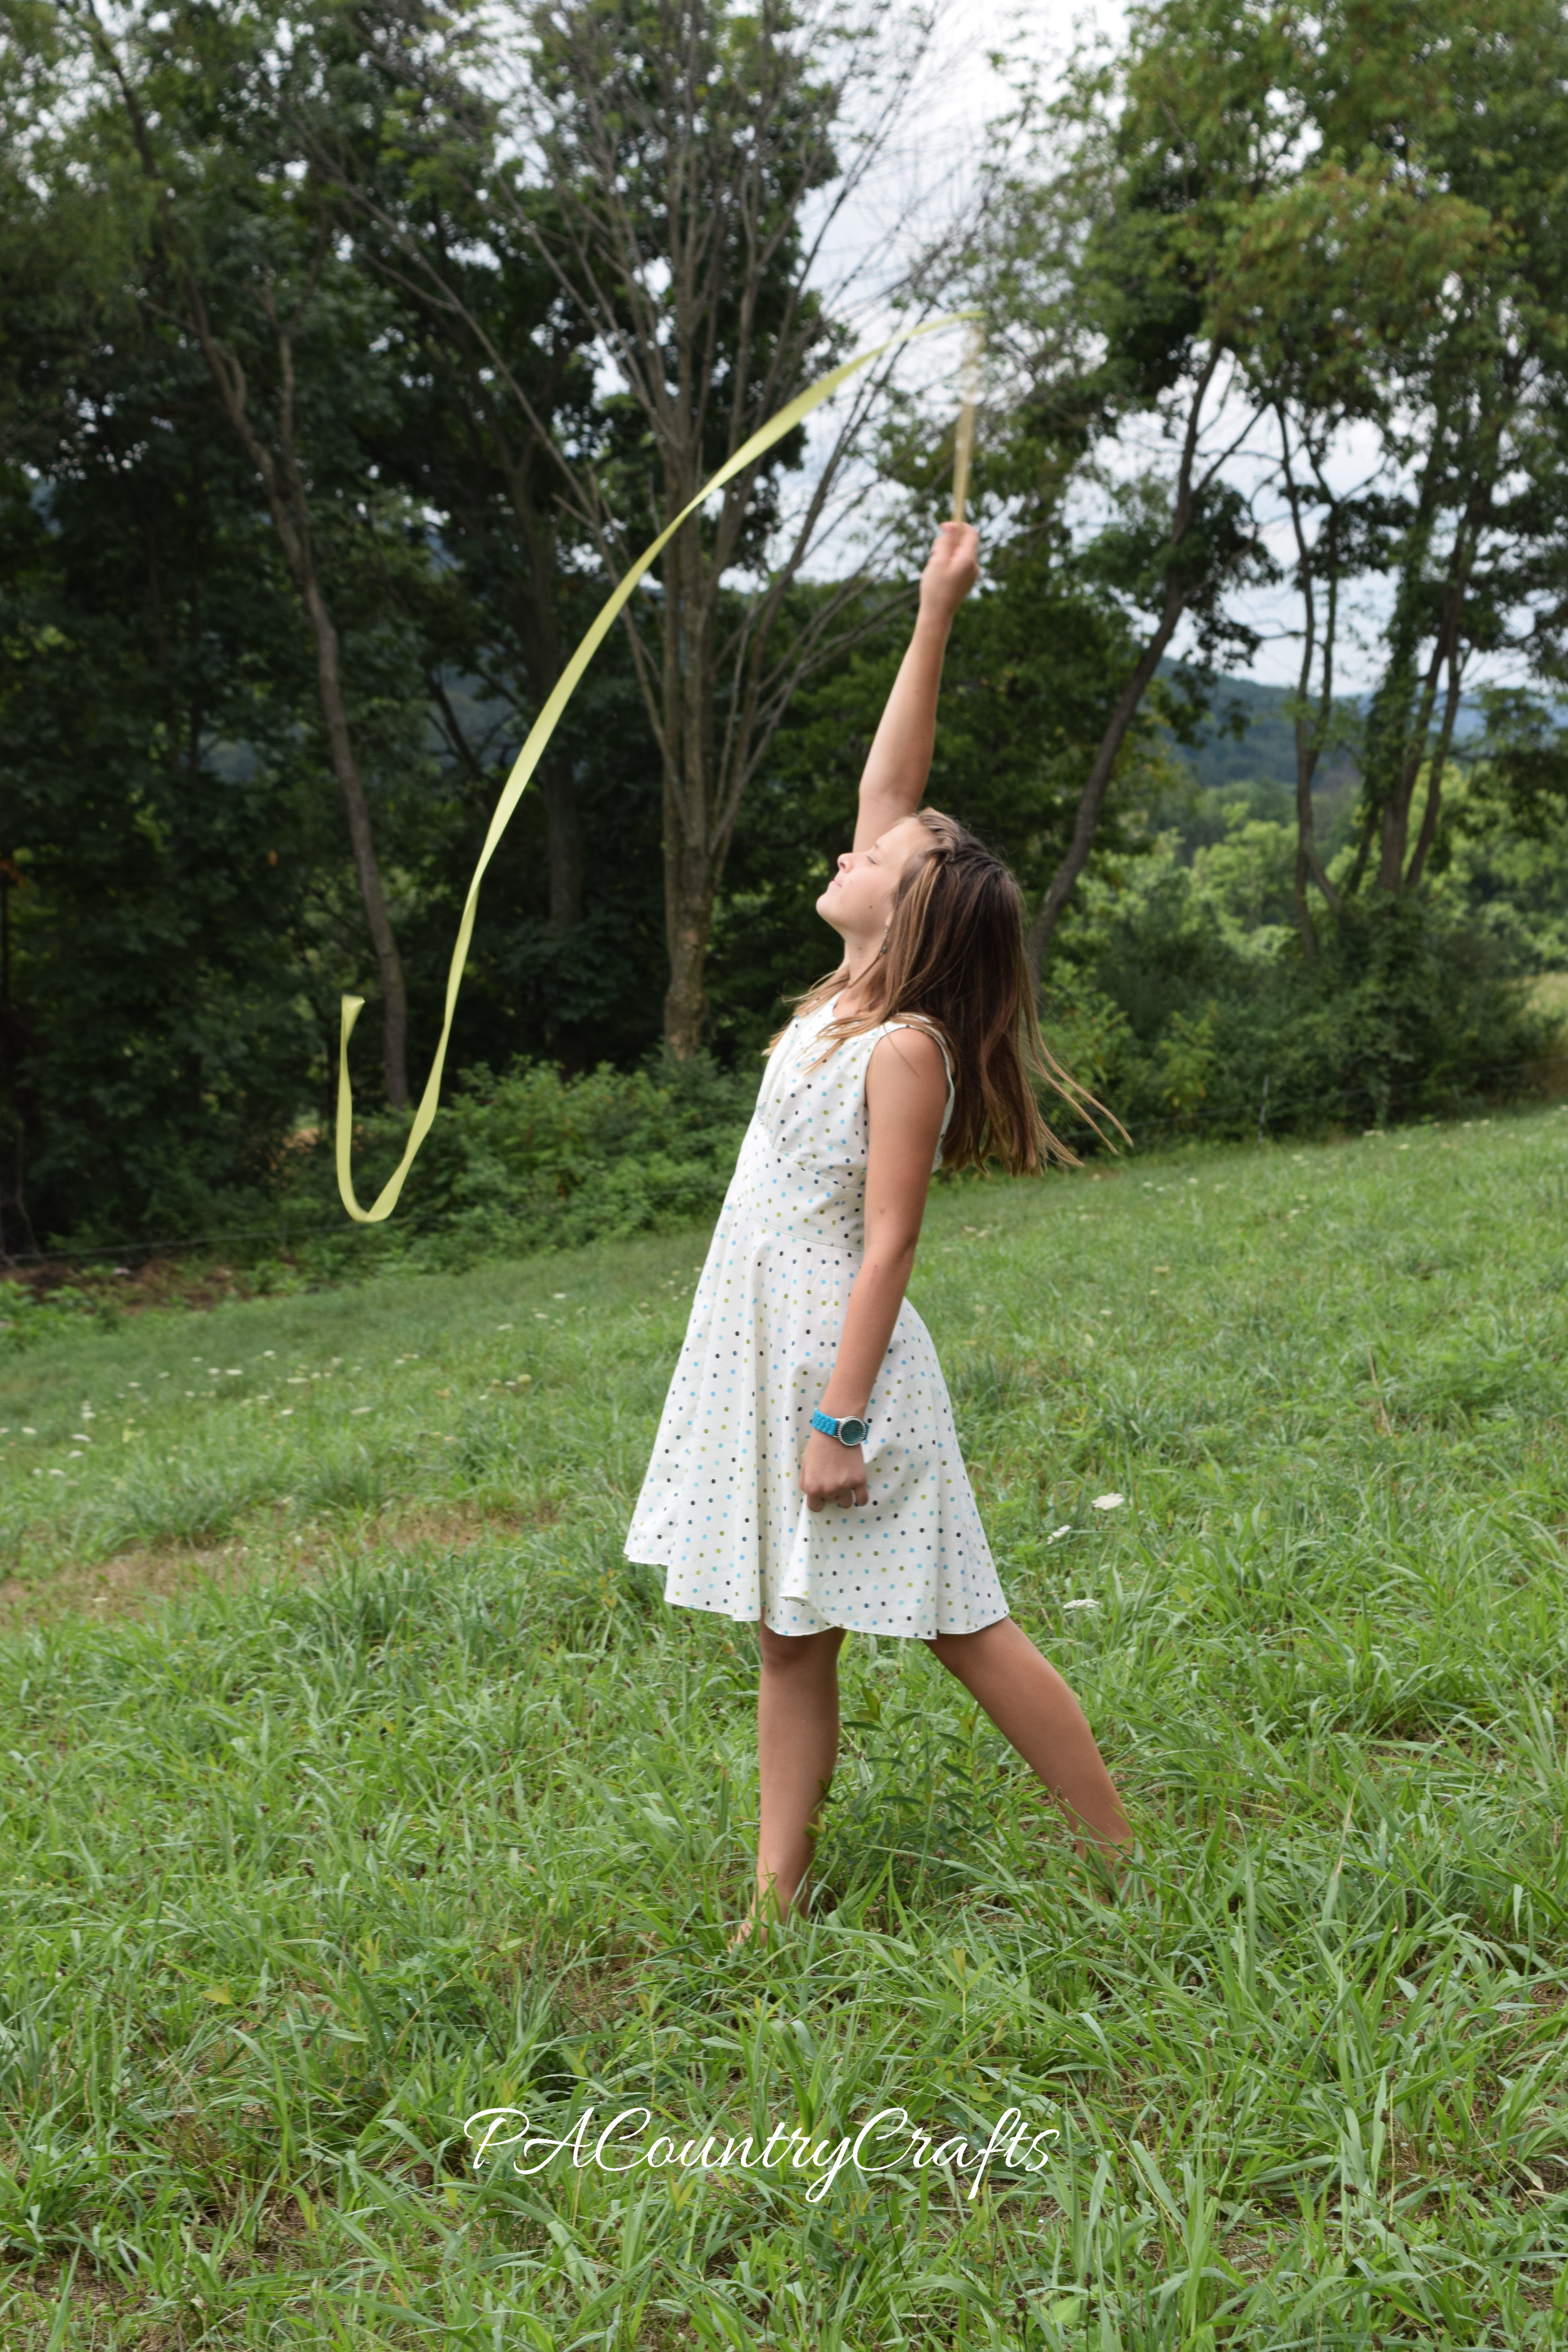
The photo props...
Link Parties where I sometimes hang out…
Sew Can Do, Motivate Me Monday, Inspiration Monday, Take a Look Tuesday, Naptime Creations, The Gathering Spot, Carolyn’s Homework, Your Whims Wednesday, ,Create It Thursday, Thursday Favorite Things, Wildly Original, Thriving on Thursday, Grace at Home, The 36th Party, Freedom Fridays, Simple and Sweet Fridays, Craft Frenzy Friday, and Threading Your Way


 I like the idea of thinking outside the box and even if something doesn't fit or has features you don't like, you can redesign it and make it work for you. There are a lot of possibilities when refashioning clothing.
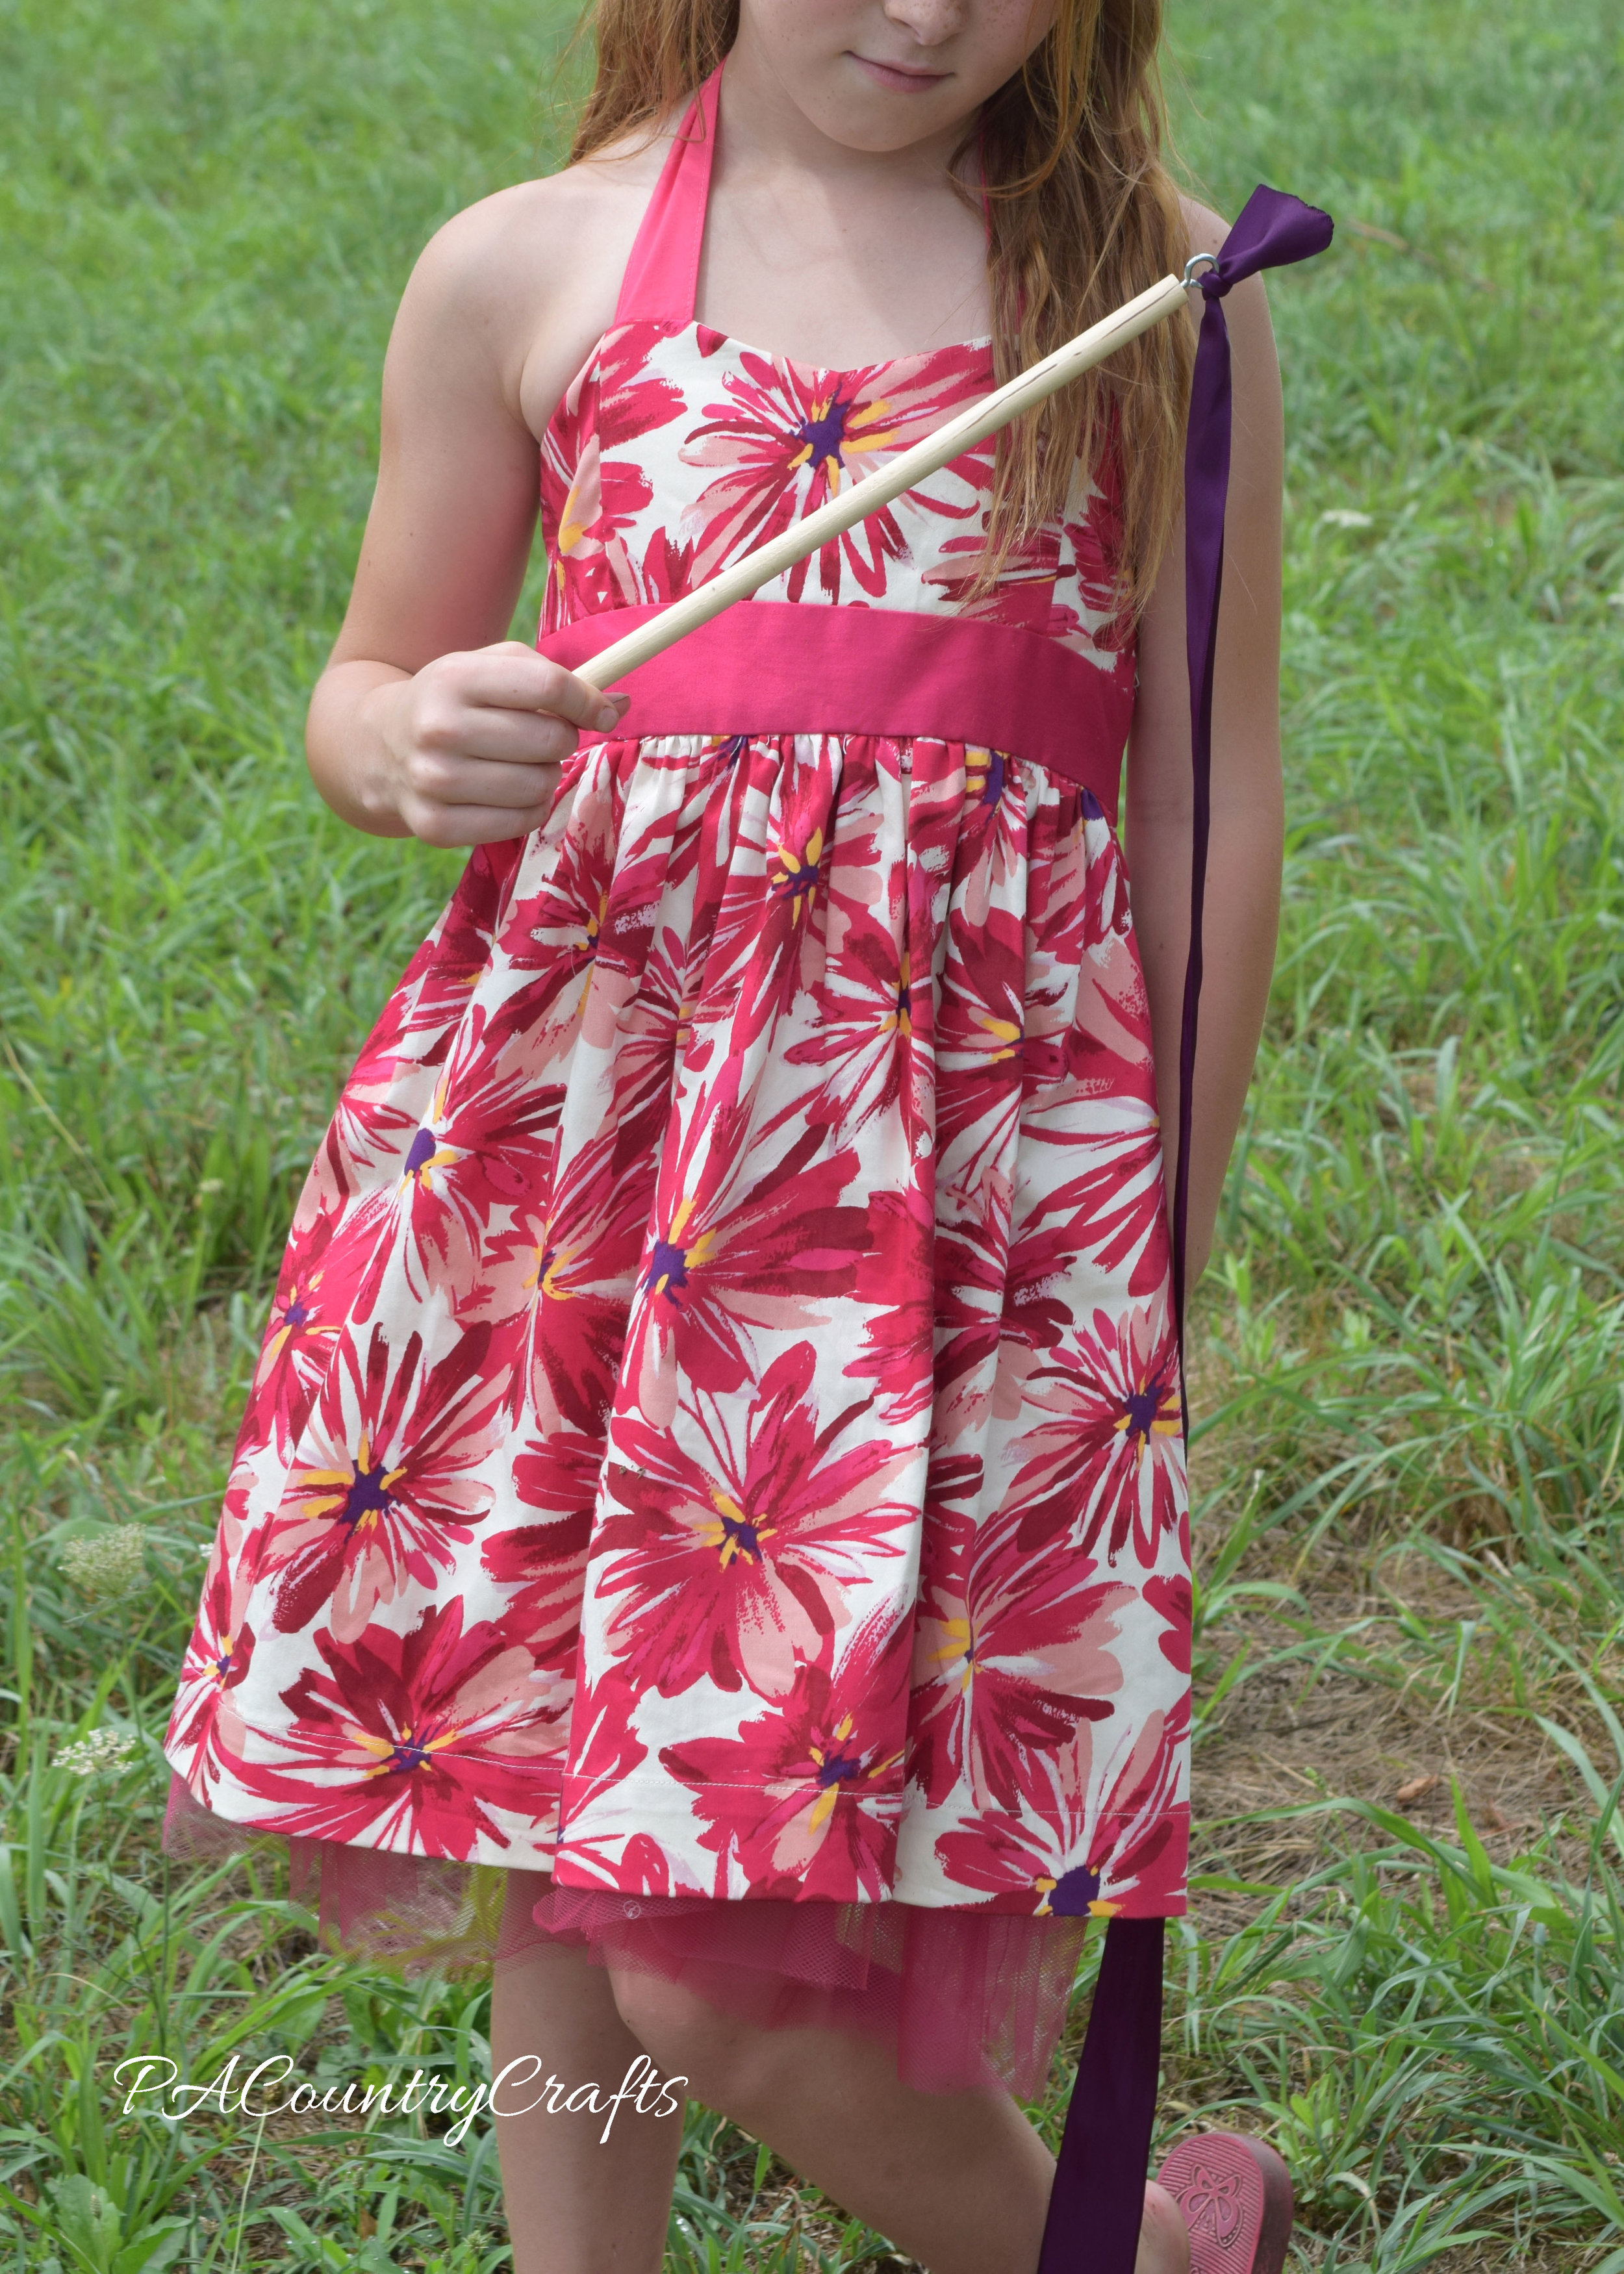
 Link Parties where I sometimes hang out…