Spring Decluttering Challenge Update

How is it going? We are 1/3 of the way through the Spring Decluttering Challenge. I know a few people are joining me, so I hope you are keeping track of how many garbage bags of stuff you declutter. (You can read the initial post HERE.)

I have 6 bags so far! I have had a few cleaning binges, but most of it has just been done in one small area at a time. The goal is to work on at least one small area per day. It seems like a daunting task, but if you break it down it is not so bad!

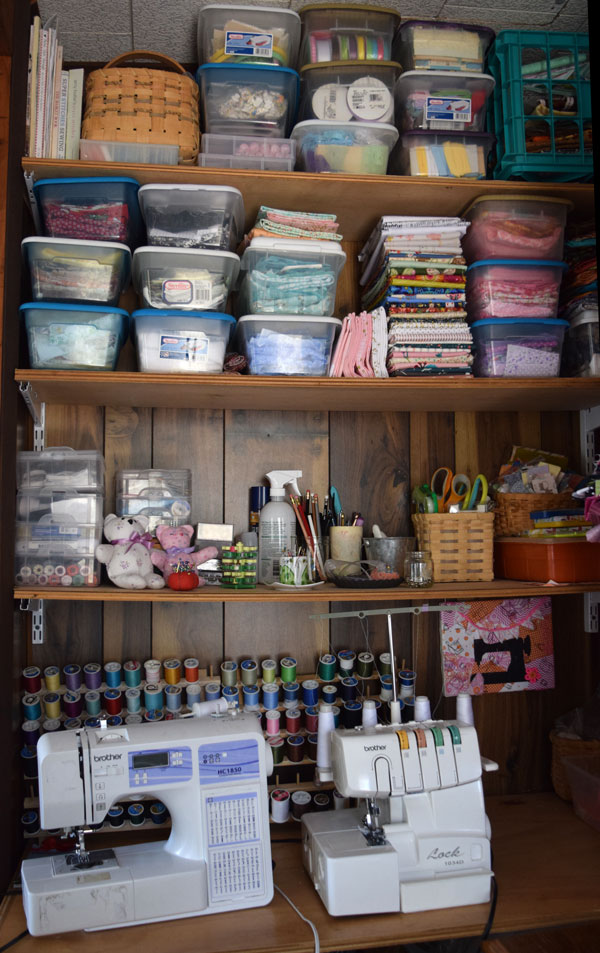
I decluttered the linen closet one shelf at a time. I decluttered my clothing one or two drawers at a time. I decluttered my craft supplies one shoebox tote at a time.

Another thing that I am finding is that I tend to have too many baskets or totes sitting around to collect miscellaneous items. I am trying to get better about finding a home for these items and then getting the basket out of my house so that there is not another place for random stuff to accumulate.

I also have a basket of bags of stuff that need to go to other people. I am trying to be intentional about delivering those things and getting them out of here!

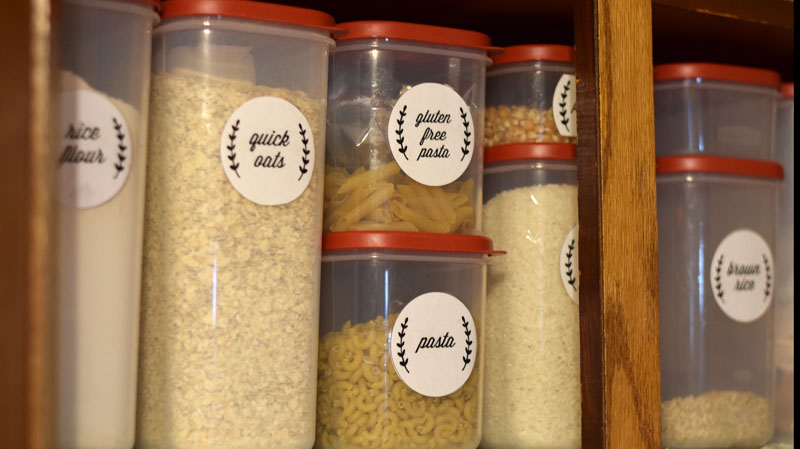
Finally, I am trying to be a little more creative and practical about storing the things we do need.

So, do you have any tips? Do you have any success stories to share? Go ahead and leave a comment!

Ribbon Bow Mini Hair Clips Tutorial

Several years ago I was very ambitious and made hair clips for my girls. I got a bunch of supplies to get started. Then, over the years, I collected more. And more. And more. And made less. And less. And less.

They are so cute! You can make them for holidays, stocking stuffers, and Easter egg fillers. At one point I wanted to have headbands or hair clips to match all of my girls' outfits!

Ha! I am happy if I can find a plain, black hair elastic most days. (Seriously! Where do they all go?!?)

But in my #springdeclutteringchallenge I purged a lot of my ribbon and trims. It needed to be done because I had way too much stuff. I also used up a lot of what I had, even inviting a friend over to make hair stuff with me. (There were unfinished felt flowers in my box that we made last time- just before her 5yo was born!)

Since I was mass producing these adorable (and EASY!) little bow clips I decided to put together a tutorial. We had a Nor'Easter here at the time, so the pics are kinda dark. That is PA spring weather for you, though. Anyway, here it goes...

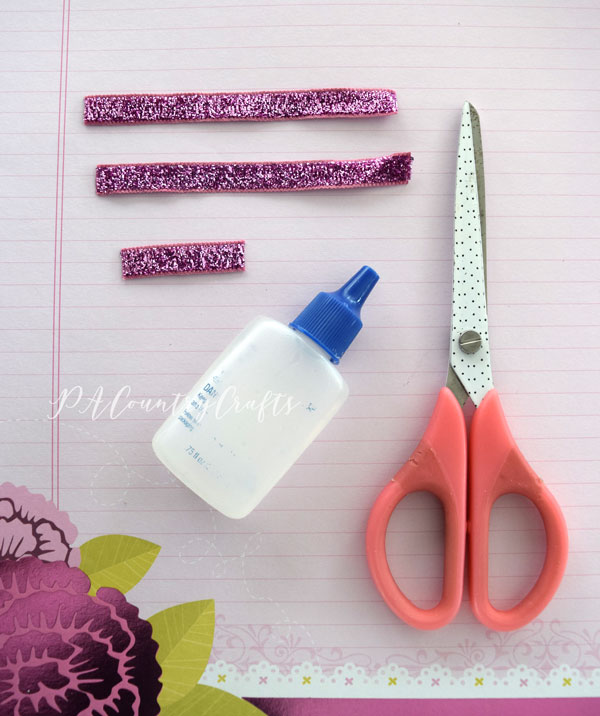
Here are the supplies you will need:

I used 3/8" glitter ribbon from the Target Dollar Spot that I got around Valentine's Day. Grosgrain ribbon also works. I got my 1 3/4" double prong alligator clips from etsy (in bulk) but if you just want to make a few of these you can pick some up at craft stores.  That bottle with the lettering worn off is my fray check. :)

Side note: The U.S. government has all sorts of safety rules to keep our kids safe from lead, so please be aware that there are regulations out there if you sell things like this!

You will need to cut two pieces of ribbon 4" long and one piece 1 1/2" long. Seal the ends with fray check. If I am using grosgrain I carefully melt it with a lighter.
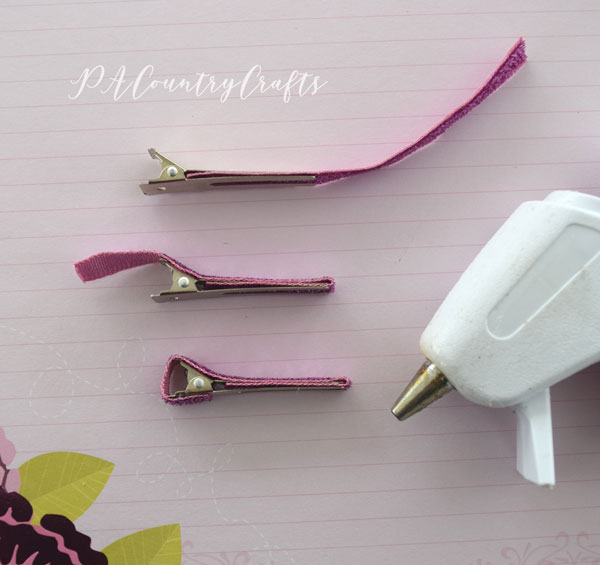
Wrap one piece of ribbon around the hair clip, using hot glue to attach it. The underside of the bent, top prong will have ribbon over them, but the bottom prongs on the flat side do not. These clips are actually really cute with only the glitter ribbon covering them so you could stop there if you would like. I usually add the little bow, though.
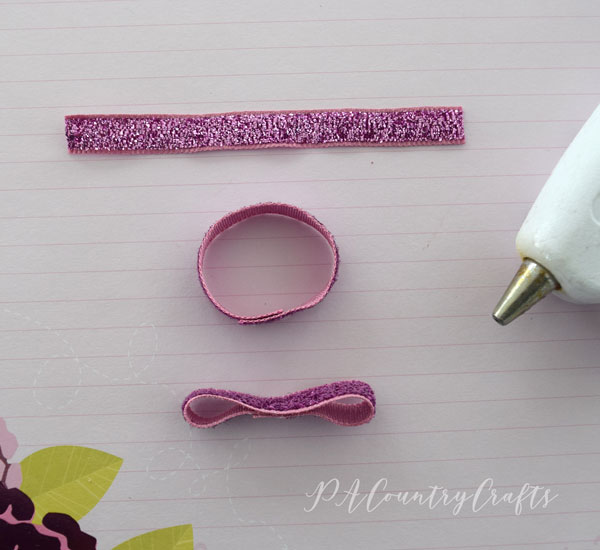
To make the bow, take your other 4" piece of ribbon and overlap the ends, hot gluing them together. Then, glue the top and bottom of the circle together in the middle. Be careful to make these loops the same size!
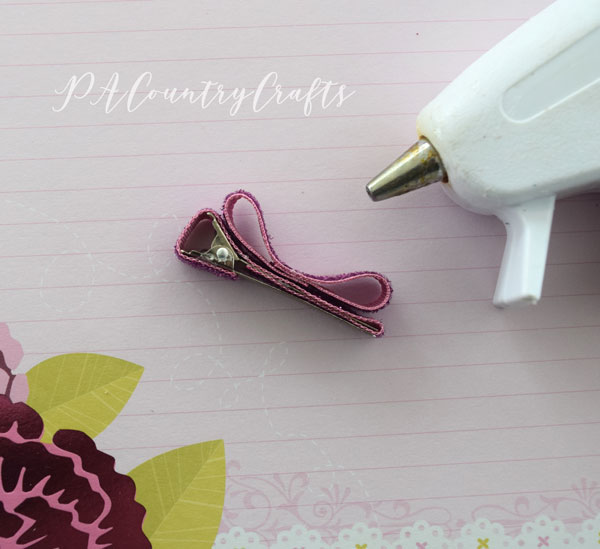
Next, glue the bow to the center of the top of the hair clip. I just glue it down in the middle. You could glue more if you would like.
Finally, use the short pieces of ribbon to wrap the center of the bow. Glue it on top and overlap both ends on the bottom of the upper prongs. You have to squeeze the clip to open it up so that you can get to the underside. If you have non-slip grips you can put them on the underside of the top prongs as well. I don't have any.
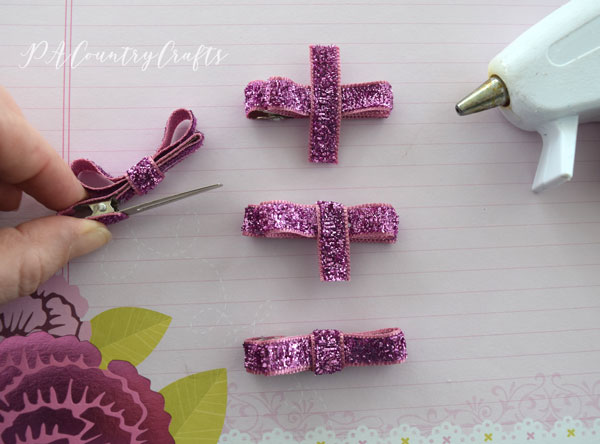
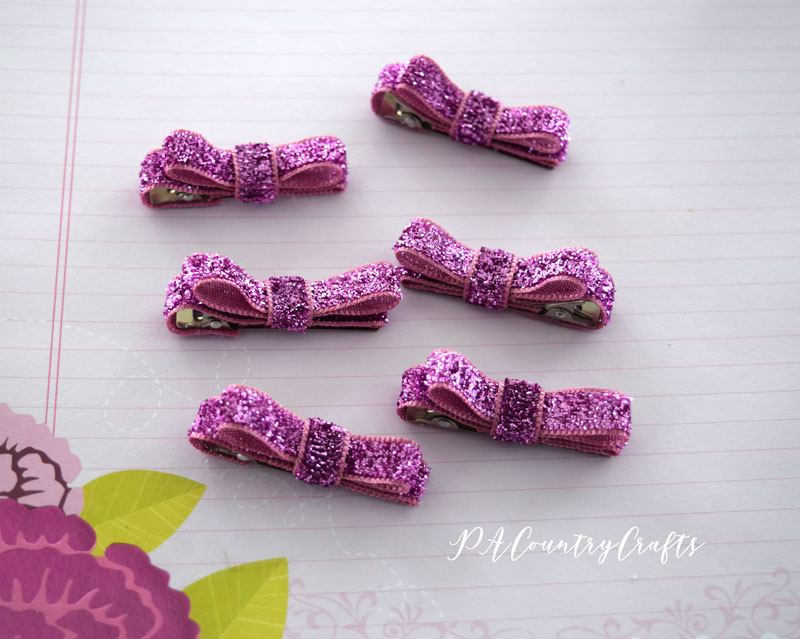
Finished! These only take a few minutes to whip up. Can you see why I overbought supplies? I am being good now, though. I promise!
If you want to pin it for later...

Make these easy ribbon bow hair clips in just a few minutes! Tutorial with clear, step by step pictures...

You may also like...

Puffy Petal Flowers


Fabric Bow Tutorial

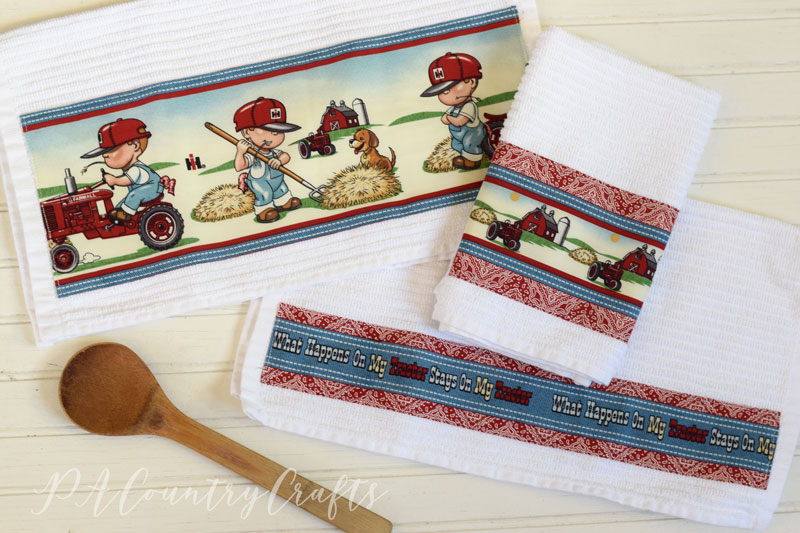
Red Tractor Dish Towels

Most people do not understand, but there is a lot of disagreement within the farming community. Red vs. Green

There are other tractors, but the main rivalry exists between John Deere and International Harvester users. I married into the red side. (My dad was just happy for a working tractor- color did not matter.) Snarky t-shirts are often seen at family picnics. My youngest daughter refuses to wear green or yellow. The kids argue at school with classmates about "Junk Deere" tractors.
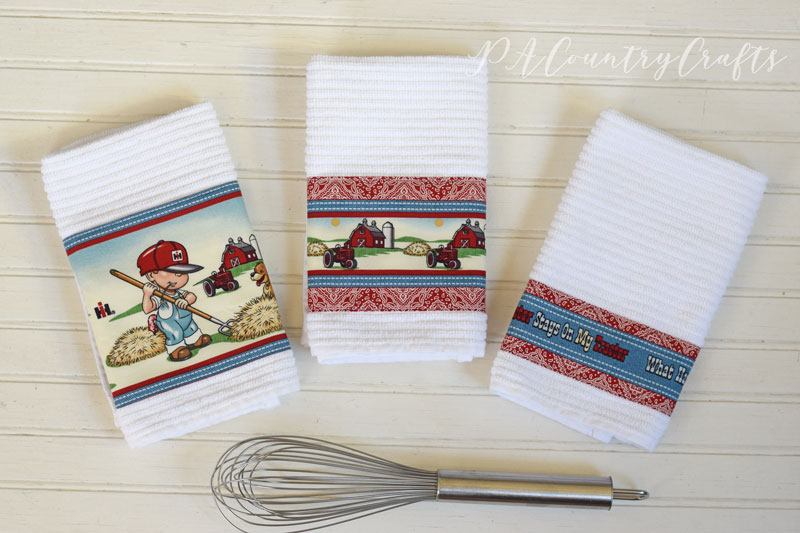
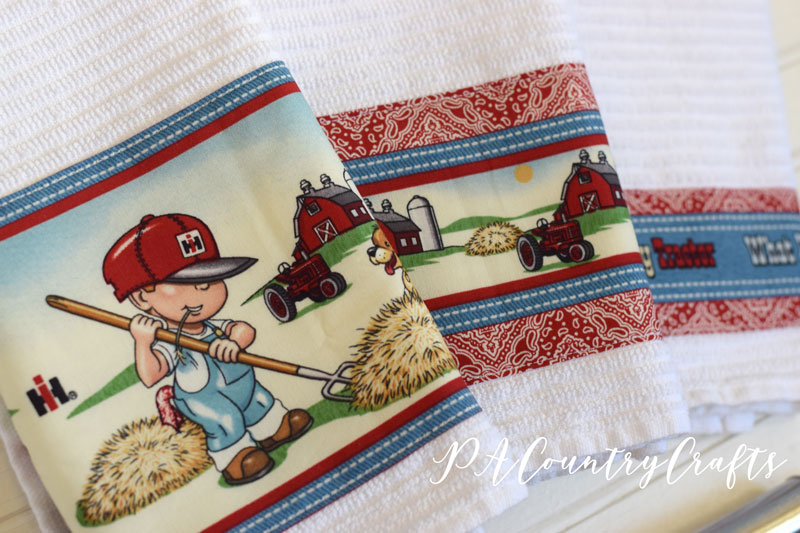
I thought it was perfectly appropriate to welcome a new bride into our family of red tractor fanatics with embellished Farmall/IH dish towels.

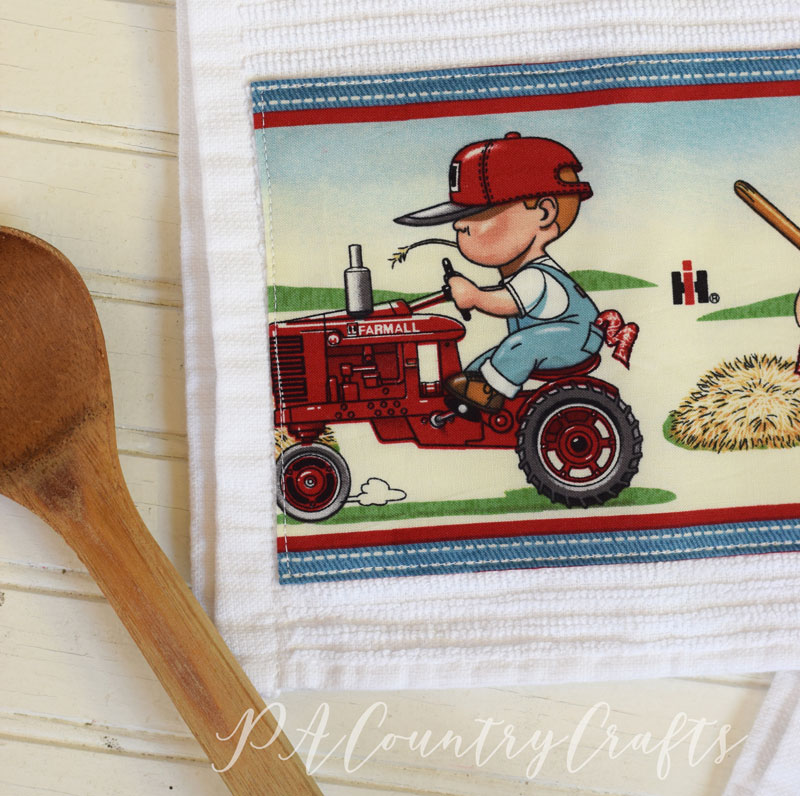
I had some fabric with rows of red tractor designs left over from THIS quilt back. So, I carefully cut strips and sewed them to some bar mop dish towels for an accent border. These were fairly simple to make.

I cut the rows apart with my rotary cutter and cut the width a little more than a half inch wider than the dish towel. I pressed the top and bottom edges under 1/4" and pinned them to the towels, following the textured rows of the towels. Then, I folded the ends under (saving it for last because the fabric can shift) and pinned them in place just inside the towel edge. I slowly and carefully stitched all the way around the fabric 1/8" from the folded edge.

I thought it was a cute gift idea and I think the groom will appreciate it. :)

You may also want to check out these posts:


Farm Animals Quiet Book Page


Hole in the Barn Door Quilt


Naomi's Quilt


Spring Decluttering Challenge

The early March weather lately has definitely been affecting and reflecting my current mood.  

The sun is shining today, but tomorrow there will be rain and snow and yuck.

I warned everyone at the beginning of this school year that I would probably be a sappy mess by this spring with so many changes coming. Of course, there are so many extra frustrations and challenges and curve balls I never saw coming. It is actually worse than I exaggeratedly predicted.

I am ready for spring.

I have sort of fizzled out of my decluttering spree this year. My general ambition level has been pretty low, but honestly, I am in a funk. I guess it is my heart that actually needs to let go of some stuff... guilt, bitterness, anger, frustration, sadness.

I am ready to tackle this. I need to take some clear steps forward and I know that cleaning out the junk in our house will make our home more peaceful. One thing that I can do is to make a conscious effort every day to work on decluttering one small spot in my house.

Spring Decluttering Challenge

Last week I got out the Easter decorations. This morning I redecorated the website and took down those icky snowflakes. I don't care if it is the beginning of March- I am declaring it to be spring. I need the renewal of spring.

I think we all do better when we encourage one another, so I am going to try to check in with facebook more regularly, for those of you who follow me there. (They have changed the algorithm again, so I don't know if anyone will even see my posts, but I will try.) I will probably do some updates on my instagram story, too.

I am also starting a challenge for anyone who wants to join me. The goal is to declutter one area each day. Keep track of how many garbage bags worth of stuff you throw out/donate/rehome. Estimating is fine. On May 7 I will do another blog post with a giveaway. Each bag purged will count as one entry. I don't know exactly what I am giving away yet. I didn't think that far ahead. Any suggestions?

Oh, and I am going to use the hashtag #springdeclutteringchallenge to keep track of my progress if you want to use it, too. It is long, but it appeared to be unused so it doesn't get mixed up with something else. I am almost never short on words anyway.

Ready. Set. Go.

One Fish Two Fish Busy Bag

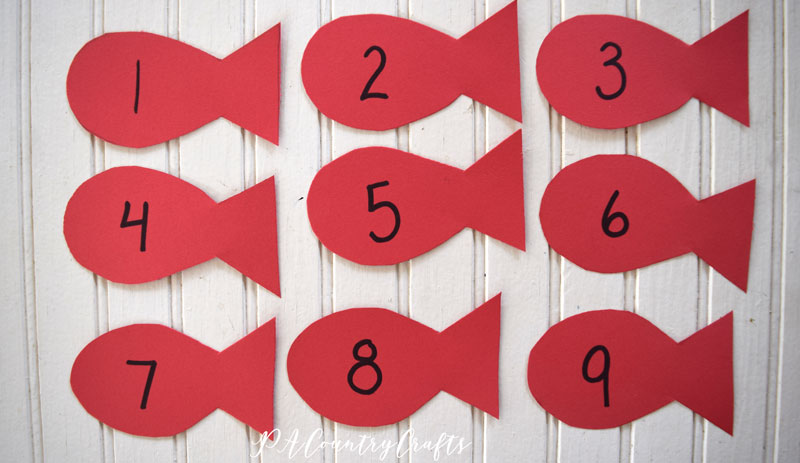
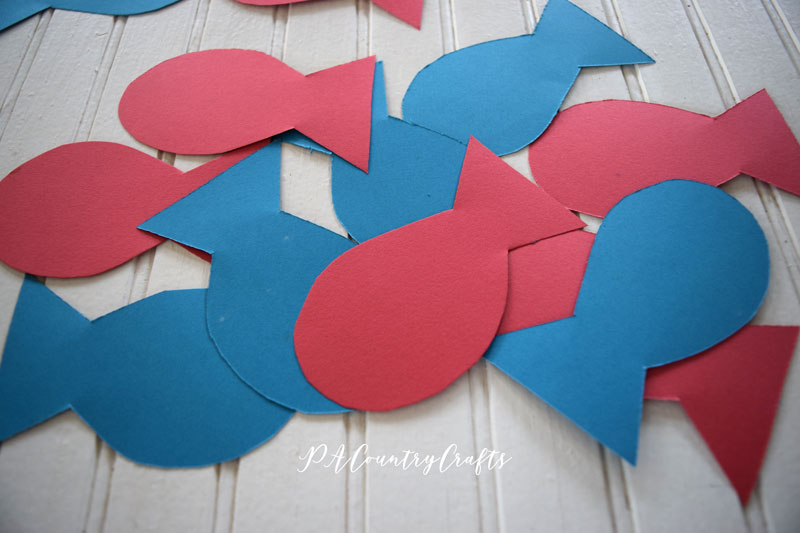
I had another cute busy bag idea and it only took 5 minutes to make, so I went with it. I know my daughter needs some work on her numbers so One Fish, Two Fish, Red Fish, Blue Fish was a pretty obvious choice. I just cut red and blue fish out of card stock, stacking a couple pieces together to cut a bunch at once. The red ones are marked with numerals and the blue ones have a corresponding number of dots.

dr-seuss-busy-bag-ideas.jpg

I like creating busy bags that have a variety of ways to learn. We worked on sorting by color, creating patterns, recognizing and ordering numerals, matching numerals to the correct number of dots, and counting out fish to match the number.

One Fish Two Fish Red Fish Blue Fish Game

One Fish Two Fish Red Fish Blue Fish Game

Red Fish Blue Fish Patterns Activity

Red Fish Blue Fish Patterns Activity

One Fish Two Fish Numbers Activity

One Fish Two Fish Numbers Activity

red fish blue fish counting activity

red fish blue fish counting activity

Number Matching Dr. Seuss Game

Number Matching Dr. Seuss Game

It is pretty simple but I can get a lot of out it. I showed her how to start the simpler tasks and then it gave me a few minutes to work while she completed the sorting or pattern. She needs more help with recognizing numerals so we did that together. Then we worked on her numbers a few other ways.

If you want to pin it for later...

One Fish Two Fish Preschool Busy Bag

One Fish Two Fish Preschool Busy Bag

Also, here is the activity we did earlier this week: