Raising Farm Kids
/
I love that our children can experience farm life. We make a lot of sacrifices to try a little bit of farming, but there are so many rewards.
Read MoreI love that our children can experience farm life. We make a lot of sacrifices to try a little bit of farming, but there are so many rewards.
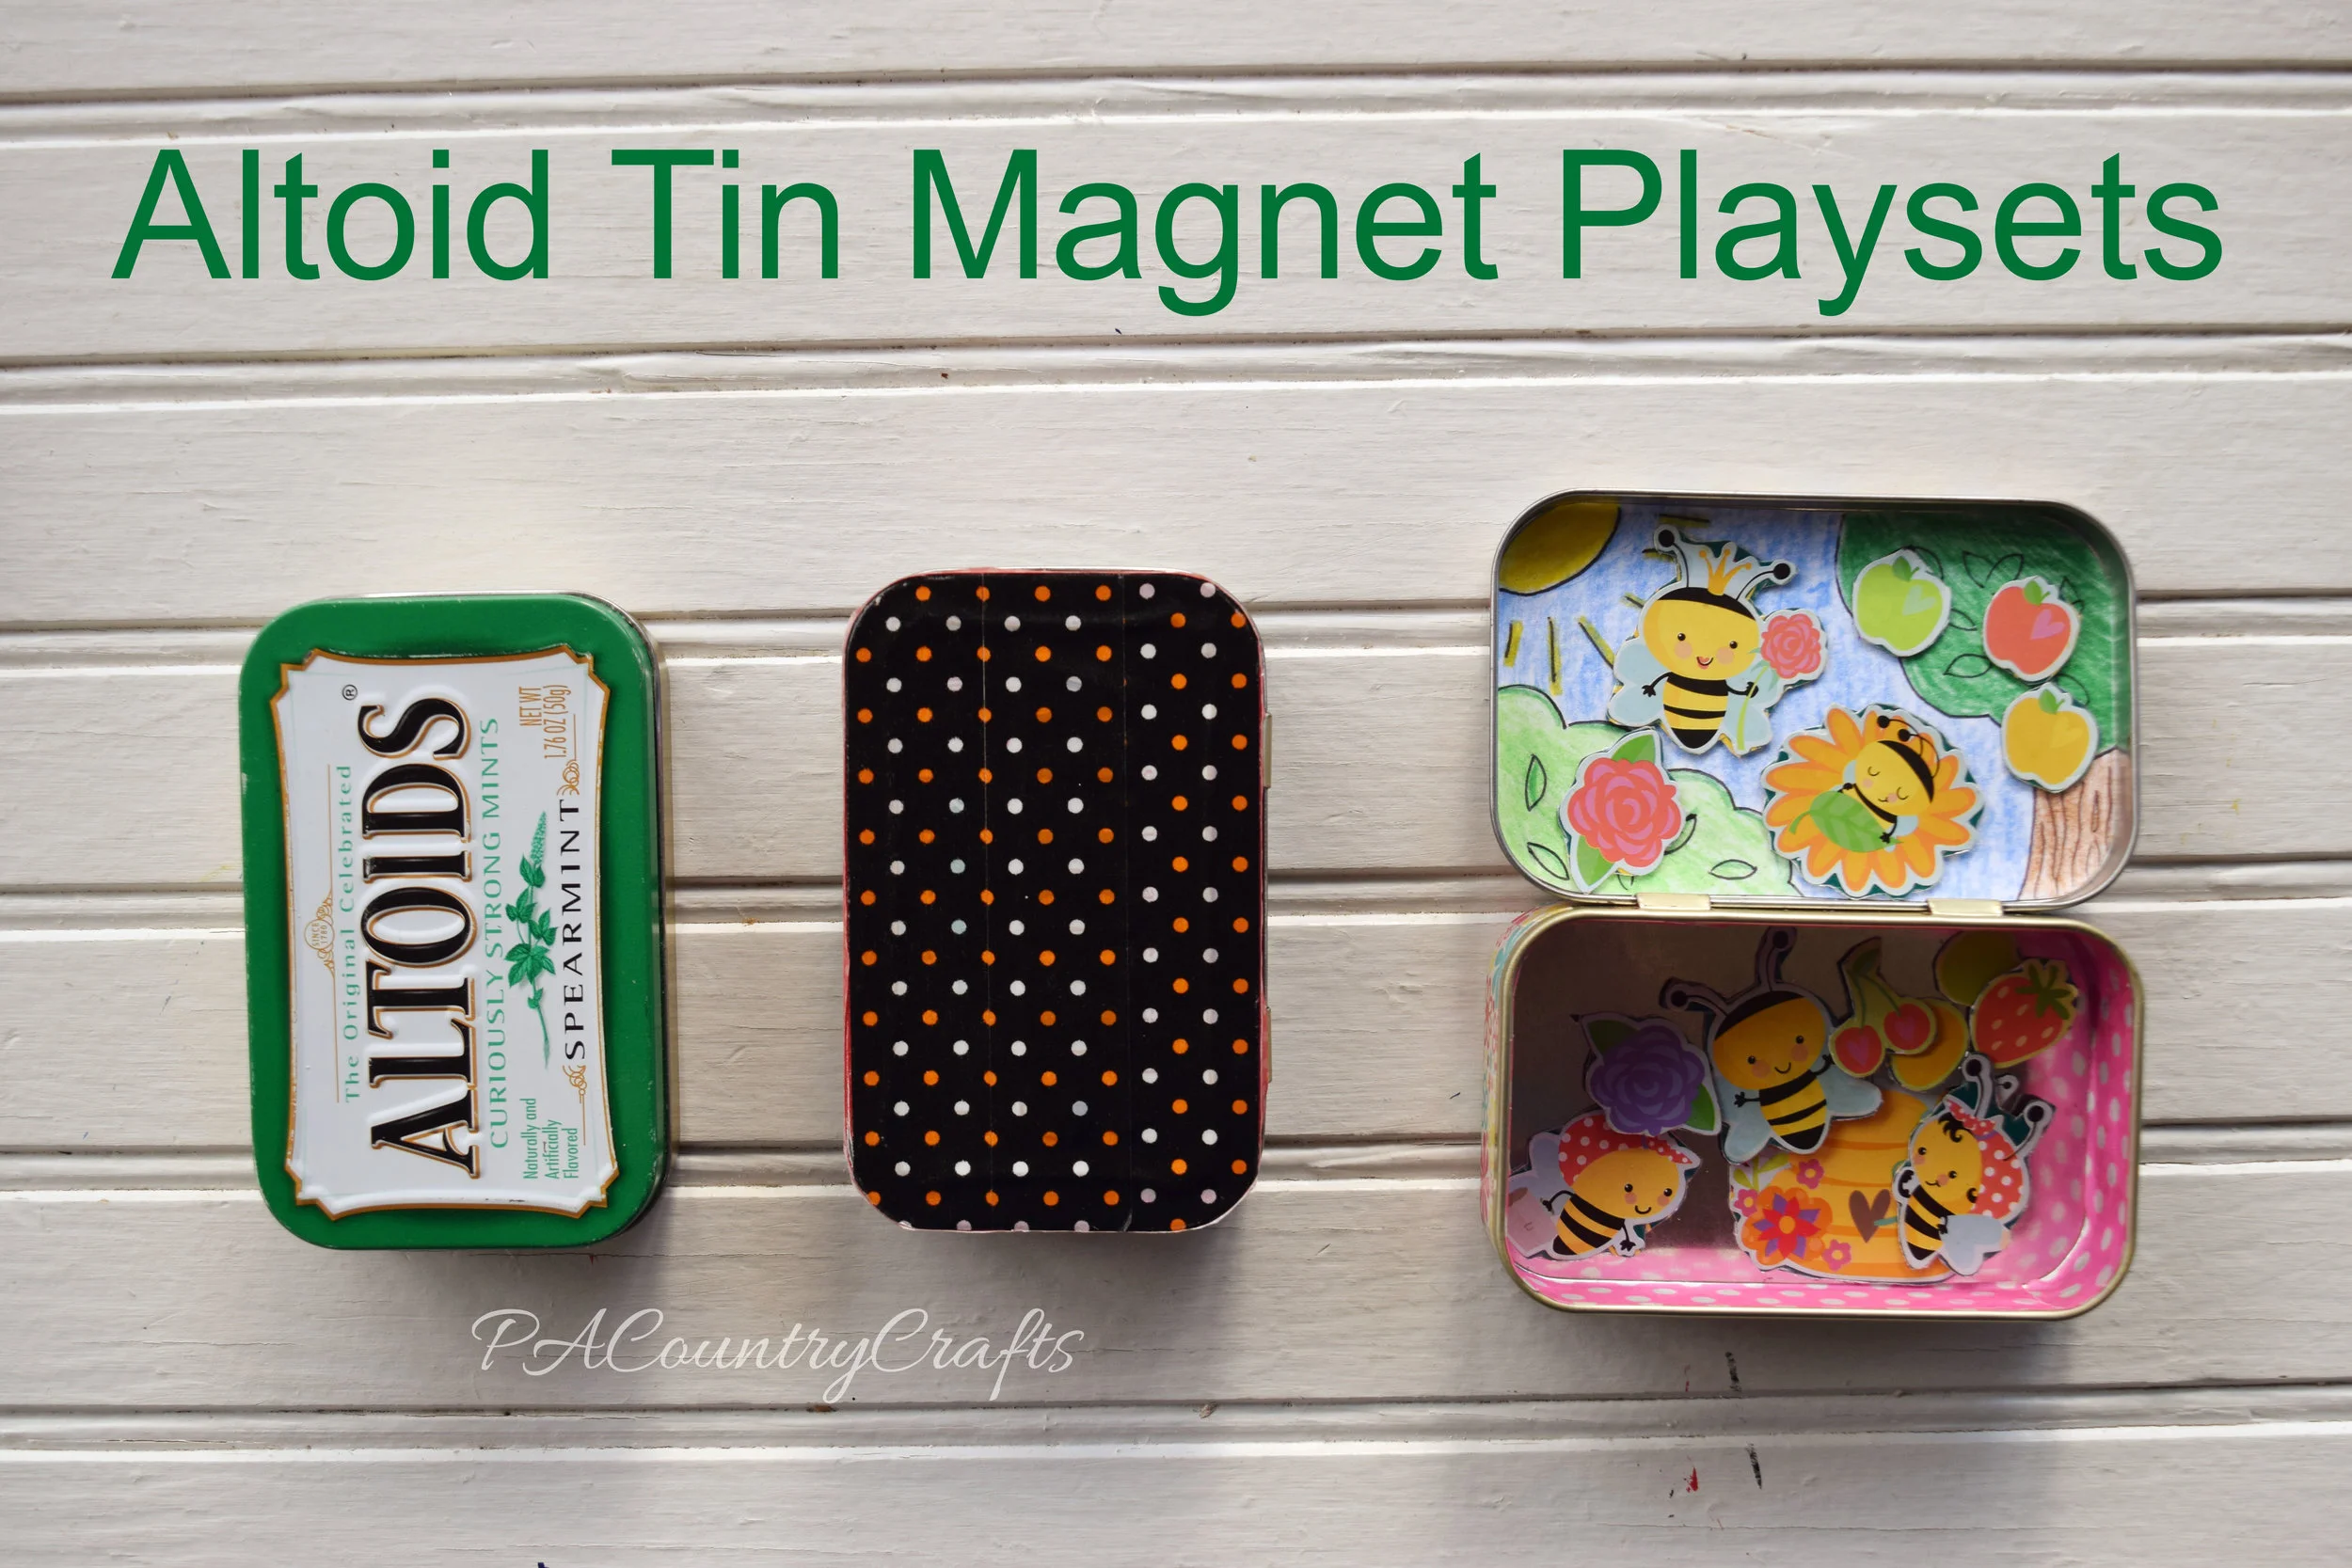
Read MoreMake a magnetic playset from an altoid tin! Great recycled project and kids craft. It is perfect for a travel activity or to include in Operation Christmas Child shoebox gifts!
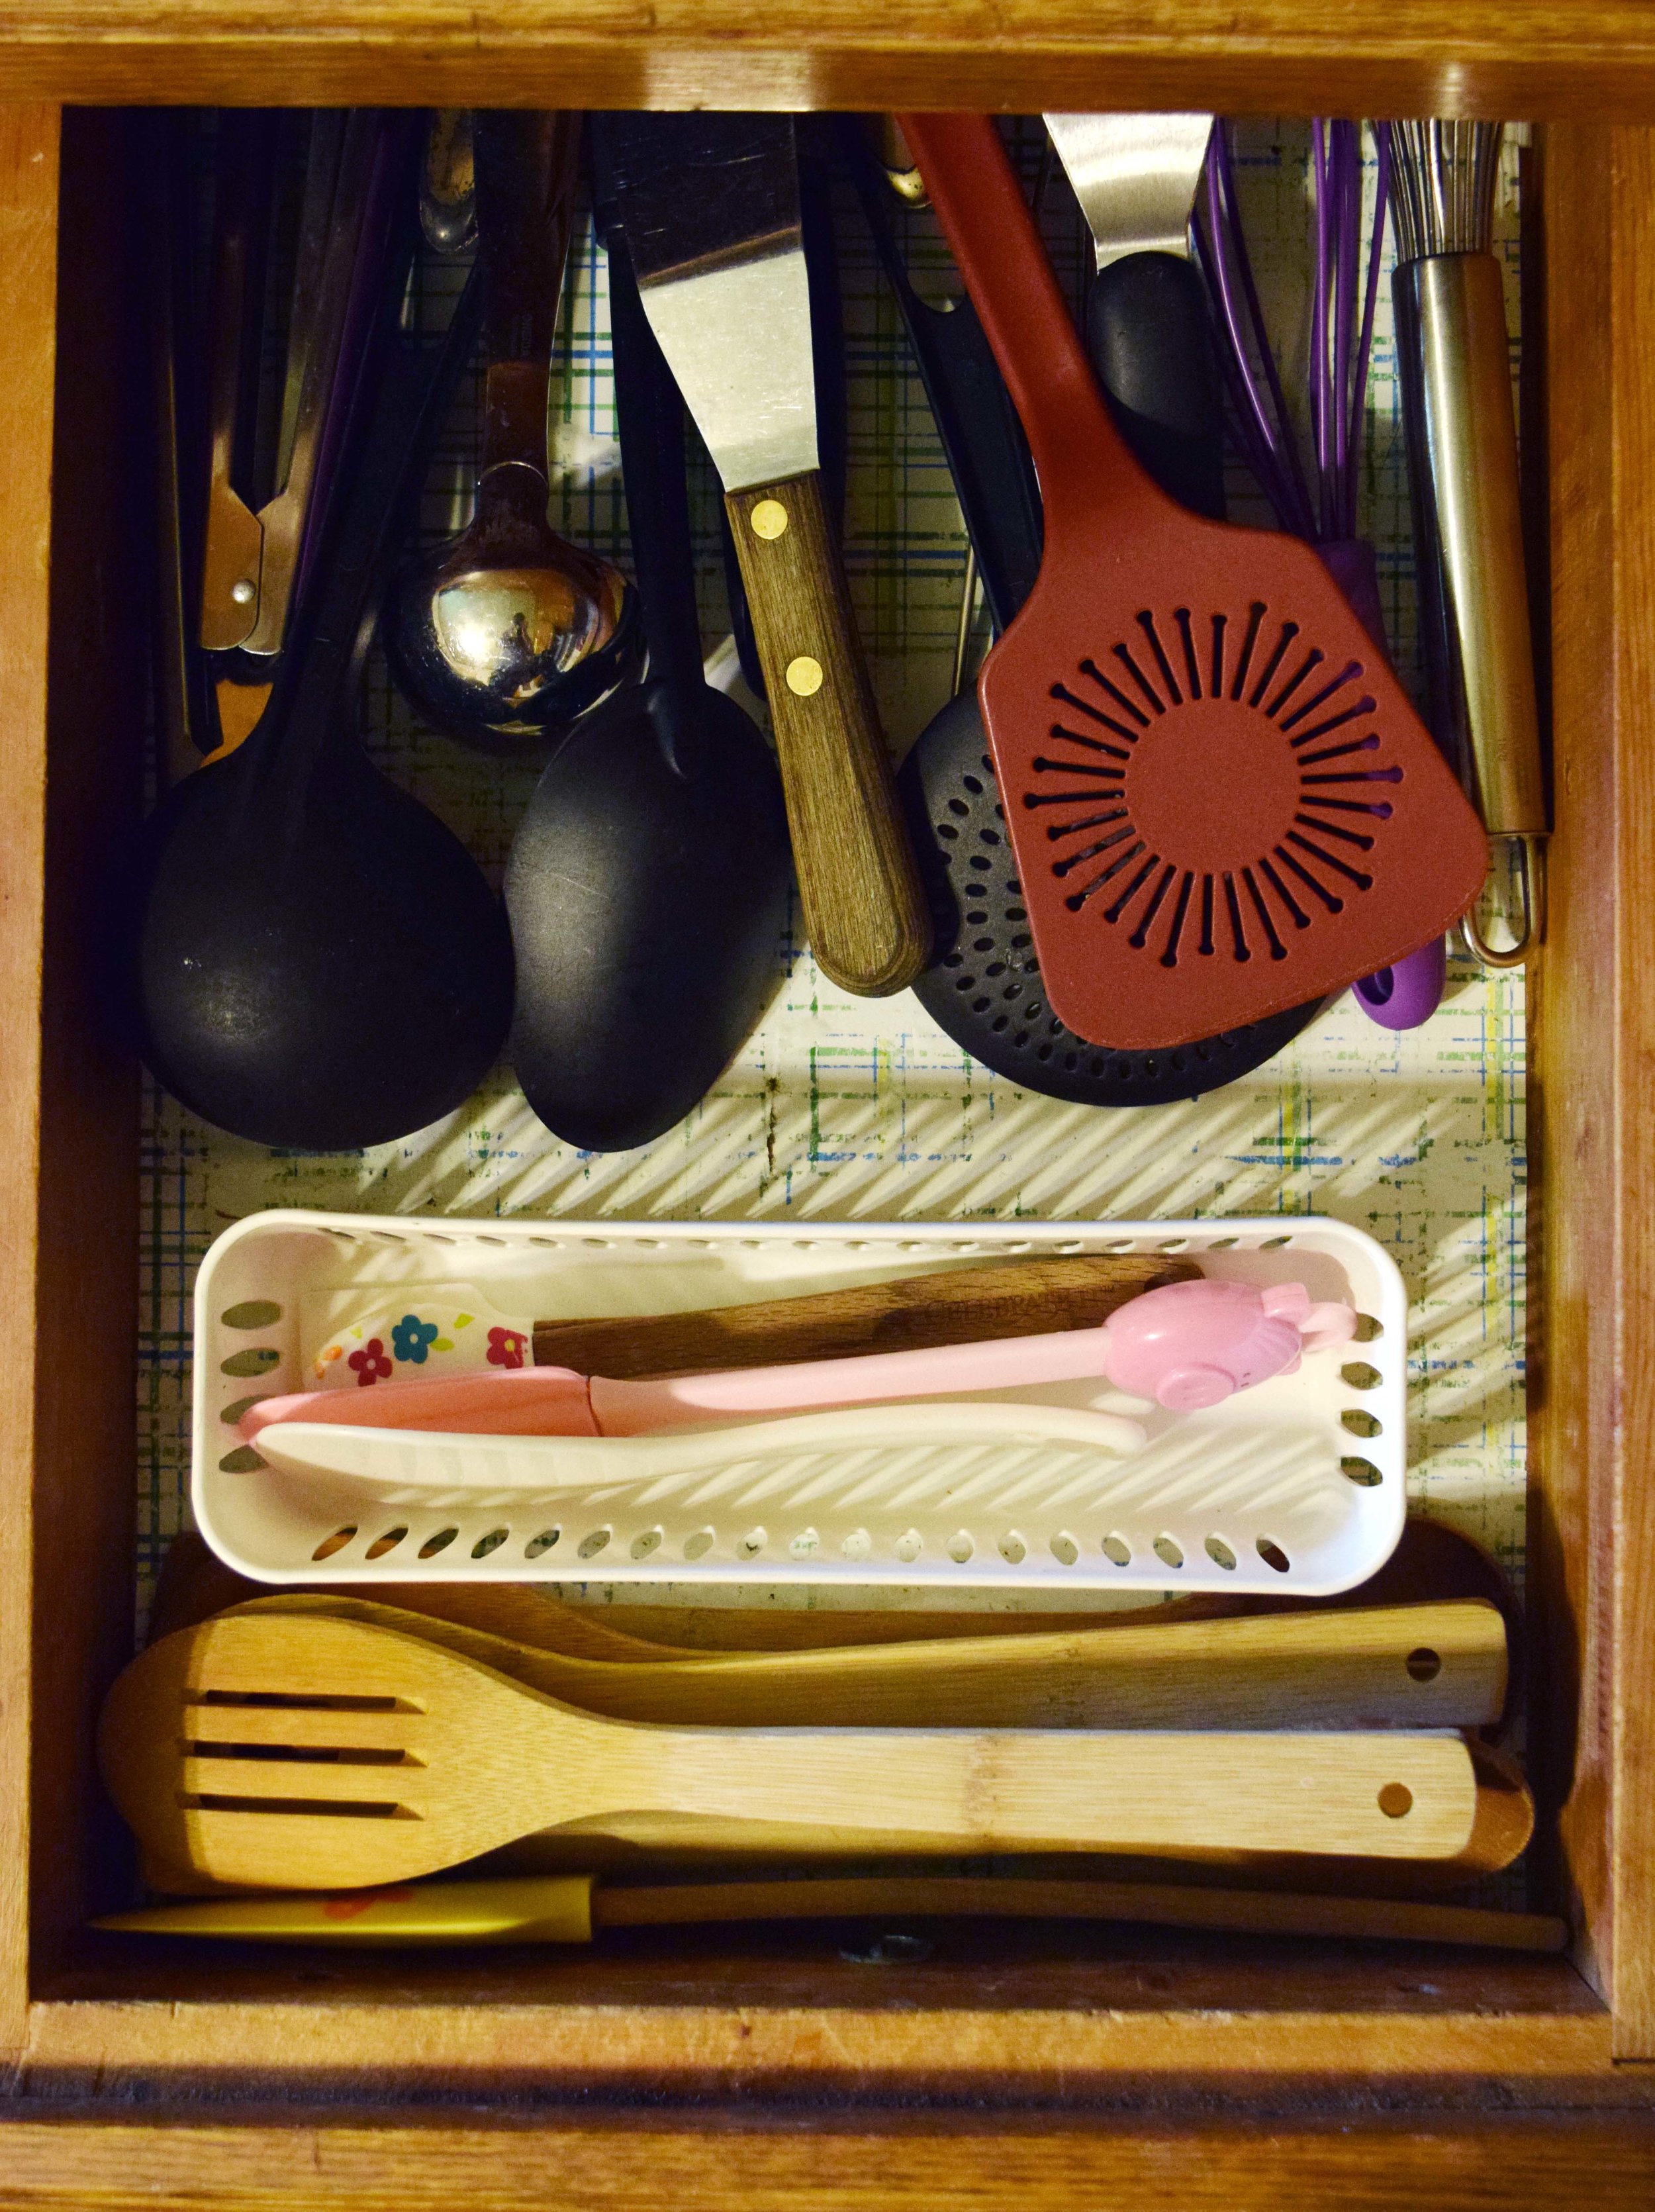
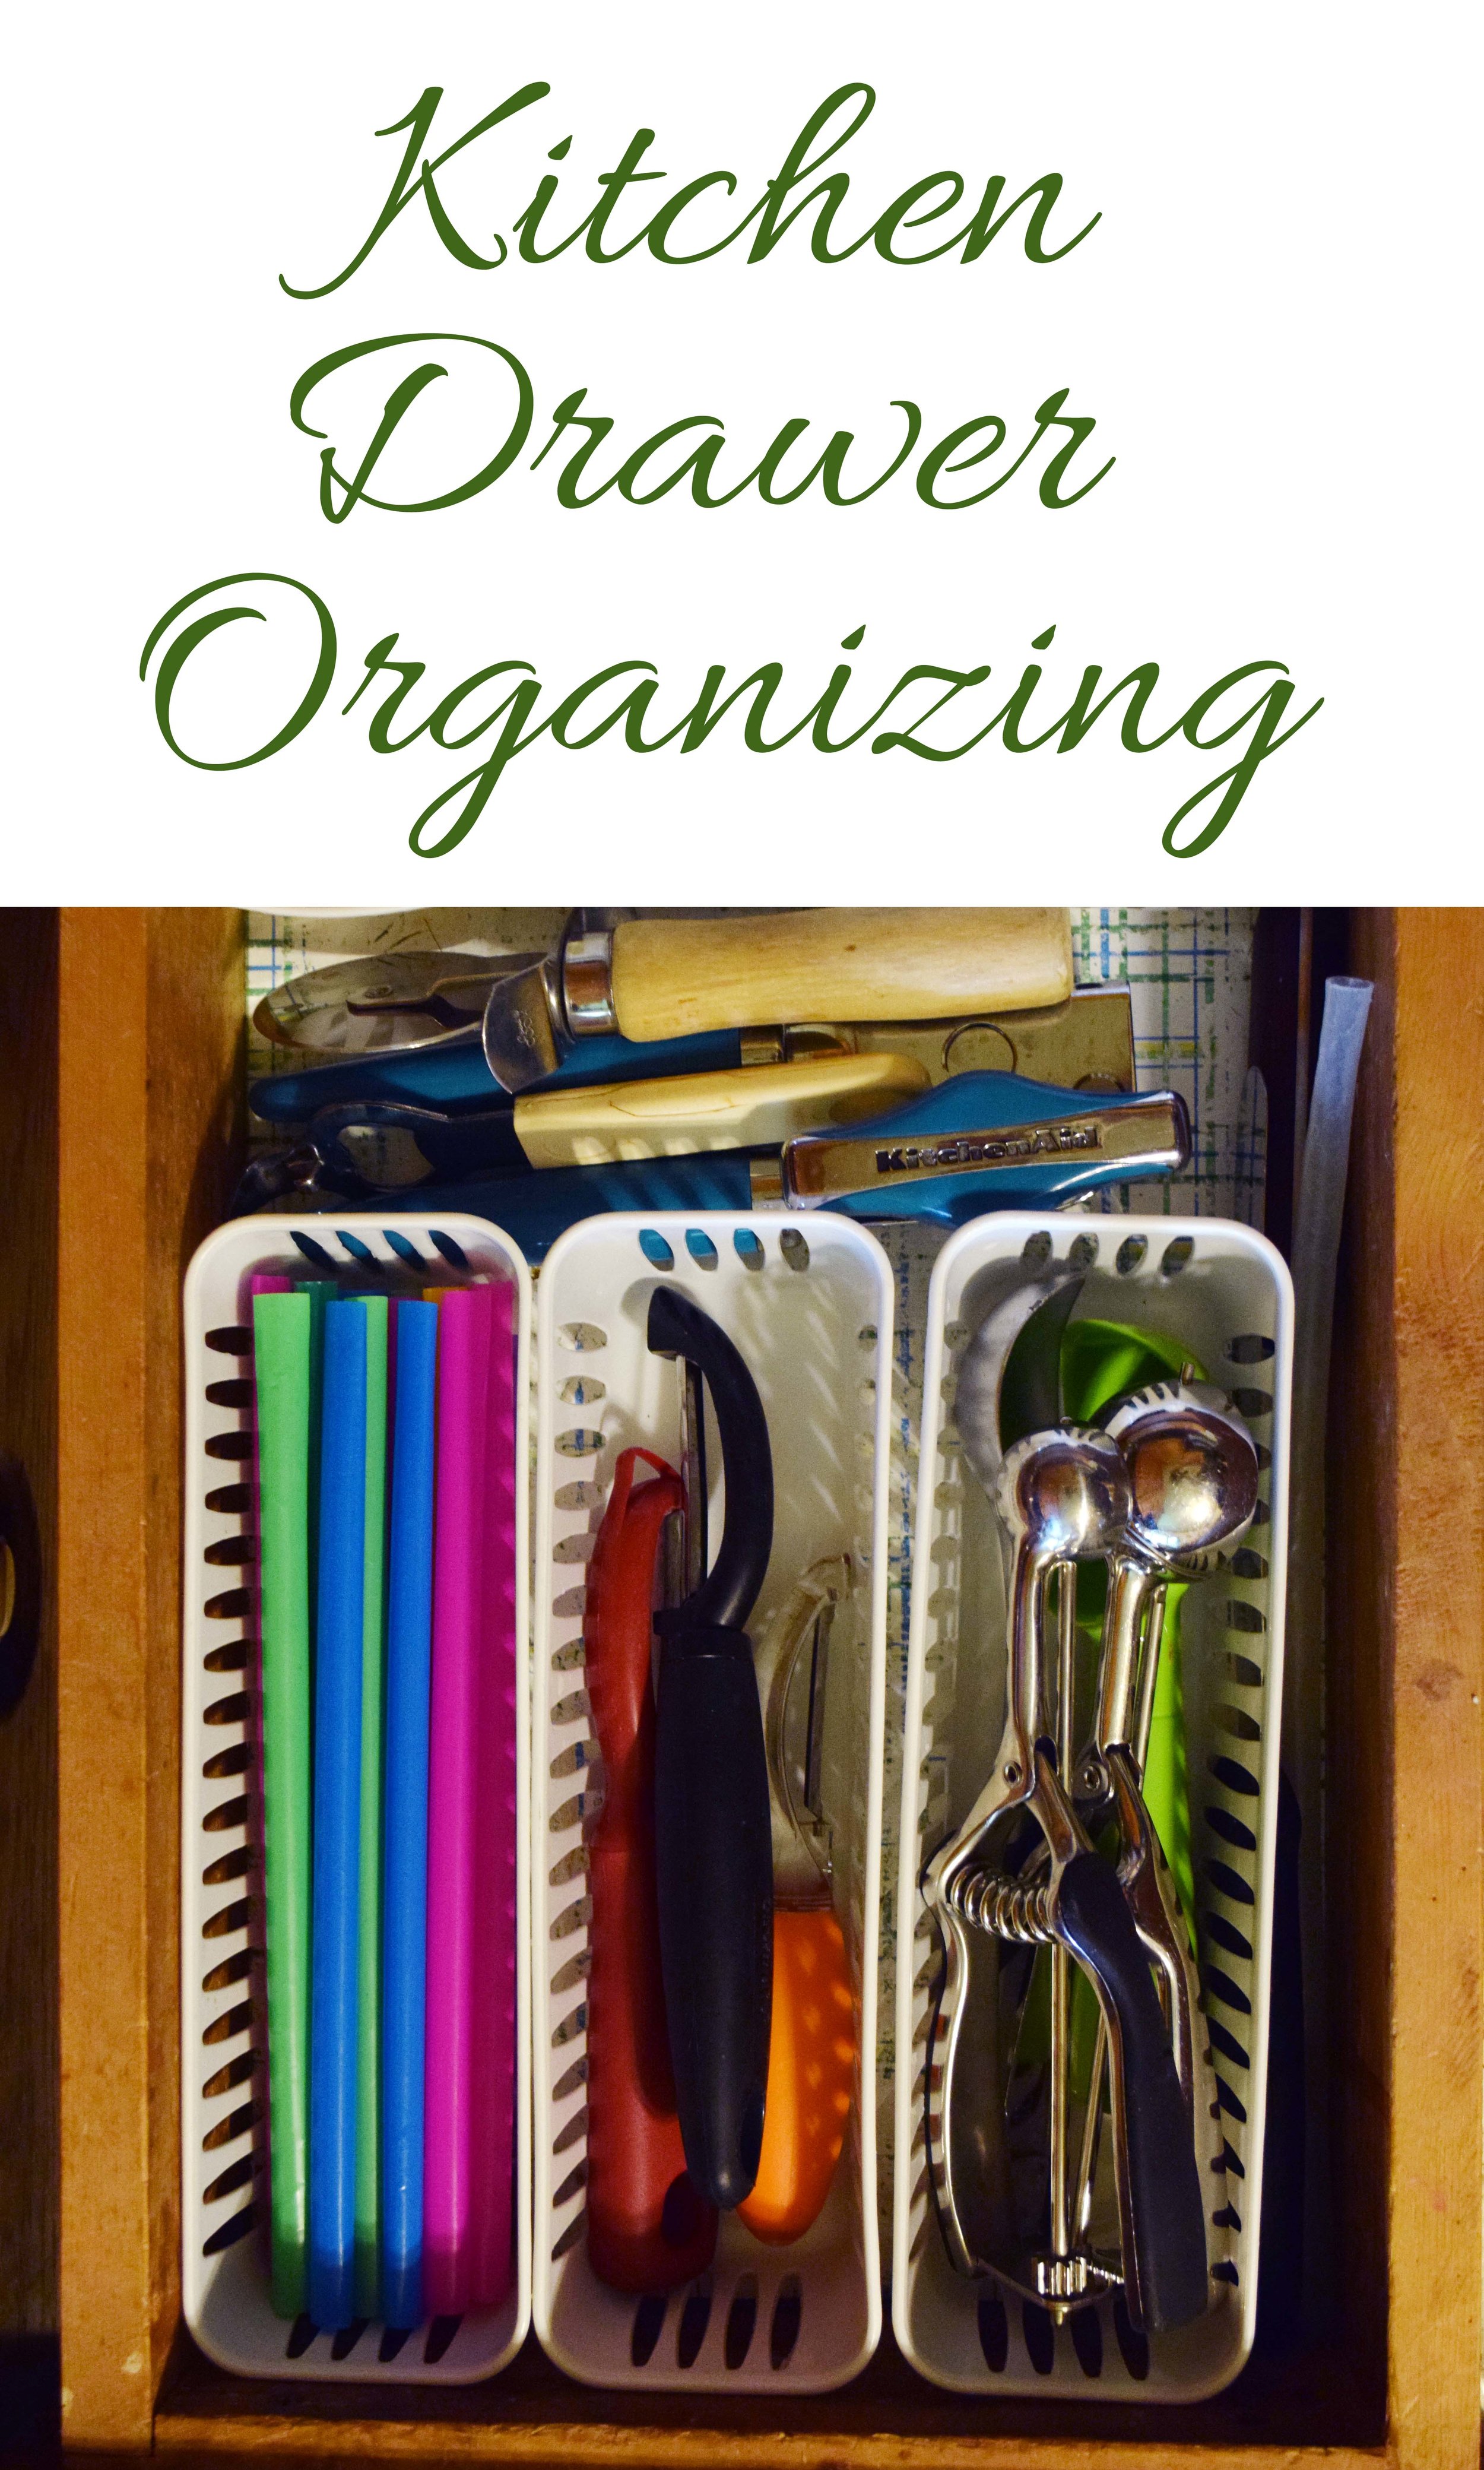
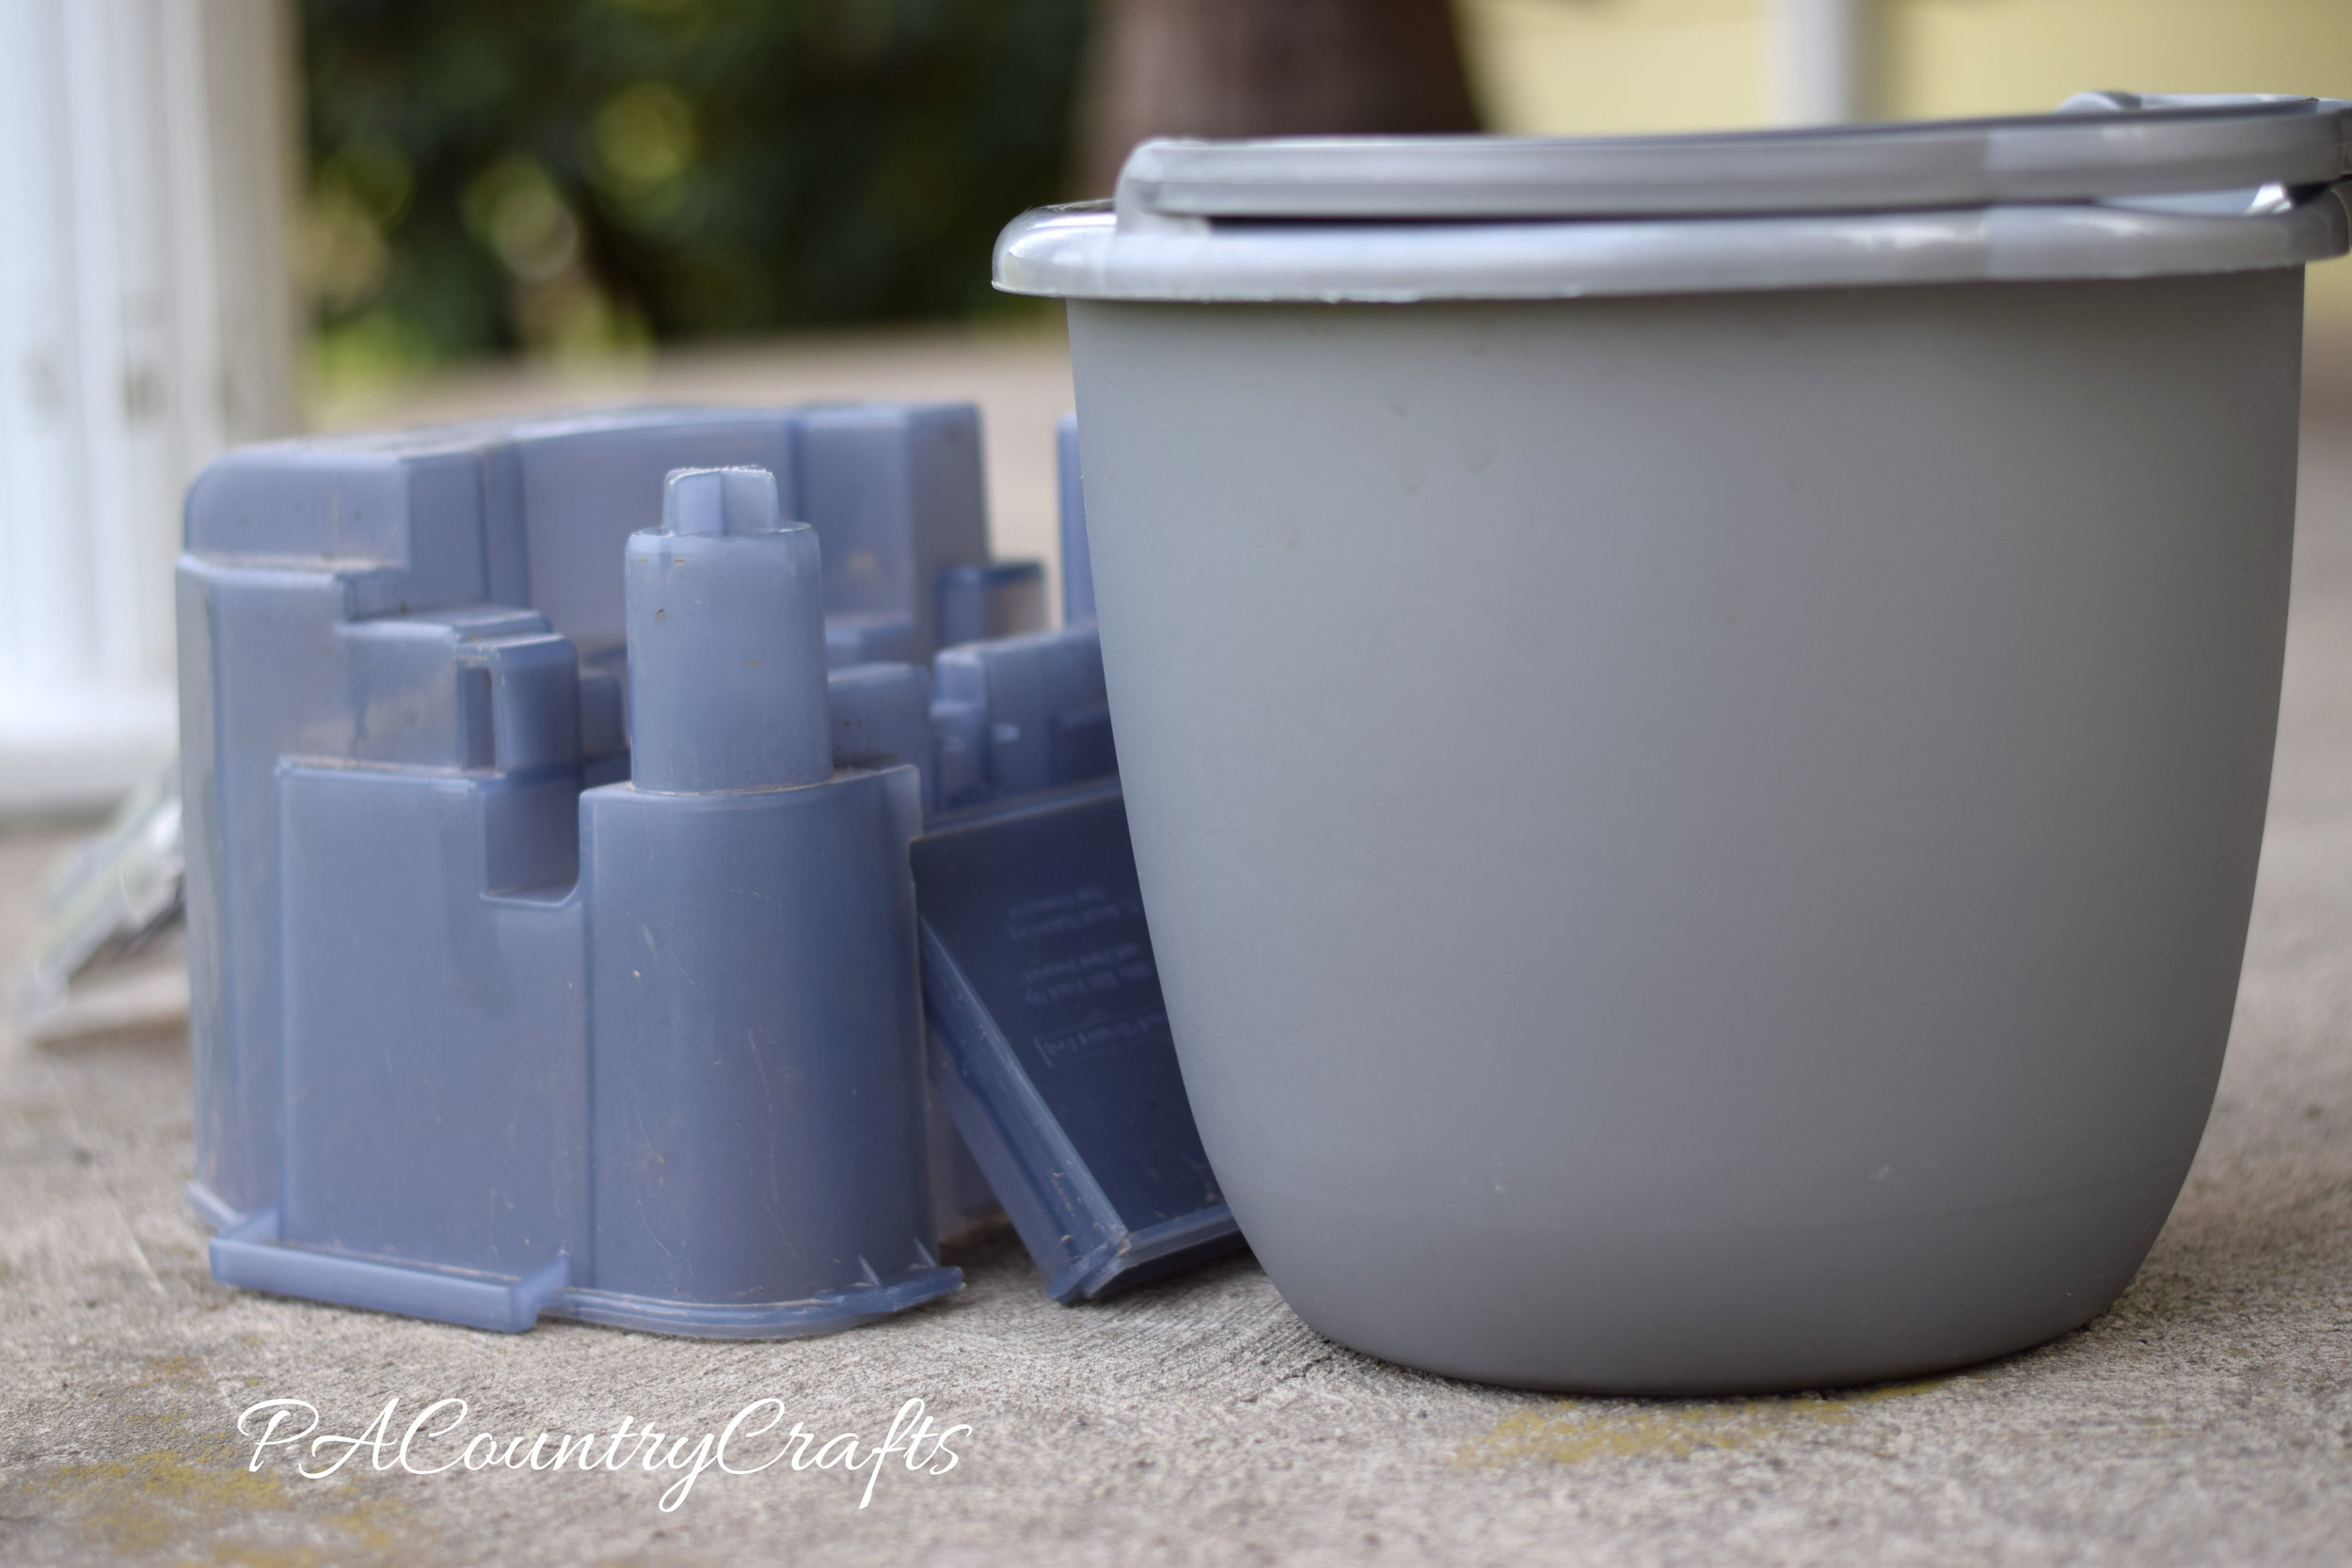
Read MoreMay is a crazy busy month for me! We have 4 different sports teams going right now so we are always on the go. I really don't have time for extra cleaning and organizing, but I know that I need to make it a priority because, let's face it, when the kids are home from school for the summer it will only get worse. Kathi Lipp is running a 10 day "Spring Fling" challenge over on her blog and I decided to join in. The first room was the same place where I always start- the kitchen. Since I organized and decluttered a lot back in January, it was not too bad. I got rid of some things that we aren't really using and some things that are in poor condition. If I find I really do need to replace them later, I will, but I would bet that we can made do. One area that I have decent organization is my drawers. Unfortunately, it is my 11yo's job to unload the dishwasher and she doesn't put things away correctly. We need some more lessons on that. I won't let them graduate to another job until they have learned to master the currently assigned chore. (Everyone really hates unloading the dishwasher.) I focused on decluttering and straightening the drawers today. So, this is what my drawers look like when things are put in the proper places (and to be fair there are some things in the dishwasher waiting to be washed).
Please excuse my terrible pictures; the lighting in my kitchen is really bad, especially on dreary days like today.
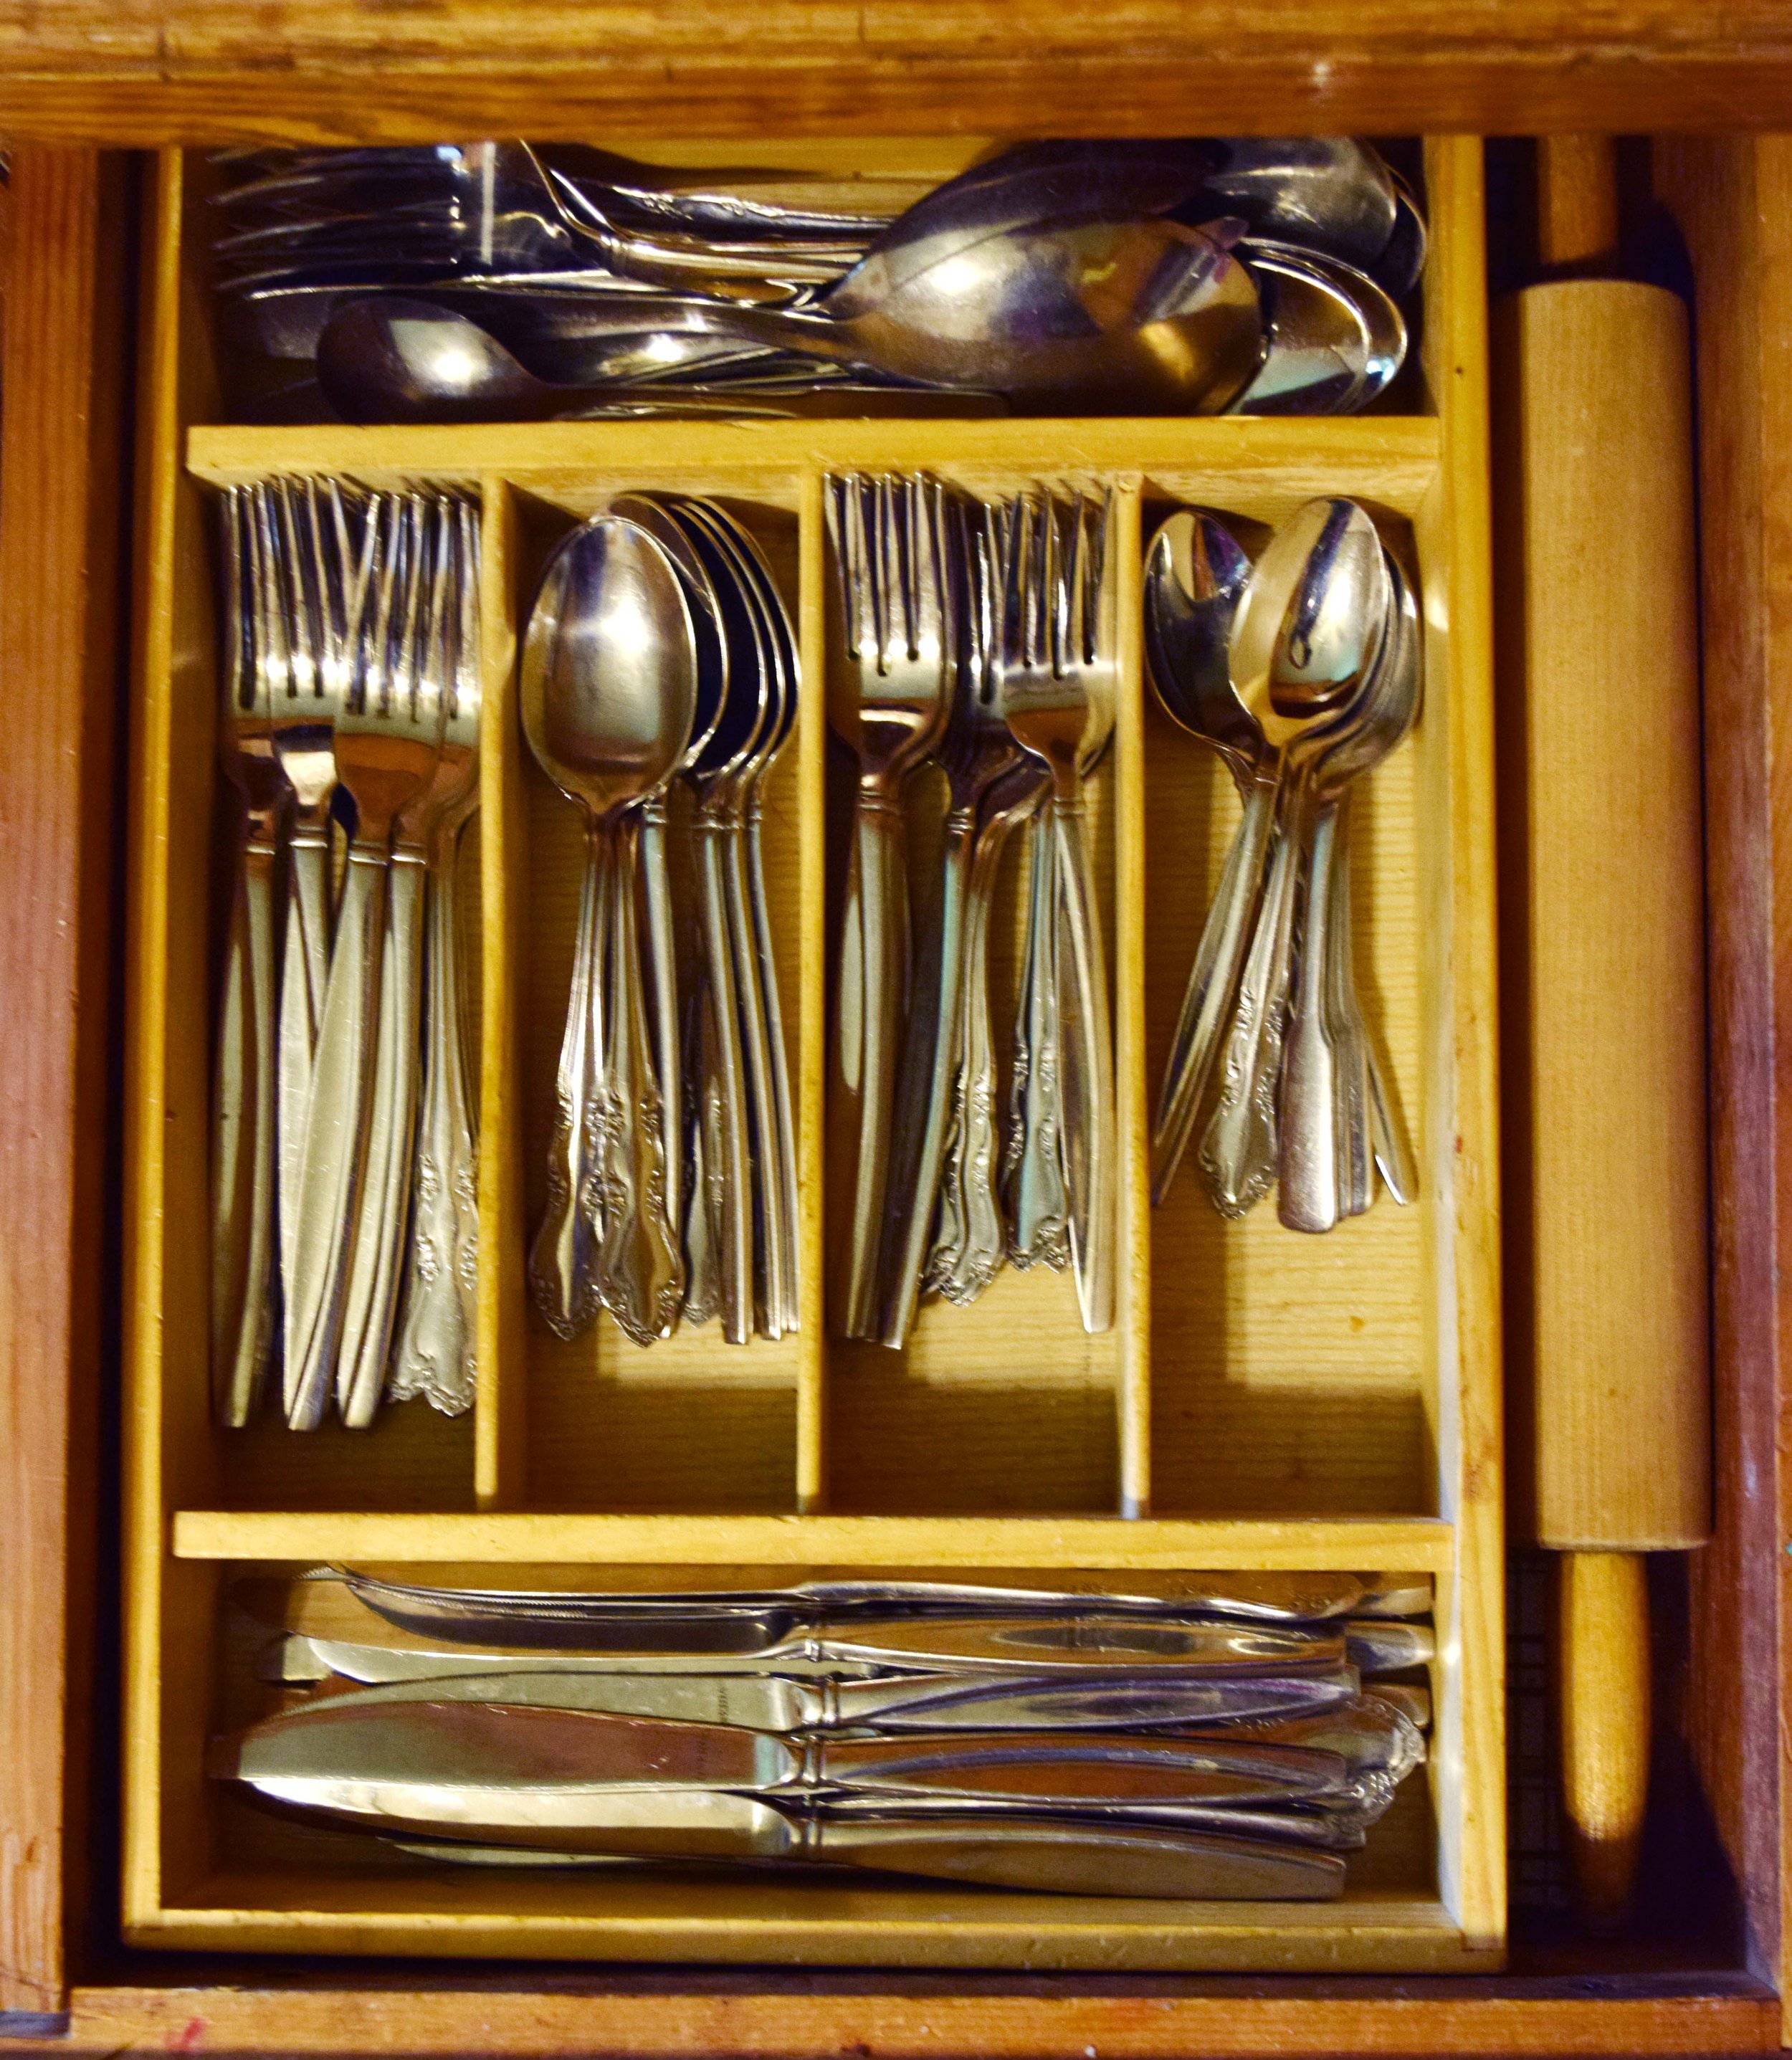
I was given this handy tray for utensils. My rolling pin fits nicely beside it so that is where I keep it.
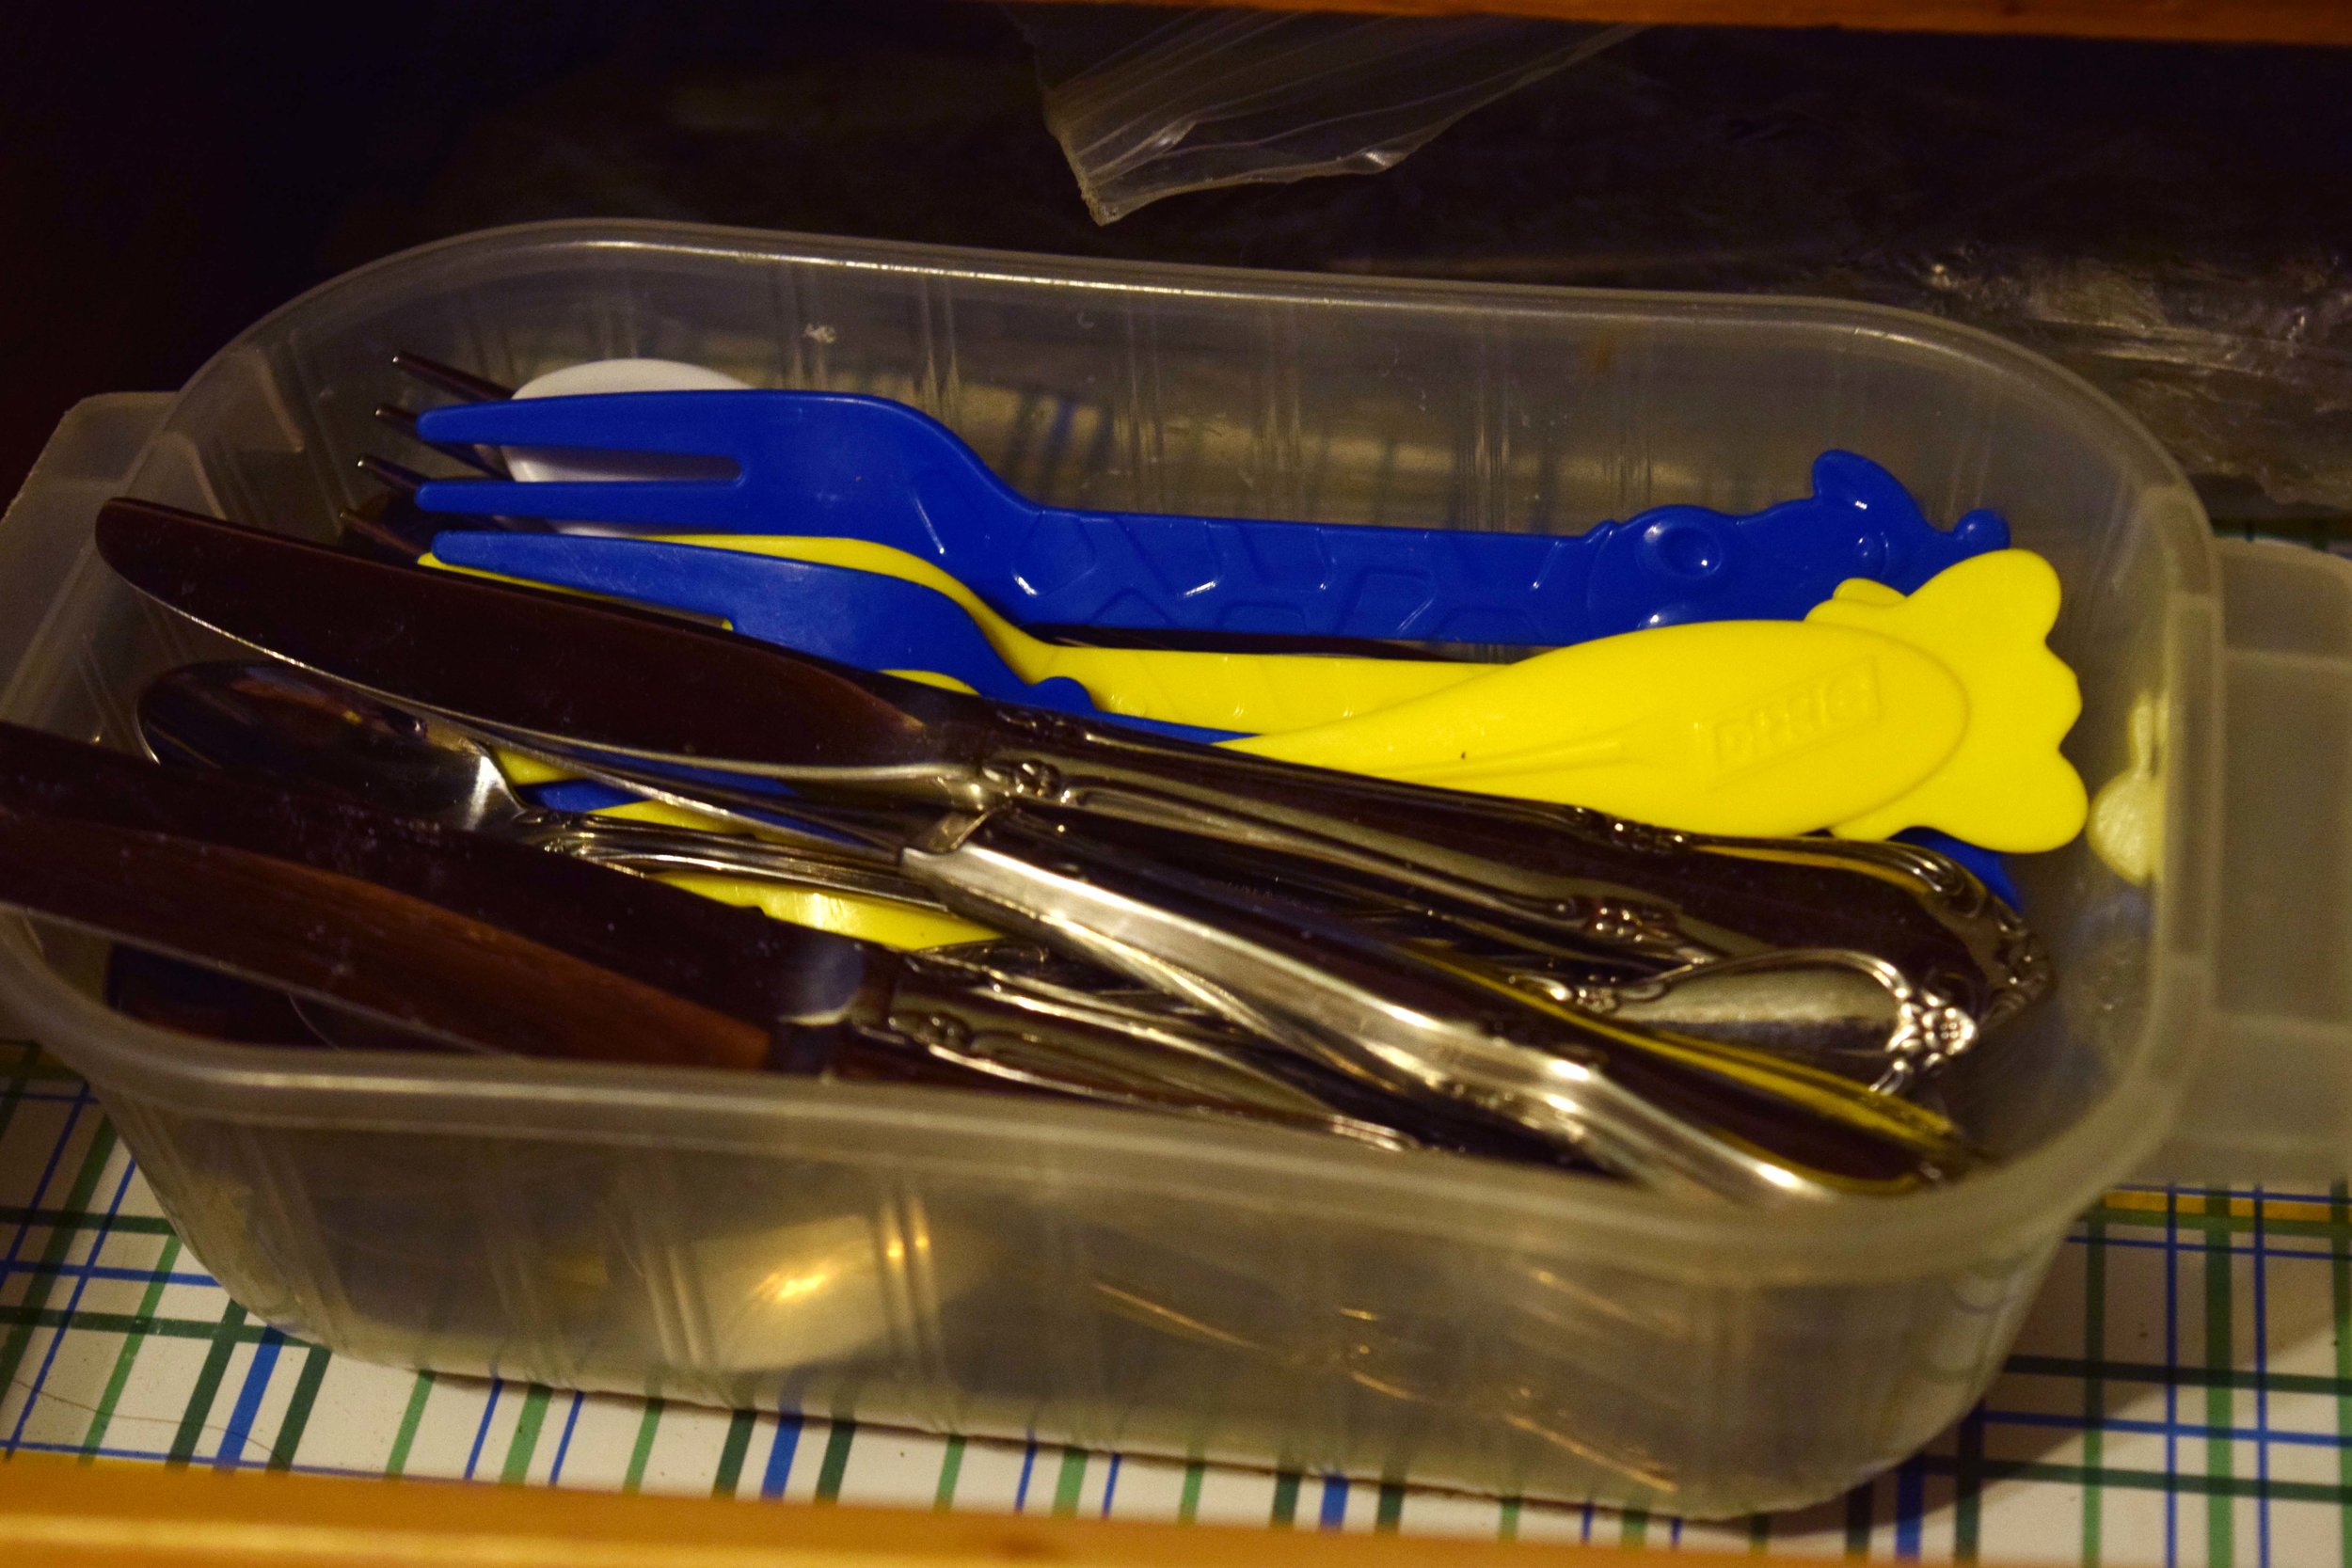
The drawer doesn't pull out all the way, but behind the tray I have a bag with extra utensils for when we host large gatherings, which is never, and the toddler and baby utensils in an old storage container that didn't have a lid.
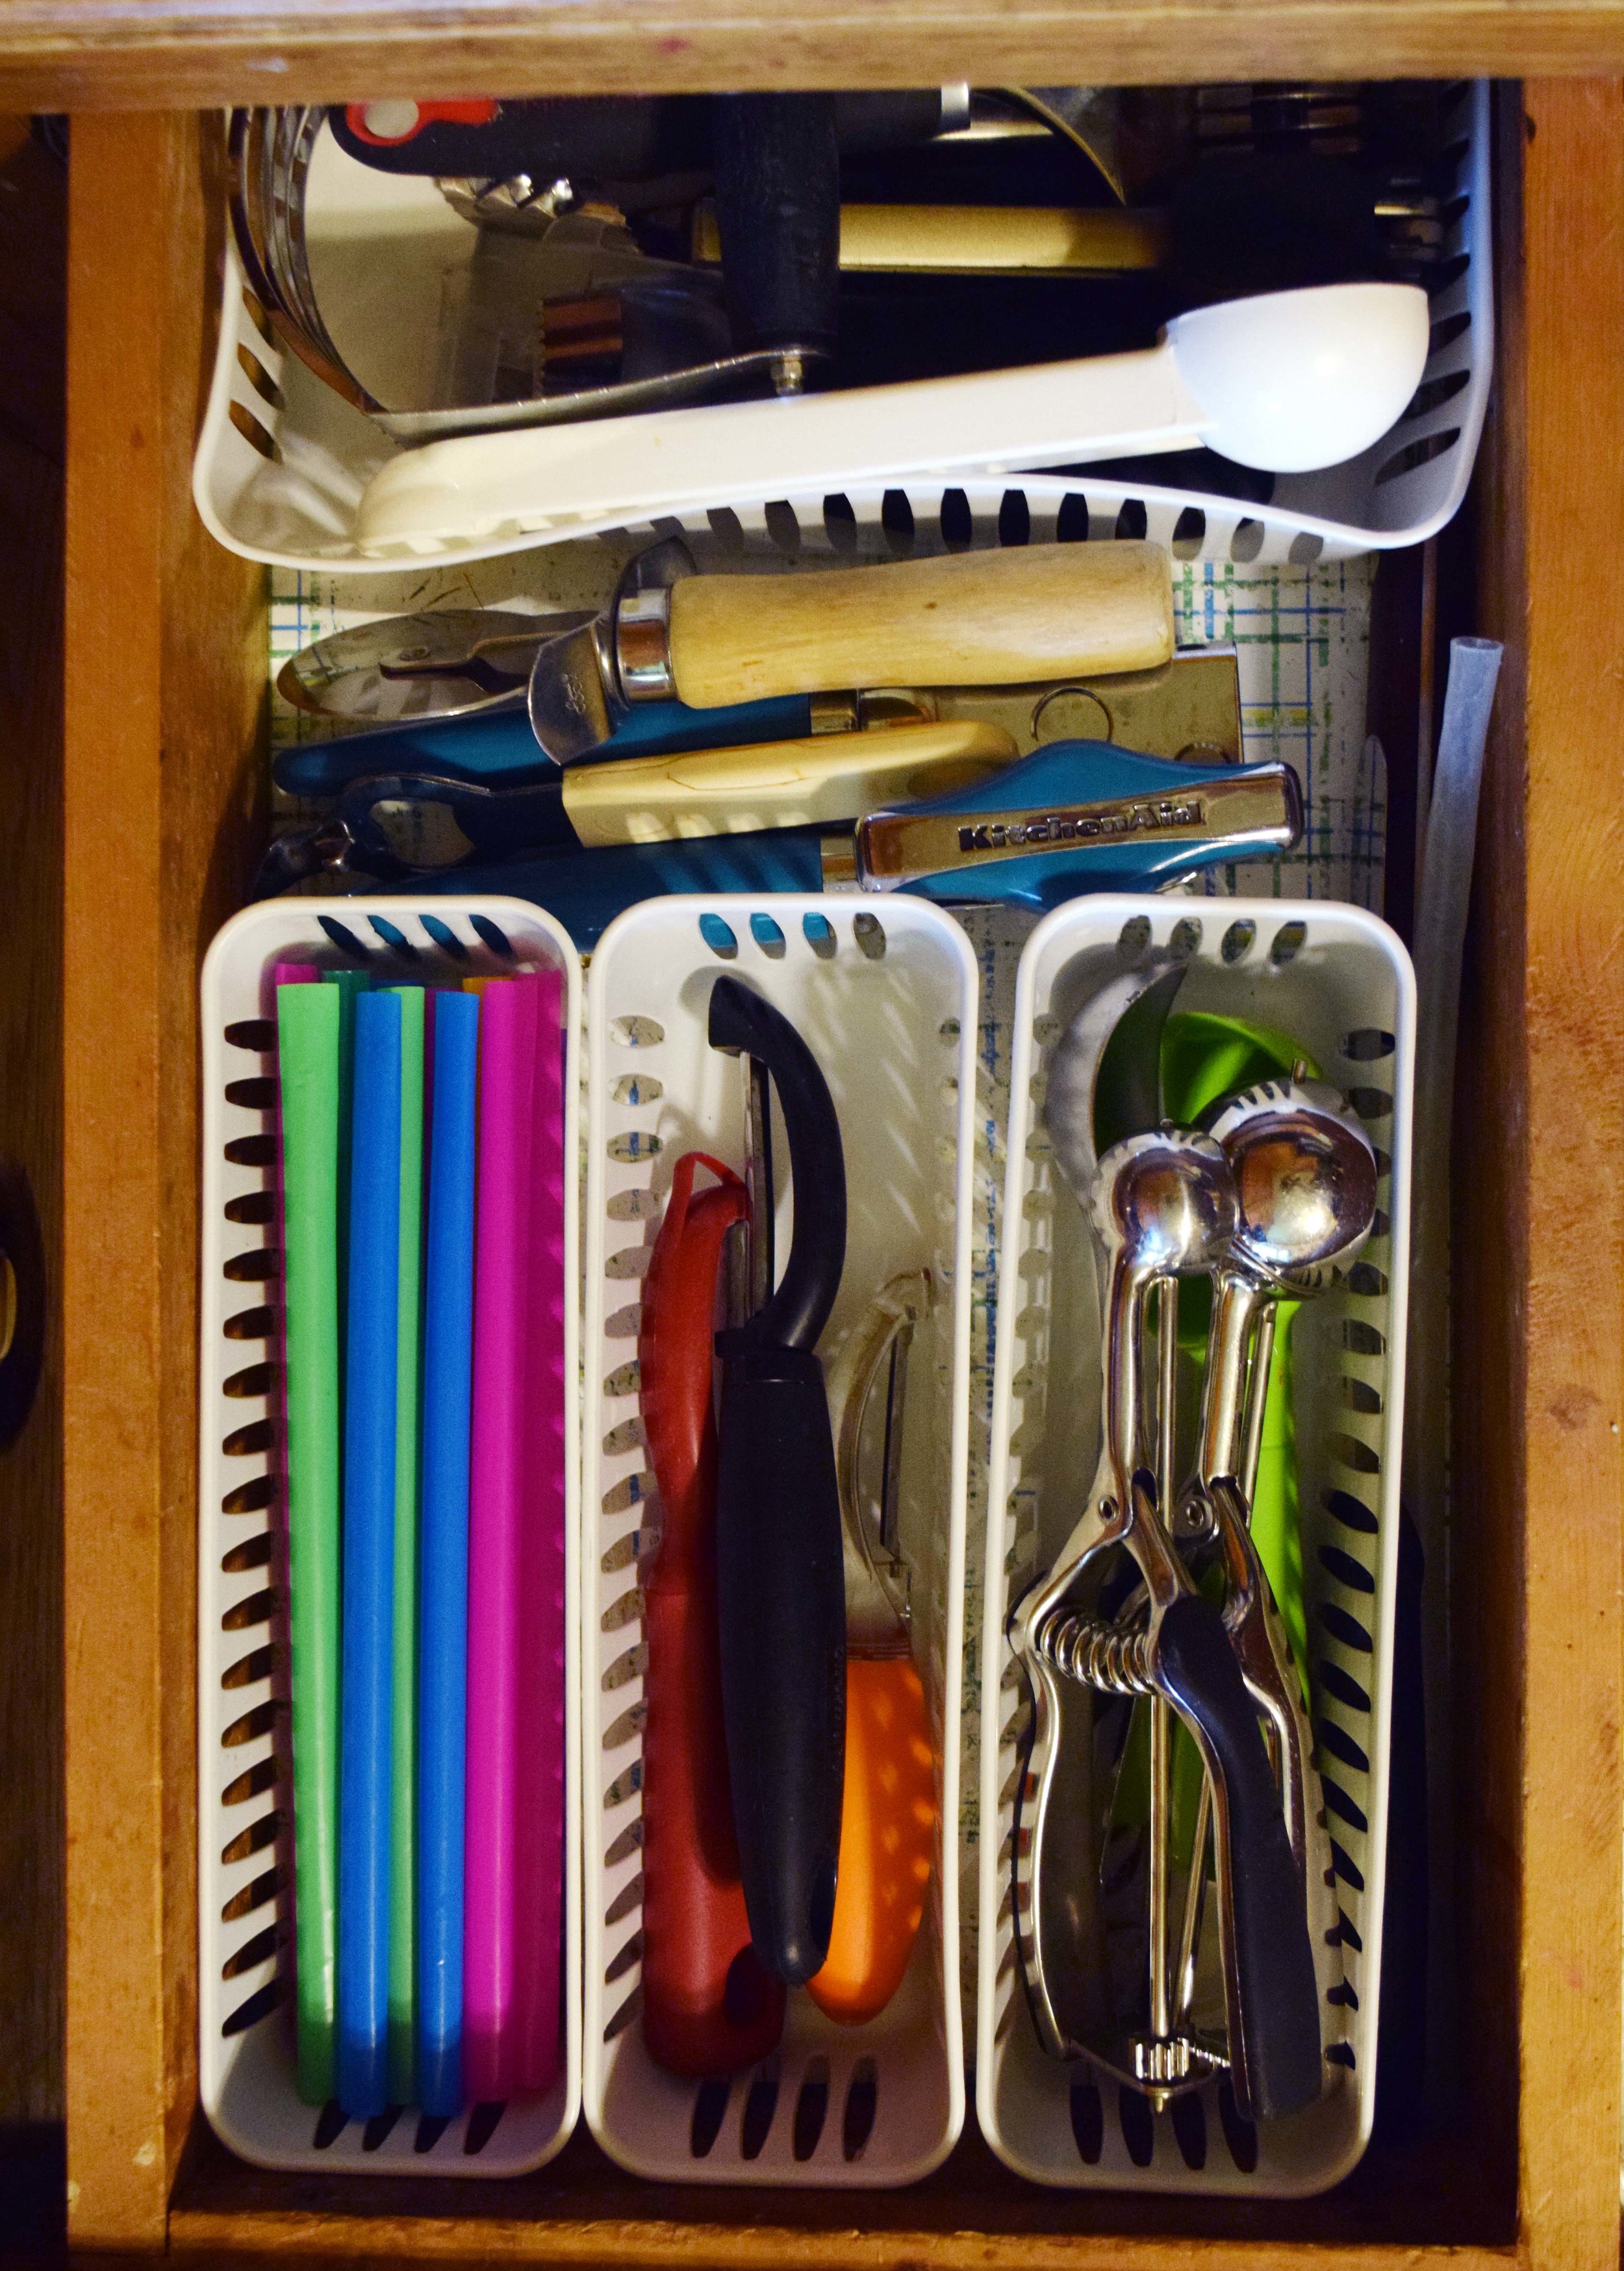
Next I have the larger utensils that I use for cooking and serving. I use a tray from the Dollar Tree (came in a 3-pack) to hold the spatulas and create a sort of divider. This drawer is usually the messiest, but I didn't want all of those bulky items in a container on my counter anymore.
My kitchen gadget drawer is nicely organized with dollar store bins. Someone in the Spring Fling facebook group showed that she decluttered her vegetable peelers. Well, I had five but we use them all when we are canning and I put the girls to work. I still parted with two that were worn out so either I get more or we take shifts. LOL
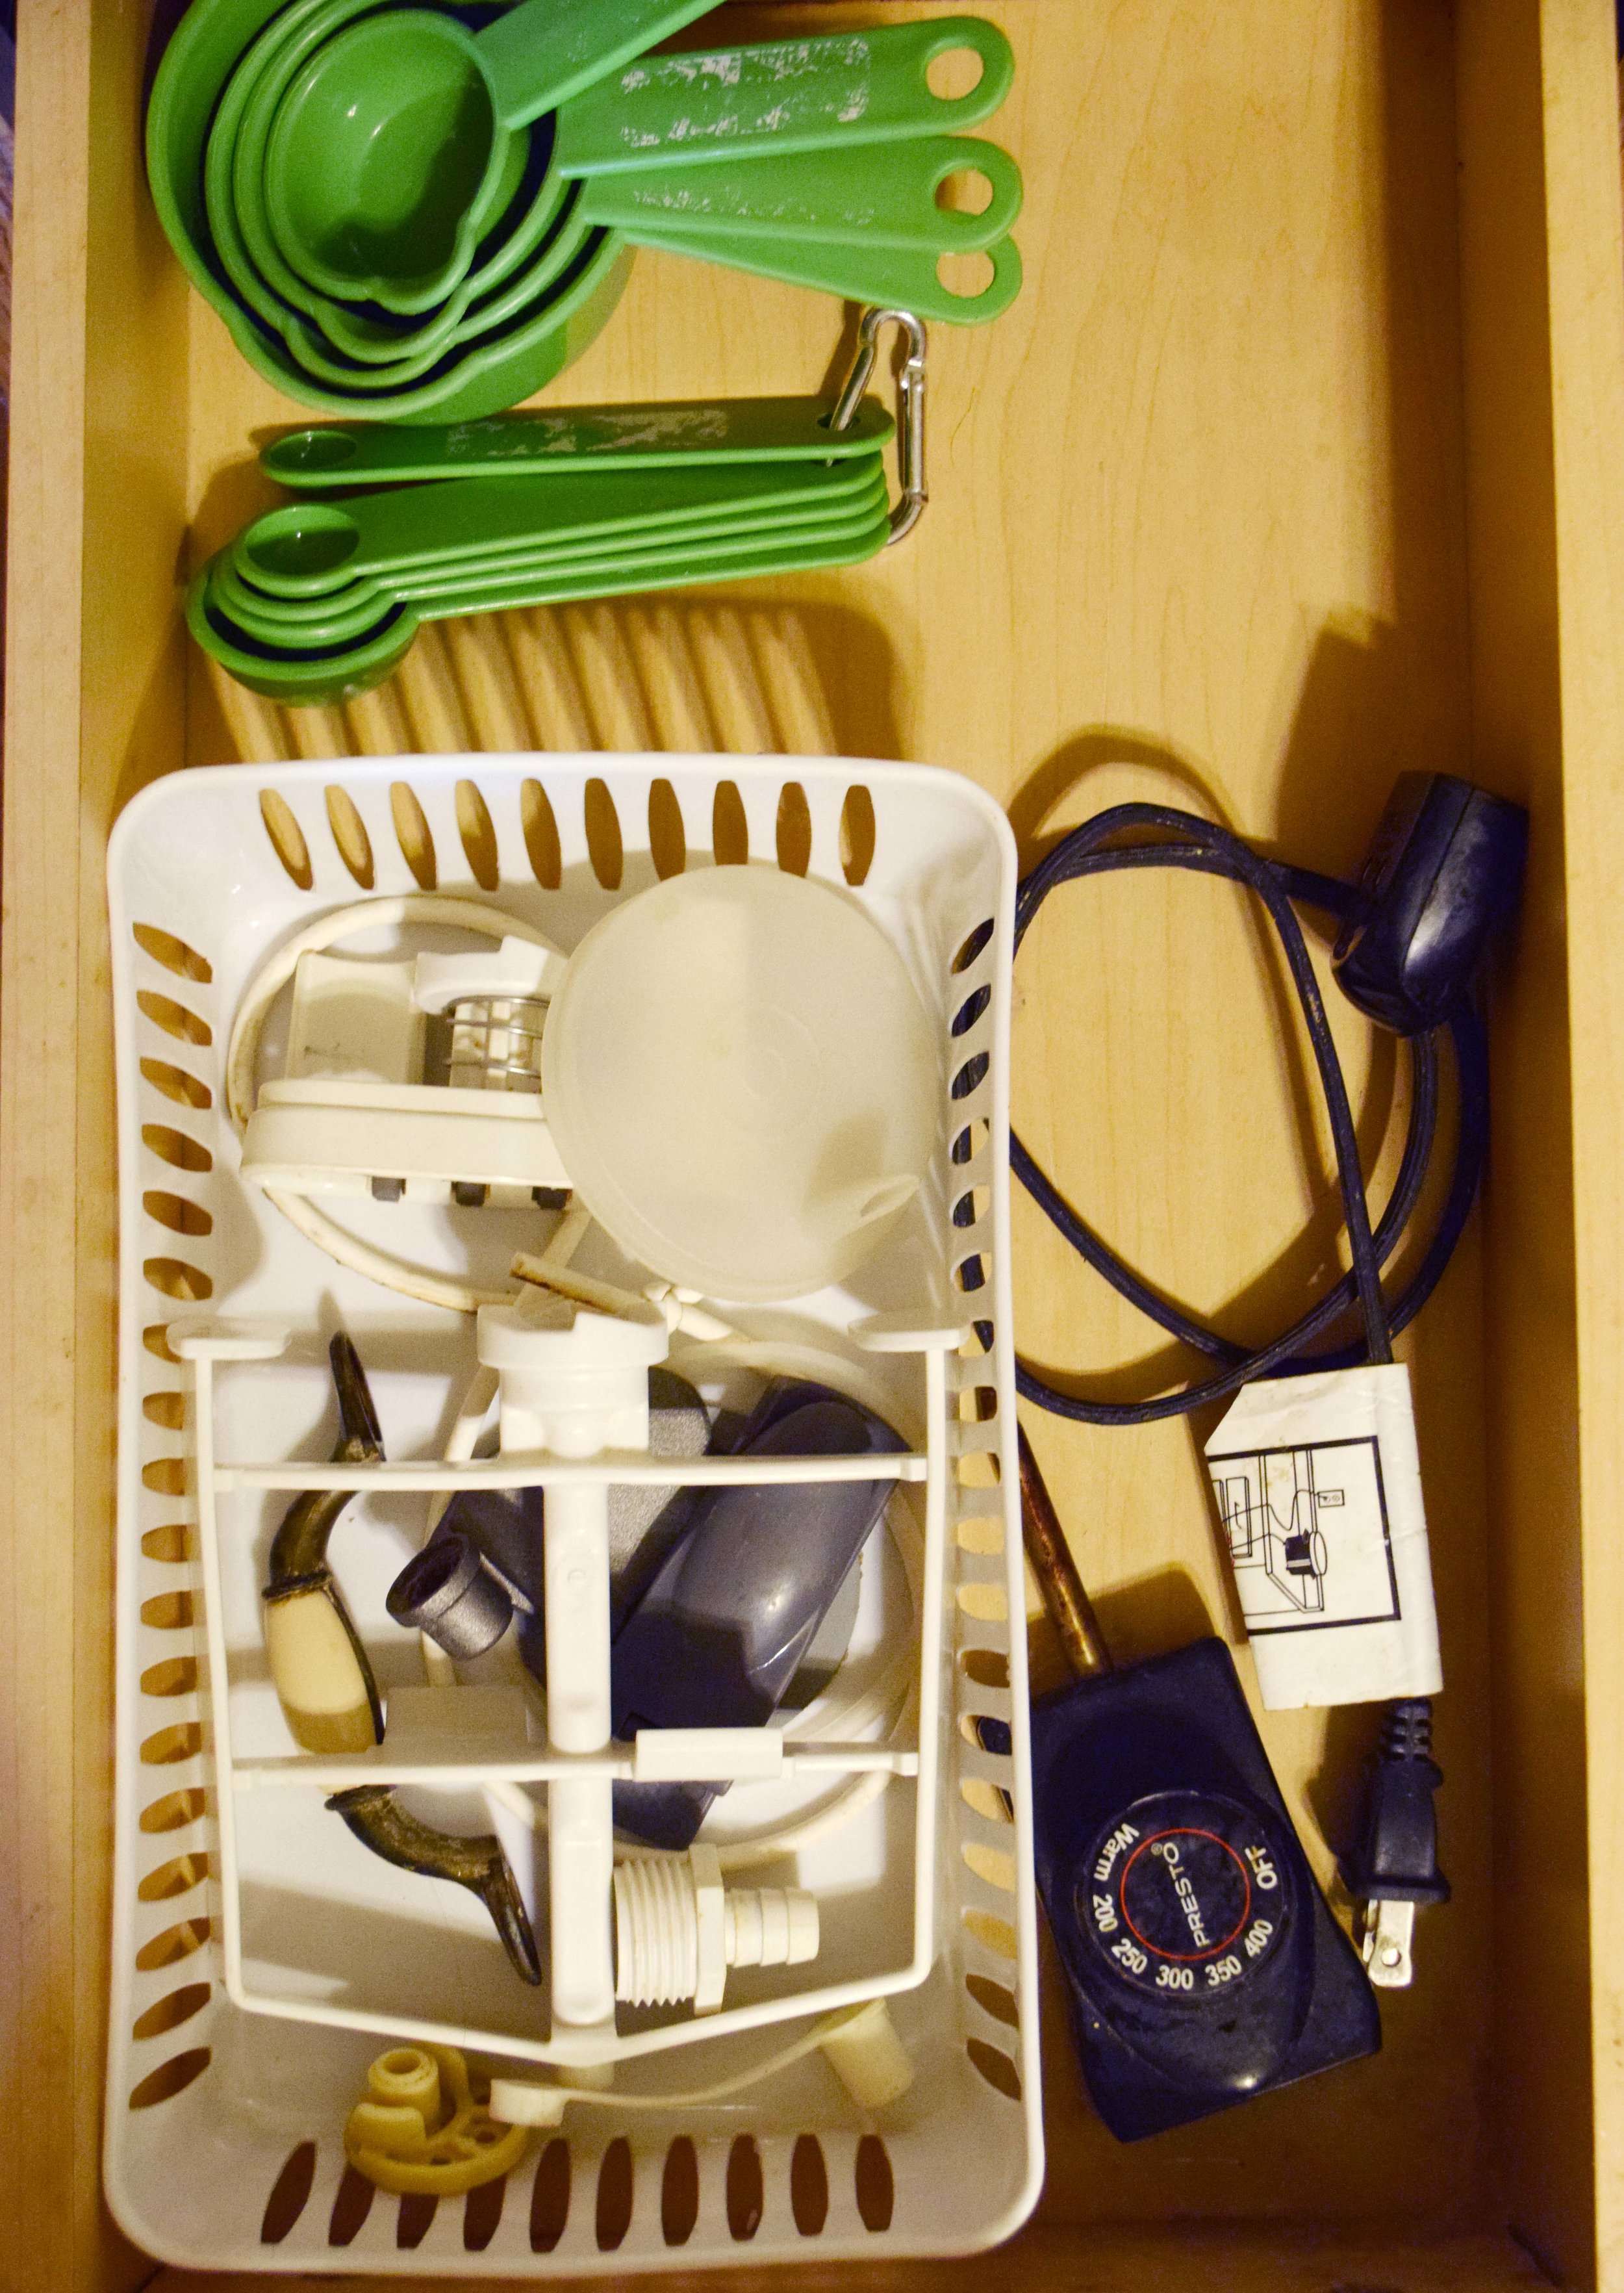
Last stop is the junk drawer. Most of our junk is in baskets around the house (which I plan on revisiting soon) so it really just holds some miscellaneous items and extra things.
I feel like I am off to a good start, even if I got rid of a lot of small items.
Other posts that you may find helpful...
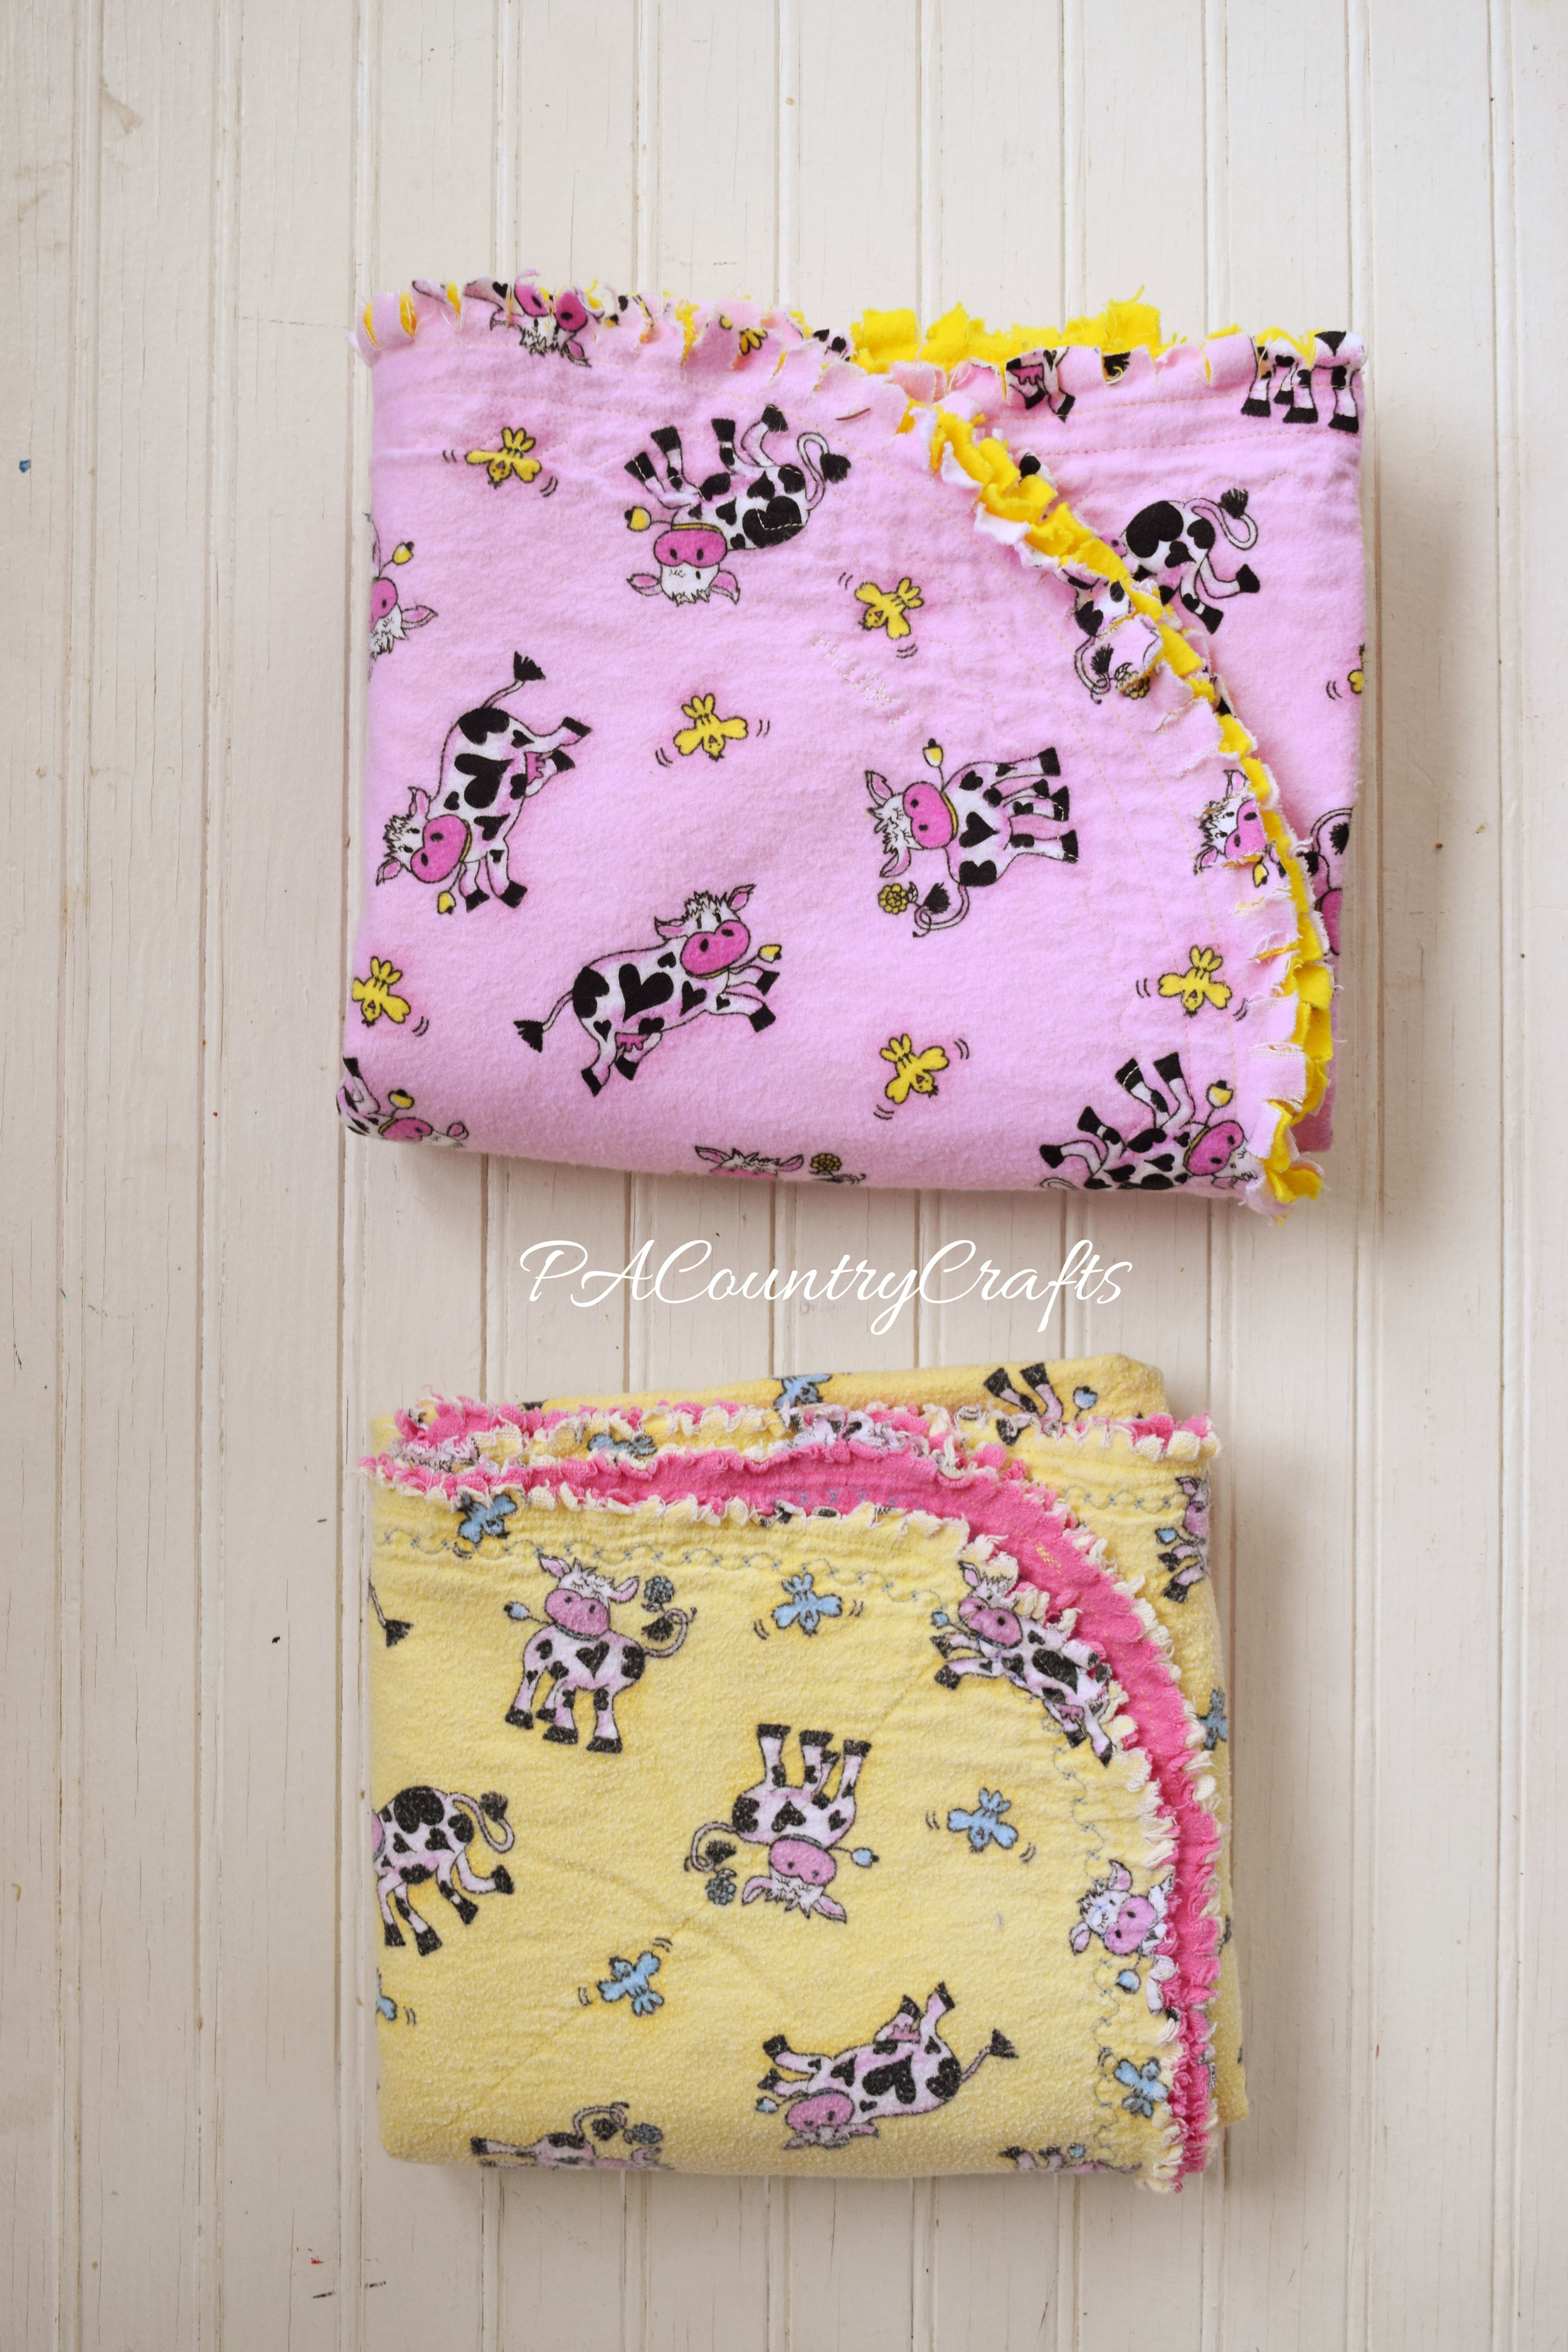
I have made it very clear that I am a procrastinator. When my sister was pregnant with her oldest, who is now 6, I bought this adorable cow flannel with plans to make her a blanket or something. It never happened.
I ended up stealing the yellow flannel and making my youngest daughter a blanket, so I still had the pink cow flannel in my stash. Since my sister has now had another baby girl, I decided to finally make her the blanket and I even tricked my niece into helping with the safety pins. Yes, on the blanket that should have been hers.

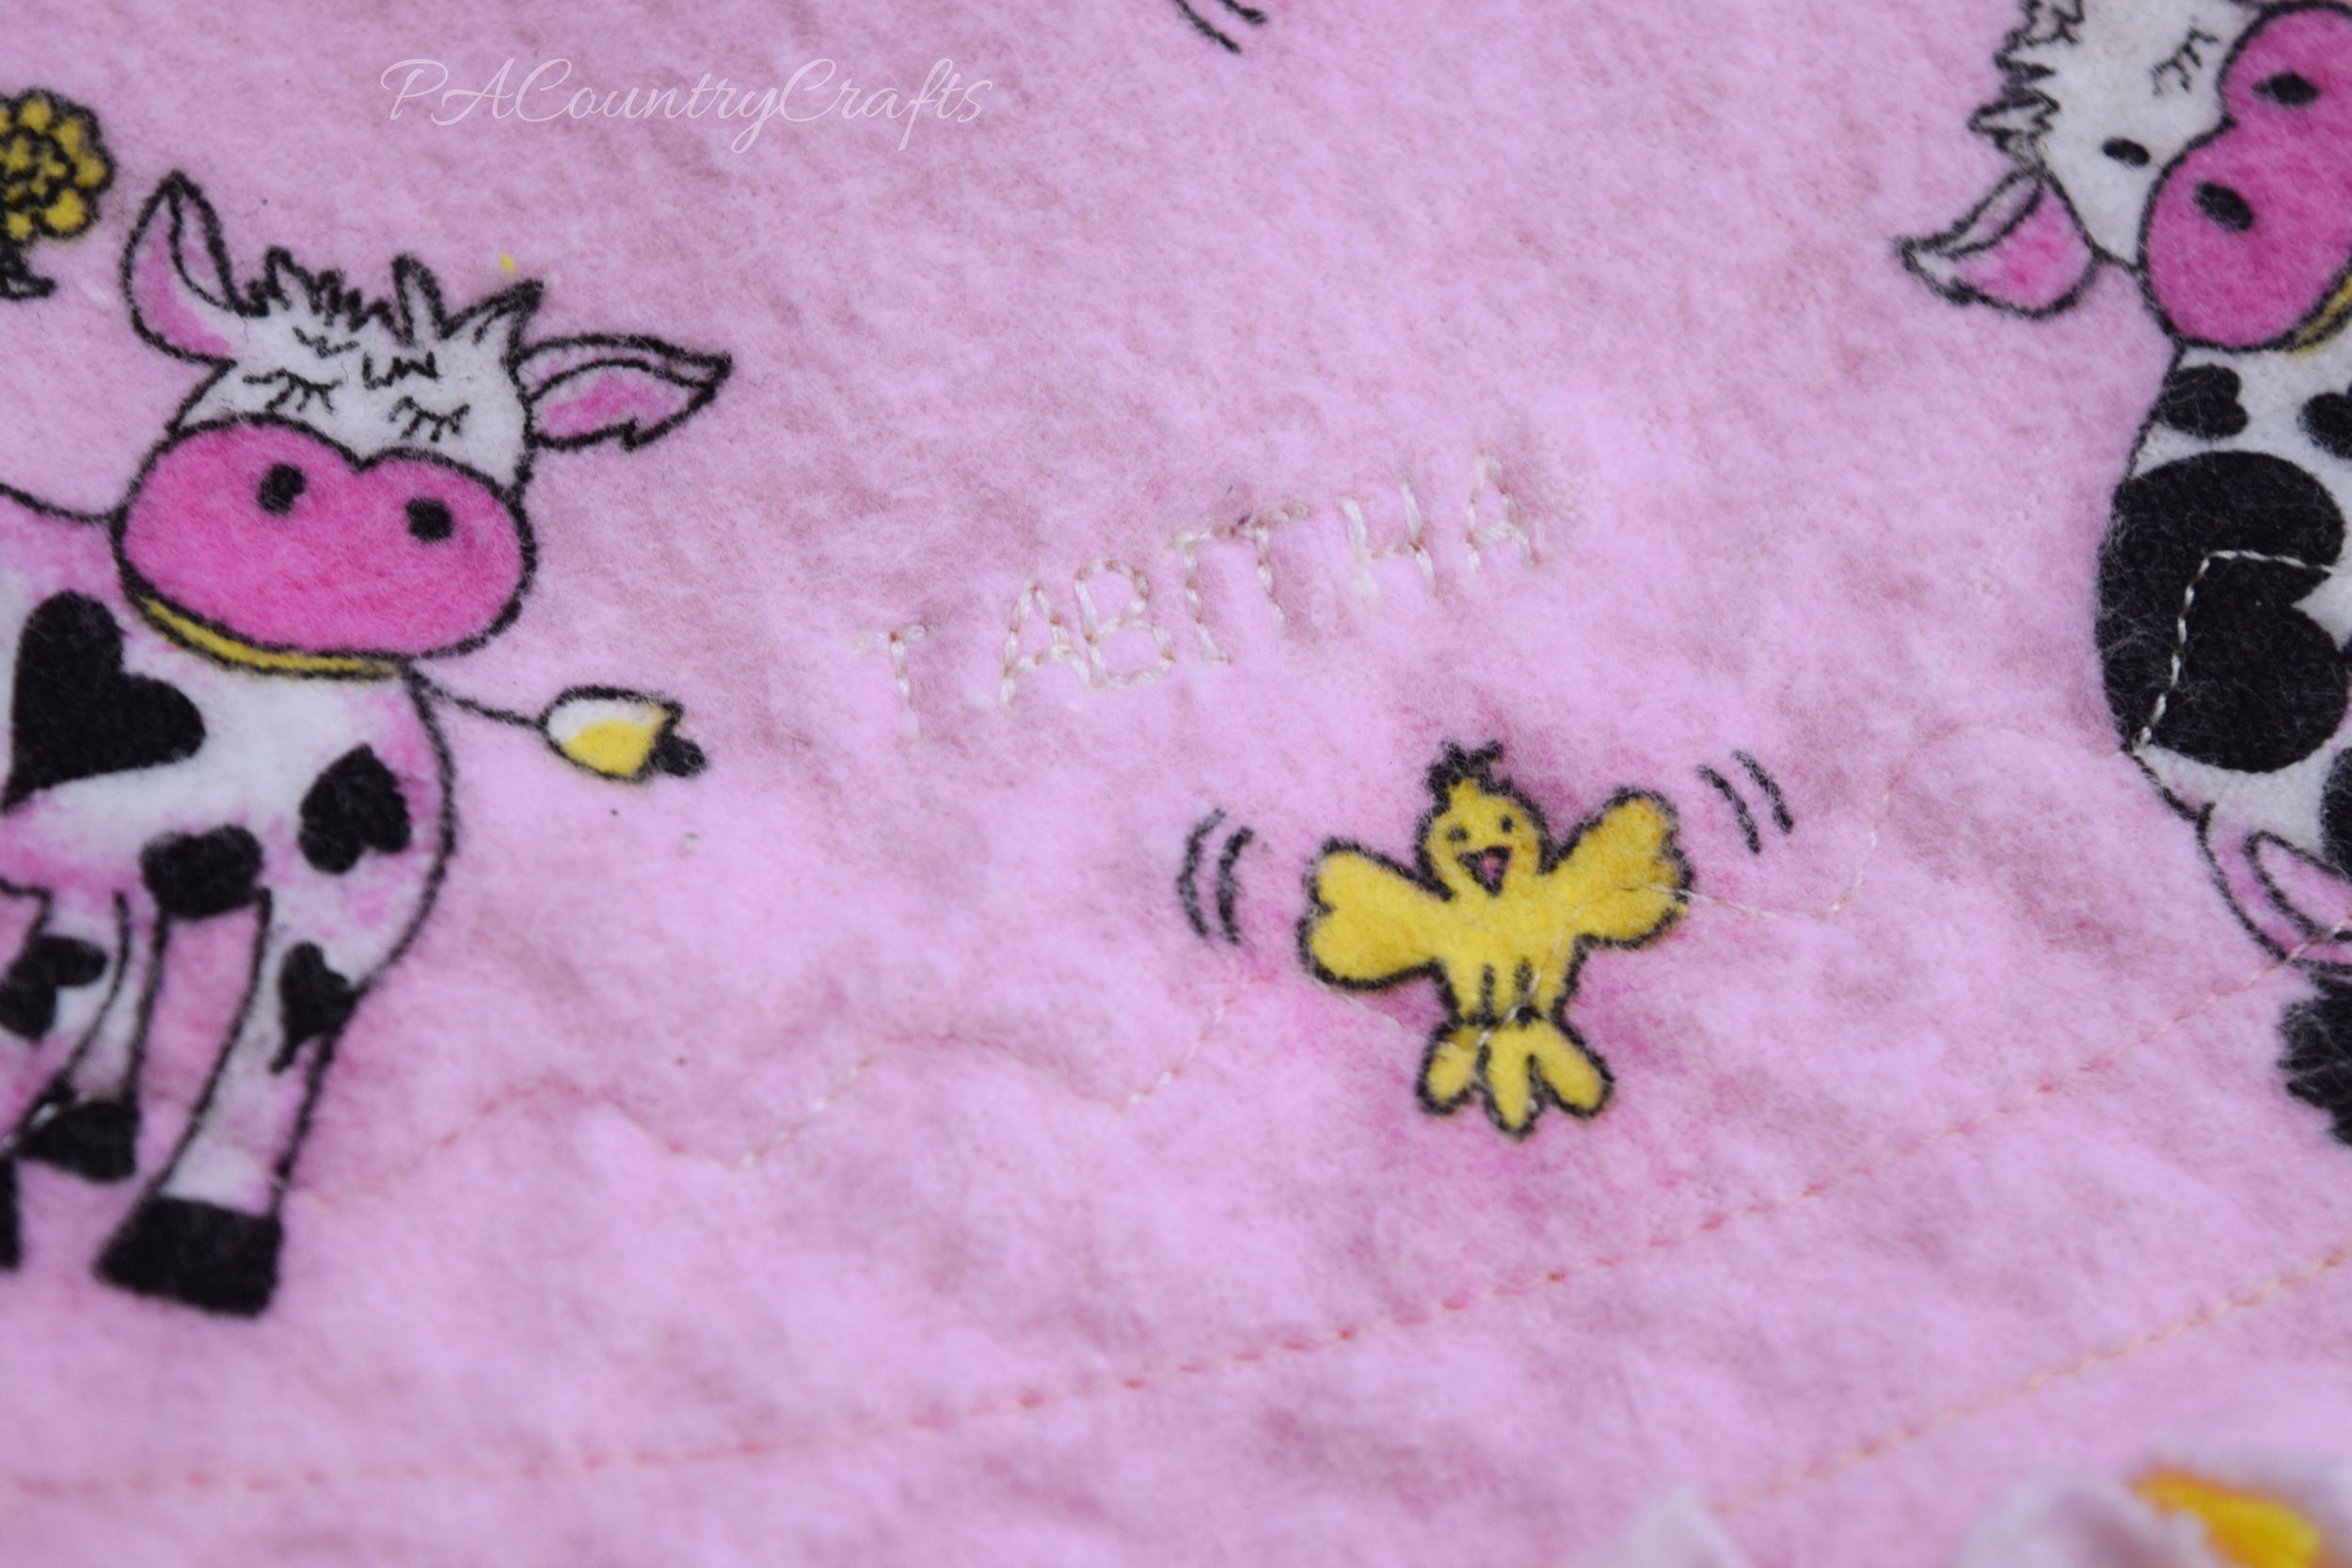
I also used my letter stitches to put her name on one corner, just because I never use those letter stitches.
I really love these blankets. They are big and such a nice in-between weight. As you can see, my blanket got a lot of use...
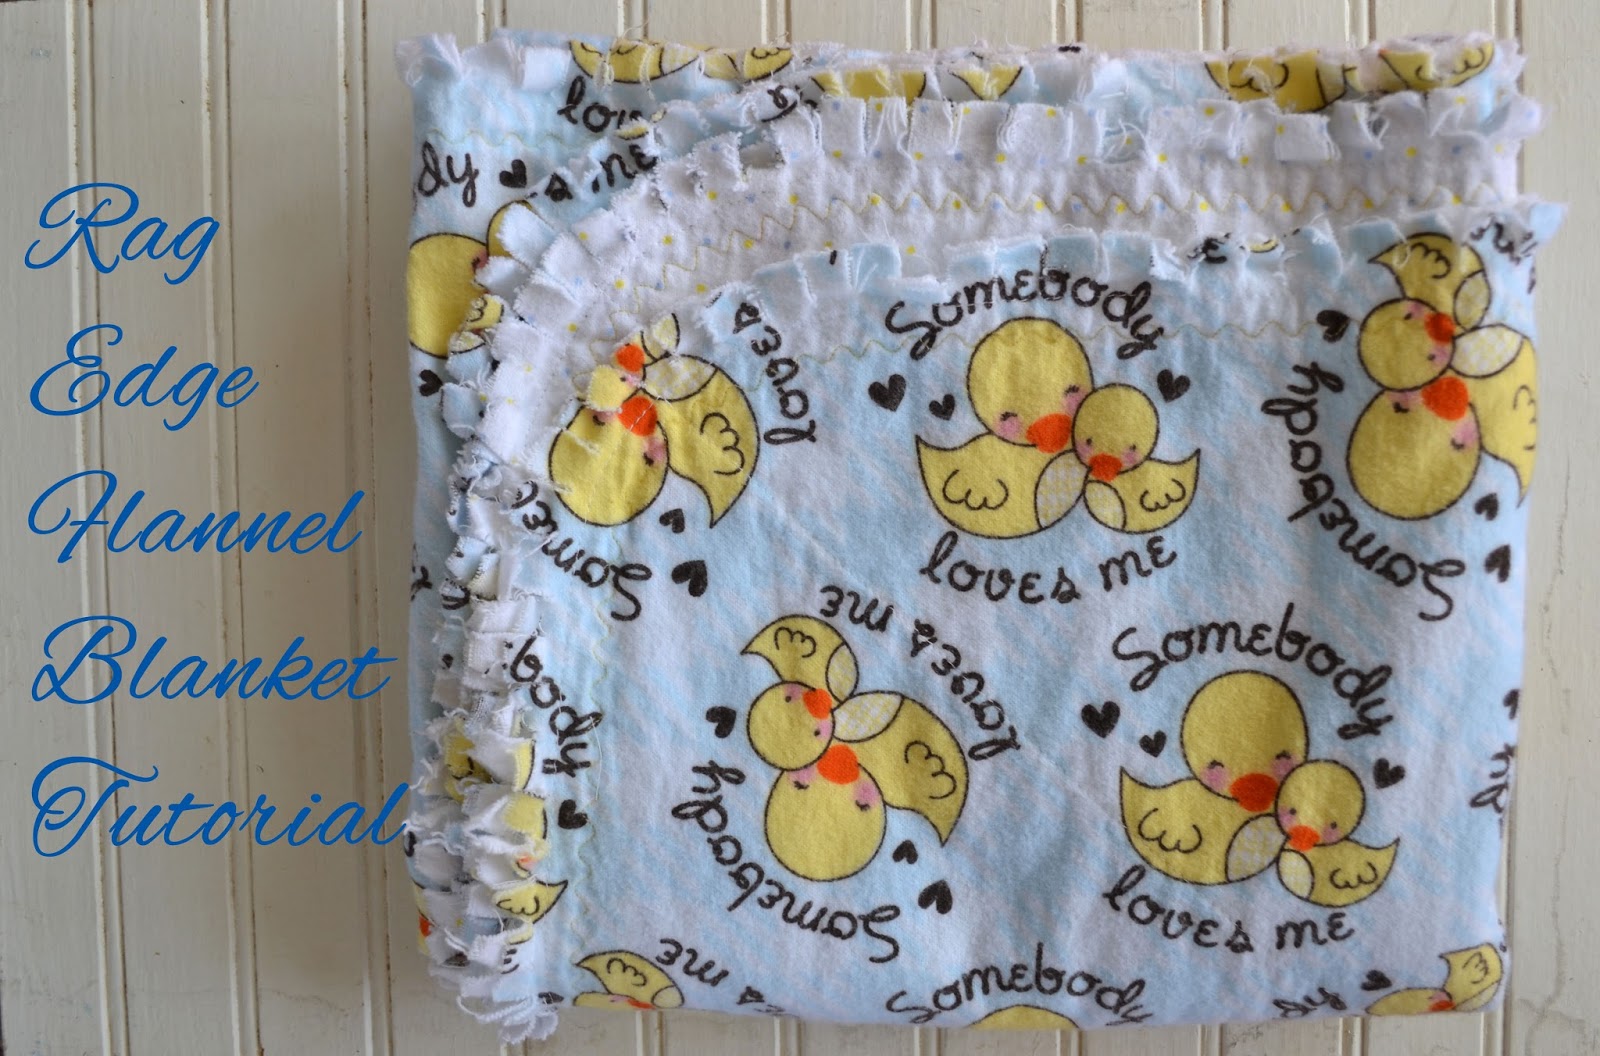
You can find my original tutorial for how I make these blankets by clicking on the picture below...
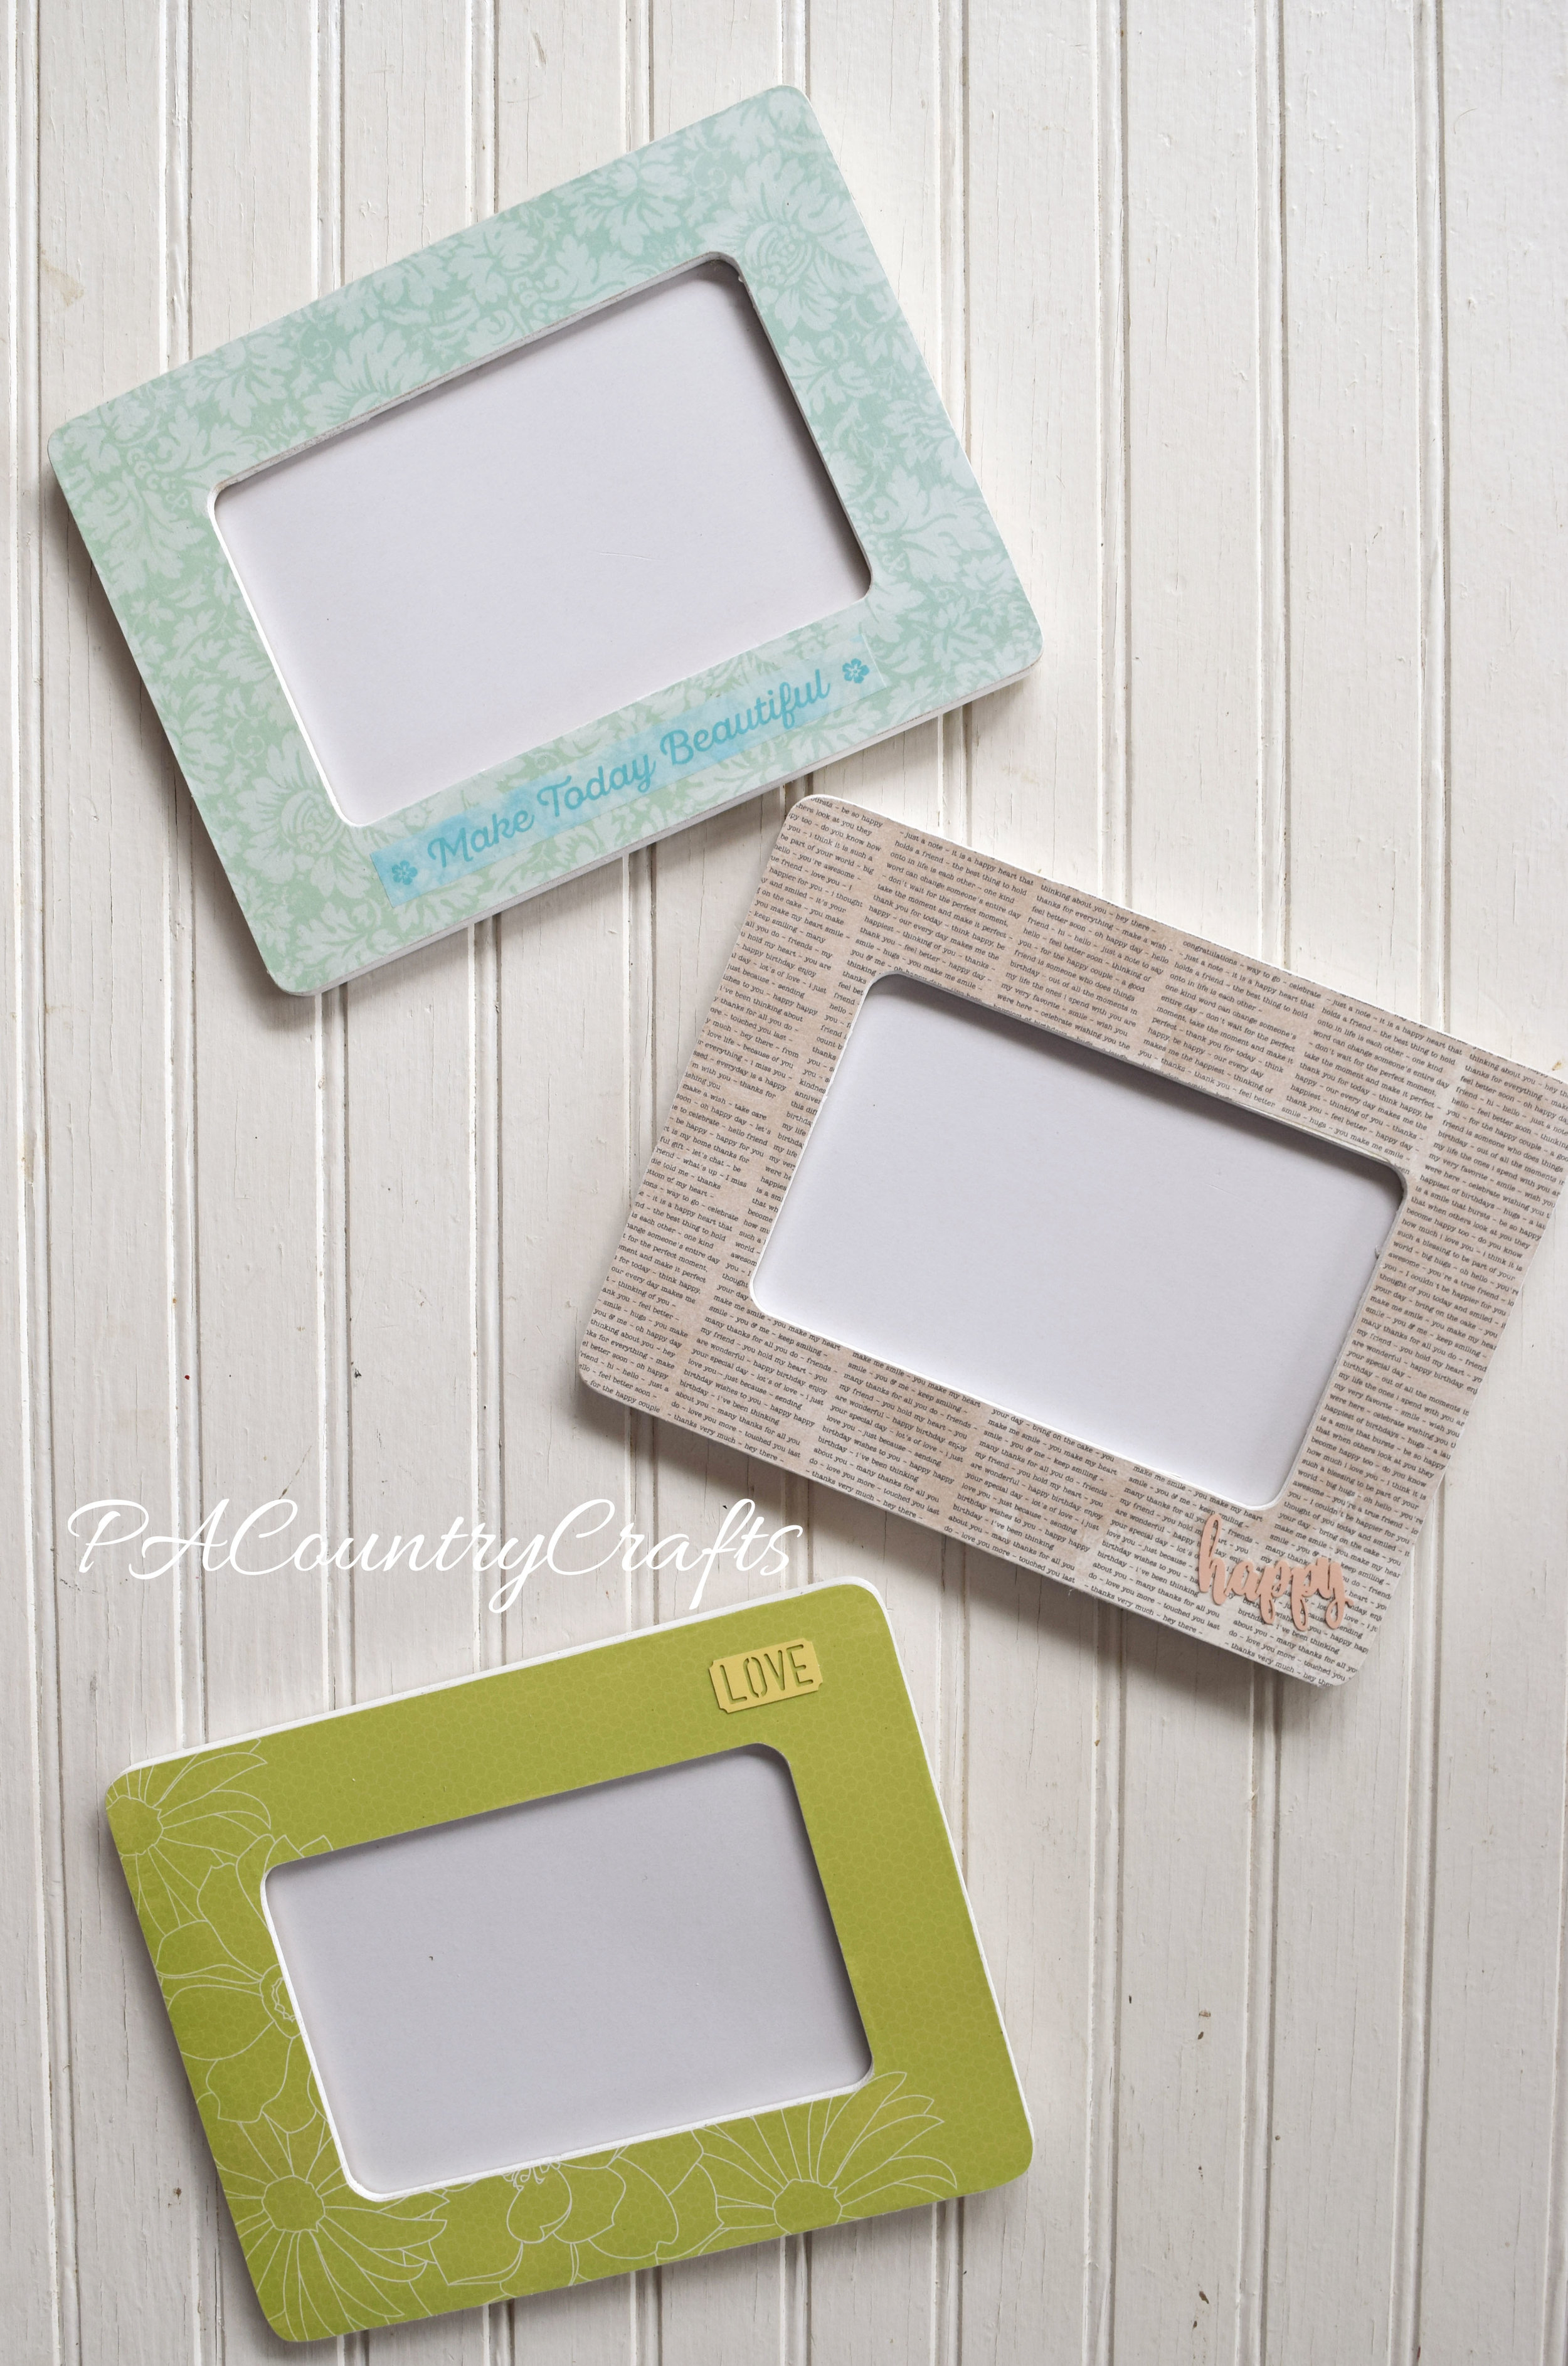
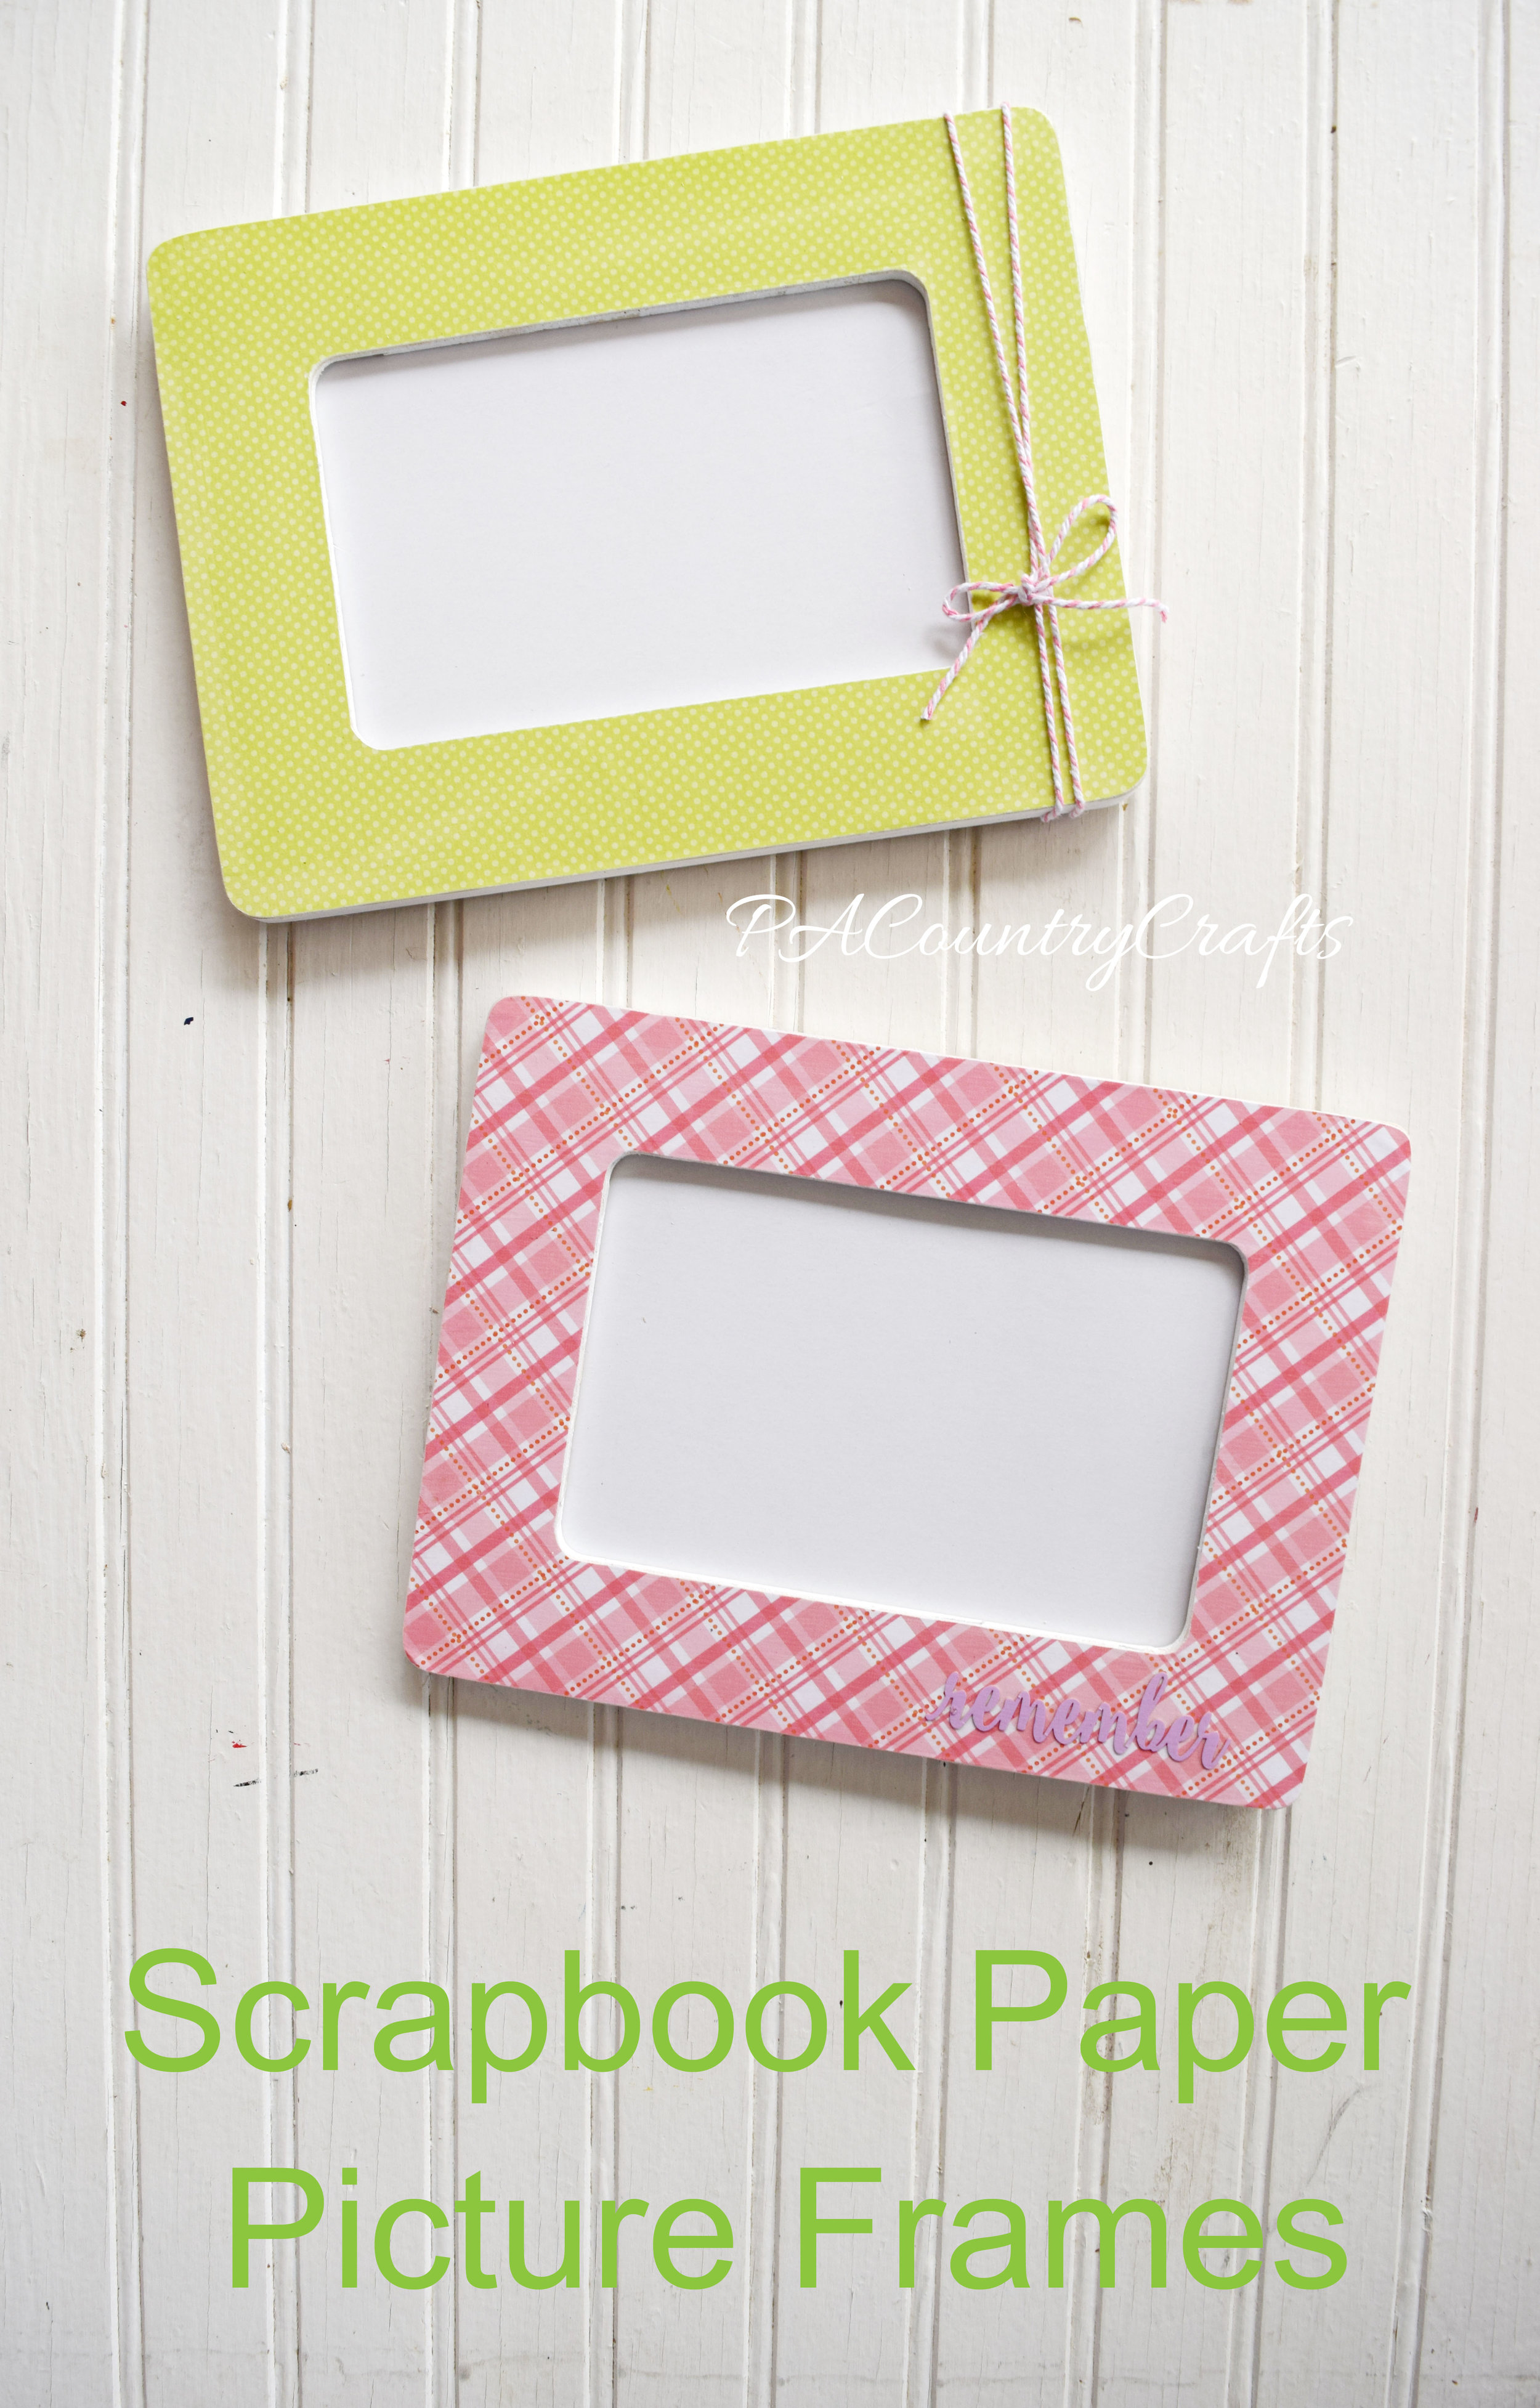
April is generally the craft month for our MOPS group. We wanted to come up with something that every mom could use... picture frames! At the March meeting we set up a photo booth with two background choices: an aqua sheet thumbtacked to the divider with THIS pink and yellow bunting or a navy sheet thumbtacked to the divider with some yellow stars that are part of our "Starry Eyed" meeting decor. They were simple, but beautiful (and FREE!) One of our steering team members is also a talented photographer. She has a good eye for capturing those special moments. She photographed the moms as they came in with their little ones and we got free 4 x 6 prints through the Shutterfly app printed before the April meeting. We figured if there was a picture to put in the frame right away it would be used.

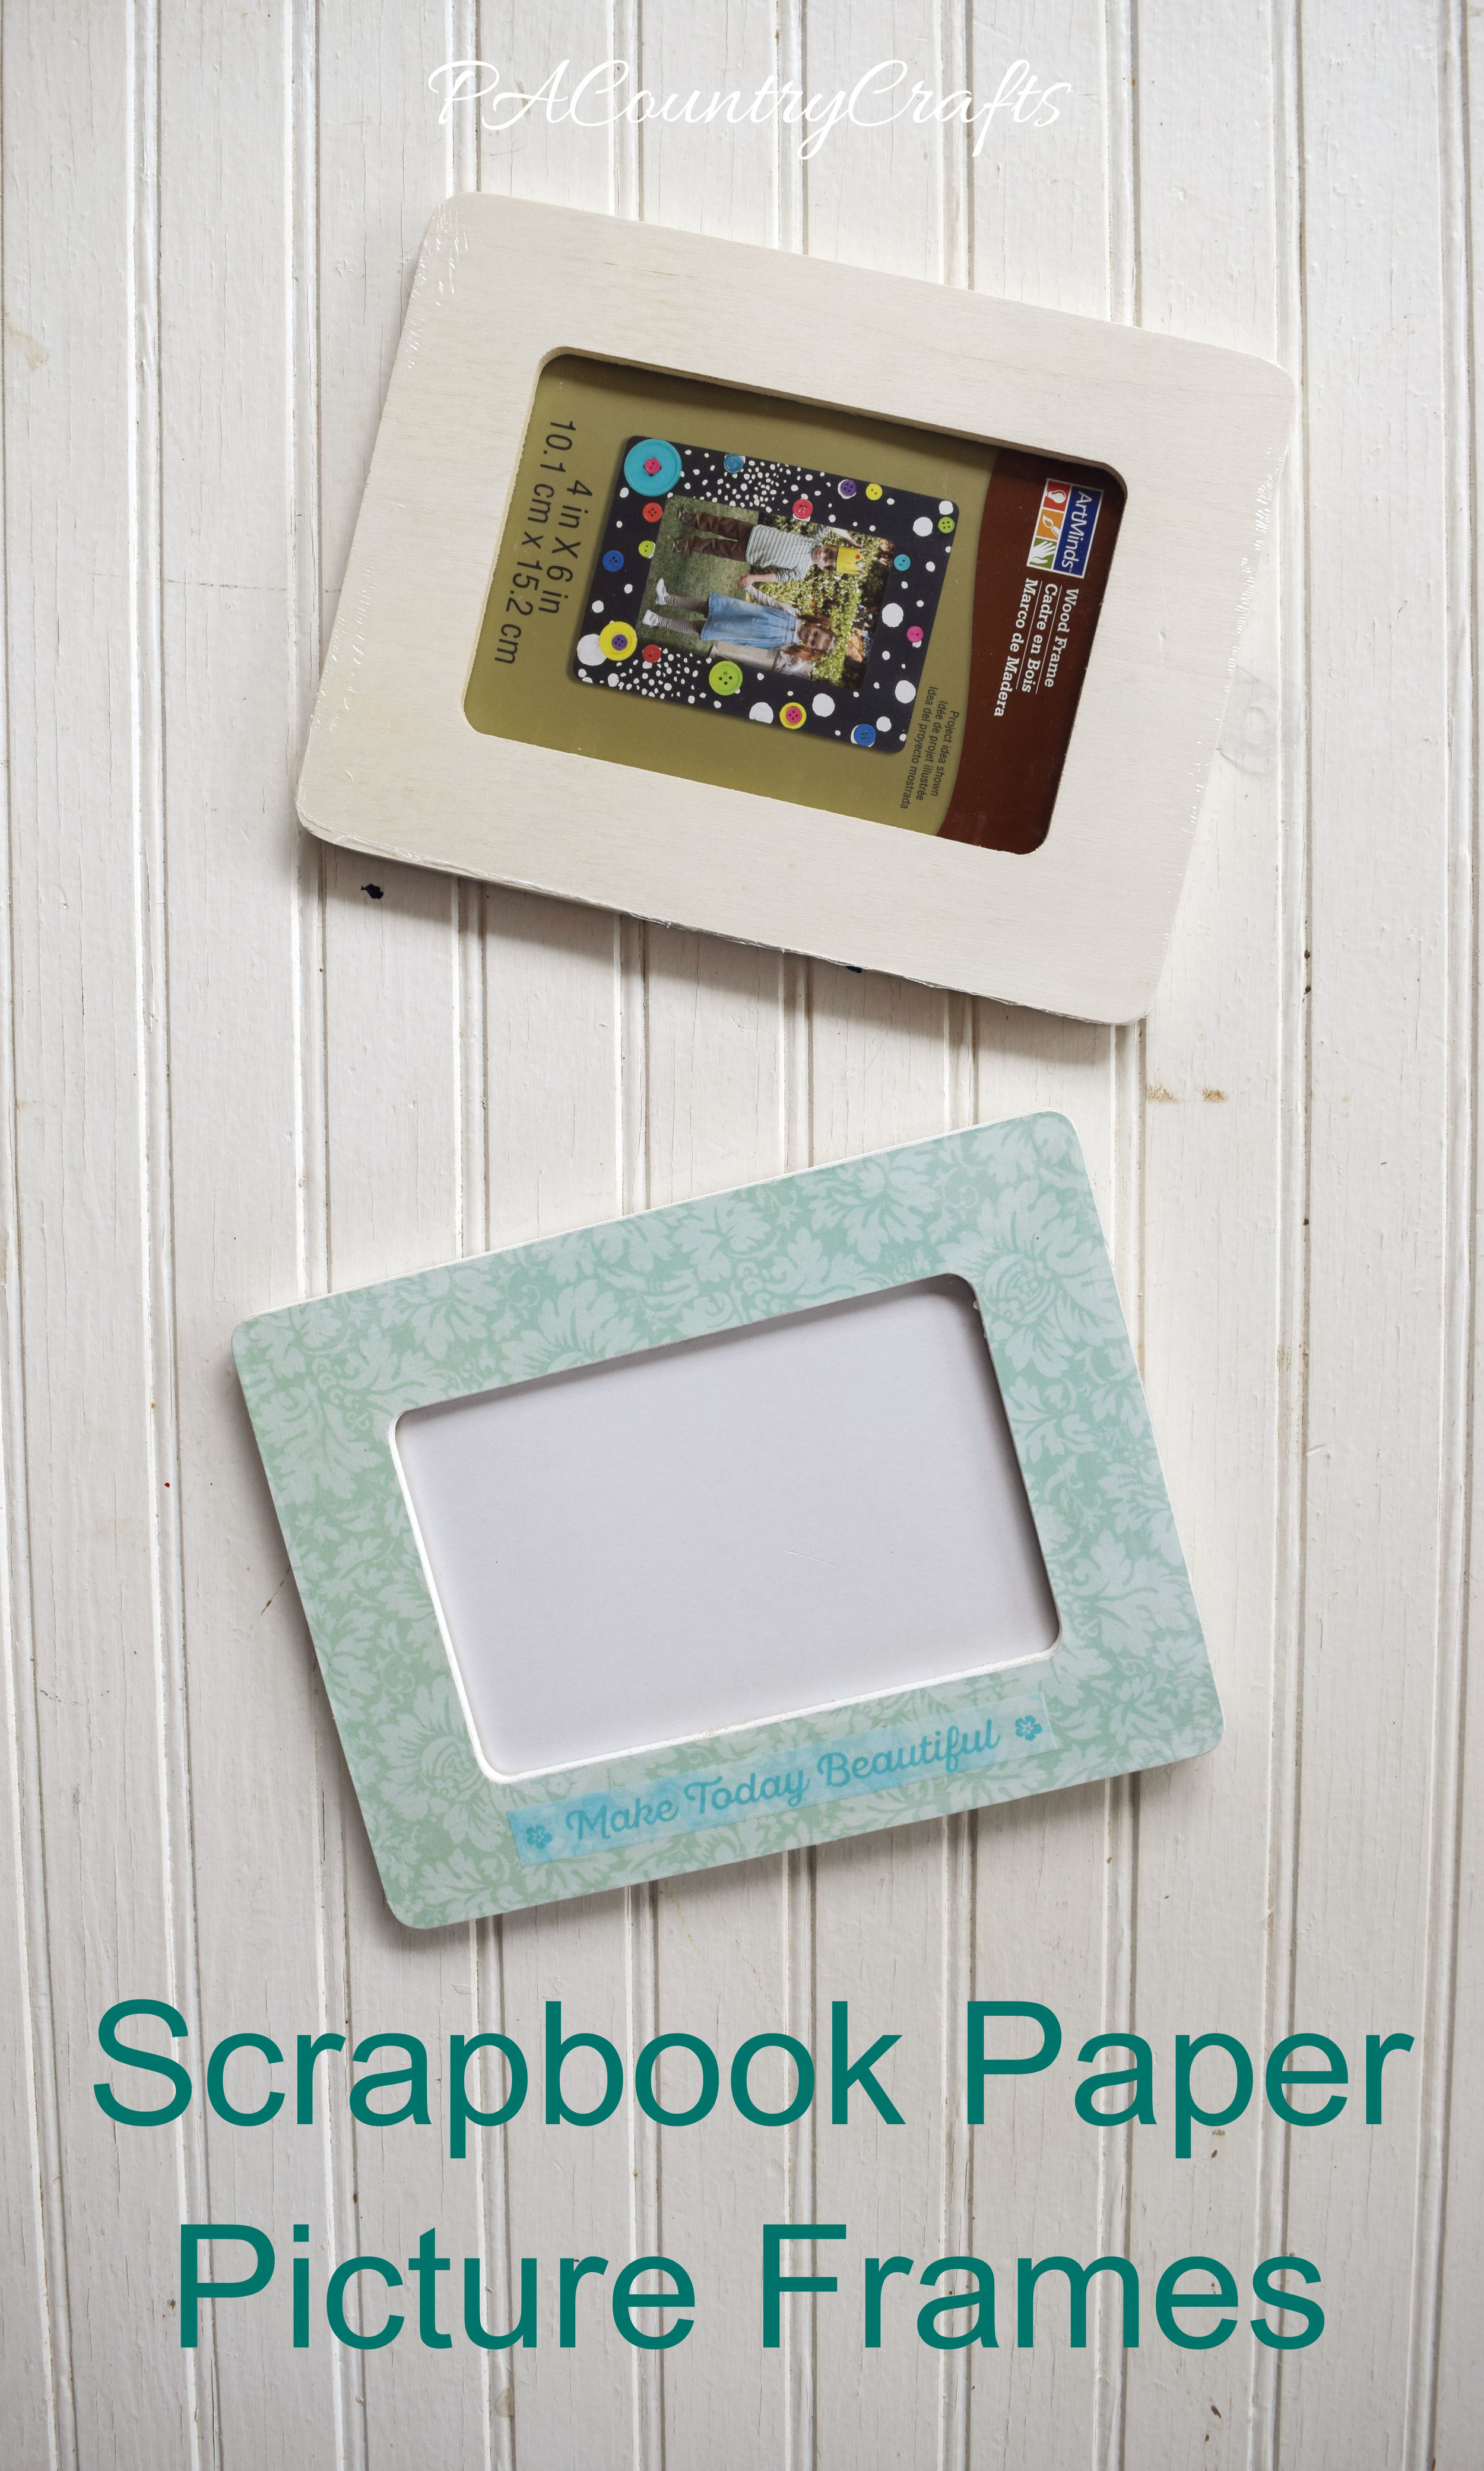
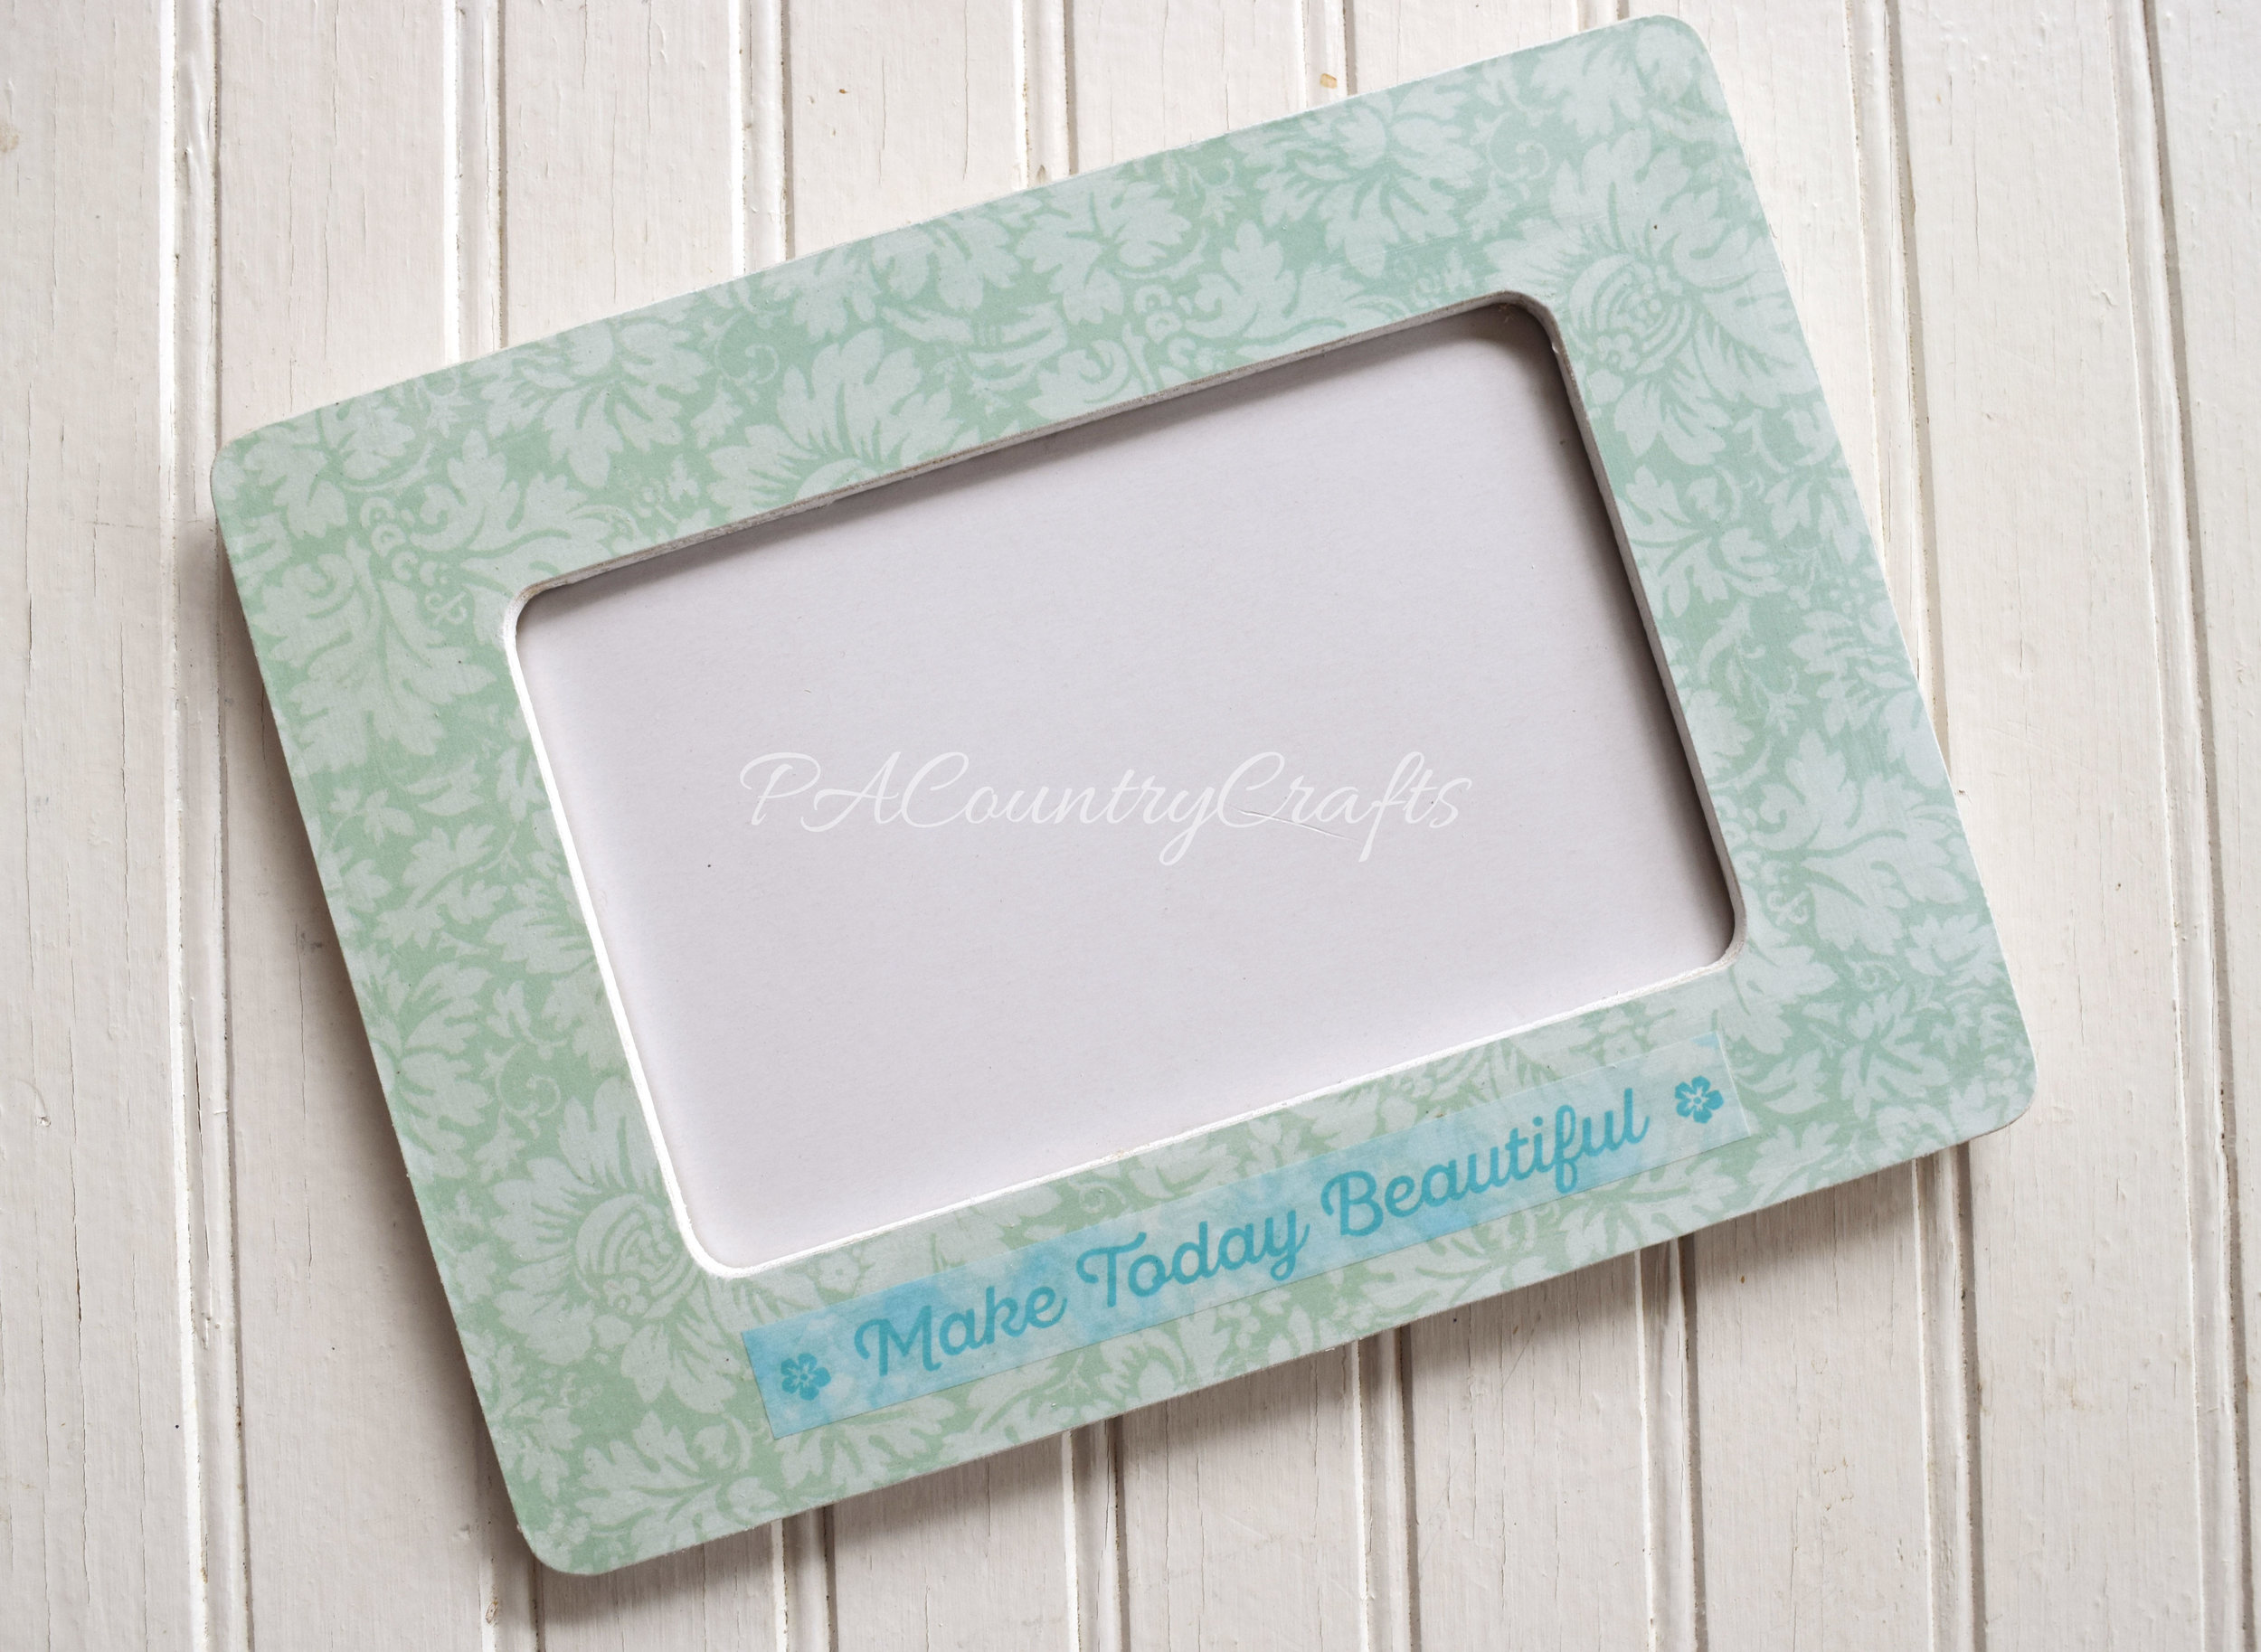
The frames were easy and inexpensive. I got them at Michaels and used a 30% off your entire purchase coupon so they were only 70 cents each. We also used up leftover paper from our journal craft in September (see HERE). I picked up some more scrapbook papers in neutral and blue colors that would be better for pictures with the navy background.

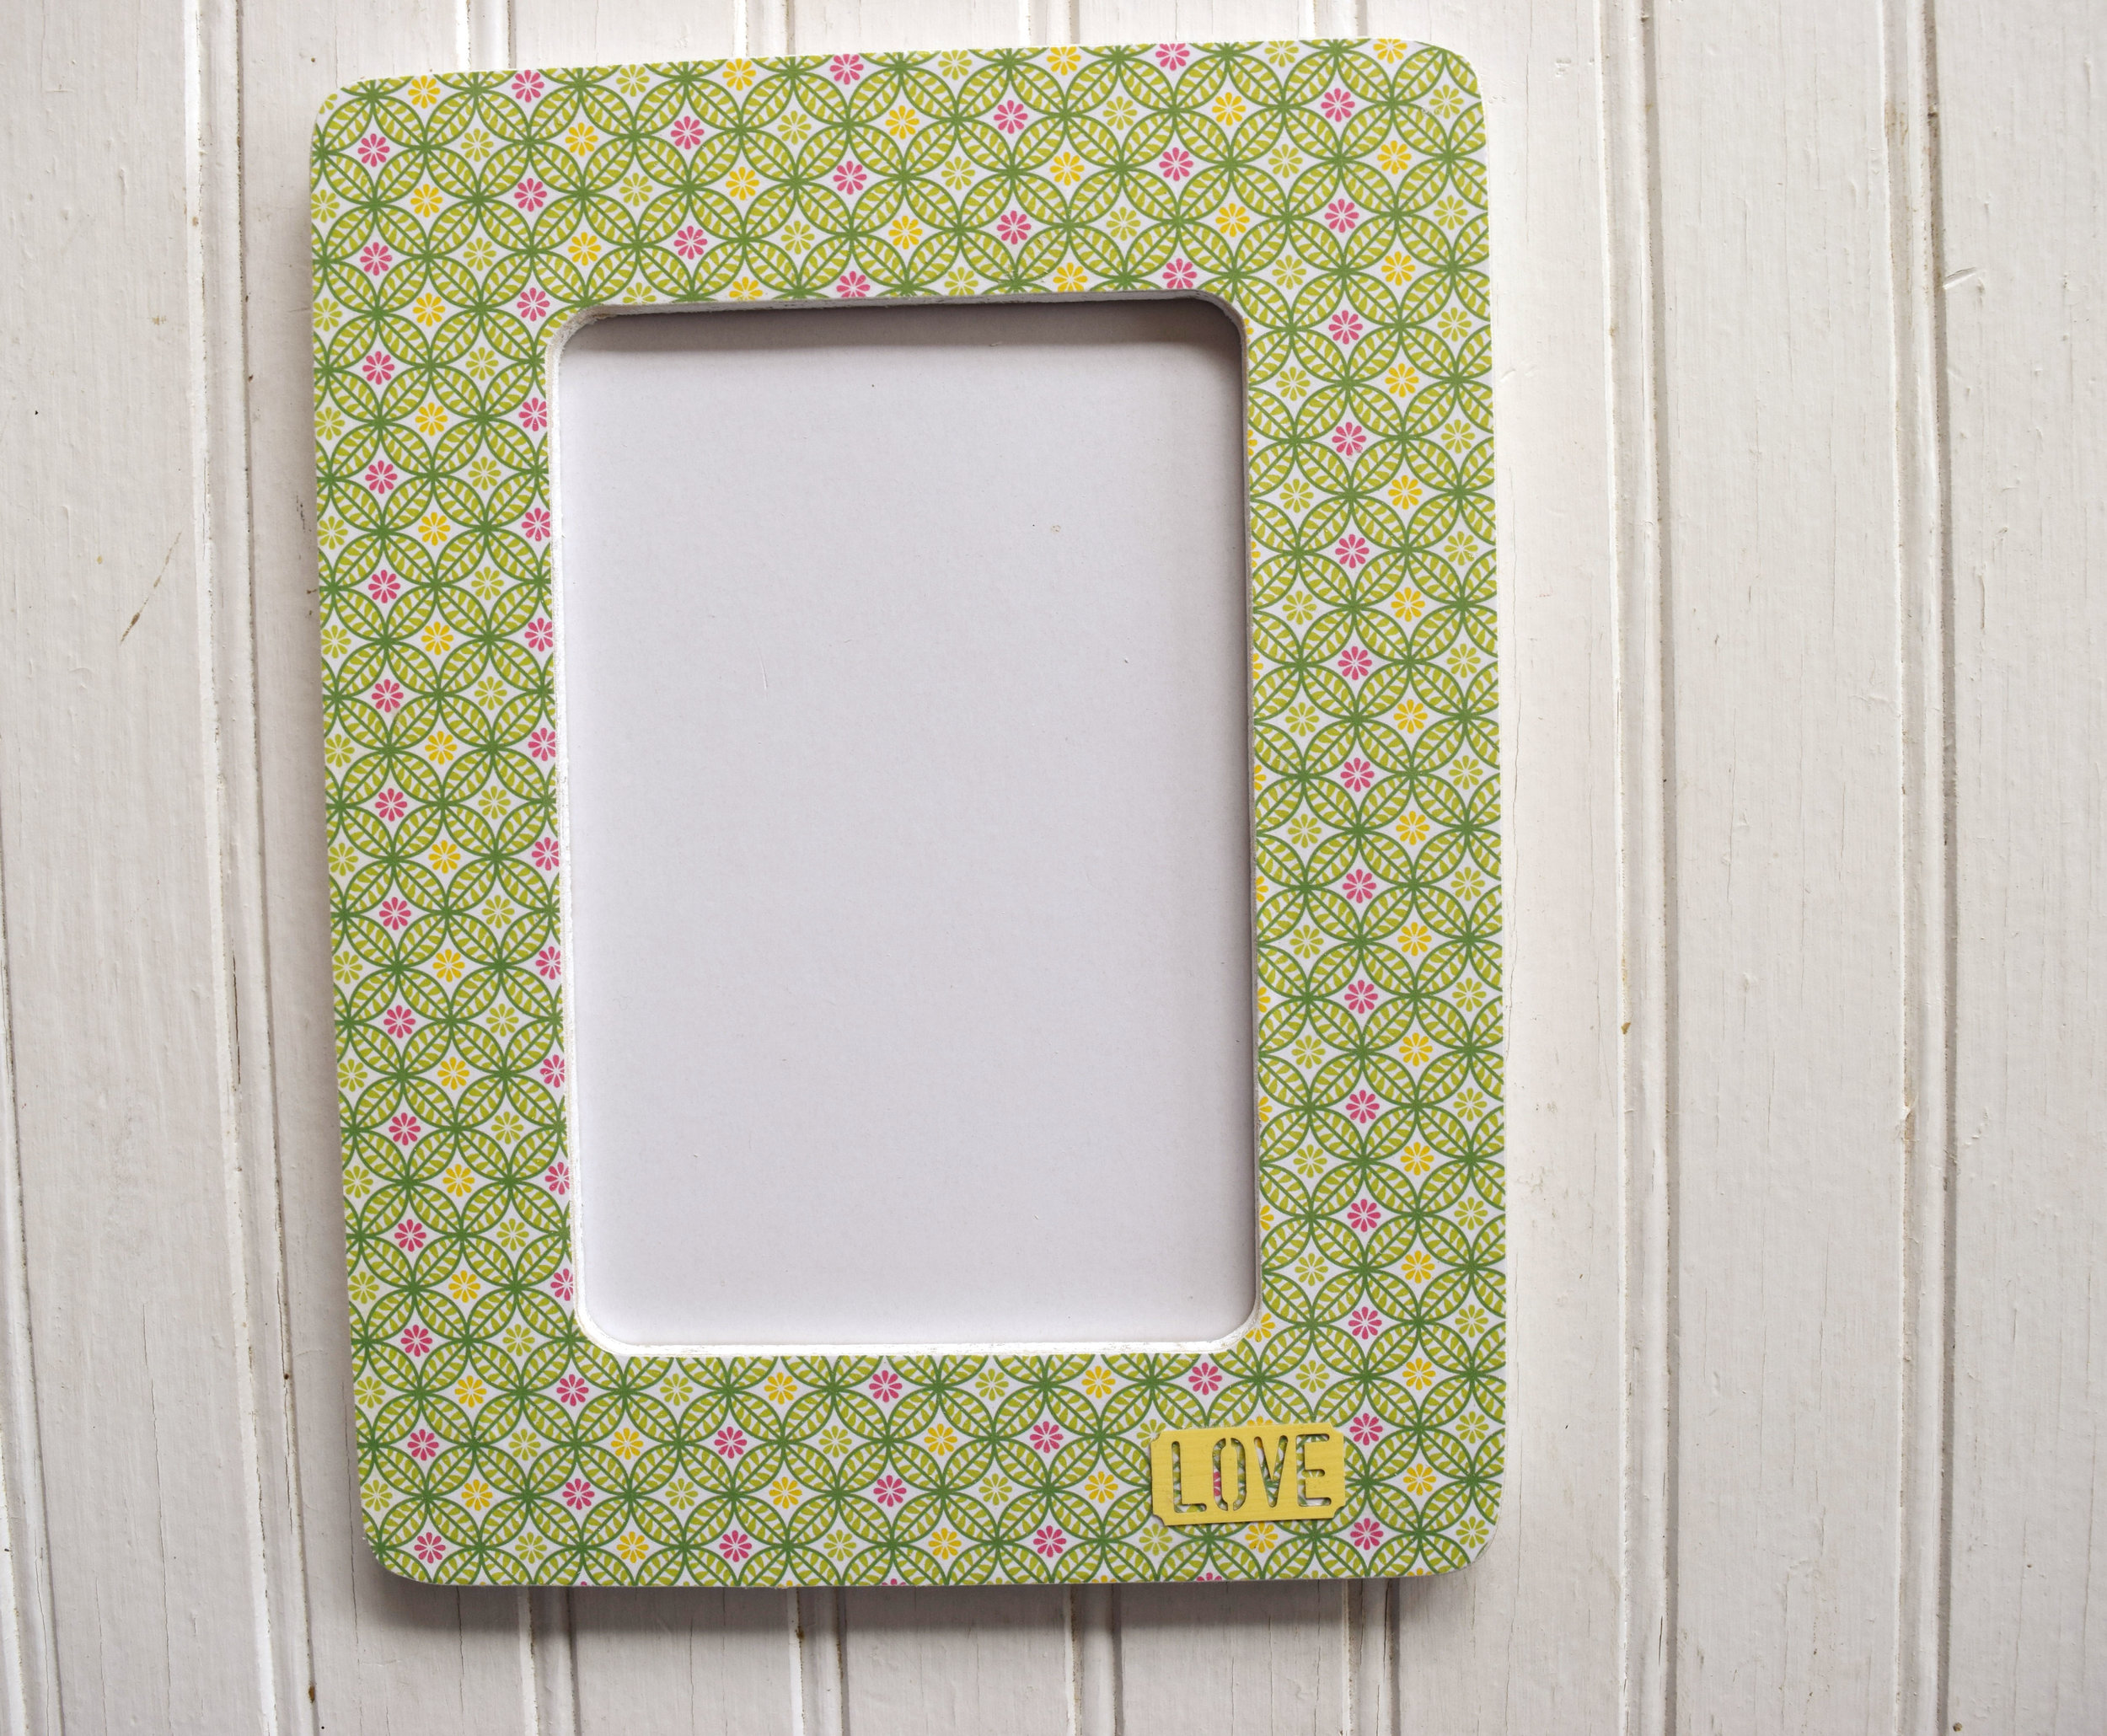
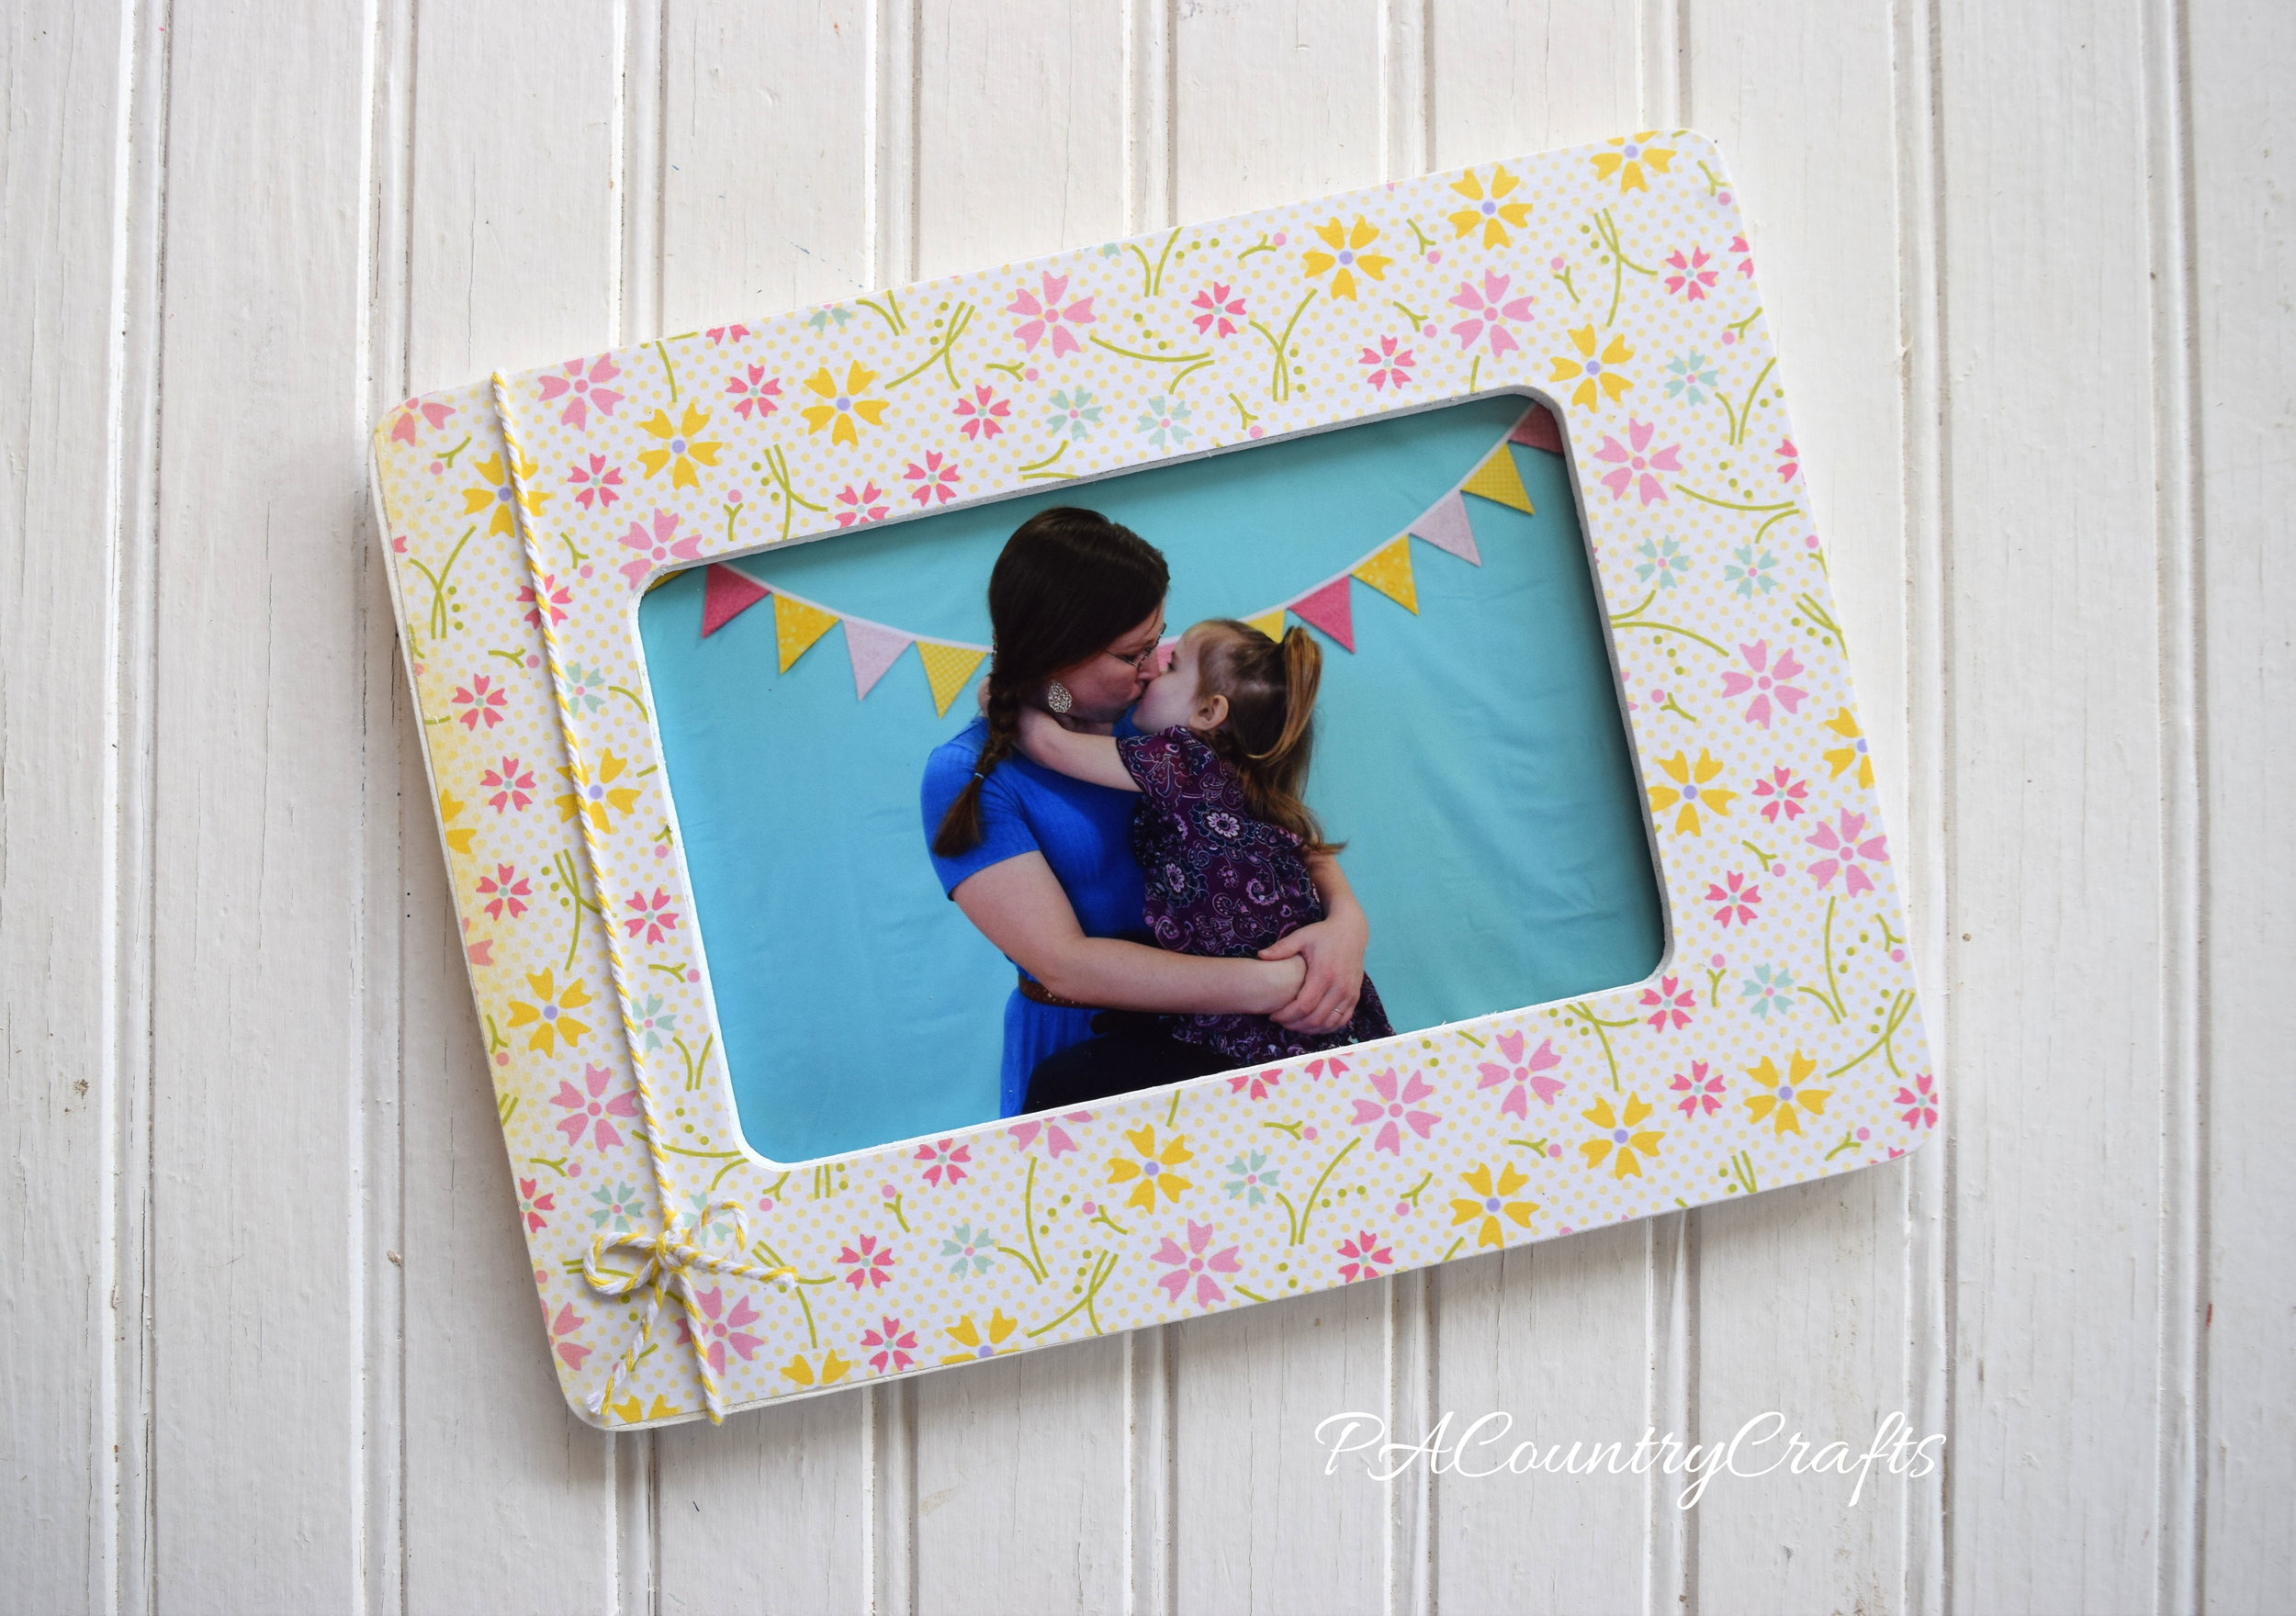
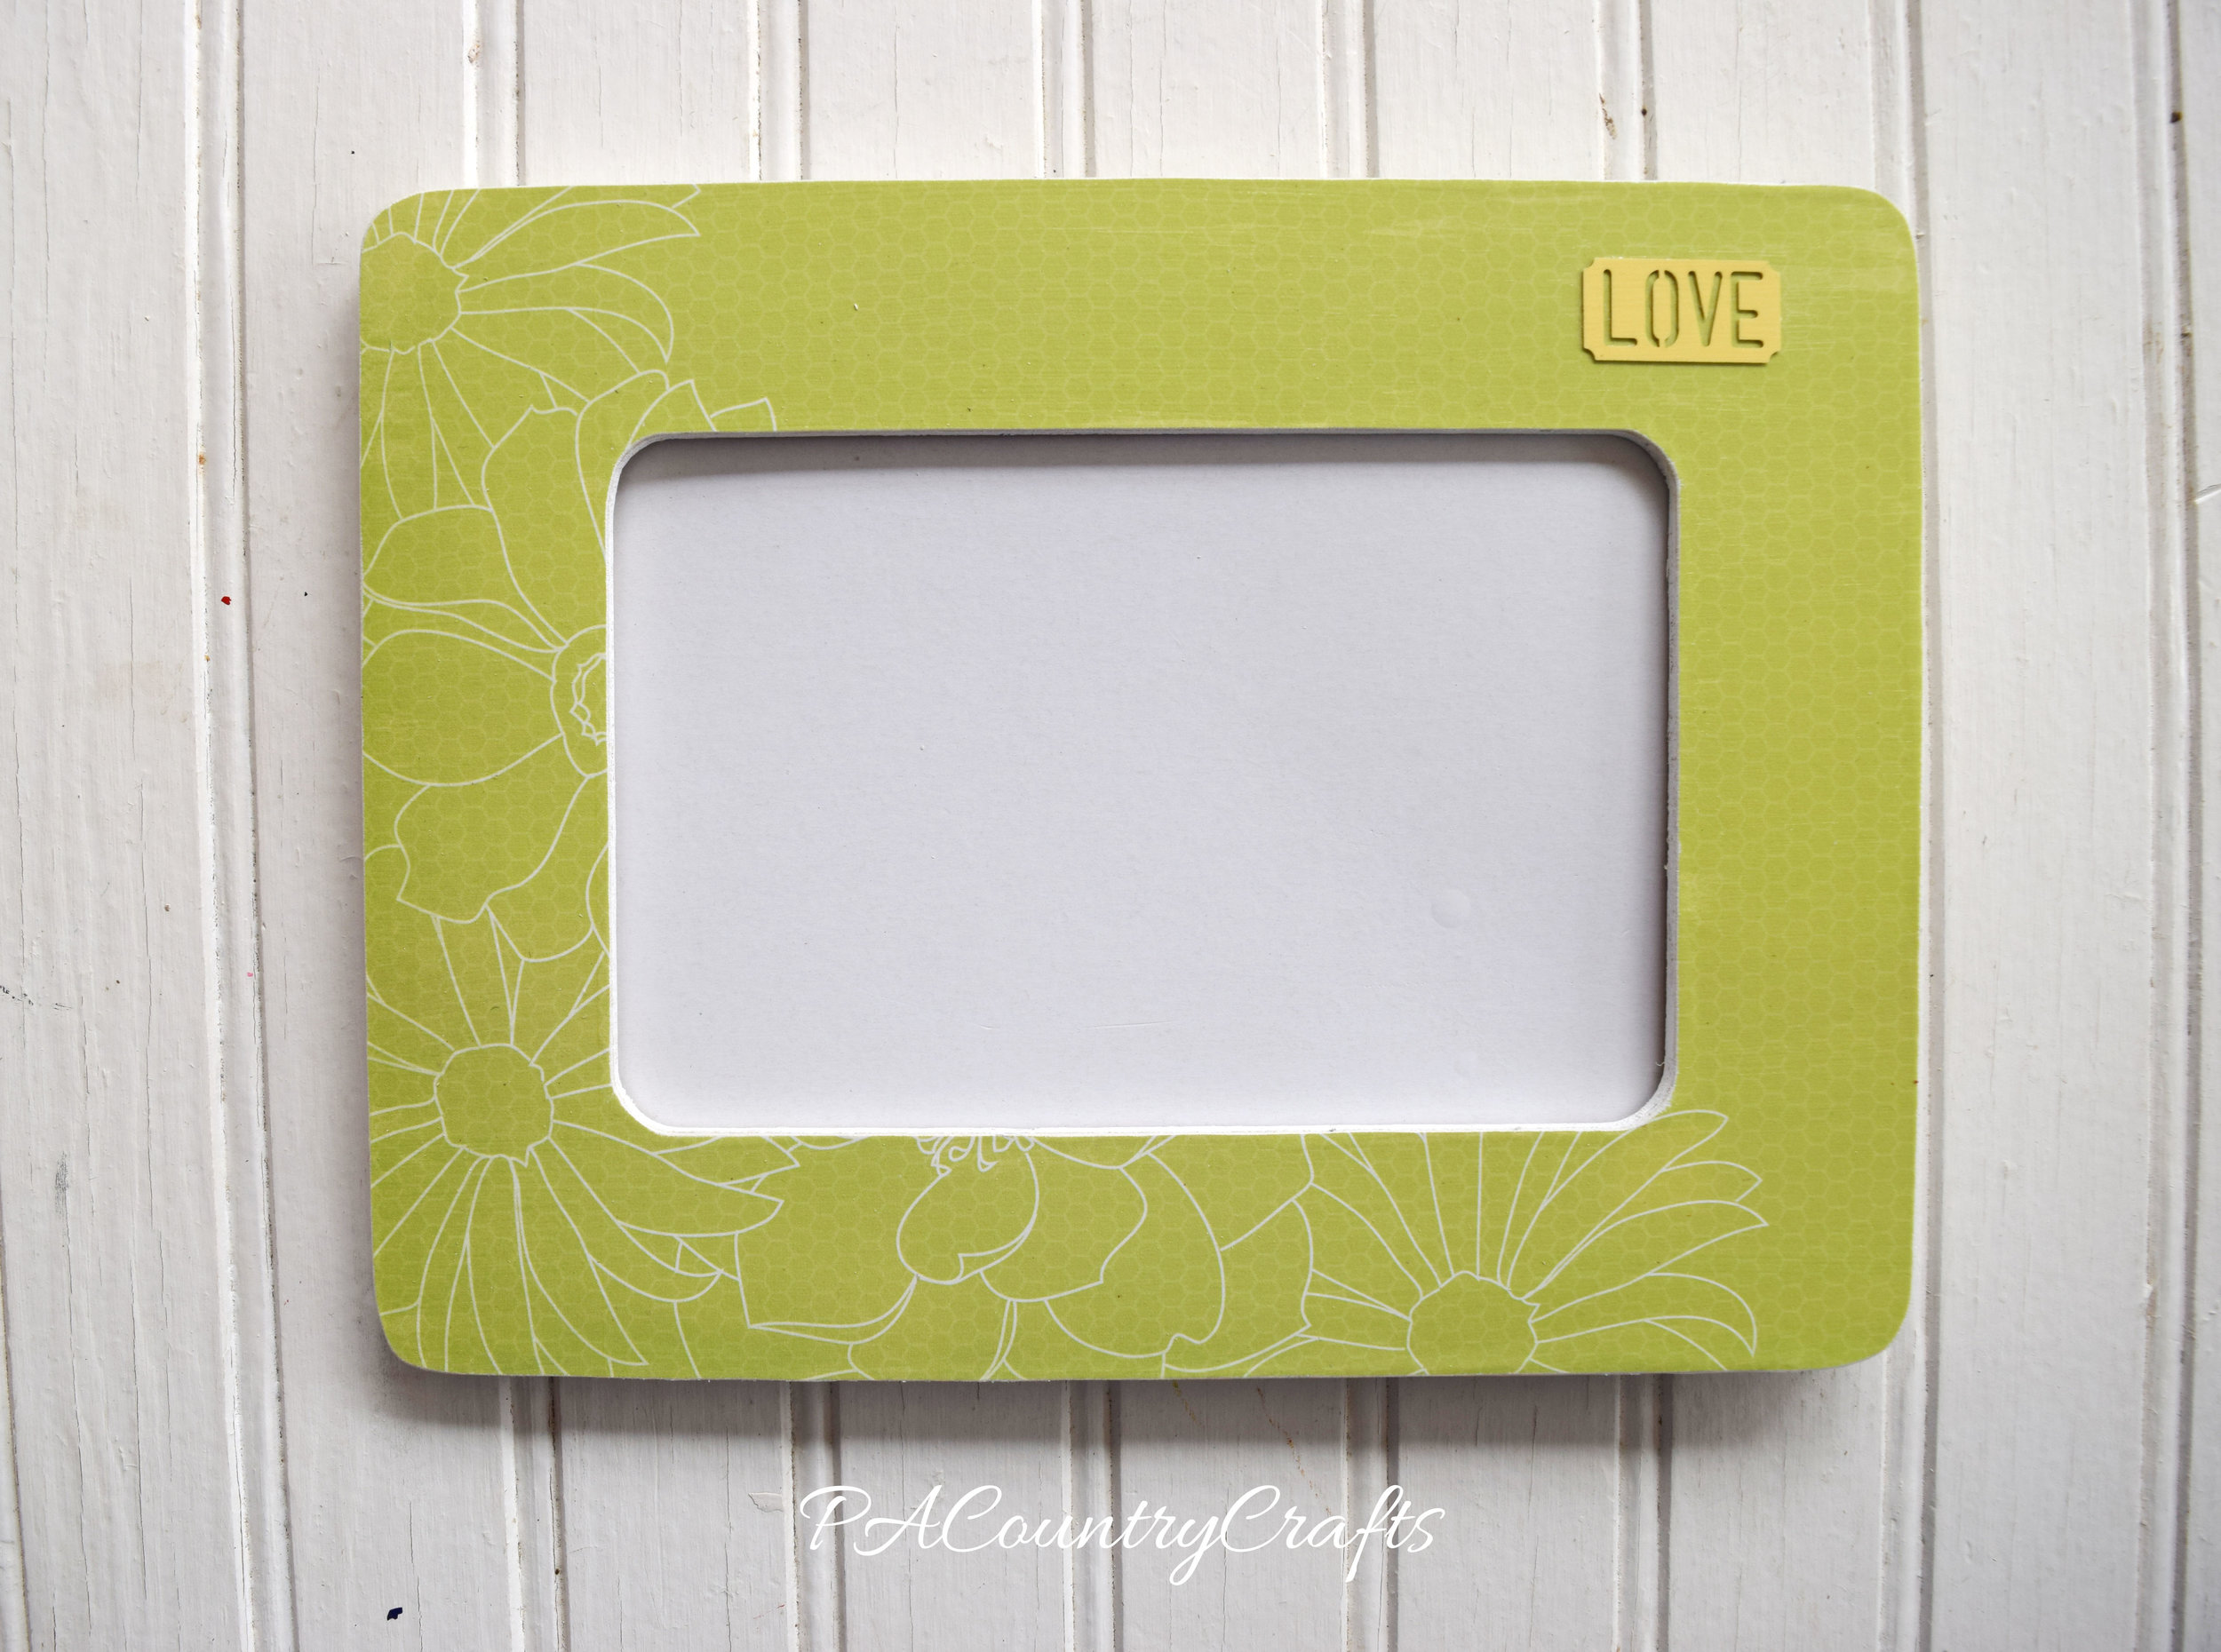
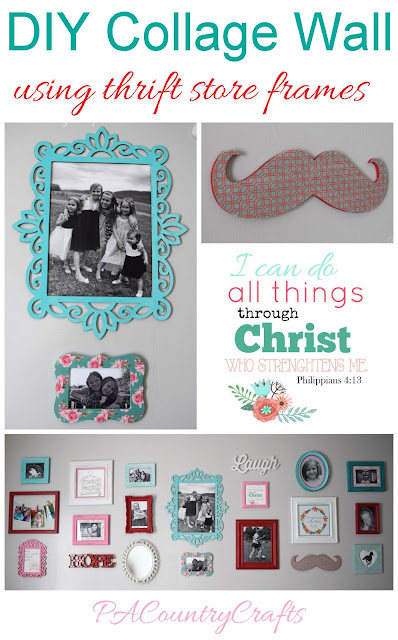
I have made these frames before and you can see some of them in my daughters' collage wall HERE. It is the perfect craft for a ladies night or a group. You can add little embellishments like baker's twine, washi tape, fabric flowers, die-cuts, etc. so they will all be unique. In addition to flat frames like these, you can use this same technique on any flat wood surface. I made a mustache for the collage wall, too!
Here is what you need:
~wood frame ~mod podge ~foam brush ~sandpaper ~scrapbook paper ~scissors ~pencil ~embellishments (optional) ~paint (optional)

I began by painting the edges of the frames just to make the finished product a little nicer. I used white acrylic.

Lightly sand the frame to remove any rough edges or extra paint. (My craft table is a disaster! #keepitreal)

Trace the frame on the wrong side of the paper (so you don't see pencil marks in case you mess up).

Cut out the frame shape you traced, but leave a little extra outside the pencil lines. Always go big, not too small!

Brush a layer of mod podge onto the frame. It should be a fairly thick layer, but it should all be smoothed out- no runs or lumps.

Lay the paper on top of the frame, lining up the center opening and edges as best as you can. There should be a little extra all around.

If you get big wrinkles, you can take it off and redo it, but only if you are fast about it. Some wrinkles can be pushed out by hand, or you can even try scraping with a credit card. Just smooth it all out the best that you can and let it dry. We did our "speed friending" activity awhile.
Then, it is time to sand the extra paper off of the edges. Make sure to use a perpendicular, downward motion (if you have ever done Jamberry nails it is the same technique!) Don't ever push the sandpaper back upward or you might lift the paper. Just keep scraping down at as close to a 90 degree angle as you can. Use some muscle! It takes a bit of pressure to make it work. The paper will begin to loosen and peel off.


Don't forget the inside, too. It looks very crisp and neat when you are done! Nothing at all like my messy table.

It is a good idea to seal it by brushing on a thin layer of mod podge. If you want to add embellishments, just brush a little mod podge on, stick it on top, then just brush over the whole frame.

See? It dries clear.
You can also add washi tape to a dry frame and lightly seal over that.

Pretty easy, right? I think the sanding is the trick to this. And now, on a nicer background than my icky table...
There is a lot that you can do with these. They don't take too long and don't cost much to make. If you mess up and get too many wrinkles, you can always rip the paper off, sand, and try again. Or, you can call it "texture" and just go with it. No one will see small wrinkles from across the room. Just you.
Feel free to pin it for later...
You may also like...

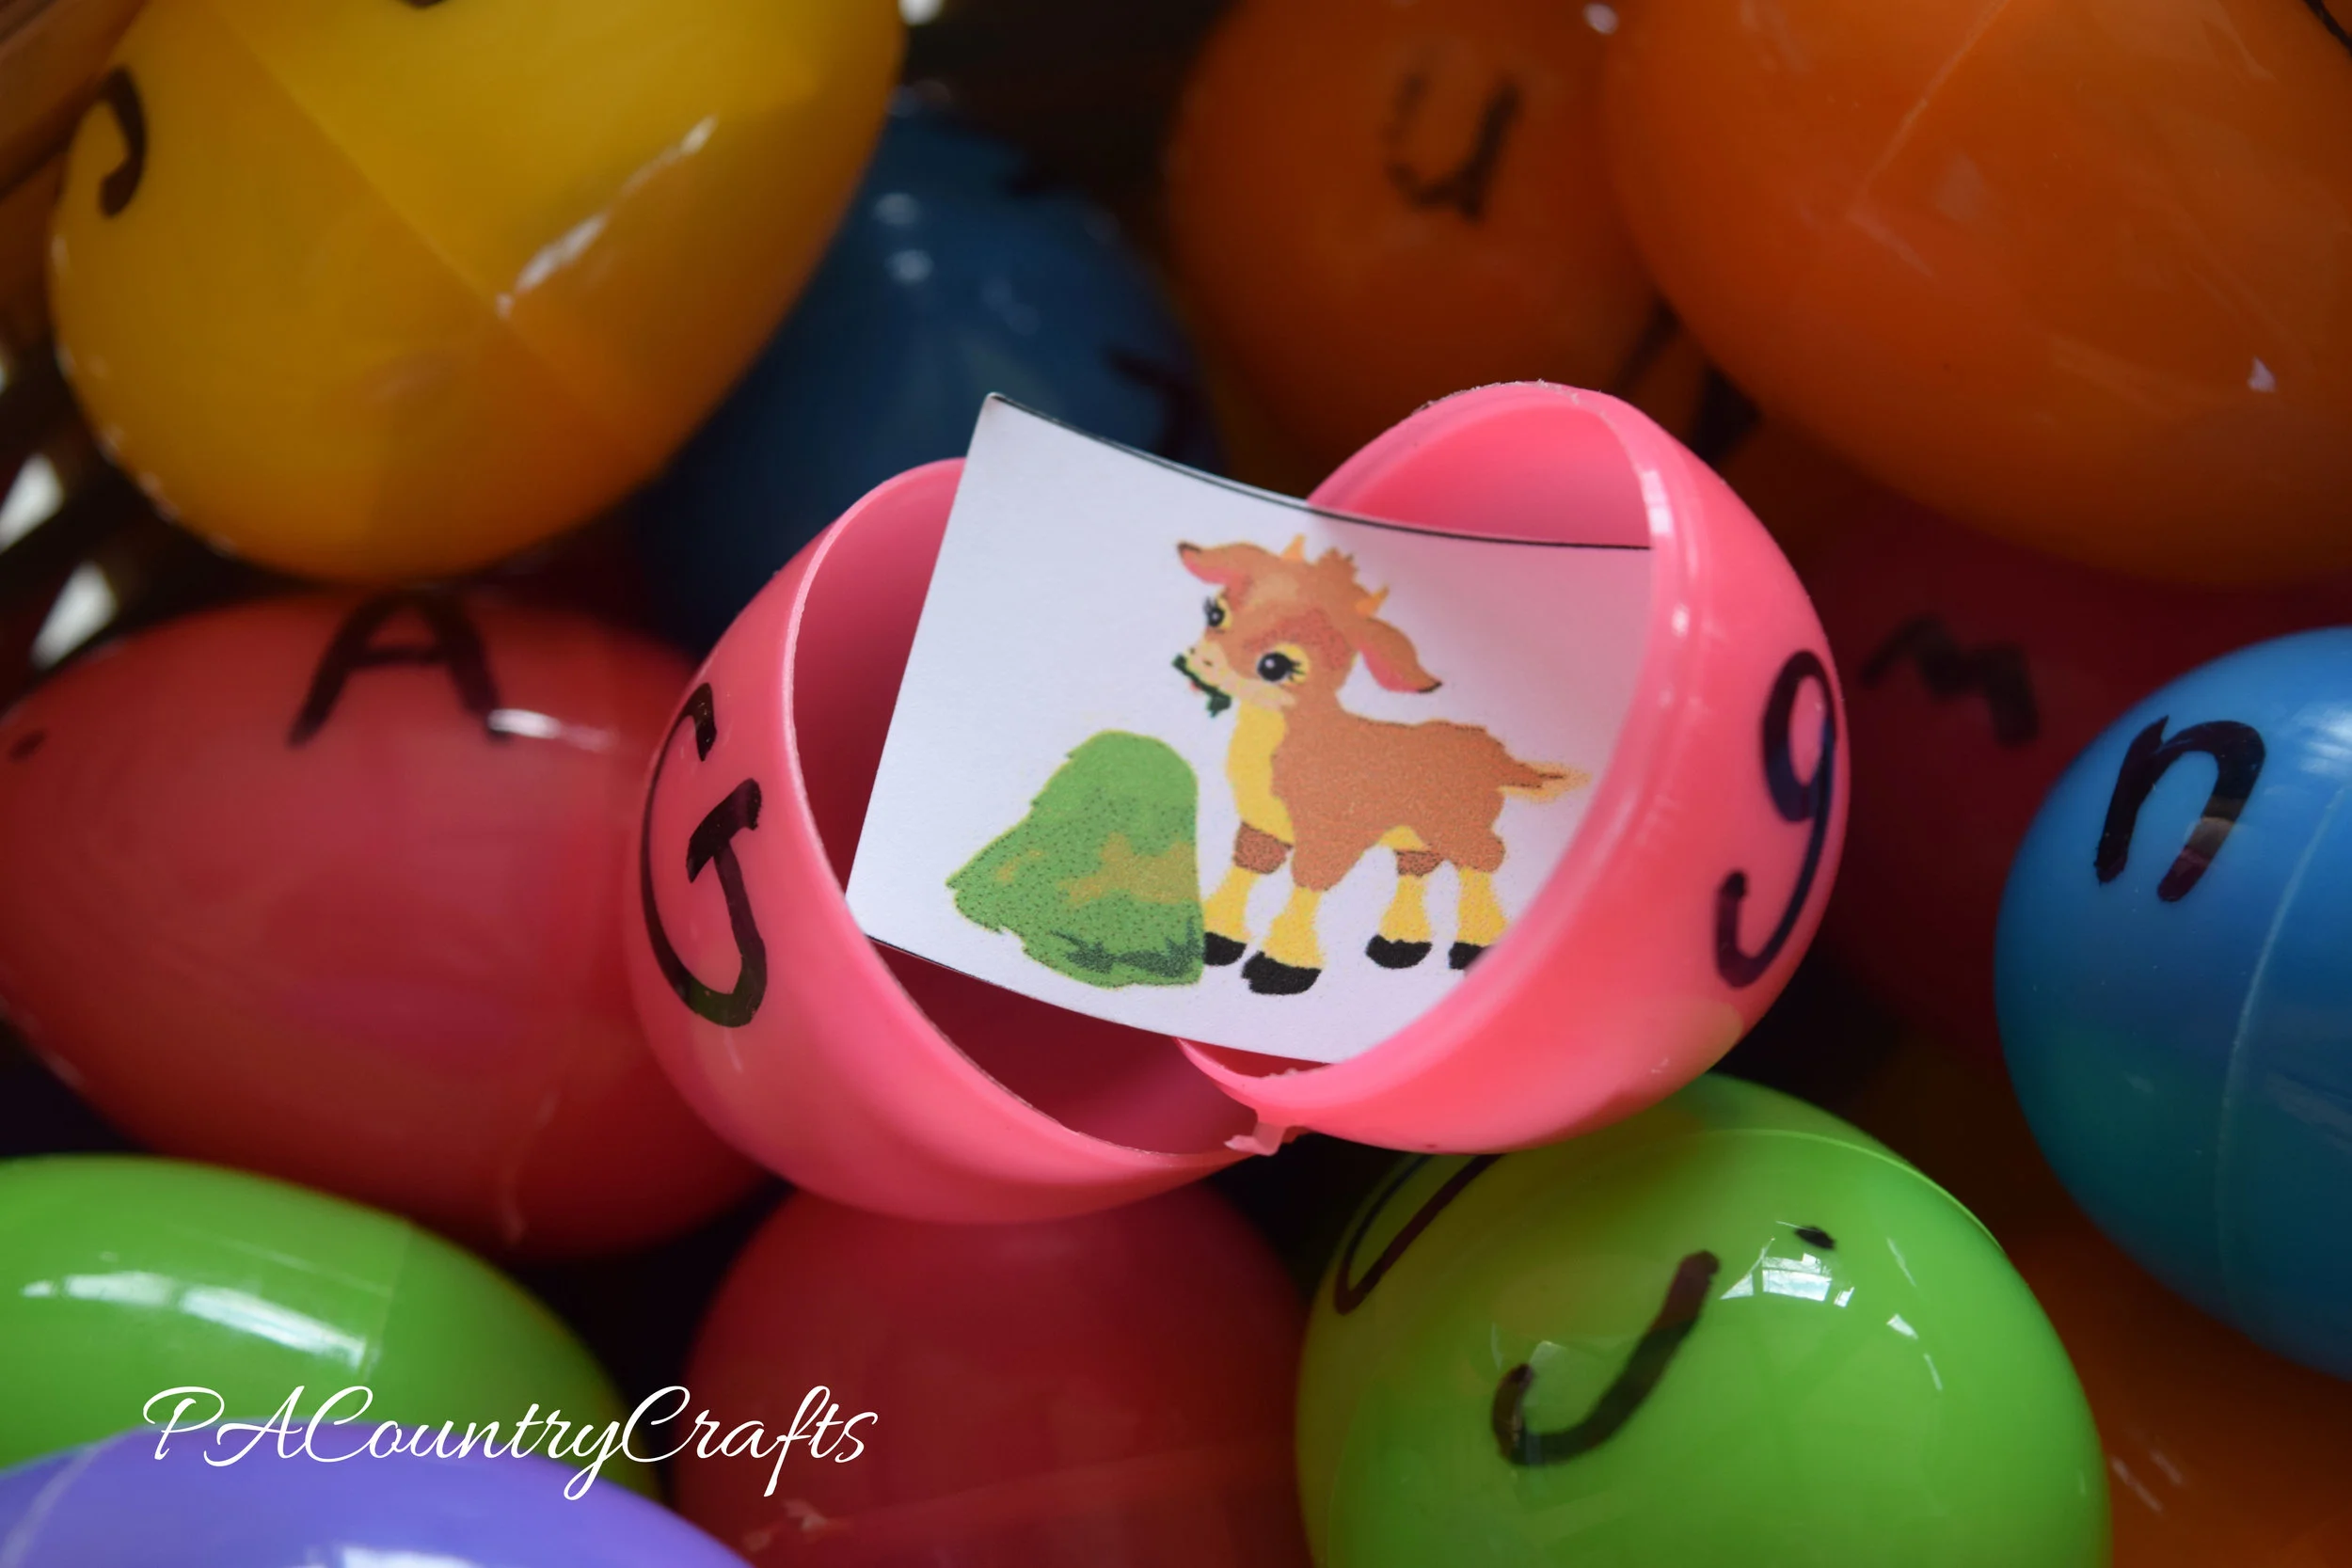
Use plastic Easter eggs for an educational preschool or Kindergarten activity- match upper and lower case and letter sounds. Free printable included!
Read More
At the beginning of the year I was challenged to come up with a word to focus on this year. I couldn't really come up with a specific word, but I had the general idea that I wanted to "get my act together."
I bought a cute planner and decided I was going to be organized. I love my planner and it is a great start, but sometimes it gets lost on the mess of my desk. I wanted to get the entire house decluttered, but stalled out before tackling the bedrooms. I had all of these grand ideas that if I could get the house organized and cleaned, if I could tackle the laundry pile I call Mount Washmore, if I could send out birthday cards on time, if I could finish all of my half-completed craft projects, if I could be on time for everything, if I could get a healthy supper on the table at a reasonable time each night, if, if, if... And guess what? It isn't happening. That is not real life. We have 6 kids and a little wanna-be farm. I try, but something will always be a mess and I can't get everything done.
Just because everything isn't Pinterest-perfect doesn't mean that I am failing. I am such a perfectionist about certain things, as I have confessed before, and I am slowly chipping away, learning to let go. I get to a point where I completely run myself into the ground. So, really, "getting my act together" is more about getting my attitude together and prioritizing.


I didn't sew the rest of the Easter dresses on time again this year. I ordered some fabric that came a few days ago and I didn't want to stress myself out to get them done. So I didn't. Instead, we made a ton of peanut butter eggs and did a lot of cleaning, both of which were very necessary. We didn't get to any egg hunts besides the ones at family gatherings because of vehicle problems. Instead, the girls played outside and we painted our toenails on the sidewalk. Probably the most shocking... I didn't give my kids anything in their Easter baskets. It was a personal decision to combat a materialistic attitude some of them have been displaying. (When did Easter become the spring version of Christmas?) Instead, we opened resurrection eggs on Easter morning as a family and took turns reading from the Bible.


This Easter I think I found a little more peace. I realized that I can't get everything done, so I have to choose what is important to me. I can let go of some traditions that aren't working, postpone them, or even just take a break from them. I am pretty sure that my kids aren't going to be scarred for life because they missed out on a chocolate bunny. A few years ago I would have been up all night sewing to get dresses finished and baskets filled. This year, I curled up on the couch with a book waiting to shower and relaxed! I can see that part of getting my act together isn't doing more, but learning to be OK with doing less.
Sewing, crafts, tutorials, recipes, and a little look at our life in the country - raising half a dozen children.

Hi! Thanks so much for stopping by! My name is Lindsay and on this blog you will find sewing, crafts, decorating, recipes, and tutorials with a little bit of honesty and encouragement.