DIY I Spy Bottles

I have so many crafty things to share on the blog, but I just haven't had time to edit pics and type up posts. I don't things will ever settle down around here. Here is another MOPS craft projects. We did this at our open gym gathering. Usually the kids just run loose and we can chat while we let them burn some energy. I just set up a table off to the side with this extra craft project to do with the kids if they were interested. It seemed to go really well and the kids had fun choosing items to put in their bottles.

I-Spy Bottles MOPS craft

I-Spy Bottles MOPS craft

I Spy Bottles for MOPS Creative Activities- fun to do with the kids

I Spy Bottles for MOPS Creative Activities- fun to do with the kids

You will need...

~plastic bottles ~rice ~funnel ~scoop ~sharpie marker ~hot glue gun ~assorted trinkets

For the trinkets to include in the bottle, some of us just collected assorted choking hazards and craft supplies. We had alphabet beads, seashells, buttons, toys, feathers, colored beans, metallic confetti (this looked great in the bottle!), animal beads, charms, etc.

They were really easy to make...

  1. Choose a clean, dry, plastic bottle. I brought small Gatorade bottles, but some people had some really nice bottles from other beverages.

  2. Fill the bottle partway with rice. We used a funnel and a scoop.

  3. Choose small trinkets to place in the bottle.

  4. Add more rice until the bottle is nearly full, but leave plenty of space to roll the rice around.

  5. Hot glue the lid onto the bottle.

  6. The step we skipped... write the child's name on the lid with a Sharpie.

I love craft projects with kids that are actually useful and last more than a few days!

Composition Book Journals

recovered-compostion-books_edited-1.jpg

composition-book-journal
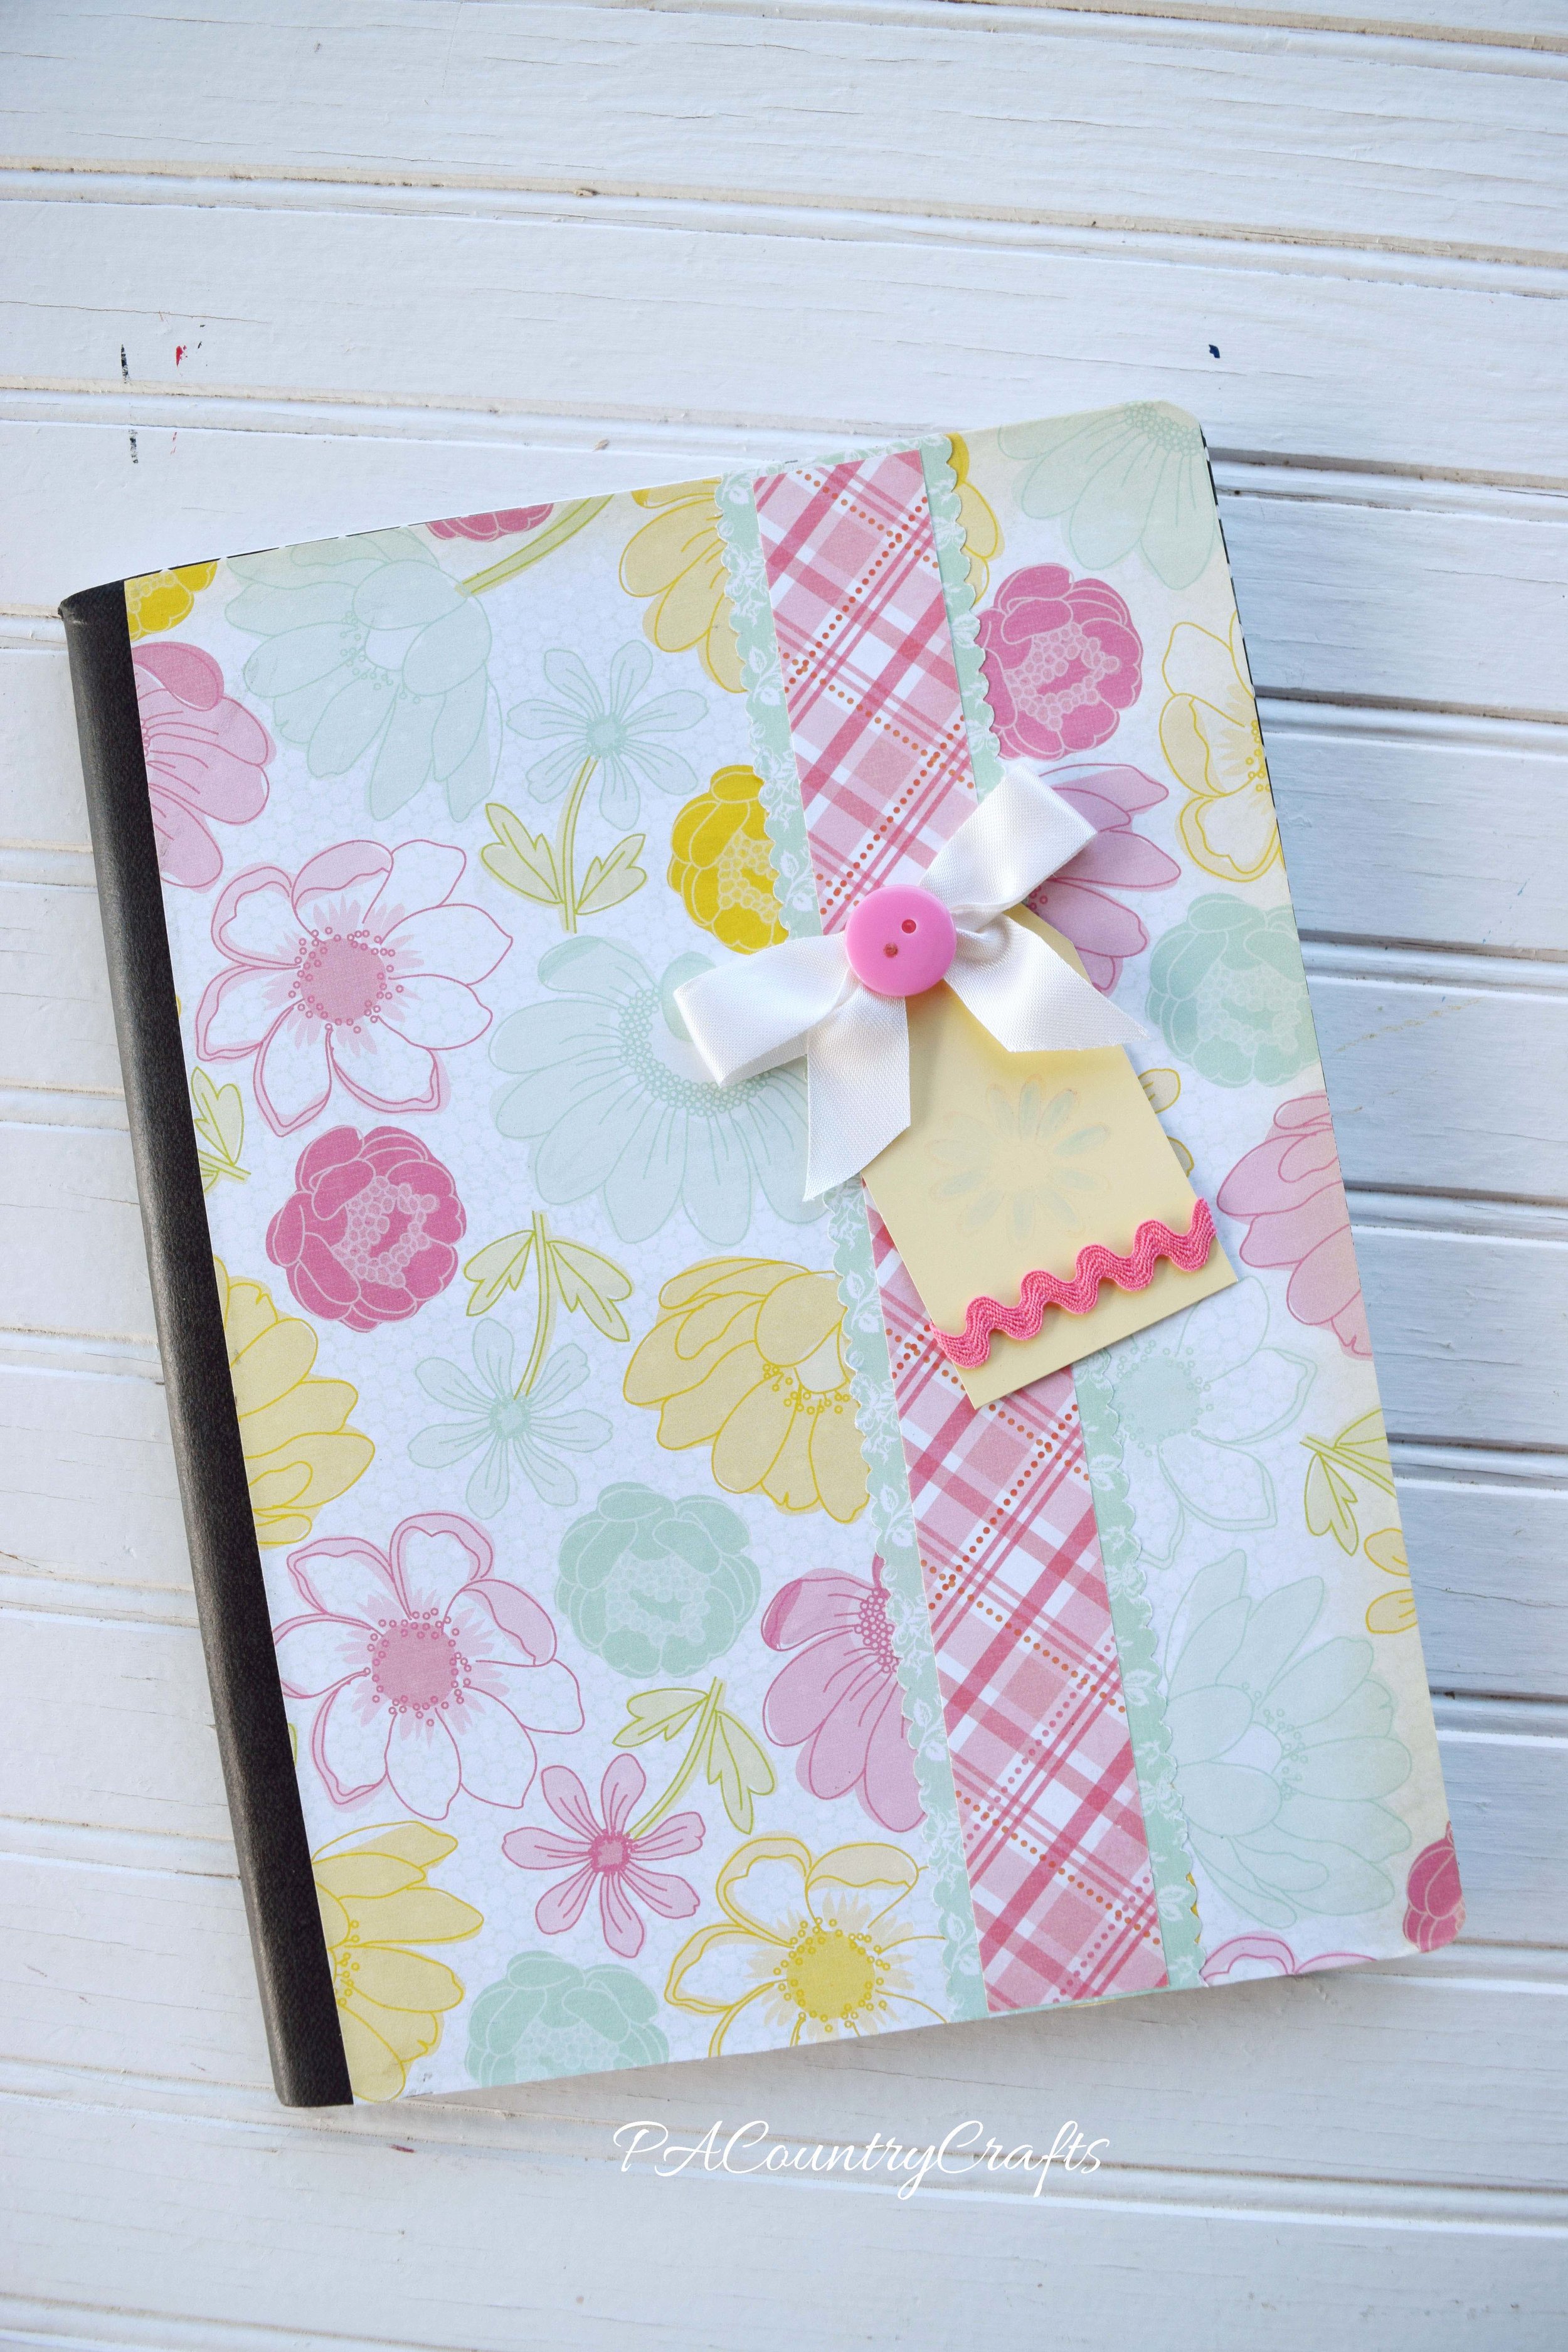
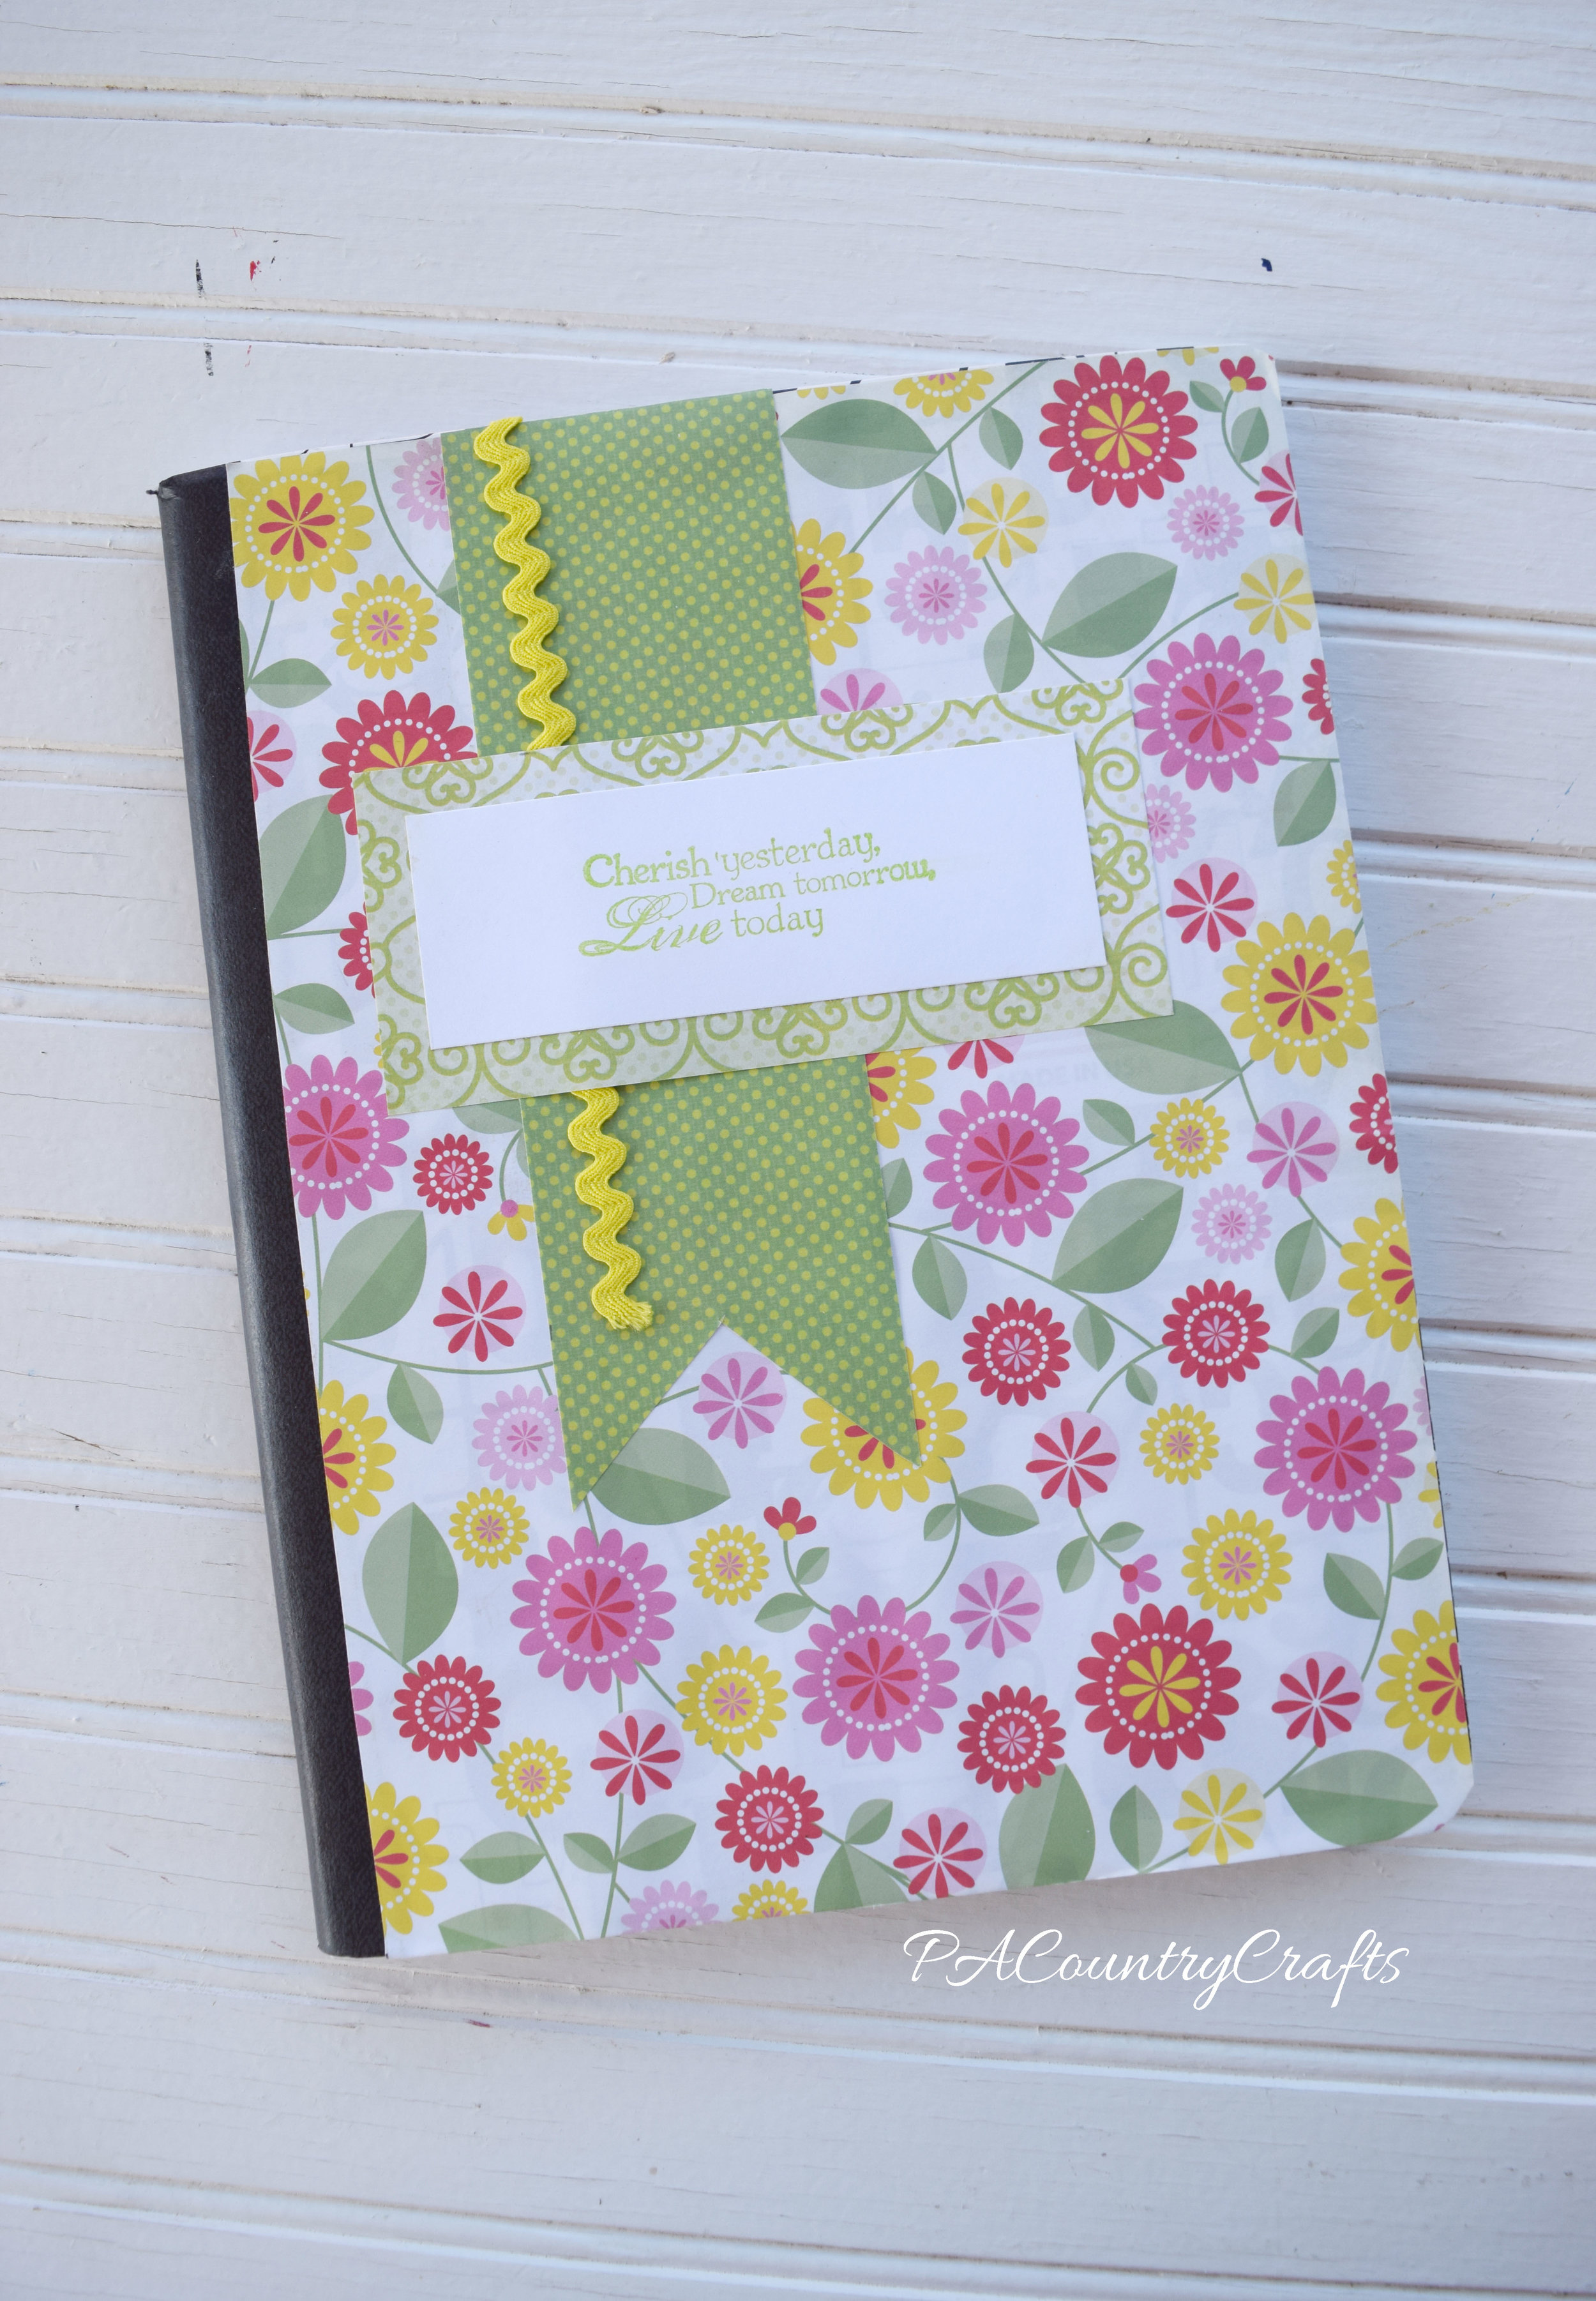
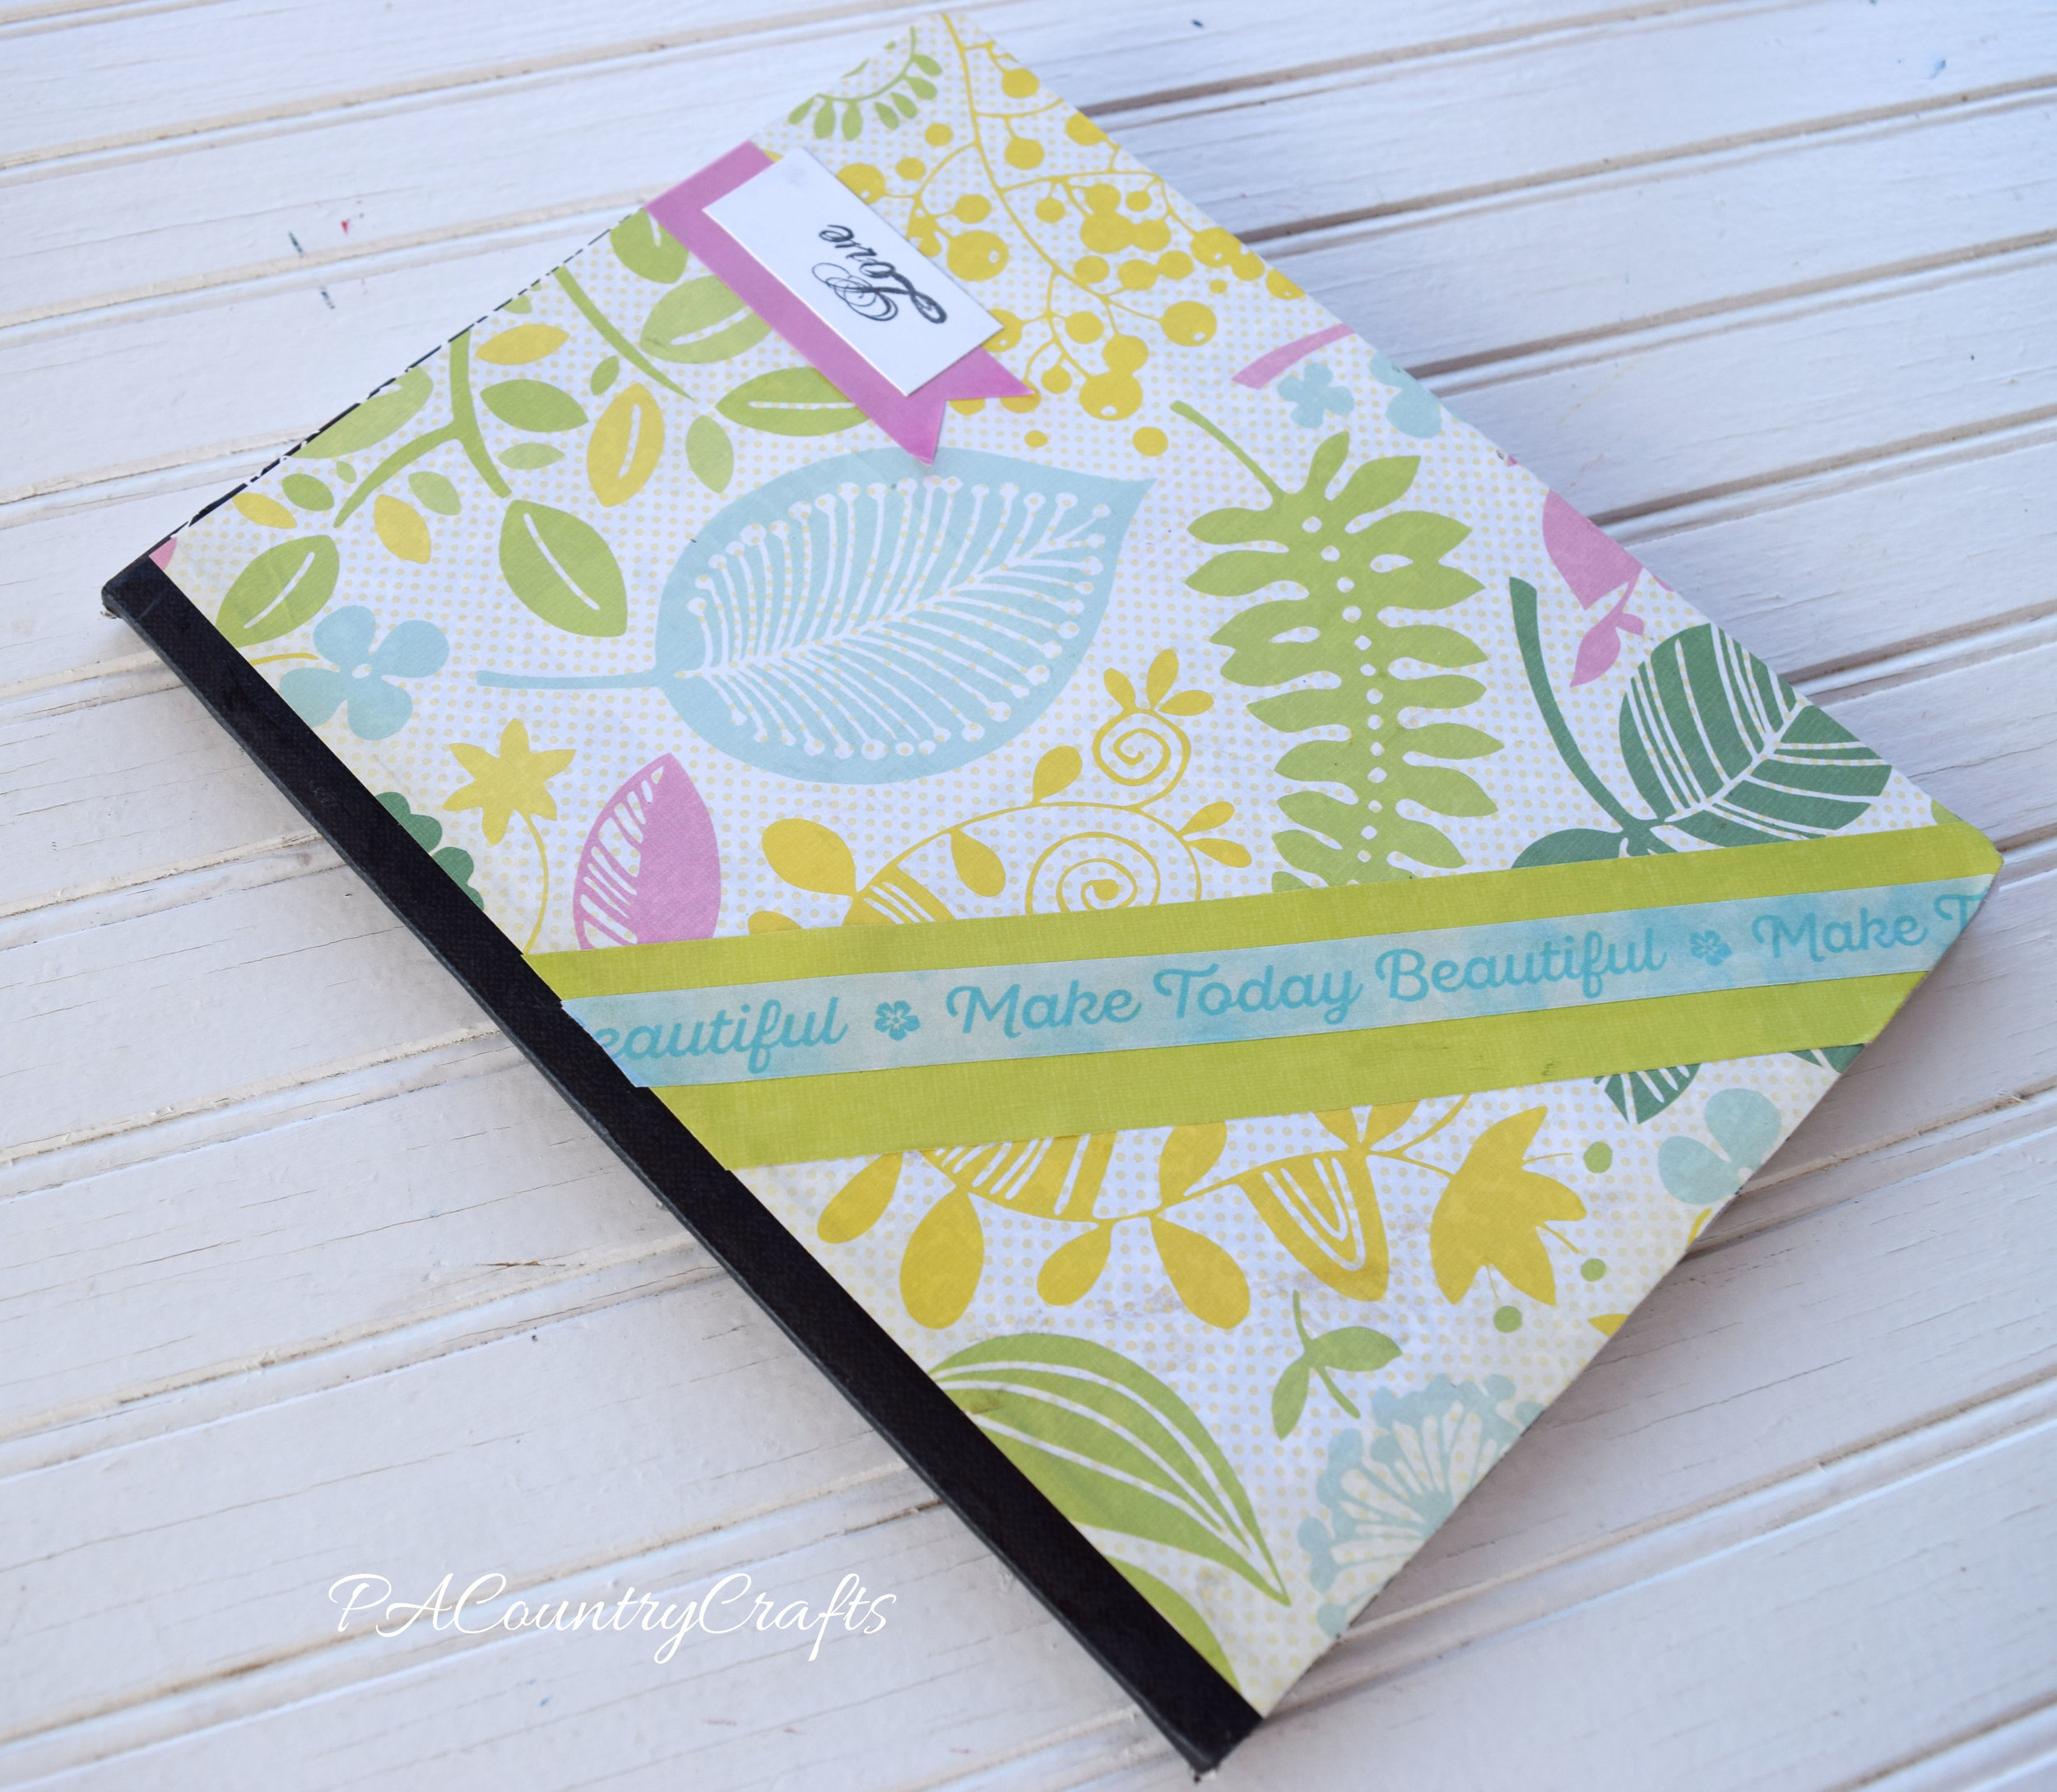
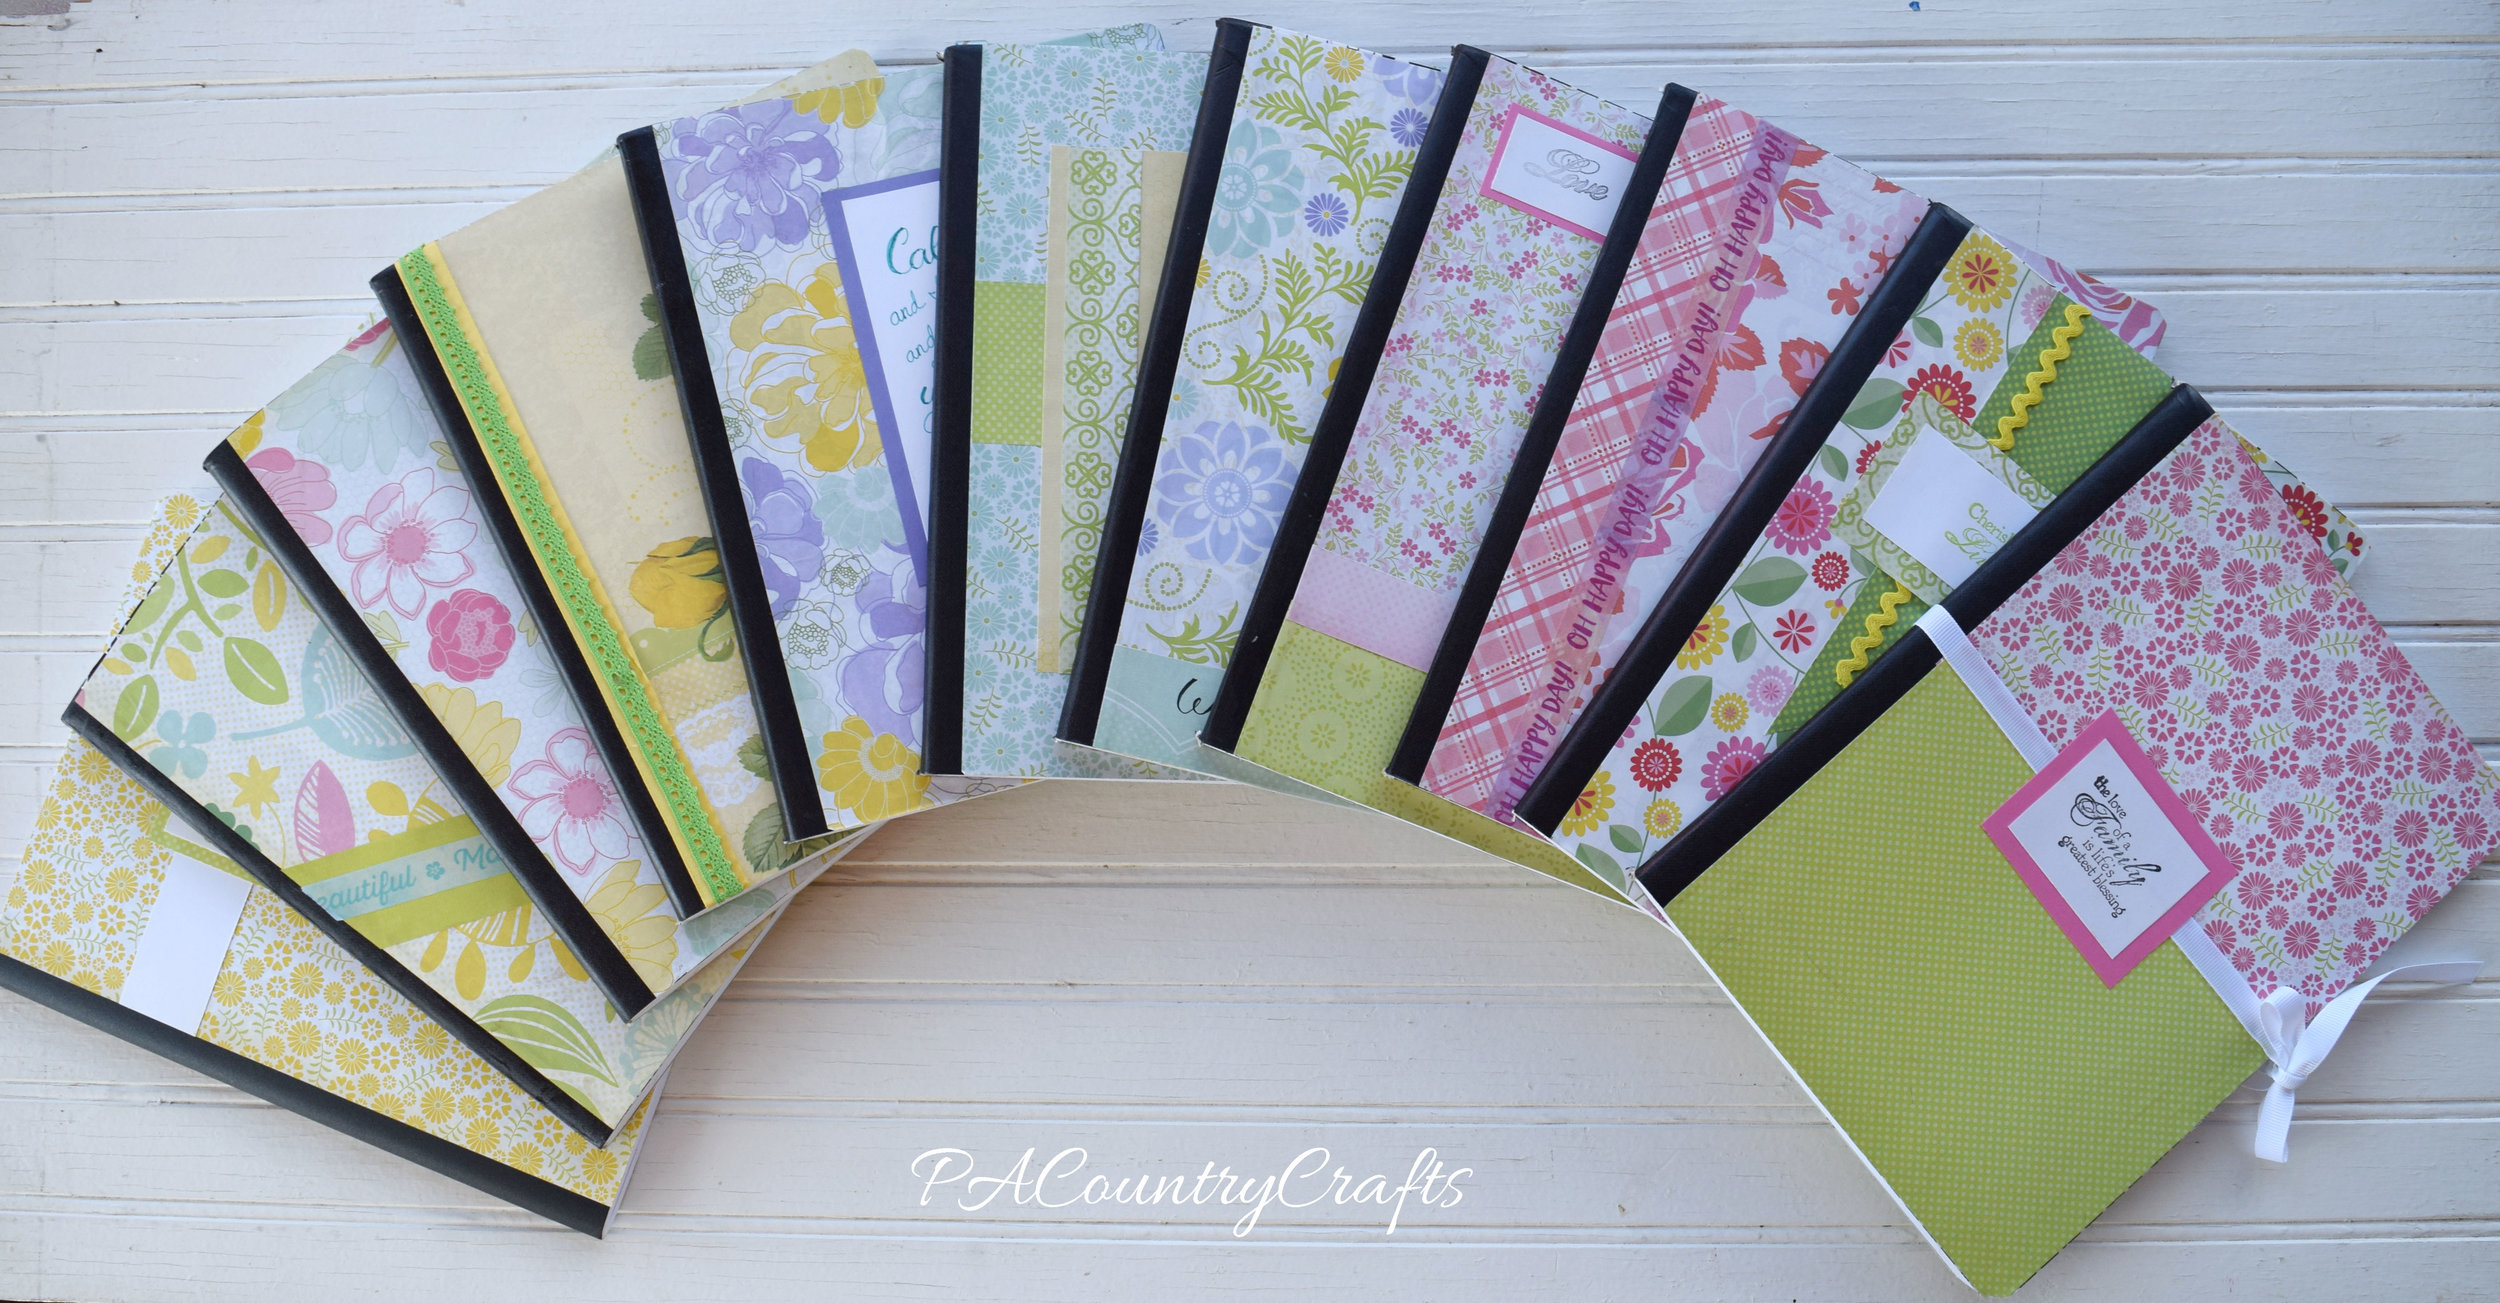
I am super excited to be leading creative activities for our MOPS group this year! For our first meeting, I was asked to come up with a craft project. I put a lot of thought into it and spent a lot of time on Pinterest. ;) I ended up deciding on these composition book journals. It was a very economical craft project and there are some materials left over for some future projects, too. I got a cute scrapbook paper pad on sale at Joann's, then cut each of the 180 pages into pieces the size of the composition book covers. (That took a long time!) I gathered some cute embellishments- ribbon, ric rac, lace, stickers, washi tape, etc. I also stamped some cardstock with some cute rubber stamps and cut them out to give more options. Extra paper trimmings, cardstock, and even paint samples gave everyone a lot of options. I cut some tag shapes out with my paper punch and stamped them with phrases like "starry eyed", "hope", and "wonder" to incorporate this years' theme. We also gave the options of using glue sticks or mod podge to adhere the paper to the book. Both seemed to work fine.

These are my best tips:

  • I cut my paper at 9 3/4" by 6 5/8"- double check your notebook size and if in doubt cut it bigger and trim later. It was more effecient to make a template, then use it mark the back of a paper lightly with pencil. Stack 3 or so together and use a paper slicer to cut them all at once. The leftover strips were spread out at the tables to be used as accents.
  • If using glue sticks, apply heavily to the paper, especially the edges. Use the side of your fist to smooth it all out.
  • If using mod podge, brush a thin layer onto the book and carefully smooth the paper onto it. Do NOT mod podge over the paper.
  • Keep checking the corners to see if they are lifting up and reapply glue as needed.
  • After it is dry, open up the book and trim any excess that may stick out over the edges and the corners.
  • Use hot glue to apply ribbon and ric rac. Other embellishments seem to be fine with glue sticks.
  • We added envelopes inside the covers to hold notes, papers, etc. Someone also covered the inside cover with scrapbook paper, which looked great if you have extra paper!
  • Make sure you have a wide variety of embellishments that coordinate with the papers.
  • Spread the embellishments out and make sure that there is enough room for people to gather around the tables.

These are the samples that I made before the meeting. They will be used as gifts to welcome new moms during the year.

Recovered Composition Books
The backs are also covered with coordinating papers.

Recovered journals- MOPS craft idea
MOPS Creative Activities Journals

Altered notebook craft project

Composition Book to Journal

Scrapbook Paper Covered Journals

I think this one is my favorite. It is simple, but so pretty!

Altered Composition Book
I incorporated this years' theme verse on the cover of this one. I couldn't find papers that coordinated with the Starry Eyed theme, so I added it in a few of the journals as best as I could.

DIY Bible Journal
MOPS Starry Eyed Journal Craft Idea

Altered Composition Books After the meeting, I found composition books on clearance SUPER cheap, so I got some more. I had bought another pad of paper for myself because I loved the prints and colors. So, my daughters helped themselves to my craft supplies and made their own journals. Apparently, this makes a really easy kids craft, too!

Kids craft journals

They are being used as art and writing journals. They made a few others that I didn't snap pics of and are using them at school. They used glue stick and they are still holding up well.
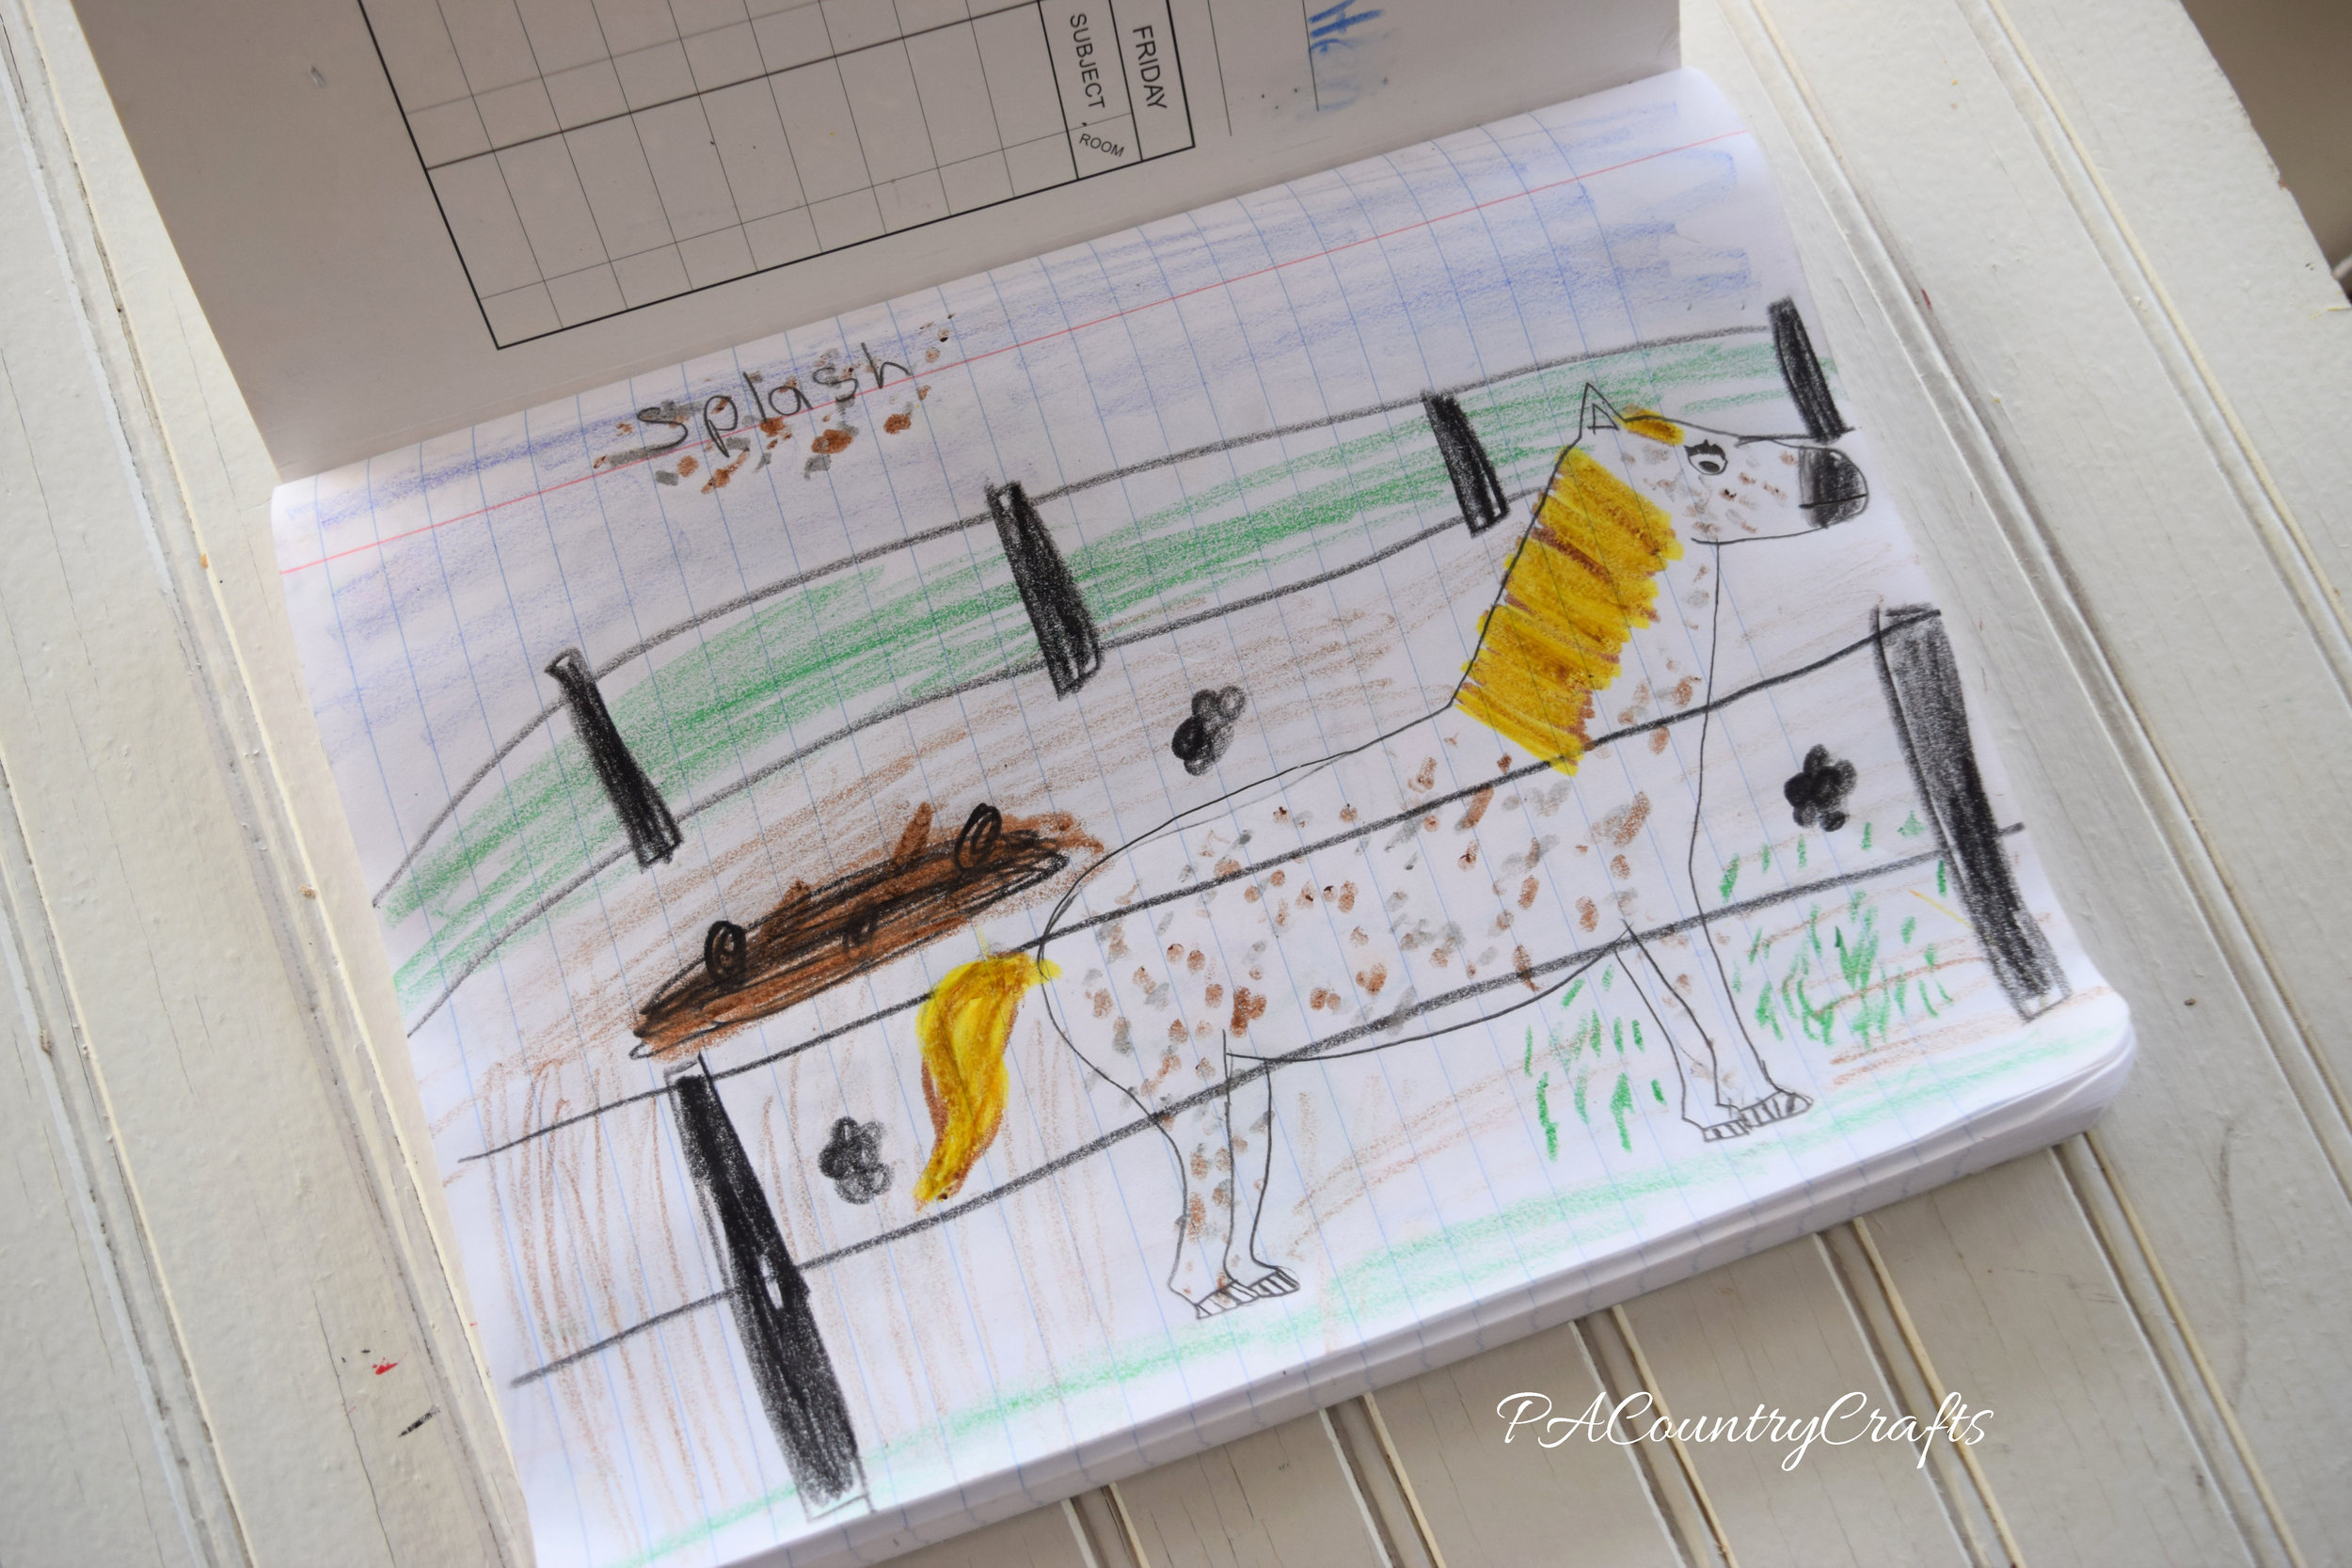
horse-drawing-journal

They even found some mini ones and made a coordinating doll journal!

American girl doll journal

Overall, this was a successful and EASY craft project! It was simple enough that anyone could do it, but had so many creative options for those who want to challenge themselves a bit more.

You may also like...
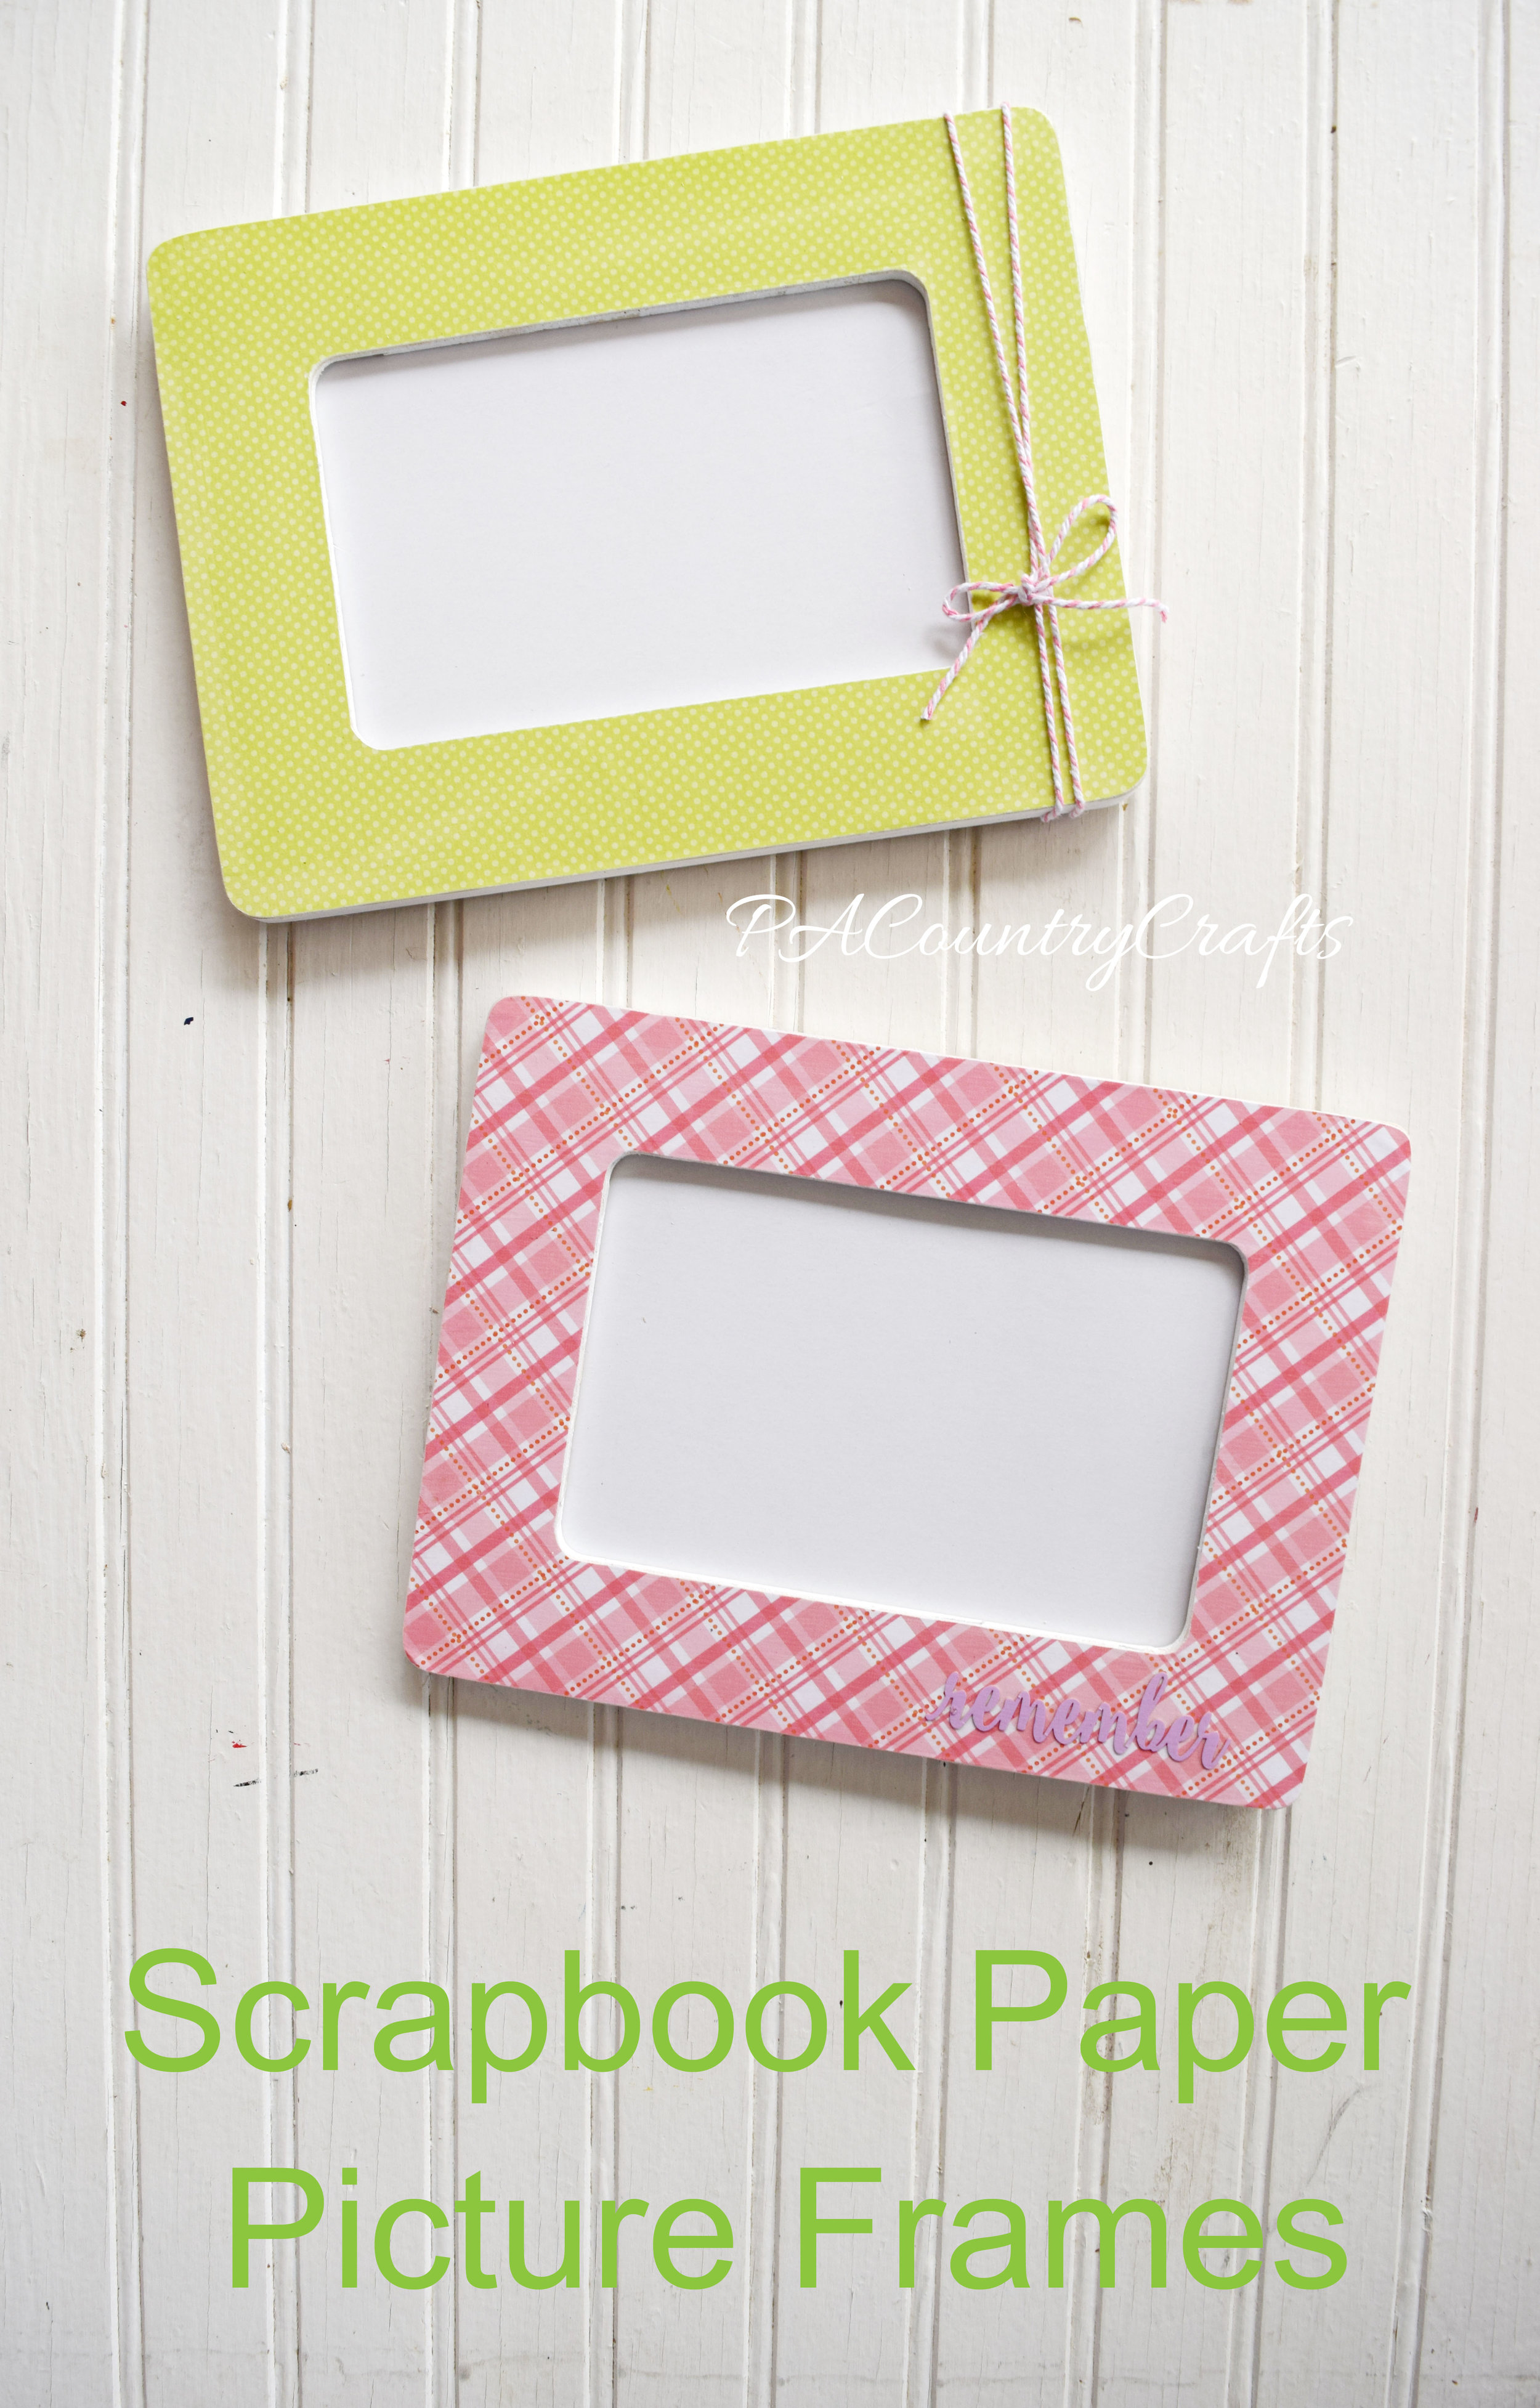
Use scrapbook paper and cheap wood frames to make a cute craft - perfect for craft nights and groups!

washi tape crafts and ideas

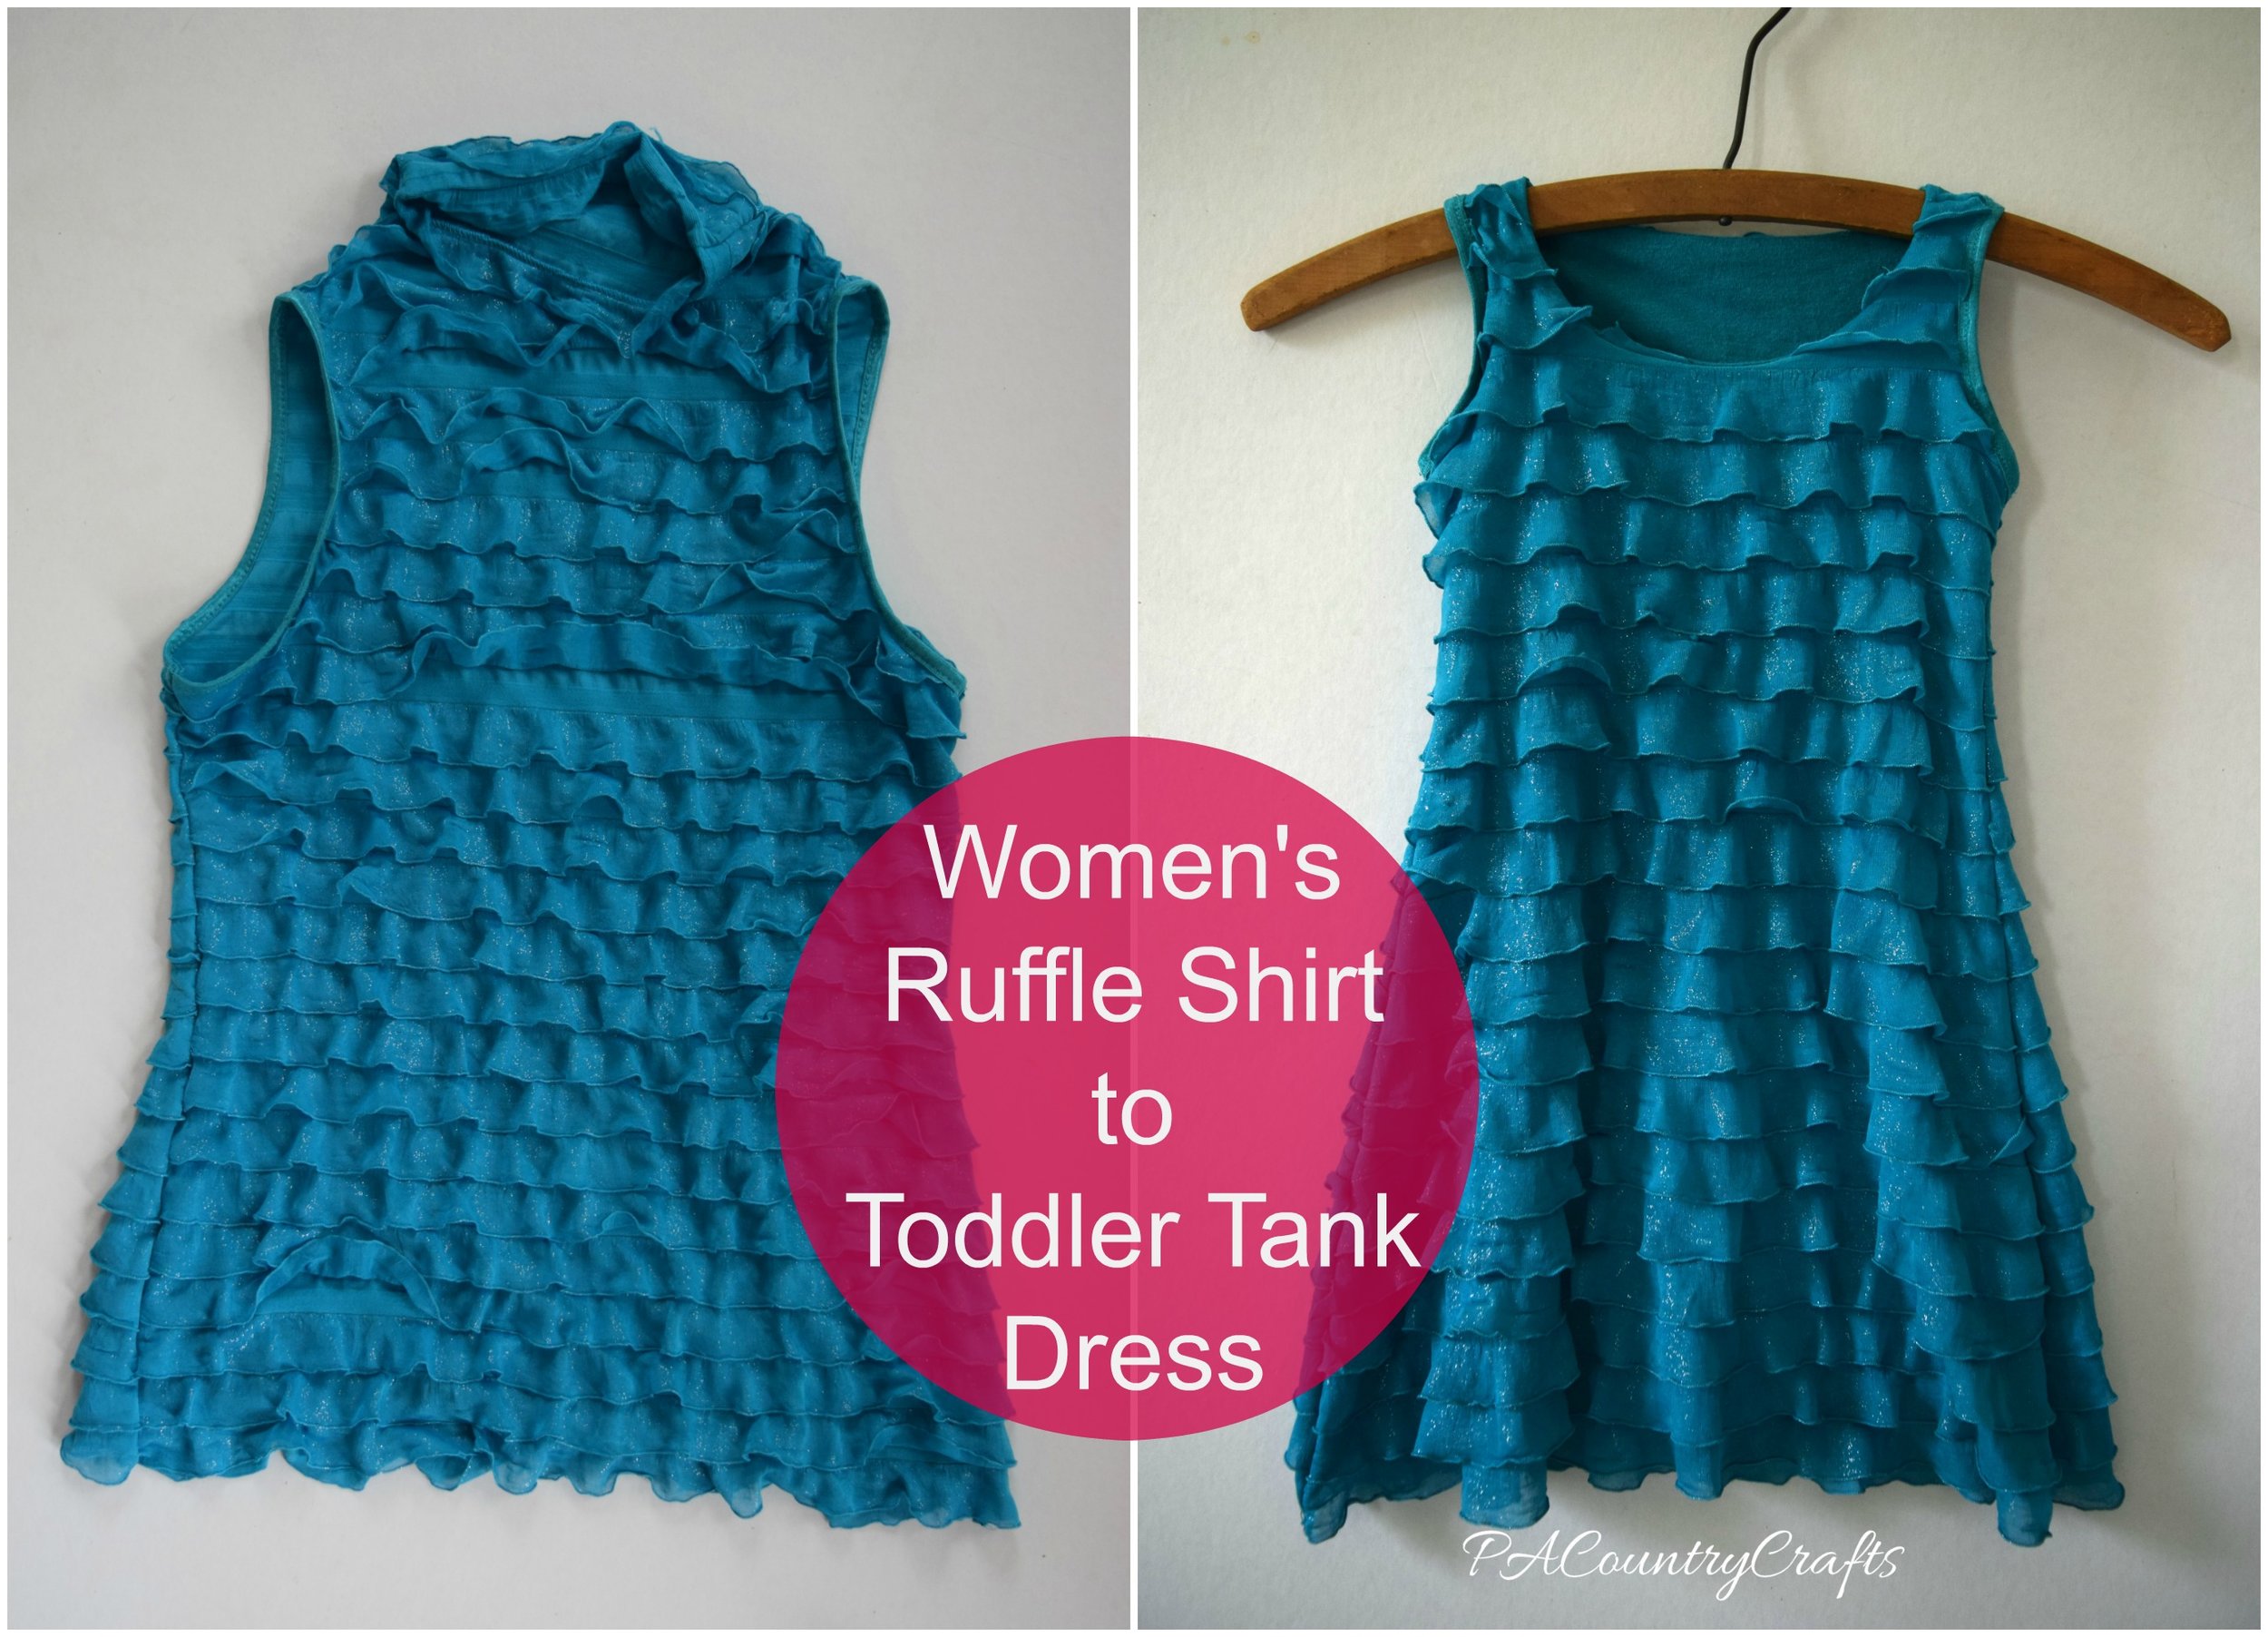
Women's Ruffle Shirt to Toddler Dress

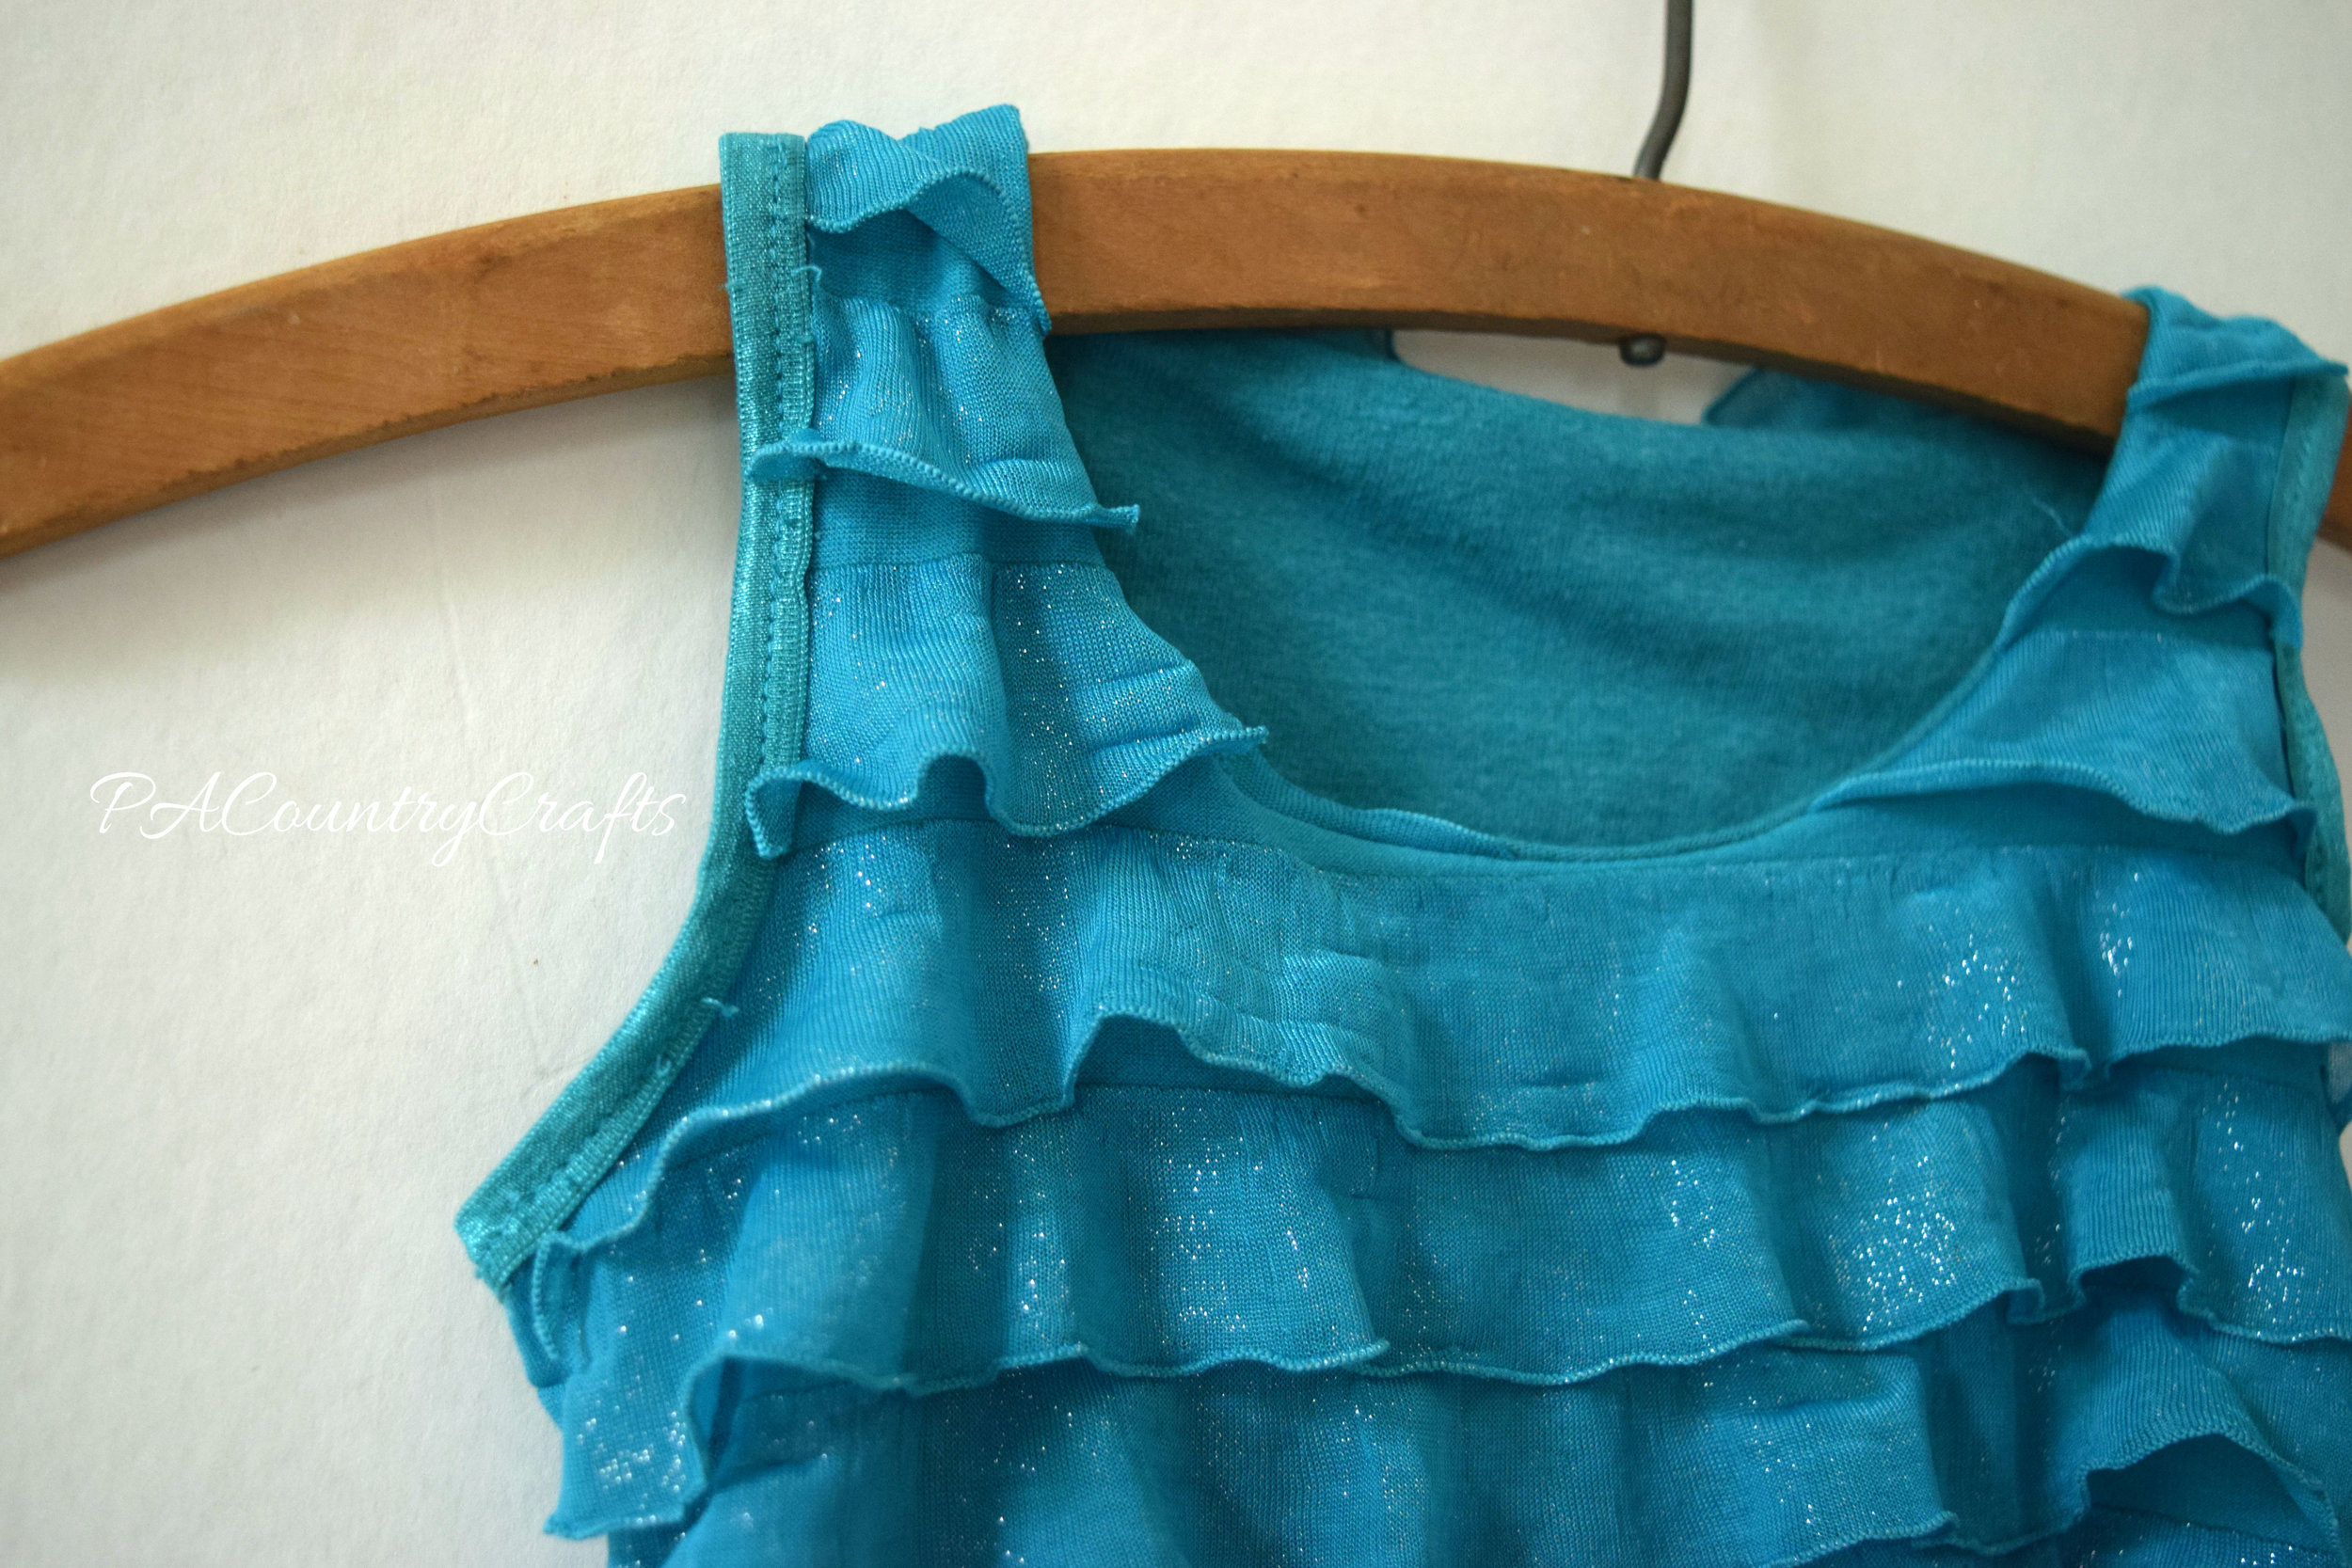
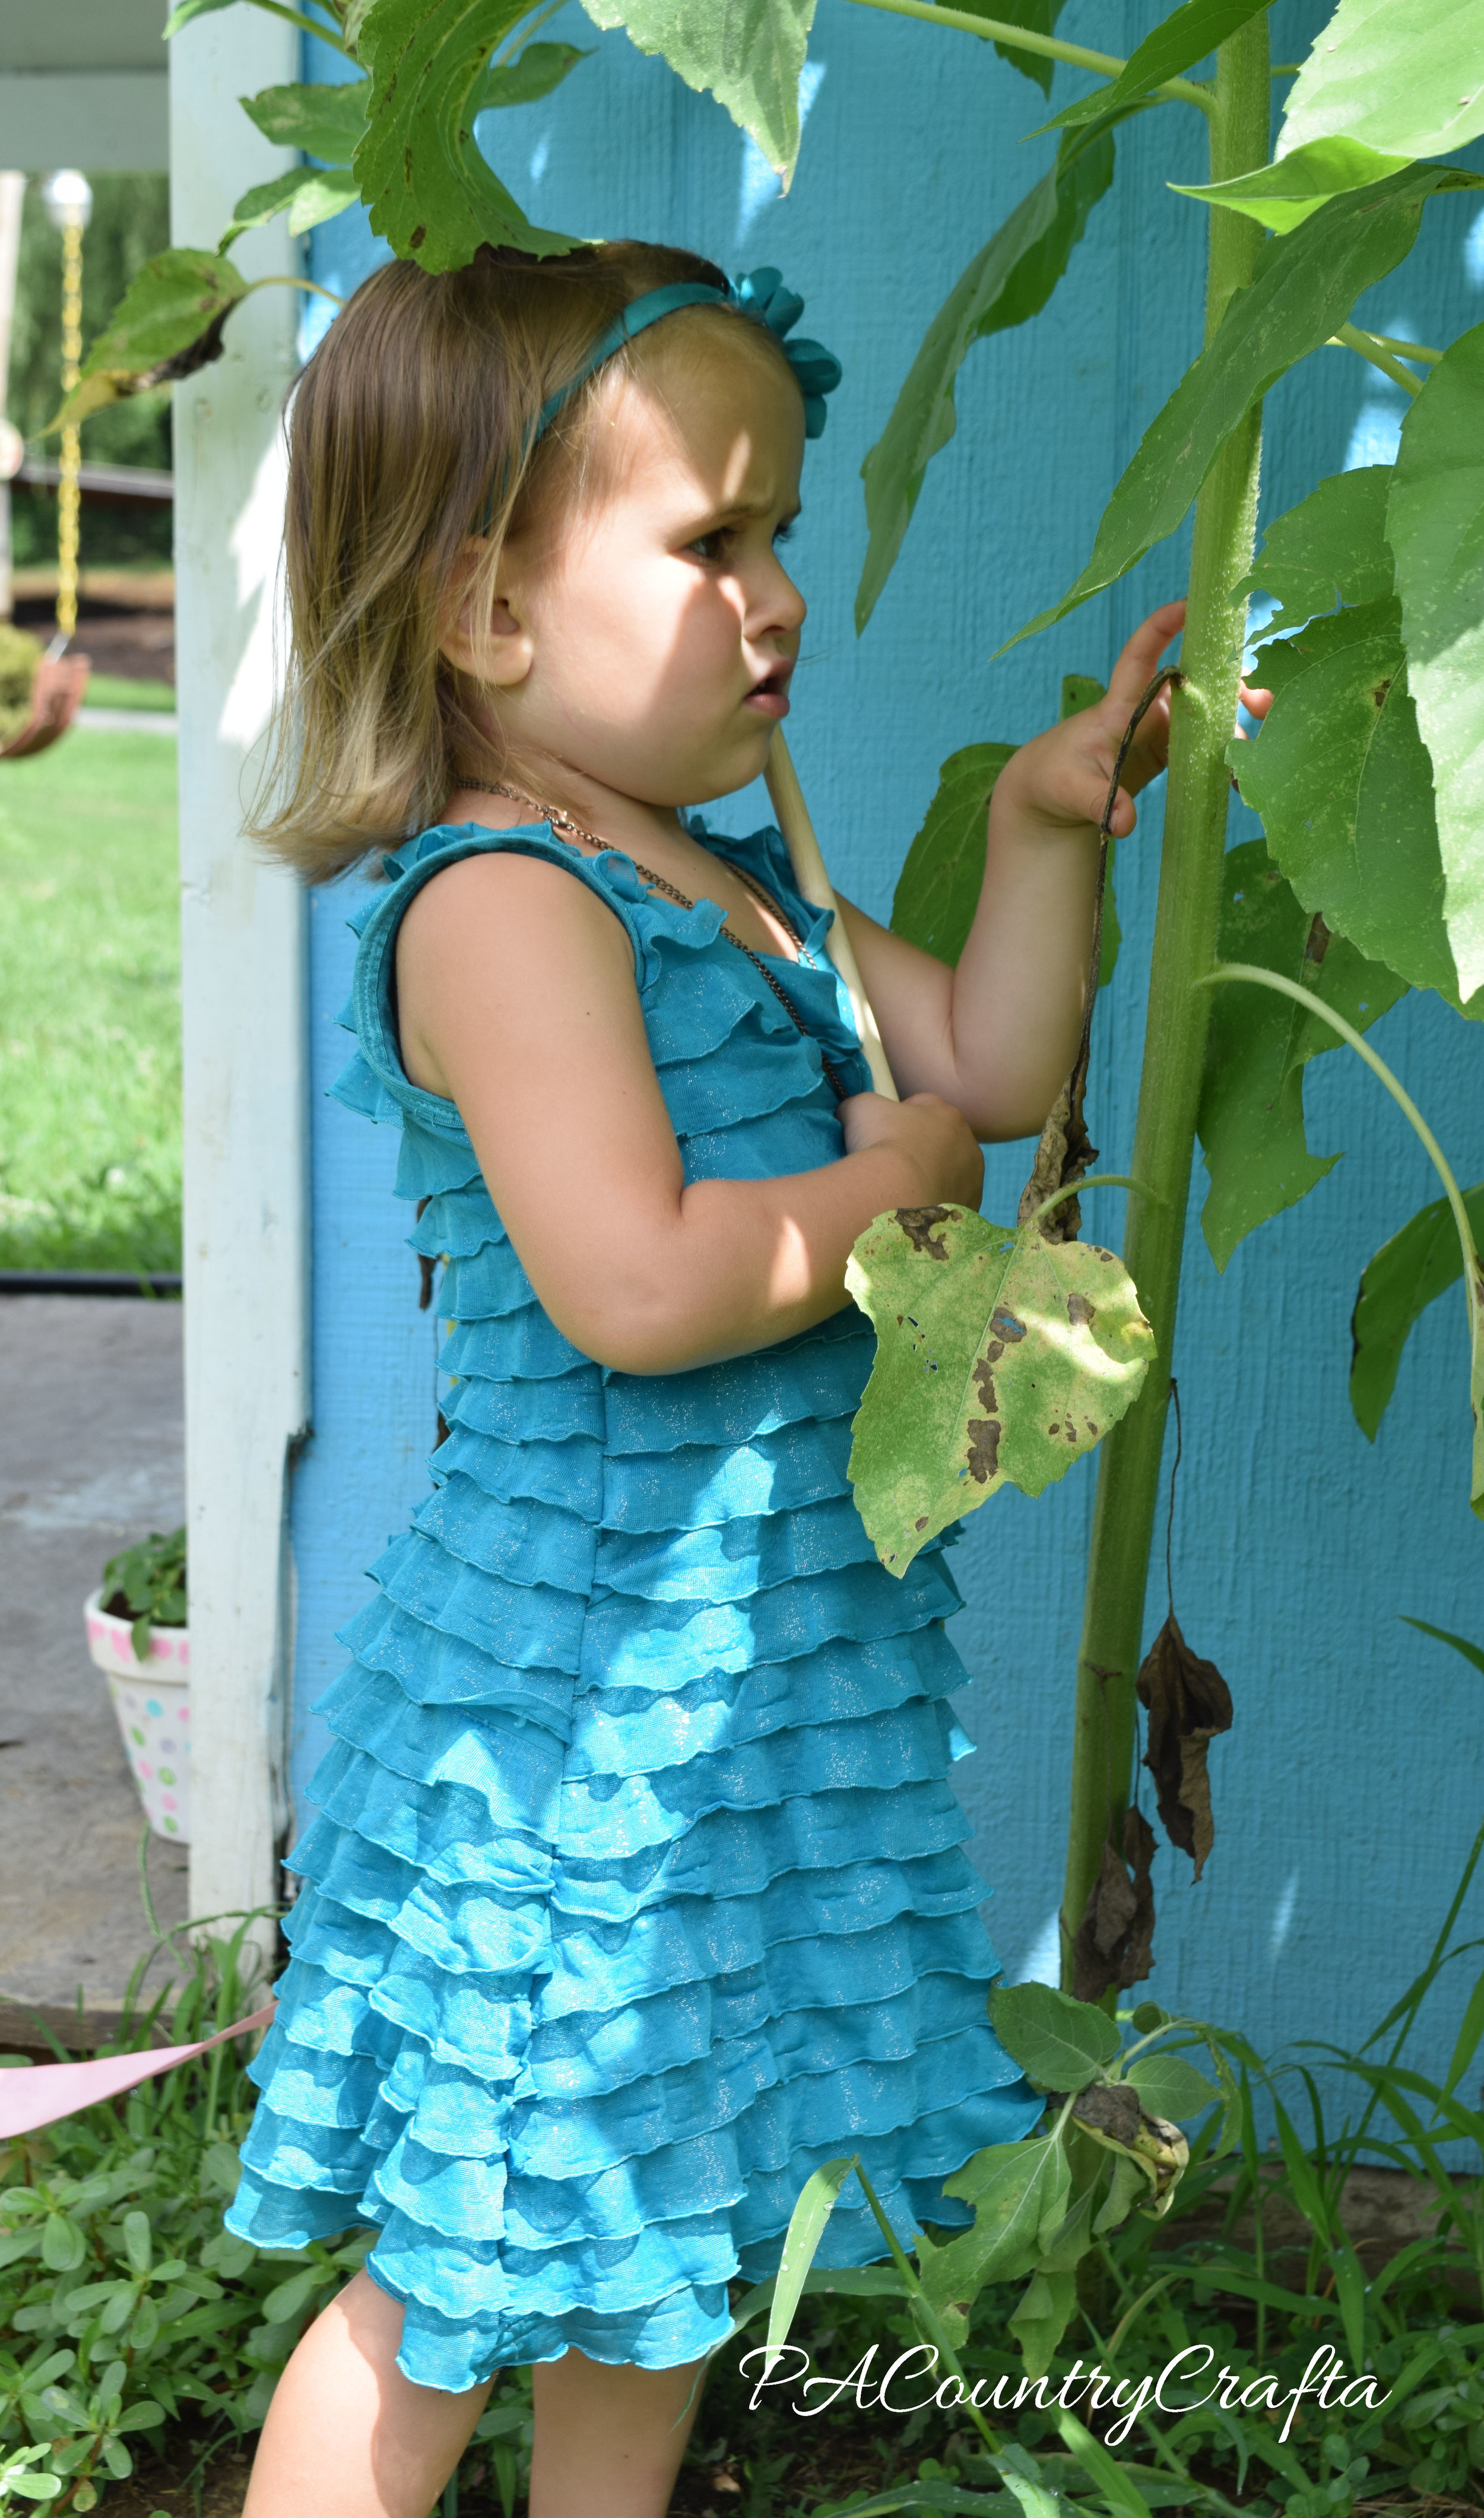
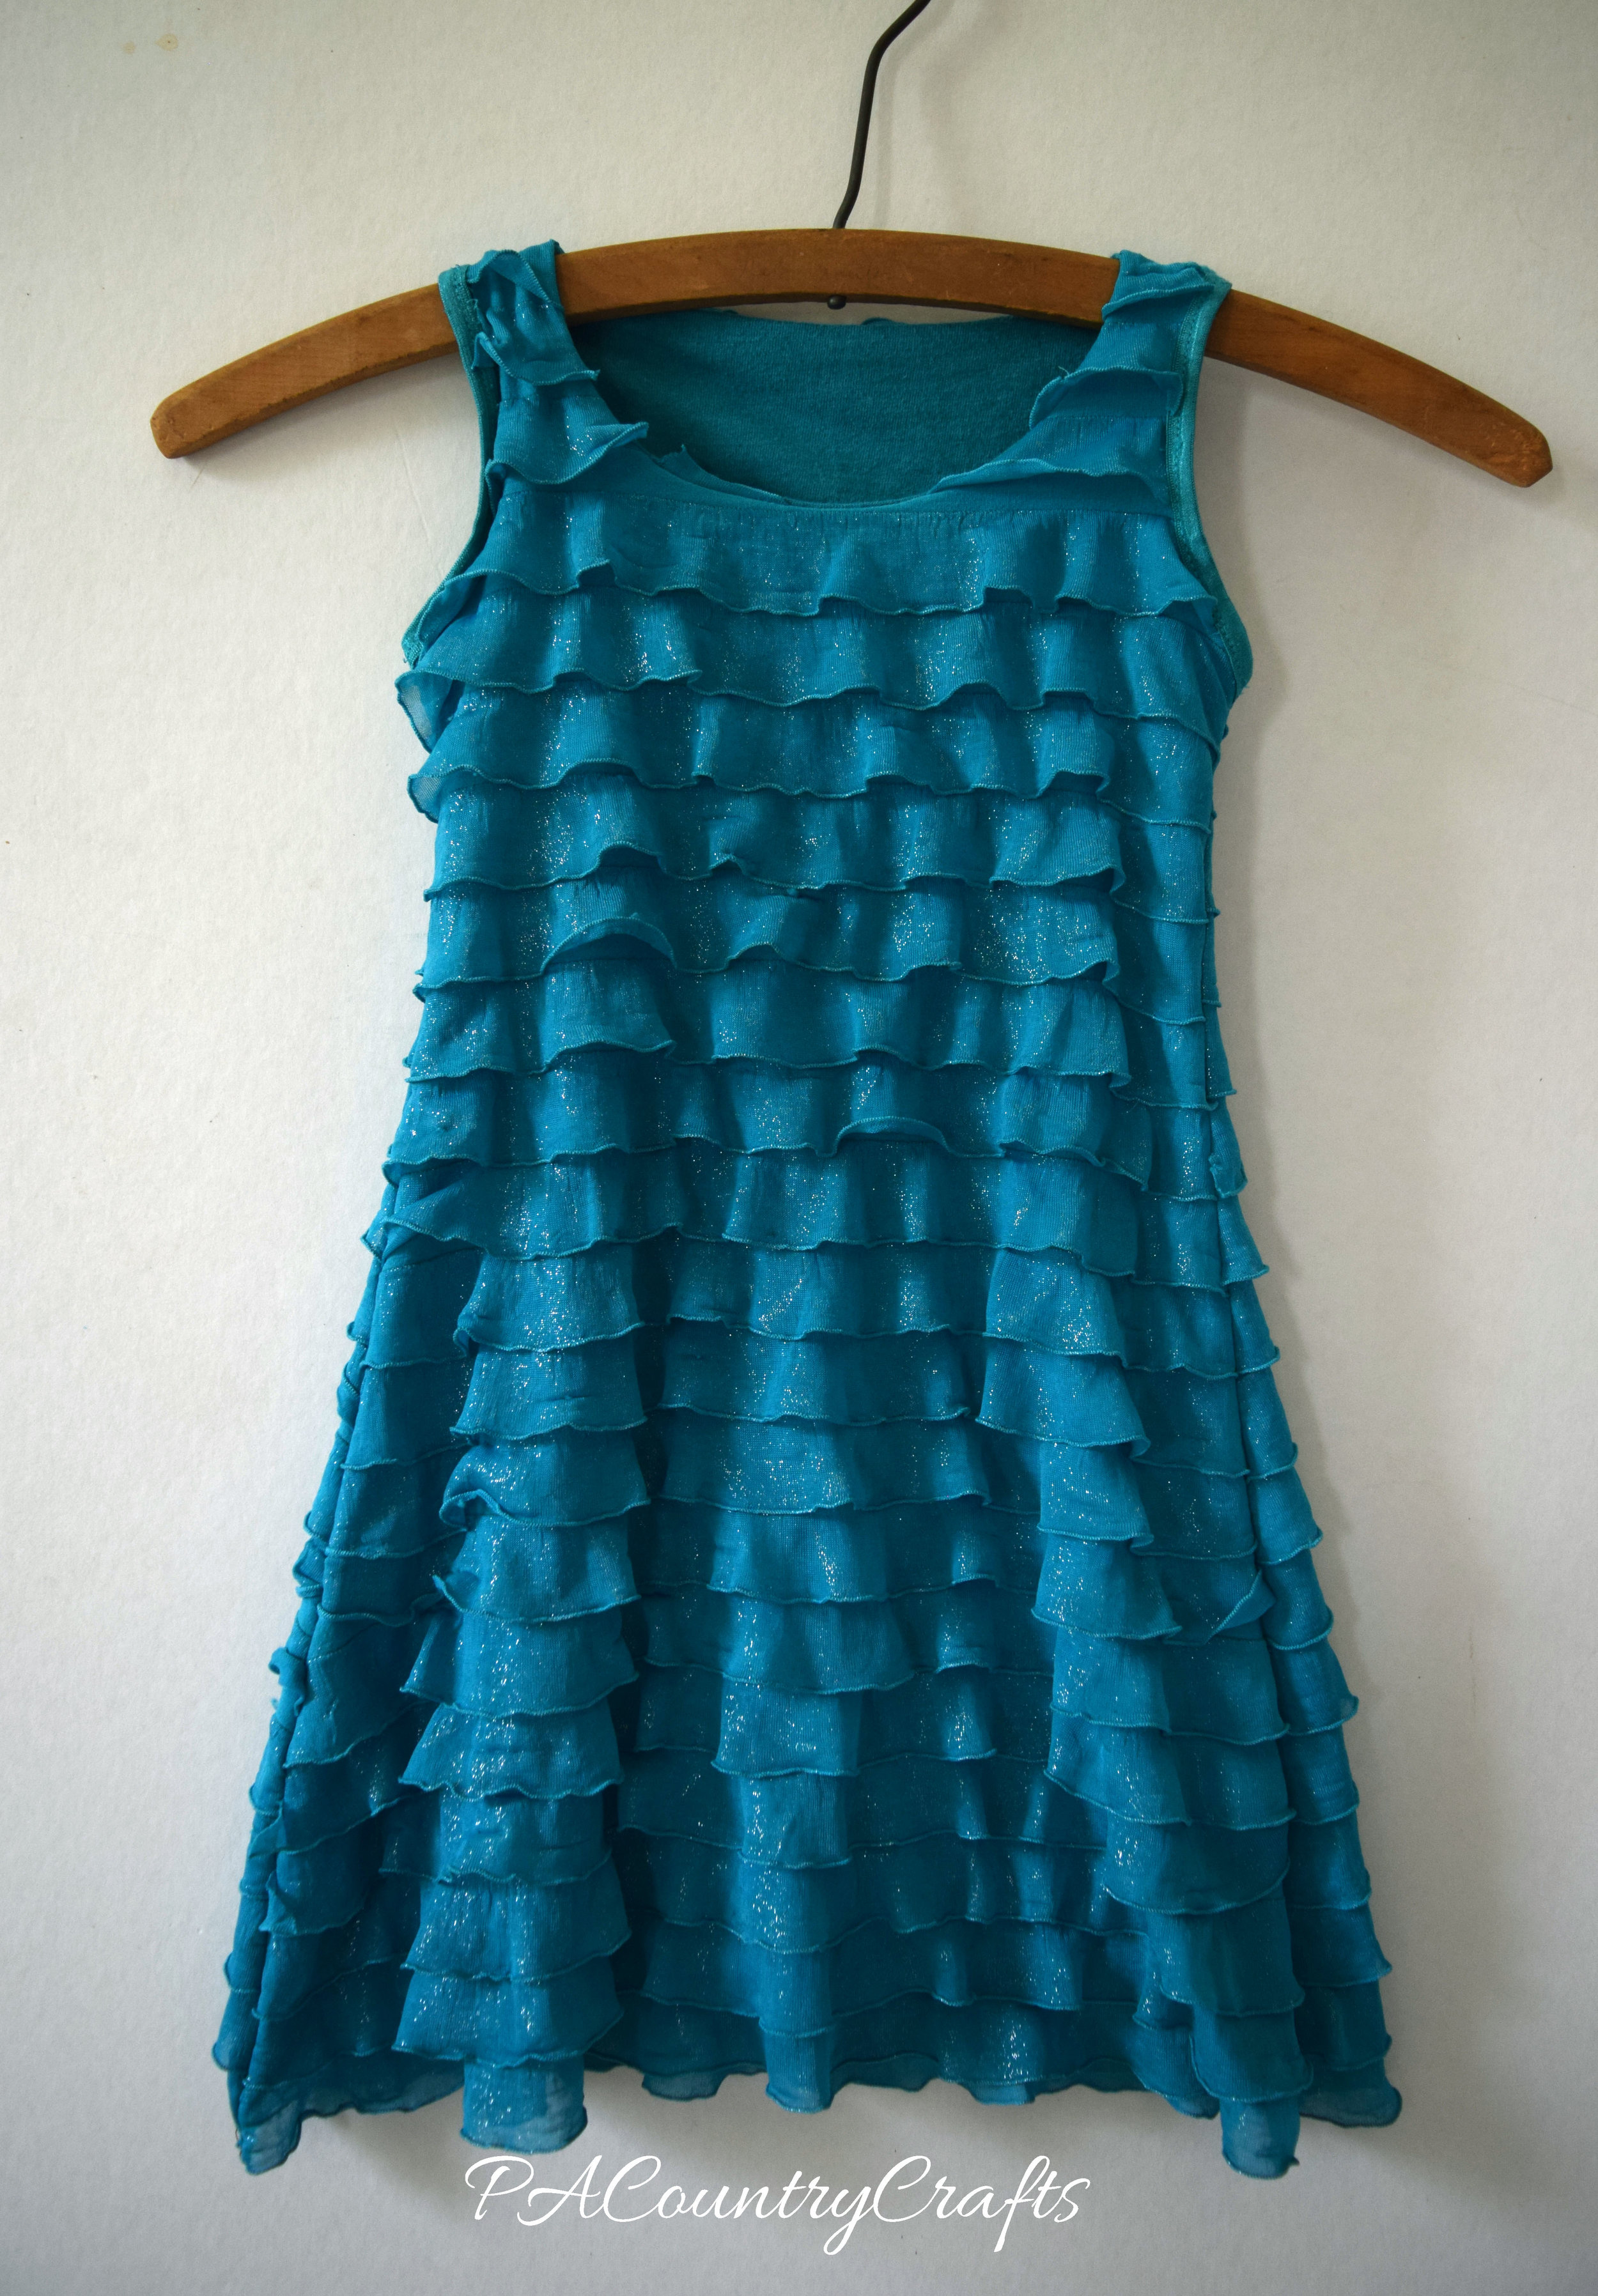
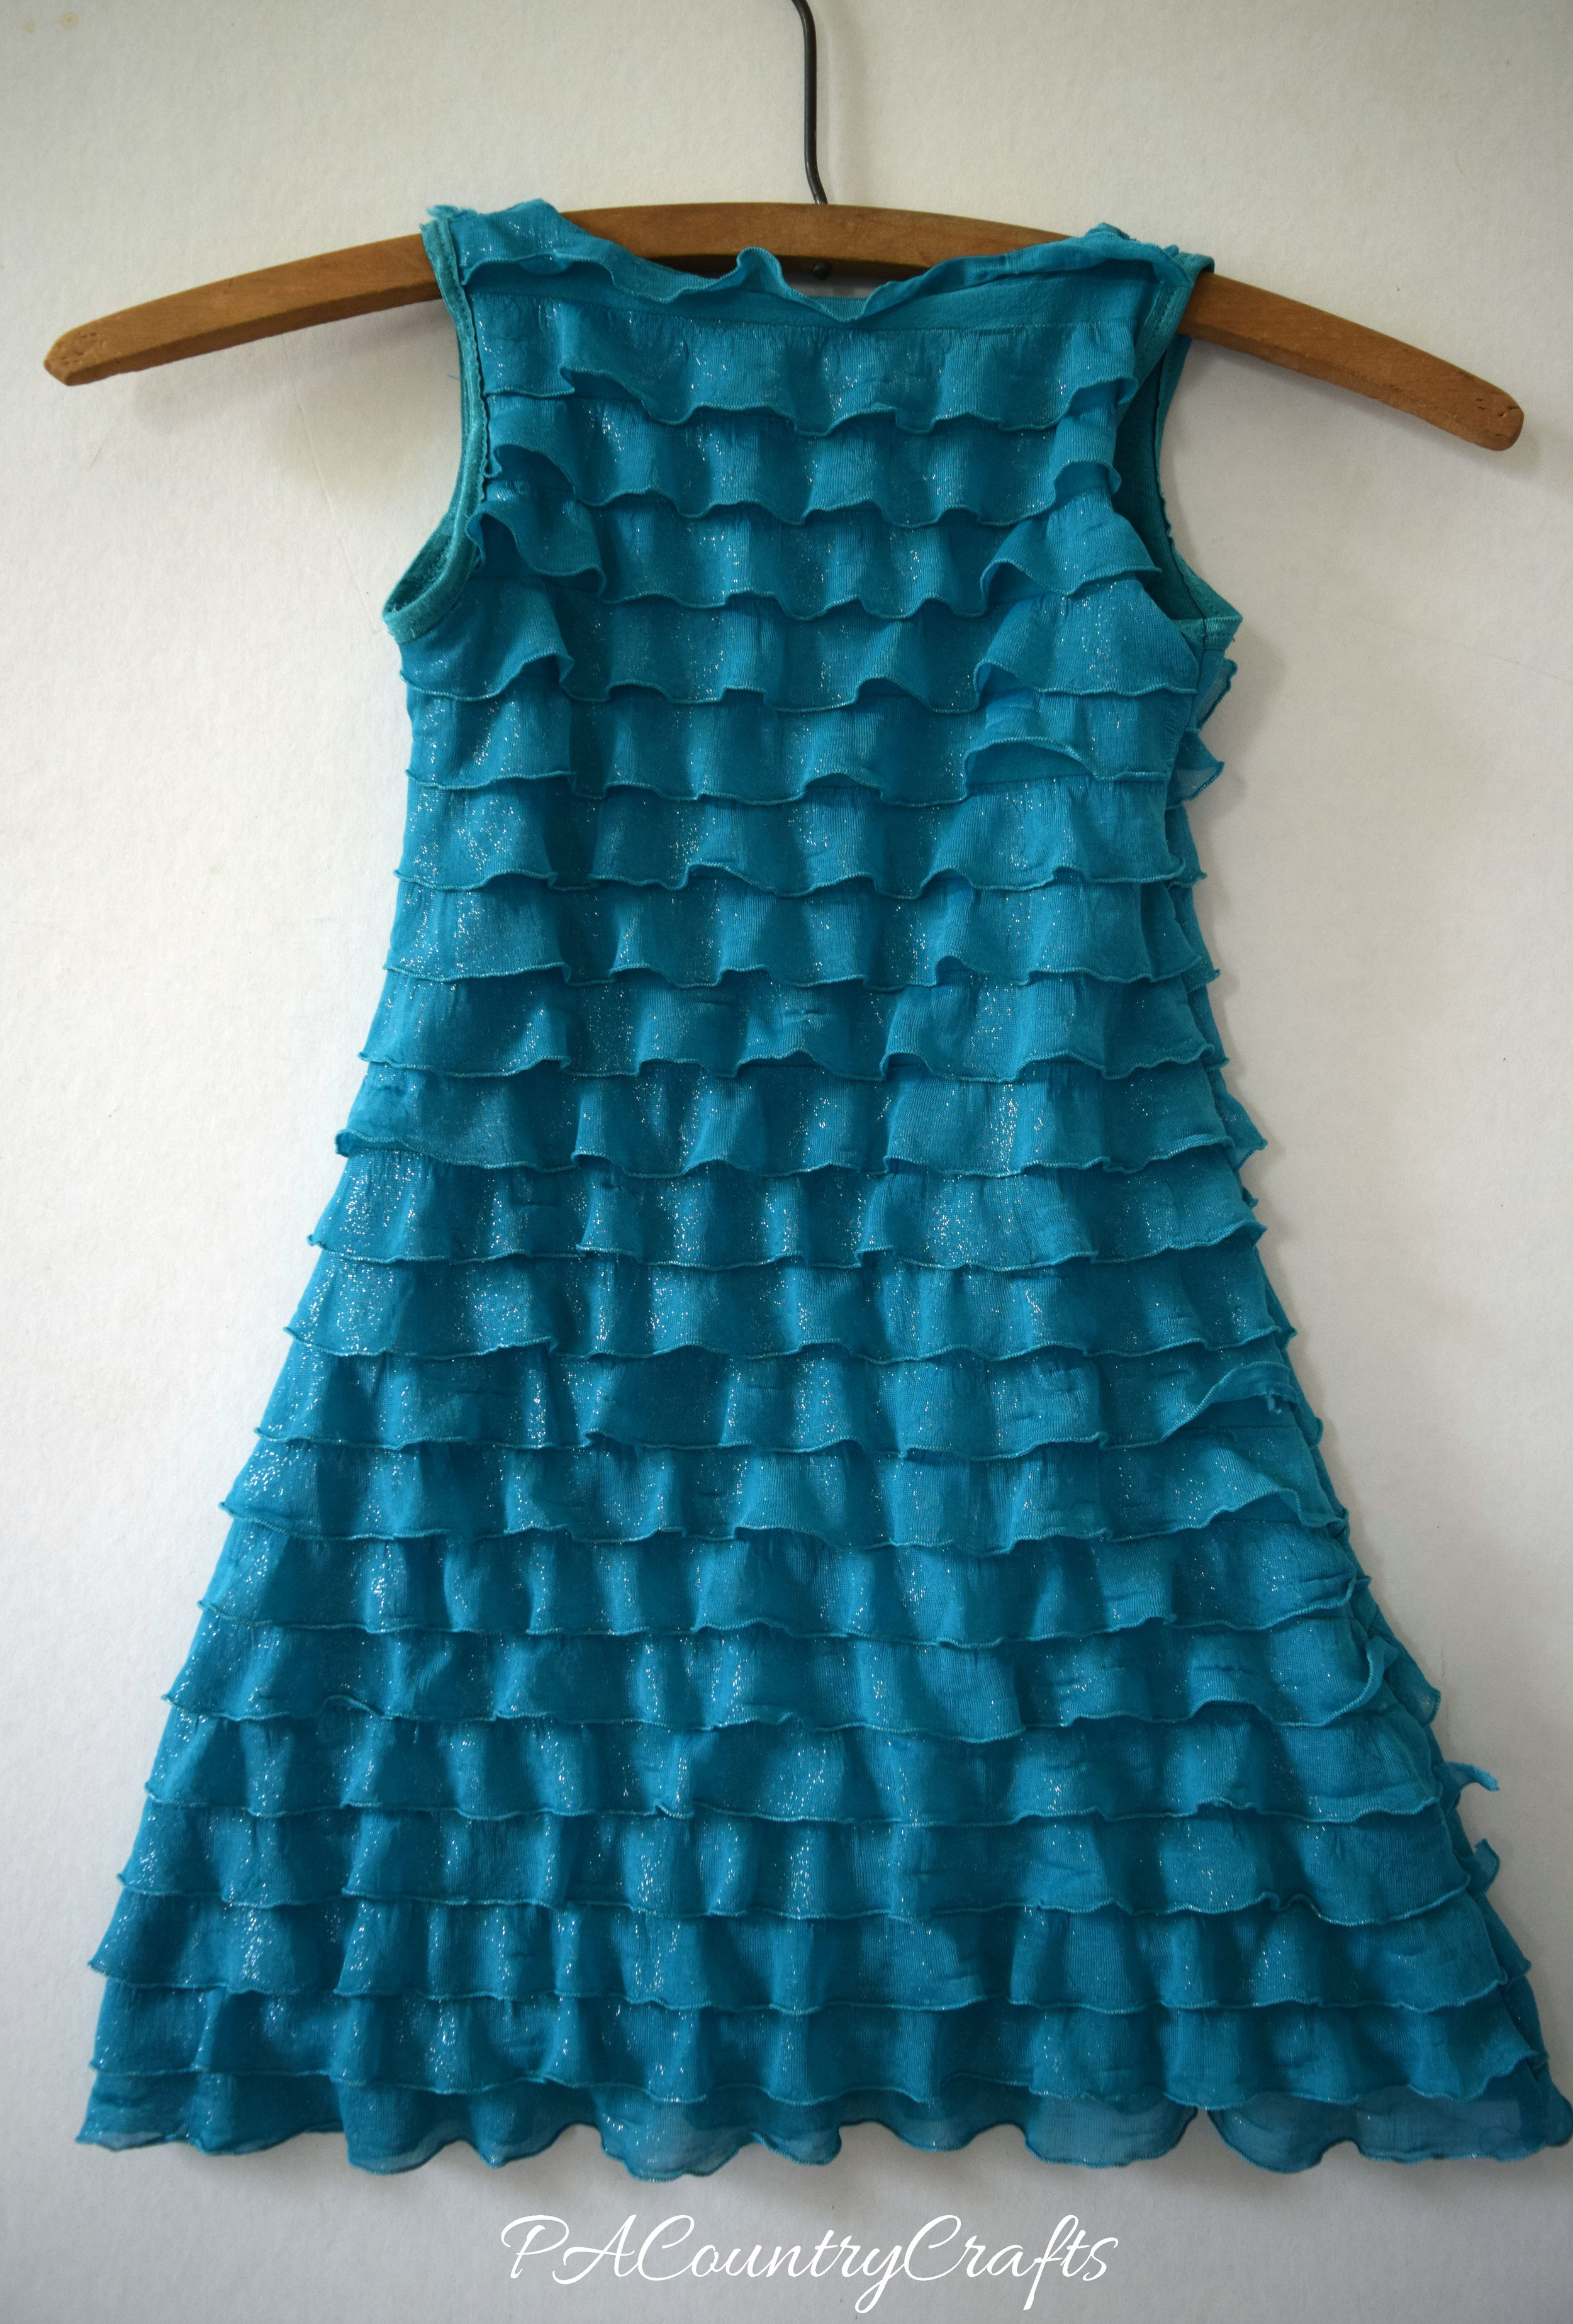
I ran out of steam and went with something simple for the last dress.  I turned a sleeveless, women's turtleneck made of ruffle fabric into a toddler dress. This project was fairly easy and, most importantly, quick. I was tired of procrastinating!

ruffle tank dress

fold over elastic arm bands

ruffle fabric dress

I used the Uptown/Downtown dress pattern again. This time, however, I removed the foldover elastic from the arm holes of the original shirt and reapplied them. It wasn't as clean as the sparkly top dress, but the ruffle fabric was harder to use. The lining is made from the rest of the t shirt I used for the sparkly top dress lining.

teal ruffle fabric dress

back of ruffle dress

womens ruffle shirt to toddler tank dress

I can check another one off of my list of goals for the 3rd quarter of the Finish-A-Long. Woohoo!
Here are all of the dresses...
 Girls dresses upcycled from thrift store sheets, shirts, etc.
Women's Ruffle Shirt to Toddler Dress
Link Parties where I sometimes hang out…

Men's Dress Shirt to Girls' Vintage Style Dress

mens-shirt-to-girls-vintage-shirt-dress.jpg

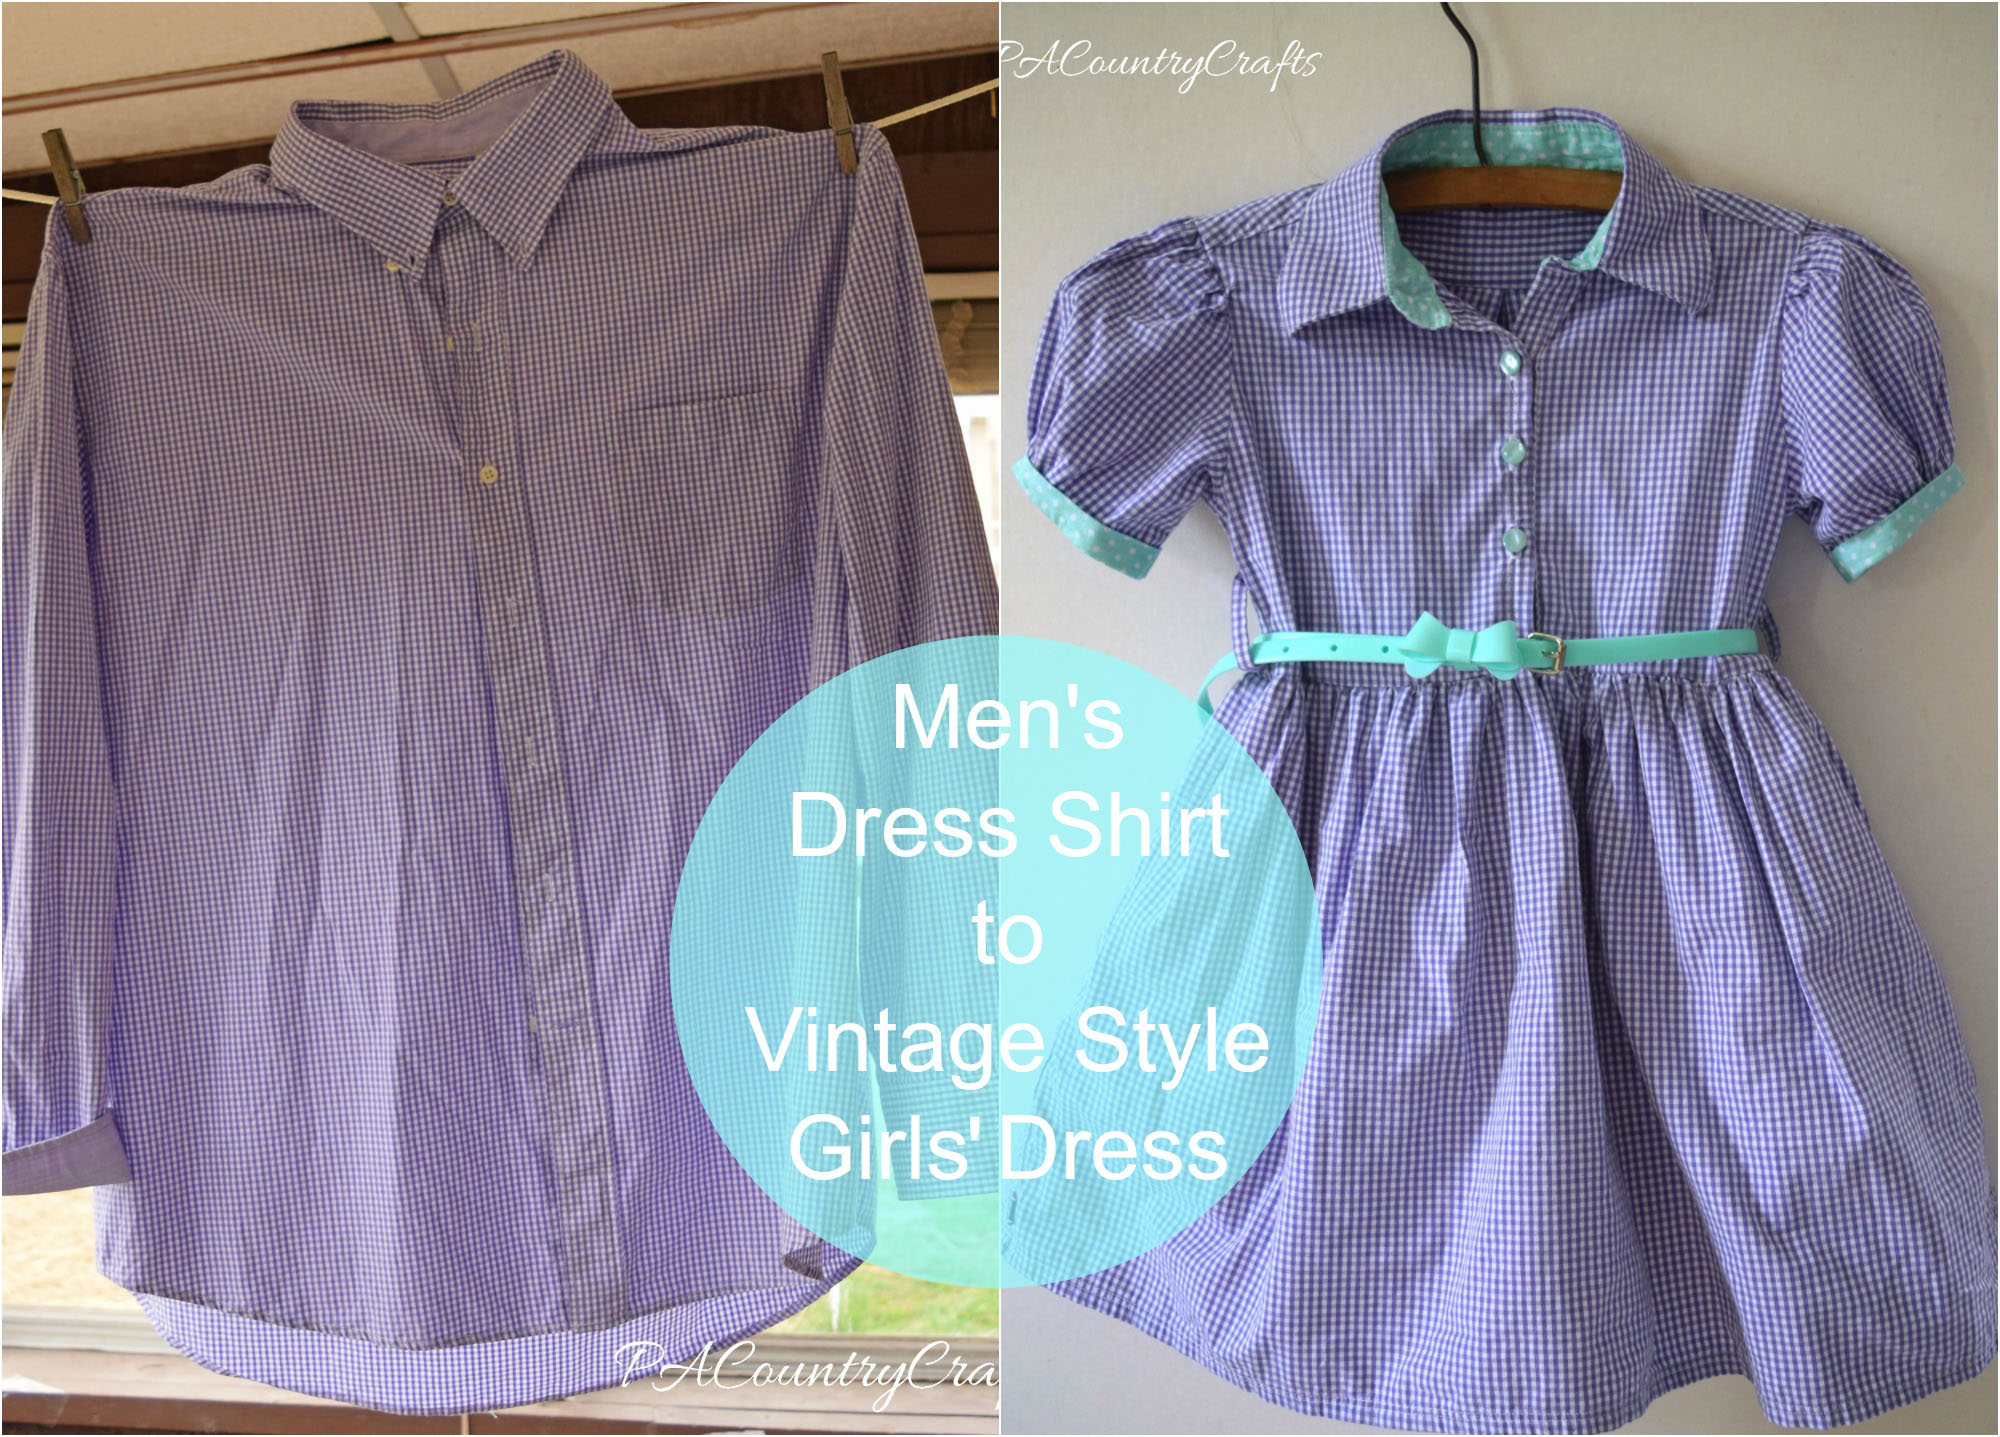
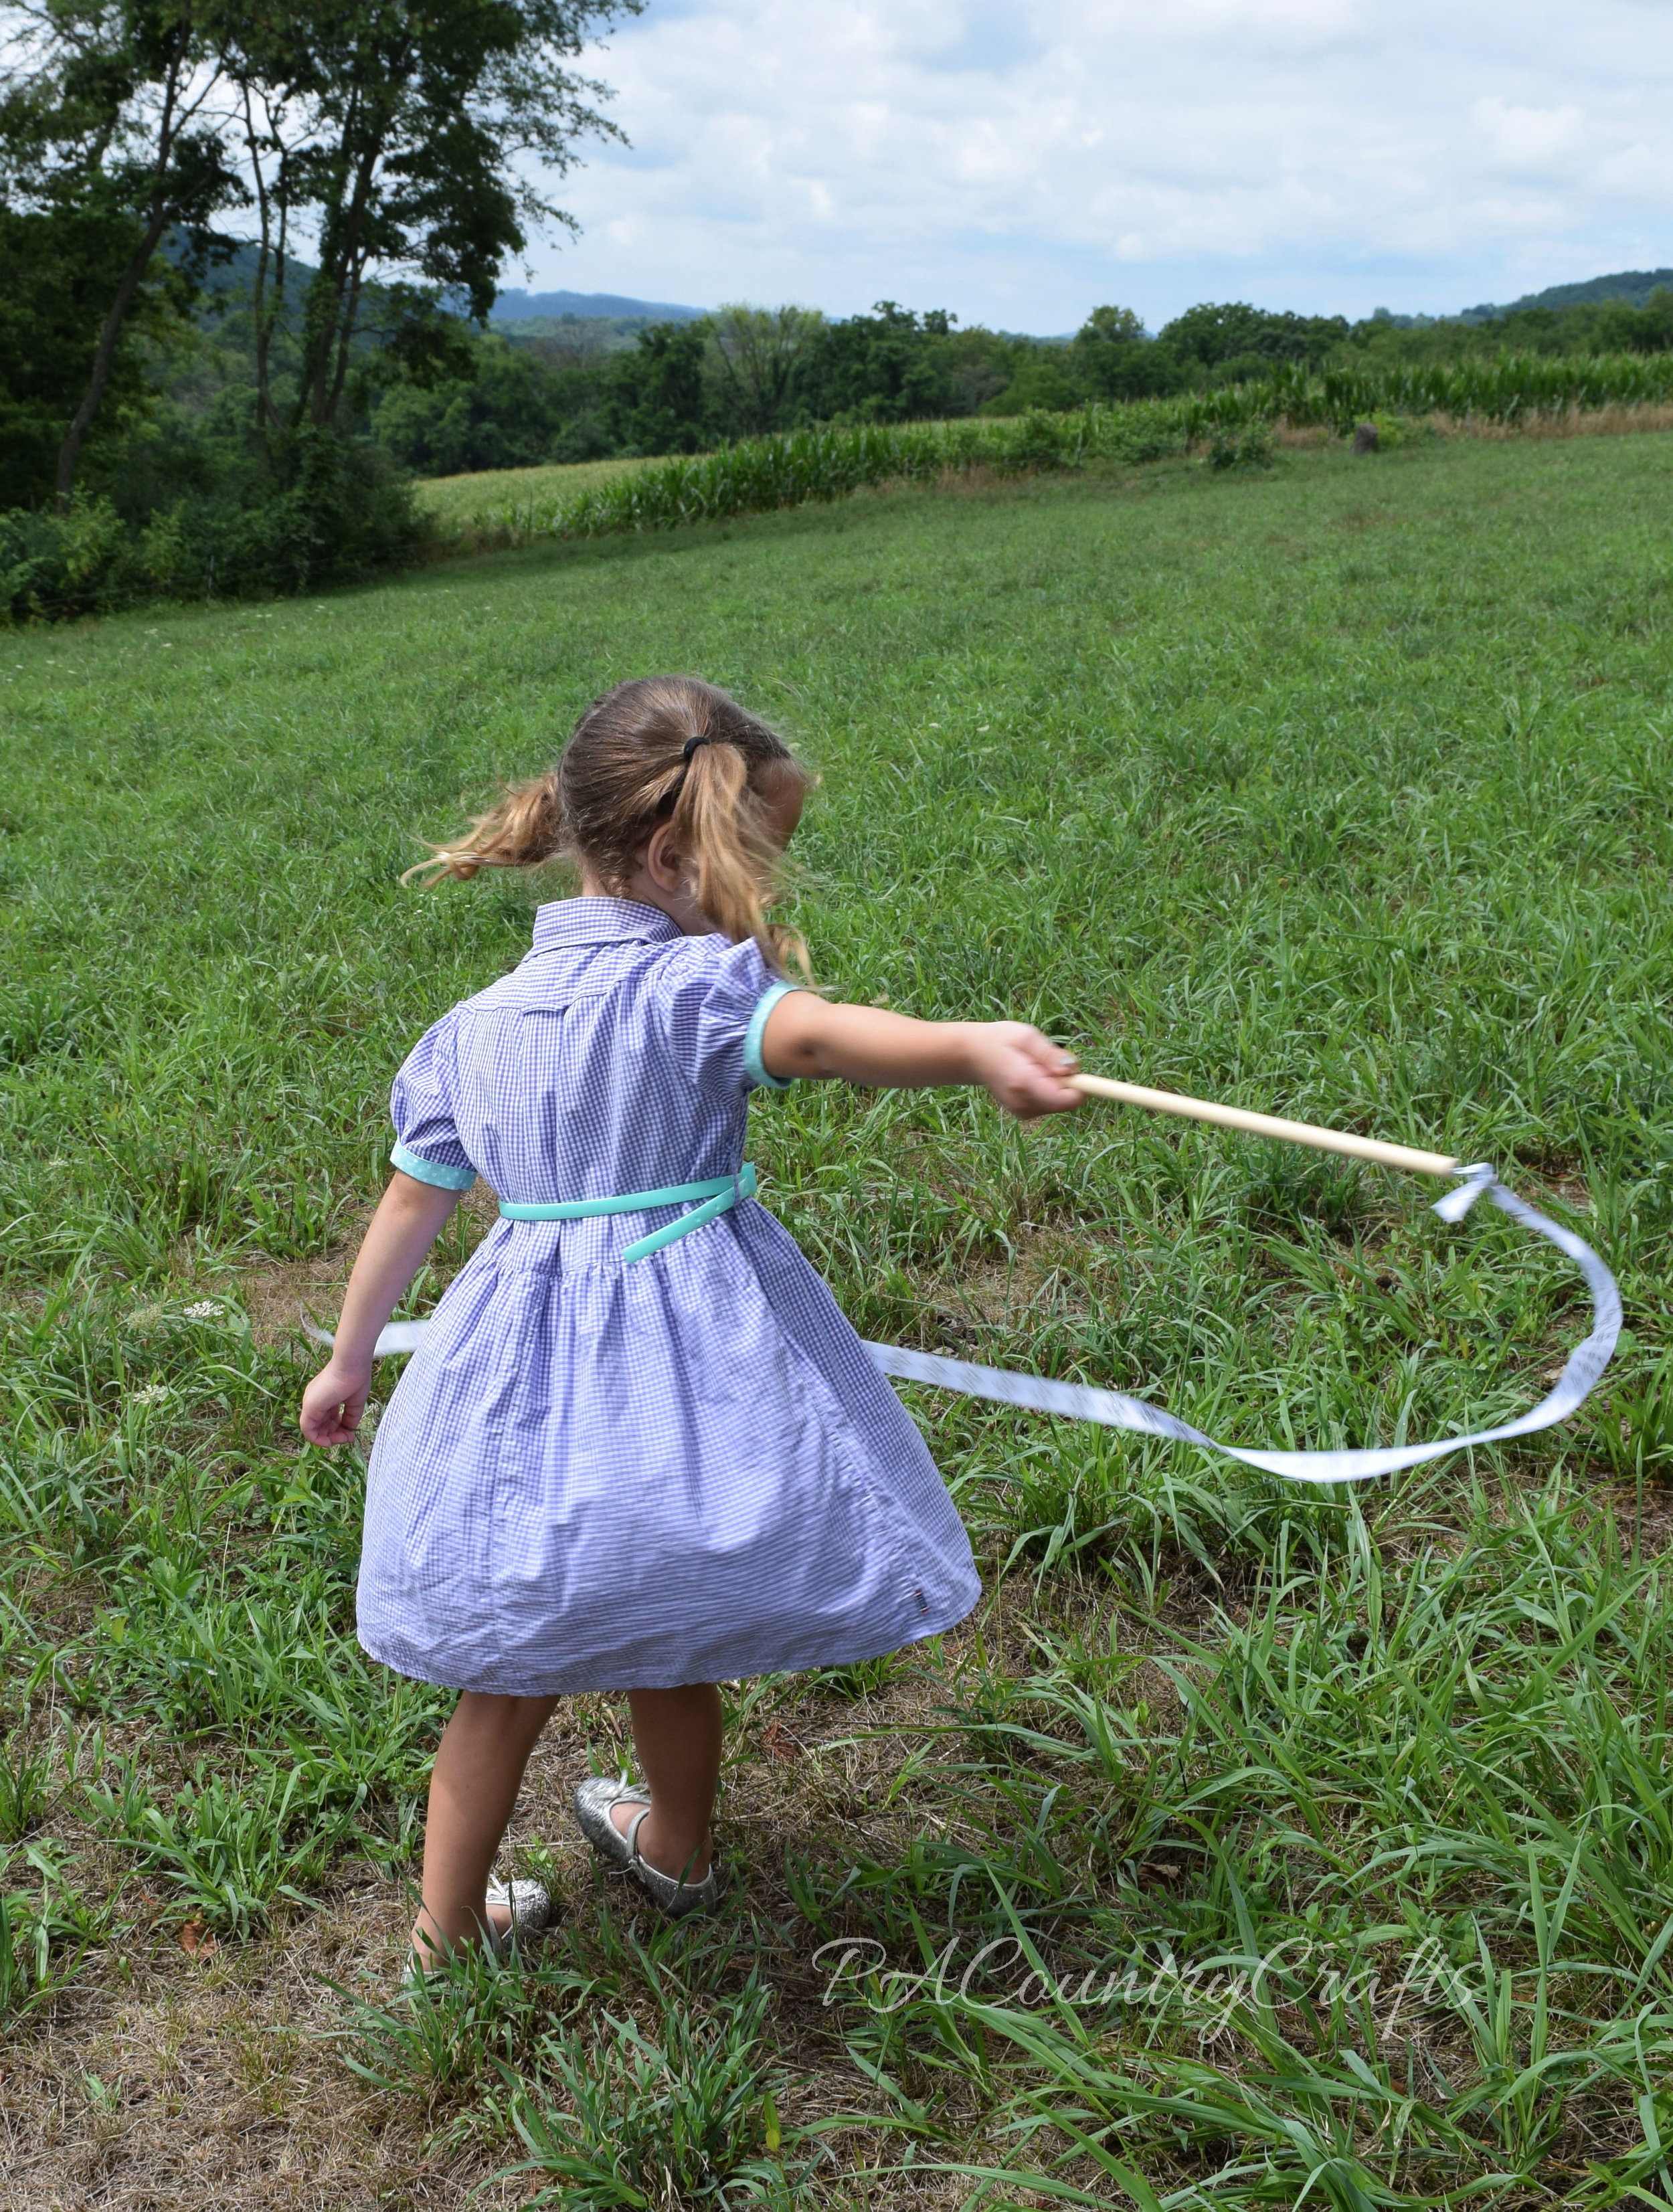
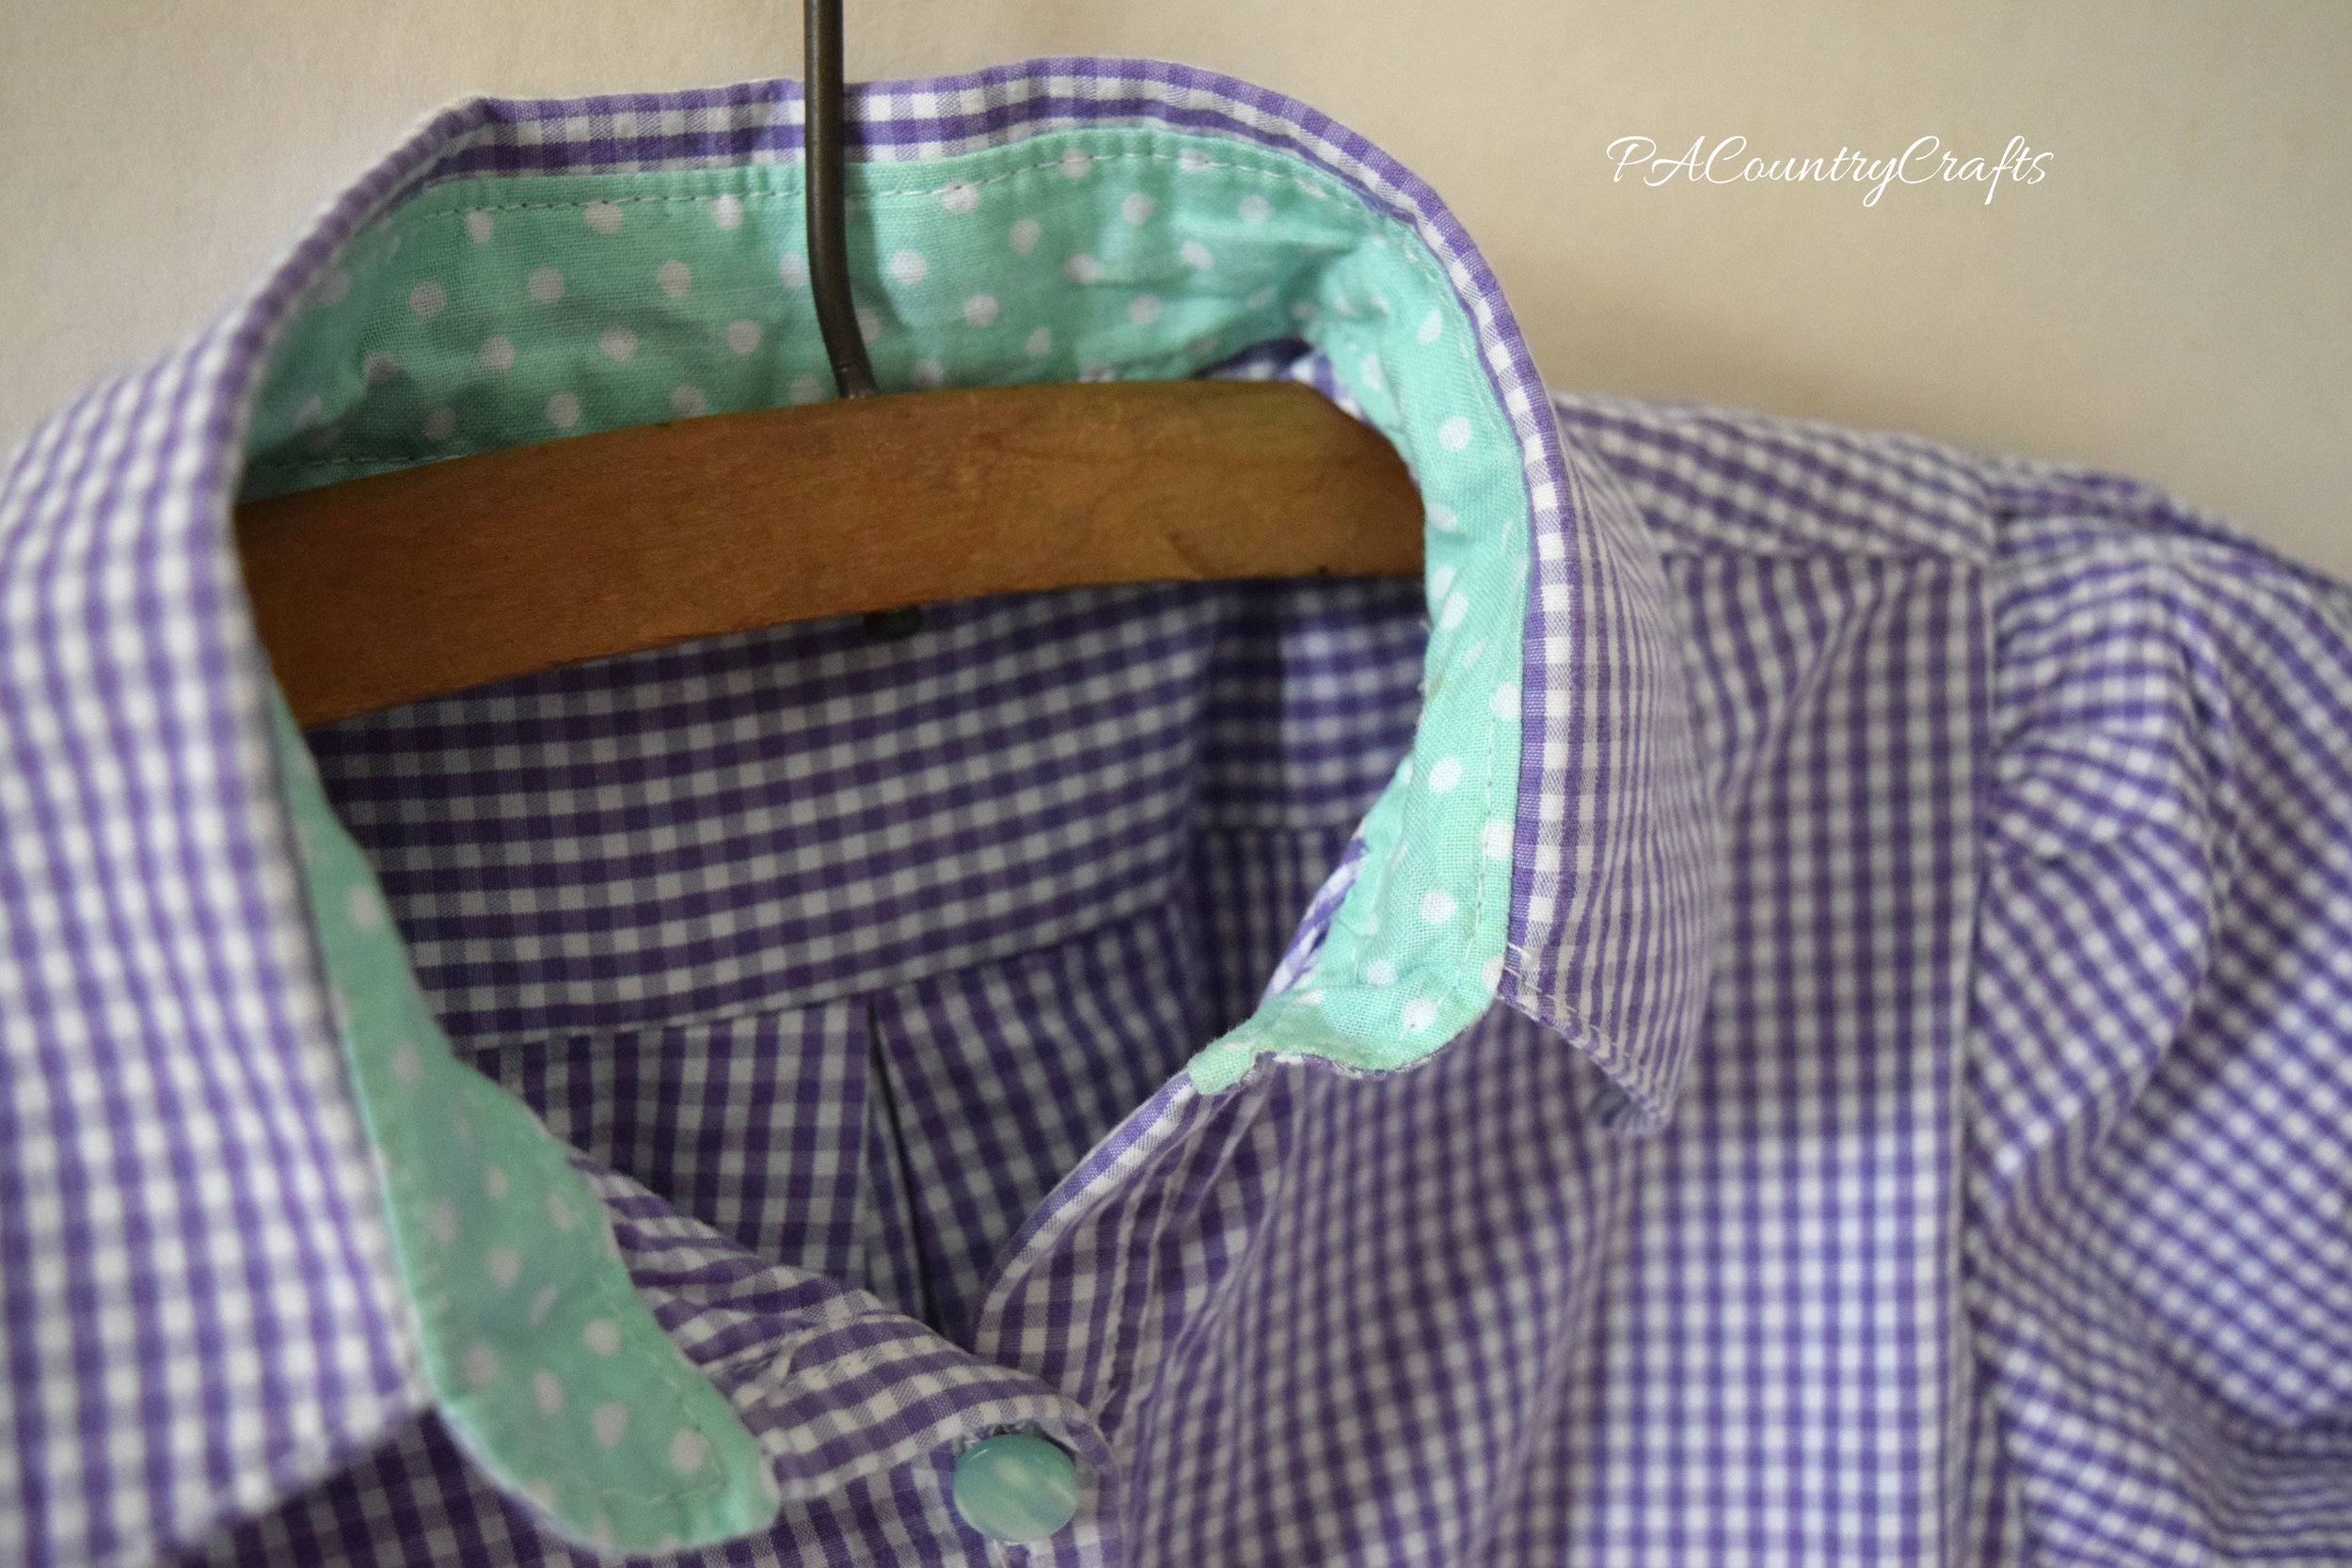
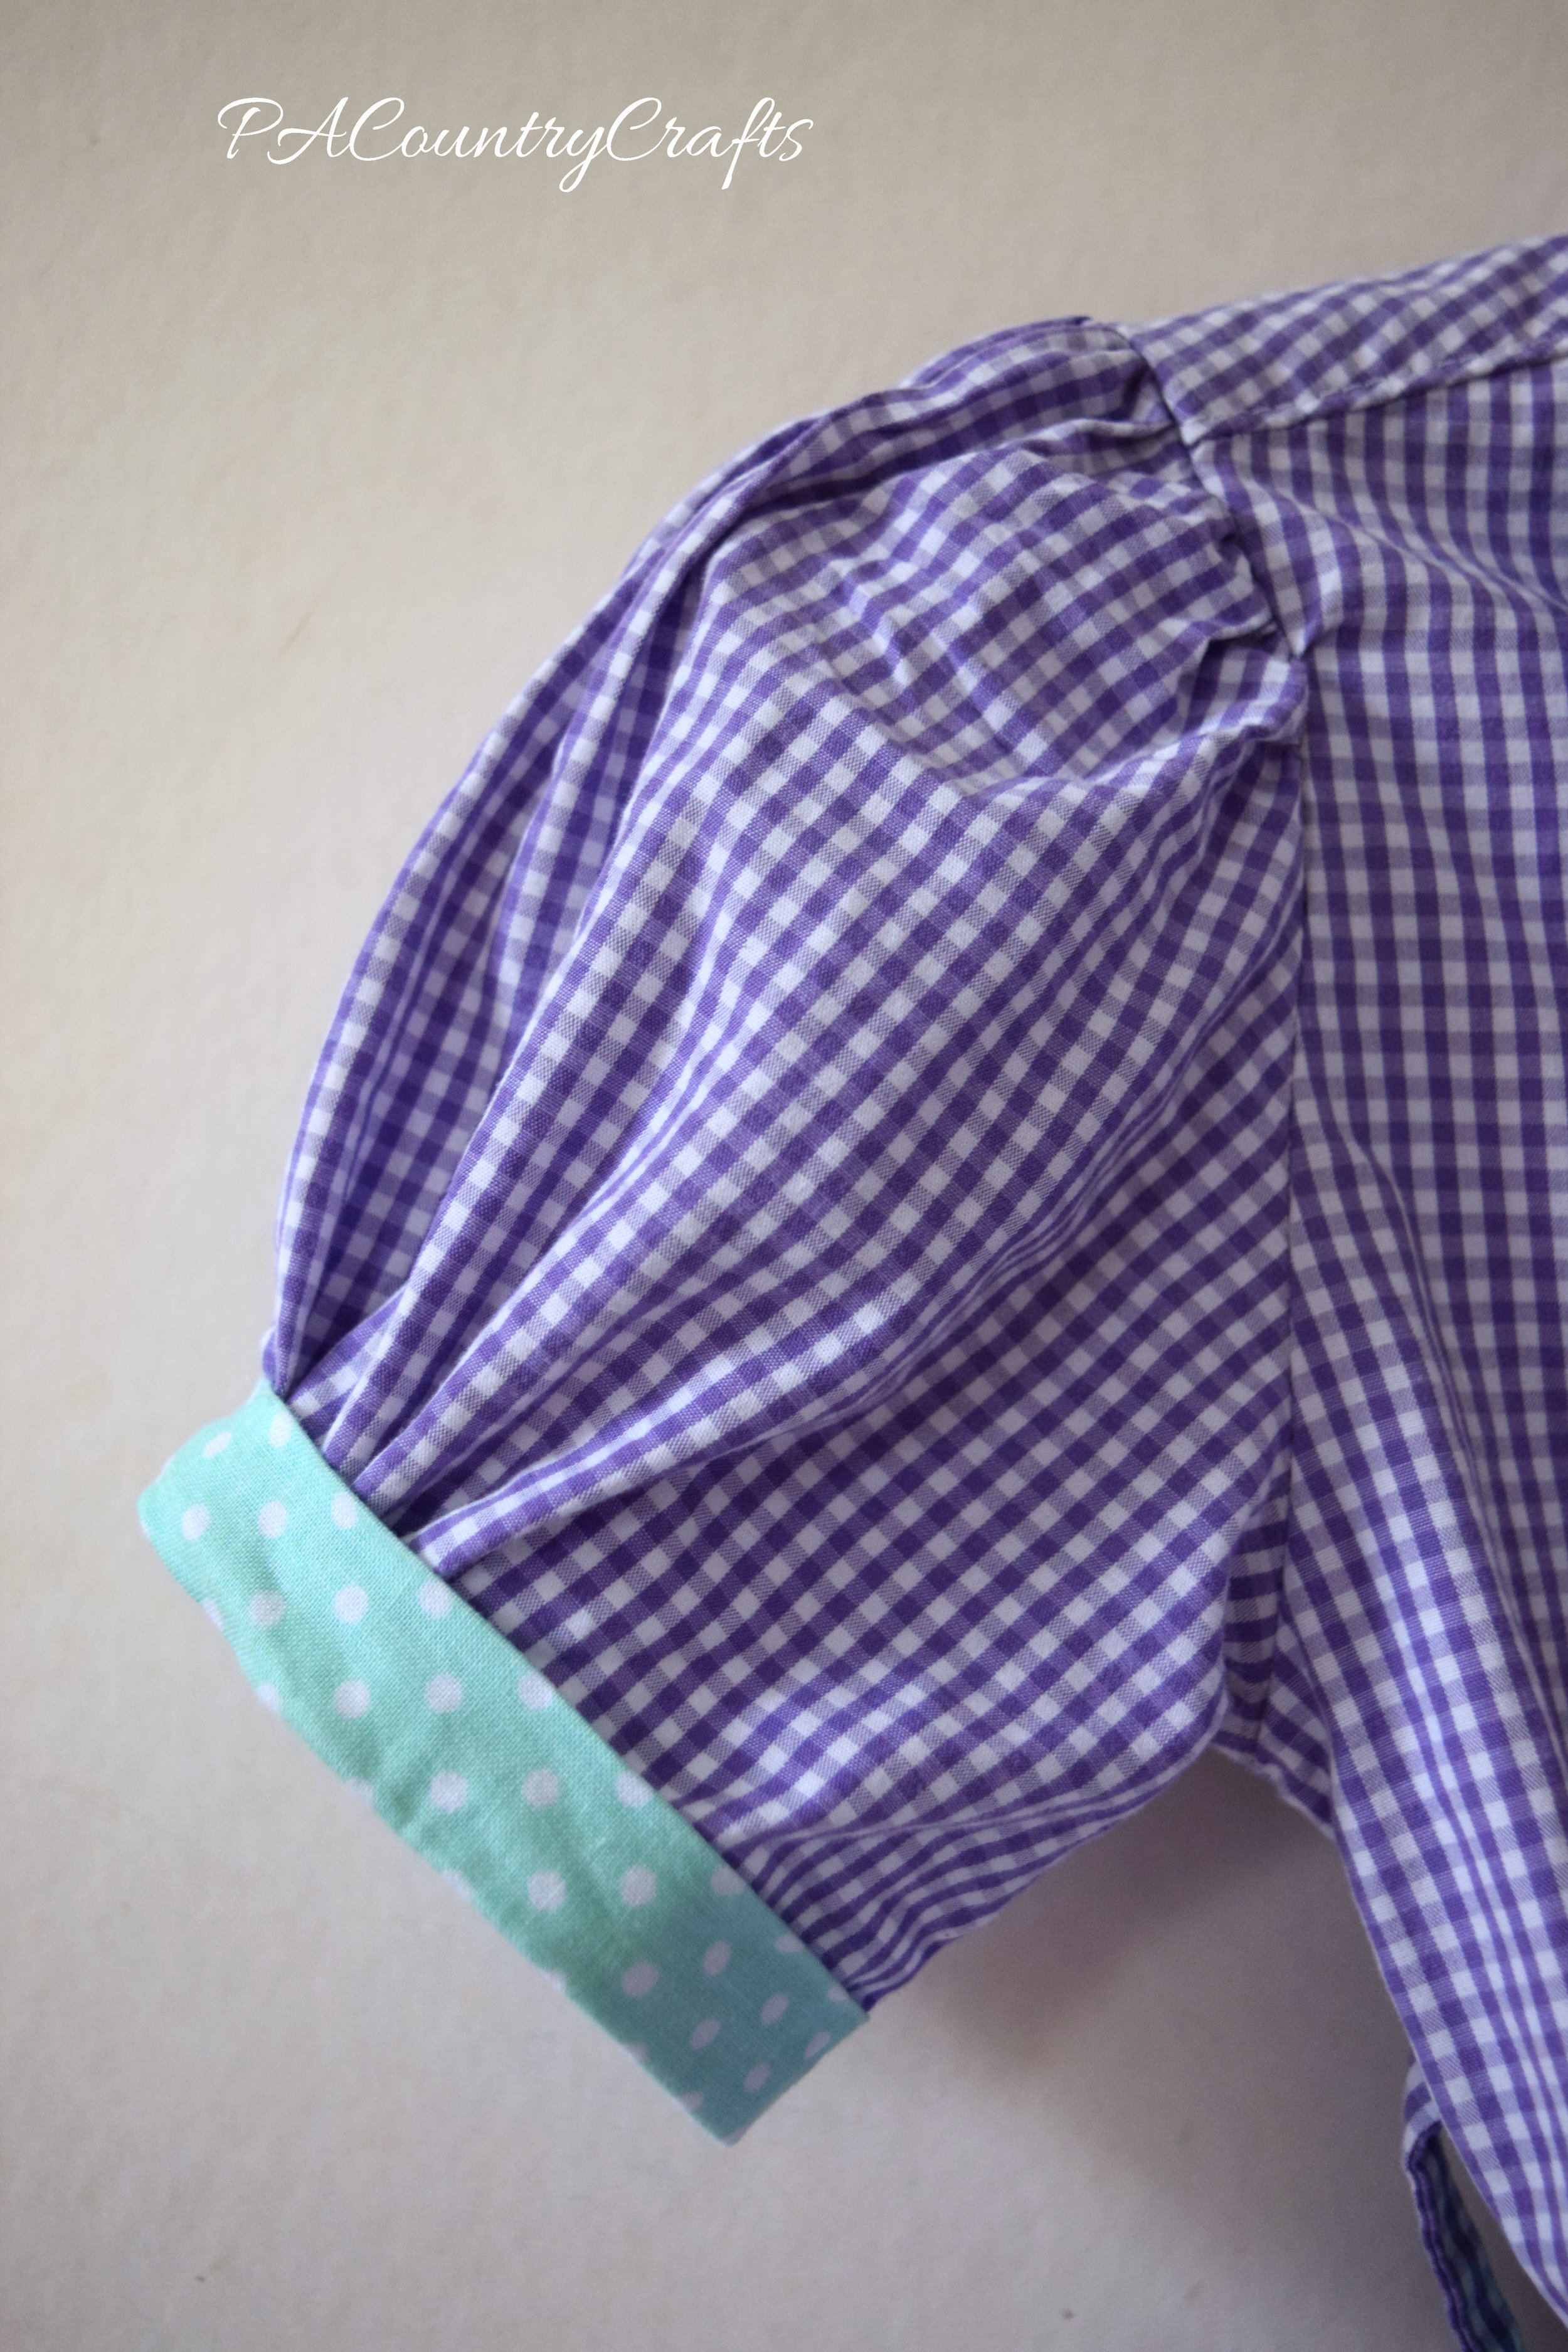
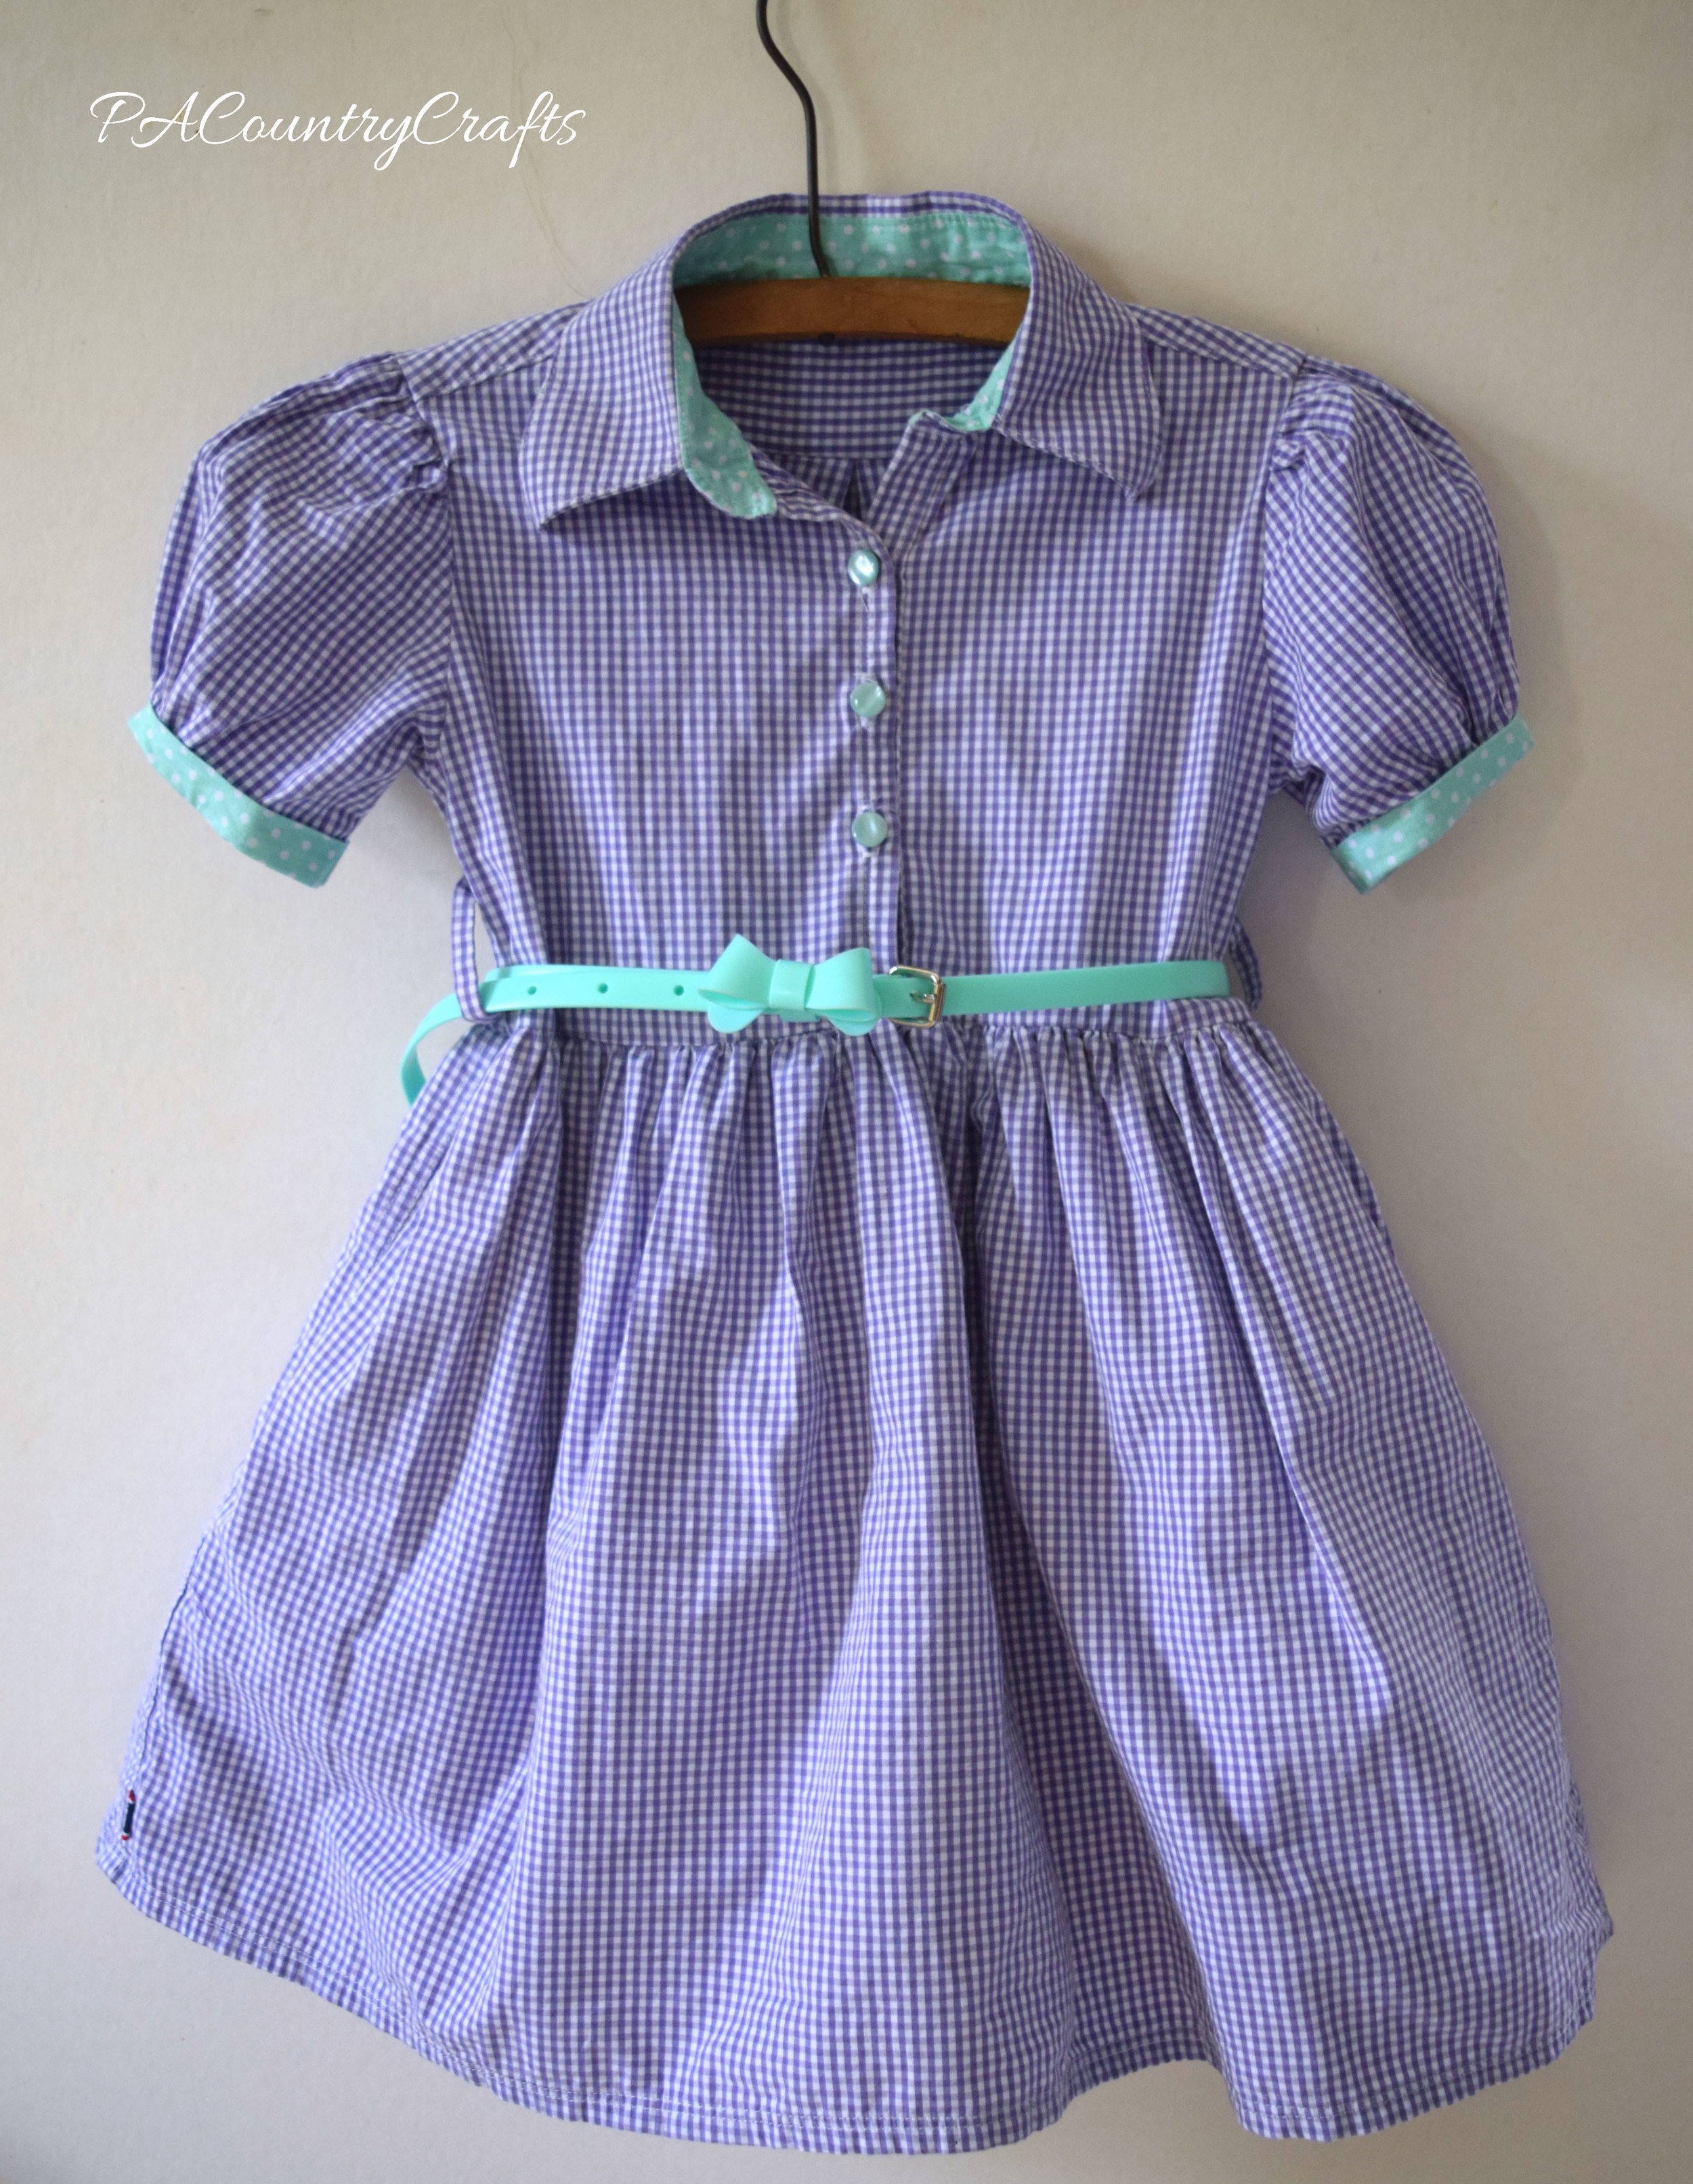
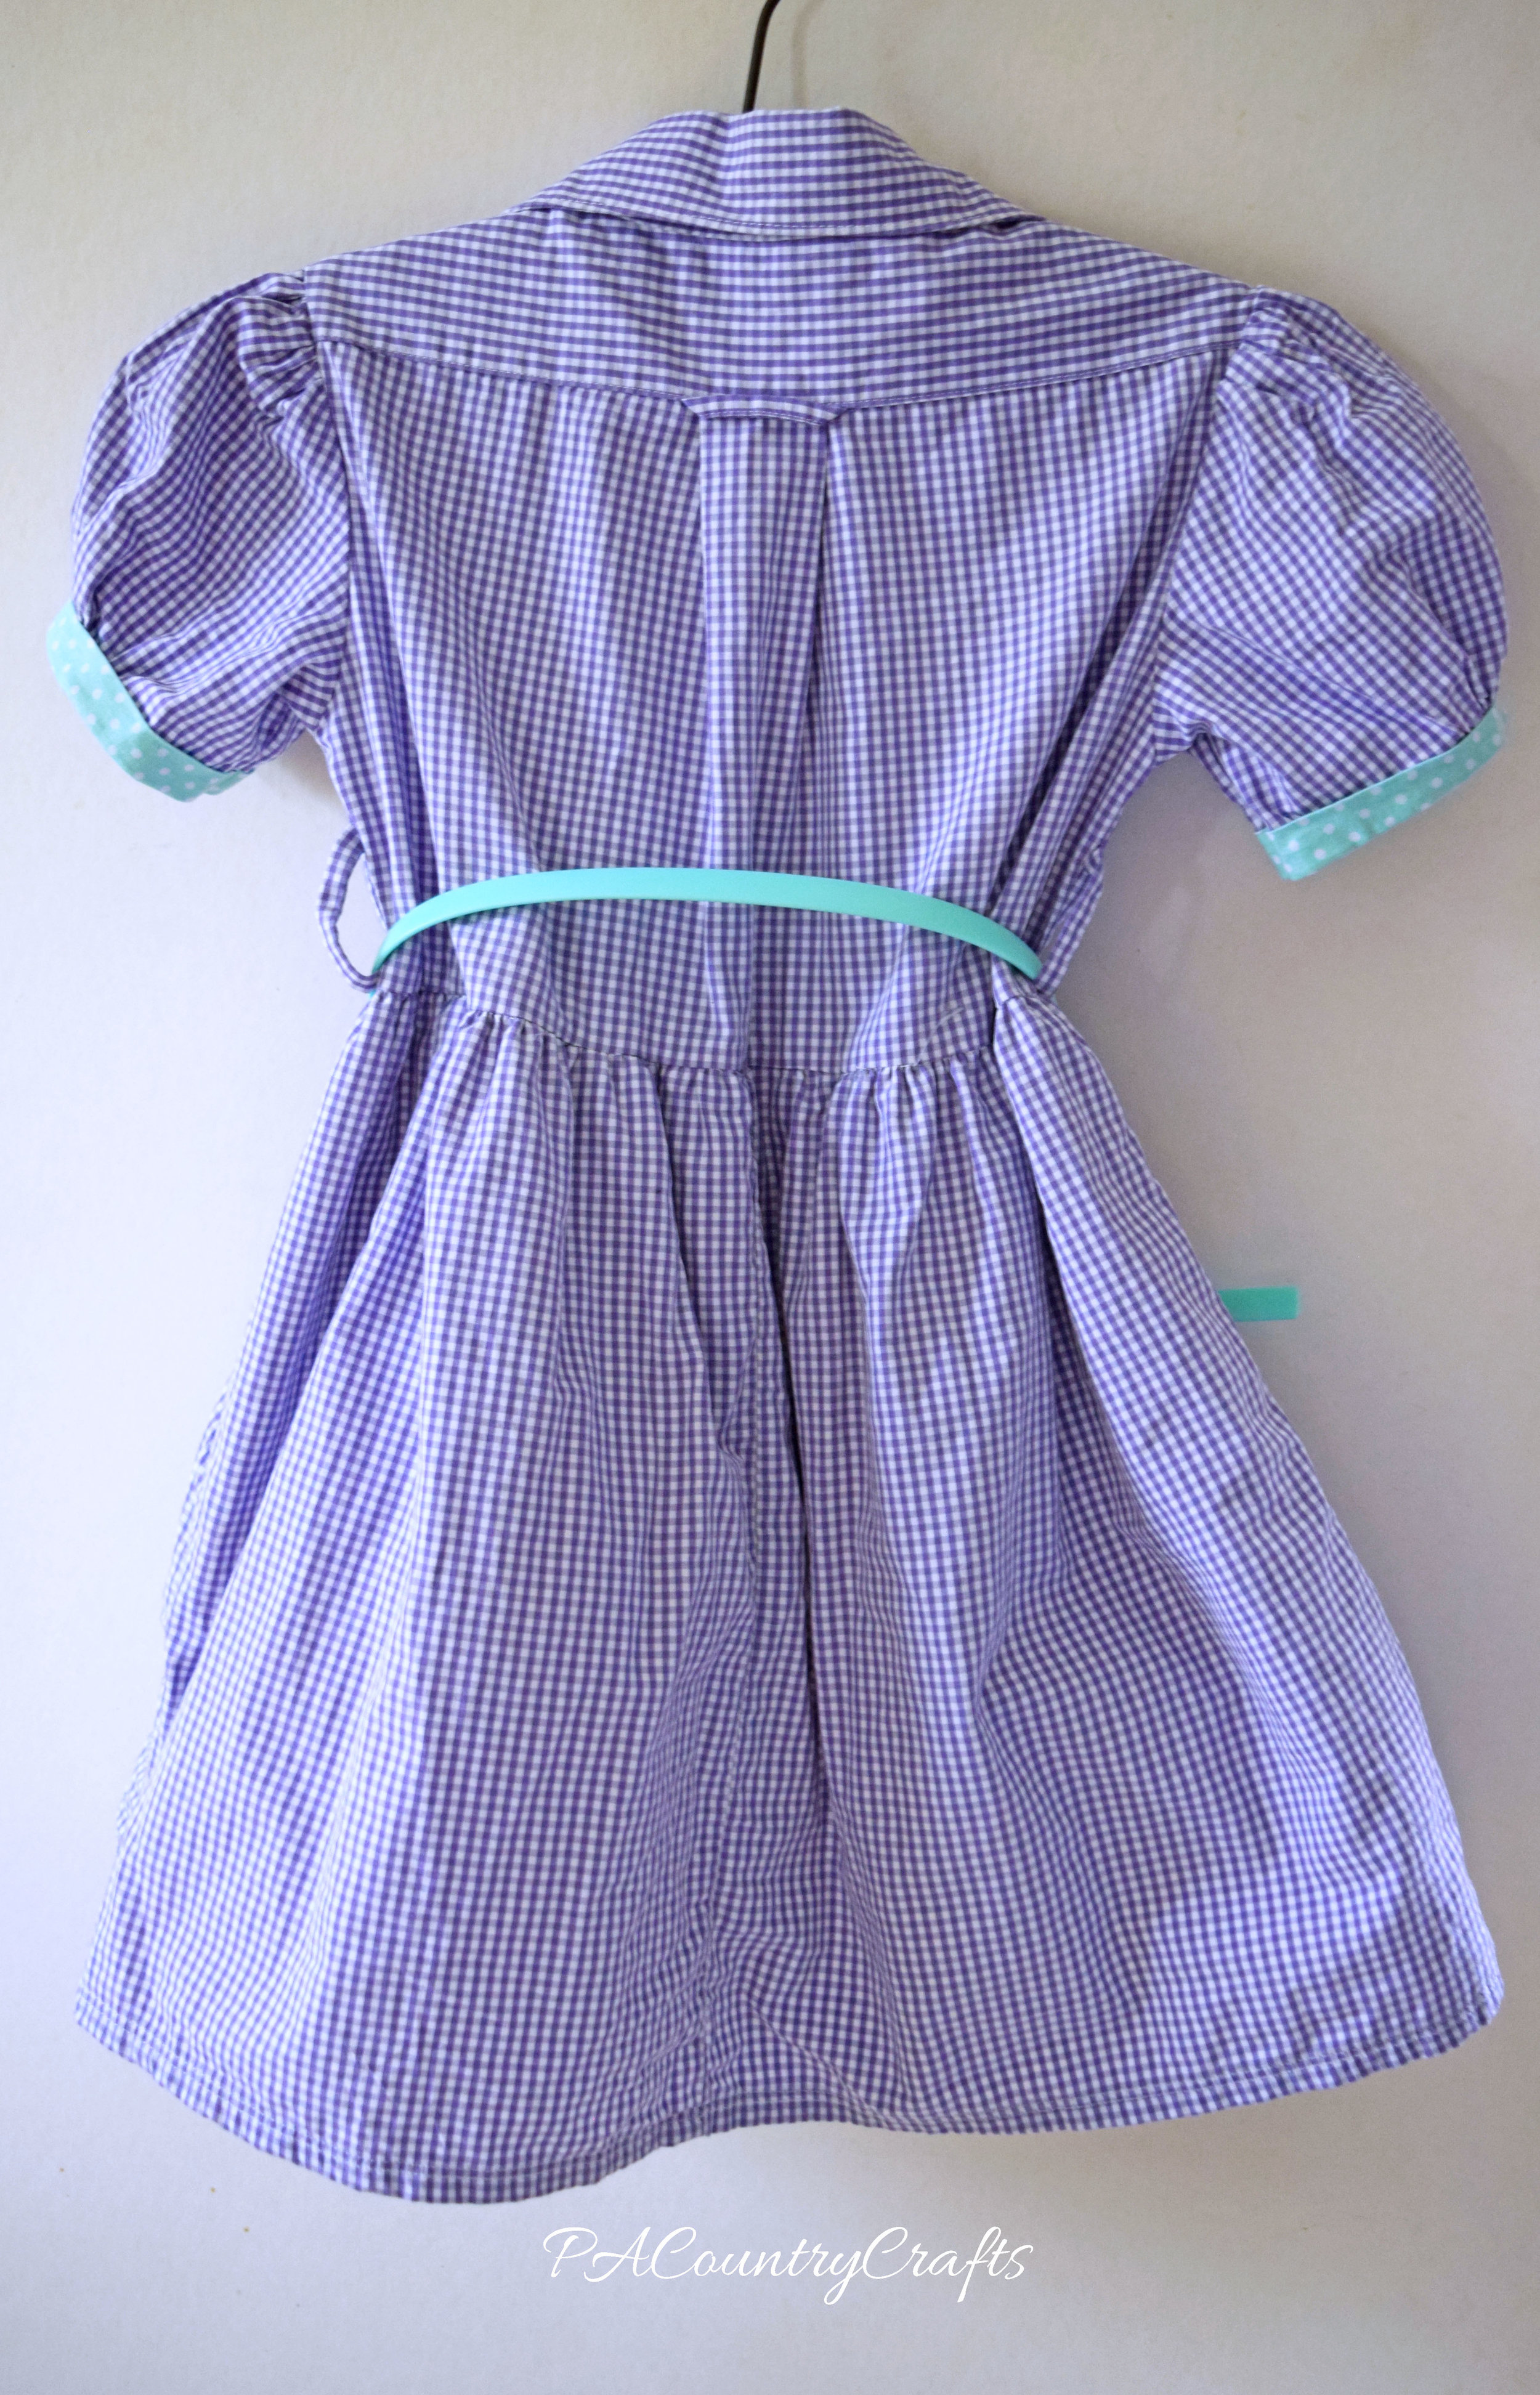
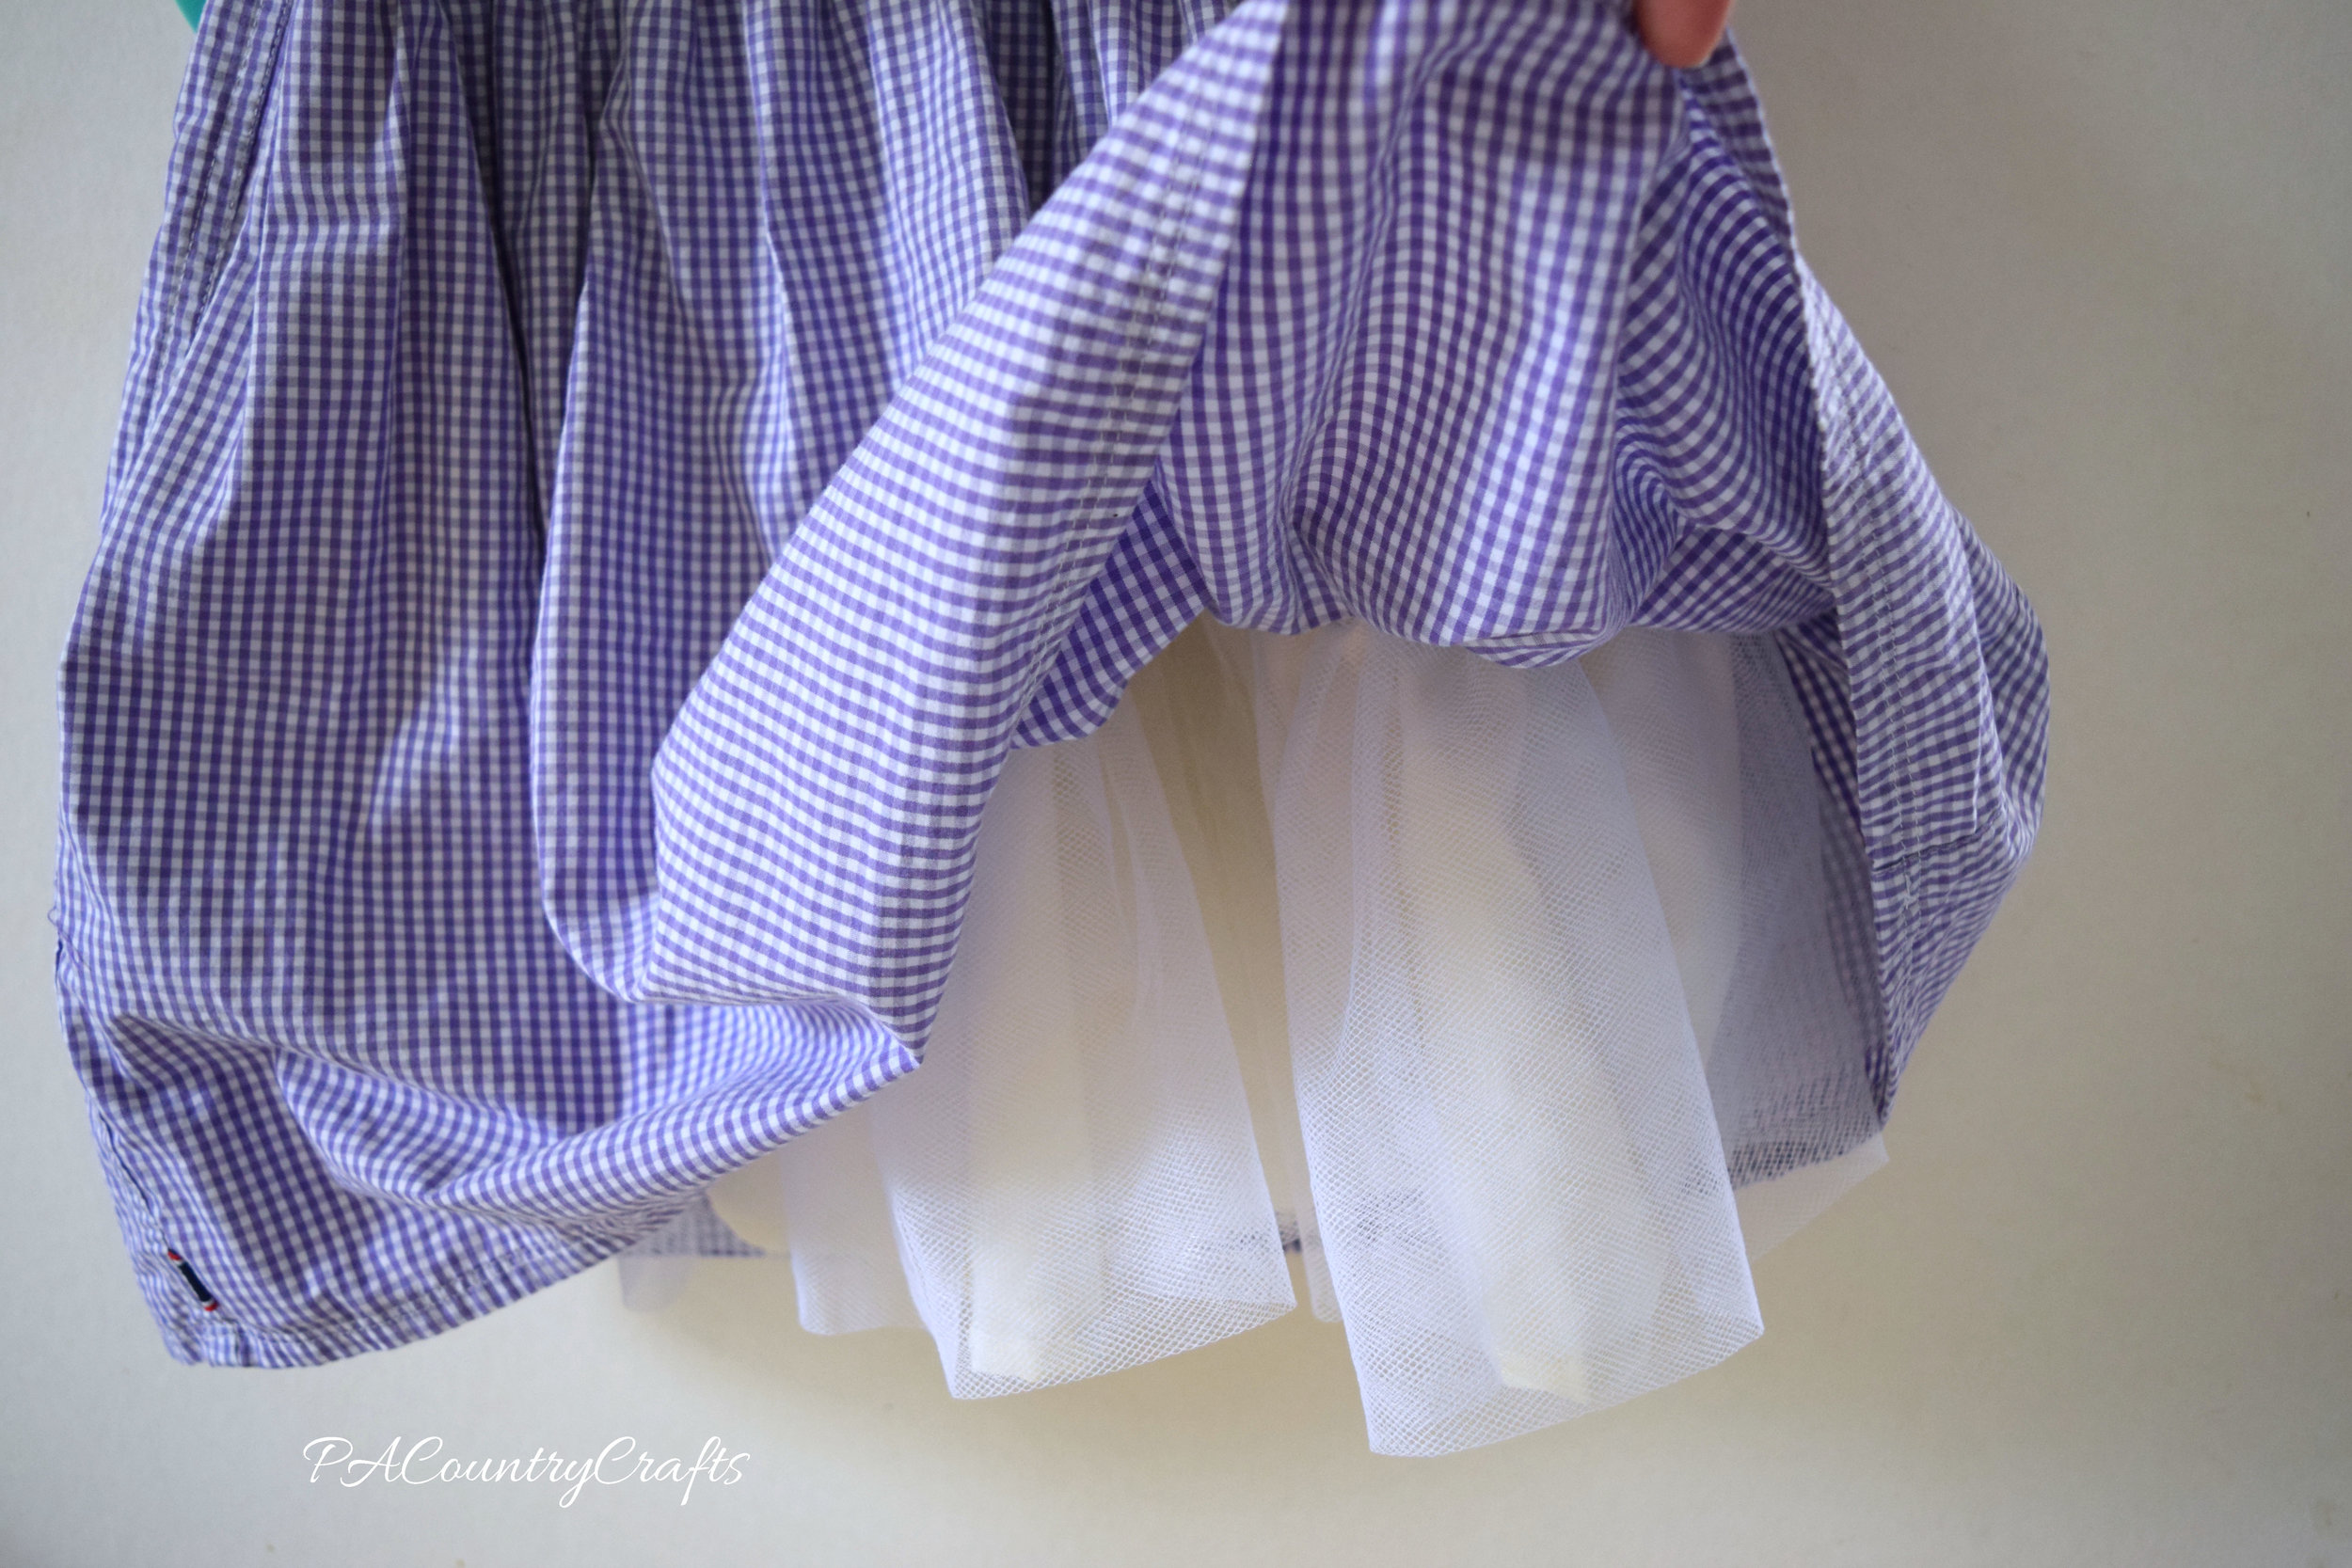
Ever since THESE dresses, I just can't seem to get over that whole retro, vintage style. I love the 1940s/1950s era of fashion! I wanted to do a "shirt dress" style, but decided to upcycle/refashion one out of a men's dress shirt. (There are also a few aqua polka dot details just for fun!) It even has a built in pettiskirt to make the full skirt pouf out.

back of girls shirt dress

inside shirt dress collar

shirt dress puffy sleeve

grace ribbon twirl wm

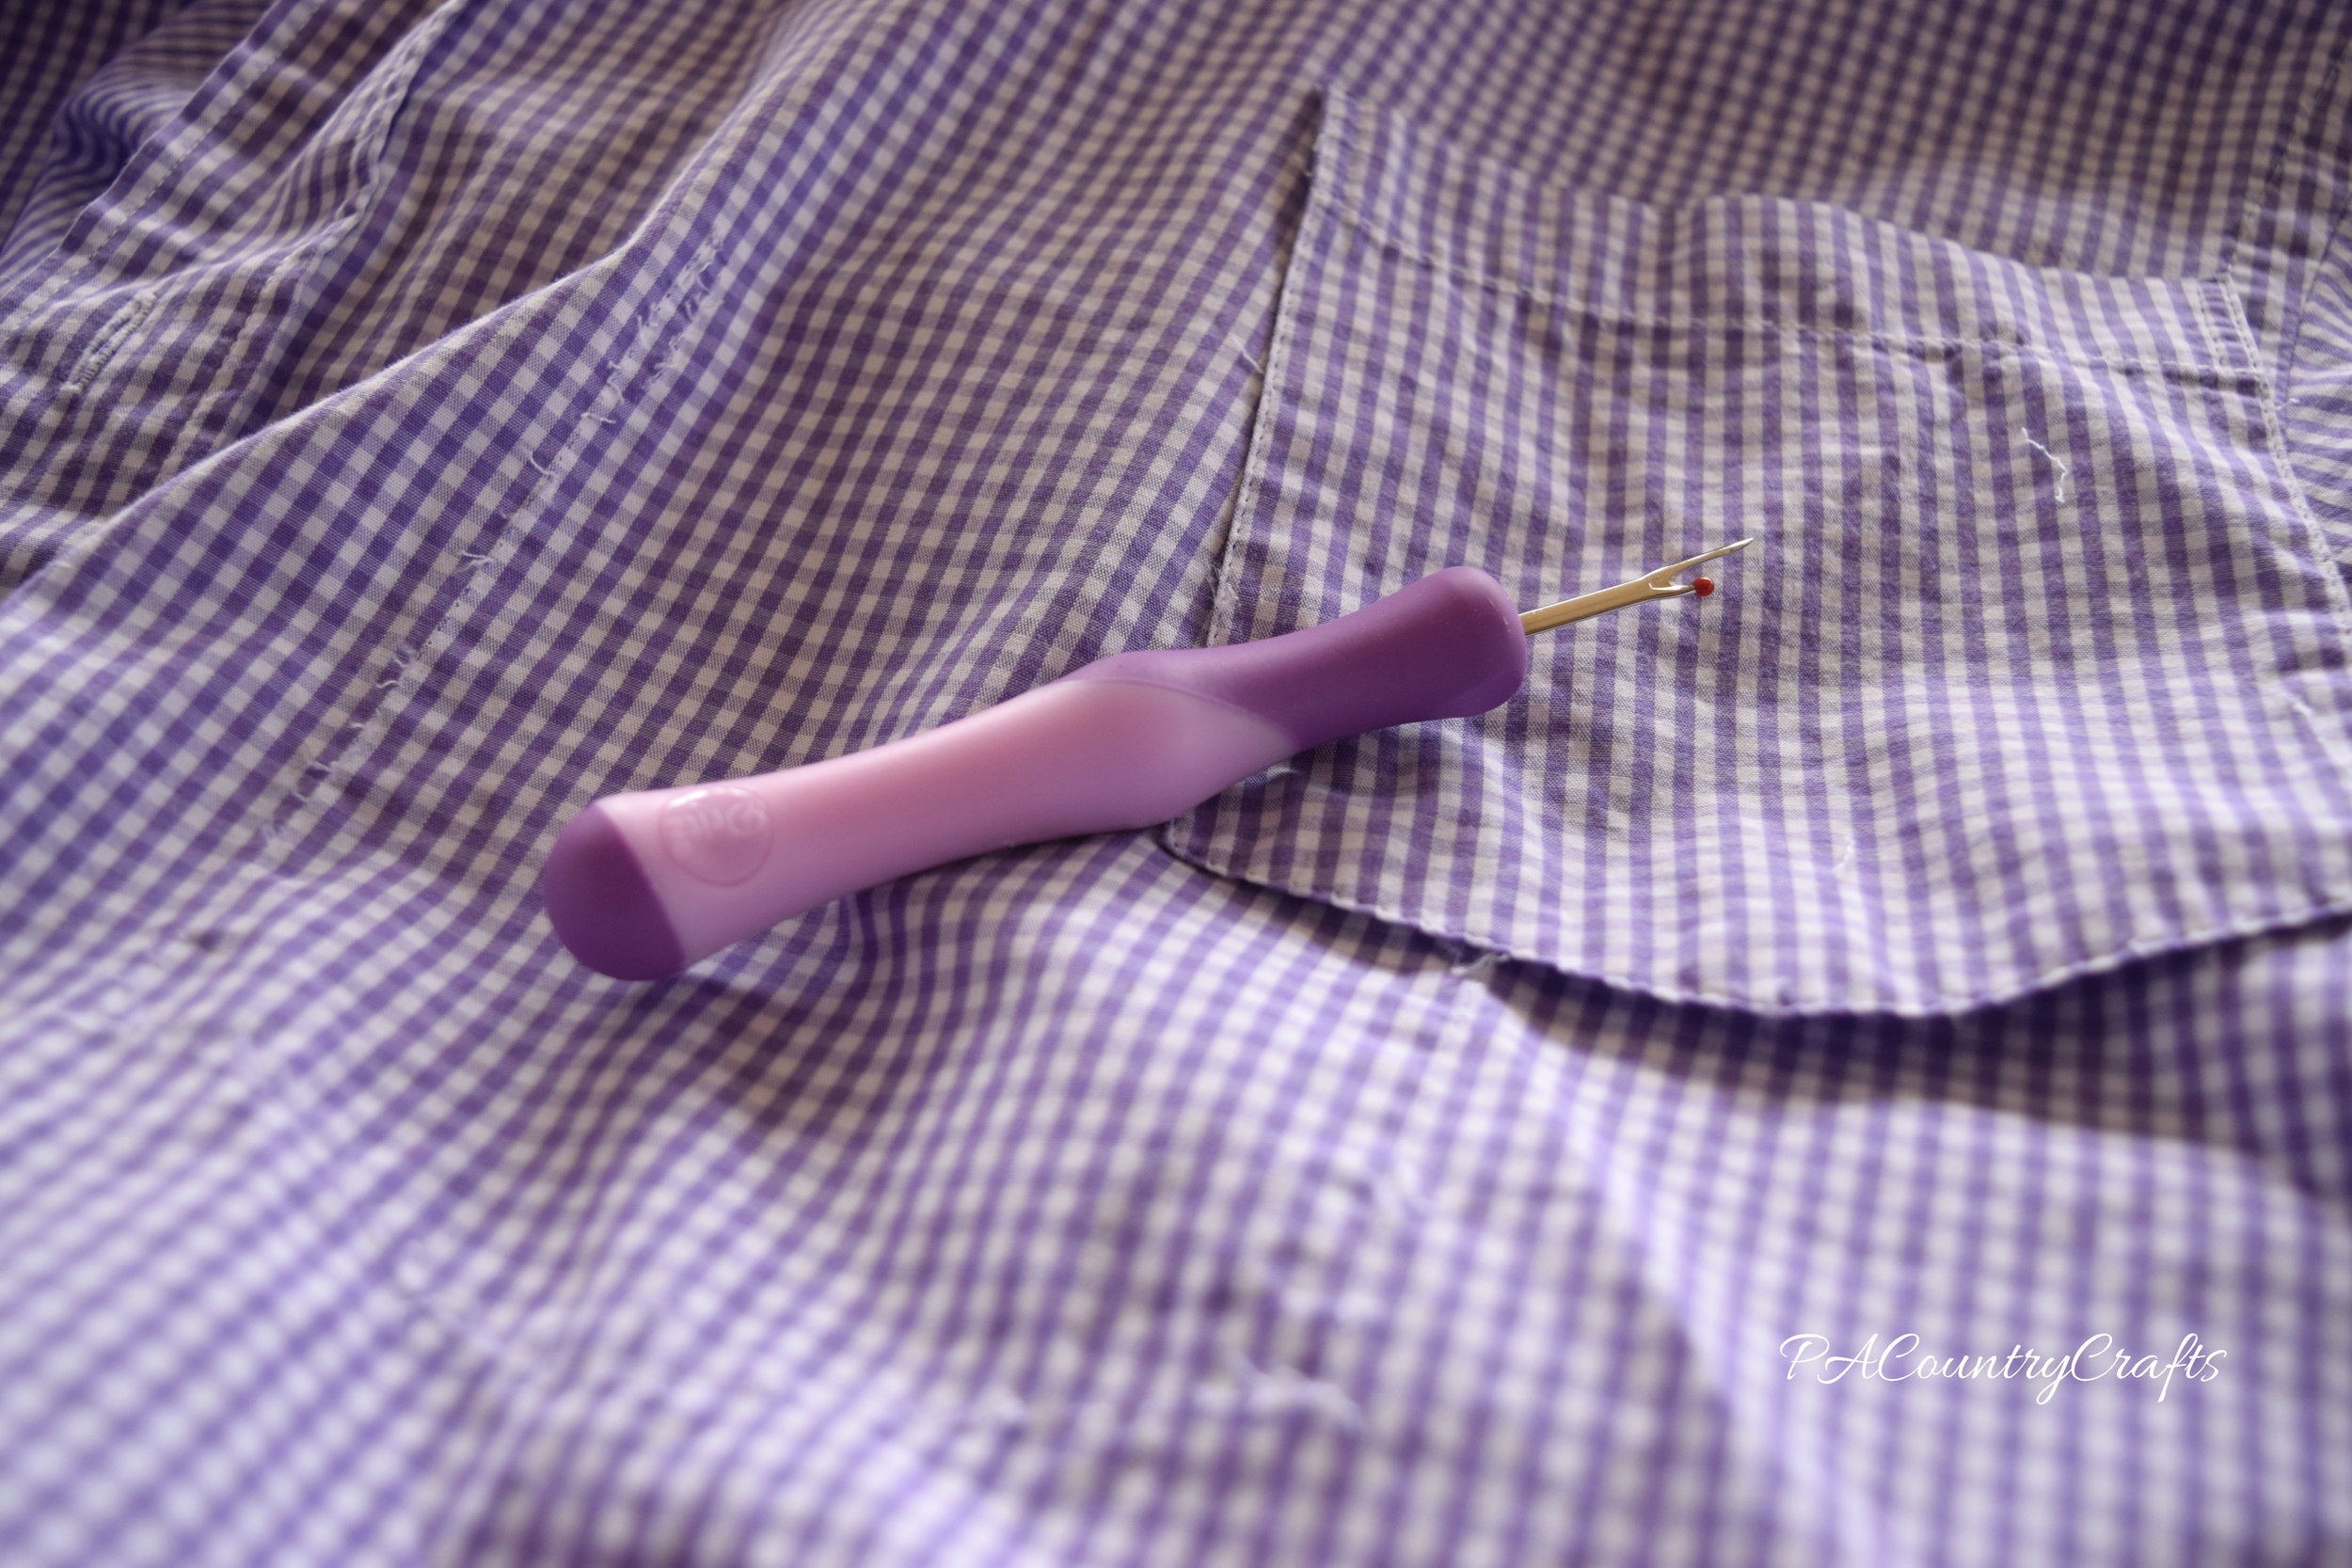
I don't have a full tutorial for you, but I did take some pictures to show how I used the shirt as an effective fabric source. First, I used a seam ripper to remove the pocket and cut off the collar and sleeves.

seam rip pocket

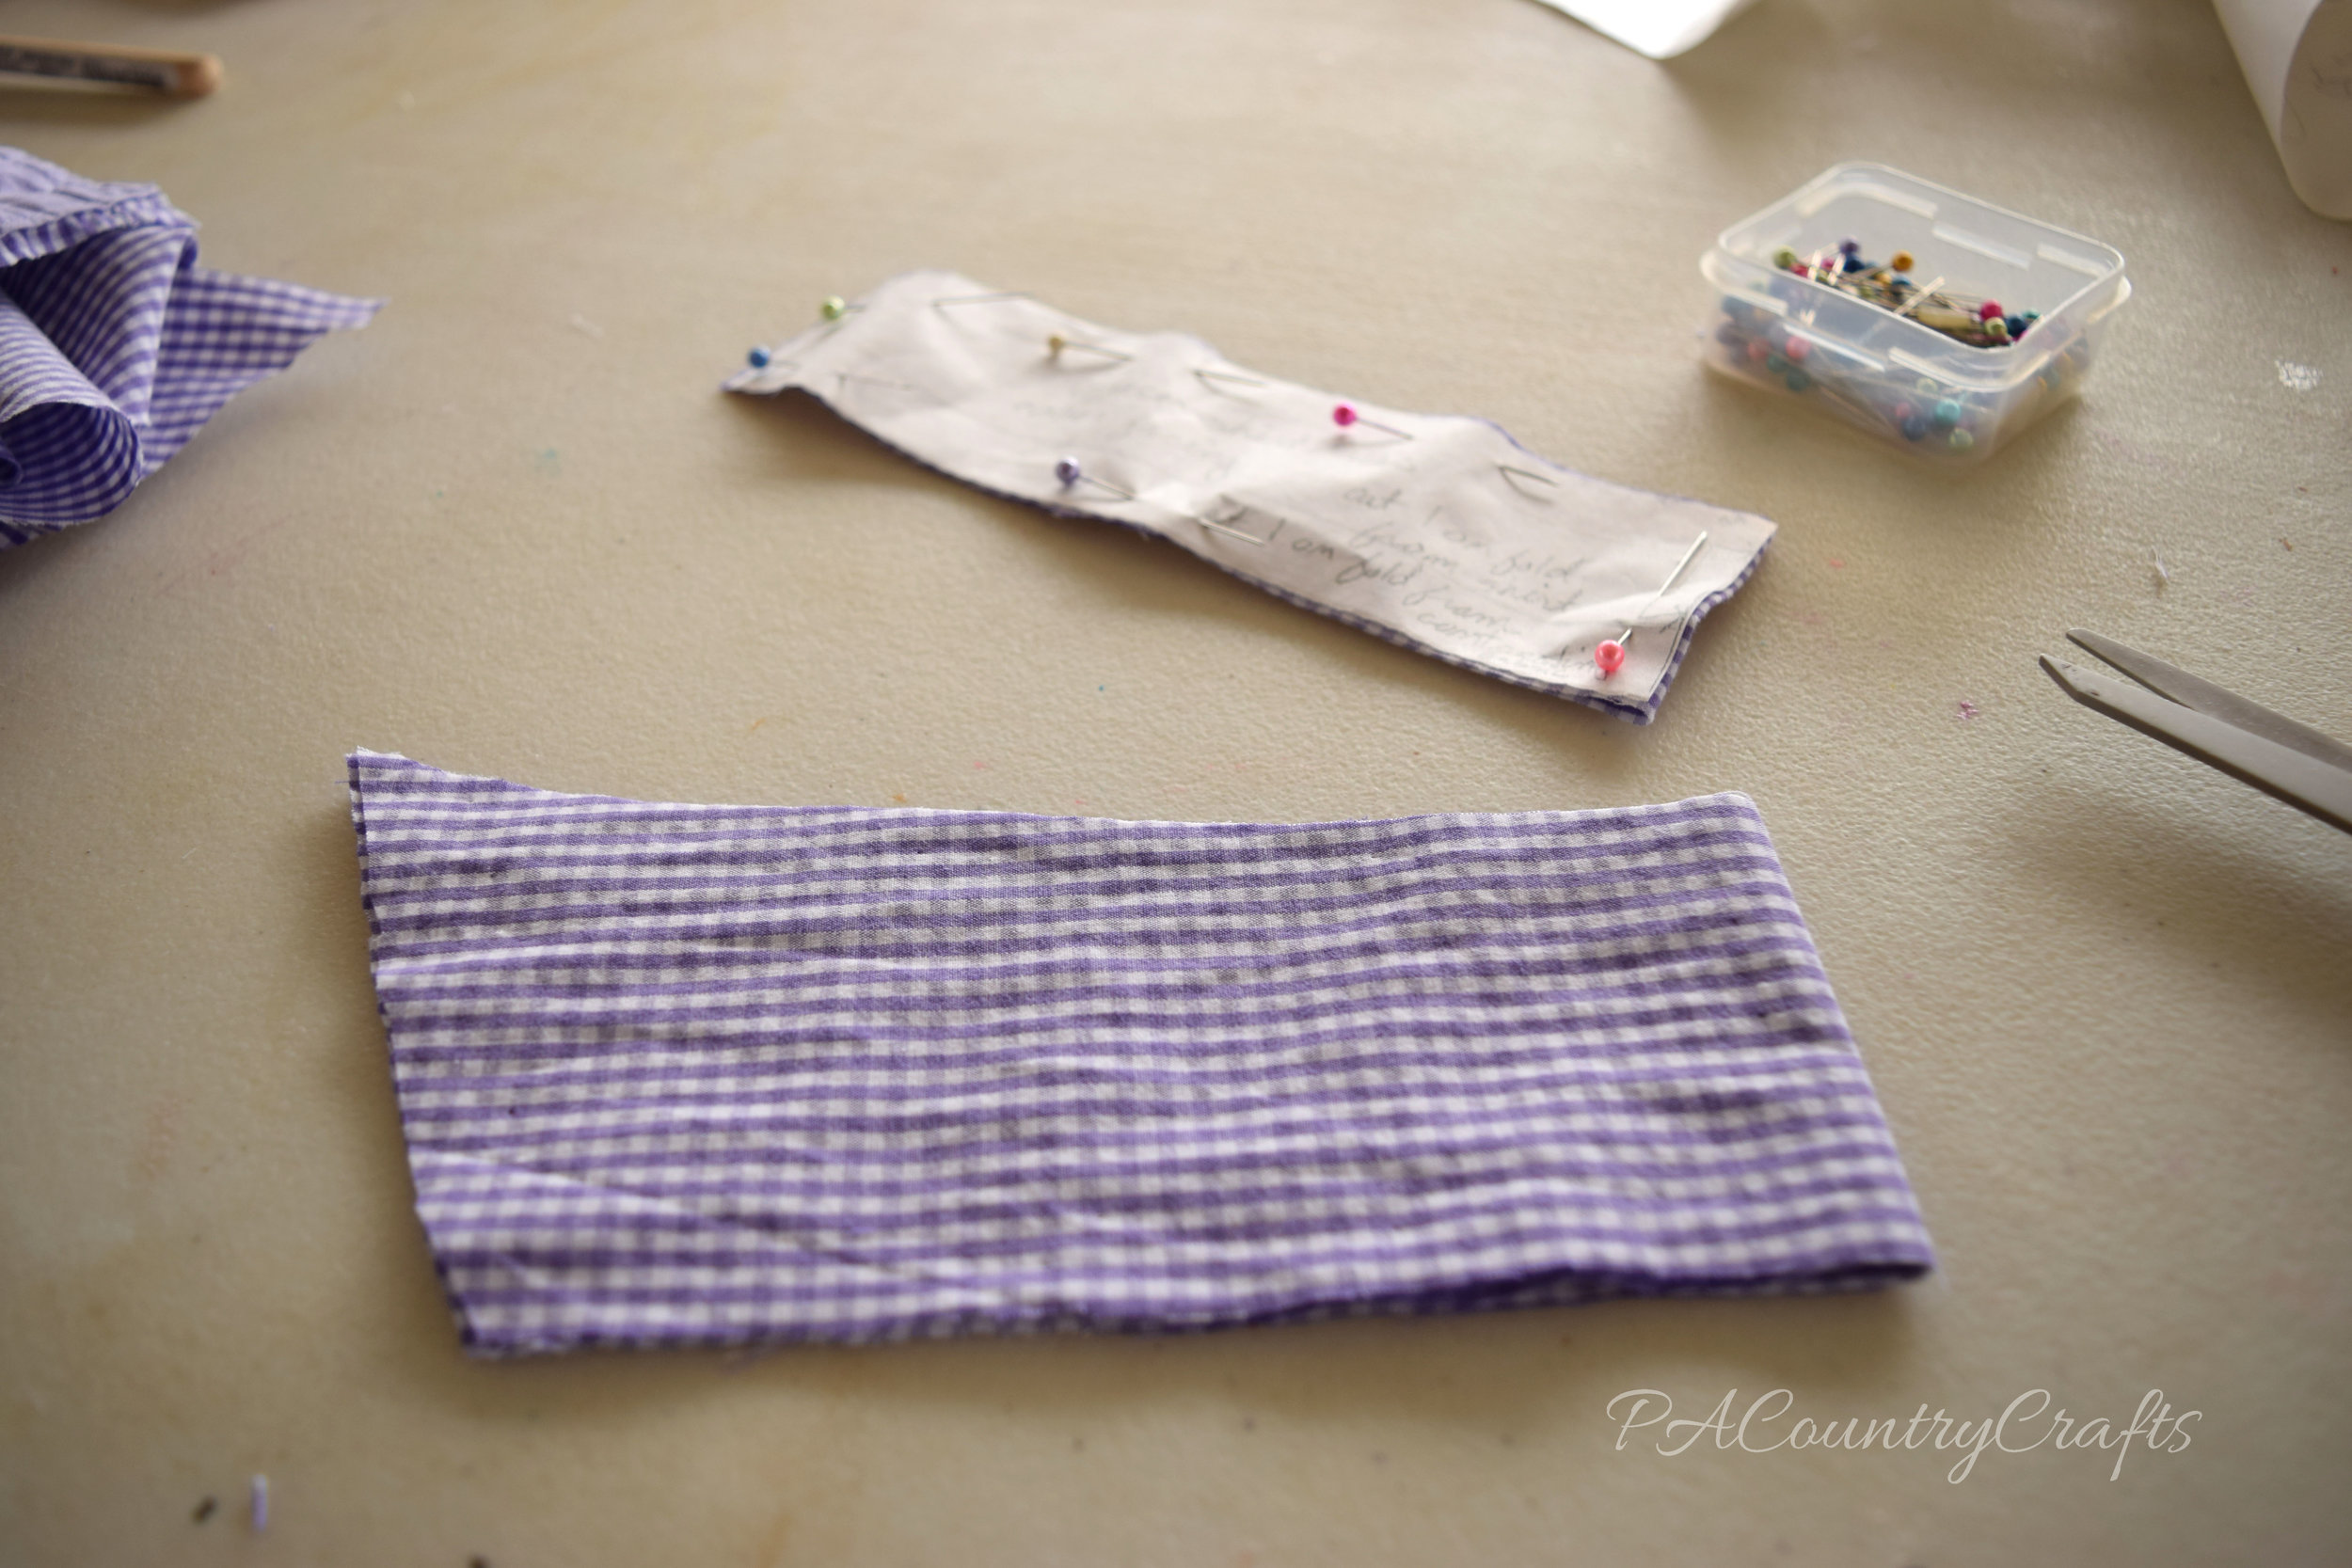
This dress was made differently from other tutorials I have seen. I didn't like the way the men's shirt collar fit on her neckline- it was made to fit a large man, after all! So, I constructed a new collar out of fabric from one of the sleeves.

collar

I cut the back bodice I drafted from the center back of the shirt so that I could maintain the little loop and pleats from the original shirt.

cut back from mens shirt

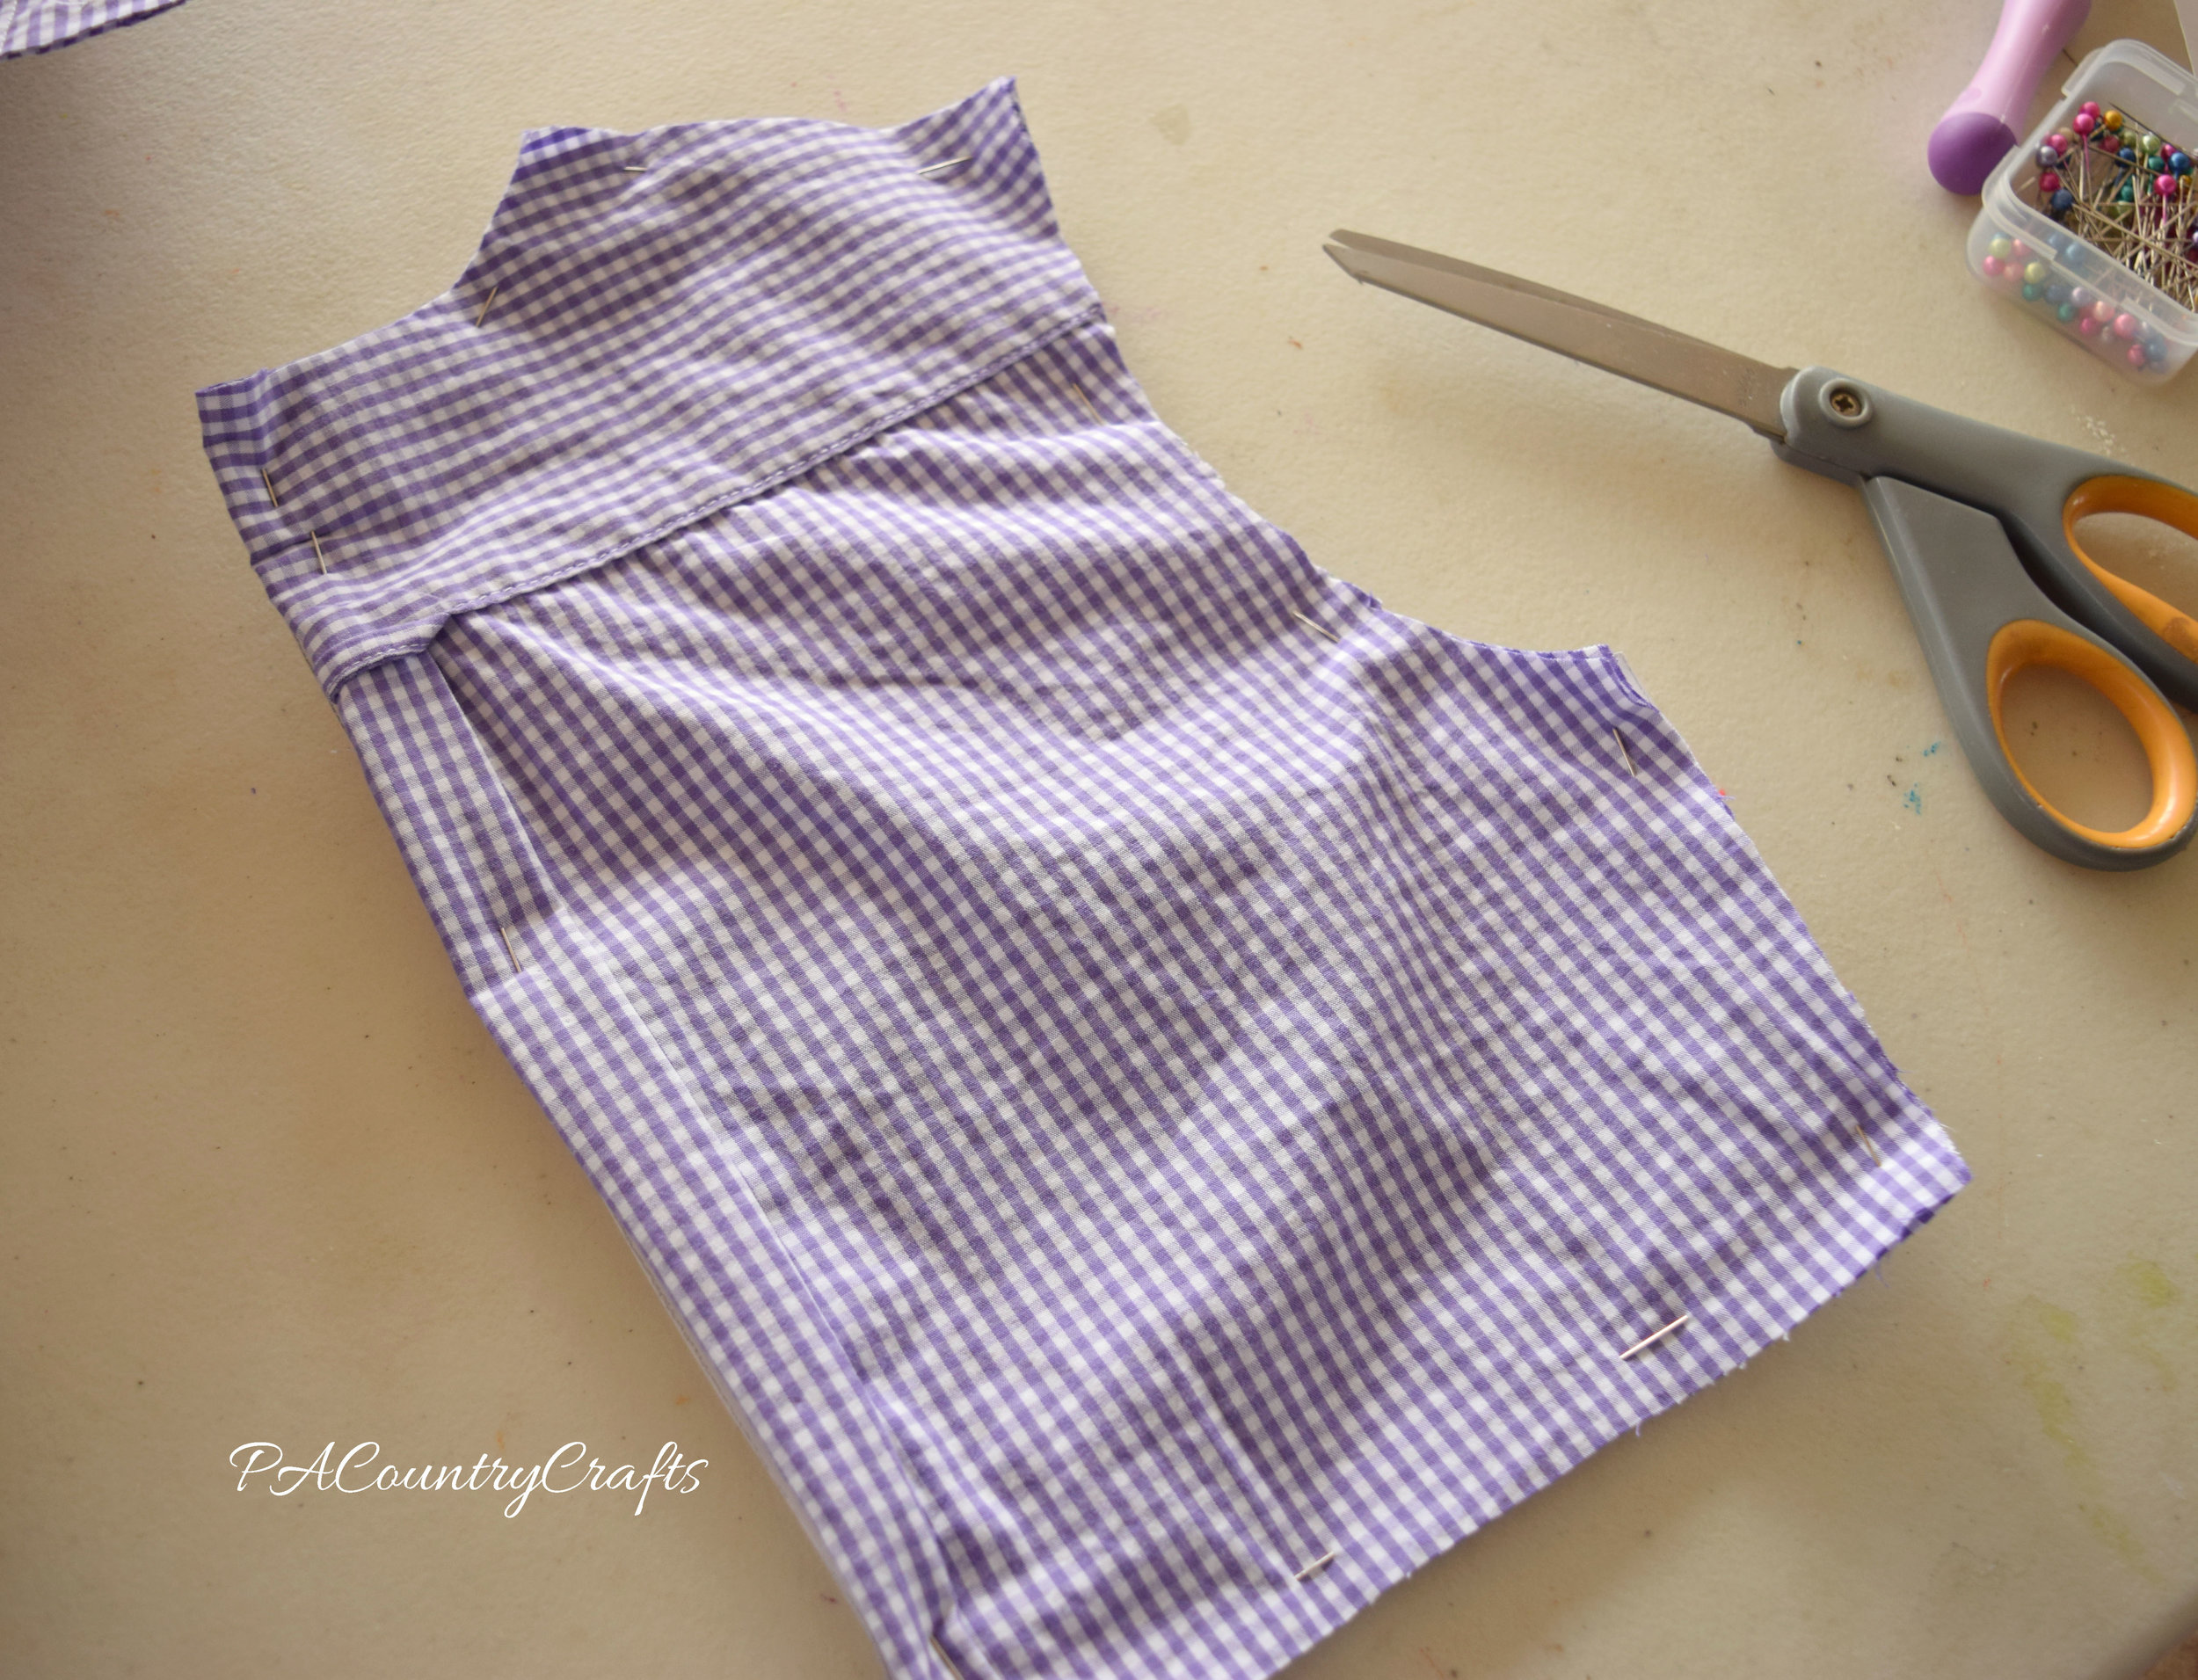
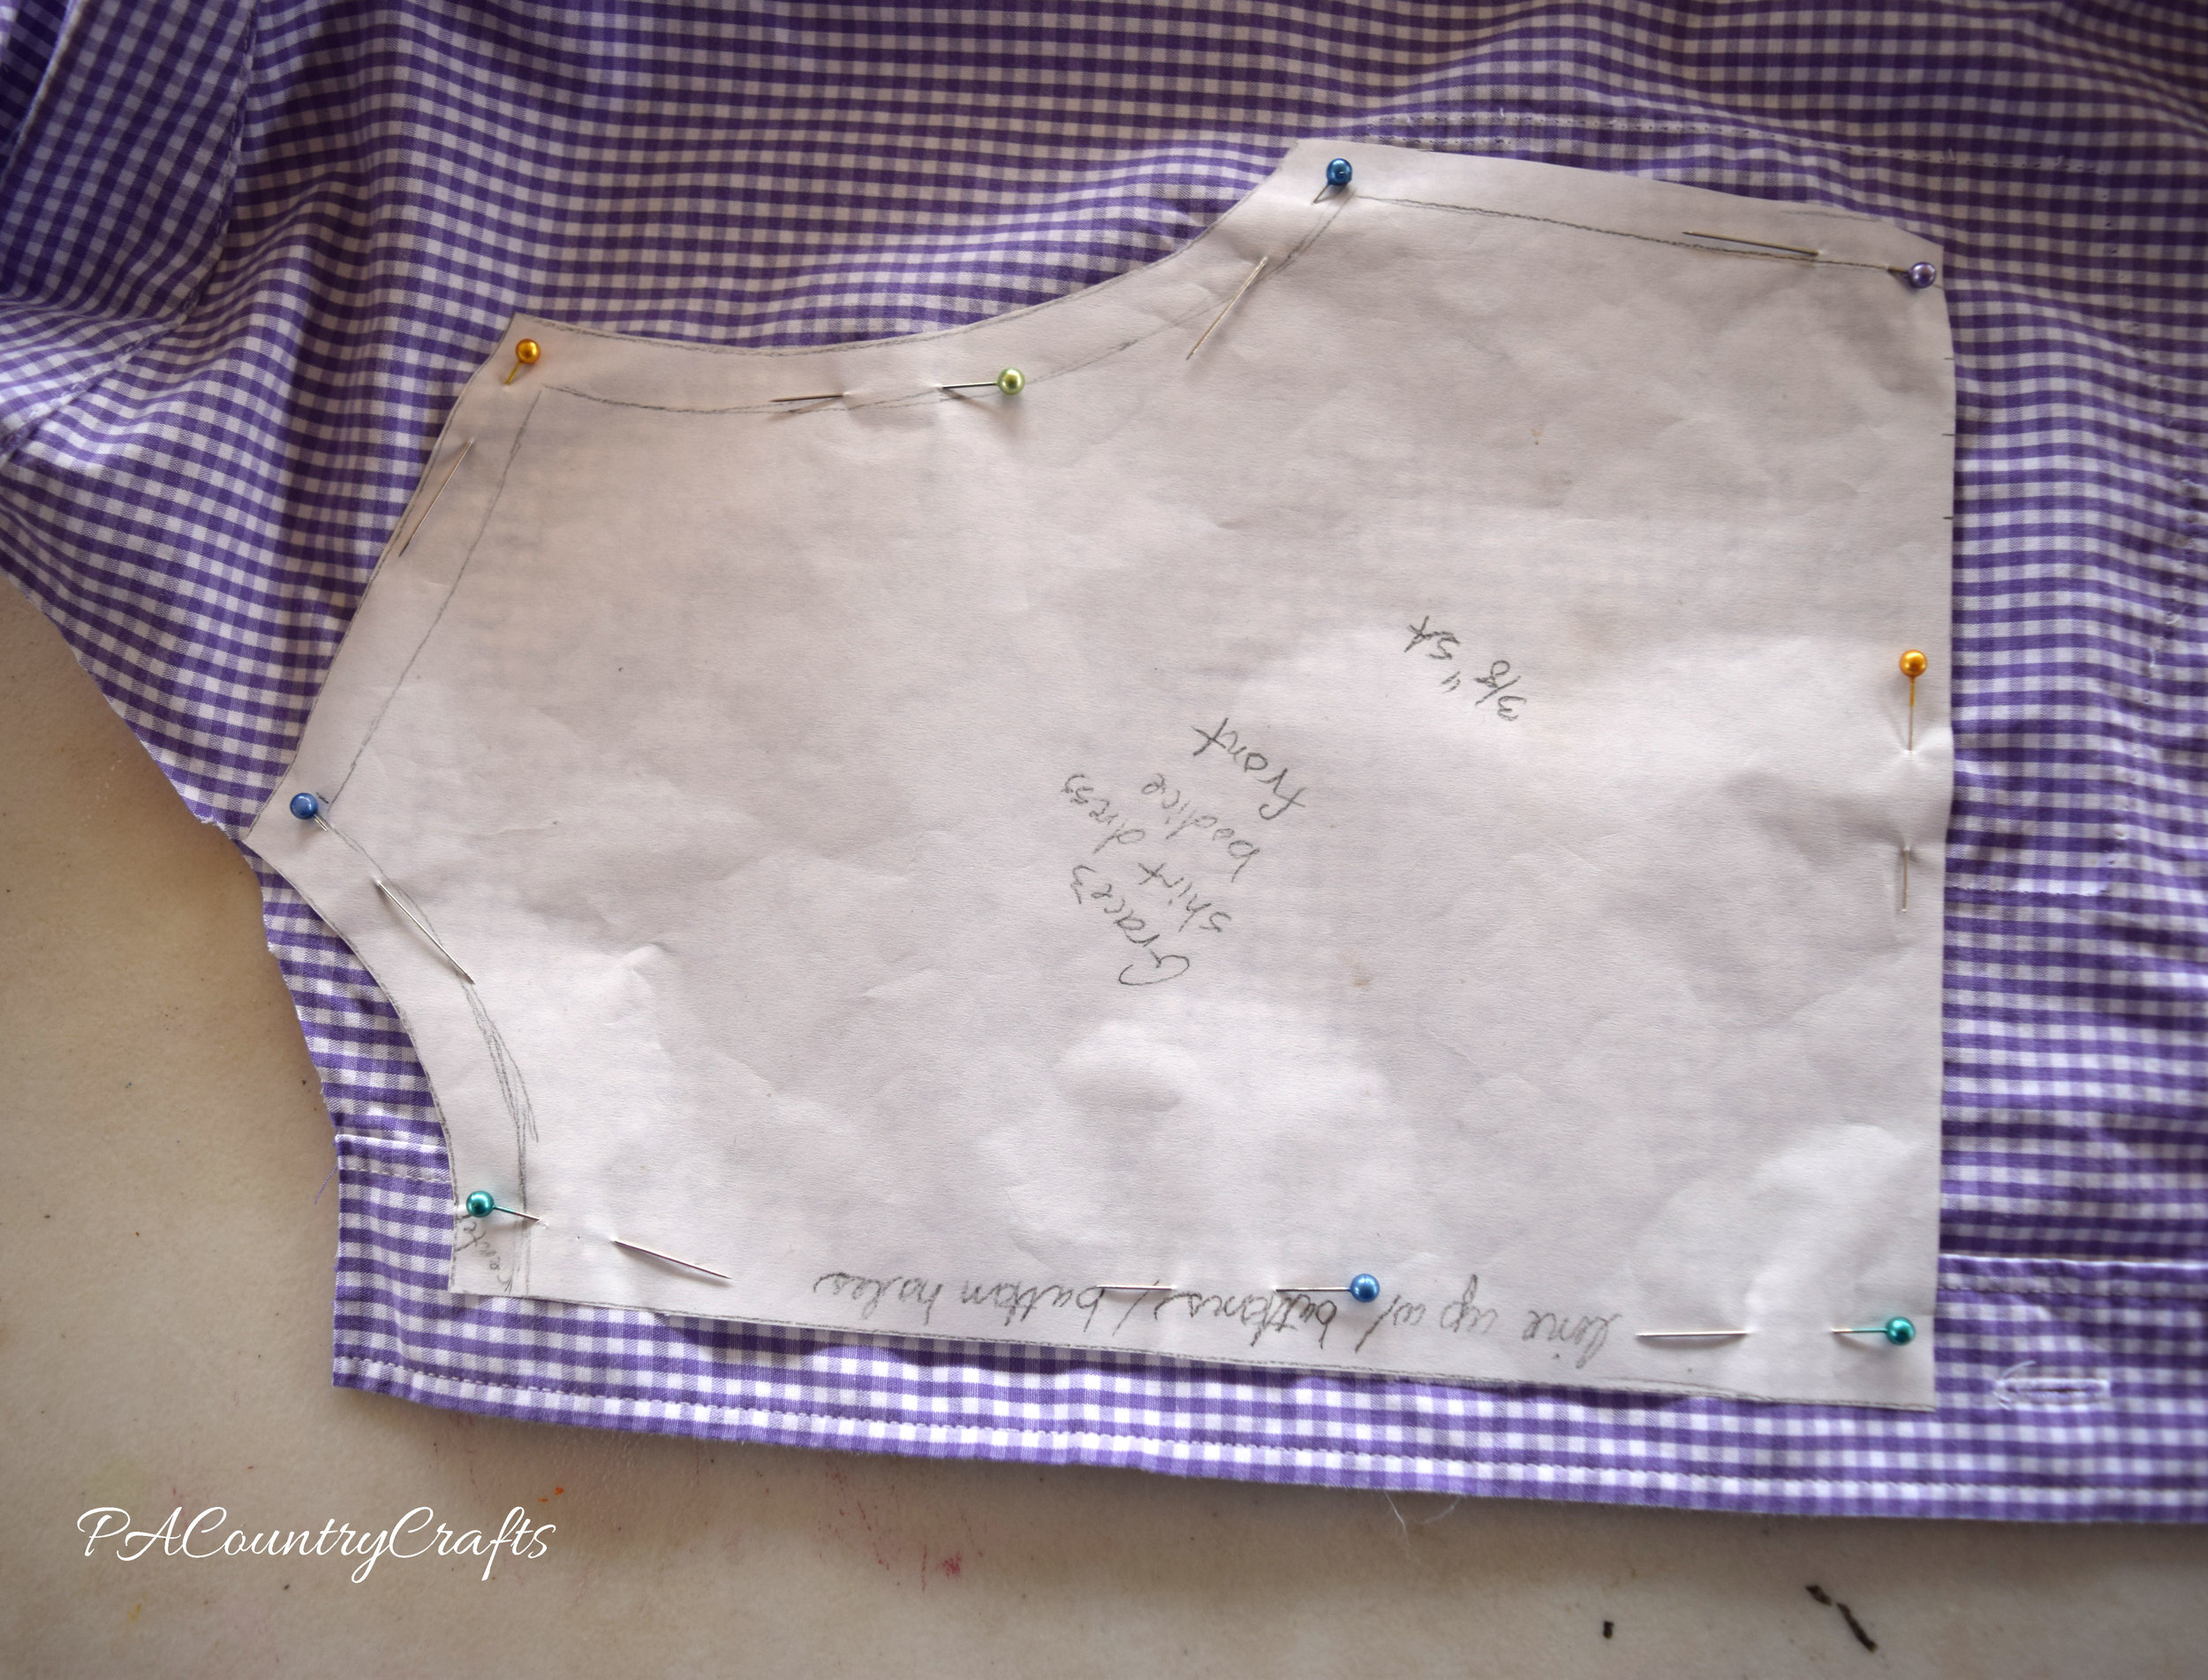
Being mindful of the buttonholes, I cut one front bodice piece out of one half of the shirt front...

cut bodice from mens shirt

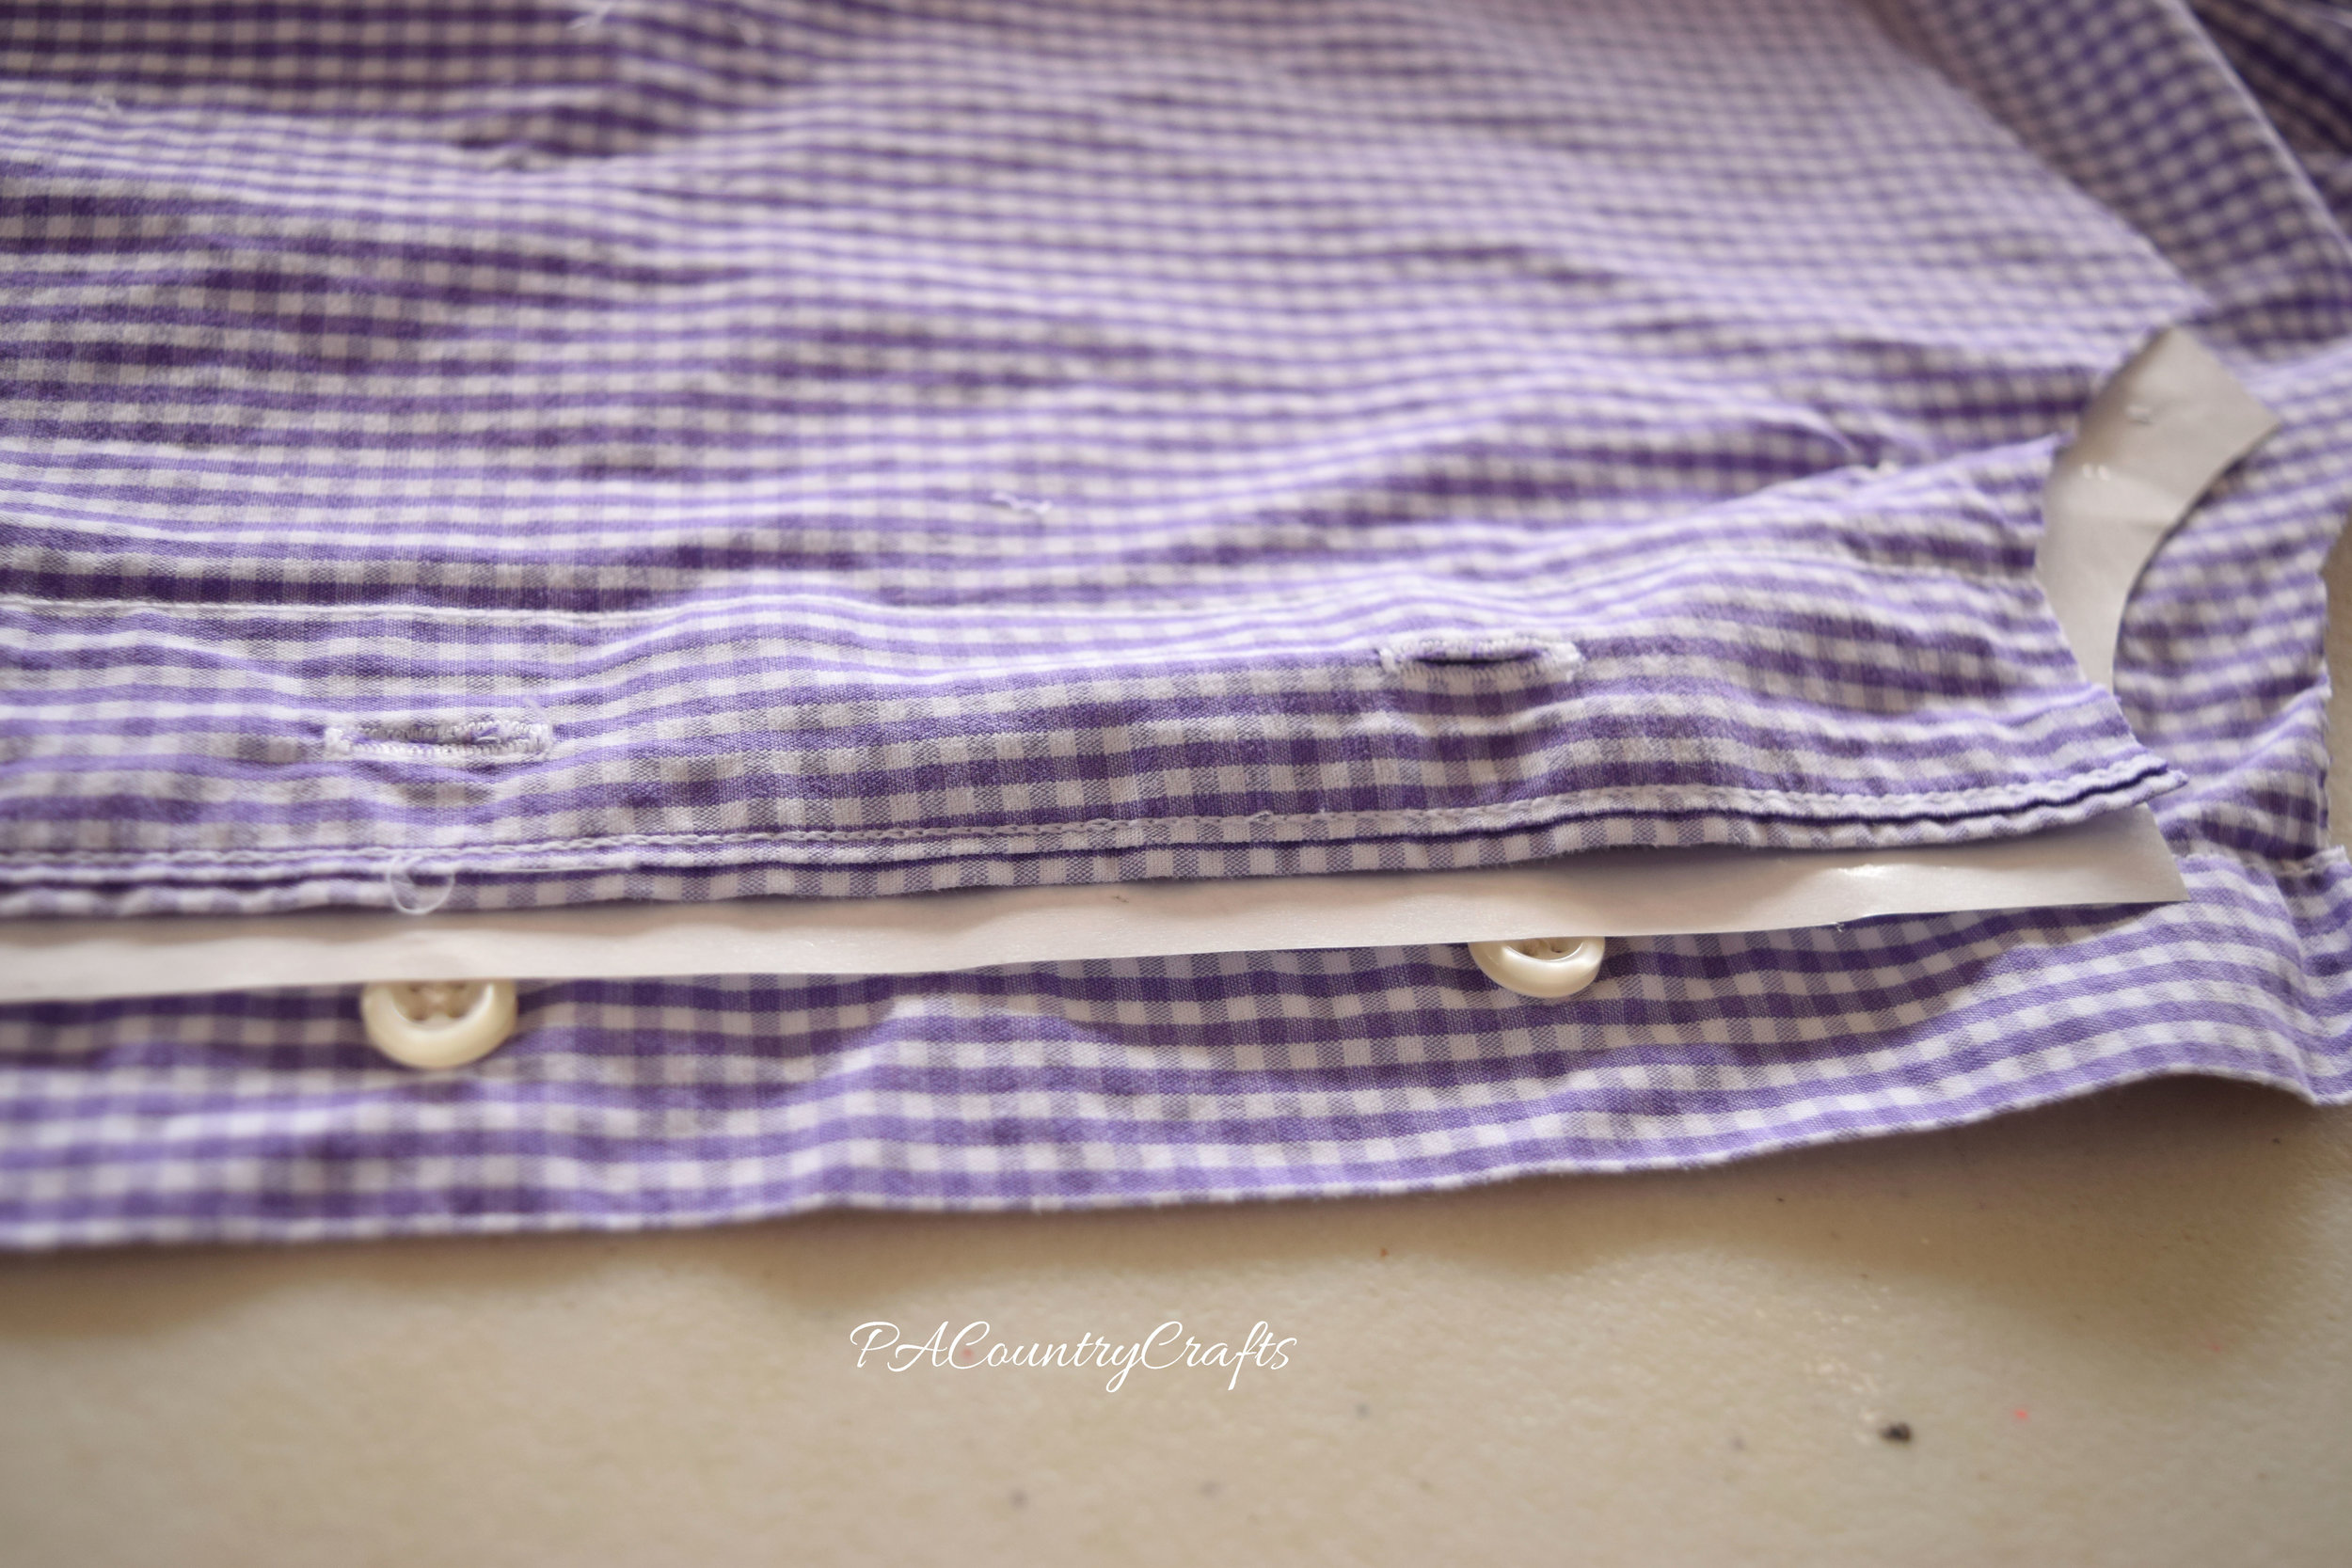
...and, lining the buttonholes up, cut the other half from the other side of the shirt front. Now, I ended up messing something up and having to make new buttonholes, but this would work if you don't make my airhead mistakes.

line up button holes

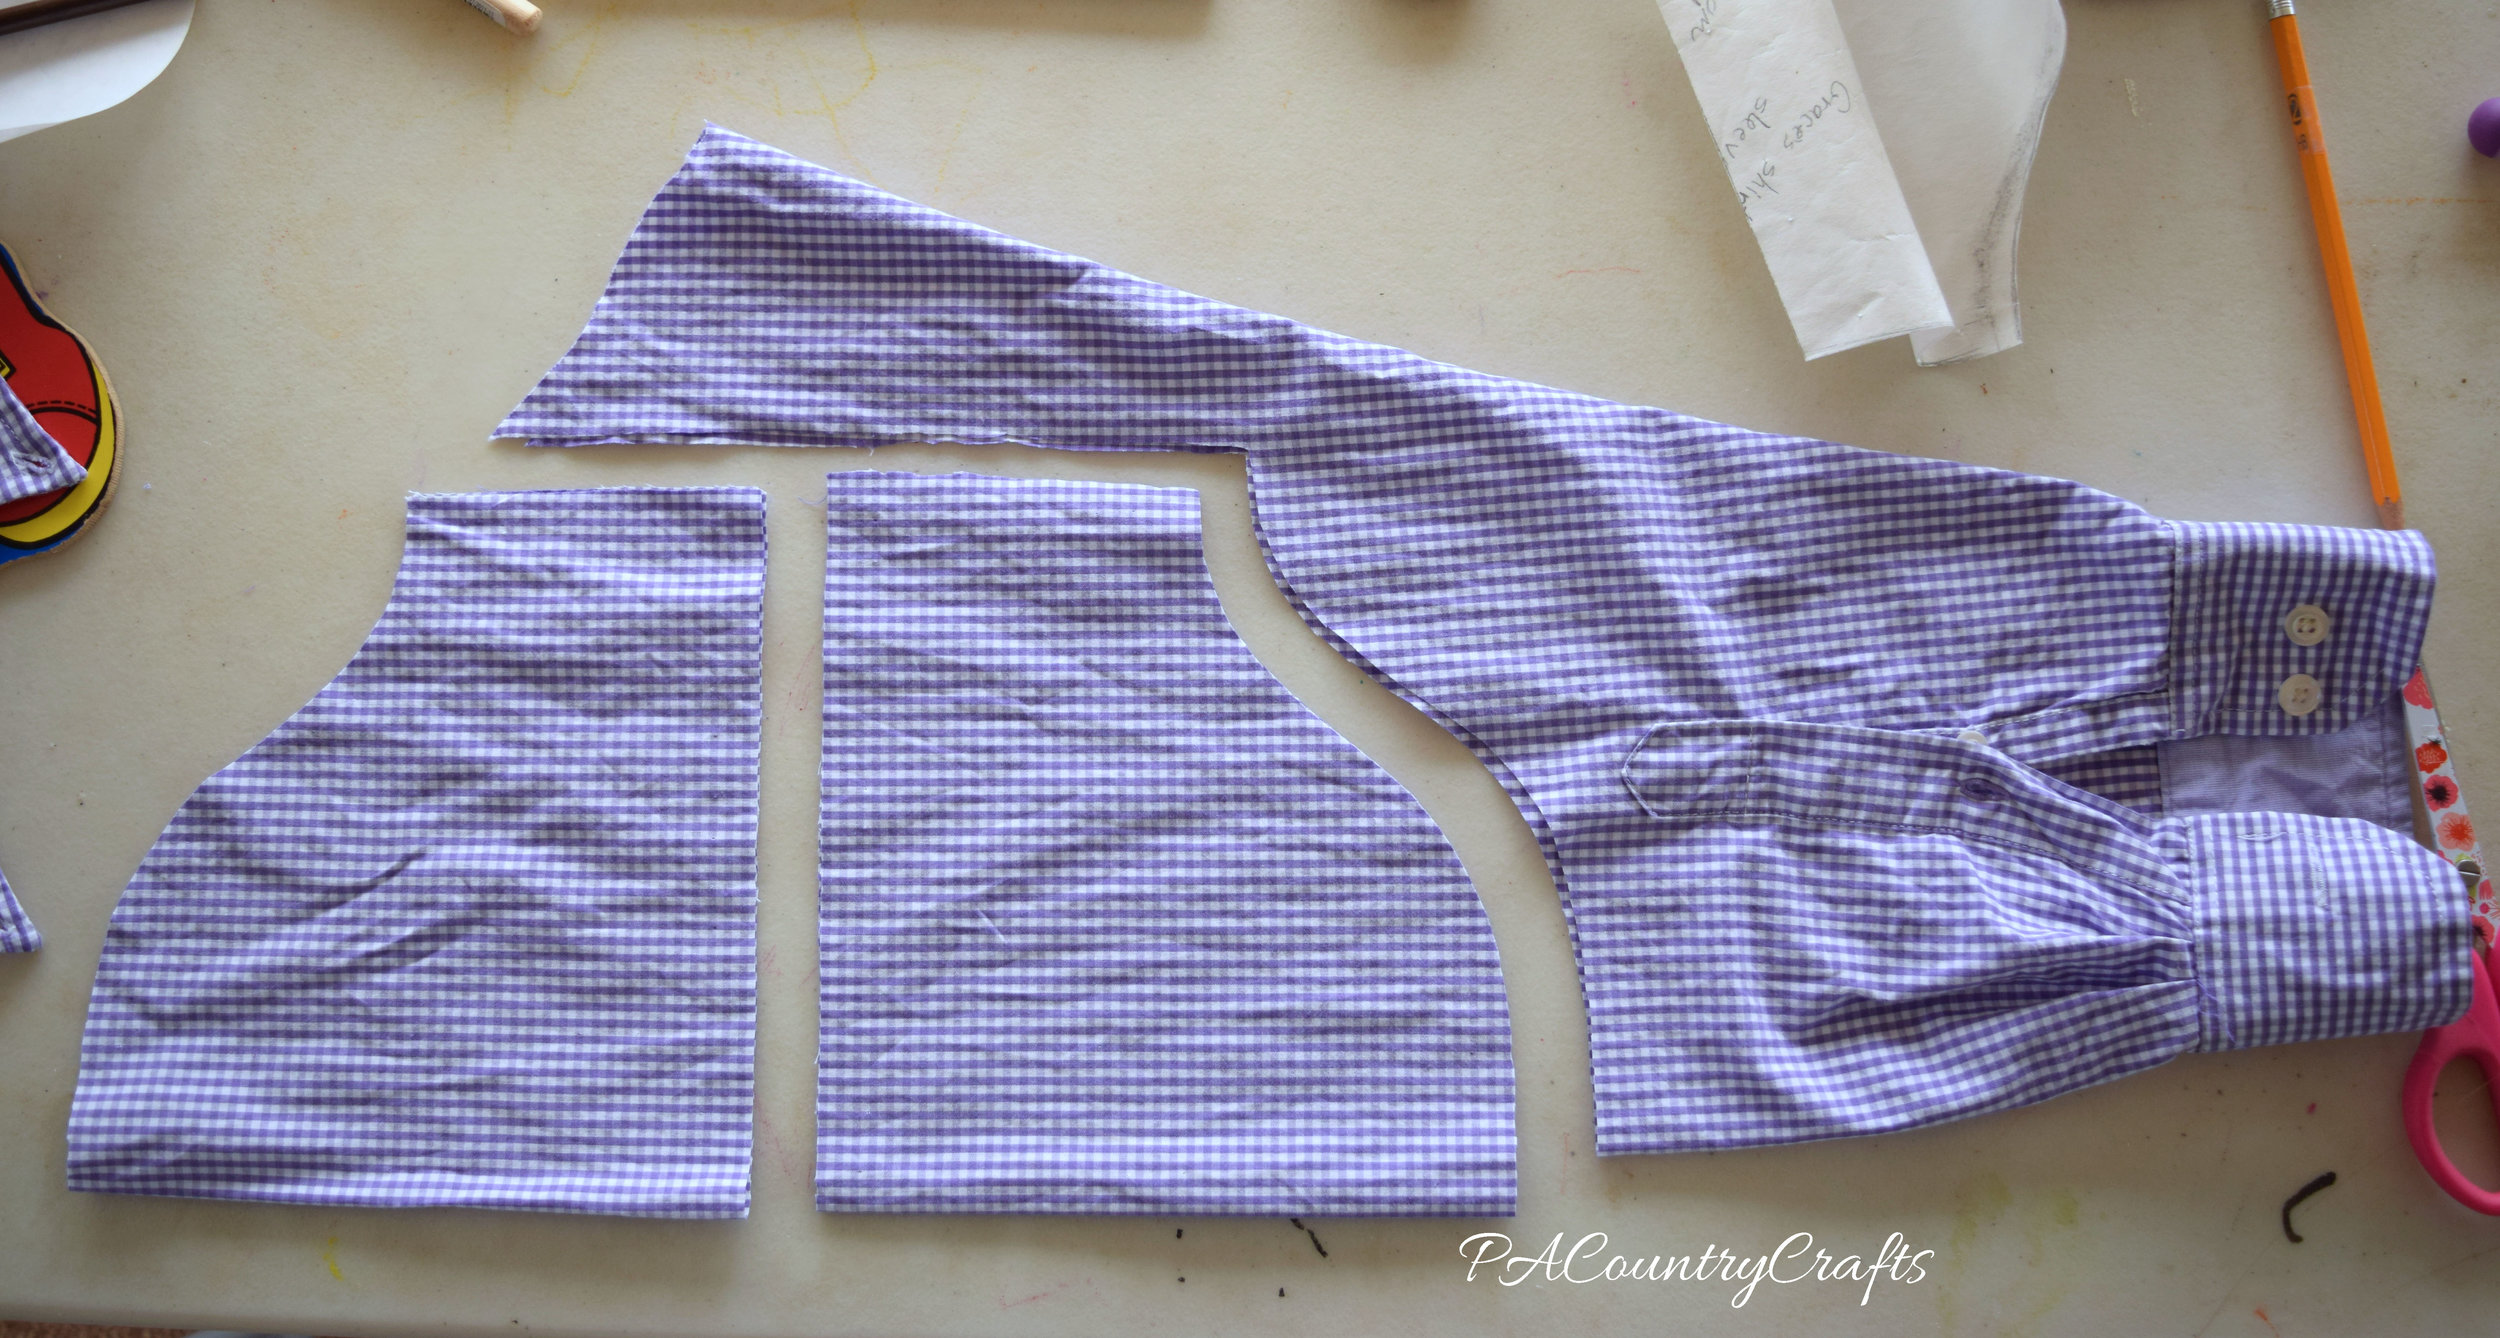
From the remaining sleeve, I cut both sleeves for the dress. I wanted to make longer sleeves, but she wanted shorter puffy ones. She was VERY specific about the sleeve length.

cut sleeves from mens shirt

Finally, the skirt came from the bottom of the shirt. I also had small scraps to make the belt loops at the waist.

mens shirt to girls dress

back of upcycled shirt dressbuilt in pettiskirt

Link Parties where I sometimes hang out…

Women's Strapless Dress to Girls' Halter Dress

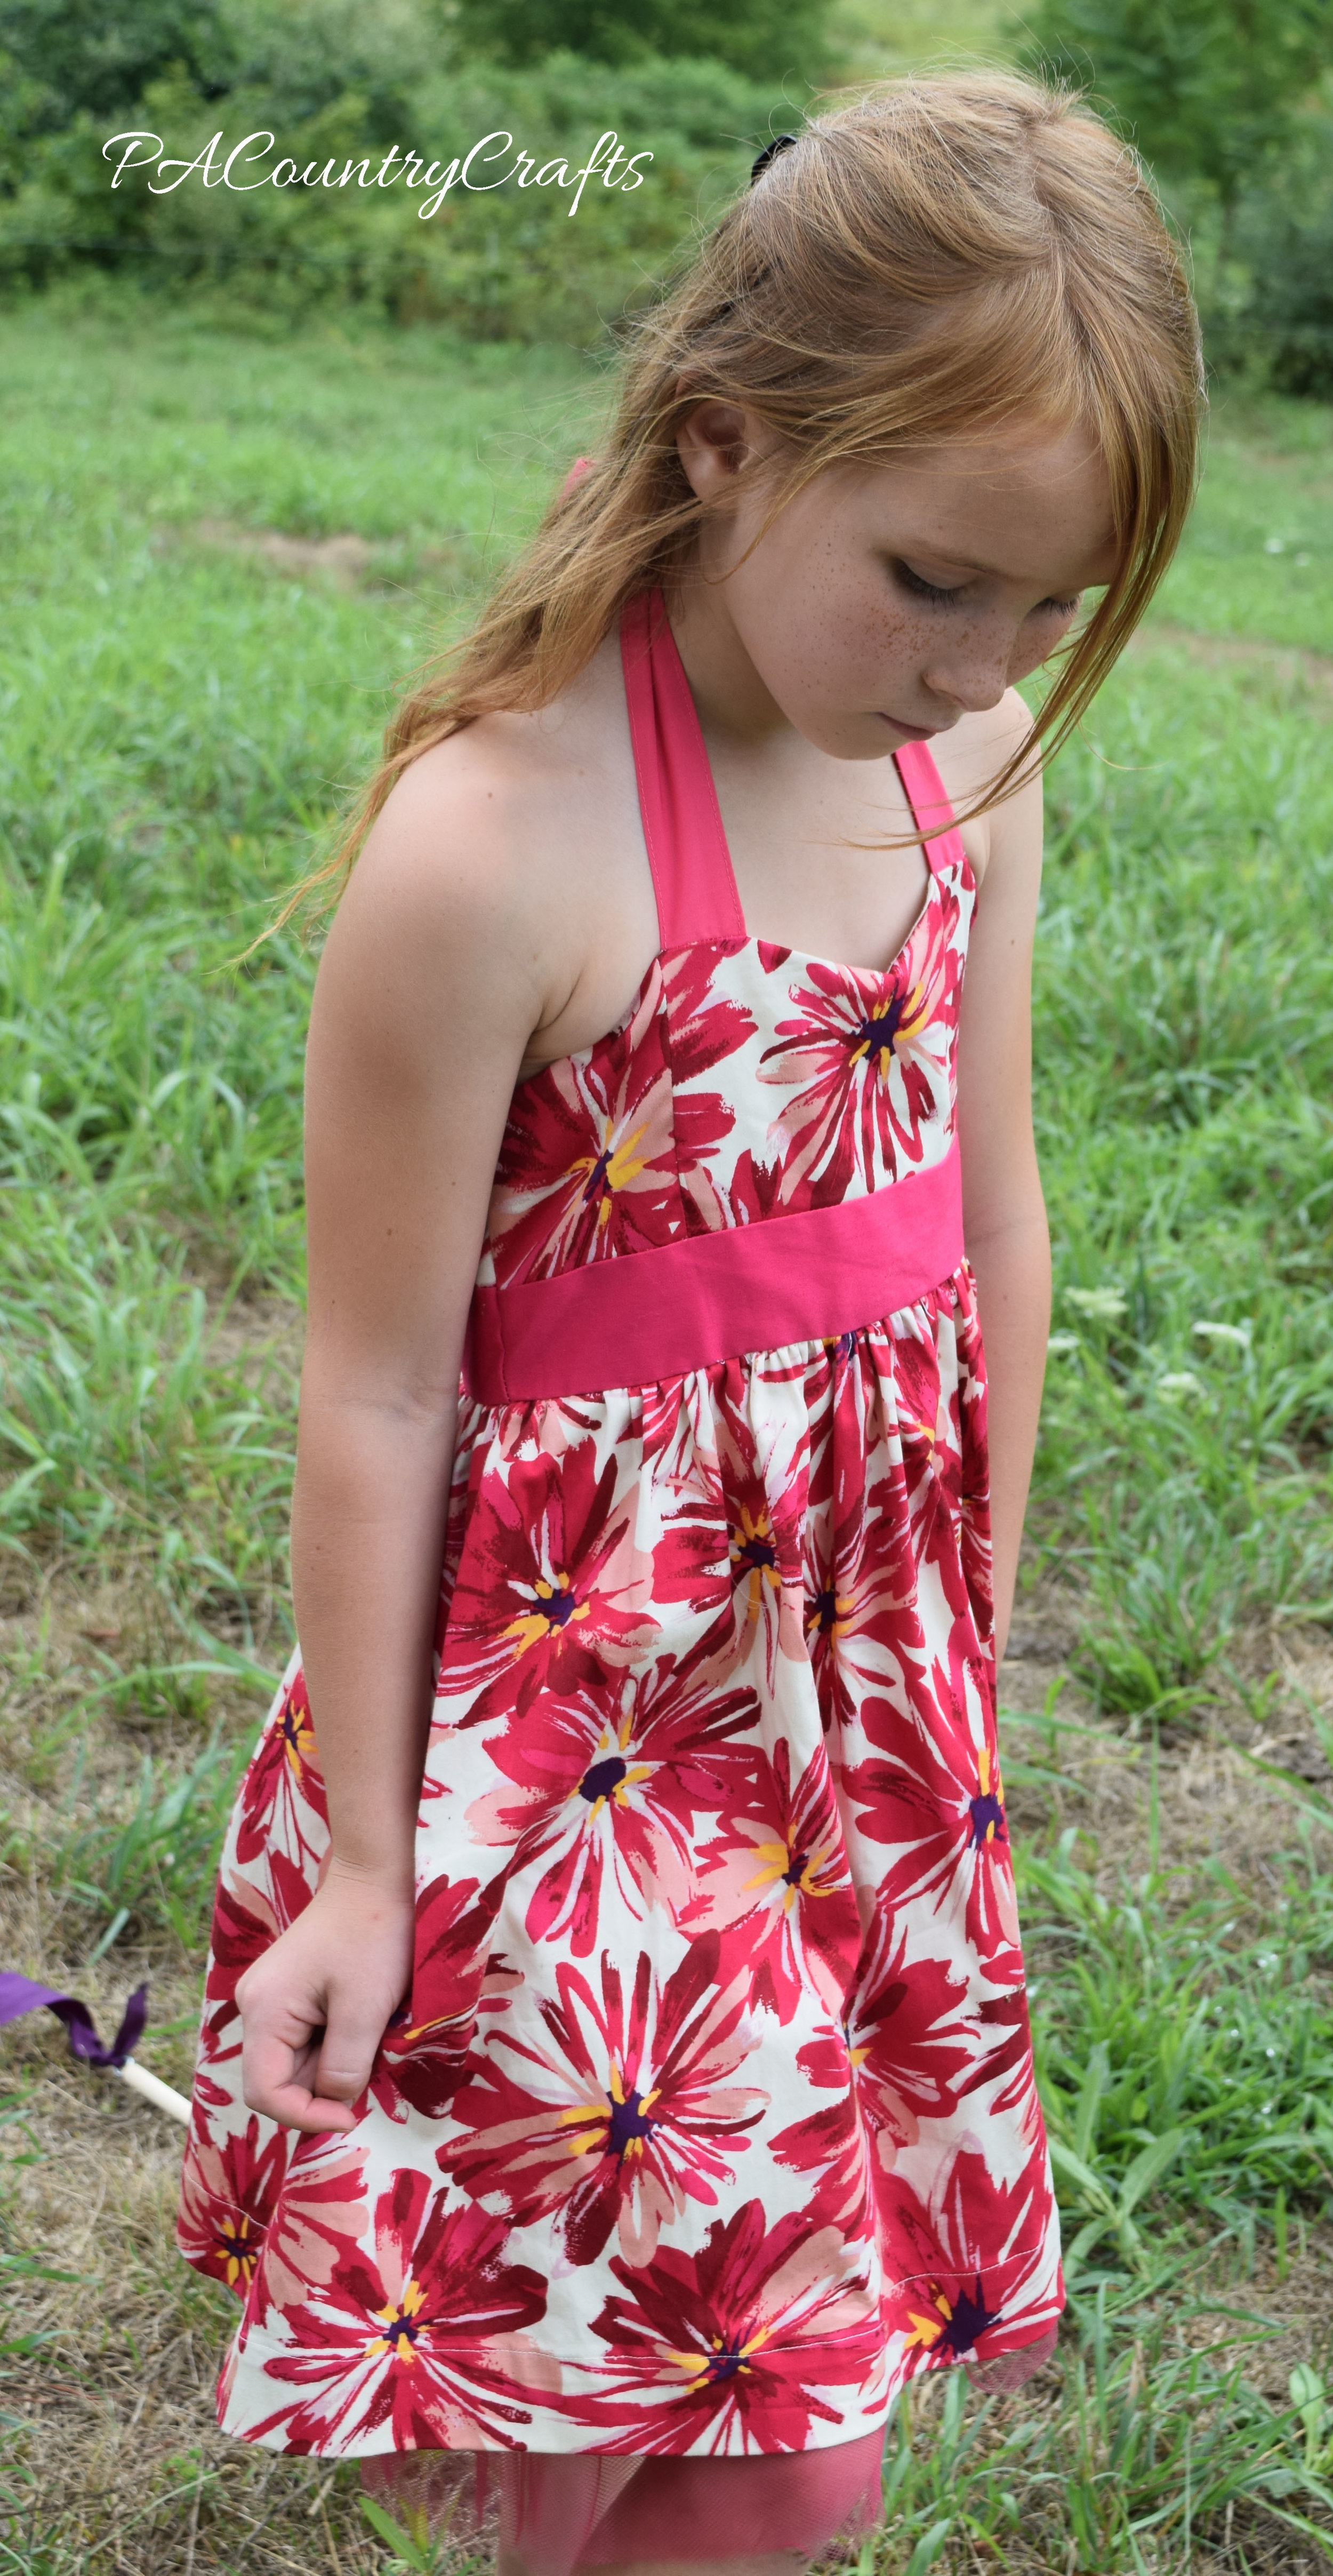
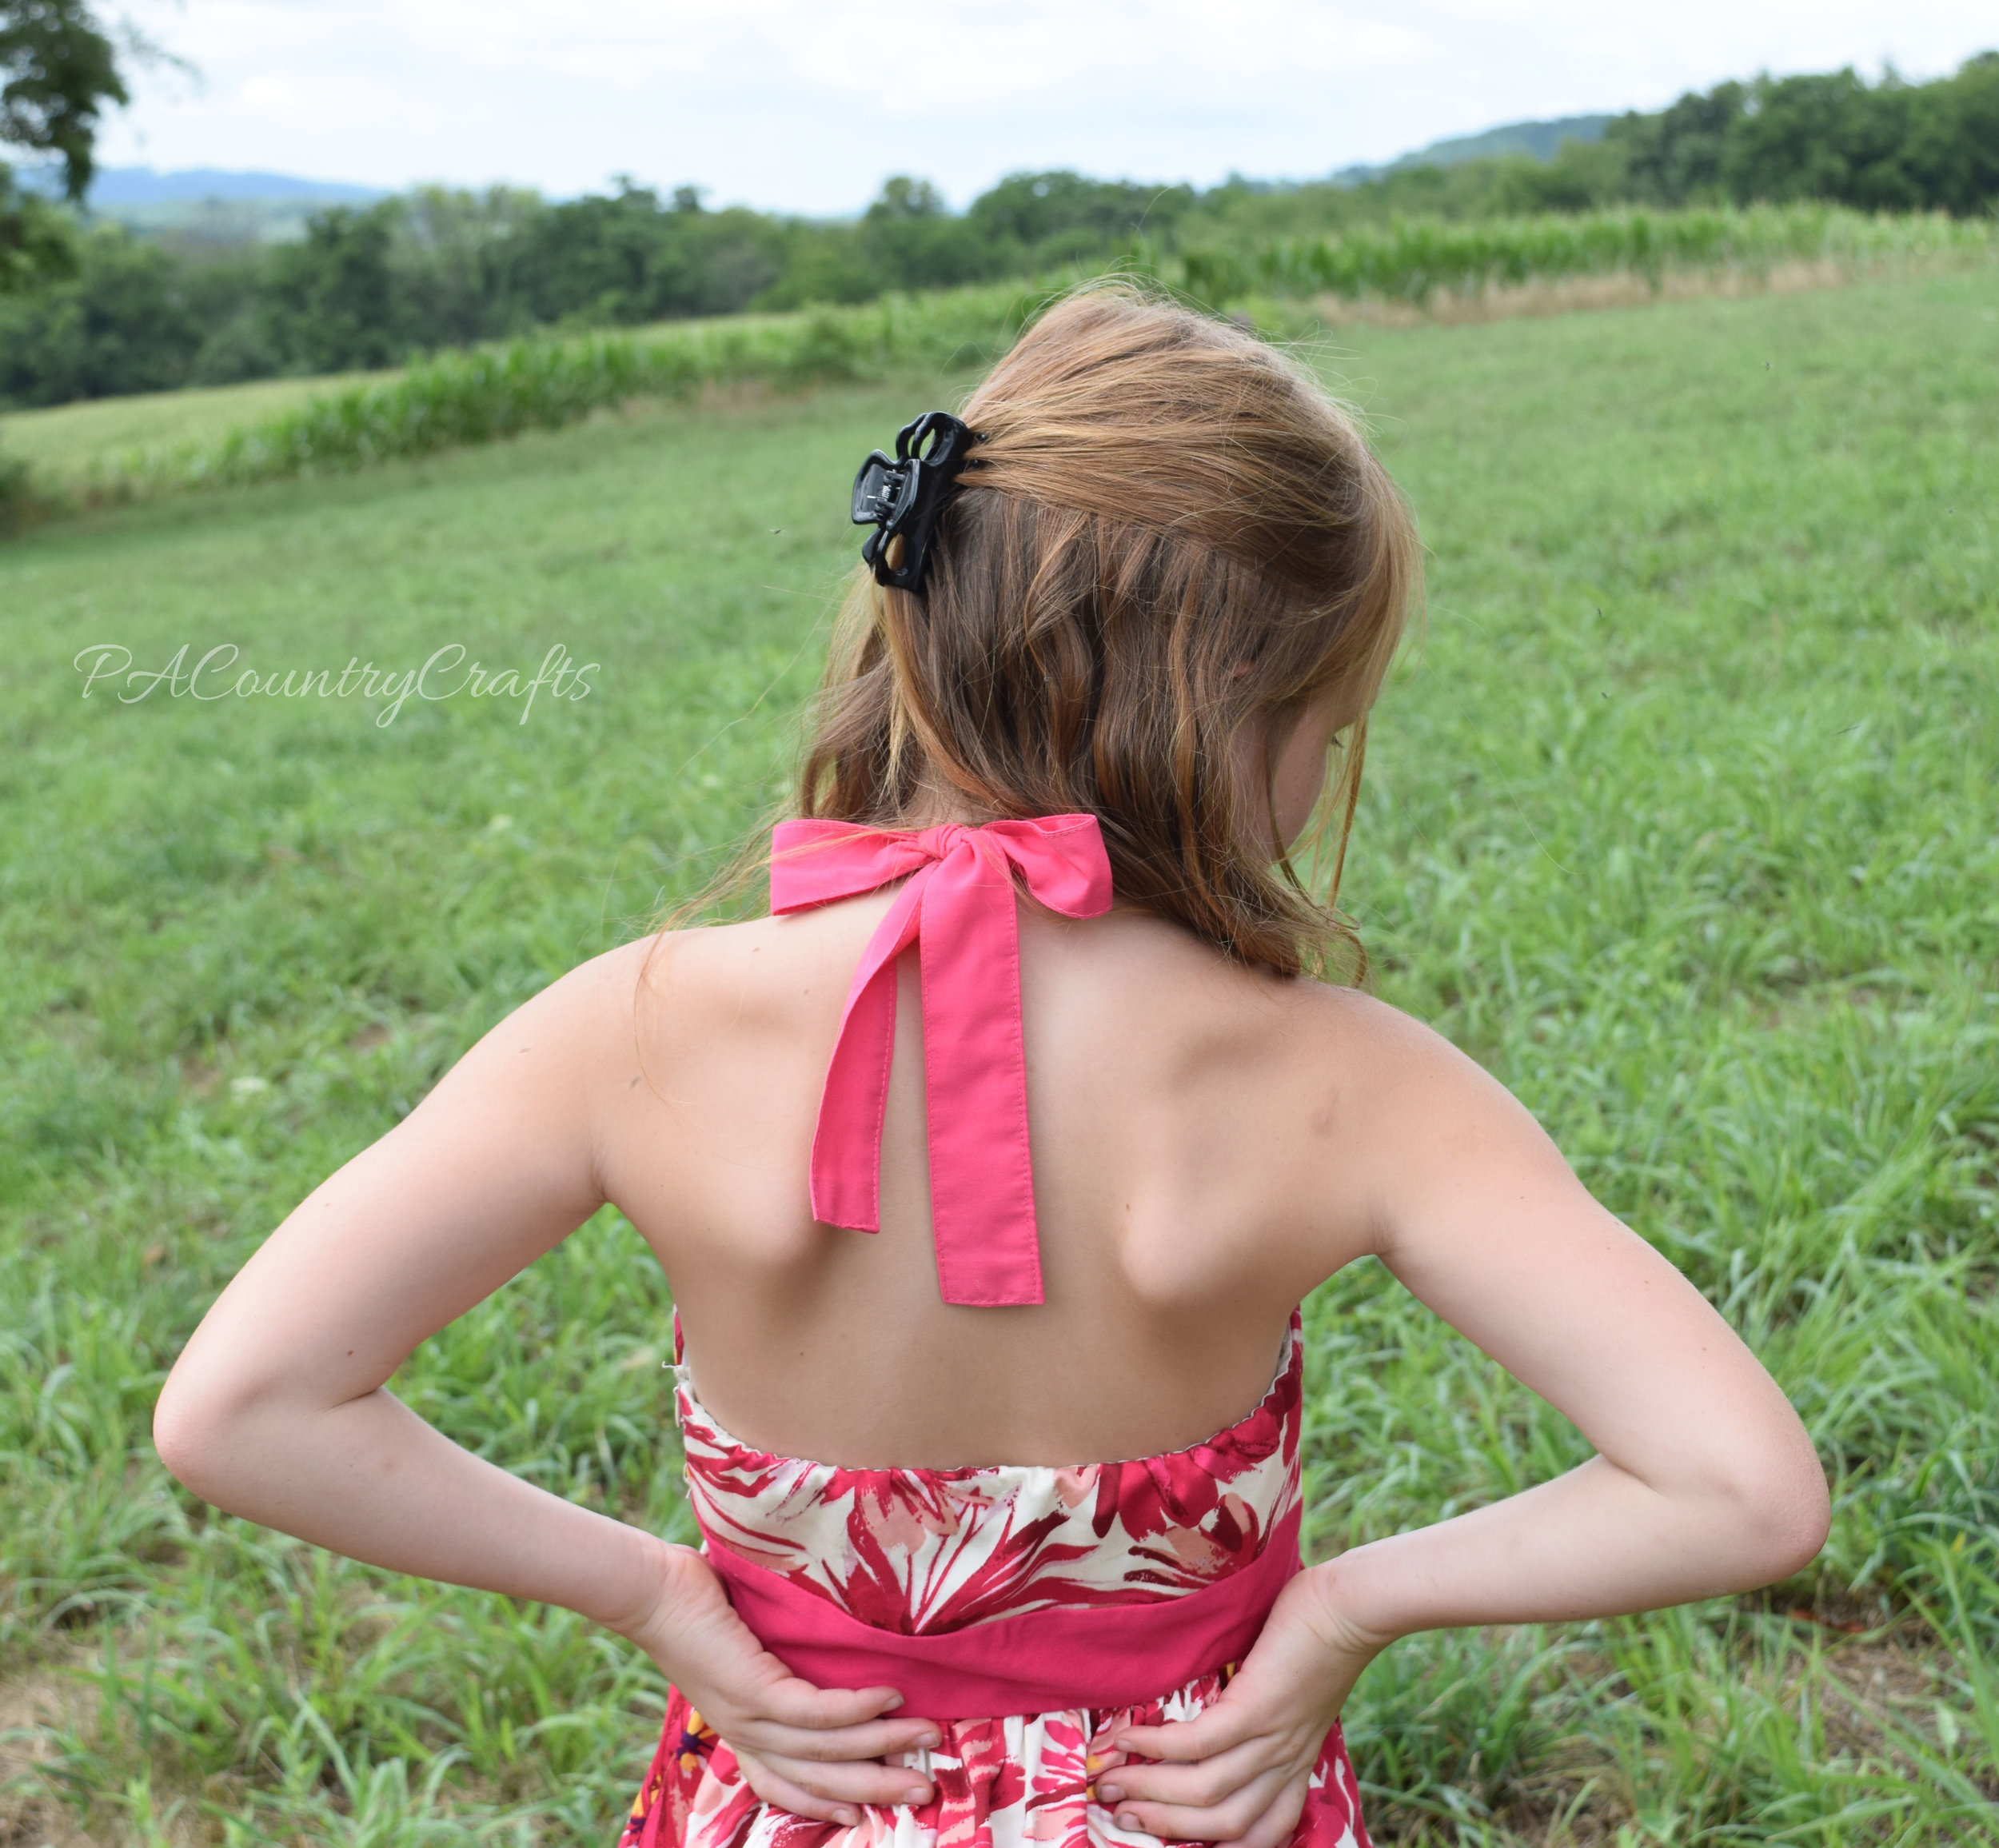
This dress was the least drastic transformation, but it required a lot more work than most of the other dresses to do it properly. It started out as a women's strapless dress, so I just had to remove the cups, take in and reshape the chest and sides, then add halter ties. However, it is fully lined and I ended up ripping the whole thing apart so it wasn't as easy as it looks. It turned out really cute and fits her really well, though.

Take in a women's dress and add straps to make a girls' halter dress.

Add halter ties to a women's strapless dress.I like the idea of thinking outside the box and even if something doesn't fit or has features you don't like, you can redesign it and make it work for you. There are a lot of possibilities when refashioning clothing.
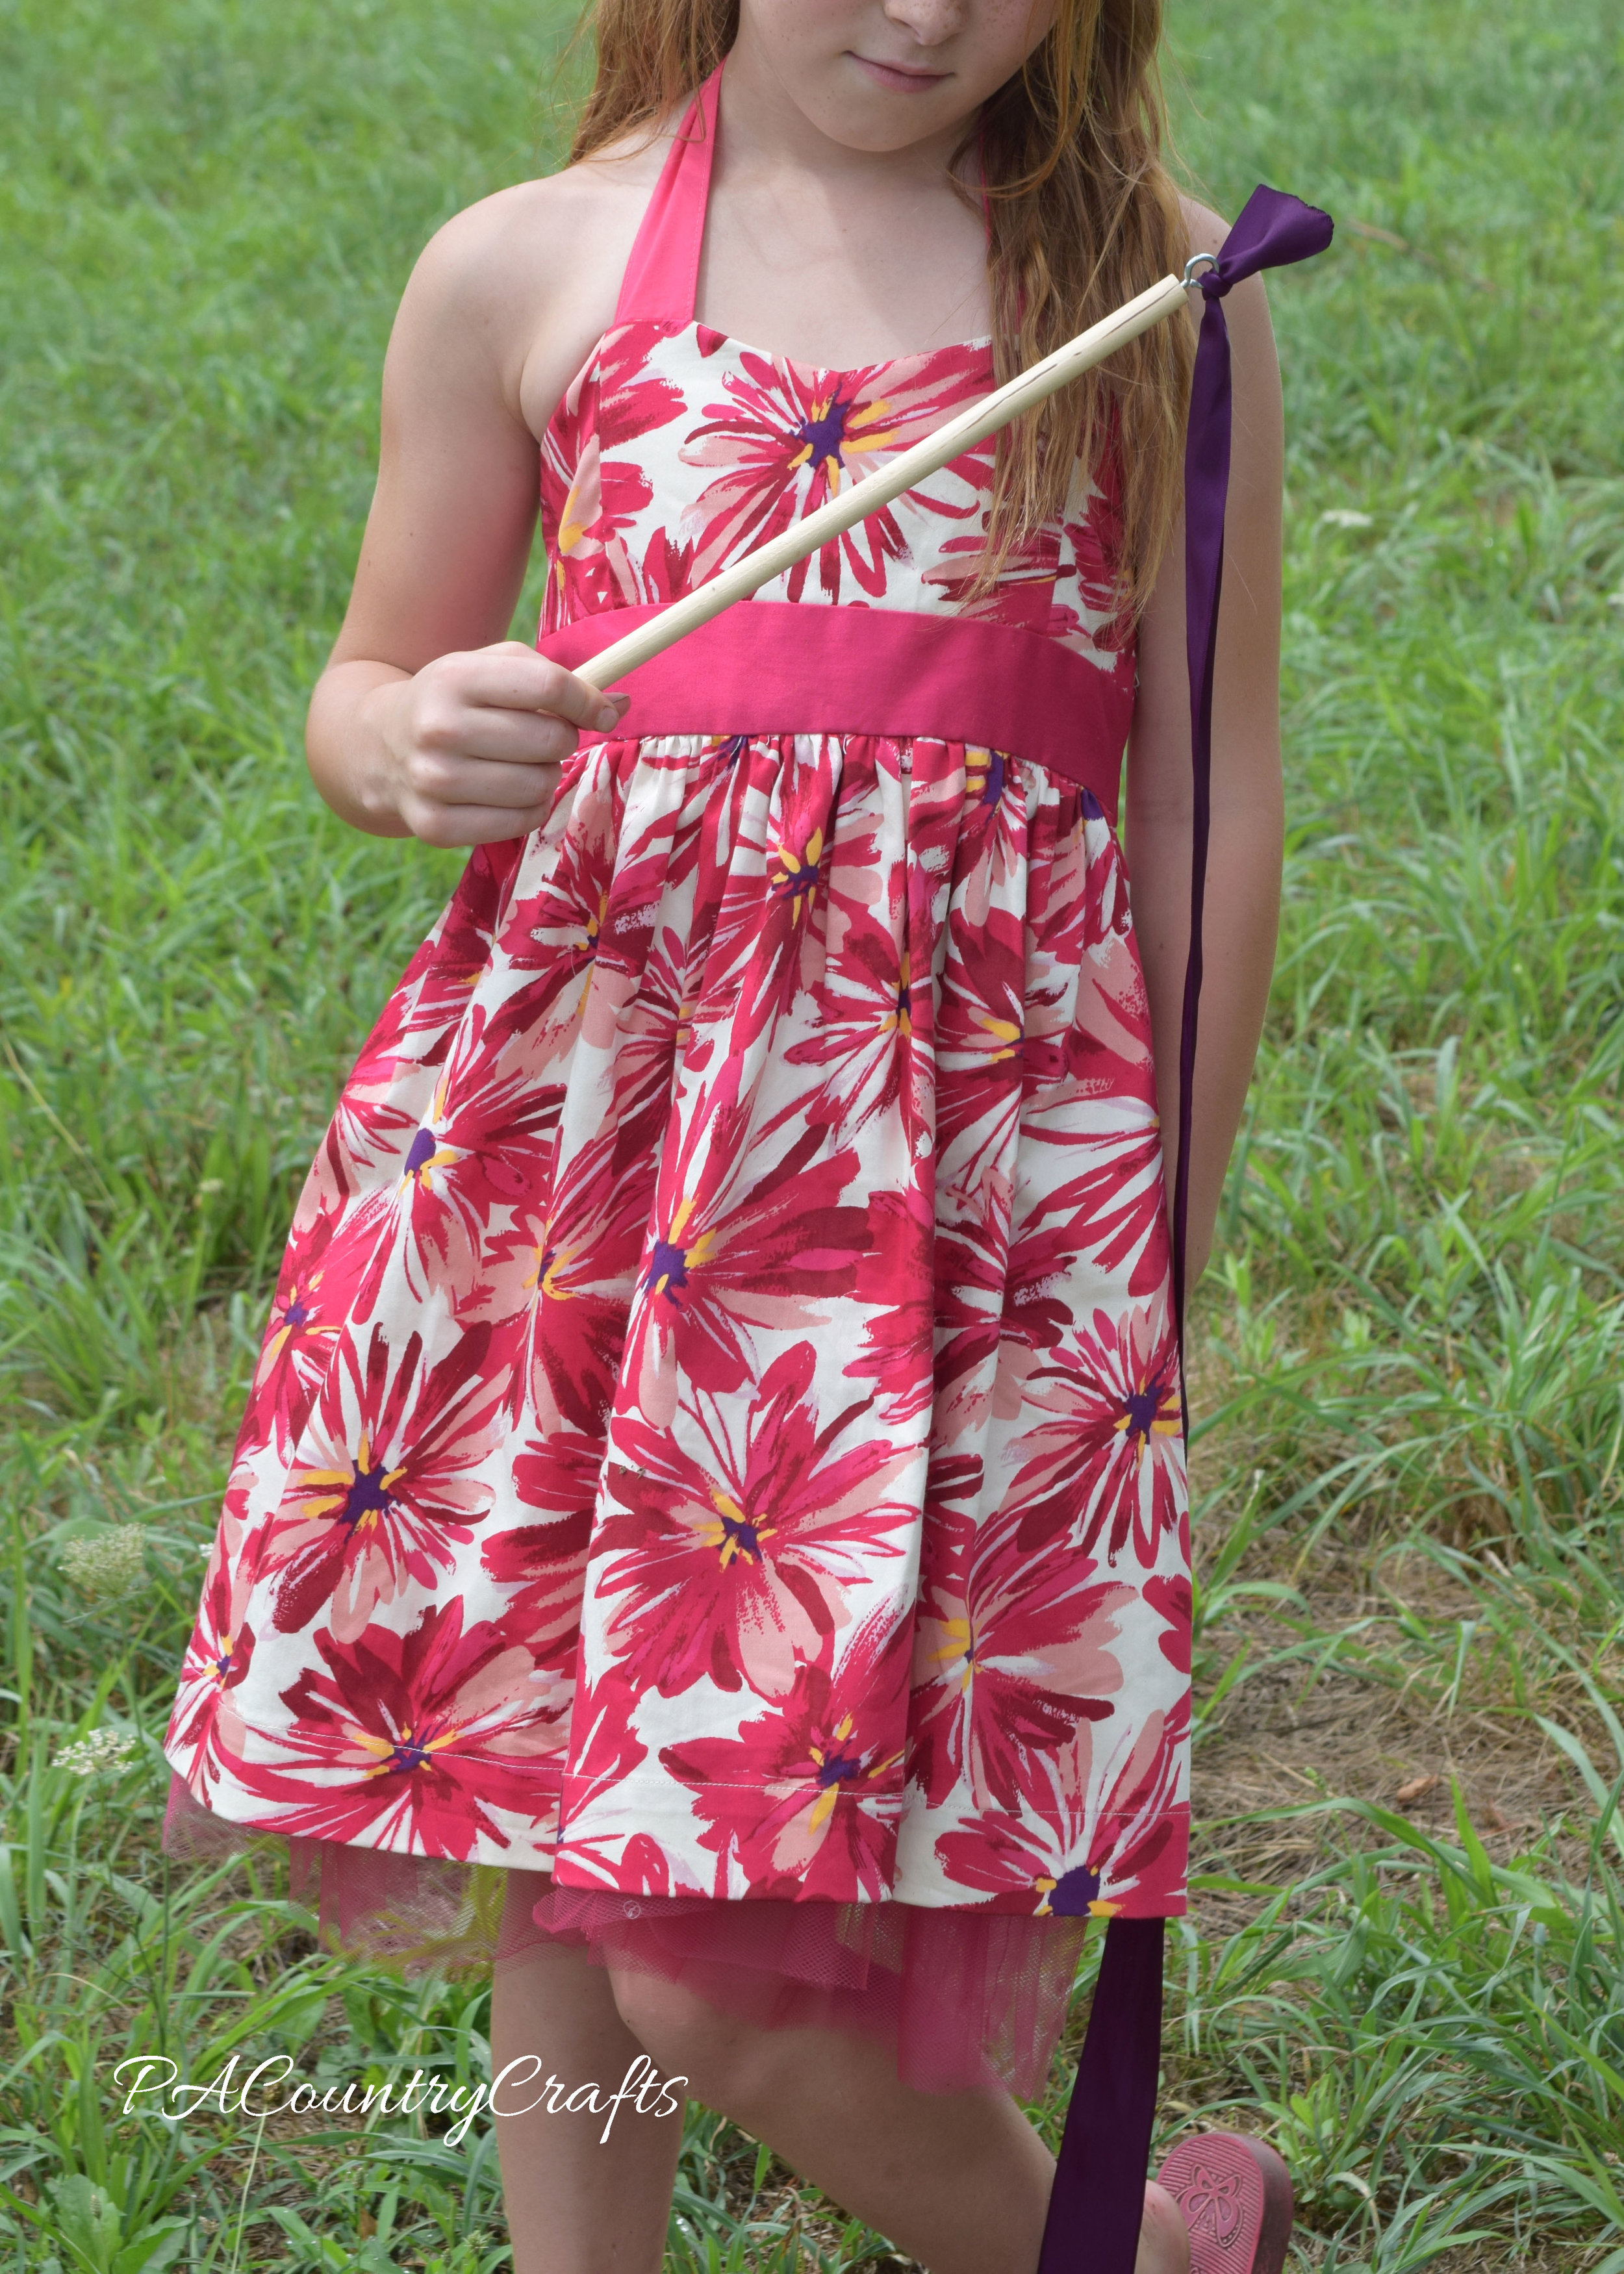
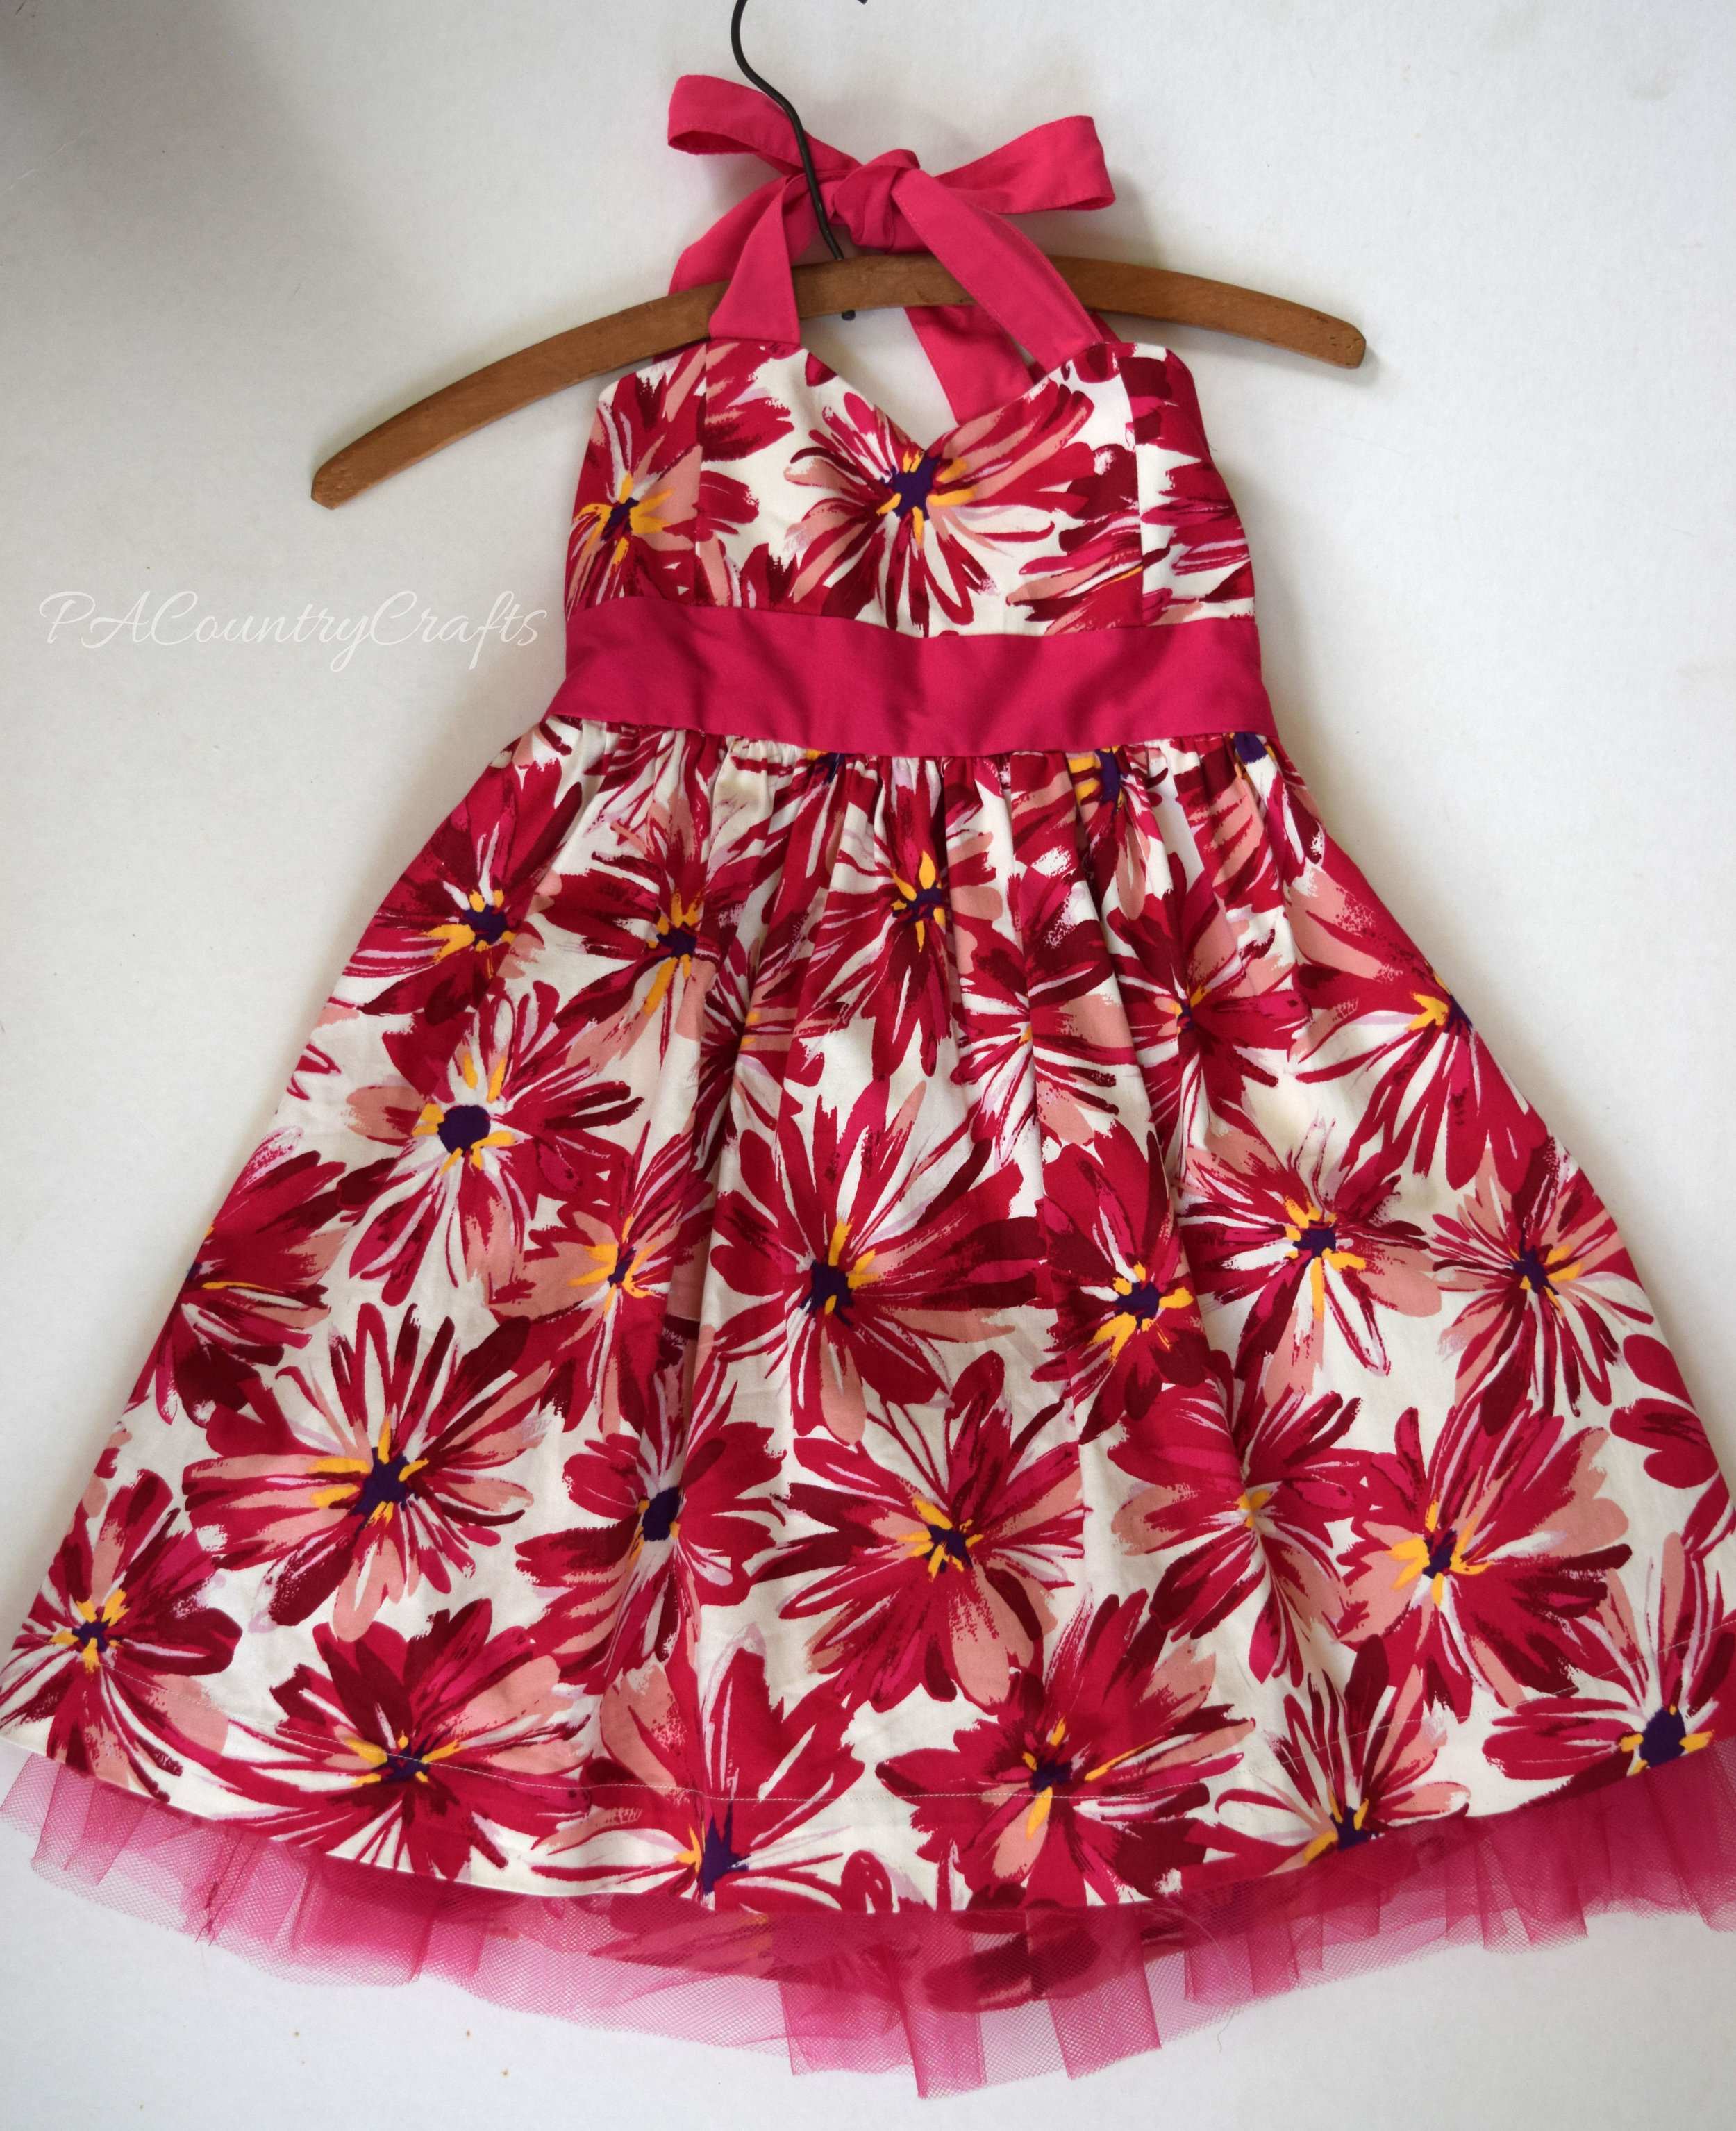
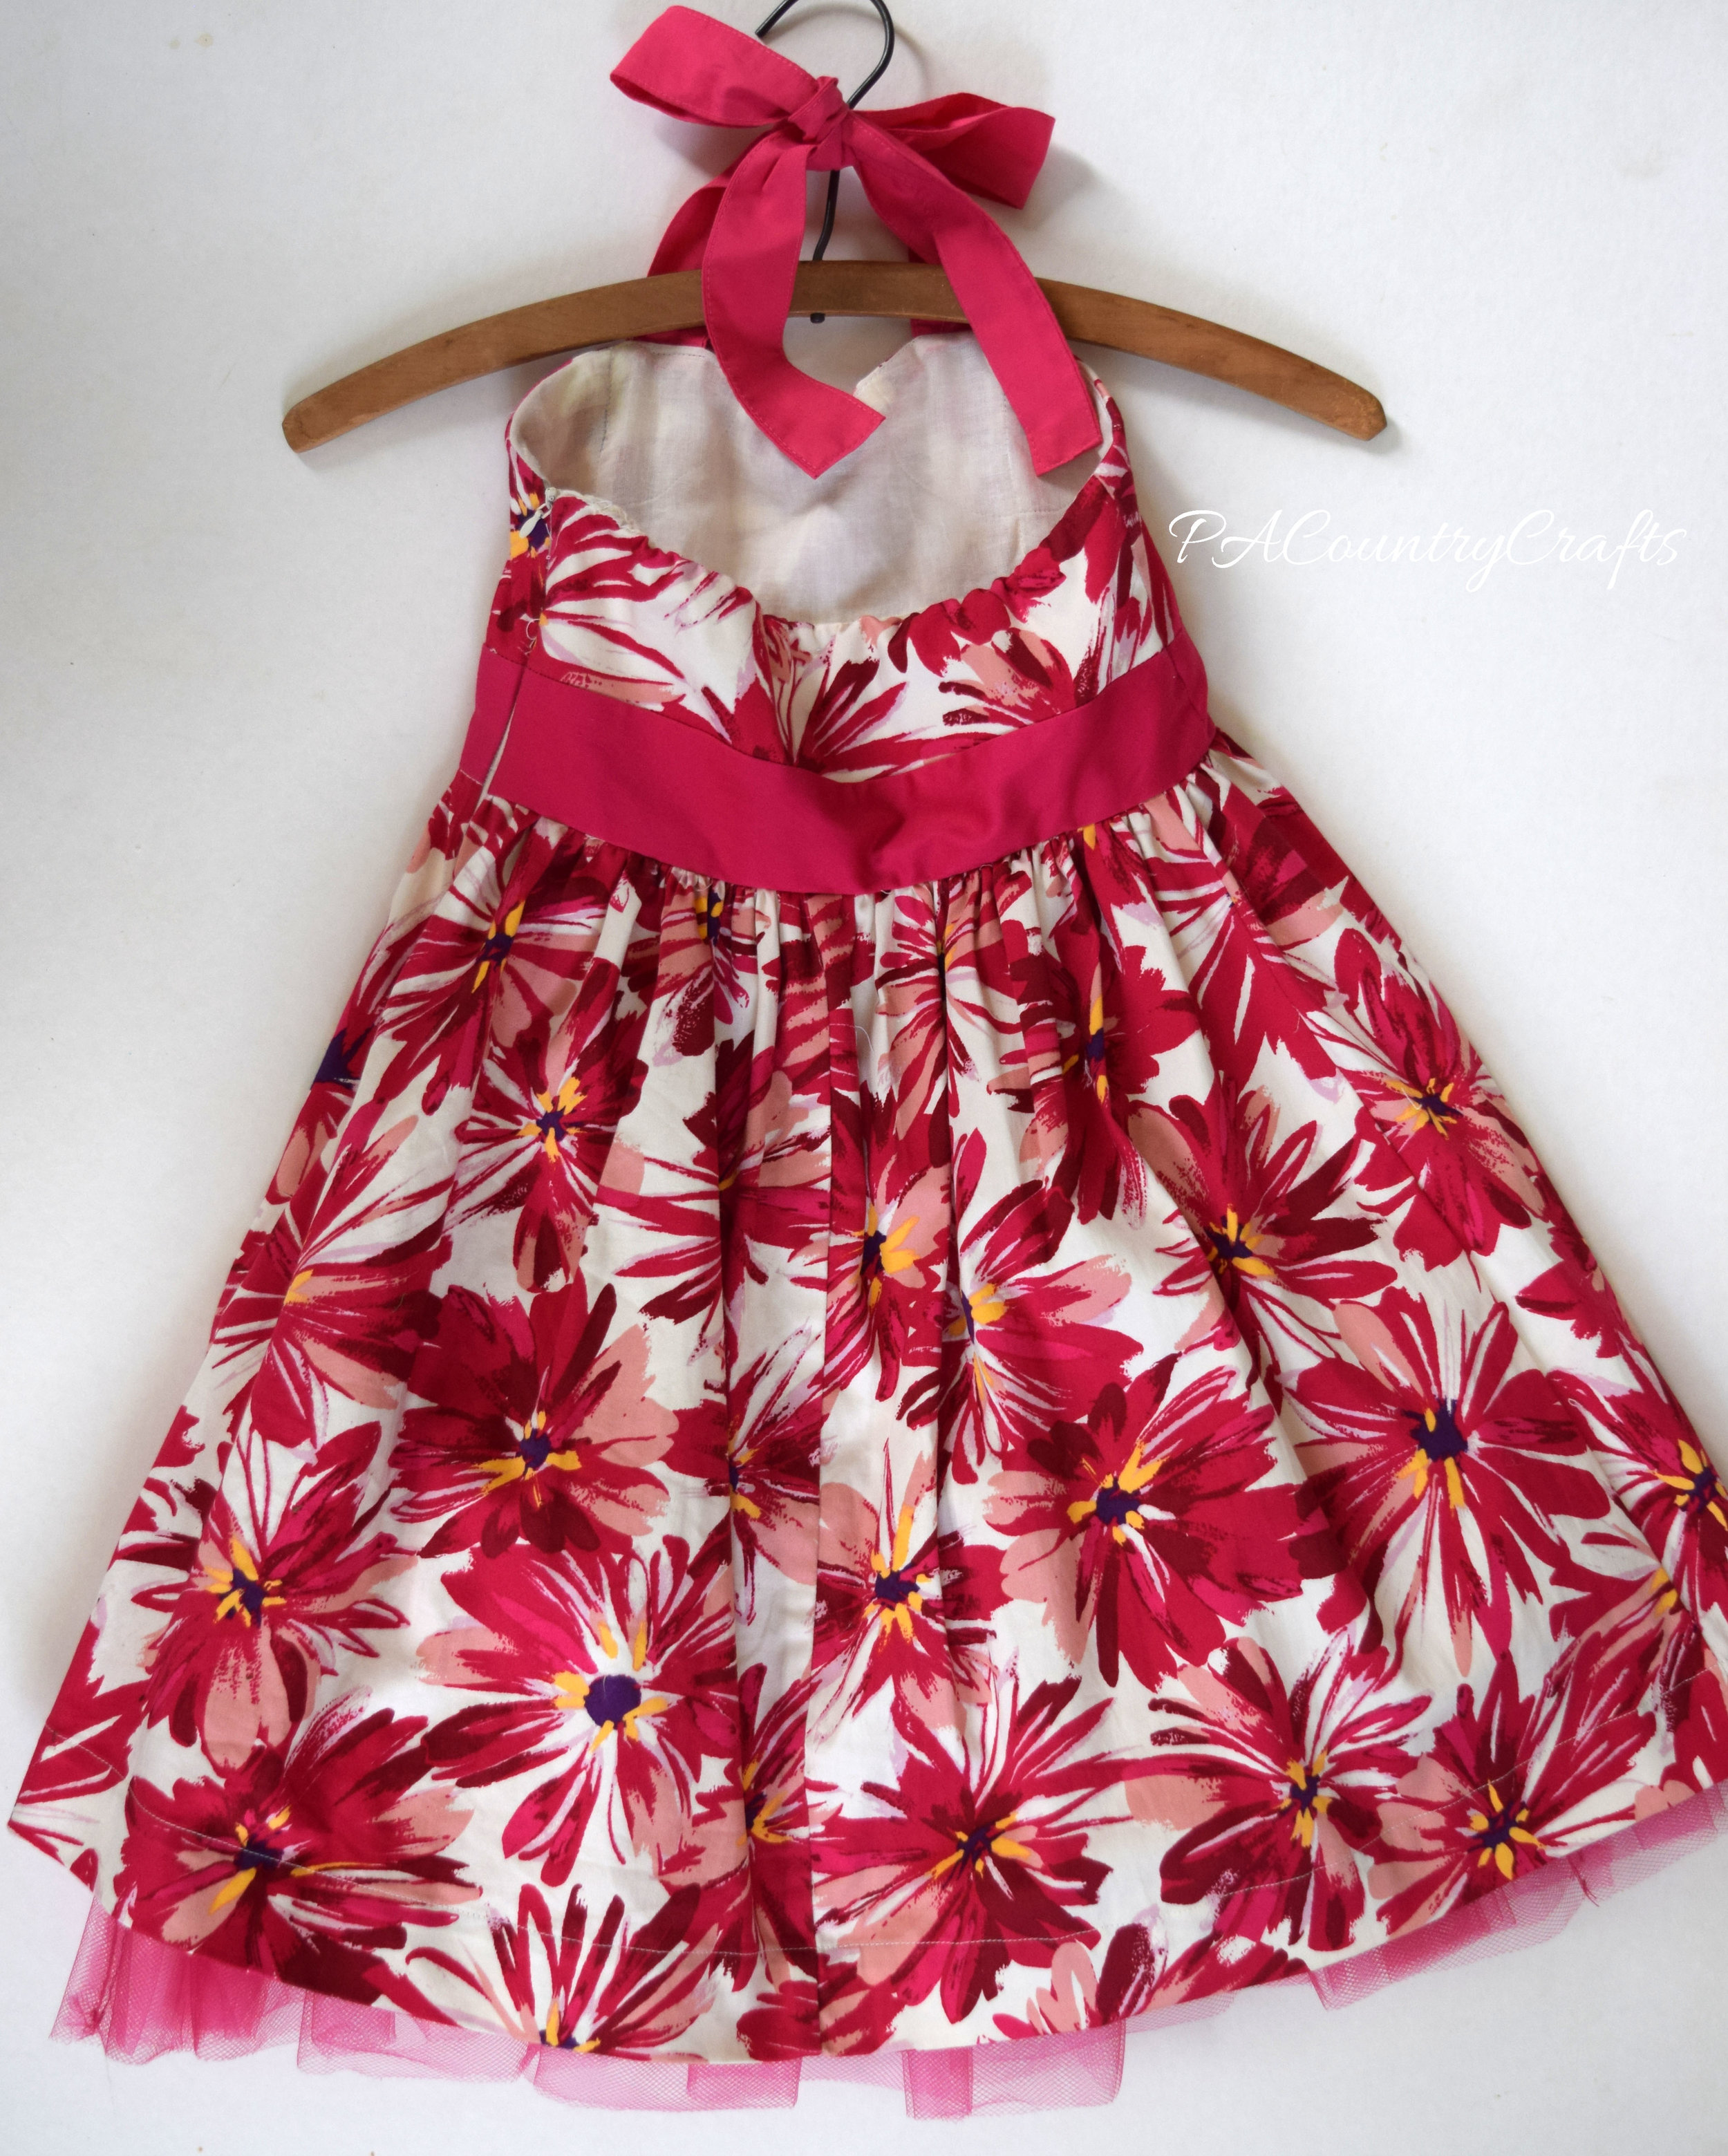
women's party dress to girls' halter dress refashion

refashioned girls' halter dress

back of girls' halter dress

Turn a women's strapless dress into a little girls' halter dress.Link Parties where I sometimes hang out…
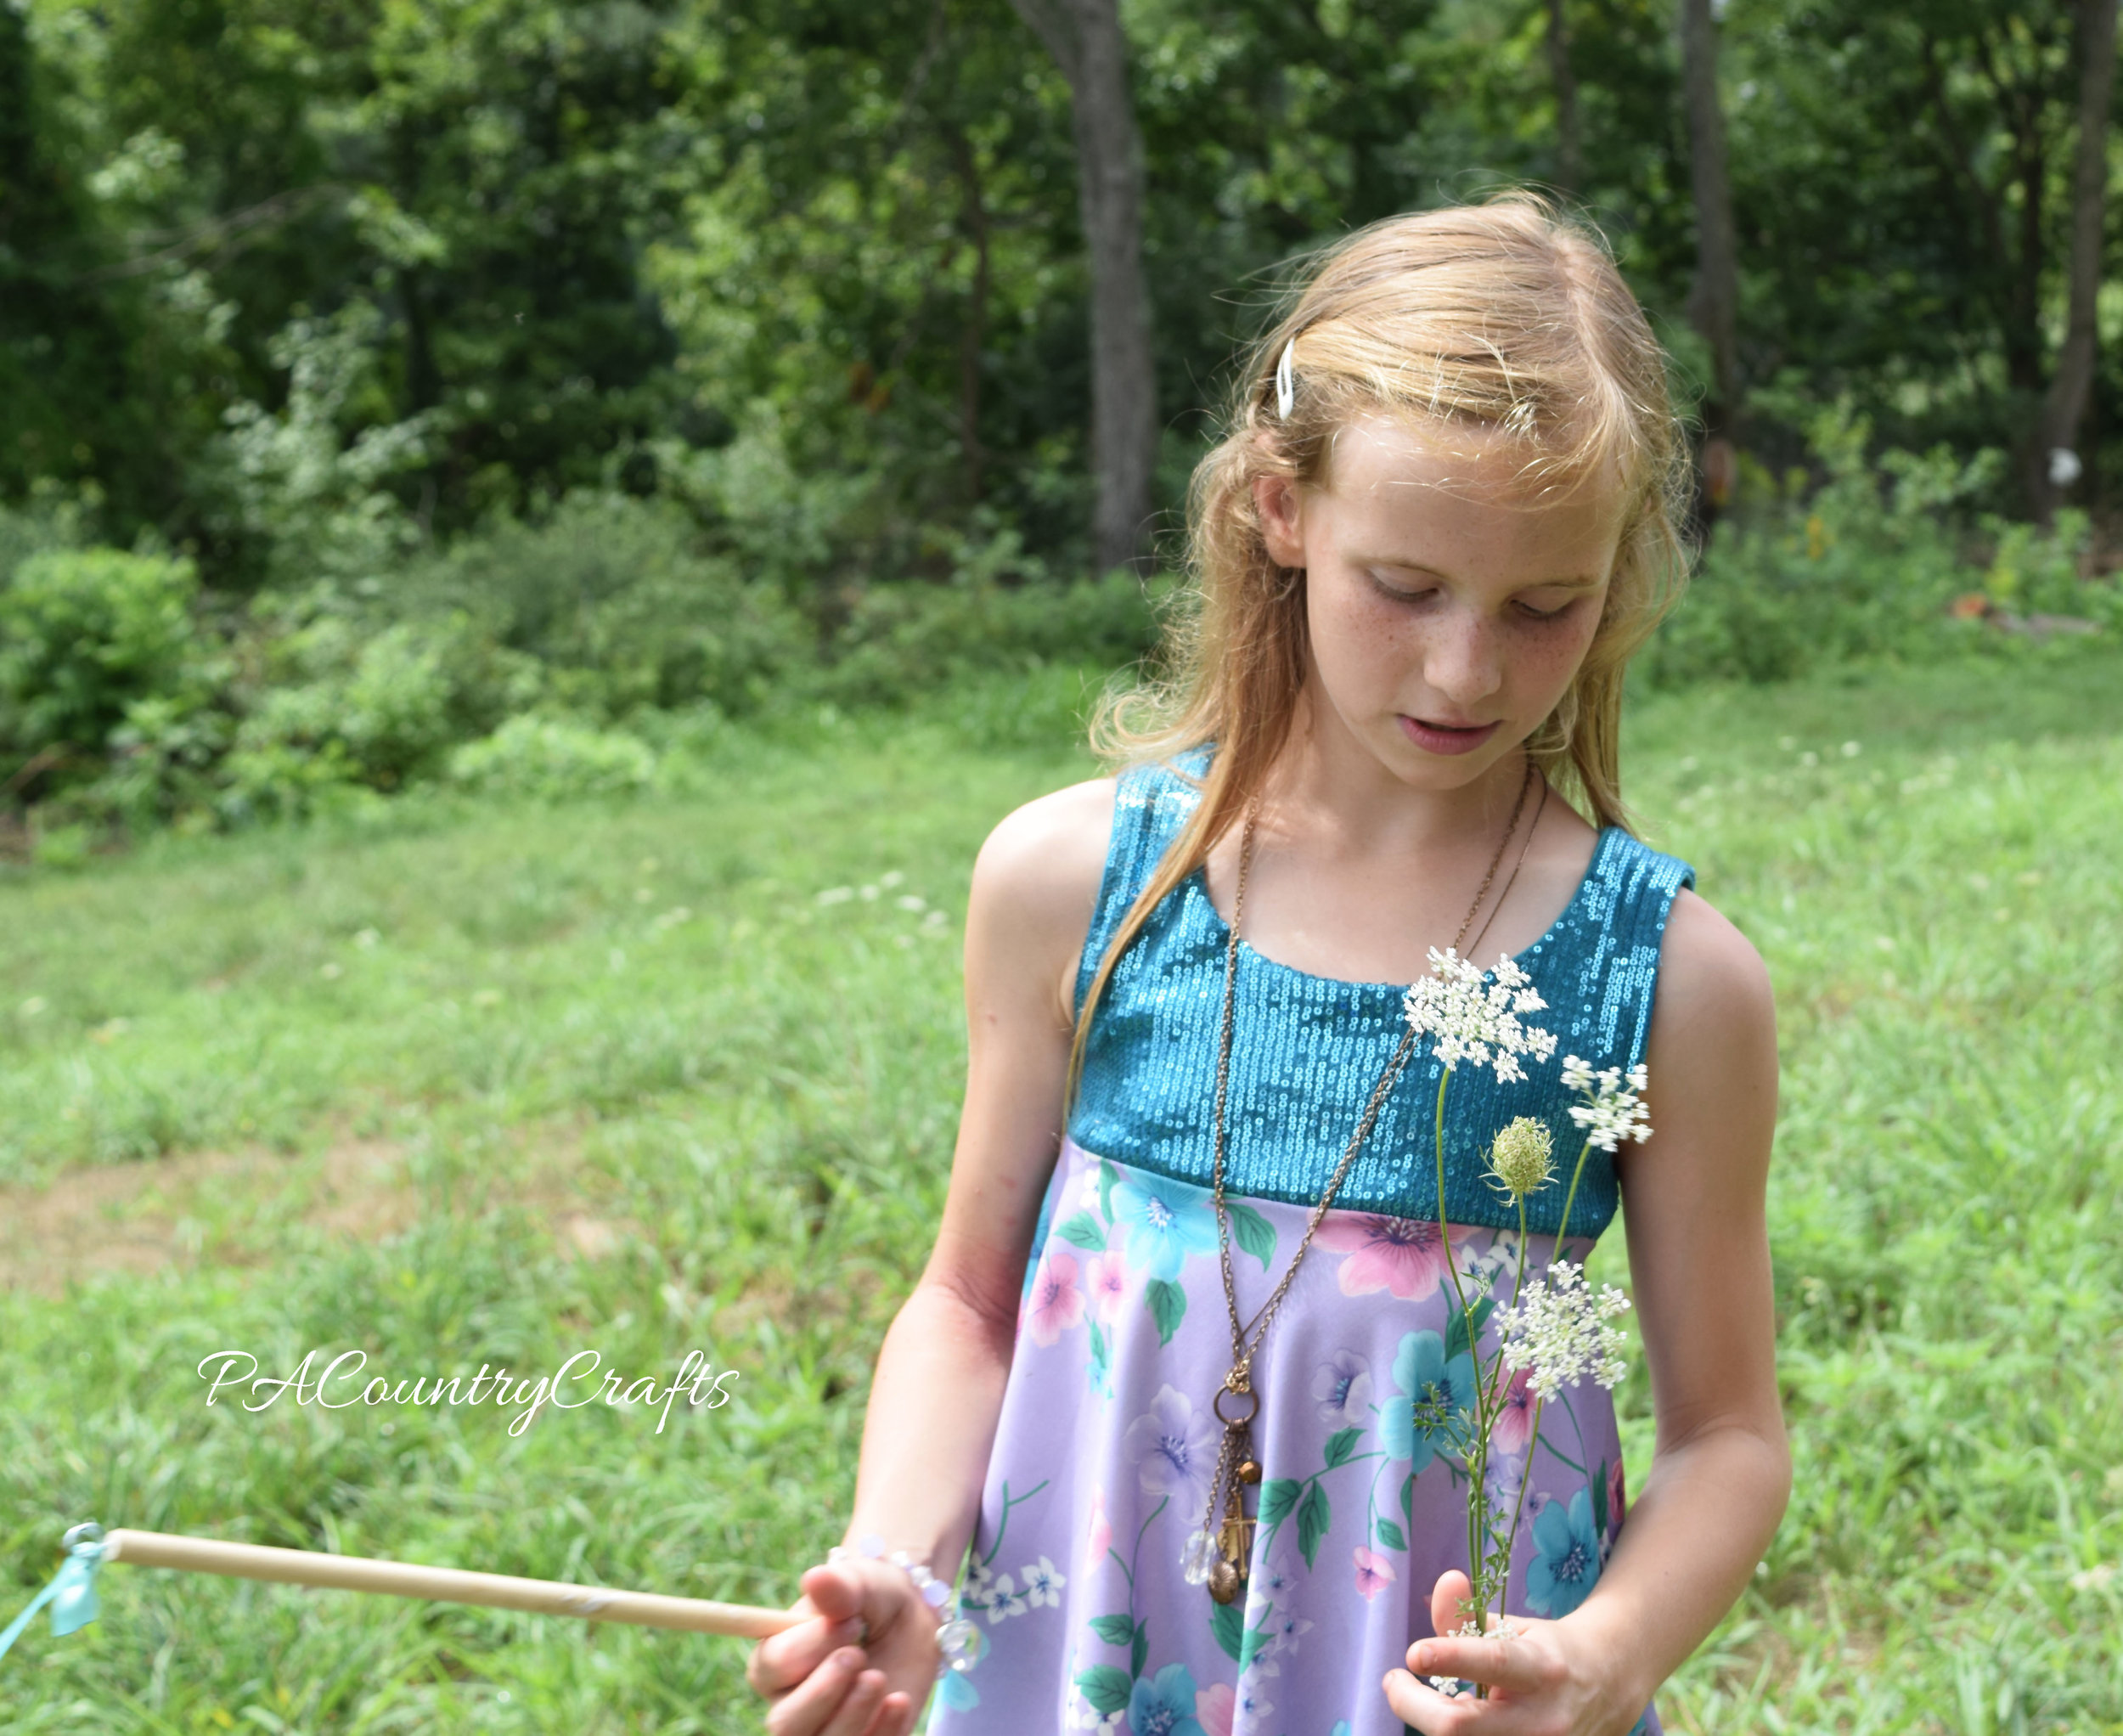
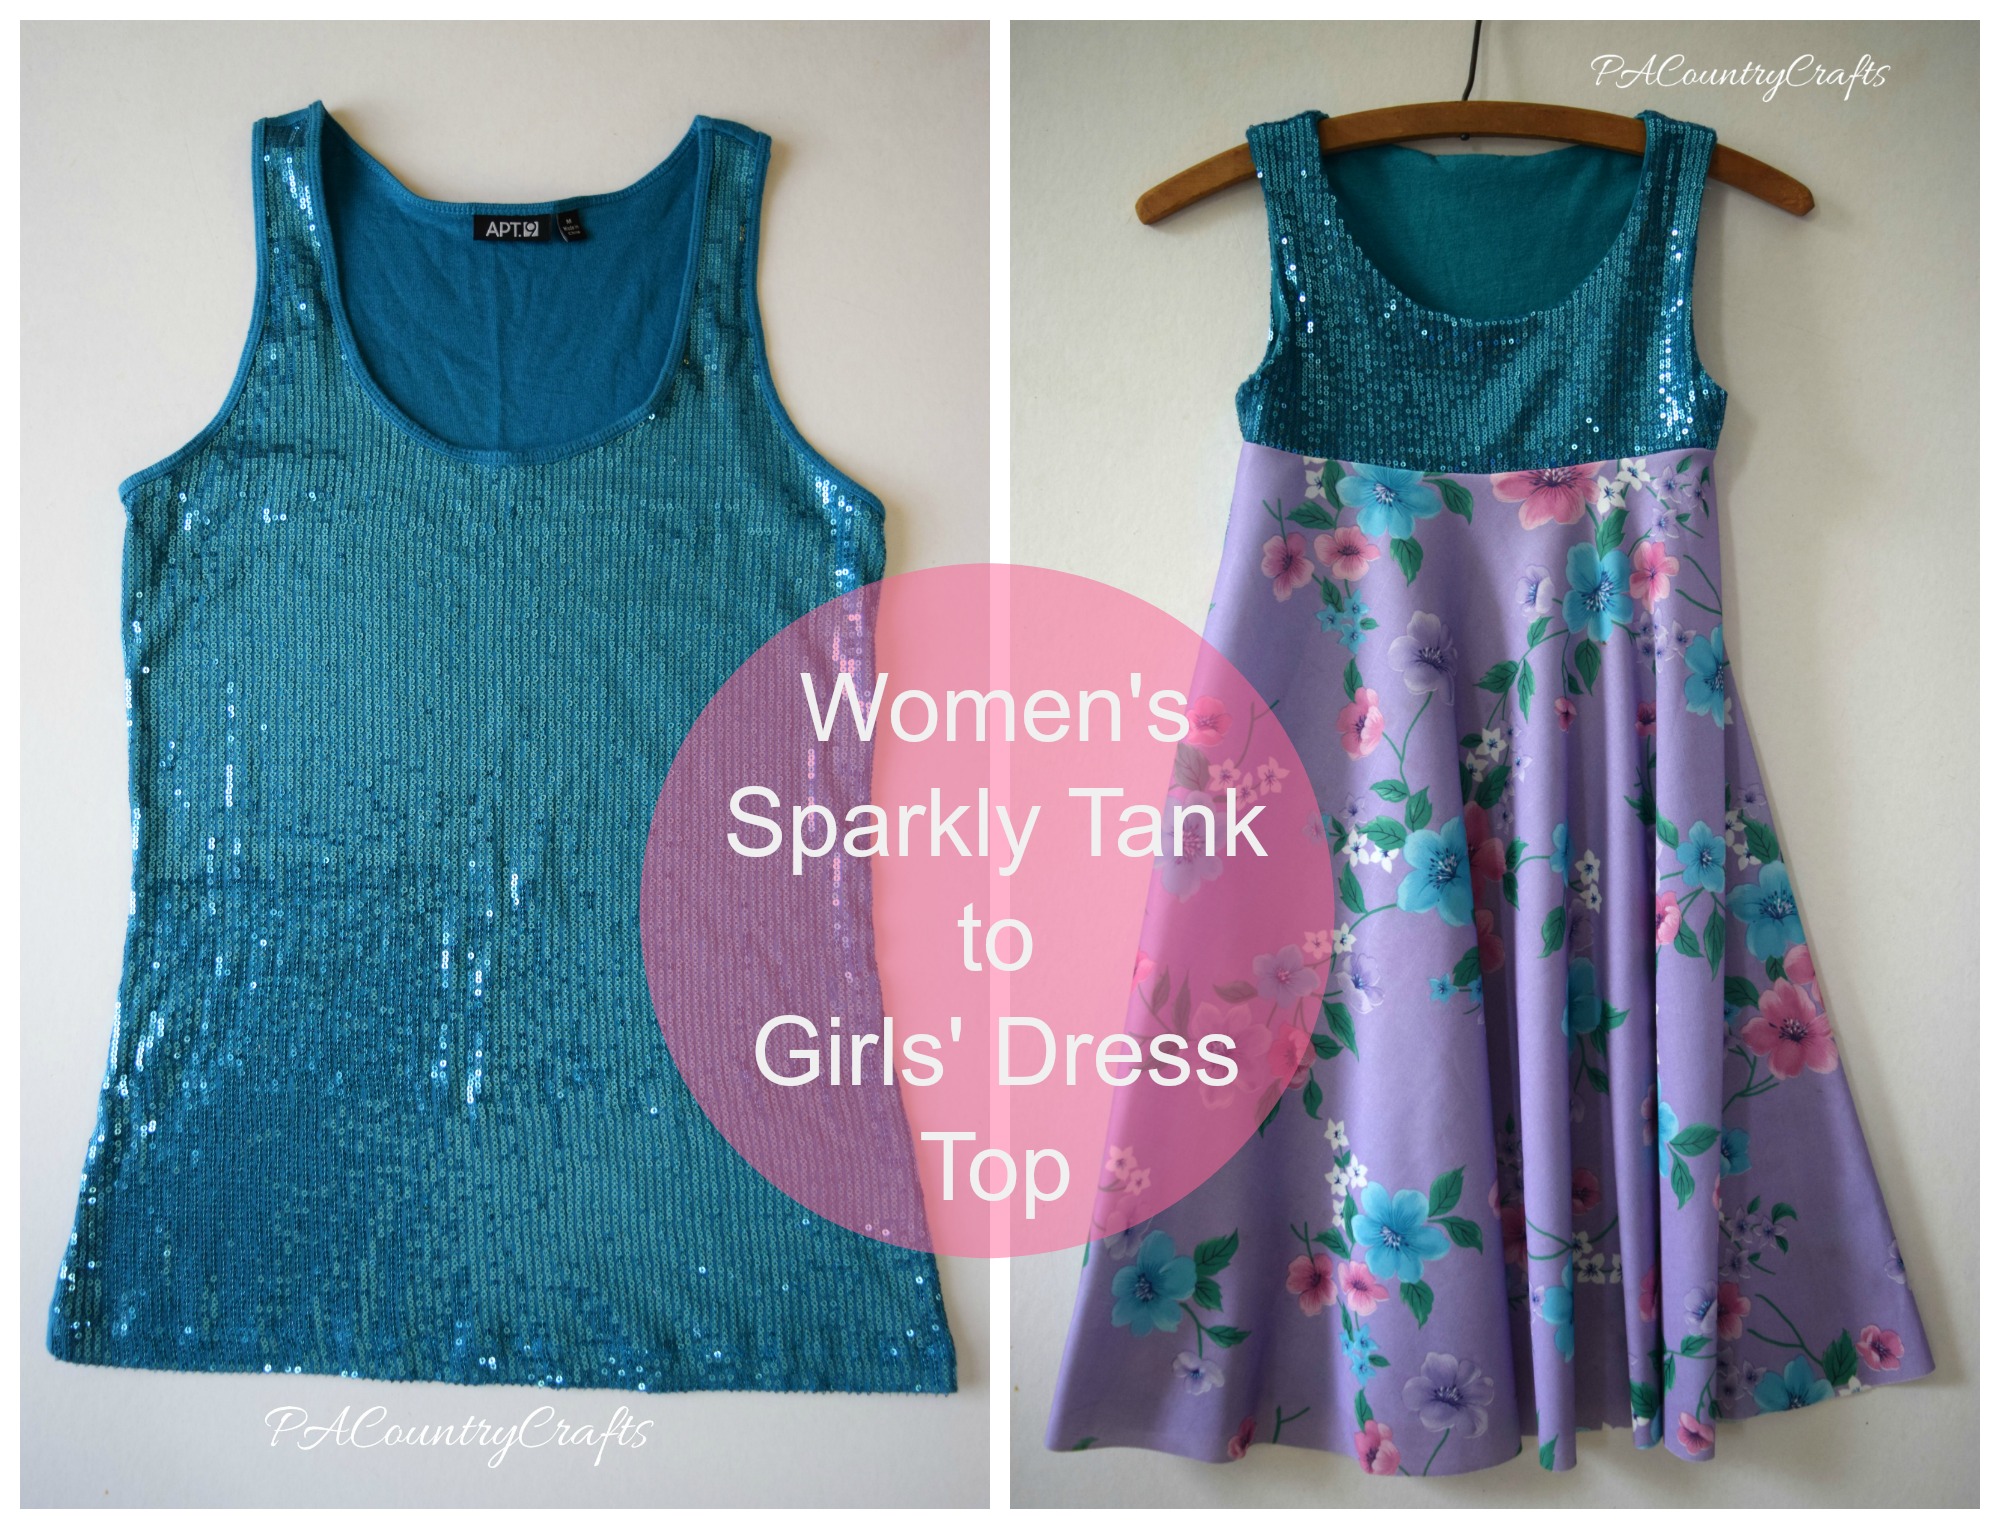
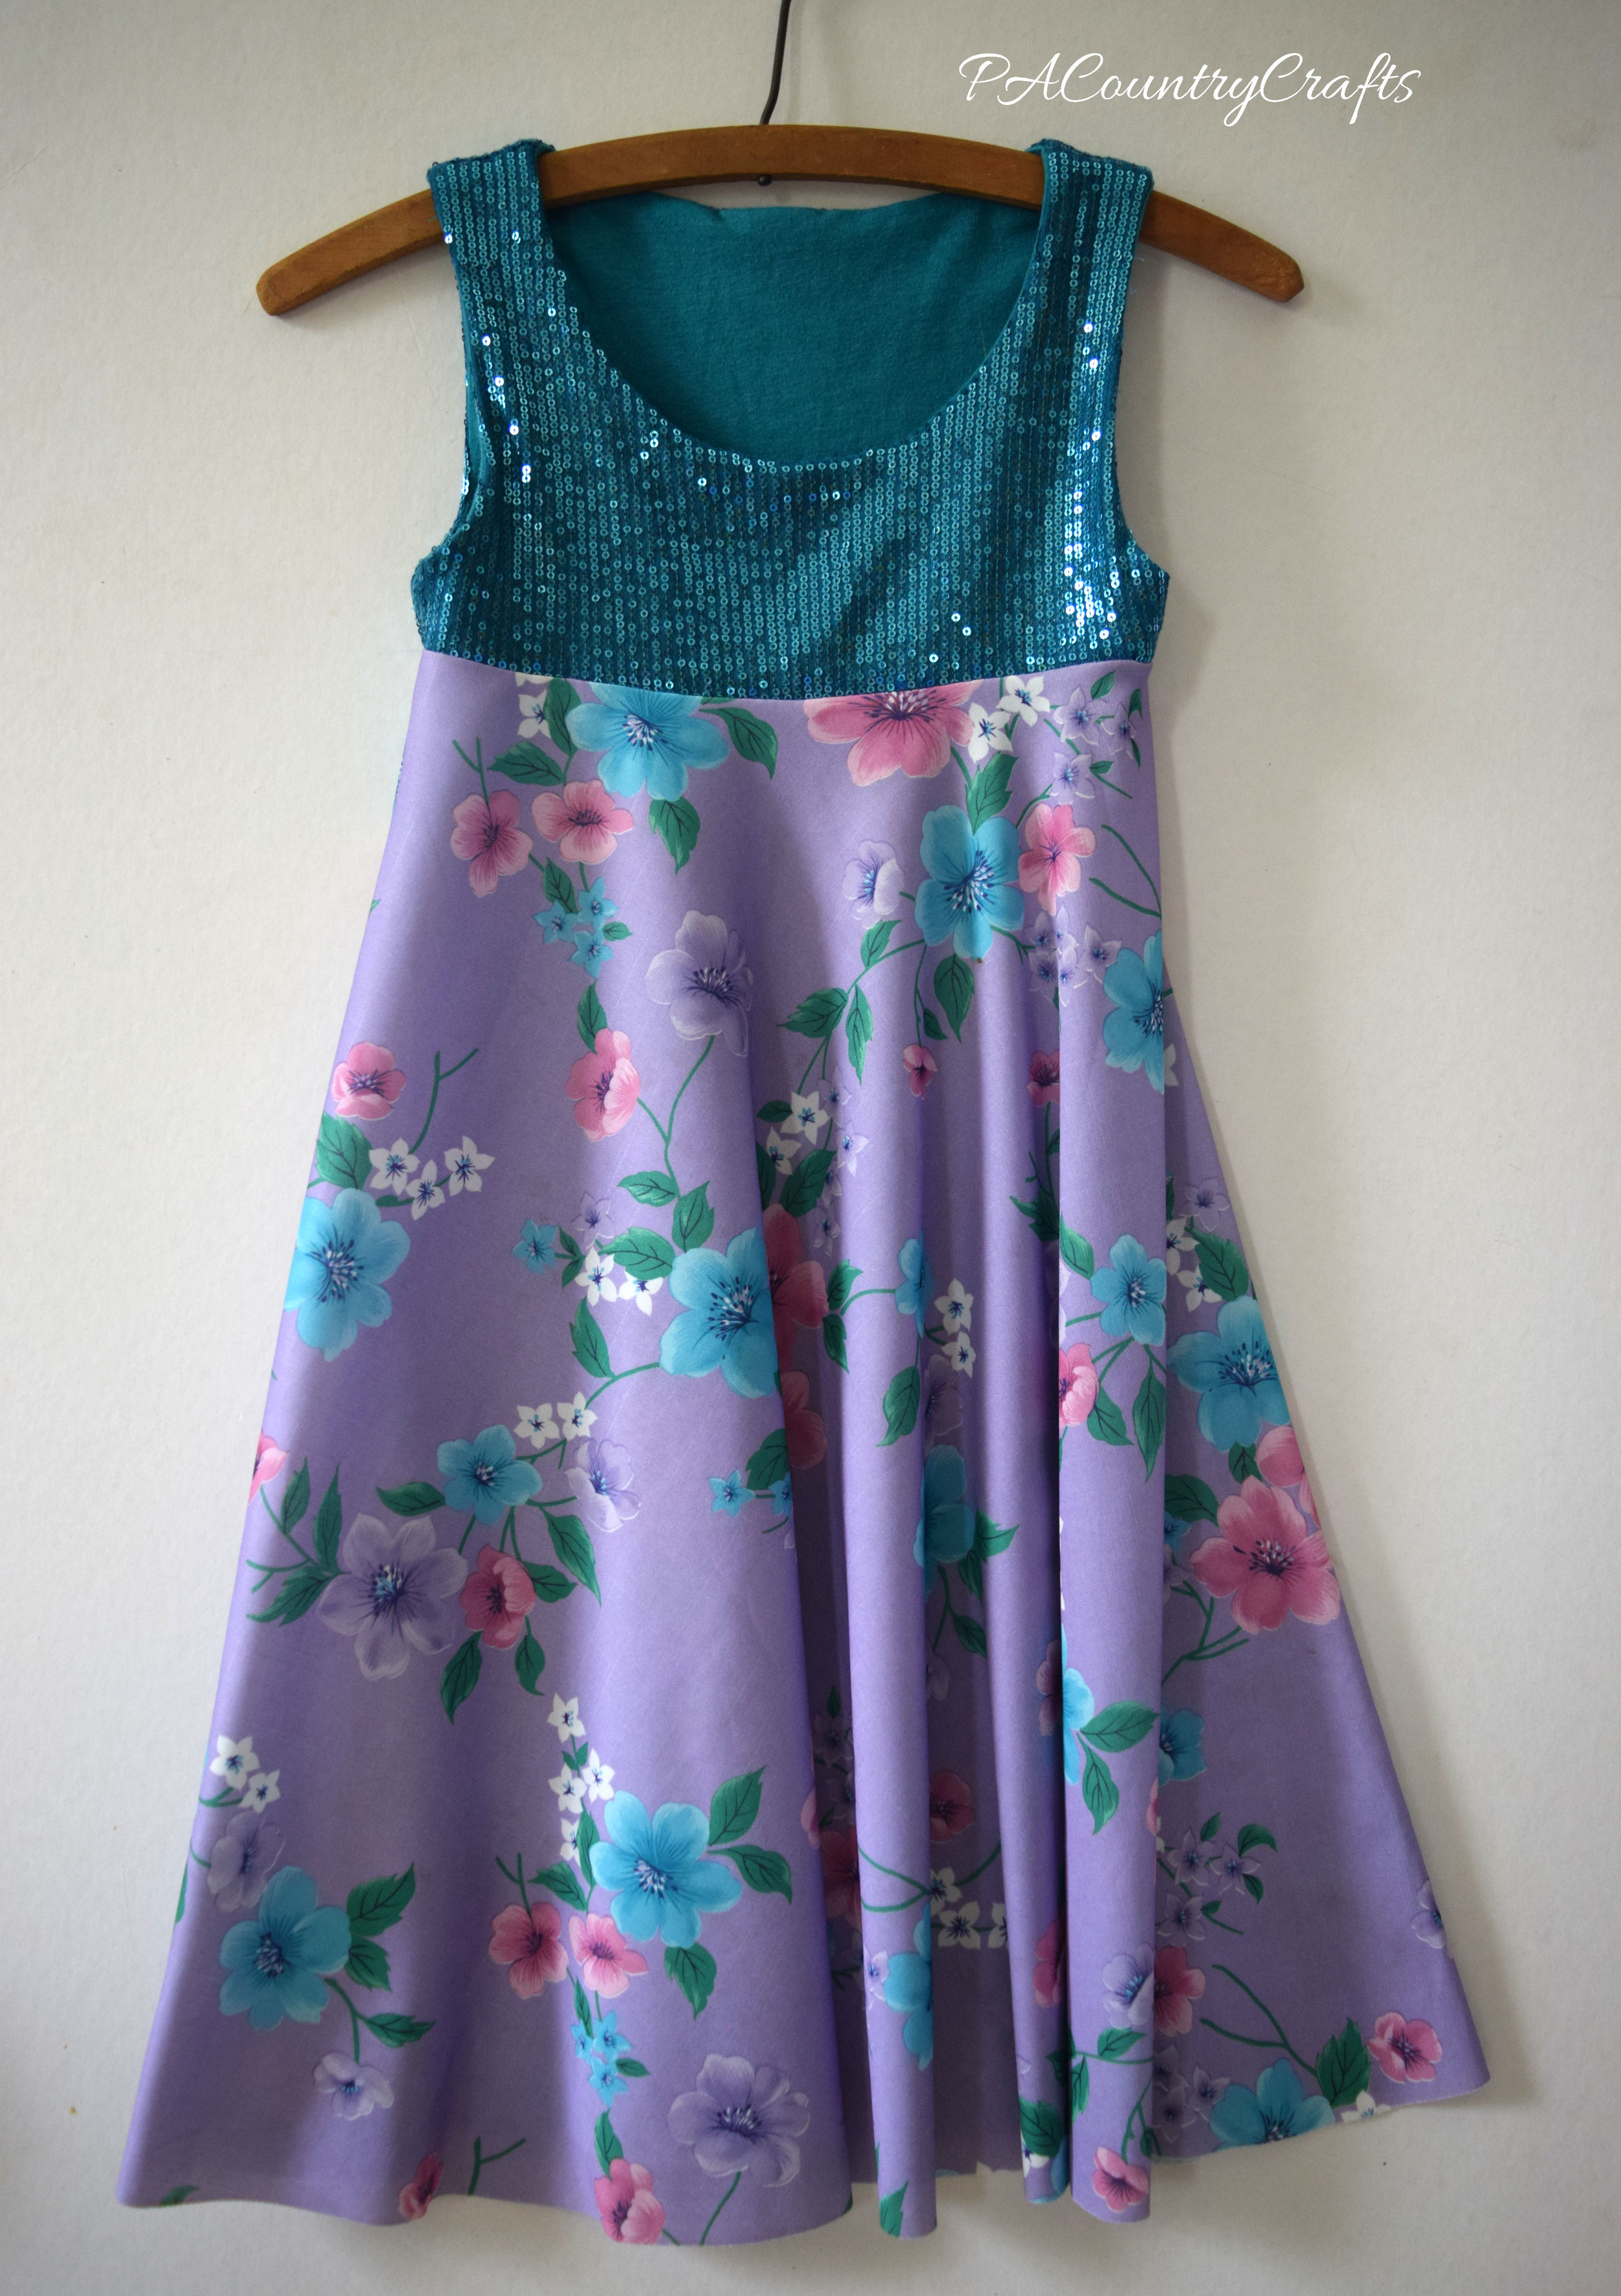
Sparkly Womens Tank to Girls Dress Top

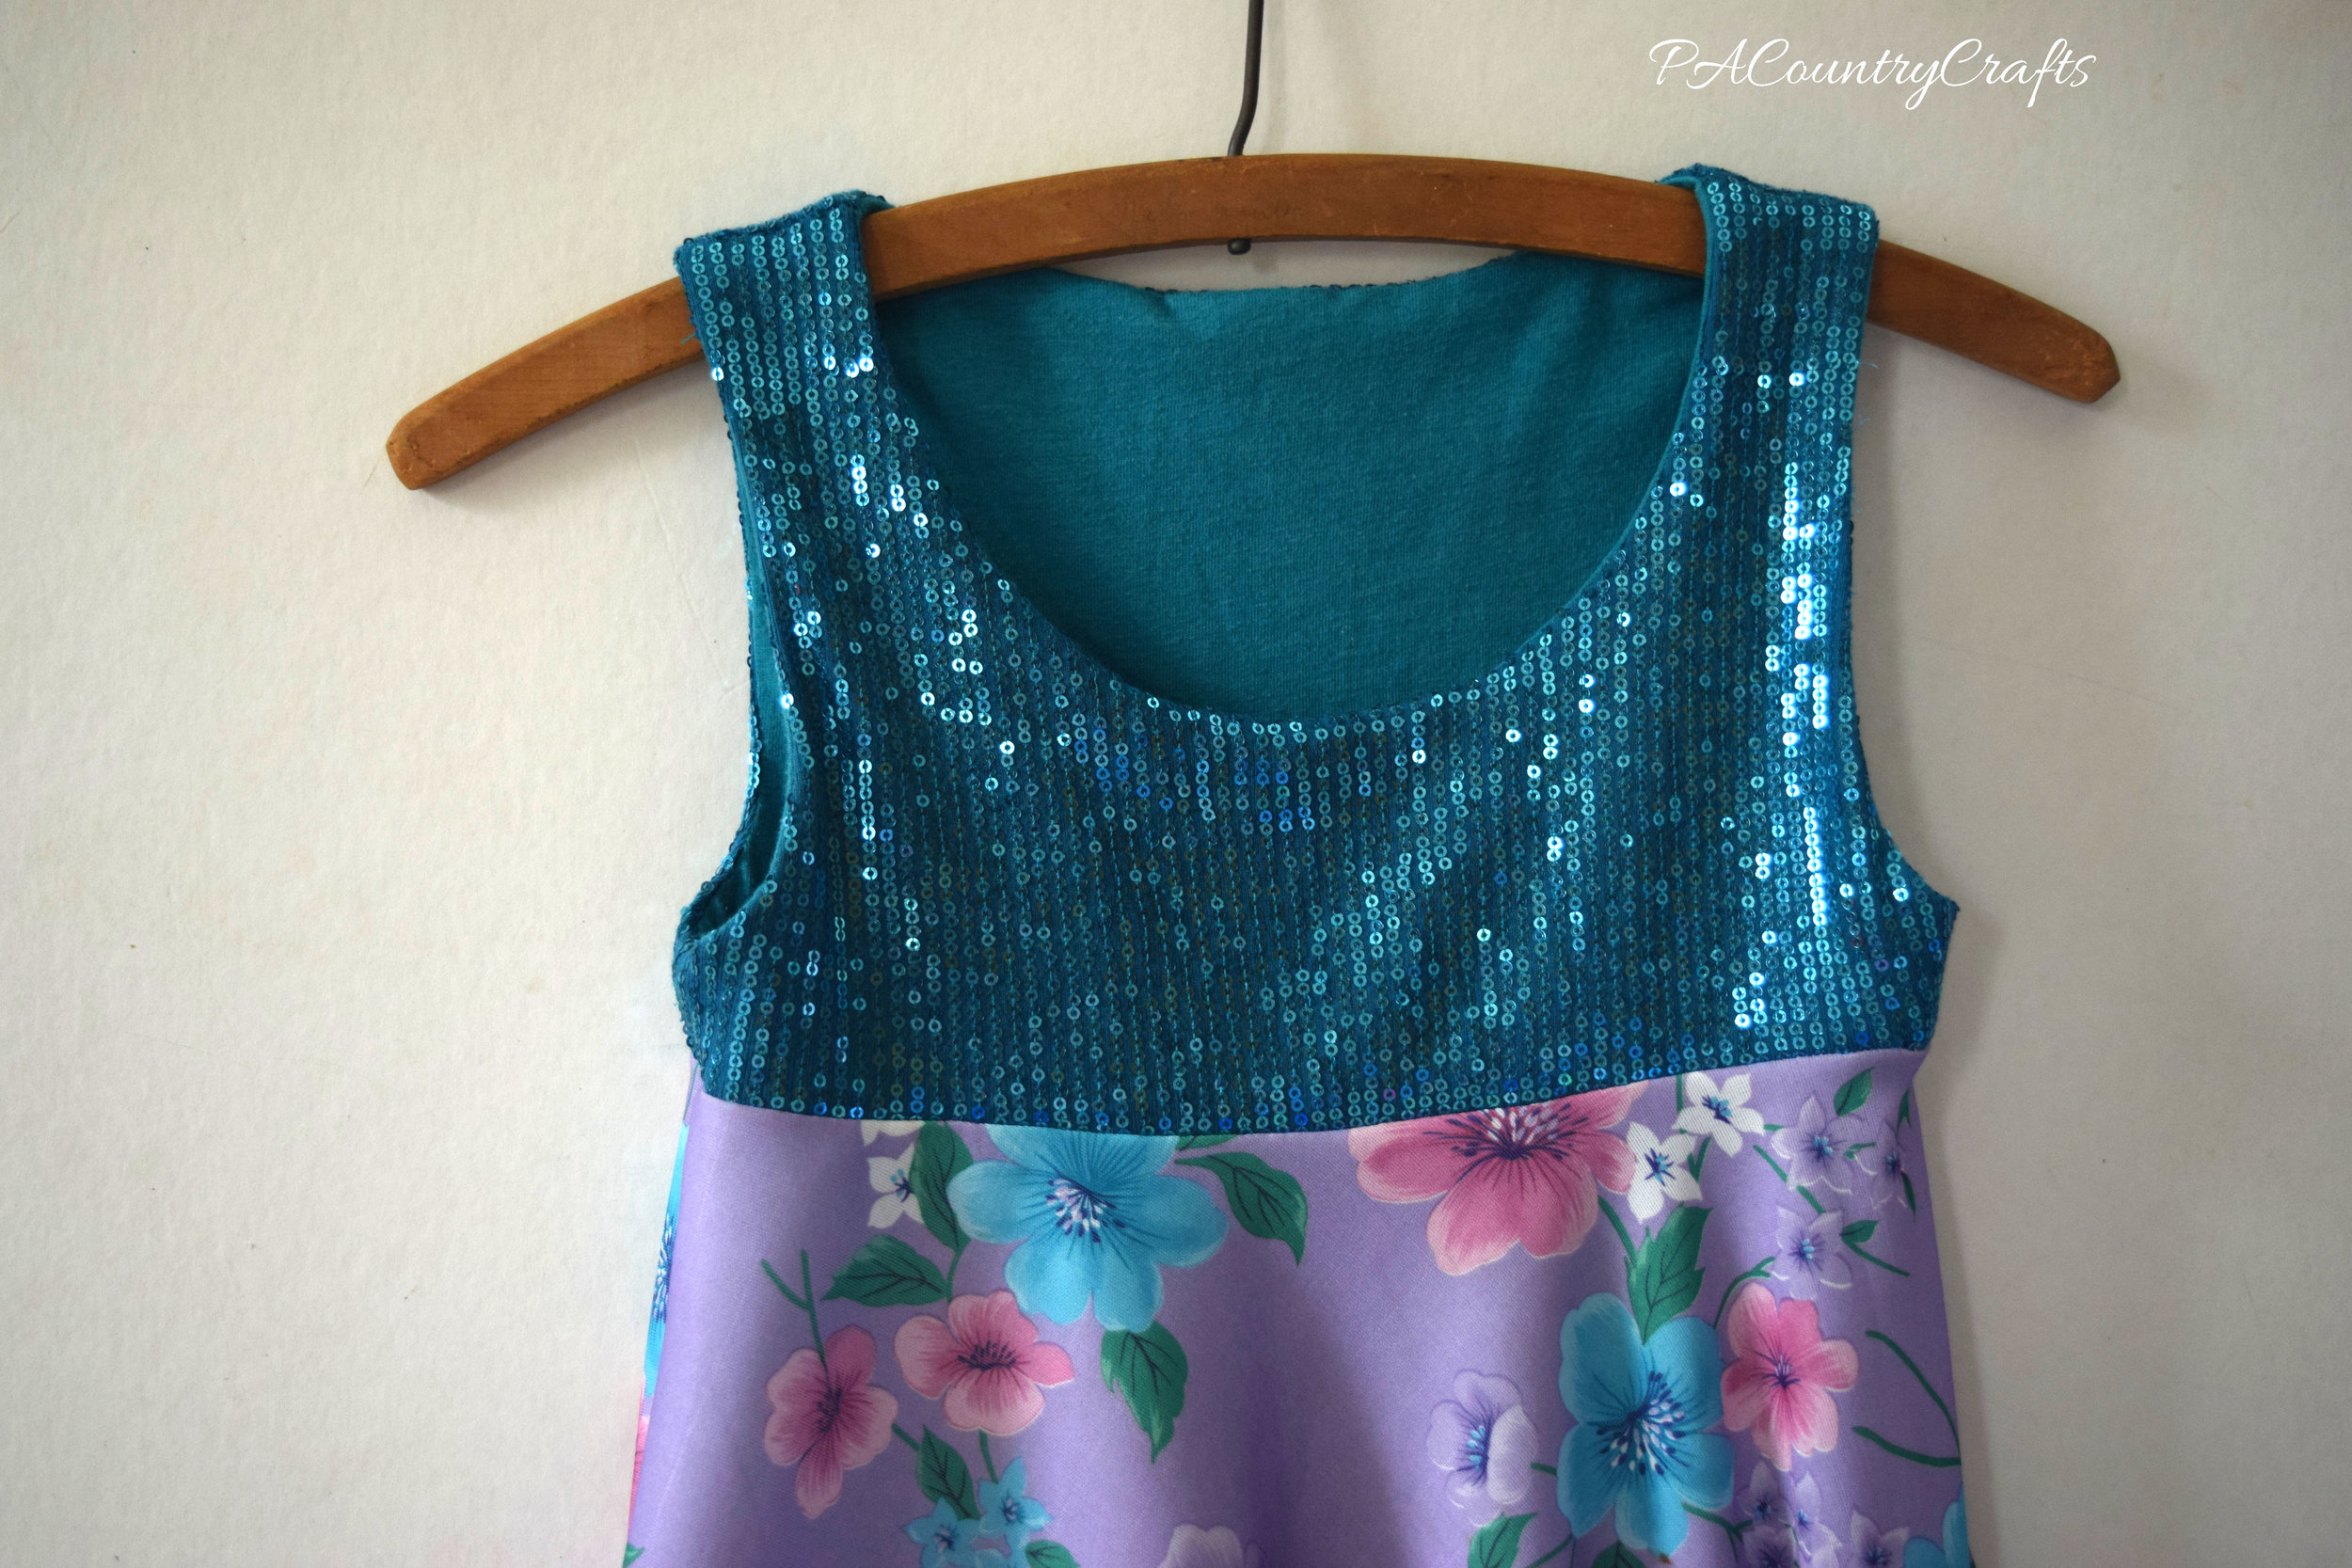
This dress was so simple to make, but my daughter loves it! The top is sparkly, the bottom is silky, it has a nice drape, and it is comfortable. sparkly womens tank to girls dress top

The outside is made from a women's sparkly tank and  the lining is made from a women's T shirt. The top was constructed using the Uptown/Downtown Dress pattern. This pattern is great for knit fabrics! I have used it several times just to save myself the hassle of drafting my own pattern for something so simple.

sparkly teal top girls dress

She wanted the skirt to be a high-low hem, but I messed up, so it isn't. It is made of fabric I got at a yard sale or something and I didn't even bother to hem it.

sparkly womens tank to girls dress

back of sparkly tank dress

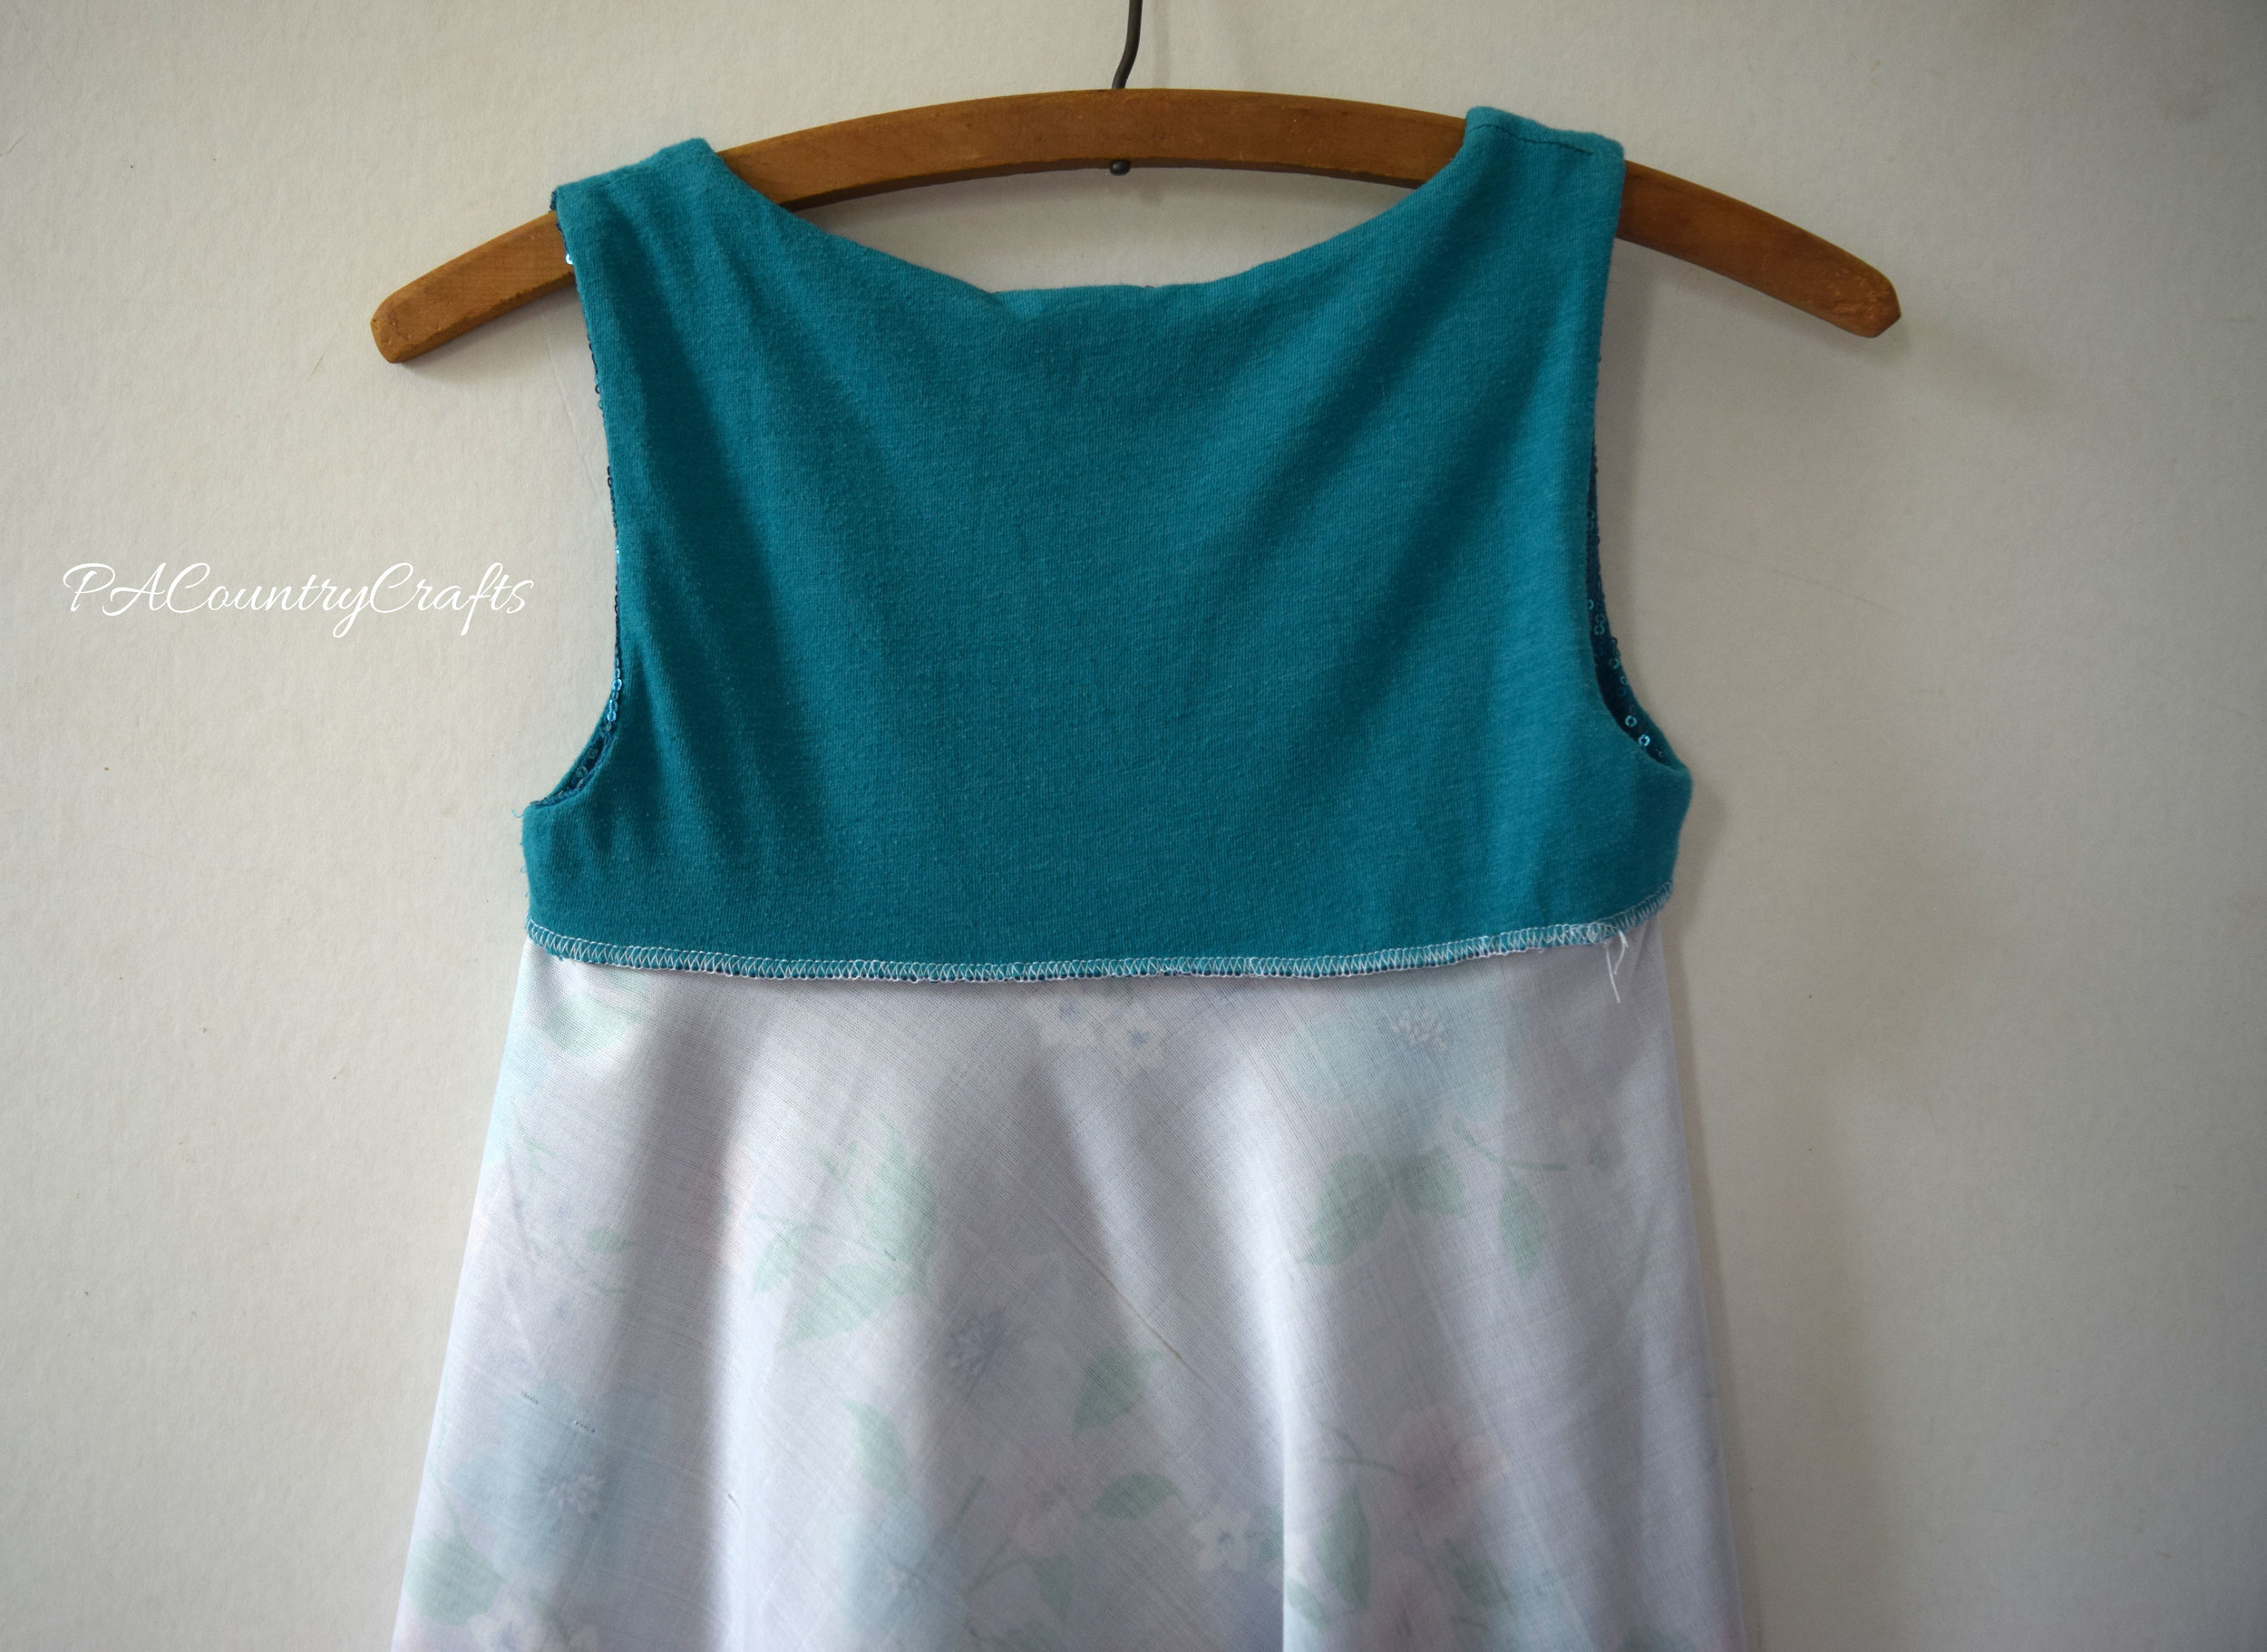
I was really happy with how neat and tidy it looks on the outside and inside. I used a "burrito" method to sew around the arms.

sparkly tank top dress

inside of sleeveless dress

Overall, I like the simple design of this dress because it lets the beautiful fabrics stand out. I  had everything on hand and didn't have to buy anything, which makes it even better!

womens sparkly tank to girls dress top

Link Parties where I sometimes hang out…
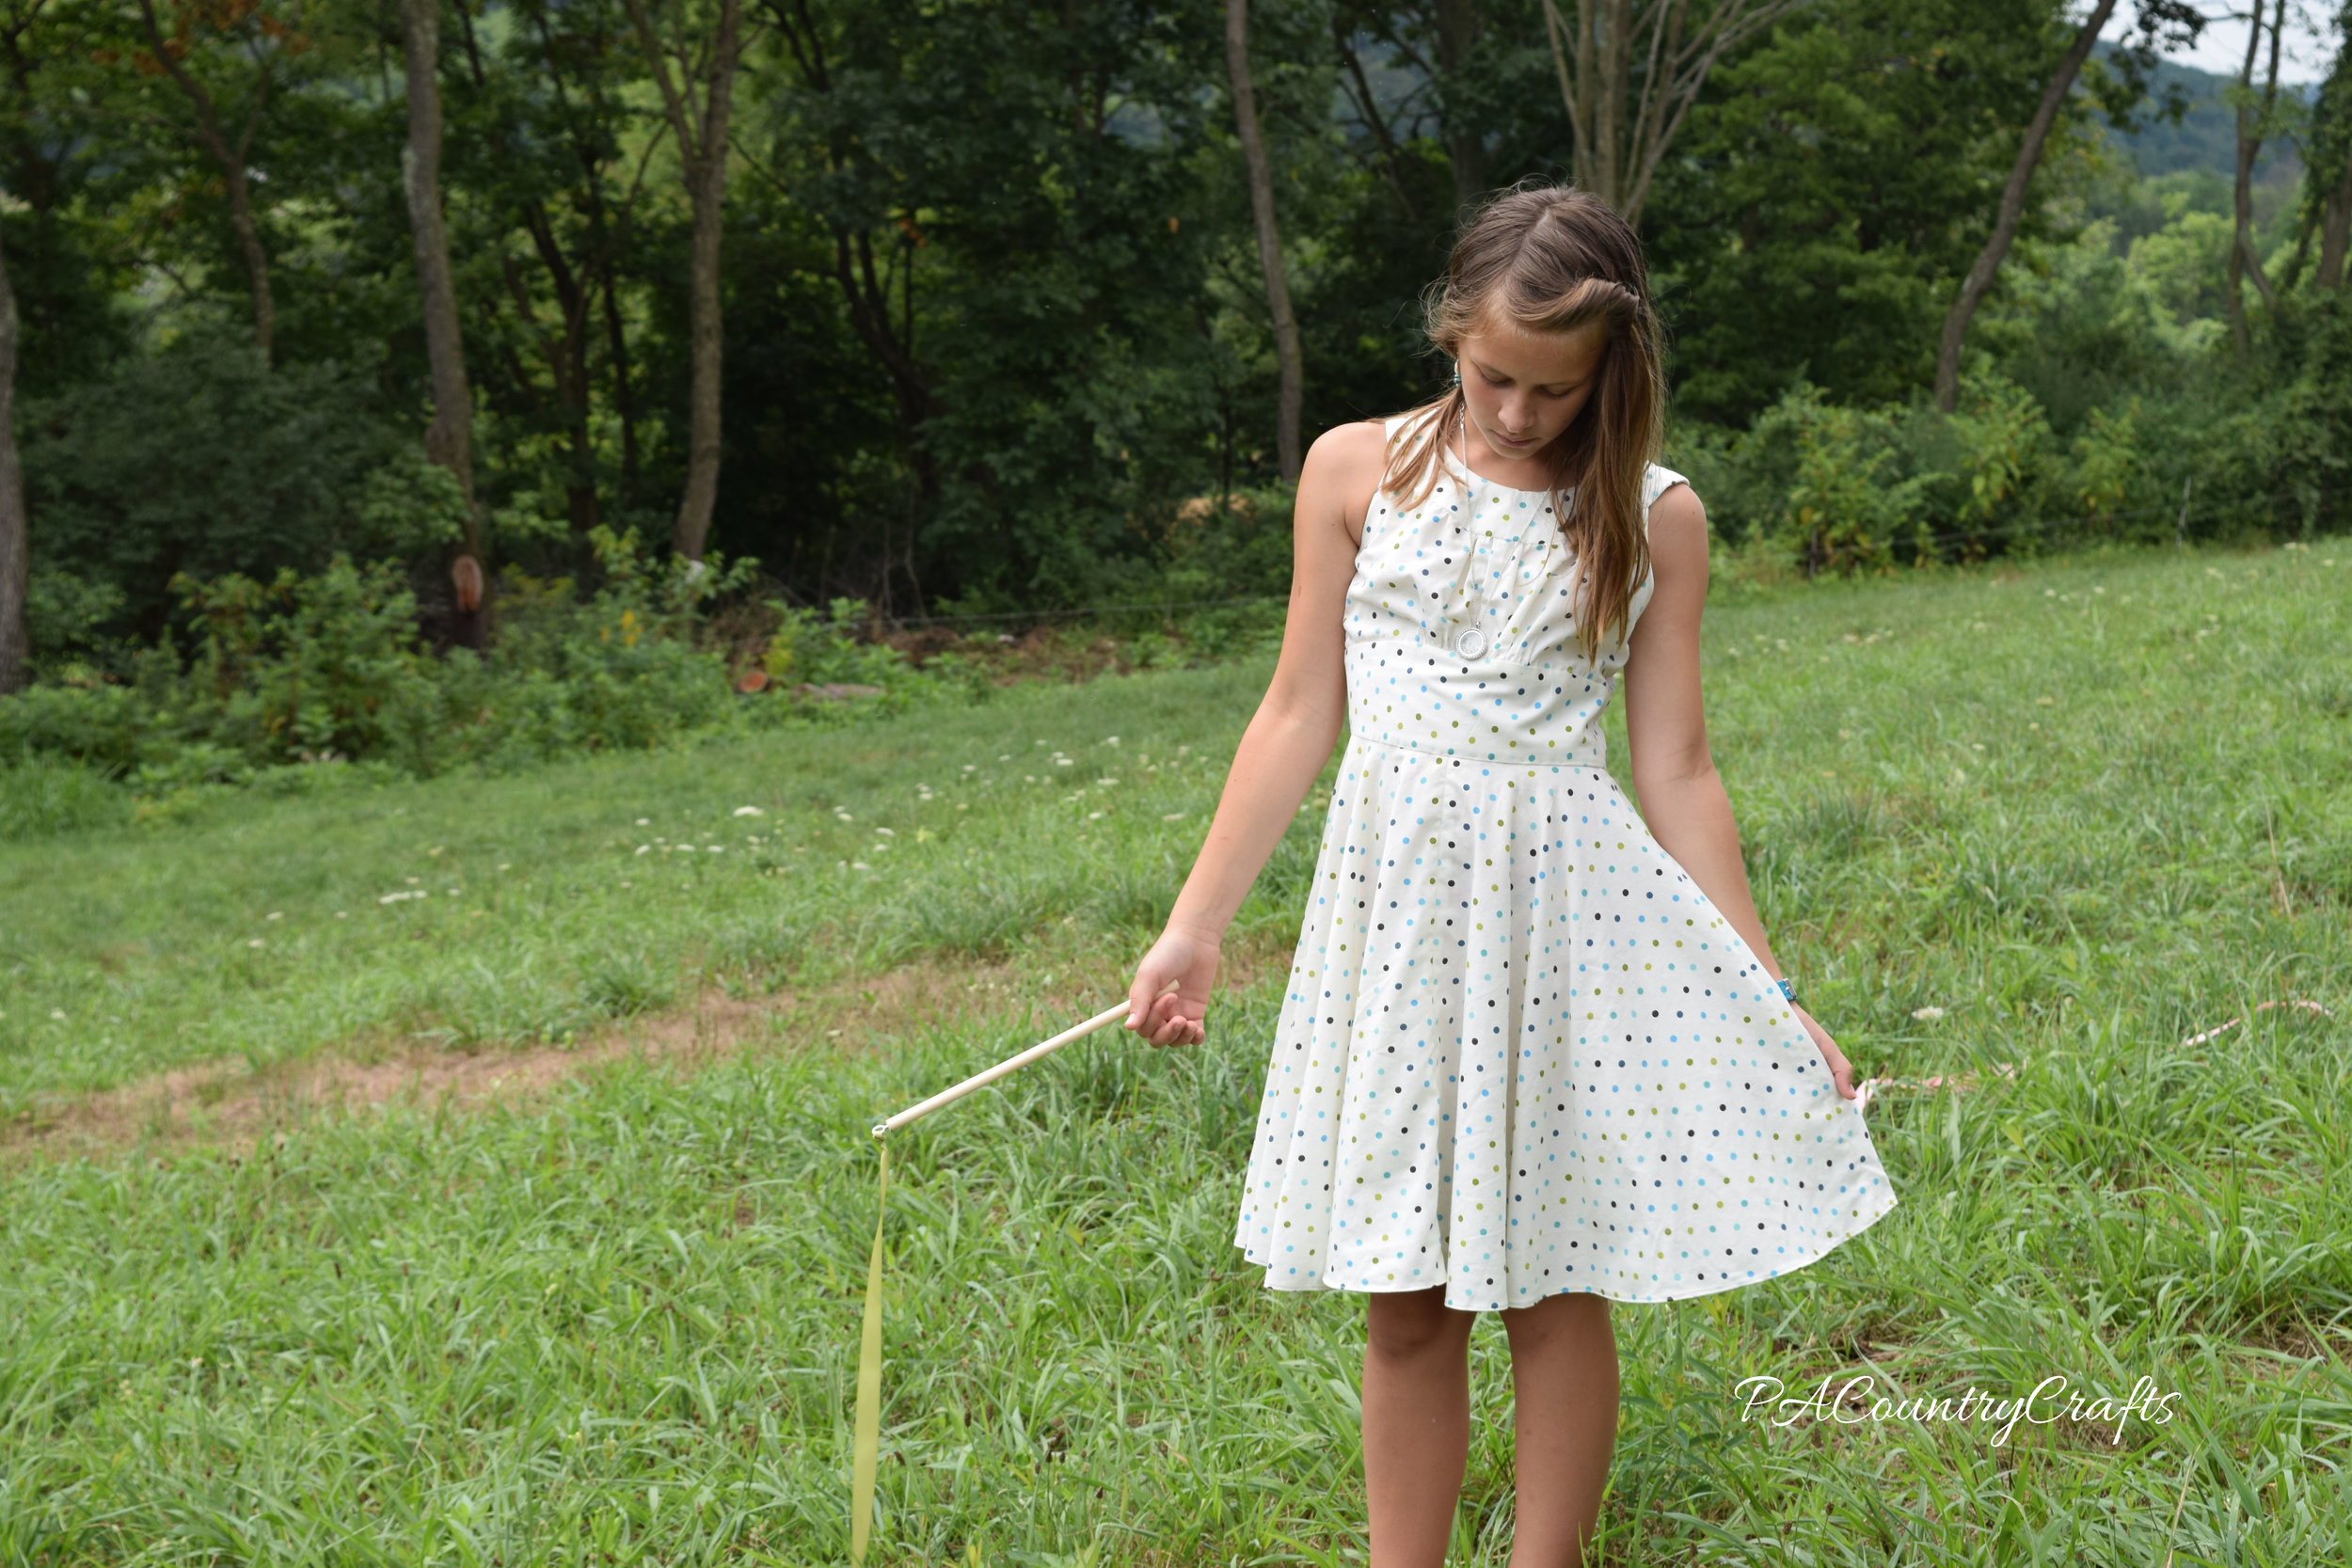
1950s Retro Dress

I am a little behind. That is the story of my life. I ran out of steam and didn't finish the Easter dresses in time for Easter this year. I decided a happy mom spending time with her kids was better than a grumpy one frantically sewing. So, I finished them when I felt like it. The last one didn't get done until July 30.

And that is OK.

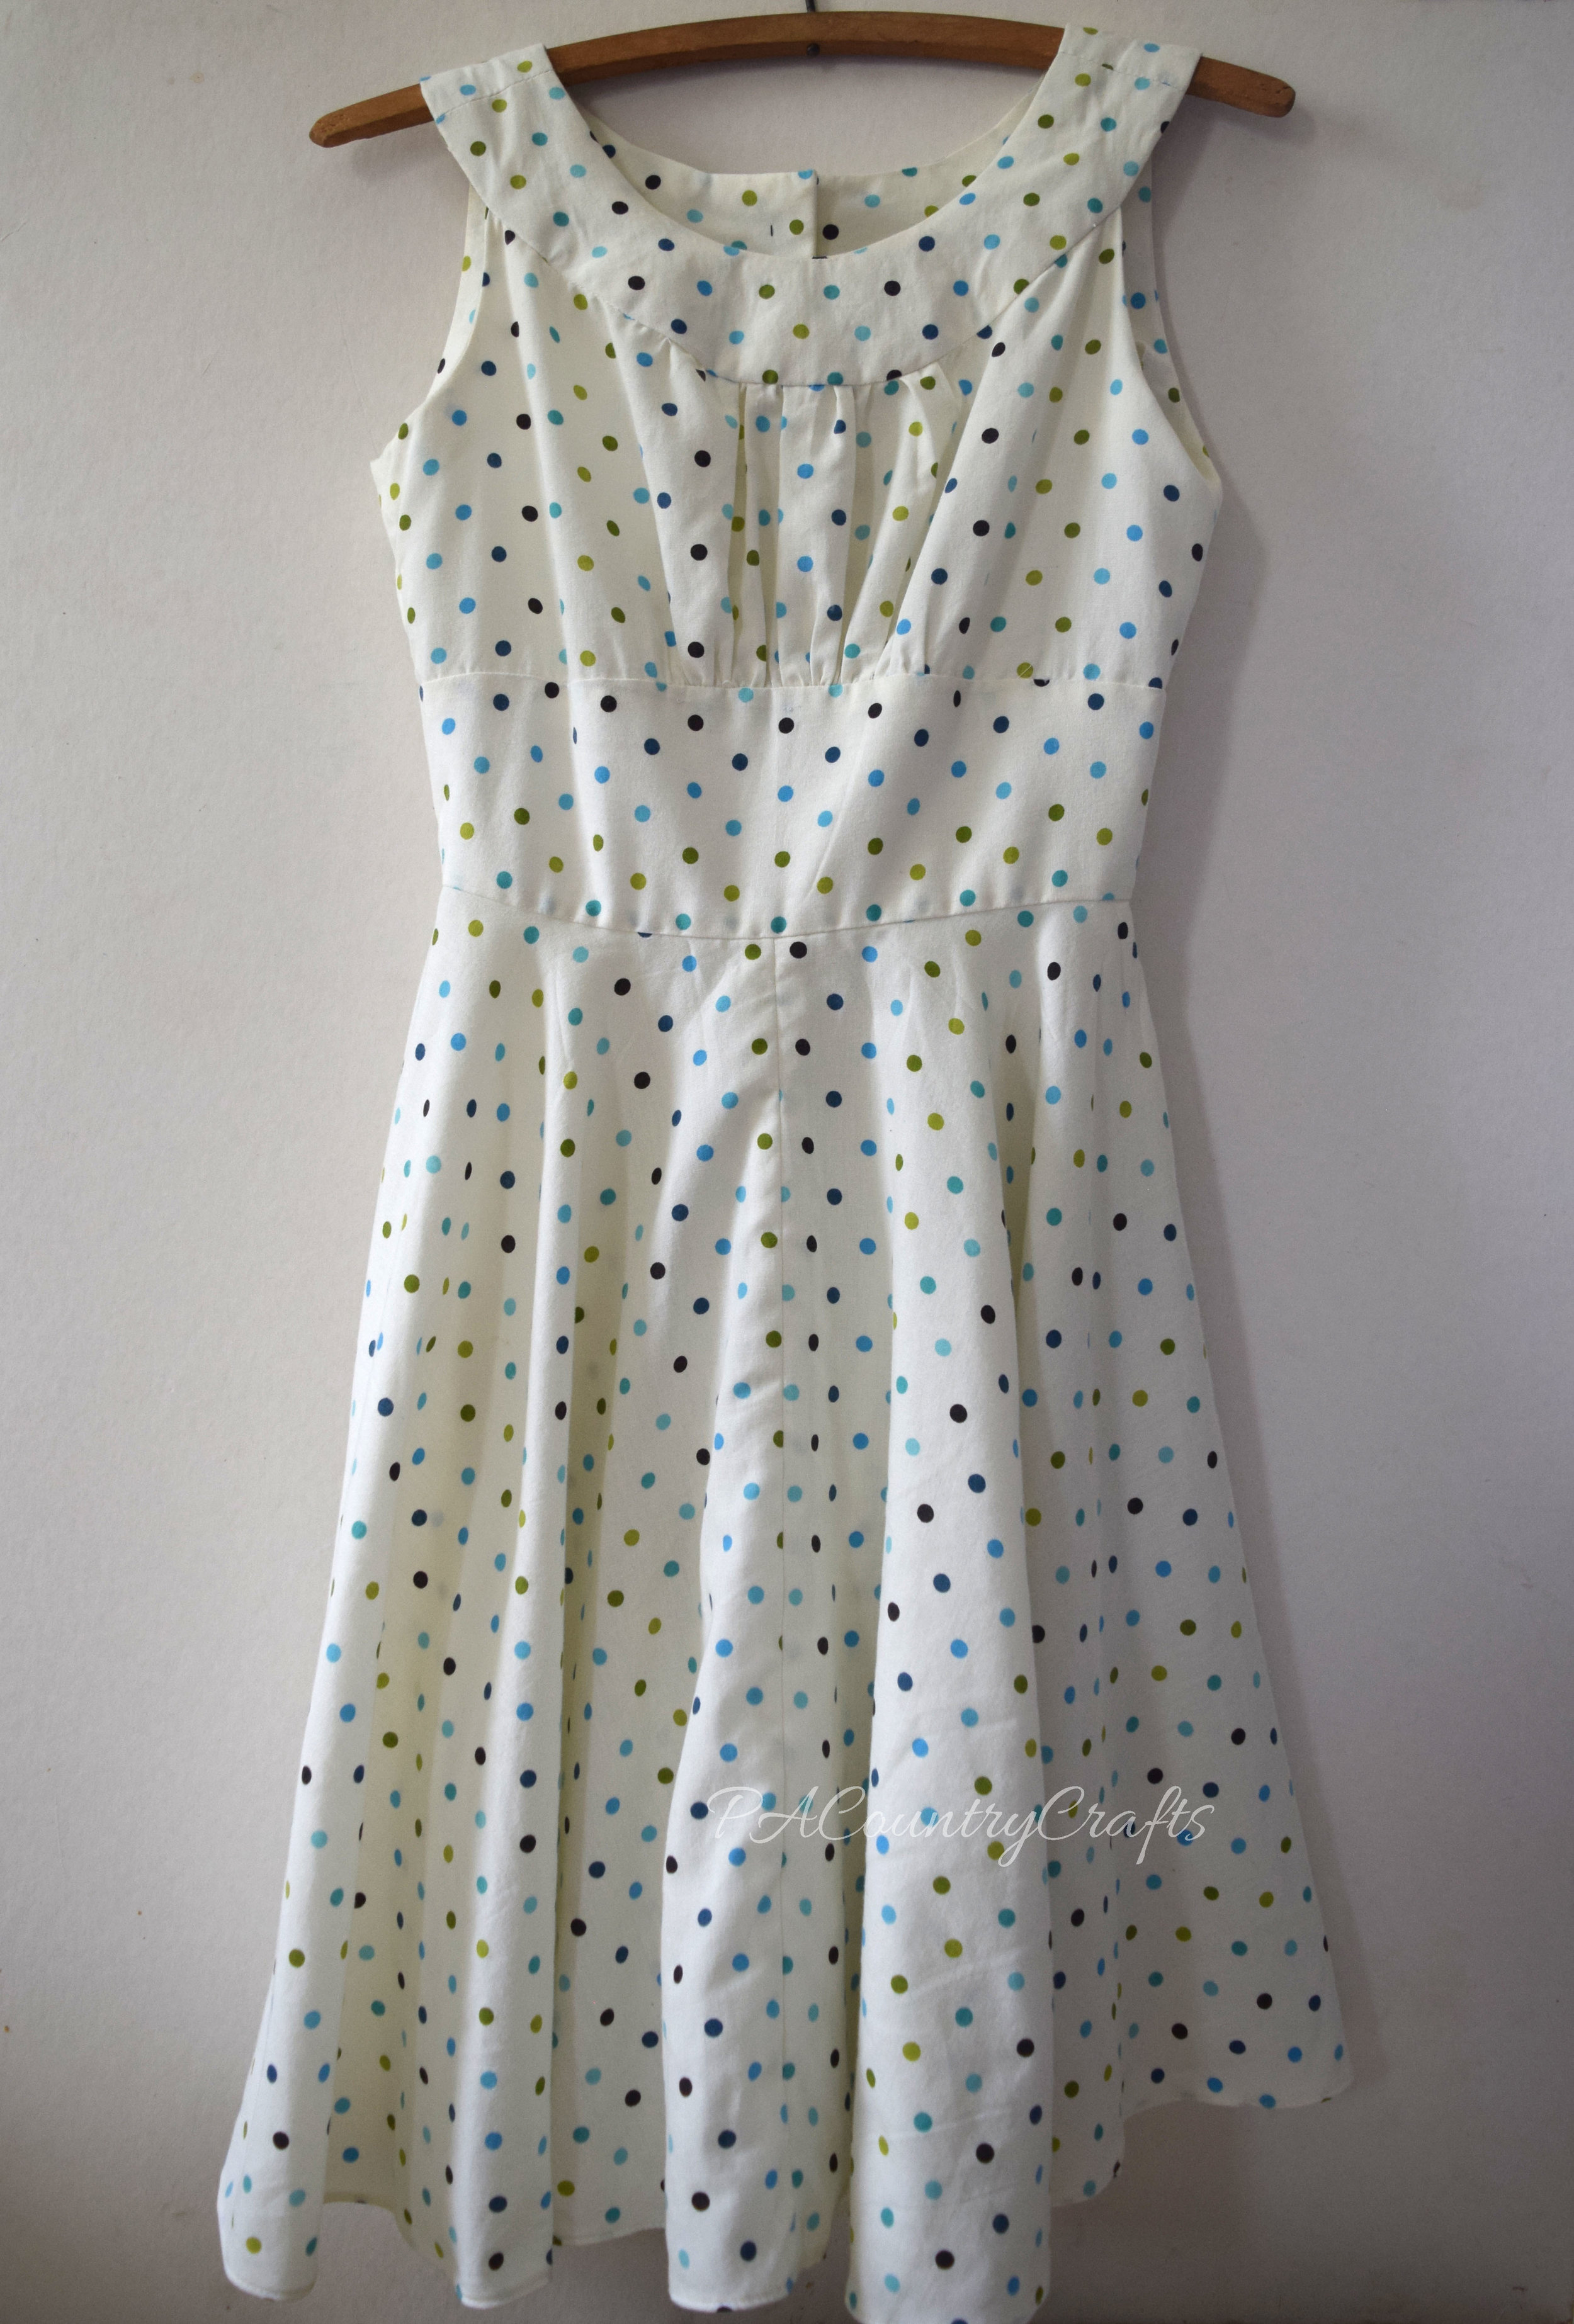
My "theme" this year was "upcycled" so this dress was constructed of a thrifted sheet.

1950s retro dress

halley back of dress wm

VIntage style dress made from a thrift store sheet

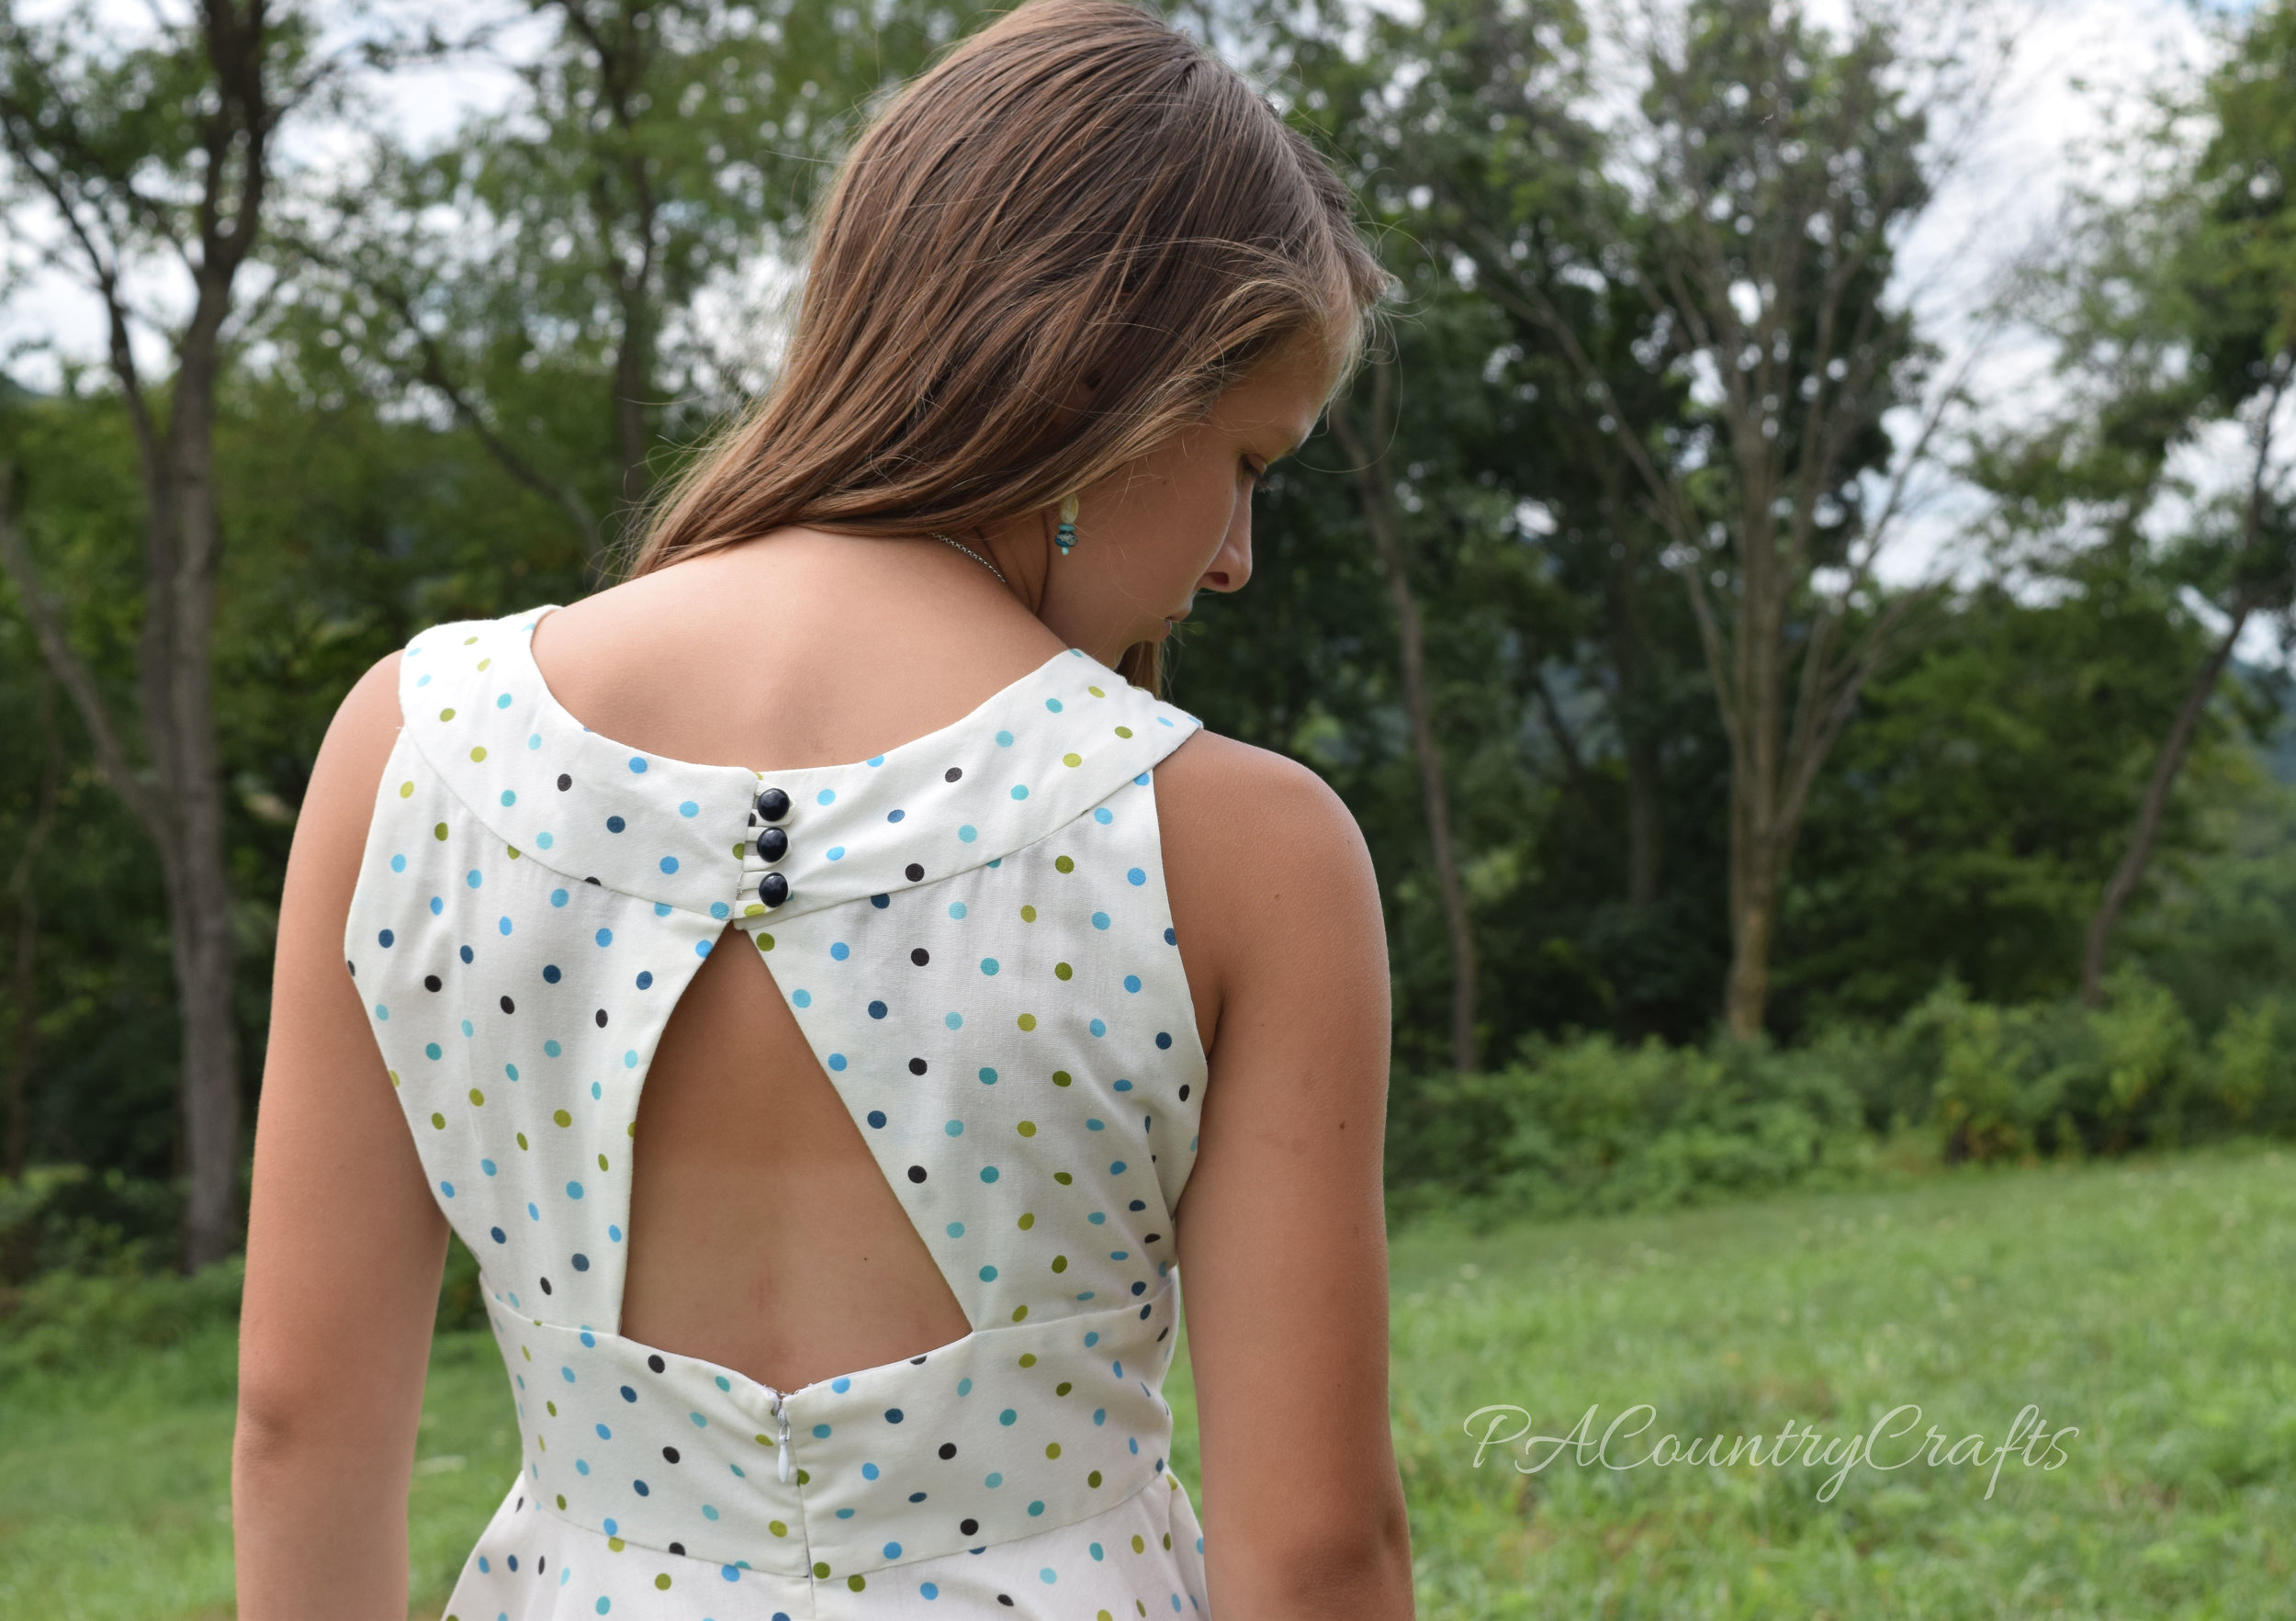
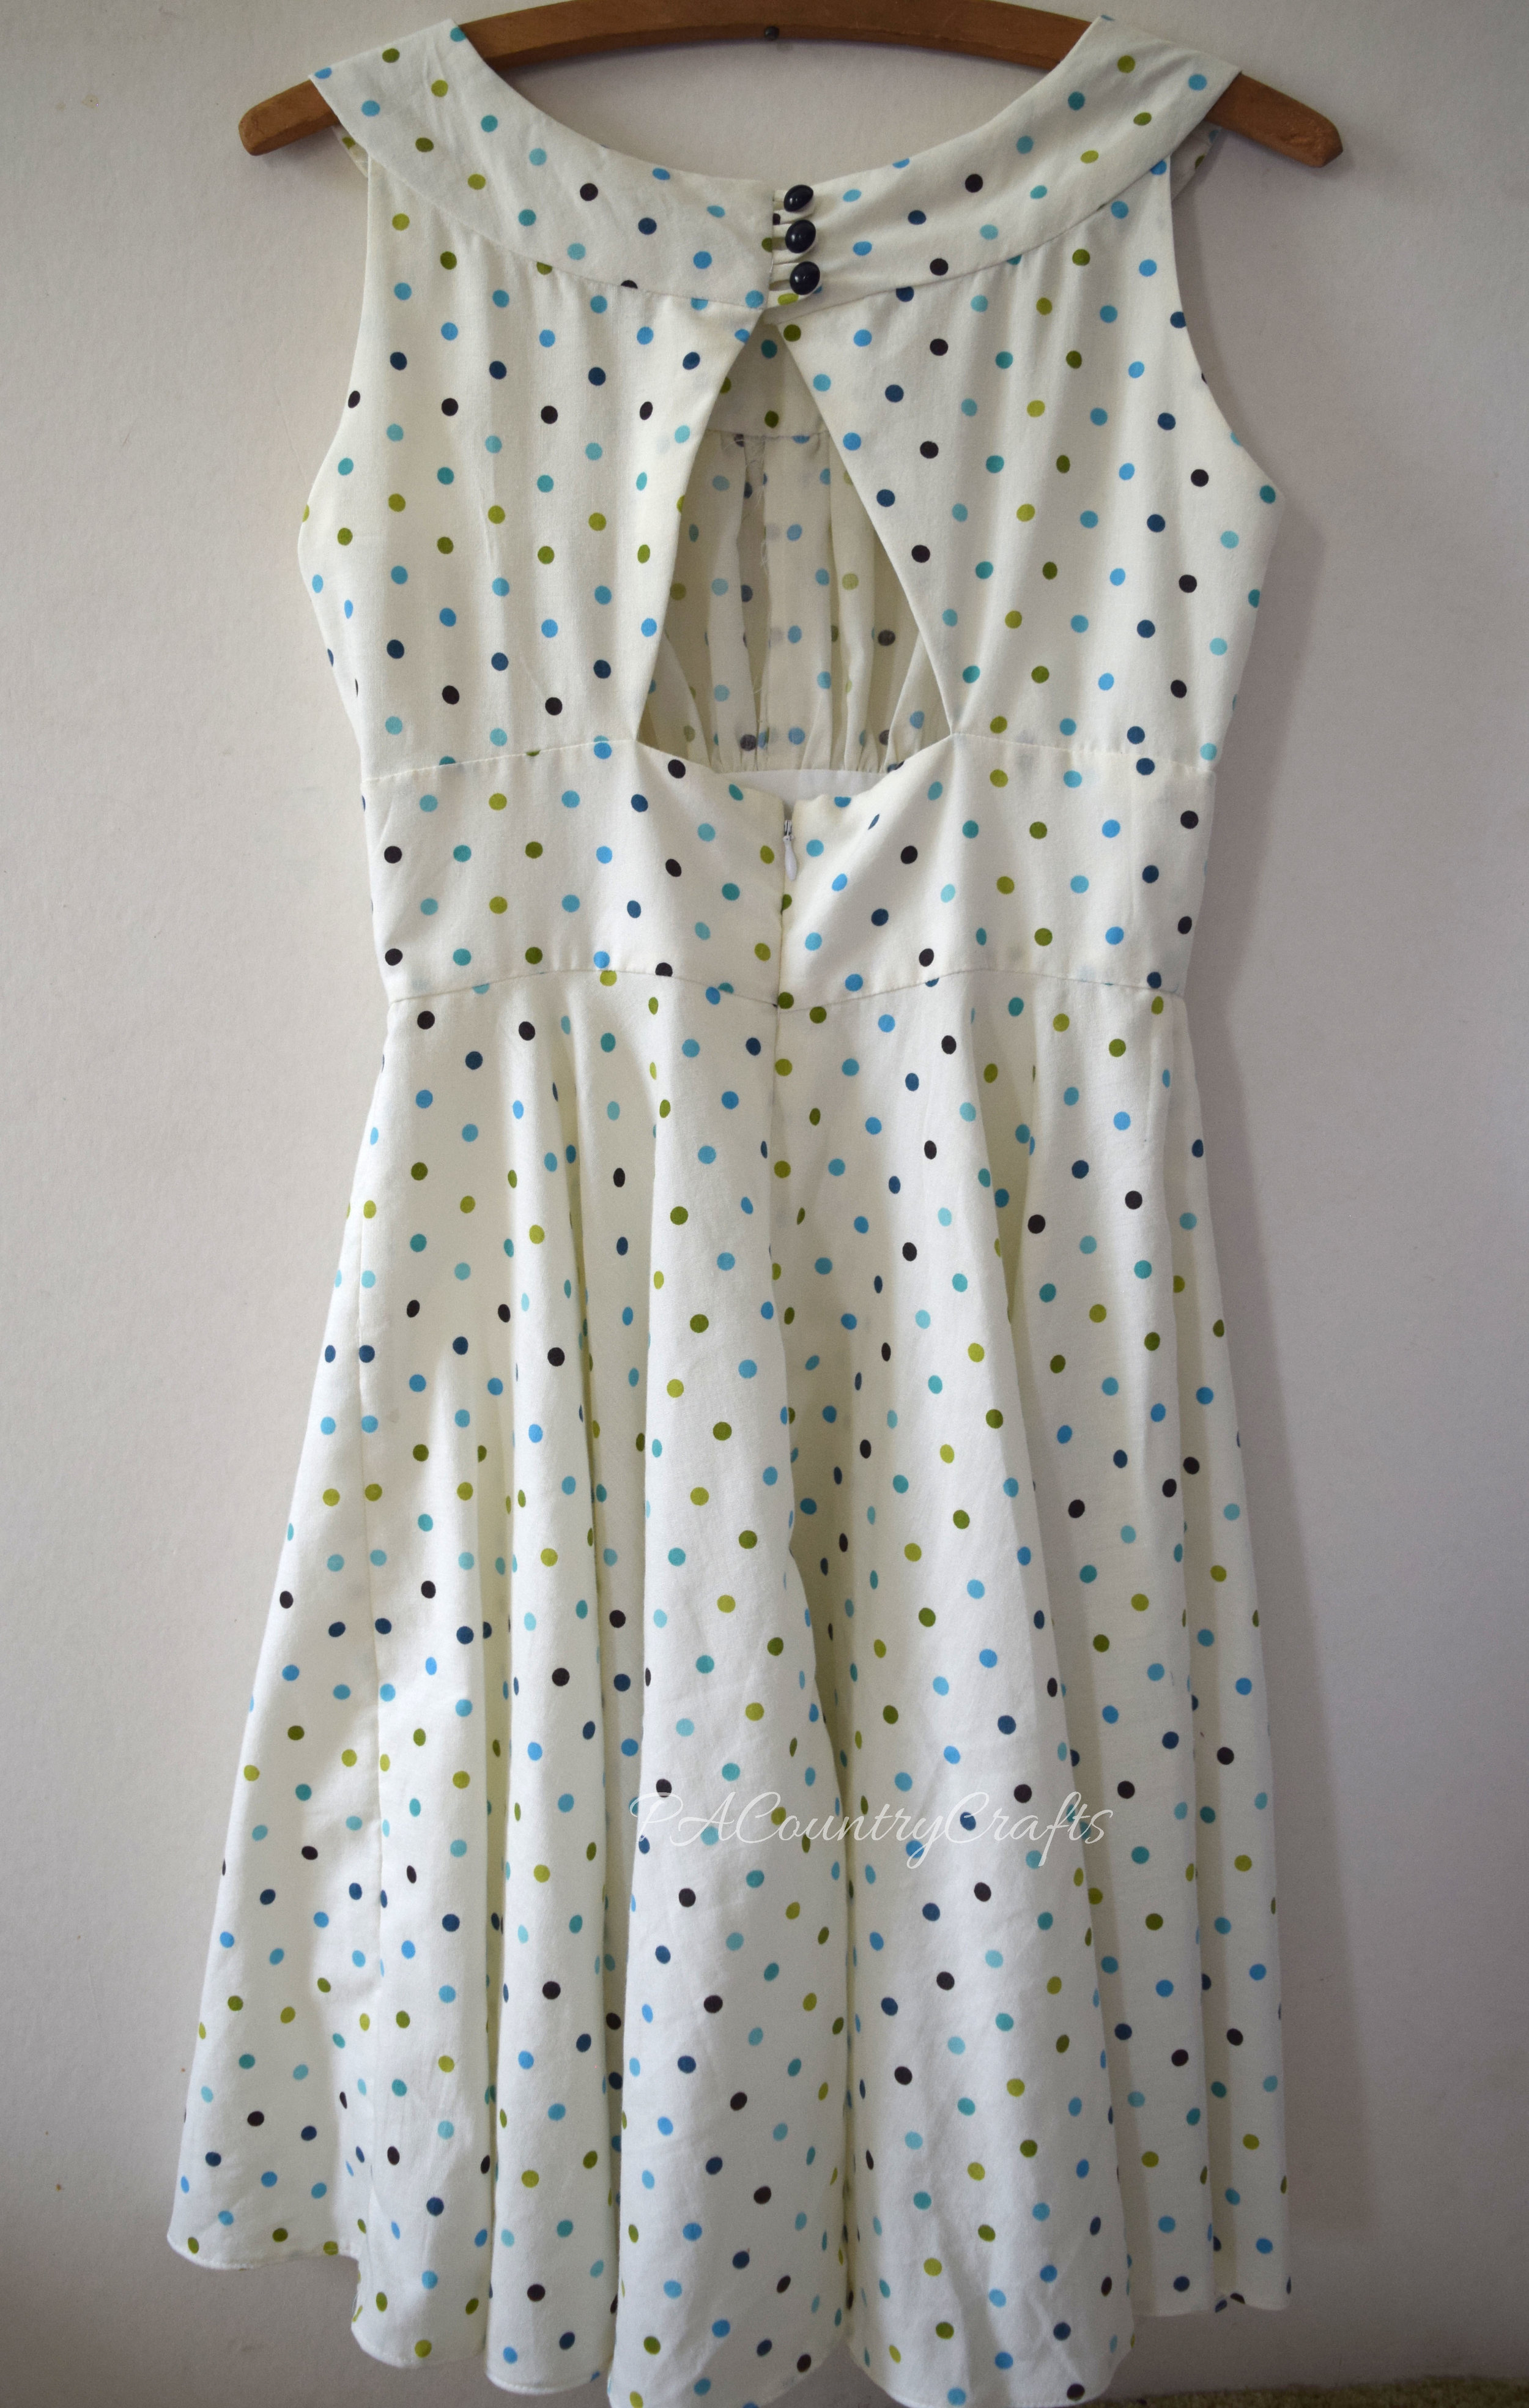
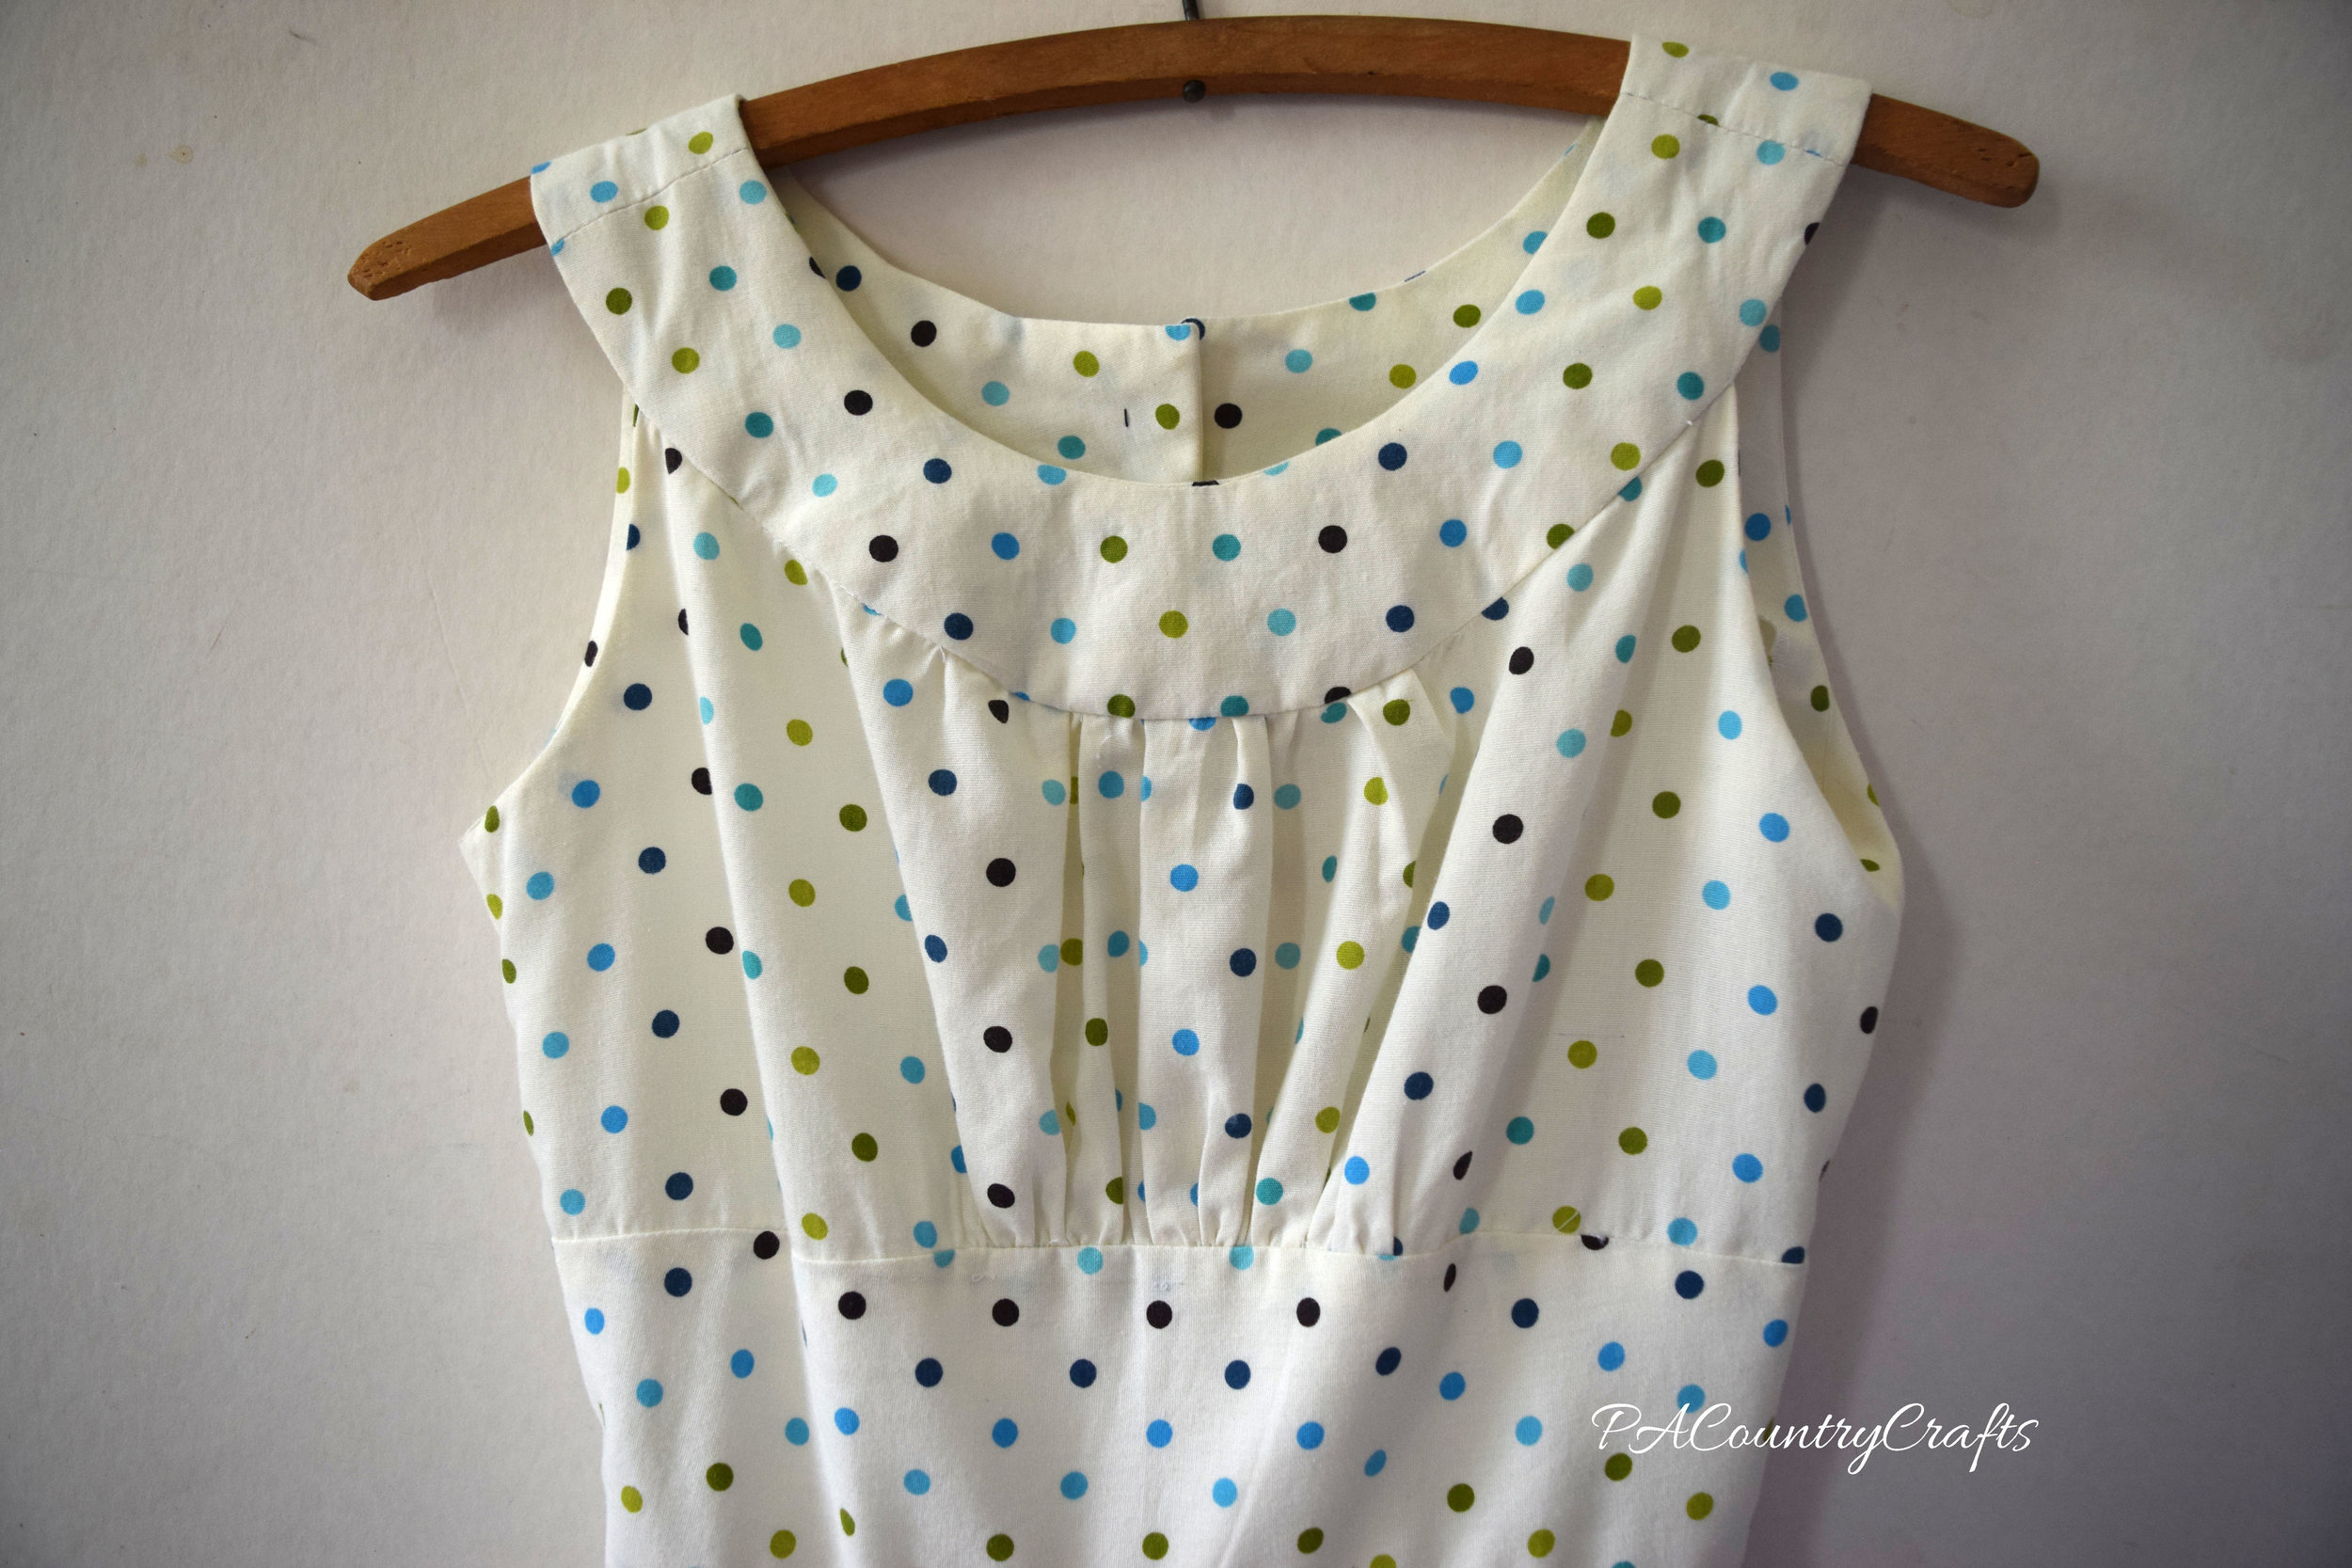
My 12yo chose a commercial pattern for her dress this year (Simplicity 8051). It is a retro style with a cute, triangle cutout in the back. We got it for $1 at Joann's so I was willing to give it a try. I have always hated patterns by those big companies. They are anything but "simple" and I would rather draft my own and figure it out myself. (I have found some pdf patterns by smaller designers to be very well done, however.)

rockabilly dress

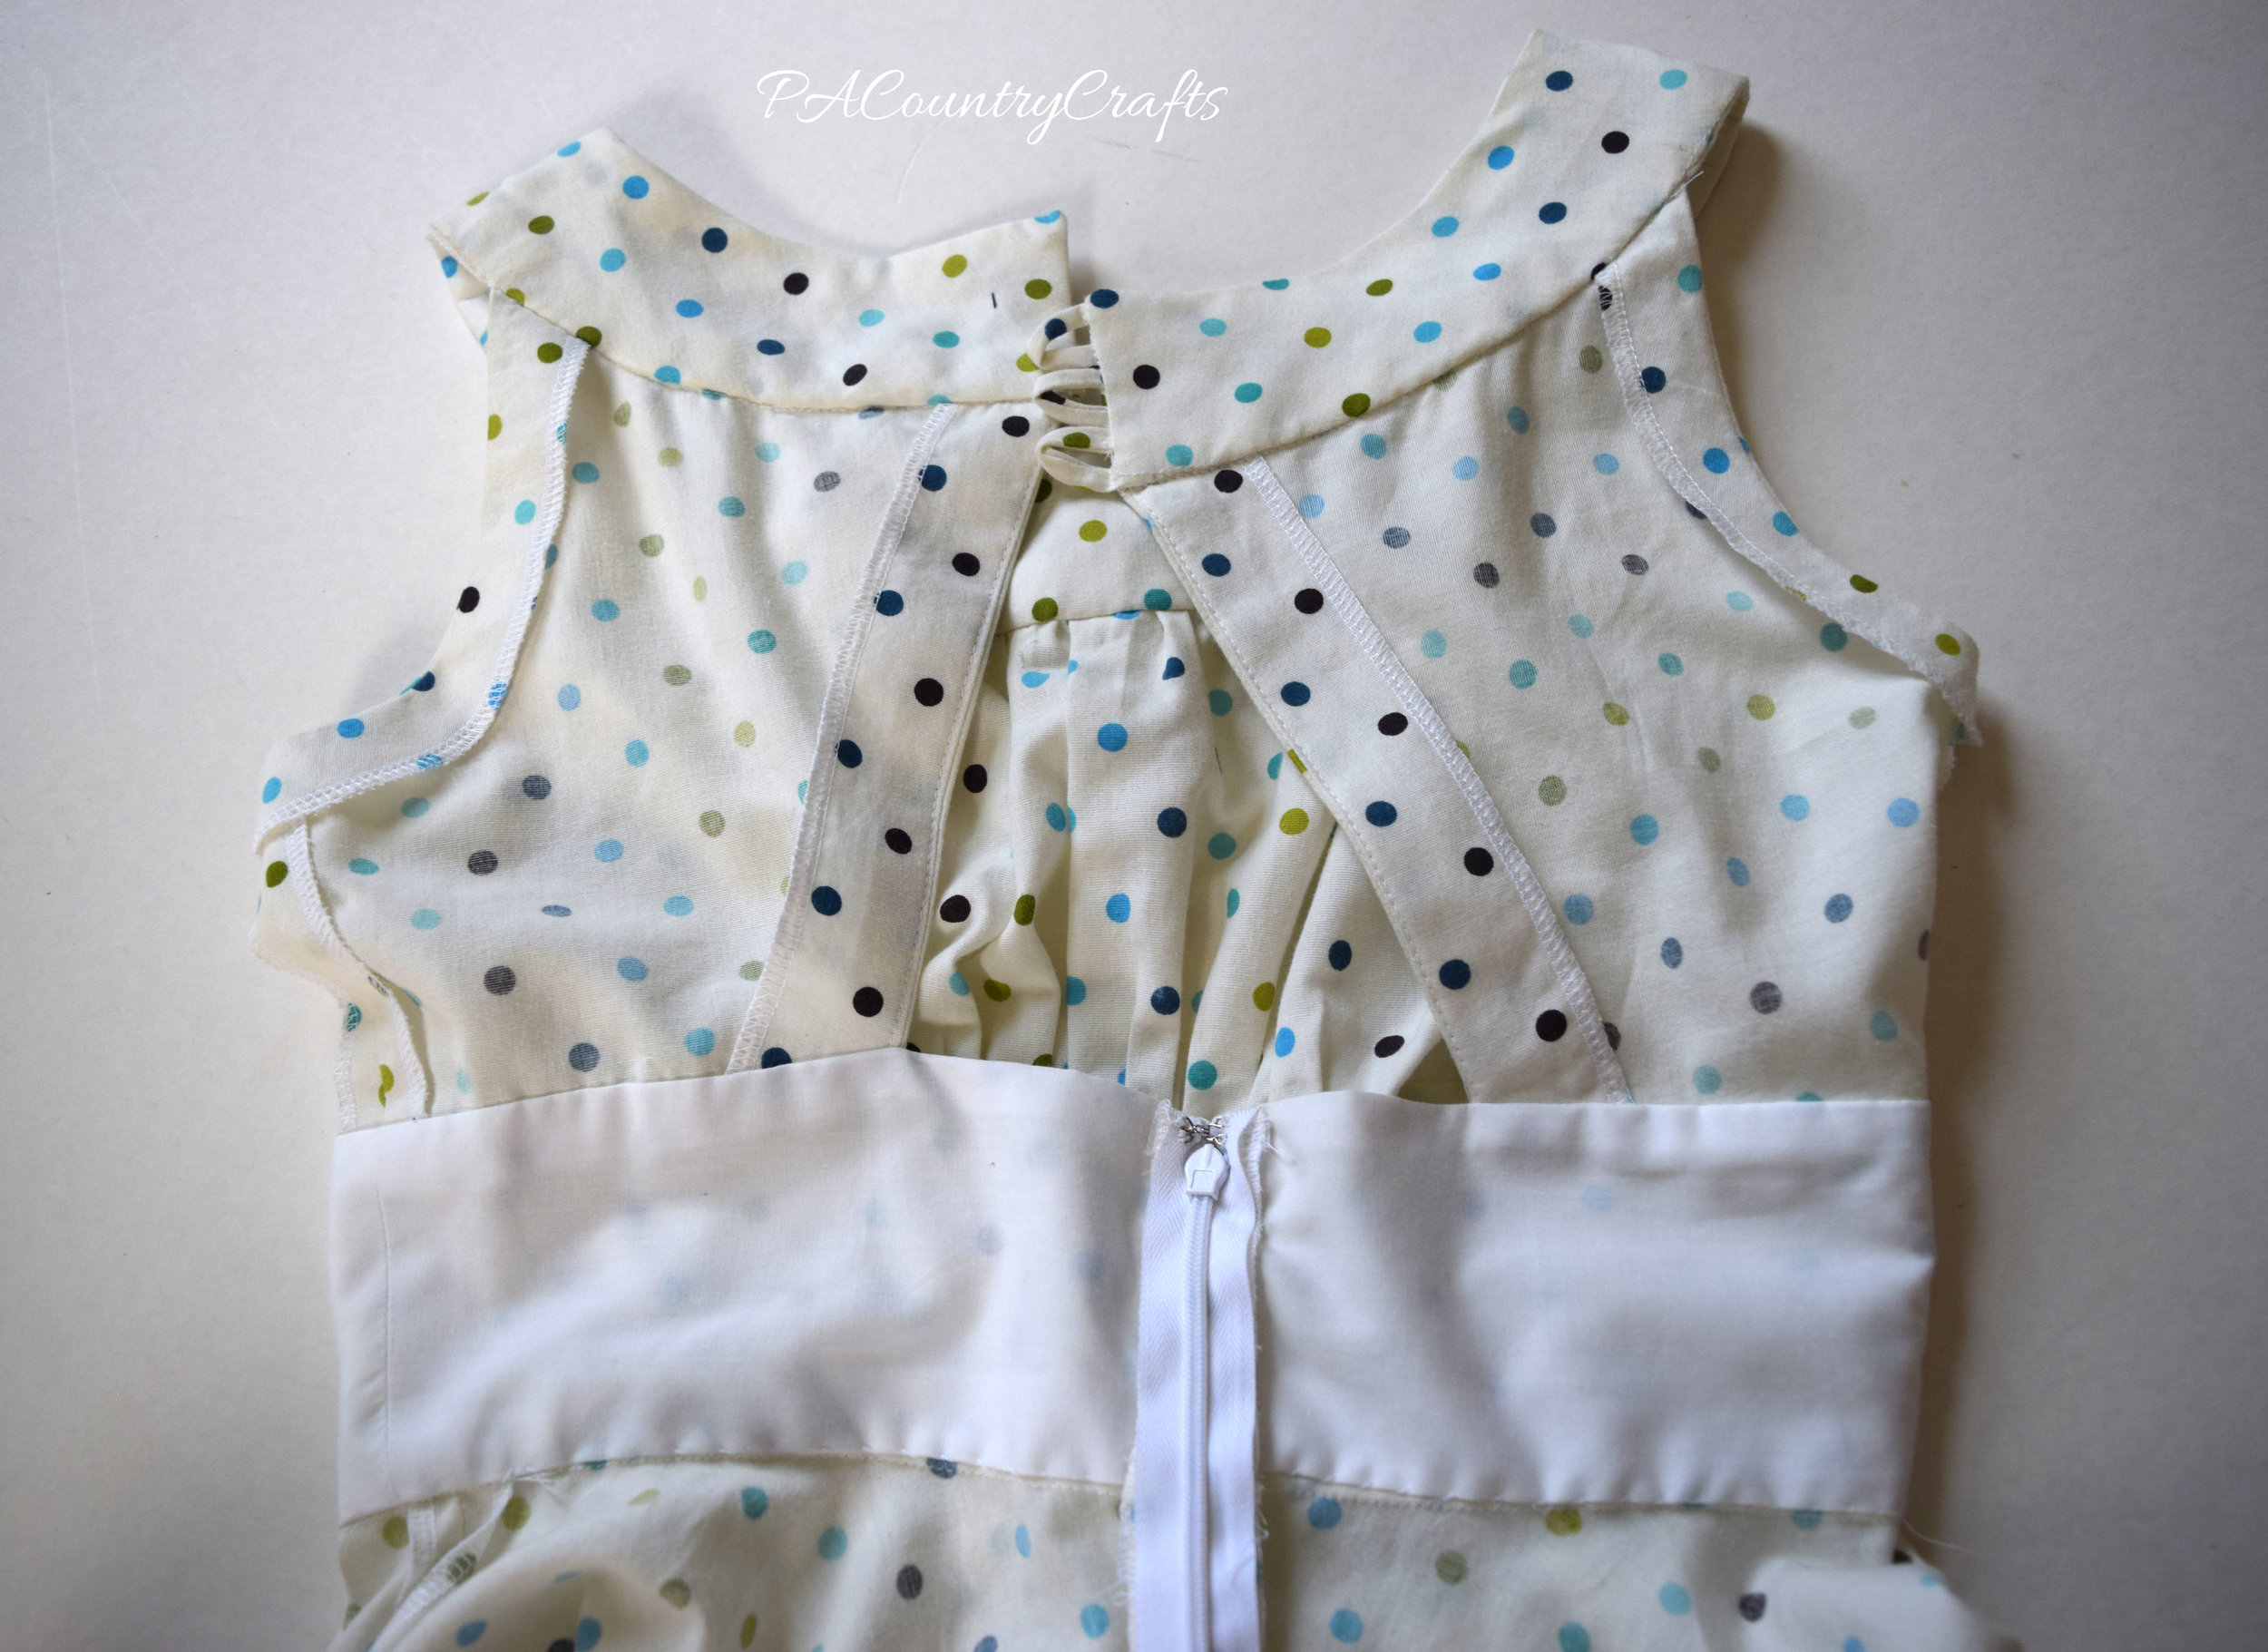
open triangle back dress

She is also at a very awkward, in-between age. By measurements she fit a misses pattern, but I found that it wasn't designed for her body type. I had to remake the entire top and redraft the pattern quite a bit. Even then, I still had to make some changes. It was very frustrating and I could have just drafted it myself from the beginning.

retro dress

I learned some new techniques with this dress, but I did not like some of the construction process and ended up improving it. It meant a lot of hand stitching. It was tedious, but it looks so much better!

inside dress construction

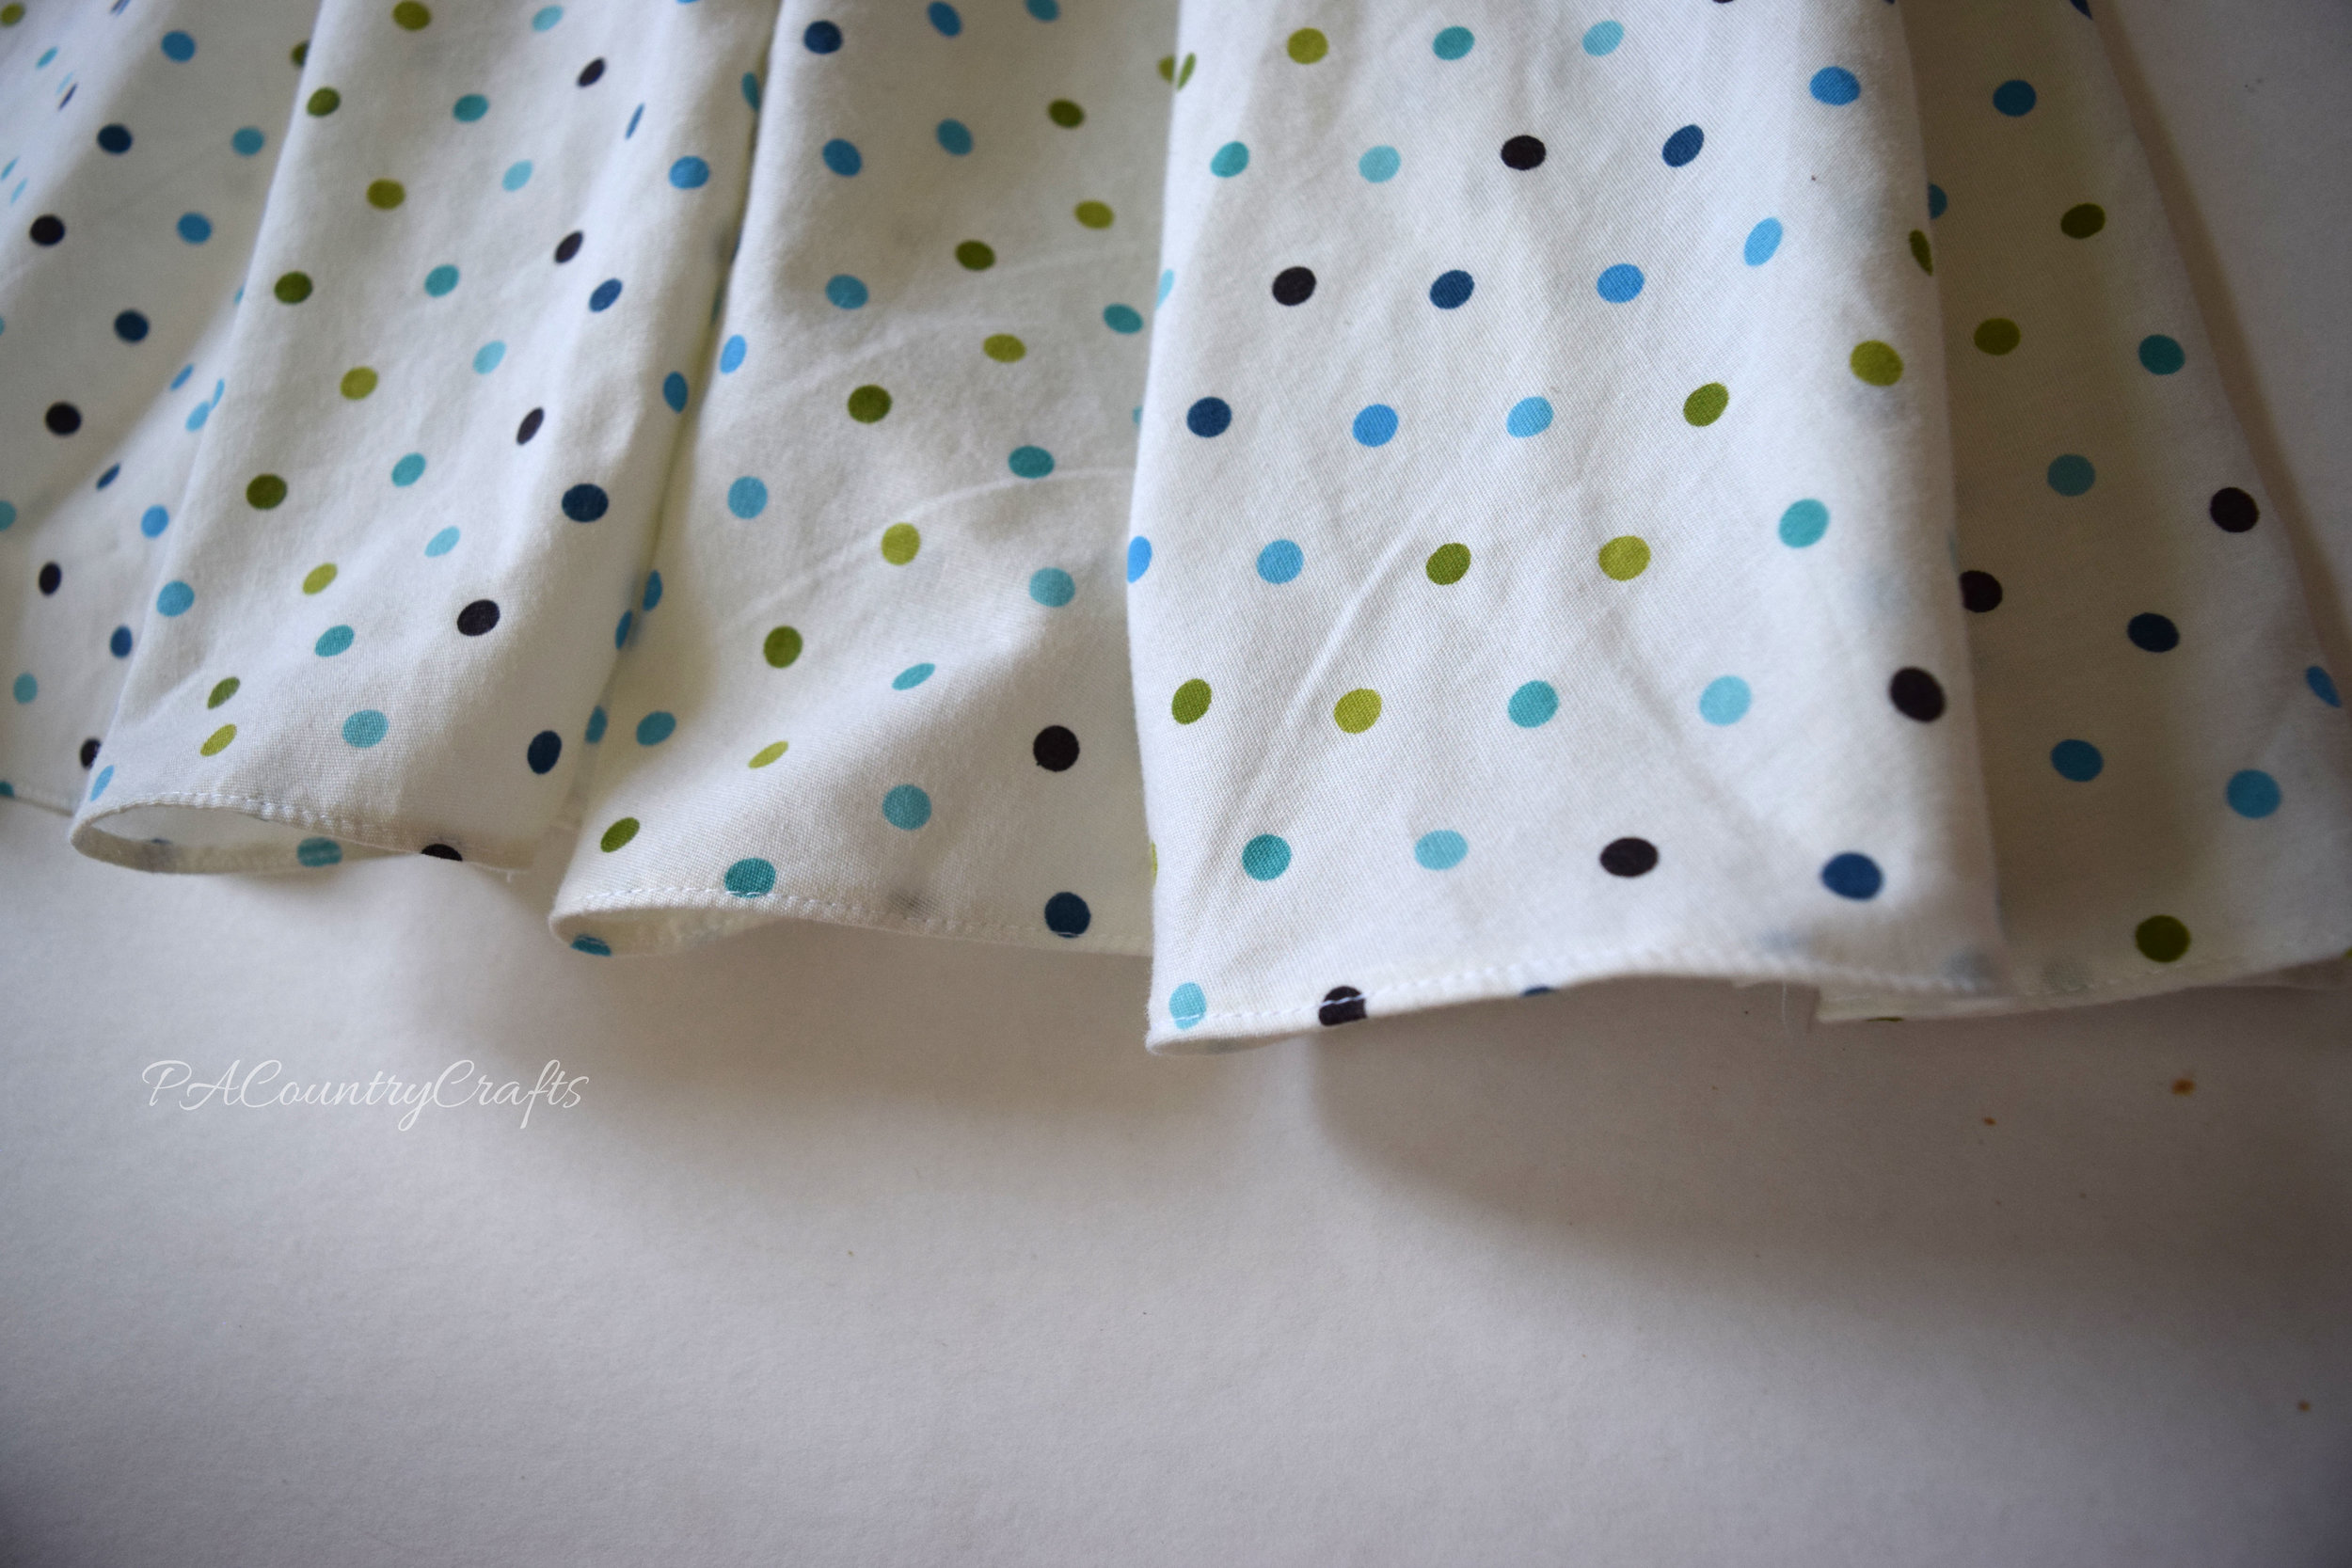
I learned how to do a proper narrow hem on a curve. I was very, very happy with how that turned out.

narrow dress hem

I also made her a pettiskirt from a ruffled curtain, but she won't wear it. :(

Overall, the dress turned out OK. It isn't my favorite and doesn't fit as well as the ones I draft for her from measurements. It is a fun style, though.

I will be blogging about the rest of the girls' dresses in the next week or so, so keep checking back to see more!

 
The photo props...
Easy Ribbon Wands Tutorial
Link Parties where I sometimes hang out…