April is generally the craft month for our MOPS group. We wanted to come up with something that every mom could use... picture frames! At the March meeting we set up a photo booth with two background choices: an aqua sheet thumbtacked to the divider with THIS pink and yellow bunting or a navy sheet thumbtacked to the divider with some yellow stars that are part of our "Starry Eyed" meeting decor. They were simple, but beautiful (and FREE!) One of our steering team members is also a talented photographer. She has a good eye for capturing those special moments. She photographed the moms as they came in with their little ones and we got free 4 x 6 prints through the Shutterfly app printed before the April meeting. We figured if there was a picture to put in the frame right away it would be used.

The frames were easy and inexpensive. I got them at Michaels and used a 30% off your entire purchase coupon so they were only 70 cents each. We also used up leftover paper from our journal craft in September (see HERE). I picked up some more scrapbook papers in neutral and blue colors that would be better for pictures with the navy background.

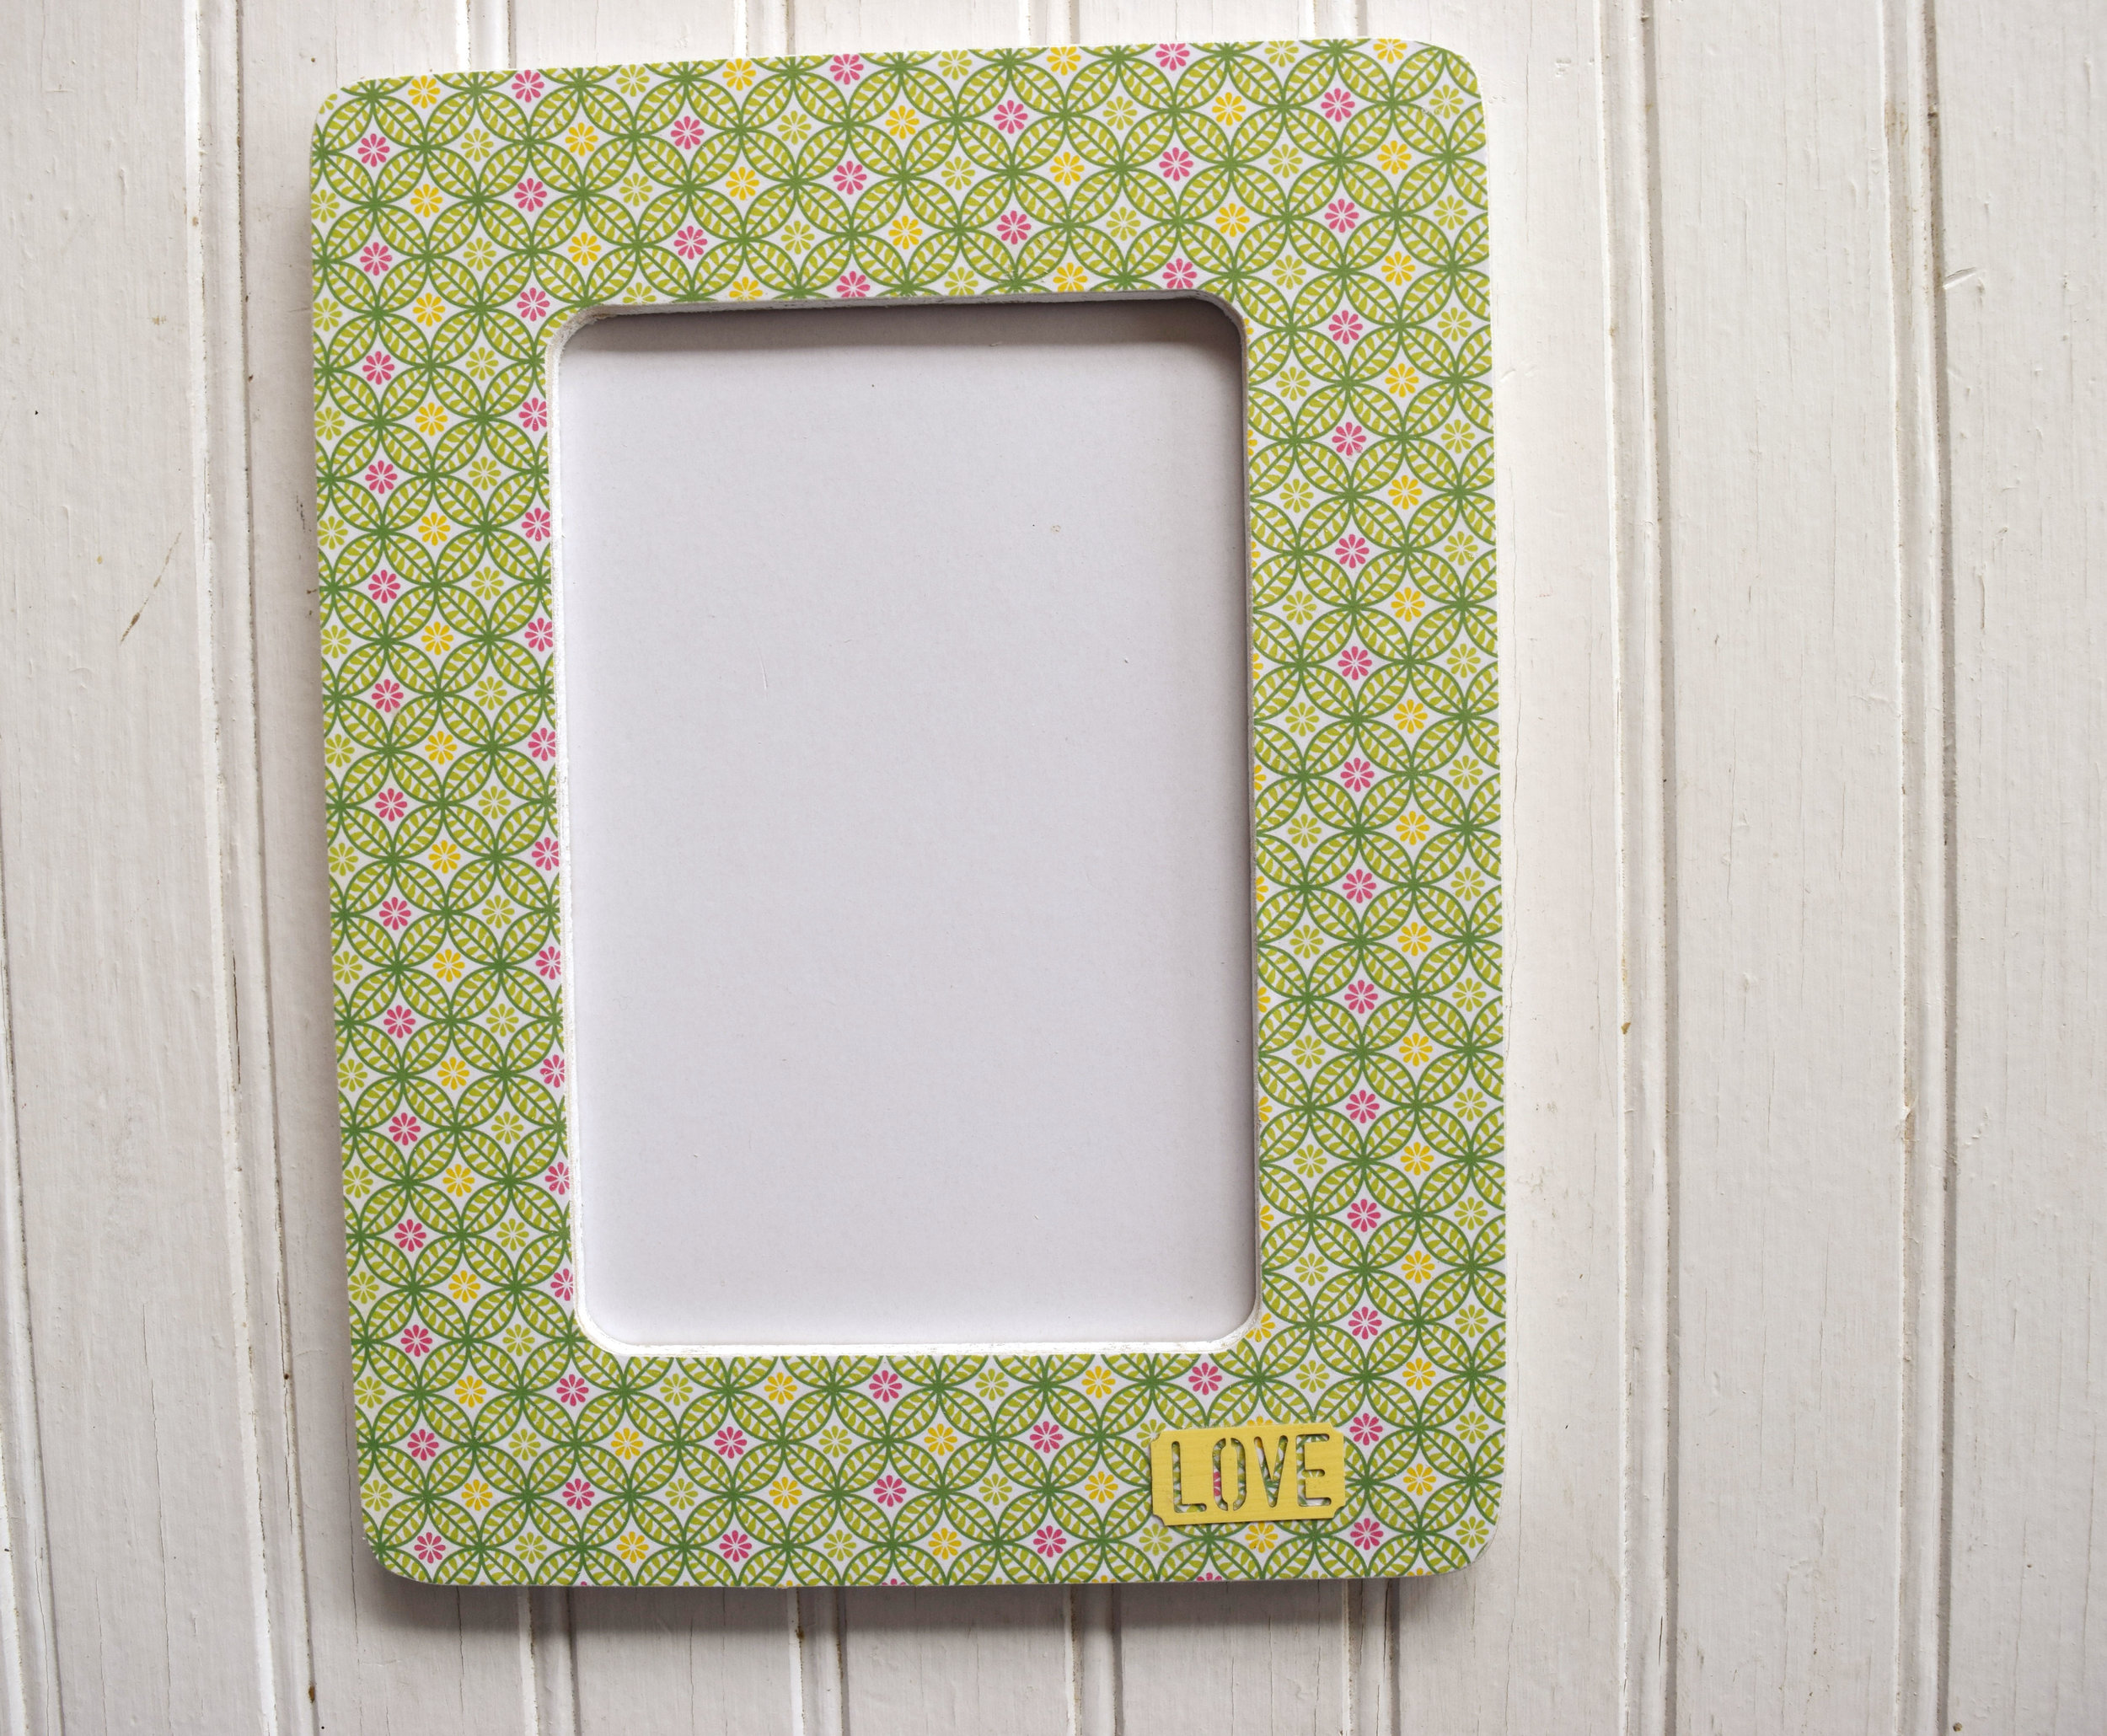
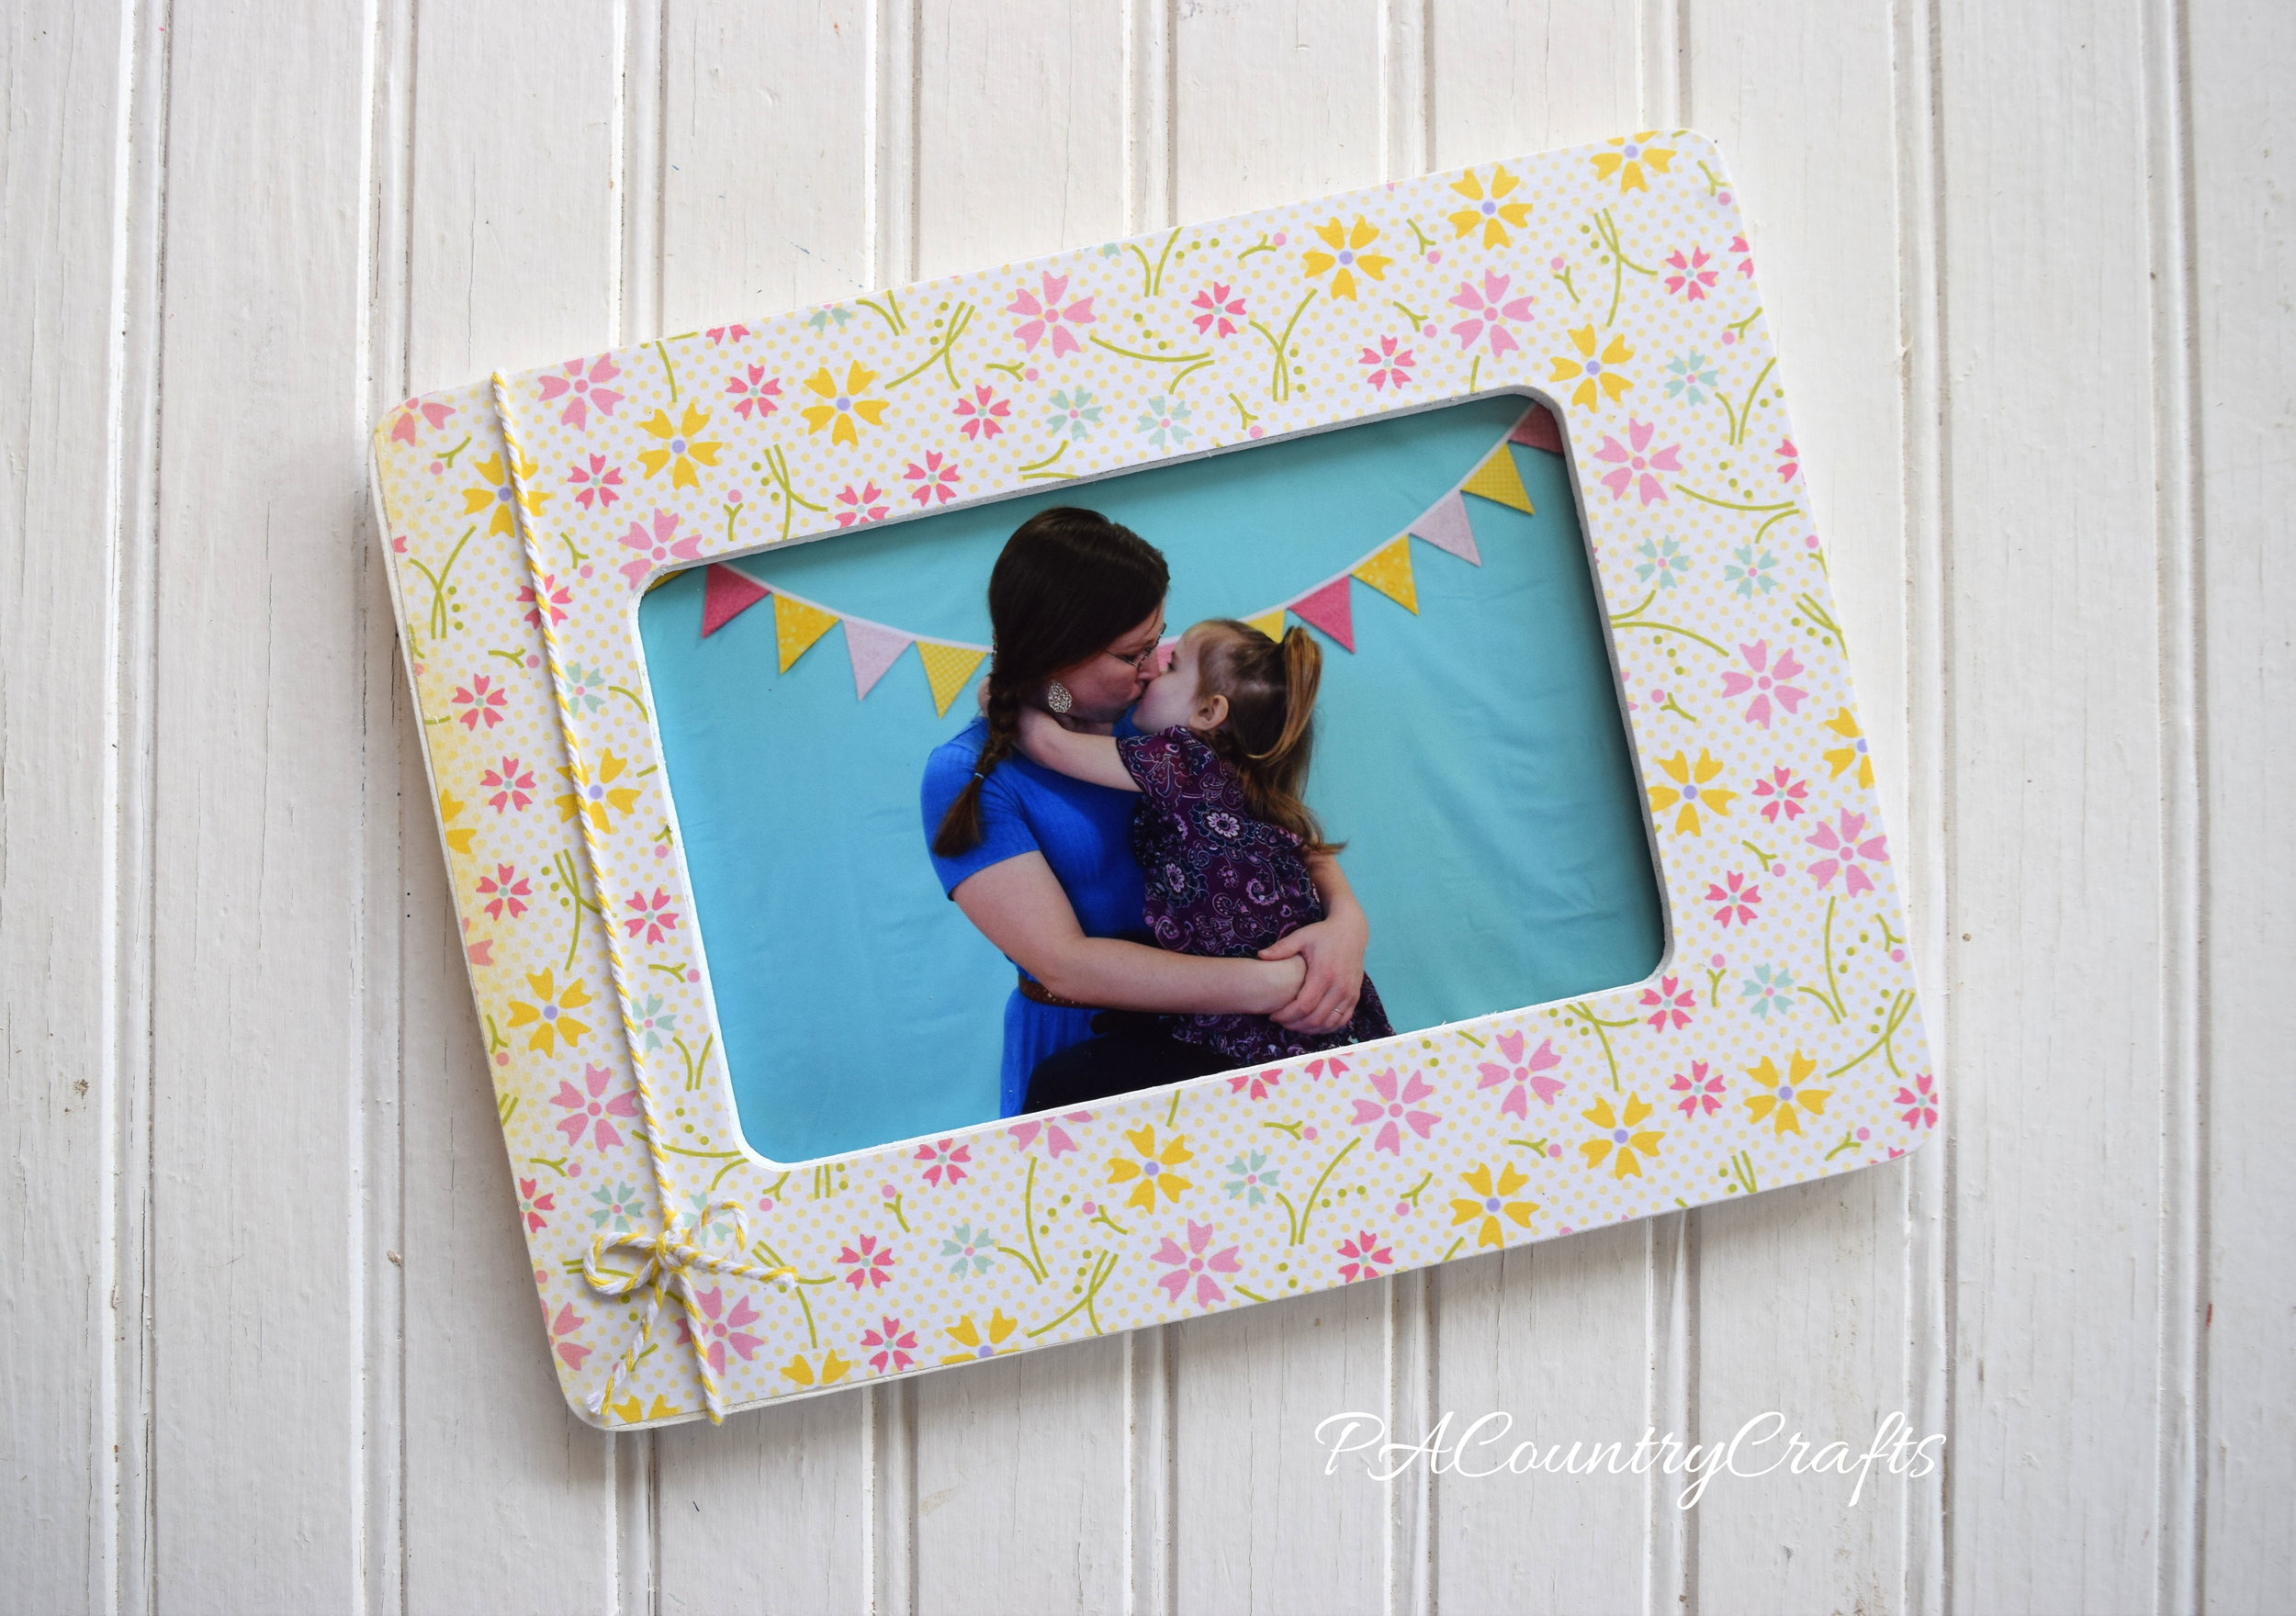
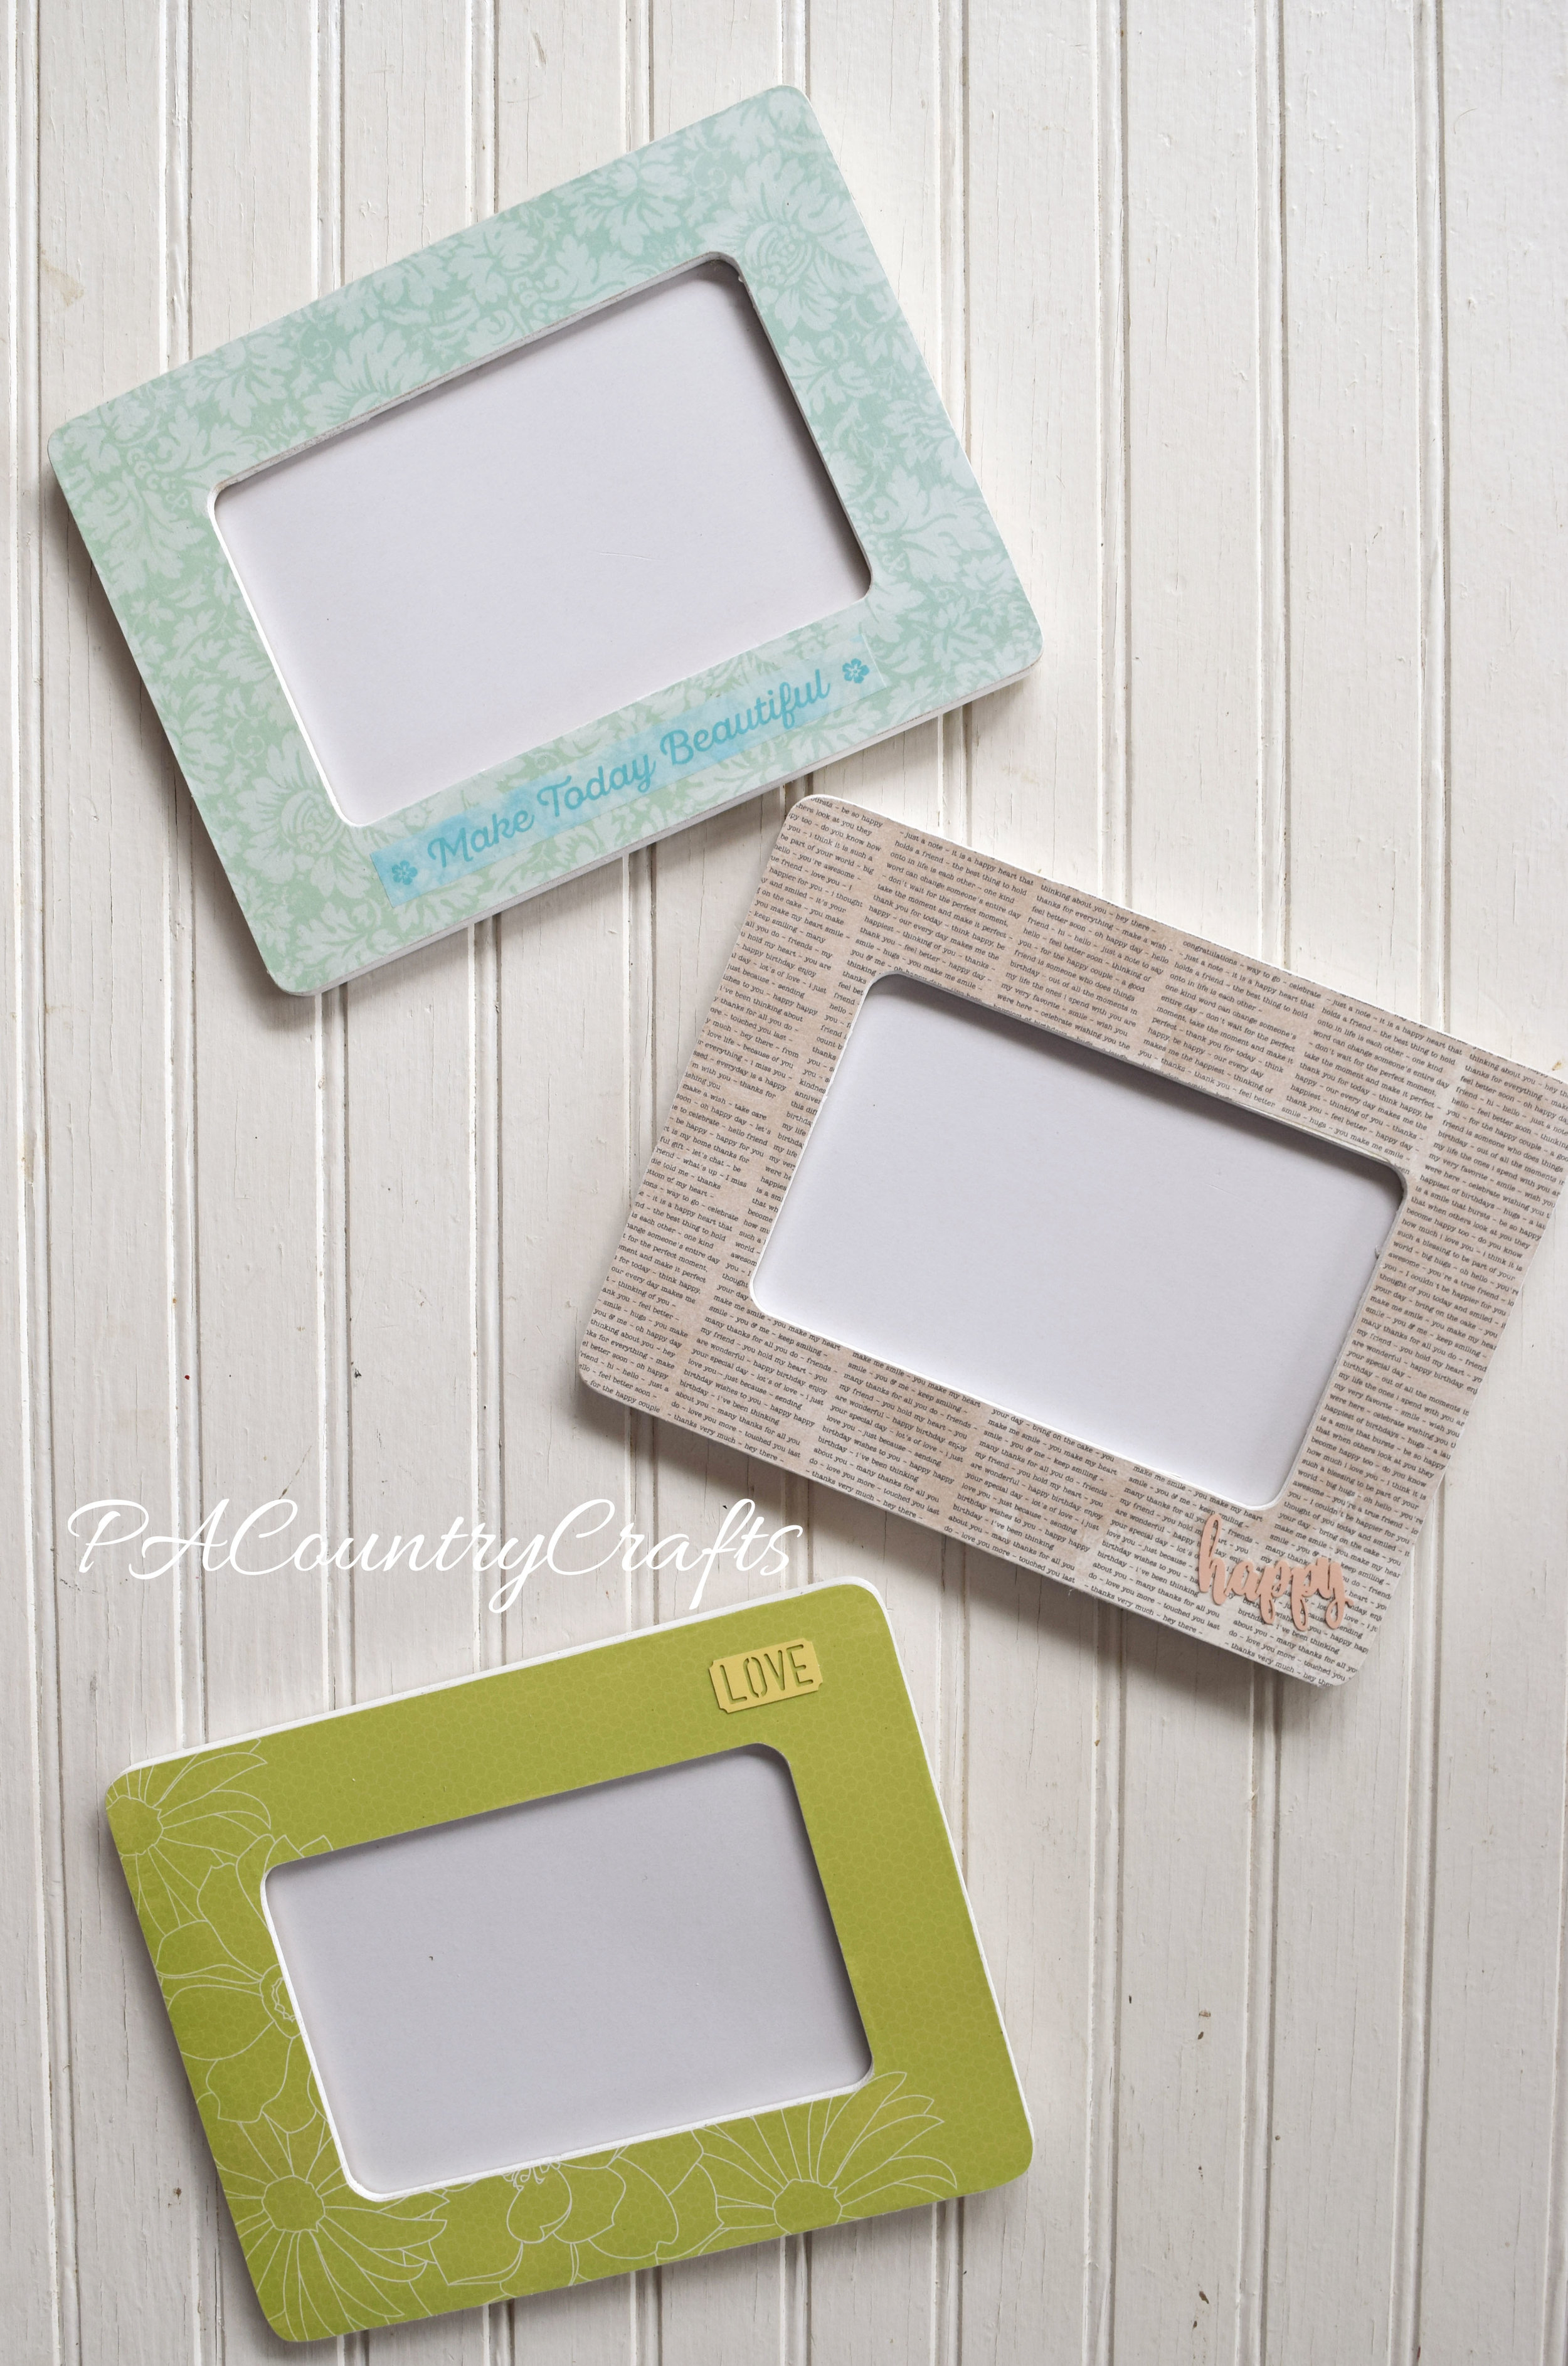
I have made these frames before and you can see some of them in my daughters' collage wall HERE. It is the perfect craft for a ladies night or a group. You can add little embellishments like baker's twine, washi tape, fabric flowers, die-cuts, etc. so they will all be unique. In addition to flat frames like these, you can use this same technique on any flat wood surface. I made a mustache for the collage wall, too!
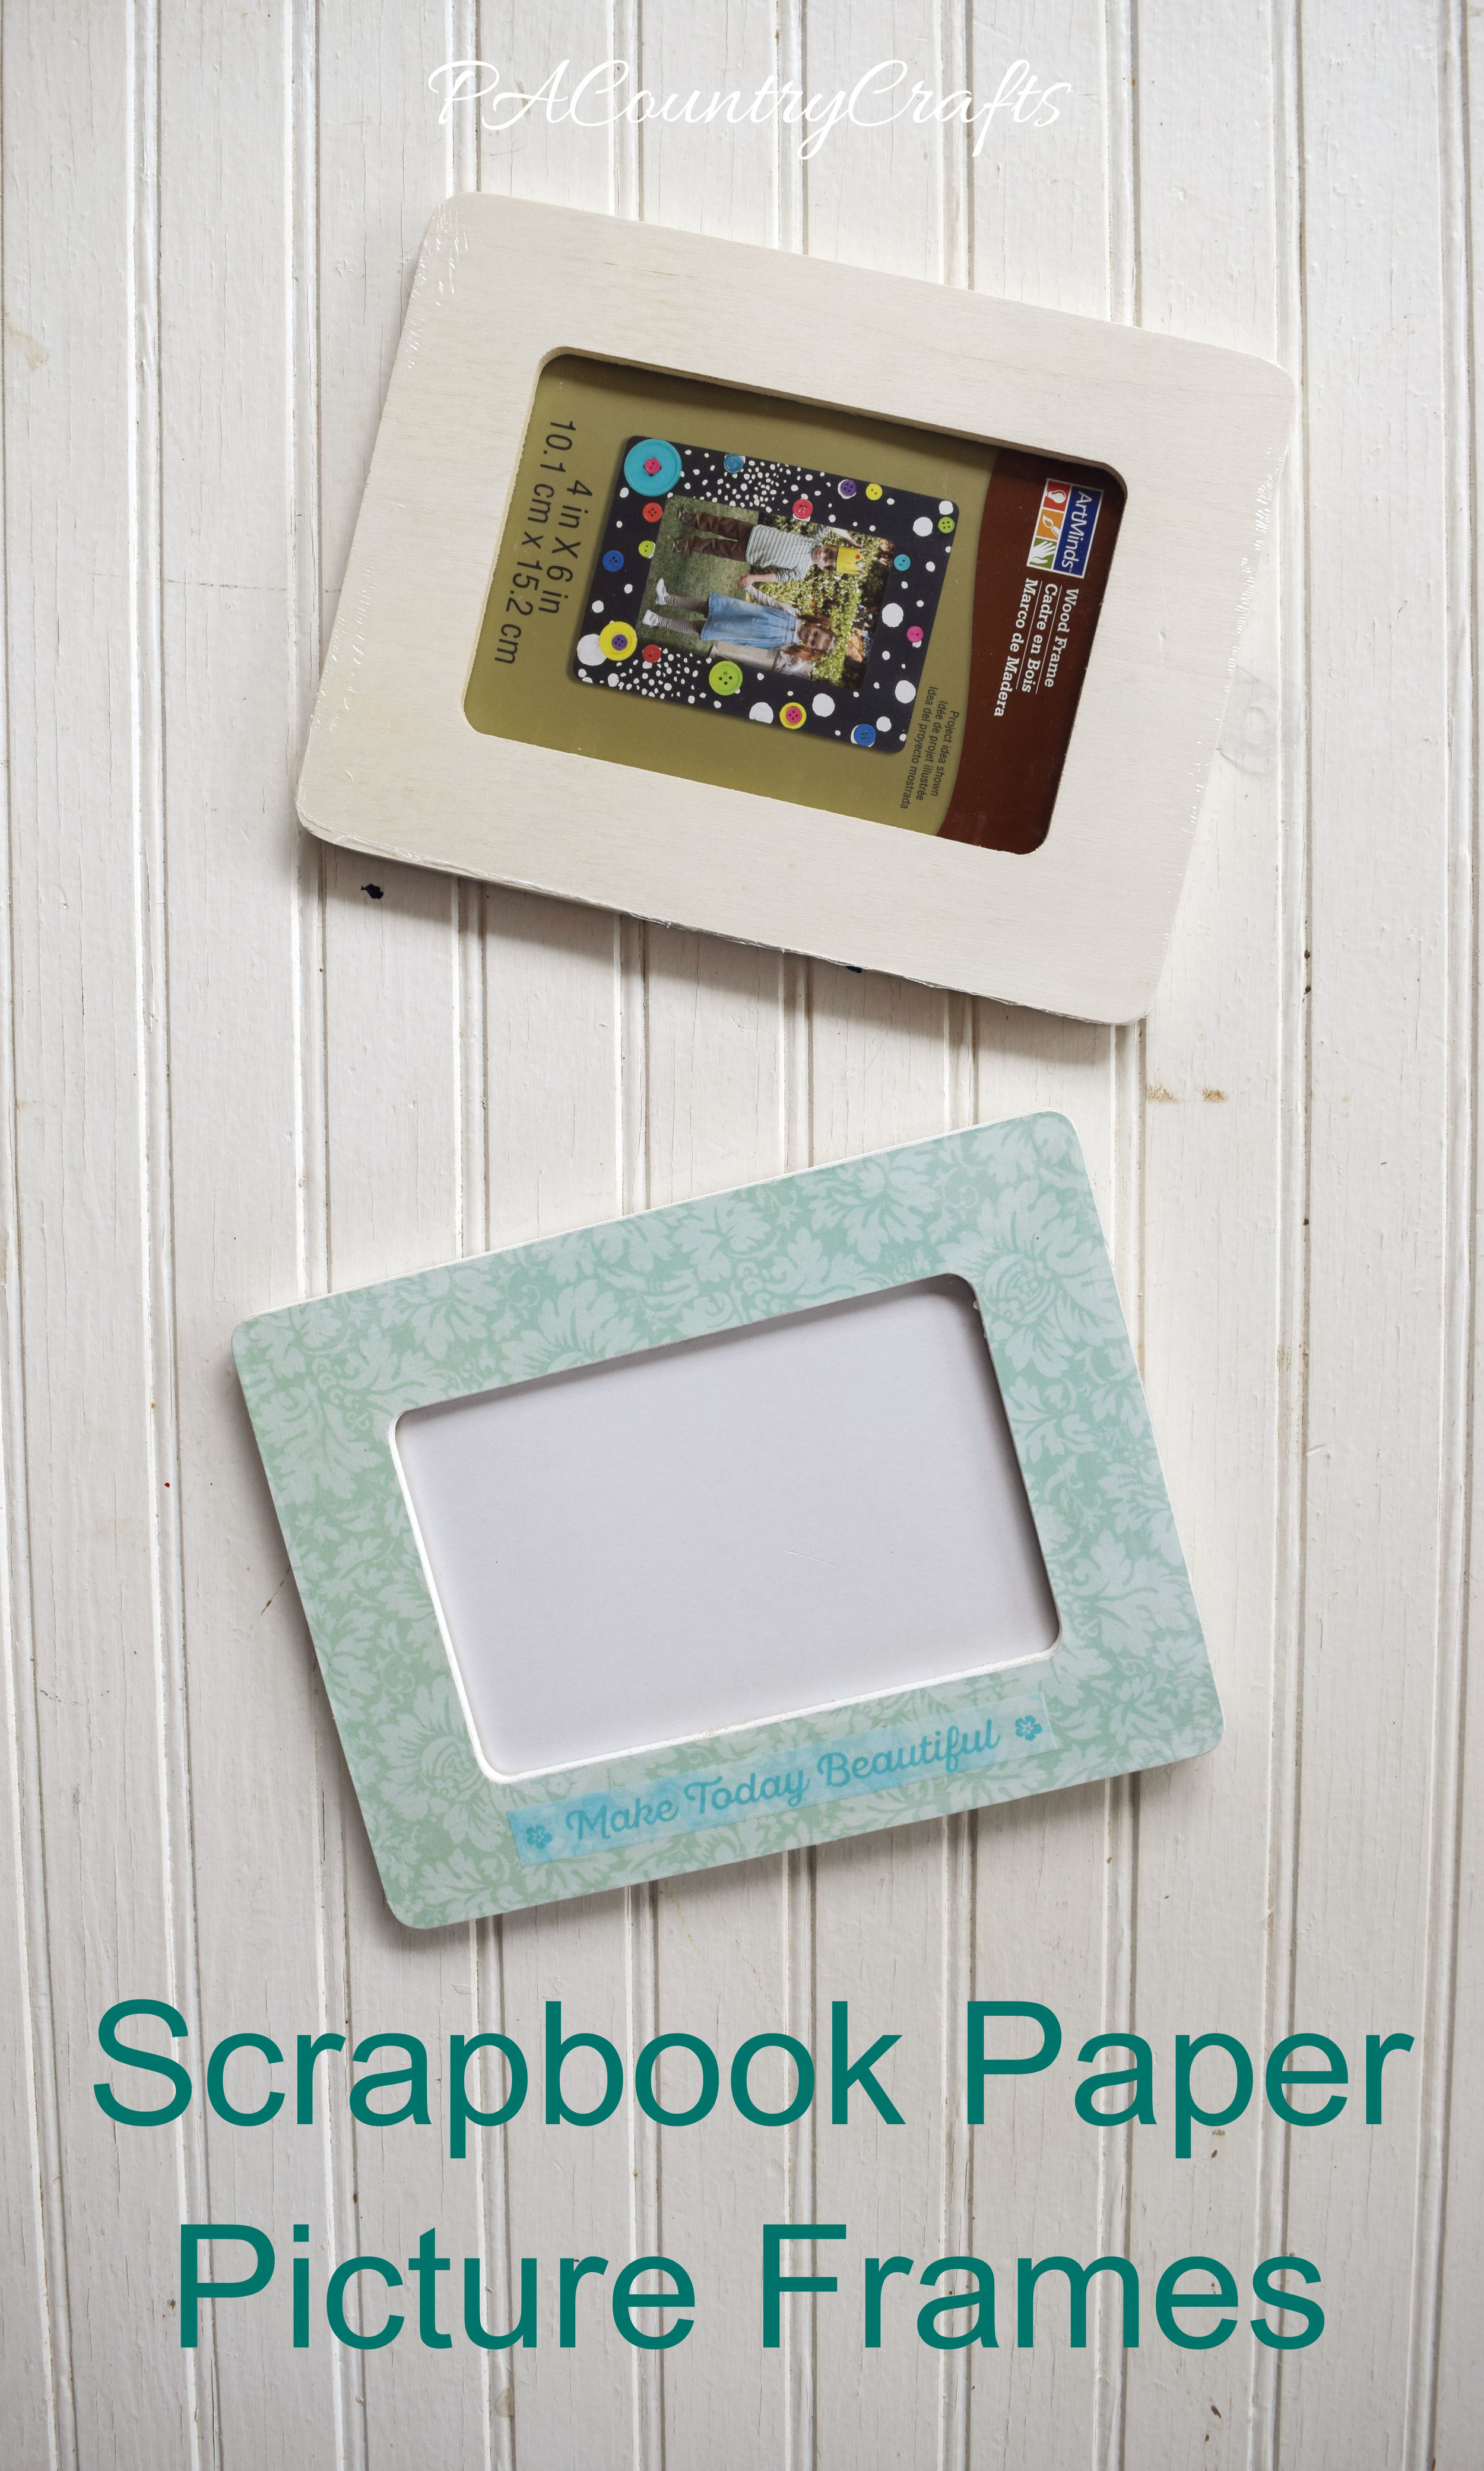
Here is what you need:
~wood frame
~mod podge
~foam brush
~sandpaper
~scrapbook paper
~scissors
~pencil
~embellishments (optional)
~paint (optional)

I began by painting the edges of the frames just to make the finished product a little nicer. I used white acrylic.

Lightly sand the frame to remove any rough edges or extra paint. (My craft table is a disaster! #keepitreal)

Trace the frame on the wrong side of the paper (so you don't see pencil marks in case you mess up).
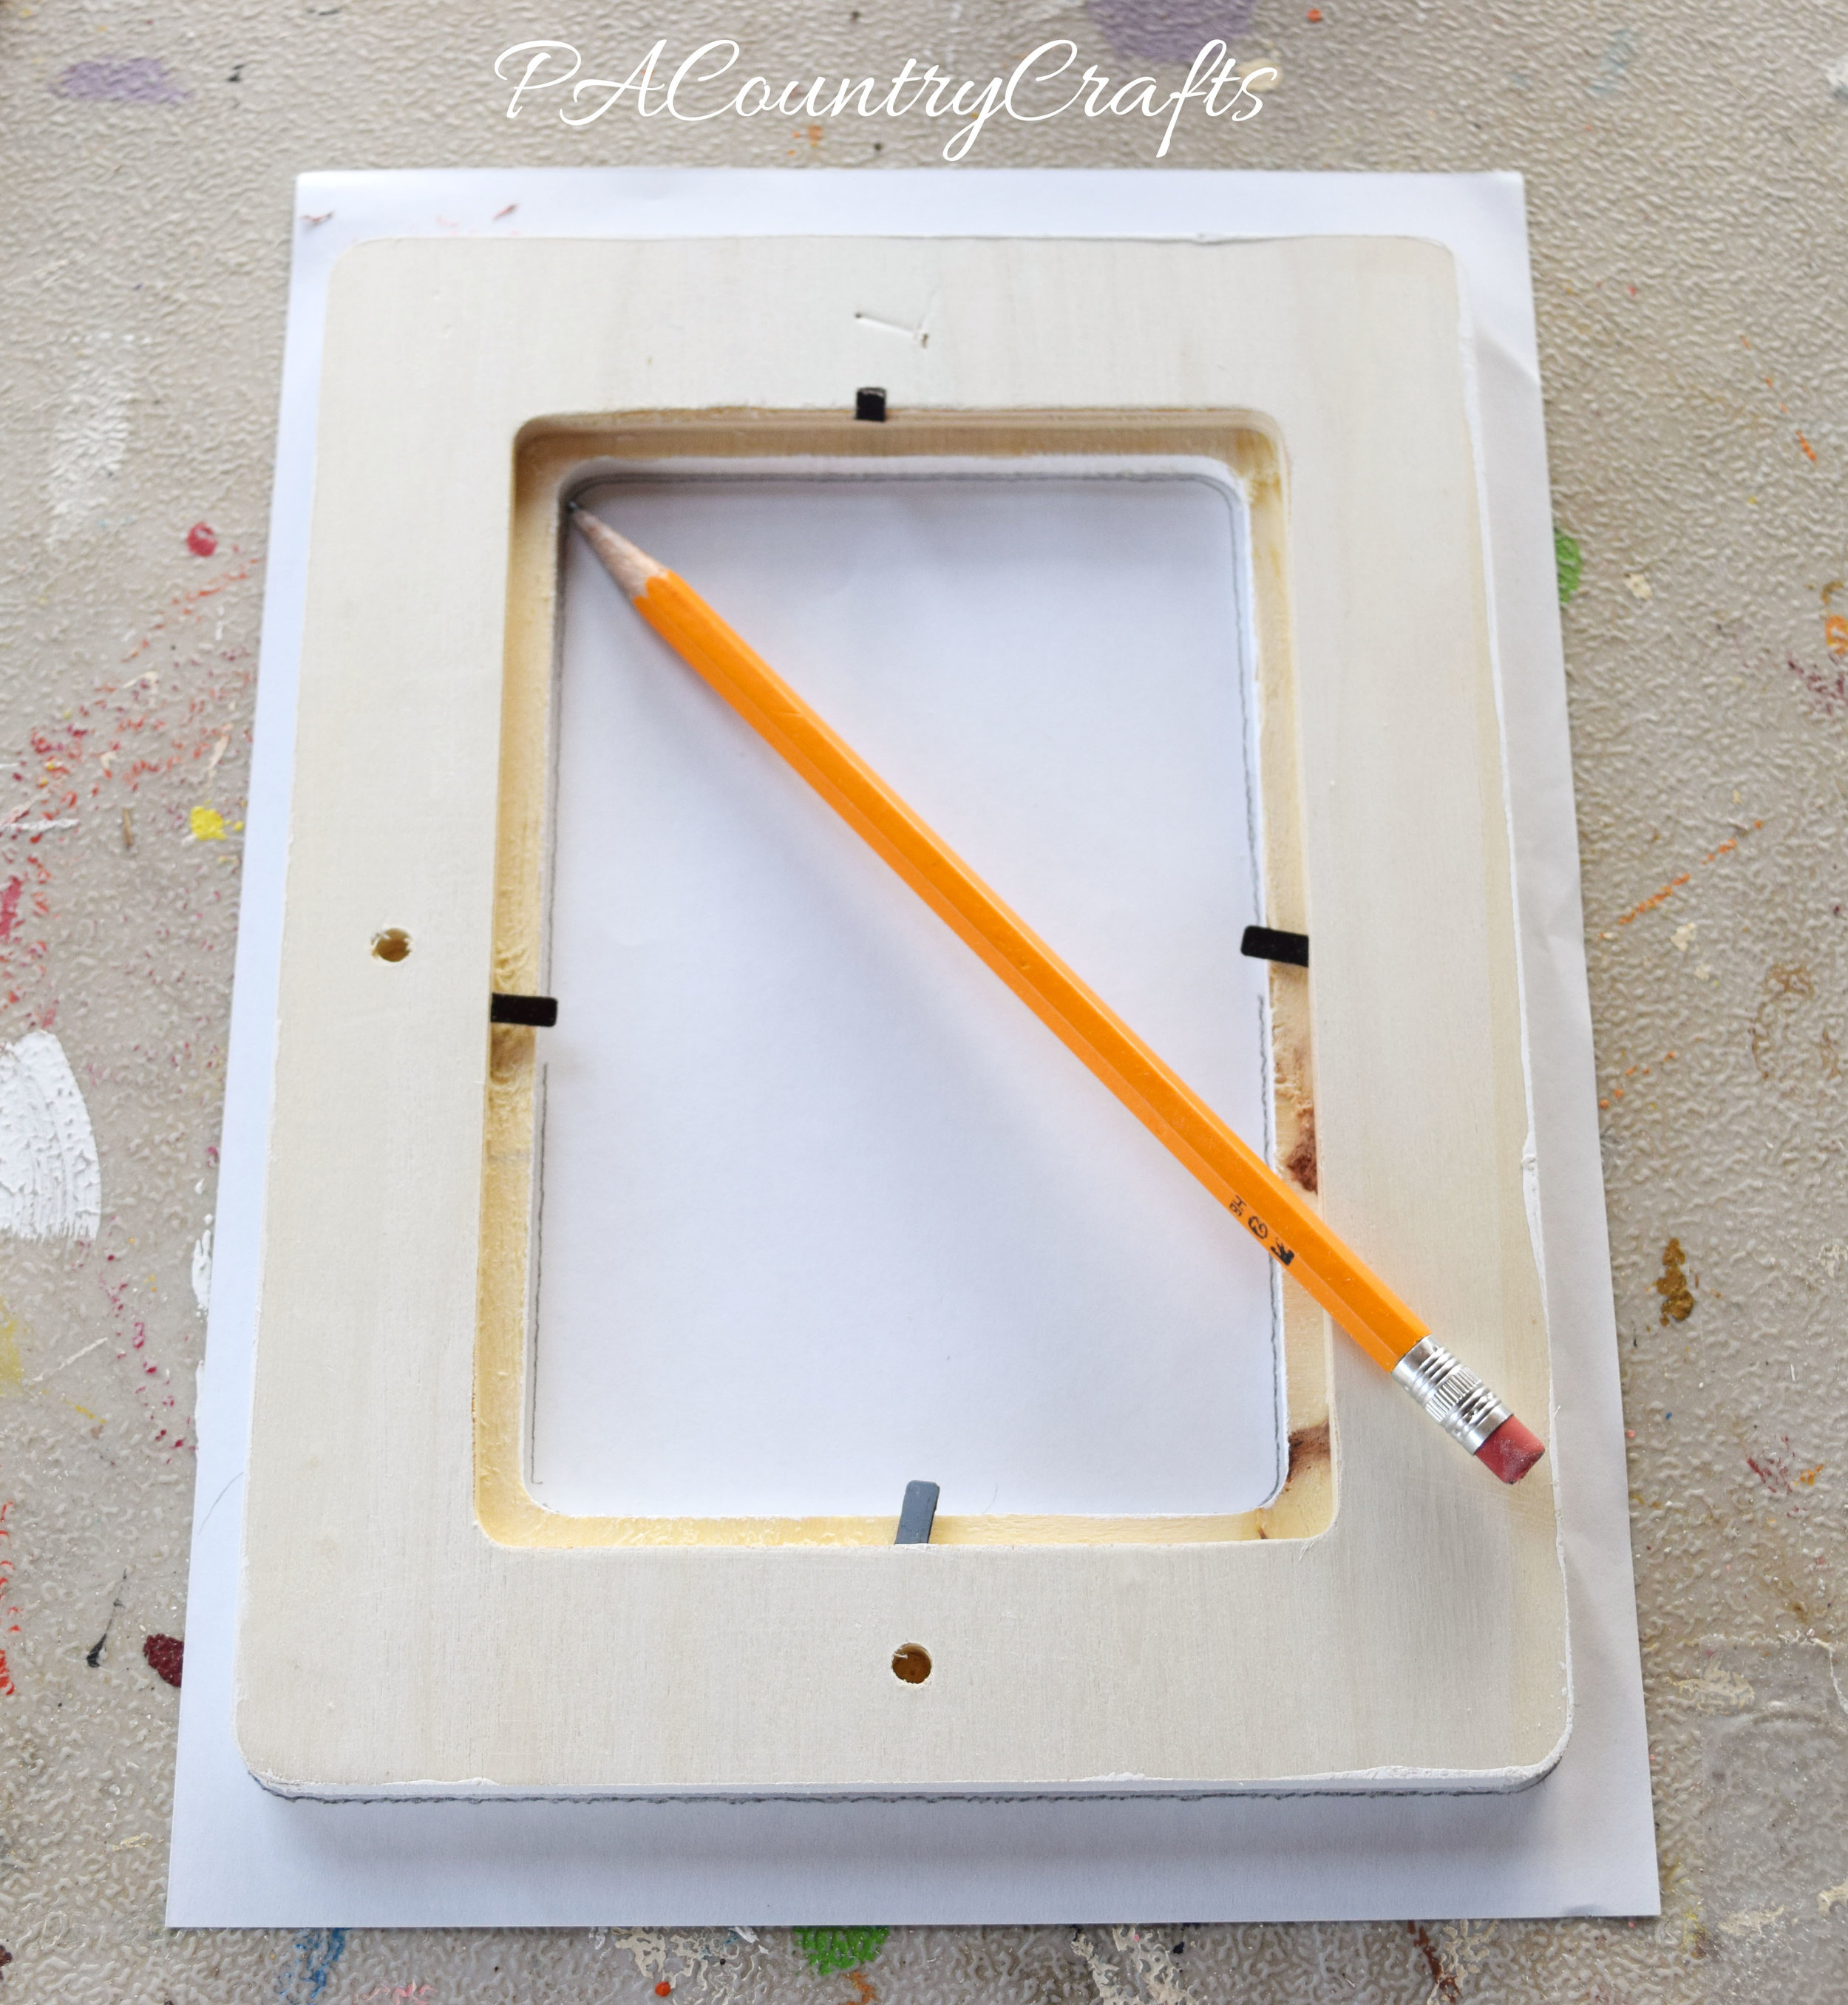
Cut out the frame shape you traced, but leave a little extra outside the pencil lines. Always go big, not too small!

Brush a layer of mod podge onto the frame. It should be a fairly thick layer, but it should all be smoothed out- no runs or lumps.

Lay the paper on top of the frame, lining up the center opening and edges as best as you can. There should be a little extra all around.

If you get big wrinkles, you can take it off and redo it, but only if you are fast about it. Some wrinkles can be pushed out by hand, or you can even try scraping with a credit card. Just smooth it all out the best that you can and let it dry. We did our "speed friending" activity awhile.
Then, it is time to sand the extra paper off of the edges. Make sure to use a perpendicular, downward motion (if you have ever done Jamberry nails it is the same technique!) Don't ever push the sandpaper back upward or you might lift the paper. Just keep scraping down at as close to a 90 degree angle as you can. Use some muscle! It takes a bit of pressure to make it work. The paper will begin to loosen and peel off.


Don't forget the inside, too. It looks very crisp and neat when you are done! Nothing at all like my messy table.

It is a good idea to seal it by brushing on a thin layer of mod podge. If you want to add embellishments, just brush a little mod podge on, stick it on top, then just brush over the whole frame.

See? It dries clear.
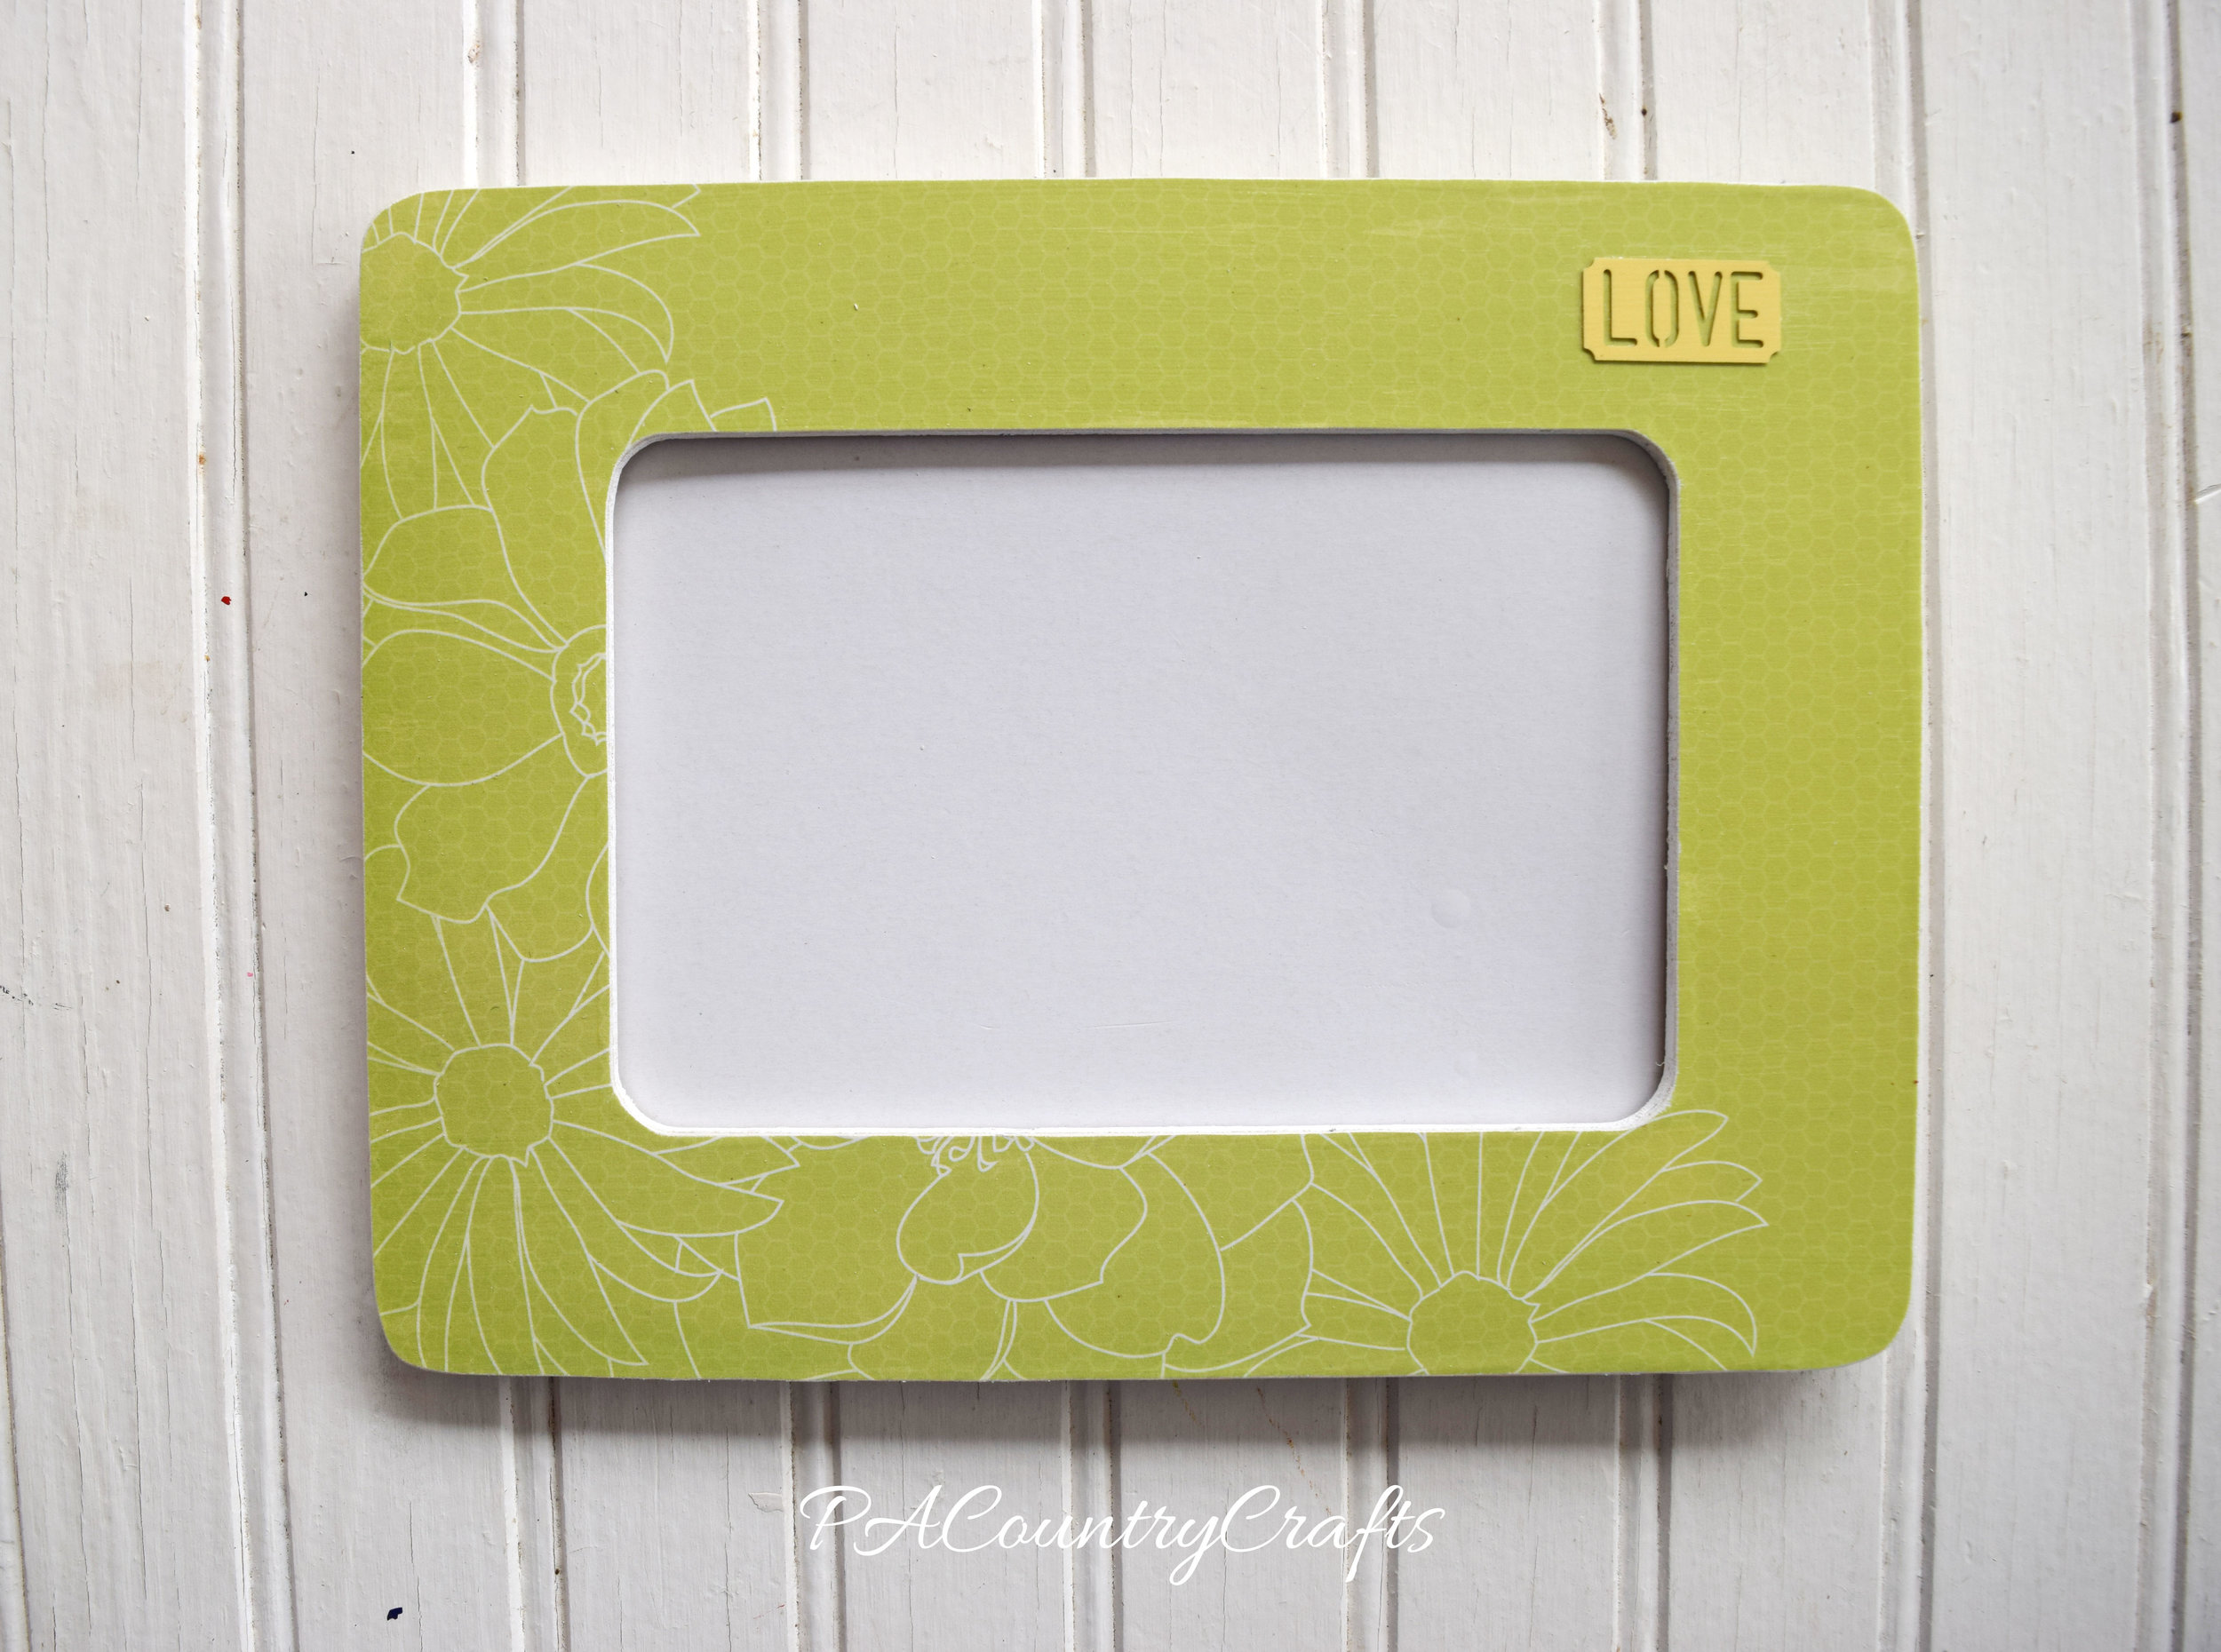
You can also add washi tape to a dry frame and lightly seal over that.

Pretty easy, right? I think the sanding is the trick to this. And now, on a nicer background than my icky table...
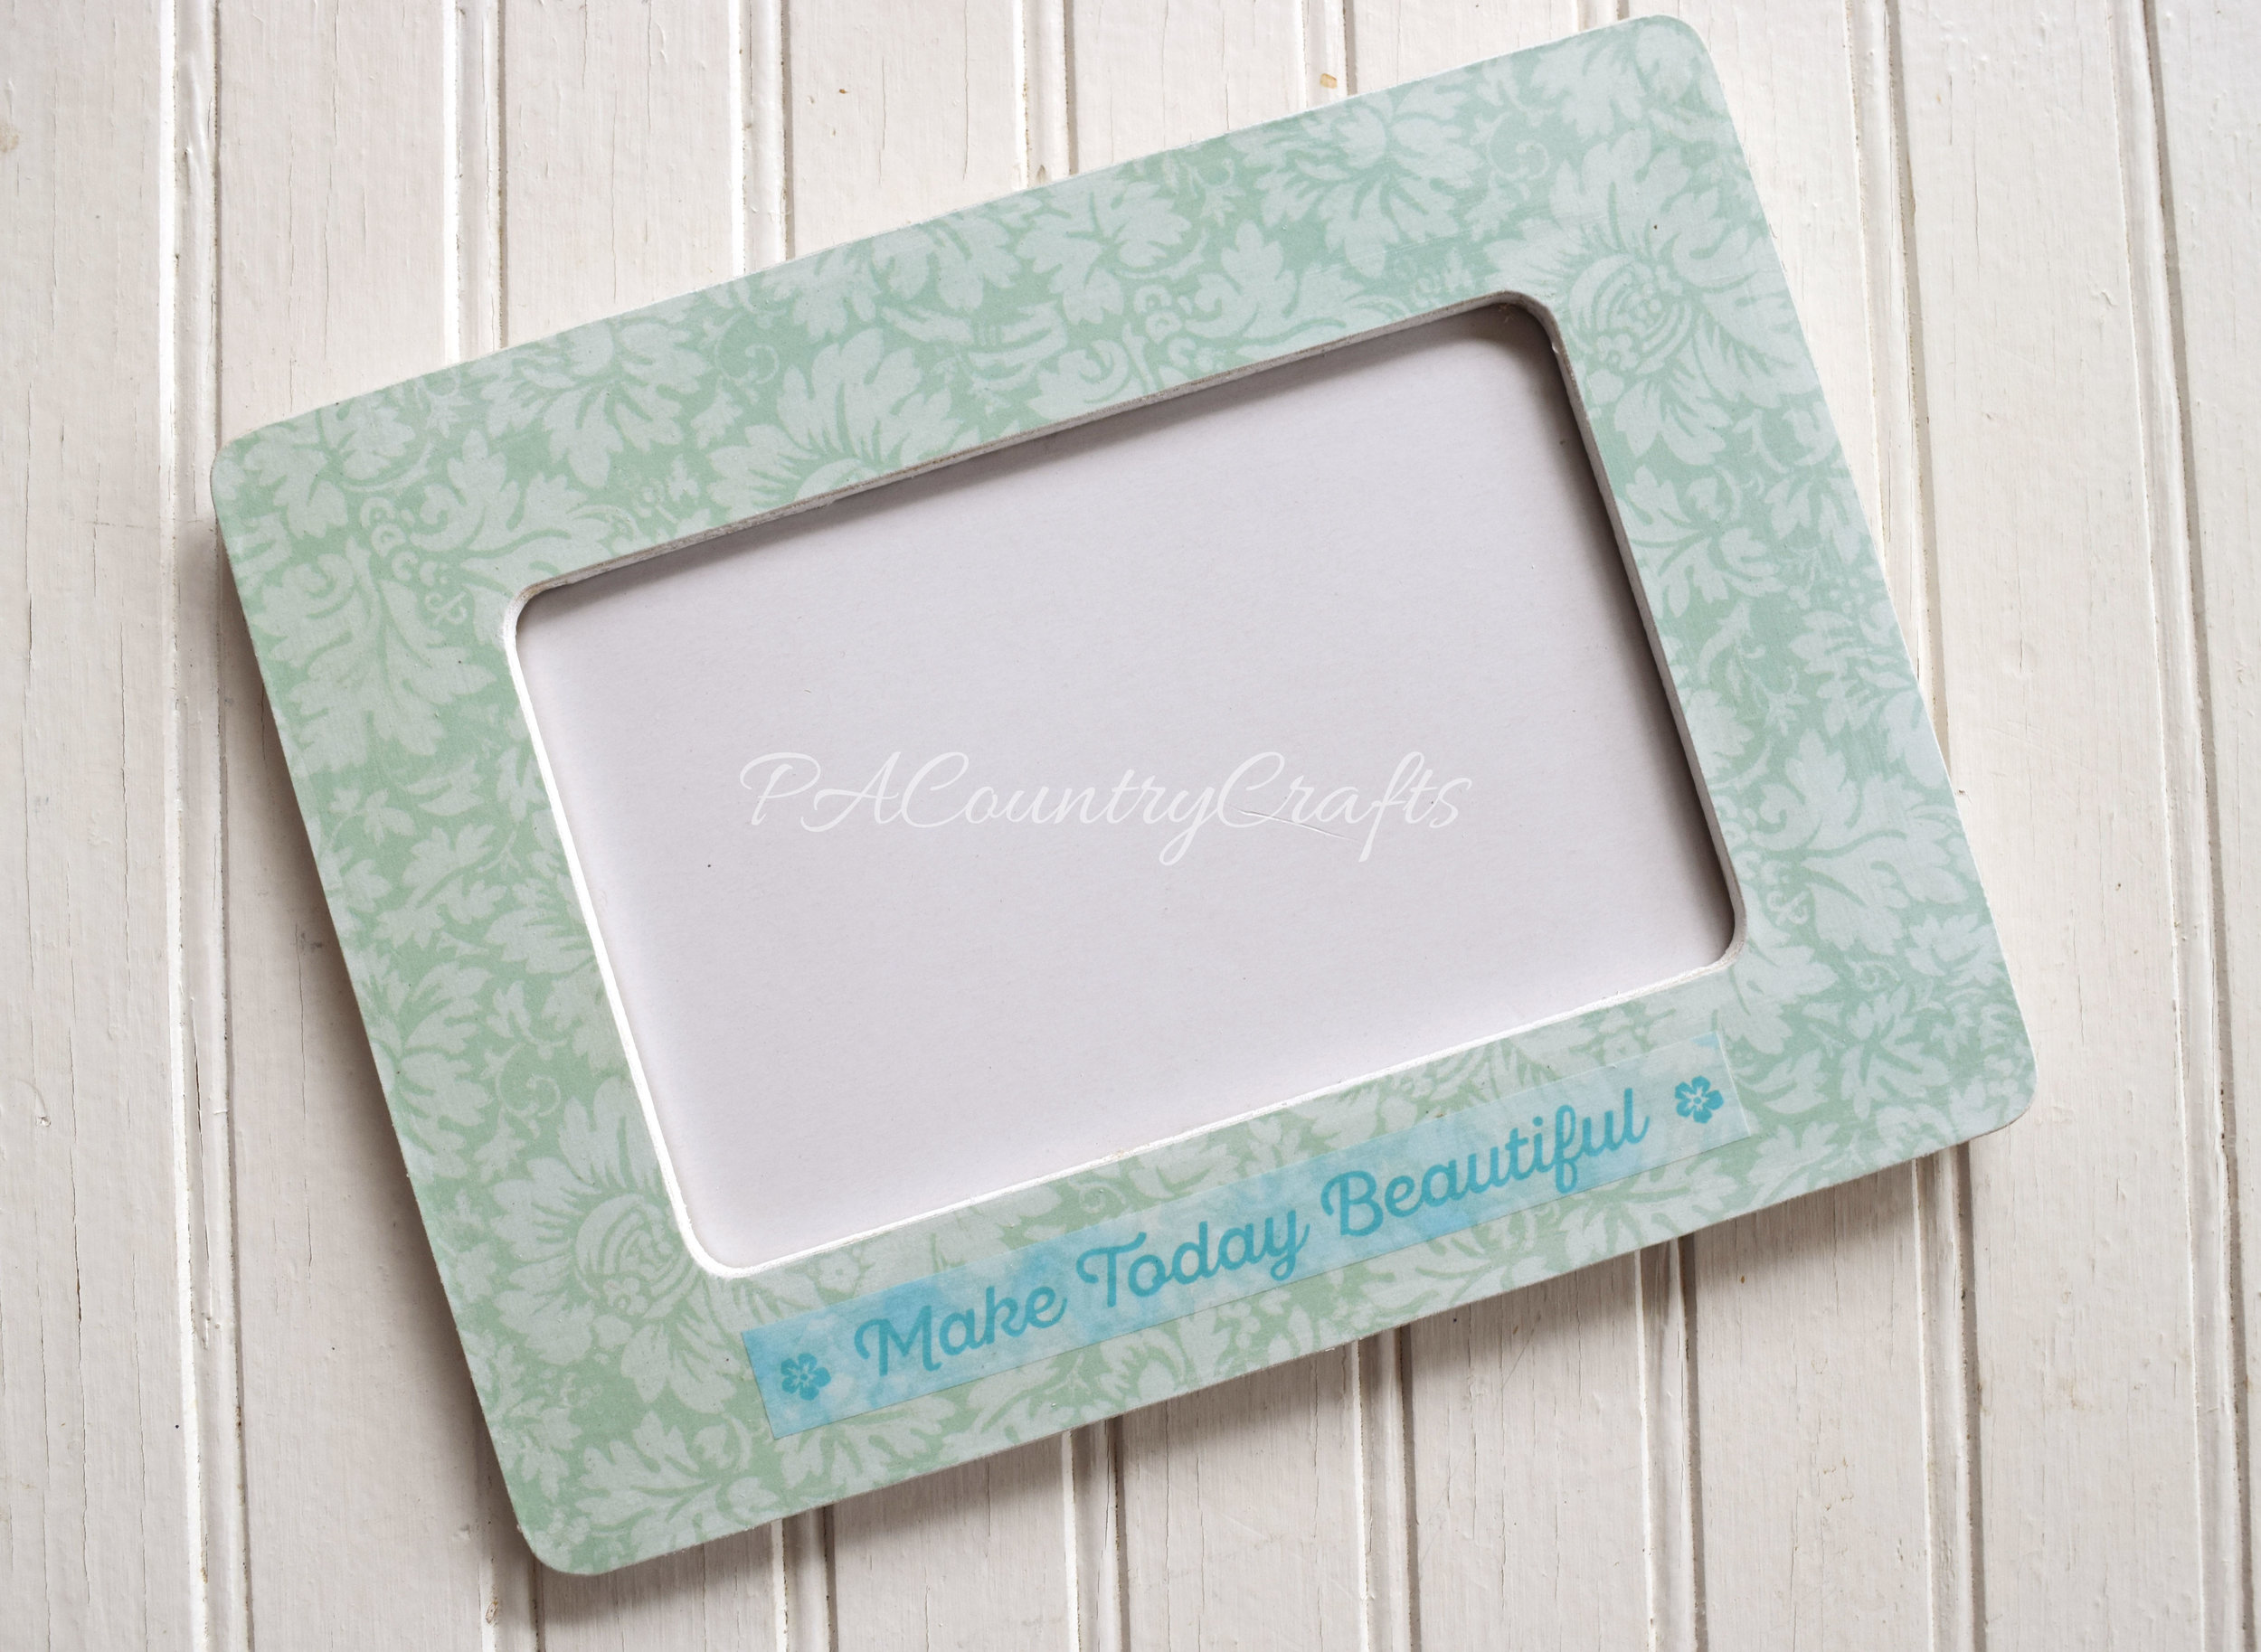
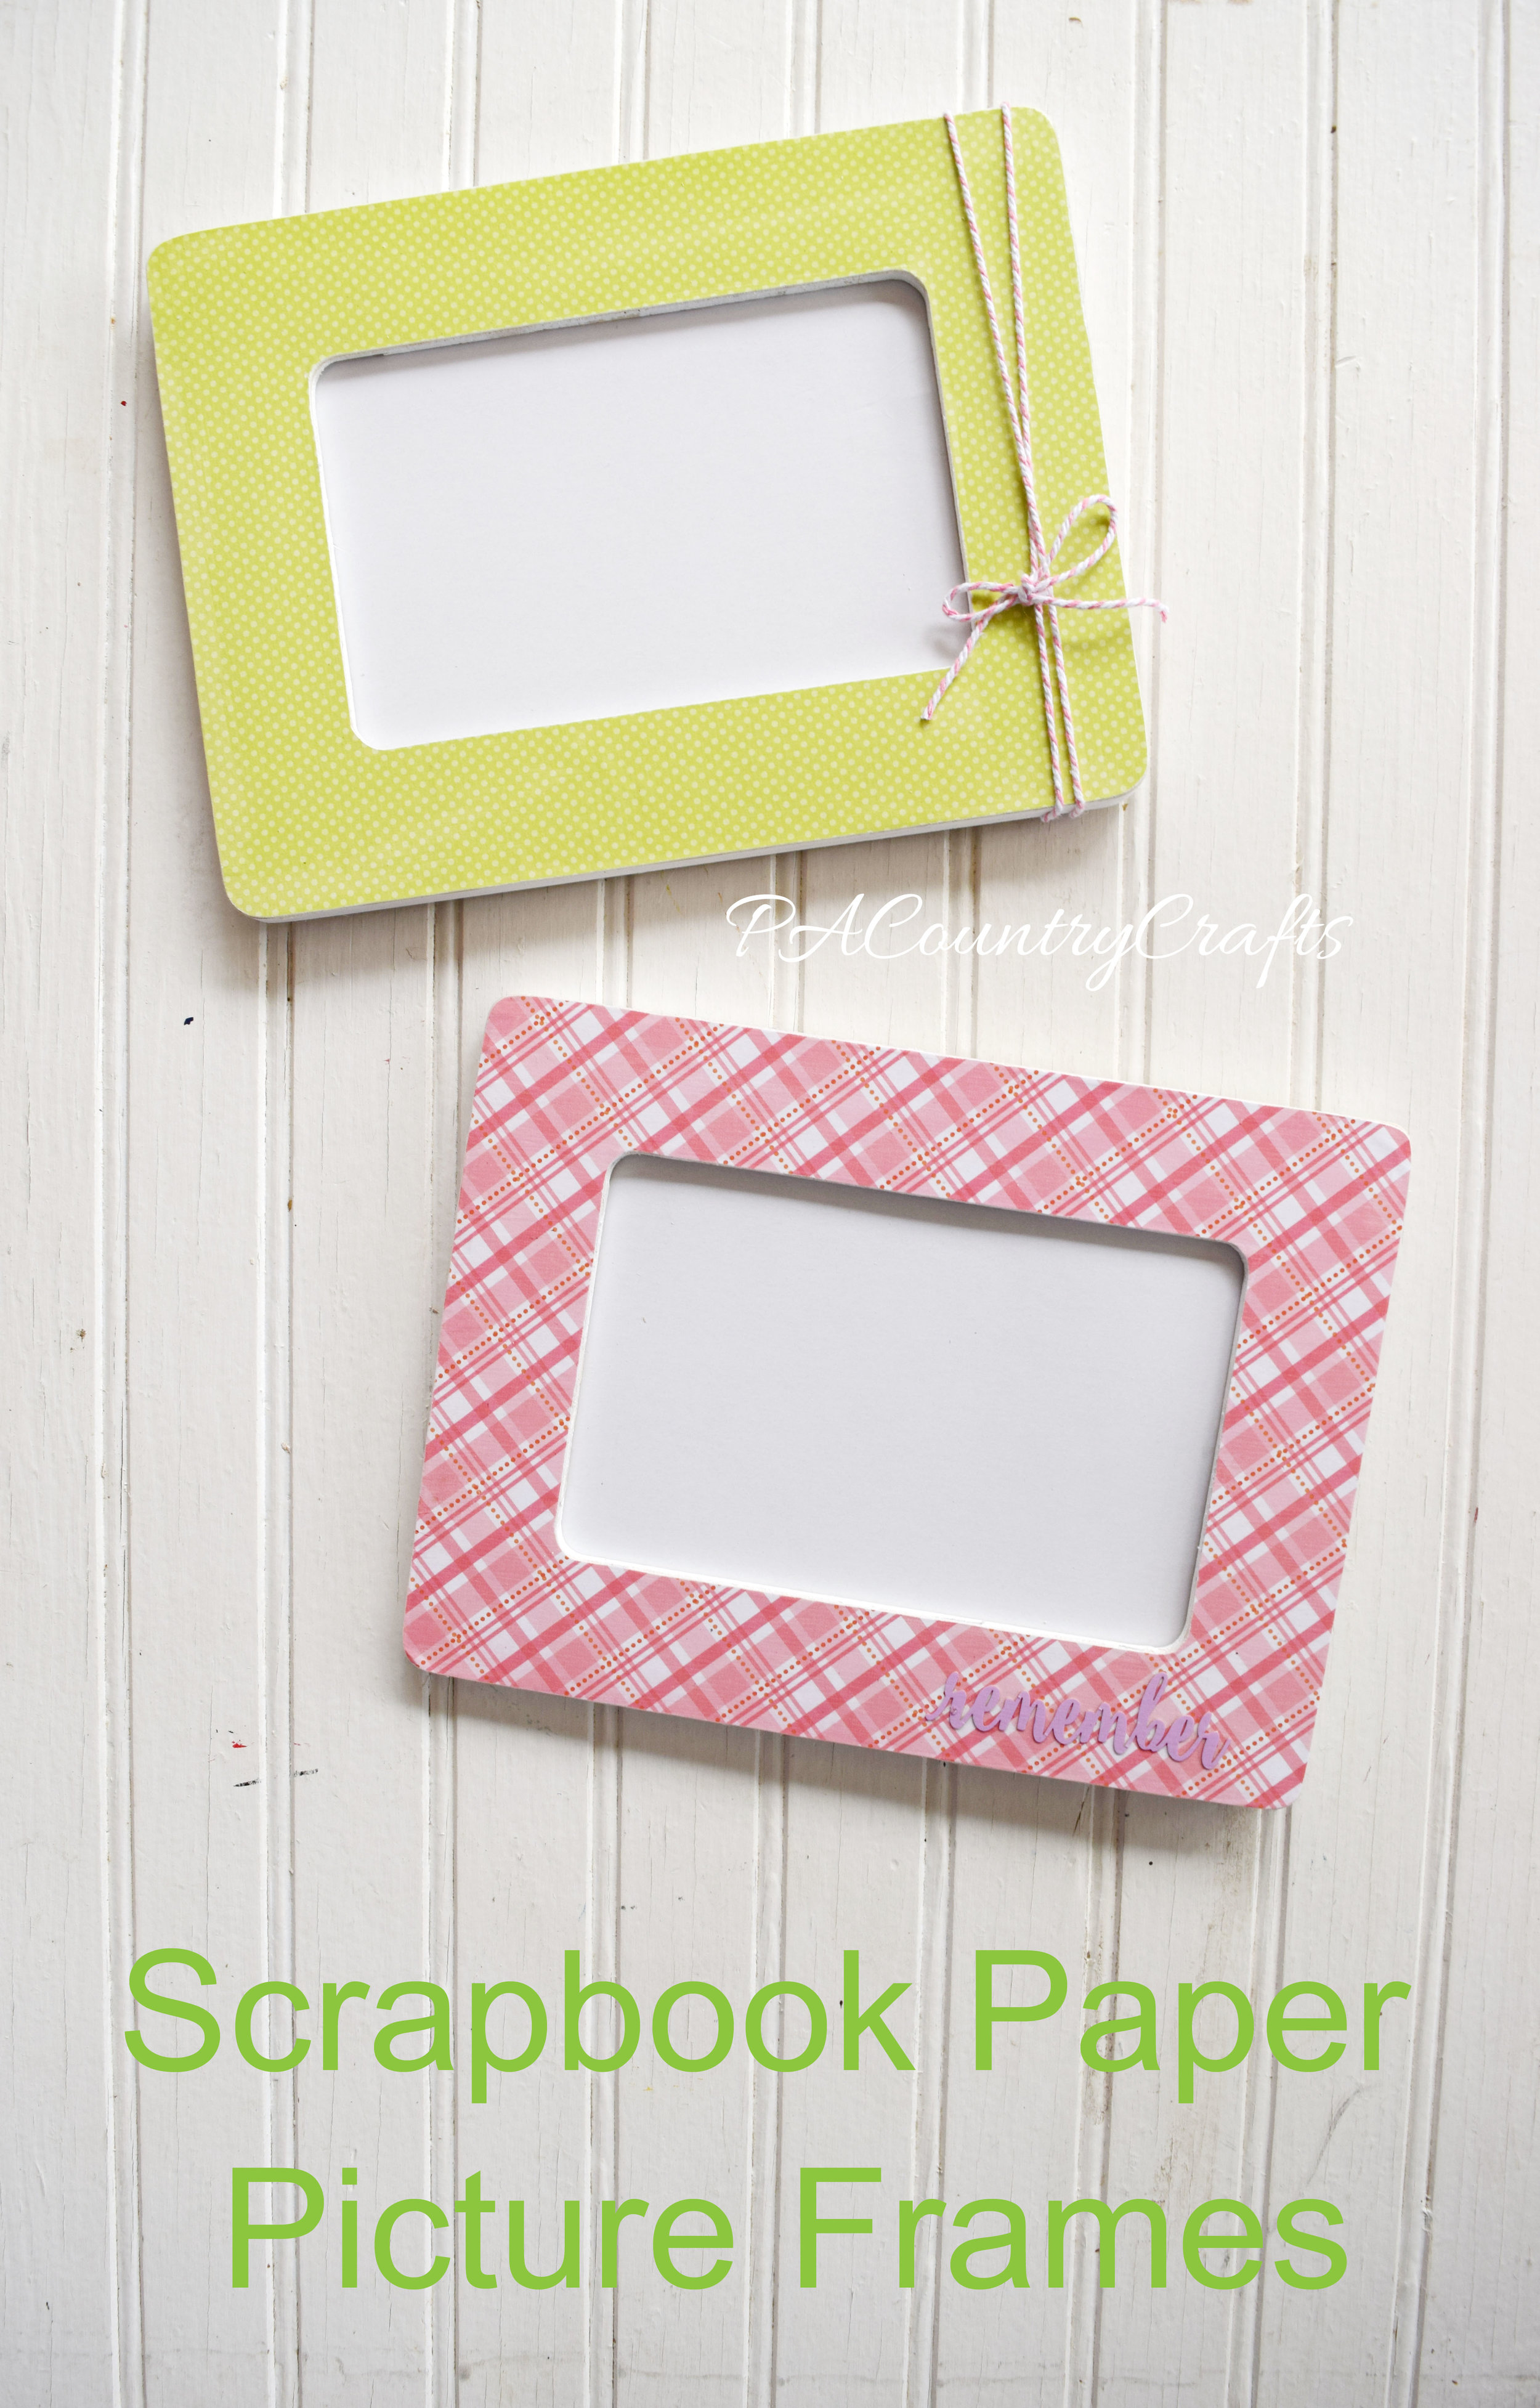
There is a lot that you can do with these. They don't take too long and don't cost much to make. If you mess up and get too many wrinkles, you can always rip the paper off, sand, and try again. Or, you can call it "texture" and just go with it. No one will see small wrinkles from across the room. Just you.
Feel free to pin it for later...
You may also like...


