
4th of July Fabric Buntings... Or Procrastination at It's Finest
/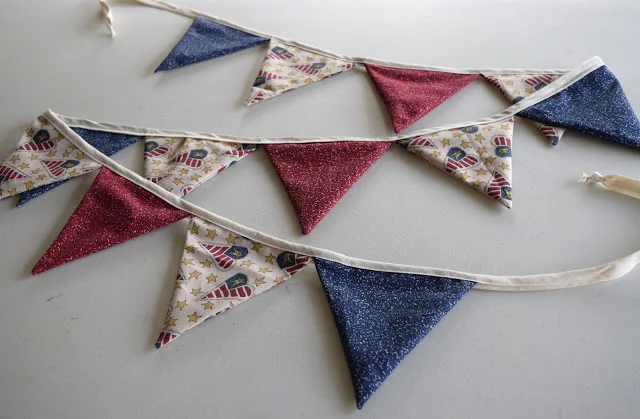
Make this simple July 4th fabric bunting using fabric triangles and bias tape.
Read MoreMake this simple July 4th fabric bunting using fabric triangles and bias tape.
Read More
I still have some of this paper doll fabric left (from HERE and HERE) and my girls love dressing up the dolls, so it was a given that I would include these pages. I made a few changes, though.
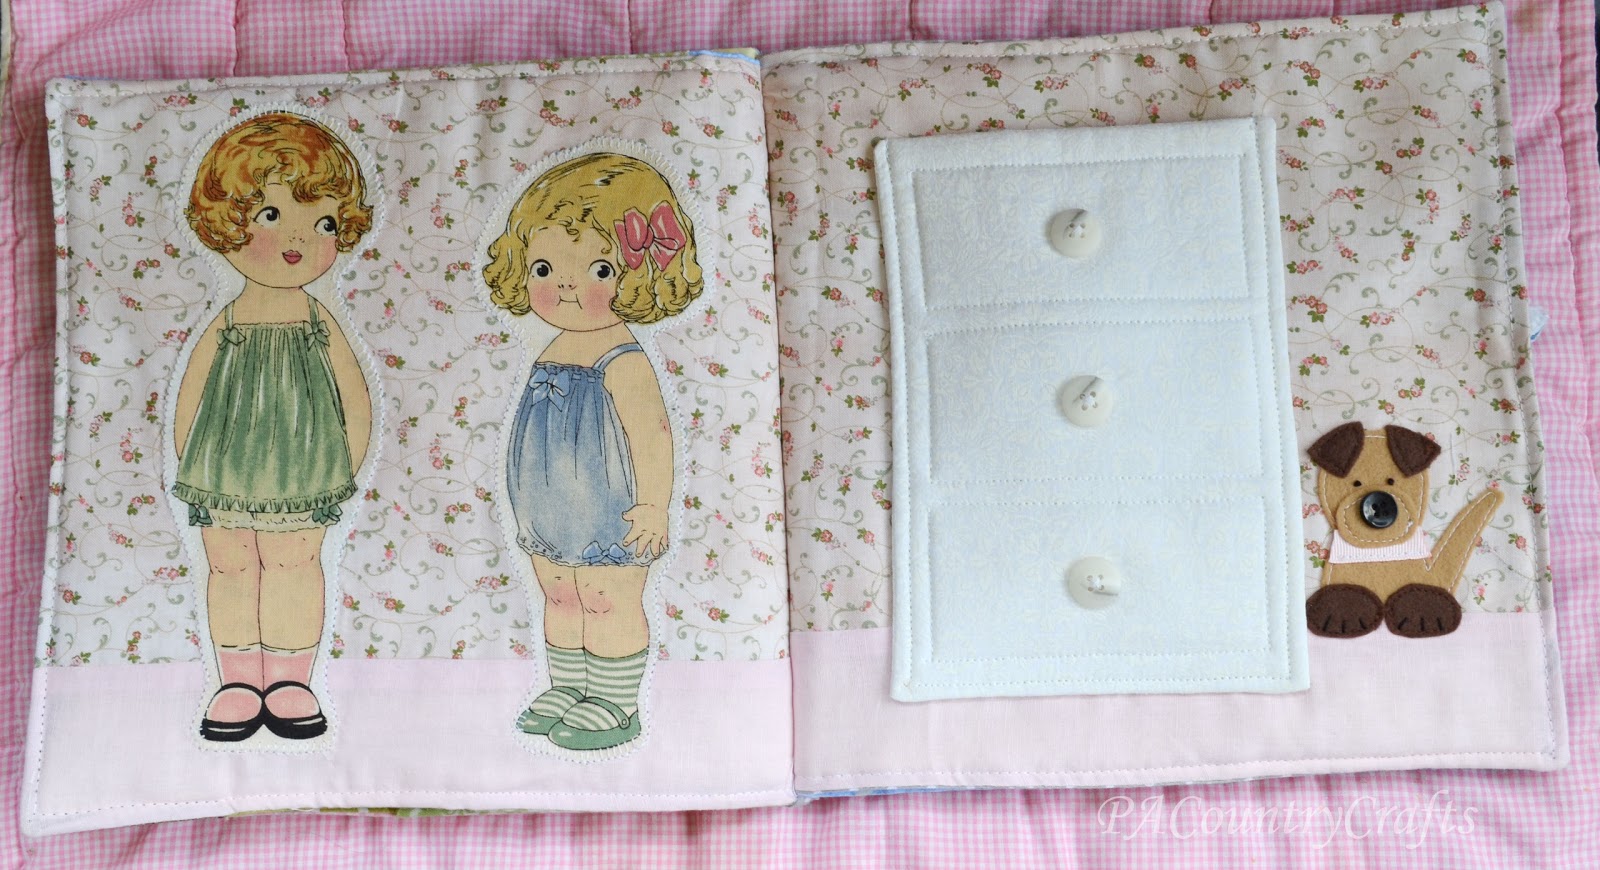
I thought the previous pages were a bit plain so I made it look like there is a floor by sewing a strip along the bottom. (It drives me crazy that they don't line up perfectly, but I broke a needle sewing the pages together and wasn't about to redo it.) I made the dresser in white instead of brown and moved it to the left. To the right of the dresser I added a felt dog. I think he is pretty cute!


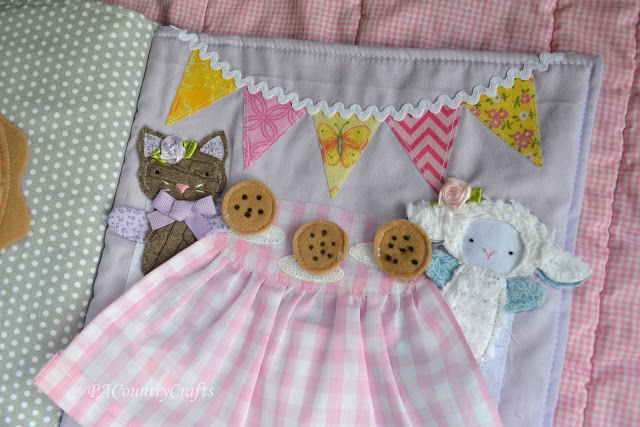
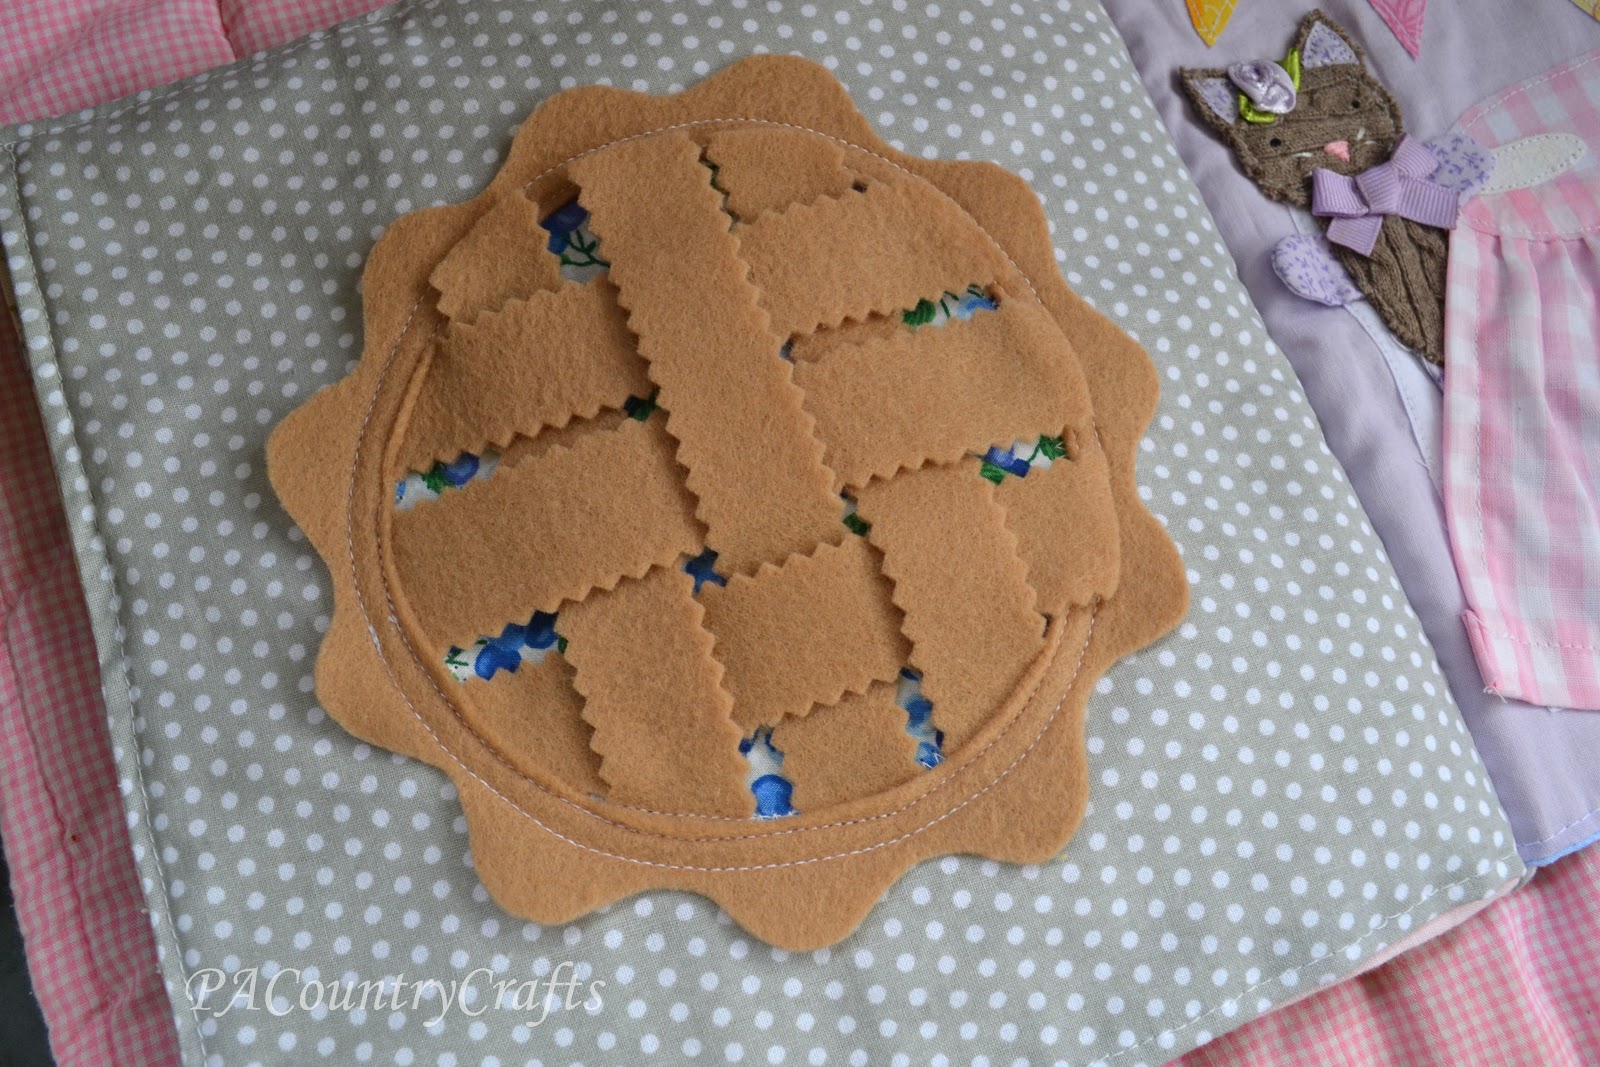
One of these pages is simple and the other... not so much.

The pie page is pretty easy. I made some HERE and HERE. I really like the gray background on this page, though. I am almost out of the blueberry fabric by now. I don't know if I can make any more of these.


There is still room for storage underneath...

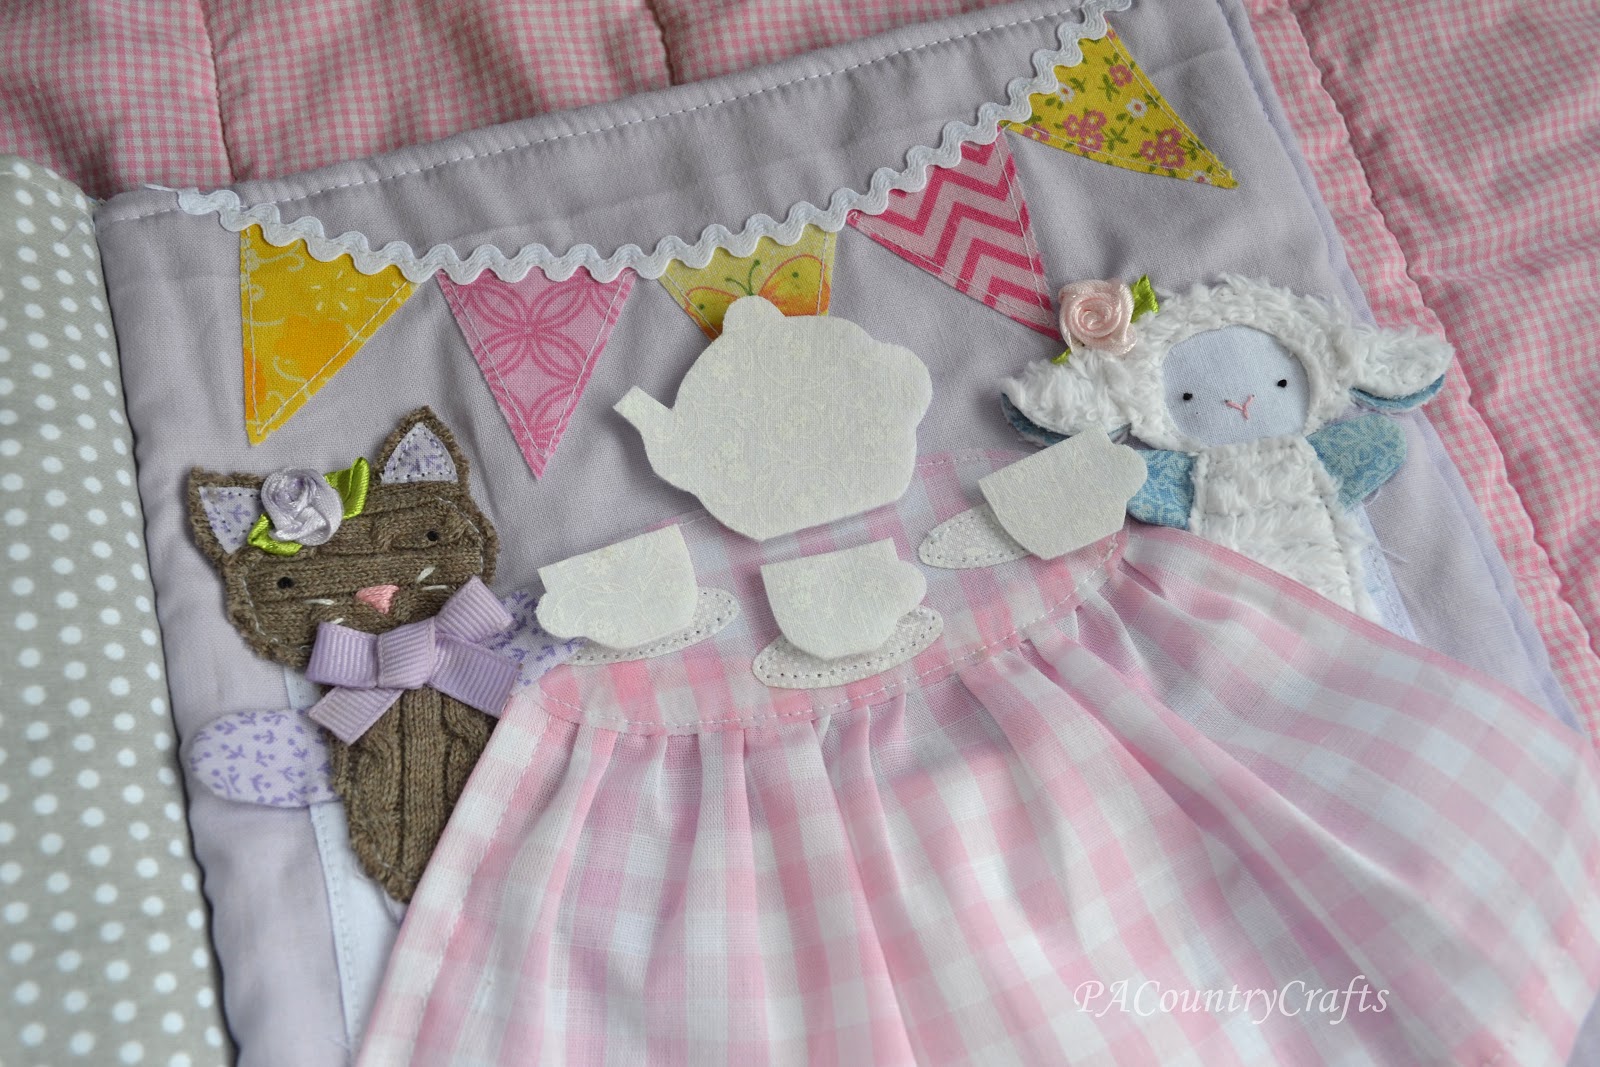
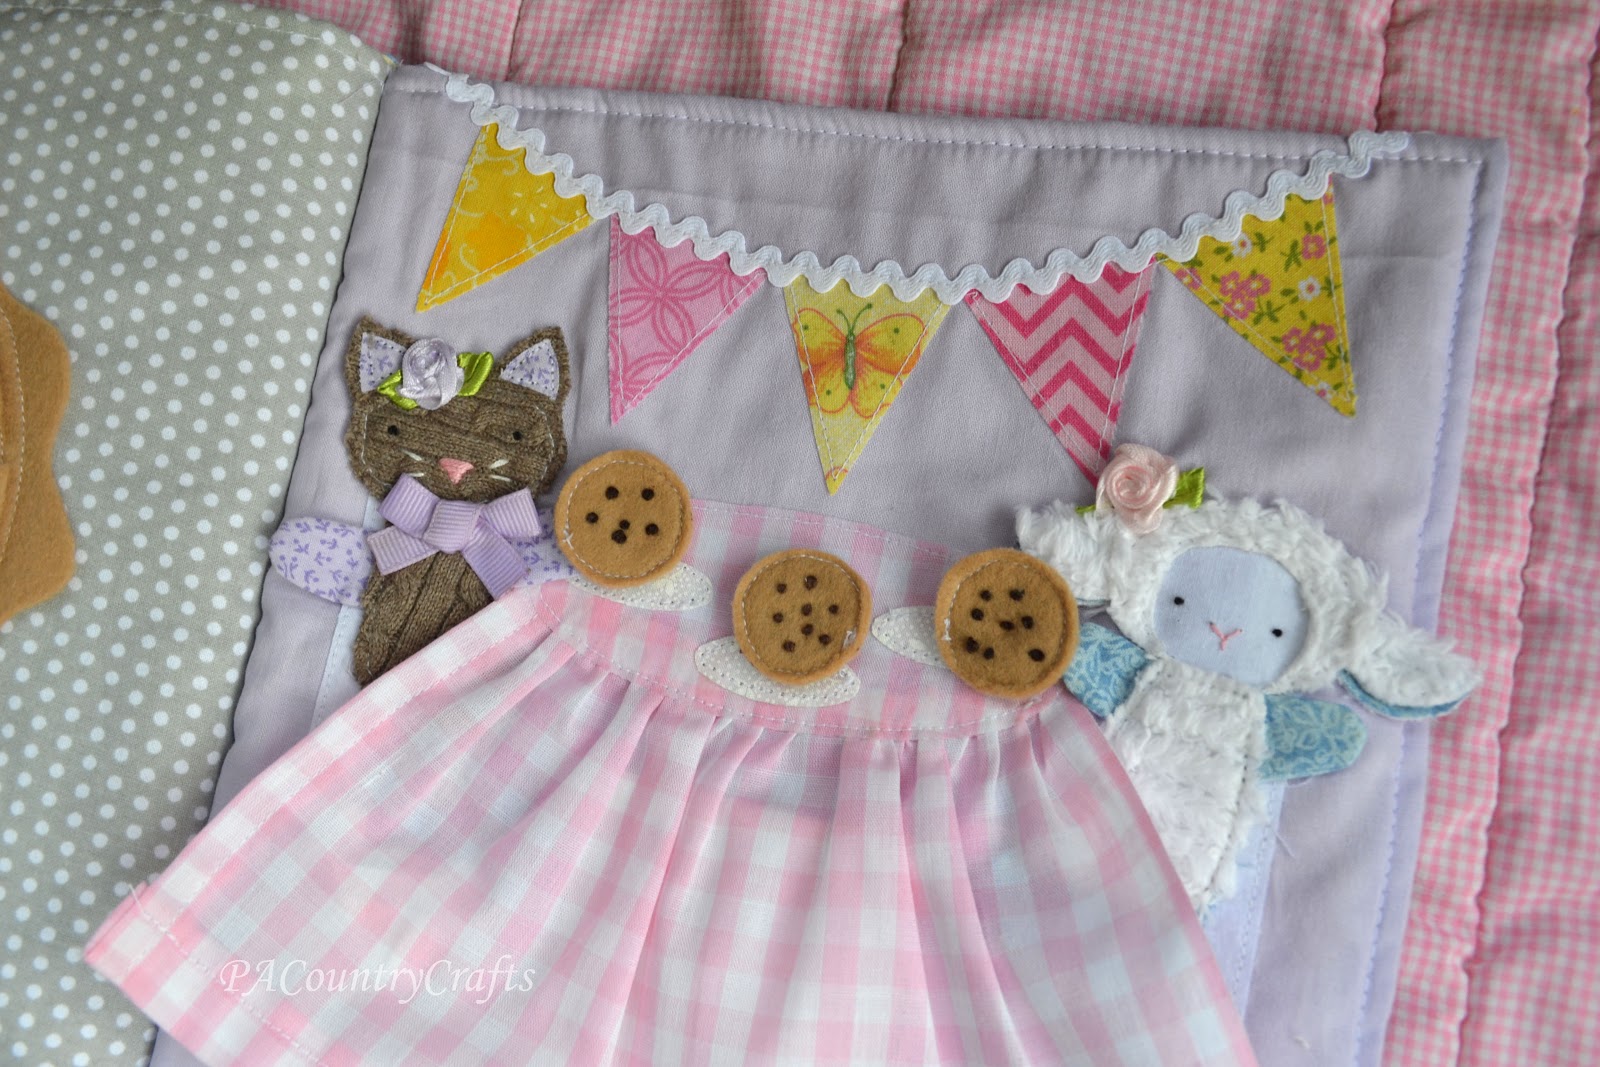
The extra plate in the center is for Lily, of course. Her grandmother said that they like tea, so I hope they liked this page.

These pages are my FAVORITES!!!!
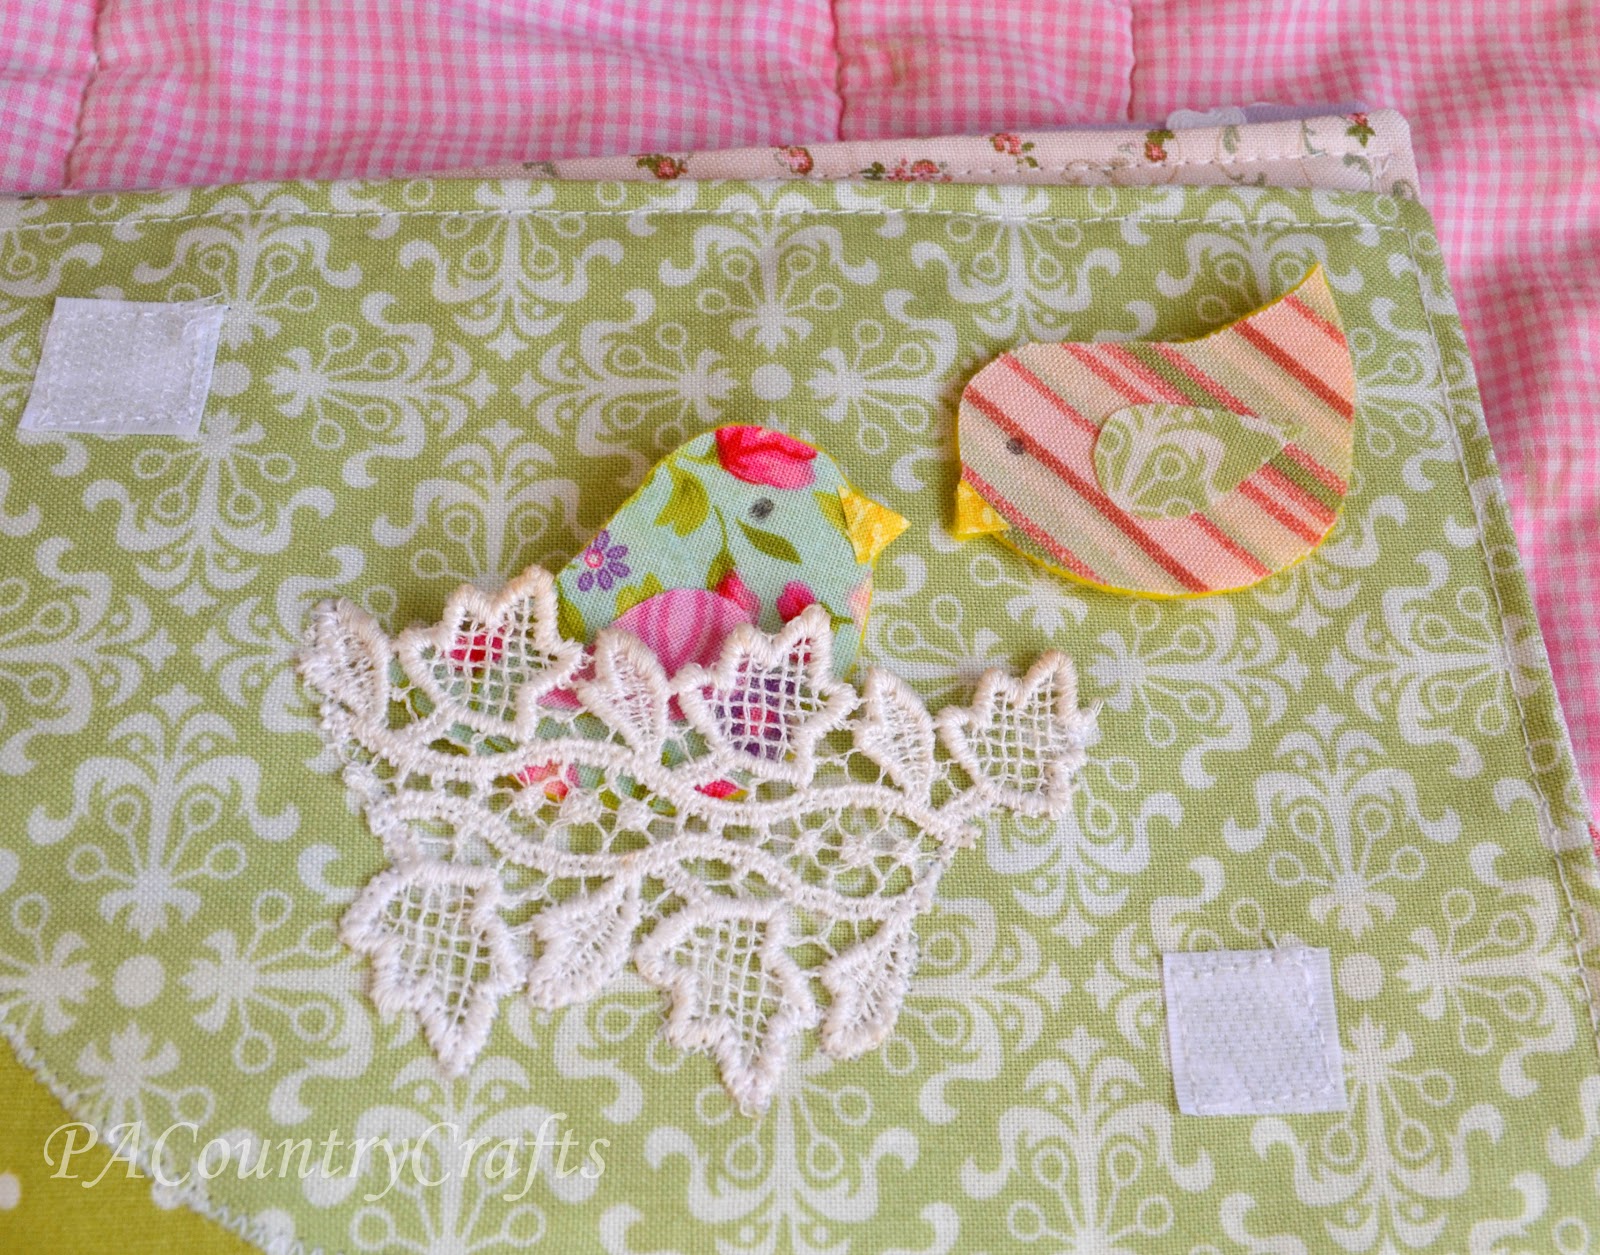
It is a little forest camping scene. OK, there is only one tree. It is a clearing. Use your imagination.


 |
| I really love the flying squirrel! |


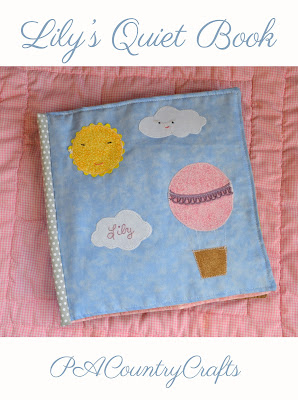
Like I said before, I kinda' stalked my cousin on facebook to figure out what they would like. That sounds creepy. Let's call it creatively brainstorming ideas. I knew Lily's mom is talented at photography and sewing, so I incorporated that into the book.


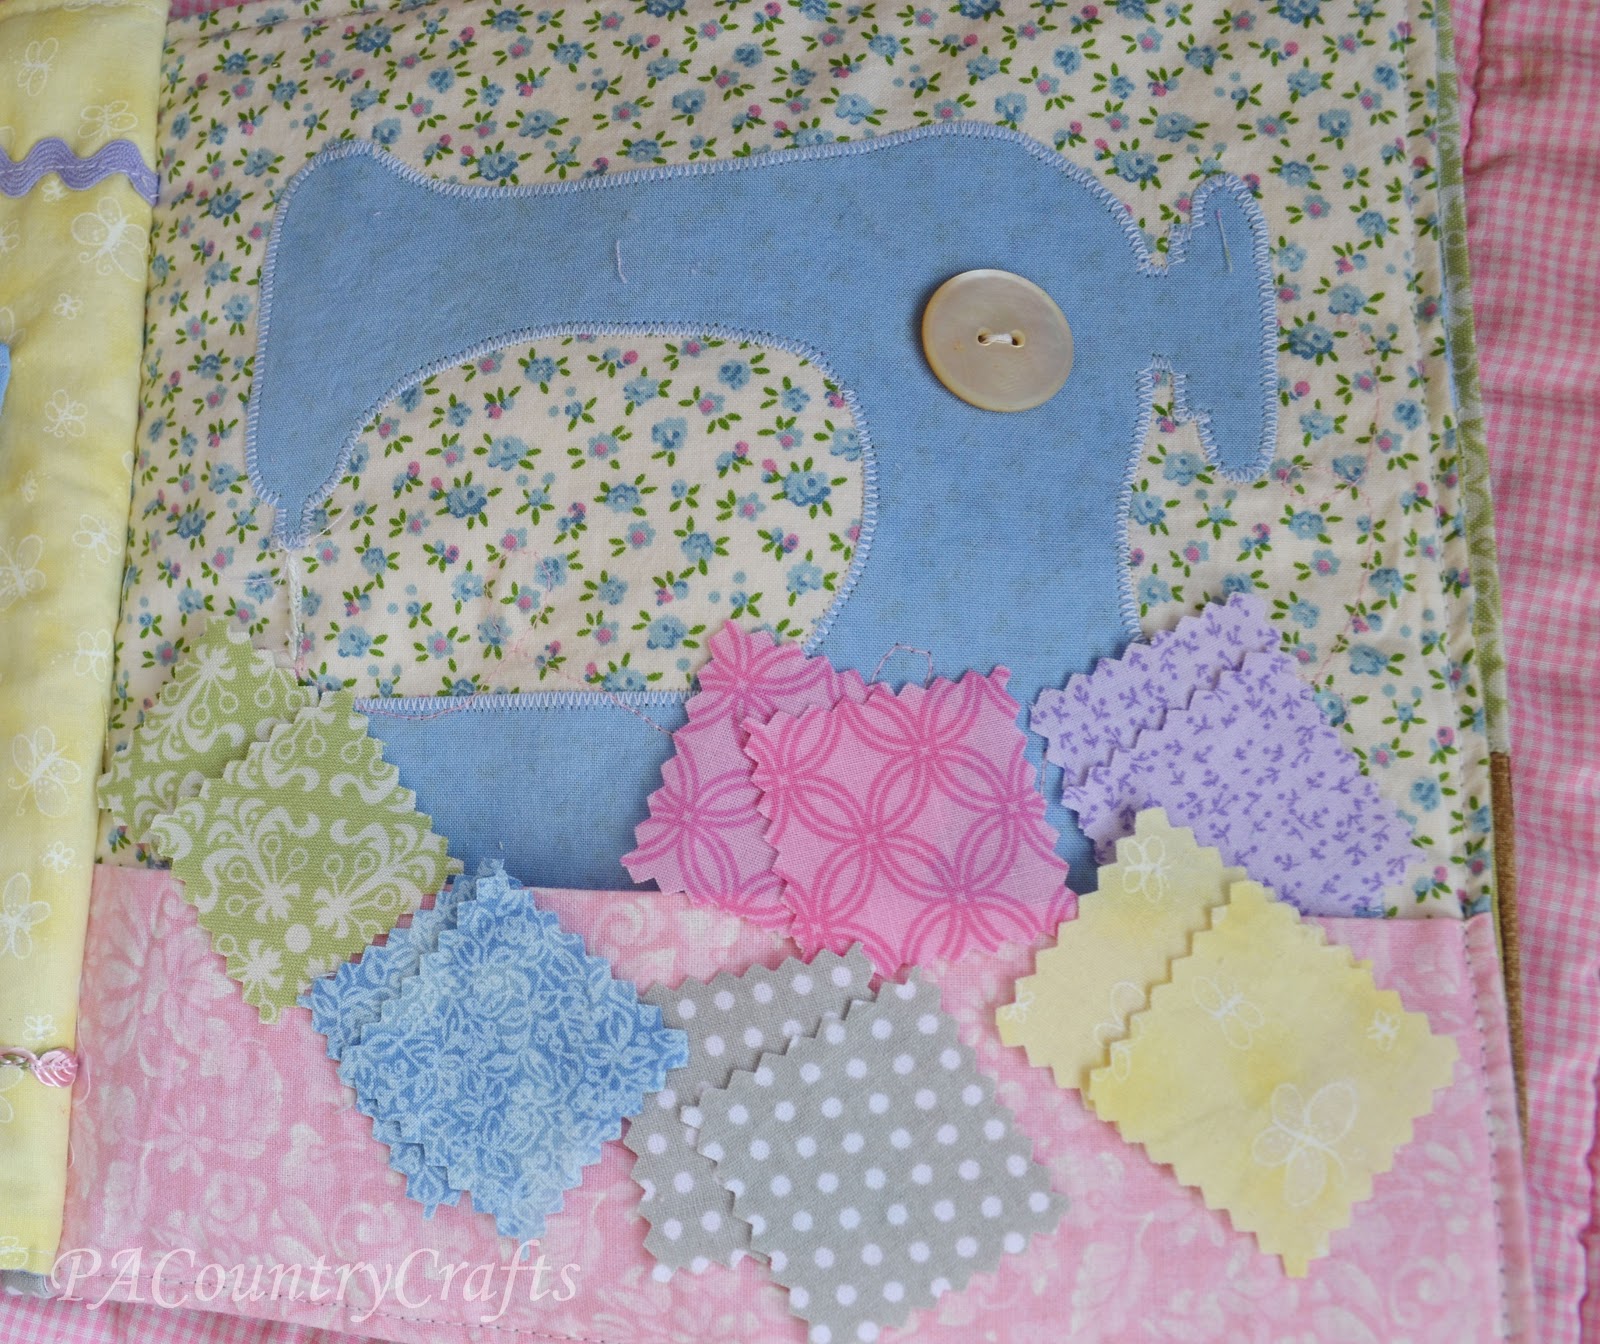

I also made a little memory game with this adorable farm fat quarter that I got at Joann's. I fused it to some purple fabric and fussy cut the squares to make pairs. The only thing that I don't like is that you can see through the purple if you look closely enough. I am hoping a 2yo won't notice. Maybe it will give her parents an edge. I know I could use one when playing Memory with the kids!

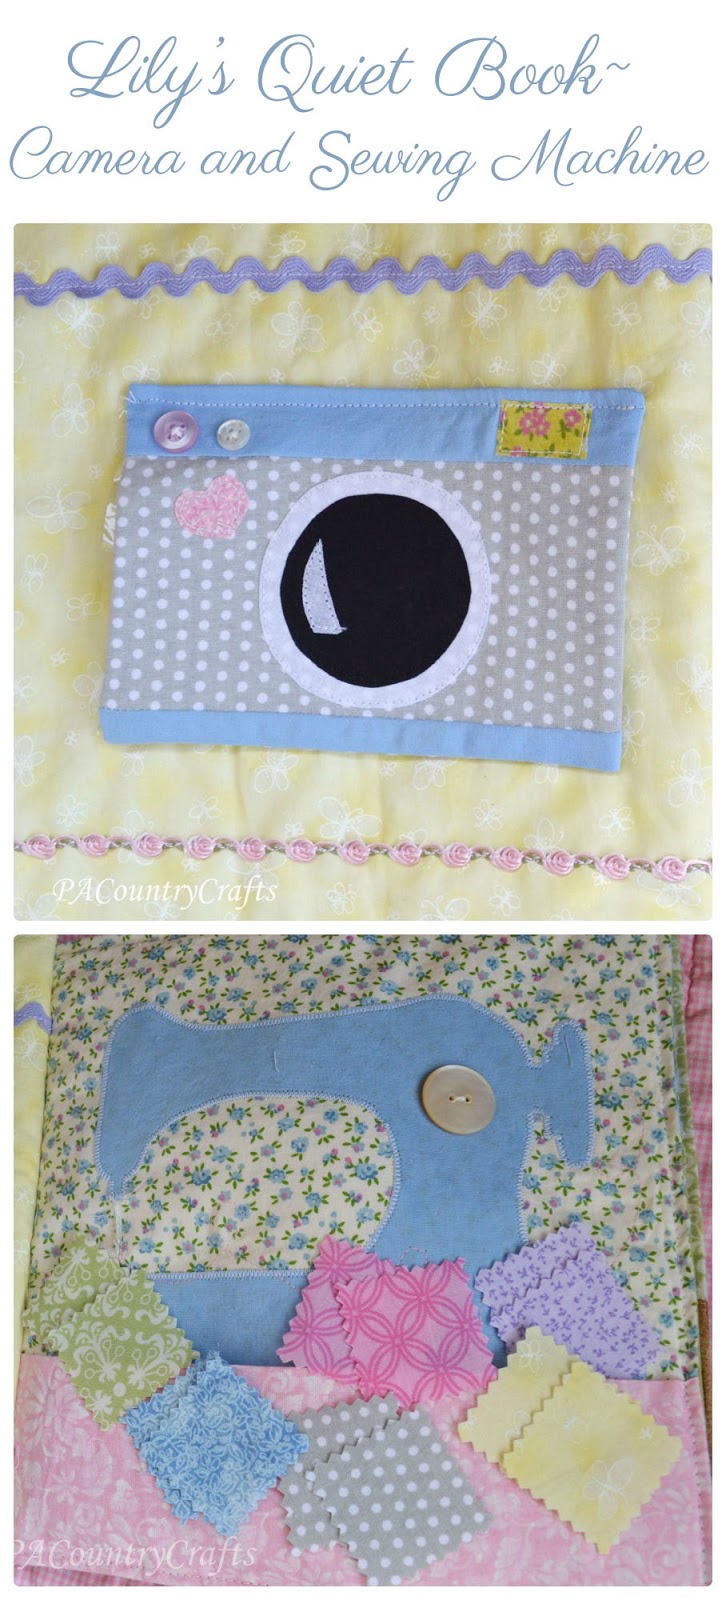


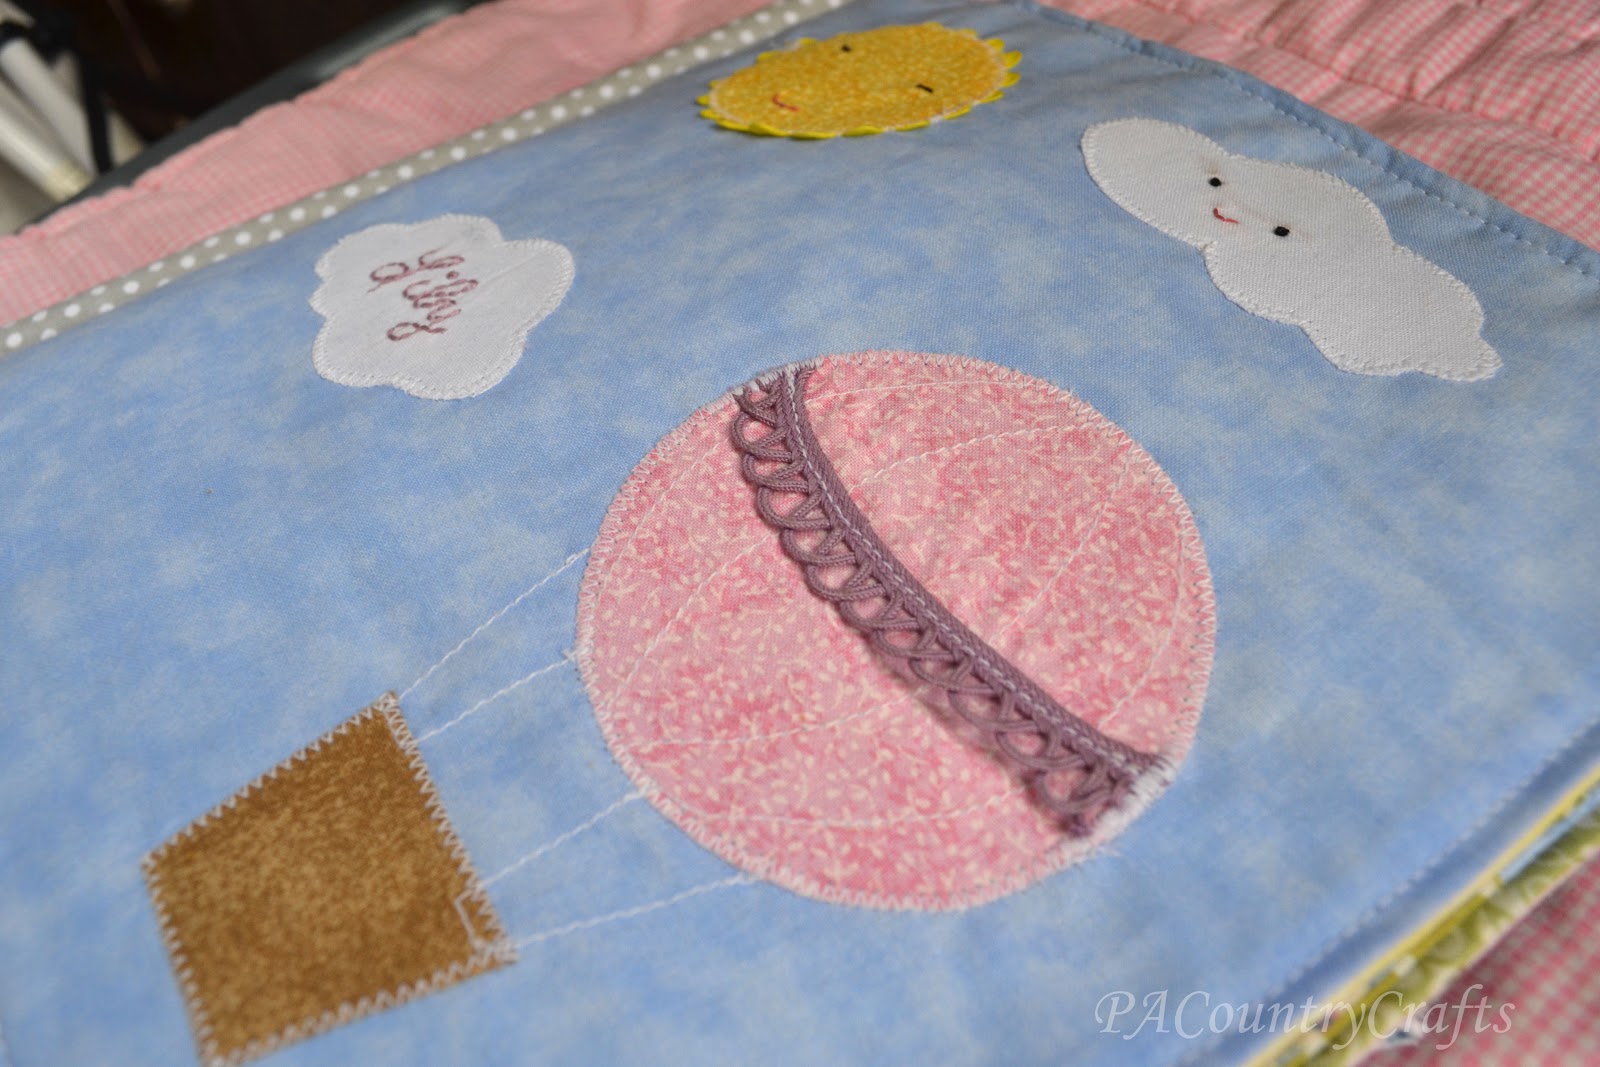


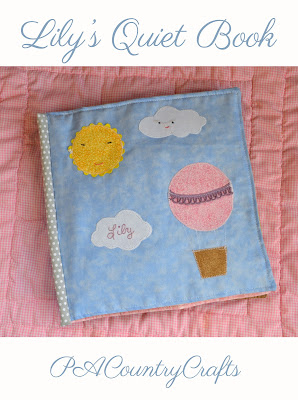
Since this one was going so far away I added a label with my initials and the year embroidered onto it. Also, if you look close you can see my stitches for the binding- I do it just like quilt binding and fold the ends over and tuck them in at the top and bottom.


Happy World Doll Day! In honor of this day, I would like to encourage you to use up some of that scrap fabric (I have WAY too much!) and make some doll clothes for organizations that donate dolls to children who could use a little joy in their lives. Here are some that I have found- some accept clothing donations and some do not but you may be able to help in some way or be inspired to start your own organization:
The Broken Doll - restores dolls and gives them to girls in foster care and hospitals
Broken Dolls Healing Hearts - creates care packages for children, including restored dolls
Hope Through Broken Dolls
Janie's Dollys for Recovery - dolls for girls undergoing extensive medical procedures
If you know of others, please share the info!
To get you started, I have a free doll dress pattern and tutorial for you today! This is a doll-sized version of the teen peasant dress from yesterday.
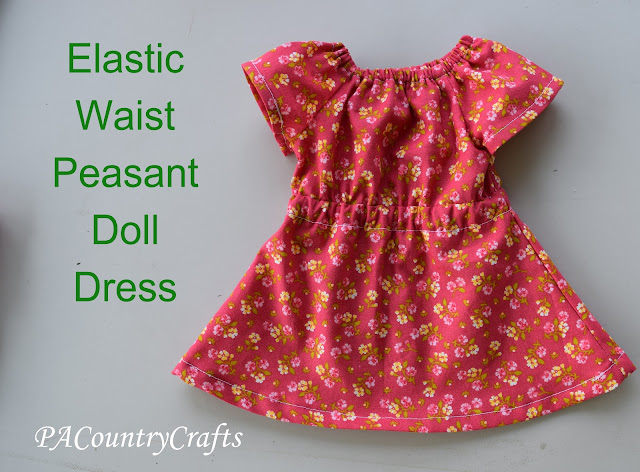
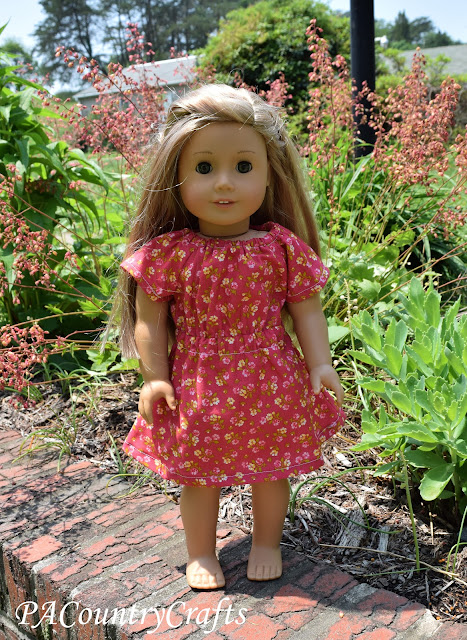
This really isn't too hard. I whipped this one up in about a half hour. It will fit an 18" doll like American Girl, Our Generation, or My Life. It would probably work for smaller dolls with some adjustments on the elastic length.
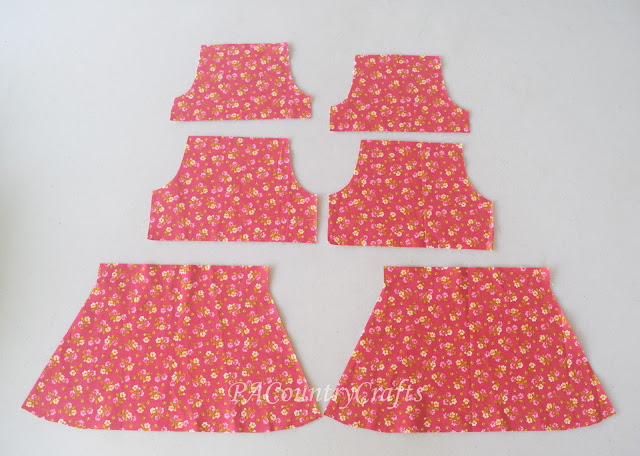
UPDATE 11/2019 - I now have a printable pdf pattern and step by step tutorial posted on the blog! See it HERE.
I am still working on the pdf pattern (which means it is burried on my sewing table somewhere) but you can cut these pieces with measurements.
Sleeves: 7" wide by 4 1/2" high
Tops: 8" wide by 5 1/2" high
Arm Scythes: 1 1/2" wide by 3" high (just curve it a little as shown)
Skirt: 7 1/2" high, 8" at waist, 14" at bottom (make initial slit 1" deep)
Waist elastic: 12" (1/4")
Neck elastic: 8 1/2" (1/4")
The sewing process is the same as the teen peasant dress (see THIS post for instructions!) The only differences are that I used a smaller seam allowance- 1/4" and made the elastic casings a tiny bit smaller. Also, it would probably be easier to hem the sleeves before sewing the sides.
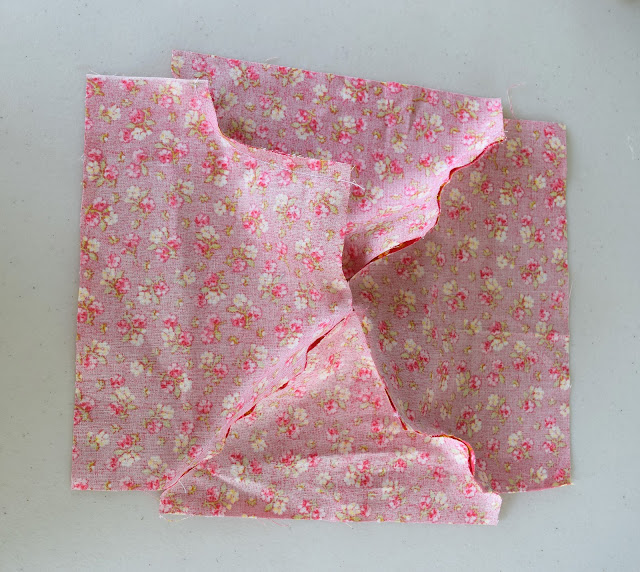
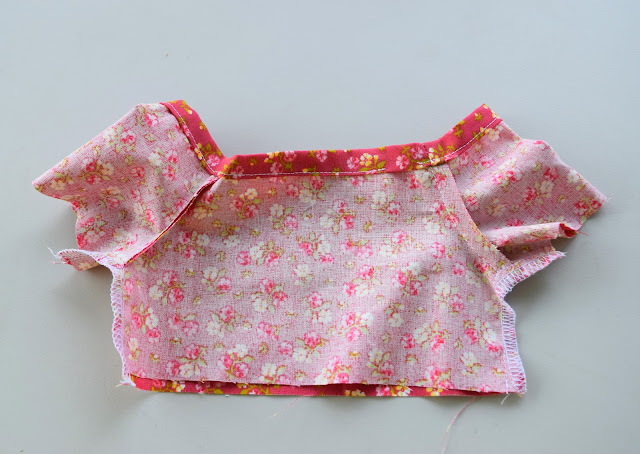


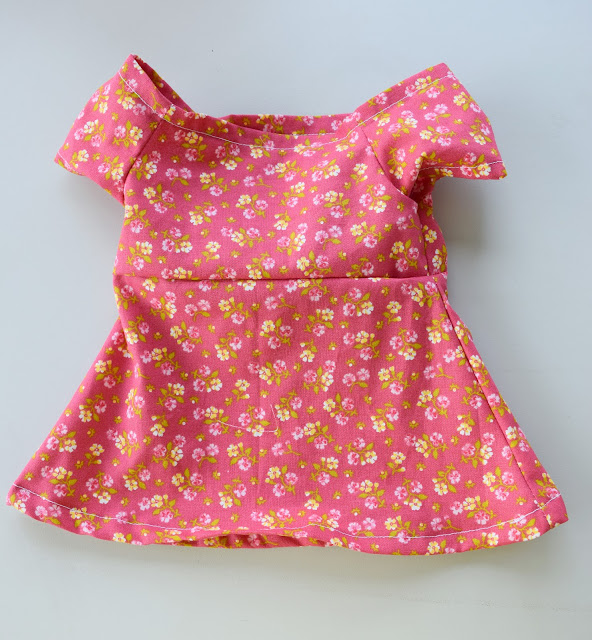
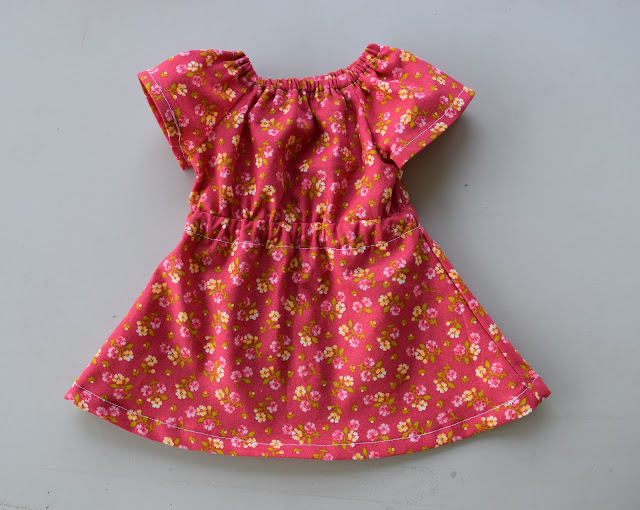
It is really very straightforward. Just follow the same directions I gave HERE.
If you want to make puffy sleeves with elastic casings, increase the width to 9" and the height to 5".
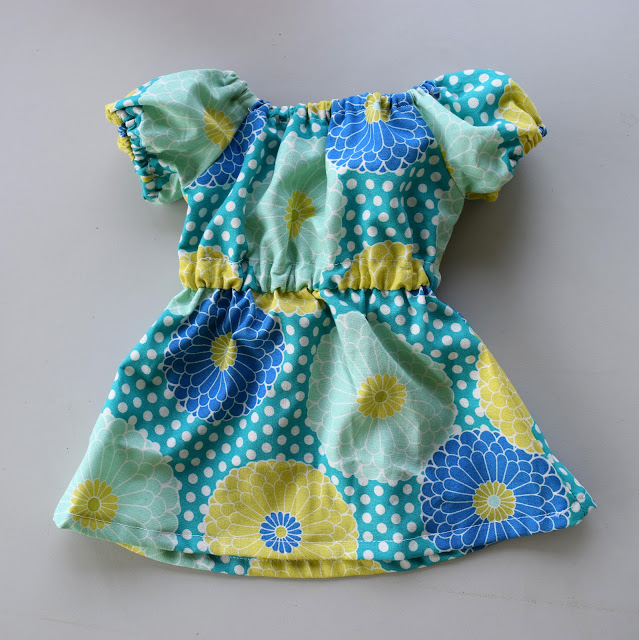
Please use this pattern for personal, non-commercial, or charity use only. If you make one or more of these I would love to see it! You can contact me via facebook or email pacountrycrafts at gmail dot com.

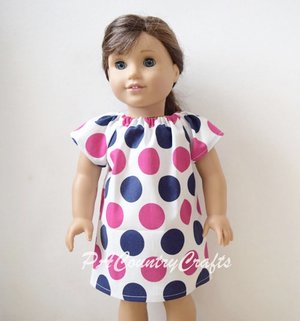
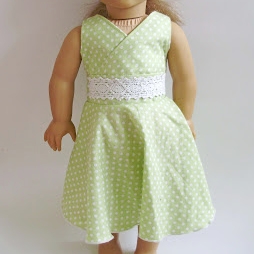
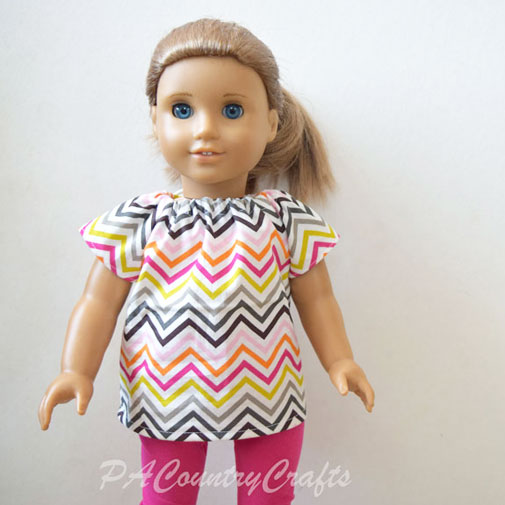
I have other free doll clothing patterns available, too! They are all made to fit 18" American girl dolls. You can see them all under my tutorials menu, but here is a sampling:
Sewing, crafts, tutorials, recipes, and a little look at our life in the country - raising half a dozen children.
Hi! Thanks so much for stopping by! My name is Lindsay and on this blog you will find sewing, crafts, decorating, recipes, and tutorials with a little bit of honesty and encouragement.