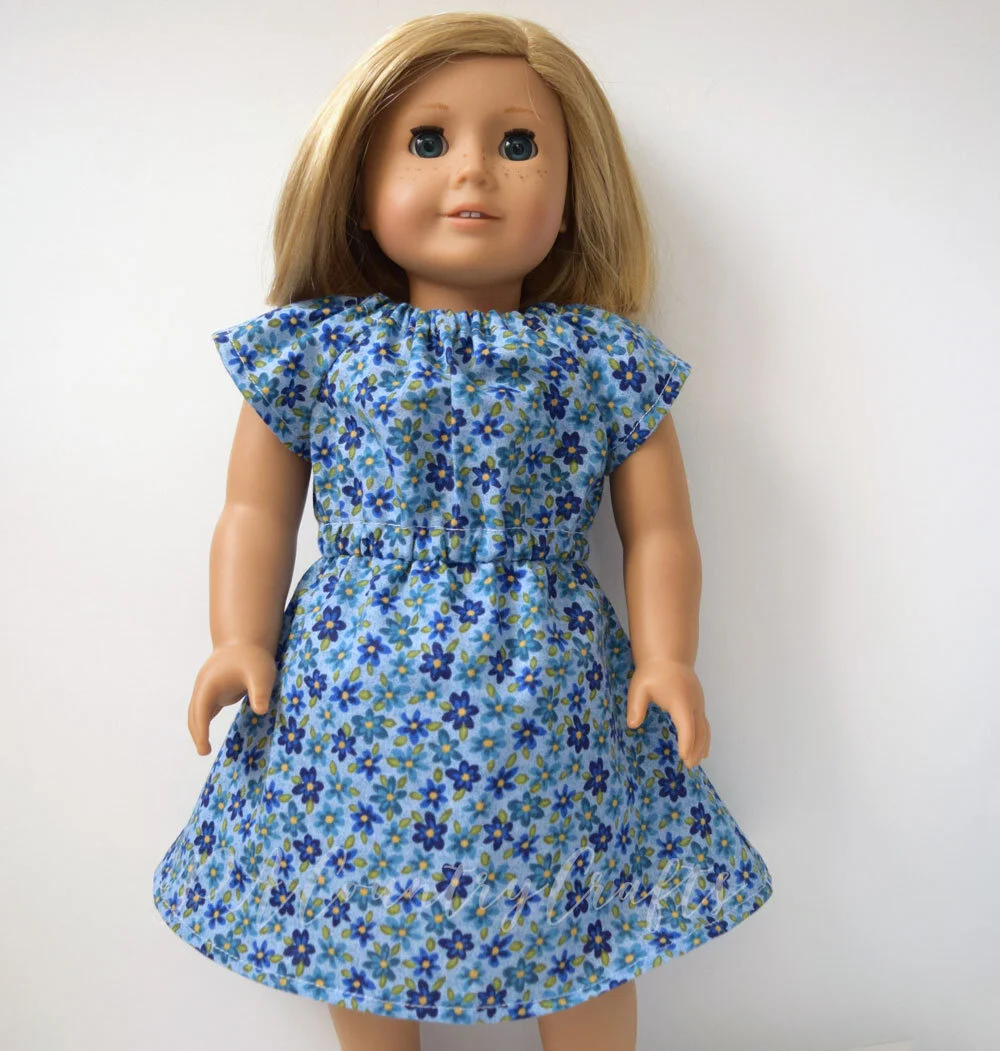
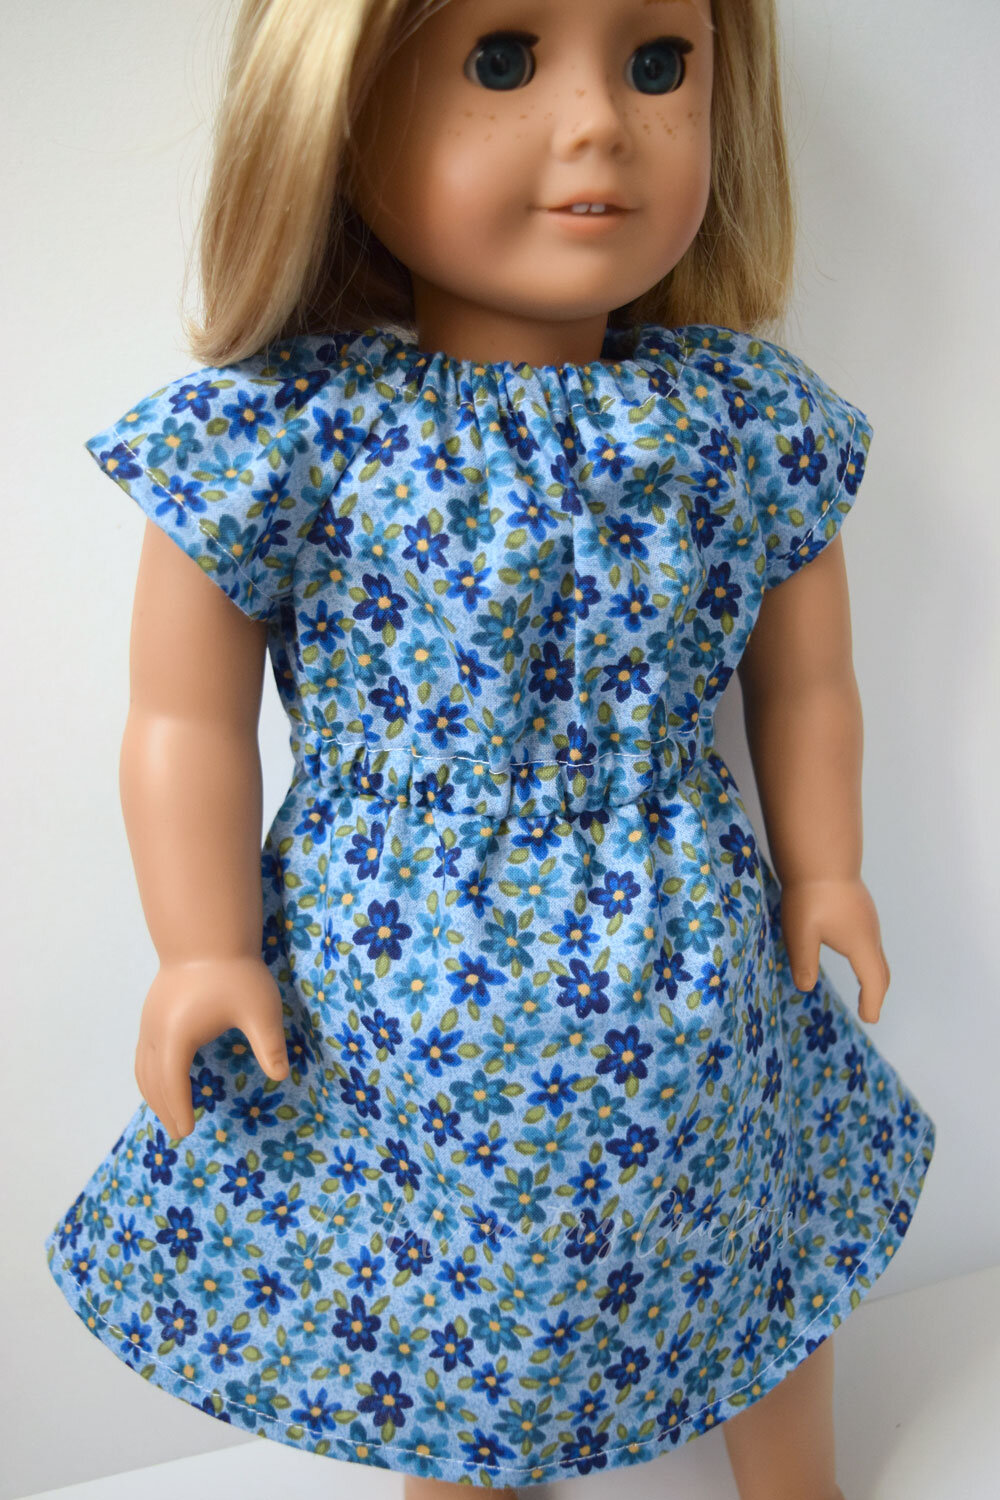
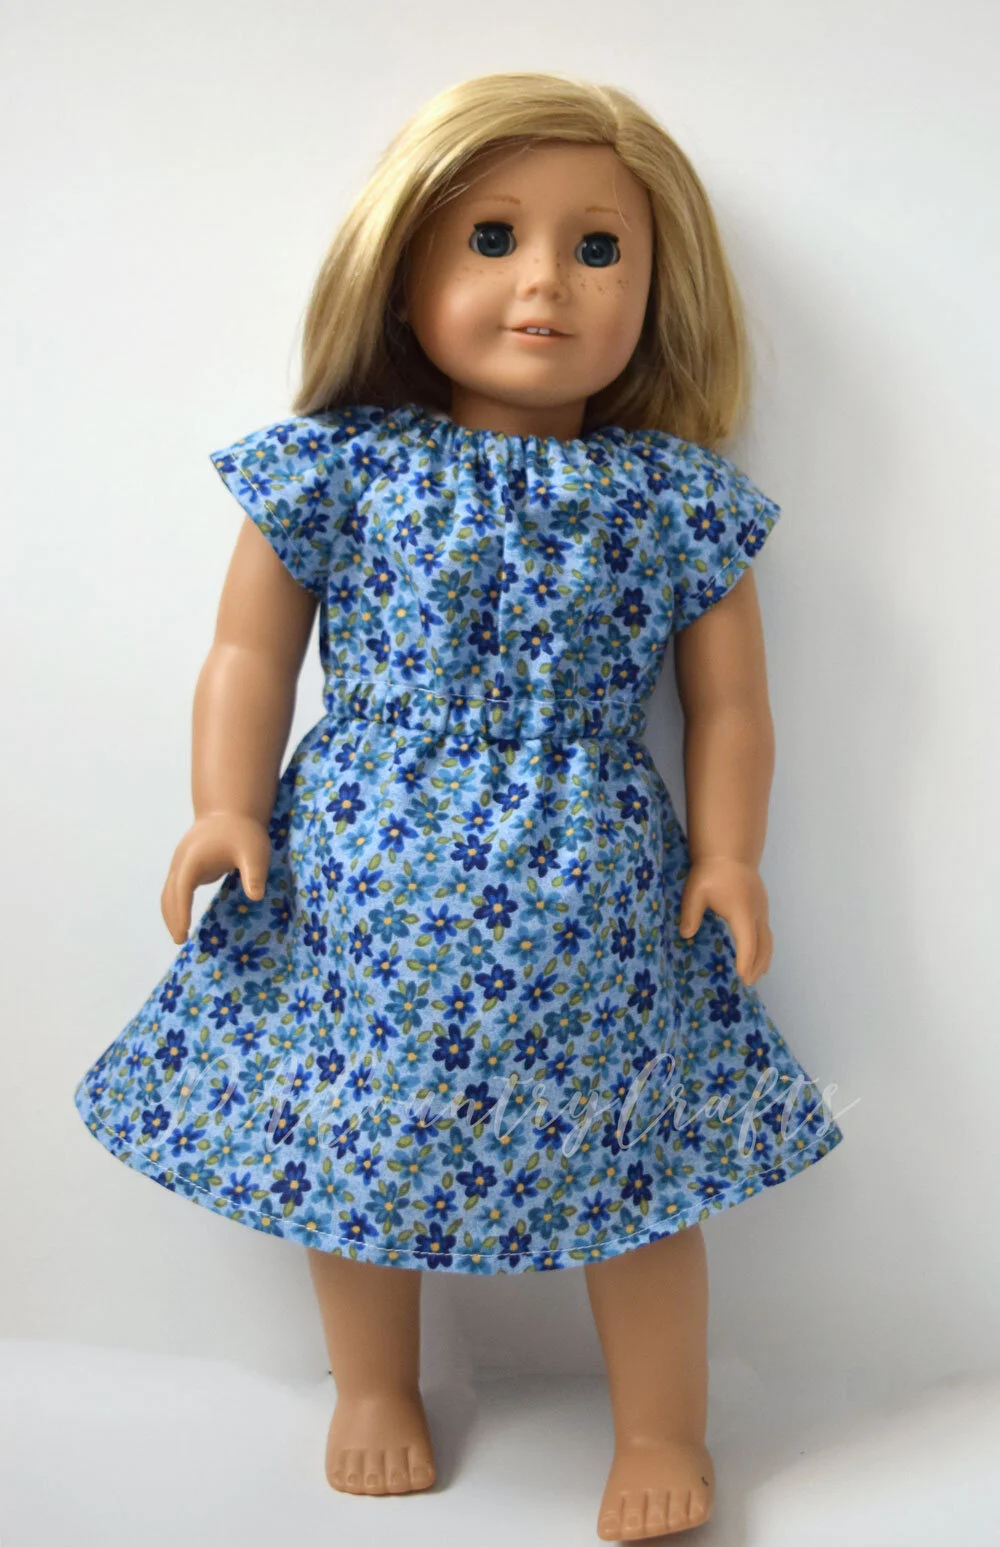
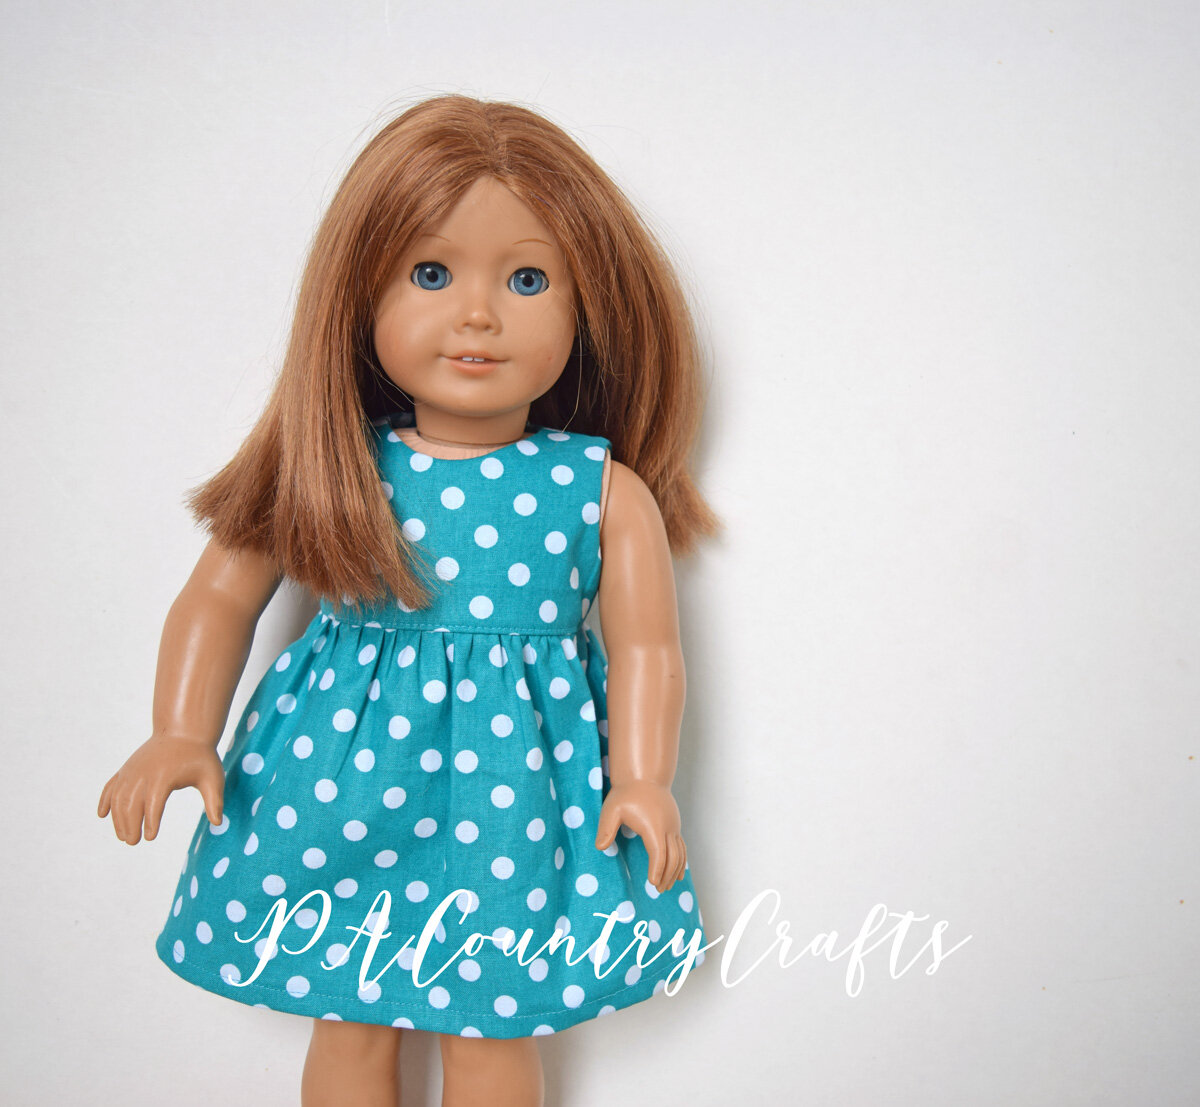
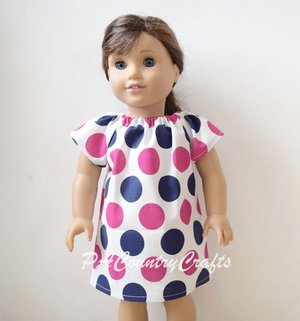
Elastic Waist Doll Dress Pattern and Tutorial
/A few years ago I released a free doll dress tutorial based on my teen peasant dress tutorial. I gave cutting instructions but no printable pattern. I had quite a few requests for a printable pdf file, so I made one. But I also wanted to take pics for a full tutorial so that all of the instructions were in one place. It just wasn’t high on my list of priorities. So, this past weekend I made a point of finally getting it all done so that I could share the full pattern and tutorial on the blog. My camera batteries were dying on me, so this is not my best work, but I was determined to keep going and procrastinate no longer!
This dress is another variation of the peasant doll dress pattern I designed (see it HERE). The elastic sleeve version (HERE) is a tiny bit more difficult and I would say that this one is just a bit harder than that the elastic sleeve dress. I have found that these doll peasant dresses are great for teaching girls to sew so the increasing difficulty is helpful.
Without any further ado (there has been too much ado already) here is the Elastic Waist Doll Dress Tutorial!
You can download and/or print the free printable pattern by clicking on the box below:
Use a 1/4” seam allowance unless otherwise indicated!!!
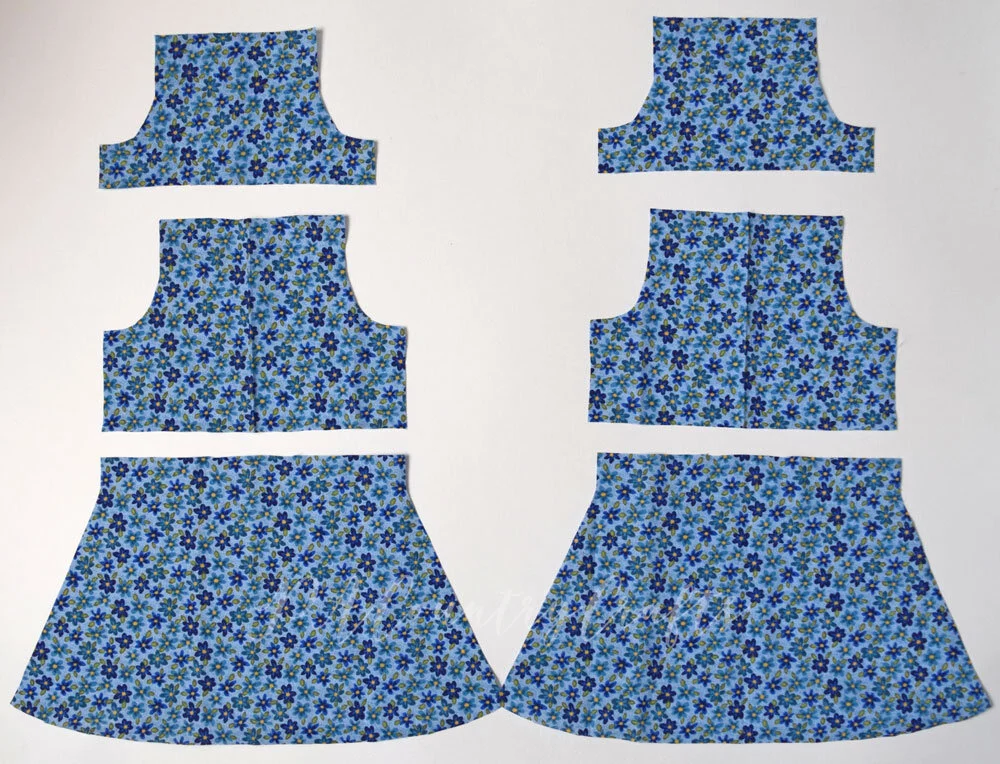
Cut all of the pieces- two sleeves, two bodices, and two skirts. I did not indicate grainline on the pattern pieces, but you want the grainline to be vertical on each piece.
Now, there are a few different ways that you can sew this dress. It is actually quite a bit easier to hem the sleeves first!!! I forgot when I took these pics, and it does make a slightly nicer finish in the end, but feel free to choose your own path.
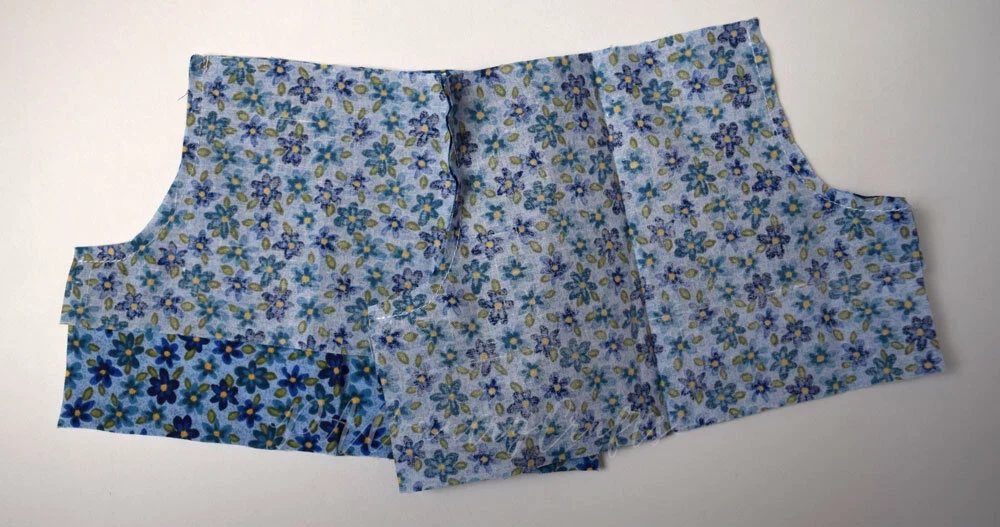
Sew a sleeve to the right side of each bodice piece. I drew some really sloppy lines to indicate stitching since the thread didn’t show up well.
Sew the sleeves to the left sides of the bodices so that everything is connected: sleeve-bodice-sleeve-bodice.
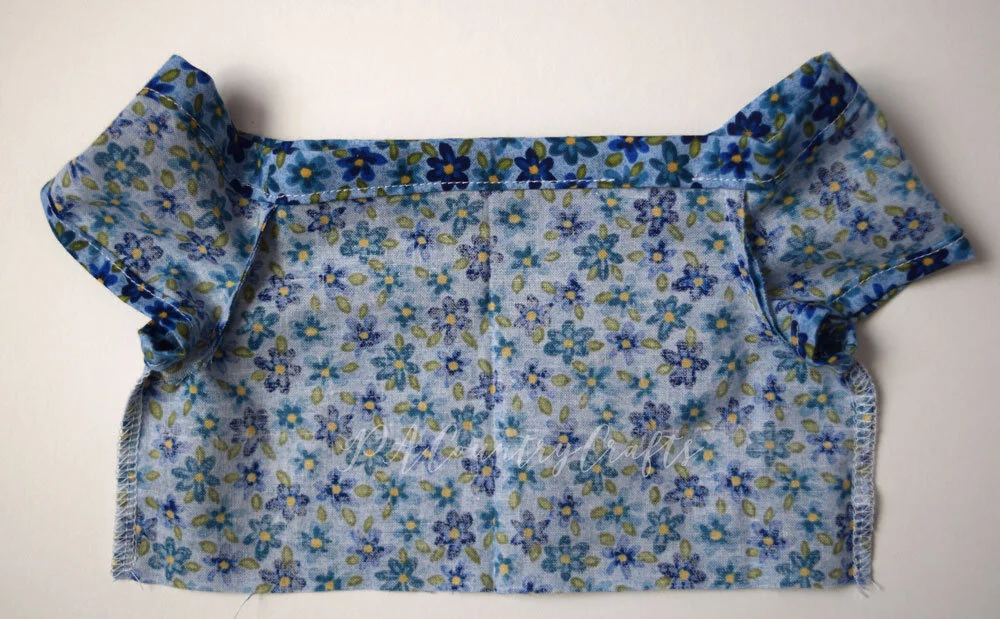
Sew the sides together from the bottom of the sleeve to the waist. Make sure to nest the seams and sew them in opposite directions!!!
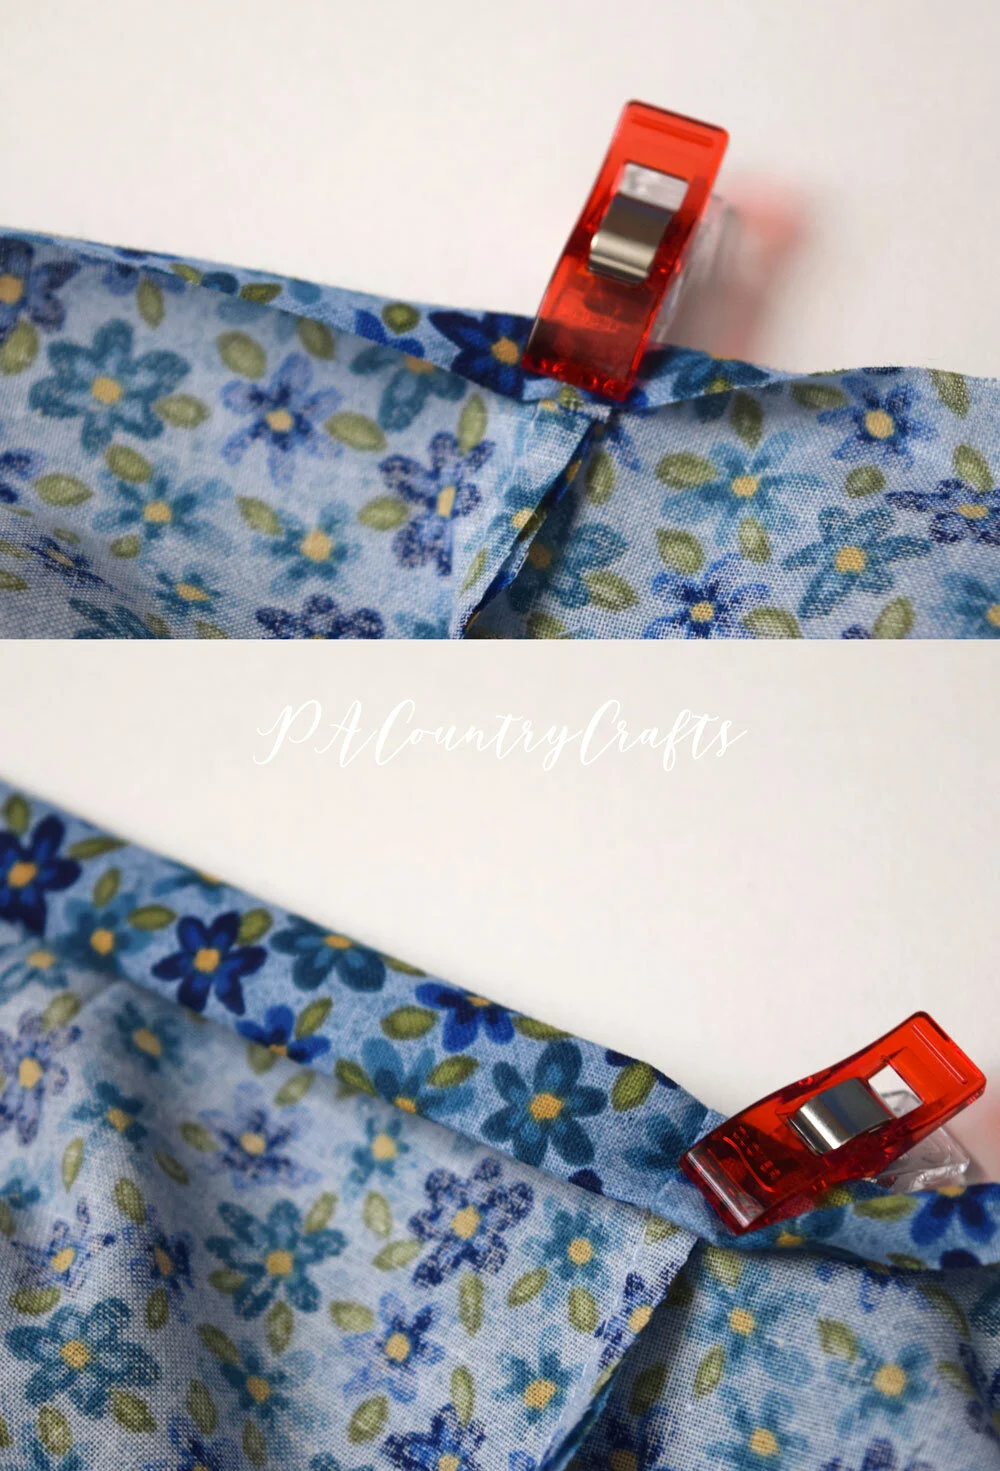
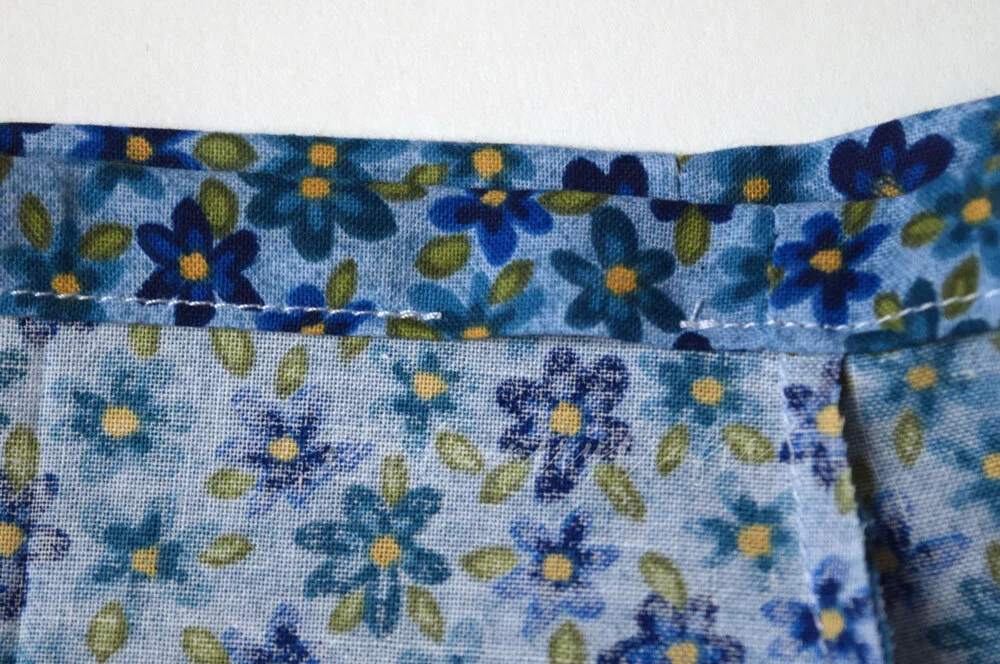
Create the neckline casing by folding the top edge down 1/4” and then again 1/2”.
Stitch in place 1/8” from the bottom folded edge and leave a 1” gap to insert elastic.
Finish the side seams (optional) and hem the sleeves (if you didn’t before).
Sew the two skirt pieces, right sides together. Finish the side seams (optional) and hem the bottom by turning under 1/4” twice and sewing.
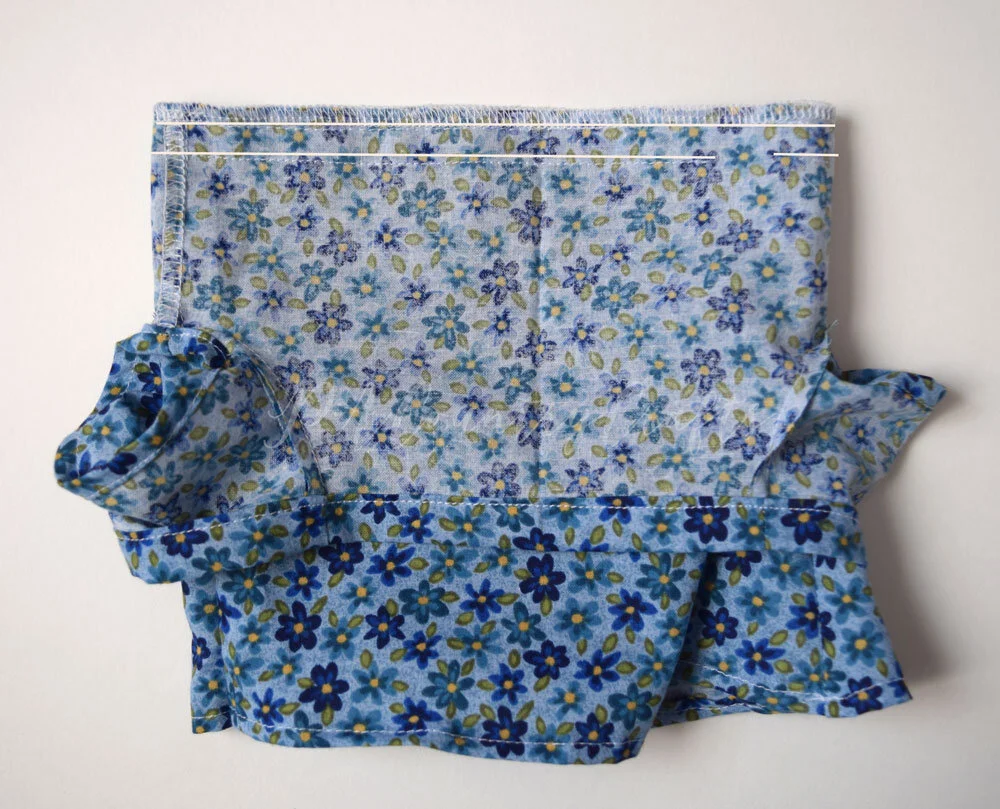
Turn the skirt right side out and insert into the bodice. Sew all the way around, 1/4” from the edge. Then, sew 3/8” to 1/2” from that stitching line, leaving a 1” gap. (I drew white lines to show the stitching a little better.) Finish the raw edges (optional).
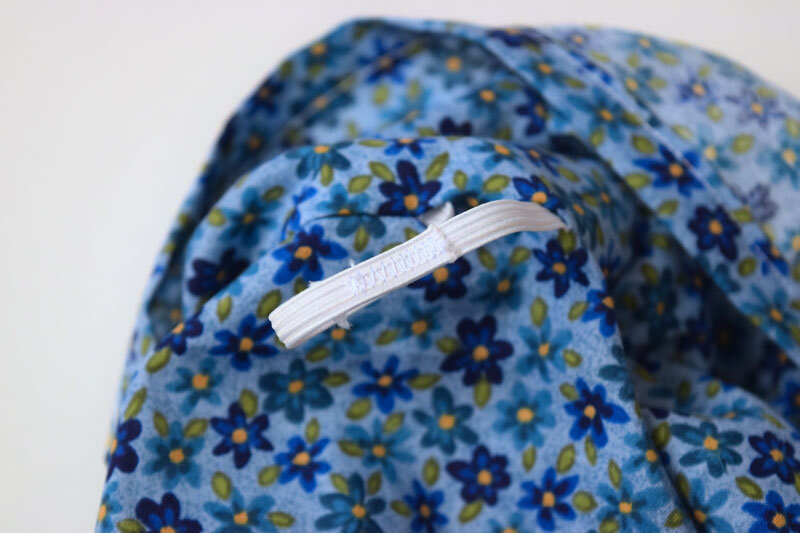
Thread the elastic through the casing. Overlap the ends 1” and secure with a zigzag stitch. Sew the opening closed.
This step is optional, but it does make the dress lay better. Sew the bottom seam allowance of the waist to the bodice. This will be visible on the outside of the dress.
Insert the elastic in the neck casing, overlap 1” and zigzag to secure, then sew the opening closed. (No pic for this step.)
That is it! TADA!!!
If you want to pin it for later…
Here are some more doll dress patterns that you might like…


