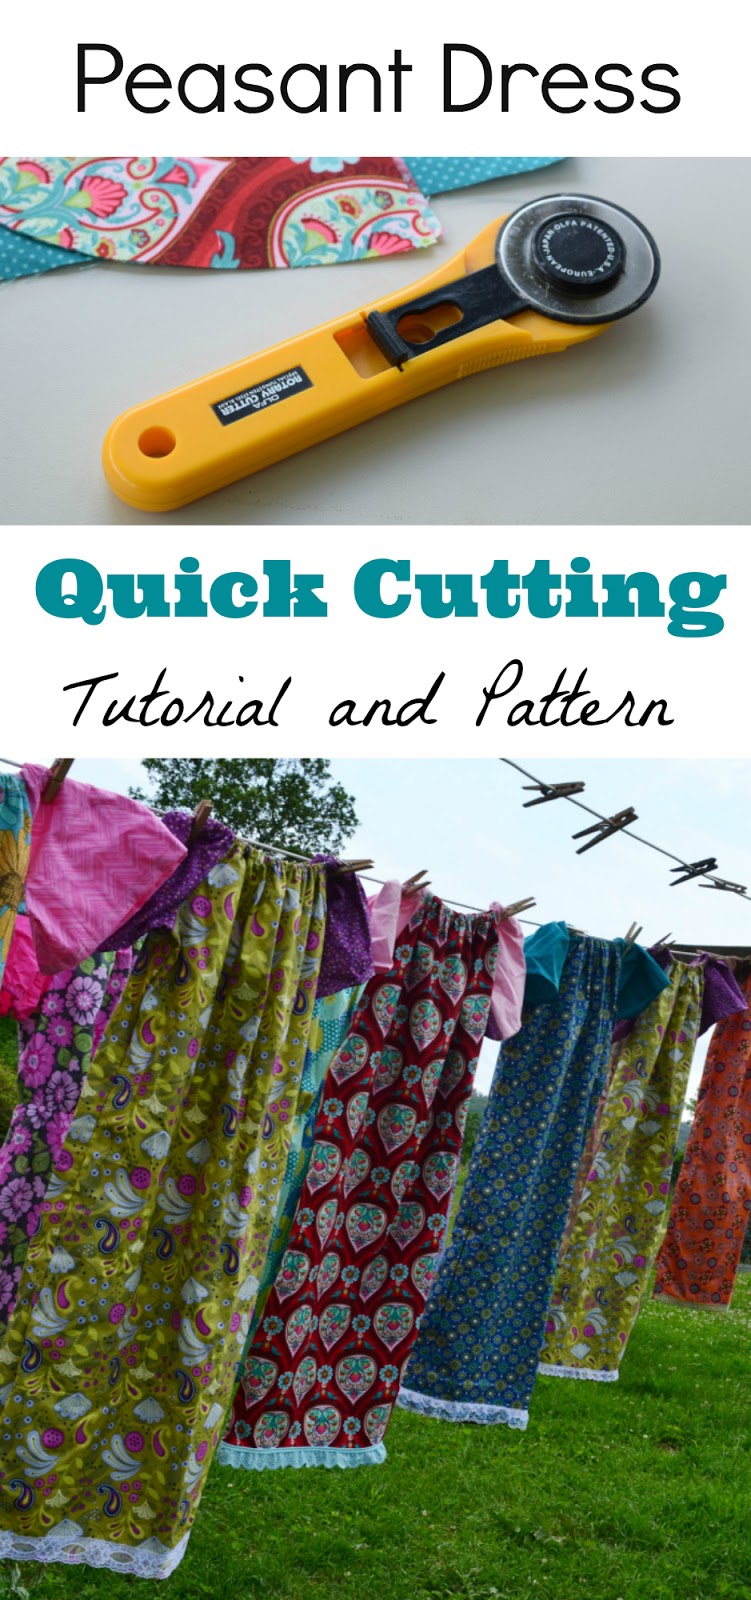
Peasant Dress Quick Sewing Tutorial

peasant2Bdress2Btutorial2B2_edited-1-1.jpg

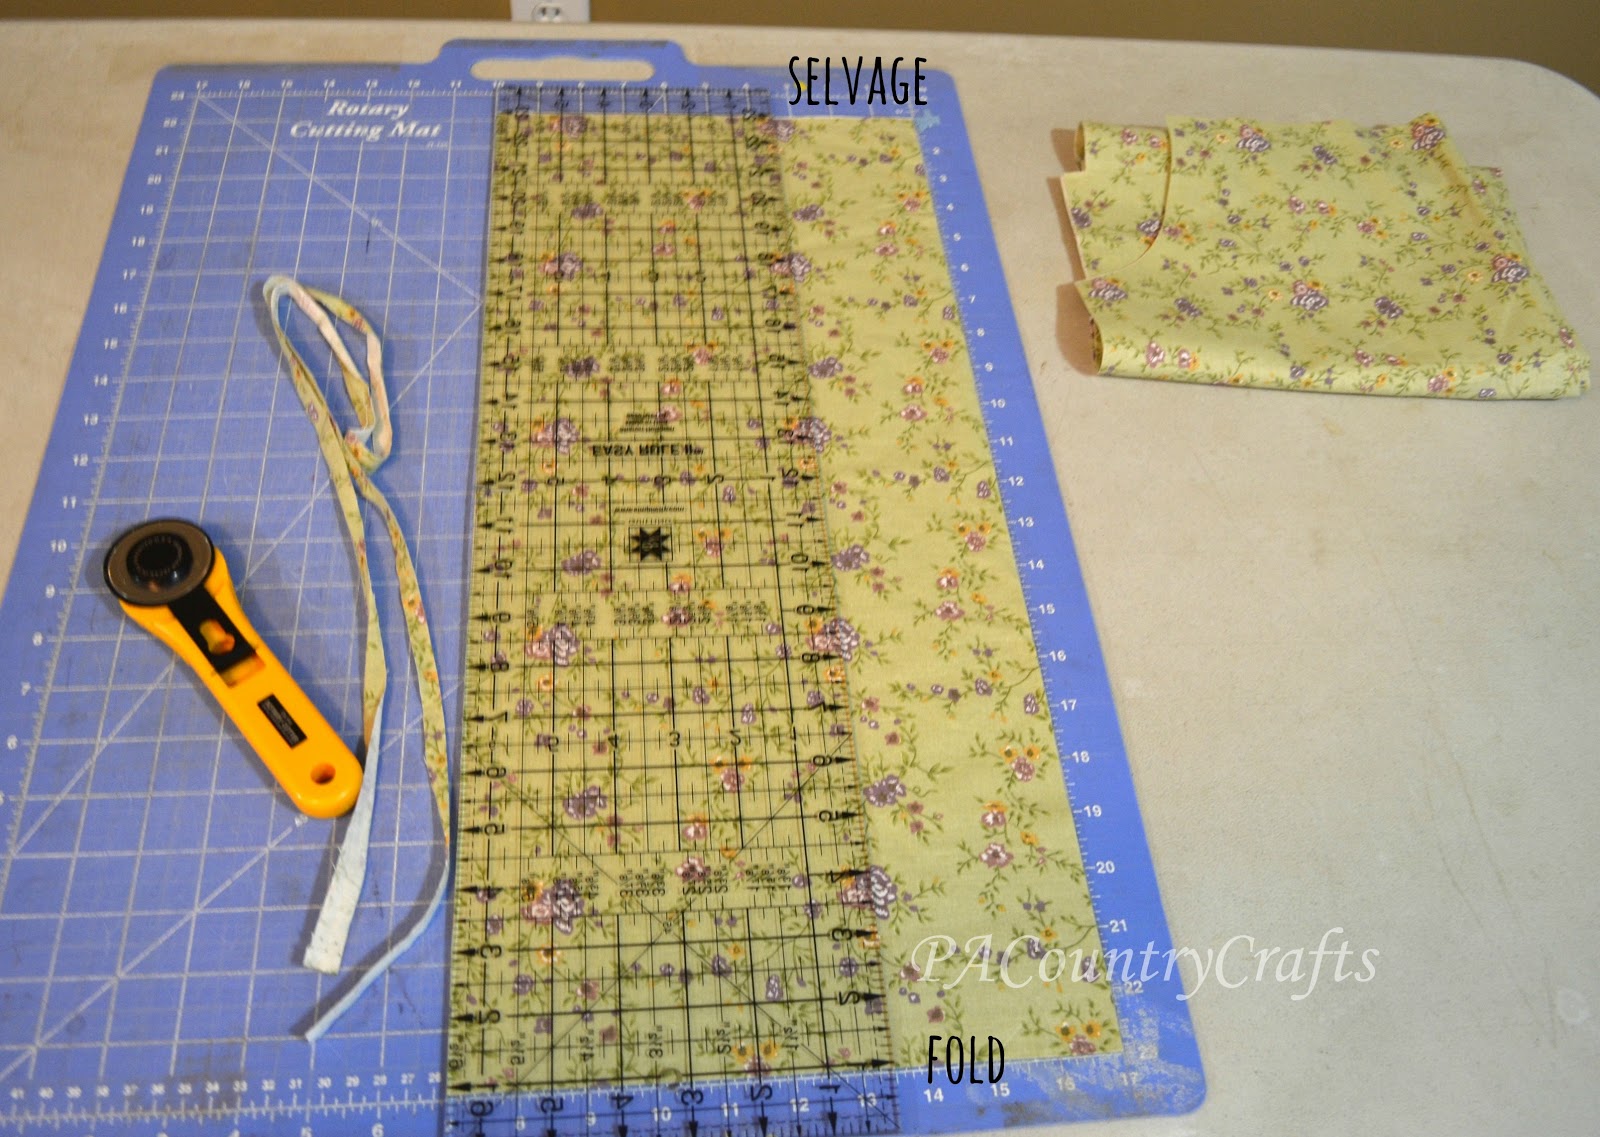
I know there are peasant dress tutorials galore, but I am going to show you how to make these dresses using a few tips and tricks we have picked up over the past few years while making hundreds of these dresses for groups like Project Yesu. I already covered the "system" we use for cutting them out quickly and efficiently. Today I am showing you how to sew them together.

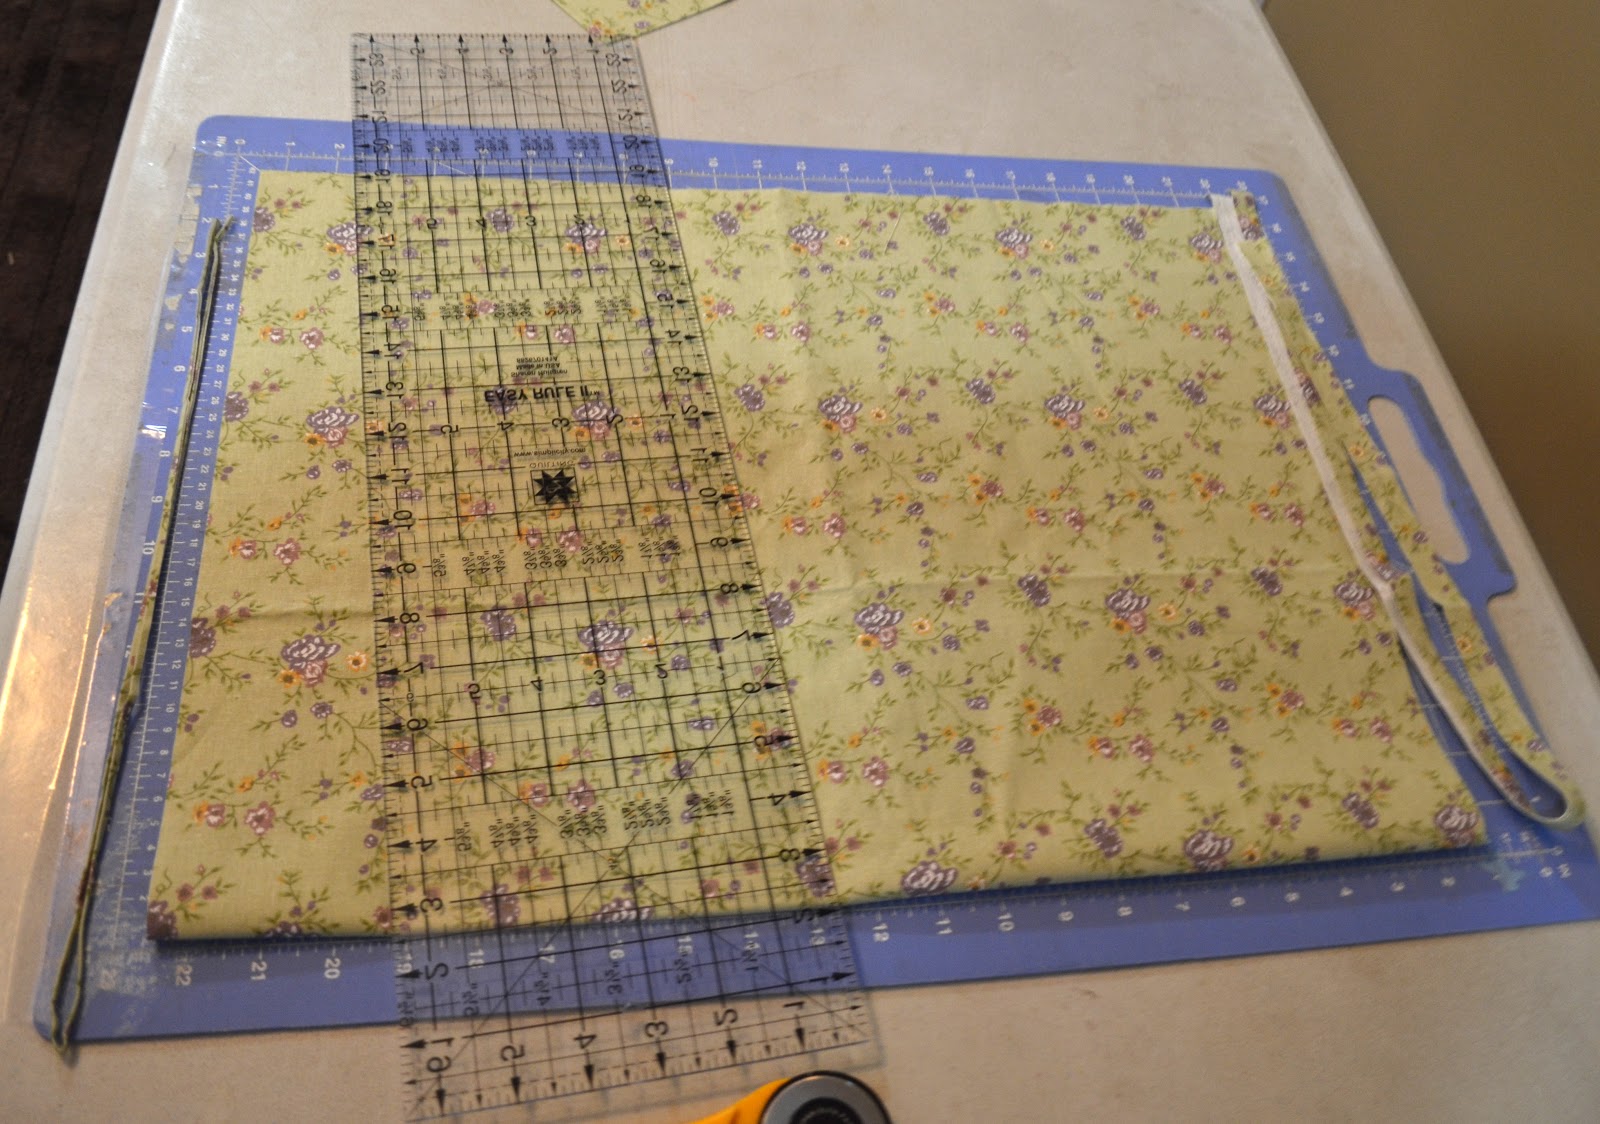
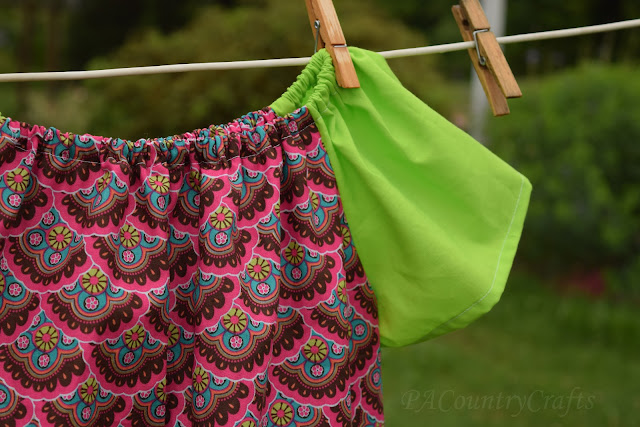
I mentioned yesterday that we will sometimes add a contrasting band to the bottom of the dress. It also makes a fun, color blocked effect. To do this just cut a strip the same width as the rest of the dress and the length needed to make it the desired size. Sew the strip to the bottom of the dress and serge or zig zag over the edge to keep it from fraying.

Gather all of your pieces. There should be 2 dress body pieces and 2 sleeves.

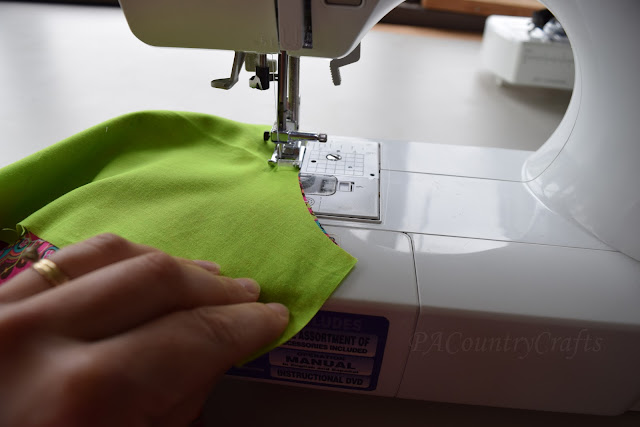
Line up the arm scythes of one sleeve and one dress piece with the right sides together.

Sew them together with a 3/8" seam allowance, back-stitching a little at the beginning and end. DON'T stop and pull it away from the machine. Leave your presser foot down. We are going to do a little chain piecing here. It is faster and makes fewer thread snibbles that scatter all over the place.

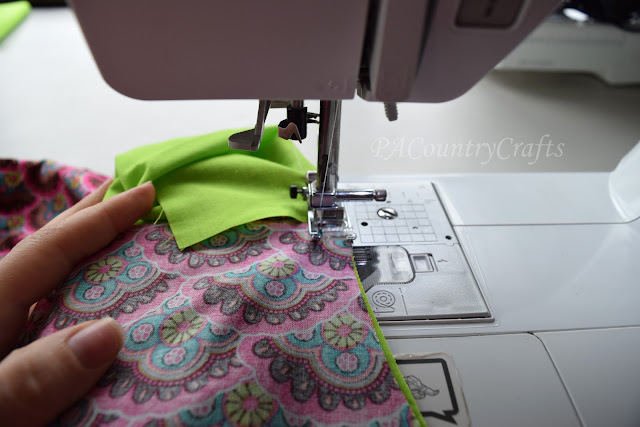
Just grab the other dress piece and sew it to the other side of the sleeve you just sewed.

Then sew the second sleeve to the other side of the dress piece you just sewed. (No picture. Musta' missed that.) 

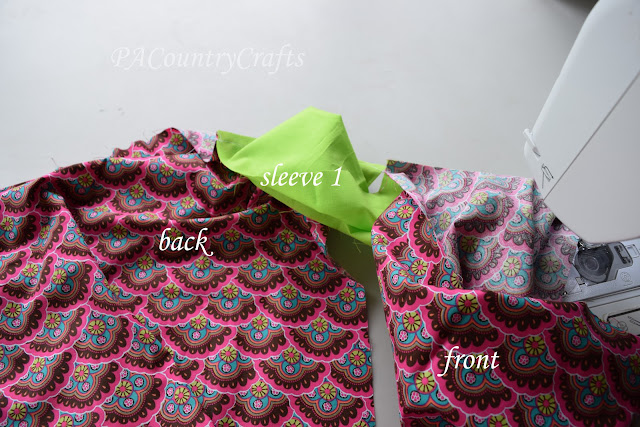
Finally, sew the second sleeve to the first dress piece you started with.

It is all kind of a circular thing. It is easy once you get used to it.

NOW you can remove it from the sewing machine and snip all the connecting threads.

This is what it looks like now.

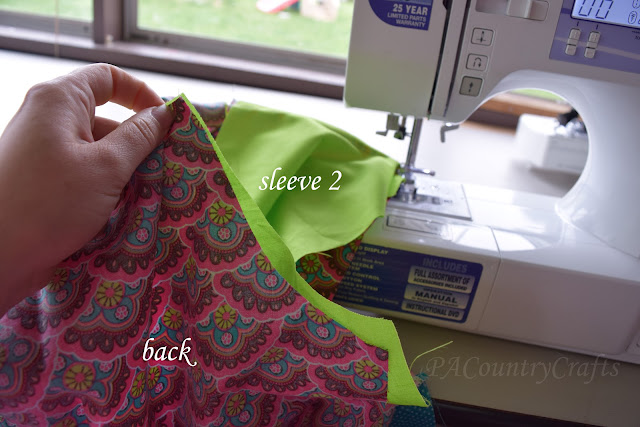
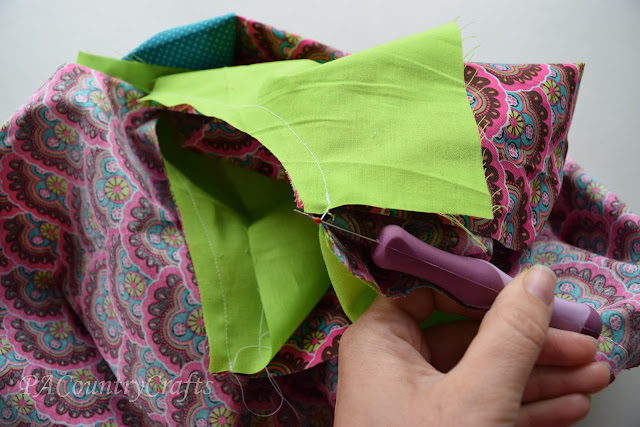
Next you are going to sew the sides. Grab the corners of the sleeves and make sure the armpits line up.

You need to press the seams in opposite directions with the top one going towards the sewing machine and the bottom one pointing towards you.

I know it is shifted a little bit, but I am trying to show the seams.

Use a 3/8" seam allowance. You may need to pivot a little bit at the armpit because the angle changes there. 

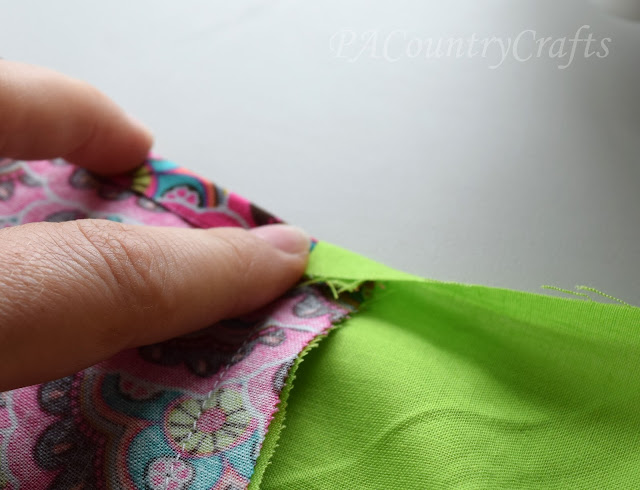
Next, the raw edges need to be finished. I use a serger or overlock machine. It goes so fast and does a really nice job. There is really only one trick to it. You see, when you get to the armpit it naturally bends a little.

Just go ahead and pull that straight as you are sewing. The overlock machine produces a stretch stitch, so it will be fine. If you don't straighten it and try to pivot it, chances are the cutter will leave knicks in the armpit.

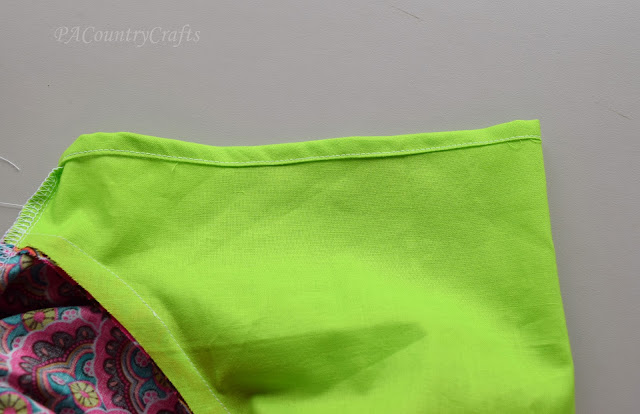
Now, it needs an elastic casing for the neckline. I have found that the easiest way to do this is to fold it under 1/4"...

...and again about 1/2"...

...and just keep folding it as you sew. I like to use my presser foot as a guide. I keep my needle in the left position so the stitching is about 1/8" from the left edge of the fold. You need to leave room between the stitching and the right folded edge to insert 1/4" elastic so that gives it about 3/8".

IMPORTANT!! Make sure that all of the seams get pushed in the same direction. I feed them towards me as I am sewing so that they go to the right. If you don't it is a pain in the behind to push elastic through there. 

Also, leave an opening to thread the elastic through!

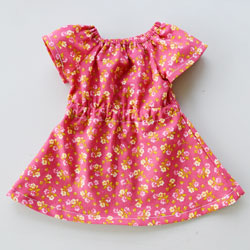
For the sleeves, you can leave them open and loose as we usually do, or you can make a casing just like the neckline on those and thread elastic. It is totally up to you. Here are some I did with elastic in the sleeves.

To hem the sleeves if not adding elastic, I just fold it under about 1/4" twice.

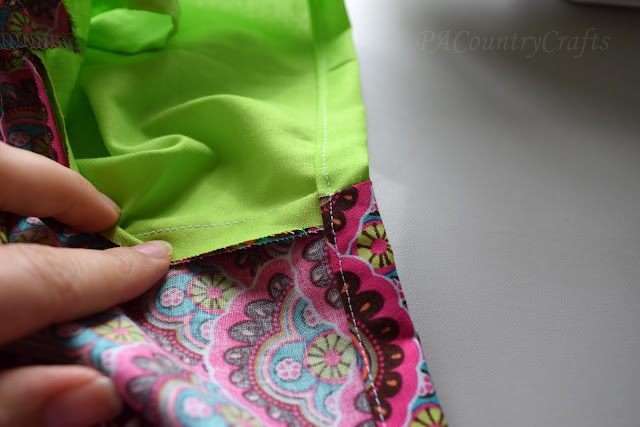
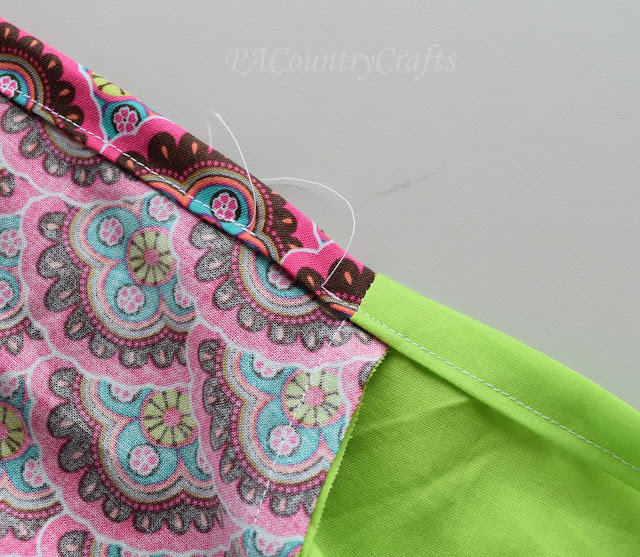
To hem the bottom, I fold it under about 1/2" twice.

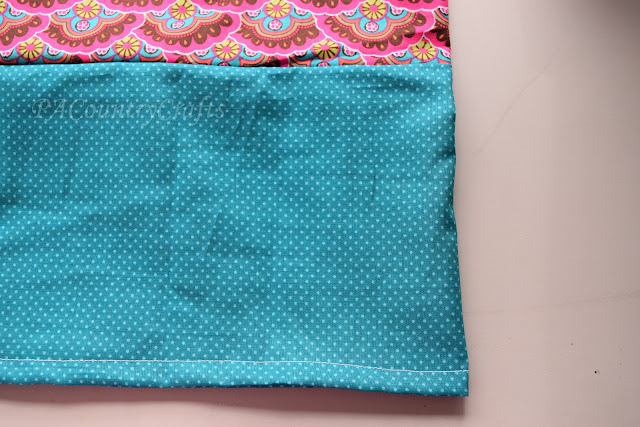
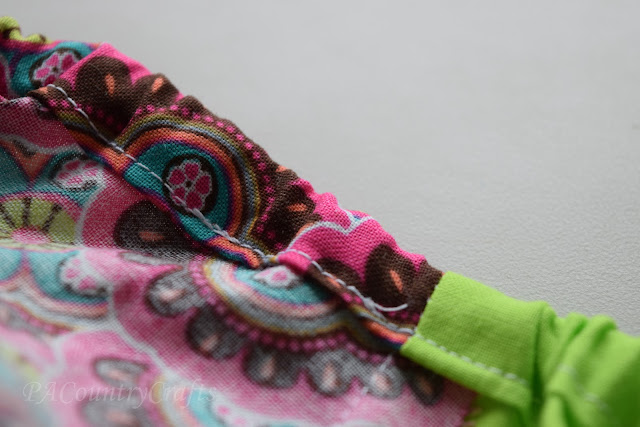
I kind of wish I had topstitched where the two strips meet. I have done it that way before and it is a little nicer.

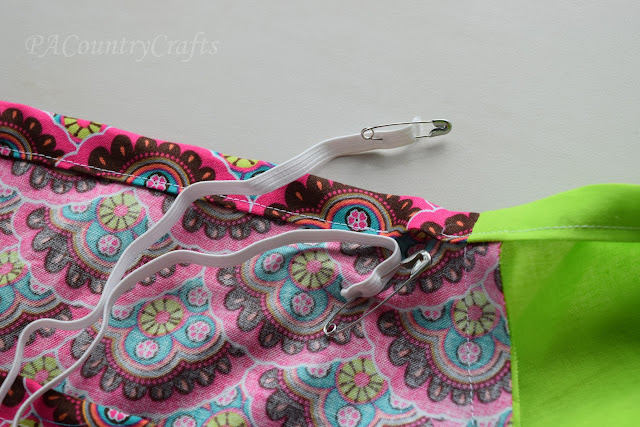
Last step! Put elastic into the casing at the neckline. We use 18" for the smaller dresses and 19" for the bigger ones.

Do yourself a favor and pin one end to the dress. It is so sad when the end of the elastic gets pulled into the casing. Put a pin on the other end and push it through the casing.

Now, I know there is a way to sew the elastic in while sewing the casing, but I thought it was a pain and we usually have helpers that are looking for non-sewing jobs to do.

Overlap the ends and use a zig zag stitch to hold them together.

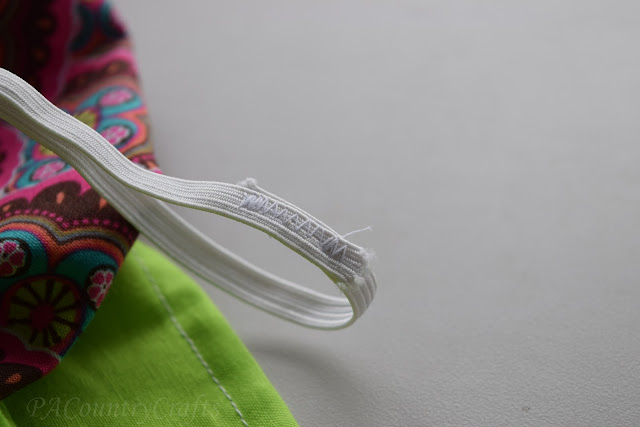
Sew the opening closed.
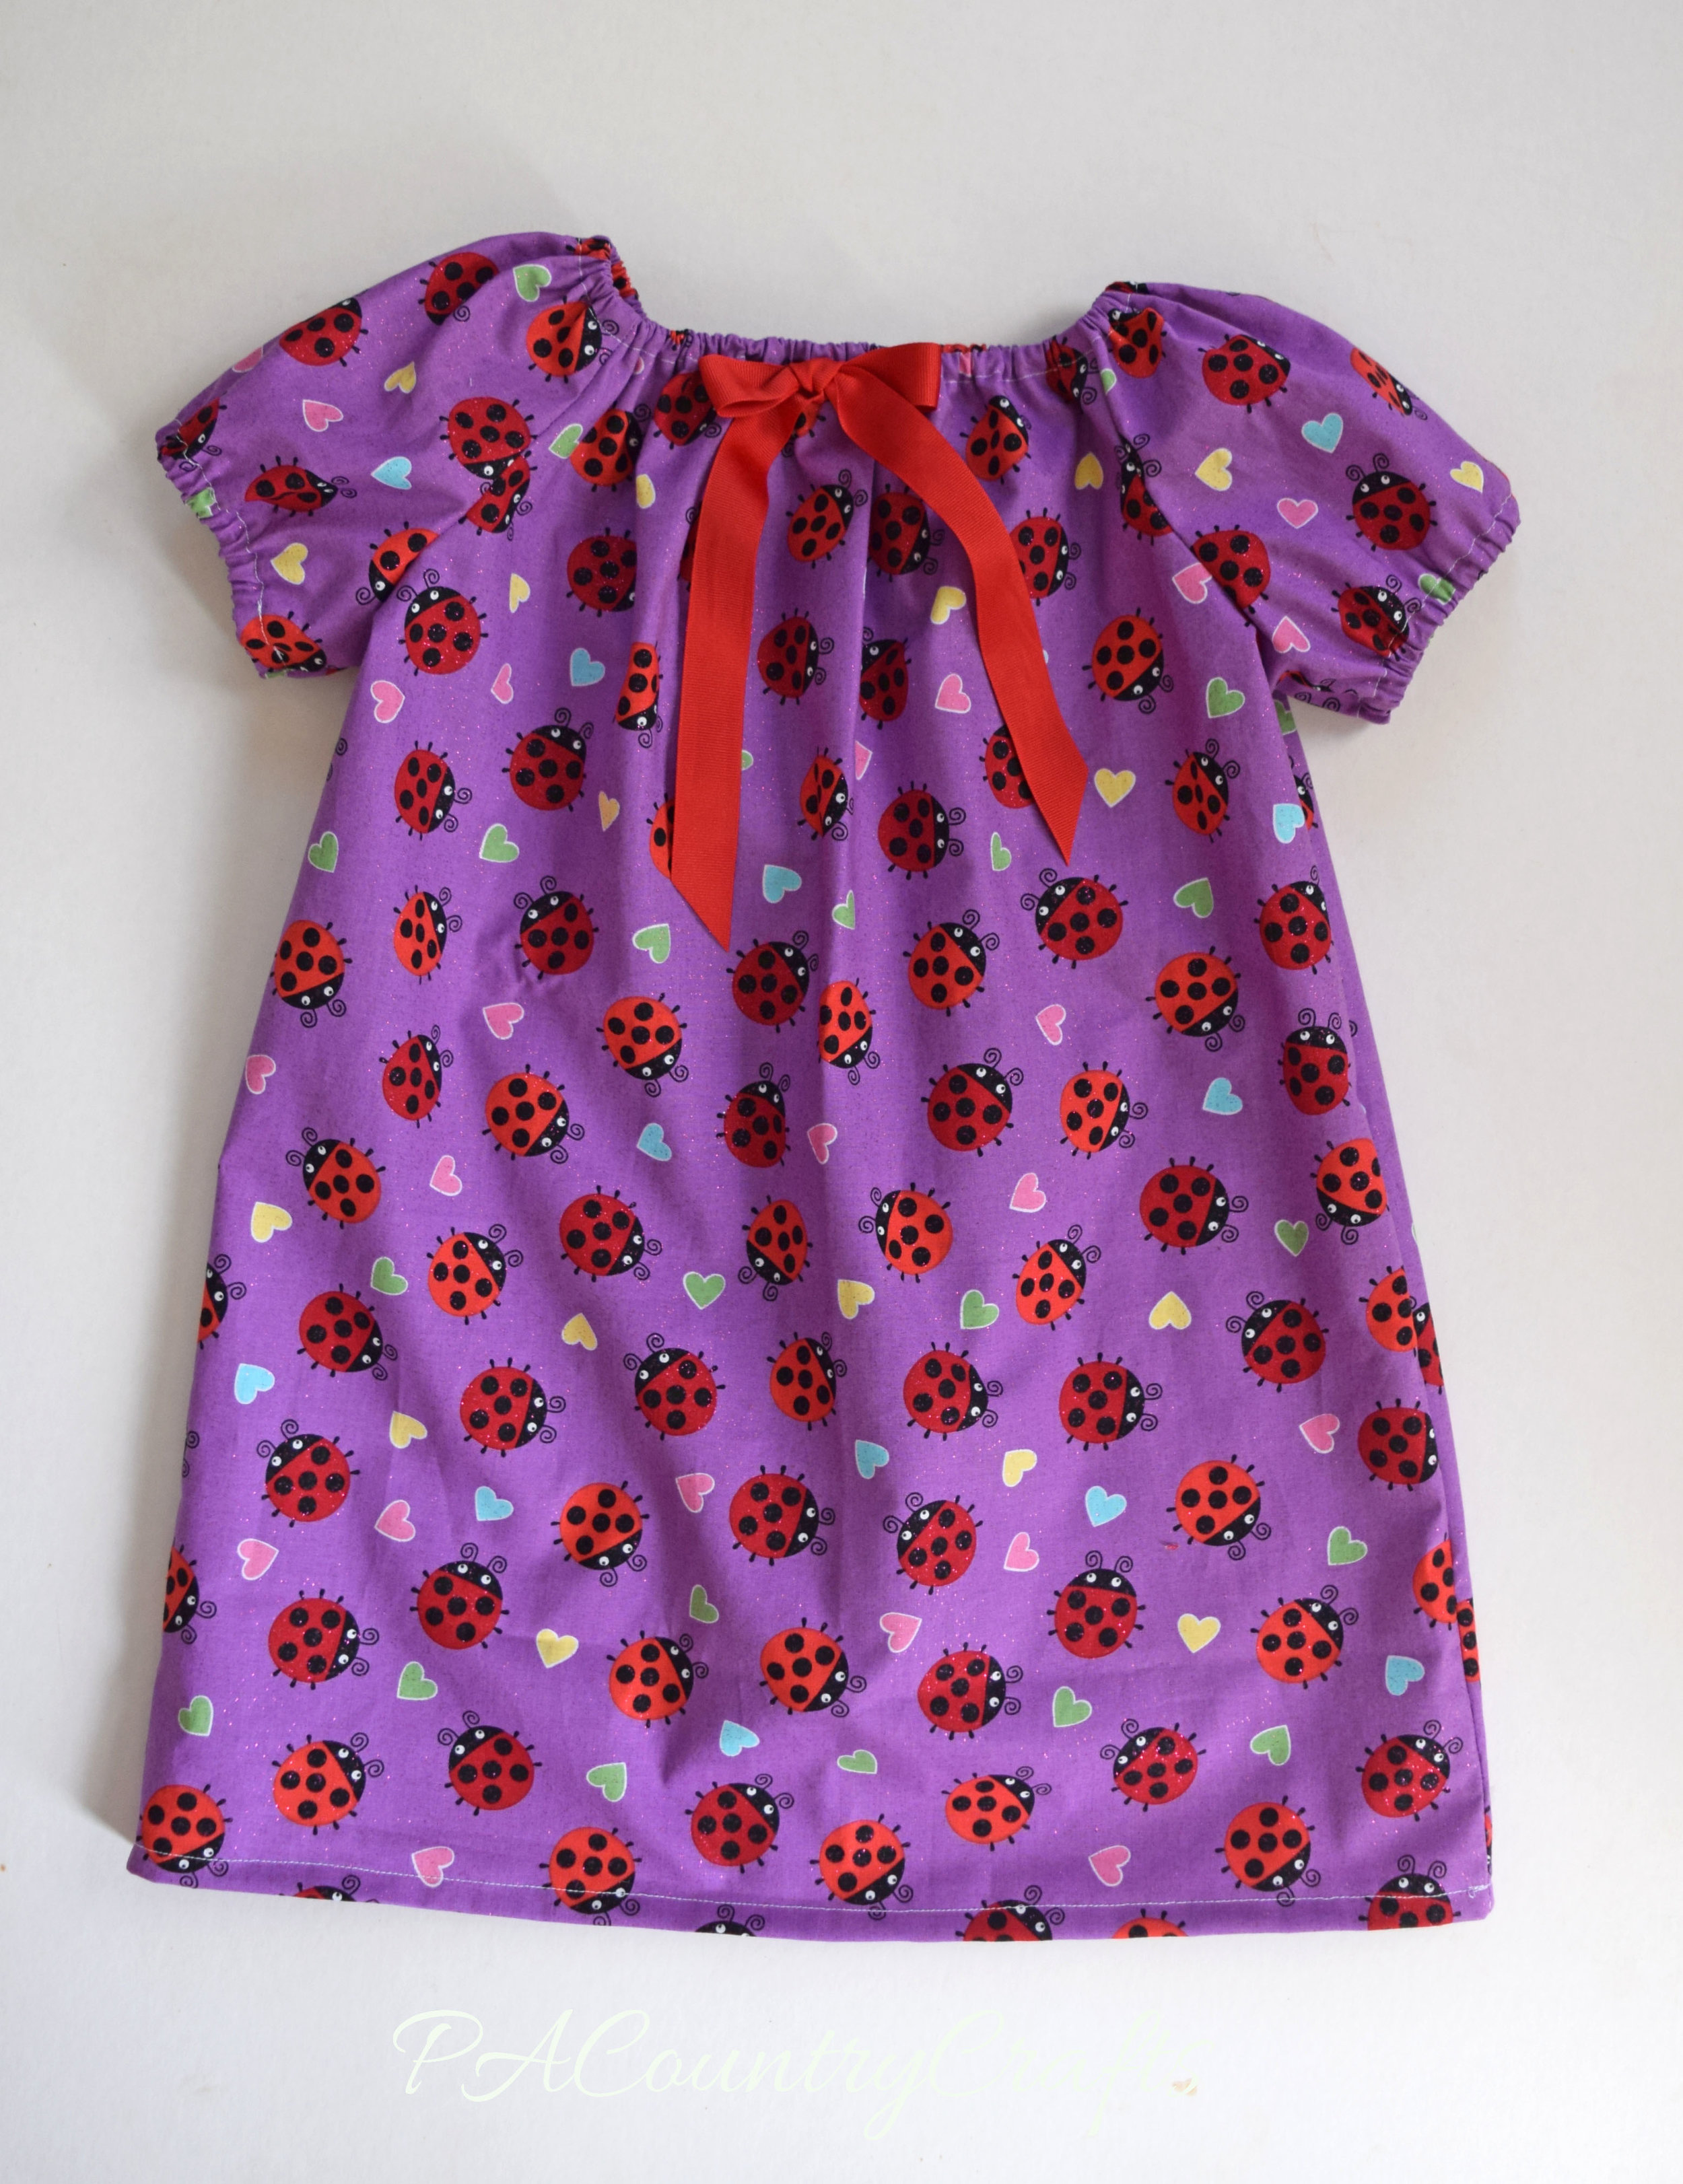
TA DA!

I can sew one of these together in about 15-20 minutes, so they really are fast to make.

This tutorial is for personal, non-commercial, or charity use only. It would be great if you could make one of these or a pillowcase dress for Project Yesu. If that isn't possible, please consider donating just $10 towards the costs of transporting these dresses to Uganda.

Peasant Dresses for Charity- Choosing Fabric

choose2Bfabrics.jpg

Yesterday I shared how we cut out peasant dresses quickly and efficiently, and I probably should have done this first, but I want to backtrack a bit and talk about how to choose fabric for these dresses.

peasant dresses for charity

First, a bit about fabric...

100% cotton works best. It is durable and will hold up to a lot of wear and tear.

We usually hit up Joann's red dot clearance sales when they have 50% off the clearance price. We also try to get a coupon for an extra 20% off when possible. Also, if you agree to take the end of the bolt they will give you the remnant price for an additional 50% off. I keep a tote in storage and we stock up throughout the year. We also accept donations of fabric.

It is important to make sure the fabric is good quality. I make sure that it is not too thin or too light. A good rule of thumb is that if you can see your hand through the fabric, it won't work. Please try to remember that often these girls do not have undergarments. Also, if the fabric is too light in color it will get dirty and stain faster. We try to choose bright, bold colors and prints as they seem to be very well received. Recently, I am also trying to remember that prints that contain words or animals might be confusing or offensive to other cultures.

peasant dresses for charity

peasant dresses for charity


peasant dresses for charity

peasant dresses for charity

The dresses require 1 to 1 1/4 yards. We often make contrasting sleeves. Also, if we don't have enough fabric for the full length, we sometimes add a contrasting band on the bottom. We usually use solids or small prints for the sleeves and accents.

peasant dresses with contrasting sleeves

peasant dress with contrasting band

Last thing: trims...

lace

We often add lace or ric rac to the hem of the fabric. I am now trying to add the lace just above the hem so that it doesn't catch or get dirty as fast. It isn't always possible to attach it that way, though. It isn't necessary, but it makes a nice, little touch to make the dresses more special. We usually purchase the trims at thrift stores and yard sales.

peasant dresses for charity
I hope these tips are helpful! This year, our dresses are going to Project Yesu. If you would like to help out by sewing or donating just $10 to help cover the costs of transporting the dresses check out their website.

Peasant Dress Quick Cutting Tutorial and Pattern.

cut2Bdresses.jpg
Hi! Things have been going pretty well here for the last 9 months or so. I have still been sewing and crafting a lot, mostly for friends and family. We are also making dresses for Project Yesu again this year. Each summer, Mallory goes to Uganda and she has a pillowcase dress drive to take dresses along with her for the girls. We actually make peasant dresses, which are just a little easier, in my opinion, but they require a little more fabric for the sleeves. Here is what the finished dresses look like:

We have made many of these dresses over the years (the ones pictured above are from last year) and have worked out a few shortcuts for making the process more efficient. Today I am going to share the method we use for cutting these dresses out efficiently.
Set up your cutting table. We use plastic folding tables. Take a standard 18" by 24" (or bigger) rotary cutting mat and lay it on the table with the long edge parallel to the short end of the table. Measure 20" from the edge of the table to the 0" line and use masking tape to affix the mat to the table. (Masking tape works best, but I didn't have any this time so I made do with packaging tape.) Now you can add 20" to whatever the bottom edge reads when cutting the length of the front and back of the dress and you don't have to worry about the mat slipping on the smooth table. 
Start out with 44-45" width cotton fabric, folded in half. It usually comes this way off the bolt, but you need to make sure everything is straight and keep the selvage edges lined up. (The selvage edges are the ones that were not cut at the store that may have tiny holes or be white with printing.) You may need to straighten up the cut edge of the fabric with your rotary cutter and plastic ruler before you start. With the folded edge toward you, slide the cut edge out to the end of the table. (I have also marked a set line with masking tape instead of using the end as a guide if that is easier for you to see.) Now, cut the main dress pieces to length. These are the approximate lengths that we use. 
4-6: 28"
7-9: 32"
10-12: 36"
Throughout this tutorial, it is important to pay attention to the way the fabric is folded for cutting. It ensures the stretch of the fabric is in the correct direction.
Fold the piece you just cut in half widthwise or hamburger style, bringing the cut edges together on the left side. Mom and I do this together and she does the folding and I do the cutting. It goes really smoothly with both of us working together. 
Trim the selvage edge off the top and trim a tiny bit from the fold at the bottom. This picture is taken from the end of the table.
Now you have two pieces that are the desired length by about 22" or so wide stacked together. Open it back up and fold it in half lengthwise or hot dog style.
Here is a very unprofessional pattern to use for the arm scythes. I should get points for effort, though. You should be able to print it as a full page photo. I labeled the measurements so you can double check it.
Use the guide to cut the arm scythe out of the corner with all cut edges. Make sure the short side of the pattern is along the short side of the fabric. Not that I have ever done it the wrong way or anything... ;)
The front and back pieces of the dress are all cut and ready. Now, on to the sleeve. Cut a strip of fabric the needed length. Here is what we use:
4-6: 9"
7-9: 9.5"
10-12: 10"
I didn't have much left over from this piece. You can also do contrasting sleeves. We do that a lot, especially if the main dress print is really busy- a solid fabric for the sleeves looks really nice. Take note that the folded edge is along the bottom.
Trim the selvage edge from the top (not shown- blurry pic) and slide the cut edge to the top line on the mat. Cut the sleeves to the correct width. This is what we use:
4-6: 17"
7-9: 17.5"
10-12: 18"
There is a small piece left over on the bottom, but it is folded in half, so it is actually twice as wide as you see in the picture. It is a decent size scrap and could be used to make a pocket on the dress if so desired. 
At this point, the sleeves are two long rectangles stacked together. Now, fold the sleeves in half widthwise, or hamburger style with the cut edges down.
Now, cut the arm scythe out of the bottom edge with the cut edges as shown. Make sure to have the straight side of your pattern piece parallel to the fold. One year we sewed a whole dress together before realizing it was cut the wrong way. That was a lot of seam ripping...

If you have any questions, just let me know. I know this is kind of long, but I went in to detail and tried to break it down and explain really well. I would like to do a video sometime to show just how fast this really is. My mother and I cut most of these out in a few hours (with many kids to watch)
.
You can see the directions for assembling these dresses with a lot of tips for making it faster on my post HERE.
If you have any questions, please ask. You can e-mail me at pacountrycrafts at gmail dot com or find me on facebook. I would love to see any pictues of dresses you make with my tutorials and I would really, really, REALLY love if you could whip some up for Project Yesu!
Link Parties where I sometimes hang out if I get a minute...

Pink Lemonade First Birthday

comparison.jpg
My last baby is one year old. 
Yeah, I am tearing up a little just typing that.
Anywho... let's move on now. Since it was our last (sniff, sniff) first birthday I went all out! I have always wanted to do a pink lemonade theme and these silly kids keep going and getting their own opinions about things. This was probably my last chance.
We don't usually go "all out" for birthdays. Just our family and some cake, ice cream, and snacks. A pack of balloons and a little crepe paper if I feel ambitious. This time I put a little extra effort into the decorations, but only because they will be used in her nursery, too. We have parties in our sunroom since it is a large, open area. We actually set up picnic tables outside this time, but I kept the food inside. I just hung some pink balloons and yellow crepe paper (the other kids insist on this) and put some silk daisy bunches that I got on clearance at Joann's and Michaels in some clear vases.
pink lemonade first birthday party
On the windowsill I arranged some pink and yellow items like her first dress (yellow) and her first hat (pink).
pink lemonade first birthday party
I also mod podged some frames I already had and printed out THIS free printable from Daisy Cottage Designs.
yellow honeycomb frame
pink and yellow frames
I painted some wooden signs, too, just 'cause I am on a sign kick for my etsy shop and felt like it.
pink lemonade sign
pink lemonade first birthday party

pink lemonade first birthday party
Yeah, I am totally redoing that one...

Oh, and each month I have been taking her picture in a washbasket, so I clipped those on the wash line that already hangs out in my sunroom.
For the food I found lemon and strawberry cake mix at the store so I did a batch of each in cupcakes. Of course, I added sprinkles. Gotta' have sprinkles! 
pink lemonade first birthday party
Of course, there was ice cream, pink lemonade, regular lemonade, and other goodies. I also made striped jello in lemon and strawberry.
The most labor intensive thing I did for Hannah's birthday party was to make her a romper. I have wanted to make her one for awhile now and this was a good reason. I got the fabric at Joann's and I actually bought a pdf pattern. I am not going to source the pattern because I was not very happy with it and do not think that it was worth the money. The final product was still pretty cute, though!
pink and yellow baby romper
yellow ruffle

I think it is too big, so maybe she will get to wear it some early next summer. The ruffles should be higher, too. Well, I learned some things anyway...

pink and yellow baby romper

Here it is compared to the very first thing I sewed for her

Oh, it is so tiny!!!
Excuse me. I am gonna go cry and eat some more of the leftover ice cream now.
 Link Parties where I sometimes hang out...

Rapunzel and Button Flowers Quiet Book Pages

rapunzel-boq.jpg
Something old. Something new.
Rapunzel and Button Flowers Quiet Book Page
I did a button flower page on Grace's book HERE, but the Rapunzel page is new. Naomi really likes princesses, but ironically hates having her own hair brushed. I just thought of that now. Um. Oh well.
I saw the tower Rapunzel page idea on Pinterest- several different versions I mushed together so no specific link.  I used cotton yarn to make the hair and stitched it onto the background (a scrap of darker brown fused onto the blue backing.) Then, I fused the tower and the roof onto the page and used a zig zag stitch all the way around- especially the window.
Rapunzel Tower Quiet Book Page
I sewed a strip of green to the bottom to make some grass and add some dimension.
Rapunzel Tower Quiet Book Page
The tree makes a nice little storage pocket. I fused and zig zagged the trunk onto the edge, then made a treetop pocket to hold all of the little hair clips and some more ribbons.
Rapunzel Tower Quiet Book Page
The button flower page is just about the same as the last one, but I got lazy and skipped the leaves and only made three flowers.
Button Flowers Fabric Quiet Book


They are still reversible.
Button Flowers Fabric Quiet Book


So that wraps things up! I plan on making another quiet book very soon and I have some cute ideas for that one. Thanks for reading along and if you want to see the rest of the pages in the series you can click HERE.
Rapunzel and Button Flowers Quiet Book Page


 Link Parties where I sometimes hang out...

 
You can see the rest of Naomi's quiet book here:
Grace's quiet book can be seen here:

Mermaid Friends Quiet Book Page

felt-fish.jpg
This is the page where I got a little carried away.
Naomi really likes her fish tank (she calls plecostomus "grumpy fish") and when I came across this old, blue, swirly fabric I immediately though "ocean."
ocean theme quiet book page
Of course, the tea-dyed muslin (a little off color in these pics) made great sand at the bottom. It also doubles as a little pocket.
mermaid friends quiet book page
There is where I got a little carried away. I got out the felt and started creating little ocean creatures and had way too much fun with it.
mermaid friends quiet book page
On the left side I made seaweed inspired by THIS tutorial (which is actually for forest animals in grass, but it works here, too.) The little sea animals can play in the seaweed made of bits of ribbon, ric rac, and dyed lace. That keeps in line with the theme of the rest of the book even if the bright sea creatures are way off. They are fun. I don't care.
fish and seaweed quiet book page
I hand embroidered the faces on the jellyfish and starfish. Then, I machine stitched another layer on the back (with ric rac between them for the jellyfish.) The dolphin and purple sparkly fish were done by hand. The sequins were from some trim, but I ended up hand stitching most of them on  anyway since it wanted to come apart.
On the right side we have a sunken ship with a little port hole for playing peek-a-boo and some more seaweed-ish stuff (ric rac and gathered satin ribbon) I added just cause it needed something.
sunken ship quiet book page
The mermaids were just so cute that I ended up making three of them. They are completely hand stitched. I had some time to wait around on my husband in the car and added lots of details.
felt mermaids quiet book page
felt mermaid and dolphin
mermaid friends quiet book page


Just two more pages/one post to go!
mermaid friends quiet book page

 Link Parties where I sometimes hang out...

 
You can see the rest of Naomi's quiet book here:
Grace's quiet book can be seen here:

Paper Dolls Quiet Book Page

dressed-up-paper-dolls.jpg
The paper doll page was also in Grace's quiet book. I love this paper doll fabric and it is my older girls' favorite page. I actually made these pages first and when I went to assemble the book I realized that some of the clothing was missing. They just would not leave it alone!
Fabric Paper Dolls Quiet Book Page
You can read more about how I made this page HERE.
Fabric Paper Dolls Quiet Book Page
It is inspired by THIS tutorial, but I find it easier to make a dresser pocket instead of an armoire. The girls had fun picking out these cute vintage buttons from the bag of vintage sewing goodies our friend Eddie gave me a few years ago. I have awesome friends.
Fabric Paper Dolls Quiet Book Page

OK, so maybe I like dressing up these dolls, too. Nerd alert!

Fabric Paper Dolls Quiet Book Page


Fabric Paper Dolls Quiet Book Page


Yes, this quiet book page has been done before, but it doesn't get old for me. I promise the next one is totally original and I think it is gonna' knock your socks off! Stay tuned...

Fabric Paper Dolls Quiet Book Page

 Link Parties where I sometimes hang out...

 
You can see the rest of Naomi's quiet book here:
Grace's quiet book can be seen here: