

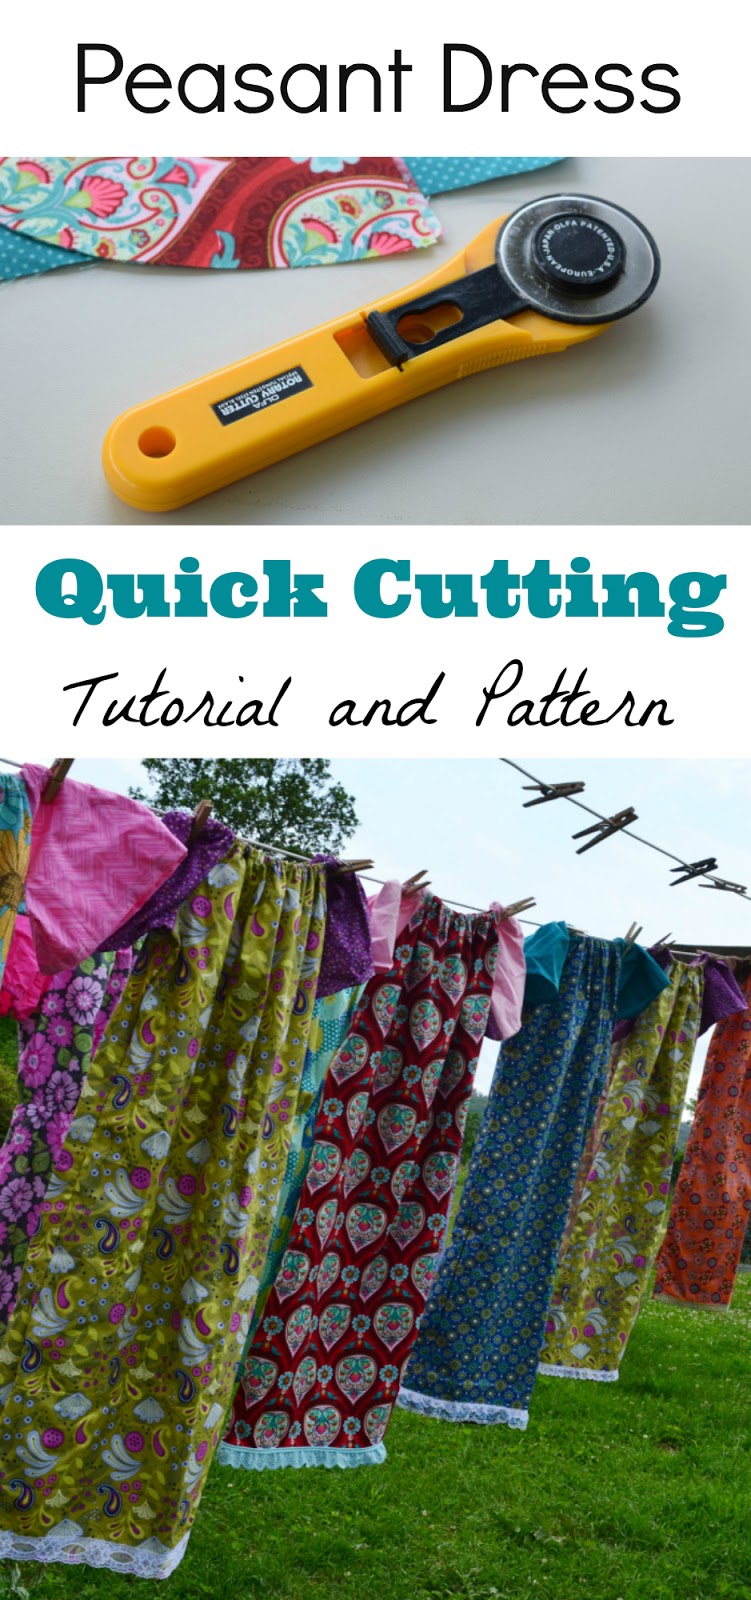
Peasant Dress Quick Cutting Tutorial and Pattern.
/
Hi! Things have been going pretty well here for the last 9 months or so. I have still been sewing and crafting a lot, mostly for friends and family. We are also making dresses for Project Yesu again this year. Each summer, Mallory goes to Uganda and she has a pillowcase dress drive to take dresses along with her for the girls. We actually make peasant dresses, which are just a little easier, in my opinion, but they require a little more fabric for the sleeves. Here is what the finished dresses look like:


We have made many of these dresses over the years (the ones pictured above are from last year) and have worked out a few shortcuts for making the process more efficient. Today I am going to share the method we use for cutting these dresses out efficiently.
Set up your cutting table. We use plastic folding tables. Take a standard 18" by 24" (or bigger) rotary cutting mat and lay it on the table with the long edge parallel to the short end of the table. Measure 20" from the edge of the table to the 0" line and use masking tape to affix the mat to the table. (Masking tape works best, but I didn't have any this time so I made do with packaging tape.) Now you can add 20" to whatever the bottom edge reads when cutting the length of the front and back of the dress and you don't have to worry about the mat slipping on the smooth table.

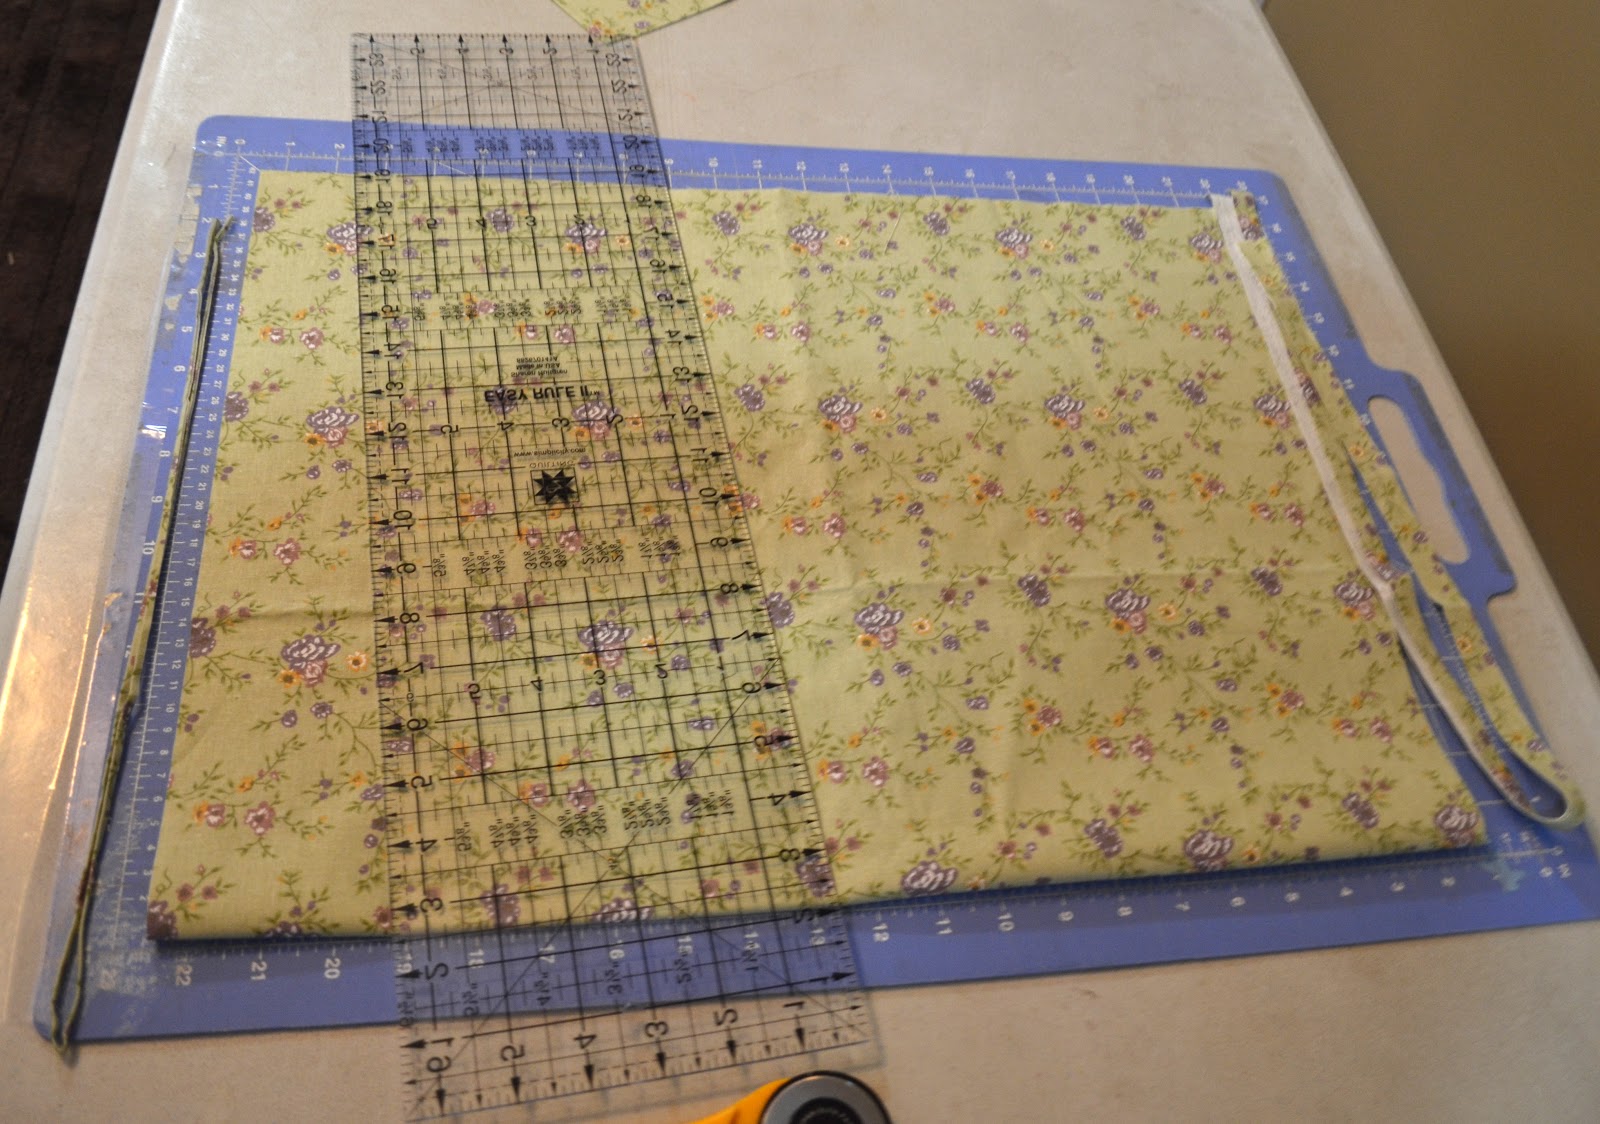
Start out with 44-45" width cotton fabric, folded in half. It usually comes this way off the bolt, but you need to make sure everything is straight and keep the selvage edges lined up. (The selvage edges are the ones that were not cut at the store that may have tiny holes or be white with printing.) You may need to straighten up the cut edge of the fabric with your rotary cutter and plastic ruler before you start. With the folded edge toward you, slide the cut edge out to the end of the table. (I have also marked a set line with masking tape instead of using the end as a guide if that is easier for you to see.) Now, cut the main dress pieces to length. These are the approximate lengths that we use.
4-6: 28"
7-9: 32"
10-12: 36"
Throughout this tutorial, it is important to pay attention to the way the fabric is folded for cutting. It ensures the stretch of the fabric is in the correct direction.

Fold the piece you just cut in half widthwise or hamburger style, bringing the cut edges together on the left side. Mom and I do this together and she does the folding and I do the cutting. It goes really smoothly with both of us working together.

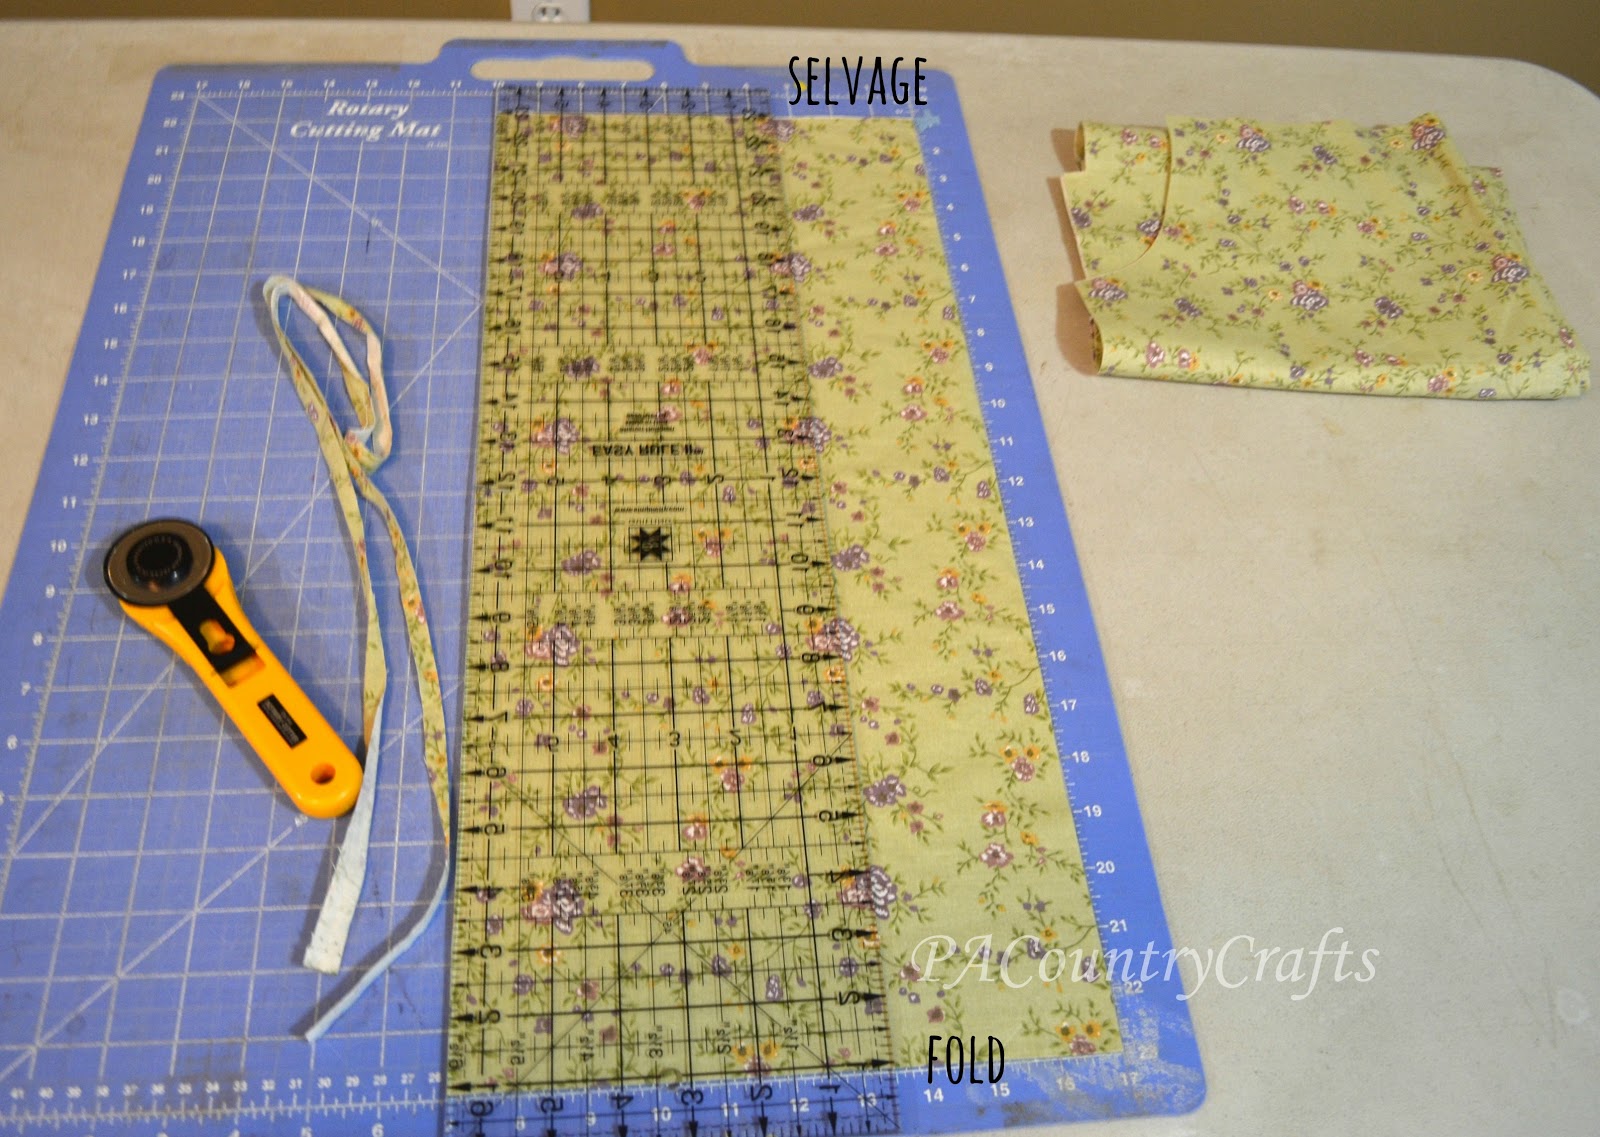
Trim the selvage edge off the top and trim a tiny bit from the fold at the bottom. This picture is taken from the end of the table.
Now you have two pieces that are the desired length by about 22" or so wide stacked together. Open it back up and fold it in half lengthwise or hot dog style.

Here is a very unprofessional pattern to use for the arm scythes. I should get points for effort, though. You should be able to print it as a full page photo. I labeled the measurements so you can double check it.

Use the guide to cut the arm scythe out of the corner with all cut edges. Make sure the short side of the pattern is along the short side of the fabric. Not that I have ever done it the wrong way or anything... ;)

The front and back pieces of the dress are all cut and ready. Now, on to the sleeve. Cut a strip of fabric the needed length. Here is what we use:
4-6: 9"
7-9: 9.5"
10-12: 10"
I didn't have much left over from this piece. You can also do contrasting sleeves. We do that a lot, especially if the main dress print is really busy- a solid fabric for the sleeves looks really nice. Take note that the folded edge is along the bottom.
Trim the selvage edge from the top (not shown- blurry pic) and slide the cut edge to the top line on the mat. Cut the sleeves to the correct width. This is what we use:
4-6: 17"
7-9: 17.5"
10-12: 18"

There is a small piece left over on the bottom, but it is folded in half, so it is actually twice as wide as you see in the picture. It is a decent size scrap and could be used to make a pocket on the dress if so desired.
At this point, the sleeves are two long rectangles stacked together. Now, fold the sleeves in half widthwise, or hamburger style with the cut edges down.

Now, cut the arm scythe out of the bottom edge with the cut edges as shown. Make sure to have the straight side of your pattern piece parallel to the fold. One year we sewed a whole dress together before realizing it was cut the wrong way. That was a lot of seam ripping...

If you have any questions, just let me know. I know this is kind of long, but I went in to detail and tried to break it down and explain really well. I would like to do a video sometime to show just how fast this really is. My mother and I cut most of these out in a few hours (with many kids to watch)
.

You can see the directions for assembling these dresses with a lot of tips for making it faster on my post HERE.
If you have any questions, please ask. You can e-mail me at pacountrycrafts at gmail dot com or find me on facebook. I would love to see any pictues of dresses you make with my tutorials and I would really, really, REALLY love if you could whip some up for Project Yesu!
Link Parties where I sometimes hang out if I get a minute...
Sew Can Do, Motivate Me Monday, Anything Goes Monday, Take a Look Tuesday, Naptime Creations, Carolyn's Homework, The Winthrop Chronicles, Handmade Tuesdays,Inspire Me Wednesday, We Did It Wednesday, Adorned From Above, Your Whims Wednesday, Not Just a Housewife, Weekly Homemaking Party,Create It Thursday, The 36th Party, Friday Favs Party, Saturday Sewing, Think Pink Sunday, and Threading Your Way.


