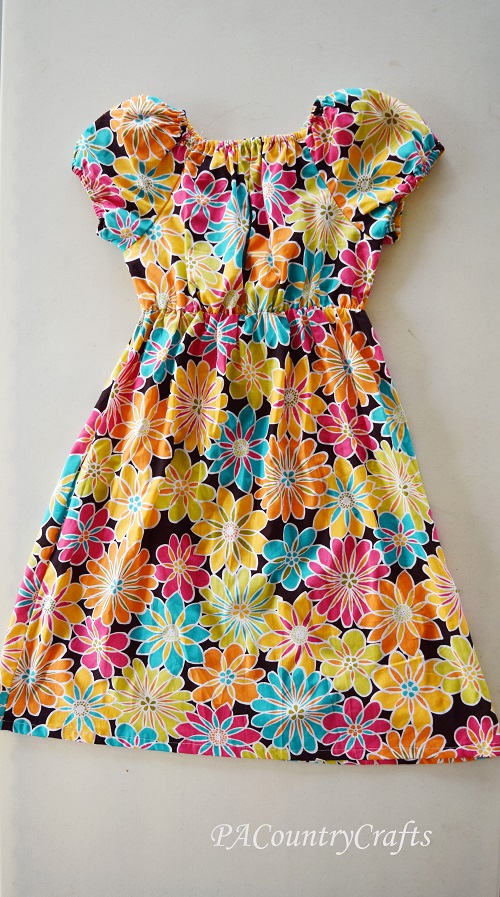
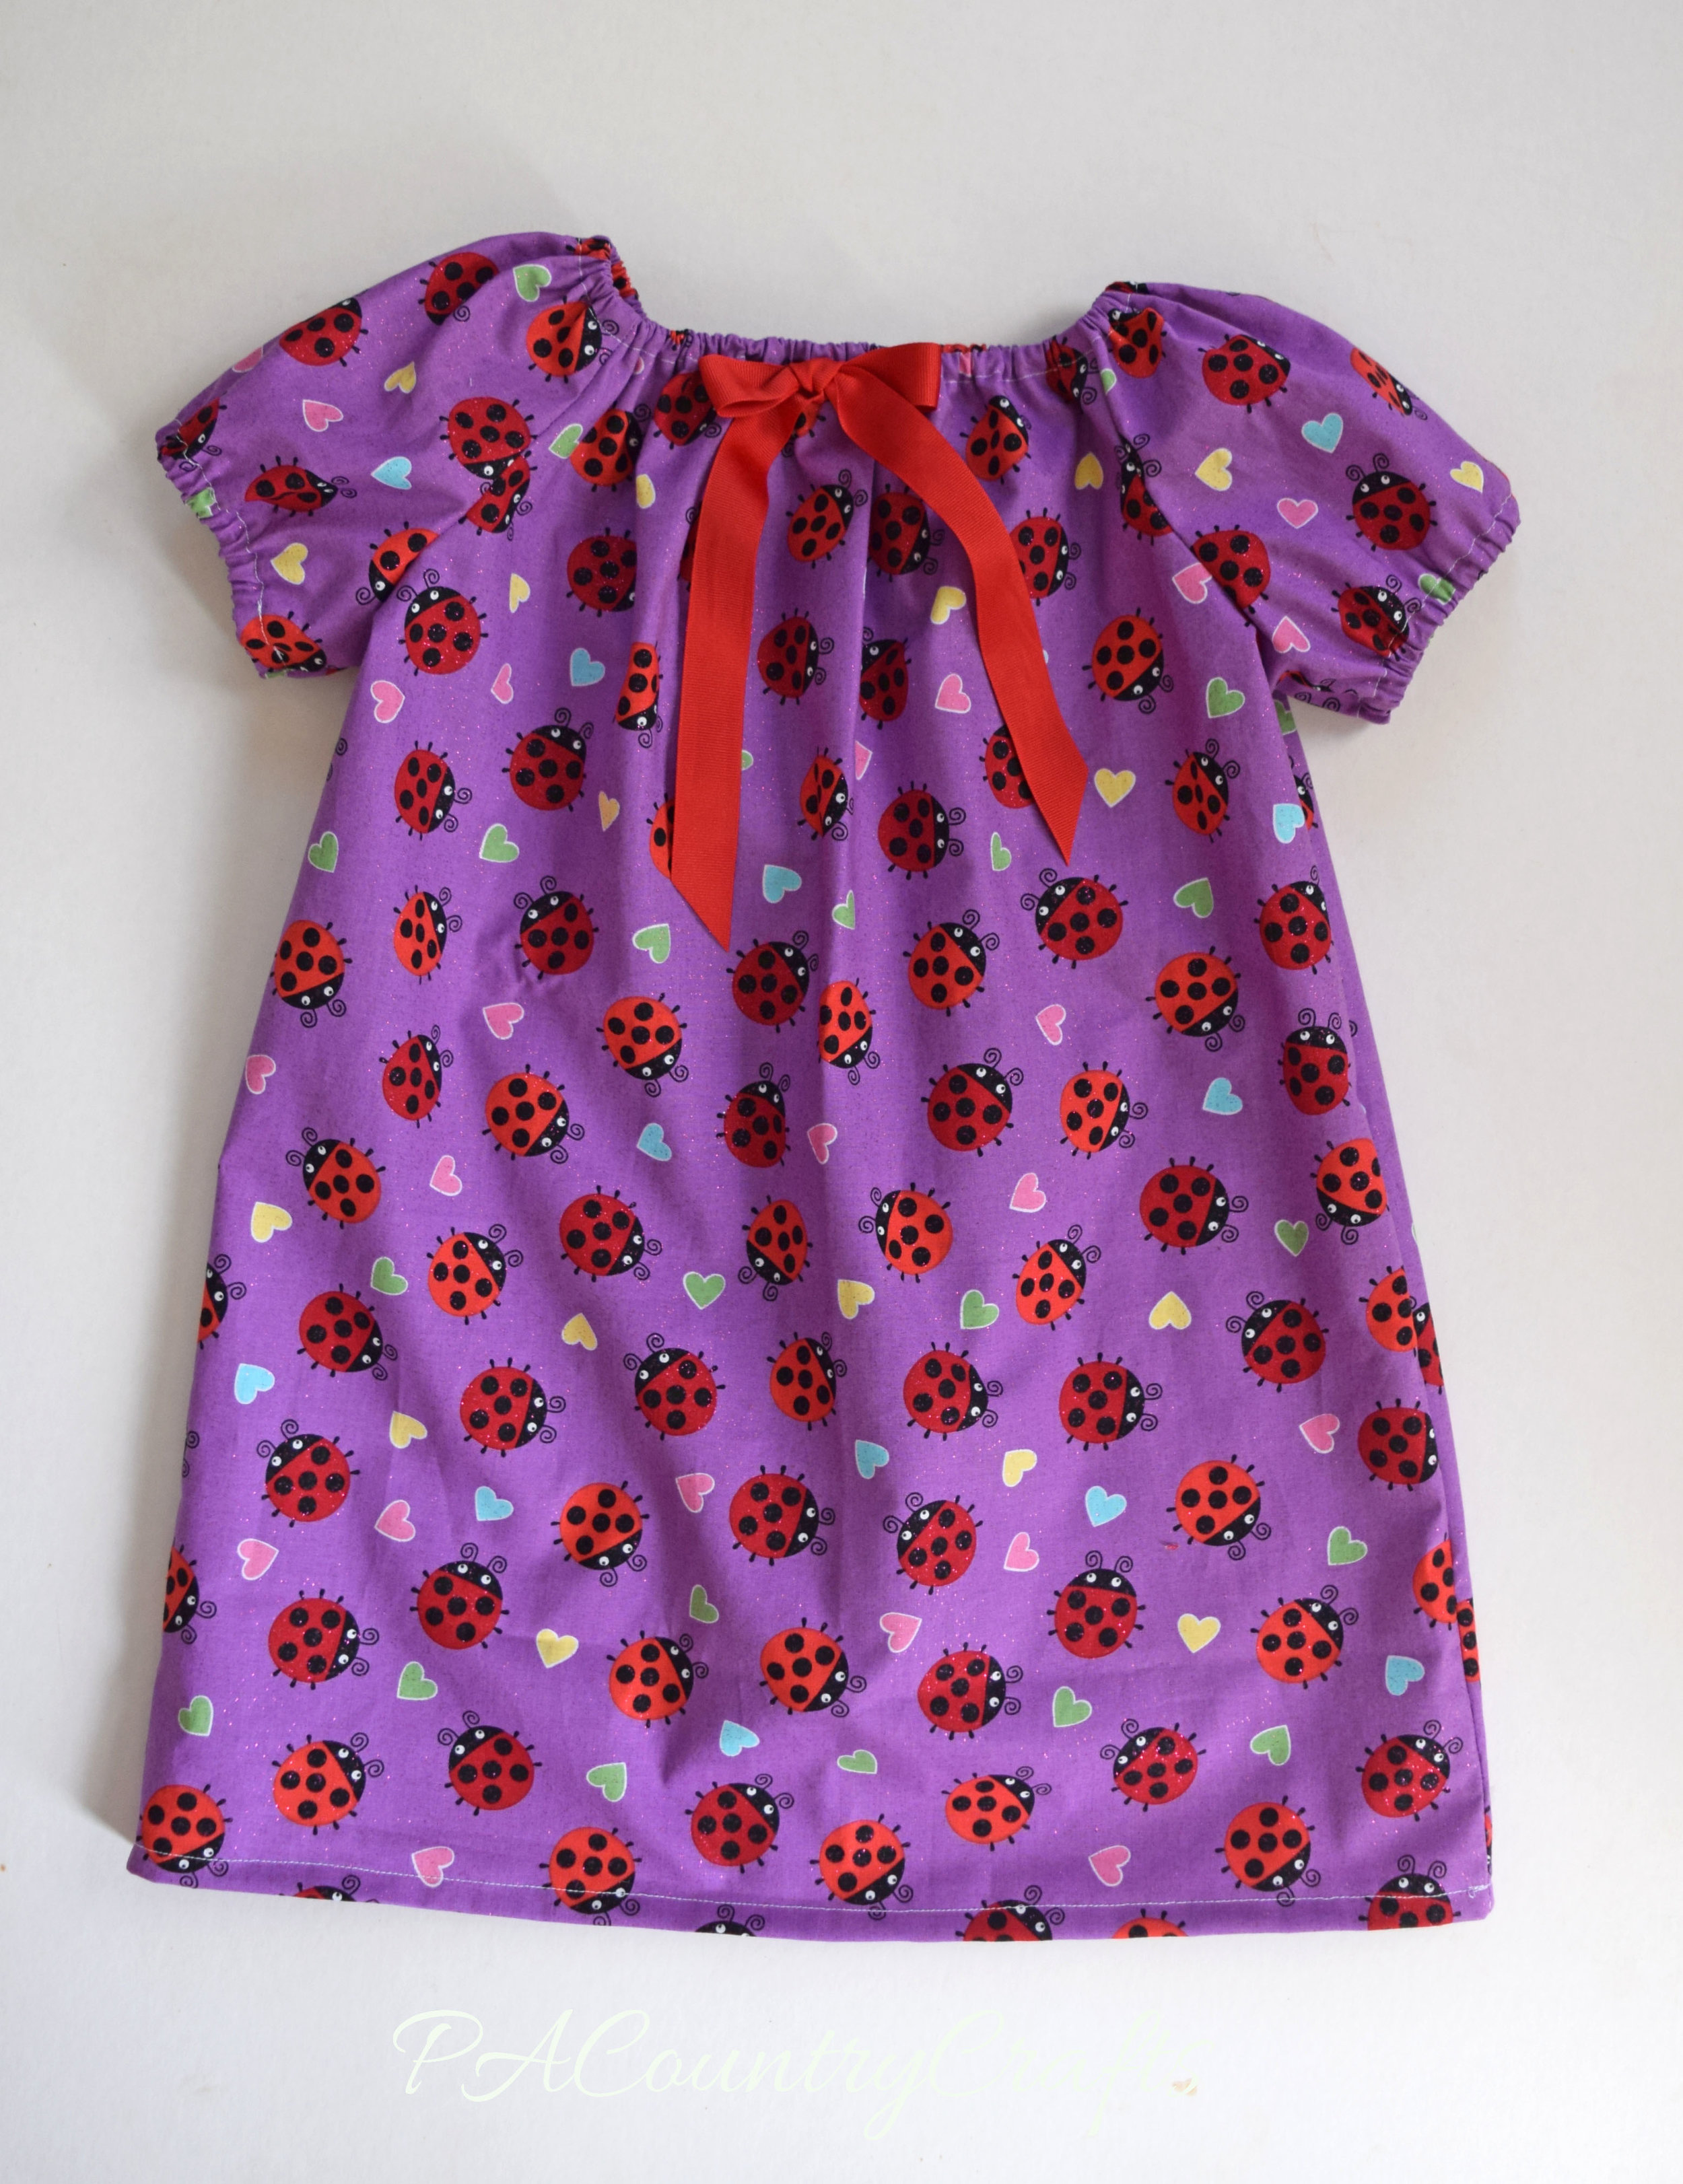
Peasant Dress Quick Sewing Tutorial
/I know there are peasant dress tutorials galore, but I am going to show you how to make these dresses using a few tips and tricks we have picked up over the past few years while making hundreds of these dresses for groups like Project Yesu. I already covered the "system" we use for cutting them out quickly and efficiently. Today I am showing you how to sew them together.

I mentioned yesterday that we will sometimes add a contrasting band to the bottom of the dress. It also makes a fun, color blocked effect. To do this just cut a strip the same width as the rest of the dress and the length needed to make it the desired size. Sew the strip to the bottom of the dress and serge or zig zag over the edge to keep it from fraying.


Gather all of your pieces. There should be 2 dress body pieces and 2 sleeves.

Line up the arm scythes of one sleeve and one dress piece with the right sides together.

Sew them together with a 3/8" seam allowance, back-stitching a little at the beginning and end. DON'T stop and pull it away from the machine. Leave your presser foot down. We are going to do a little chain piecing here. It is faster and makes fewer thread snibbles that scatter all over the place.
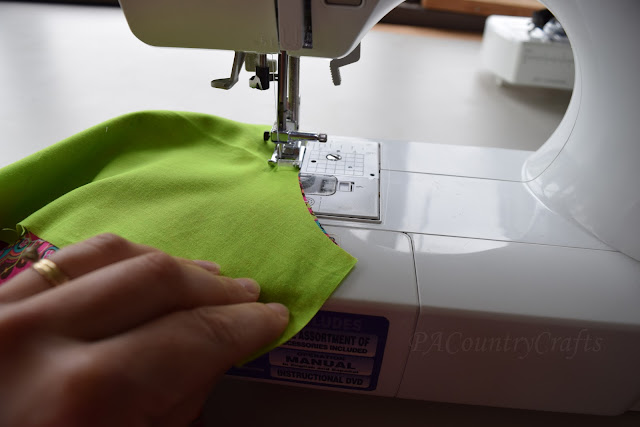
Just grab the other dress piece and sew it to the other side of the sleeve you just sewed.

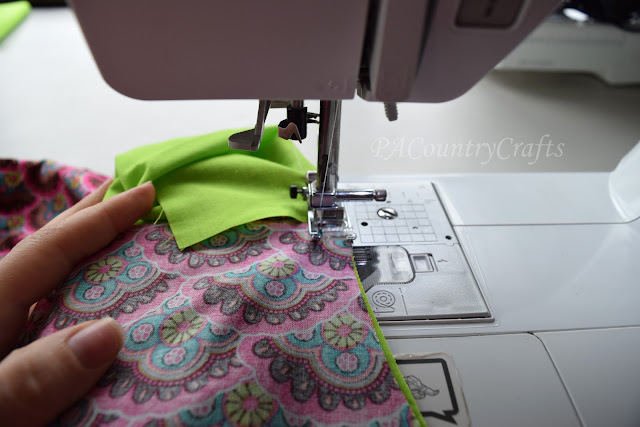
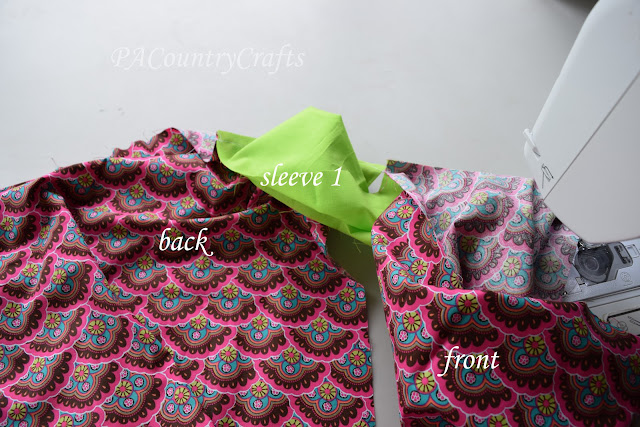
Then sew the second sleeve to the other side of the dress piece you just sewed. (No picture. Musta' missed that.)
Finally, sew the second sleeve to the first dress piece you started with.
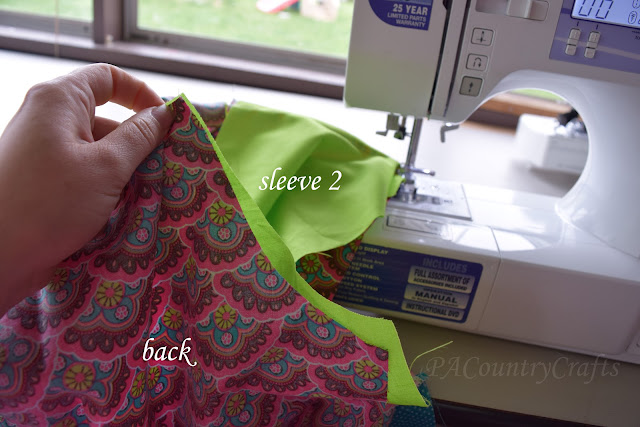
It is all kind of a circular thing. It is easy once you get used to it.
NOW you can remove it from the sewing machine and snip all the connecting threads.
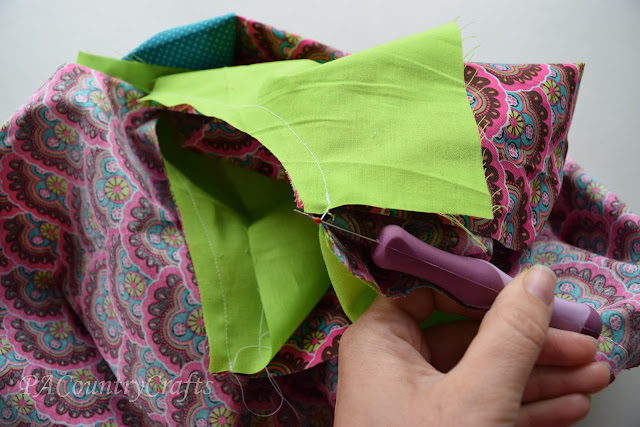
This is what it looks like now.

Next you are going to sew the sides. Grab the corners of the sleeves and make sure the armpits line up.

You need to press the seams in opposite directions with the top one going towards the sewing machine and the bottom one pointing towards you.


I know it is shifted a little bit, but I am trying to show the seams.
Use a 3/8" seam allowance. You may need to pivot a little bit at the armpit because the angle changes there.
Next, the raw edges need to be finished. I use a serger or overlock machine. It goes so fast and does a really nice job. There is really only one trick to it. You see, when you get to the armpit it naturally bends a little.

Just go ahead and pull that straight as you are sewing. The overlock machine produces a stretch stitch, so it will be fine. If you don't straighten it and try to pivot it, chances are the cutter will leave knicks in the armpit.


Now, it needs an elastic casing for the neckline. I have found that the easiest way to do this is to fold it under 1/4"...
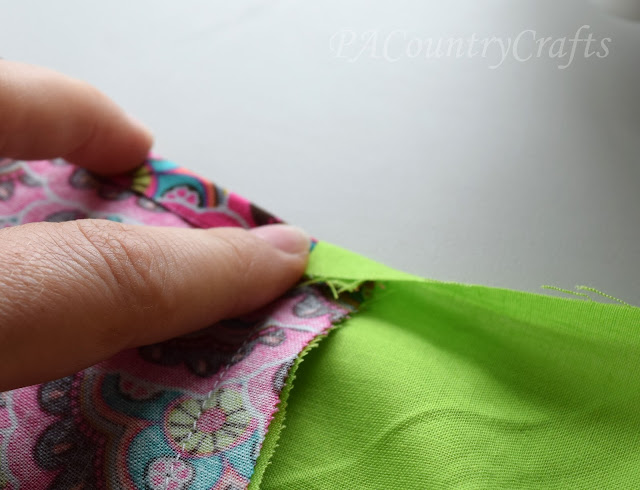
...and again about 1/2"...

...and just keep folding it as you sew. I like to use my presser foot as a guide. I keep my needle in the left position so the stitching is about 1/8" from the left edge of the fold. You need to leave room between the stitching and the right folded edge to insert 1/4" elastic so that gives it about 3/8".
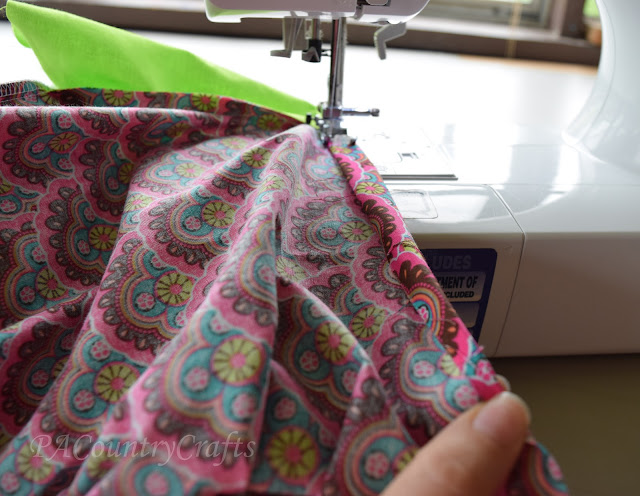
IMPORTANT!! Make sure that all of the seams get pushed in the same direction. I feed them towards me as I am sewing so that they go to the right. If you don't it is a pain in the behind to push elastic through there.
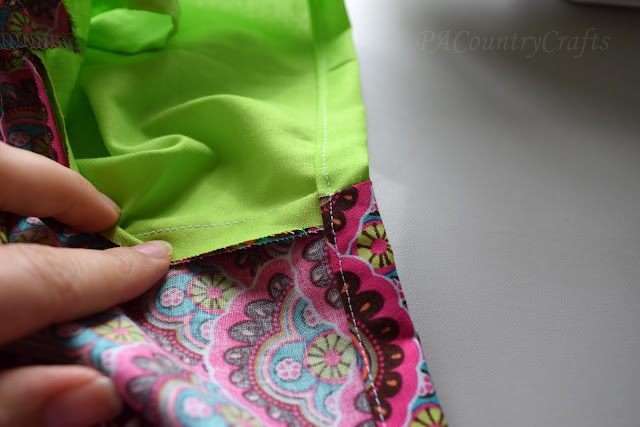
Also, leave an opening to thread the elastic through!
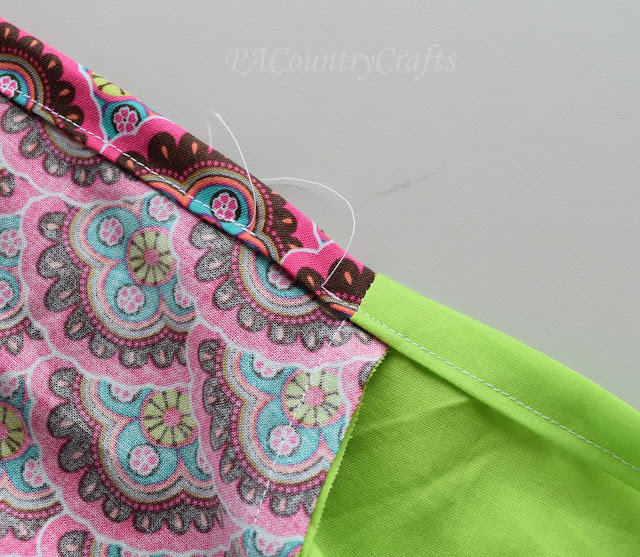
For the sleeves, you can leave them open and loose as we usually do, or you can make a casing just like the neckline on those and thread elastic. It is totally up to you. Here are some I did with elastic in the sleeves.

To hem the sleeves if not adding elastic, I just fold it under about 1/4" twice.
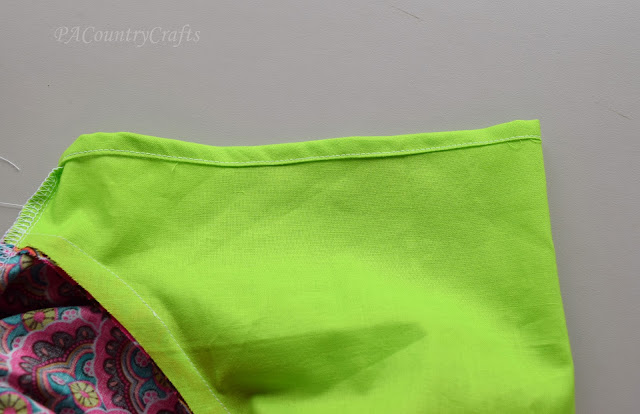
To hem the bottom, I fold it under about 1/2" twice.

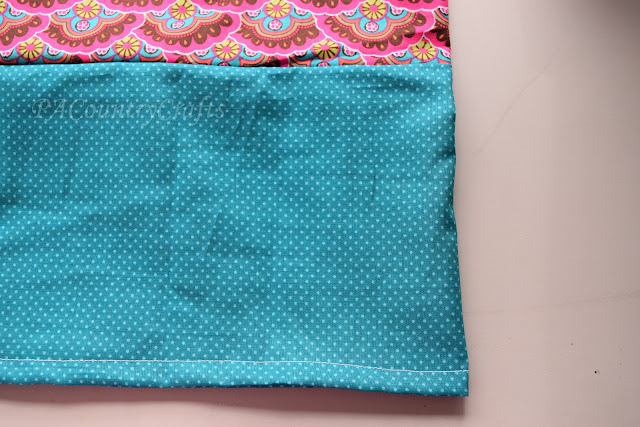
I kind of wish I had topstitched where the two strips meet. I have done it that way before and it is a little nicer.
Last step! Put elastic into the casing at the neckline. We use 18" for the smaller dresses and 19" for the bigger ones.

Do yourself a favor and pin one end to the dress. It is so sad when the end of the elastic gets pulled into the casing. Put a pin on the other end and push it through the casing.
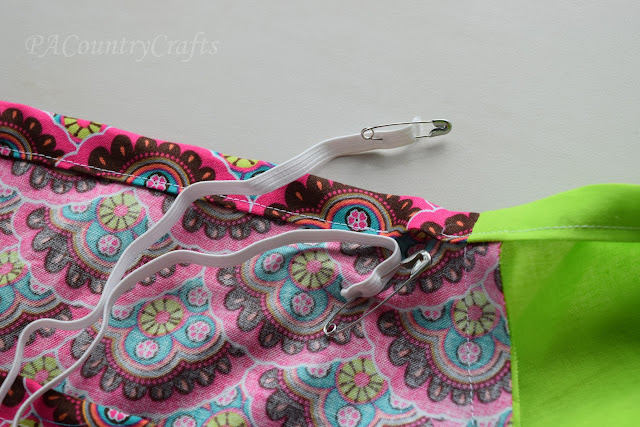
Now, I know there is a way to sew the elastic in while sewing the casing, but I thought it was a pain and we usually have helpers that are looking for non-sewing jobs to do.
Overlap the ends and use a zig zag stitch to hold them together.
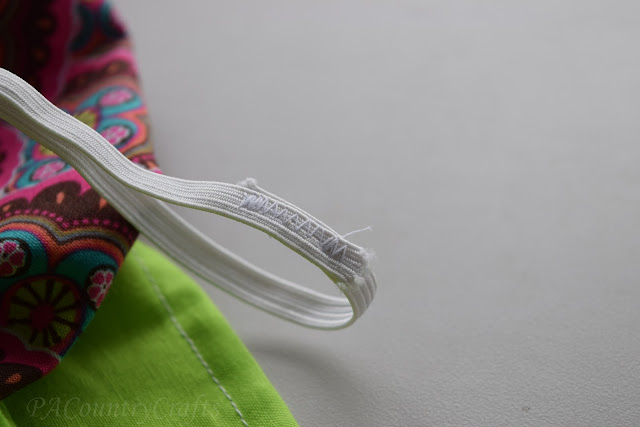
Sew the opening closed.
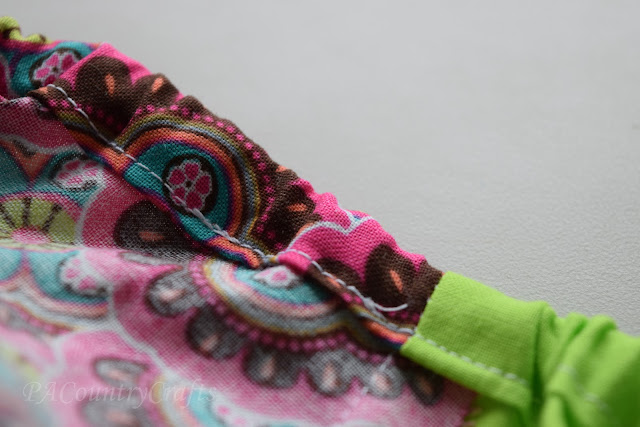
TA DA!
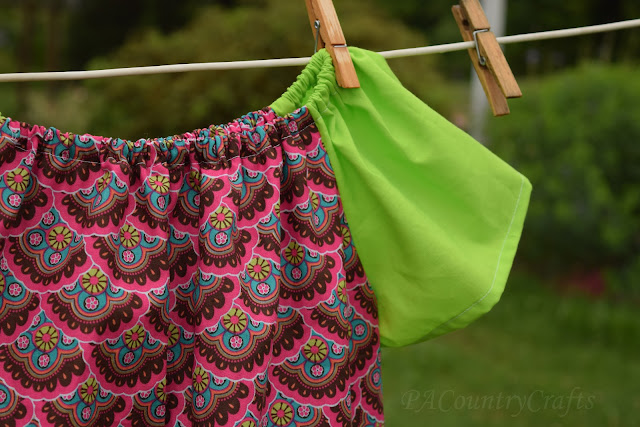
I can sew one of these together in about 15-20 minutes, so they really are fast to make.

This tutorial is for personal, non-commercial, or charity use only. It would be great if you could make one of these or a pillowcase dress for Project Yesu. If that isn't possible, please consider donating just $10 towards the costs of transporting these dresses to Uganda.


