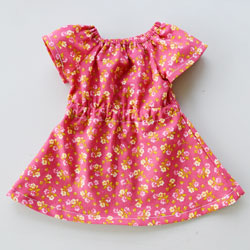
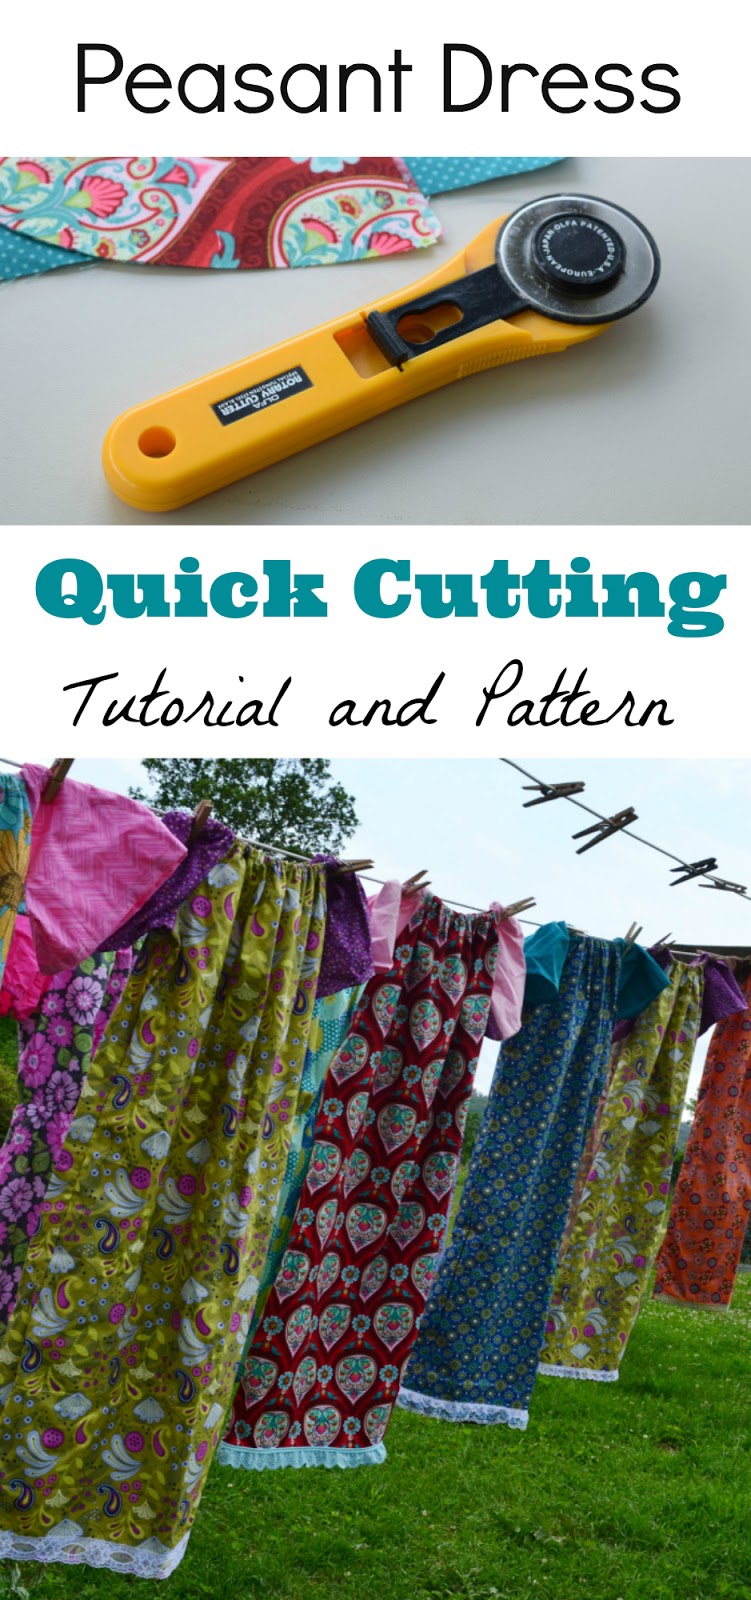
Teen Peasant Dress Pattern and Tutorial

teen-peasant-dresss-tutorial.jpg

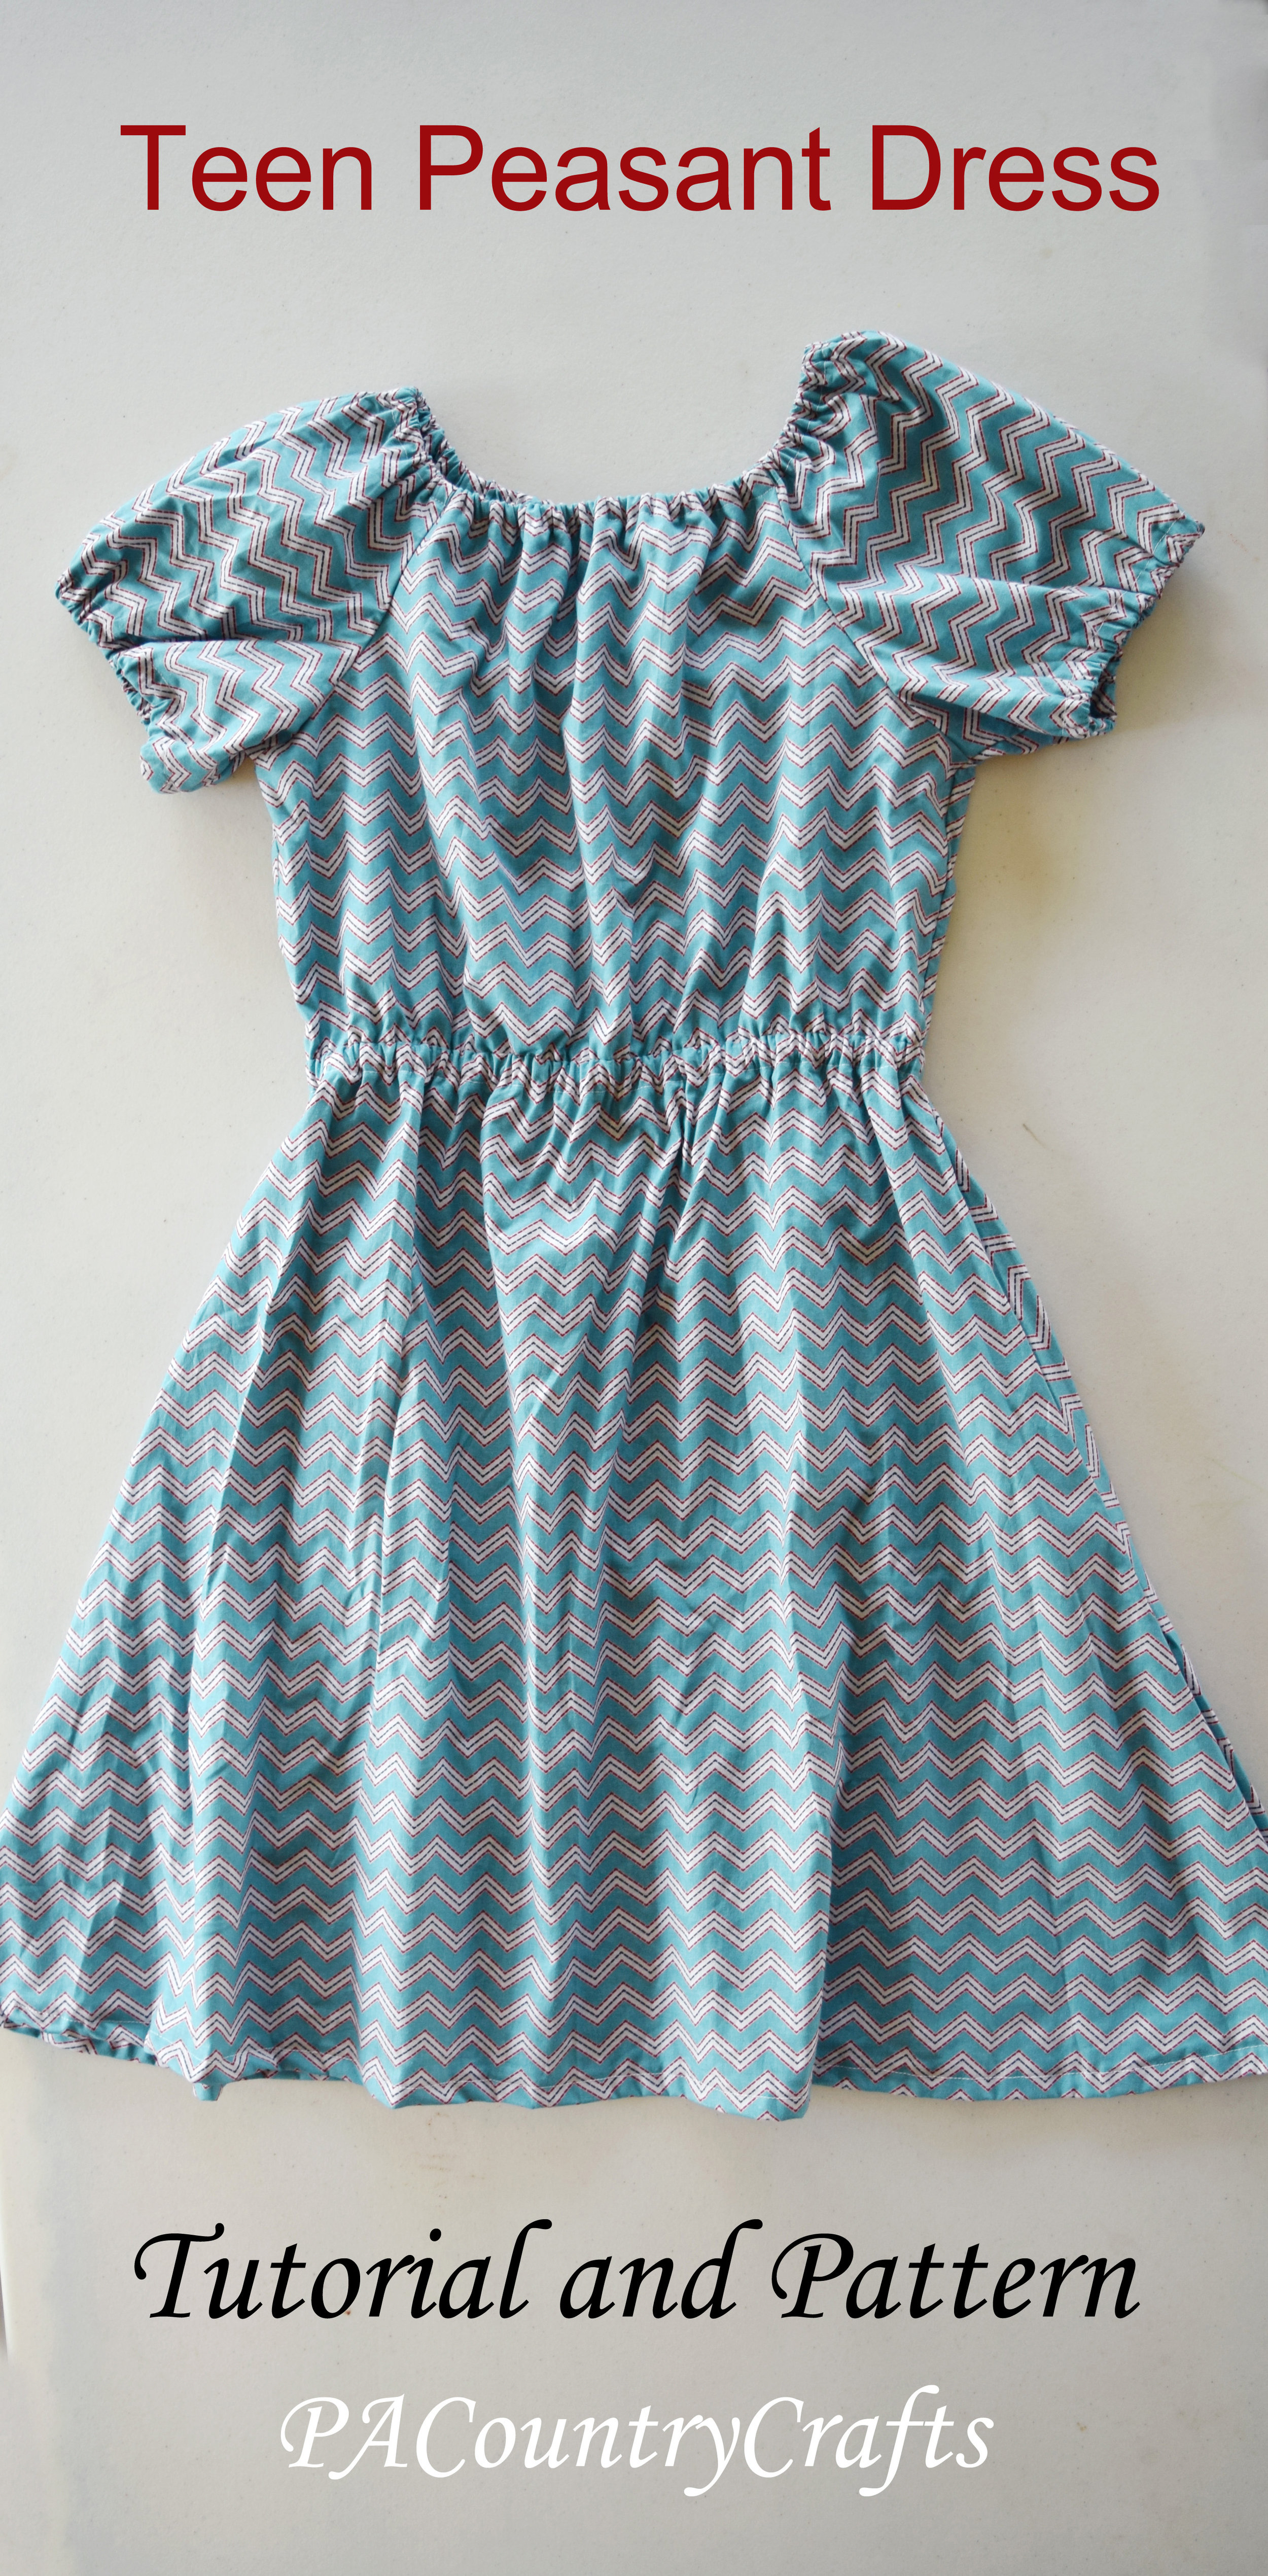
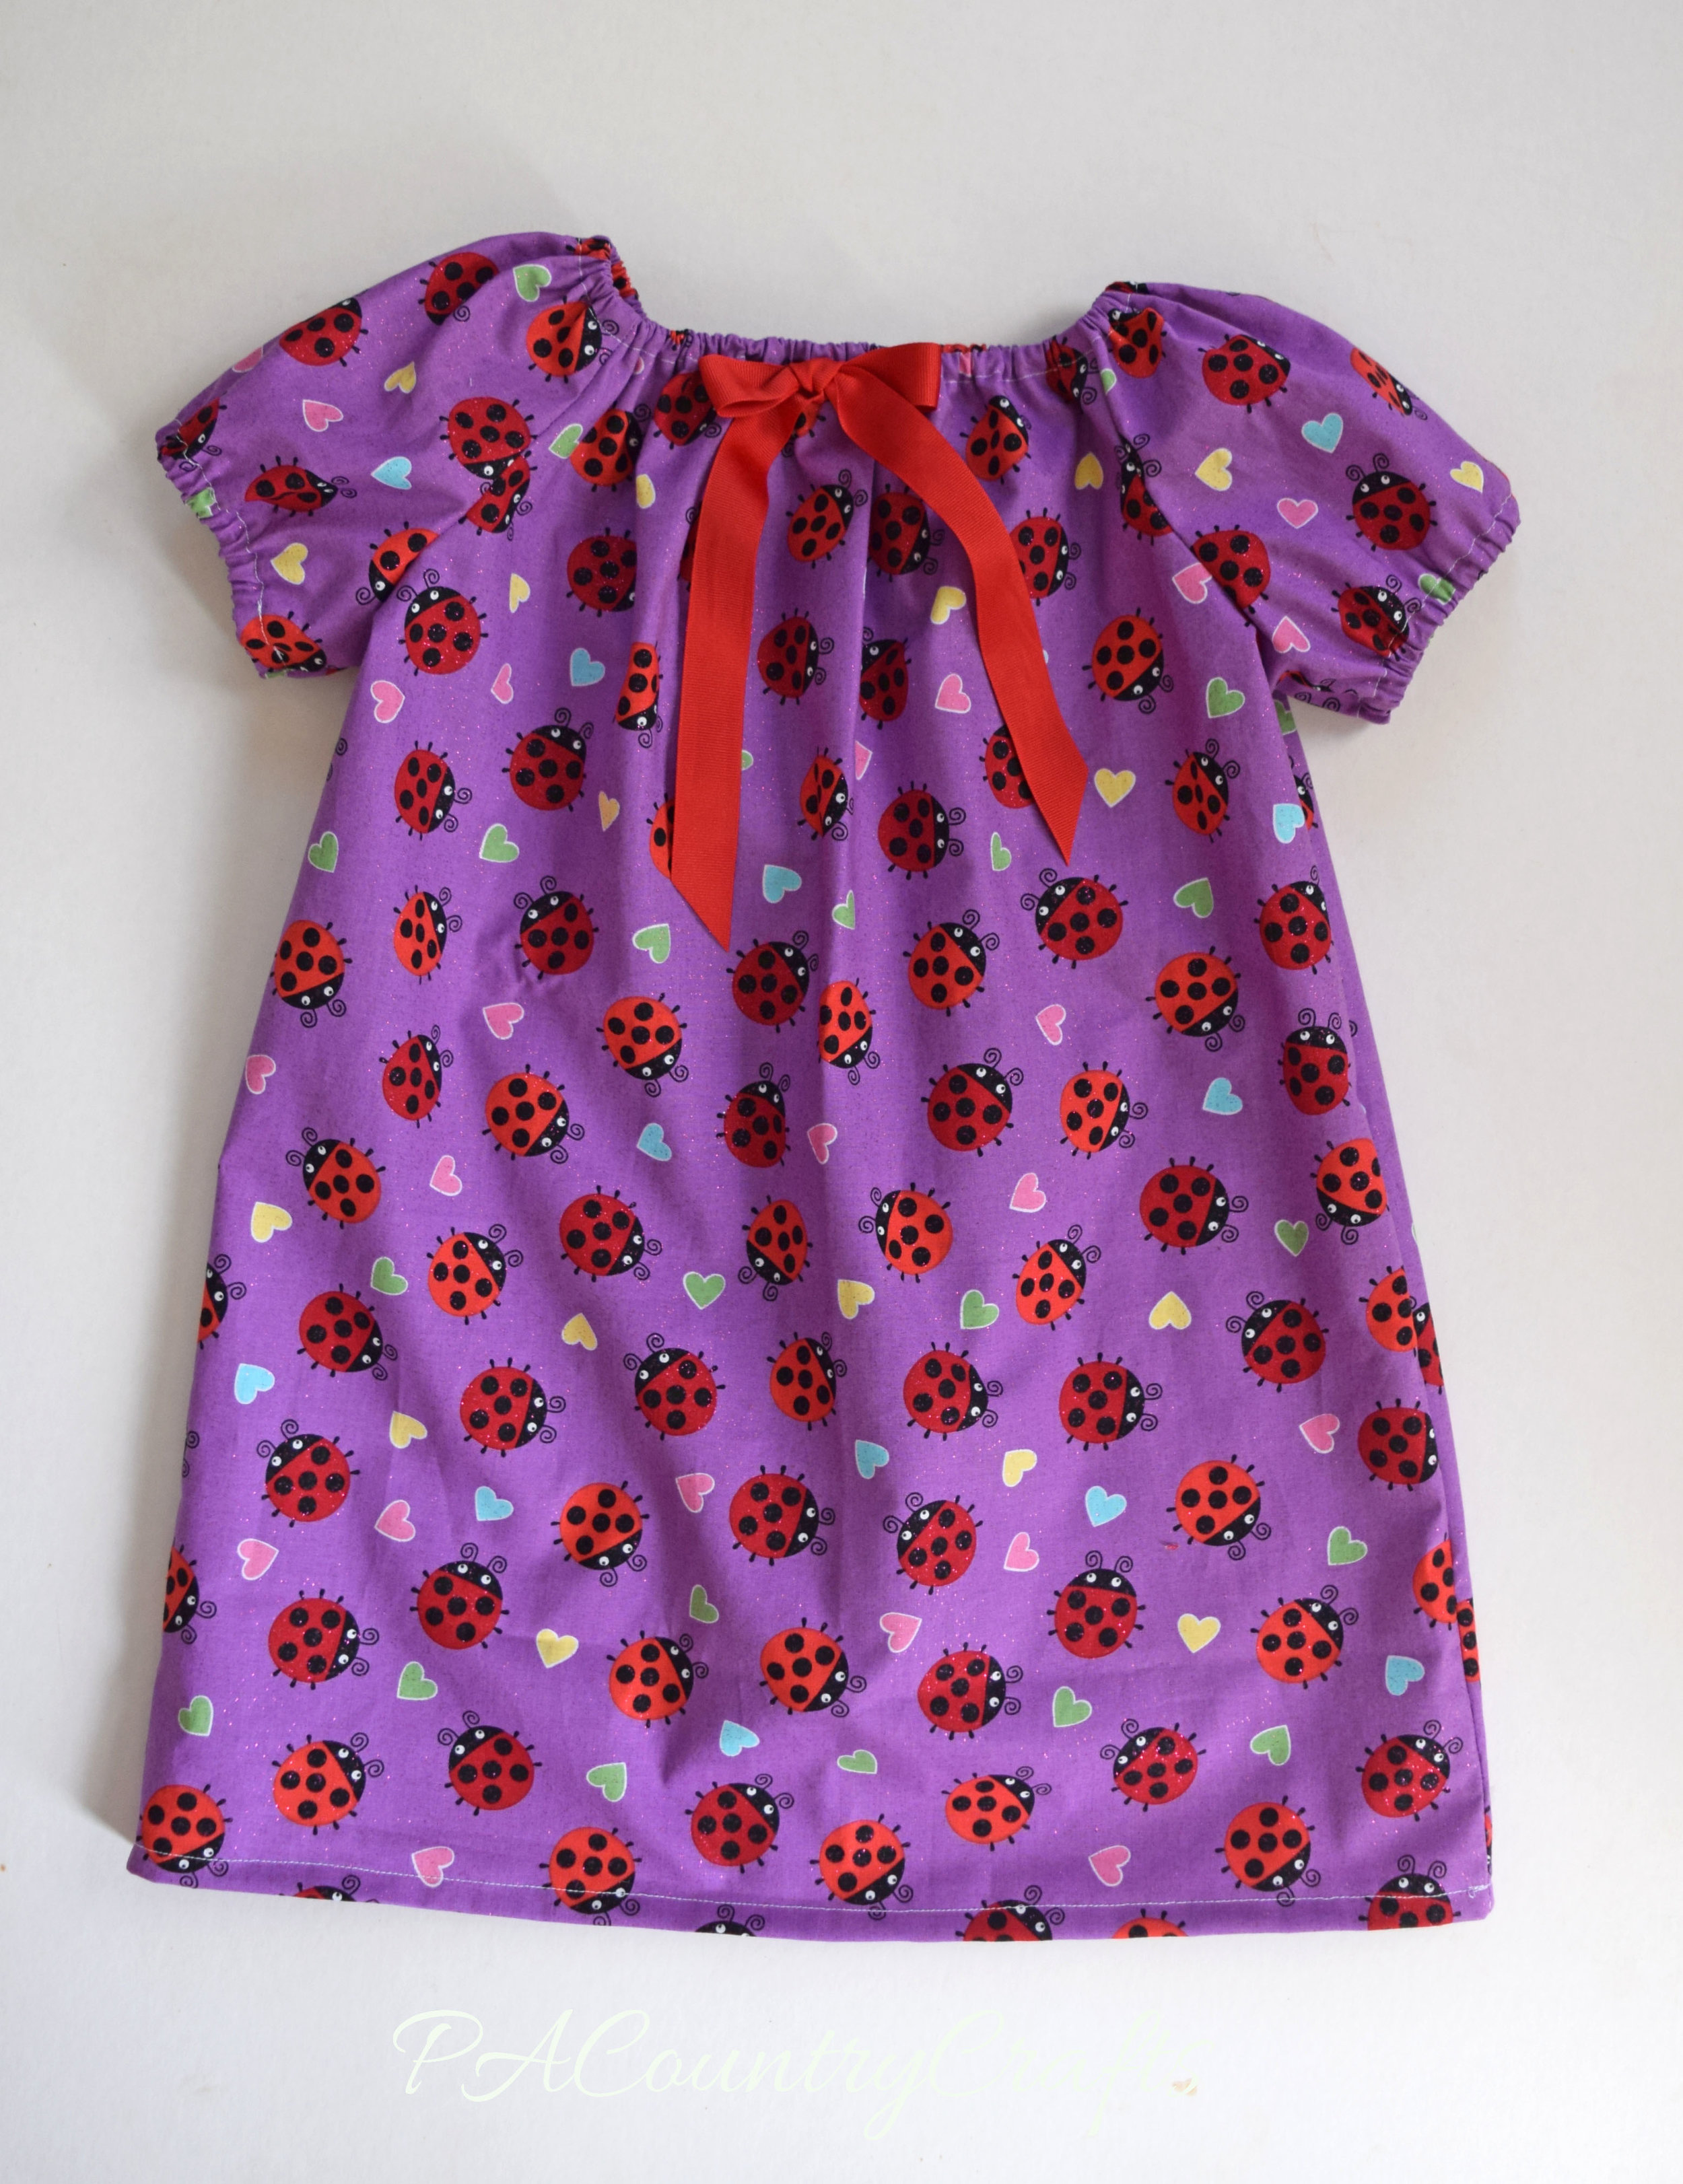
This year, Project Yesu was looking for some dresses for the older girls of ages 12-16. I challenged myself to create a variation of the peasant dresses we normally make that would meet some of the unique challenges of making larger sizes. It is longer, but has enough width at the bottom to allow for easy movement. I also lined the top to allow for more modesty. The elastic waistband is another nice feature that just makes the dress a bit more mature.

This dress is in a 14-16 girls size.  If you need help choosing fabric see my post HERE. You can do contrasting sleeves. The top and sleeves can be made from a different print/color to give a faux two-piece effect. It would be easy to adapt my regular peasant dress to add the elastic waistband, too.

Reading my tutorial for quickly cutting peasant dresses would be very helpful for understanding how these dresses are cut.

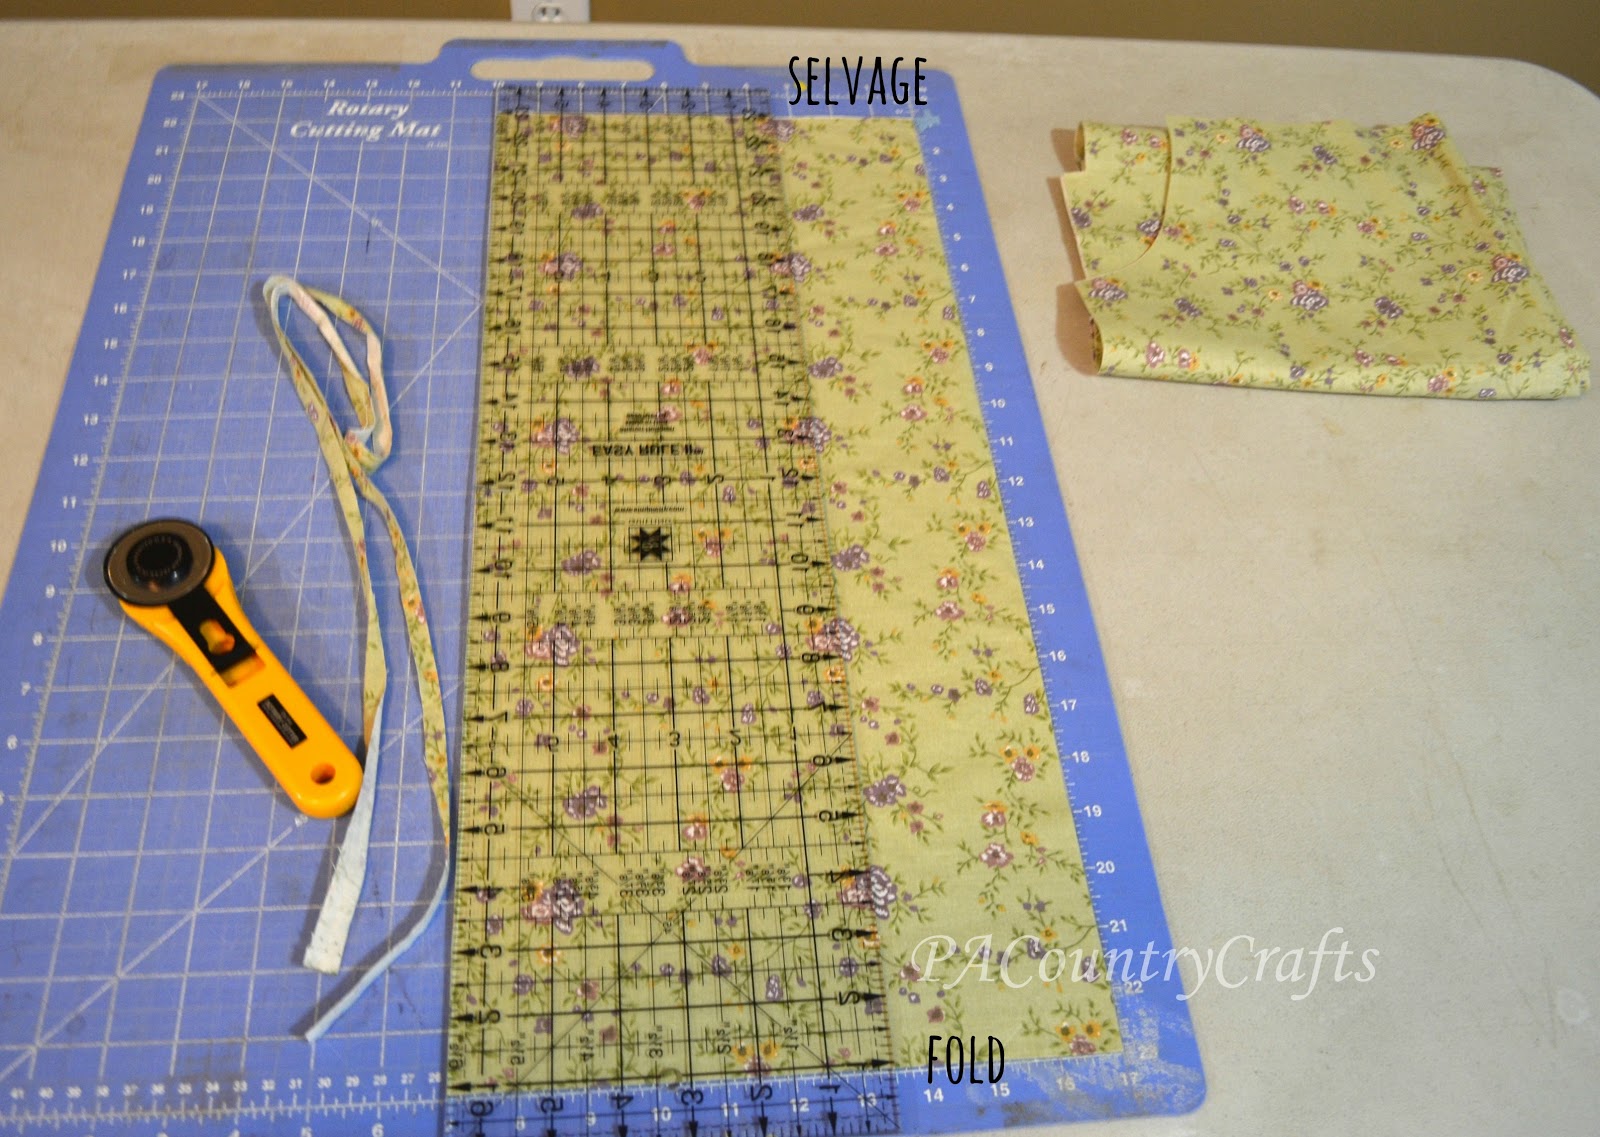
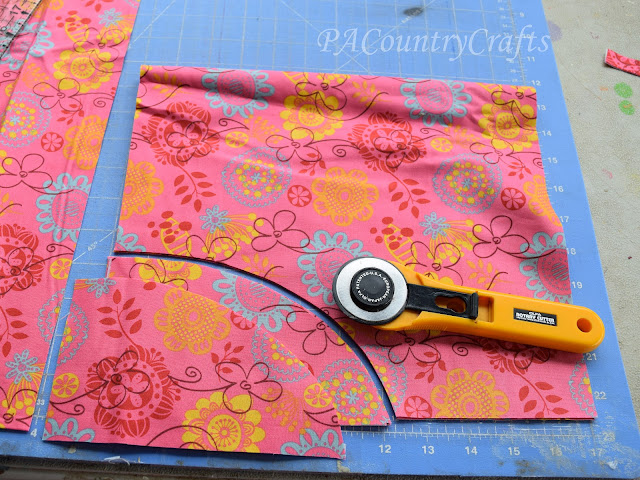
For the skirt portion, keep the fabric folded with the selvage edges together, just as it comes off the bolt. I always cut four layers at once, taking the cut edges together on the end. Cut two strips the width of the fabric by 25".

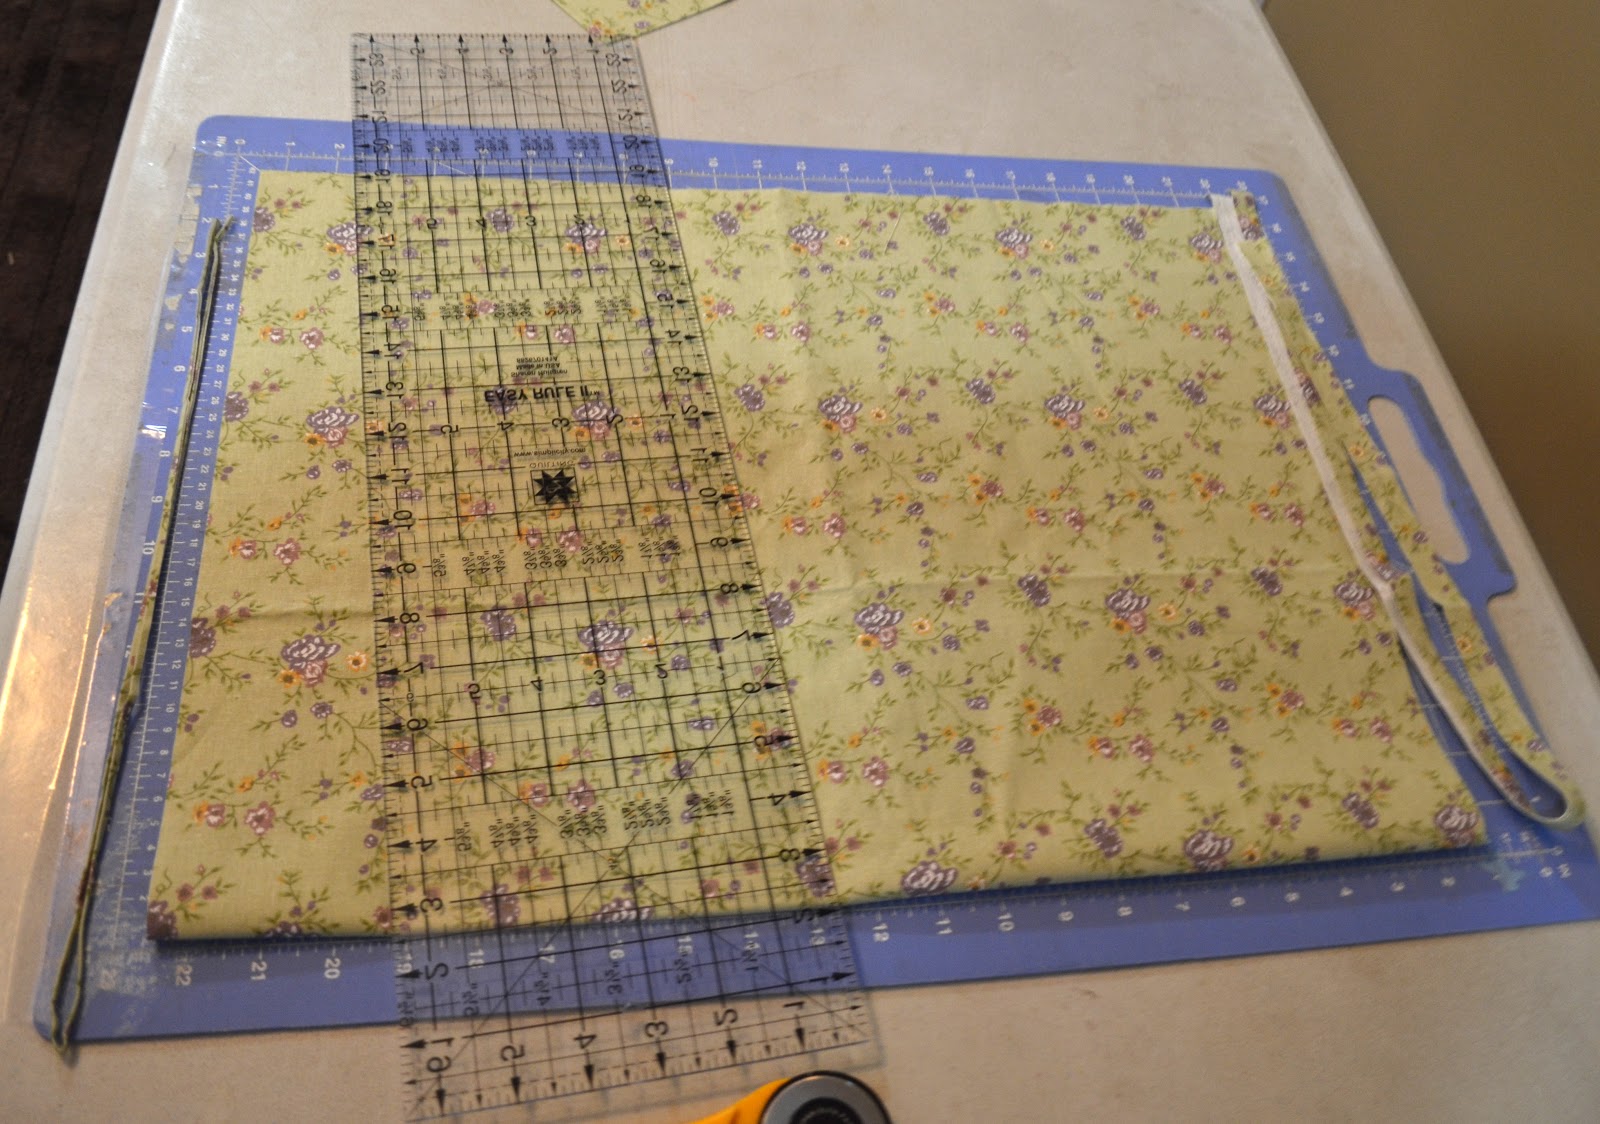
Then, to make the most efficient use of the fabric, refold it by taking one side of the selvage edge (I cut both pieces at once) and fold it towards the middle 15".

Cut a slit 1 1/2" into the fabric 10 1/2" from the fold (for a total width at the waist of 21").

Then, use the ruler to cut an angle towards the corner from the end of the slit.

This is what you should have so far... a funky looking trapezoidish thing.

Now, something that will help the hem A LOT: trim off the corners so that the distance from the waist to the bottom is a consistent 25". (I showed this in my doll maxi skirt tutorial if you need a better explanation/pictures.)

 A quick tip... the reason I refold the fabric is because if I cut 2 skirts from the same fabric, I can piece together the remaining fabric and make another skirt. It just has a seam in the middle- I use those for the backs.

For the top, cut a strip the width of the fabric by 15".

Trim off the fold and selvage to make two pieces EXACTLY 21" wide.

Fold the pieces in half and cut an arm scythe 4" wide by 7" high. Save the pieces that you cut off so you can trace them later.

Make one lining out of thin, smooth cotton or a poly cotton blend for the front. Cut is the same as the top.

Cut two sleeves the same way, but make them 12" instead of 15". Fold and use the pieces that you cut away from the top as a guide for cutting the arm scythes.

Now, something that I found helped it to fit MUCH better...

Cut one inch from the top of the front an lining. Then, angle the sleeves by cutting one inch from the front side and angling up to the back.

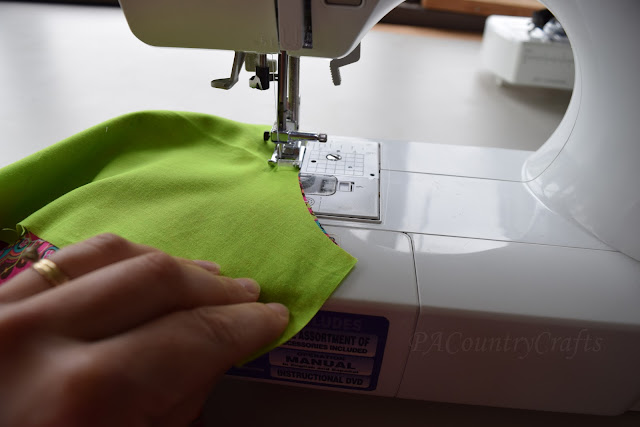
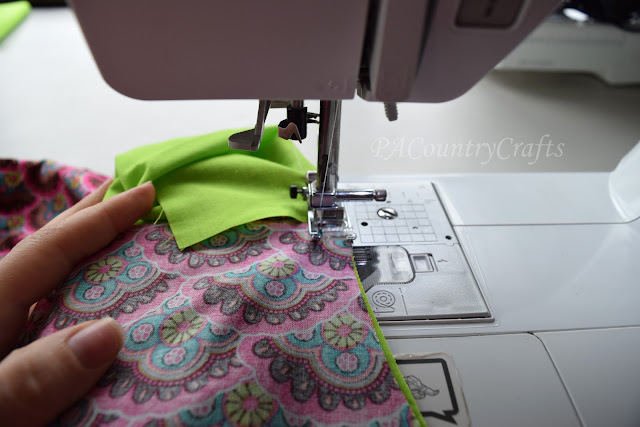
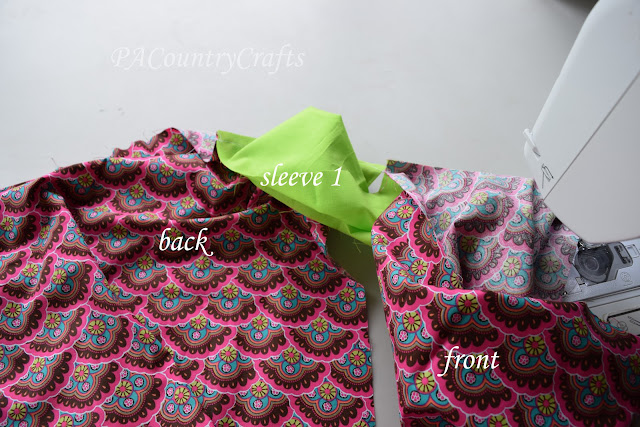
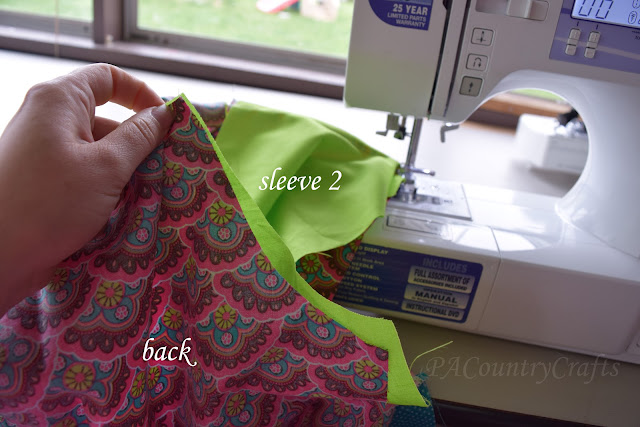
That should give you all of your pieces. Now, sew the top together just like my regular peasant dress tutorial. You have to be careful to line up the shorter sides of the sleeves with the front of the top.

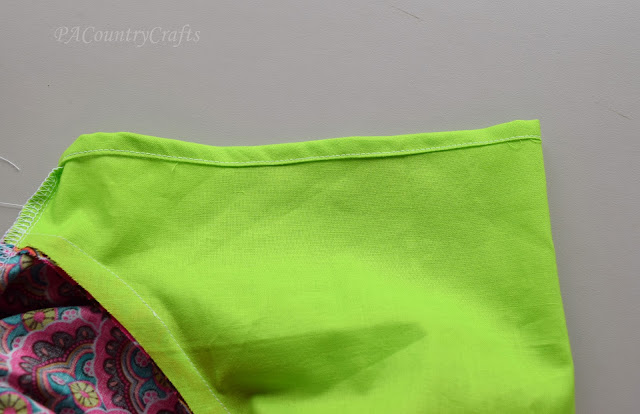
To line the front, just sew it with the lining and front held together as if they are one piece.

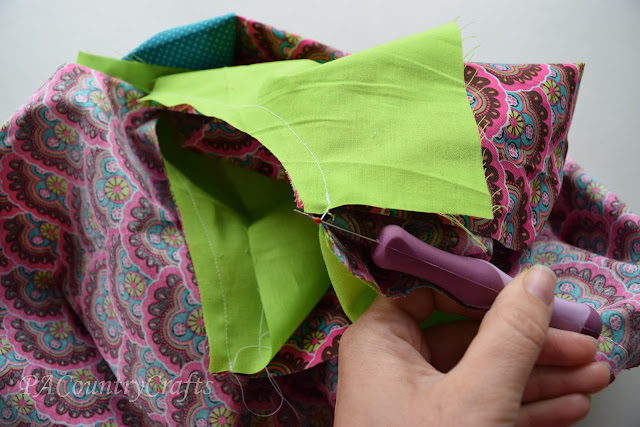
Sew the side seams using a PRECISE 3/8" seam allowance. That is really the only tricky part to this. Serge the sides. Then, sew the elastic casings for the neck and also for the sleeves. Again, I explain that method HERE.

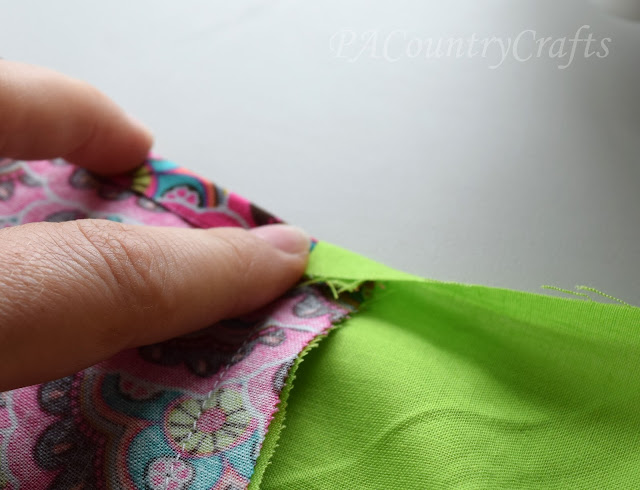
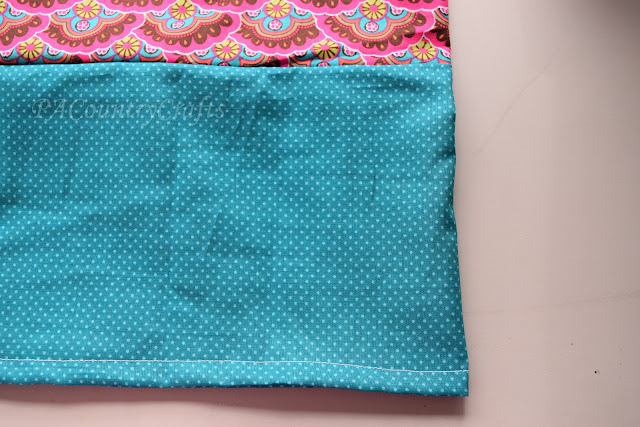
See? The top is all finished! Now, sew the skirt with the right sides together using a PRECISE 3/8" seam allowance. This is important to make sure the top and bottom line up. Serge those sides, too. Do yourself a favor and hem the bottom before you attach it- it is easier when there is less fabric to deal with. Just fold it under 1/2" twice and sew. Now, turn the skirt right side out and line up the waists.

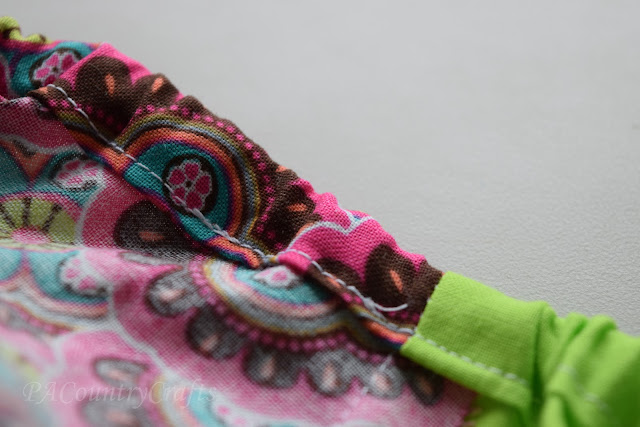
Make sure the seam allowances press one direction so that the elastic can be pushed through.

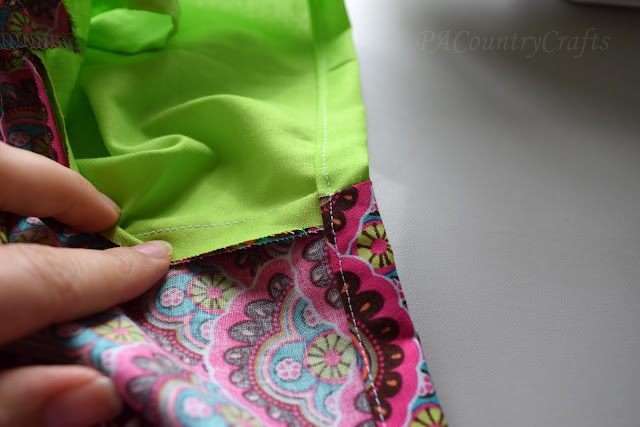
Sew the top and skirt together with a 3/8" seam allowance. Then, sew again 1/2" from that stitching line and leave an opening to thread elastic. Serge the raw edges.

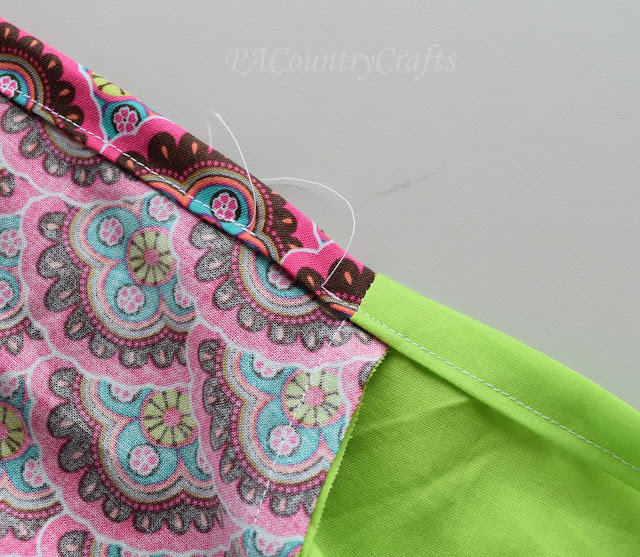
Now, to take it one step further, you can press the casing towards the skirt and topstitch on top of the seam allowance. It makes the waist lay flatter. I didn't do this with all of the dresses we made (I forgot) but it does make them better.

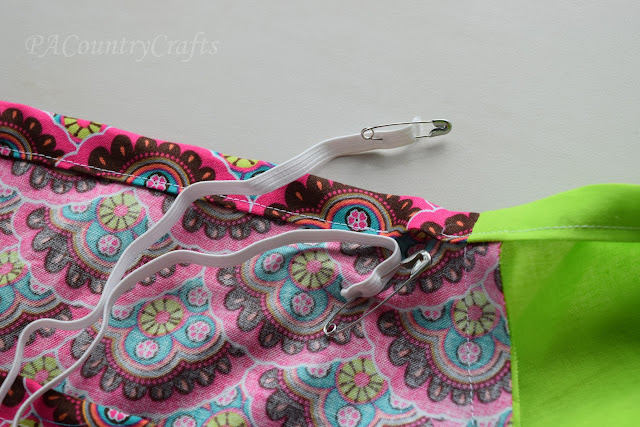
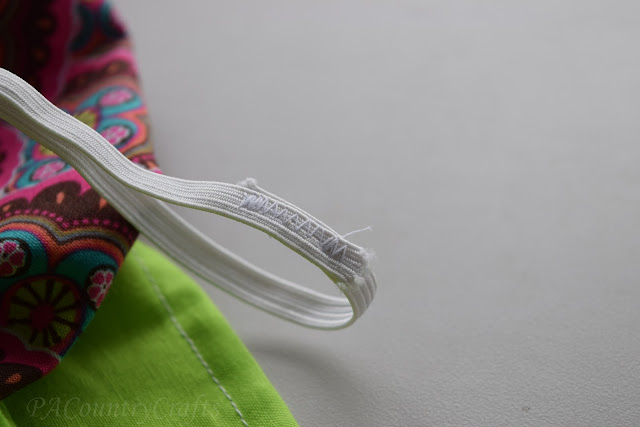
The elastic for the waist will need to be inserted from the outside and hand stitched shut with a ladder stitch. (It really isn't that hard.)

For the neck, use 1/4" elastic at 25" long. 
For the sleeves, use 1/4" elastic at 12 1/2" long. (Cut 2- one for each arm.)
For the waist, use 3/8" elastic at 27" long.

You can see how I insert the elastic and sew it together HERE.

That is it! I can sew one of these up in 30-45 minutes, including stuffing the elastic in the casings.

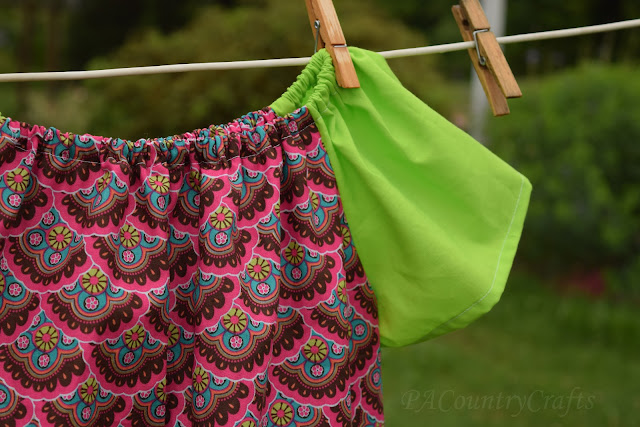
Here is one I made with a shorter top and longer skirt. If you cut the skirt 28" long there will be enough left to make 2 drawstring bags for Days for Girls hygiene kits. I have way too many scraps, so I am always looking for good causes to sew smaller things for.

I am posting the pattern and tutorial for these dresses for personal, non-commercial, or charity use only. Do not sell this pattern or sell things made from this pattern. I spent a lot of time tweaking it to get it just right so please respect my intentions.

If you have any questions, just let me know! You can contact me via facebook or e-mail pacountrycrafts at gmail dot com. I would LOVE to see pictures if you make some of these dresses. 

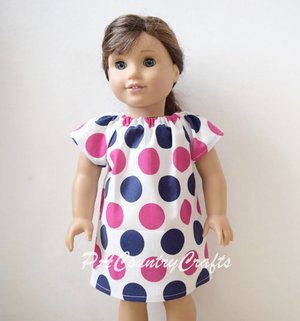
An easier version of this dress can be made for smaller girls, too. I have several recent posts about those. 

Would you like to help? You can contact Project Yesu about dress donations. They are also asking for donations of just $10 to help cover the costs of transporting supplies to Uganda this summer. If you would consider donating that amount- less than the cost of some sewing patterns- it would be greatly appreciated! You can also pray for their work there and for the girls who will wear these dresses.

Peasant Dress Quick Sewing Tutorial

peasant2Bdress2Btutorial2B2_edited-1-1.jpg

I know there are peasant dress tutorials galore, but I am going to show you how to make these dresses using a few tips and tricks we have picked up over the past few years while making hundreds of these dresses for groups like Project Yesu. I already covered the "system" we use for cutting them out quickly and efficiently. Today I am showing you how to sew them together.

I mentioned yesterday that we will sometimes add a contrasting band to the bottom of the dress. It also makes a fun, color blocked effect. To do this just cut a strip the same width as the rest of the dress and the length needed to make it the desired size. Sew the strip to the bottom of the dress and serge or zig zag over the edge to keep it from fraying.

Gather all of your pieces. There should be 2 dress body pieces and 2 sleeves.

Line up the arm scythes of one sleeve and one dress piece with the right sides together.

Sew them together with a 3/8" seam allowance, back-stitching a little at the beginning and end. DON'T stop and pull it away from the machine. Leave your presser foot down. We are going to do a little chain piecing here. It is faster and makes fewer thread snibbles that scatter all over the place.

Just grab the other dress piece and sew it to the other side of the sleeve you just sewed.

Then sew the second sleeve to the other side of the dress piece you just sewed. (No picture. Musta' missed that.) 

Finally, sew the second sleeve to the first dress piece you started with.

It is all kind of a circular thing. It is easy once you get used to it.

NOW you can remove it from the sewing machine and snip all the connecting threads.

This is what it looks like now.

Next you are going to sew the sides. Grab the corners of the sleeves and make sure the armpits line up.

You need to press the seams in opposite directions with the top one going towards the sewing machine and the bottom one pointing towards you.

I know it is shifted a little bit, but I am trying to show the seams.

Use a 3/8" seam allowance. You may need to pivot a little bit at the armpit because the angle changes there. 

Next, the raw edges need to be finished. I use a serger or overlock machine. It goes so fast and does a really nice job. There is really only one trick to it. You see, when you get to the armpit it naturally bends a little.

Just go ahead and pull that straight as you are sewing. The overlock machine produces a stretch stitch, so it will be fine. If you don't straighten it and try to pivot it, chances are the cutter will leave knicks in the armpit.

Now, it needs an elastic casing for the neckline. I have found that the easiest way to do this is to fold it under 1/4"...

...and again about 1/2"...

...and just keep folding it as you sew. I like to use my presser foot as a guide. I keep my needle in the left position so the stitching is about 1/8" from the left edge of the fold. You need to leave room between the stitching and the right folded edge to insert 1/4" elastic so that gives it about 3/8".

IMPORTANT!! Make sure that all of the seams get pushed in the same direction. I feed them towards me as I am sewing so that they go to the right. If you don't it is a pain in the behind to push elastic through there. 

Also, leave an opening to thread the elastic through!

For the sleeves, you can leave them open and loose as we usually do, or you can make a casing just like the neckline on those and thread elastic. It is totally up to you. Here are some I did with elastic in the sleeves.

To hem the sleeves if not adding elastic, I just fold it under about 1/4" twice.

To hem the bottom, I fold it under about 1/2" twice.

I kind of wish I had topstitched where the two strips meet. I have done it that way before and it is a little nicer.

Last step! Put elastic into the casing at the neckline. We use 18" for the smaller dresses and 19" for the bigger ones.

Do yourself a favor and pin one end to the dress. It is so sad when the end of the elastic gets pulled into the casing. Put a pin on the other end and push it through the casing.

Now, I know there is a way to sew the elastic in while sewing the casing, but I thought it was a pain and we usually have helpers that are looking for non-sewing jobs to do.

Overlap the ends and use a zig zag stitch to hold them together.

Sew the opening closed.

TA DA!

I can sew one of these together in about 15-20 minutes, so they really are fast to make.

This tutorial is for personal, non-commercial, or charity use only. It would be great if you could make one of these or a pillowcase dress for Project Yesu. If that isn't possible, please consider donating just $10 towards the costs of transporting these dresses to Uganda.

Peasant Dresses for Charity- Choosing Fabric

choose2Bfabrics.jpg

Yesterday I shared how we cut out peasant dresses quickly and efficiently, and I probably should have done this first, but I want to backtrack a bit and talk about how to choose fabric for these dresses.

peasant dresses for charity

First, a bit about fabric...

100% cotton works best. It is durable and will hold up to a lot of wear and tear.

We usually hit up Joann's red dot clearance sales when they have 50% off the clearance price. We also try to get a coupon for an extra 20% off when possible. Also, if you agree to take the end of the bolt they will give you the remnant price for an additional 50% off. I keep a tote in storage and we stock up throughout the year. We also accept donations of fabric.

It is important to make sure the fabric is good quality. I make sure that it is not too thin or too light. A good rule of thumb is that if you can see your hand through the fabric, it won't work. Please try to remember that often these girls do not have undergarments. Also, if the fabric is too light in color it will get dirty and stain faster. We try to choose bright, bold colors and prints as they seem to be very well received. Recently, I am also trying to remember that prints that contain words or animals might be confusing or offensive to other cultures.

peasant dresses for charity

peasant dresses for charity


peasant dresses for charity

peasant dresses for charity

The dresses require 1 to 1 1/4 yards. We often make contrasting sleeves. Also, if we don't have enough fabric for the full length, we sometimes add a contrasting band on the bottom. We usually use solids or small prints for the sleeves and accents.

peasant dresses with contrasting sleeves

peasant dress with contrasting band

Last thing: trims...

lace

We often add lace or ric rac to the hem of the fabric. I am now trying to add the lace just above the hem so that it doesn't catch or get dirty as fast. It isn't always possible to attach it that way, though. It isn't necessary, but it makes a nice, little touch to make the dresses more special. We usually purchase the trims at thrift stores and yard sales.

peasant dresses for charity
I hope these tips are helpful! This year, our dresses are going to Project Yesu. If you would like to help out by sewing or donating just $10 to help cover the costs of transporting the dresses check out their website.

Peasant Dress Quick Cutting Tutorial and Pattern.

cut2Bdresses.jpg
Hi! Things have been going pretty well here for the last 9 months or so. I have still been sewing and crafting a lot, mostly for friends and family. We are also making dresses for Project Yesu again this year. Each summer, Mallory goes to Uganda and she has a pillowcase dress drive to take dresses along with her for the girls. We actually make peasant dresses, which are just a little easier, in my opinion, but they require a little more fabric for the sleeves. Here is what the finished dresses look like:

We have made many of these dresses over the years (the ones pictured above are from last year) and have worked out a few shortcuts for making the process more efficient. Today I am going to share the method we use for cutting these dresses out efficiently.
Set up your cutting table. We use plastic folding tables. Take a standard 18" by 24" (or bigger) rotary cutting mat and lay it on the table with the long edge parallel to the short end of the table. Measure 20" from the edge of the table to the 0" line and use masking tape to affix the mat to the table. (Masking tape works best, but I didn't have any this time so I made do with packaging tape.) Now you can add 20" to whatever the bottom edge reads when cutting the length of the front and back of the dress and you don't have to worry about the mat slipping on the smooth table. 
Start out with 44-45" width cotton fabric, folded in half. It usually comes this way off the bolt, but you need to make sure everything is straight and keep the selvage edges lined up. (The selvage edges are the ones that were not cut at the store that may have tiny holes or be white with printing.) You may need to straighten up the cut edge of the fabric with your rotary cutter and plastic ruler before you start. With the folded edge toward you, slide the cut edge out to the end of the table. (I have also marked a set line with masking tape instead of using the end as a guide if that is easier for you to see.) Now, cut the main dress pieces to length. These are the approximate lengths that we use. 
4-6: 28"
7-9: 32"
10-12: 36"
Throughout this tutorial, it is important to pay attention to the way the fabric is folded for cutting. It ensures the stretch of the fabric is in the correct direction.
Fold the piece you just cut in half widthwise or hamburger style, bringing the cut edges together on the left side. Mom and I do this together and she does the folding and I do the cutting. It goes really smoothly with both of us working together. 
Trim the selvage edge off the top and trim a tiny bit from the fold at the bottom. This picture is taken from the end of the table.
Now you have two pieces that are the desired length by about 22" or so wide stacked together. Open it back up and fold it in half lengthwise or hot dog style.
Here is a very unprofessional pattern to use for the arm scythes. I should get points for effort, though. You should be able to print it as a full page photo. I labeled the measurements so you can double check it.
Use the guide to cut the arm scythe out of the corner with all cut edges. Make sure the short side of the pattern is along the short side of the fabric. Not that I have ever done it the wrong way or anything... ;)
The front and back pieces of the dress are all cut and ready. Now, on to the sleeve. Cut a strip of fabric the needed length. Here is what we use:
4-6: 9"
7-9: 9.5"
10-12: 10"
I didn't have much left over from this piece. You can also do contrasting sleeves. We do that a lot, especially if the main dress print is really busy- a solid fabric for the sleeves looks really nice. Take note that the folded edge is along the bottom.
Trim the selvage edge from the top (not shown- blurry pic) and slide the cut edge to the top line on the mat. Cut the sleeves to the correct width. This is what we use:
4-6: 17"
7-9: 17.5"
10-12: 18"
There is a small piece left over on the bottom, but it is folded in half, so it is actually twice as wide as you see in the picture. It is a decent size scrap and could be used to make a pocket on the dress if so desired. 
At this point, the sleeves are two long rectangles stacked together. Now, fold the sleeves in half widthwise, or hamburger style with the cut edges down.
Now, cut the arm scythe out of the bottom edge with the cut edges as shown. Make sure to have the straight side of your pattern piece parallel to the fold. One year we sewed a whole dress together before realizing it was cut the wrong way. That was a lot of seam ripping...

If you have any questions, just let me know. I know this is kind of long, but I went in to detail and tried to break it down and explain really well. I would like to do a video sometime to show just how fast this really is. My mother and I cut most of these out in a few hours (with many kids to watch)
.
You can see the directions for assembling these dresses with a lot of tips for making it faster on my post HERE.
If you have any questions, please ask. You can e-mail me at pacountrycrafts at gmail dot com or find me on facebook. I would love to see any pictues of dresses you make with my tutorials and I would really, really, REALLY love if you could whip some up for Project Yesu!
Link Parties where I sometimes hang out if I get a minute...