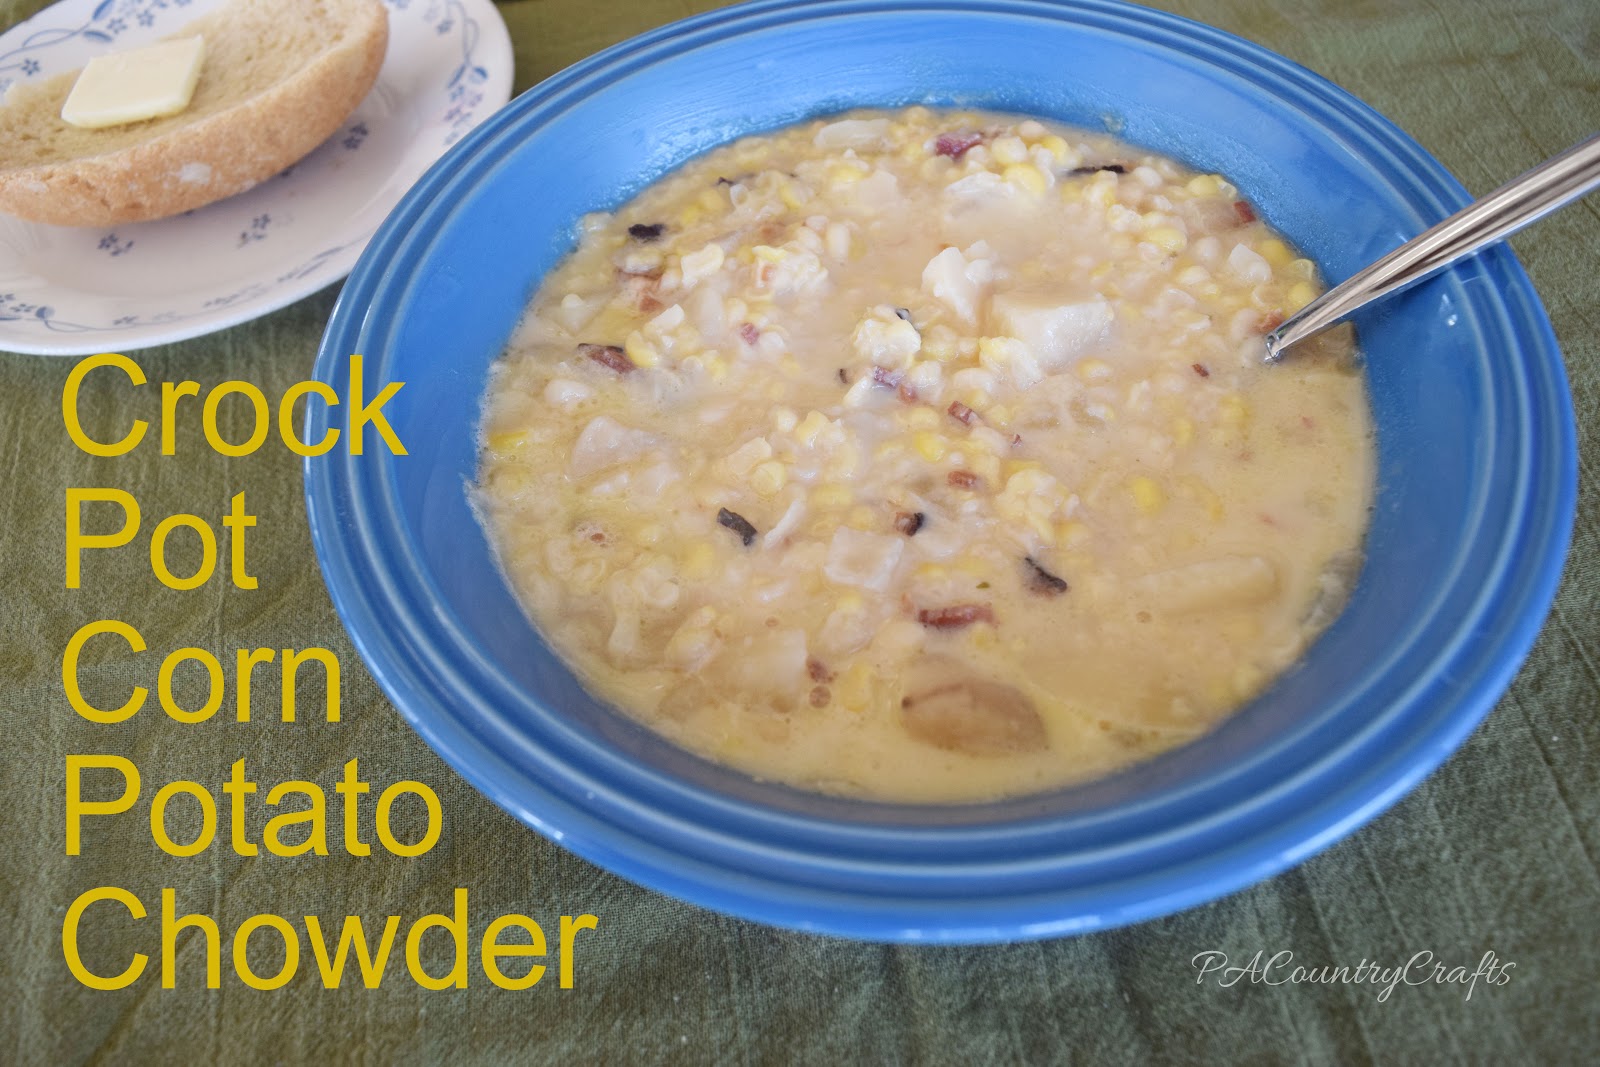
Crock Pot Corn Potato Chowder
/

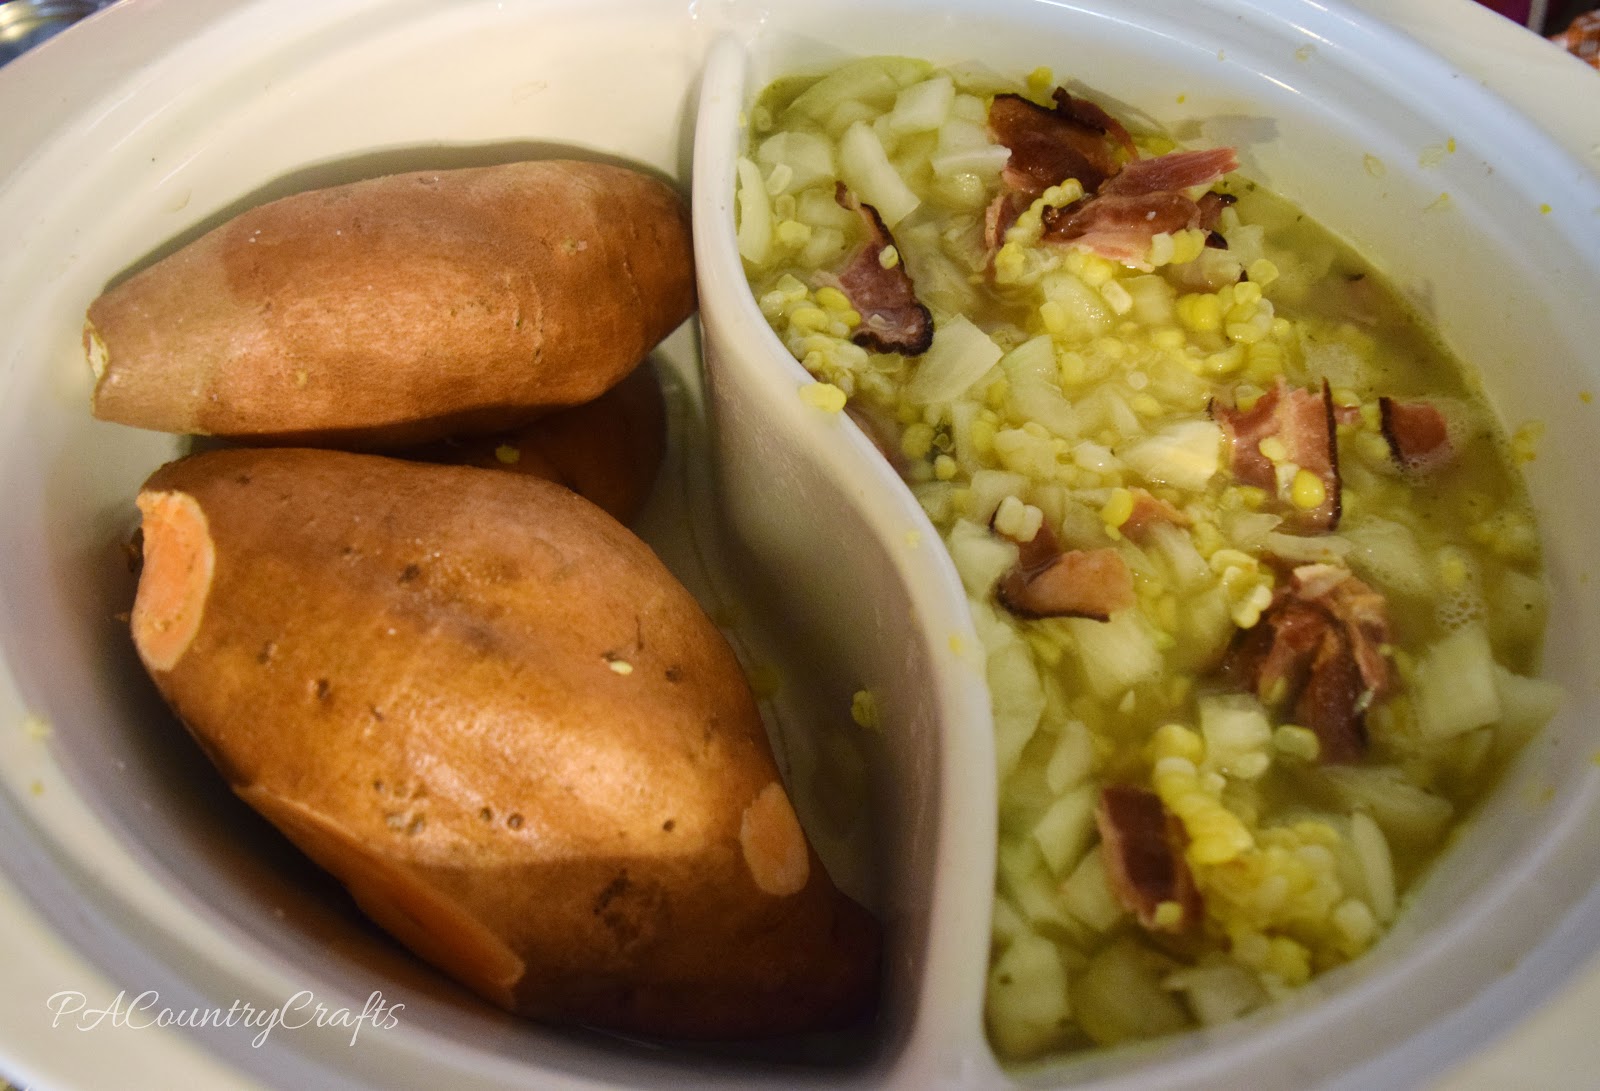
Yeah, I wasn't sure about that combination at first. What happened was that I was using my divided crock pot to make baked sweet potatoes and I needed another side dish for the other half that would cook all day instead of just a few hours. Well, I found several different recipes for corn chowder and ended up mashing them together to make my own. It was surprisingly good! I figured that I better write it down so that I don't forget what I did and I might as well do that on the blog and share it with the rest of you.

Crock Pot Corn Potato Chowder
1 quarts frozen corn (canned would work, too)
2 cups peeled, diced potatoes
2 cups chicken broth
1 small onion, finely chopped
6 slices bacon, browned and crumbled
2 cups milk
salt and pepper to taste
Place corn, potatoes, broth, onion, and bacon in a 4 quart crock pot. Cook on low for 8-10 hours. Warm milk in the mircowave and add to crock pot. (Cold milk could risk a sudden temperature change and cause the crock to crack.) Cook for 15-20 minutes and serve. A little extra bacon on top would make it even better!
Now, to learn from my mistake... I didn't have enough room in the crock pot to add the milk, so I had to scoop it out and put it all in a pot on the stove. That works, too.
I also made some barbecue chicken and a loaf of bread in the bread maker. It was a good, hearty meal for a cold night! I love crock pot meals!
Link Parties where I sometimes hang out...