2015 Year in Review

ana2Bwhite2Bfarmhouse2Btwin2Bbeds.jpg

Until halfway through 2015 I was still on a blogging break. I came back so that I could share tutorials and tips for the peasant dresses that we make for charity.

I also did a doll sized version of the teen dress and posted a free pattern.

Of course, I made Easter dresses for my girls this year, although photographing and blogging about them was quite delayed. I did some upcycling and kept everything in a navy and white color scheme.


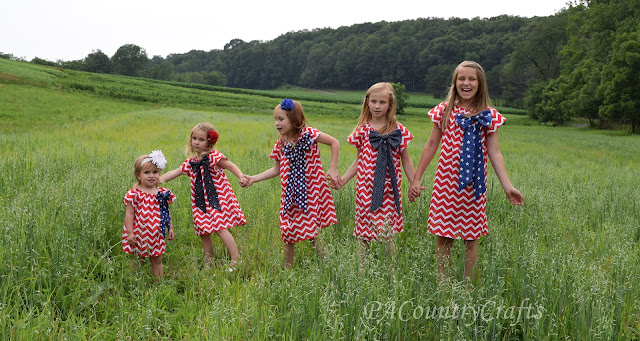
The girls got new dresses for the 4th of July again this year. They were peasant dresses like we make for charity, but with added bows.

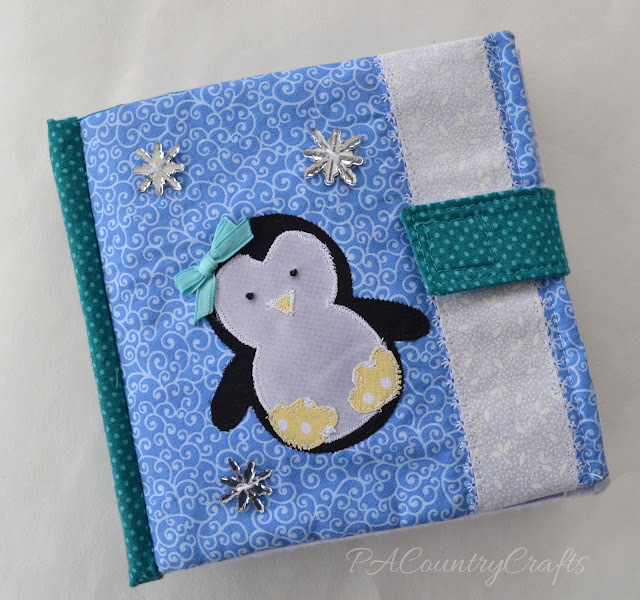
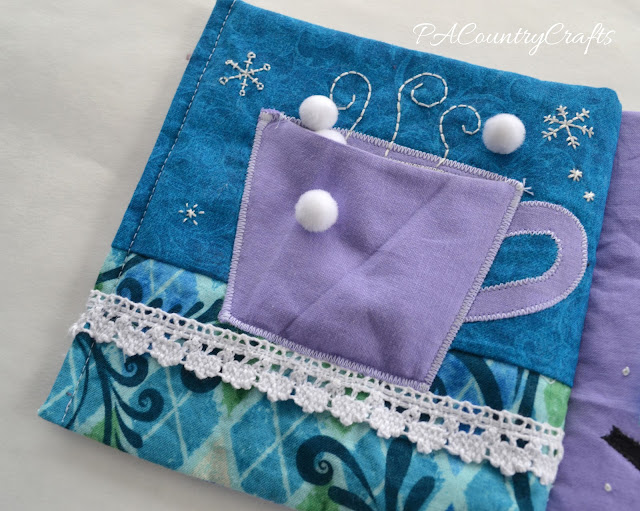
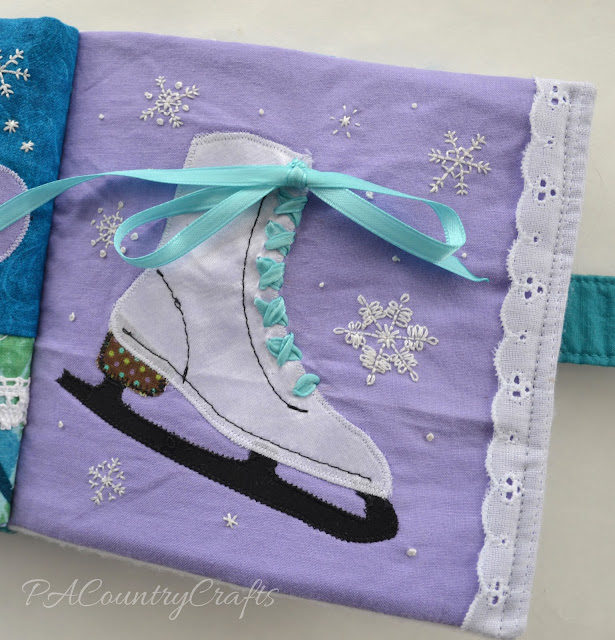
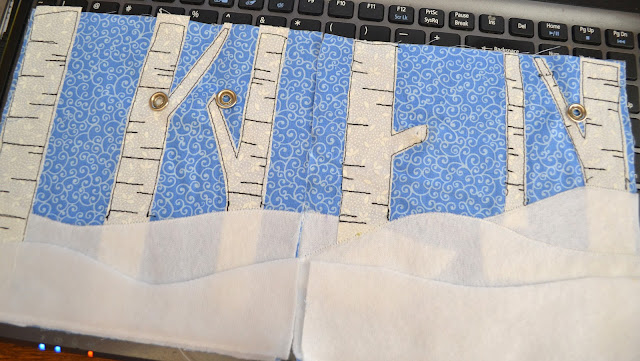
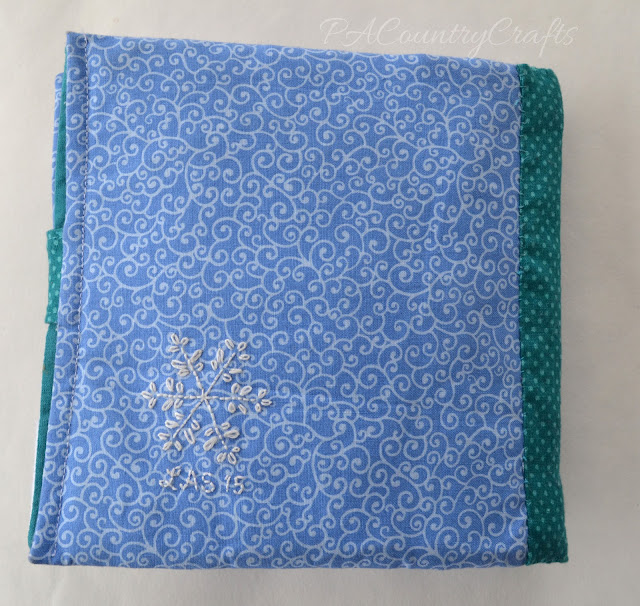
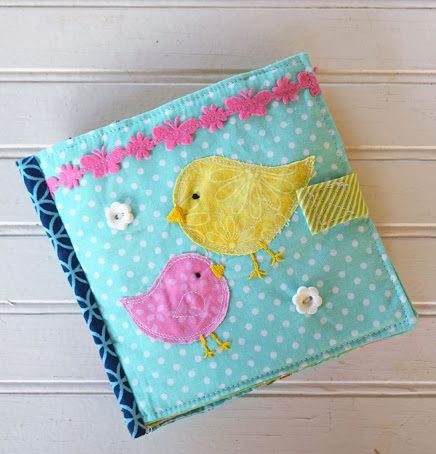
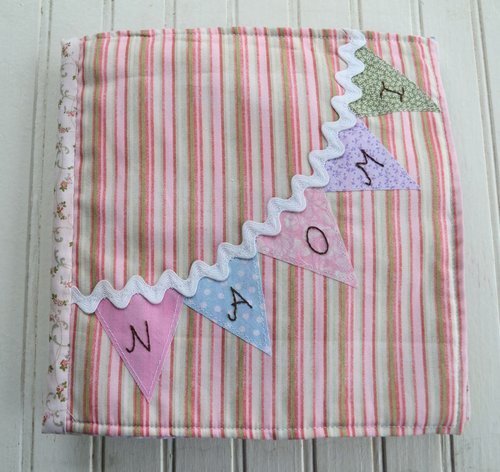
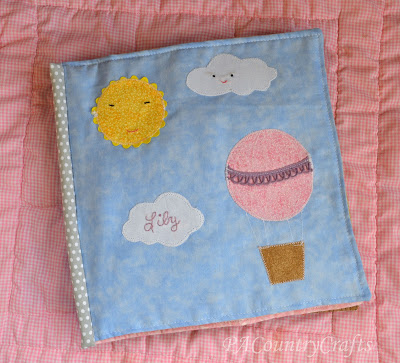
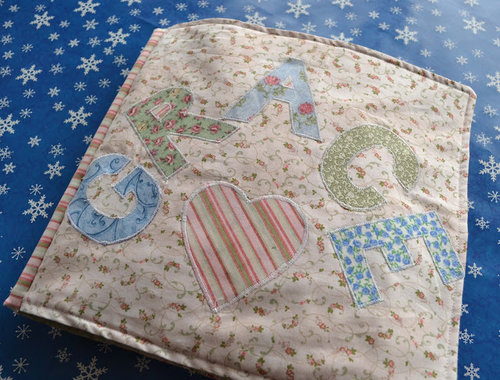
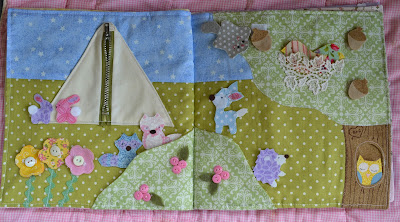
In other sewing, I did two quiet books...

The biggest project this year was the girls' bedroom. We did a collage wall using a lot of thrift store frames and my husband built them farmhouse twin beds.

Yeah, their room is not nearly that clean right now. I think we need to work on that. ;)
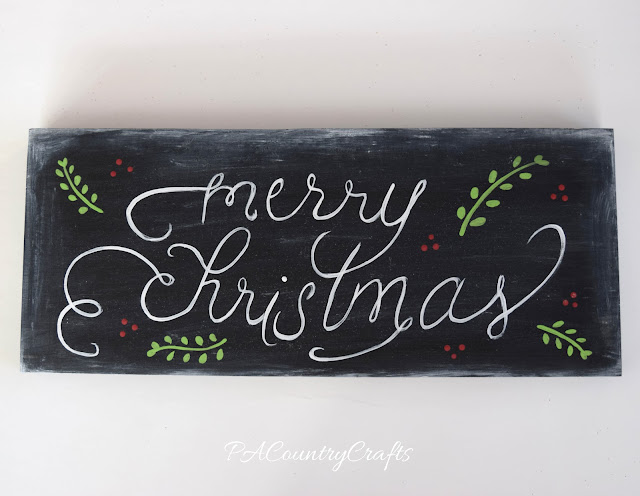
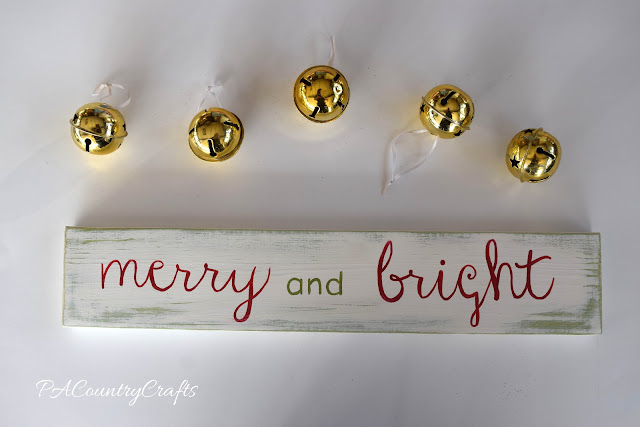
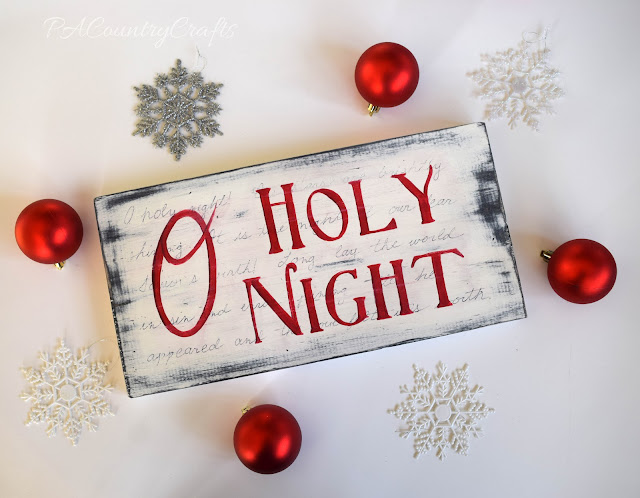
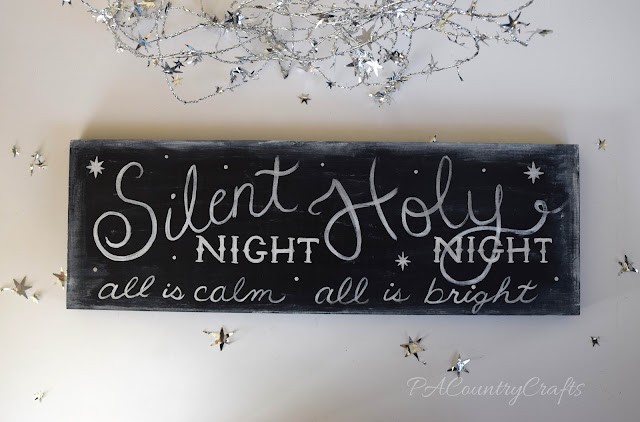
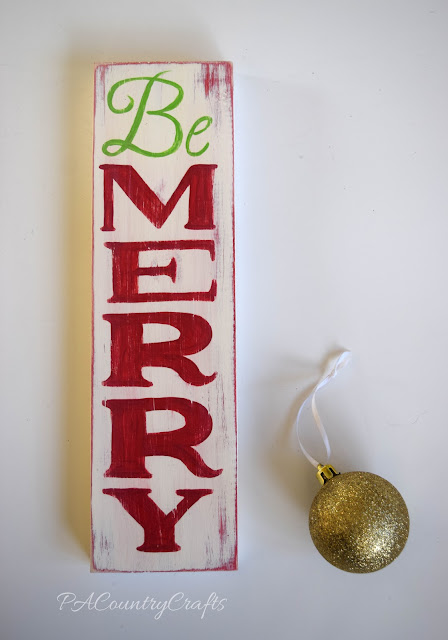
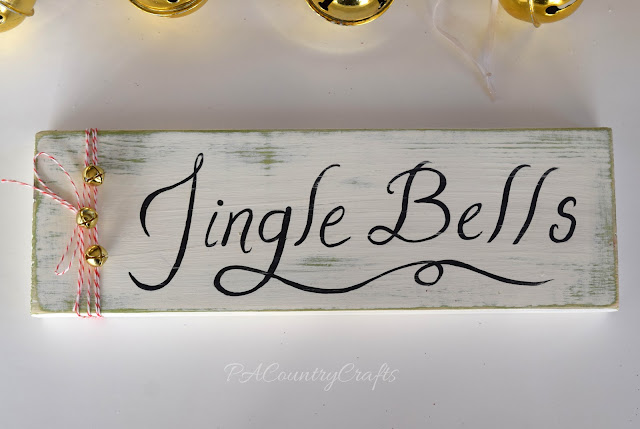
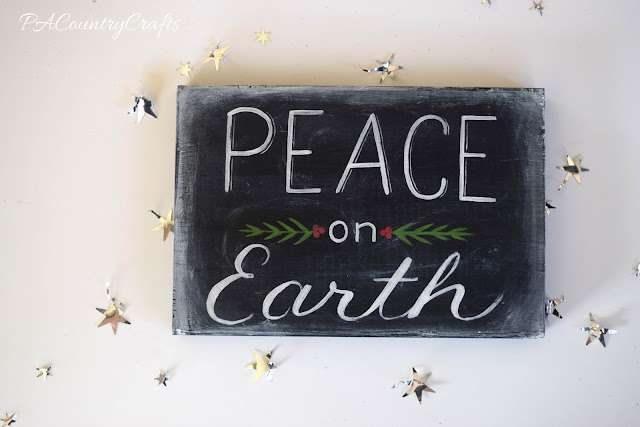
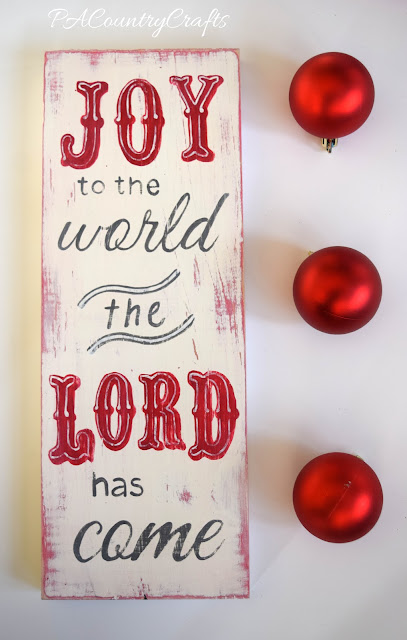
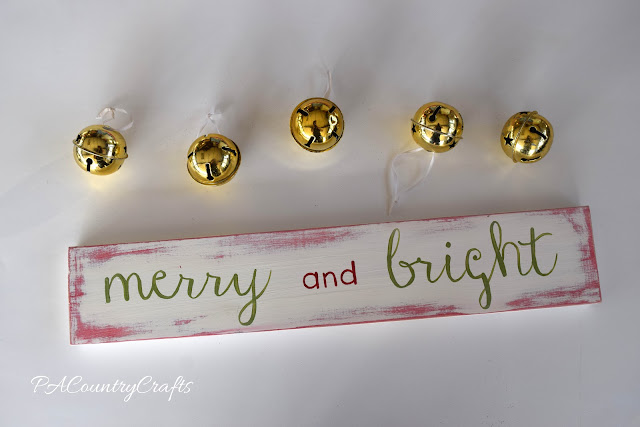
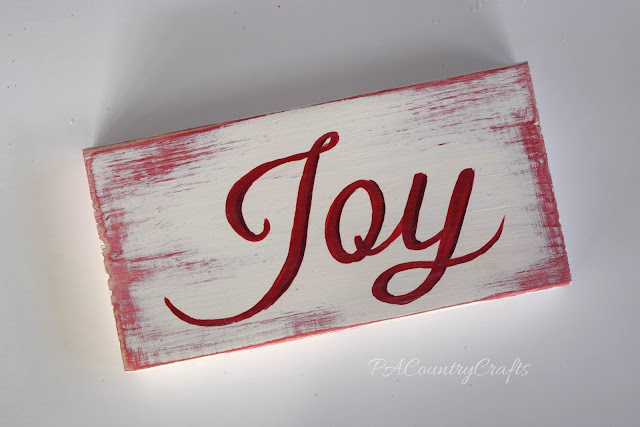
There were a lot of other projects that I didn't include here. It is good to reflect like this. Sometimes it feels like I don't get anything done around here- the cooking, cleaning, and laundry all need done again. It is nice to accomplish something permanent. In 2016, I will show you the rest of the Christmas crafts we made and I have some recipes and free patterns and tutorials still in draft mode. Yes, I am holding out on y'all. I also have a lot of projects that need to be finished, so I am hoping to get some of those finished. Yeah, I think I said that last year.
Happy New Year!!!

Scrapbook Paper Collage Canvas Art ~ Hippo and Tiger

tiger.jpg

The next Christmas gifts were these canvas art pieces my daughter and I made together for her to give to her friends. Since this is her thing, I am going to let her tell you about them while I go make breakfast...

~~~~~~~~~~~~~~~~~~~~~~~~~~~~~~~~~~~~~~~~~~~~~~~~~~~~~~~~

Hello! I'm Halley, and as my mom said above I will be telling you all about these "Art Pieces".

First of all, I want you to know these were easy to make, and are worth any trouble you go through to make them. We started off by finding an adorable template for the animal on Pinterest. We traced the pieces that we needed onto paper and cut them out. Of course we didn't want an all-white hippo or tiger, so we picked a patterned  piece of paper for both the body and body pieces. (We used scrapbook paper, but you can use anything.) 

We did a collage for the background to make the animals really pop! I suppose it would work with a single piece of paper, but it definitely would not be as cute.We picked 3 pieces of scrapbook paper that  I think complement each other very nicely. We ripped them up into random shapes and used Modge Podge to make them stick to the canvas. We used the matte Mod Podge halfway through the hippo canvas then then decided that  the glossy would just give it "that look".
We again used Mod Podge to attach the actual hippo. Black buttons were hot glued on for eyes and nostrils. (It was very hard to let go of the hippo canvas, by the way!)  We just did all of these steps again for the tiger. The face and stripes were painted on with black paint. We thought we were done, but then we realized there were staples on the side. That was an easy fix- we just hot glued coordinating grosgrain ribbon onto the sides for a clever and cute way to hide the staples.  
Now, I know I'm not very good with instructions but I hope you can translate them and get results as good as ours, and possibly better! Overall this is pretty easy, and guaranteed to make the person who receives it VERY happy! 
Now, back to my oh-so-crafty mom!
~~~~~~~~~~~~~~~~~~~~~~~~~~~~~~~~~~~~~~~~~~~~~~~~~~~~~~~
Thank you, Halley! I think these turned out really cute! One of her friends LOVES hippos and the other is soon getting her own jungle themed bathroom. These would be really cute for a nursery, but they are also a good kids craft, too. Besides scrapbook paper, you can use tissue paper or fabric. A friend of mine made me one of these and she used rubber stamps to add more dimension and pattern to the background. There really are a lot of possibilities. I was just glad that this was something she could make for her friends.
Link Parties where I sometimes hang out...

Jelly of the Month Club Christmas Gift Idea

jelly2Bof2Bthe2Bmonth2Bclub2Bgift2Bidea.jpg

My family likes to do some homemade gifts and food is usually a good option because then the guys are happy, too. This year, for a few people, I decided to up my game a bit and do a "Jelly of the Month Club" with 12 assorted jams and jellies.

The ideal game plan was to do them throughout the year and eliminate stress in December. Well, I did half of them and then life happened. Things got busy and jam making was lower on my priorities list. I threw the last 6 together at the last minute, but WOW did my house smell good!  They are just the 4oz. jars, because that way, if they didn't like it, there was only a little. I hope that doesn't happen, though.

I love the assortment of colors and textures!I printed out little certificates, tied baker's twine around them, and printed out labels (from HERE).

Here is what I made (recipes linked as available):

Sour Cherry Jam
Gingerbread Jelly
Blackberry Jam
Blueberry Preserves
Orange Marmalade- I didn't really follow this- I zested the peels and didn't leave many of the thicker edges in. I hear they are good for you, but I just didn't want to do it.
Strawberry Lemon Marmalade
Cranberry Orange Pear Jam
Apple Butter
Caramel Spice Pear Butter
Apple Pie Jam
Carrot Cake Jam
Christmas Jam

Because it drives me crazy that the labels weren't lined up in the first picture...

I think I might try this again next year. It was fun to try out some new recipes and, after all, it is the gift that keeps on giving... the whole year! ;)

Link Parties where I sometimes hang out...

A thrill of hope...

a2Bthrill2Bof2Bhope2Bchalkboard.jpg

I hope everyone had a Merry Christmas!!!

I know the blog has been quiet for a few weeks, but there were so many projects I had been working on that were Christmas surprises! You can expect a little blogging overload now that the presents have all been opened.

First up, this wood sign for my aunt:

 I was inspired by THIS Aimee Weaver design, but changed it up and put a chalkboard spin on it. So, it isn't really anything like hers anymore now that I look at it. I made it my own, and that is a good thing. I don't want to be a copycat.

A little behind the scenes reality here... I almost forgot to dot my "i"s- I did the one in rejoices and when I was getting ready to wrap it up I saw the "i" in thrill was undotted, too! Since that dot was still wet, I was going to wrap it in the car on the way there and then the "f" in "of" looked too much like a "t" so I made my husband turn around and go home so that I could fix it. I couldn't have lived with myself!

Just a short post today- I still have some recovery to do around the house- but I have lots more to share later!

Winter Quiet Book

I made a quiet book for my youngest daughter sometime late last winter.

Just because.

I originally planned to make one for each season, but that hasn't happened. :)

It is much smaller than the other quiet books I have made because I wasn't going into as much detail. You can see my other quiet books HERE. It is totally doable to whip up a quiet book before Christmas if you are still looking for gift ideas- just do one page at a time! 

For this winter themed book, I really wanted a scrappy look and I decided to use a color scheme inspired by the movie Frozen. (You may have seen it or heard that "Let It Go" song before. I know I have- a few million times!) I dug through my scrap basket and pulled out anything in the colors I was after so I didn't buy anything to make this book.

The cover has the adorable little penguin appliqued on it- the white is actually made of satin. I did french knots for the eyes and sewed on a tiny bow. The snowflake buttons were left over from a costume I made (will blog about that eventually). 

I even did a fancy stitch to applique the white strip on the side. Oh, and I finally remembered to add a little strap to velcro it closed- another reason for the white (the velcro blends in).

Next up is the hot cocoa page. The cup makes a little pocket and I stuffed in some white pom poms to make pretend marshmallows. The inside of the cup has a brown fabric for the hot chocolate, too (it is the same stuff as the heel of the skate on the next page). I hand embroidered the snowflakes and steam likes to embellish it a little more. Oh, and the crochet lace was a fun touch, too!

I used more white satin on the ice skate page.  The satin ribbon was hard to sew through those layers for the laces, but I got it eventually- I just used an upholstery needle. Again, I embroidered a bunch of snowflakes on there to dress up the solid background. I also added white eyelet to the edge of the page to make it a little fancier and keep up the scrappy look.

These winter woodland pages are the most played with, but I both love and hate them. I love the birch trees and the little felt animals. But, the little birds snap on and off and my little girl needs help to do that, so I am CONSTANTLY and LOUDLY being bothered to help her with that. It kinda' defeats the purpose of a "quiet" book. I should have used velcro. 

Also, the pages are on backwards. I messed up when I sewed everything together and the fleece snowbanks didn't line up. I tried to fill it in a little, but it isn't as cute as it would have been.

I also did a snow globe page! It is adorable, but the little star sequins and mini pom pom snowballs don't have enough air in there to really move around easily. I wonder if there is a way to puff it out a little more. The clear plastic is cut from a bag that curtains came in. 

The fleece mitten page has a scrappy background, too. The mitten is a little small, so I had to make the wrist portion under the ribbon loose at the sides so that she can fit her hand in there. She really doesn't play with this page too much.

On the back cover I embroidered a really intricate snowflake and my initials and the year, but it doesn't stand out so well. But, I know it is there and it is pretty.

I really like the durability of fabric quiet books and they are great to take along to church, sporting events, doctor appointments, etc. Next time I will try to save my patterns and scan them to share. I hope this at least gives some inspiration to others!


Painting Christmas Signs... and a Cyber Monday Sale

joy.jpg

My life is totally different than it was a few years ago. When I sold ornaments in my etsy shop, this time of year was hectic and stressful. I was not a fun person to be around and it was not what was best for our family. I don't regret closing my shop and I don't plan on opening it up regularly anytime soon.

Lately, I have been actually keeping up around the house- except this weekend, but I don't think that counts- and I had some free time to paint just because I wanted to. 

I like to paint. It relaxes me. It also gets my creative juices flowing and energizes me. Does that make sense?

So, I painted a bunch of Christmas signs, trying some new ideas and techniques. I can't keep them all and I could use some extra income right about now. I am going to sell them in a little "Cyber Monday" sale. I am not taking any custom orders. This is all that I made and when they are gone, that is it.  I am going to offer them to my facebook fans first, then list them on etsy. If you are interested in any of these you can check them out there or e-mail me: pacountrycrafts at gmail dot com.

Each one is hand painted- no vinyl and no stencils- so they are one of a kind pieces. They are all made from solid pine boards.

Thanks for looking!