Doll Ruffle Apron Pattern
/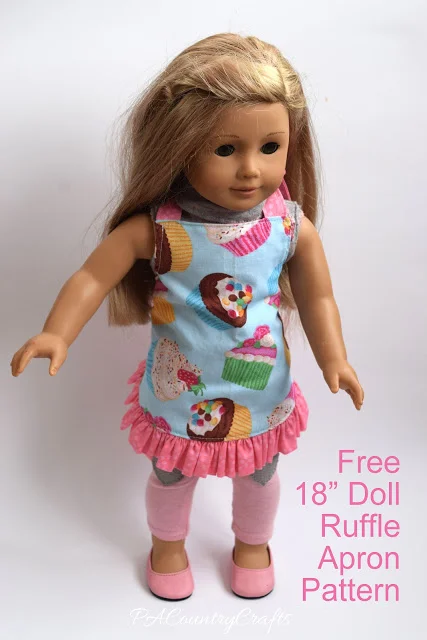
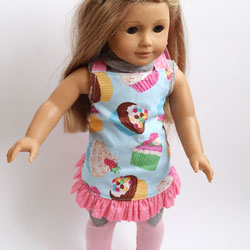
Make an 18” doll apron to fit American Girl dolls. Free pattern for a matching girls’ apron, too! They are even reversible!
Read MoreMake an 18” doll apron to fit American Girl dolls. Free pattern for a matching girls’ apron, too! They are even reversible!
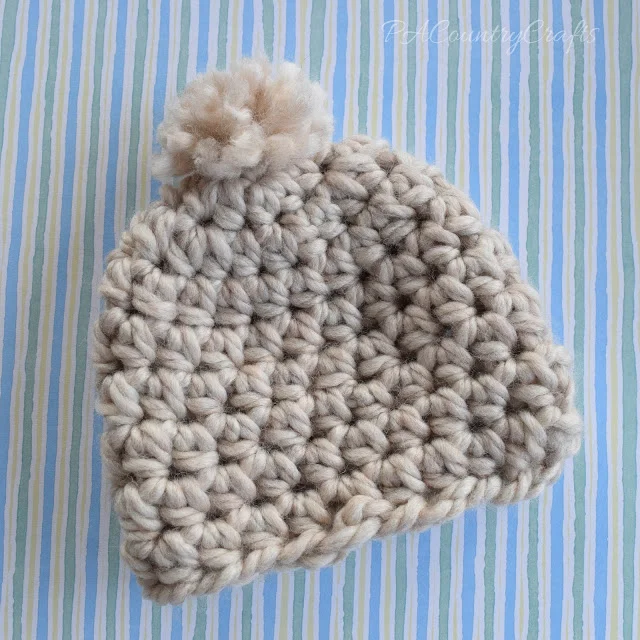
Read MoreSoft and chunky newborn beanie with a fluffy ball on top! This crochet pattern works up really quickly and easily!
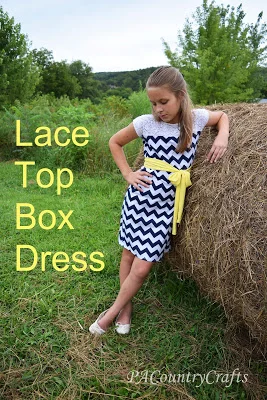
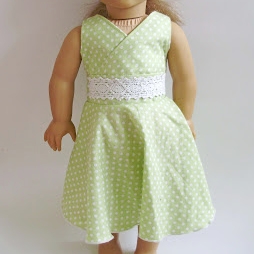
Read MoreStep by step tutorial with pictures to make this simple girls dress out of knit fabric. I can be made with a contrasting panel or sheer lace across the shoulders.
Read MoreMake these easy fabric bows with a step by step sewing tutorial. They can be made in any size and the tails can be shortened for hair bows.
Read More
Happy World Doll Day! In honor of this day, I would like to encourage you to use up some of that scrap fabric (I have WAY too much!) and make some doll clothes for organizations that donate dolls to children who could use a little joy in their lives. Here are some that I have found- some accept clothing donations and some do not but you may be able to help in some way or be inspired to start your own organization:
The Broken Doll - restores dolls and gives them to girls in foster care and hospitals
Broken Dolls Healing Hearts - creates care packages for children, including restored dolls
Hope Through Broken Dolls
Janie's Dollys for Recovery - dolls for girls undergoing extensive medical procedures
If you know of others, please share the info!
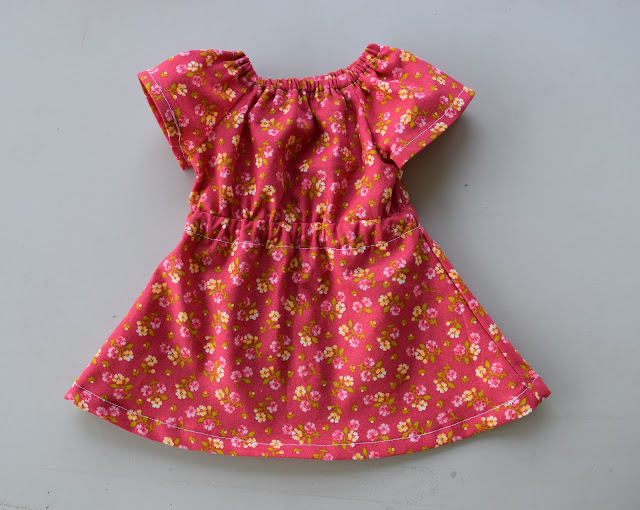
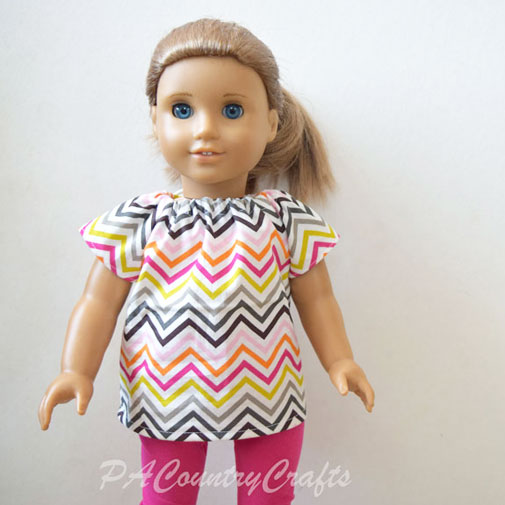
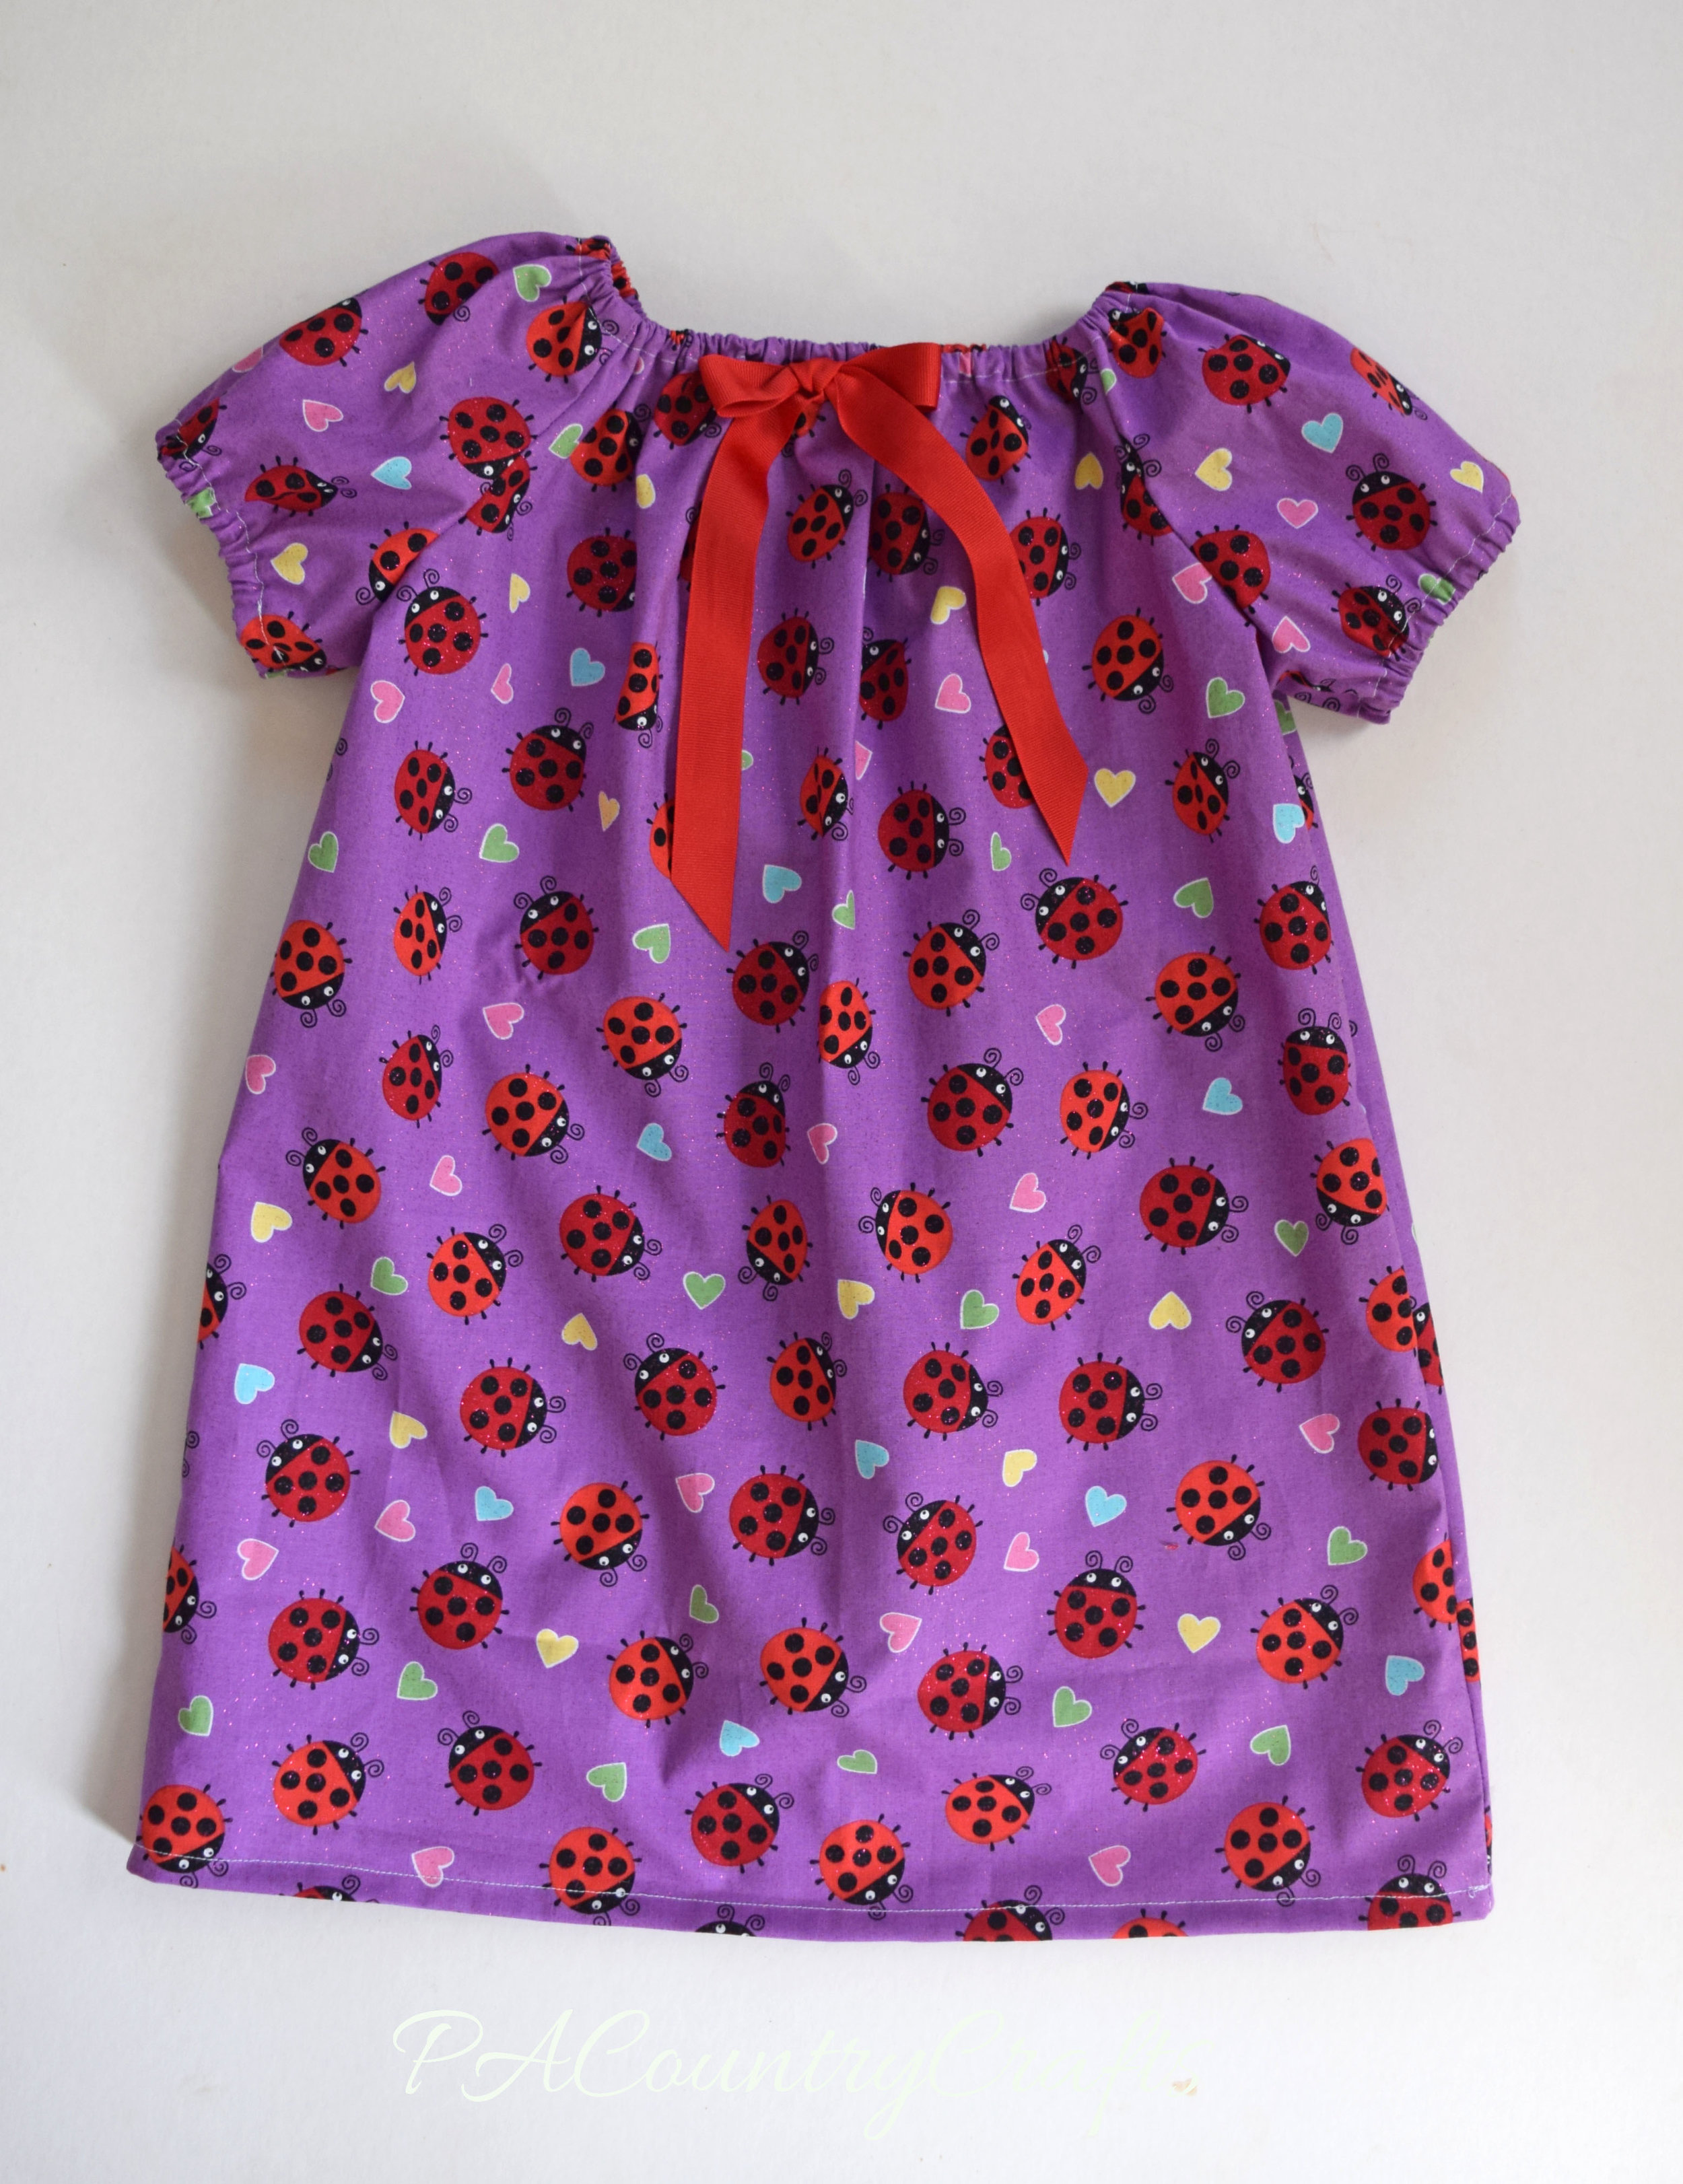
To get you started, I have a free doll dress pattern and tutorial for you today! This is a doll-sized version of the teen peasant dress from yesterday.

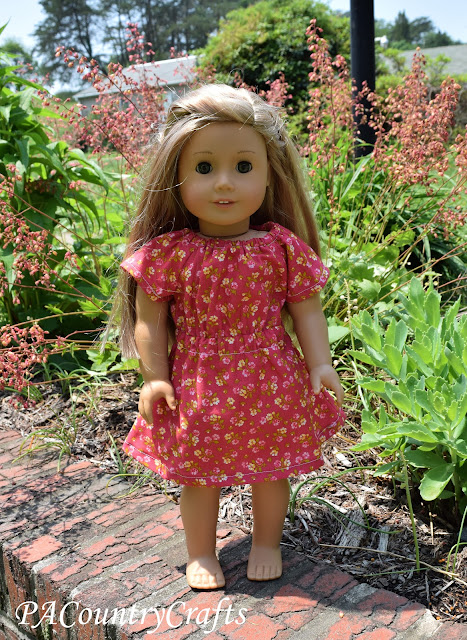
This really isn't too hard. I whipped this one up in about a half hour. It will fit an 18" doll like American Girl, Our Generation, or My Life. It would probably work for smaller dolls with some adjustments on the elastic length.
UPDATE 11/2019 - I now have a printable pdf pattern and step by step tutorial posted on the blog! See it HERE.
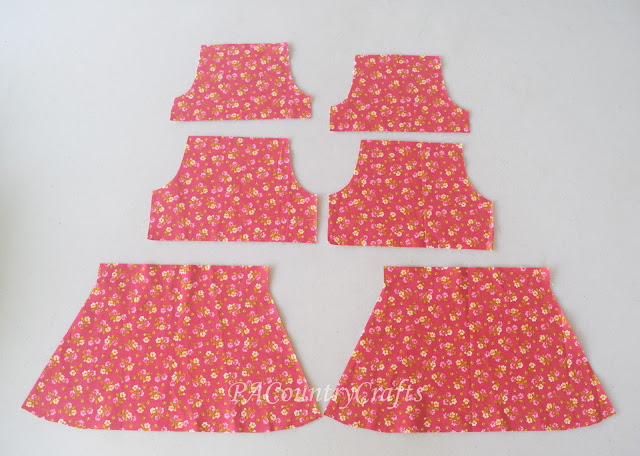
I am still working on the pdf pattern (which means it is burried on my sewing table somewhere) but you can cut these pieces with measurements.
Sleeves: 7" wide by 4 1/2" high
Tops: 8" wide by 5 1/2" high
Arm Scythes: 1 1/2" wide by 3" high (just curve it a little as shown)
Skirt: 7 1/2" high, 8" at waist, 14" at bottom (make initial slit 1" deep)
Waist elastic: 12" (1/4")
Neck elastic: 8 1/2" (1/4")
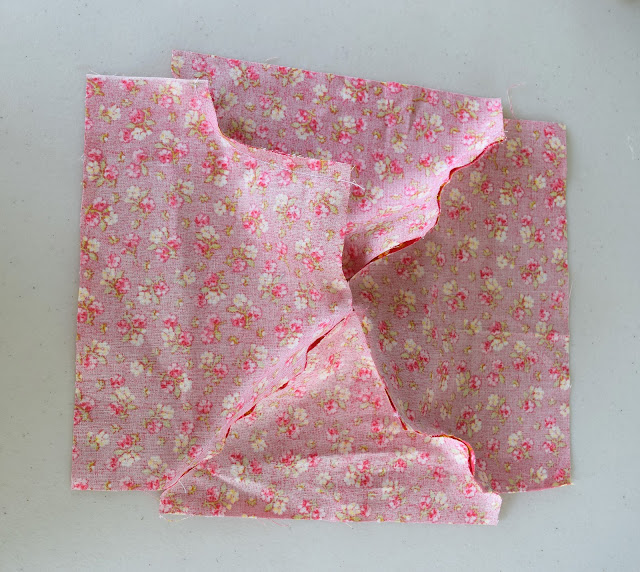
The sewing process is the same as the teen peasant dress (see THIS post for instructions!) The only differences are that I used a smaller seam allowance- 1/4" and made the elastic casings a tiny bit smaller. Also, it would probably be easier to hem the sleeves before sewing the sides.


It is really very straightforward. Just follow the same directions I gave HERE.
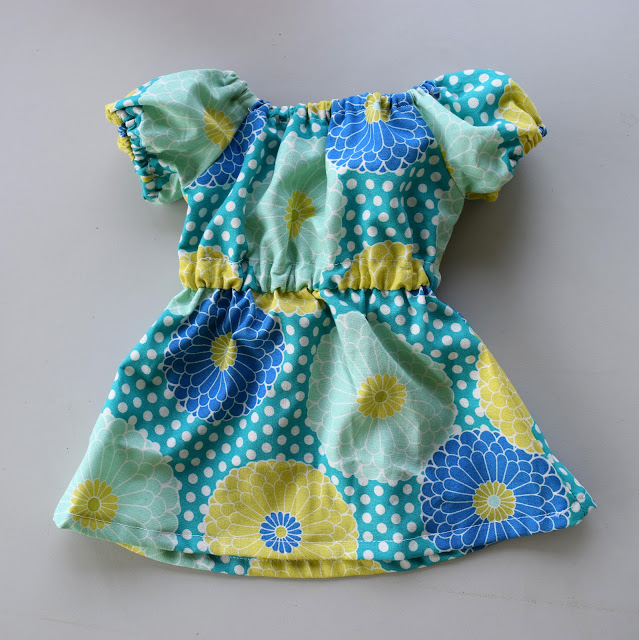
If you want to make puffy sleeves with elastic casings, increase the width to 9" and the height to 5".
Please use this pattern for personal, non-commercial, or charity use only. If you make one or more of these I would love to see it! You can contact me via facebook or email pacountrycrafts at gmail dot com.

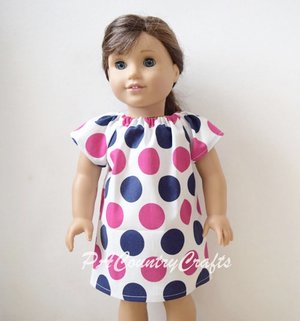
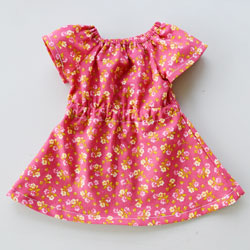
I have other free doll clothing patterns available, too! They are all made to fit 18" American girl dolls. You can see them all under my tutorials menu, but here is a sampling:
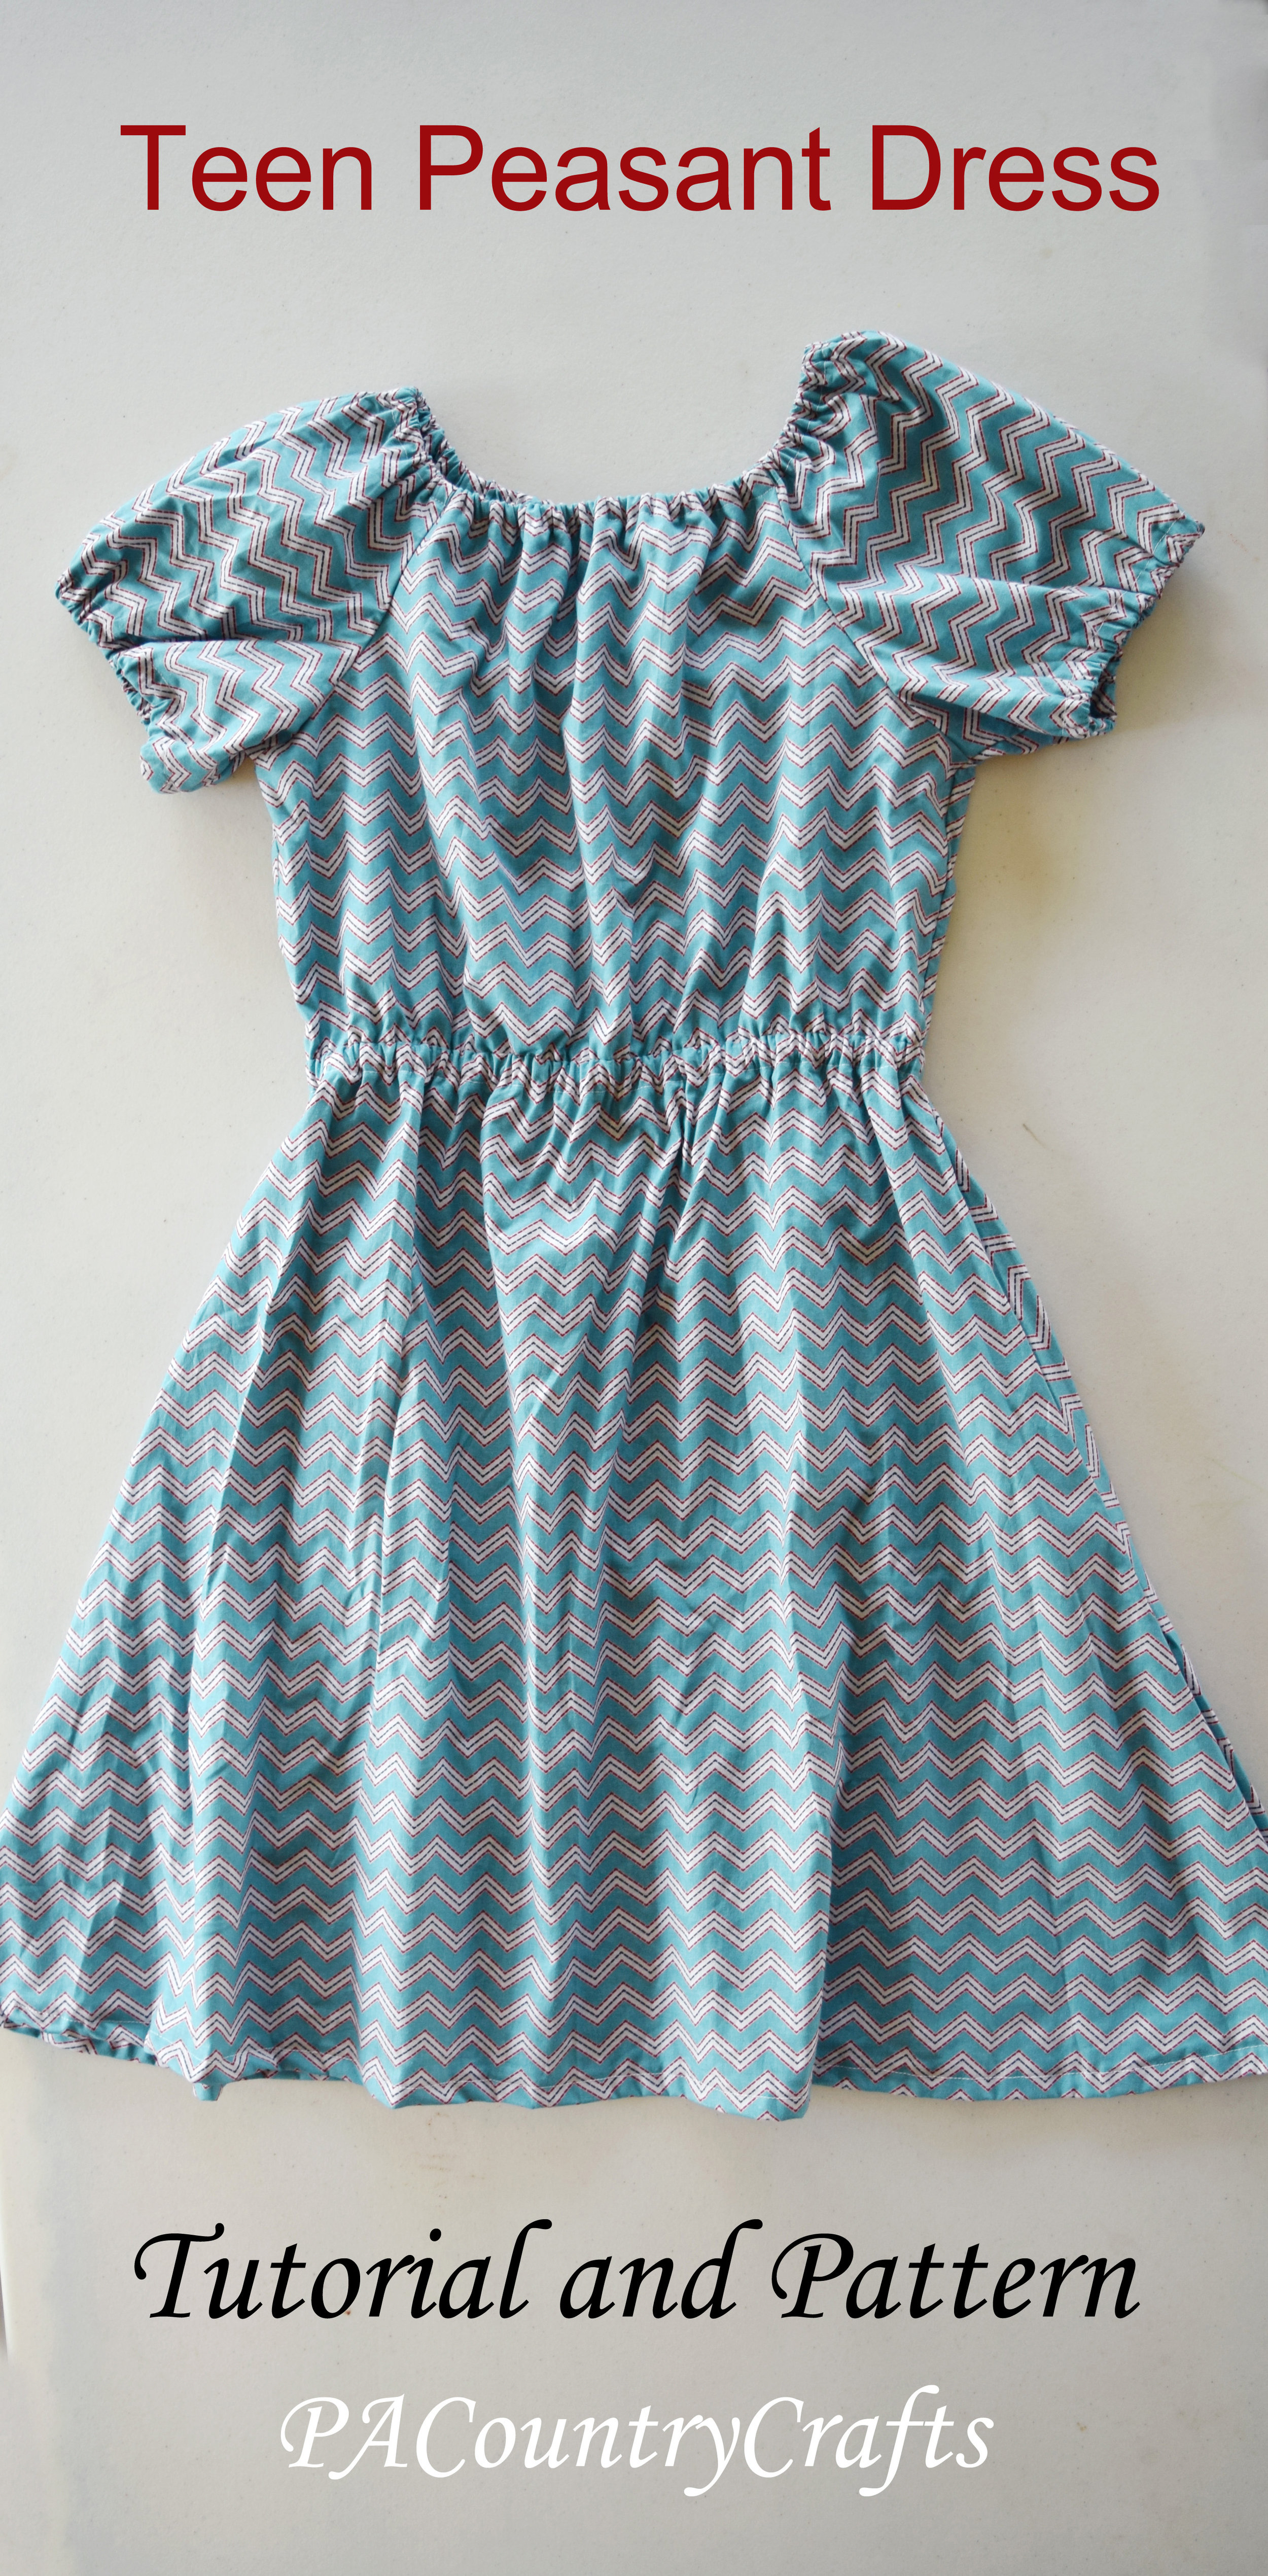
This year, Project Yesu was looking for some dresses for the older girls of ages 12-16. I challenged myself to create a variation of the peasant dresses we normally make that would meet some of the unique challenges of making larger sizes. It is longer, but has enough width at the bottom to allow for easy movement. I also lined the top to allow for more modesty. The elastic waistband is another nice feature that just makes the dress a bit more mature.


This dress is in a 14-16 girls size. If you need help choosing fabric see my post HERE. You can do contrasting sleeves. The top and sleeves can be made from a different print/color to give a faux two-piece effect. It would be easy to adapt my regular peasant dress to add the elastic waistband, too.
Reading my tutorial for quickly cutting peasant dresses would be very helpful for understanding how these dresses are cut.
For the skirt portion, keep the fabric folded with the selvage edges together, just as it comes off the bolt. I always cut four layers at once, taking the cut edges together on the end. Cut two strips the width of the fabric by 25".

Then, to make the most efficient use of the fabric, refold it by taking one side of the selvage edge (I cut both pieces at once) and fold it towards the middle 15".

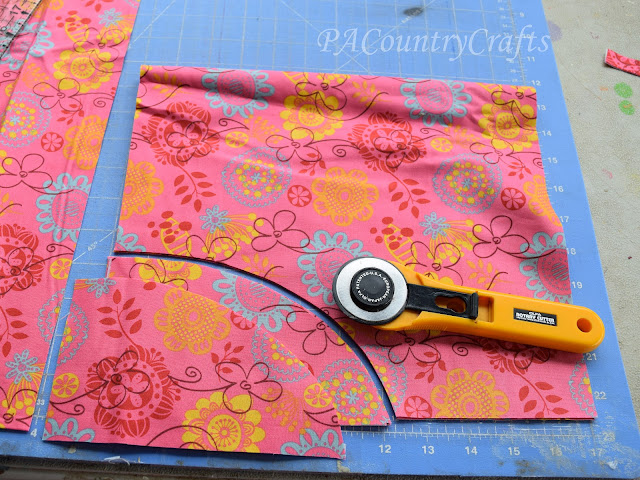
Cut a slit 1 1/2" into the fabric 10 1/2" from the fold (for a total width at the waist of 21").

Then, use the ruler to cut an angle towards the corner from the end of the slit.

This is what you should have so far... a funky looking trapezoidish thing.

Now, something that will help the hem A LOT: trim off the corners so that the distance from the waist to the bottom is a consistent 25". (I showed this in my doll maxi skirt tutorial if you need a better explanation/pictures.)

A quick tip... the reason I refold the fabric is because if I cut 2 skirts from the same fabric, I can piece together the remaining fabric and make another skirt. It just has a seam in the middle- I use those for the backs.
For the top, cut a strip the width of the fabric by 15".

Trim off the fold and selvage to make two pieces EXACTLY 21" wide.

Fold the pieces in half and cut an arm scythe 4" wide by 7" high. Save the pieces that you cut off so you can trace them later.

Make one lining out of thin, smooth cotton or a poly cotton blend for the front. Cut is the same as the top.
Cut two sleeves the same way, but make them 12" instead of 15". Fold and use the pieces that you cut away from the top as a guide for cutting the arm scythes.
Now, something that I found helped it to fit MUCH better...
Cut one inch from the top of the front an lining. Then, angle the sleeves by cutting one inch from the front side and angling up to the back.

That should give you all of your pieces. Now, sew the top together just like my regular peasant dress tutorial. You have to be careful to line up the shorter sides of the sleeves with the front of the top.

To line the front, just sew it with the lining and front held together as if they are one piece.

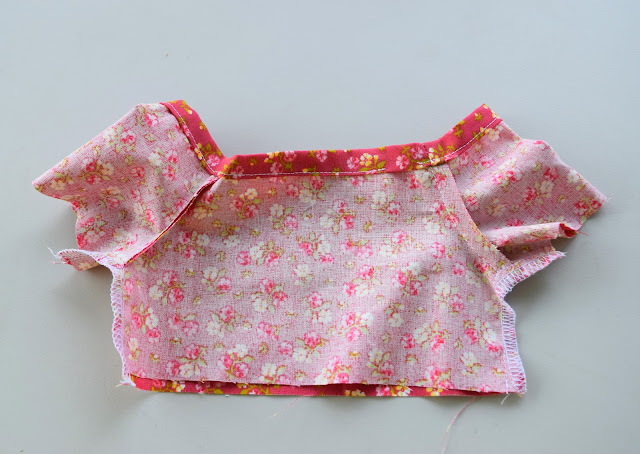
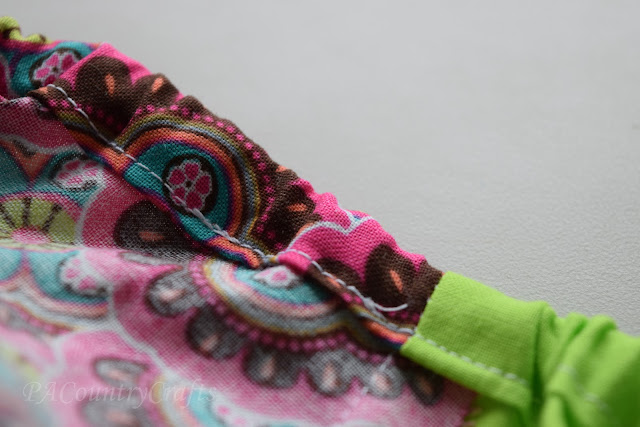
Sew the side seams using a PRECISE 3/8" seam allowance. That is really the only tricky part to this. Serge the sides. Then, sew the elastic casings for the neck and also for the sleeves. Again, I explain that method HERE.

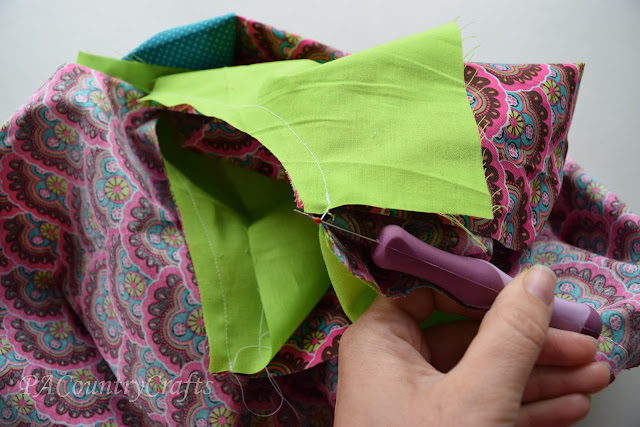
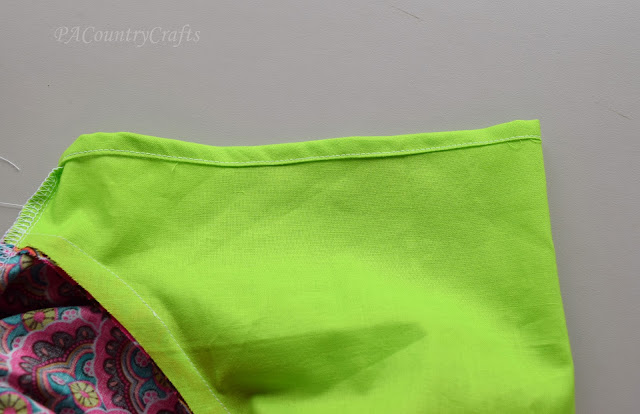
See? The top is all finished! Now, sew the skirt with the right sides together using a PRECISE 3/8" seam allowance. This is important to make sure the top and bottom line up. Serge those sides, too. Do yourself a favor and hem the bottom before you attach it- it is easier when there is less fabric to deal with. Just fold it under 1/2" twice and sew. Now, turn the skirt right side out and line up the waists.

Make sure the seam allowances press one direction so that the elastic can be pushed through.

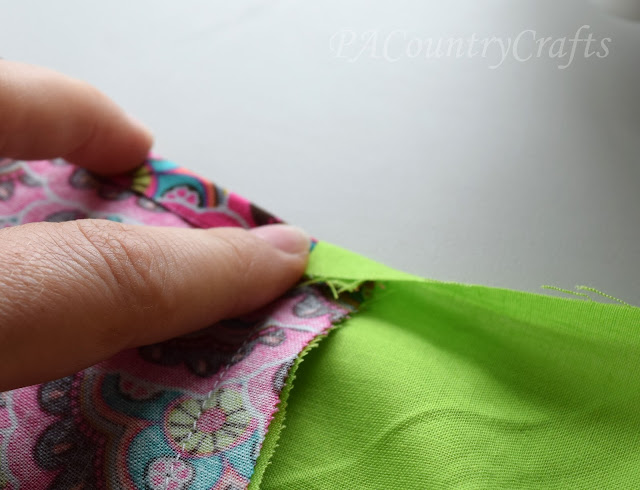
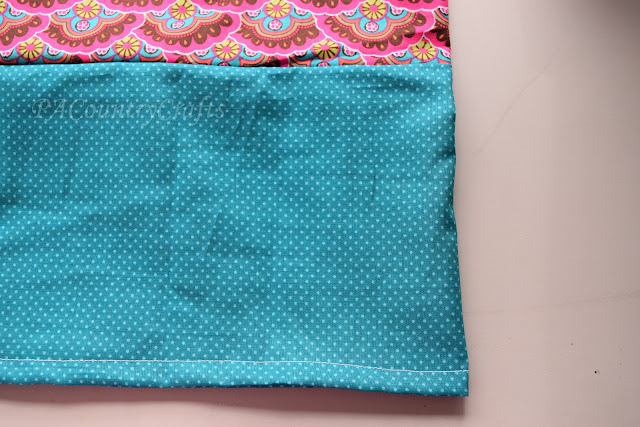
Sew the top and skirt together with a 3/8" seam allowance. Then, sew again 1/2" from that stitching line and leave an opening to thread elastic. Serge the raw edges.

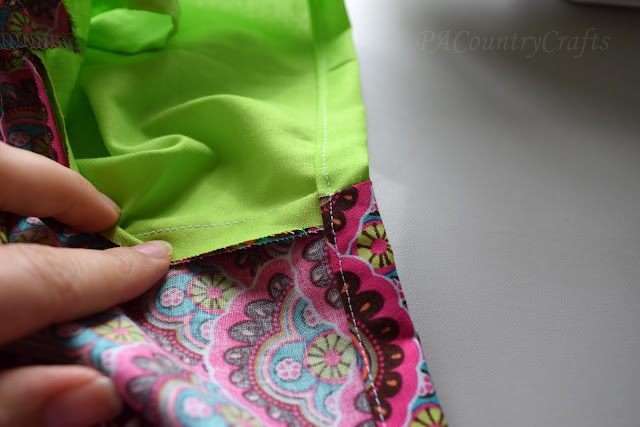
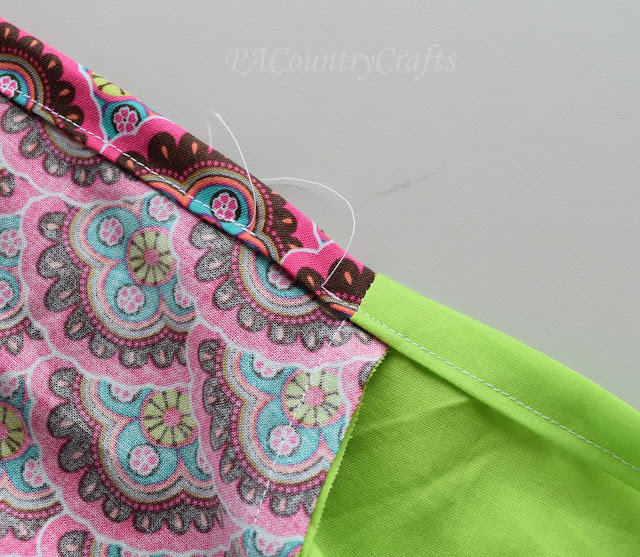
Now, to take it one step further, you can press the casing towards the skirt and topstitch on top of the seam allowance. It makes the waist lay flatter. I didn't do this with all of the dresses we made (I forgot) but it does make them better.


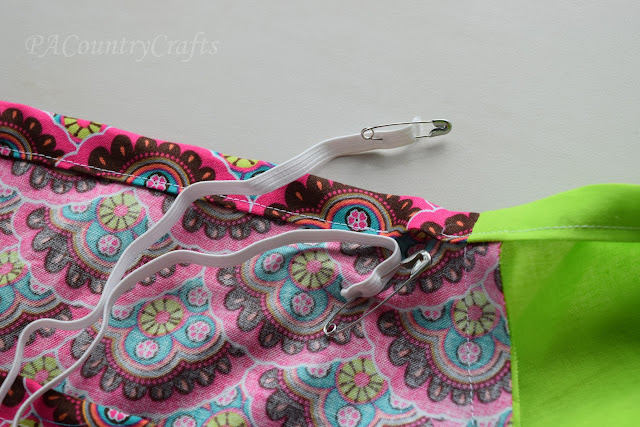
The elastic for the waist will need to be inserted from the outside and hand stitched shut with a ladder stitch. (It really isn't that hard.)

For the neck, use 1/4" elastic at 25" long.
For the sleeves, use 1/4" elastic at 12 1/2" long. (Cut 2- one for each arm.)
For the waist, use 3/8" elastic at 27" long.
You can see how I insert the elastic and sew it together HERE.
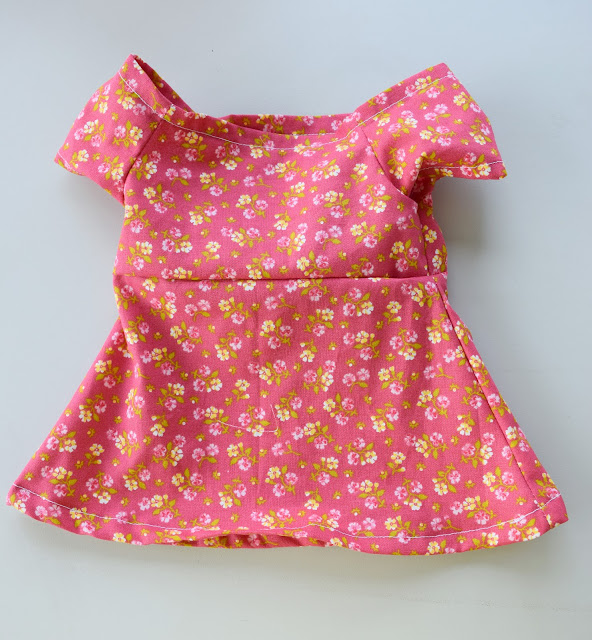
That is it! I can sew one of these up in 30-45 minutes, including stuffing the elastic in the casings.

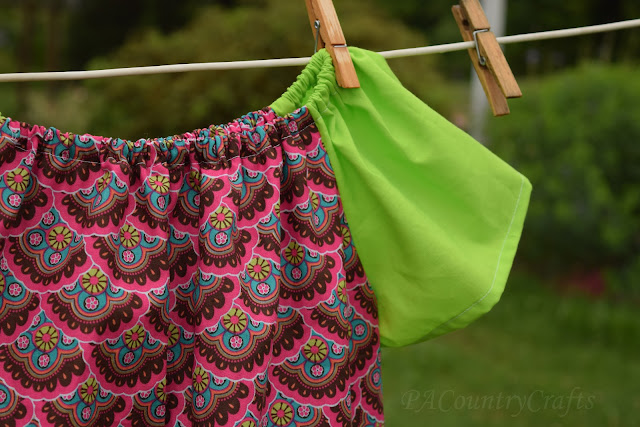
Here is one I made with a shorter top and longer skirt. If you cut the skirt 28" long there will be enough left to make 2 drawstring bags for Days for Girls hygiene kits. I have way too many scraps, so I am always looking for good causes to sew smaller things for.

I am posting the pattern and tutorial for these dresses for personal, non-commercial, or charity use only. Do not sell this pattern or sell things made from this pattern. I spent a lot of time tweaking it to get it just right so please respect my intentions.

If you have any questions, just let me know! You can contact me via facebook or e-mail pacountrycrafts at gmail dot com. I would LOVE to see pictures if you make some of these dresses.
An easier version of this dress can be made for smaller girls, too. I have several recent posts about those.


Would you like to help? You can contact Project Yesu about dress donations. They are also asking for donations of just $10 to help cover the costs of transporting supplies to Uganda this summer. If you would consider donating that amount- less than the cost of some sewing patterns- it would be greatly appreciated! You can also pray for their work there and for the girls who will wear these dresses.

I know there are peasant dress tutorials galore, but I am going to show you how to make these dresses using a few tips and tricks we have picked up over the past few years while making hundreds of these dresses for groups like Project Yesu. I already covered the "system" we use for cutting them out quickly and efficiently. Today I am showing you how to sew them together.

I mentioned yesterday that we will sometimes add a contrasting band to the bottom of the dress. It also makes a fun, color blocked effect. To do this just cut a strip the same width as the rest of the dress and the length needed to make it the desired size. Sew the strip to the bottom of the dress and serge or zig zag over the edge to keep it from fraying.


Gather all of your pieces. There should be 2 dress body pieces and 2 sleeves.

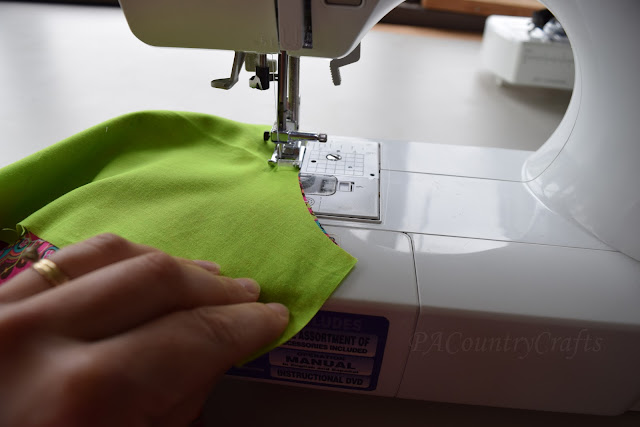
Line up the arm scythes of one sleeve and one dress piece with the right sides together.

Sew them together with a 3/8" seam allowance, back-stitching a little at the beginning and end. DON'T stop and pull it away from the machine. Leave your presser foot down. We are going to do a little chain piecing here. It is faster and makes fewer thread snibbles that scatter all over the place.
Just grab the other dress piece and sew it to the other side of the sleeve you just sewed.

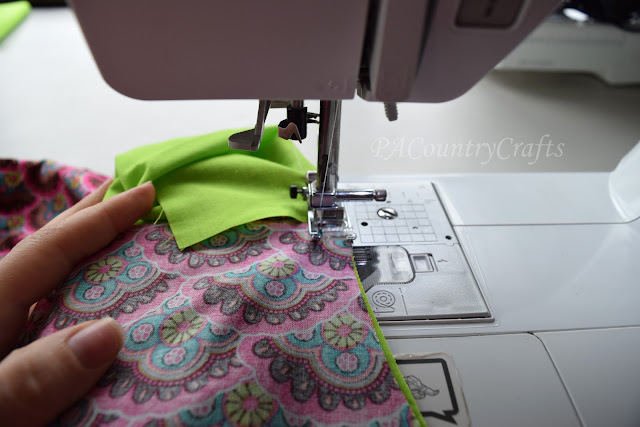
Then sew the second sleeve to the other side of the dress piece you just sewed. (No picture. Musta' missed that.)
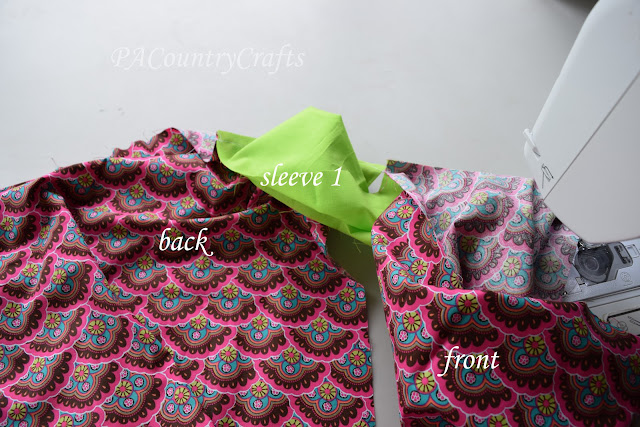
Finally, sew the second sleeve to the first dress piece you started with.
It is all kind of a circular thing. It is easy once you get used to it.
NOW you can remove it from the sewing machine and snip all the connecting threads.
This is what it looks like now.

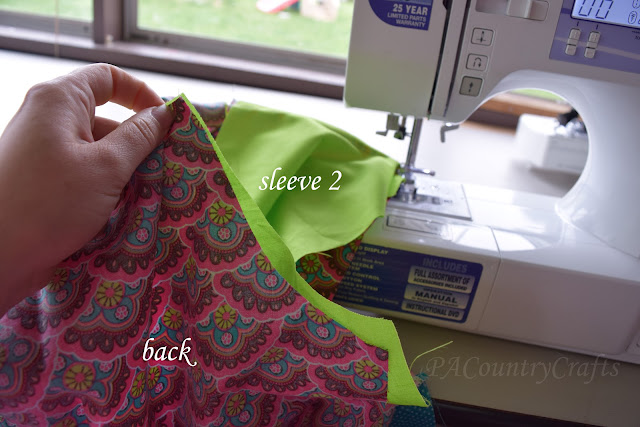
Next you are going to sew the sides. Grab the corners of the sleeves and make sure the armpits line up.

You need to press the seams in opposite directions with the top one going towards the sewing machine and the bottom one pointing towards you.


I know it is shifted a little bit, but I am trying to show the seams.
Use a 3/8" seam allowance. You may need to pivot a little bit at the armpit because the angle changes there.
Next, the raw edges need to be finished. I use a serger or overlock machine. It goes so fast and does a really nice job. There is really only one trick to it. You see, when you get to the armpit it naturally bends a little.

Just go ahead and pull that straight as you are sewing. The overlock machine produces a stretch stitch, so it will be fine. If you don't straighten it and try to pivot it, chances are the cutter will leave knicks in the armpit.


Now, it needs an elastic casing for the neckline. I have found that the easiest way to do this is to fold it under 1/4"...
...and again about 1/2"...

...and just keep folding it as you sew. I like to use my presser foot as a guide. I keep my needle in the left position so the stitching is about 1/8" from the left edge of the fold. You need to leave room between the stitching and the right folded edge to insert 1/4" elastic so that gives it about 3/8".

IMPORTANT!! Make sure that all of the seams get pushed in the same direction. I feed them towards me as I am sewing so that they go to the right. If you don't it is a pain in the behind to push elastic through there.
Also, leave an opening to thread the elastic through!
For the sleeves, you can leave them open and loose as we usually do, or you can make a casing just like the neckline on those and thread elastic. It is totally up to you. Here are some I did with elastic in the sleeves.

To hem the sleeves if not adding elastic, I just fold it under about 1/4" twice.
To hem the bottom, I fold it under about 1/2" twice.

I kind of wish I had topstitched where the two strips meet. I have done it that way before and it is a little nicer.
Last step! Put elastic into the casing at the neckline. We use 18" for the smaller dresses and 19" for the bigger ones.

Do yourself a favor and pin one end to the dress. It is so sad when the end of the elastic gets pulled into the casing. Put a pin on the other end and push it through the casing.
Now, I know there is a way to sew the elastic in while sewing the casing, but I thought it was a pain and we usually have helpers that are looking for non-sewing jobs to do.
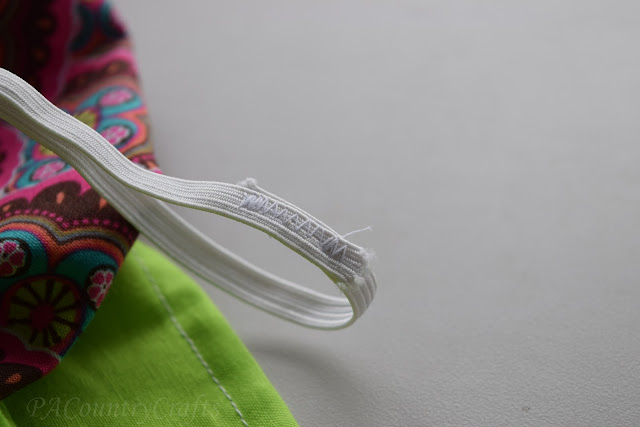
Overlap the ends and use a zig zag stitch to hold them together.
Sew the opening closed.
TA DA!
I can sew one of these together in about 15-20 minutes, so they really are fast to make.

This tutorial is for personal, non-commercial, or charity use only. It would be great if you could make one of these or a pillowcase dress for Project Yesu. If that isn't possible, please consider donating just $10 towards the costs of transporting these dresses to Uganda.


Sewing, crafts, tutorials, recipes, and a little look at our life in the country - raising half a dozen children.

Hi! Thanks so much for stopping by! My name is Lindsay and on this blog you will find sewing, crafts, decorating, recipes, and tutorials with a little bit of honesty and encouragement.