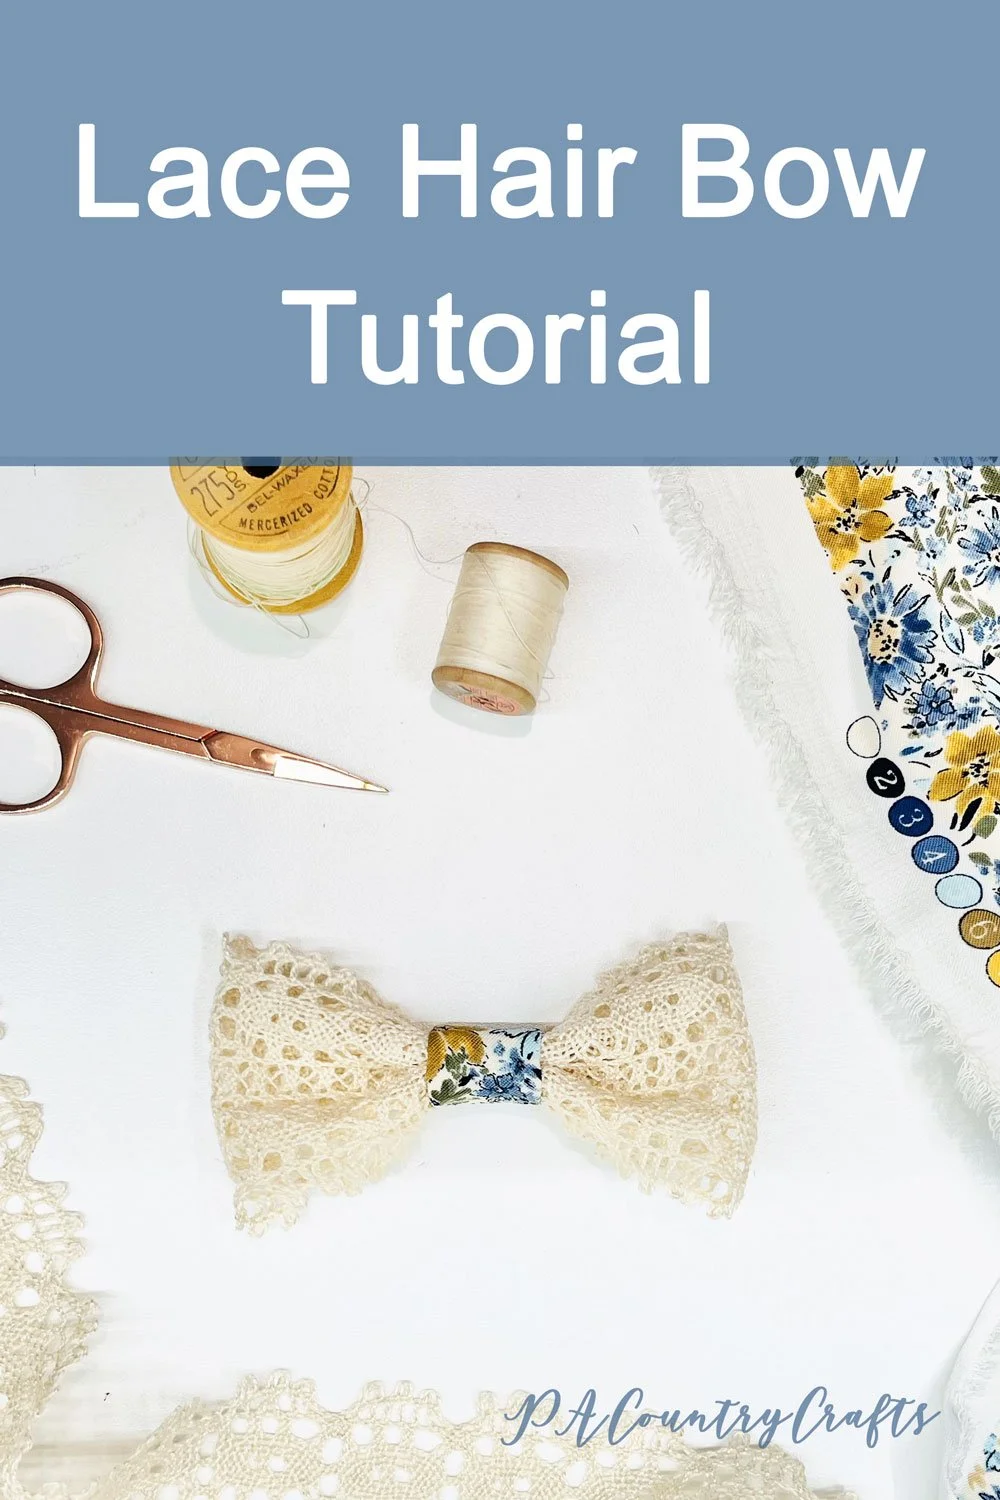
Lace Hairbow Tutorial
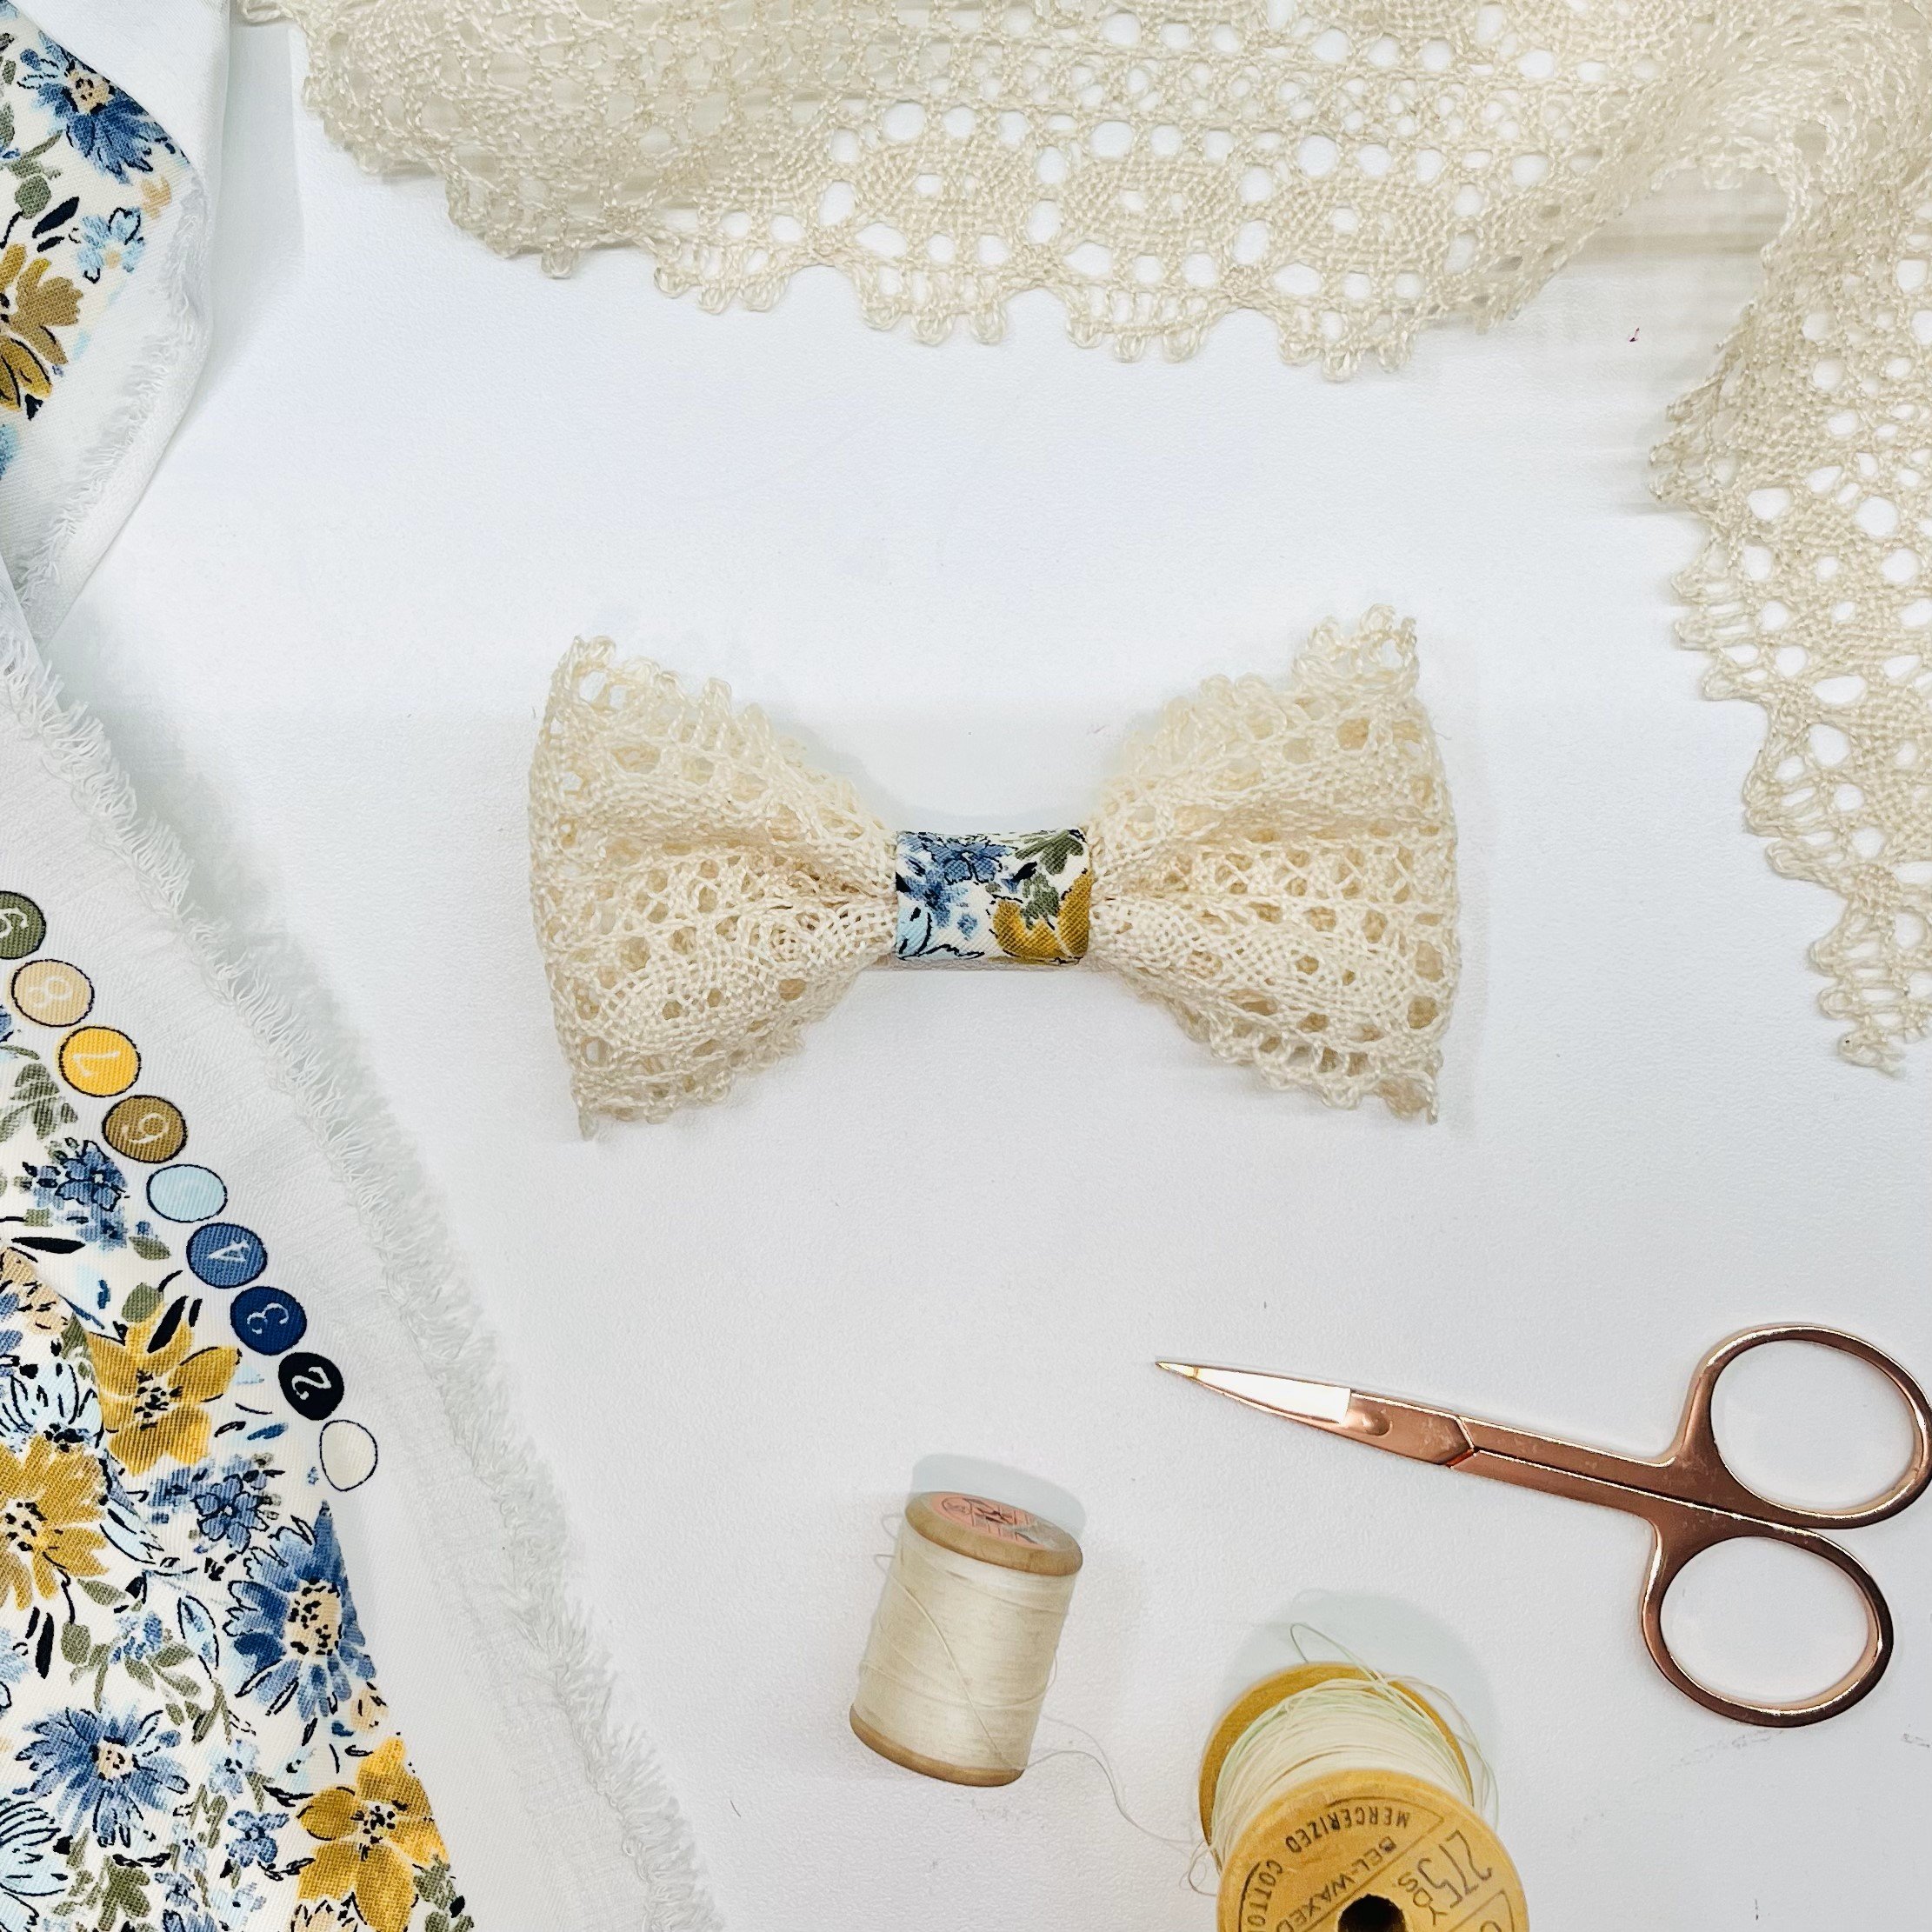
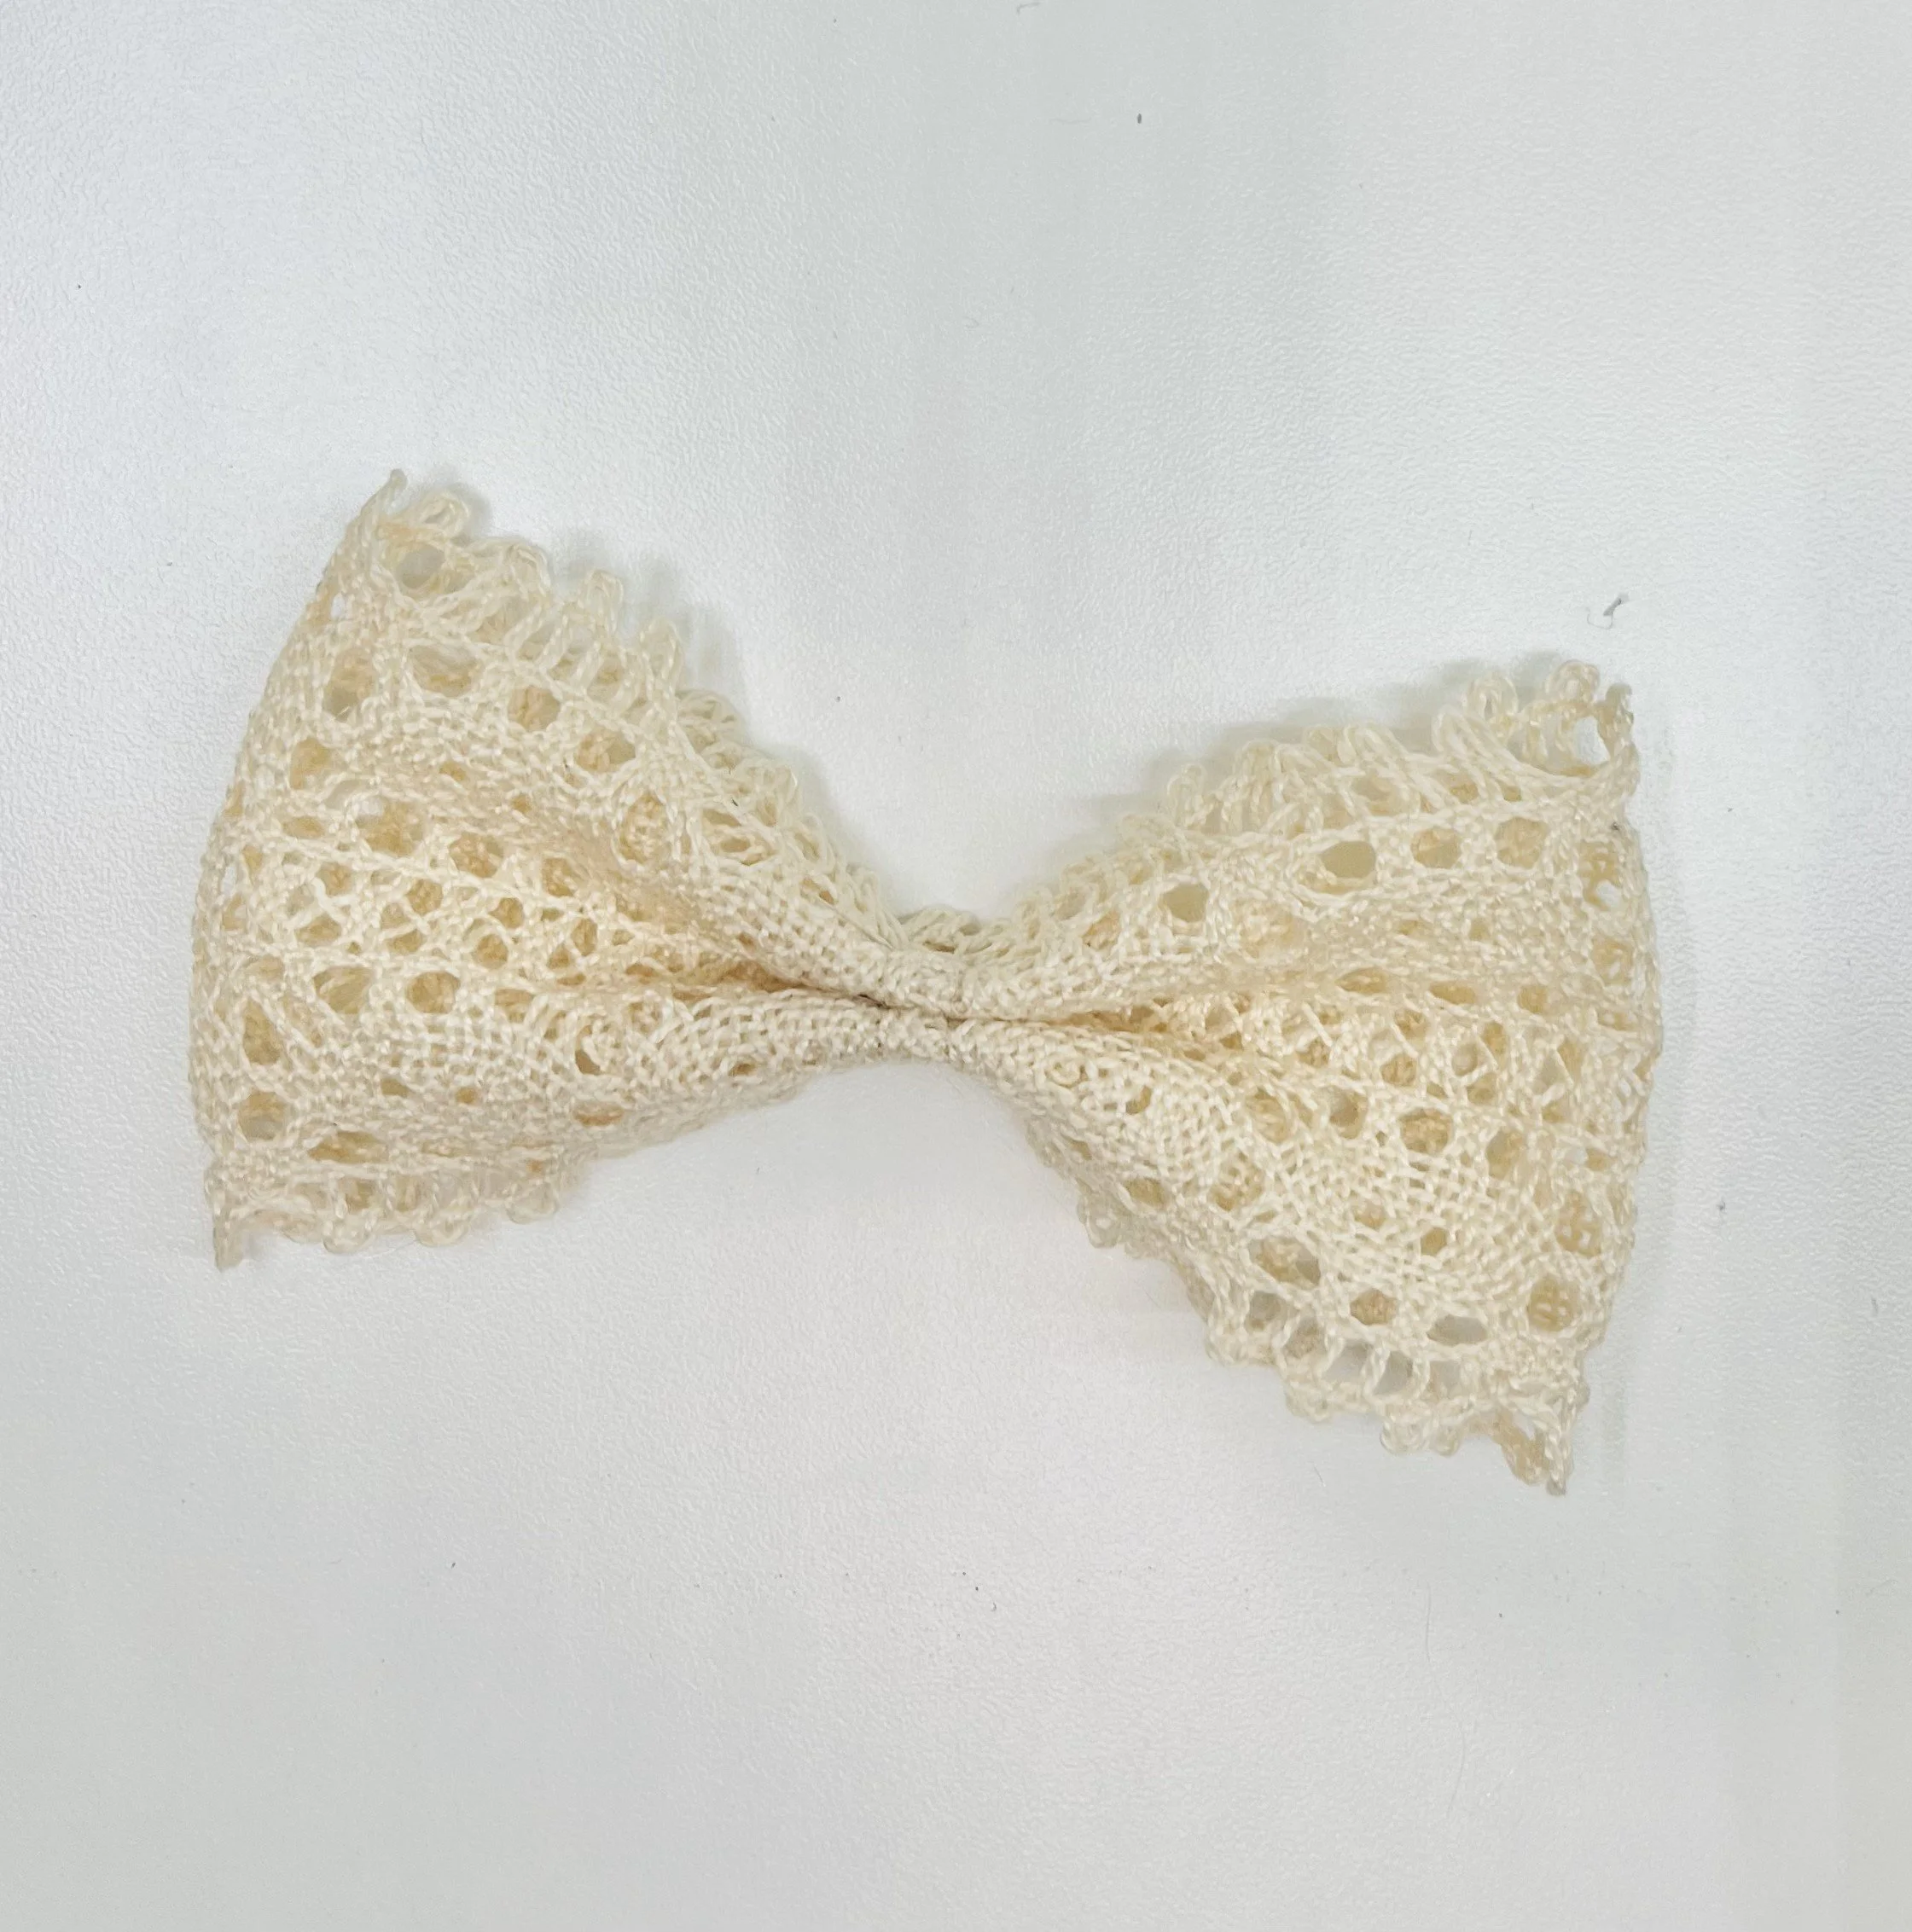
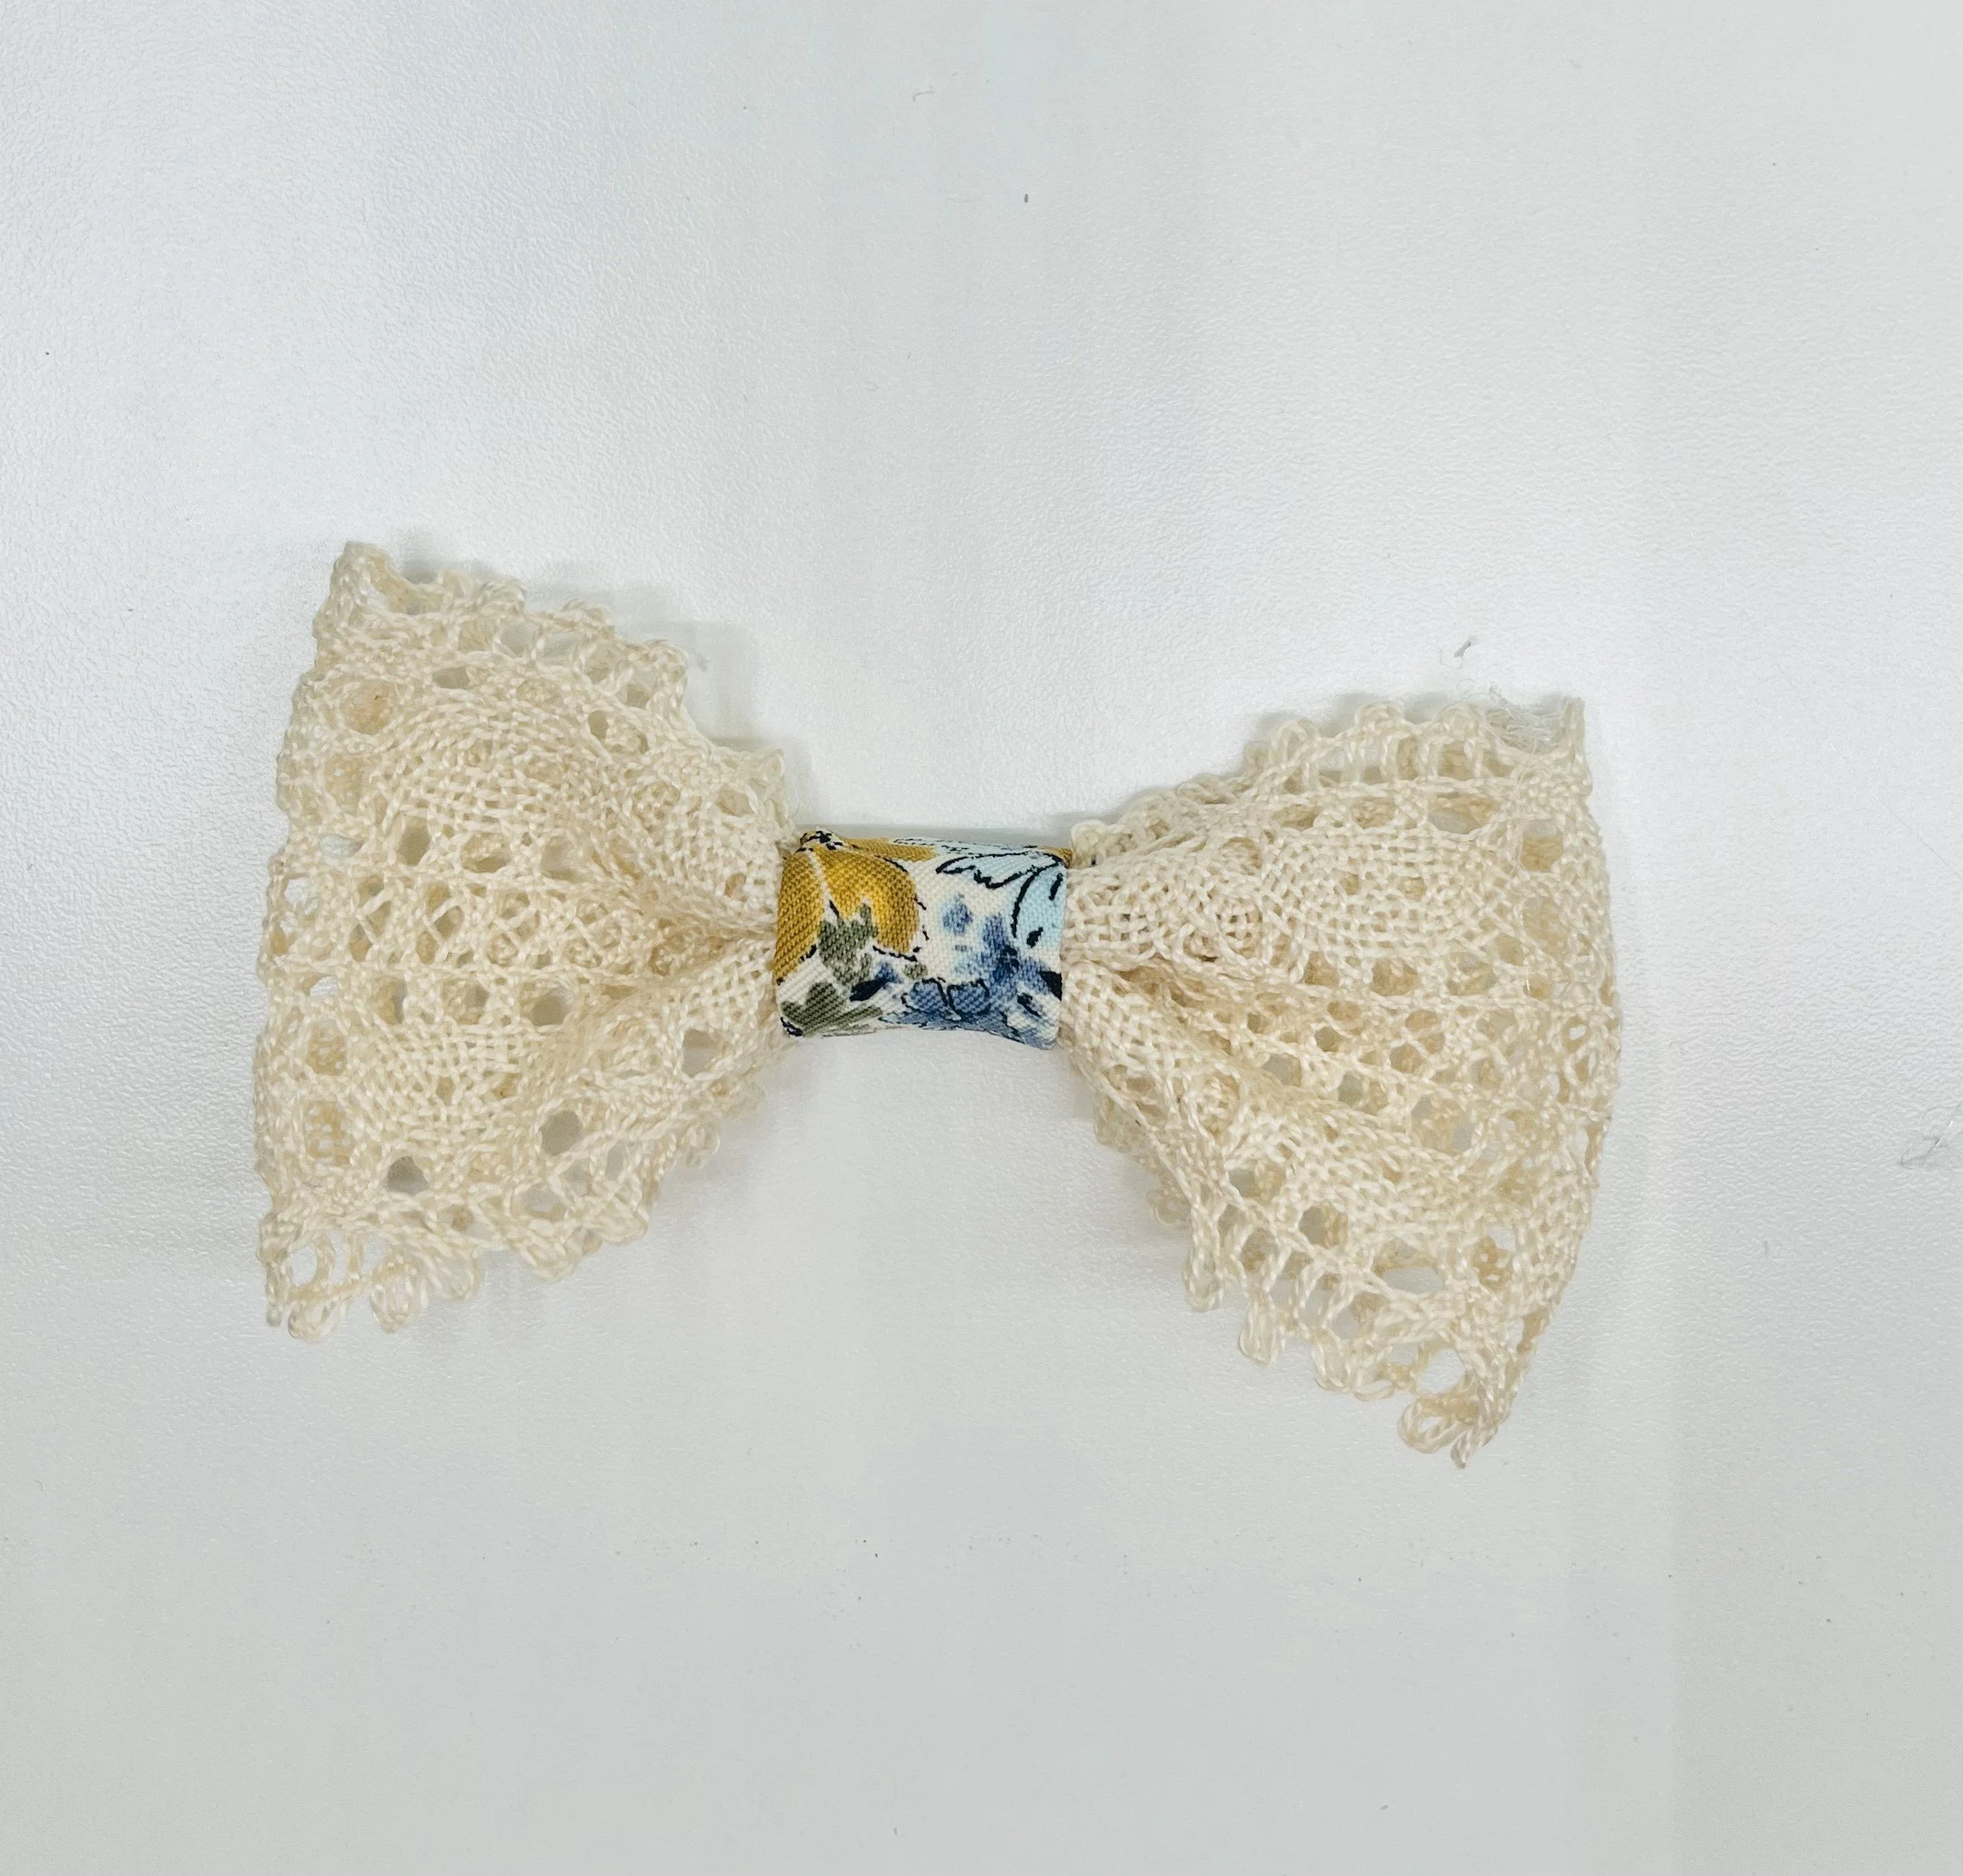
/I have a big roll of thrifted crochet lace and have used it in many projects. I use it for my living room curtain ties. Yesterday I shared how I used it in the lace hem inset for a Lavender dress. It is also perfect for making quick and easy hair bows! The first one I made was in 2017 for the blog tour accompanying the grand opening of the Project Run and Play shop! This week I made another for the Back to School tour and it is pretty incredible to see how much the pattern shop has expanded!
These are really easy to make and add such a pretty, vintage style accent. I took some pics and video of the process to make a tutorial!
Lace Hair Bow Tutorial
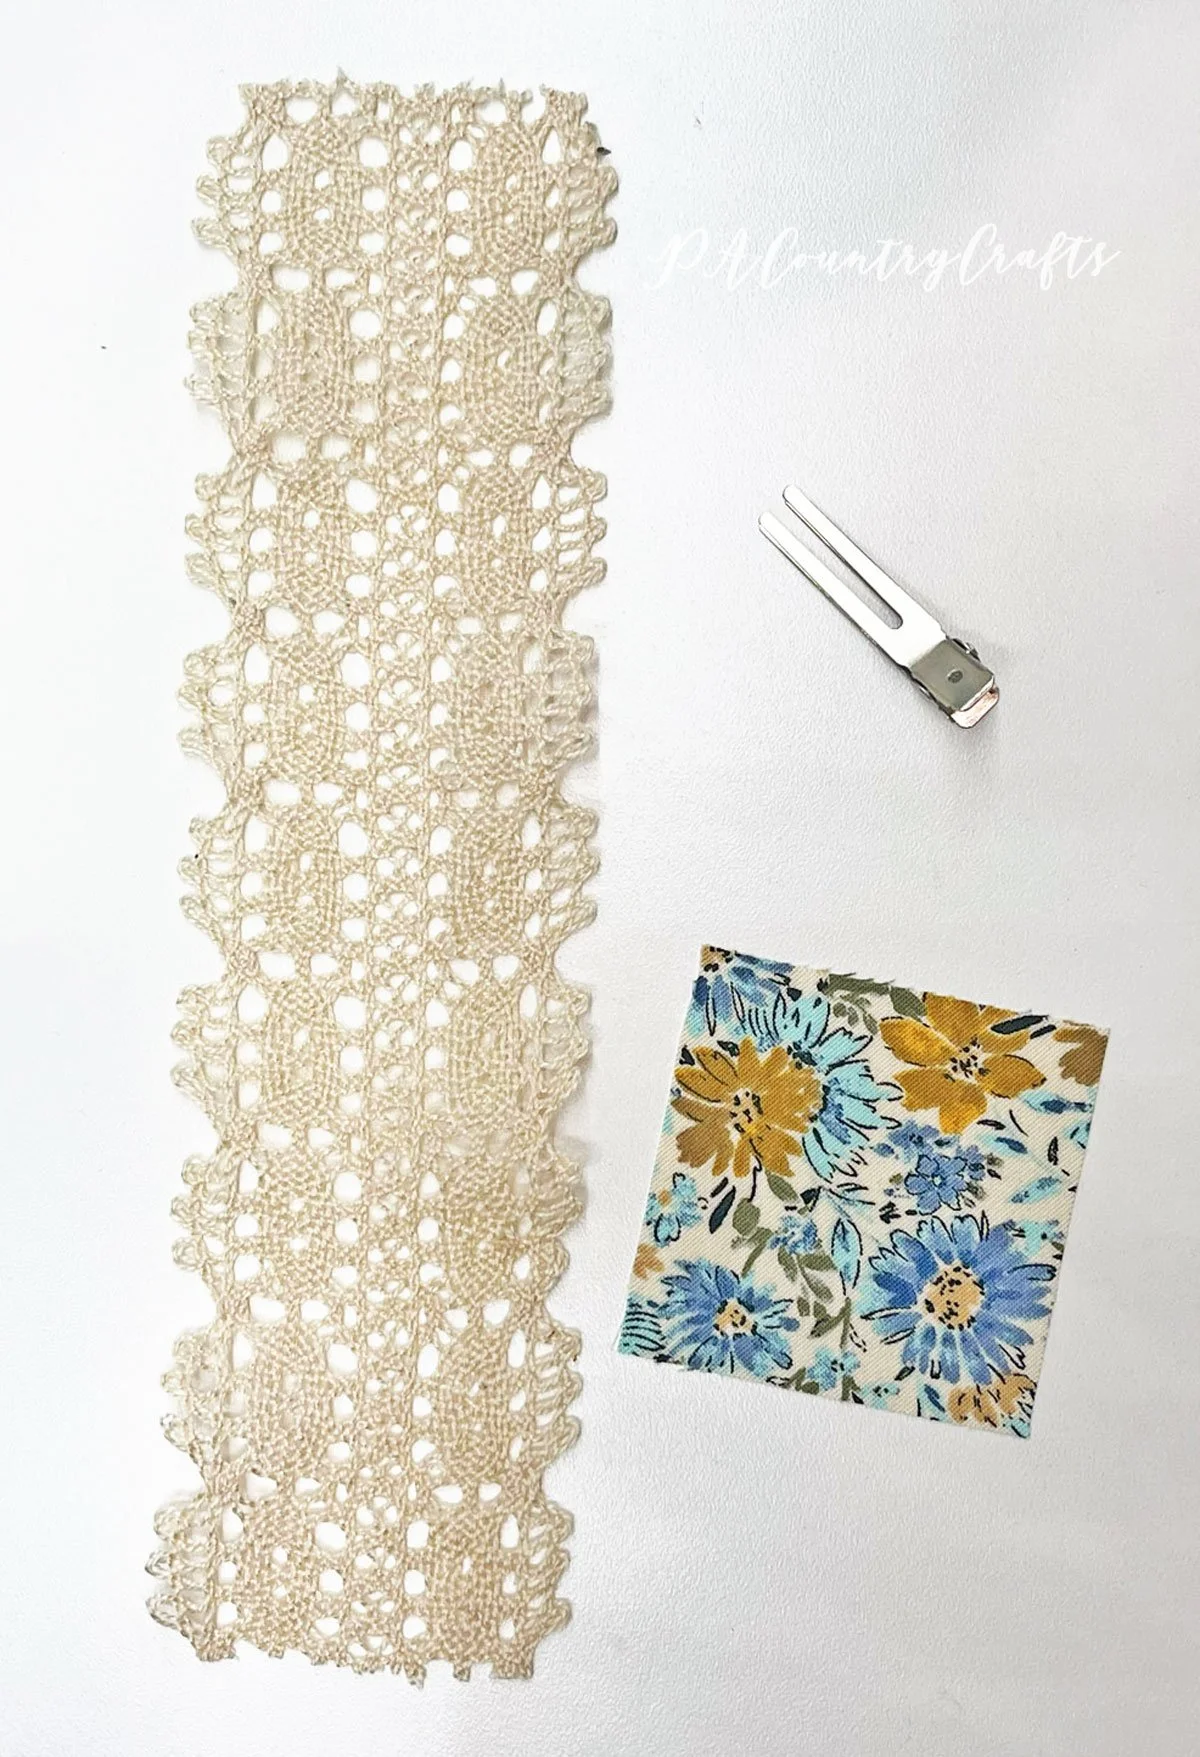
Supplies:
10” long piece of 2” wide lace
2.5” square of fabric
alligator clip
hot glue
sewing machine and thread
fray check
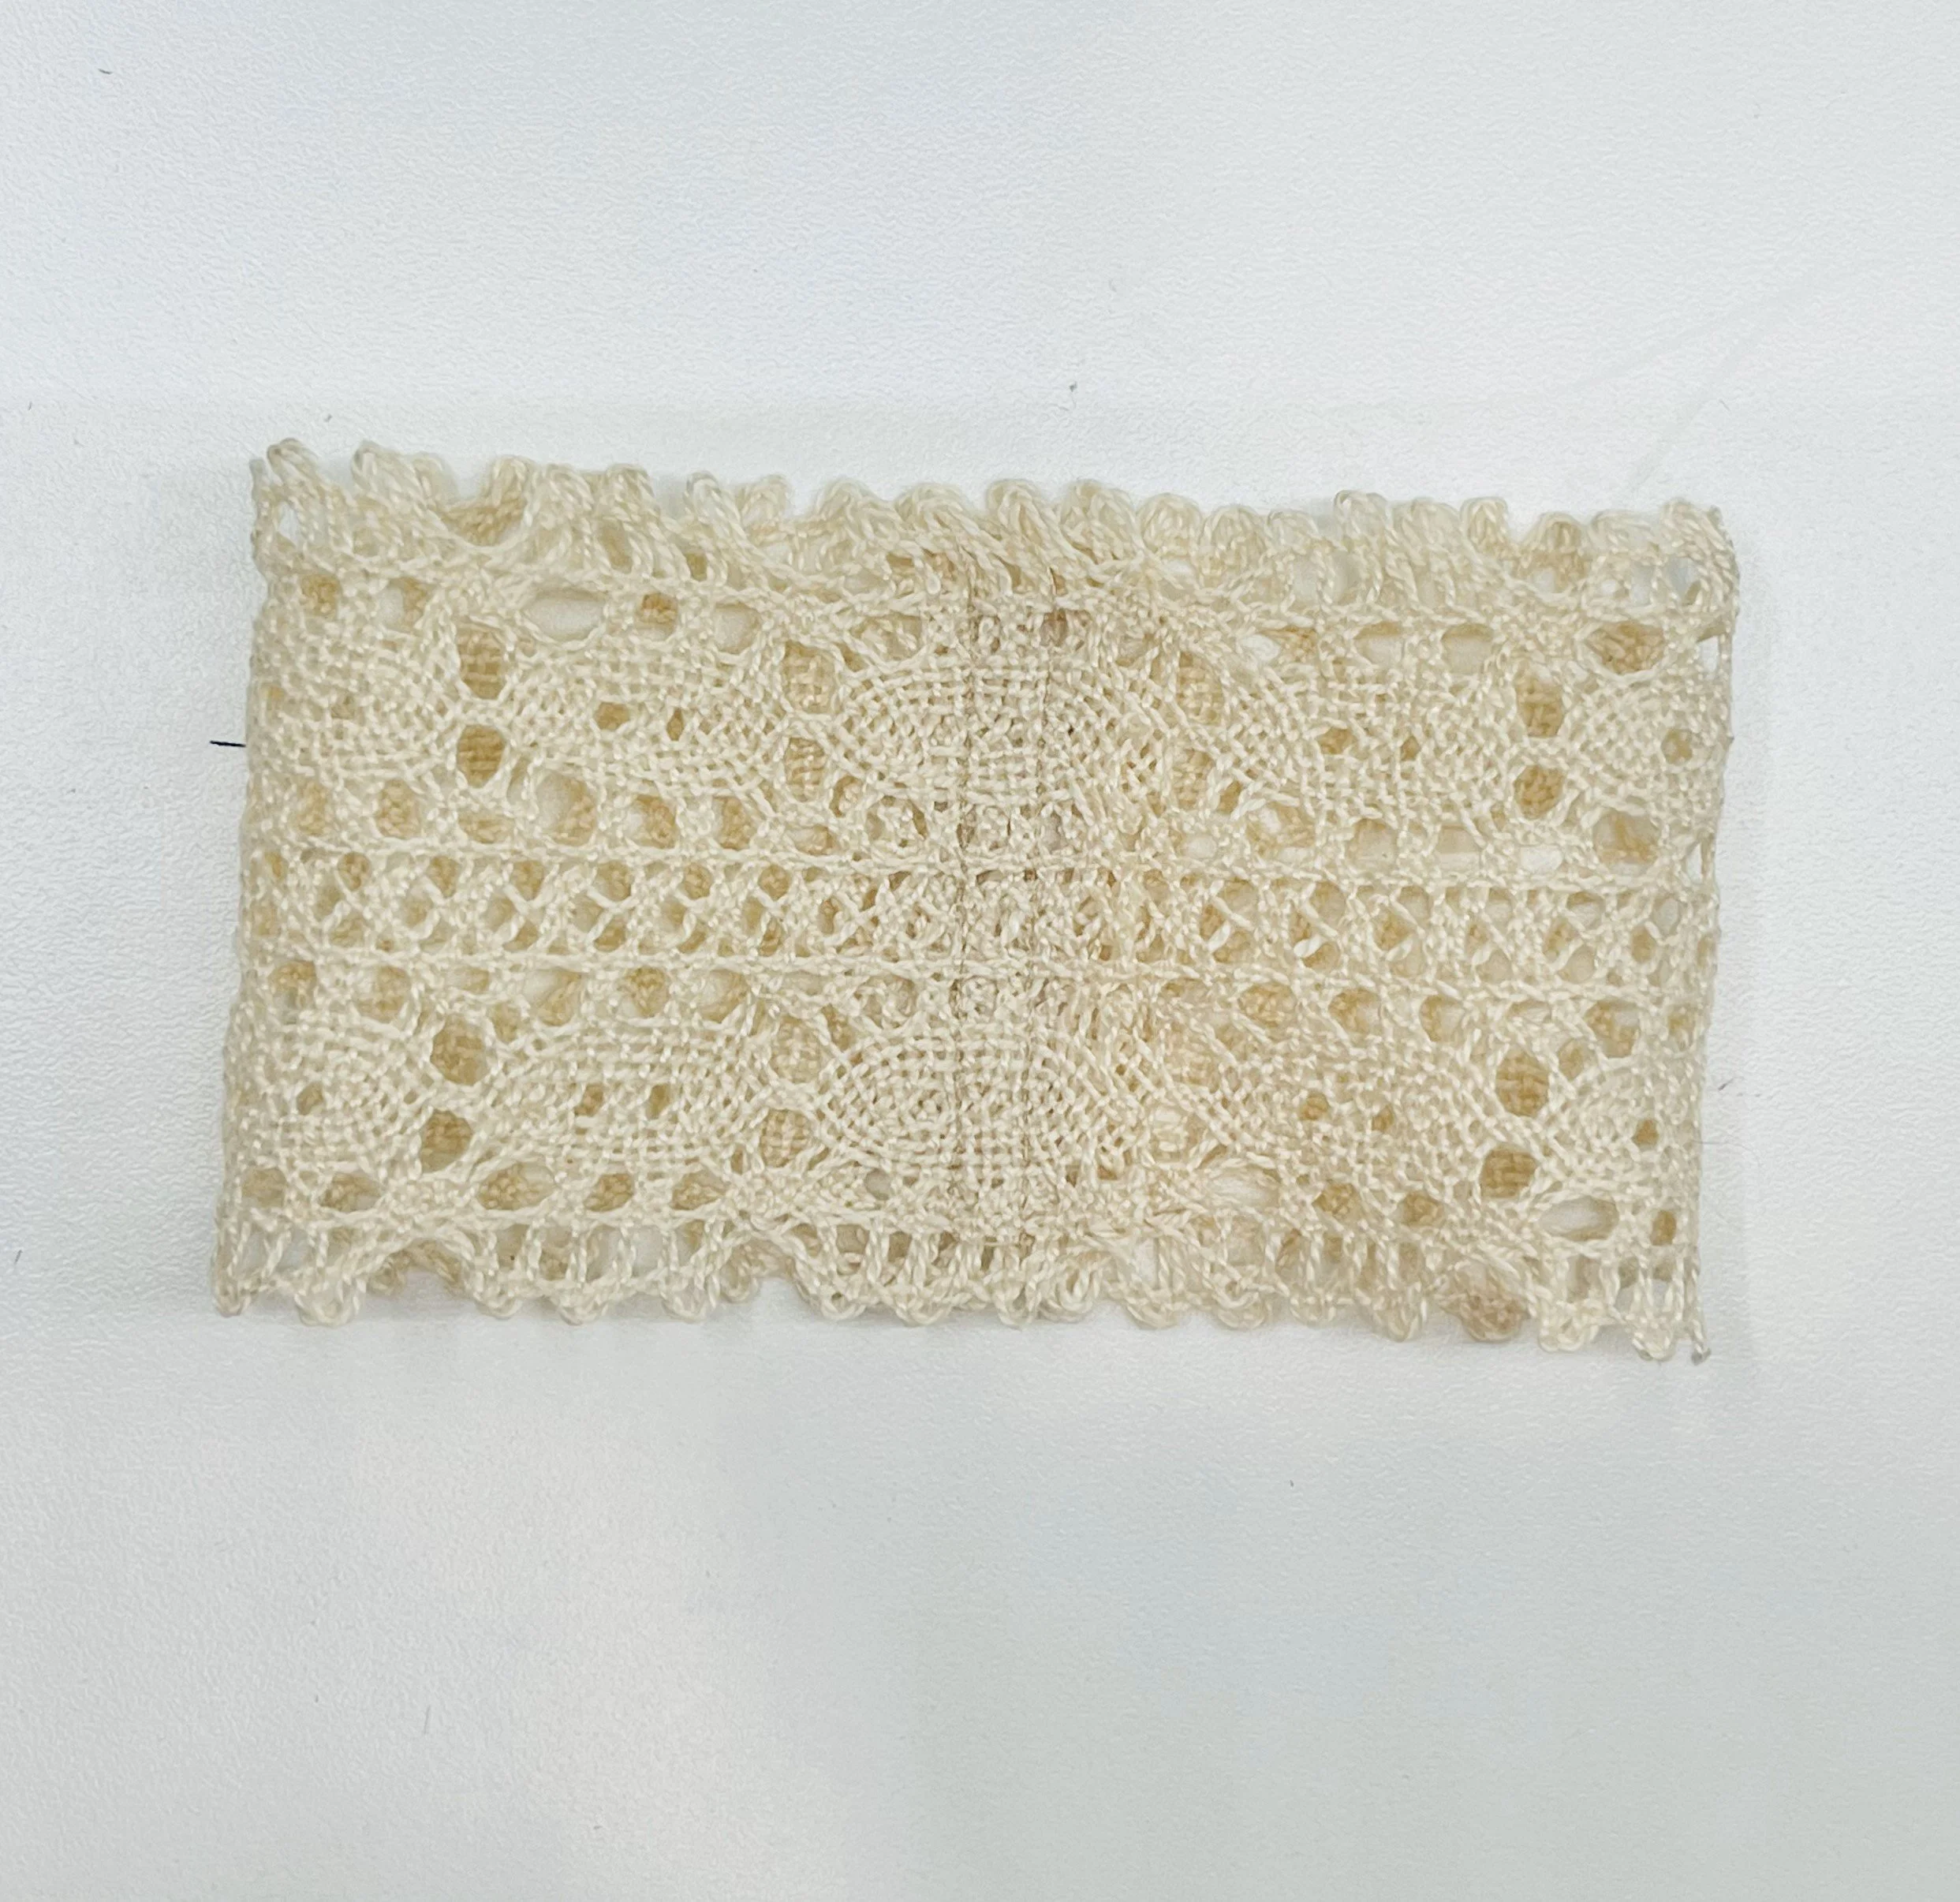
Overlap the ends of the lace by 1/2” to create a loop. Sew down the center, keeping the overlap in the center of the loop.
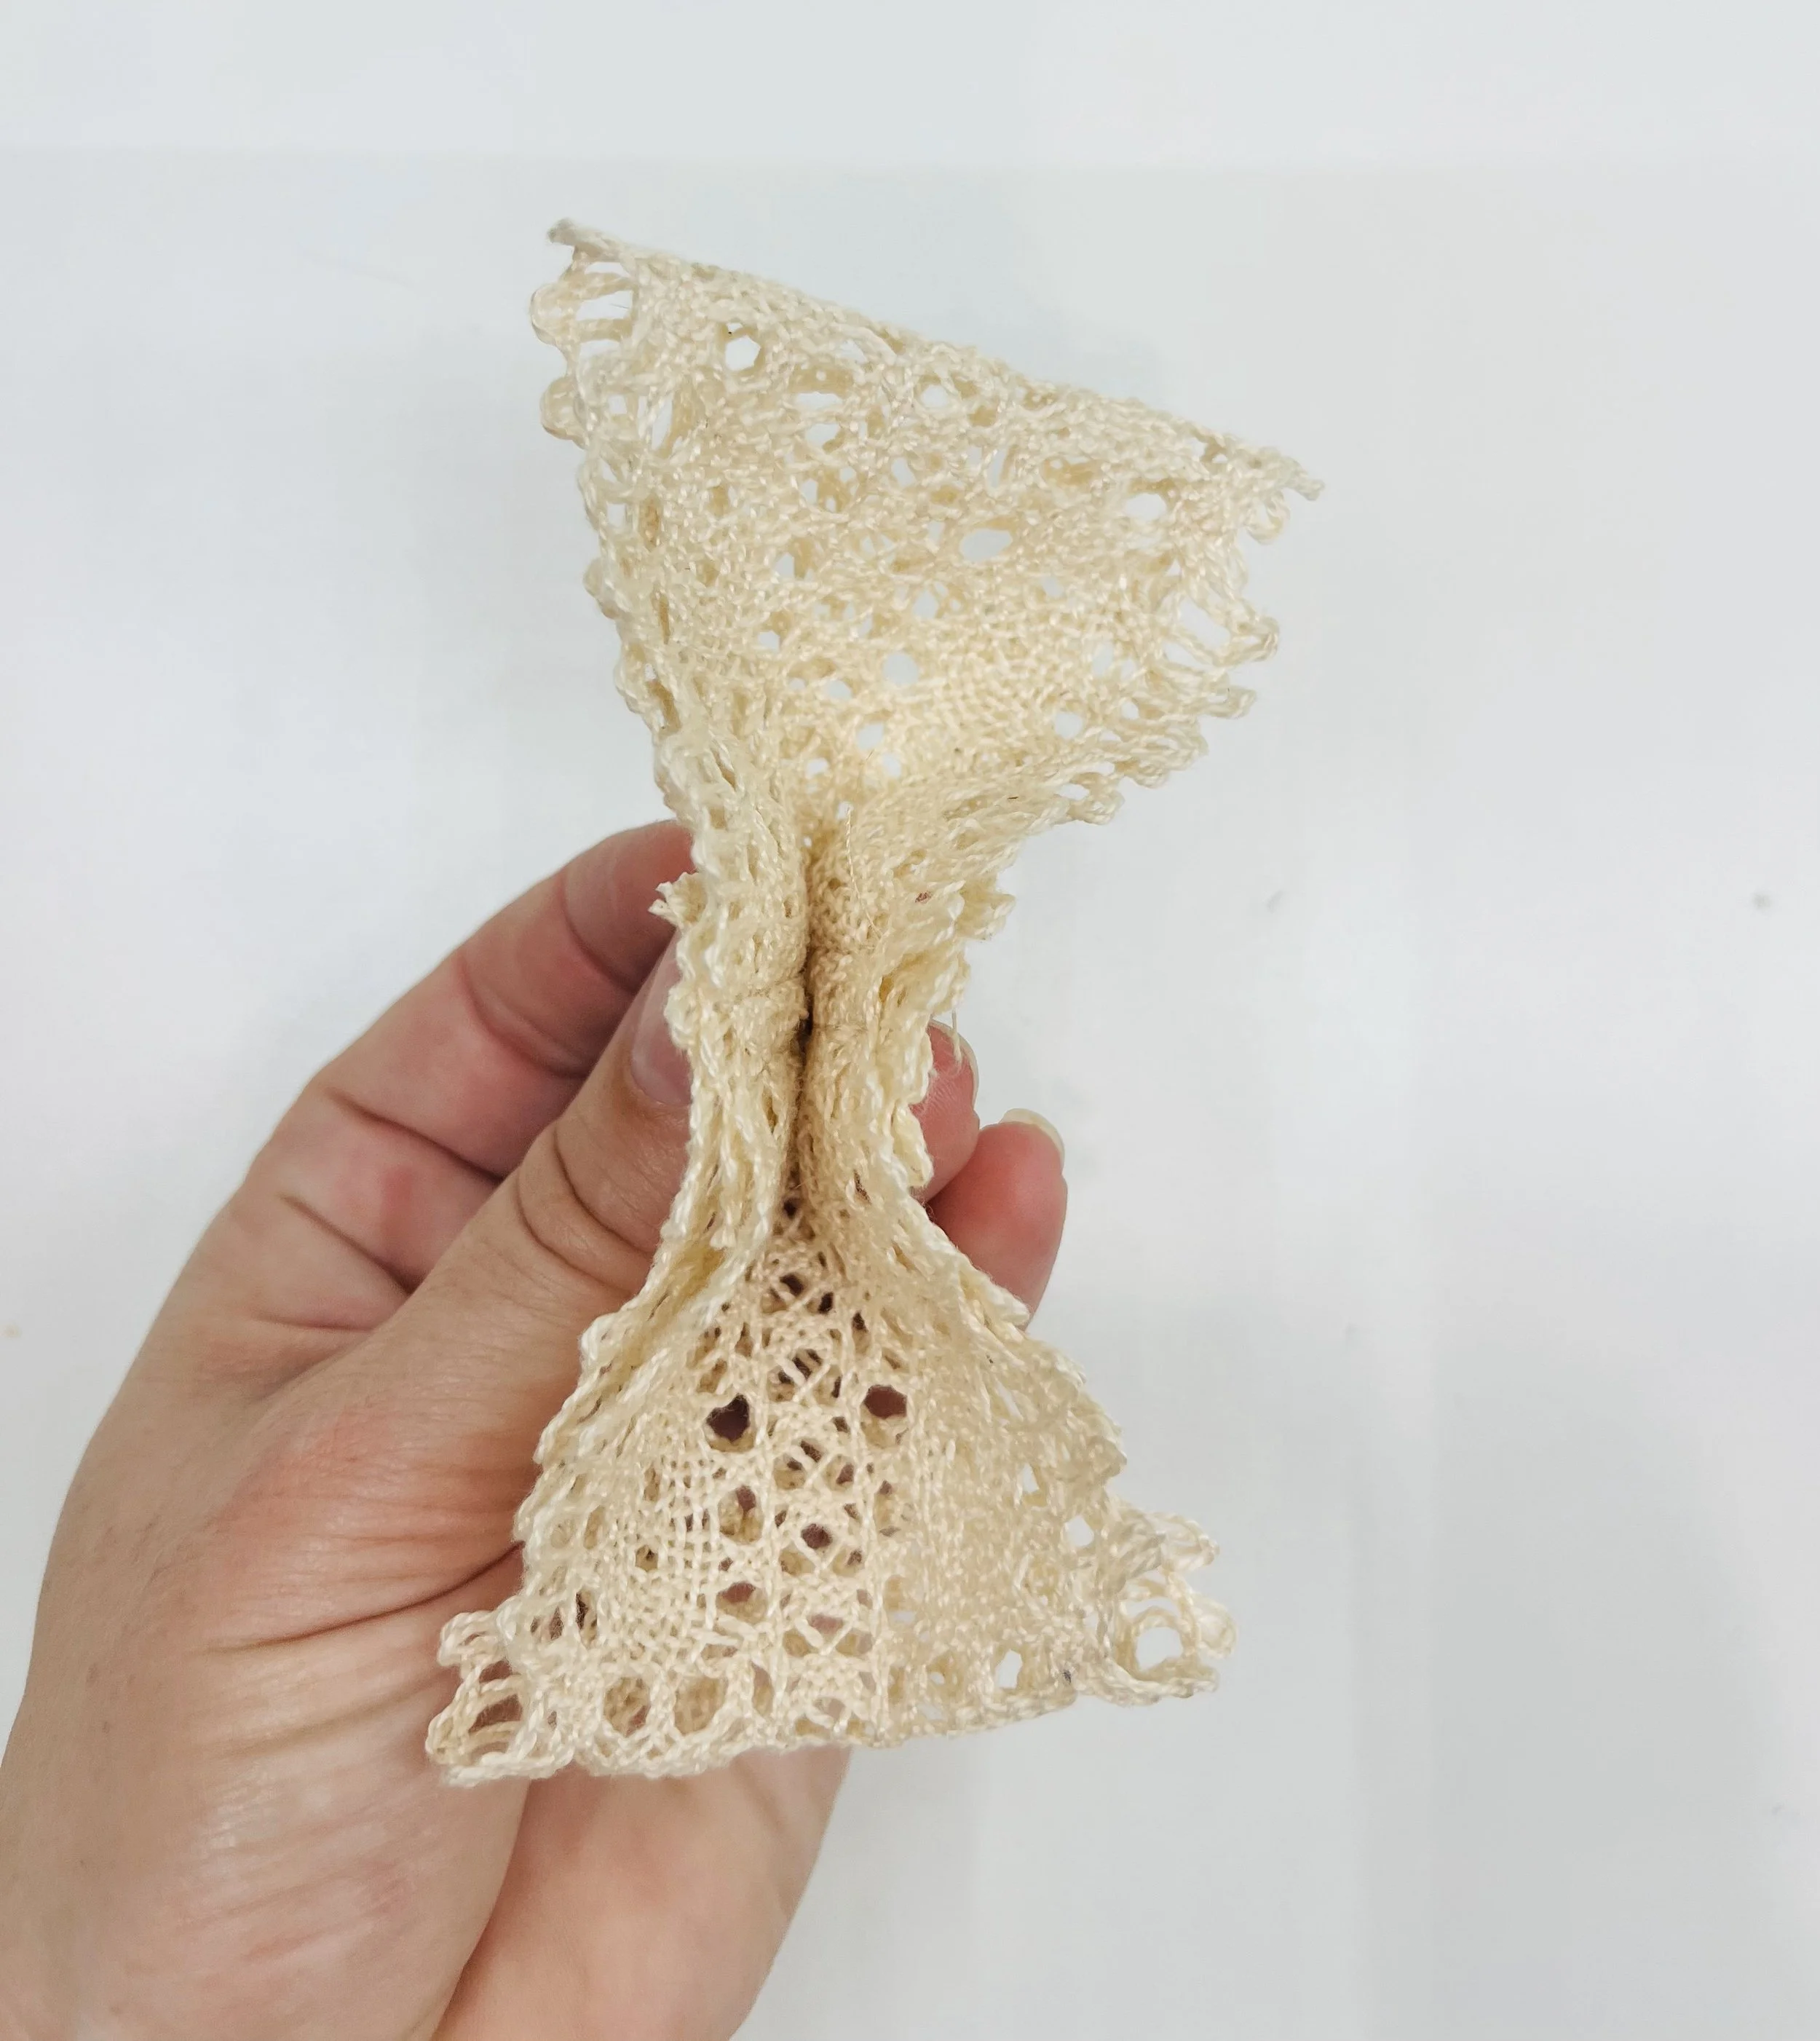
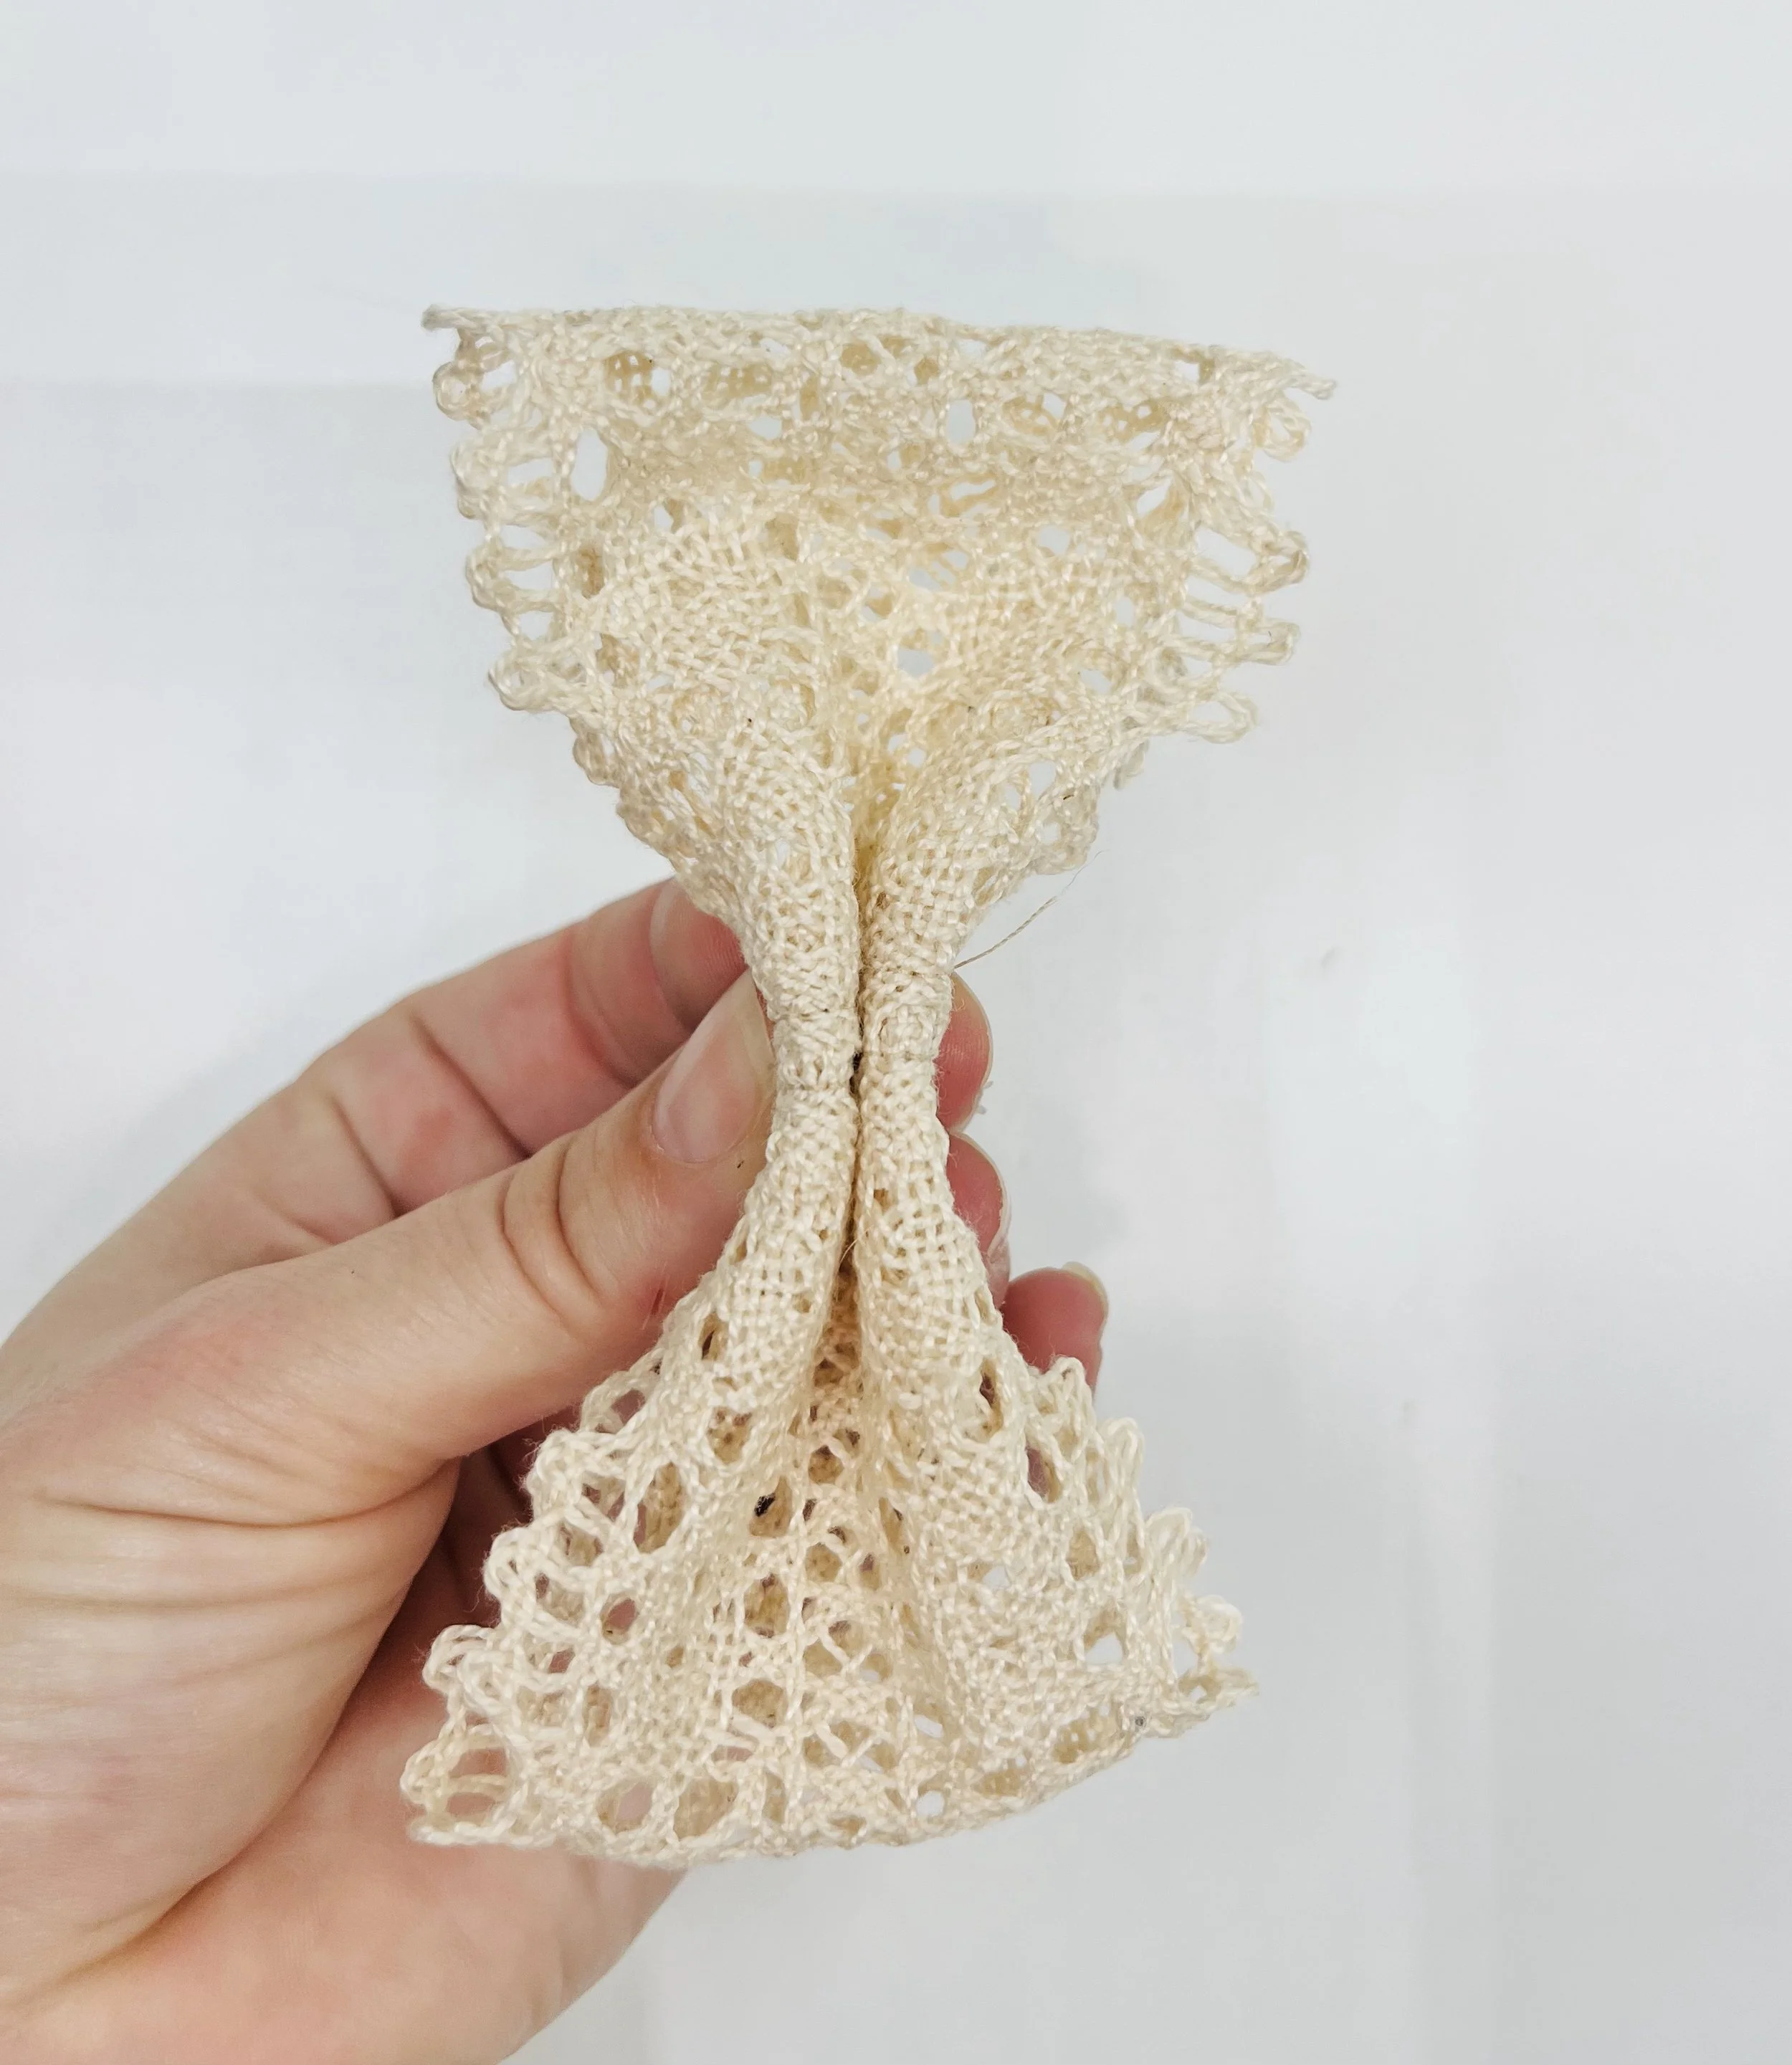
Fold the lace in half, pinching at the center, with the top sides together.
Fold the edges back to the outside to create pleats. The seam will be concealed in the pleat.
Hot glue to hold these in place. You may also use thread and wrap tightly.
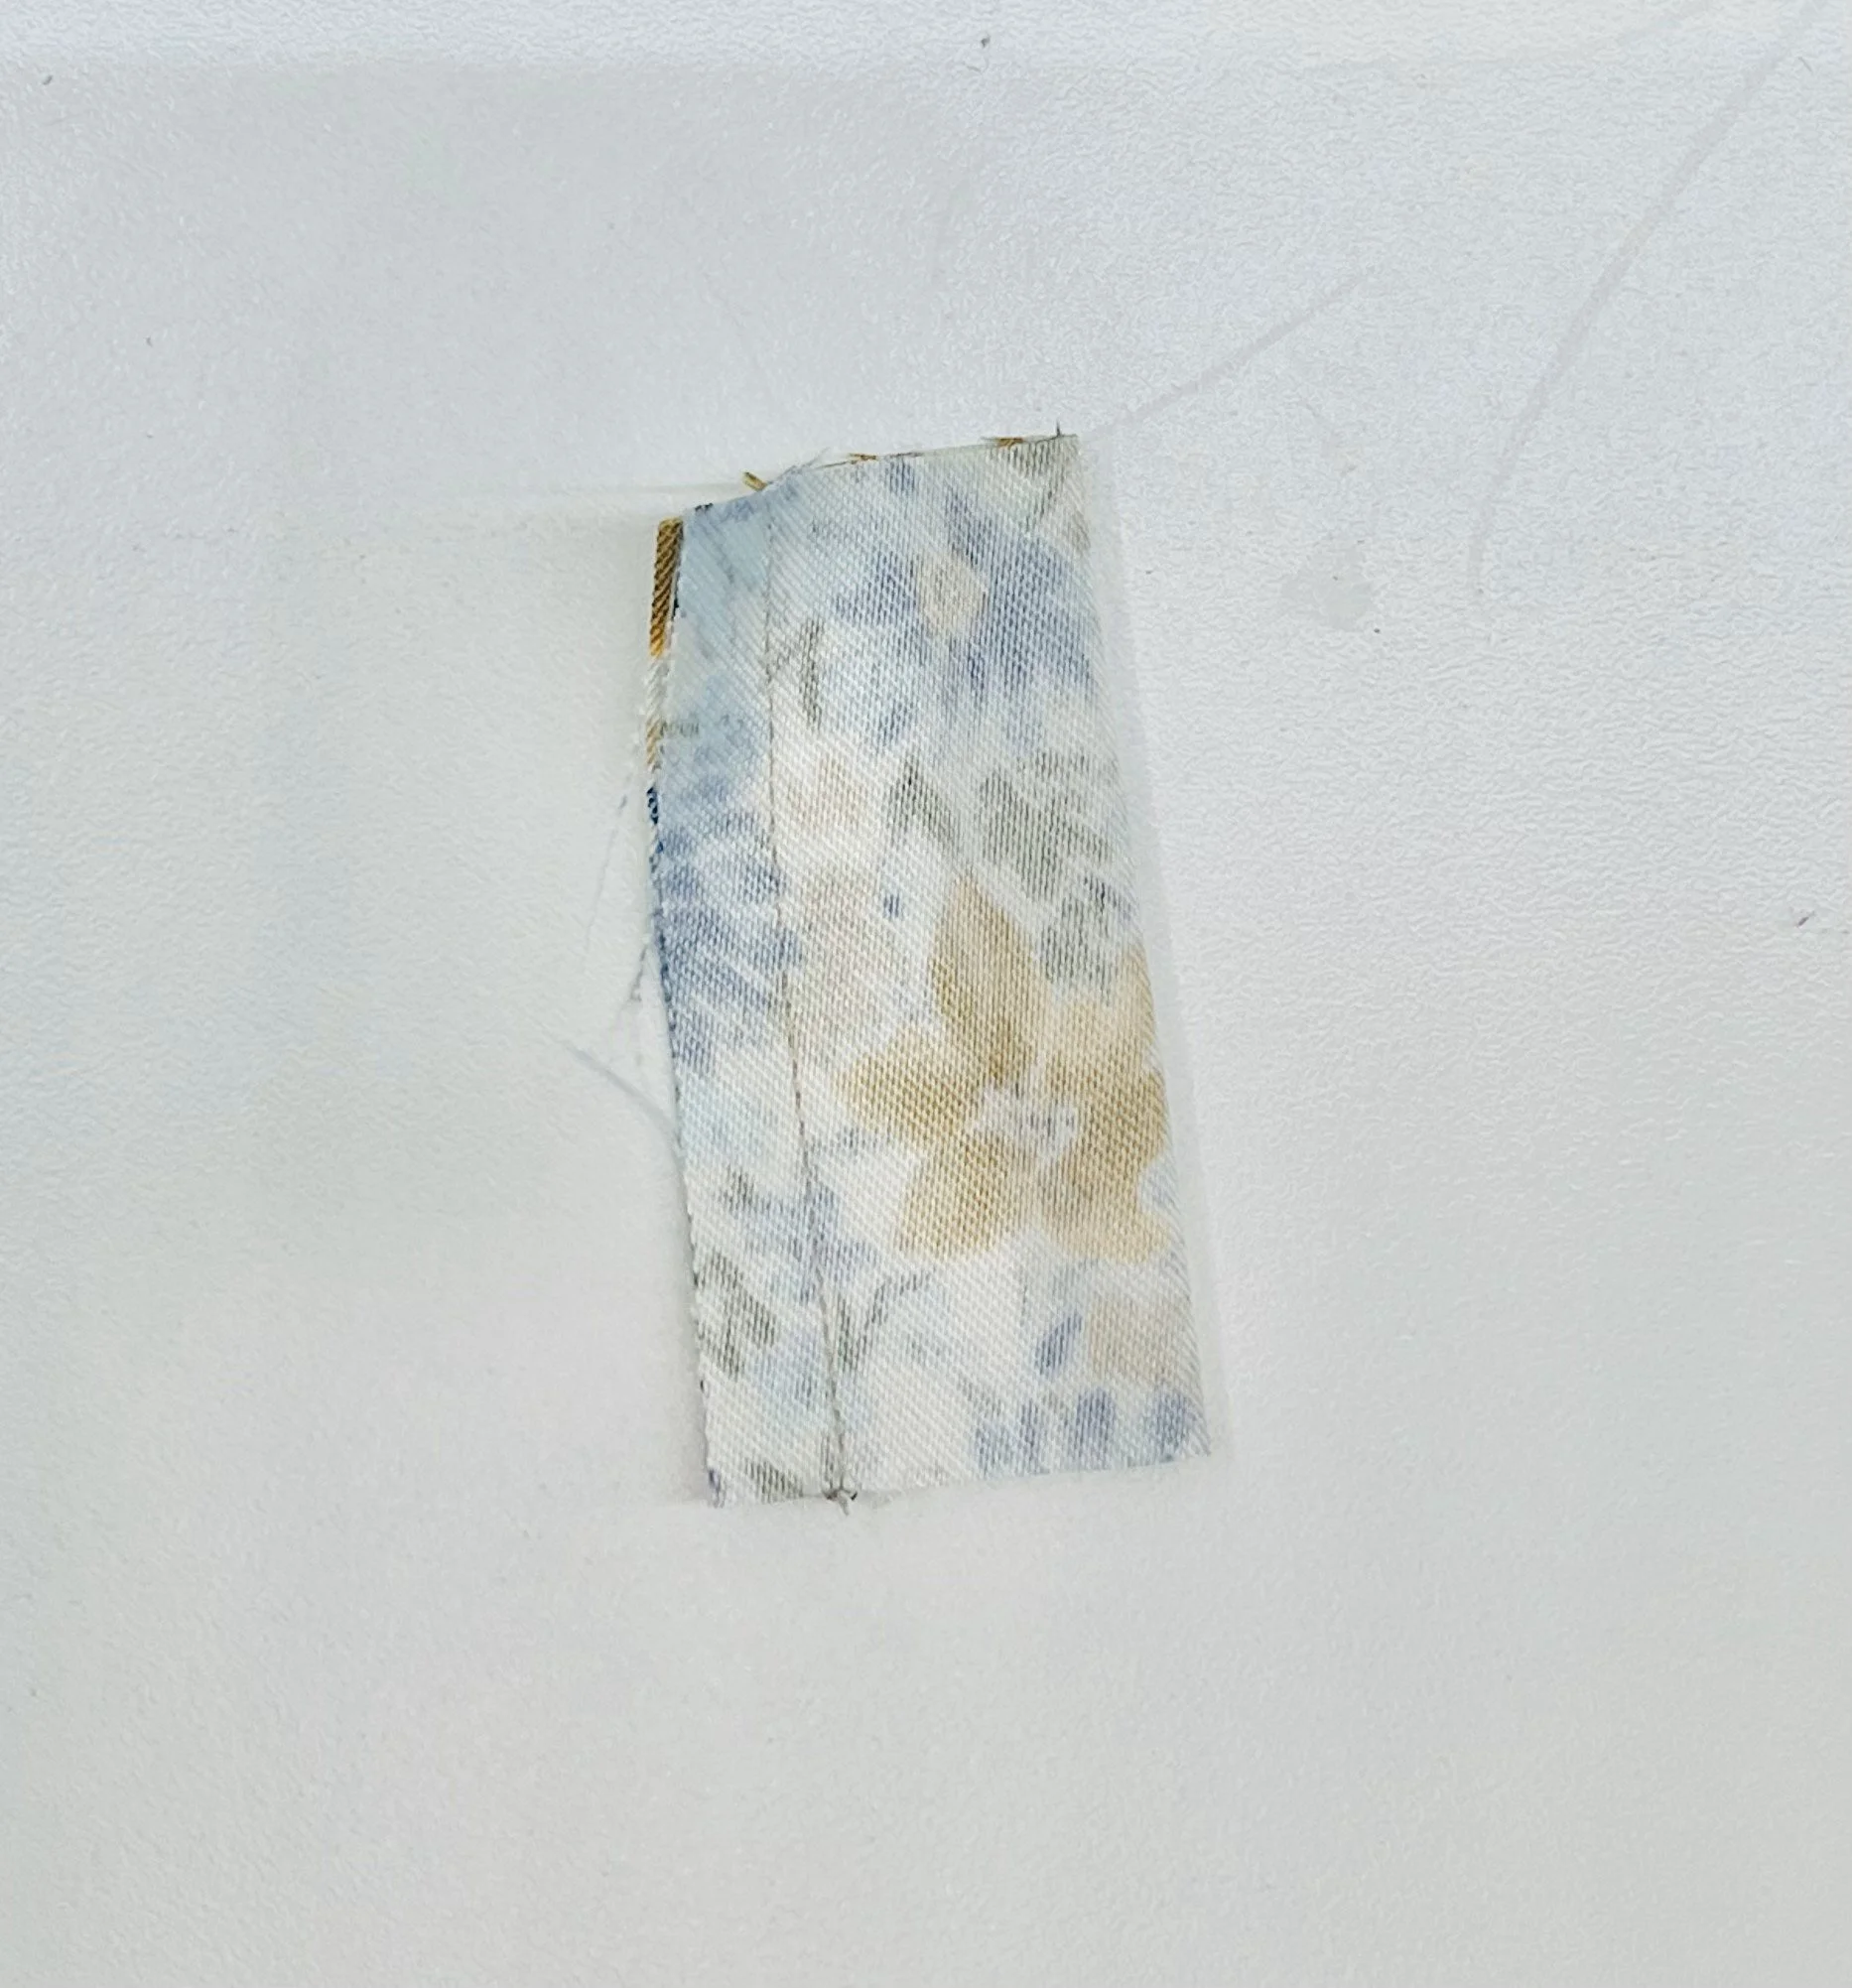
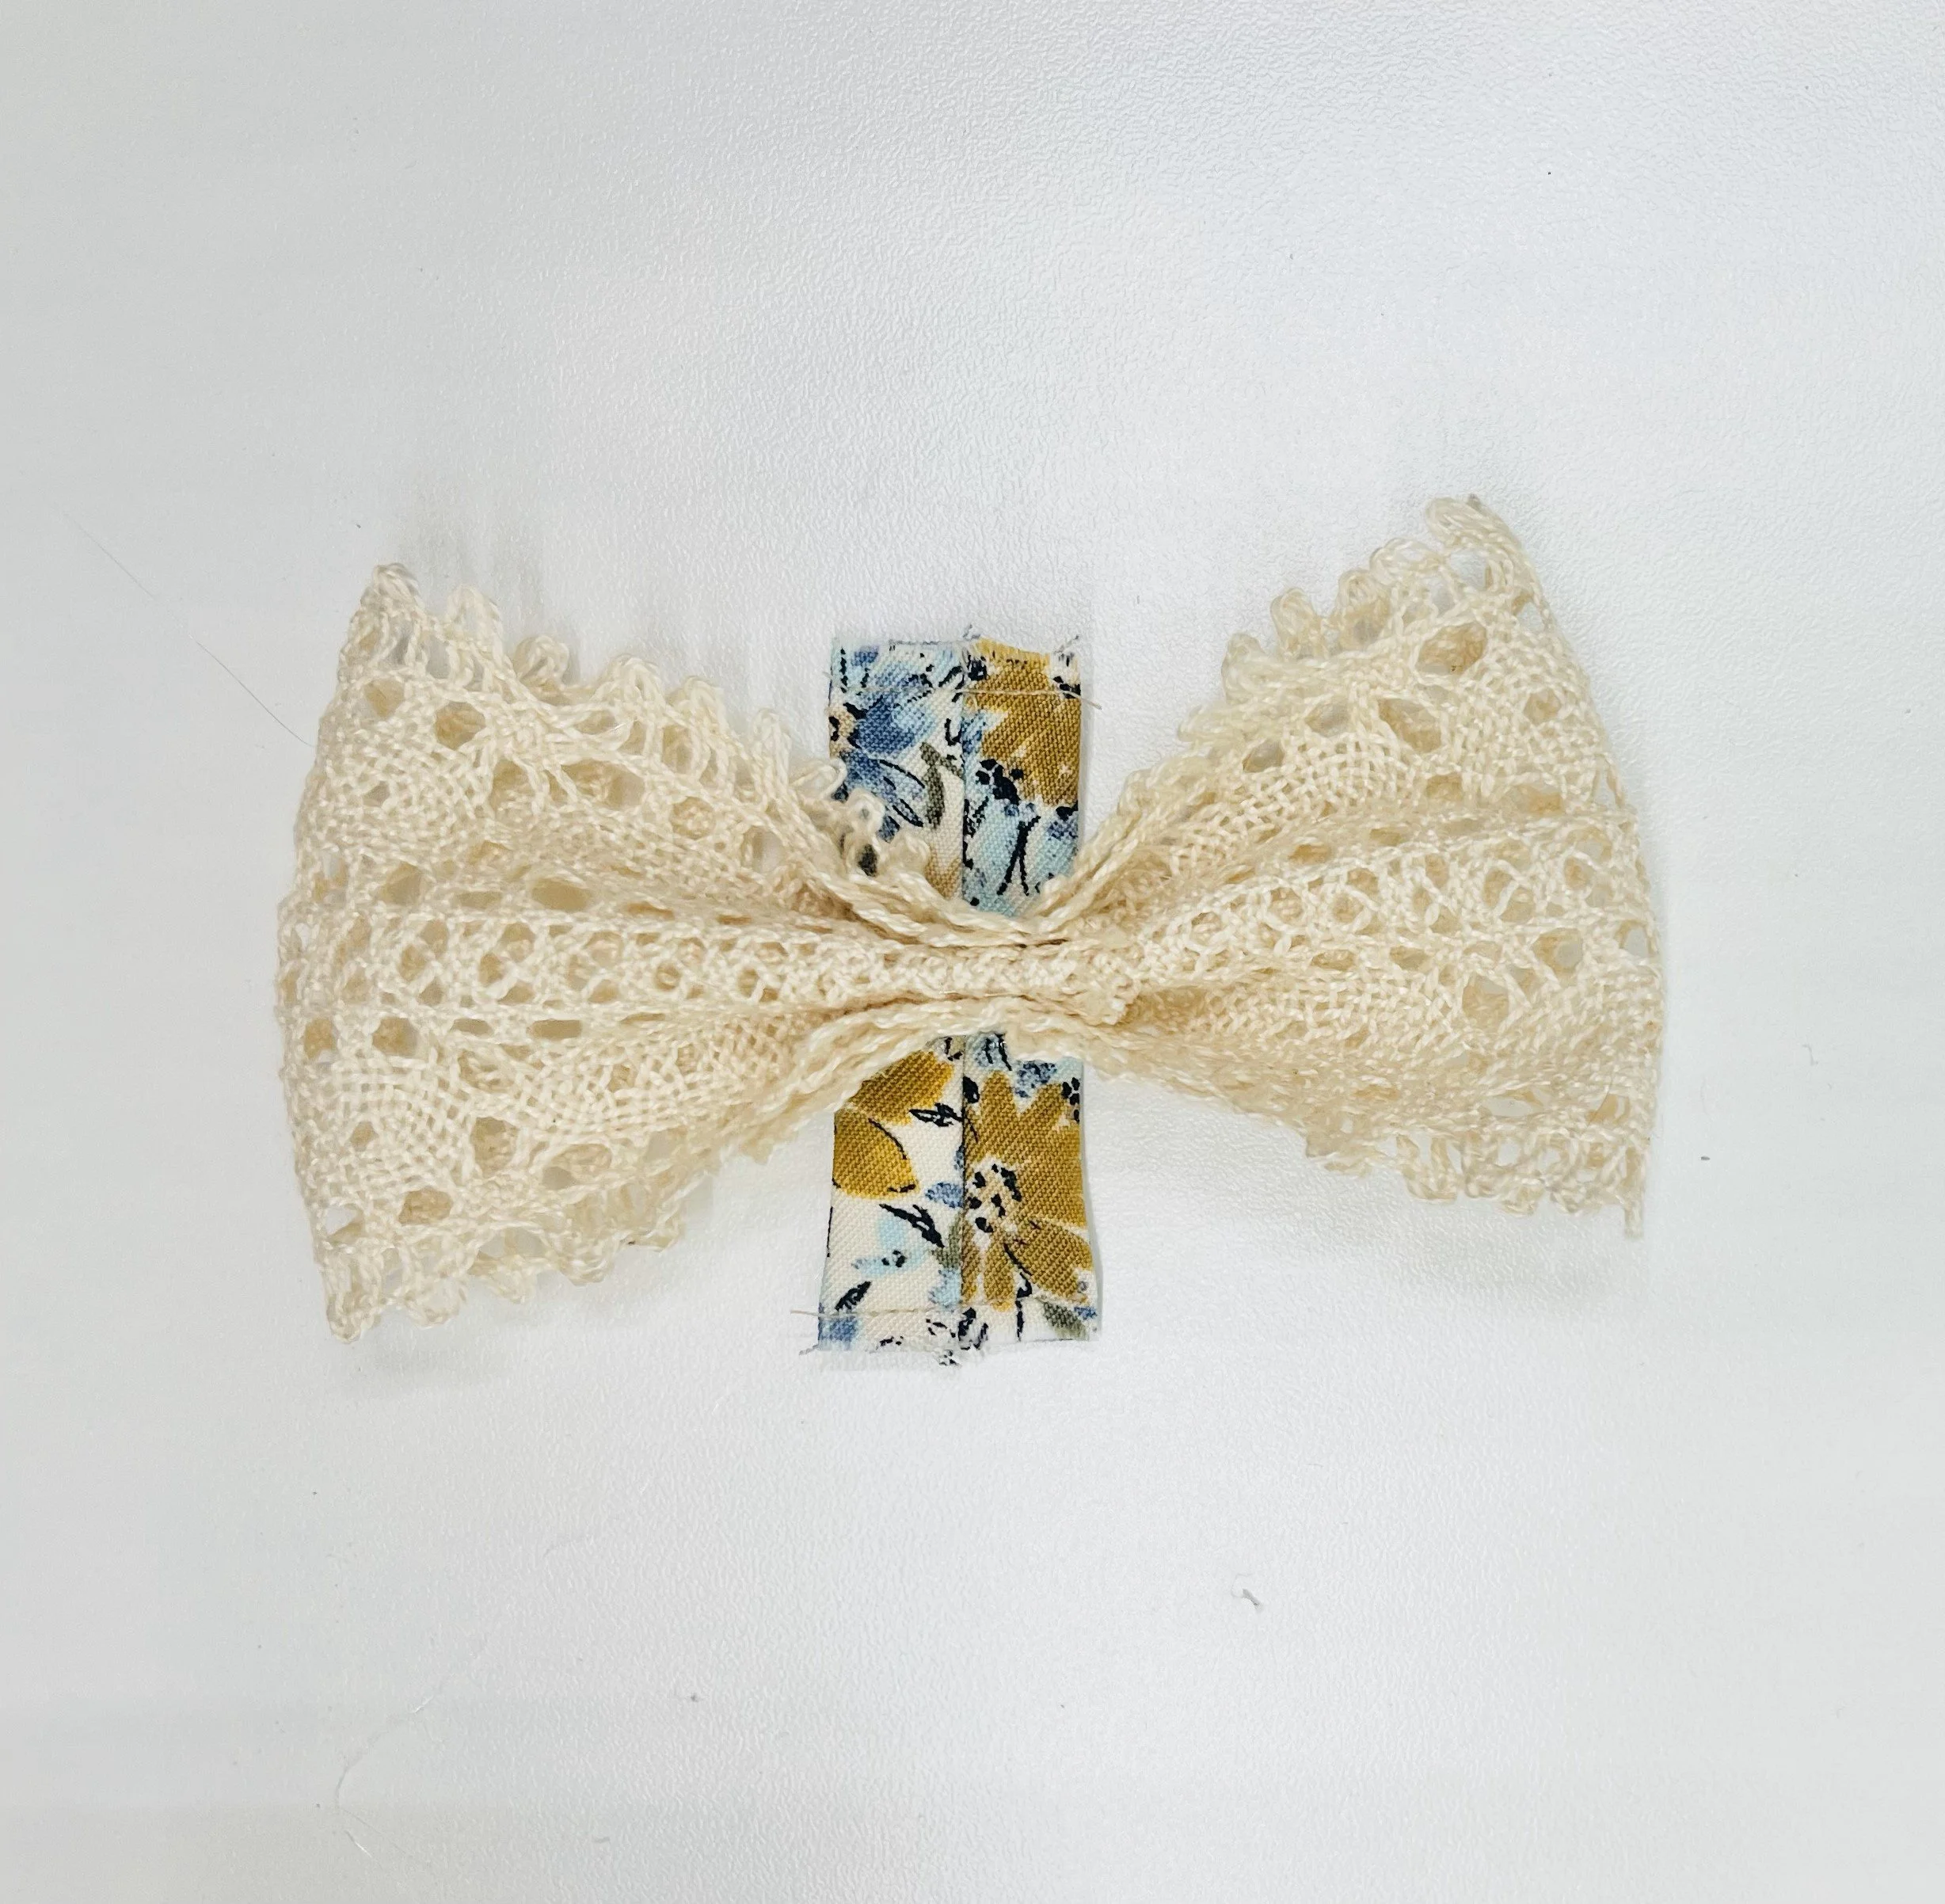
Fold the fabric in half with the right sides together. Sew 1/4” from the raw edge to form a tube.
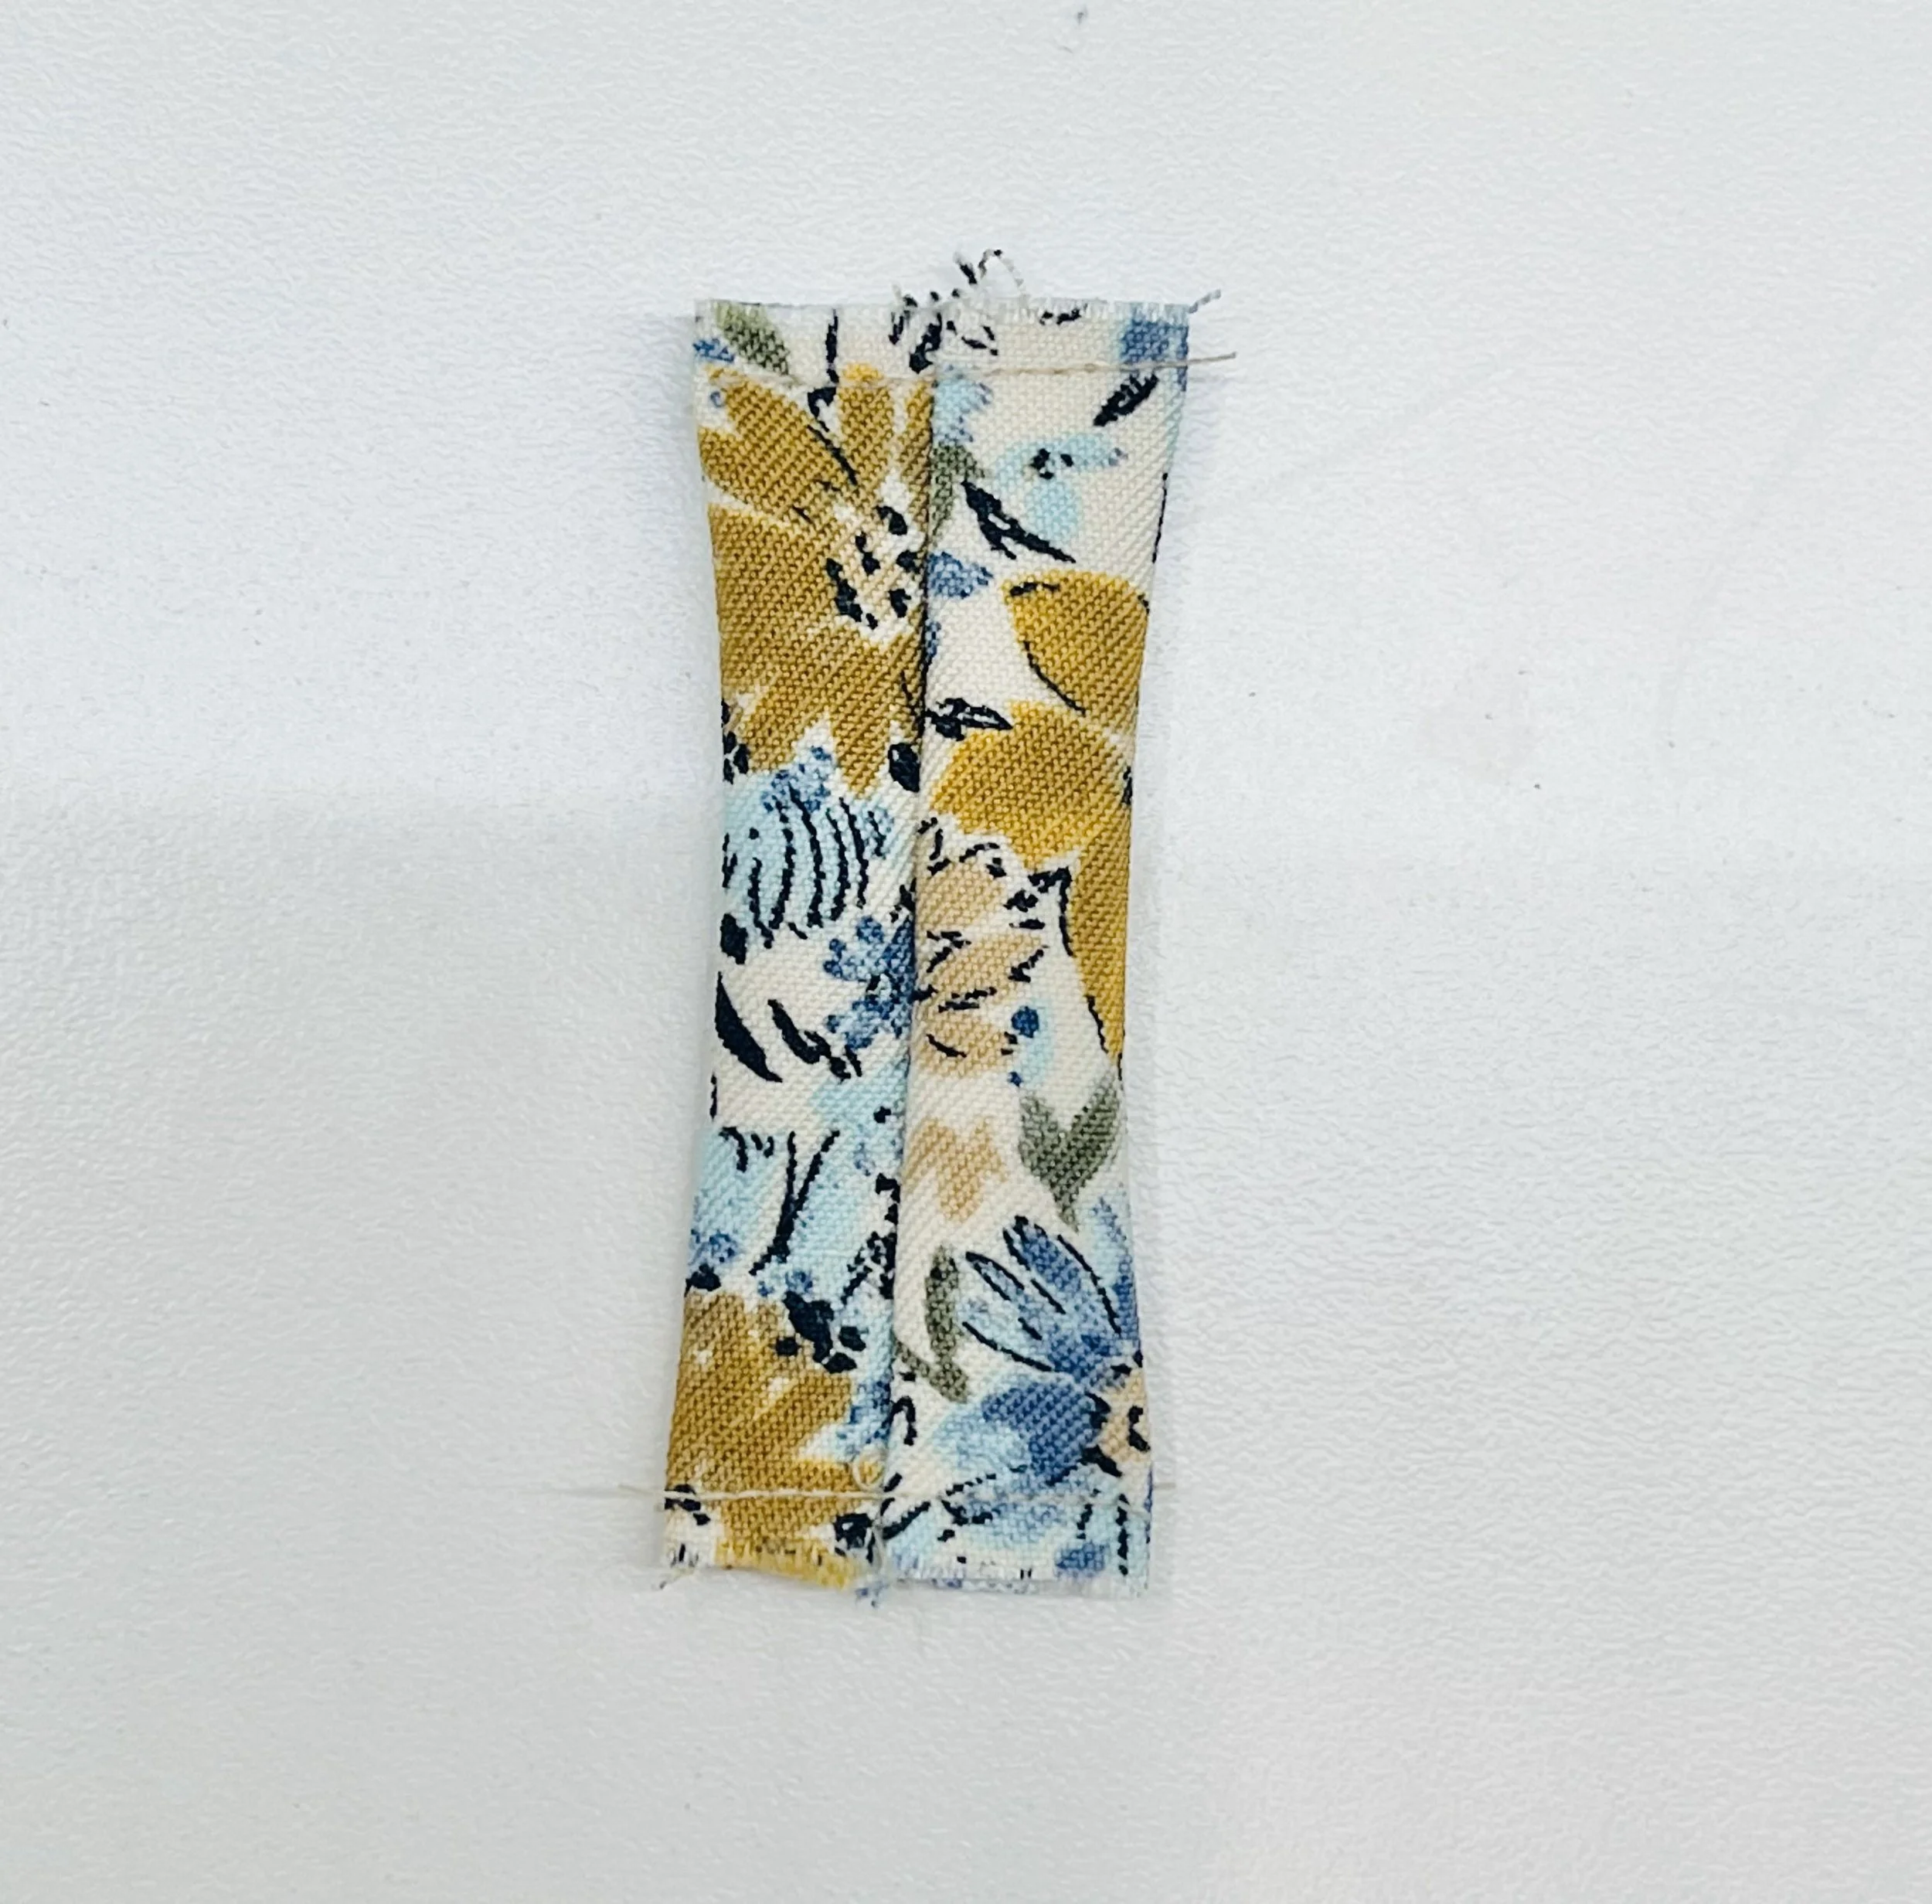
Turn the fabric right side out. Keeping the seam in the center back, sew the ends shut about 1/8” from the raw edges.
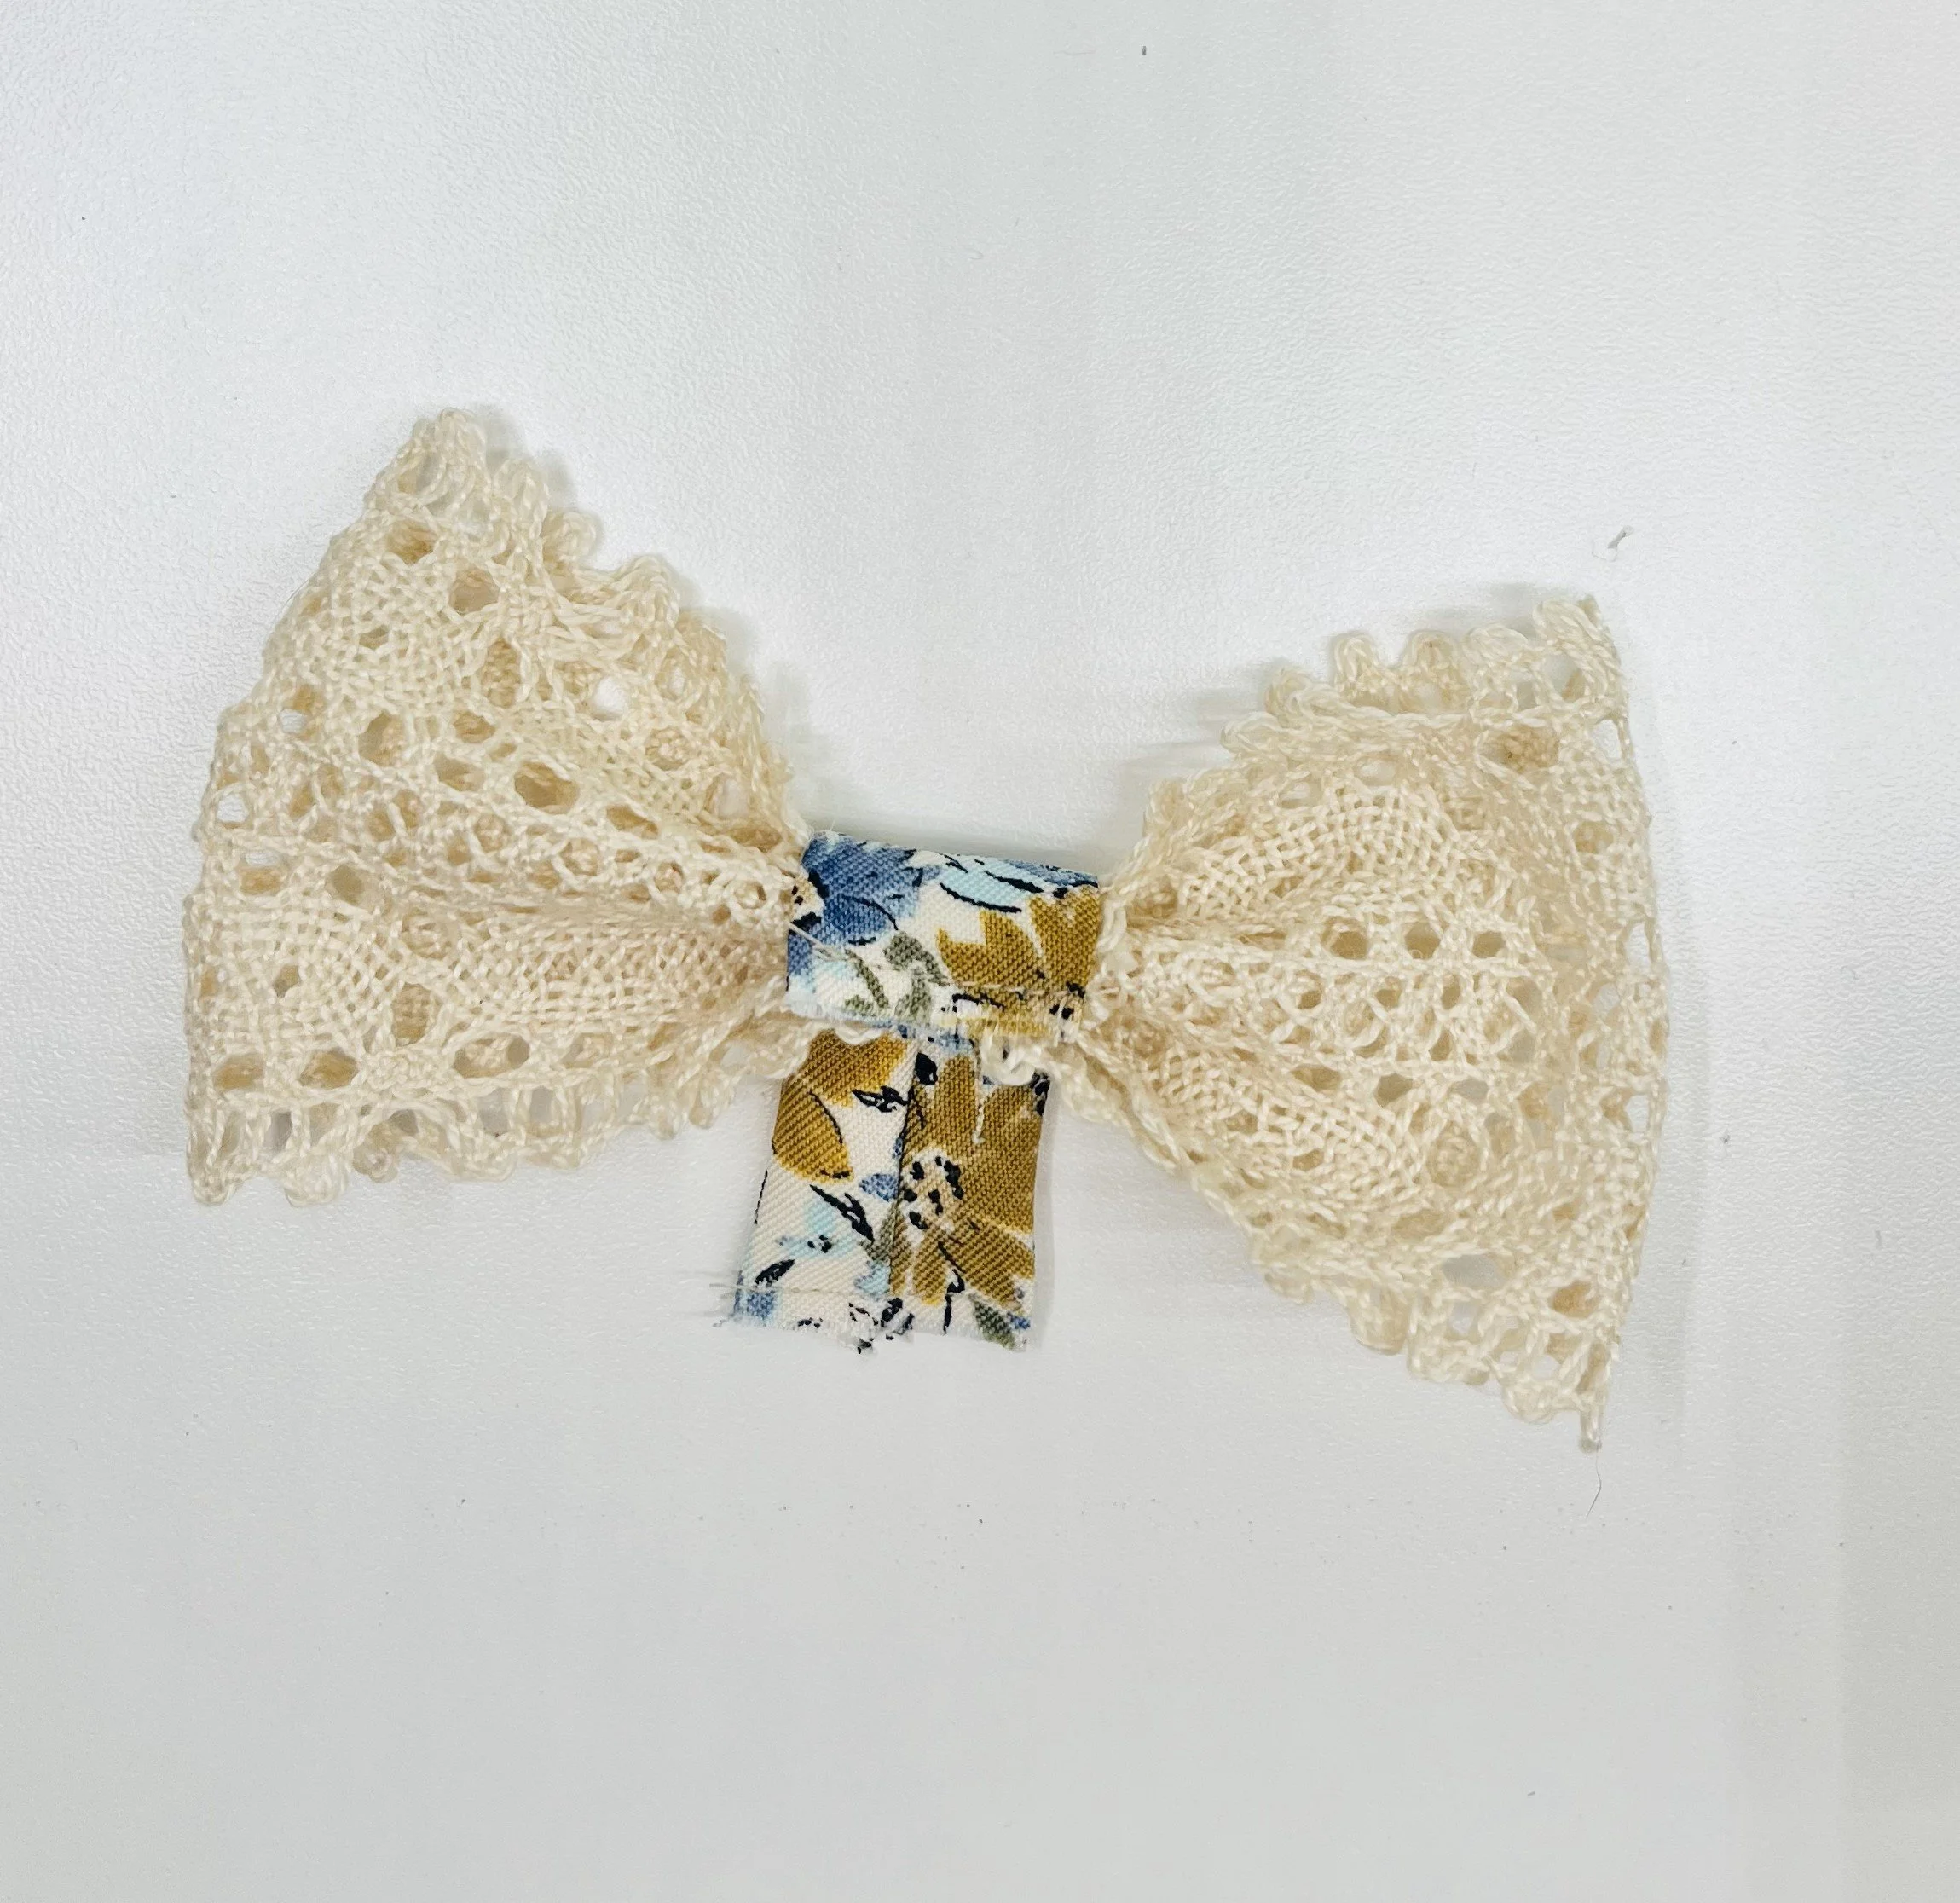
Glue the center back of the fabric to the top of the bow.
Wrap one side of the fabric around the back of the bow.
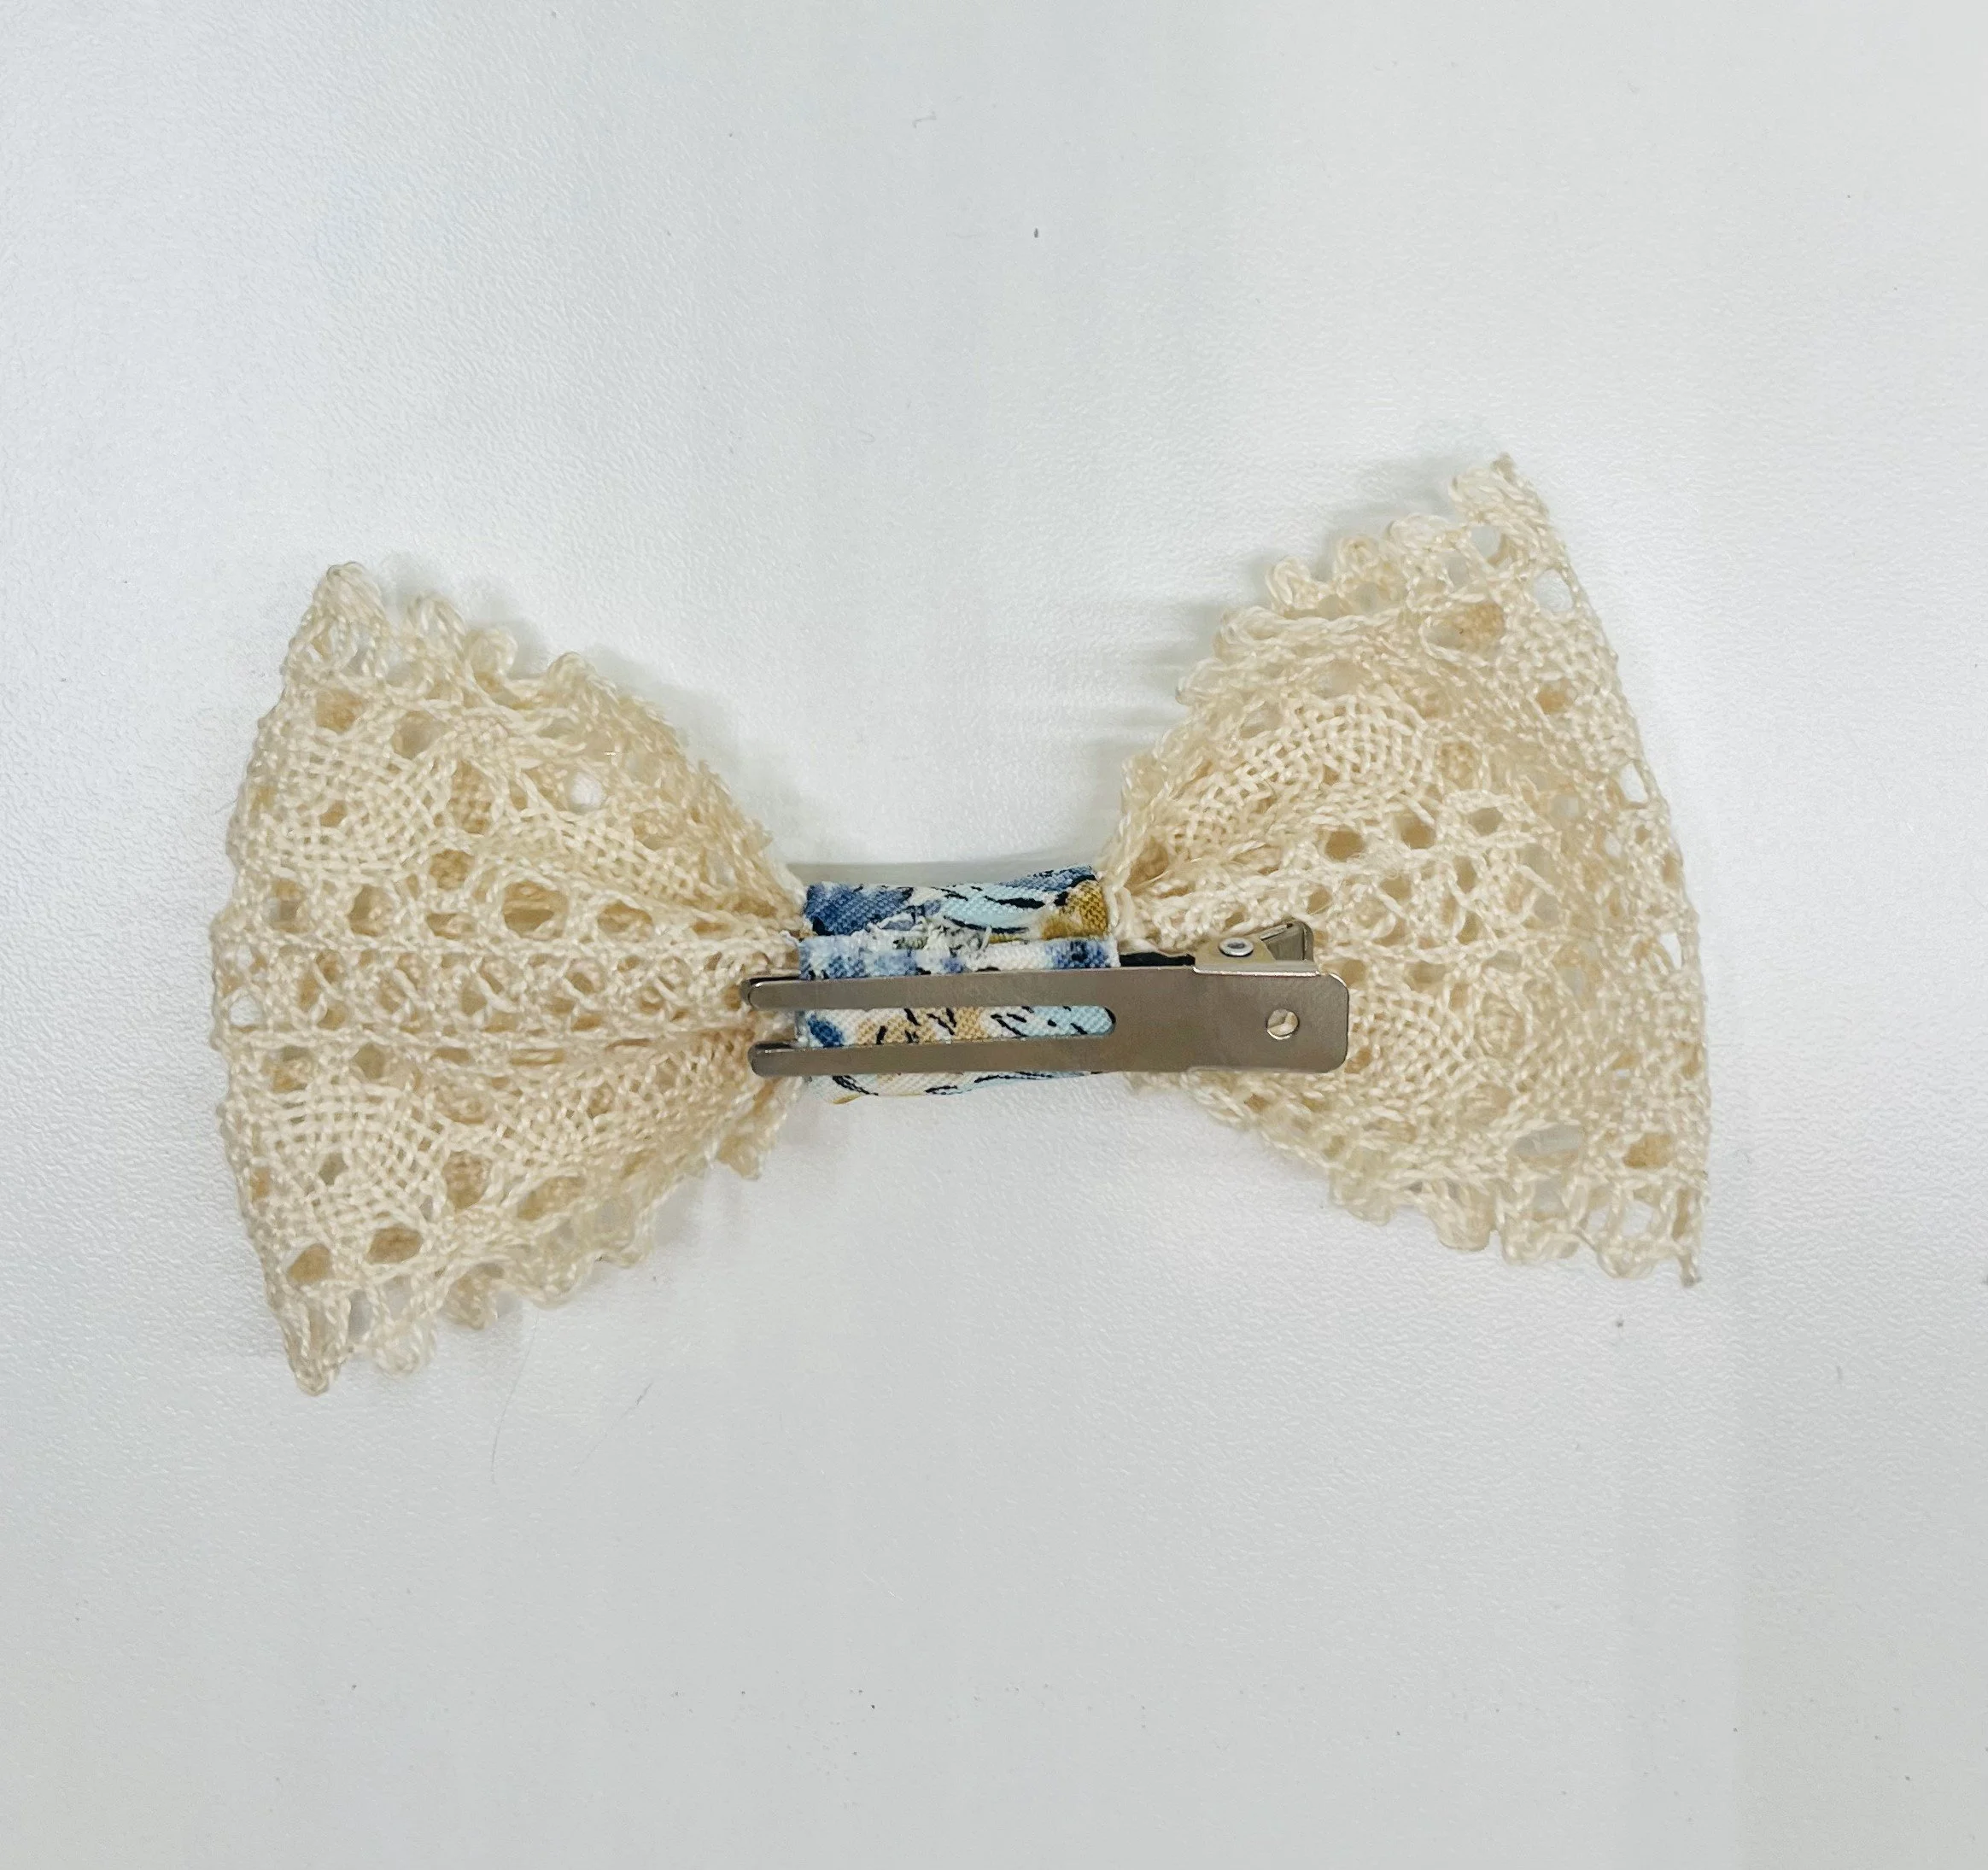
Place the top of the alligator clip on the bow and wrap the other end of the fabric over the top of the clip. The clip will be sandwiched between the ends of the fabric on the bottom of the bow.
Use fray check to seal the ends of the fabric.
Here is the video tutorial:
If you want to pin it for later…
You may also like…


