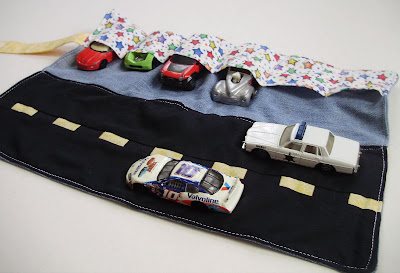
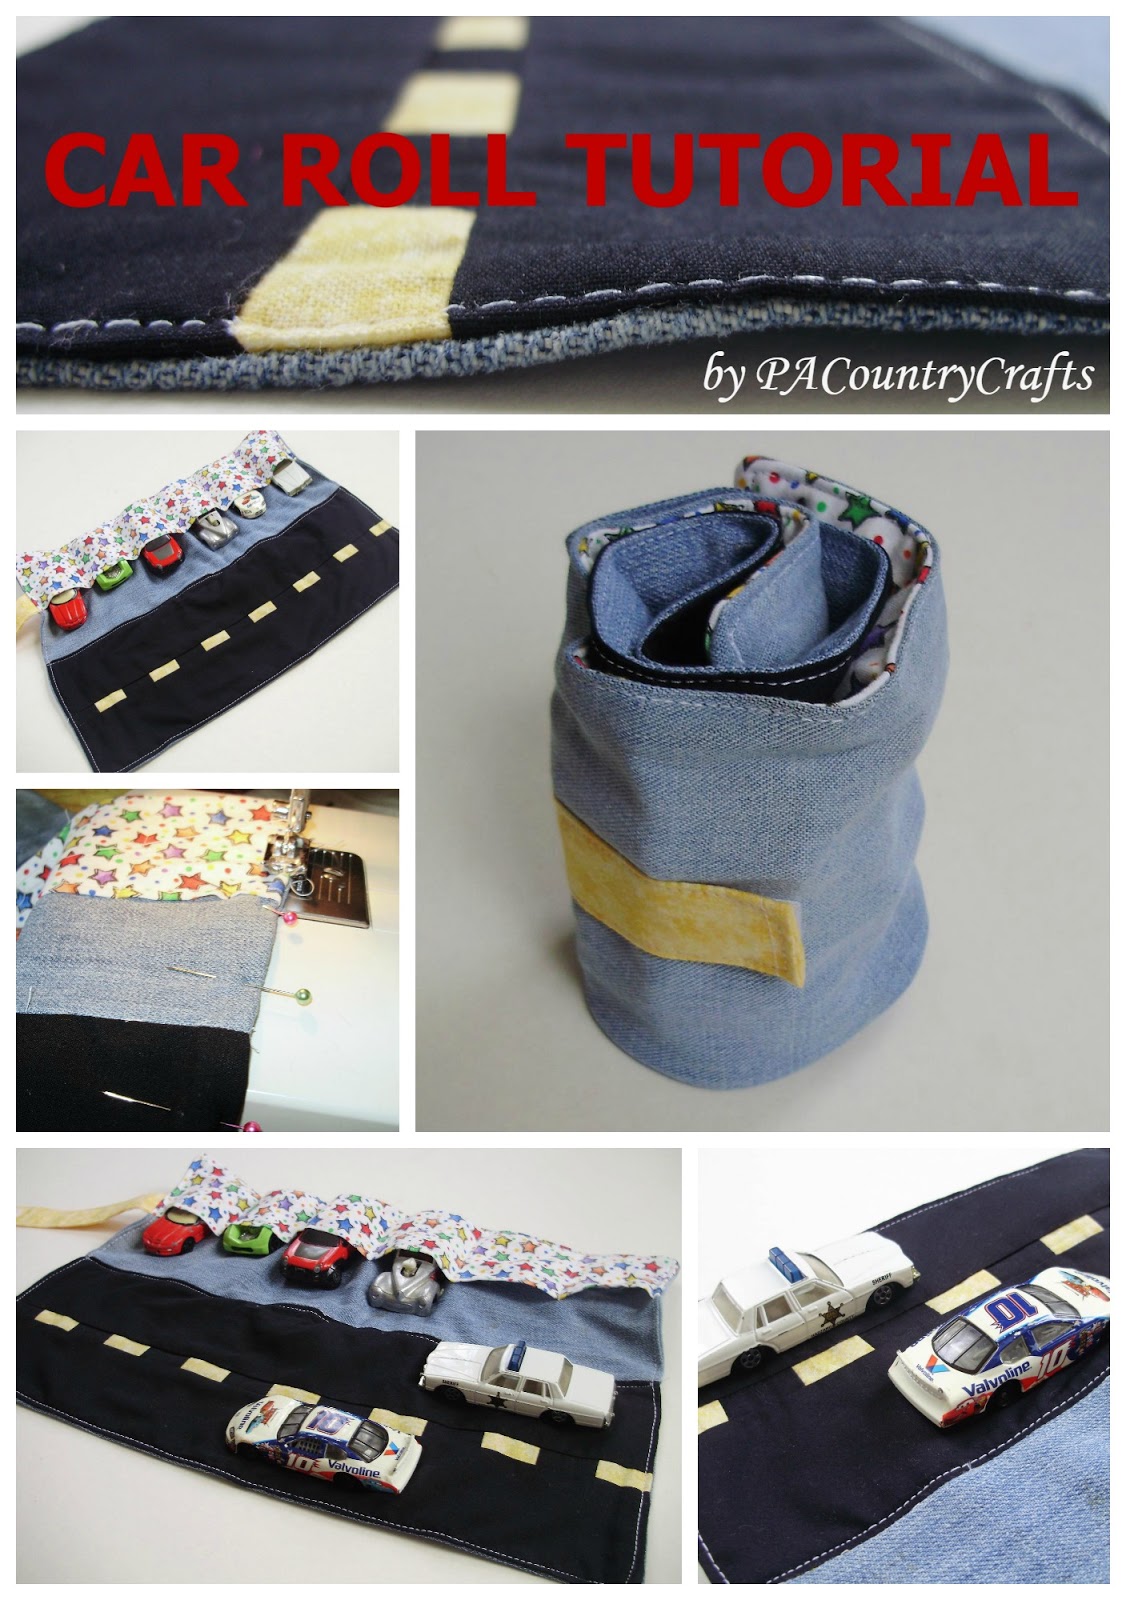
 In my attempt to be the coolest aunt ever (I have 22 nieces and nephews so far!), I made this cute little car roll. It is made from some fabric I had on hand (it’s hard to find non-girly stuff in this family!) and some size 4T jeans that were headed for the garbage.
 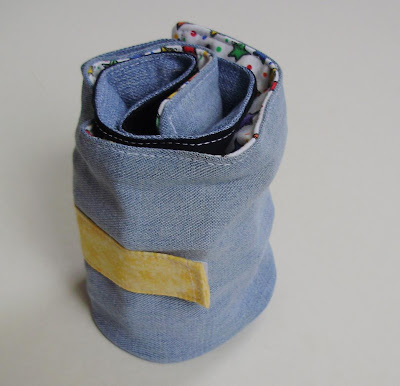 I was inspired by THIS tutorial, but I wanted to do a few things differently:
a) I don’t have duck cloth and I don’t know where to get it. Hence the denim.
b) Sewing on little bitty pieces of yellow felt didn’t sound like fun. So I channeled my inner quilter and made the road that way.
c) I rolled it instead of folding so I didn’t go all fancy on the outside and I skipped the stenciling cause I didn’t feel like it.
d) I made my own strap to velcro on from fabric.
So without further ado... here is my version of the
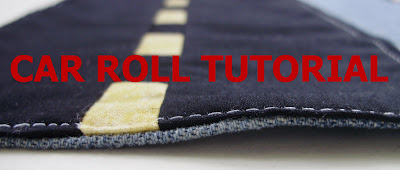
Look at that- a title photo just for this post! I am going all fancy here (OK, so I just got a cool close up and wanted to use it). I took the best pictures that I could get since PA is seeming more like Seattle these days. Of course, the sun came out when I was done, but I am not complaining ‘cause I missed it sooooo much! So forgive all of the poor quality pics. I tried.
Materials:

Black cotton
Yellow cotton
Any cotton for the pocket
1 ½ legs from an old pair of kids’ jeans
3/4" piece of Velcro
Thread
Part 1: The Road
Do all the cutting first and get it out of the way. You will need 2 pieces of black cotton measuring 2 3/4" by 14" for the "lanes" and for the "dashes" in the middle, you will need one piece EACH of black and yellow measuring 1 1/2" by 14". Sew the 2 small strips of black and yellow together lengthwise, then cut into 1" strips.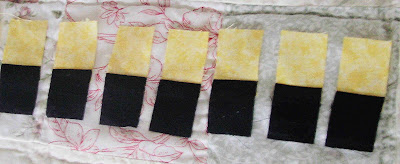 Sew them all short ends together, alternating yellow and black.
 Then sew this row between the strips and press towards the "lanes" and you are all done with the road! EASY!
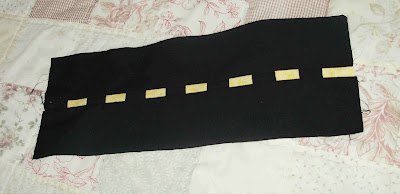
Part 2: The Velcro Strip
You will need a piece of cotton measuring 4" by 6" ( I just used yellow cause it was already 4" wide). Lots of ironing here- press in half lengthwise, open, and then press the edges in toward the center. Open it all up, hem in the end 1/4", and then sew your loopy velcro on one side just after the hem so the little box will be hidden.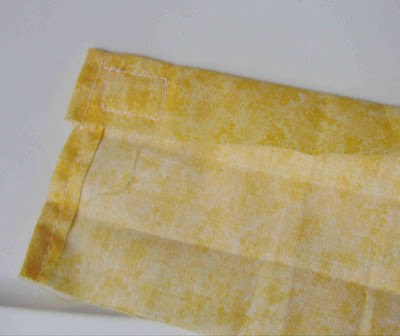 Fold the sides toward the center...
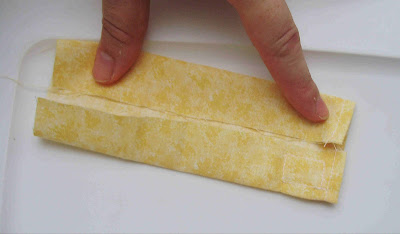 ...and press it half.
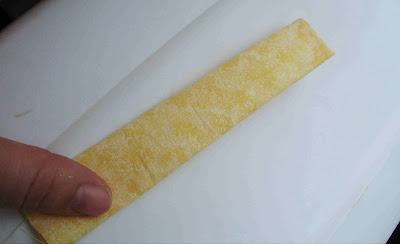 Then topstich around three sides, leaving the non-velcro side alone.
 See? No box on the other side.
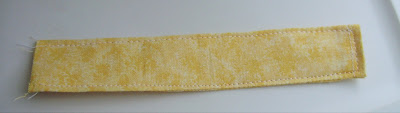
Part 3: The Pockets
Now we are getting into the denim. Cut one piece from the pants 14" by 5 1/2" and from your other cotton cut a piece 14" by 6". Press the cotton in half, wrong sides together, and sew the raw bottom edges of the denim and cotton together (Good way to cover up a few stains here!)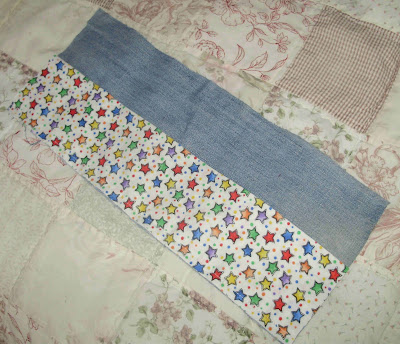 Topstitch the folded edge of the cotton just to keep it in place better.
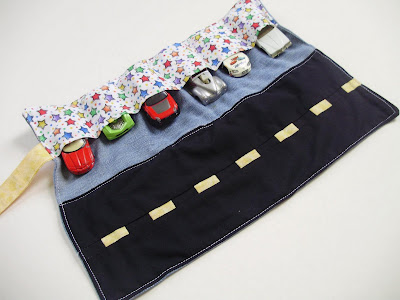
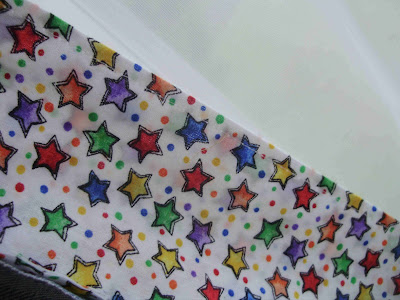 Then sew lines for pockets - mine were at about the the following intervals: 2 5/8", 4 7/8", 7", 9 1/8", and 11 1/4"
Part 4: The Outside
Take the remaining 2 pieces of denim, cut them to 14" by 5.5", and sew them together lengthwise and press the seams open.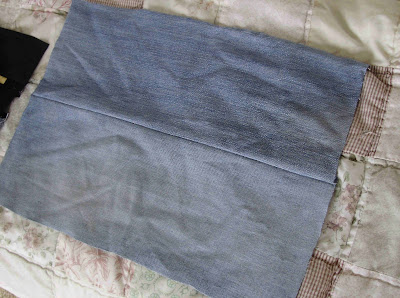 Sew the fuzzy piece of velcro on at 6" from the left end of the bottom piece and about 2 1/2" from the bottom edge.
Part 5: Assembly
Sew the two inside pieces together. Sew the raw-edge end of the velcro strip to the bottom, velcro up, lined up with the edge of the pocket. Go over it a bajillion times.

Sew the outside and inside together, right sides together, leaving the non-velcro end open, and flip (push those corners out real good!)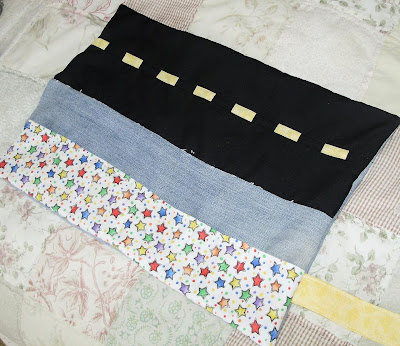 Fold the opening edges in and topstitch the whole way around and down the middle, too.
 I used white thread cause I didn't feel like changing it, but I like it! It's kind of like road edges.
Part 6: PLAY!
I was so disappointed that I could only find Sheriff Rosco's car and not the General Lee. :( But Rosco always loses! 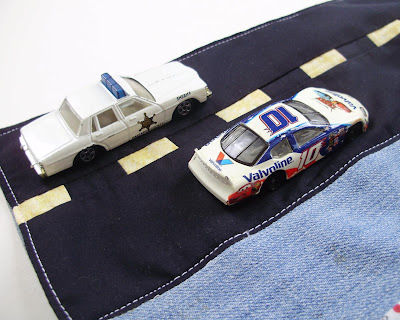 Fold.
Fold.  And roll. Secure with velcro.
  Perfect to tuck away in Mom's purse or a backpack!


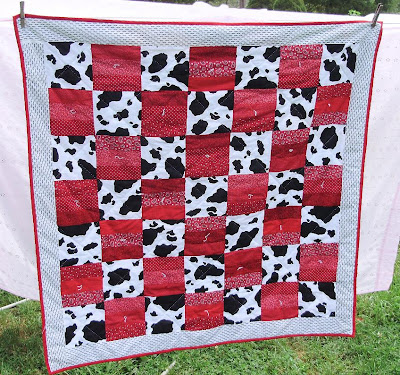
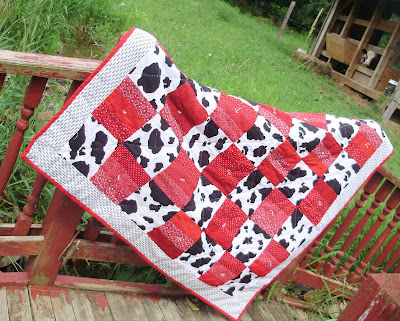
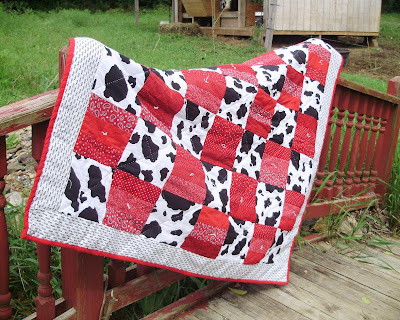 Not my best quilt ever, but it is FINISHED!!! AND I got it done BEFORE her first birthday (with 4 hours to spare). I originally wanted to machine quilt this one, but since I can't lower my feed dogs, it was a failure. :( So, rip, rip, rip it was.
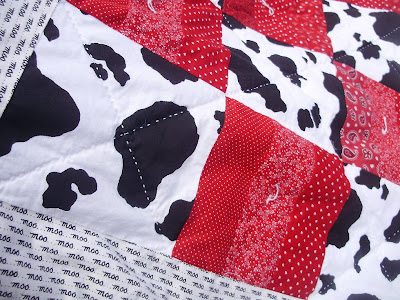 The back is a cute farm print that I had and the reds are all leftover from a red tractor quilt I made a few years ago (I pieced this top in my "pre-baby rearranging use it or move it sewing stage").
 I love the little "moo" fabrics on the border and the red binding, too.


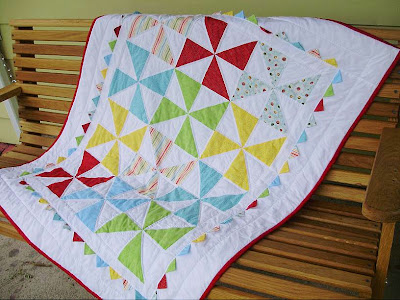 TA DA!!!! I started Grace's baby quilt a few weeks before she was born (hence the bright, but neutral colors). I was inspired by Anita's beautiful quilt
 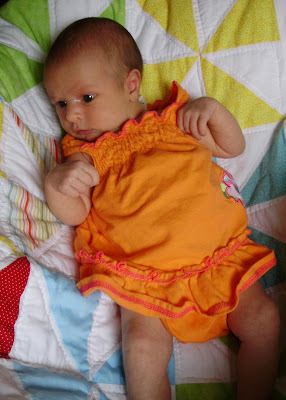 They are both sooooo cute!!!
 See that red pinwheel? Those are what I was cutting when I cut my fingertip with the rotary cutter. :(
 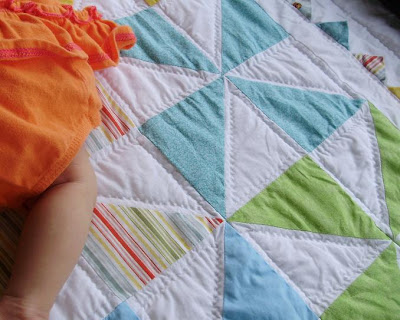 I hand quilted this, of course. Just oulined the white triangles in the pinwheels and around the border.
 When I saw that the 3D triangles were called prairie points I had to try them. Anything with the word "prairie" just sounds adorable and makes me think of Laura Ingalls!
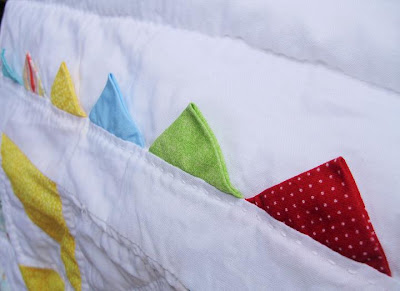 But frankly, they were a pain. I couldn't get the spacing right and the more I tried to fix them, the worse it got. AND I couldn't hand quilt along this edge (which I thought it needed to keep them in place) so I had to stab stitch one stitch at a time the whole way around.
  But it is still an awesome pattern and I love it!!!

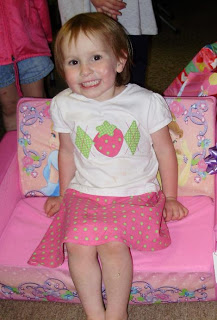
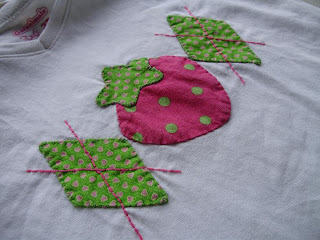
 I just blatantly copied Strawberry's dress by sewing a semi-circle skirt to the bottom of a white T-shirt.
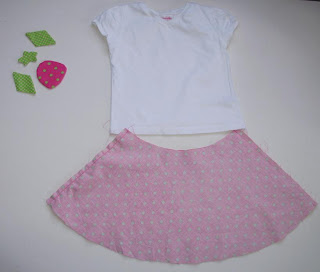 It turned out pretty good, but my brain does NOT function well lately, so I had a few snags. I accidentally made the skirt twice as big as I needed to (should have divided the waist by 4 instead of 2!) so I cut it in half and now I could make another one if I need to (and I might because this is a white shirt after all!) I originally wanted a full circle skirt, so it isn't as twirly as I wanted, but it is actually closer to the "real" one.
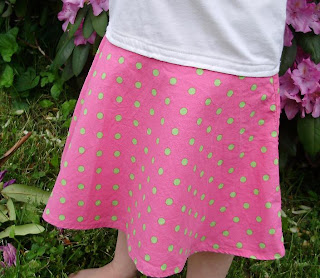
 If I hadn't been doing this as a surprise I would have been able to catch that the T-shirt is a little long and it would be better if I had cut some of the bottom off before sewing the skirt on. But now it is big and if she doesn't destroy it she can grow into it and wear it longer.
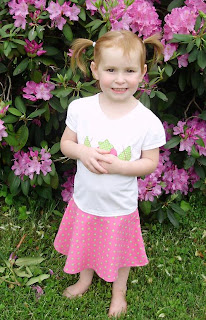


 It is an odd size and the pink in the squares doesn't really match the camo too well, but it was so long ago that I don't know what I was thinking anymore. BUT... YAY for another finish!!! And since she is older now, buttons are probably less of a choking hazard. :)


