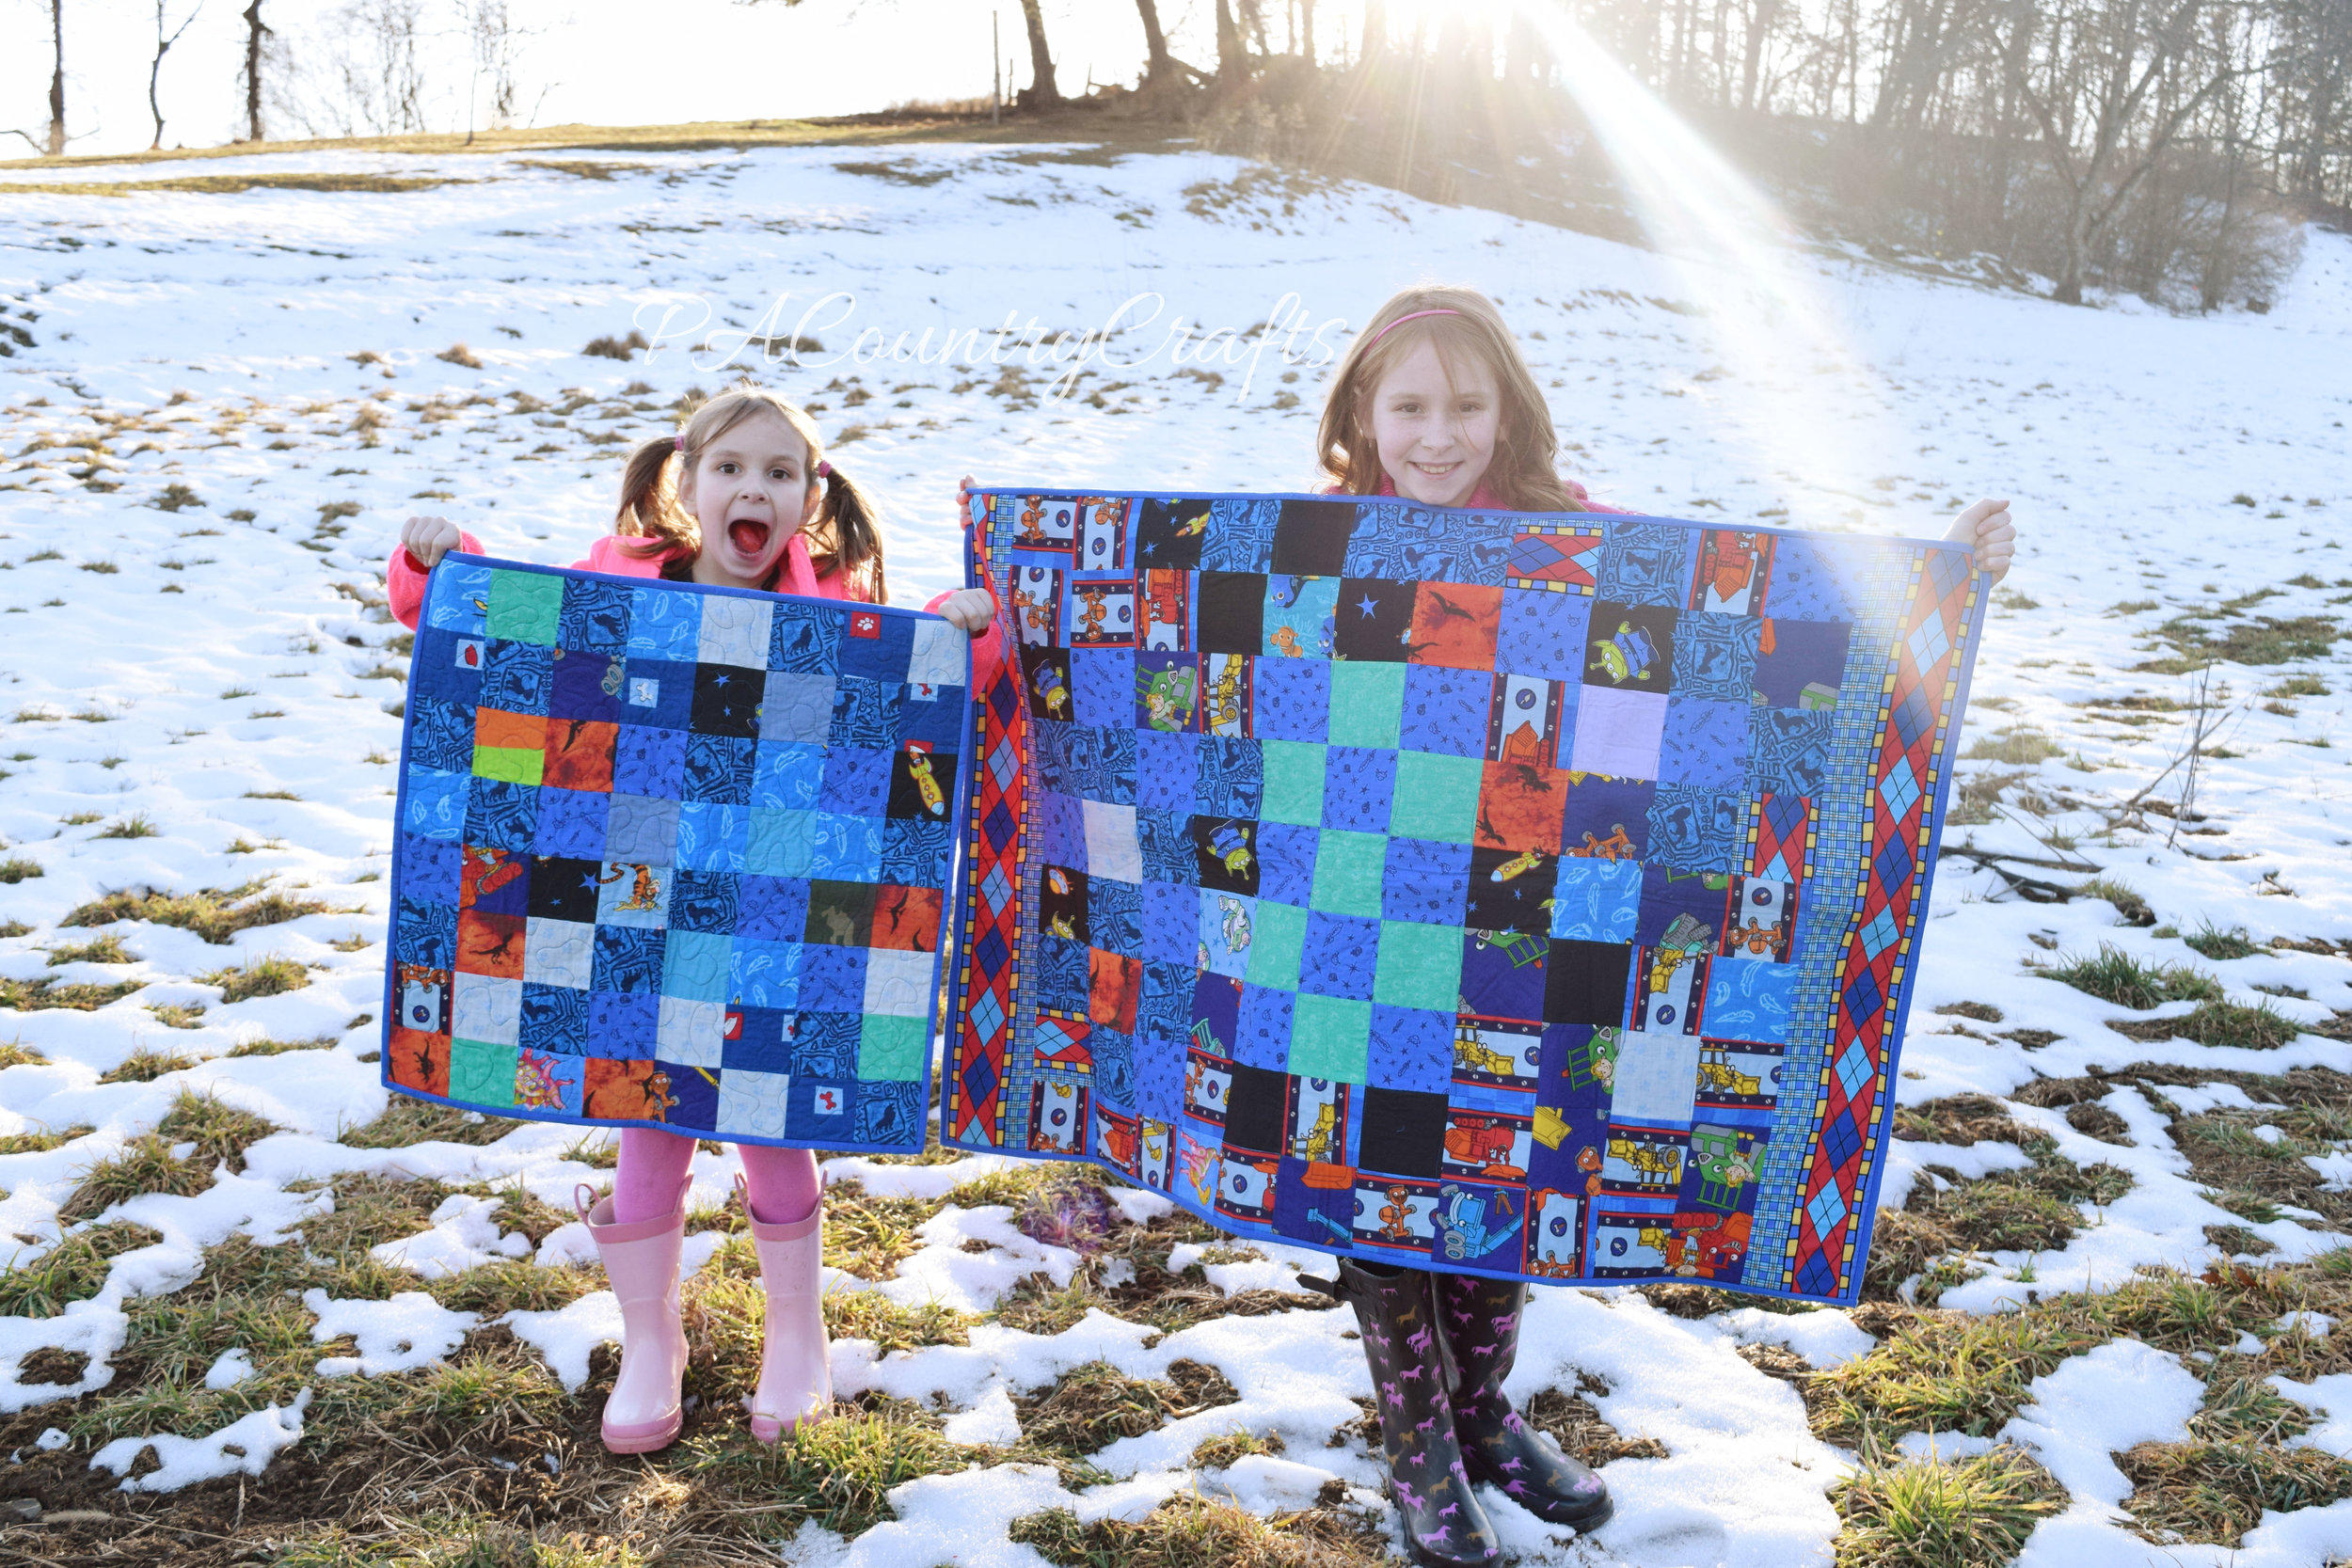
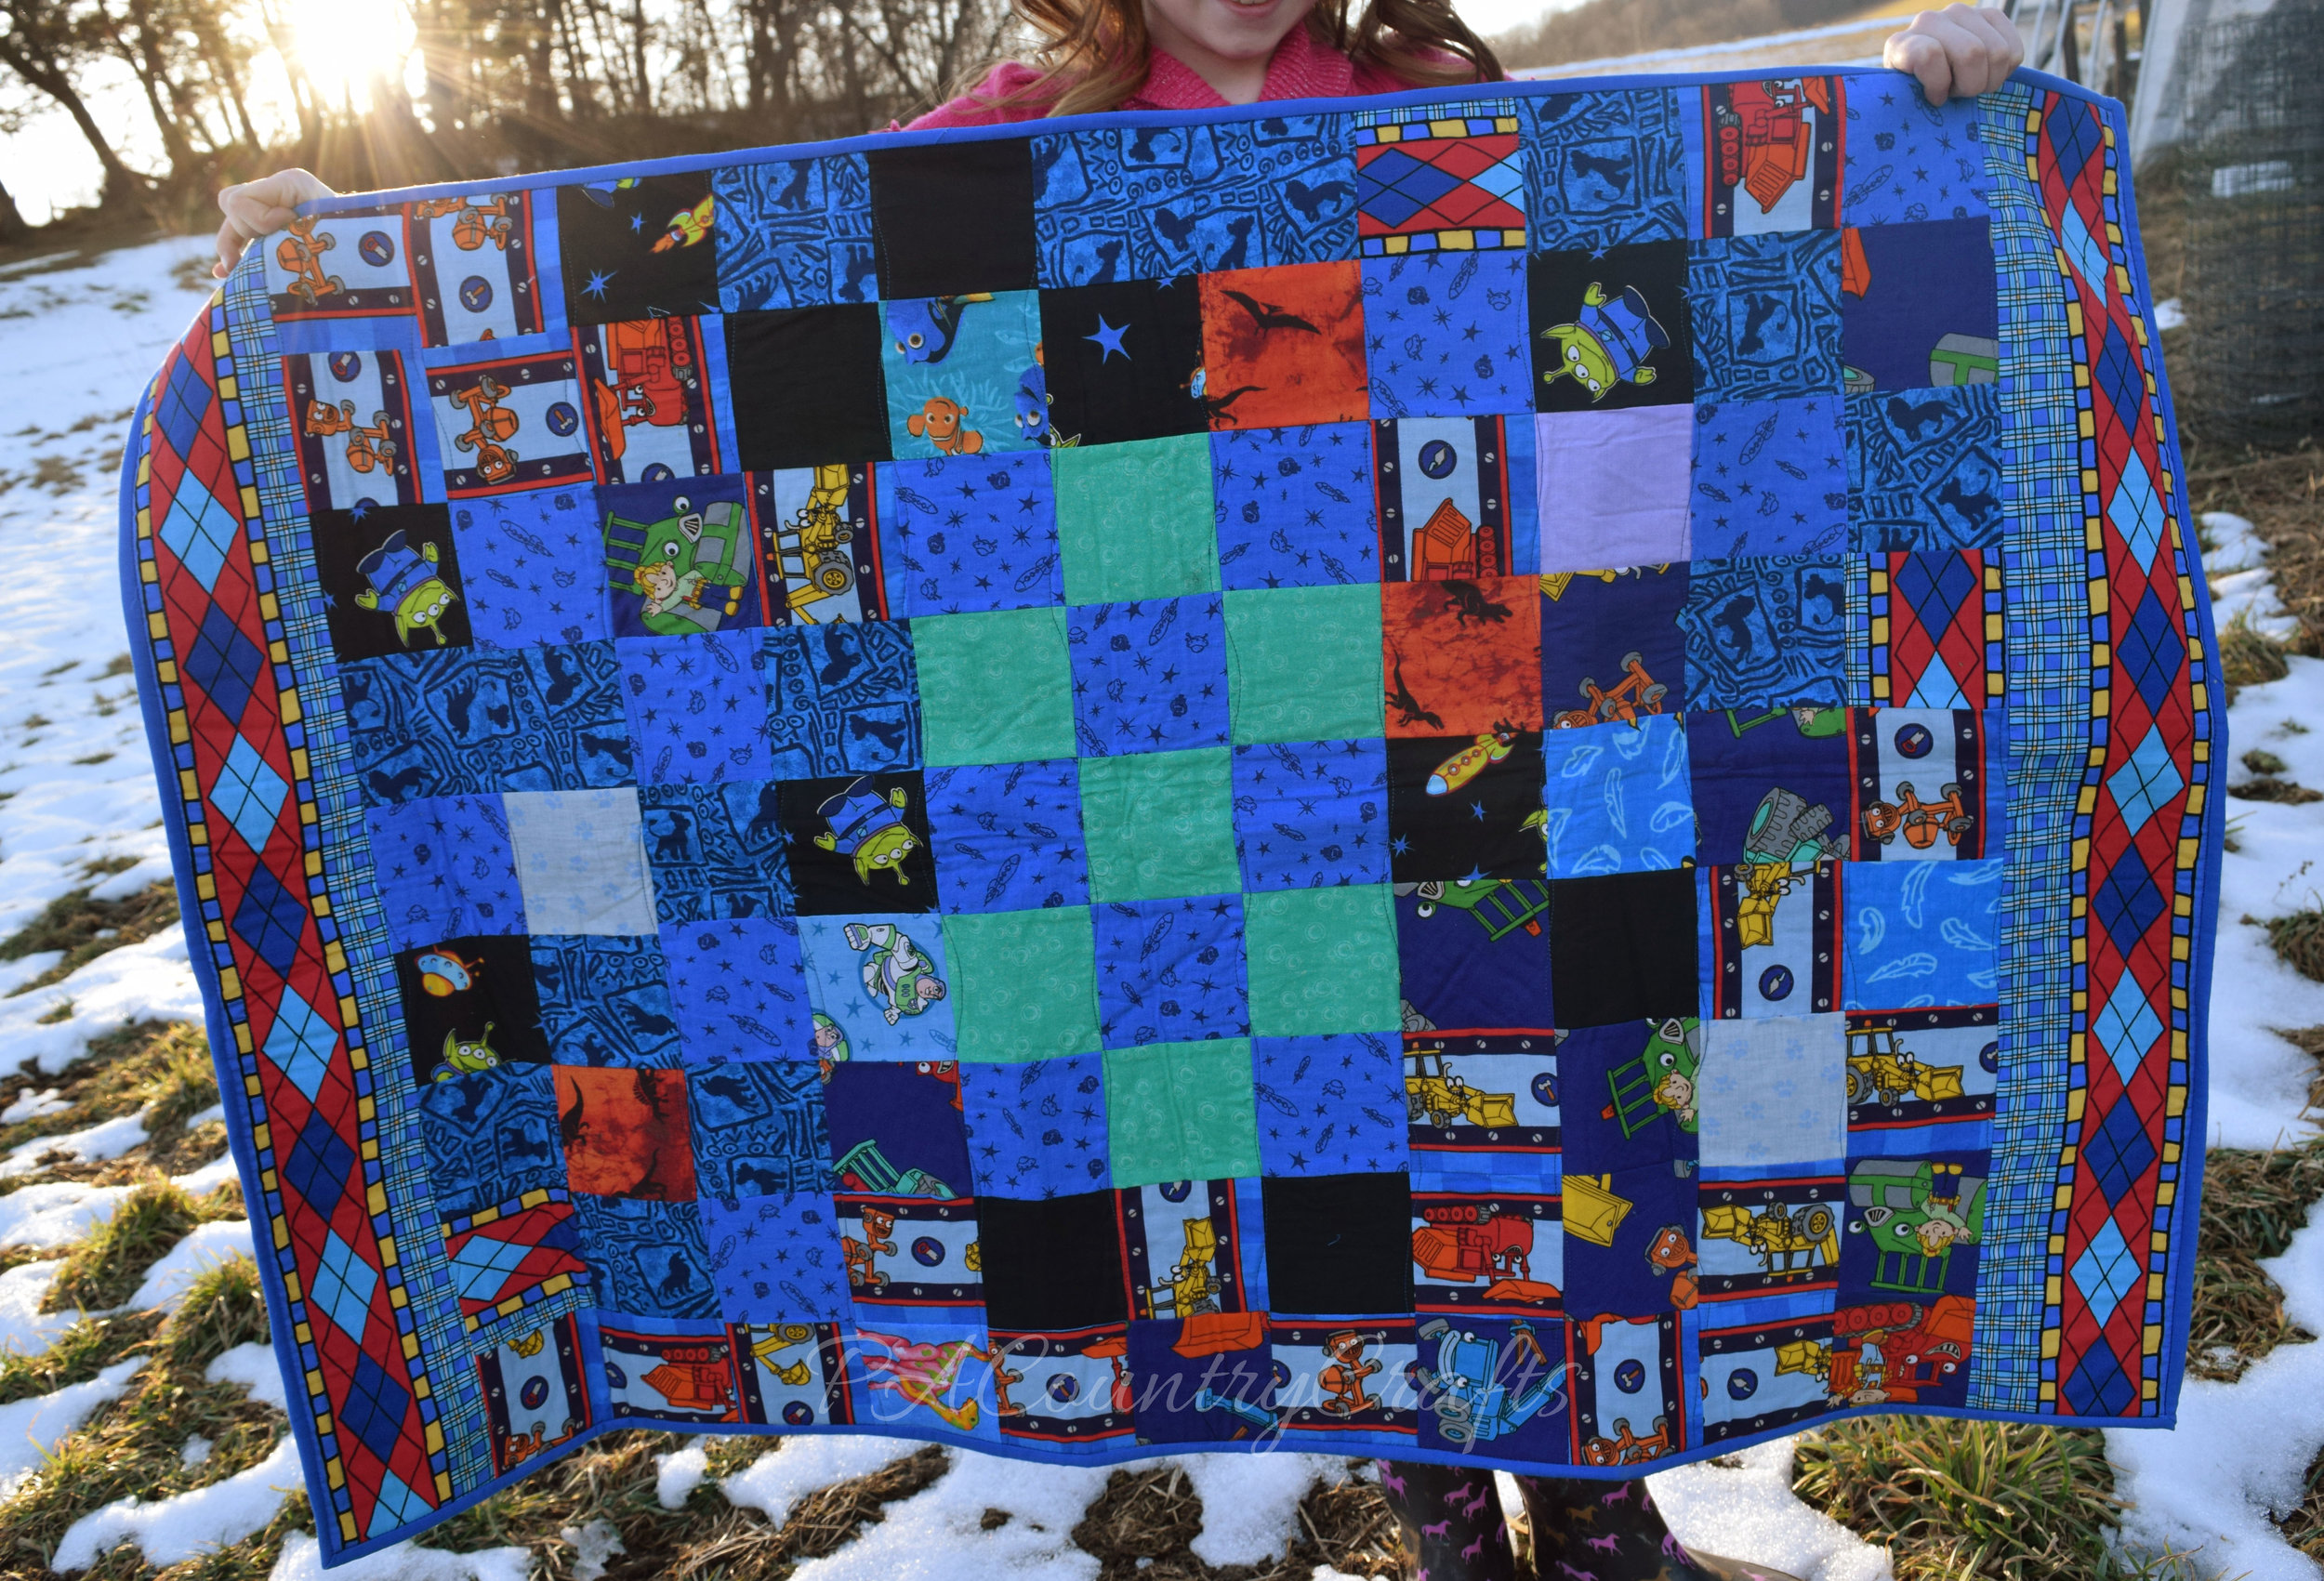
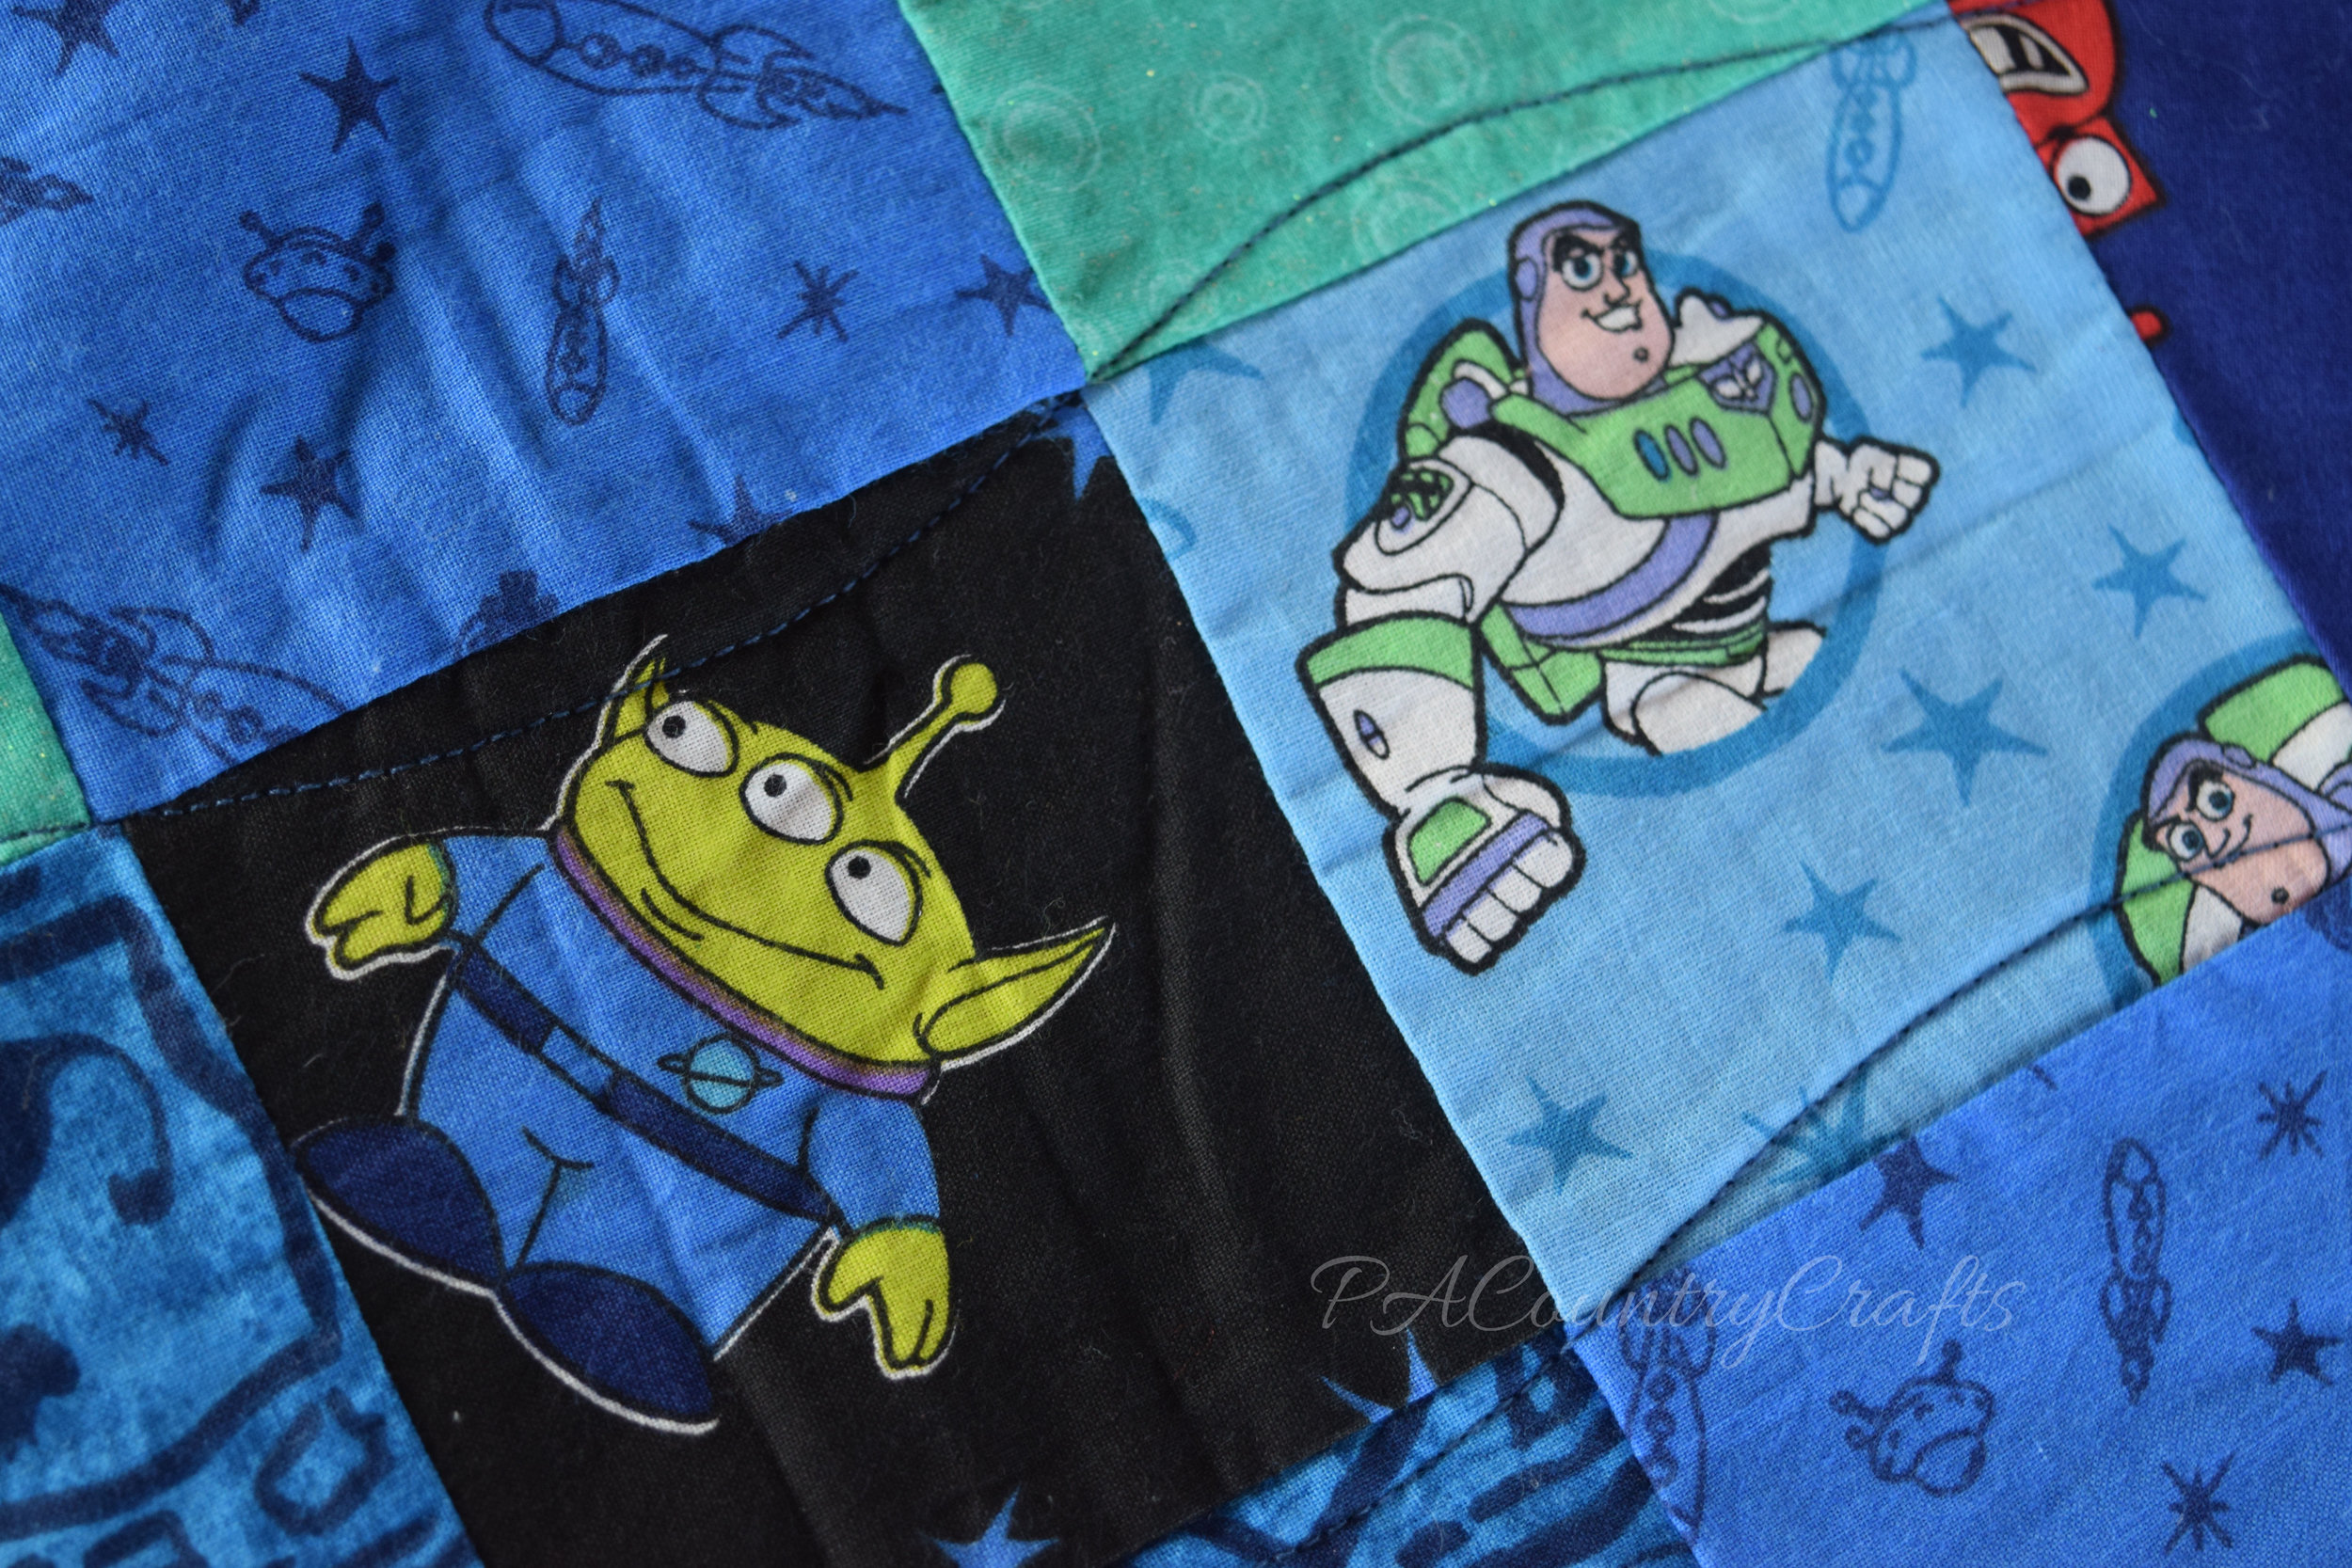
I finally finished it! I started out with two yards of Teenage Mutant Ninja Turtle fabric that I had bought with the intention of making a quilt for my brother's first son. That was years ago! They weren't even engaged yet, but I was thinking ahead. :) A little over 10 months ago, I finally got that nephew. Then, I had to figure out what I was going to do with that fabric!
I hunted high and low for appropriate Ninja Turtle colors to match the fabric I already had. These are the more recent movie version colors, and not the more traditional hues, so it was tough!
Then, I had to plan a quilt design. Of course, I didn't follow that plan anyway, but it just sort of came together.
First, I made these adorable turtle blocks, thinking that the 3D effect of the feet, heads, and tails would make good chew toys. Hey, he is teething right now, so I am just in time!
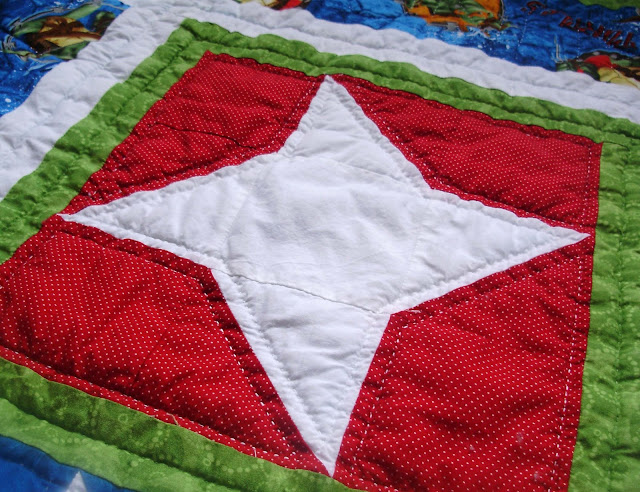
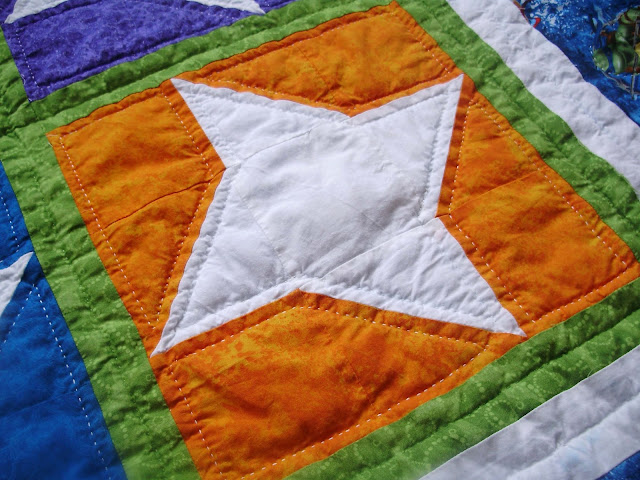
Then, I made the "ninja star" blocks. They look like the paper "ninja stars" that my son likes to make, but this block is also called the "friendship star." If you have ever seen the Teenage Mutant Ninja Turtles, you will understand just how fitting this is for them. :)
I also went with a twist on these, making the stars white and the backgrounds in their eye mask colors. (P.S. Michelangelo was always my favorite!)
I used green thread to hand quilt the sashing between each block and around the inside of the turtles. For the rest of the quilt, I used white cotton hand quilting thread, which is significantly thicker. I quilted inside and around the stars and in the middle of the white borders.
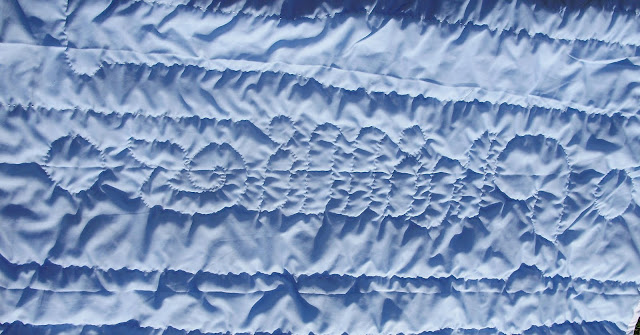
On the wider borders with the Ninja Turtle fabric, I quilted in some of their catchphrases: "Cowabunga, Awesome, and Turtle Power." On the remaining side, I quilted in my nephew's name.
Now, only one more nephew to go and I am caught up!







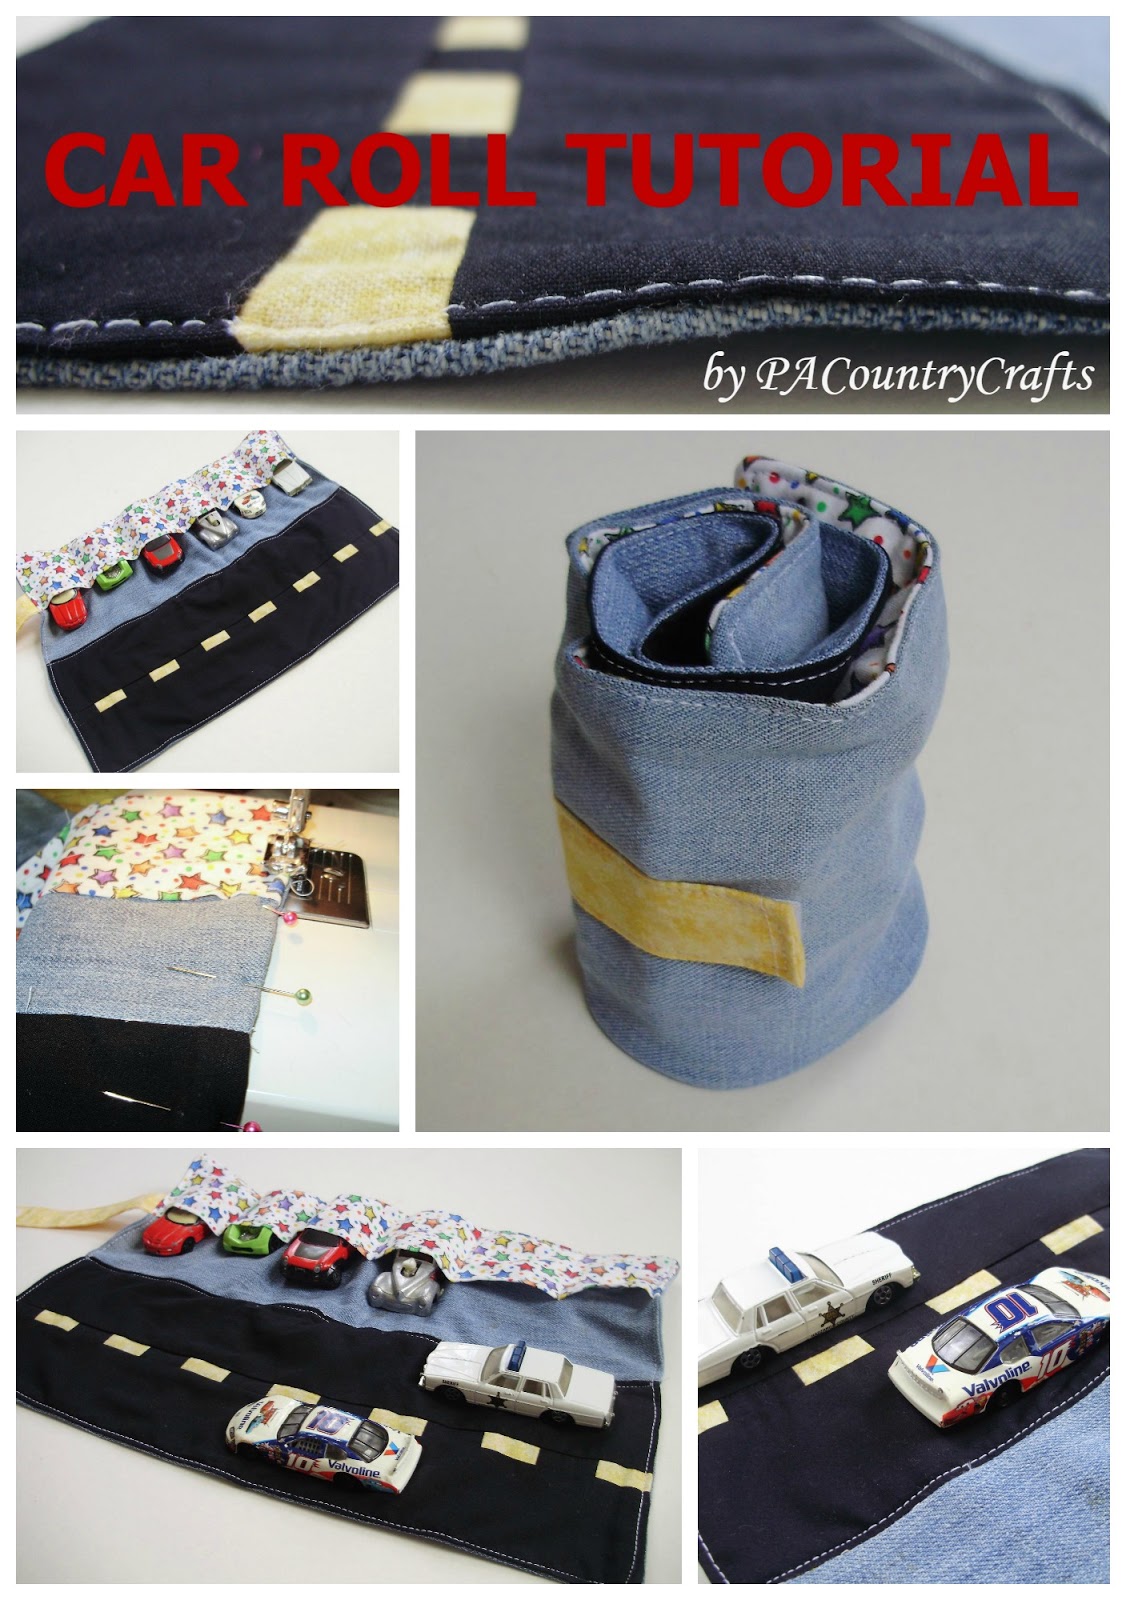
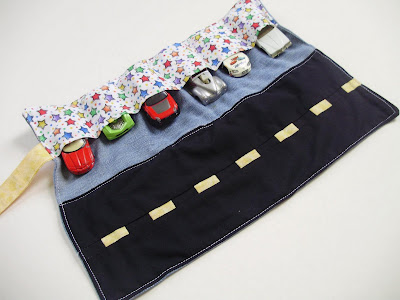
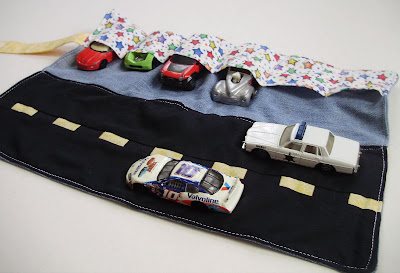 In my attempt to be the coolest aunt ever (I have 22 nieces and nephews so far!), I made this cute little car roll. It is made from some fabric I had on hand (it’s hard to find non-girly stuff in this family!) and some size 4T jeans that were headed for the garbage.
  I was inspired by
 Look at that- a title photo just for this post! I am going all fancy here (OK, so I just got a cool close up and wanted to use it). I took the best pictures that I could get since PA is seeming more like Seattle these days. Of course, the sun came out when I was done, but I am not complaining ‘cause I missed it sooooo much! So forgive all of the poor quality pics. I tried.

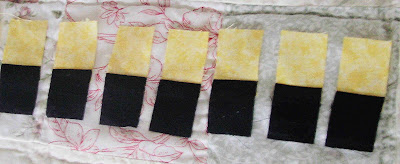 Sew them all short ends together, alternating yellow and black.
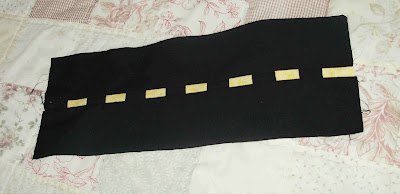
 Then sew this row between the strips and press towards the "lanes" and you are all done with the road! EASY!
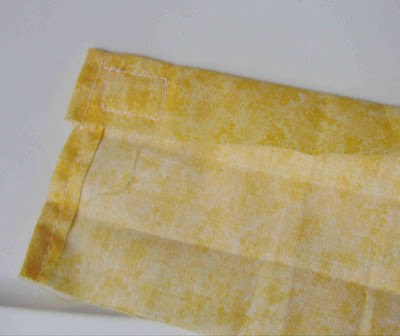 Fold the sides toward the center...
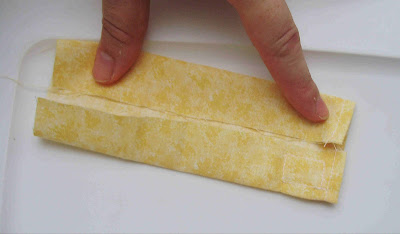 ...and press it half.
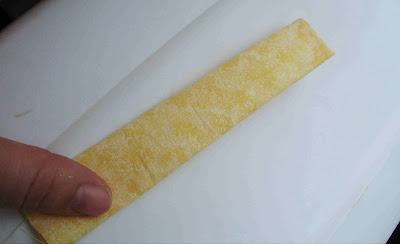 Then topstich around three sides, leaving the non-velcro side alone.
 See? No box on the other side.
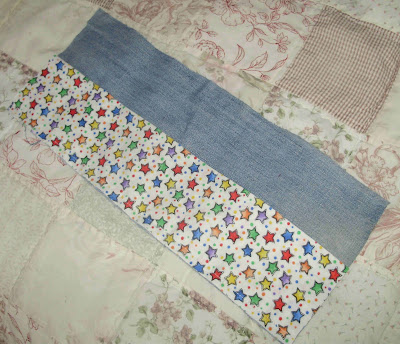 Topstitch the folded edge of the cotton just to keep it in place better.
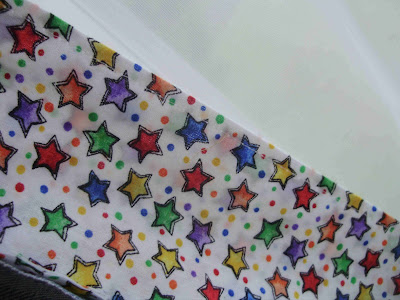 Then sew lines for pockets - mine were at about the the following intervals: 2 5/8", 4 7/8", 7", 9 1/8", and 11 1/4"
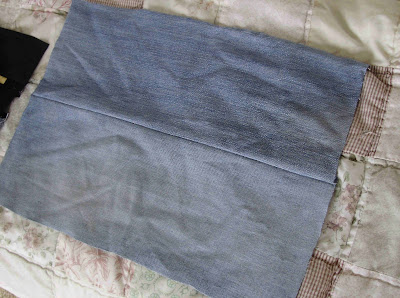 Sew the fuzzy piece of velcro on at 6" from the left end of the bottom piece and about 2 1/2" from the bottom edge.
 Sew the raw-edge end of the velcro strip to the bottom, velcro up, lined up with the edge of the pocket. Go over it a bajillion times.
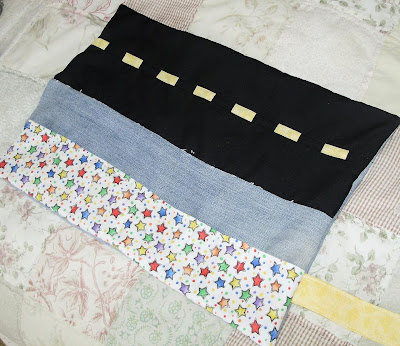 Fold the opening edges in and topstitch the whole way around and down the middle, too.
 I used white thread cause I didn't feel like changing it, but I like it! It's kind of like road edges.
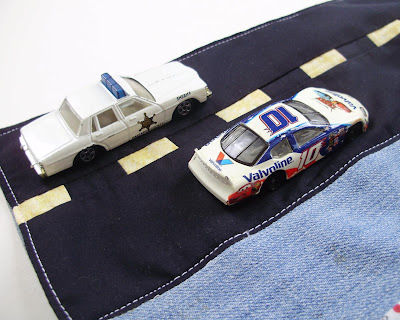 Fold.
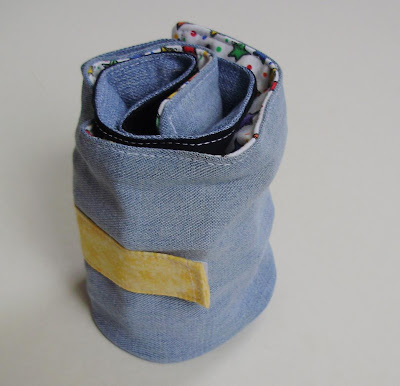
Fold.  And roll. Secure with velcro.
 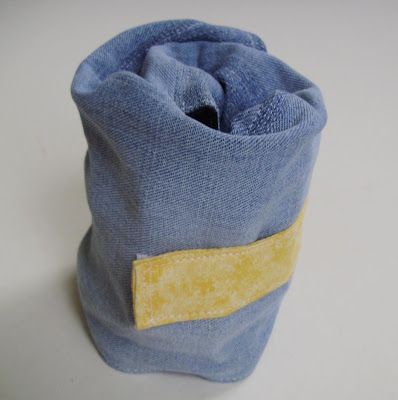 Perfect to tuck away in Mom's purse or a backpack!