Strawberry Shortcake Dress
/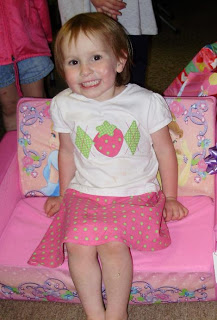
My 3yo is still on the Strawberry Shortcake kick! So for her birthday I made her a Strawberry Shortcake dress.  I just blatantly copied Strawberry's dress by sewing a semi-circle skirt to the bottom of a white T-shirt.
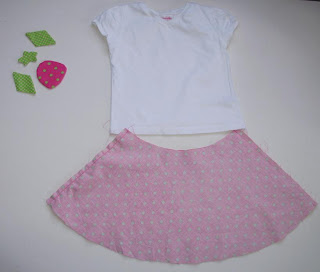 It turned out pretty good, but my brain does NOT function well lately, so I had a few snags. I accidentally made the skirt twice as big as I needed to (should have divided the waist by 4 instead of 2!) so I cut it in half and now I could make another one if I need to (and I might because this is a white shirt after all!) I originally wanted a full circle skirt, so it isn't as twirly as I wanted, but it is actually closer to the "real" one.
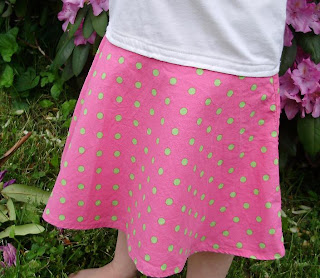
I appliqued the strawberry and diamonds on the shirt for the argylish pattern on the new Strawberry's dress. I did them by hand while at soccer practice so she wouldn't see it. (Everything else was done over a few naptimes).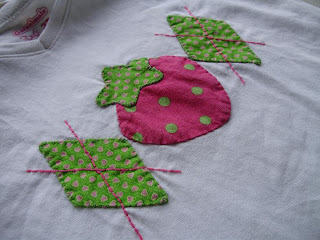 If I hadn't been doing this as a surprise I would have been able to catch that the T-shirt is a little long and it would be better if I had cut some of the bottom off before sewing the skirt on. But now it is big and if she doesn't destroy it she can grow into it and wear it longer.
If I hadn't been doing this as a surprise I would have been able to catch that the T-shirt is a little long and it would be better if I had cut some of the bottom off before sewing the skirt on. But now it is big and if she doesn't destroy it she can grow into it and wear it longer.
Oh- and, completely unrelated to sewing, I kept things simple for her cake since I am on a major cake-flopping roll here. Just pink icing cupcakes with strawberry gummies on them slapped together at the last minute.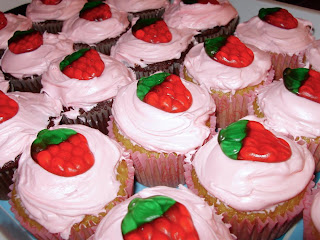
Happy Birthday!!!


 It is an odd size and the pink in the squares doesn't really match the camo too well, but it was so long ago that I don't know what I was thinking anymore. BUT... YAY for another finish!!! And since she is older now, buttons are probably less of a choking hazard. :)

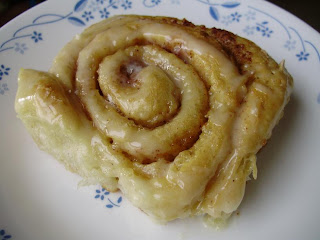
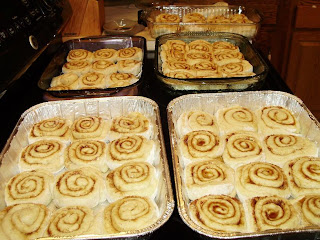 Bake at 325 degrees for 20 minutes. For the icing, combine milk and margarine and microwave until the margarine is melted. Add powdered sugar until a thick glaze is formed (a little thinner than pancake batter) and pour over warm rolls. If you want to reheat them later, just pop them in the microwave for about 10-15 seconds! Mmmmm...

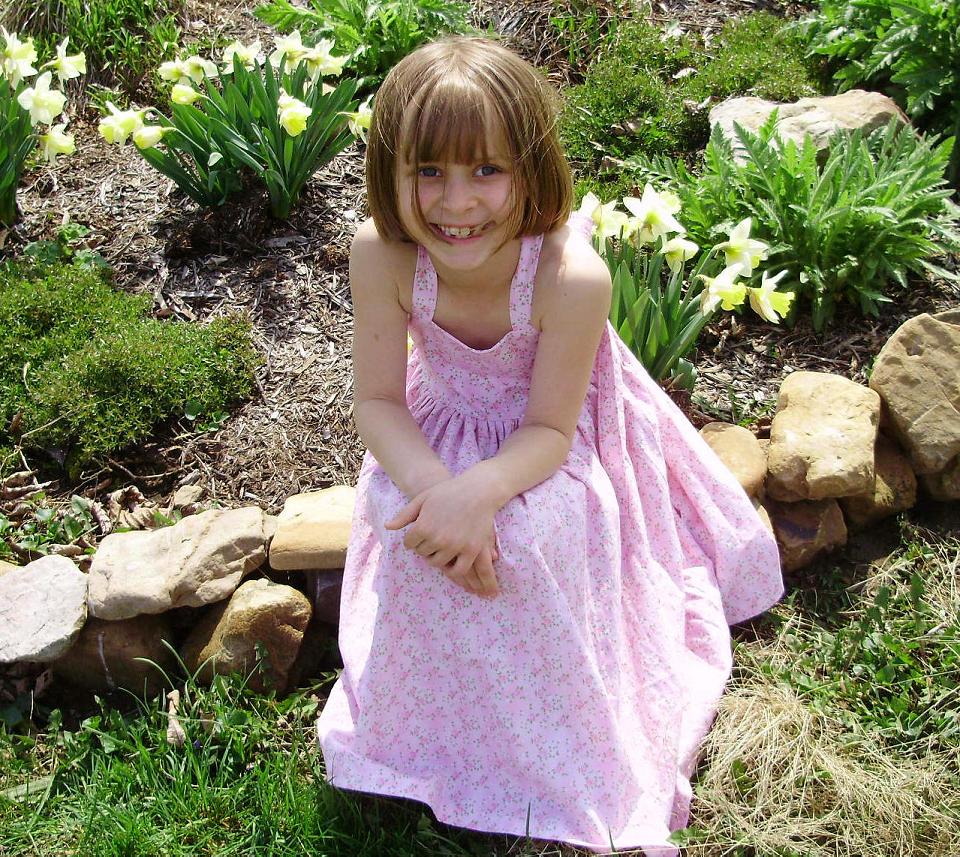
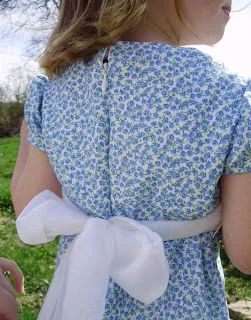
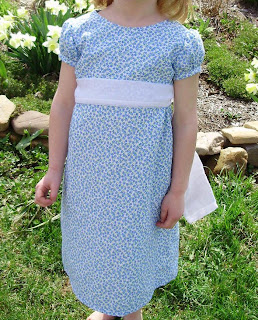
 I was really nervous to do the shirring because I had never tried it before and it is the very last step! I saw it done on Martha Stewart a few years ago and figured I could handle it. Luckily, it worked just fine.