Painted Plastic Easter Eggs Tutorial
/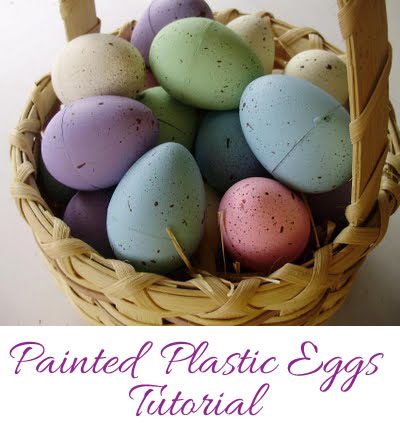
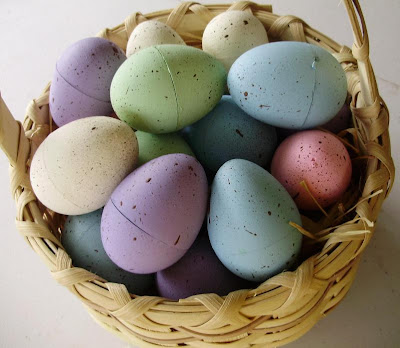
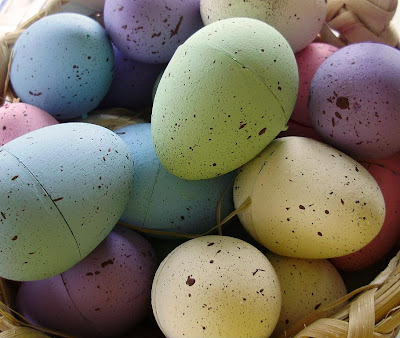
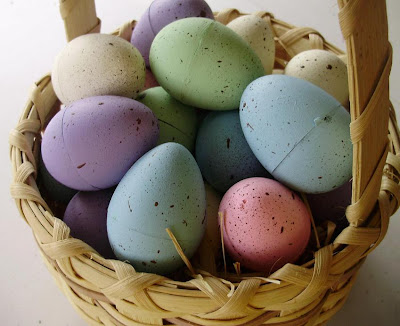
I get these crazy ideas in my head and I just have to try them. This time I thought, what about painting plastic Easter eggs? I wasn’t entirely sure that it would work and that the paint would stick to the plastic, but I gave it a shot anyway. I was pleasantly surprised that it DID work and that the texture was very nice- much more like real eggs. So of course I made a whole bunch of them!!! Here is the step-by-step tutorial of how I did it:
I used regular old acrylic craft paint in some pastel colors and an assortment of old plastic Easter eggs that were in the Easter box. Separate the eggs so that they can sit on the newspaper to dry and you can hold them from underneath to work with them. Apply the paint with a foam sponge brush and wipe it on pretty heavily, but evenly. After the first coat, you can still see a lot of the plastic.
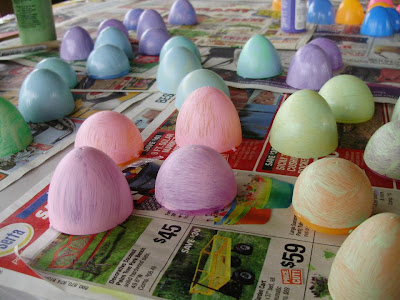
Let it dry COMPLETELY and then apply a second heavy coat, brushing in the same direction as before so you don’t pull the first coat of paint off. The coverage gets a lot better.
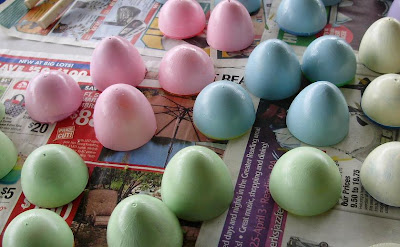
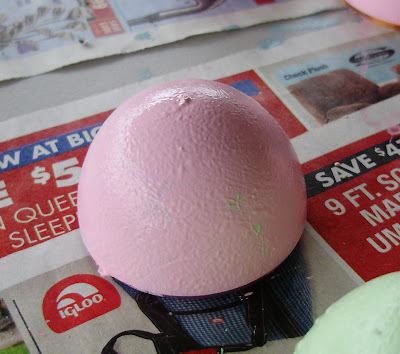
After that coat dries, dab and sponge the paint on heavily for the third coat. This gives it the nice eggshell texture later.
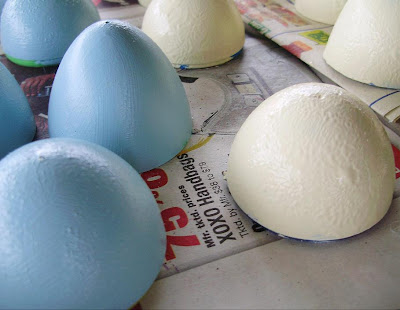
If you can still see a little plastic when this dries, you may need a fourth coat to touch it up.
Then, SPECKLE! Take a toothbrush and dip it in chocolate brown paint. Go pretty heavy for some big splotches, and flick the brush with your finger about 12 inches above the eggs. I practiced on the newspaper first (like my mom said to) until I got the hang of it. This part is messy, but fun!
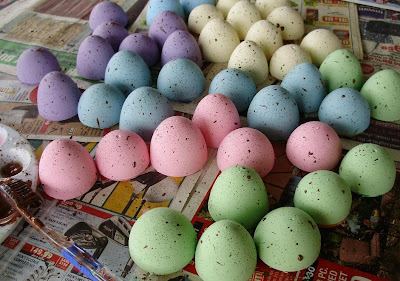
My son saw me speckling and said “Whose toothbrush is that?” Haha! I think they turned out pretty cute! The speckles remind me of candy eggs. Yummm…
