DIY Puffy Heart Hair Clips
/Easy DIY hair clips made from puffy hearts from the Target Dollar Spot valentine section. They have glitter and flip sequin hearts!
Read MoreEasy DIY hair clips made from puffy hearts from the Target Dollar Spot valentine section. They have glitter and flip sequin hearts!
Read MoreSometimes I get these overly ambitious ideas and that is as far as they go. Just big ideas.Sometimes, a year or so later, I actually act on them. And, more often than not, it was a lot easier than I anticipated.
This particular big idea: I wanted to make hand warmers from sweater scraps. I made some sweater pillows (some are still not finished, so I will blog about them eventually) and I have a pile of sleeves laying around. Originally, I was going to make hand warmers for my kids' classmates for Valentine's Day, but I really don't have that much ambition. I realized that they are best in pairs, so I would have to make 80+ hearts. No, thank you! Instead, I gave them out as little thank you gifts for some friends and family.


They are soft and lavender scented and pretty. Just microwave them for about 30 seconds and tuck them in your pocket. They make a really pretty little favor or thank you gift. I just tied mine with baker's twine and made little tags to go with them.

I took some pictures to show you how to make them, and I even did it two different ways to make it even more beginner-friendly!
Start with your fabric- I used scraps from a sweater sleeve.

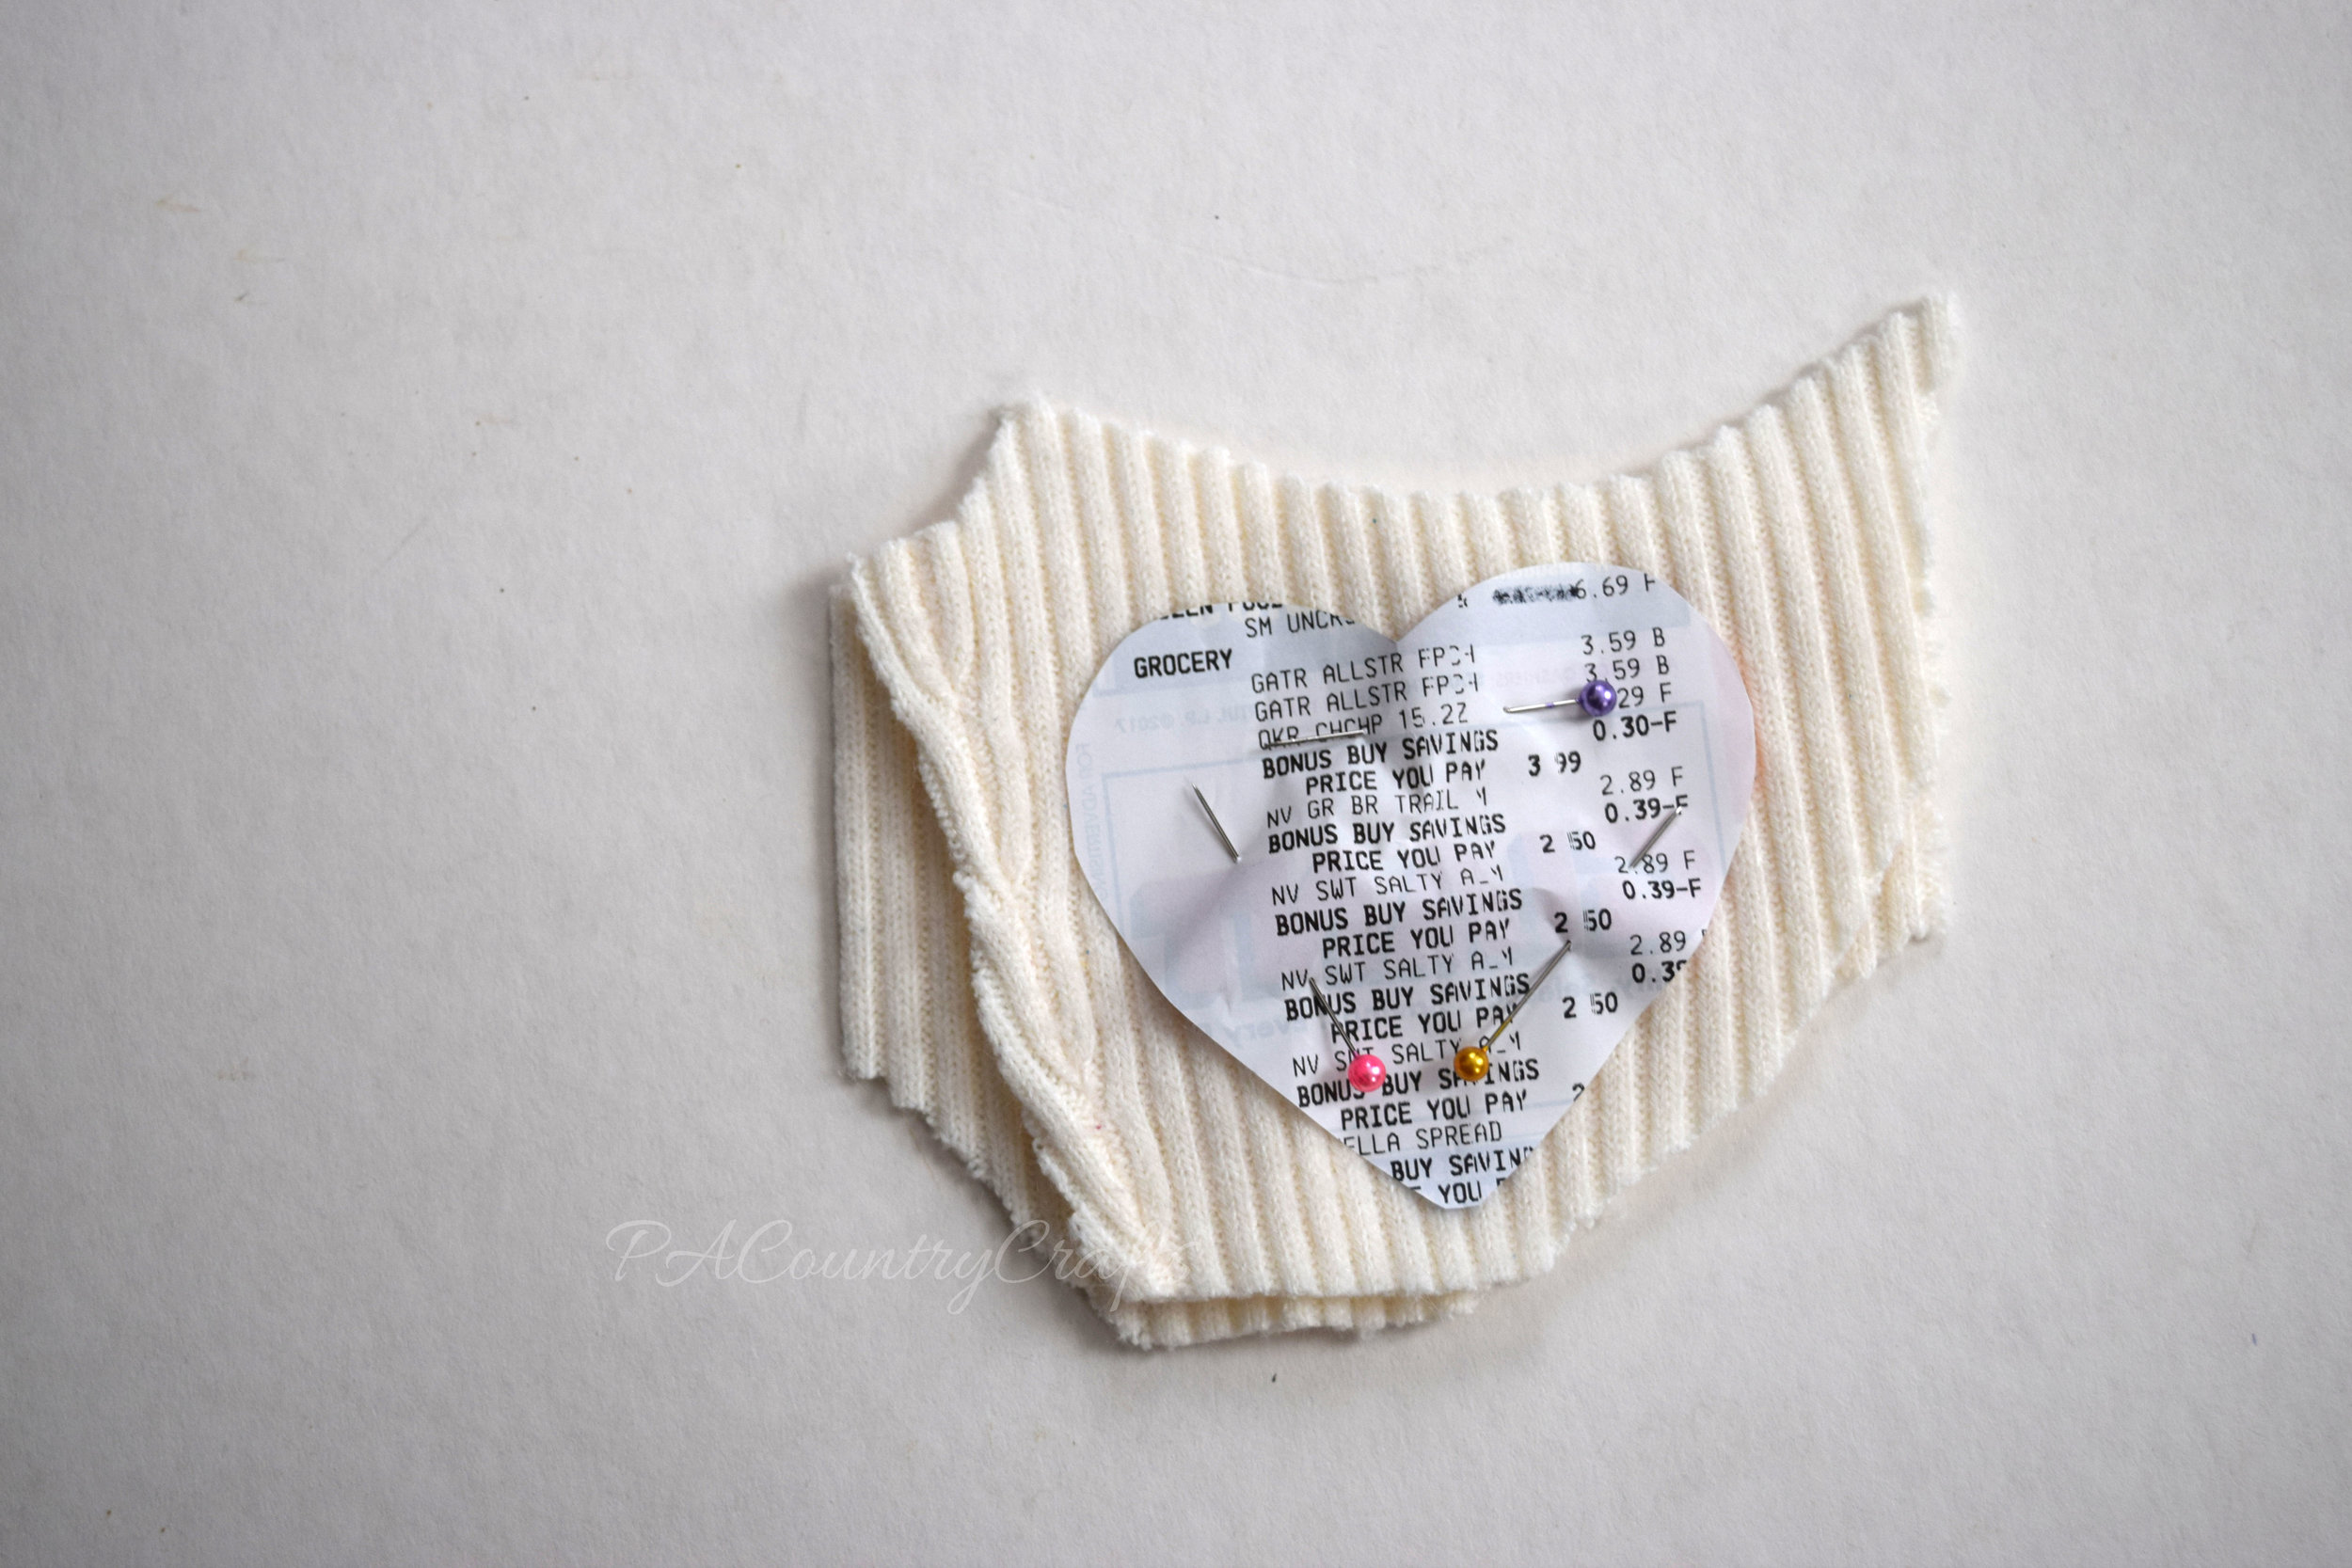
Make a template- mine are about 3" across. I used an old receipt from the grocery store. Place the sweater scraps right side out and pin the template to them. You want to leave some extra fabric all around the template so that there is wiggle room if/when it shifts.

Start on the straight side of one heart just before it starts to curve. Backstitch, then sew all around the template, leaving a small opening on the straight side. I used a receipt because if I caught the edge of the paper it didn't matter- it tears away easily.

Take our your pins and remove the template.

Fill the hand warmer with rice. (A funnel is really helpful!) I mixed mine with some lavender essential oil.

Sew the opening closed. It is a straight line, so it is pretty easy!


Use pinking shears to trim all the way around the heart.

Easy, right?

But there is another way to do it that I found to be even easier...
Draw a template on a piece of tissue paper.

Pin the template to your sweater pieces- I just folded the bottom of the sleeve in half, keeping the right sides out.

Now, here is the even easier step... sew right on top of the tissue paper, following the lines you drew on the template. Again, start on the straight side right before the heart starts to curve and leave an opening at the end, stopping a half inch or so after the point at the bottom of the heart.

See? The tissue paper just tears right off!

Now, the only downside that I found was that the pencil from the template made my threads darker. So, if this bothers you, don't say that I didn't warn you. I put it in bold AND italics. Maybe a Frixion pen would work and iron out? If you try it, let me know! I can't find mine.


If you want to pin it for later…

Here are some more ideas you might like…
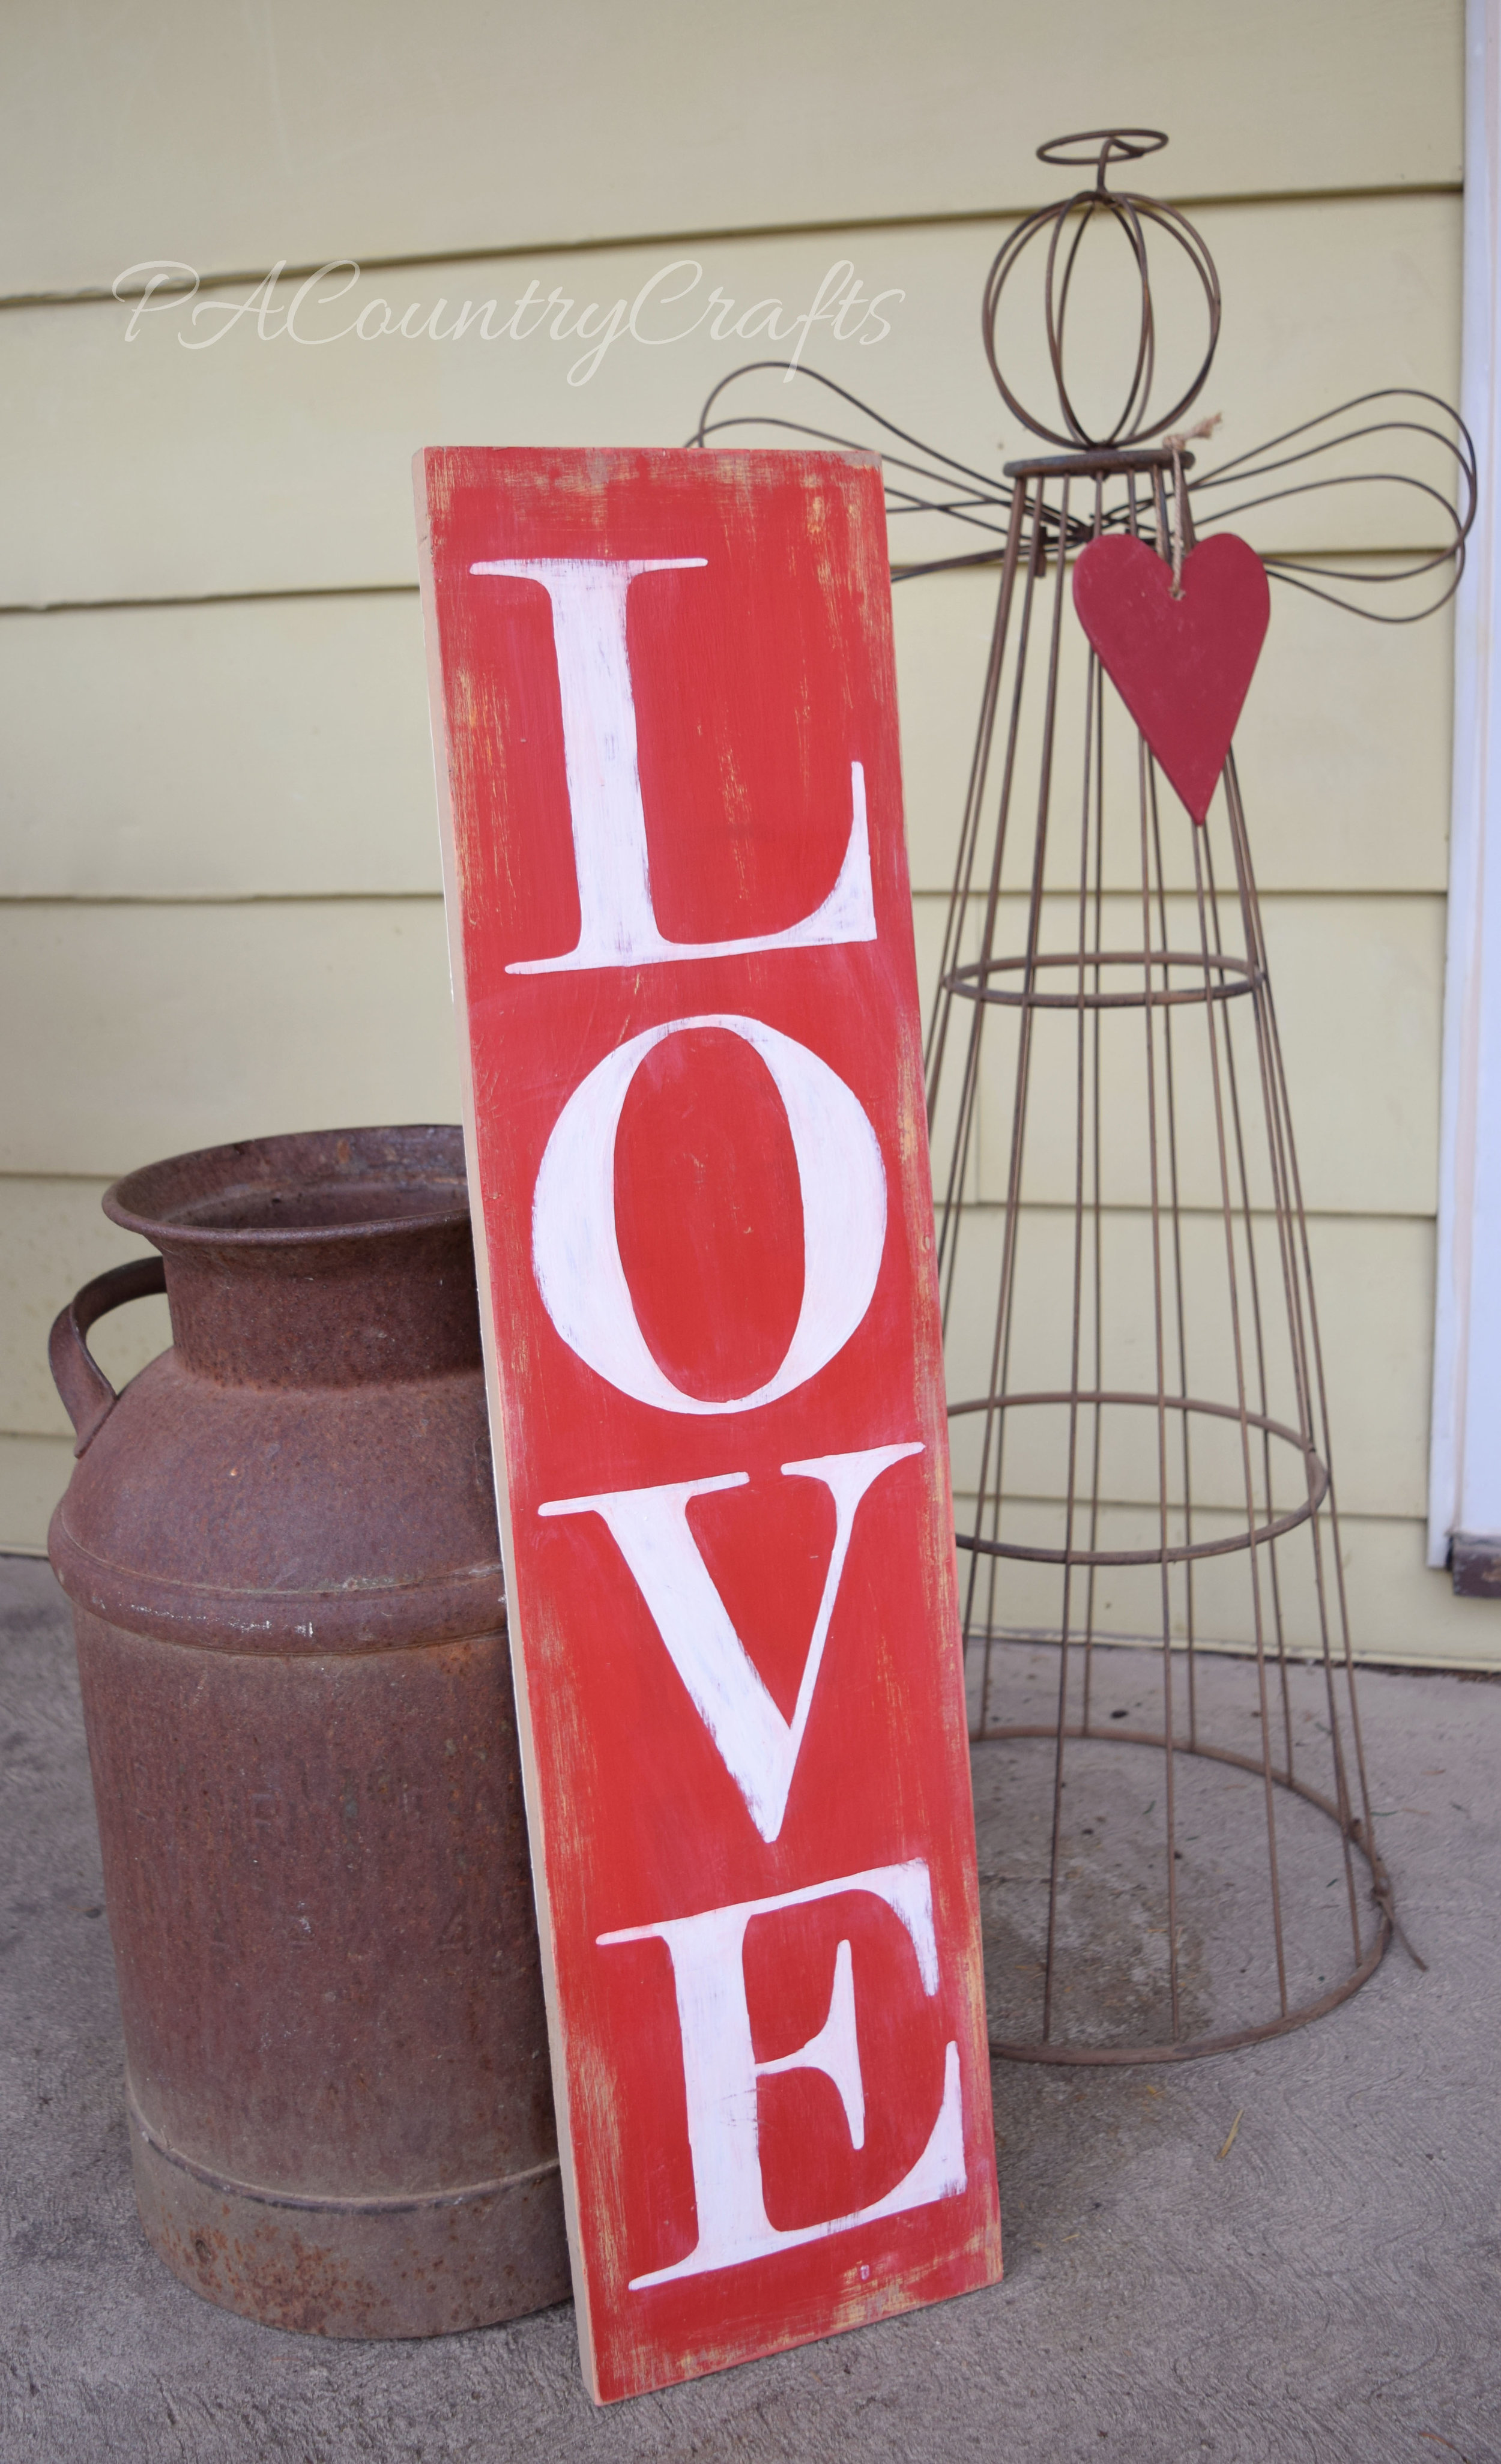
I painted a sign last fall, but I didn't like it. Not everything that I make is beautiful and blog-worthy. Some things are kind of a flop, but I am usually stubborn enough to keep on trying. (There is your crafting tip for the day: Be stubborn sometimes.) So, because I felt like it, I painted over the whole thing in red and made a giant LOVE sign for Valentine's Day. It was actually really easy- simple, white block letters and lots of sanding to distress. I didn't worry about perfect lettering because the entire thing was meant to be rustic. All of those layers of paint underneath from the sign I didn't like show through from sanding and just add to the character.


I am not really big into Valentine's Day decorations, but the bright pop of red really stands out and adds a little something cheerful to all of the drear of winter. And the sign I didn't like has been turned into something that I LOVE. (cheesy pun intended)


You can see more Valentine's Day ideas here:

I have been doing a lot of craft projects for the kids/with the kids lately on these cold, snowy days. I made a few new things for their dolls a few weeks ago and ended up designing some new patterns. This one is a reversible doll dress.
I just haven't found two coordinating fat quarters that I really like to make another one and take pictures. Doll clothes are a little trickier because you can't use large prints.
We have had oodles of delays and an early dismissal this week. Yesterday I decided to bribe the girls to clean up with the promise of a craft project. I bought a heart paper punch when I couldn't take it anymore and ran away to the craft store one day this week. We raided my scrapbook cardstock and they got to punch hearts out. Then, I took the pile and ran them through the sewing machine to make a garland.
Please don't think I am actually early for something.
These are actually pics of my Valentine's Day decor from last year. We did some renovating last year shortly after I took these pictures and I haven't found a new spot to decorate yet.

I love my old barn window frame and I always have it decorated with some of my favorite black and white photographs of each of the kids. They have been hanging around for a few years now and are starting to curl up. I just used red baker's twine and mini clothespins to hang them.
I made these LOVE blocks with some scrapbook paper and trims mod podged onto 2 x 4 scraps.

I made the tray, too. It is a metal serving tray from Dollar Tree with aqua paint on the edges and chalkboard paint in the center. The paint chips easily, so if you try this, be careful!

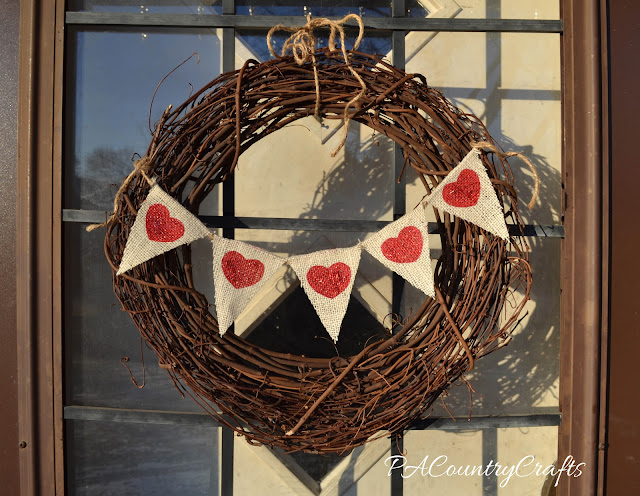
Last, the girls and I made this cute wreath for the front door. Red glitter paint was used to freezer paper stencil hearts onto burlap. I cut them into triangles and used jute to hang them across a grapevine wreath I already had.

I love the pops of color these decorations add to the cold, winter months. The $1 tray was my only expense, too. I need to figure out where I am decorating this year because it has been so dreary and I could definitely use something cheerful around the house!
Do you decorate for Valentine's Day?
Sewing, crafts, tutorials, recipes, and a little look at our life in the country - raising half a dozen children.

Hi! Thanks so much for stopping by! My name is Lindsay and on this blog you will find sewing, crafts, decorating, recipes, and tutorials with a little bit of honesty and encouragement.