18" Doll Peasant Top/Baby Doll Dress Free Pattern and Tutorial
/Free sewing pattern and tutorial- works as an 18” doll top or a baby doll dress. This peasant top is so easy it makes a good beginner sewing project.
Read MoreFree sewing pattern and tutorial- works as an 18” doll top or a baby doll dress. This peasant top is so easy it makes a good beginner sewing project.
Read More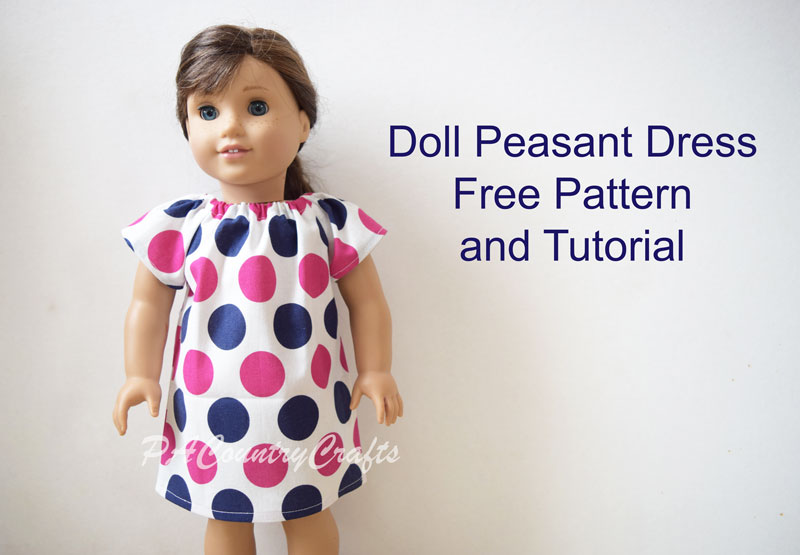
Peasant dresses are a really easy beginner sewing project. When I teach my daughters to sew doll clothes, this is our first lesson. I have to help with a few of the steps, but they can handle most of it.

After you learn how to make this basic dress, there are a lot of options to change it up for a totally different look. I also have tutorials for making peasant dresses in girls' sizes. Matching girl/doll sets are always a pretty big hit!
These dresses have a lot of variations, and I hope to expand on this pattern in the future. For now, though, I am starting off simple with a basic, short sleeve peasant dress. I have picked up some tricks over the years to make sewing them a little faster and easier.
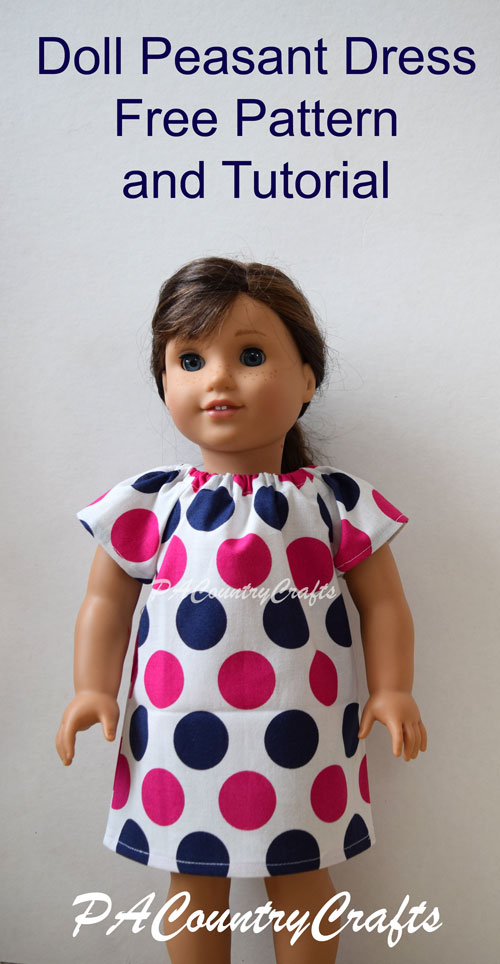
You will need:
a fat quarter of fabric or 1/3 yard of fabric if bought from the bolt
8 1/2" of 1/4" wide elastic
thread
pins or wonder clips
sewing machine and needles
printed free pattern- available HERE
First, let's prep the pattern. Print it out in actual size and cut it out. To fit the longer main dress piece on the page, I had to do it in two pieces. So, you will have to overlap the little bottom section and tape it together. It is off a little bit- about 1/8" but I am not a professional and it is a free pattern so center it the best you can and don't complain. OK?
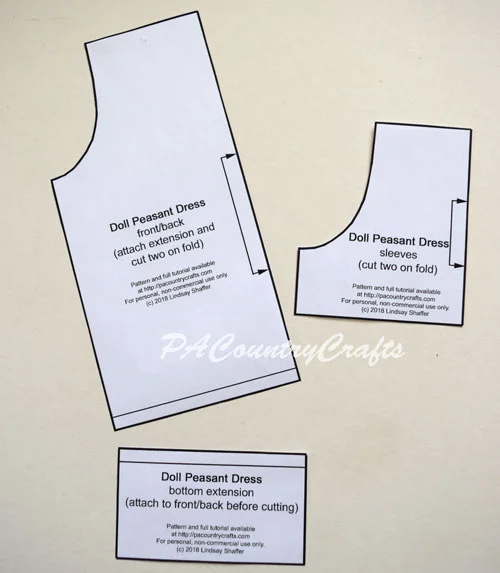

These dresses require very little fabric. A fat quarter works perfectly and I always seem to have a lot of those hanging around.

You want to make sure to place the width of the fabric (the direction that stretches a little more) across the width of the pattern pieces. Just fold the fabric in enough to place both pieces on top.

If you want to be really efficient about it, fold it again, accordion style, and cut two of each pattern piece.


(If that was confusing, just ignore it and cut two pieces out individually!)
You will have four pieces total- a front, a back, and two sleeves.

One trick I learned through experience is that it is easier to hem the sleeves before sewing the dress together. Fold it under 1/4" twice and sew 1/8" from the edge. (My girls usually need help with this when they are first learning because it is such a small hem.)

Next, line up the curved edges of one sleeve and one dress piece as shown. Make sure to line up each set on the same side.

Sew the curves together with a 1/4" seam allowance. (I also use a shorter stitch length to make those curves tighter.)
Then, sew the opposite side of each sleeve to the other side of the dress. This part used to confuse me, so I will show it at a couple of different angles.


Again, use a 1/4" seam allowance. It is kind of like sewing everything together in a loop or a rectangle.

Next, fold the right sides together and line up the side seams. Make sure the ends of the sleeves and armpits line up.
(Normally, I would nest the armpit seams so that one goes in each direction. It would lay flatter and be easier to sew. However, on this particular project, I like to face both of the seams towards the dress pieces, away from the sleeve hem. I just don't want more bulk in that area. You can do whatever you like.)

Pin and sew along each side with a 1/4" seam allowance.
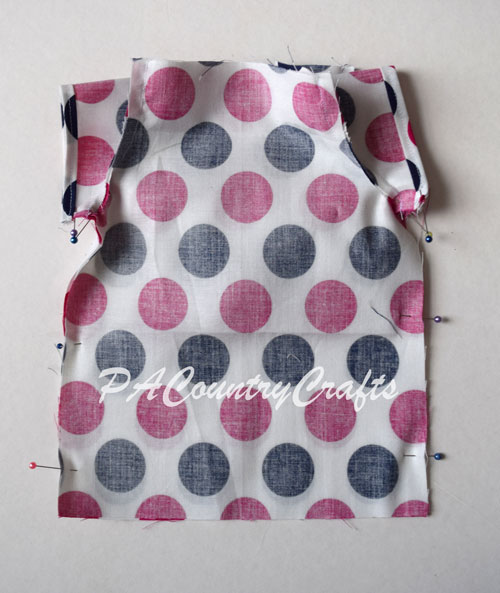
Now, I happen to have an overlock machine, or serger. If you don't have one, go buy one. They are awesome. If that isn't an option or desire for you, you can finish the seam another way- pinking shears, zig zag stitch, etc. Google it.
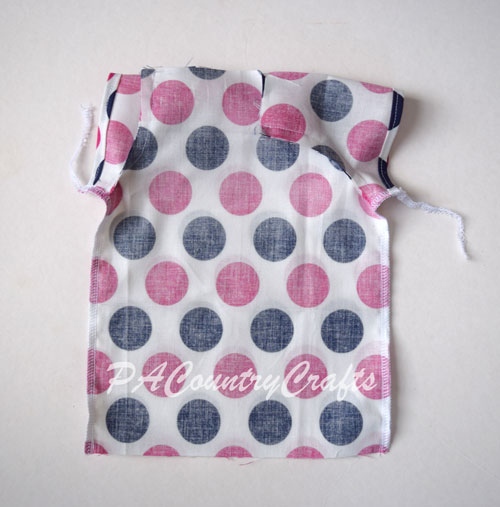
Now, I happen to have created a separate tutorial for how to tuck in those serger threads. You can see it HERE.
Next you have to sew the elastic casing for the neckline. This is the hardest part, in my opinion. It just seems to take a little practice. The most important thing to remember is this: KEEP THE SEAMS ALL PRESSED IN THE SAME DIRECTION! Did that seem like I was shouting at you? Good. I was. Trust me. It is very frustrating to get the elastic stuck at a seam and this will prevent it.

Fold the raw edge down 1/4" to the inside.

Next, fold it in 1/2" (and watch those seams!) You can iron and pin. You can use wonder clips (those rock!) You can just eyeball it up and fold it as you sew (maybe after some practice). So that I could take a picture... I pinned this time.
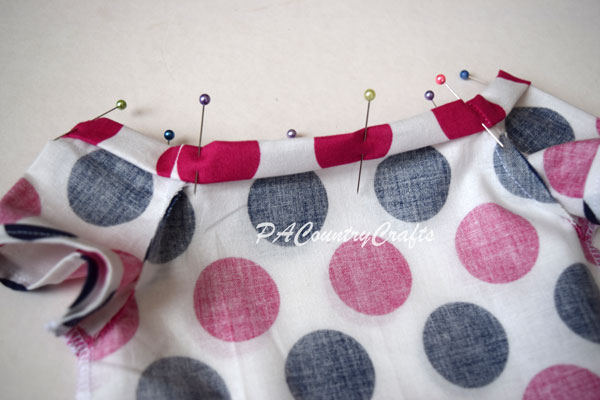
Start sewing somewhere on the back. I like to start just before a seam. Sew about 1/8" from the folded edge all the way around. I keep my needle to the left and line up the outside folded edge with the edge of my presser foot.

Do NOT go all the way around! Leave the last inch or so open so that you can put the elastic into the casing.

Cut a piece of 1/4" elastic 8 1/2" long. Pin a safety in onto each end. One will guide it through the casing. The other will keep the end from getting pulled in. (You can pin it to the dress if you want to be really sure!)

Make sure that you push the safety pin towards the seam so that everything is going the same direction.

Push the elastic all the way through the casing, being careful not to twist it.

Overlap the ends of the elastic about 3/4" or so.

Use a small zig zag stitch on the machine to hold the ends together.

Stretch the casing to pull the elastic inside. Sew the opening closed.

Finally, turn the bottom under 1/4" twice to make a small hem.

Stitch 1/8" from the edge.

Hooray! It is finished!!!

To put it on the doll you will want to pull it up from the legs, not put it over the head. They are sort of disproportional so it is easier that way. Plus, you don't mess the hair up.

Don't forget to save the printable pattern...
If you want to pin this post to save the instructions for later...

Here are some more tutorials you might like:

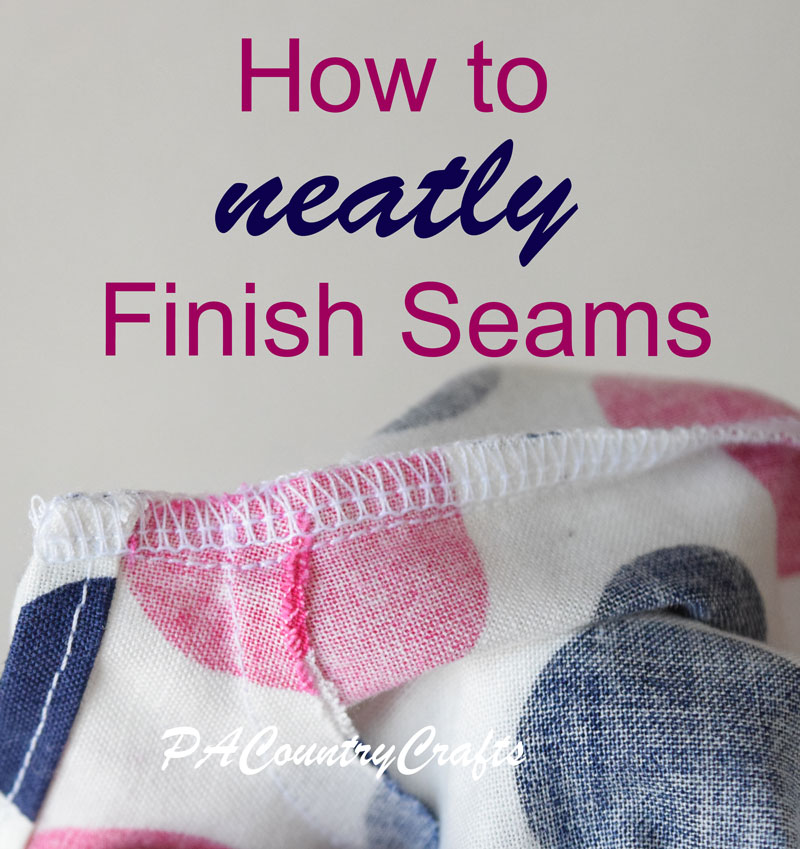
I absolutely LOVE my serger! I have the Brother 1034D, which seems to be a very popular model. I have had it for 7 years and sewed hundreds of dresses with it (FOR REAL!) Today I thought I would share how I tuck in all of those thread ends when finishing a seam with the serger or overlock machine. Maybe it is just common sense stuff that everyone who uses a serger knows, but at one point I did not. It makes everything more secure, can help even out slightly uneven edges, and produces a nicer finish.
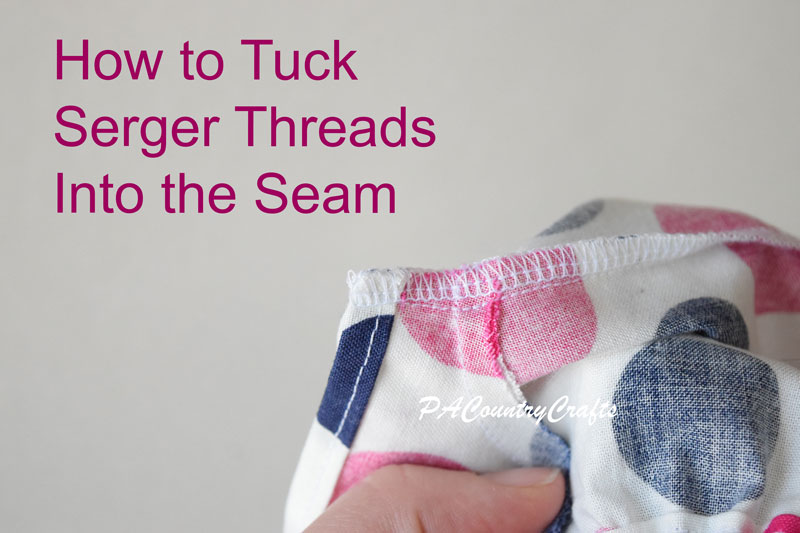
When you plan on tucking the loose ends into the seam, you have to leave a "tail" of serger threads after you sew. About 3 inches will usually work well. I start by gently sliding the threads between my fingers to even them out. The tail will start to stretch out, but two of the threads will be much longer. You want them all to be trimmed close to the same length so that they don't get bunched up. It will look something like this:

Trim off the two longer threads and thread the remaining section through a darning needle. My daughter calls this particular one the "magic needle" because it is a short needle with a wide eye. It works great!

Next, insert the needle into the seam, preferably between the fabric.
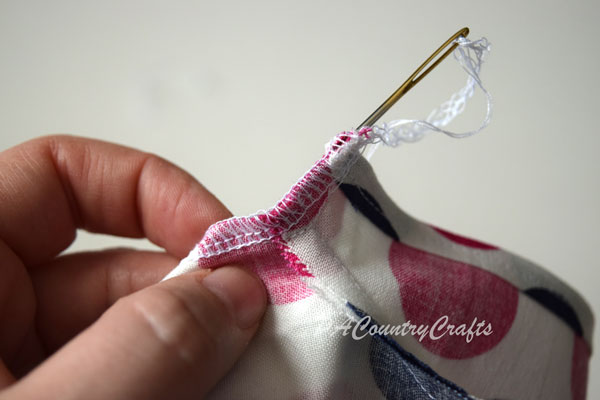
Push it through about an inch or so into the seam (more if you would like).
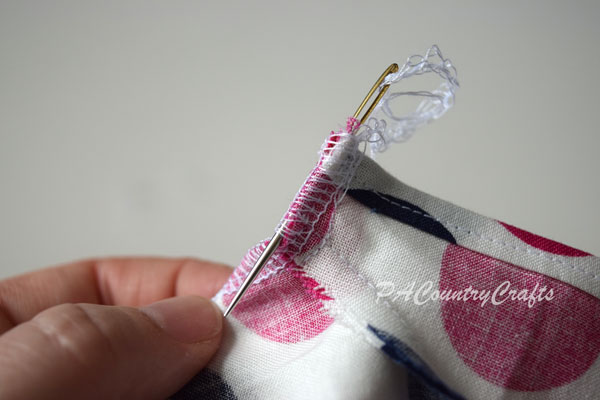
Pull the needle all the way through.
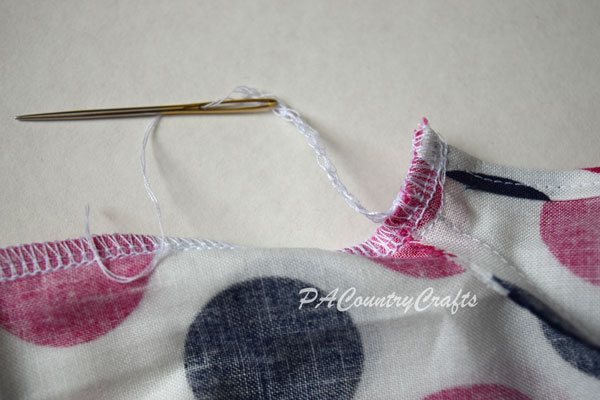
Finally, just trim the ends.
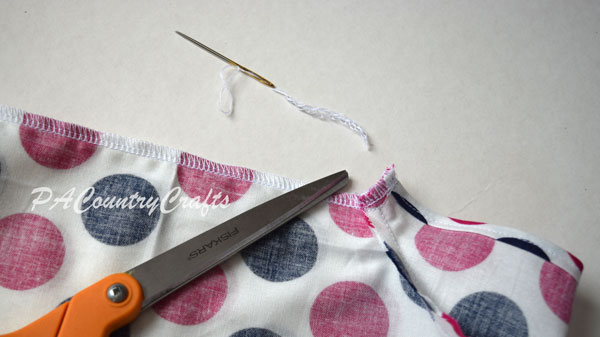
It really is a simple, little trick! It makes things look a lot neater, though!
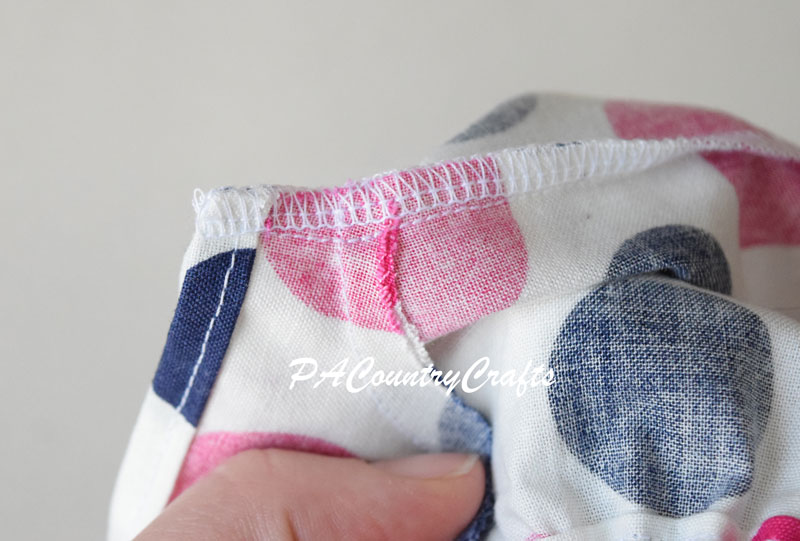
If you forget to leave a tail for tucking, don't panic. You can trim the ends off and use fray check. It is not as good of a finish, but it is better than nothing.
Easy mermaid tail sewing tutorial made with stretch fabric and tulle or chiffon. Easily made in less than an hour! Girls can actually move around in these mermaid fins, too.
Read MoreIf you haven't noticed, I never made Easter dresses for the rest of my girls. They don't really need more clothes, and I was kinda' burnt out after Project Run and Play. I got fabric for some of them, so we'll see what I feel like making in the future. This is my new underachiever attitude: I will sew if and when I feel like it. Isn't that how a hobby is supposed to be? The day of my youngest child's 4th birthday, I felt like sewing. I didn't have much of the unicorn fabric I had ordered for her, so I knew that I should probably sew something with it before she outgrew the fabric or her unicorn obsession. I had been stuck in that overthinking stage, but I realized that an imperfect dress was better than a piece of fabric on my shelf.
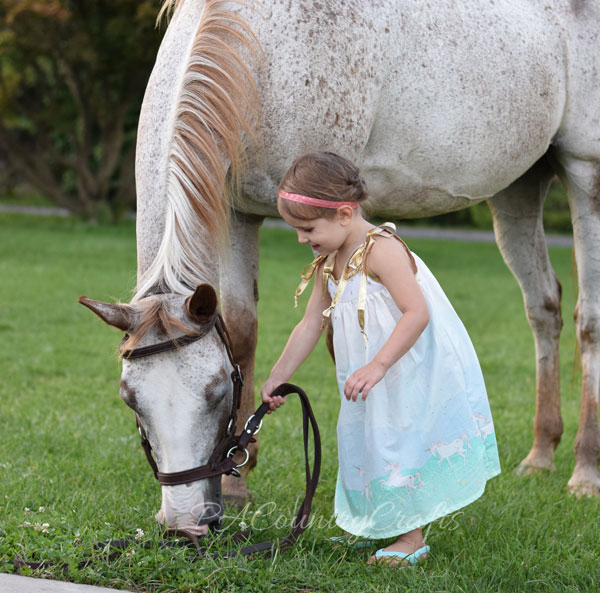
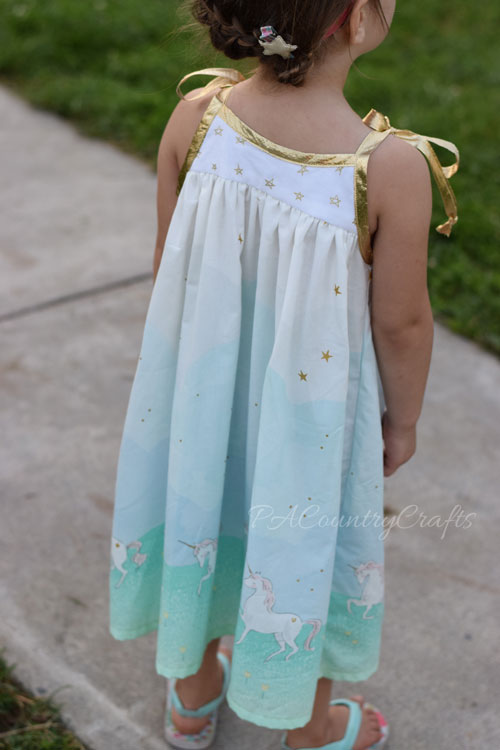
I used the free London dress pattern from Violette Field Threads. I extended the bodice and for the skirt I just used 3/4 yd of the unicorn panel cut in half. It went together really easily, although the top is a little wide under the arms. Maybe she will grow into it? It isn't perfect, but I have a feeling that she will wear this dress until it is completely stained or falls apart.


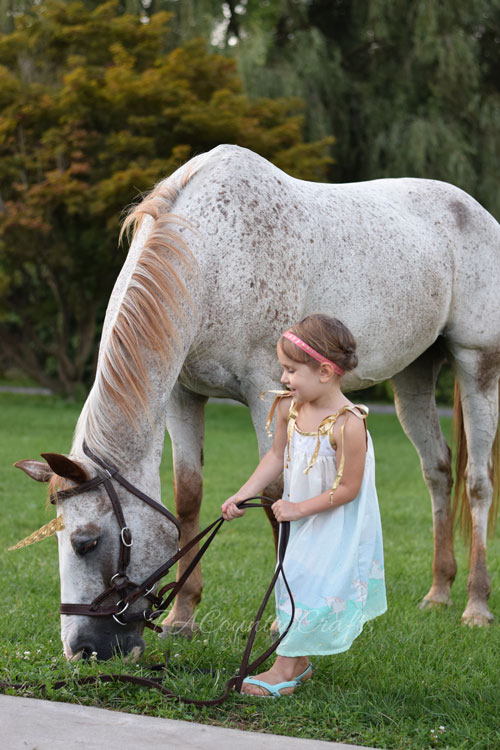
For pure silliness I photoshopped a horn on our horse, just because my daughter asked me to. Why not?
Bias tape: Joann Bodice: When Skies Are Grey by Simple Simon and Co. for Riley Blake Skirt: Unicorn Parade by Sarah Jane for Michael Miller
I actually made three of them, but I don't feel comfortable posting other people's kids' pictures on my website, so I only have pictures of the one that my daughter wore. As with any sewing project, there is more to the story. My niece asked my daughter to be a flower girl and also asked if I would sew the dresses. I love sewing pretty little girl dresses- especially matching ones- so I was excited about this project! Except, I procrastinated. Yes, I use that "P" word an awful lot here on the blog. Part of my excuse was waiting for a swatch, part of it was waiting for our difficult summer vacation to end, and part of it was other commitments that had earlier deadlines. But, really, most of the problem is my indecision.
I overthink just about every decision. I make things entirely more difficult than they need to be. Finally, when I have no time left to change my mind yet again, I just get it done. (Project Run and Play was a great exercise in this area!) So, after much debating, I went back to my original plan and sewed like the wind a few days before the wedding.
Not everyone has such confidence in my procrastinatory sewing. The bride herself, was amazingly cool about it. A few other people close to me expressed their doubts, if only in the realm of "what if you fall down the stairs and break both arms and can't sew." (Duh! That is why I teach my kids to sew!) For some reason, I was not AT ALL stressed about it. I was completely cool and confident. (A certain someone called me cocky.) Anyway, they really ticked me off!
I know that I am rude and inconsiderate for stressing other people out who may not understand who they are dealing with here, and for that, I am sorry.
But everything went FINE! I only made one, tiny, easily fixable mistake in the entire process. All three dresses were the same size, so I did them assembly line style. All of the tops were finished in about 4 hours Wednesday evening. I leisurely completed the skirts Thursday. I even threw in a bonus mother-of-the-bride dress hem. All of them fit perfectly. So... :p to those who doubted!
My rant went a little long there.
I loosely followed the Cairo dress pattern from Violette Field Threads. I own the tween pattern so I sized it down to a 3T on my own. I also wanted these to be simple, flowy, and short to complement the boots and bridesmaid dresses. So, the skirt is a layer of lining and a layer of gathered eggnog tulle.
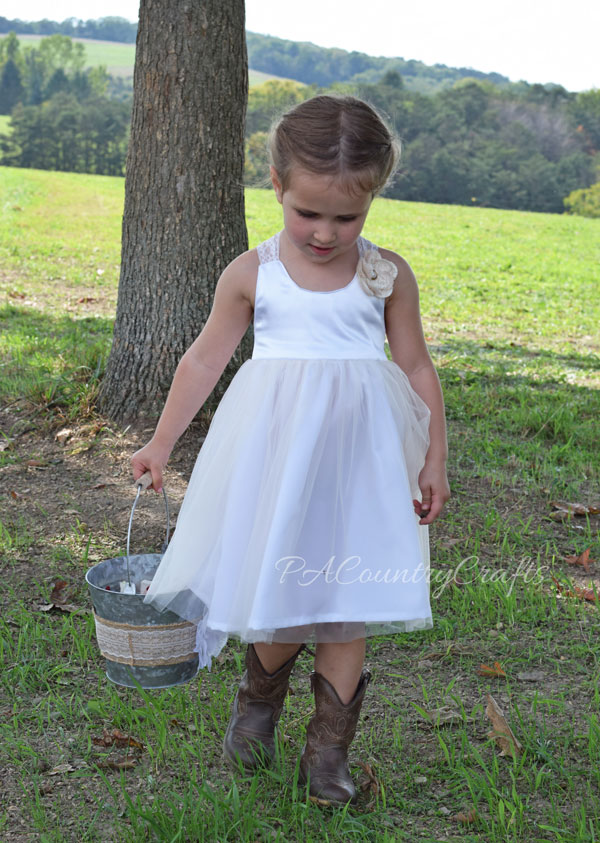
The top is made of a satin remnant and lining fabric. I handstitched the linings closed so the elastic back is only sewn to the inside. The lace straps are from packaged hem facing. Finally, I glued a flower from the scrapbook section to felt circles and pinned it to the dress to coordinate with the wedding theme even more.
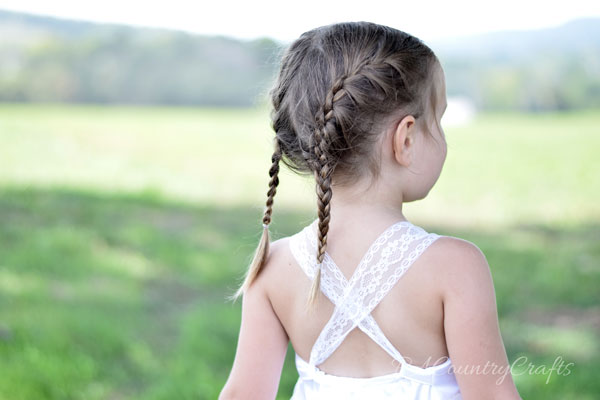
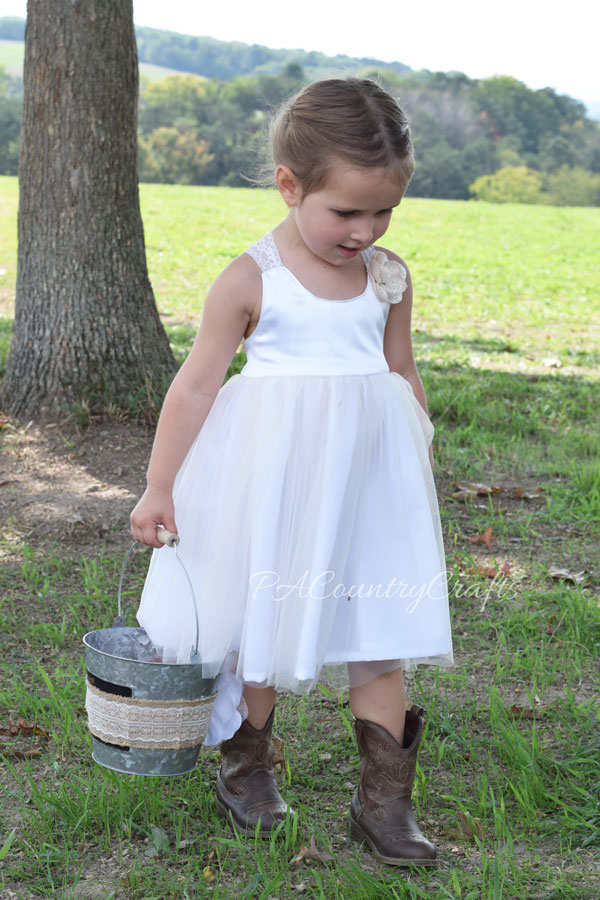
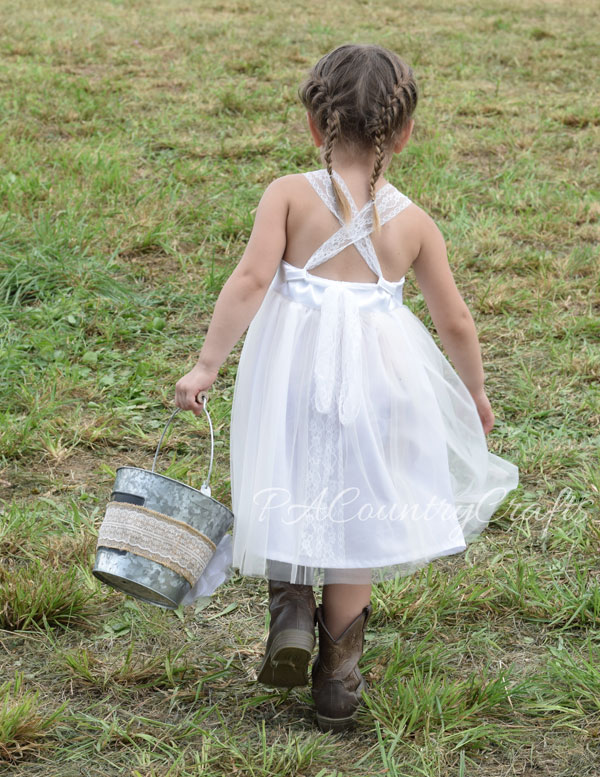
Congratulations to my niece and her new husband! Thank you for having confidence in me and letting me make these adorable dresses!!!
Refashion a thrifted women’s dress into a girls’ maxi skirt! Step by step tutorial pictures to upcycle stretch fabric in a few simple steps.l
Read MoreSewing, crafts, tutorials, recipes, and a little look at our life in the country - raising half a dozen children.

Hi! Thanks so much for stopping by! My name is Lindsay and on this blog you will find sewing, crafts, decorating, recipes, and tutorials with a little bit of honesty and encouragement.