Merida Doll Dress Pattern and Tutorial
/Free pattern and tutorial for a basic doll dress made to fit 14” dolls like Disney Princess Toddler dolls or Wellie Wishers. Clear, step-by-step instructions and a printable paper pattern!
Read MoreFree pattern and tutorial for a basic doll dress made to fit 14” dolls like Disney Princess Toddler dolls or Wellie Wishers. Clear, step-by-step instructions and a printable paper pattern!
Read MoreSummer vacation is rough!!! I (laughably) thought it might be easier this year because I actually downsized from being with 20 kids all day to just 5. Hahahahaha! Dealing with 5 of my own kids is entirely different. They aren't used to being with each other all day so they need to reestablish the pecking order. It is taking longer than usual with the hormones raging in this house these days (oh, just a sample of what is to come, I know!) Now we have a heat wave and my car is in the garage. It has been quite the week! So, if you are wondering where I have been, I am probably hiding- locked in my bedroom and curled up in the fetal position with a bag of chocolate chips.
OK. Not really.
I have ice cream.
Every now and then I get ambitious/drink extra coffee and try do something fun. Last week we went on our planned shopping excursion, but it took until 2pm or so to get them to clean their rooms so we could leave. Our first stop was the thrift store for a very specific purpose- bunny ears. The kids are waking up right now so I am going to let my 9yo do a little guest posting and tell you about it!
~~~~~~~~~~~~~~~~~~~~~~~~~~~~~~~~~~~~~~~~~~~~~~~~~~~~~~~~~~~~
I have a stuffed bunny named Twinkle Toes. It is a Beanie Boo that has the same birthday as me. My aunts' dog chewed off my bunnies' ears. They don't make these bunnies anymore so we couldn't get a new one. My mom and I decided to go to the thrift store to find new ears. I found the perfect bunny. It's ears were backwards! We all went home and mom washed the bunny. A few days later, my mom seam ripped what was left of the ears on Twinkle Toes. She also cut the ears off of the 2nd bunny. She sewed the ears on Twinkle Toes. We even added a pink flower! AGAIN, MOM SAVES THE DAY!!!!!!!!!
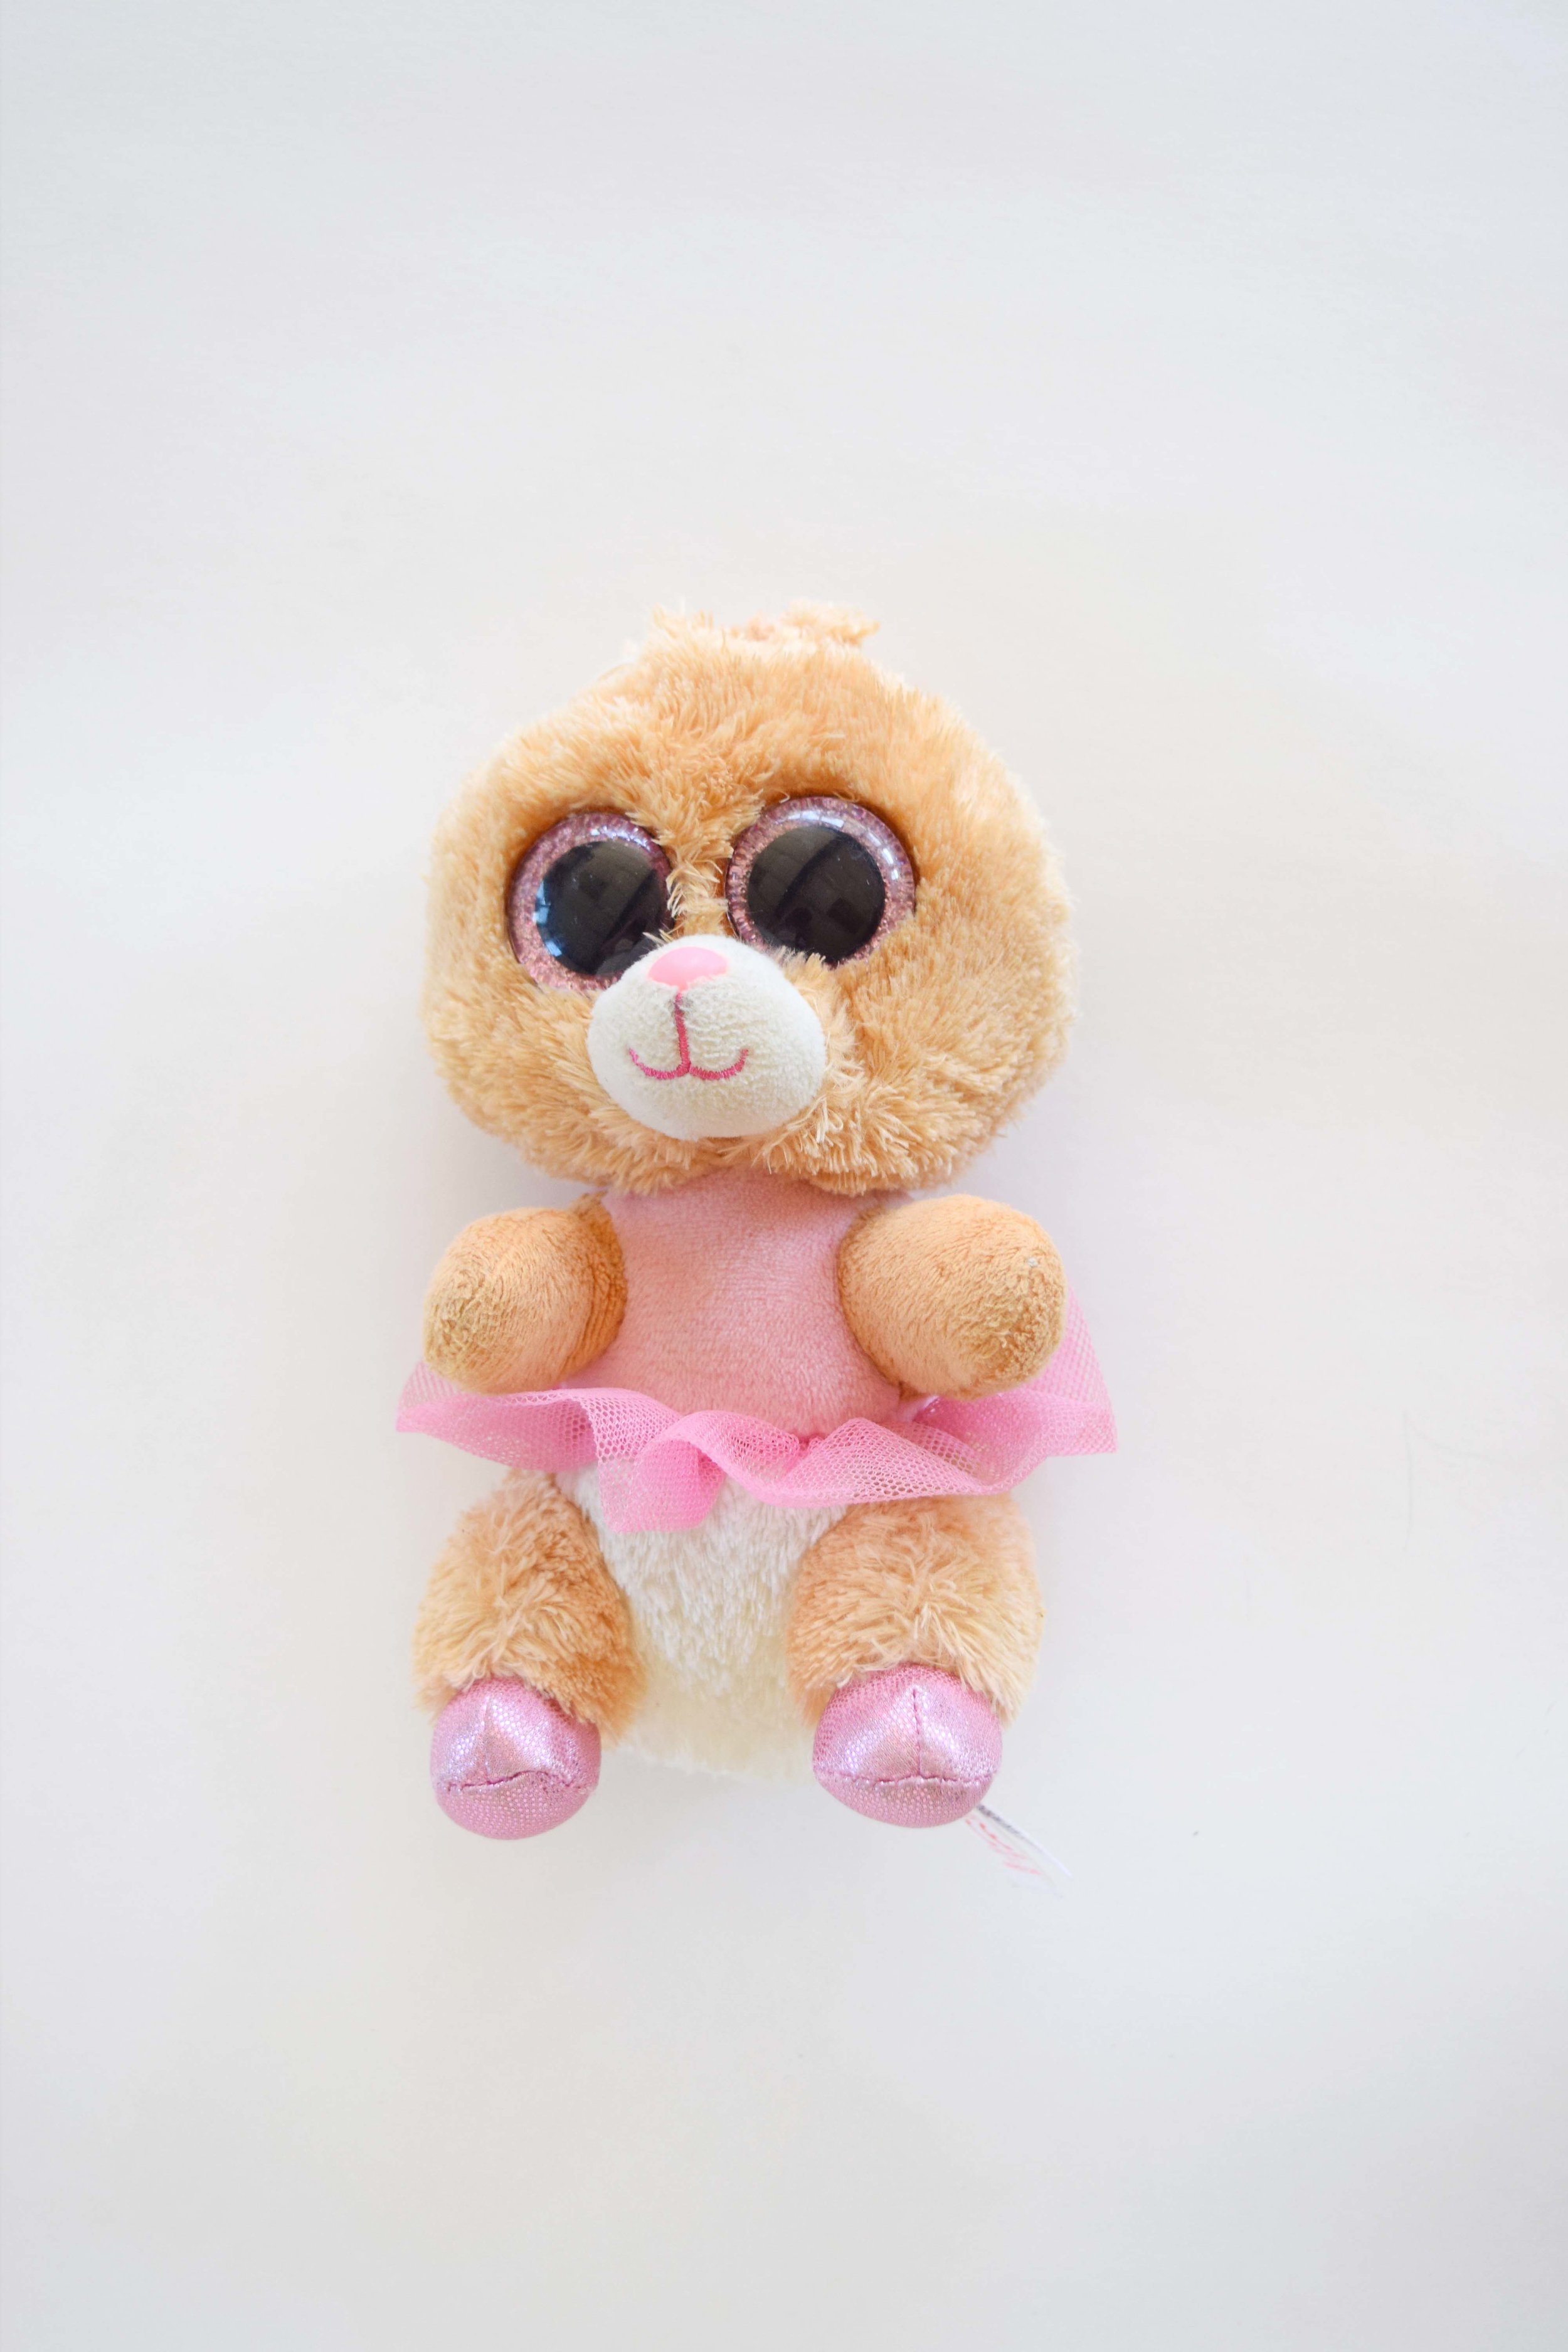
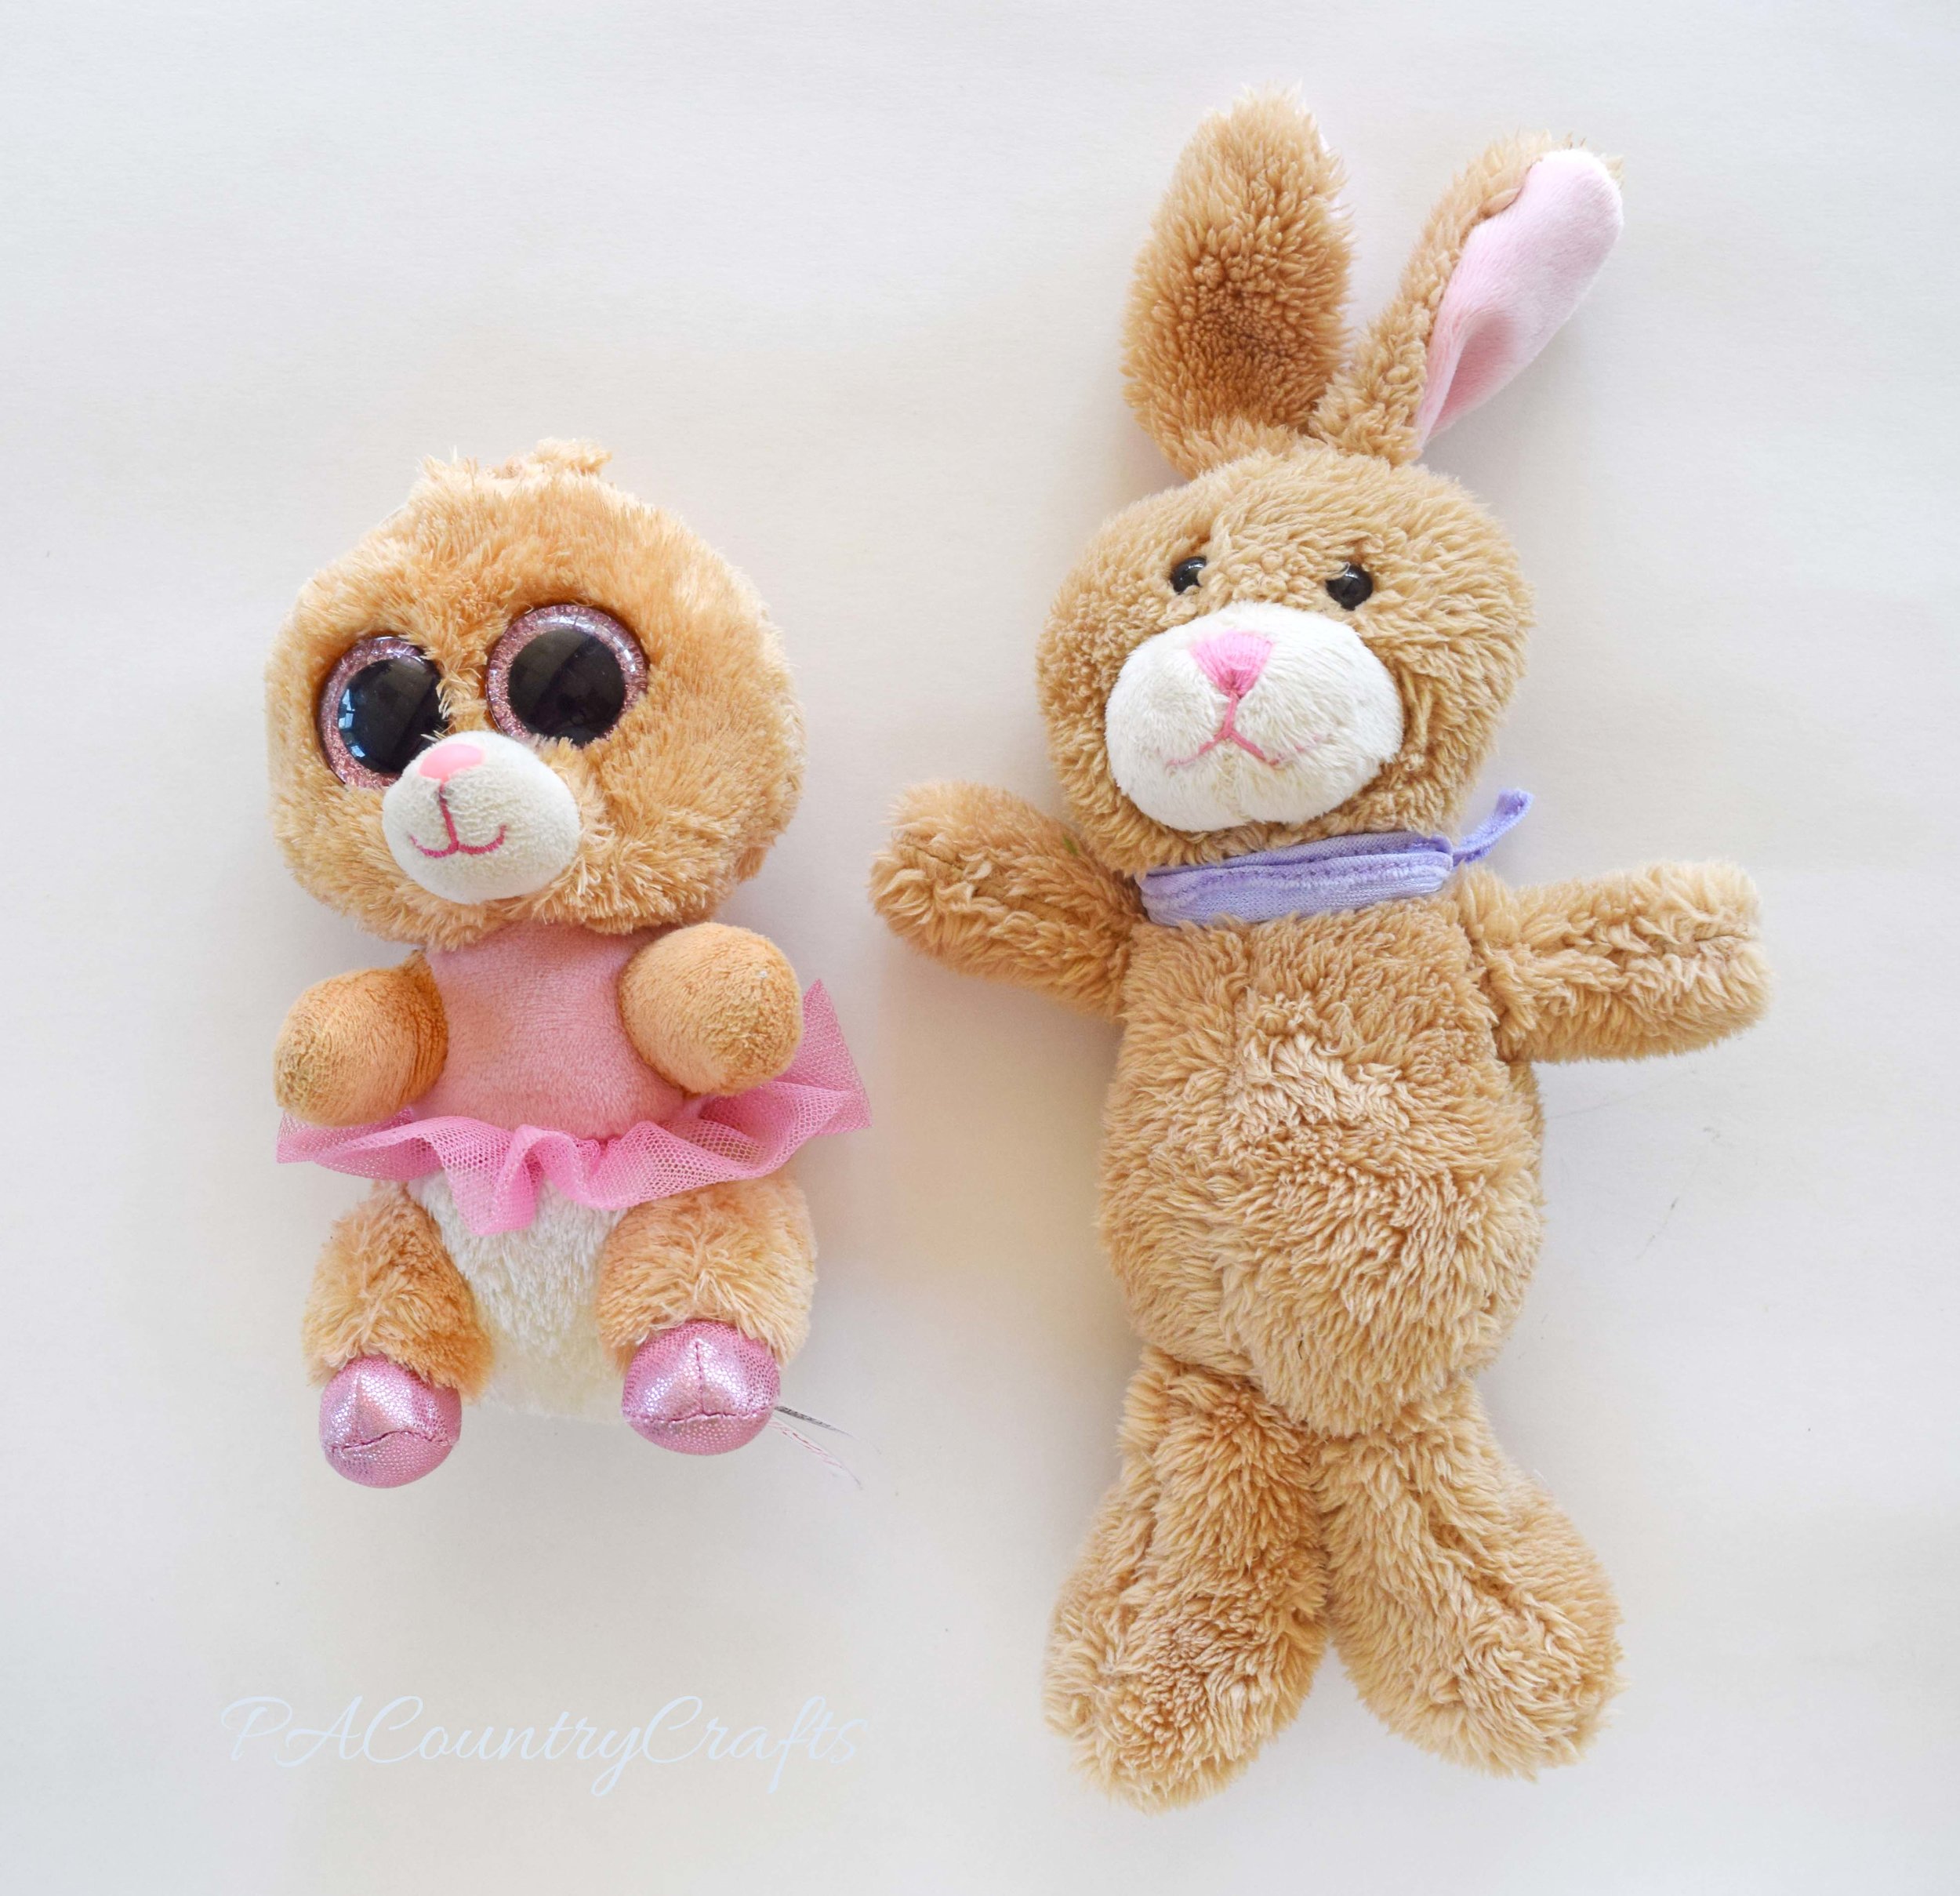
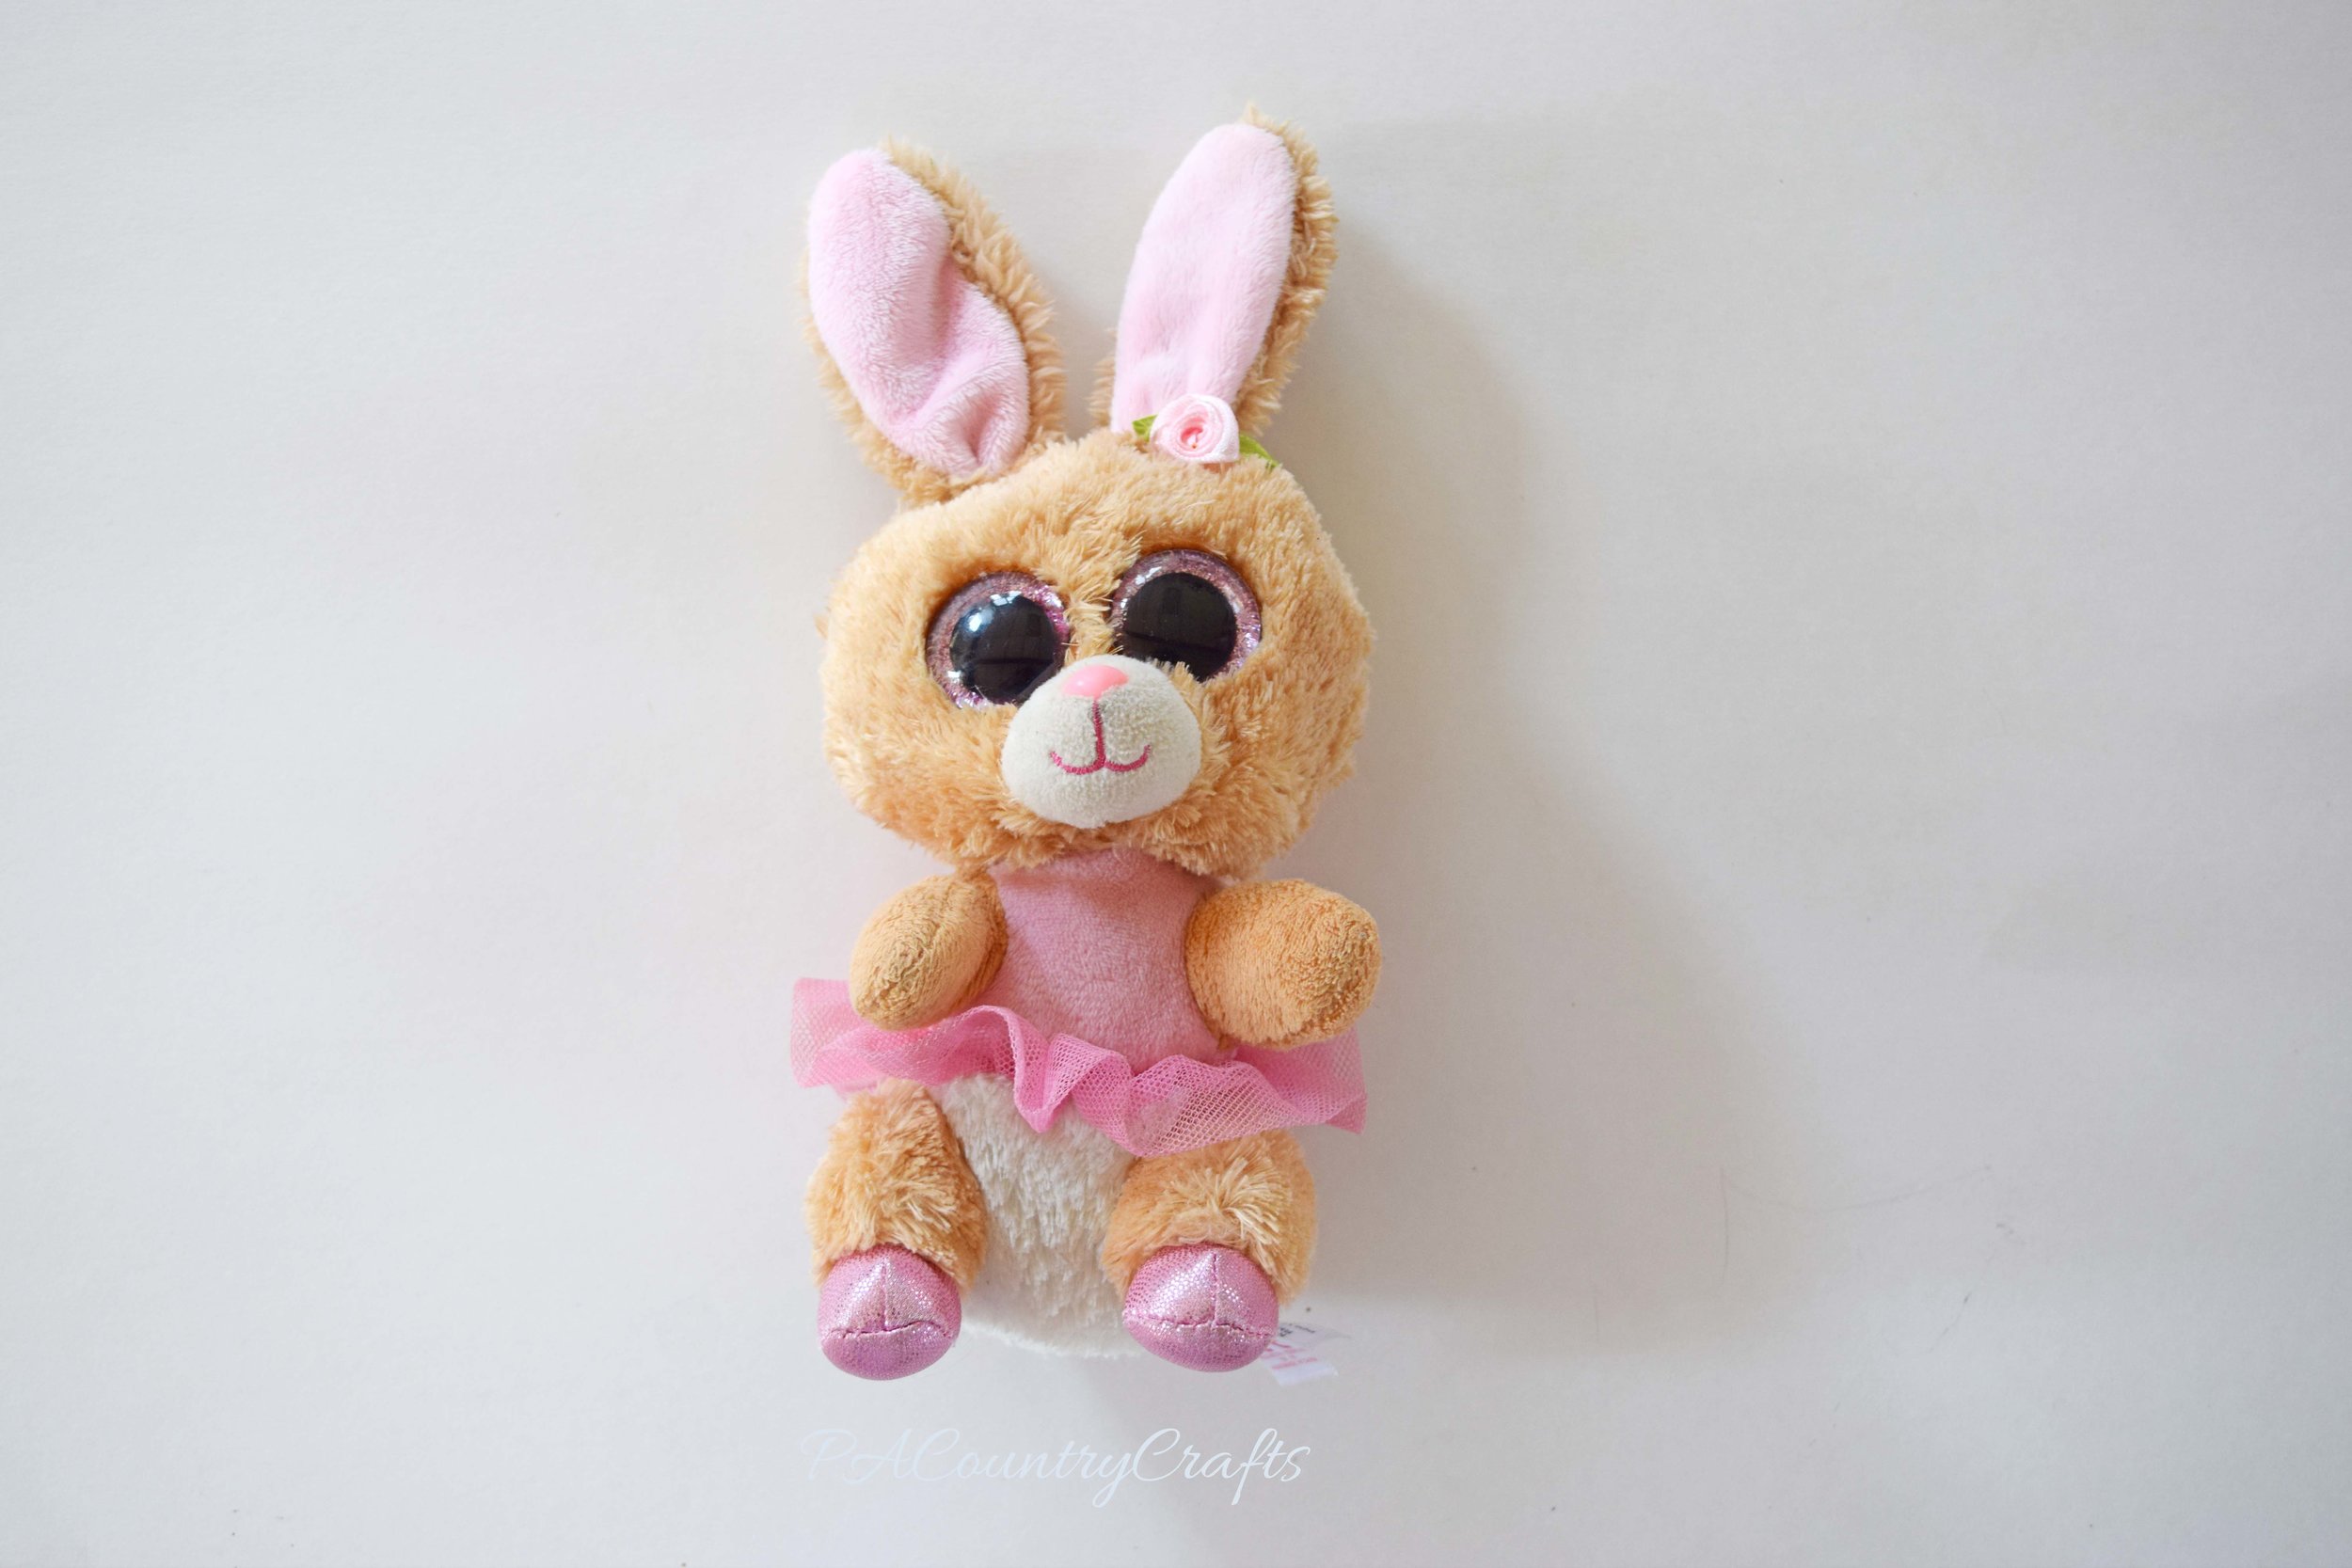
Thank you for posting for me today, Lydia! I am happy that I could fix your bunny for you!
Tutorial for making a neck warmer rice bag and a free printable card for teacher appreciation gifts.
Read MoreThe past few weeks have been pretty much a blur. Between sports, work, gardening, farming, etc. we seem to be crazy busy all of the time! I am pretty much in survival mode. When that happens, the first things to go are sewing and blogging. I have some things I plan on sharing with you, but I rarely fire up the old laptop or pause long enough to gather my thoughts. This is the season we are in right now and it is exhausting. About a month ago my oldest daughter went on her class field trip. At 9pm the night before the trip, she came to me with fabric she picked out and wanted to make a drawstring bag to use the next day. I am crazy; so we did.
A month later I got to benefit from that late night sewing. Last week I went on THREE field trips! (I am still tired!) Of course my daughter let me borrow her bag and it was pretty handy.
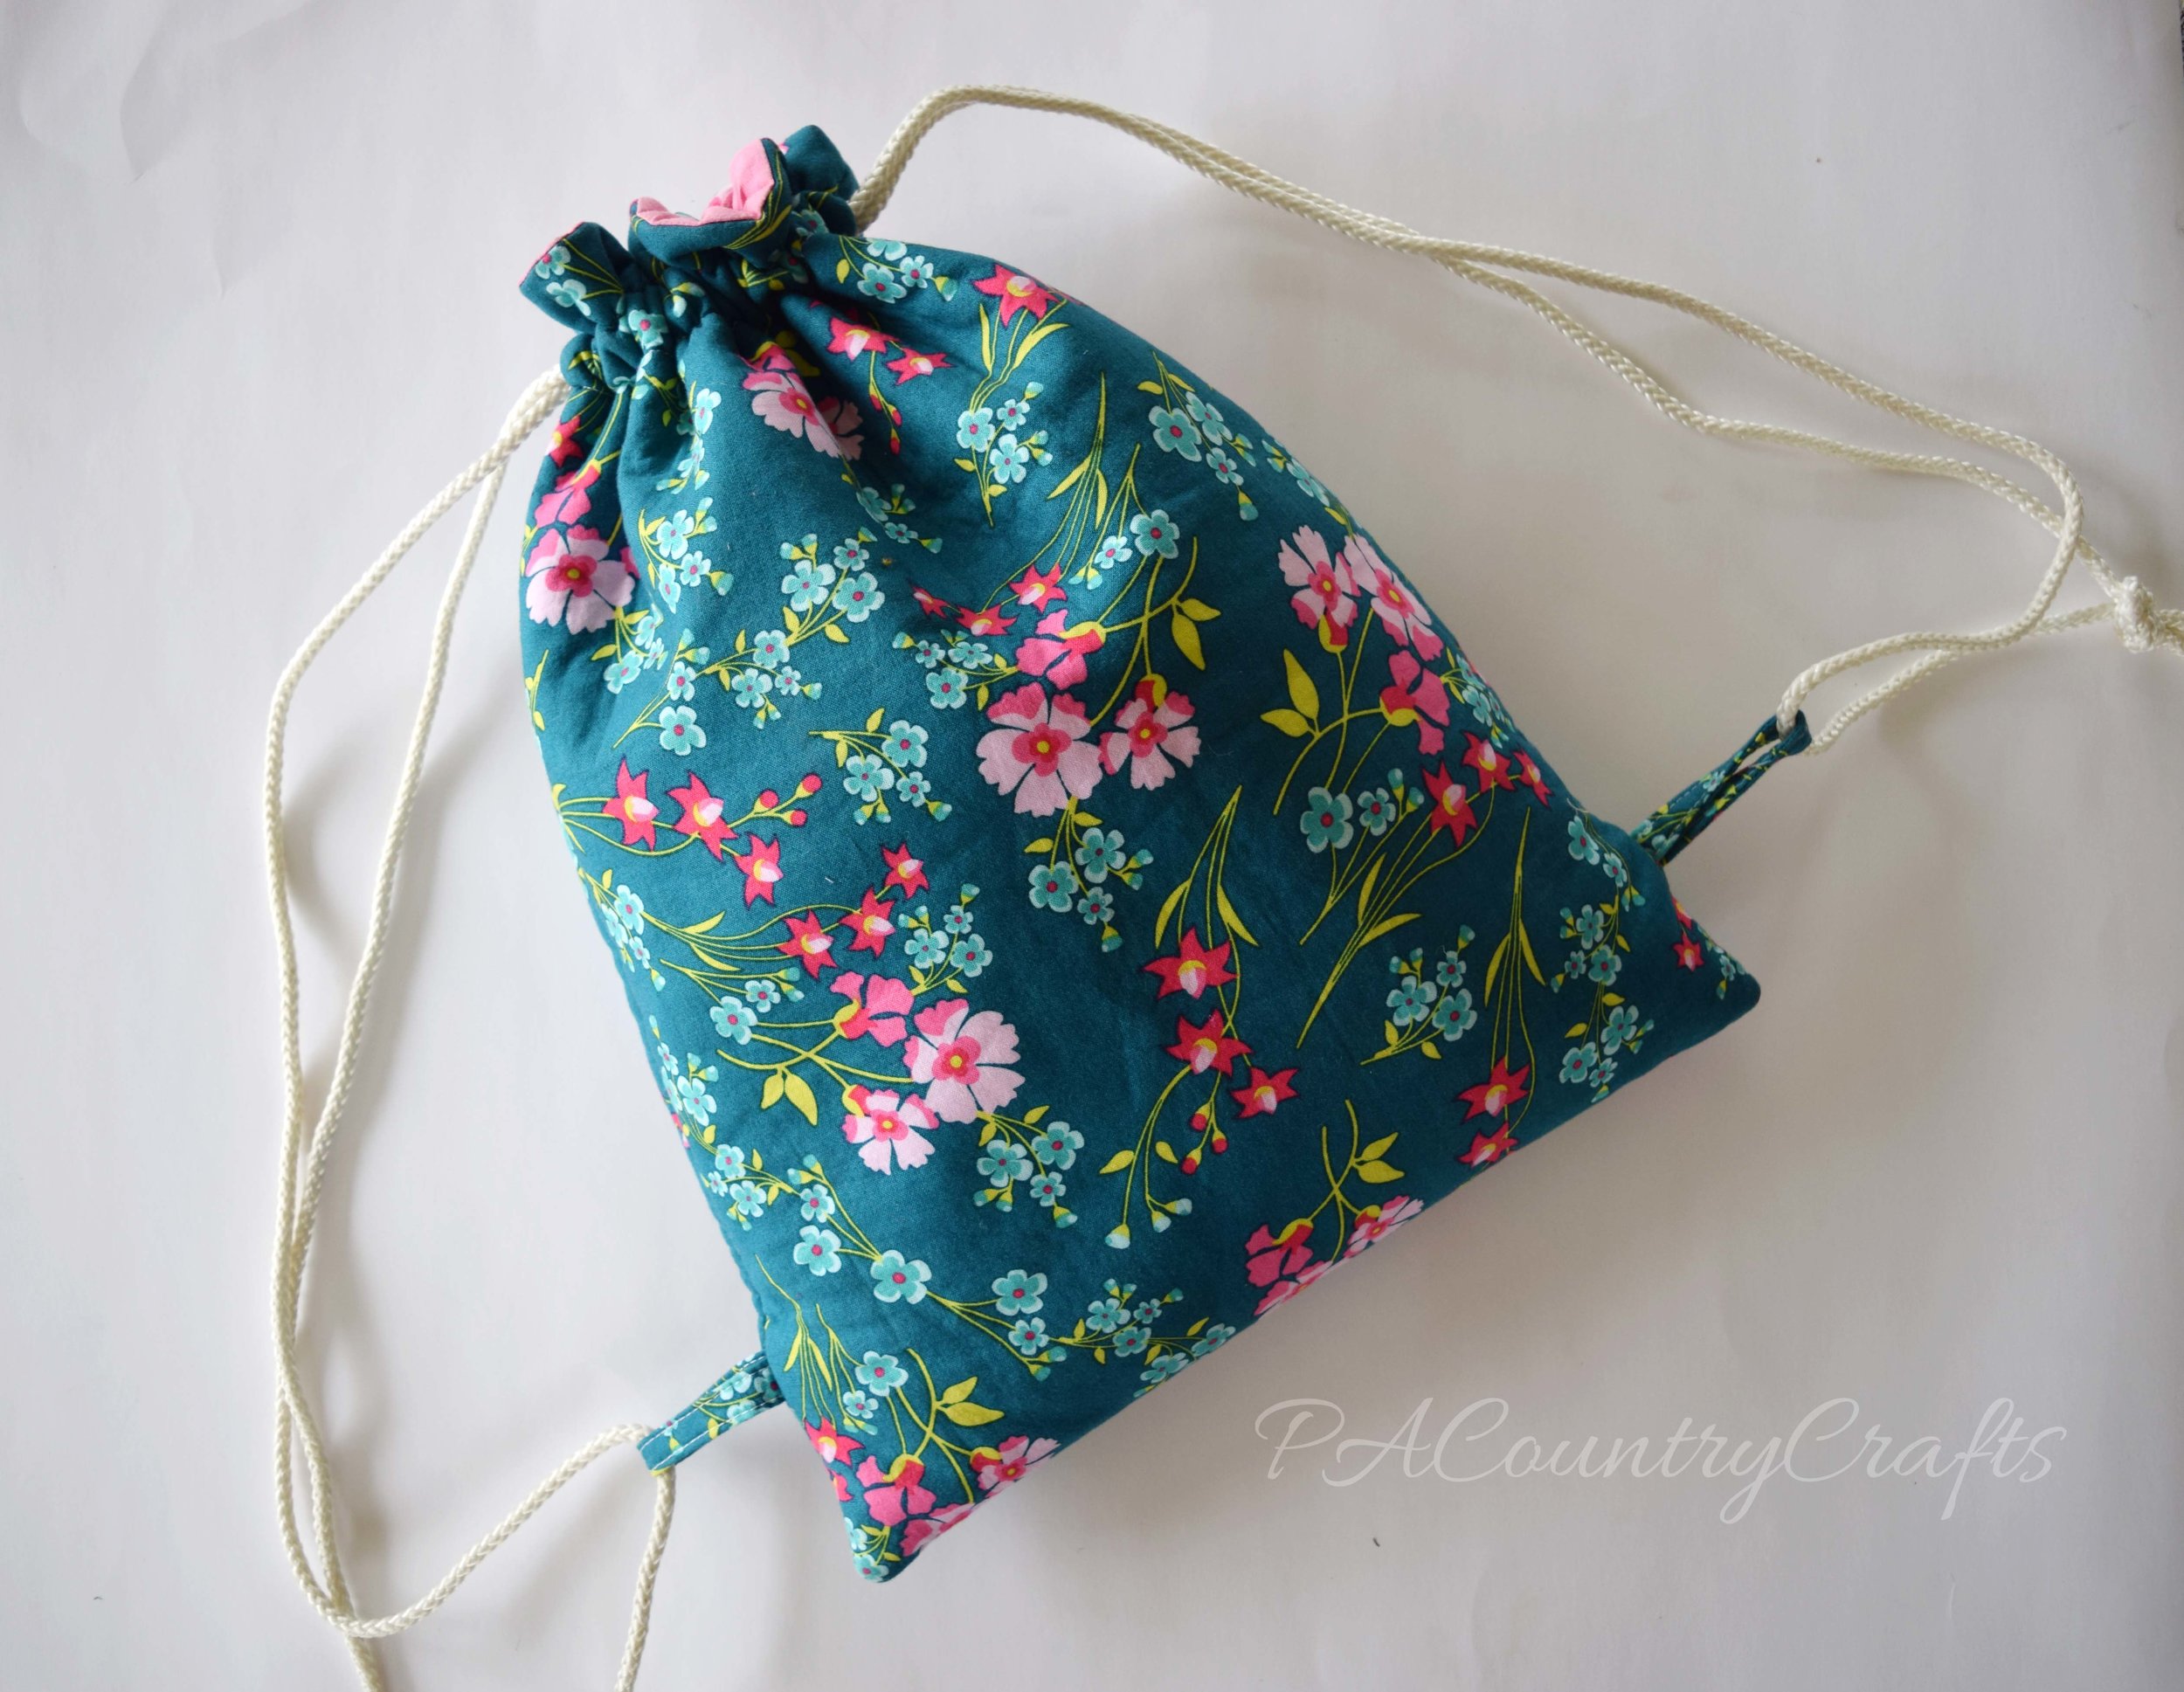
I found a tutorial HERE that we roughly followed. I used fusible fleece and it is a bit thick, so next time I will stick to interfacing. We also added pockets inside to hold deodorant, etc. when she uses it for gym class. The drawstrings are made from some extra clothesline that was in our basement. I would also make the loops a bit wider and shorter next time.
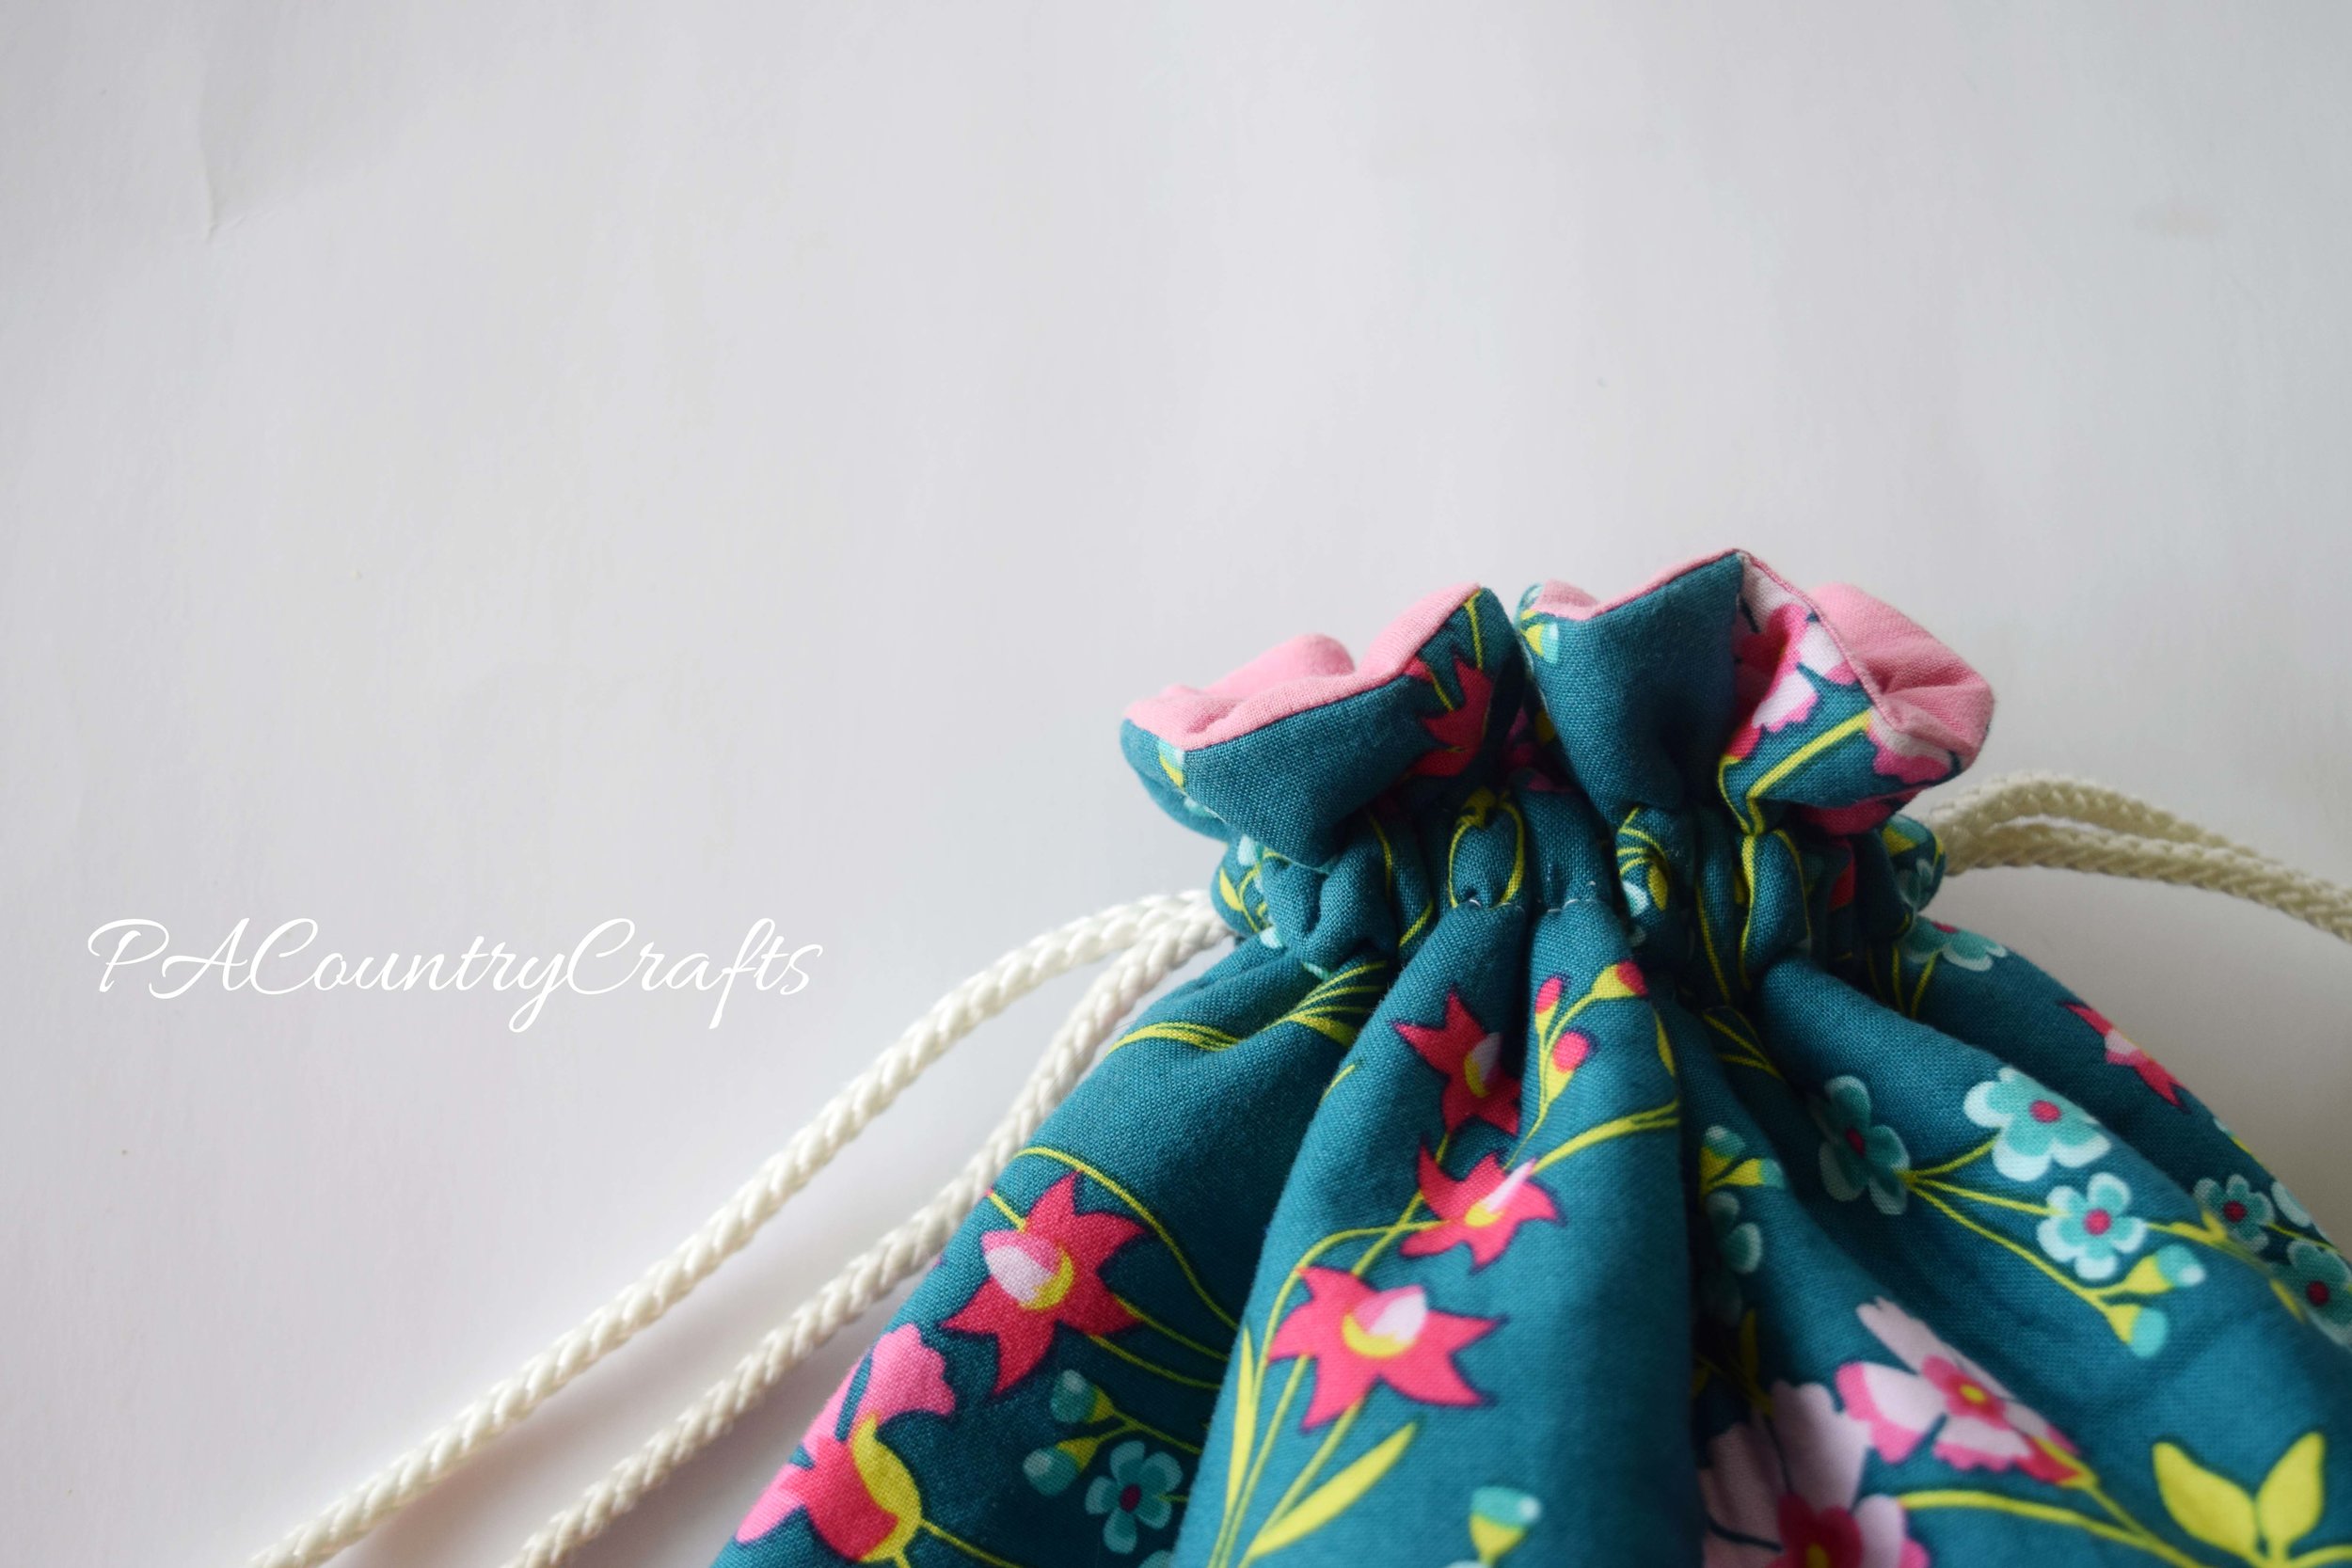
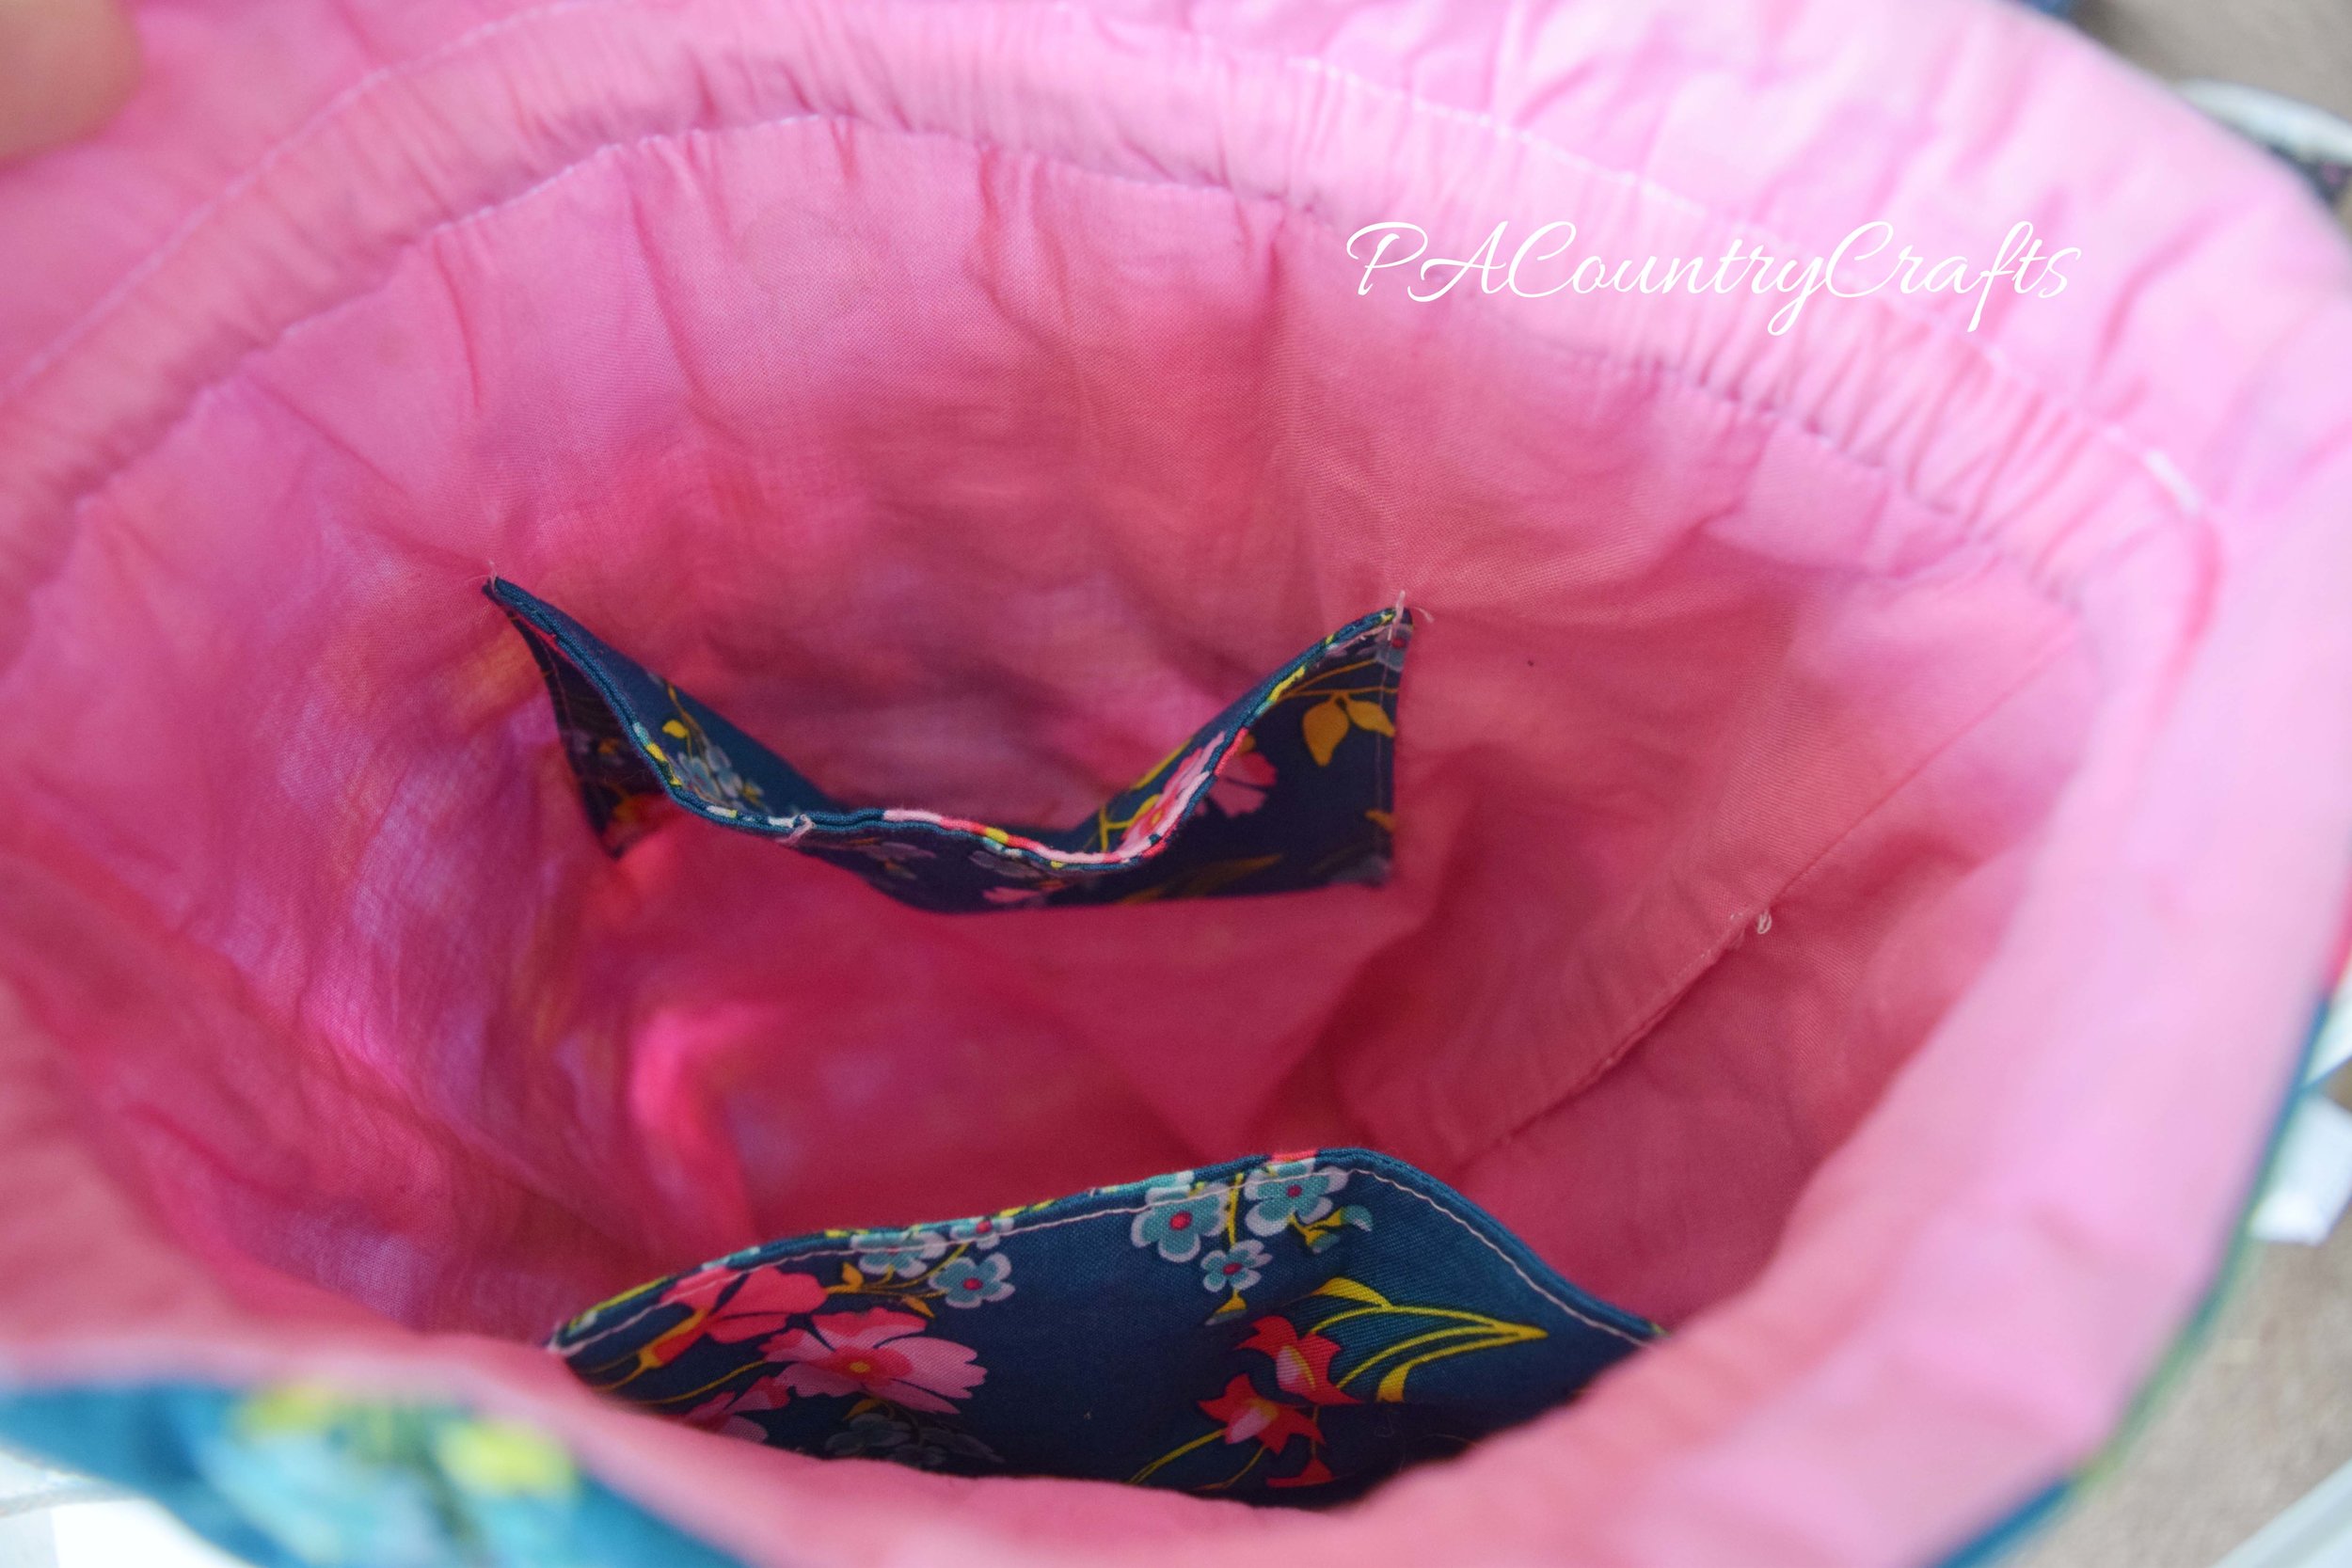
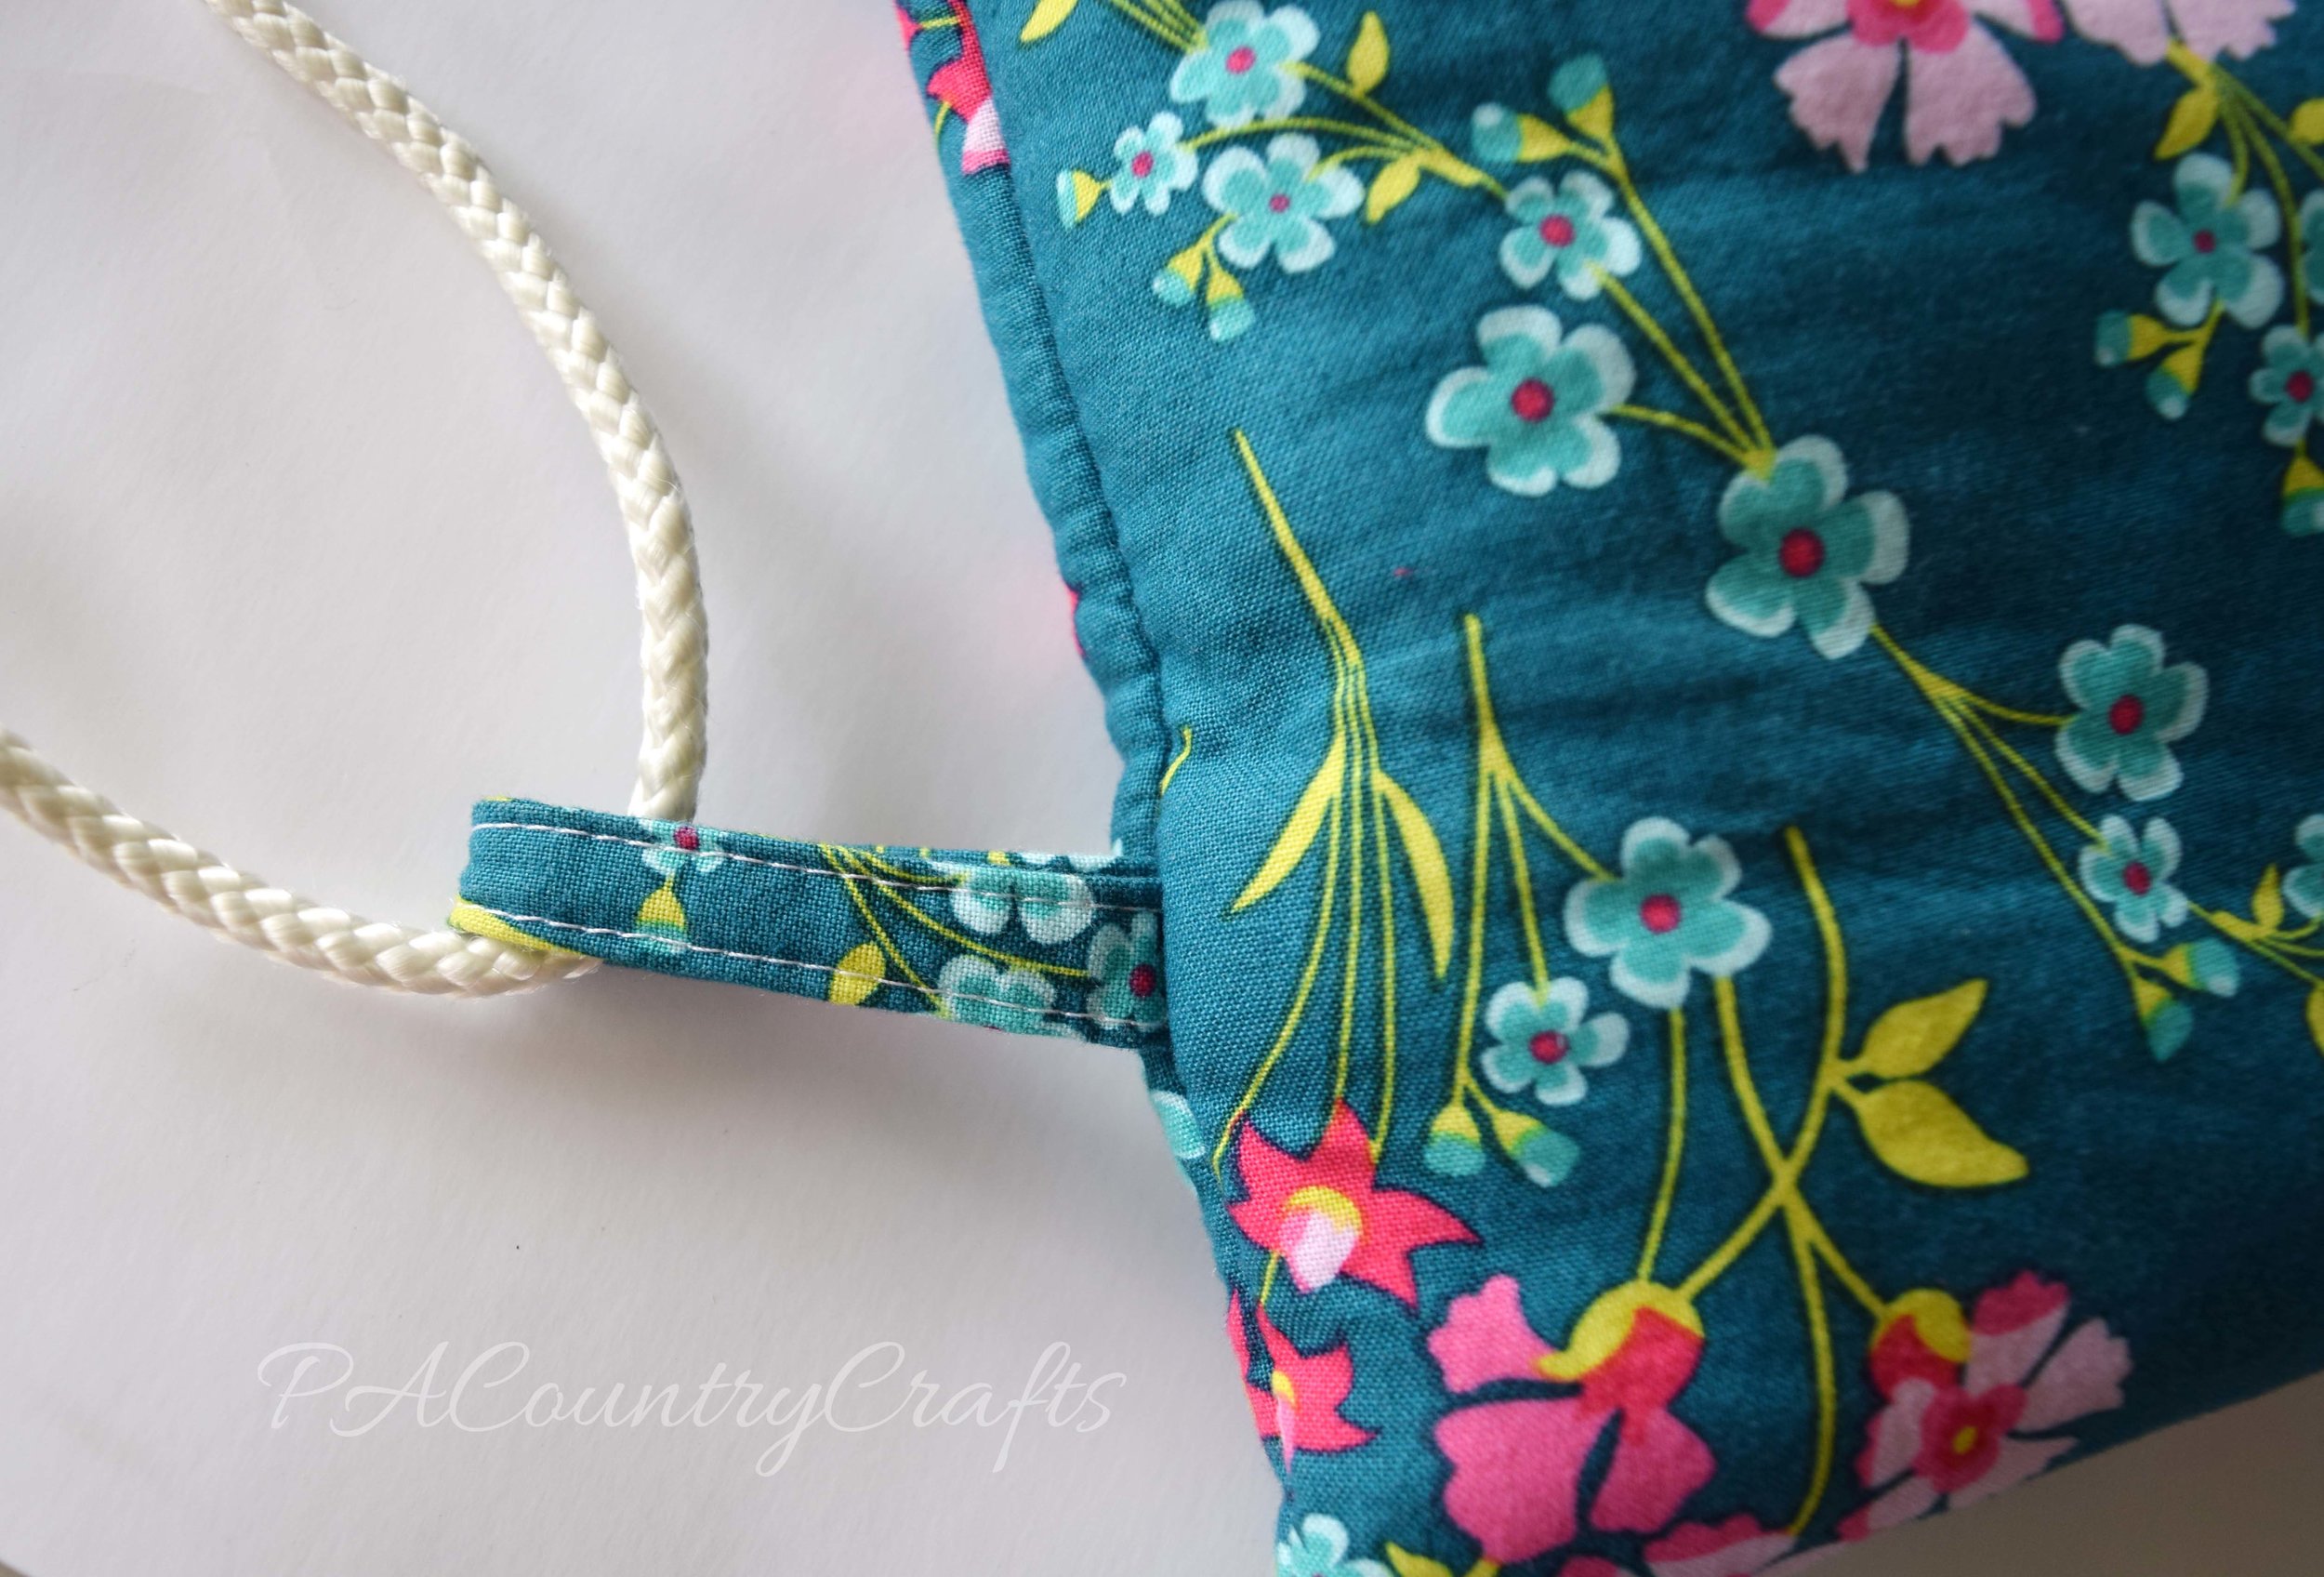
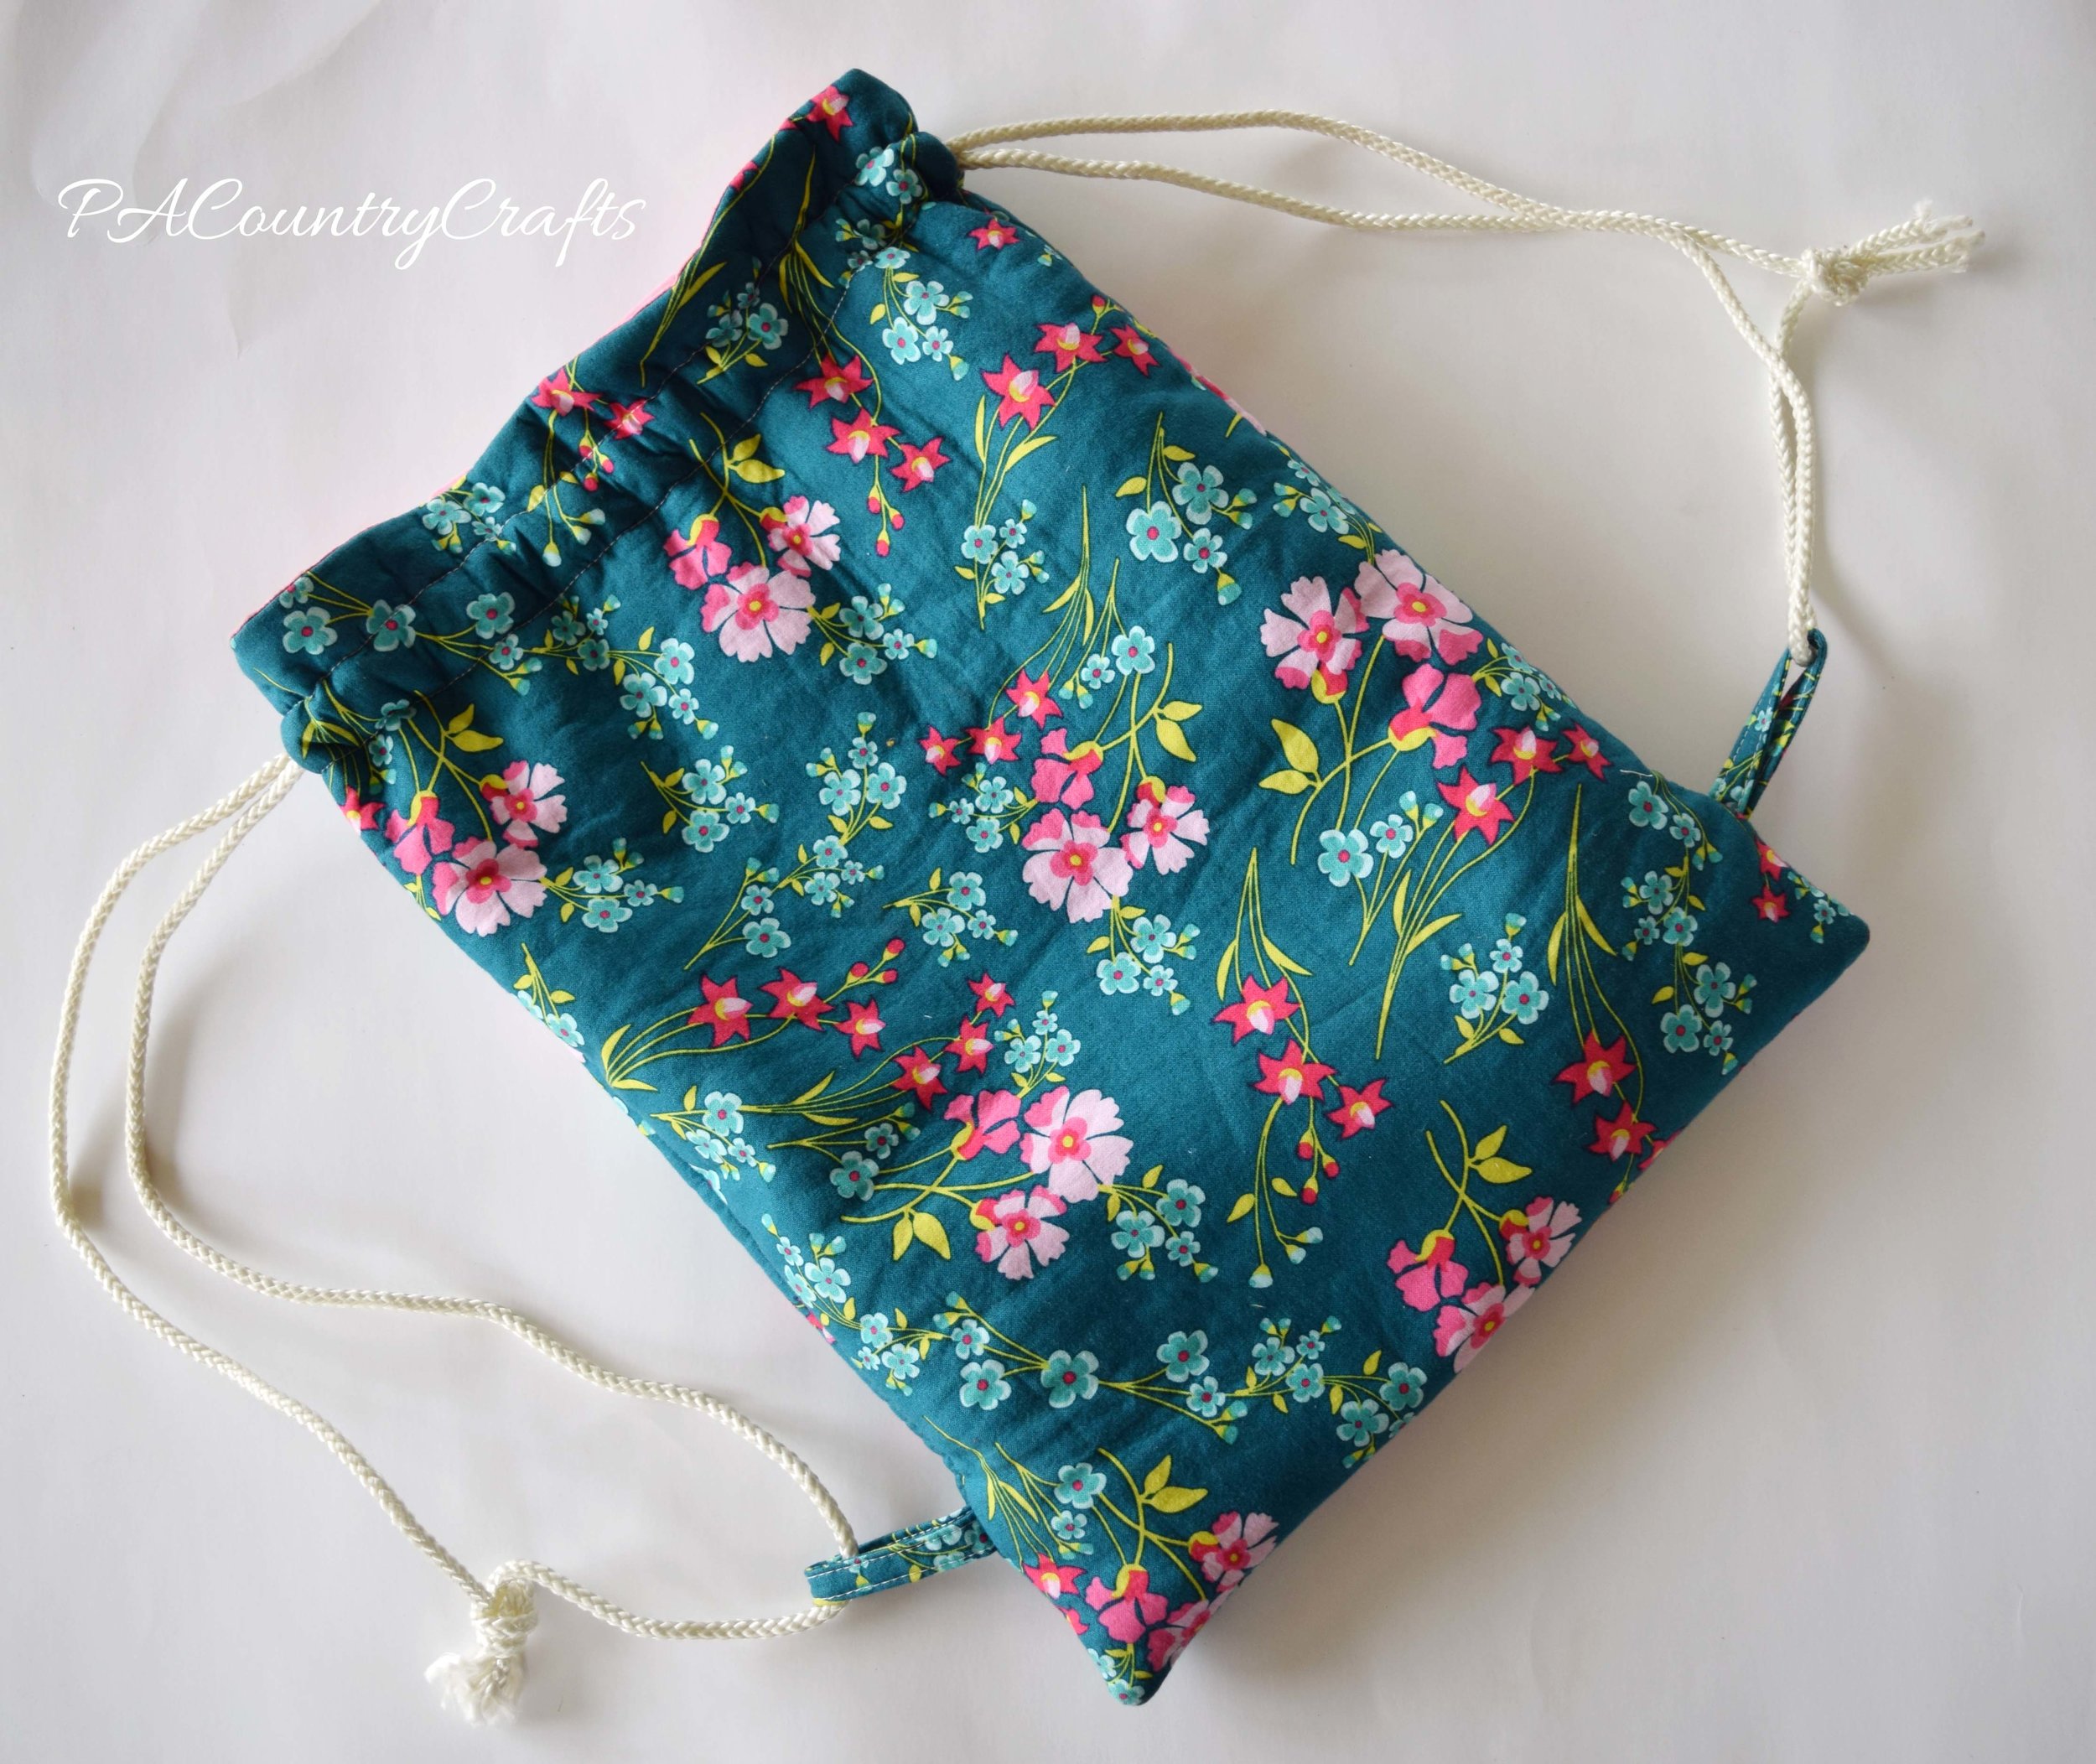
I may not blog again until school is out for the year, but I am still here and I have a lot to blog about whenever I am able to make time to write.
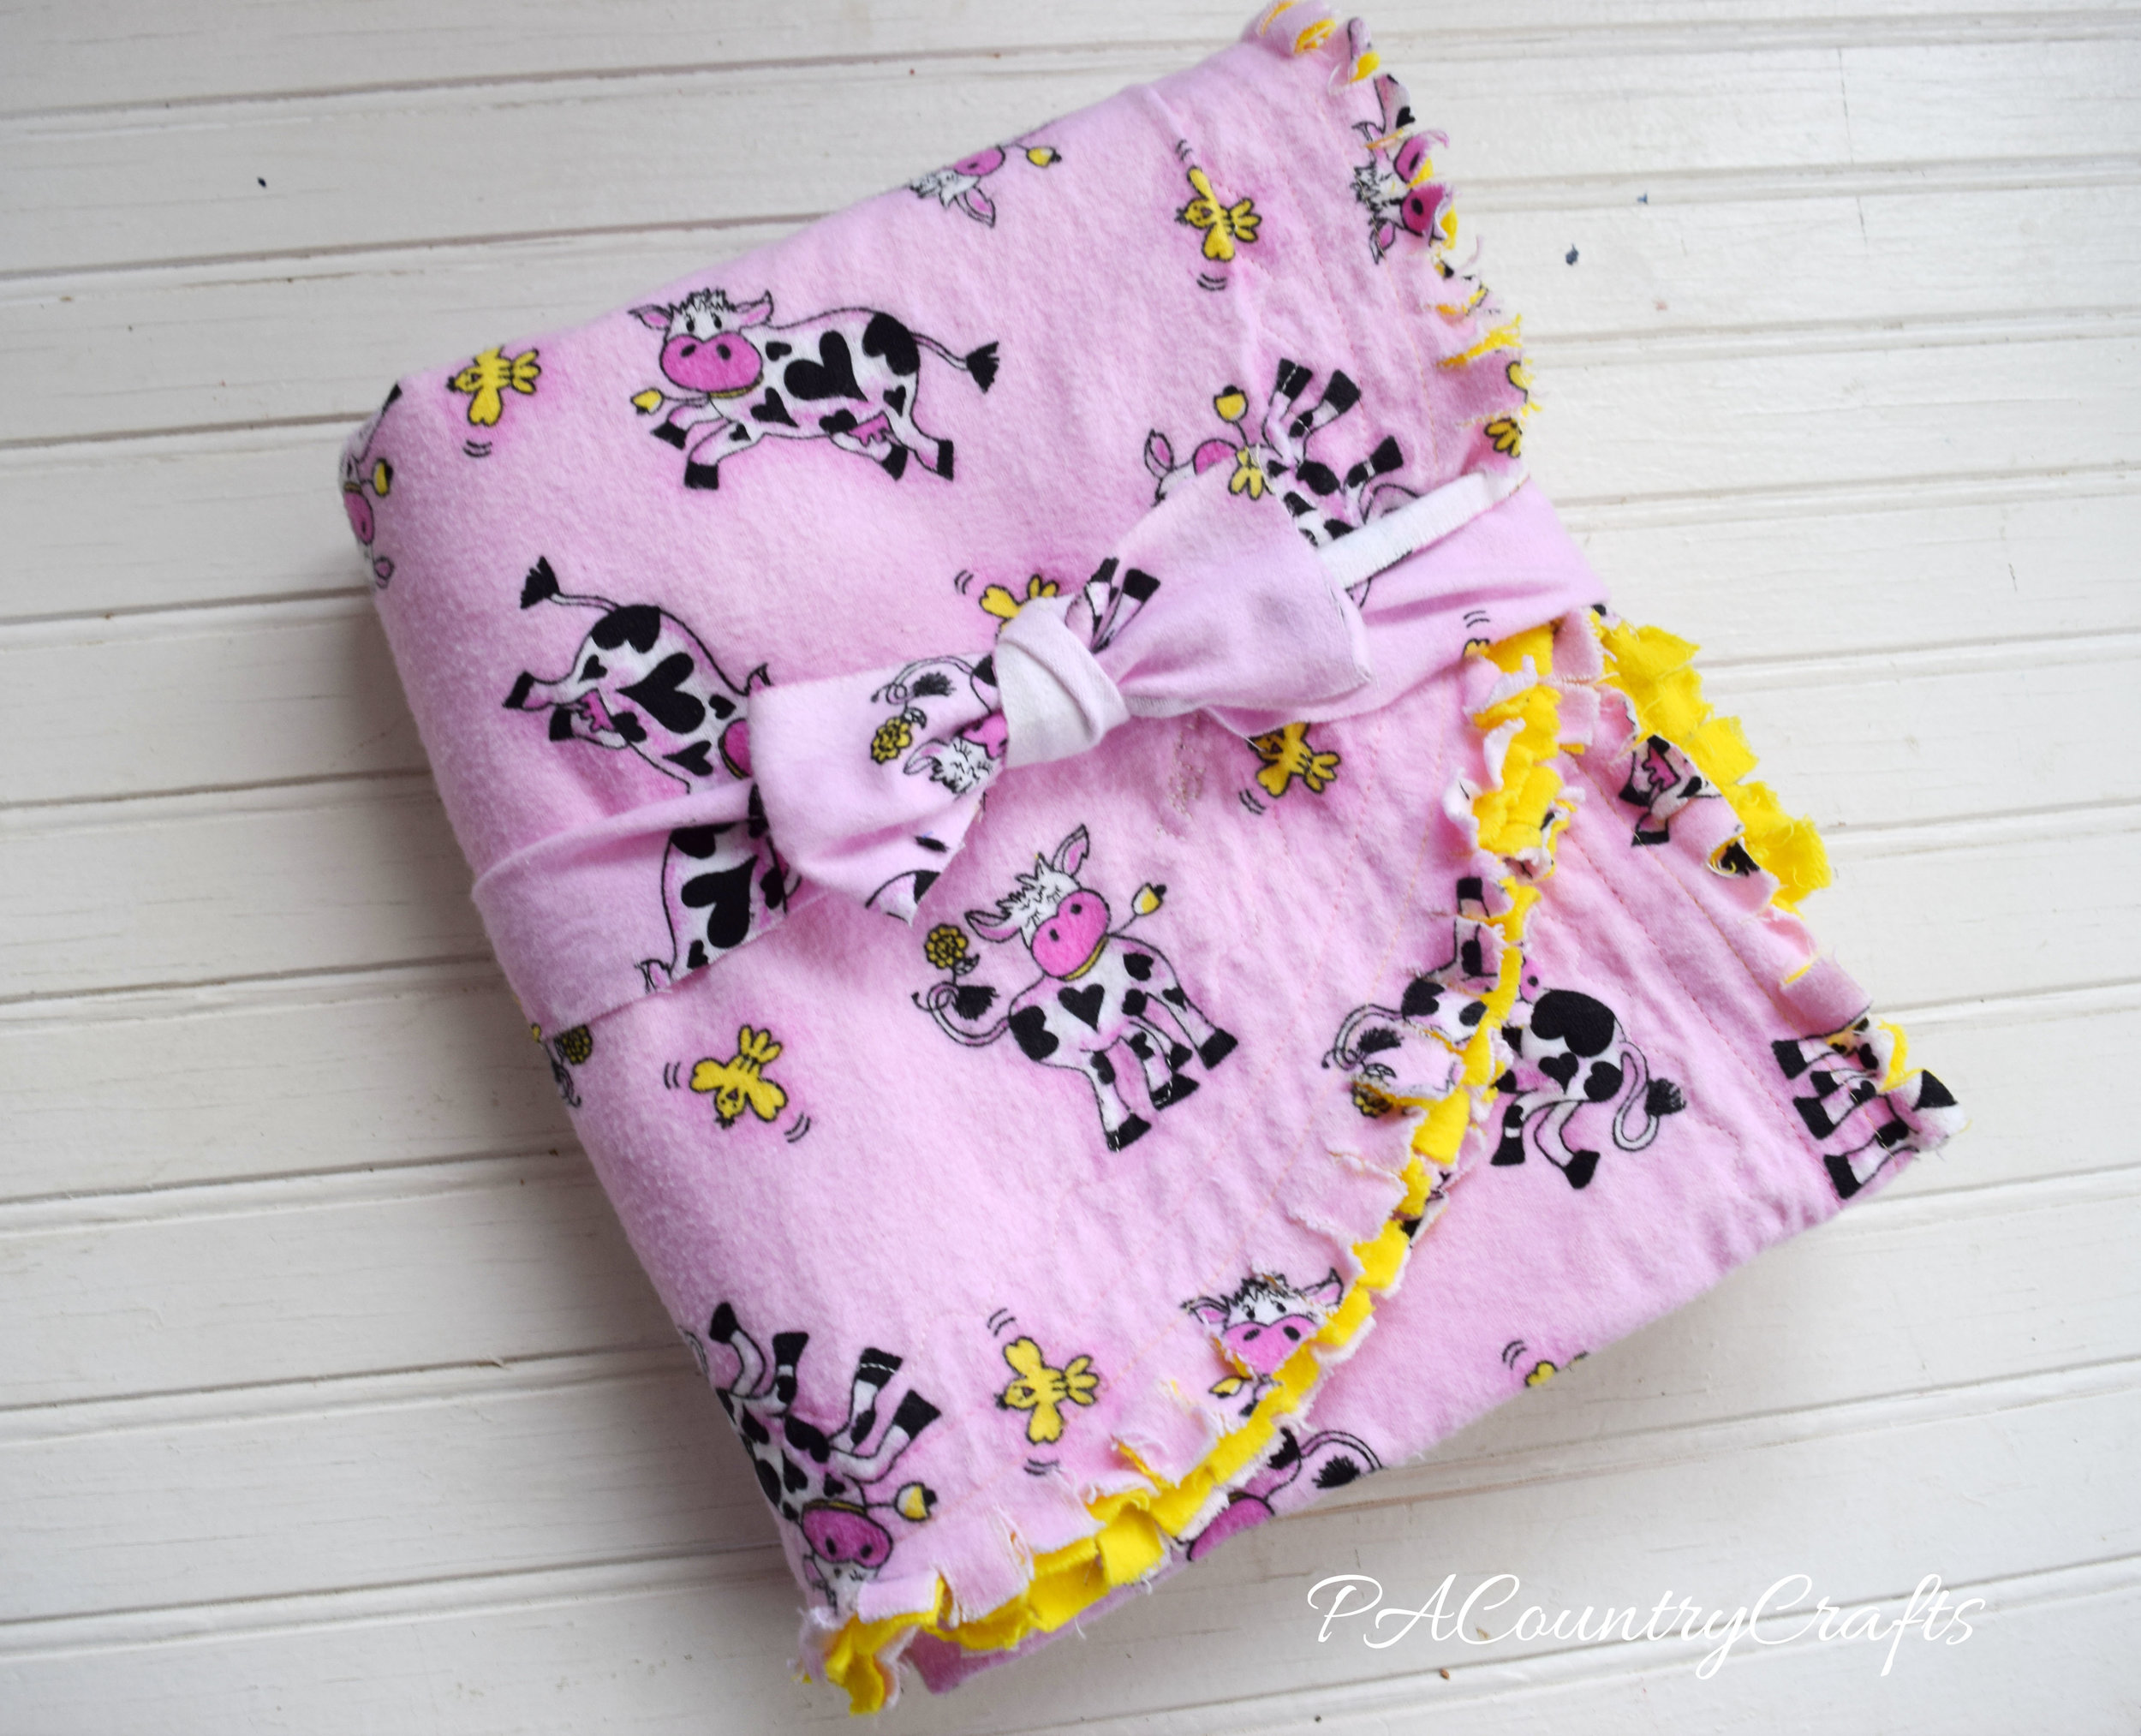
I have made it very clear that I am a procrastinator. When my sister was pregnant with her oldest, who is now 6, I bought this adorable cow flannel with plans to make her a blanket or something. It never happened.
I ended up stealing the yellow flannel and making my youngest daughter a blanket, so I still had the pink cow flannel in my stash. Since my sister has now had another baby girl, I decided to finally make her the blanket and I even tricked my niece into helping with the safety pins. Yes, on the blanket that should have been hers.
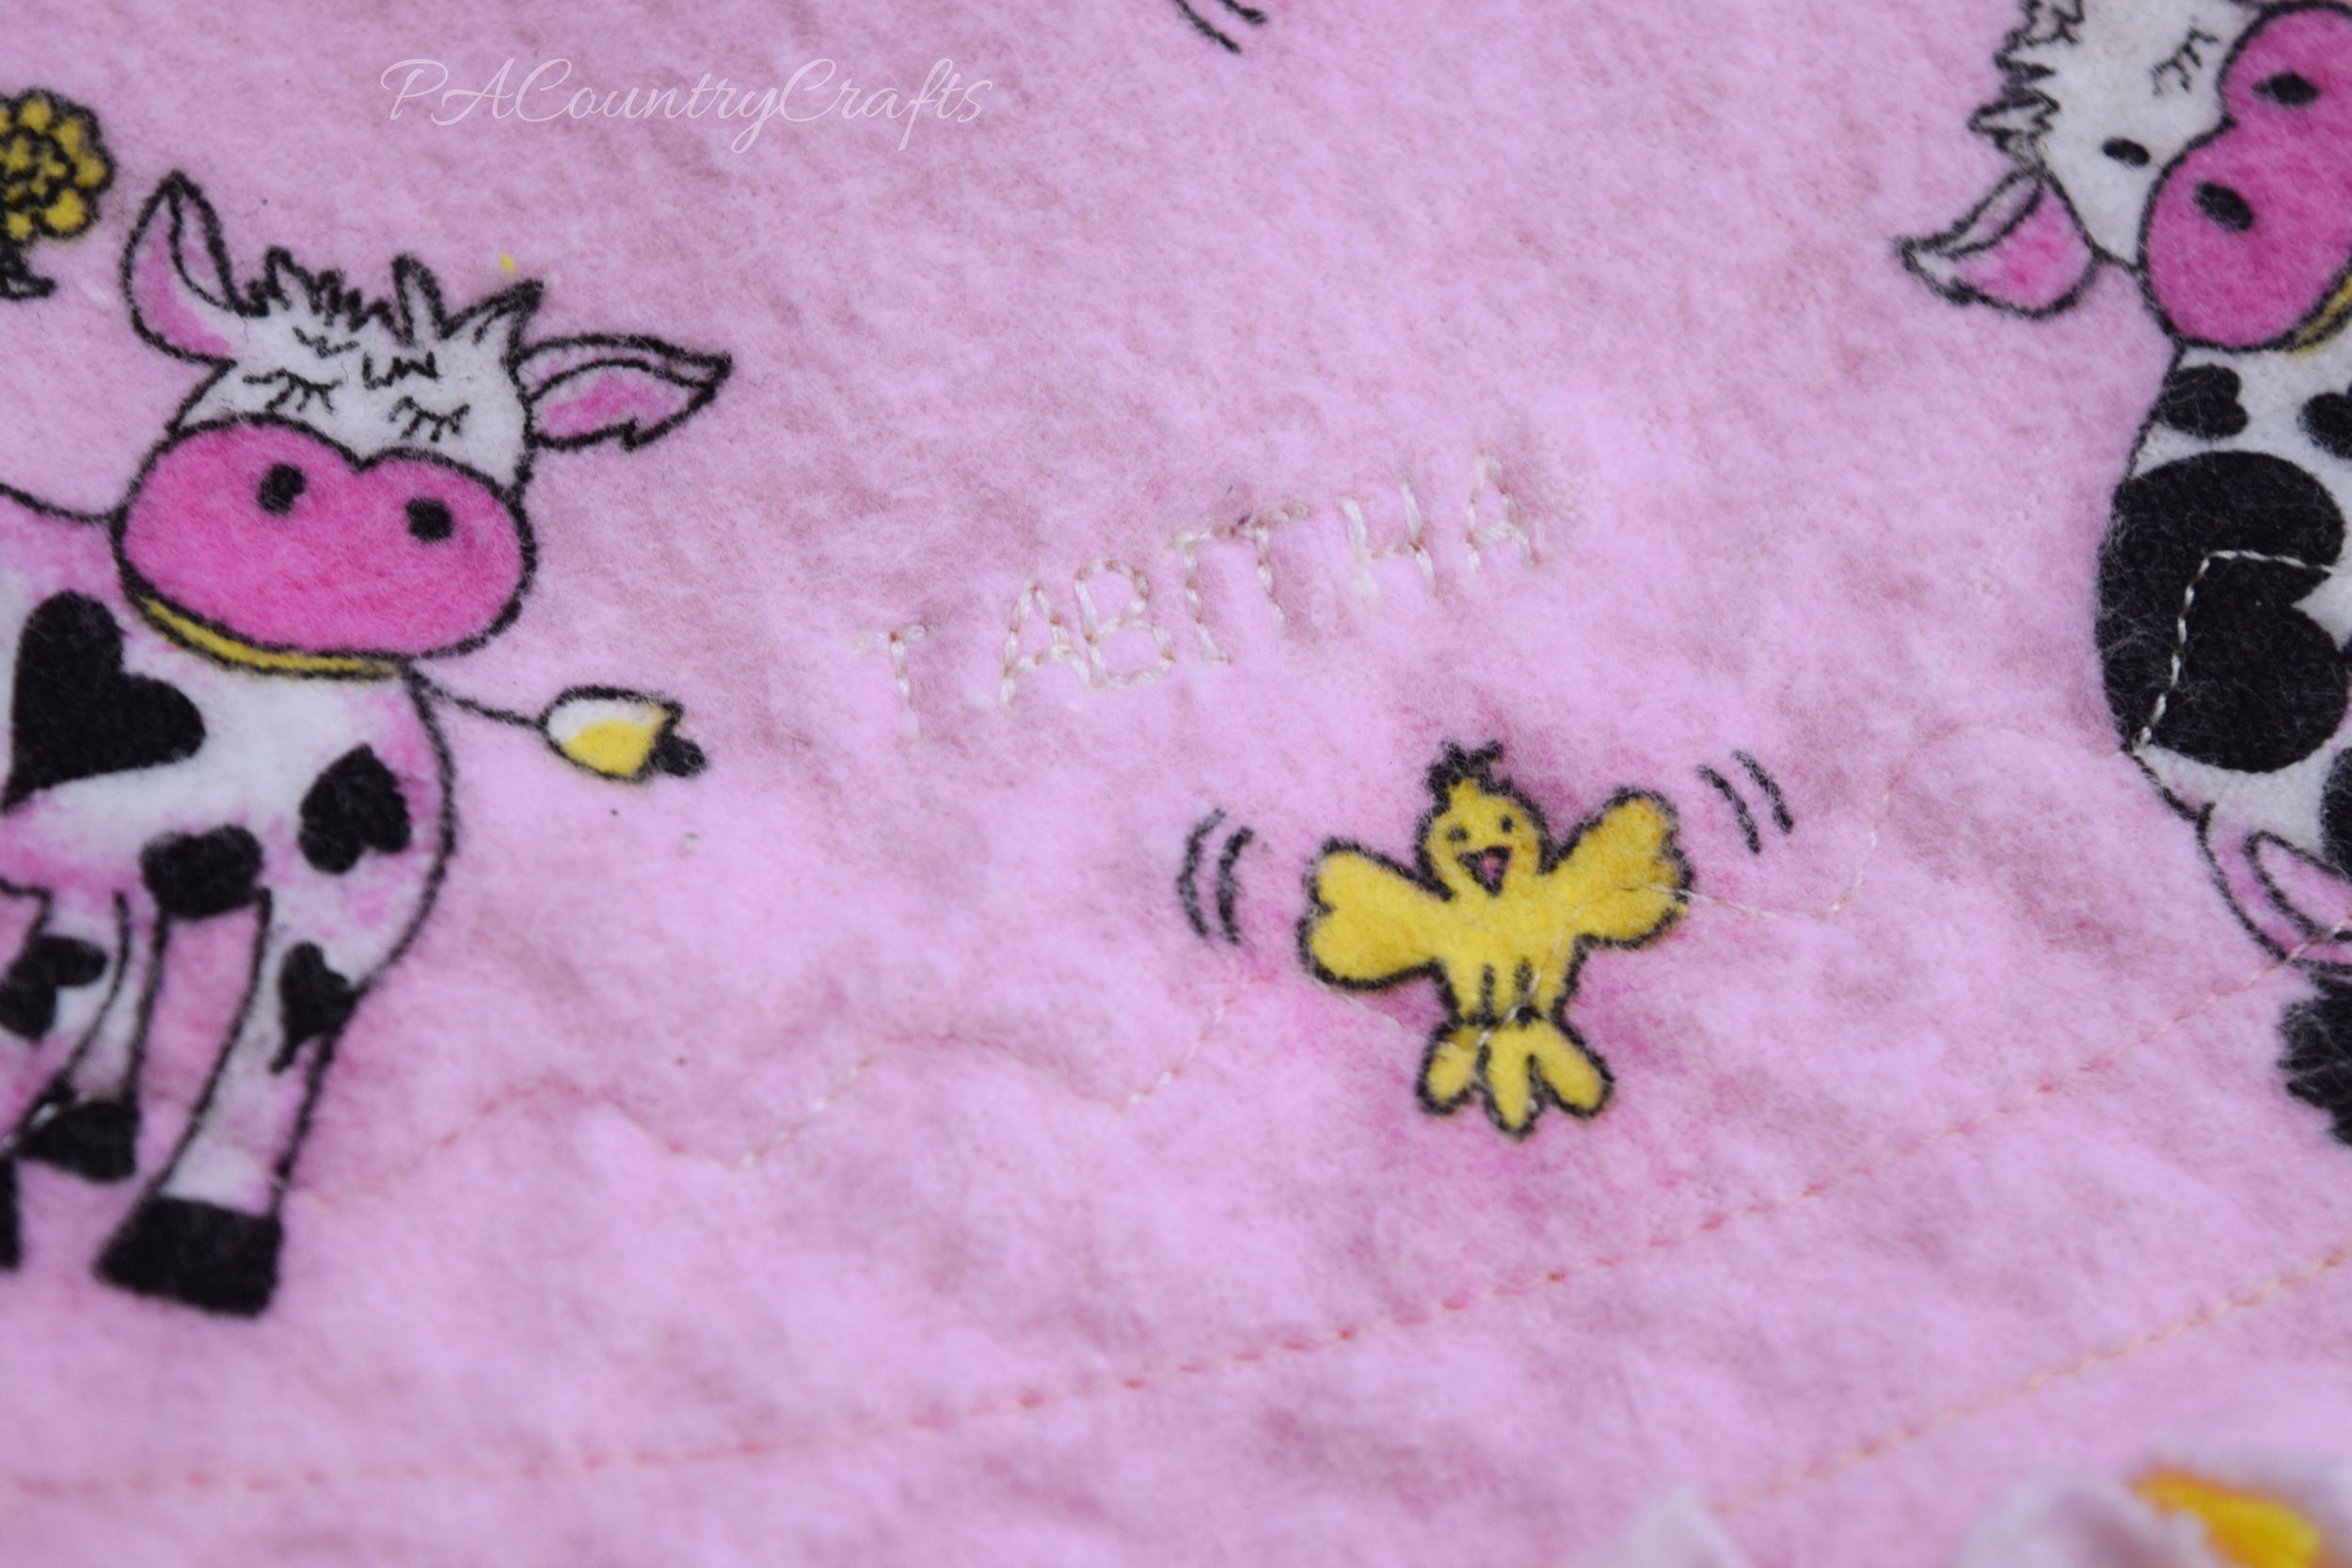
I also used my letter stitches to put her name on one corner, just because I never use those letter stitches.
I really love these blankets. They are big and such a nice in-between weight. As you can see, my blanket got a lot of use...
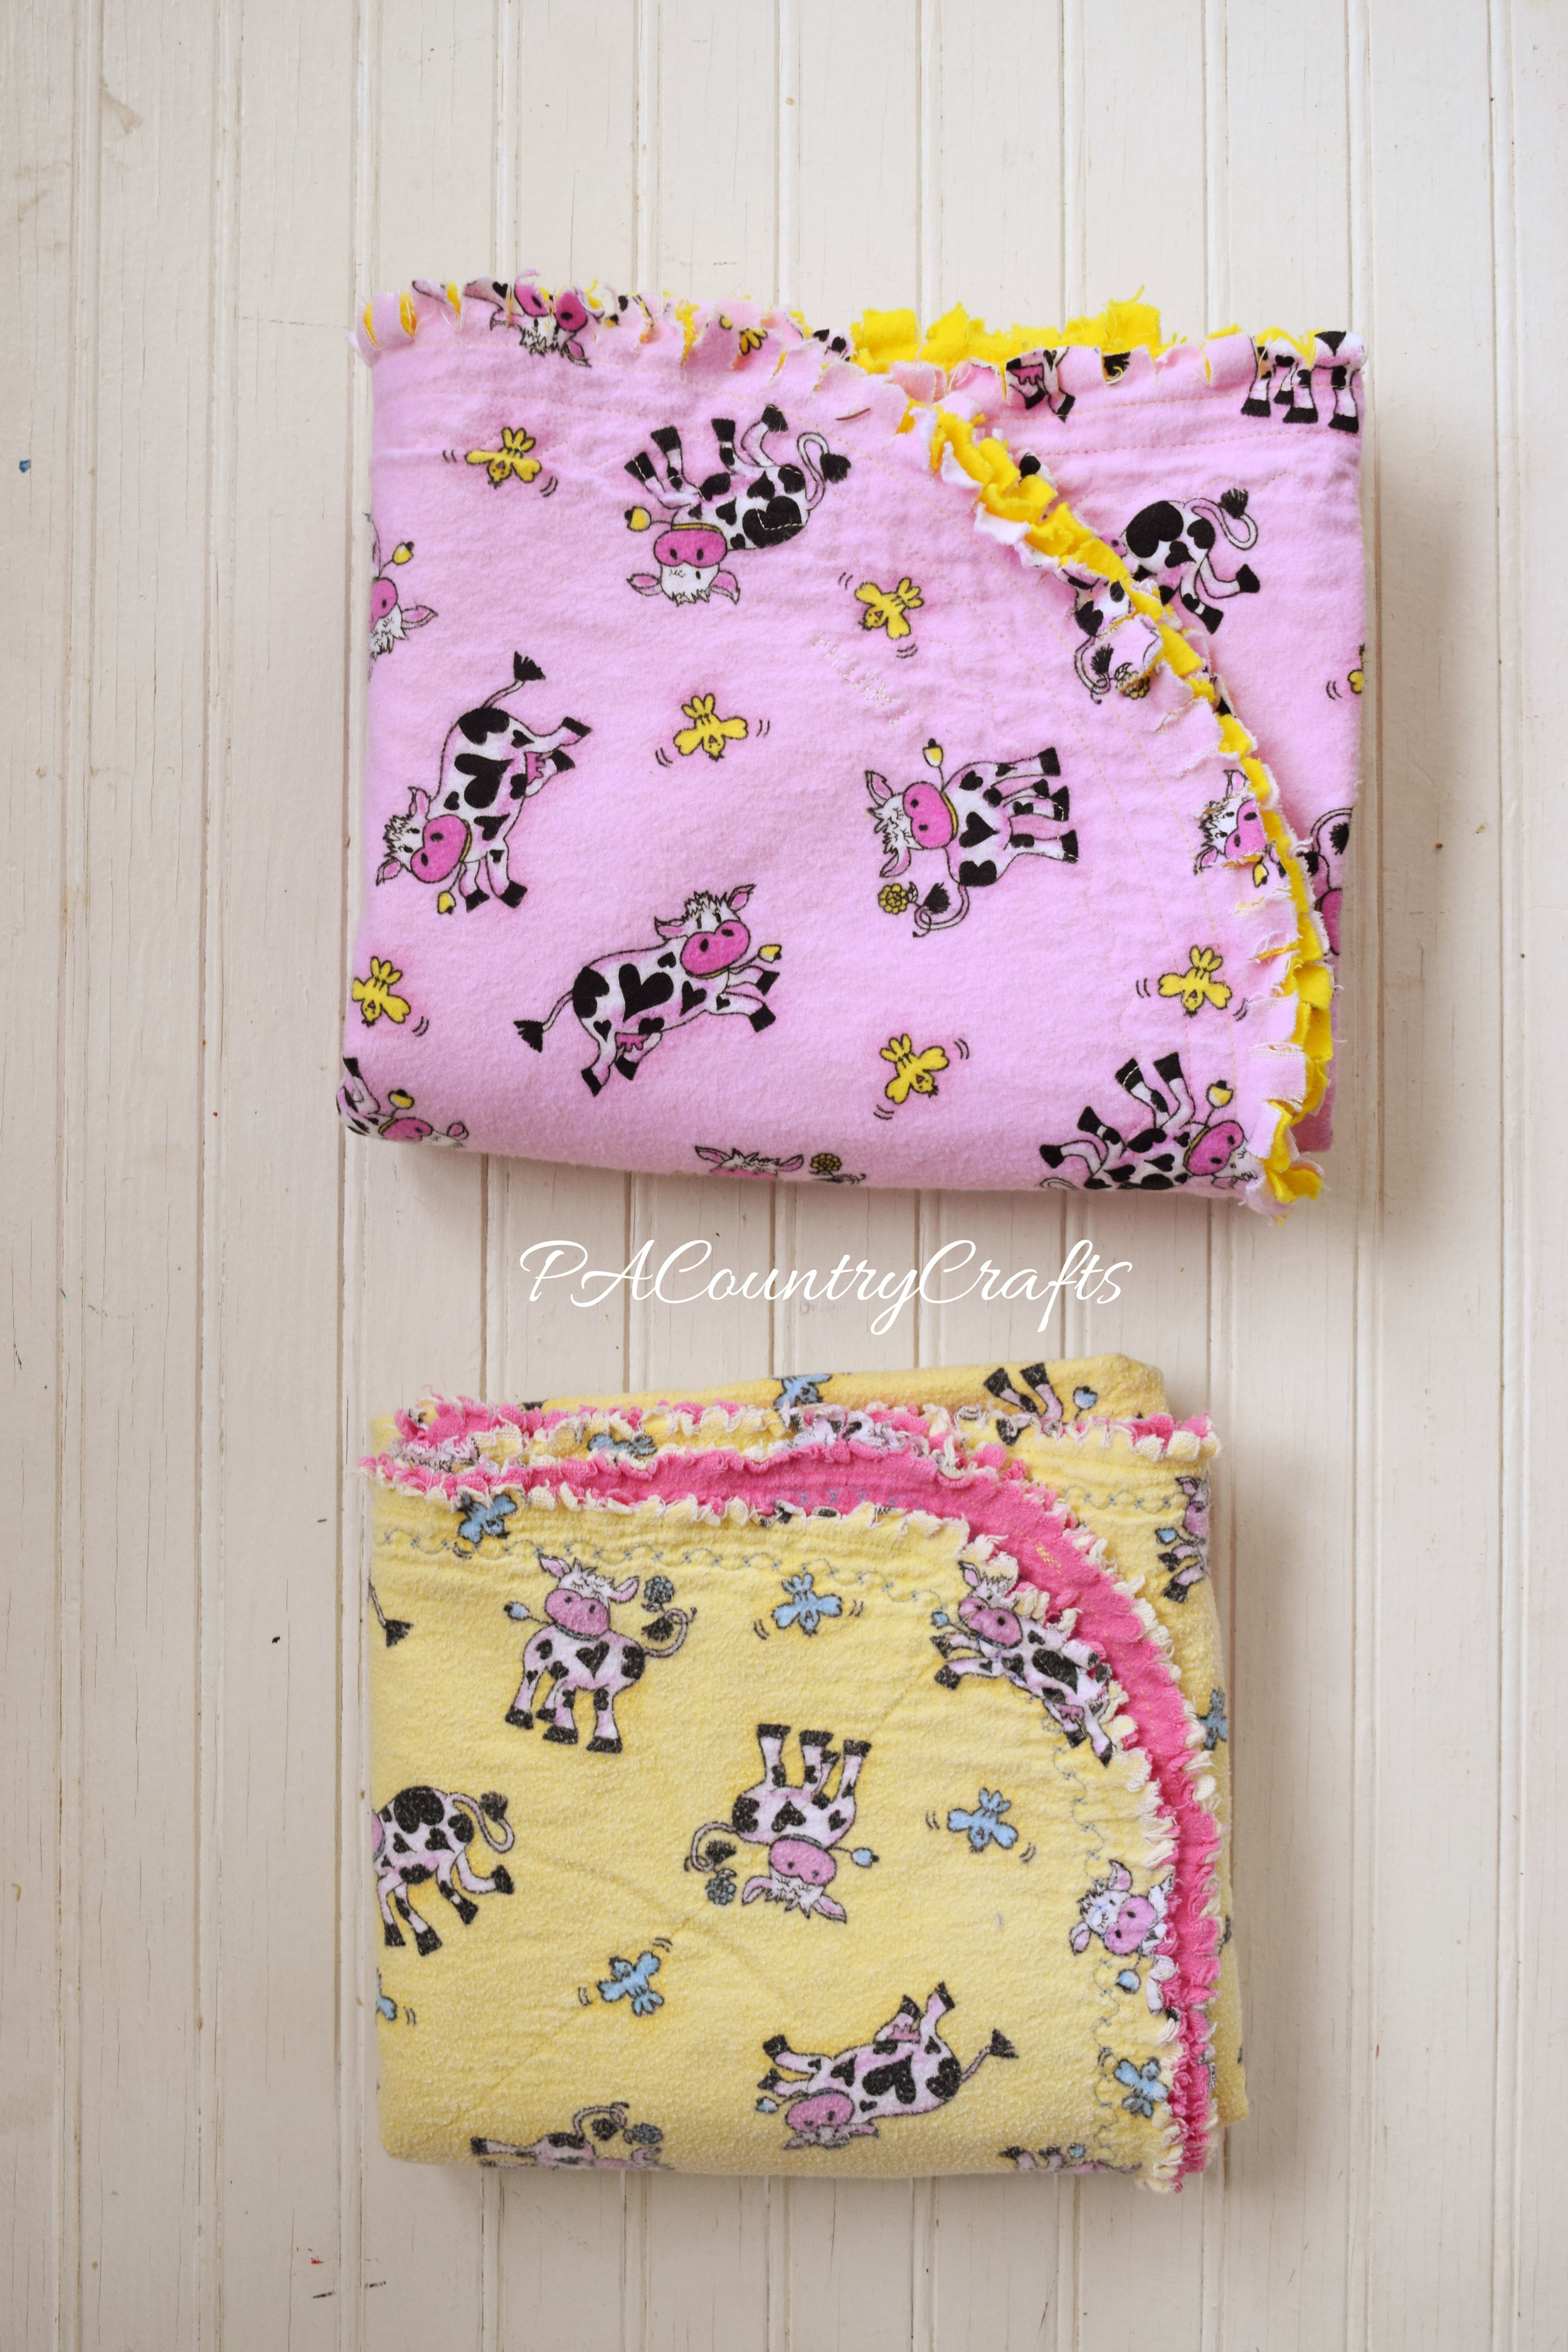
You can find my original tutorial for how I make these blankets by clicking on the picture below...
Vote for the final round of Project Run and Play Season 13 HERE!
When I found out that I was having my first daughter I went out and bought the sweetest little pink dress I have ever seen! I was so excited to get to dress her up in adorable little girl clothes! When her first Easter came a few months later, although I know that has nothing to do with the true meaning of Easter, I was super excited to go out and buy another pretty new dress- this time in yellow. My life has been overflowingly full of sweet little girly things for the last 13 years!
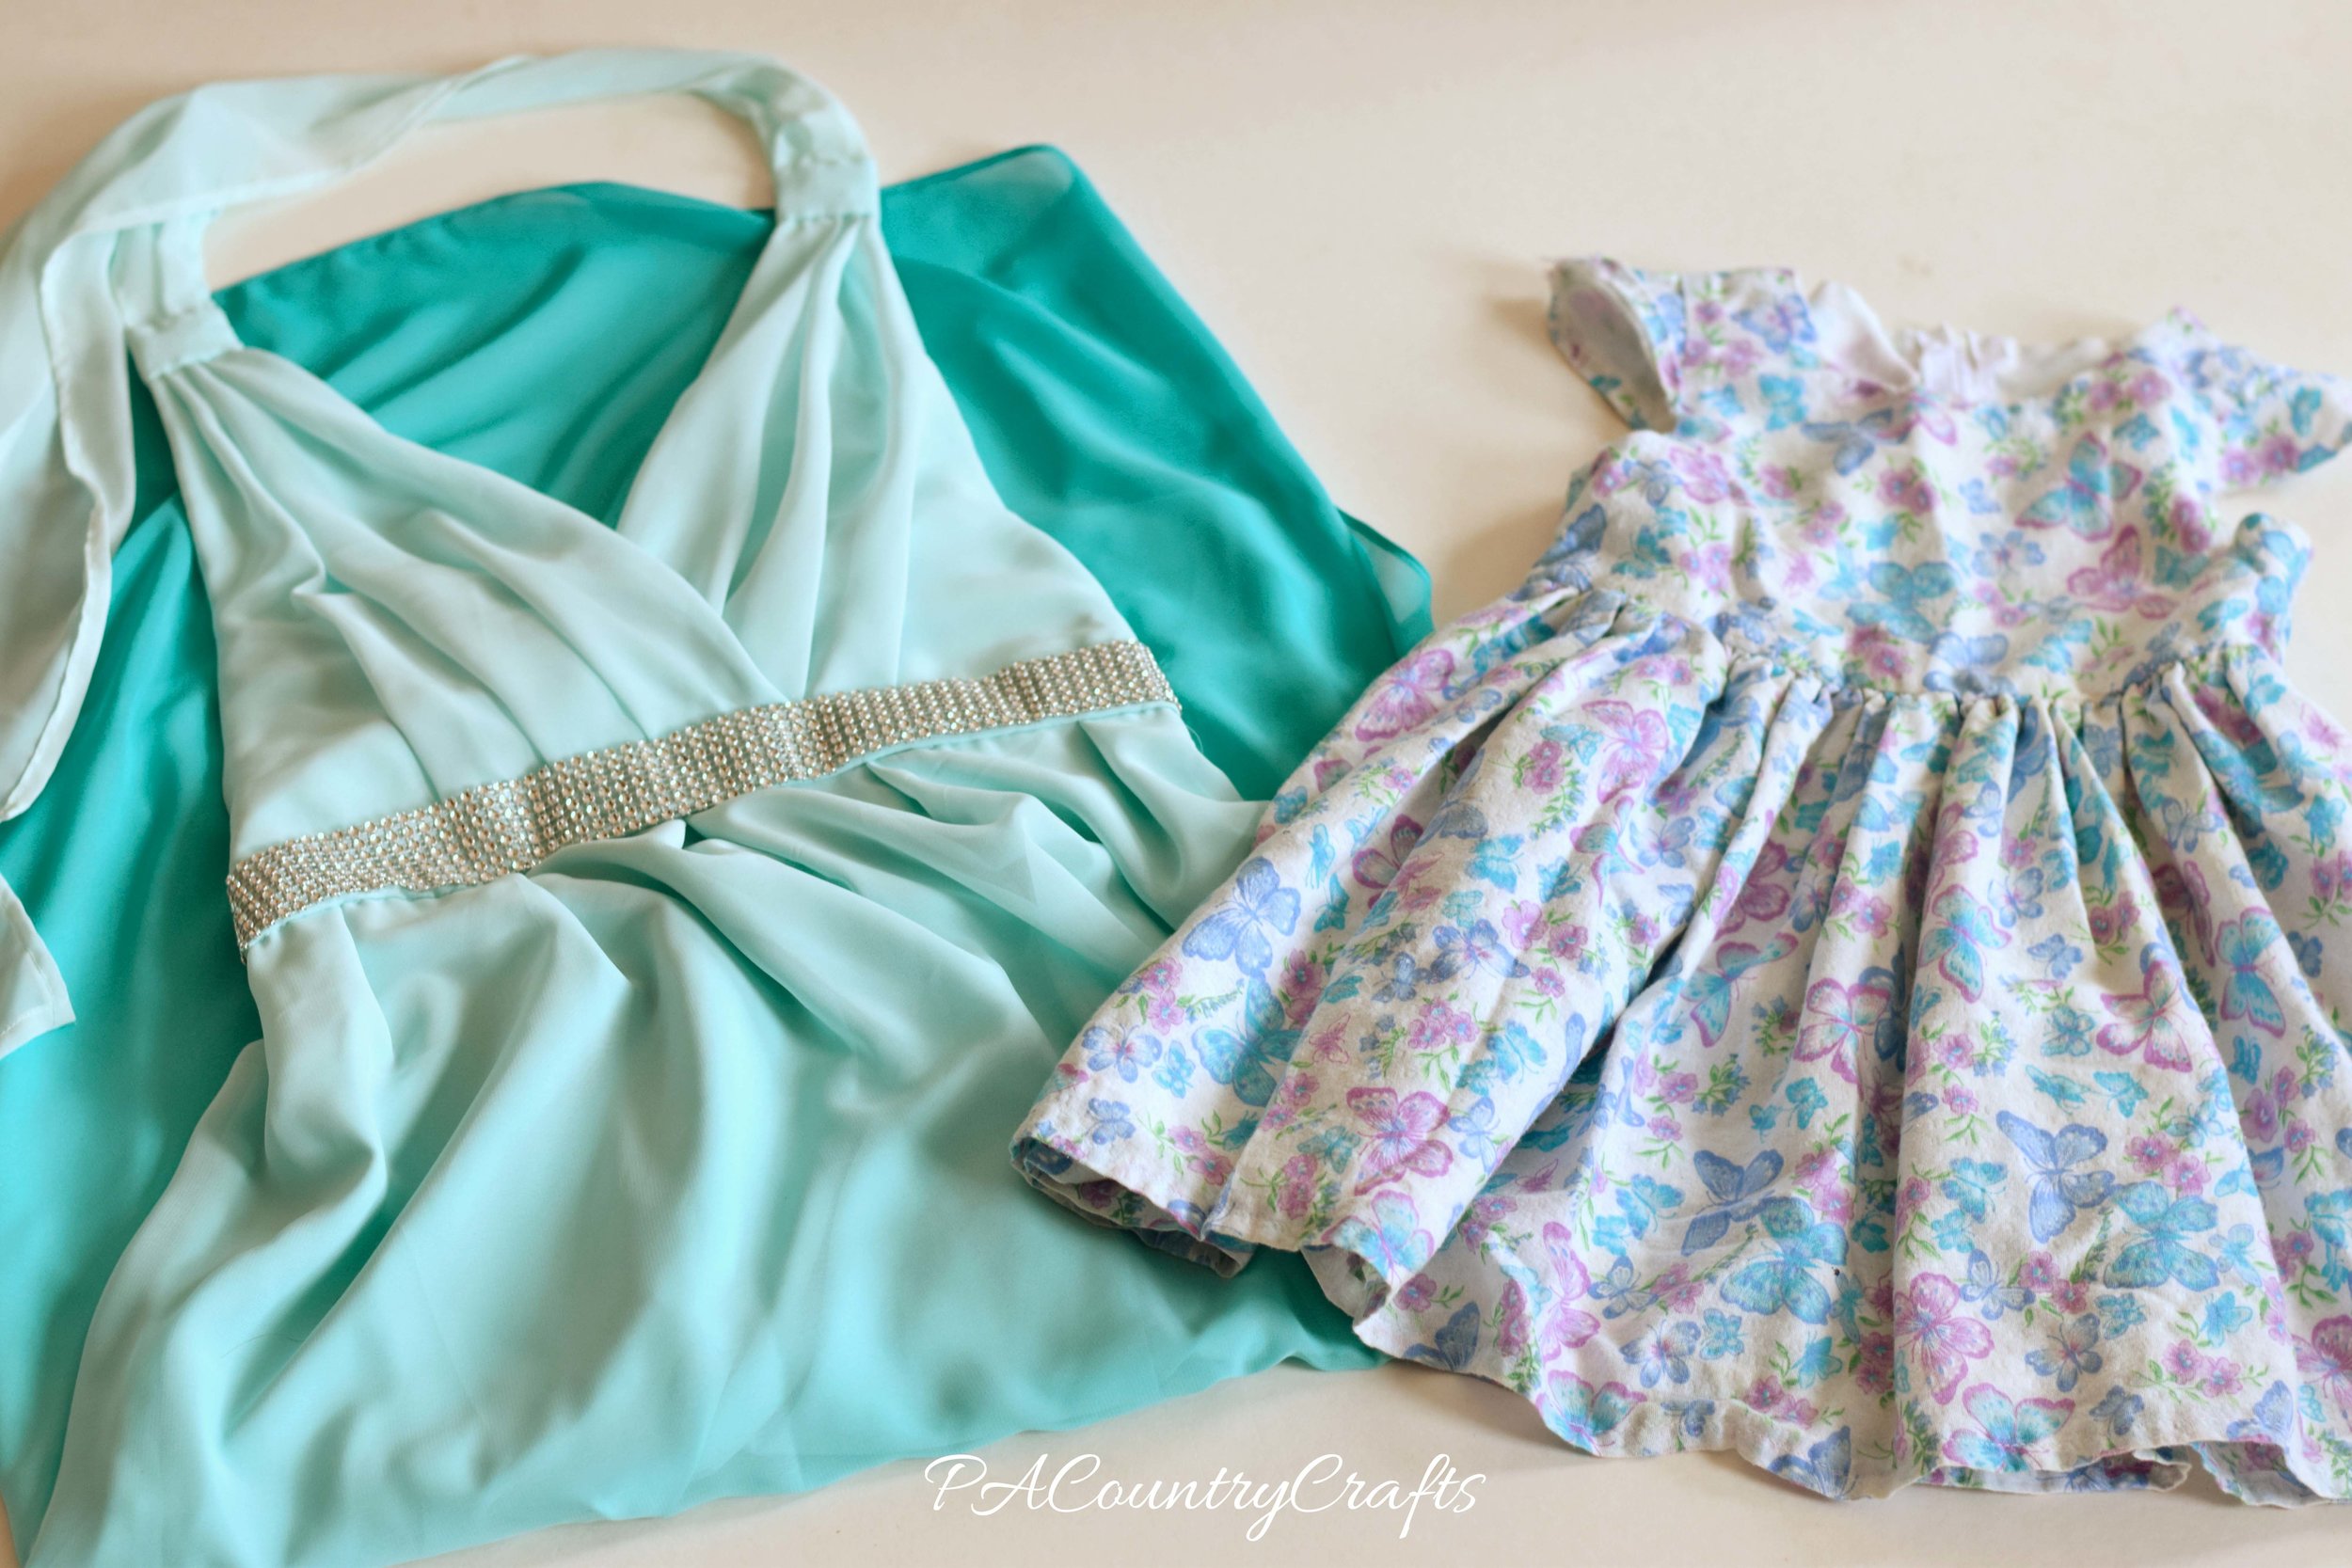
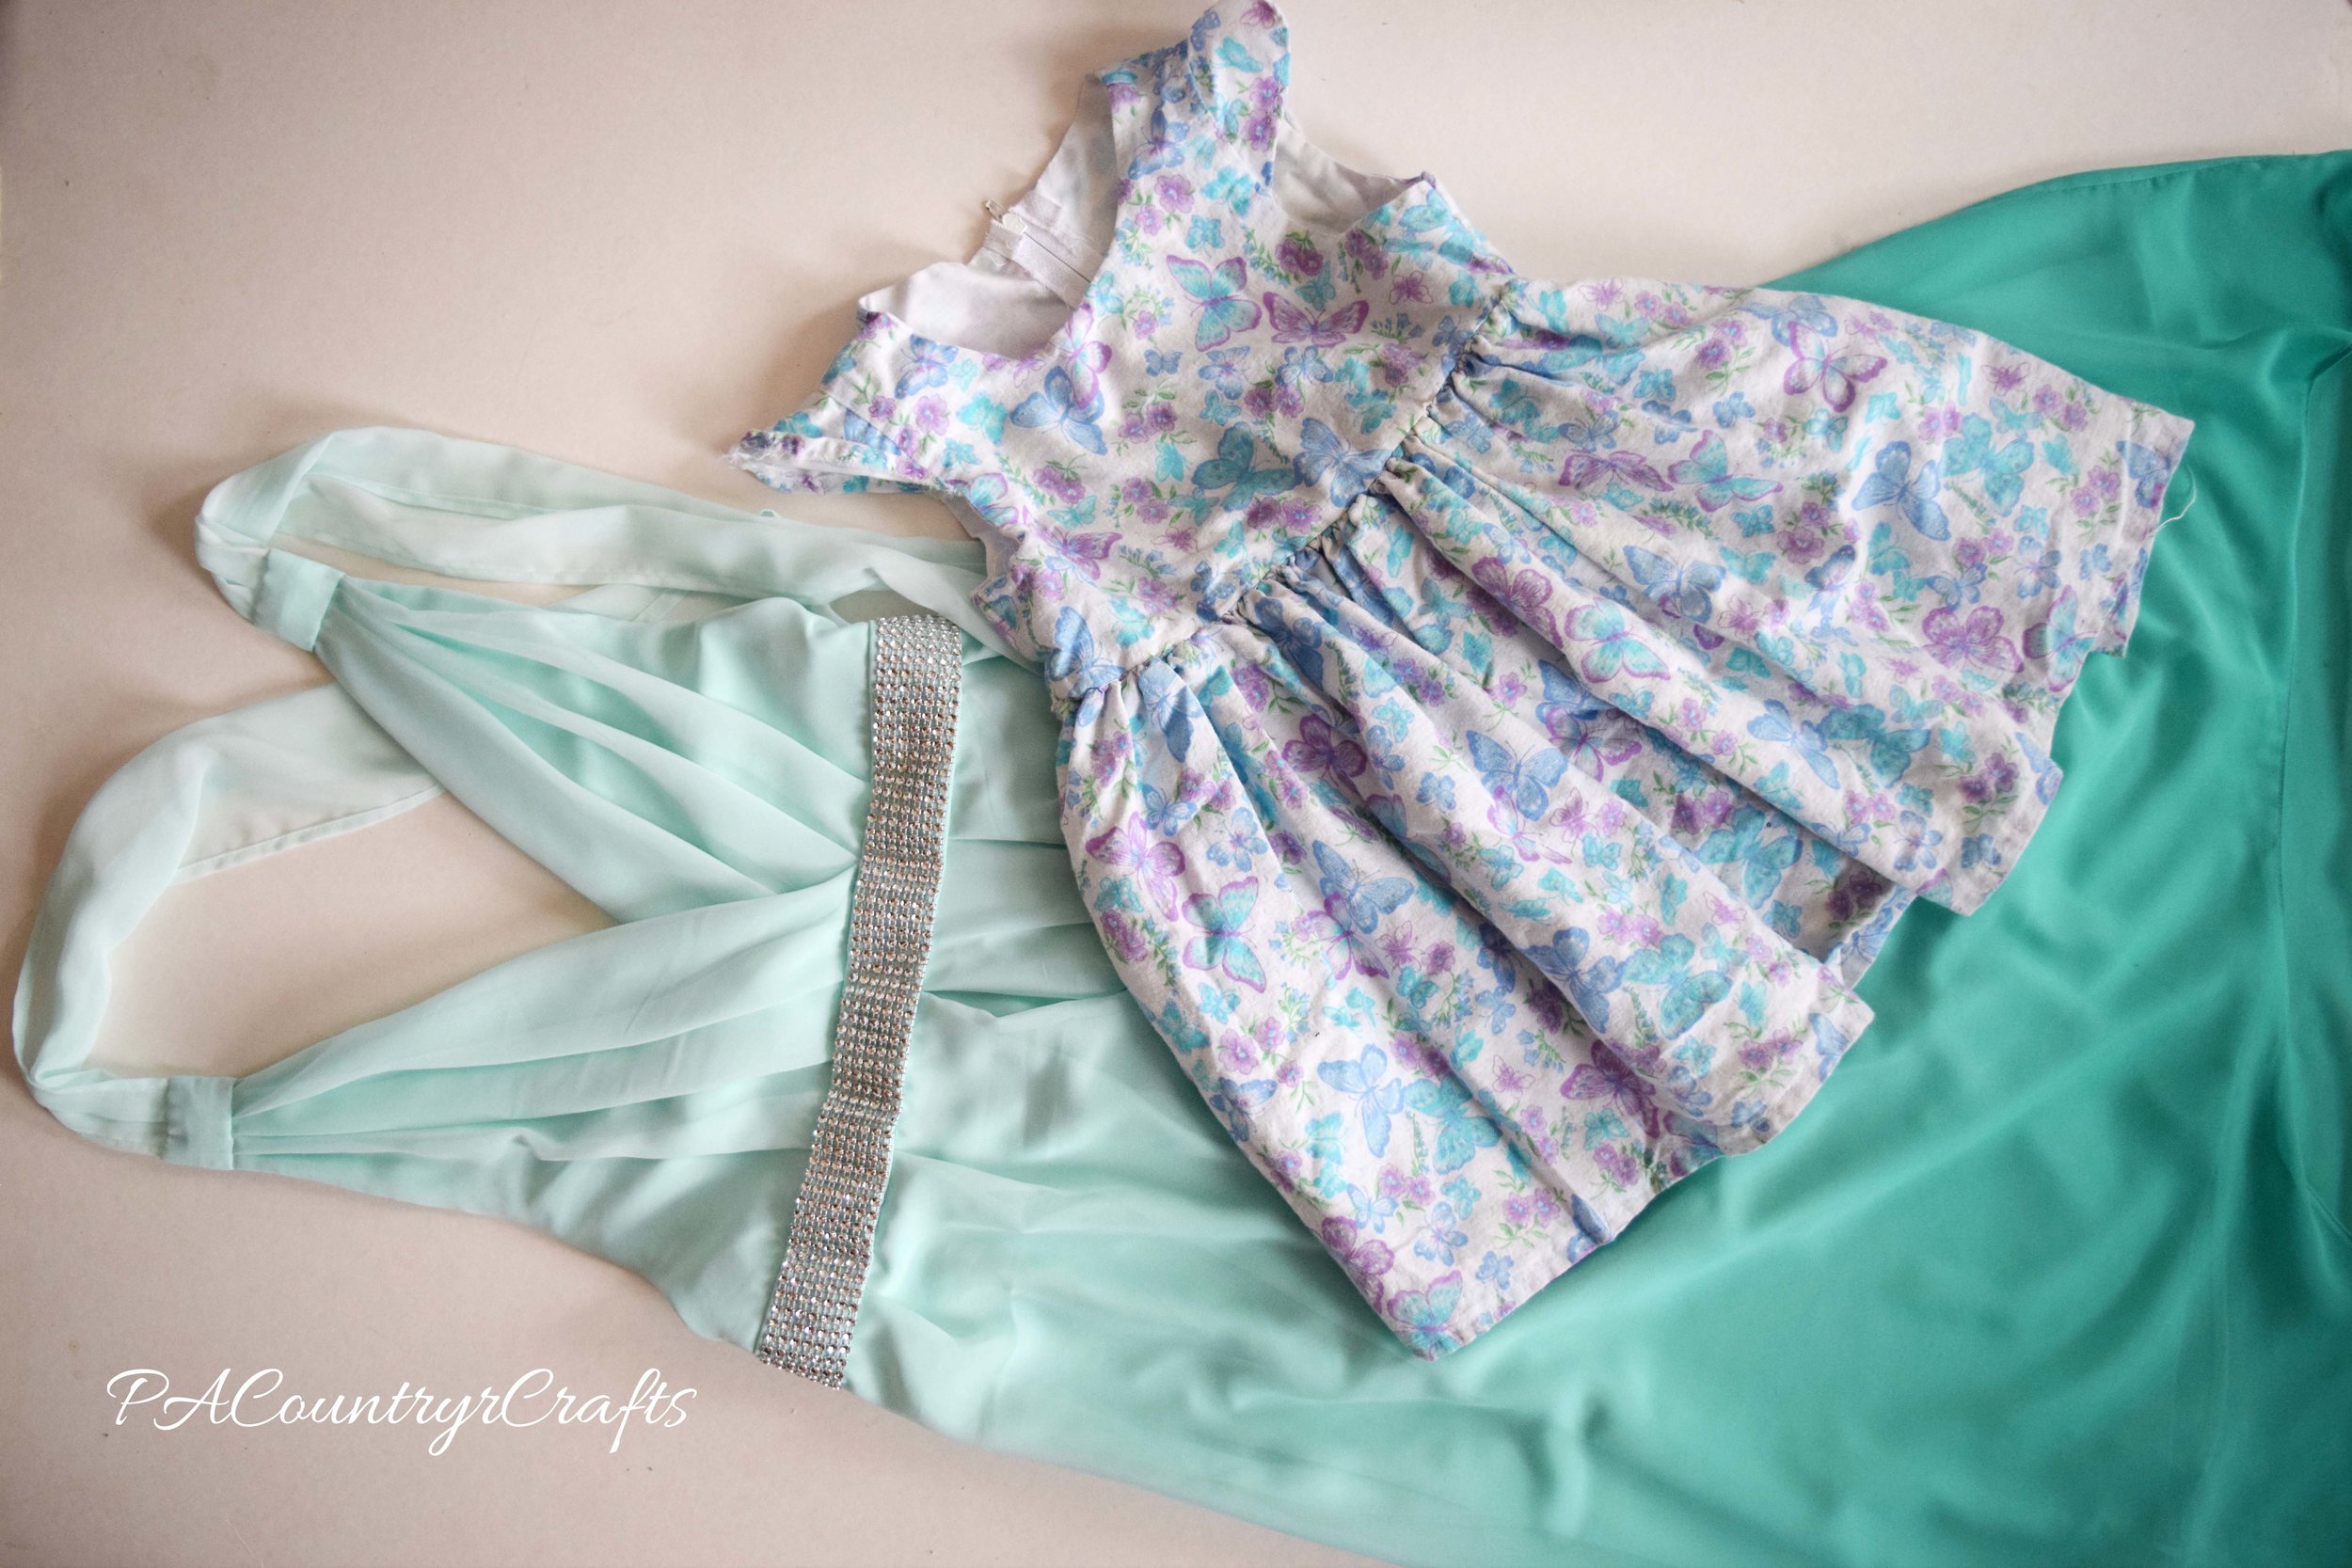
By the time her second Easter came, I was ready to try something different! My mother-in-law sewed coordinating Easter dresses for her girls and I thought that was a nice tradition. I was adjusting to being a stay at home mom and sewing was a good mental challenge for me, too. I went to Walmart and bought a pattern and some pretty purple and blue butterfly fabric that matched the basket I had made for her first Easter. I struggled so much with that pattern and I called my sister-in-law to ask a lot of questions. (Google wasn't much help back then because craft blogs hadn't taken off and we had dial-up so it was faster to use the telephone.) She showed me how to cut a pattern out and how to do gathering stitches. I really had NO idea what I was doing! When I put the cap sleeve in, I was confused because the directions had me sew the end that was going into the arm hole. No, I just put it in backwards! I hemmed the sleeves by hand because I didn't figure out what I did wrong until years later. The zipper is awful and I didn't finish the waist inside, but that dress has been worn by five girls and has lasted 12 years. I was so proud of myself when she wore that first dress, and the sizing was terrible so she was able to wear it for a few years, too!
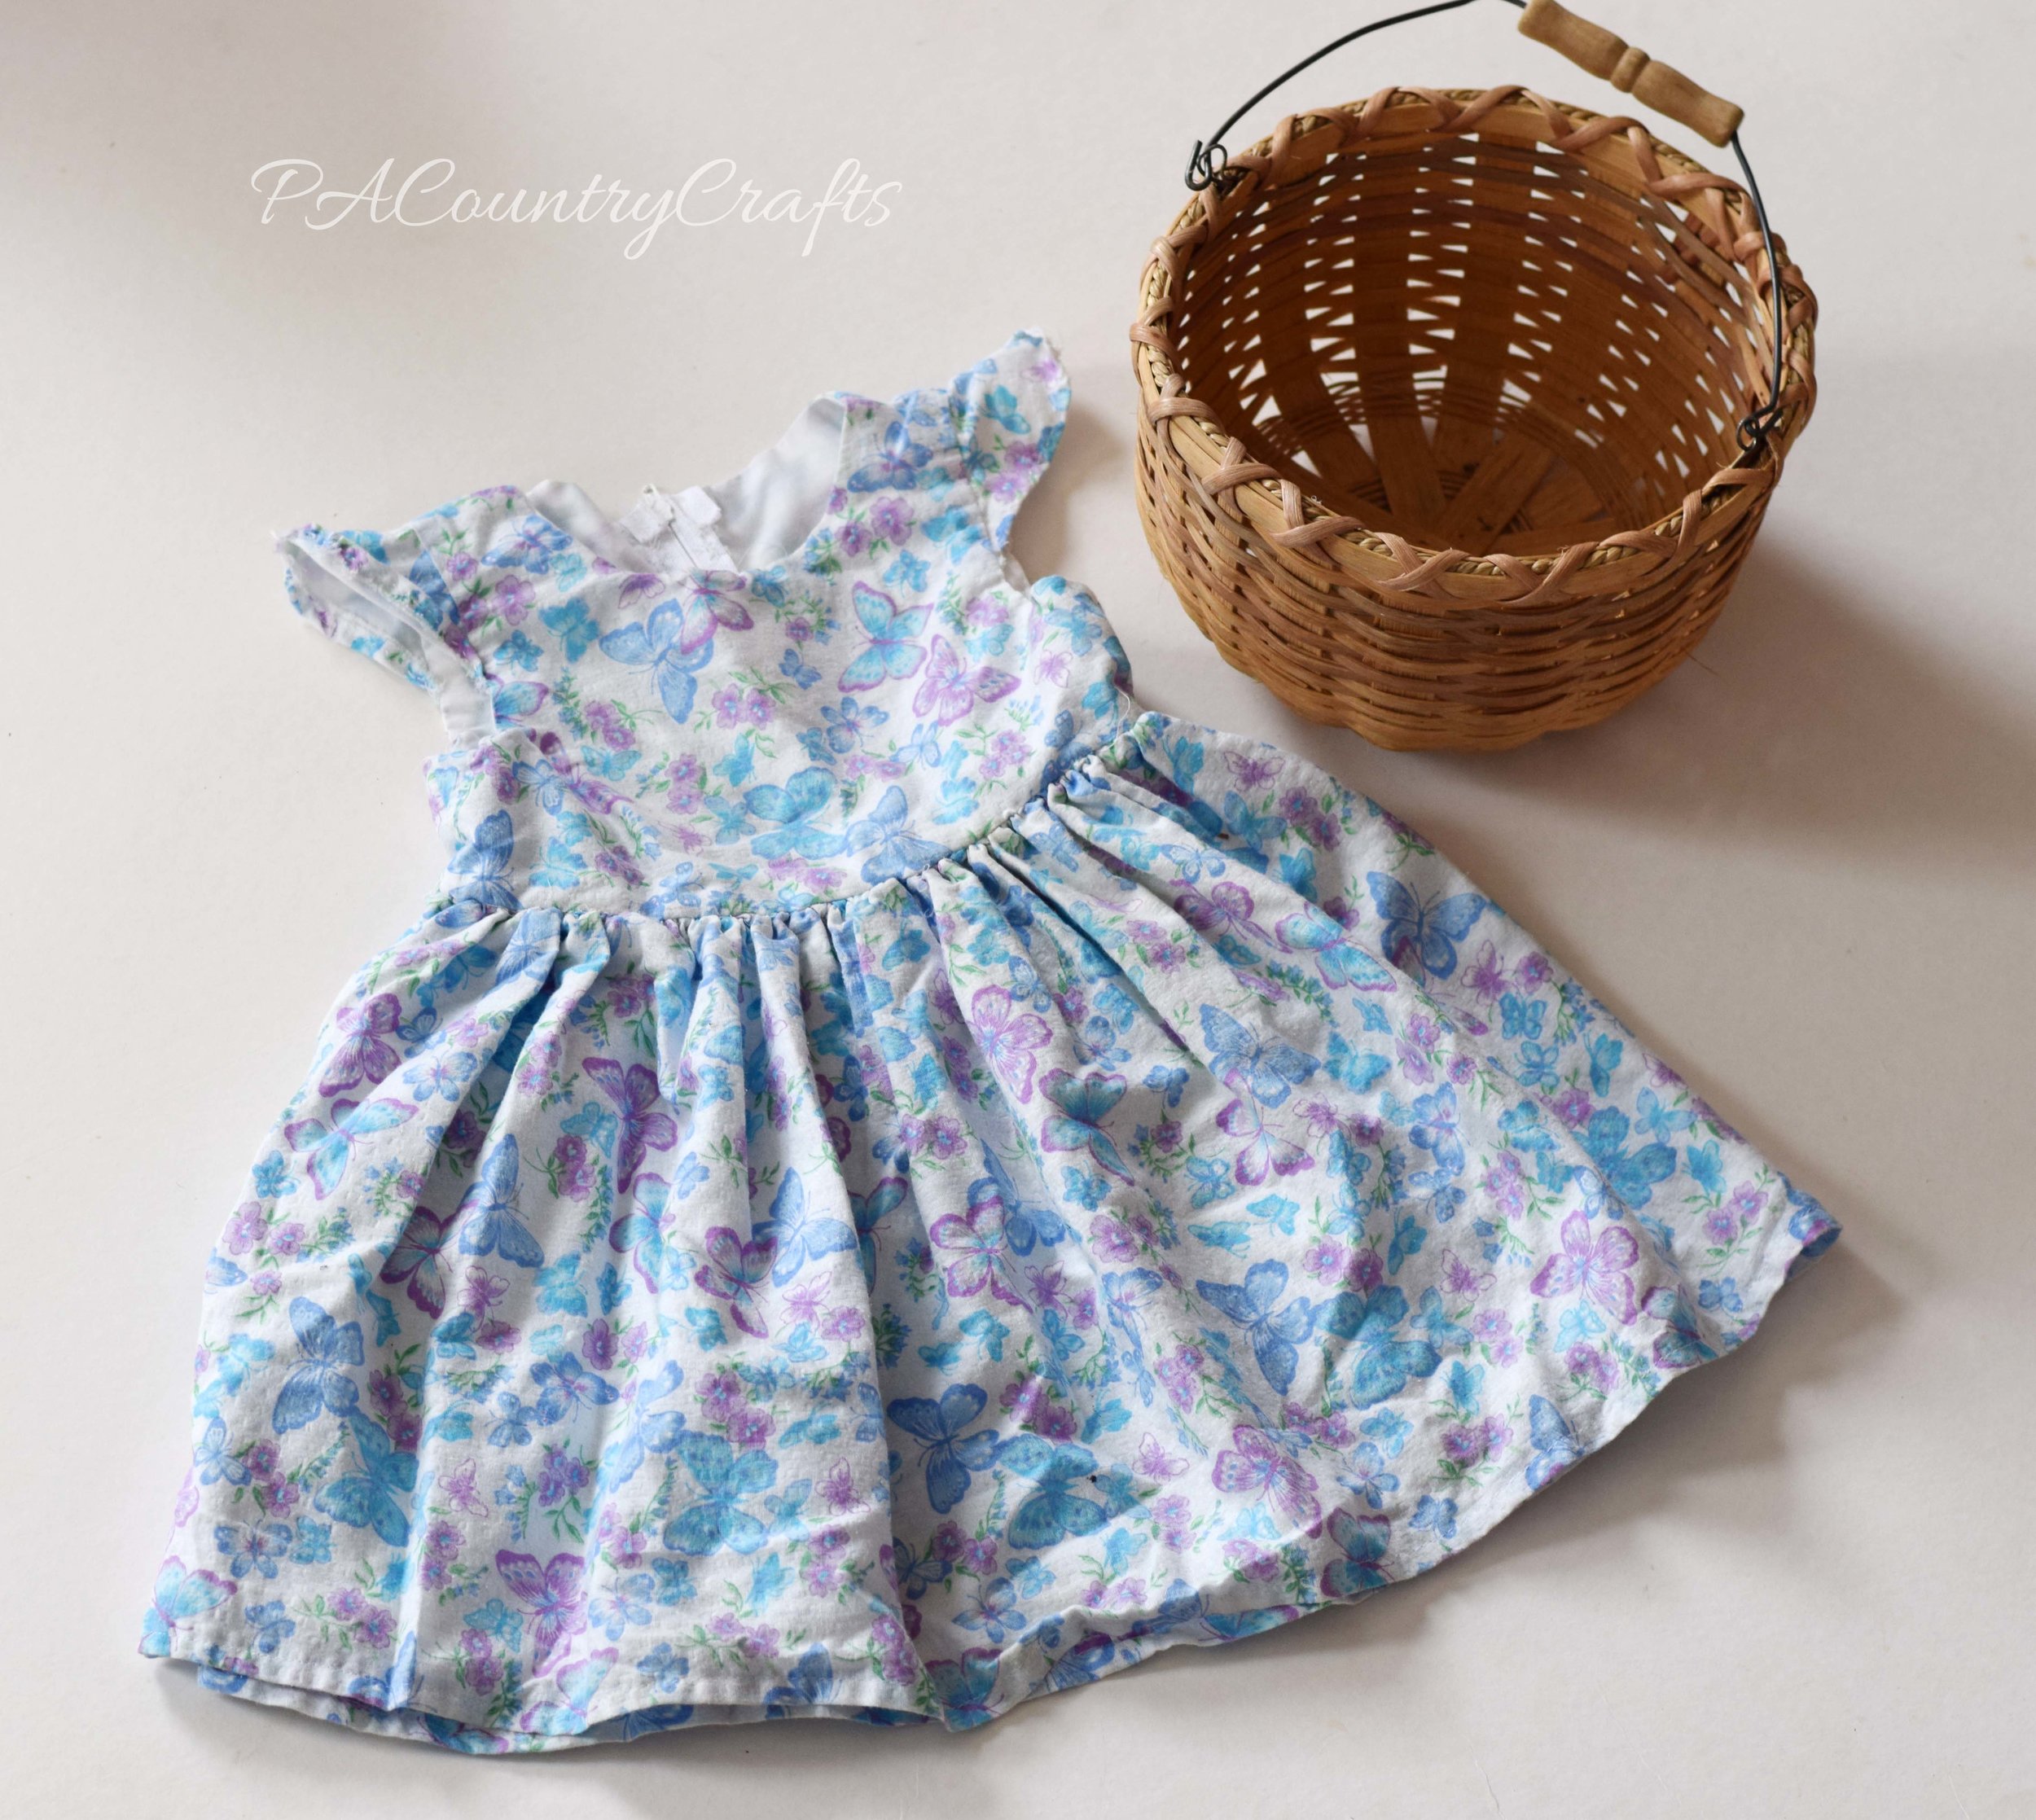
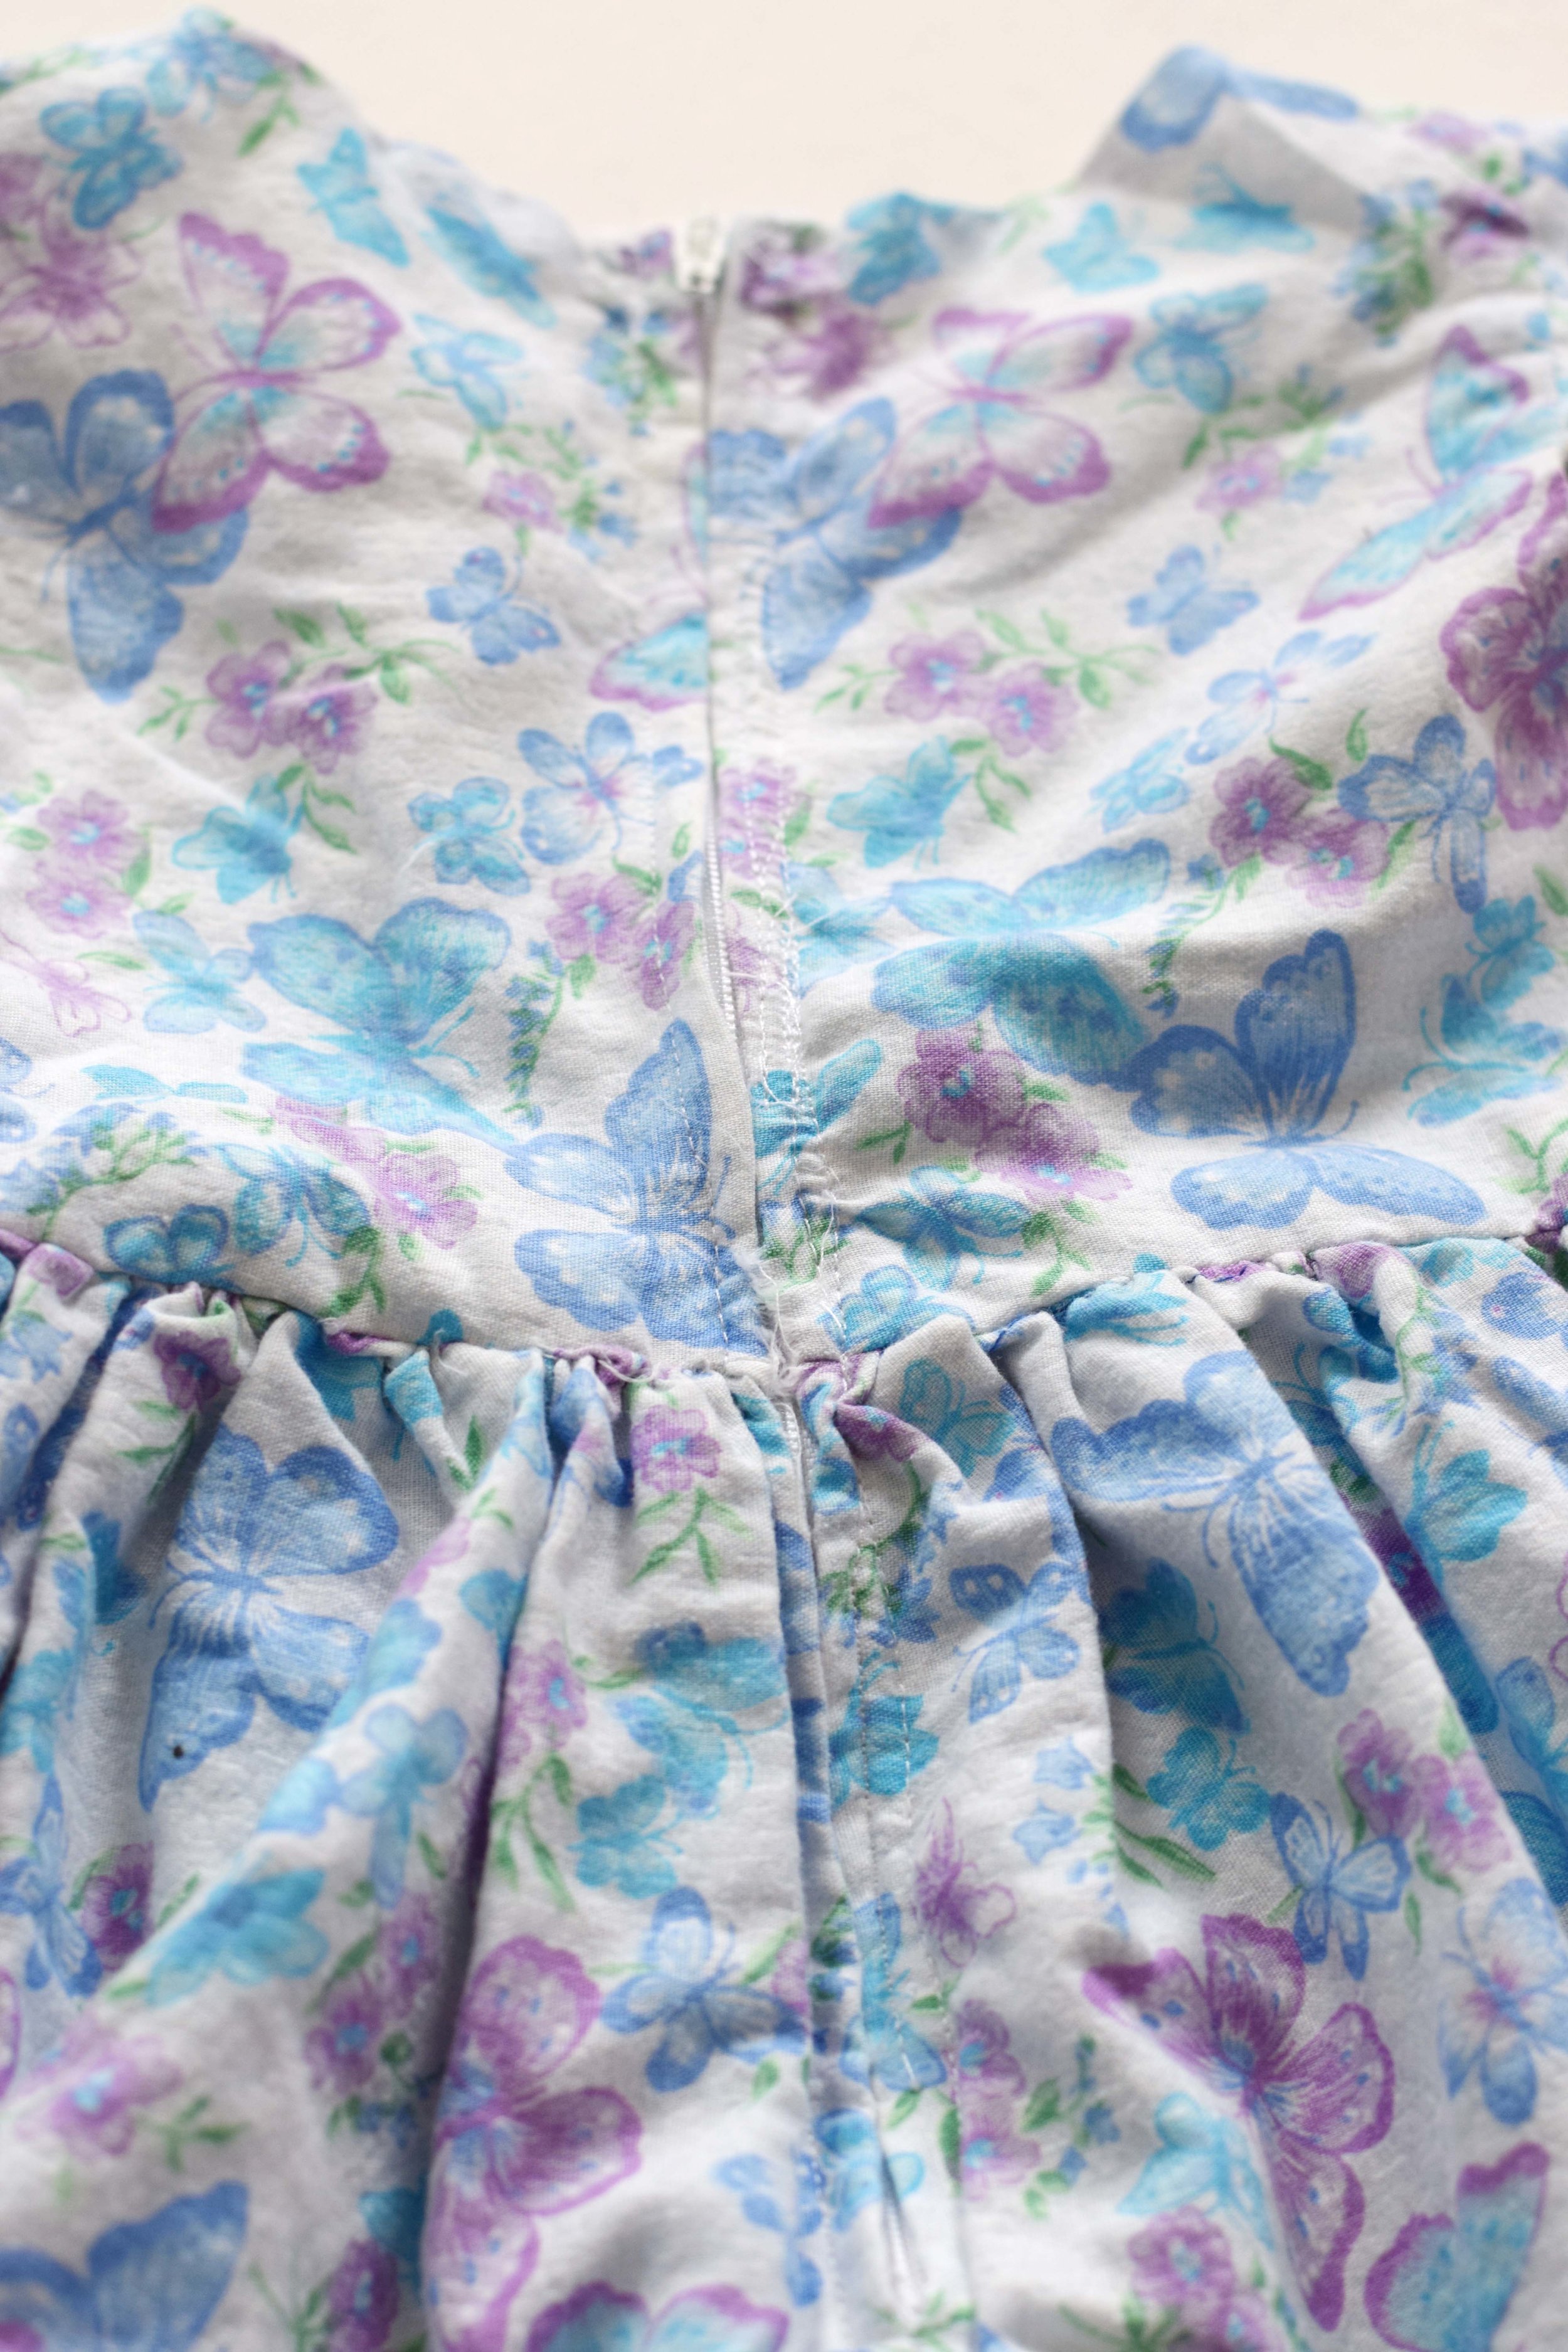
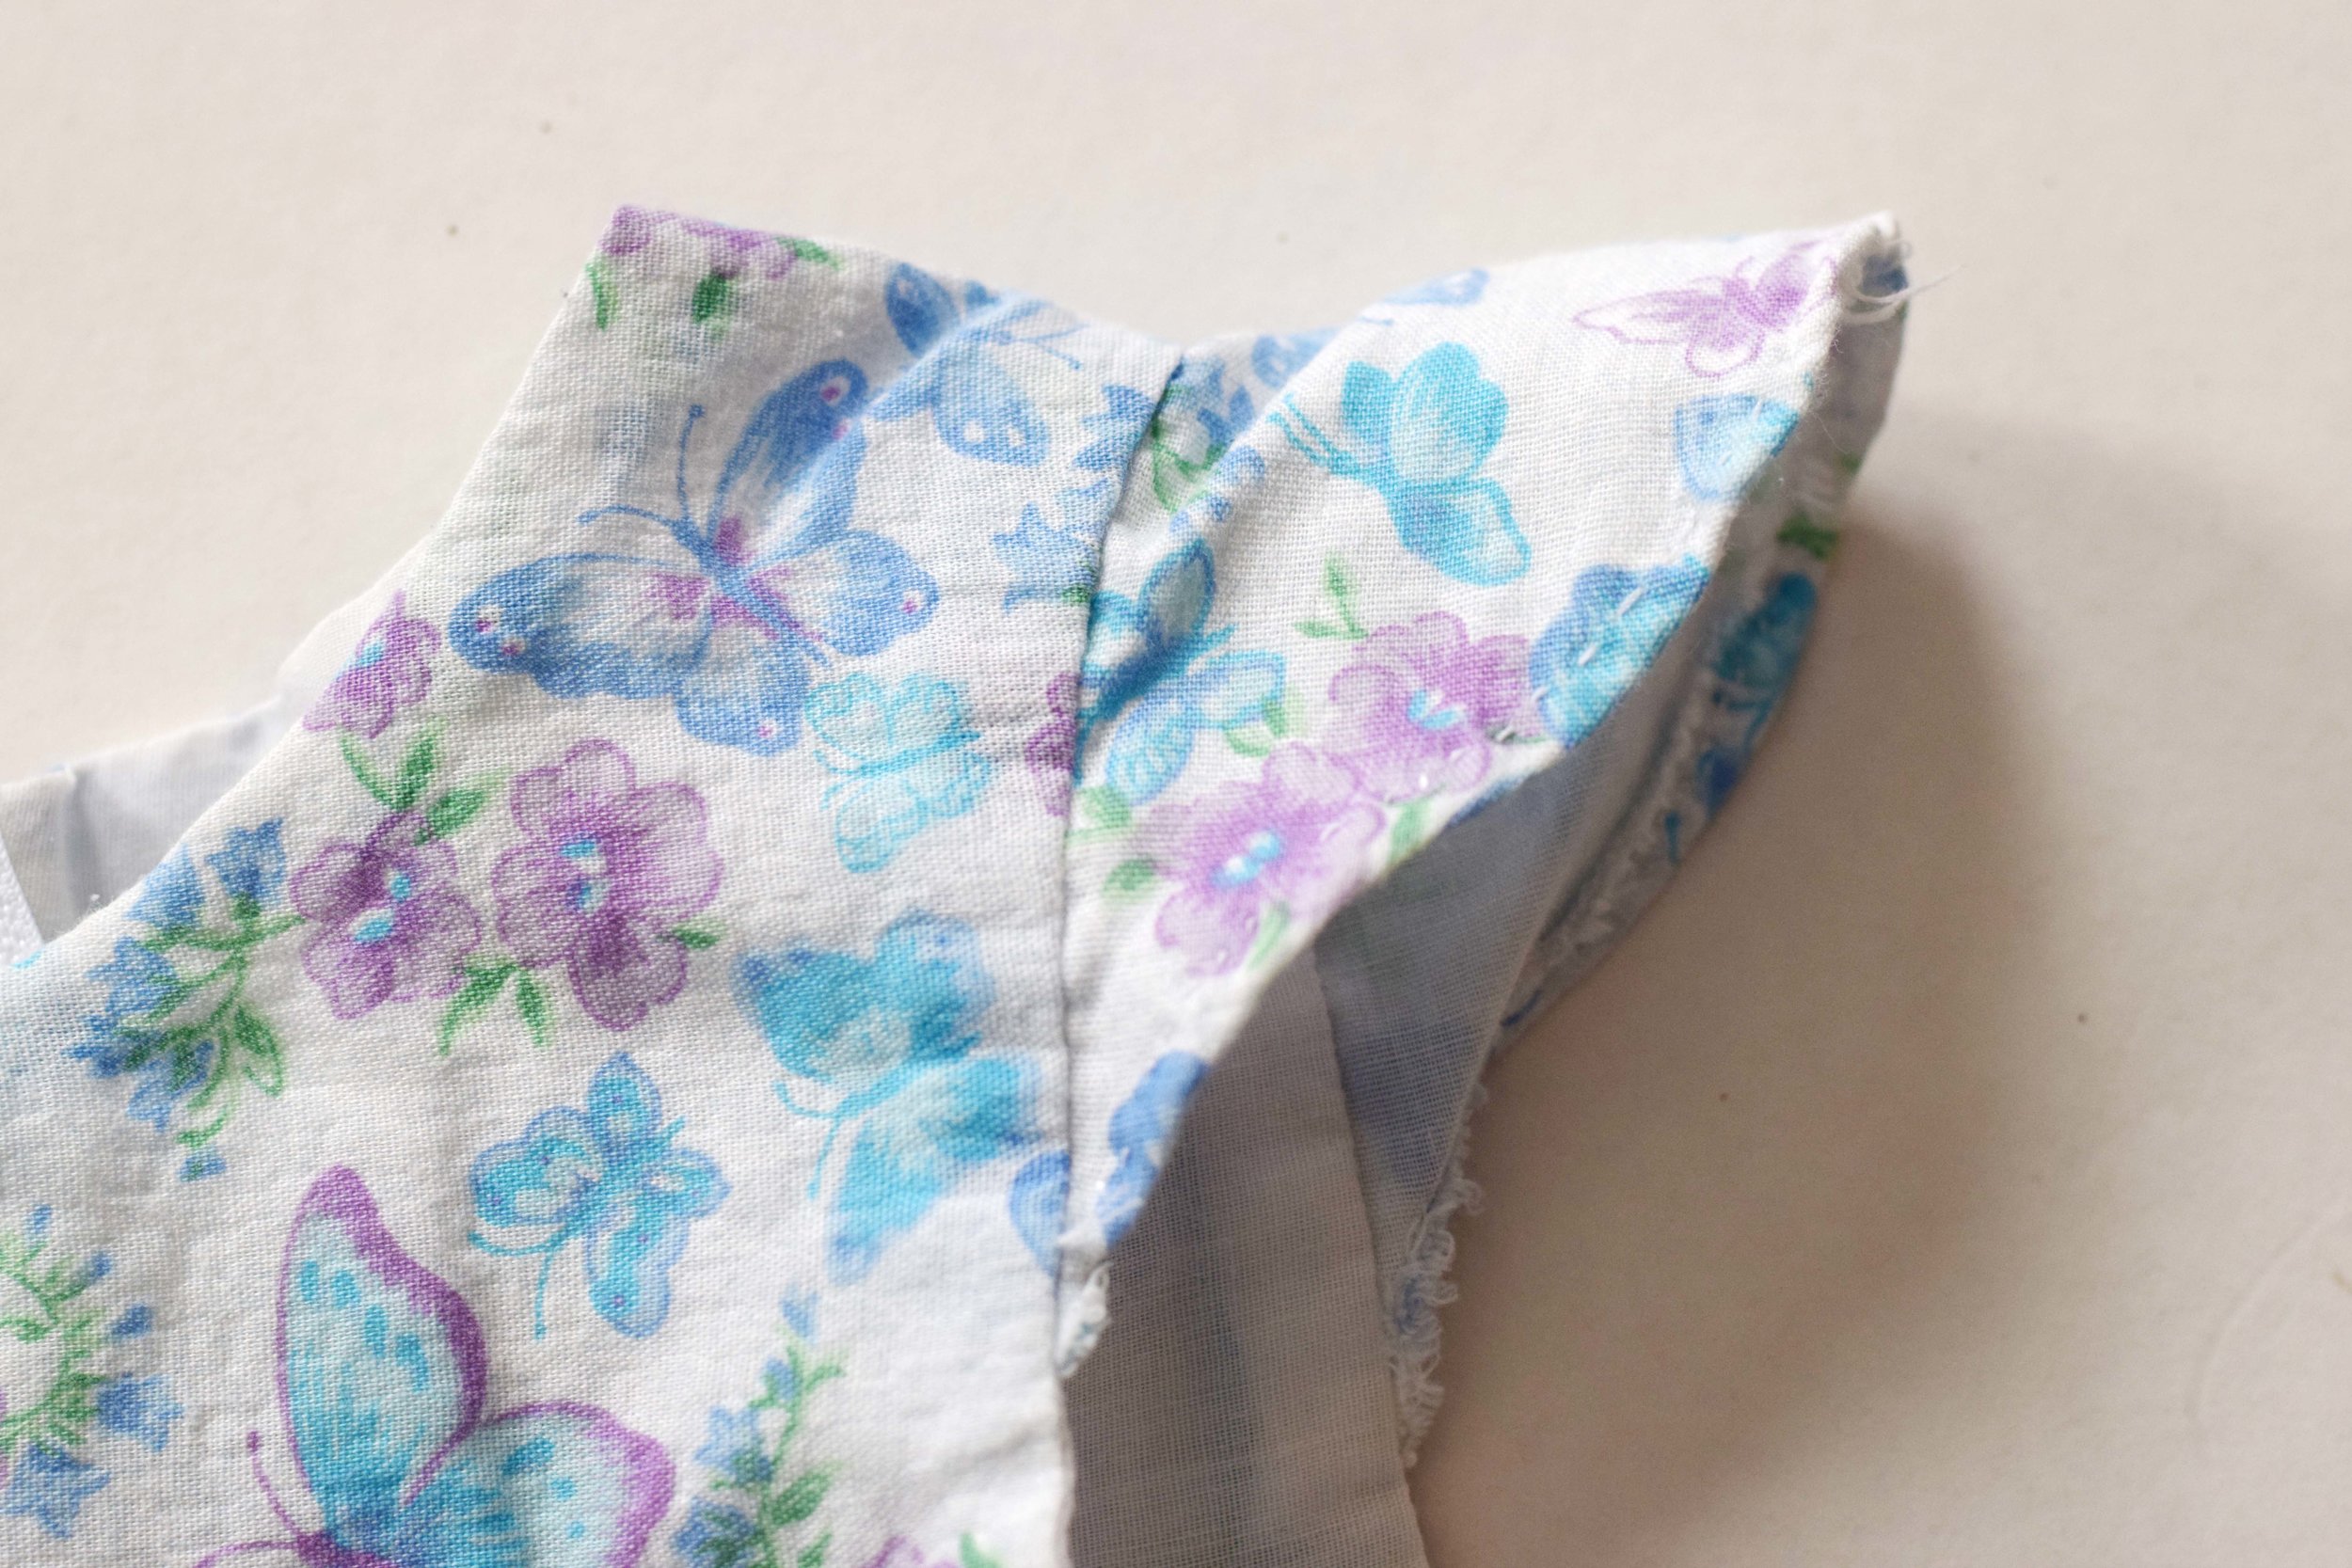 (The really sad part about all of this is that I do not have a single picture of my daughter wearing that dress! It was in the days of 35mm film so either I didn't take one or it didn't turn out. I am certain to do full "photo shoots" when I make dresses for my girls now. I am so thankful for digital cameras!!!!)
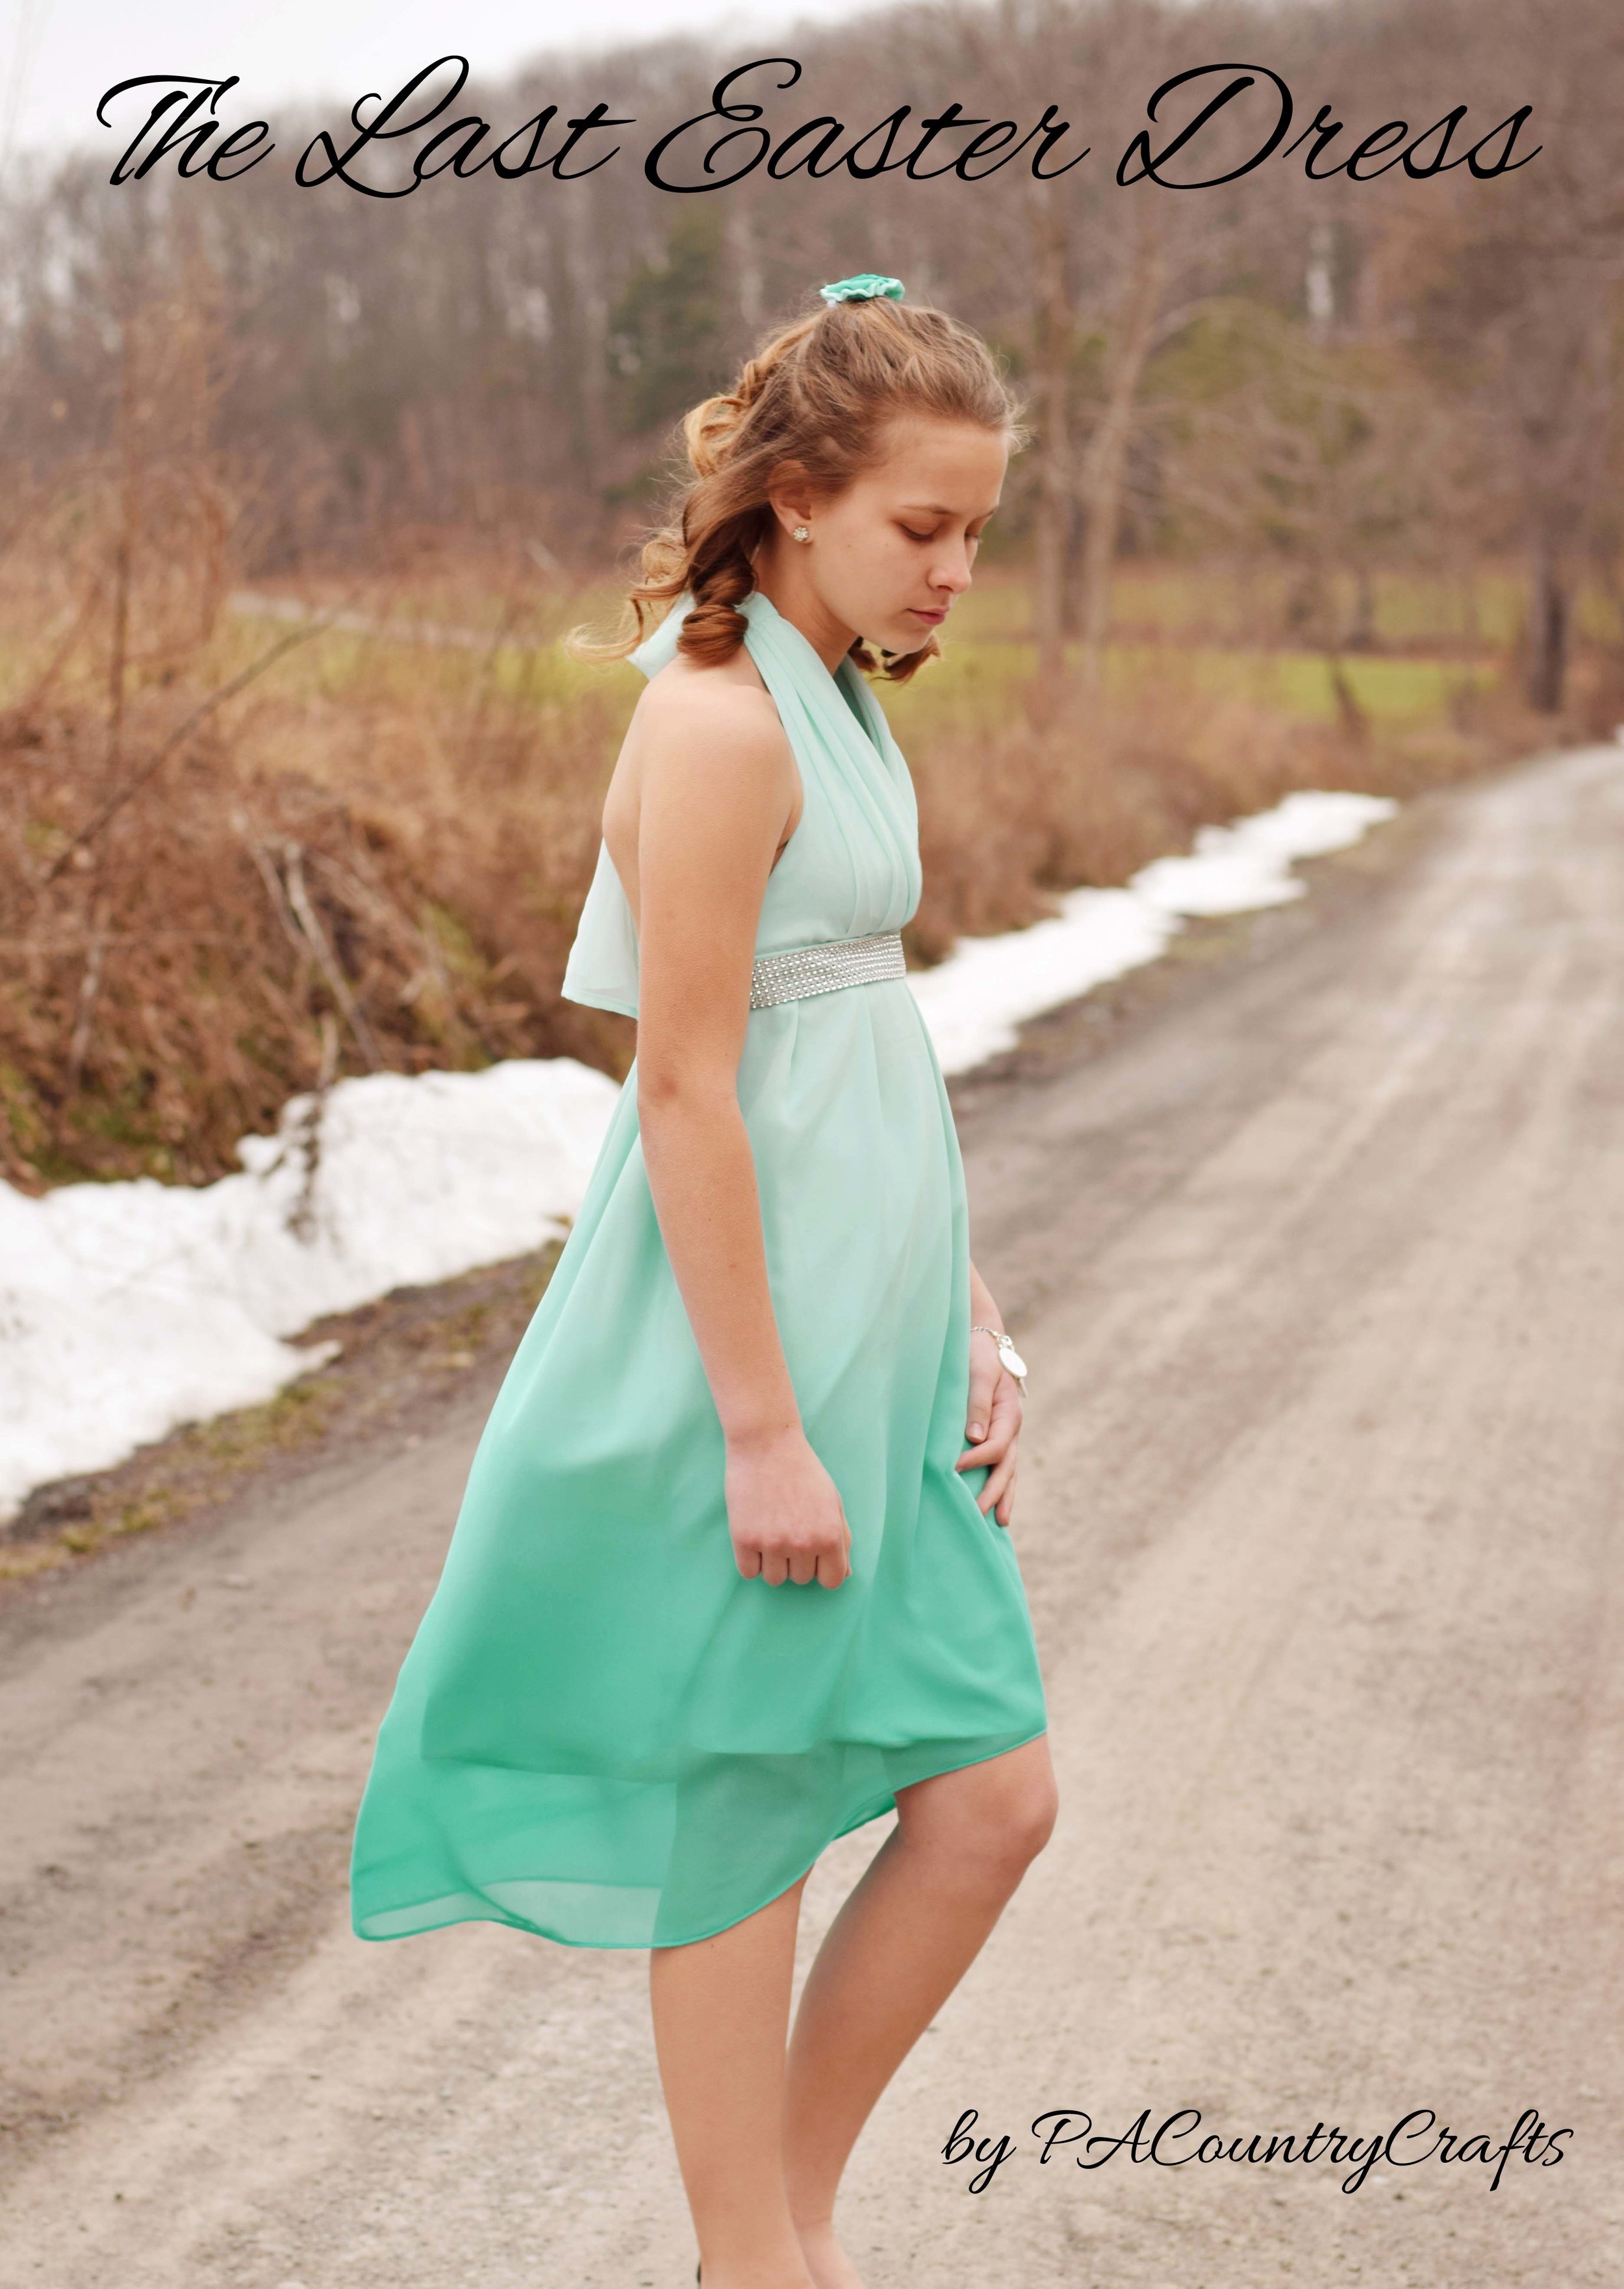
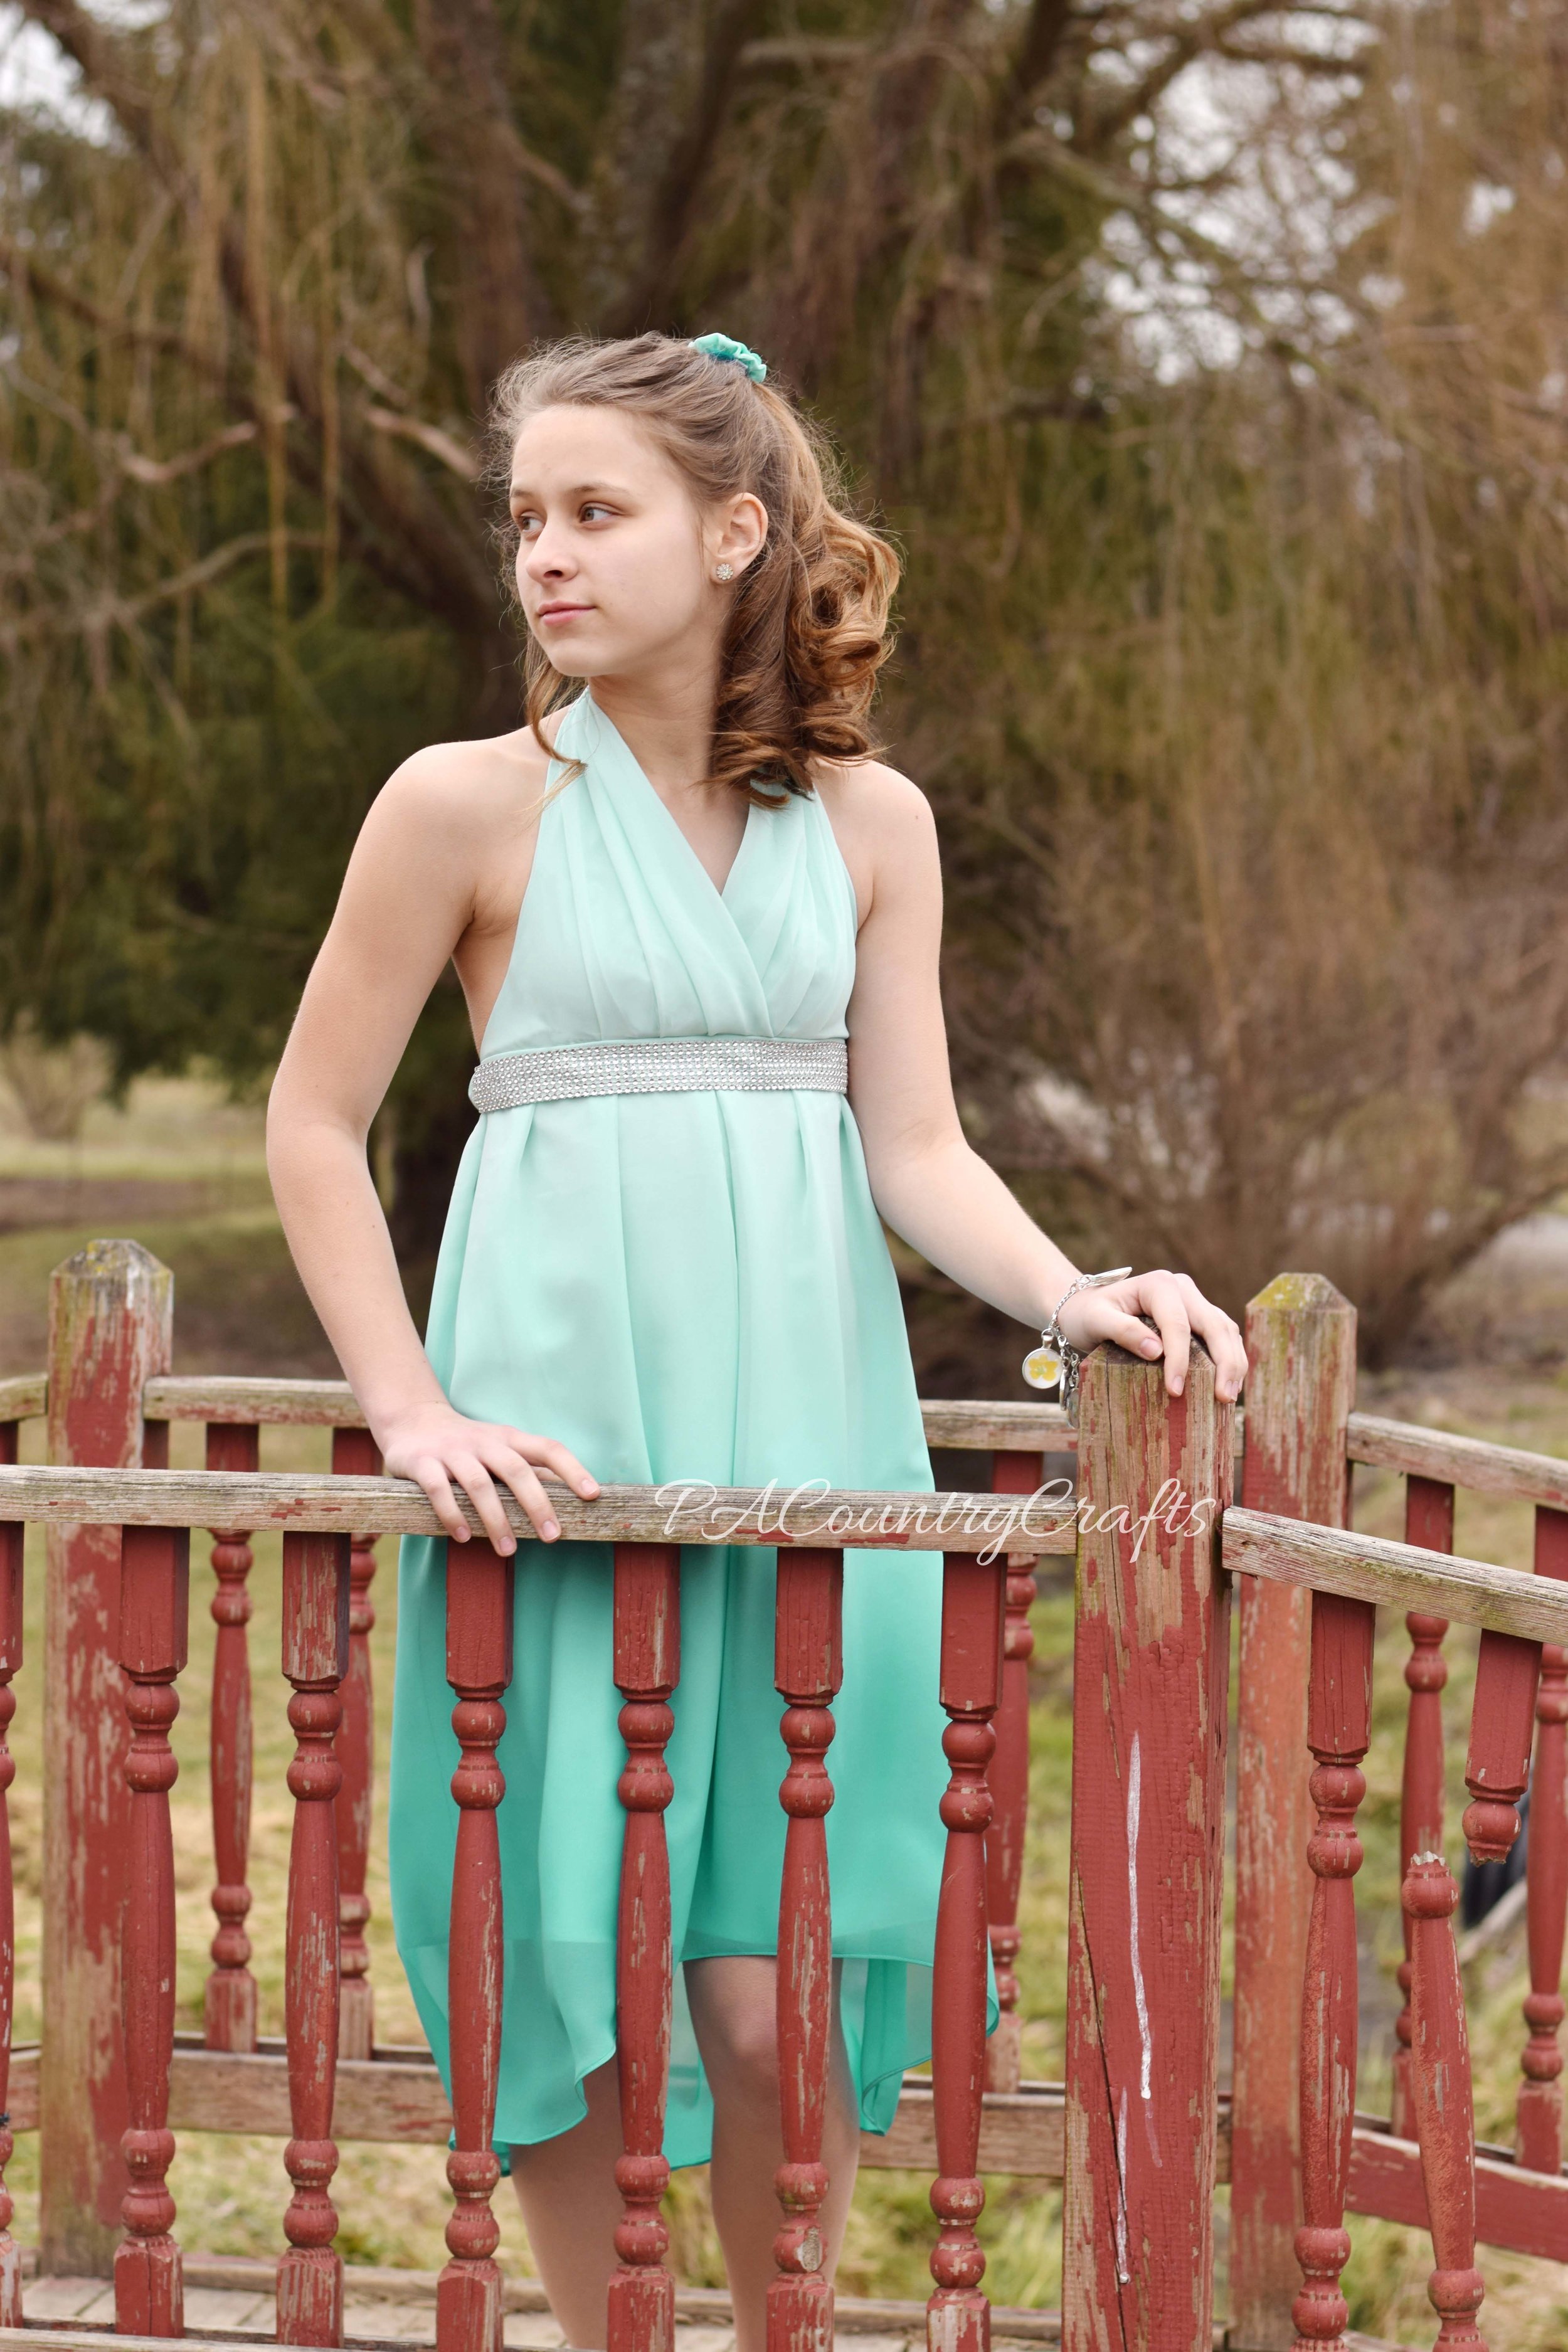
Now my oldest daughter is 13. She has outgrown the cute little girl styles and hates pink. My little girl who played in the mud wearing a Cinderella dress is now equal parts fabulous and sporty. She rocks a fashionable ensemble and a soccer uniform. She loves high heels and muck boots. She has reached an age where I don't know that she would want her mom to sew her an Easter dress next year, and she could actually sew her own if she wanted to. I really think this will be the last one I make for her, so I wanted to make it special. Instead of scrambling to make five Easter dresses in a week like I usually do, I decided to concentrate on this one.
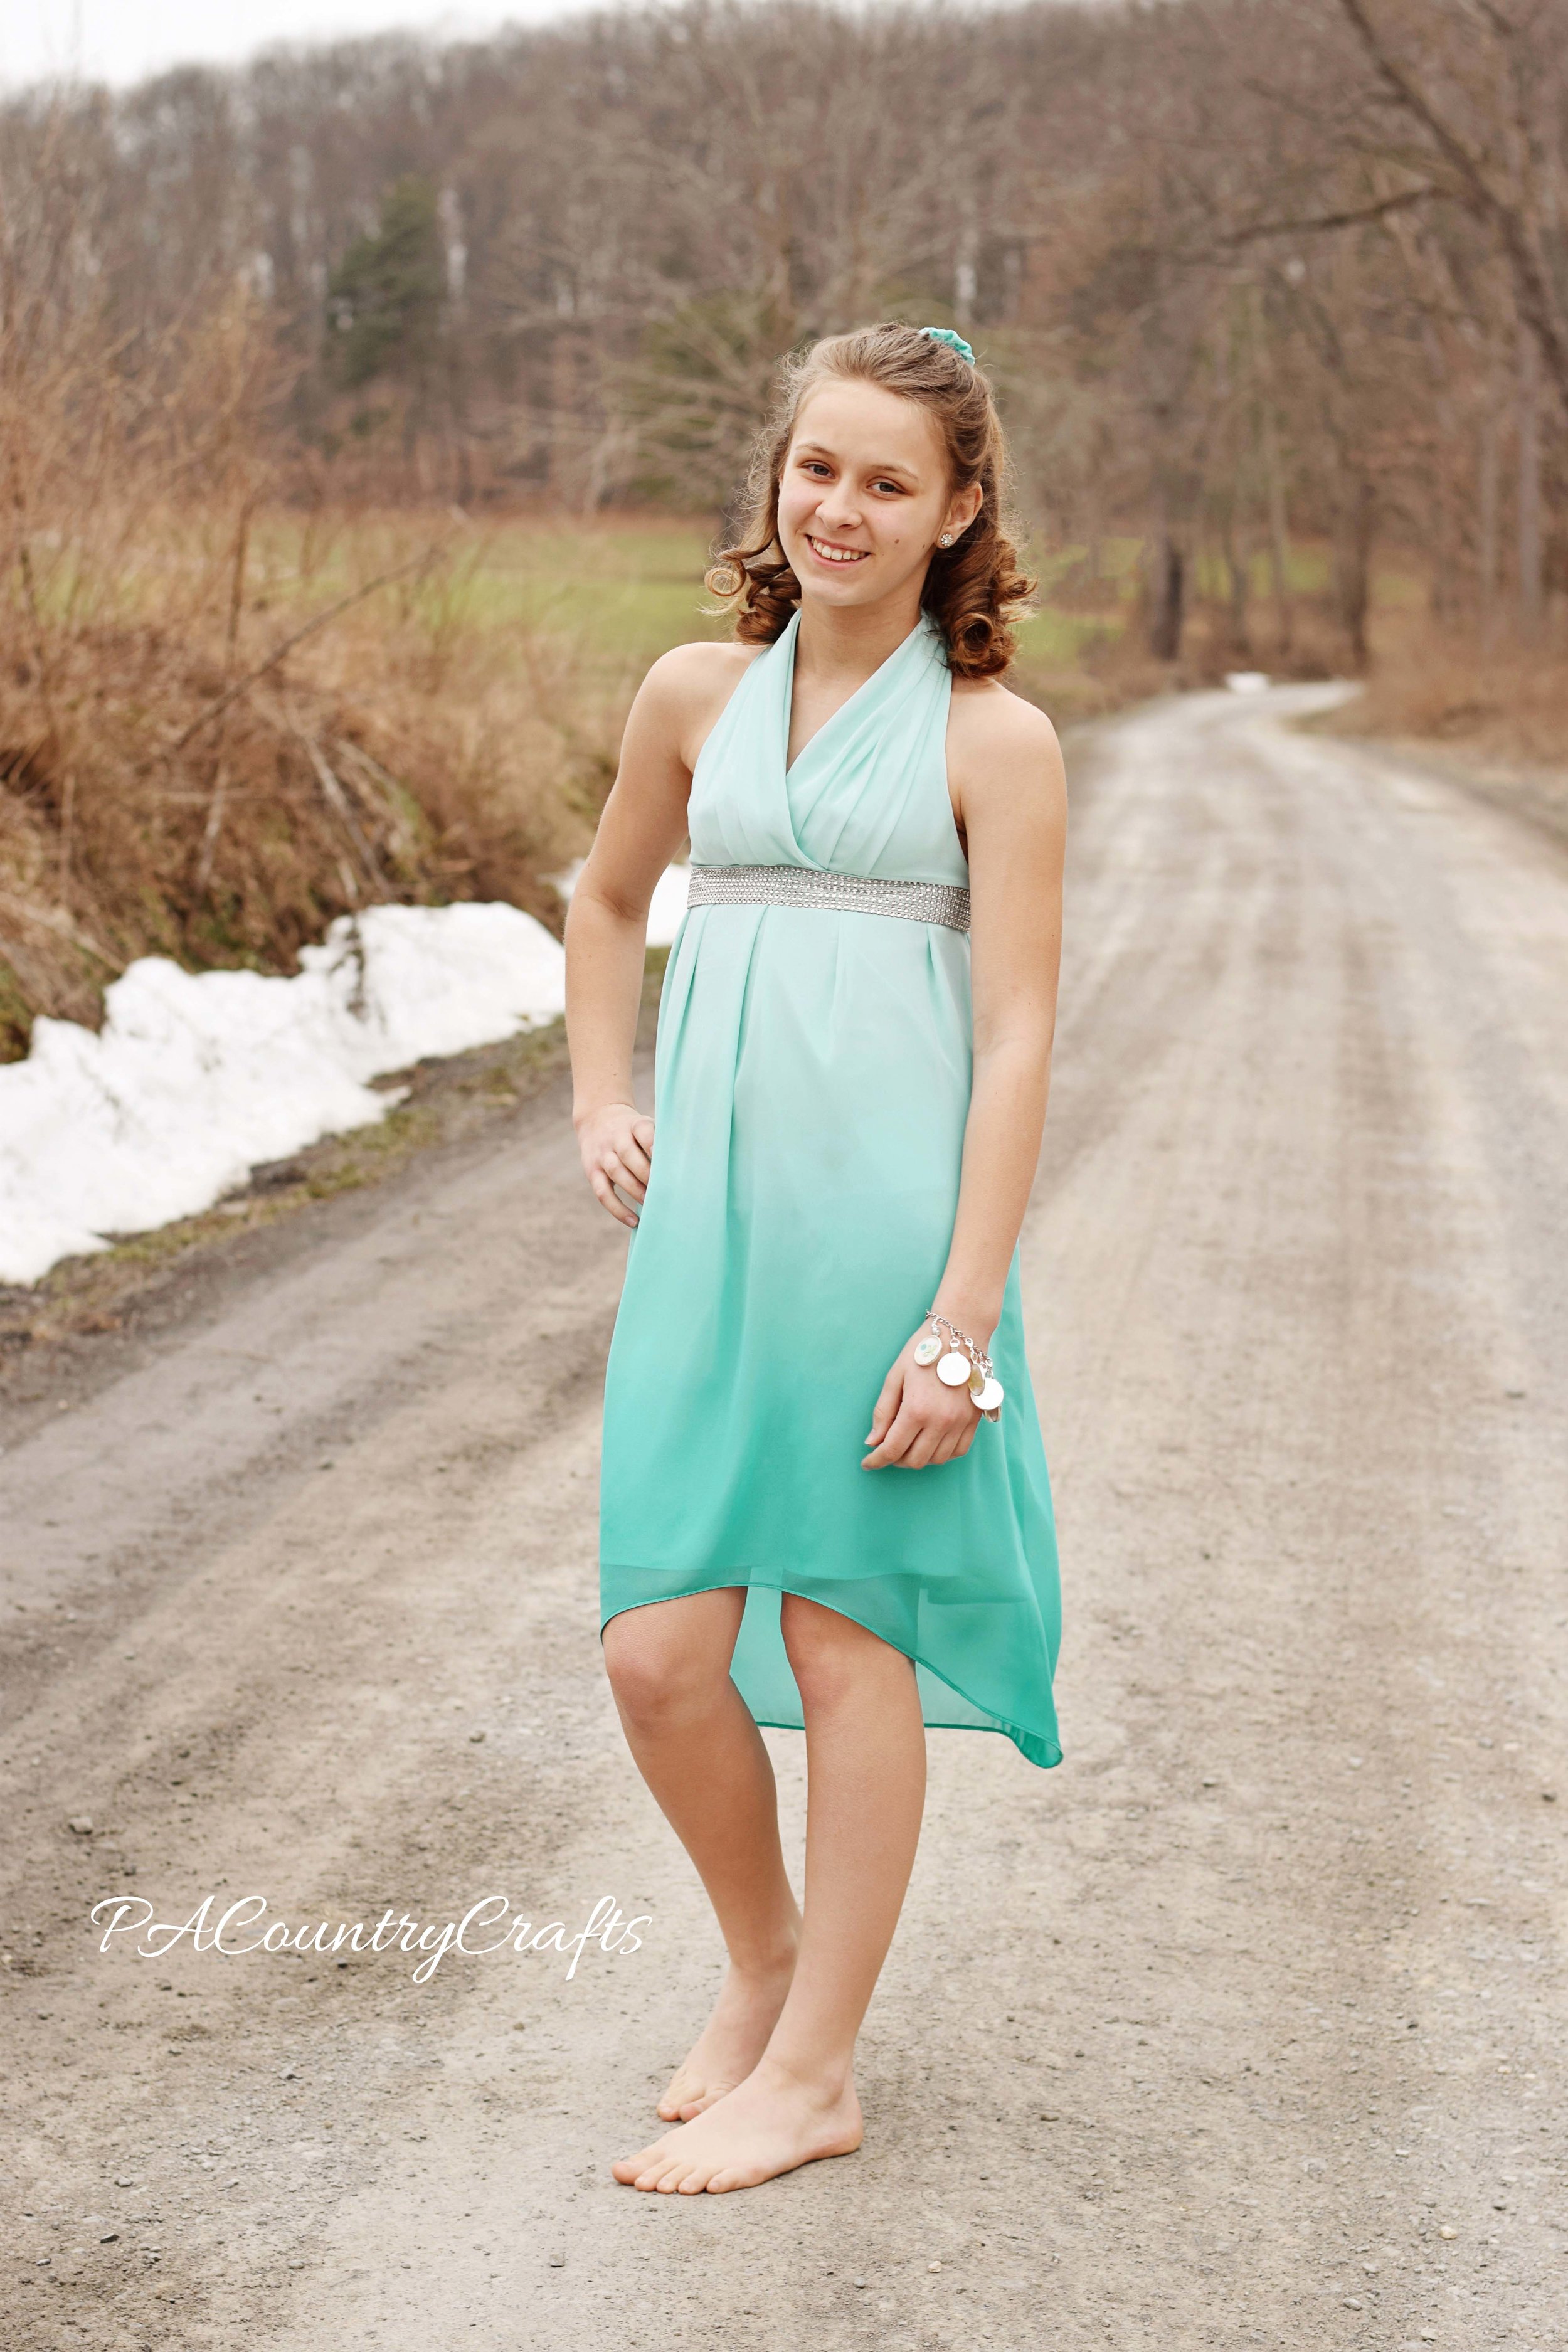
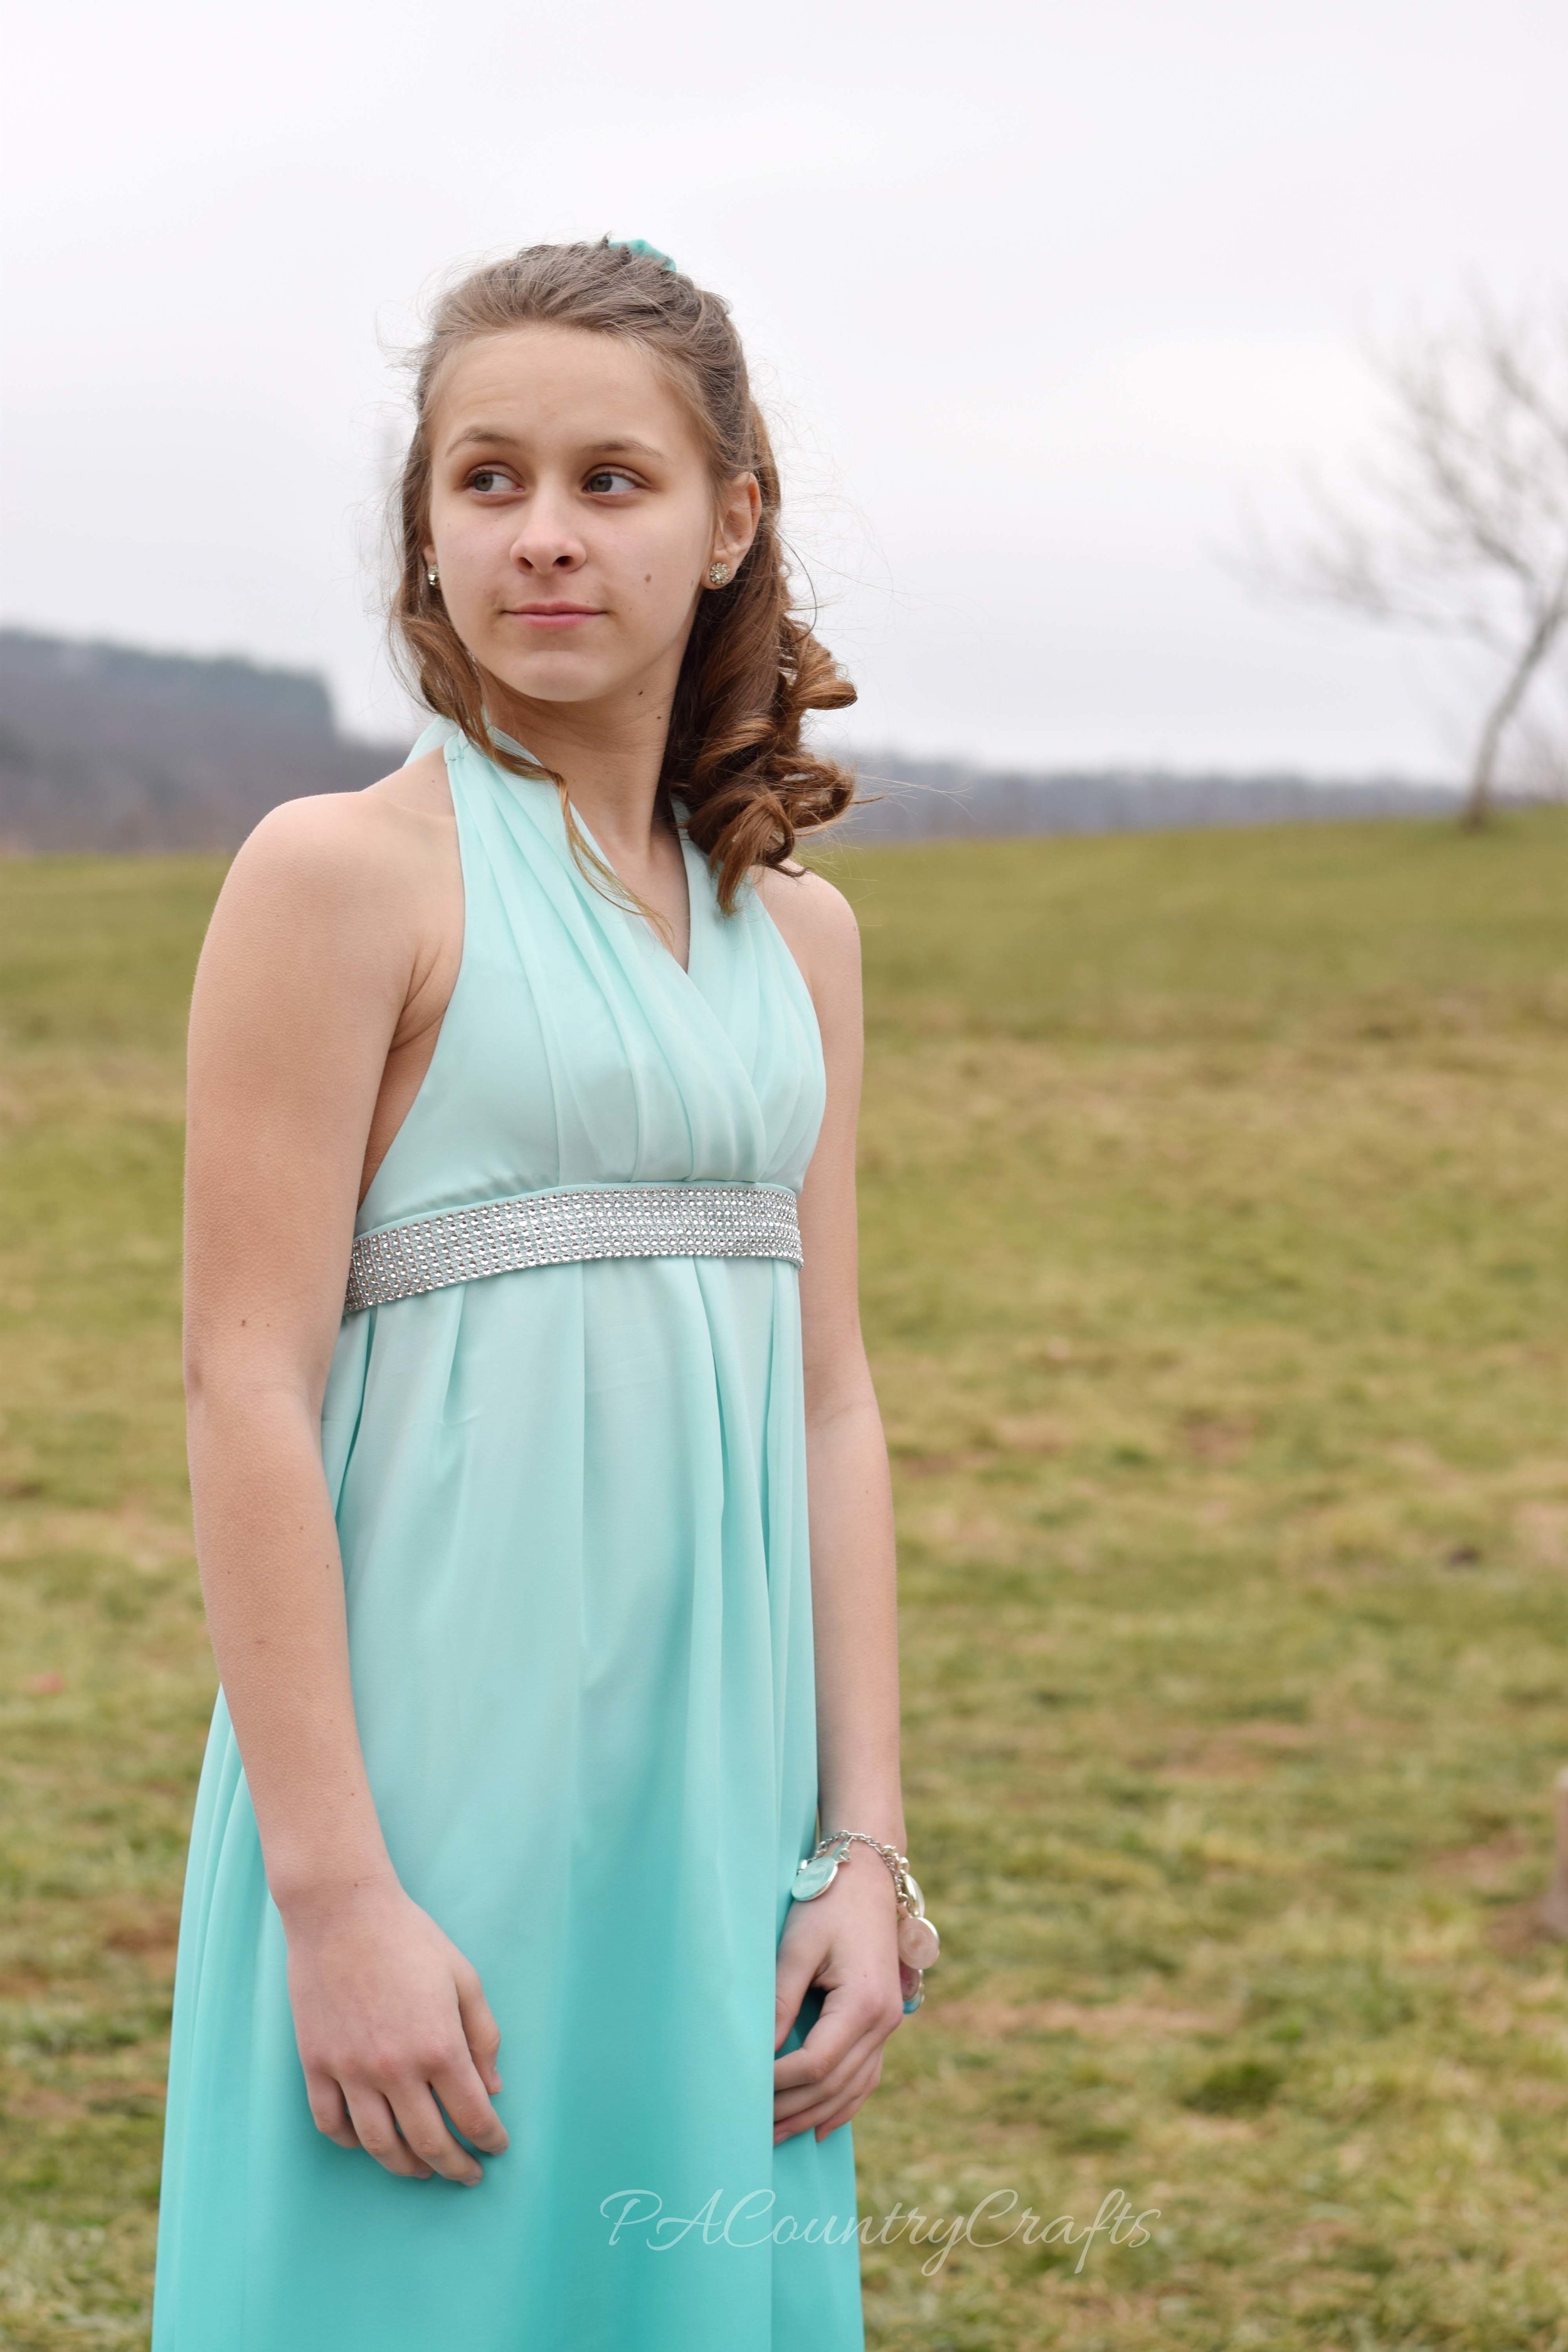
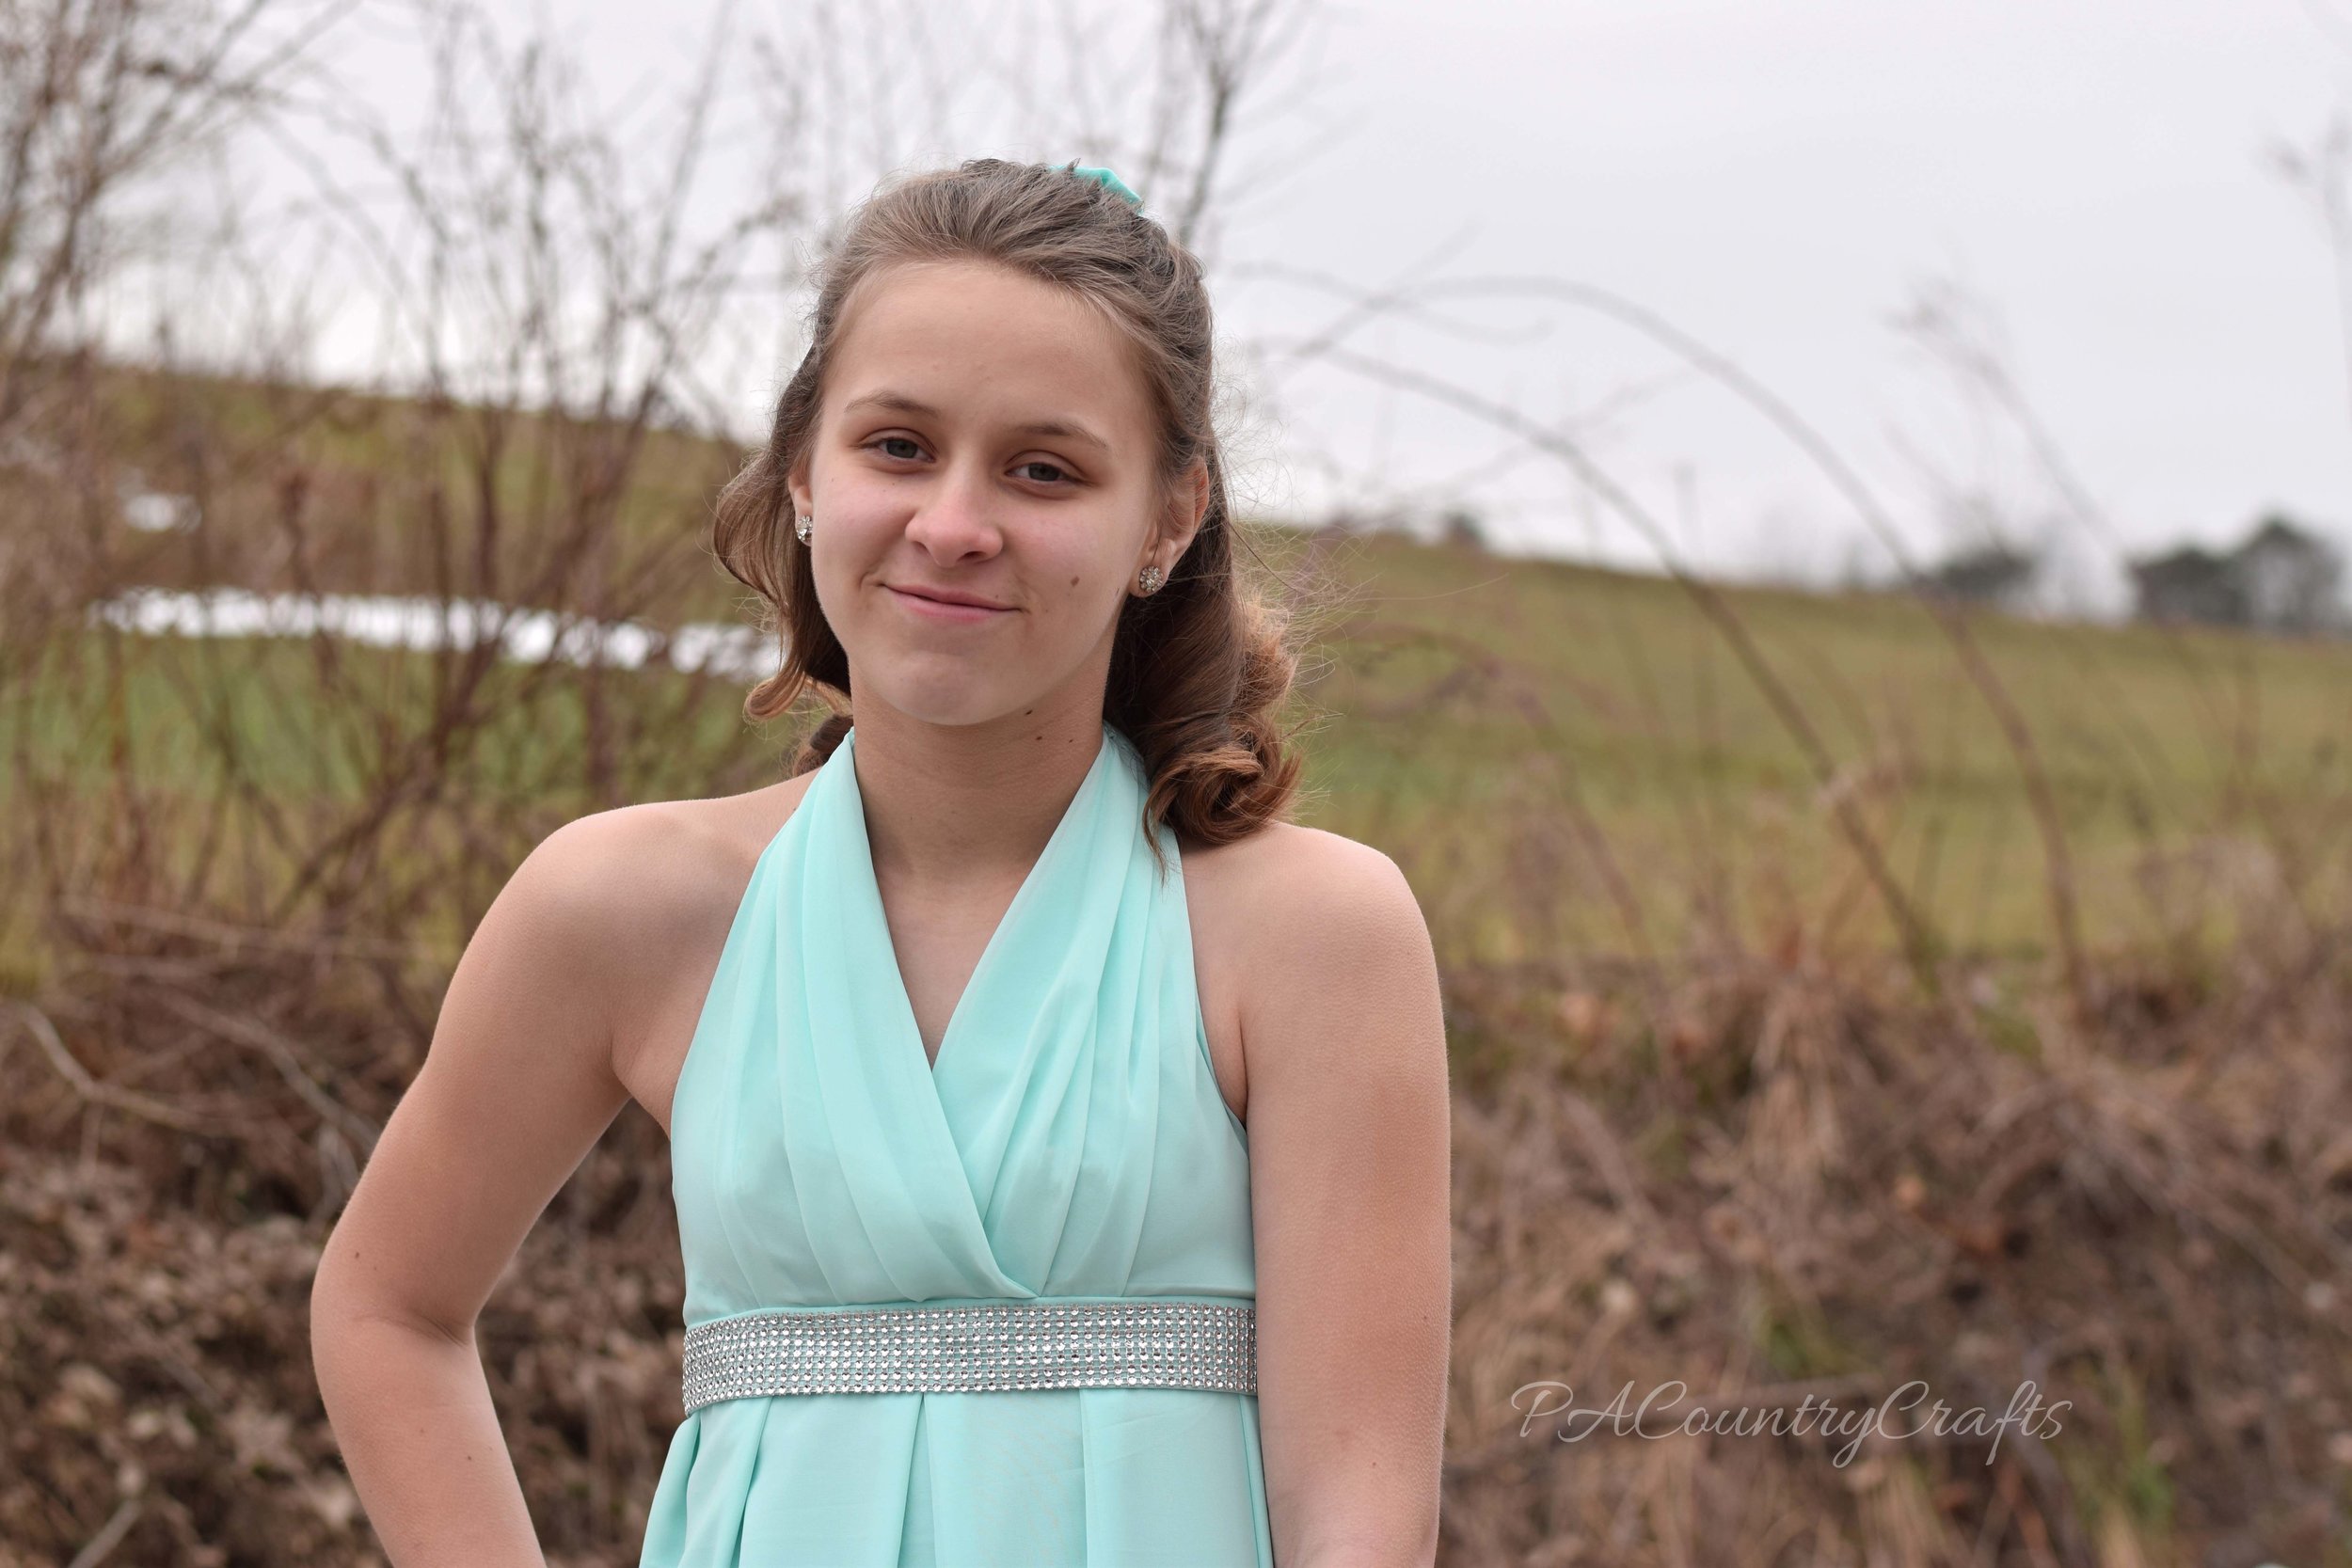
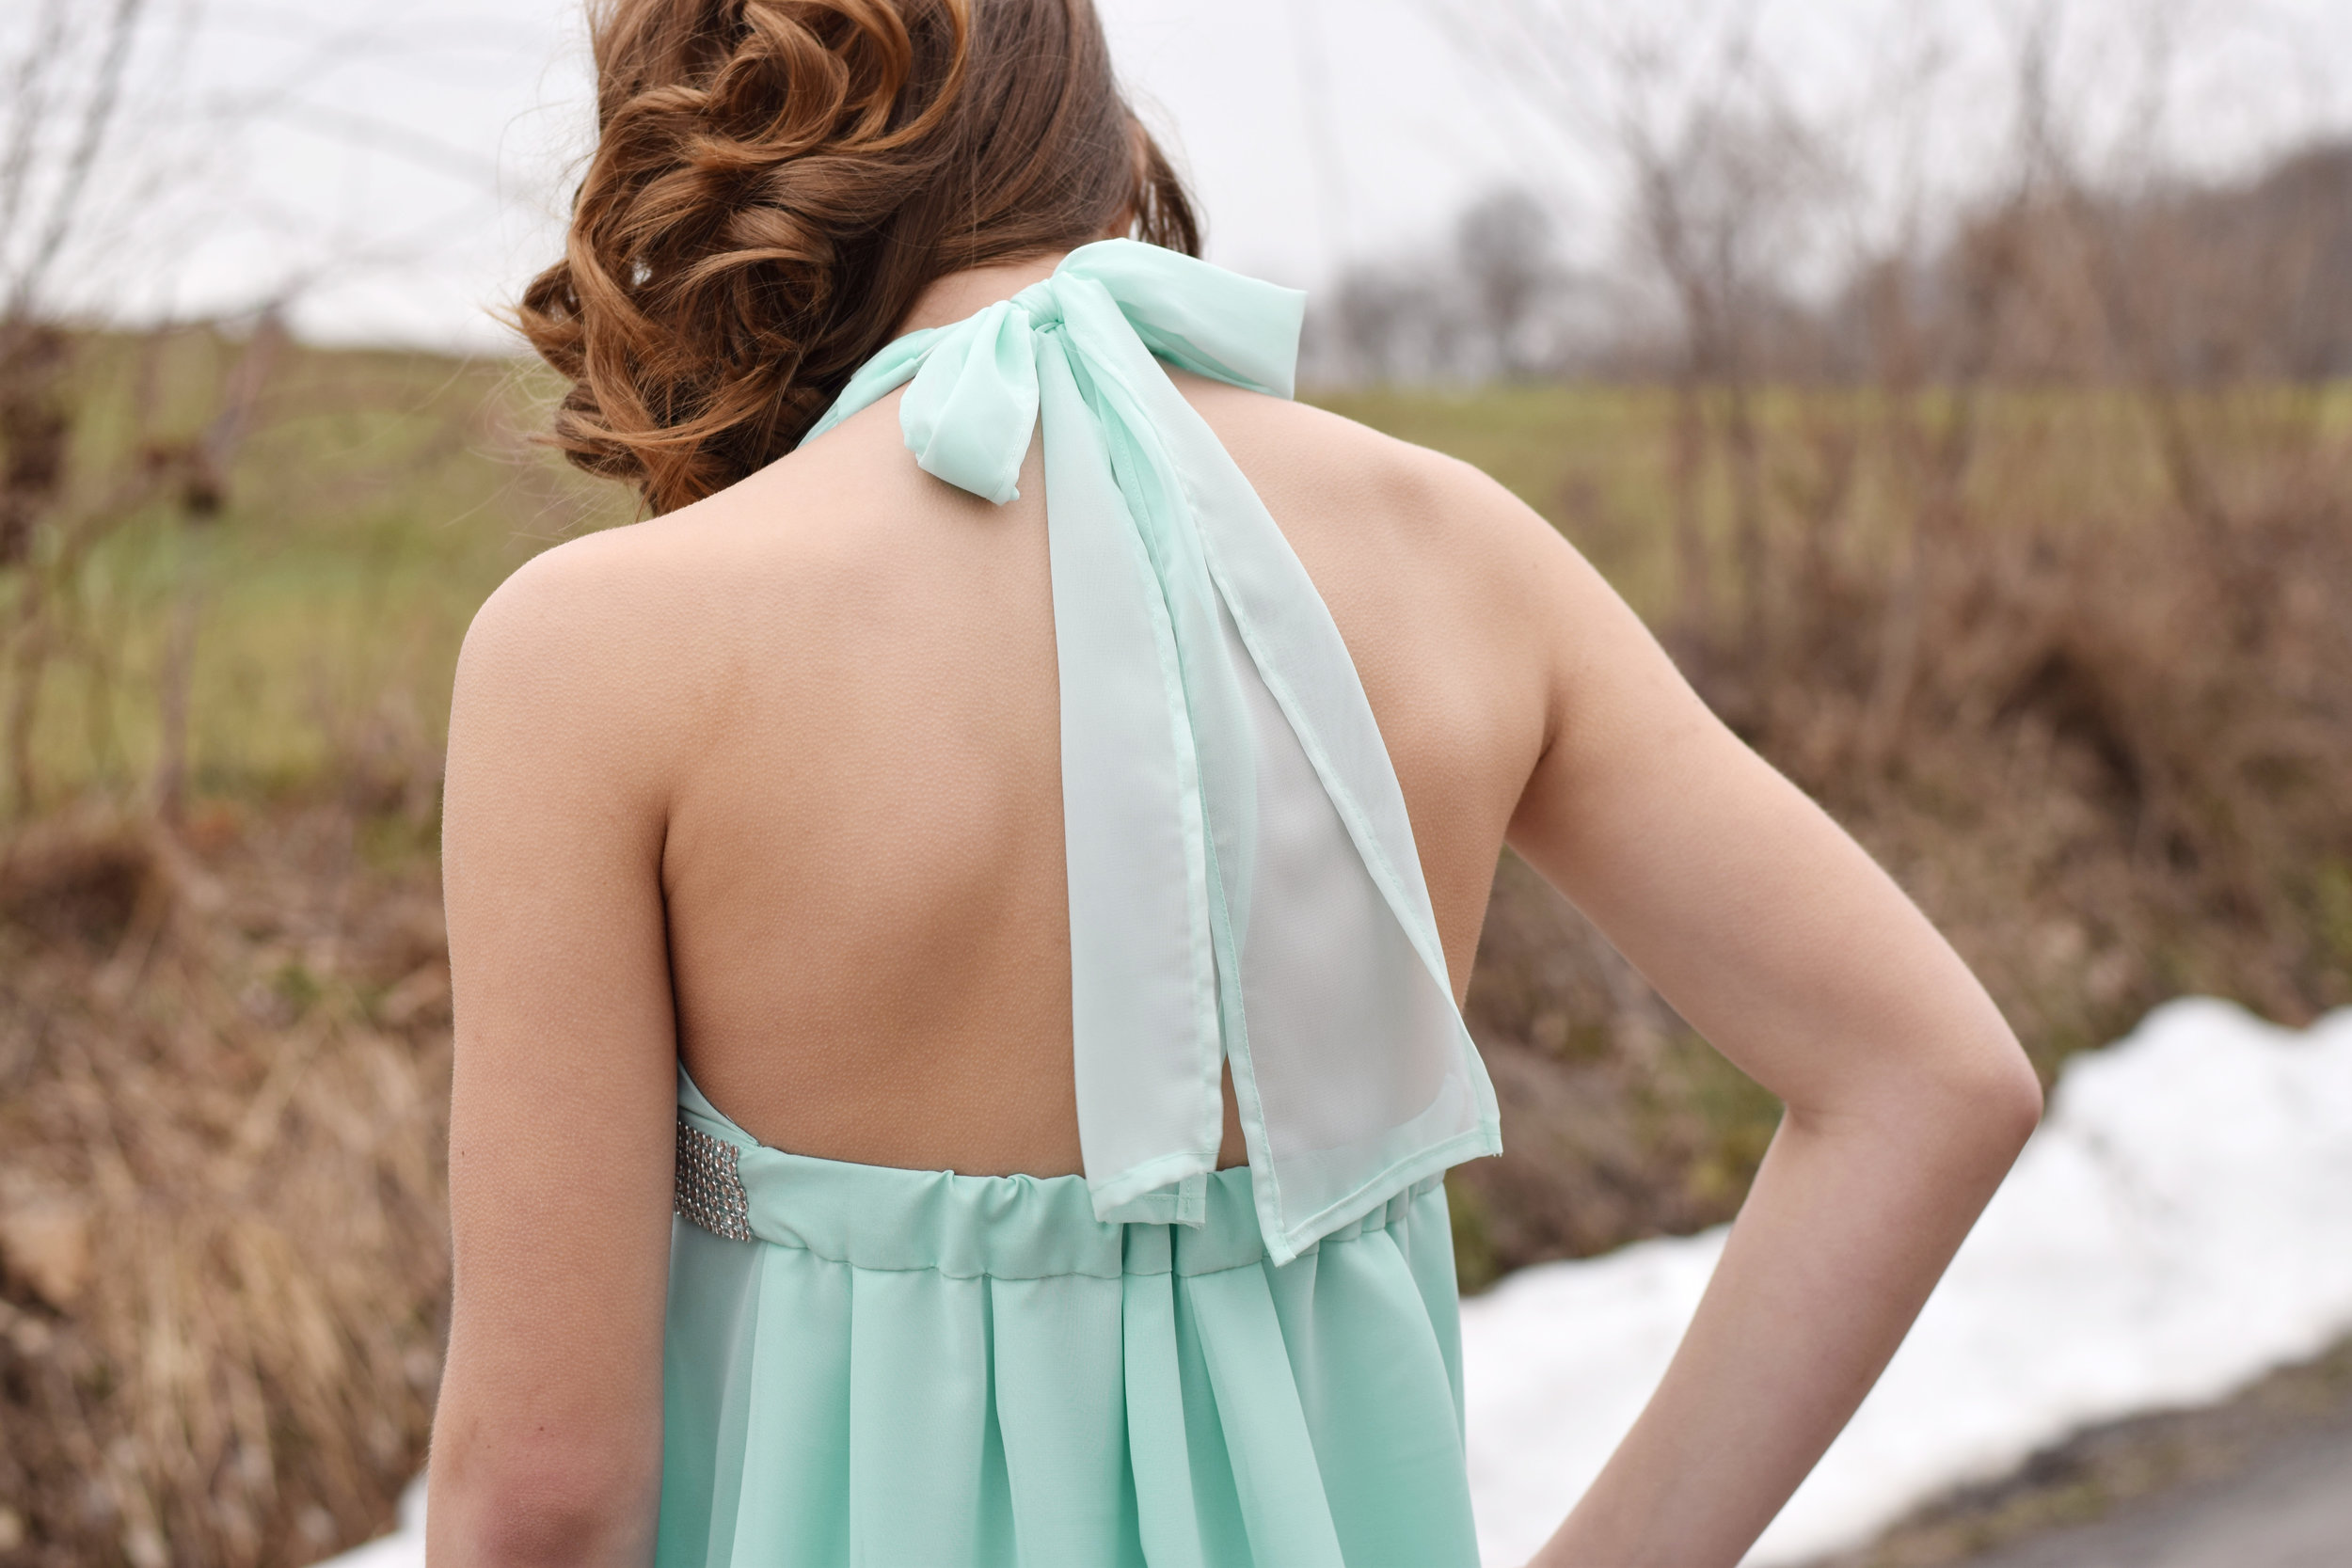
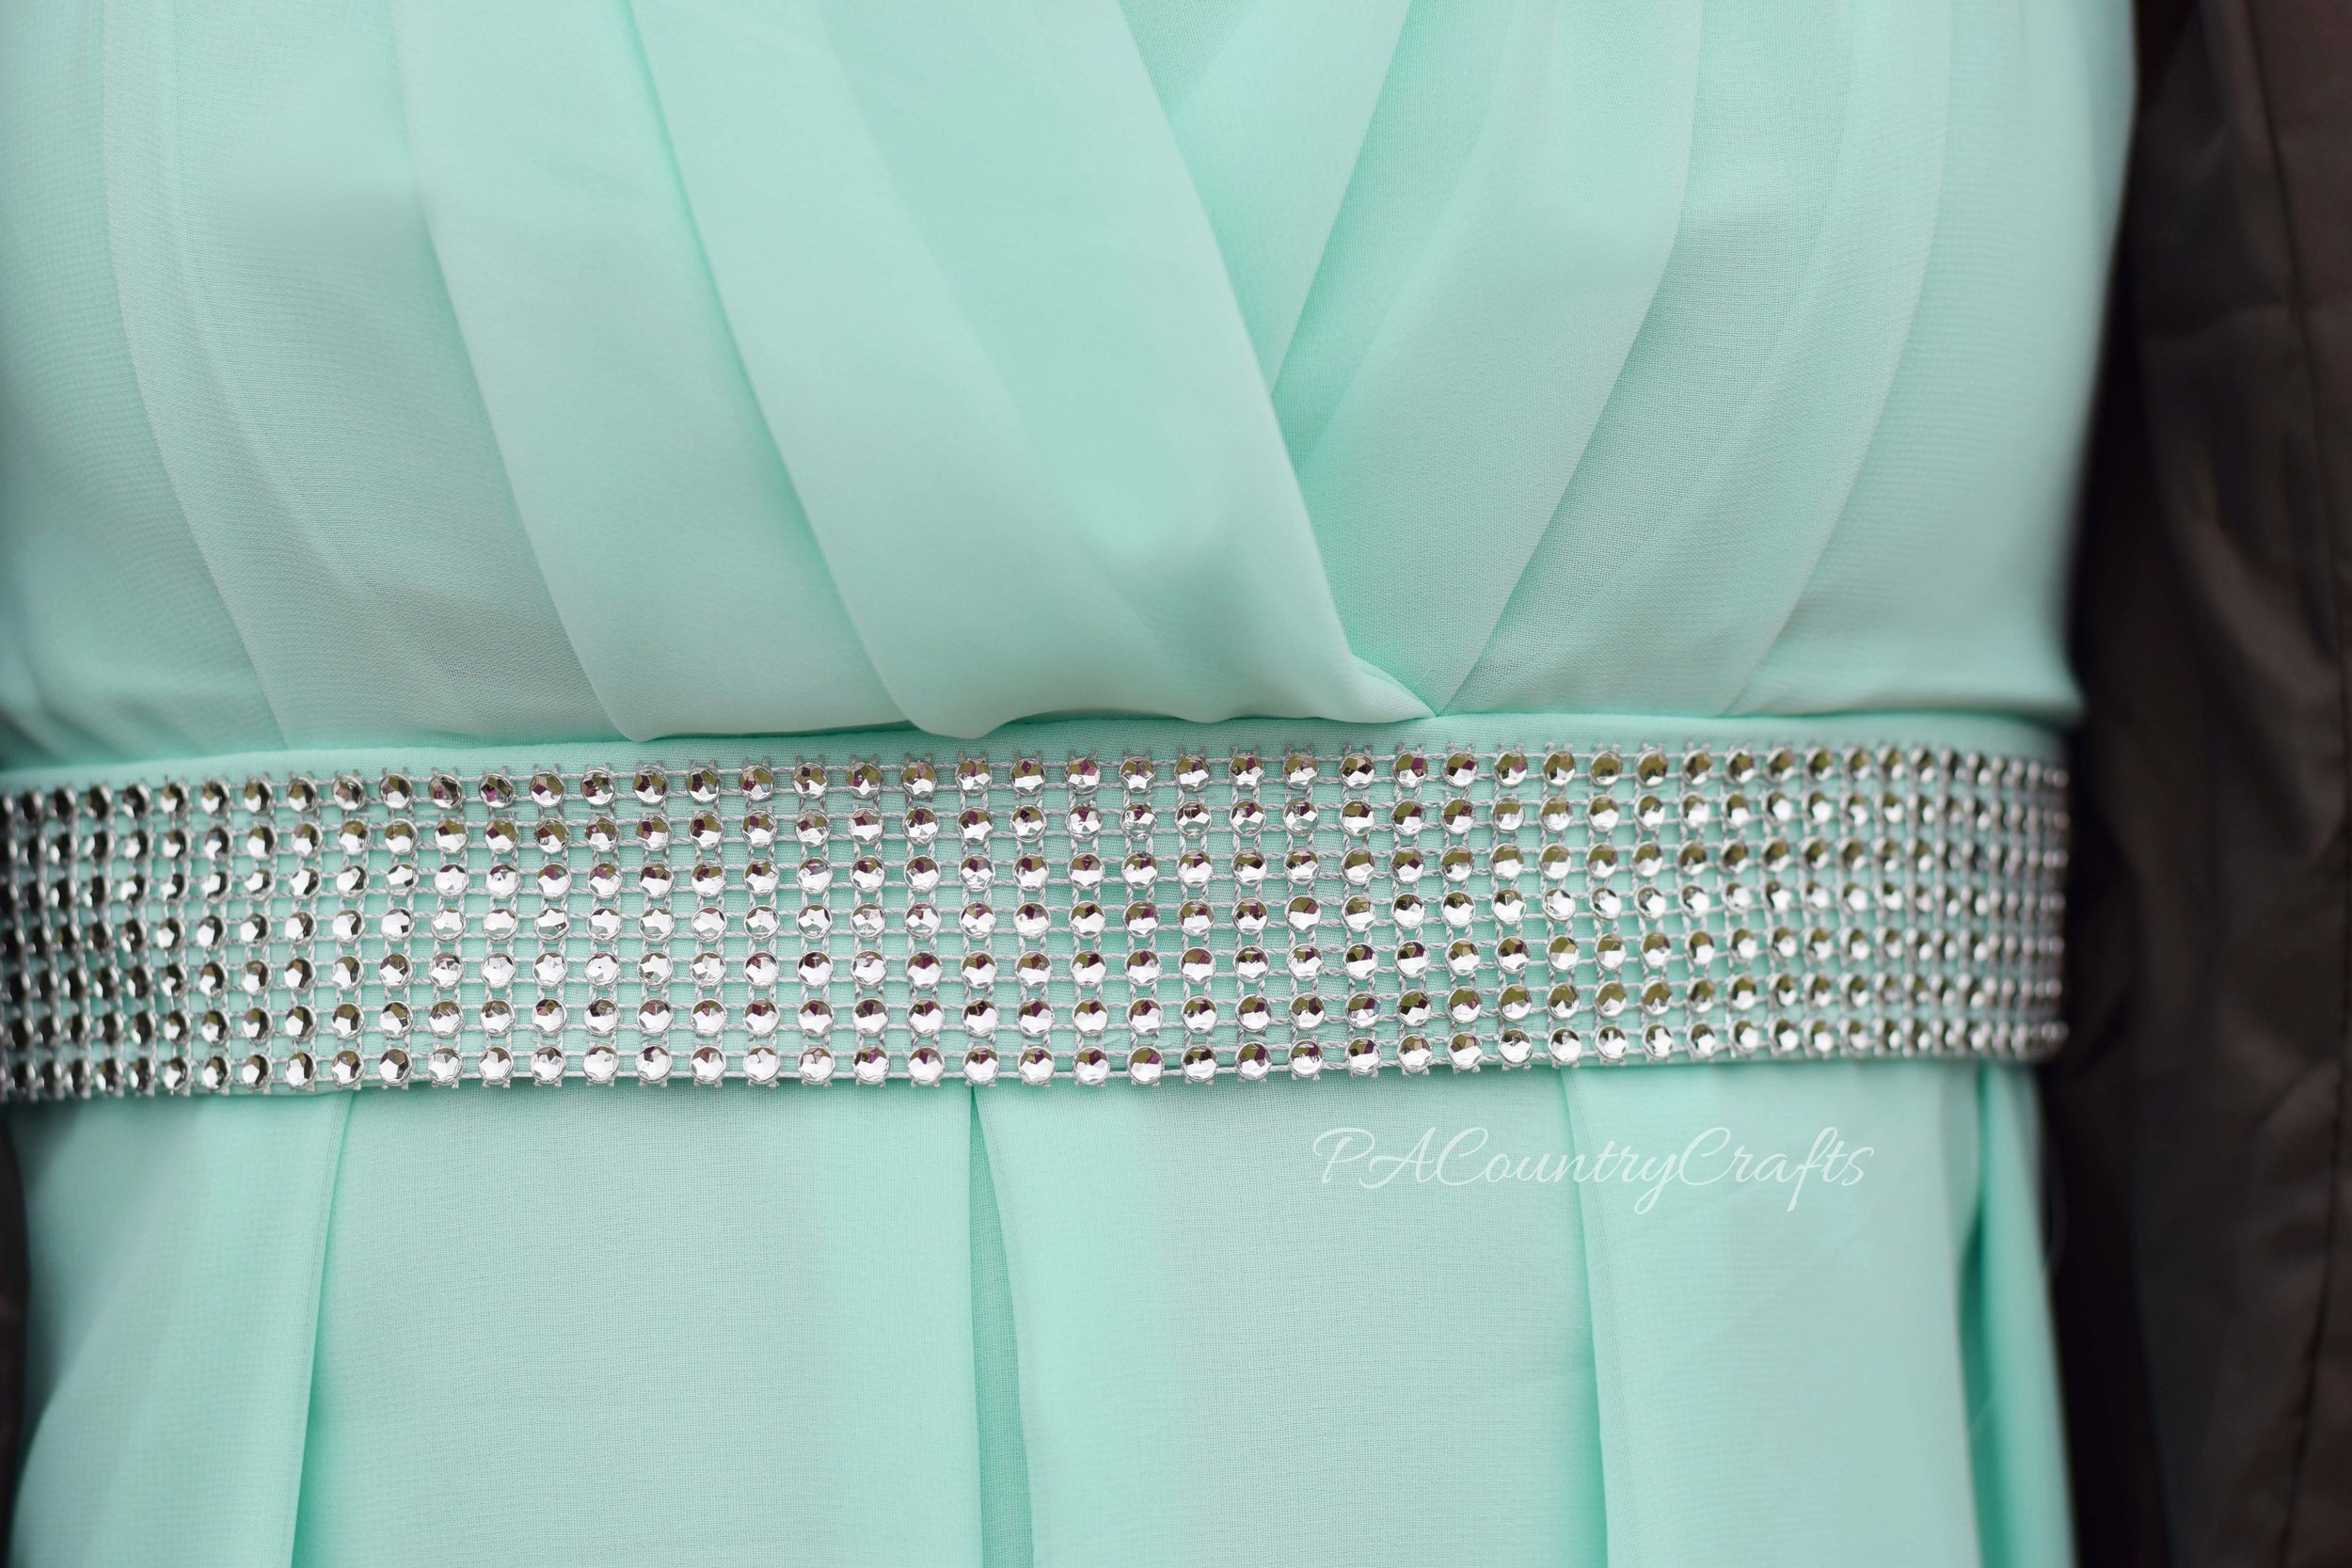
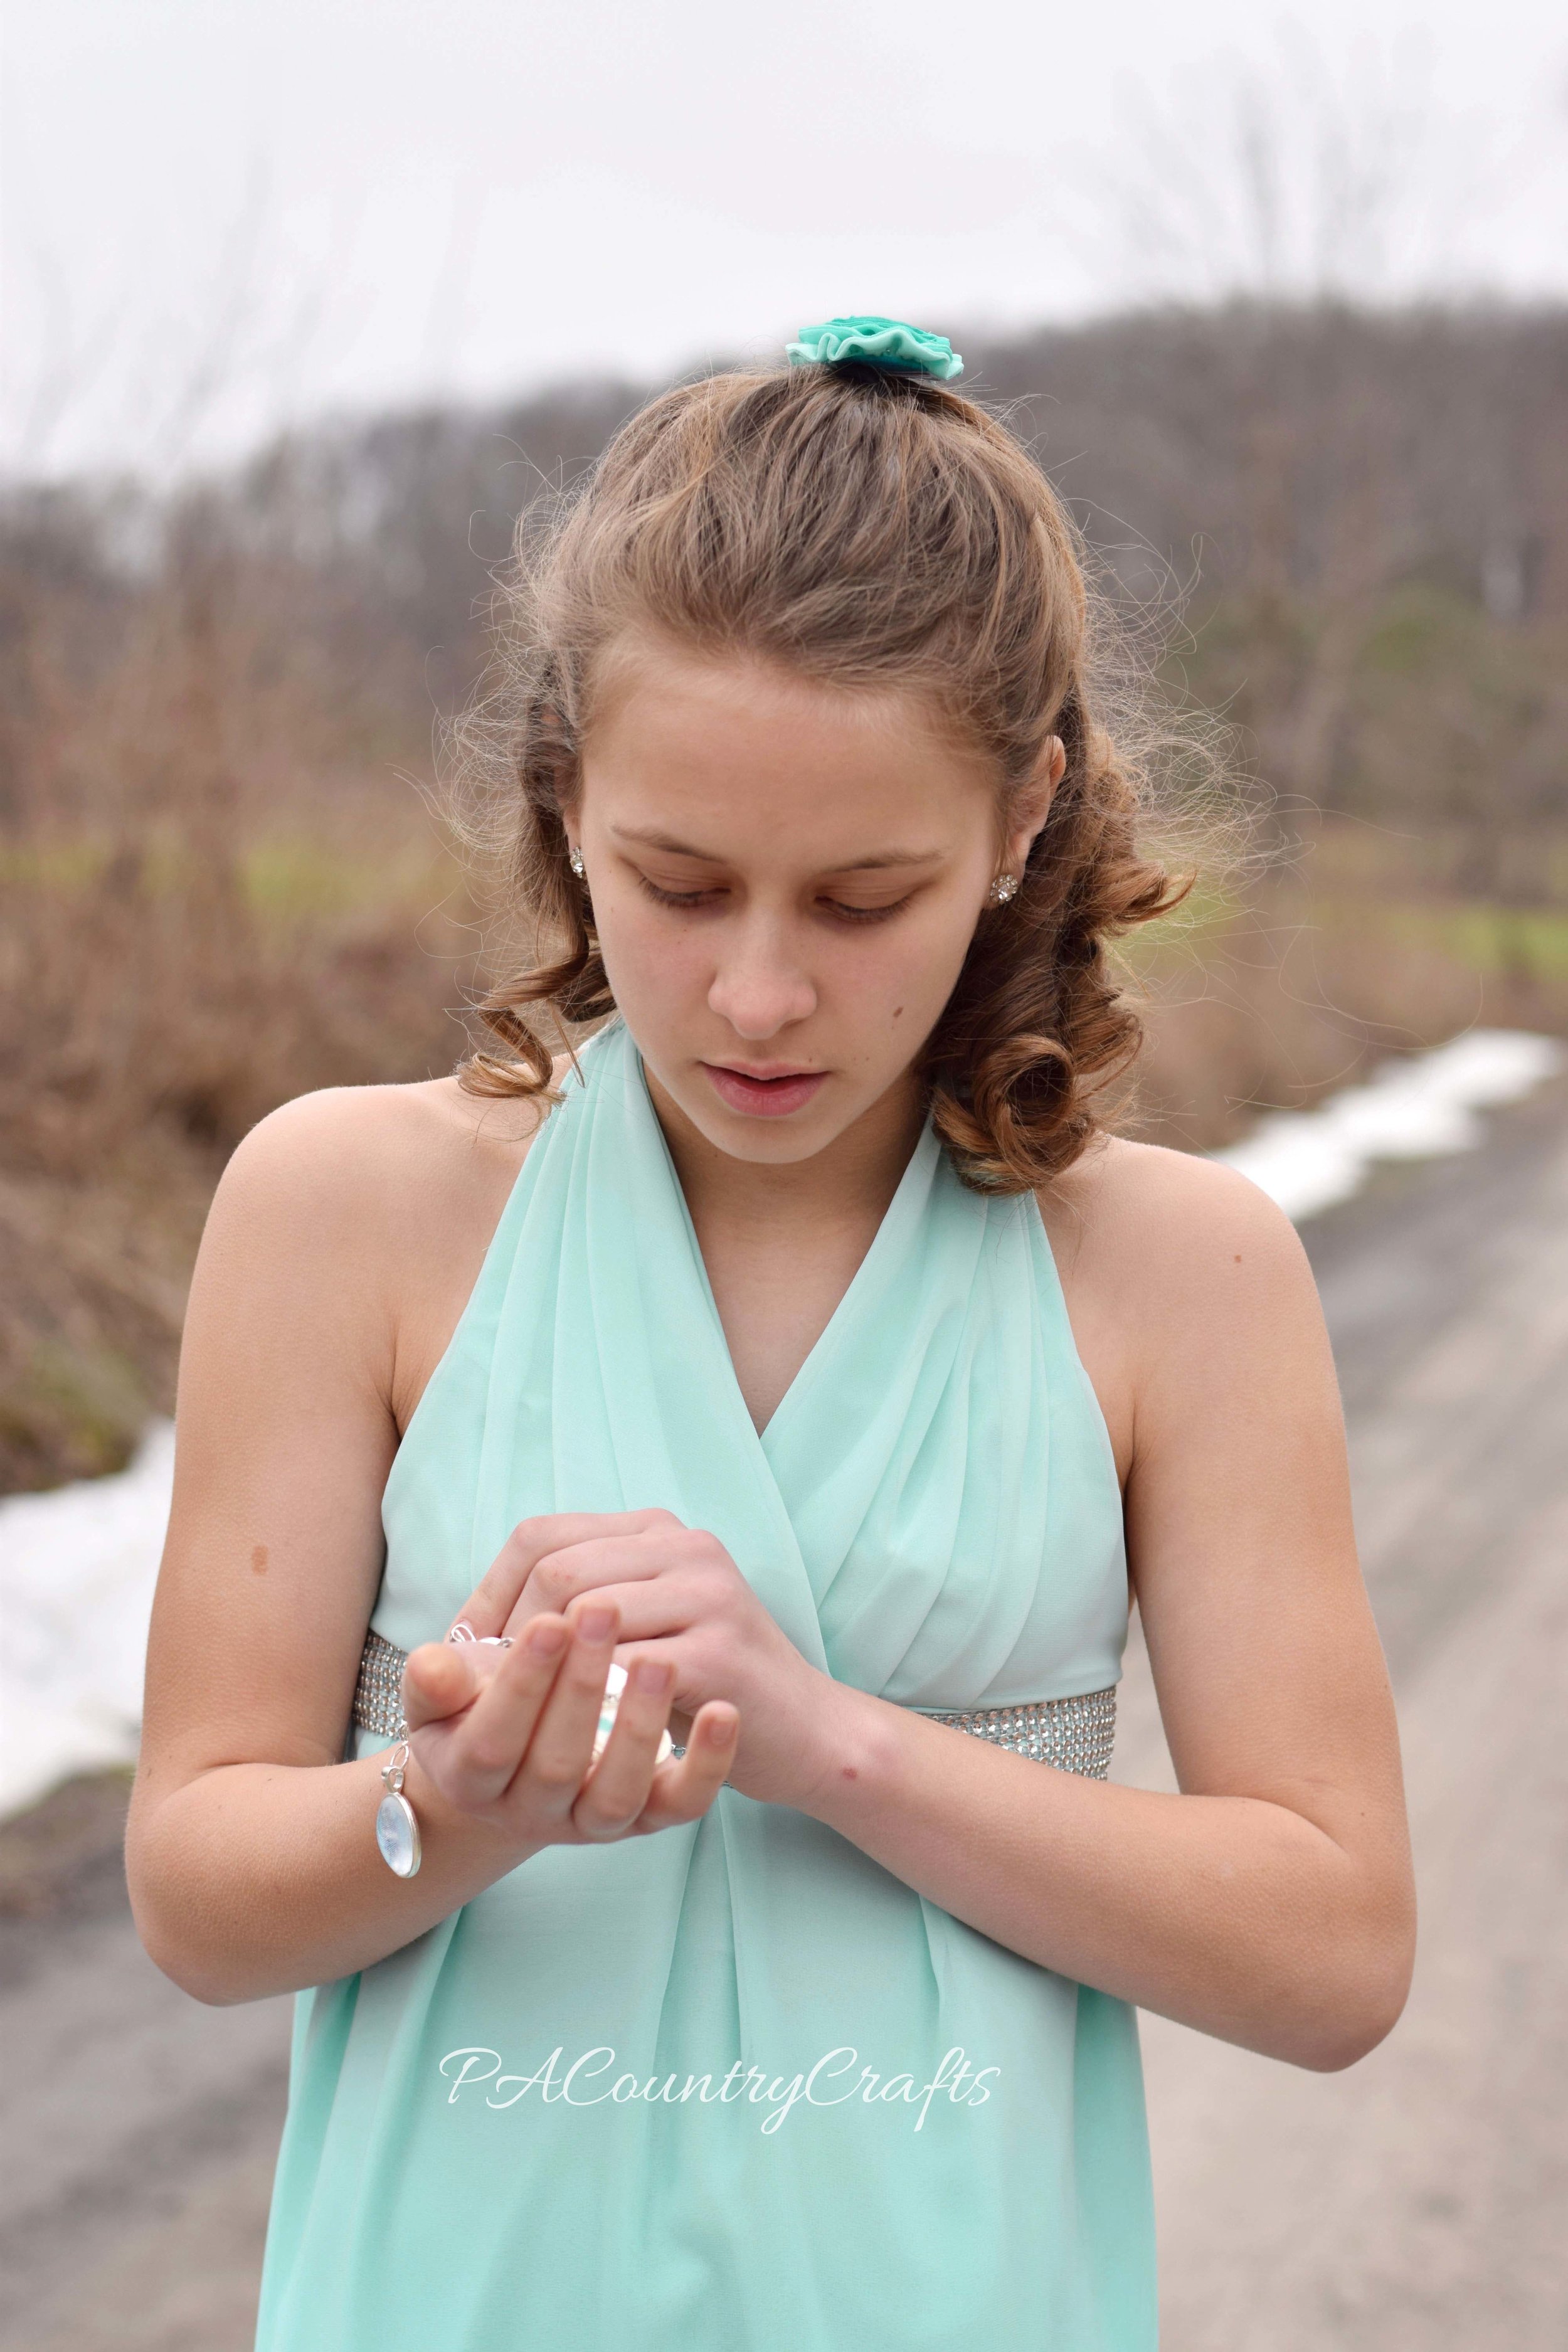
She chose this beautiful aqua/teal ombre chiffon from Joann's and the lining is a soft aqua rayon. She requested a high-low hem, but she didn't want a circle skirt. This dress felt like a final exam because it combined so many sewing skills. The top is a combination of several of my own tutorials- HERE, HERE, and HERE. The pleated chiffon overlay was really tricky, but it softens the look of the bodice. The rhinestone ribbon was hand-stitched over the waistband to break things up a bit and match the bracelet (more on that later). Since the top was pleated, I decided to pleat the skirt, too. I used a french seam on one side and even french seamed the lining for bonus points. I actually didn't use my serger at all on this project. Everything was done the hard way, but if you see how smooth and neat the inside is, it is definitely worth it! The overlay has a narrow hem that took forever, but everything had to be done right to keep this chiffon light and flowy. I even redid my french seam to make it 1/8" finished and that piece I trimmed off became a pretty flower hair clip.
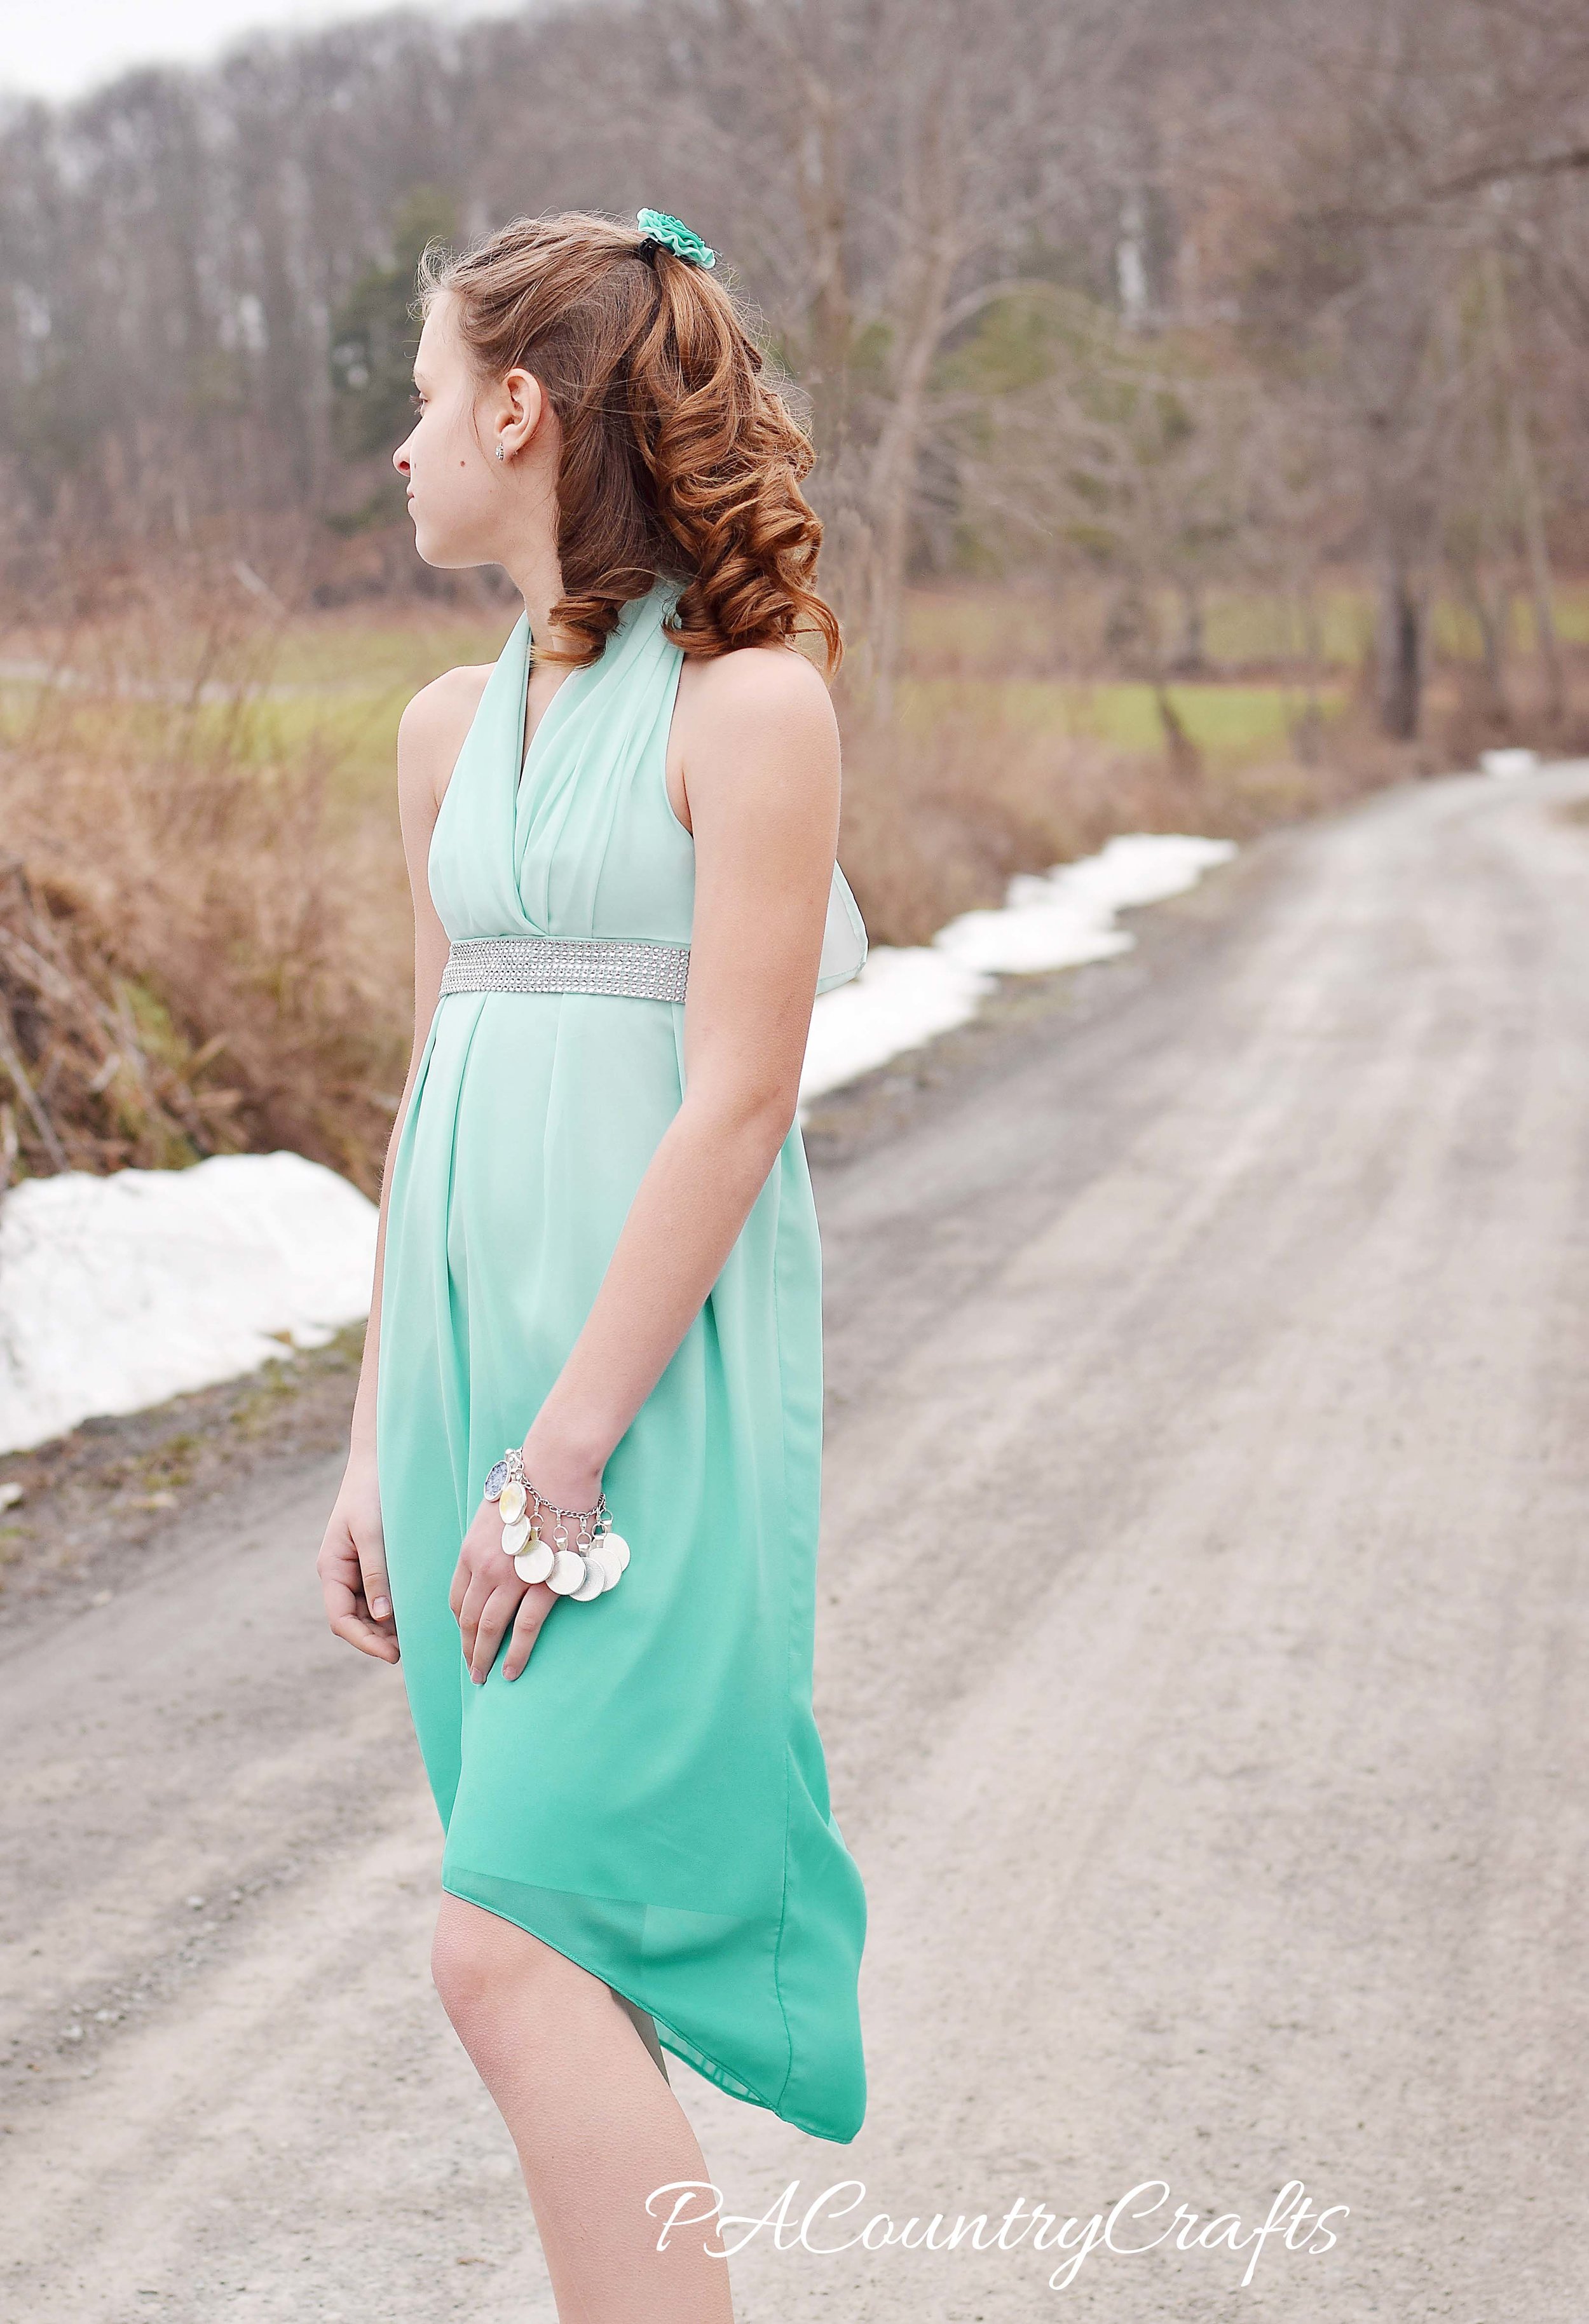
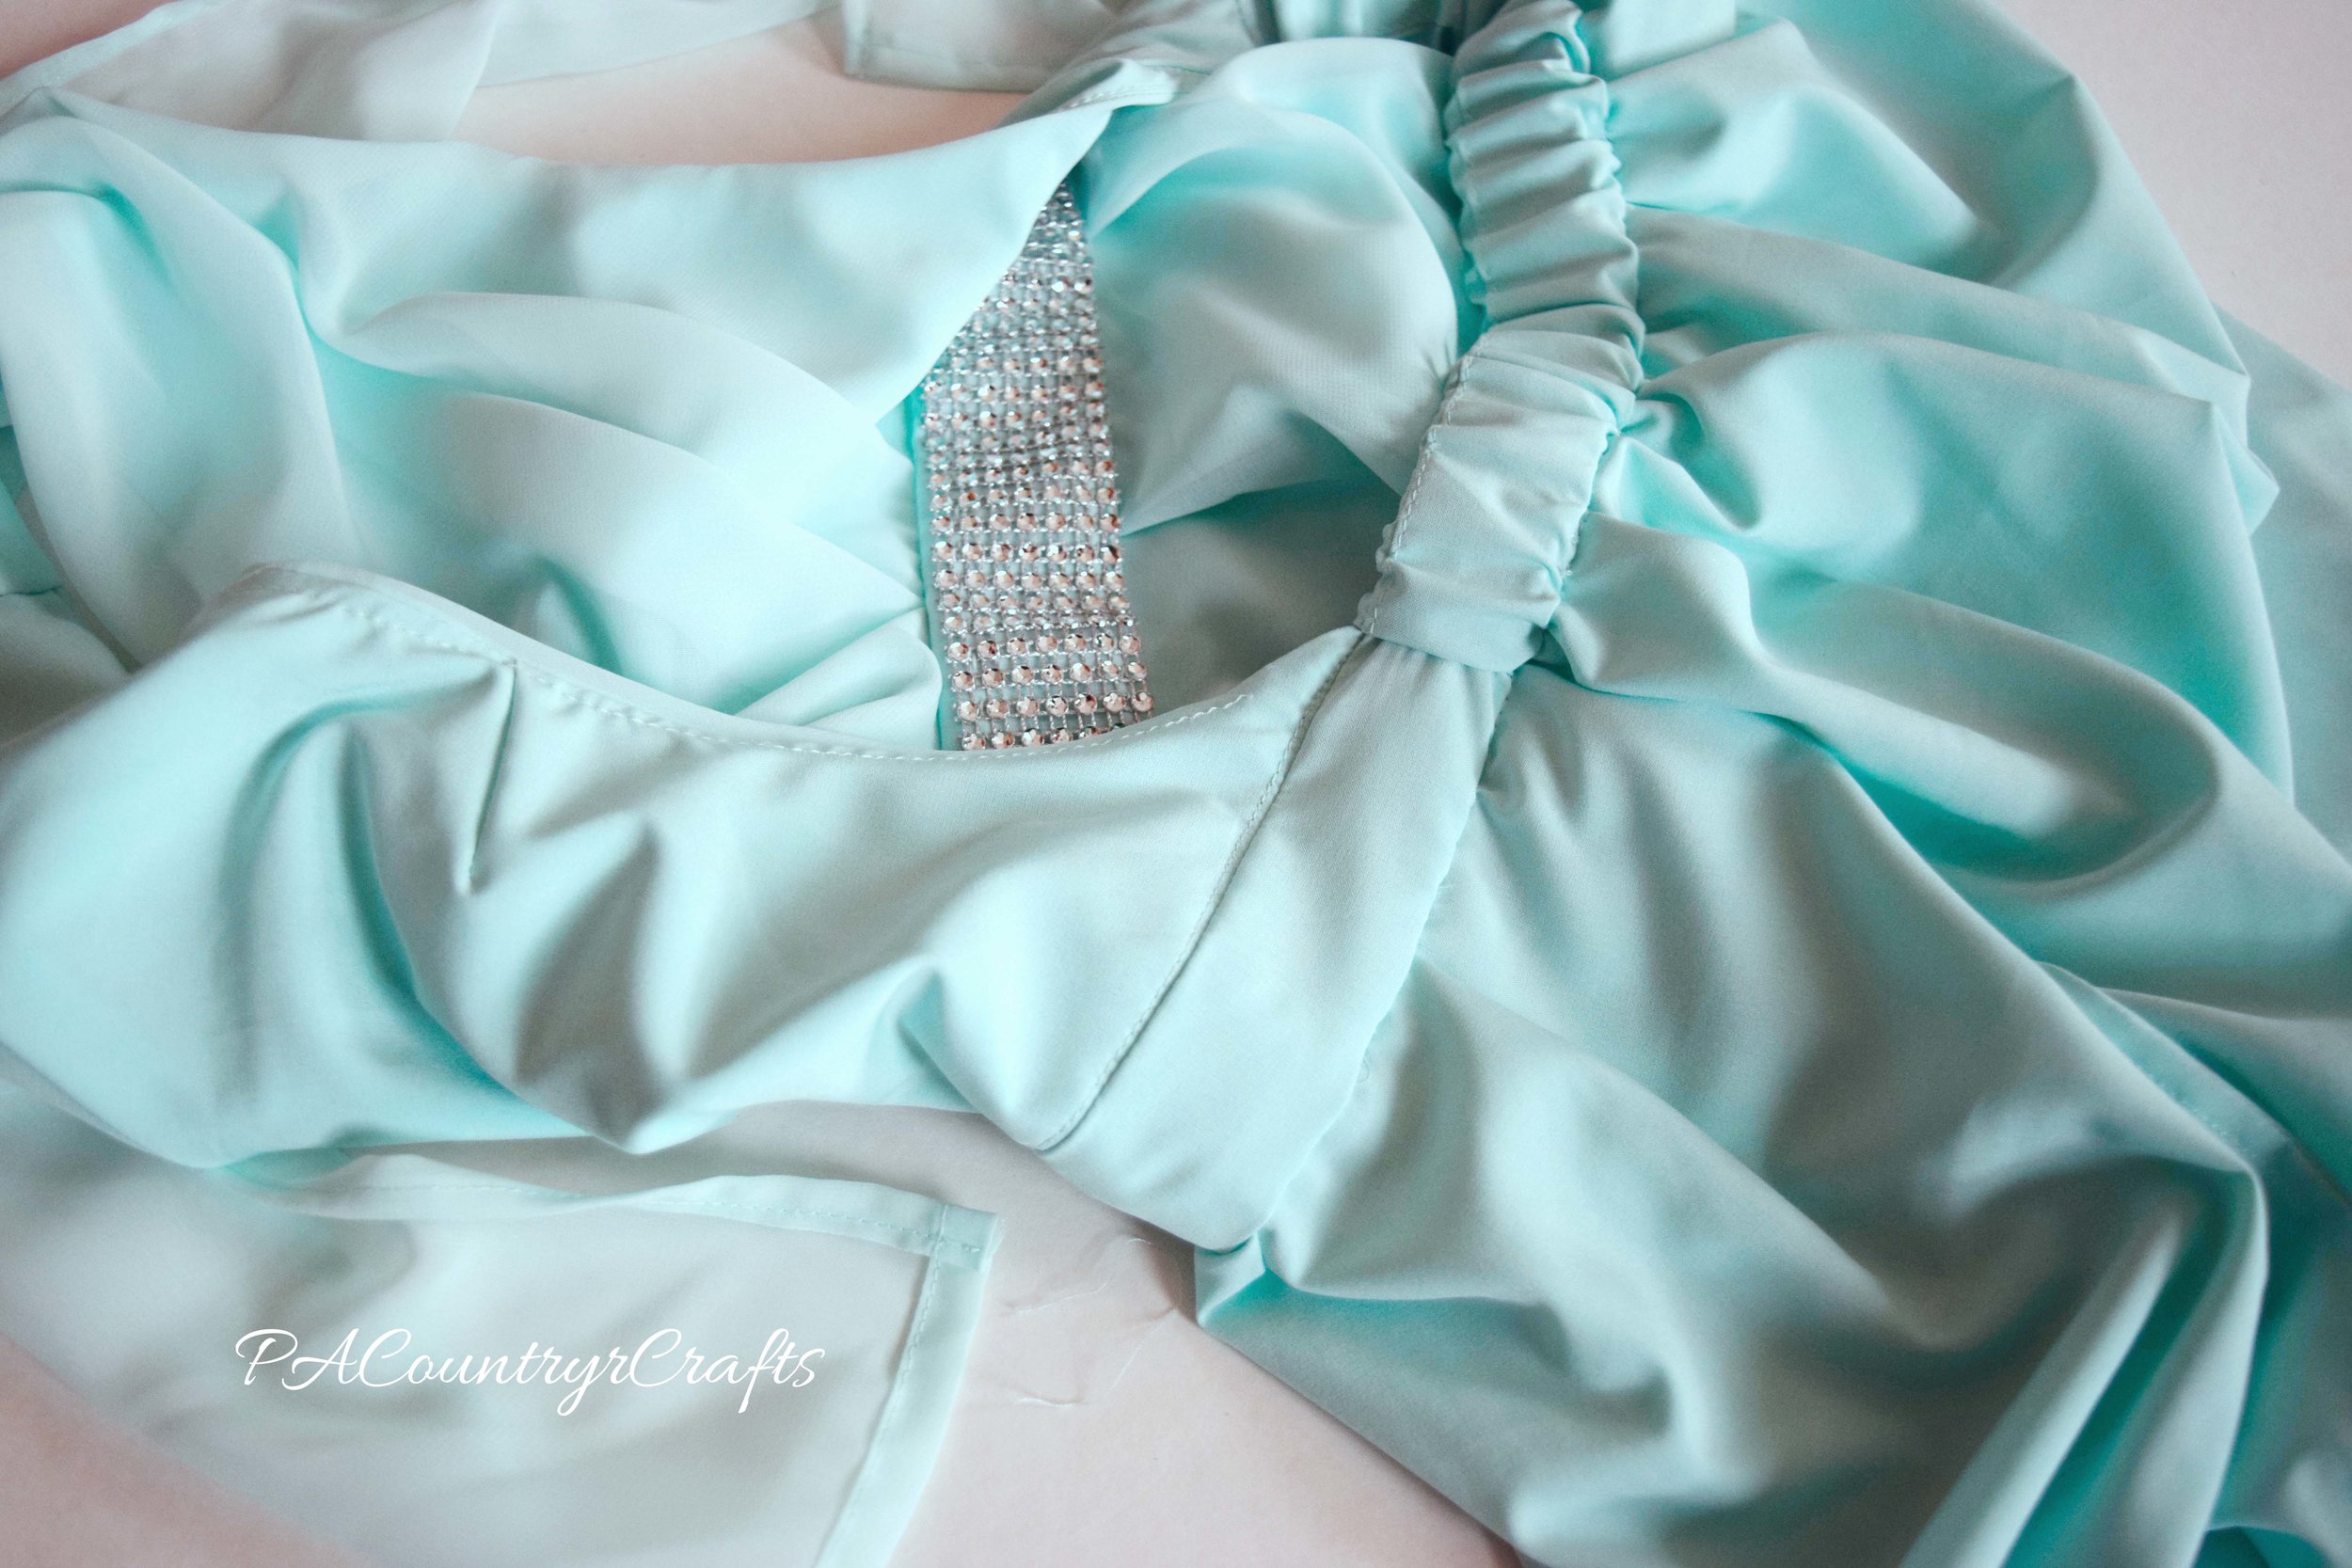

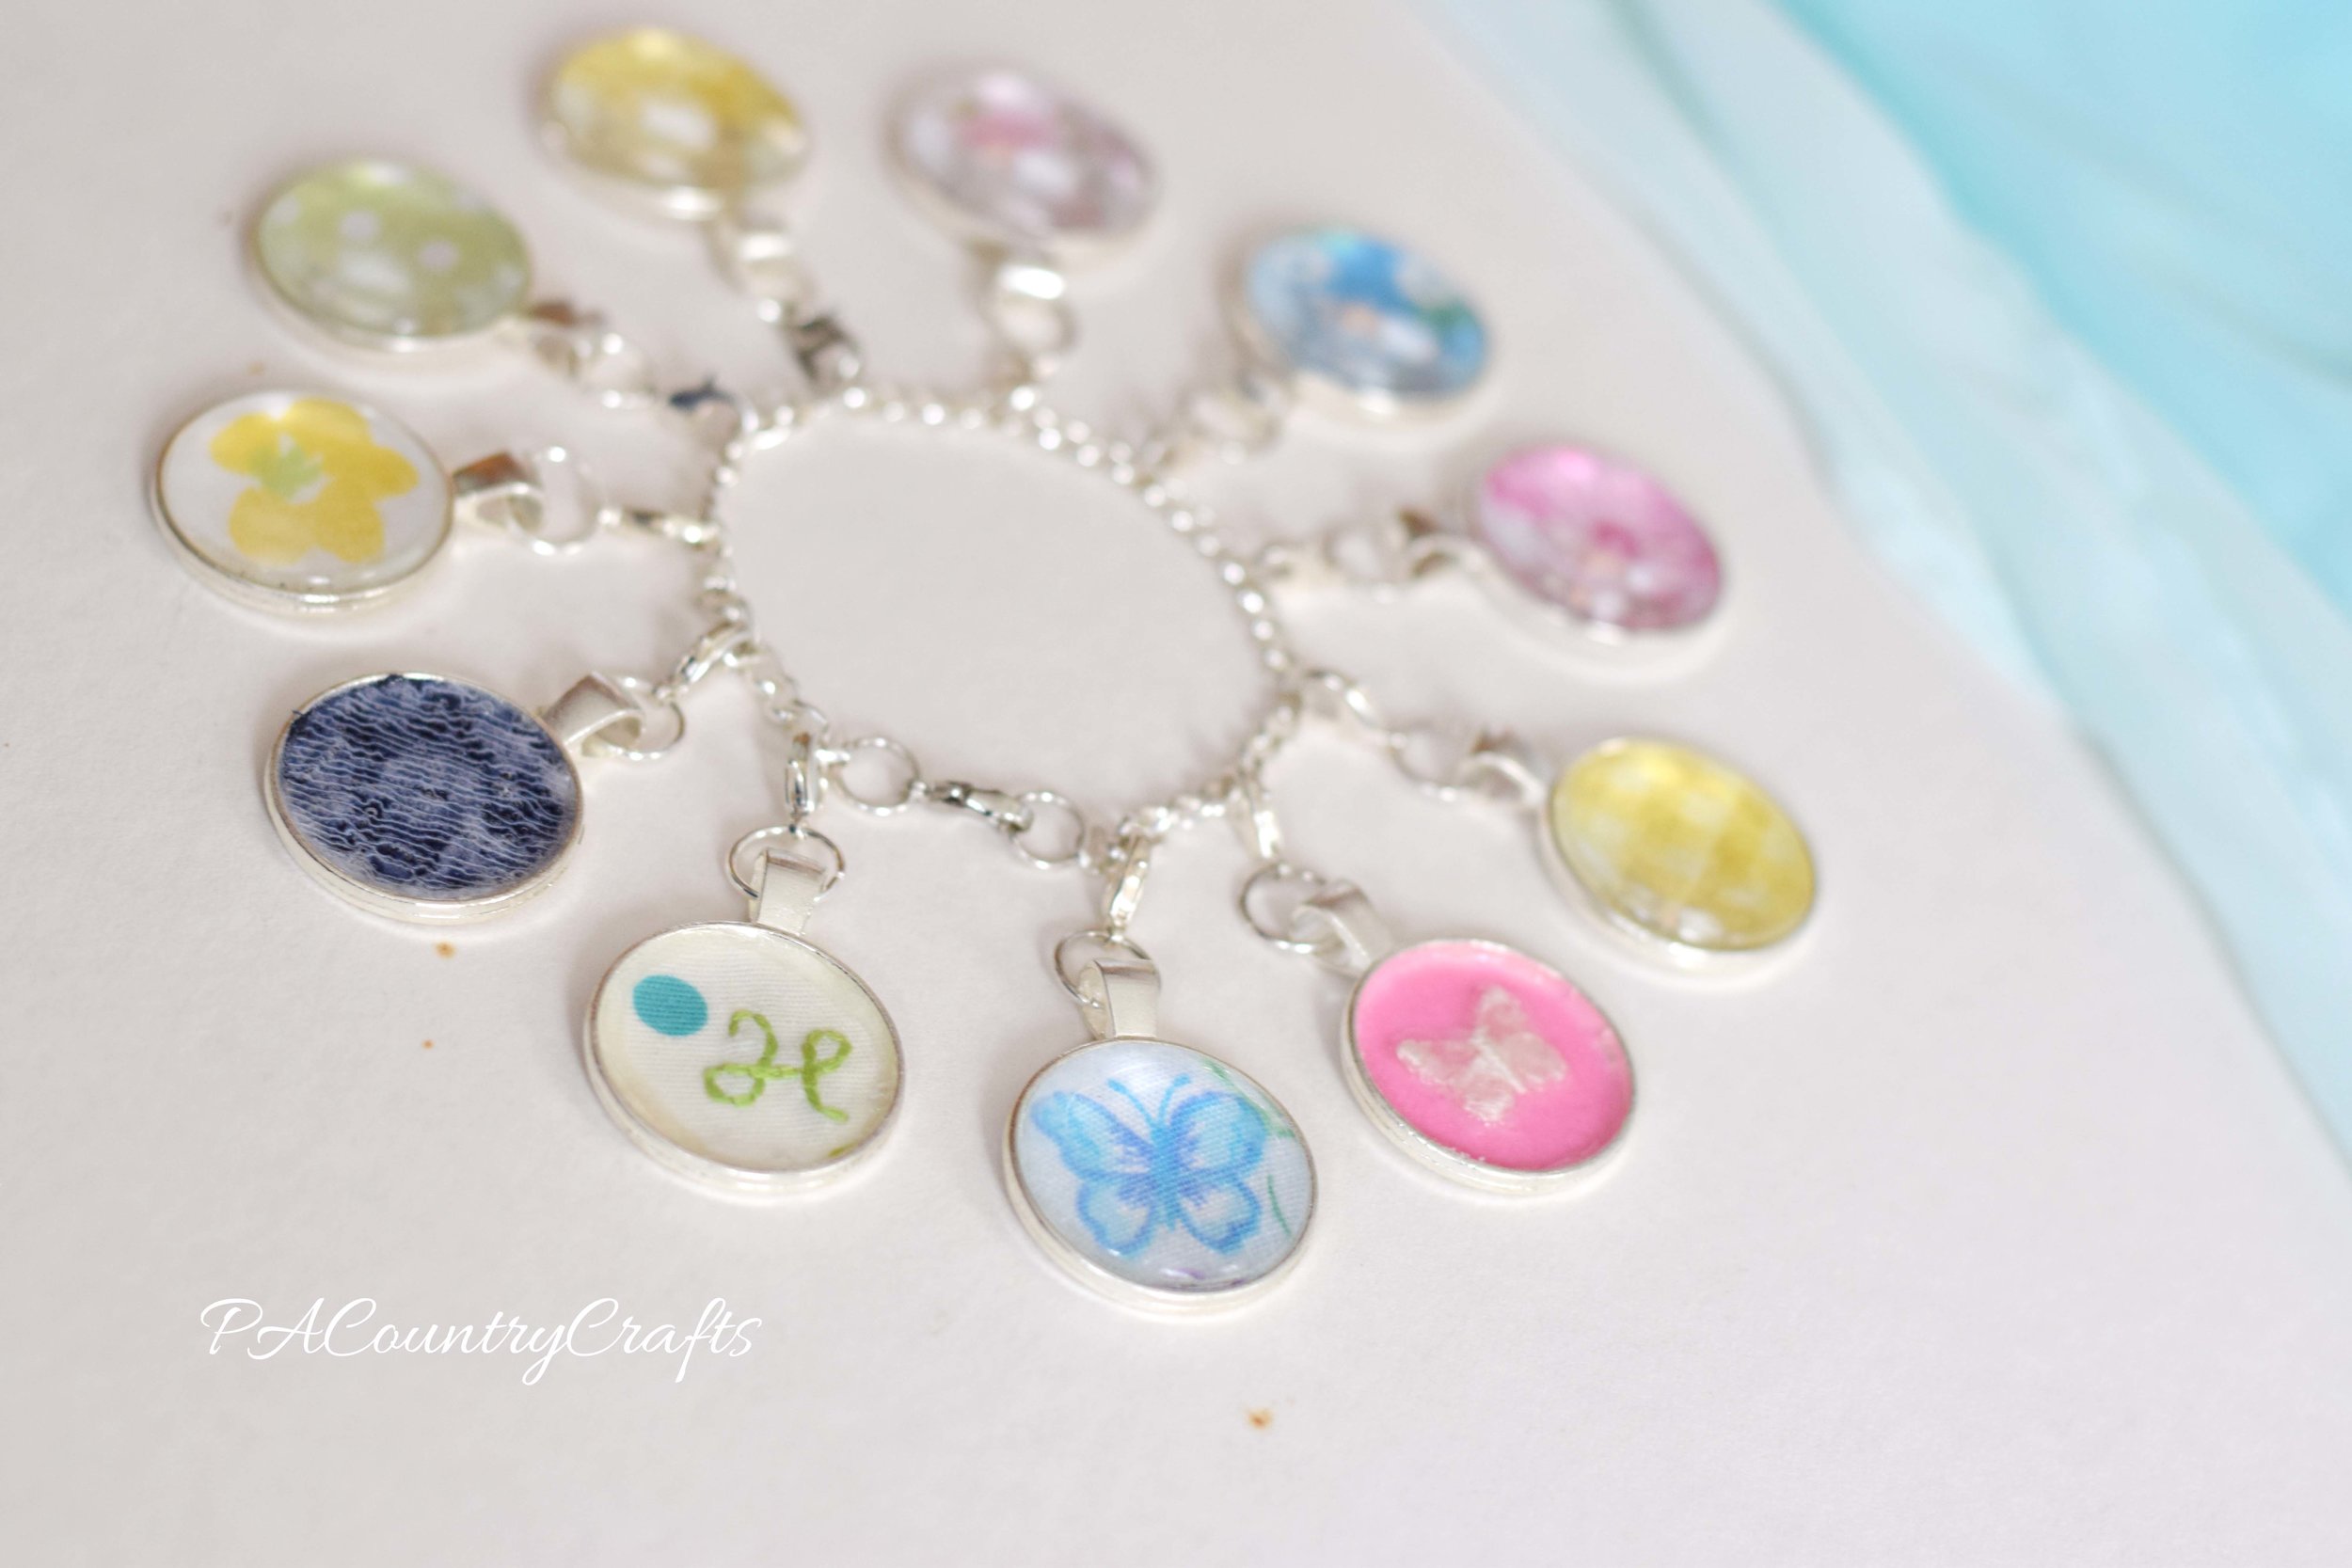
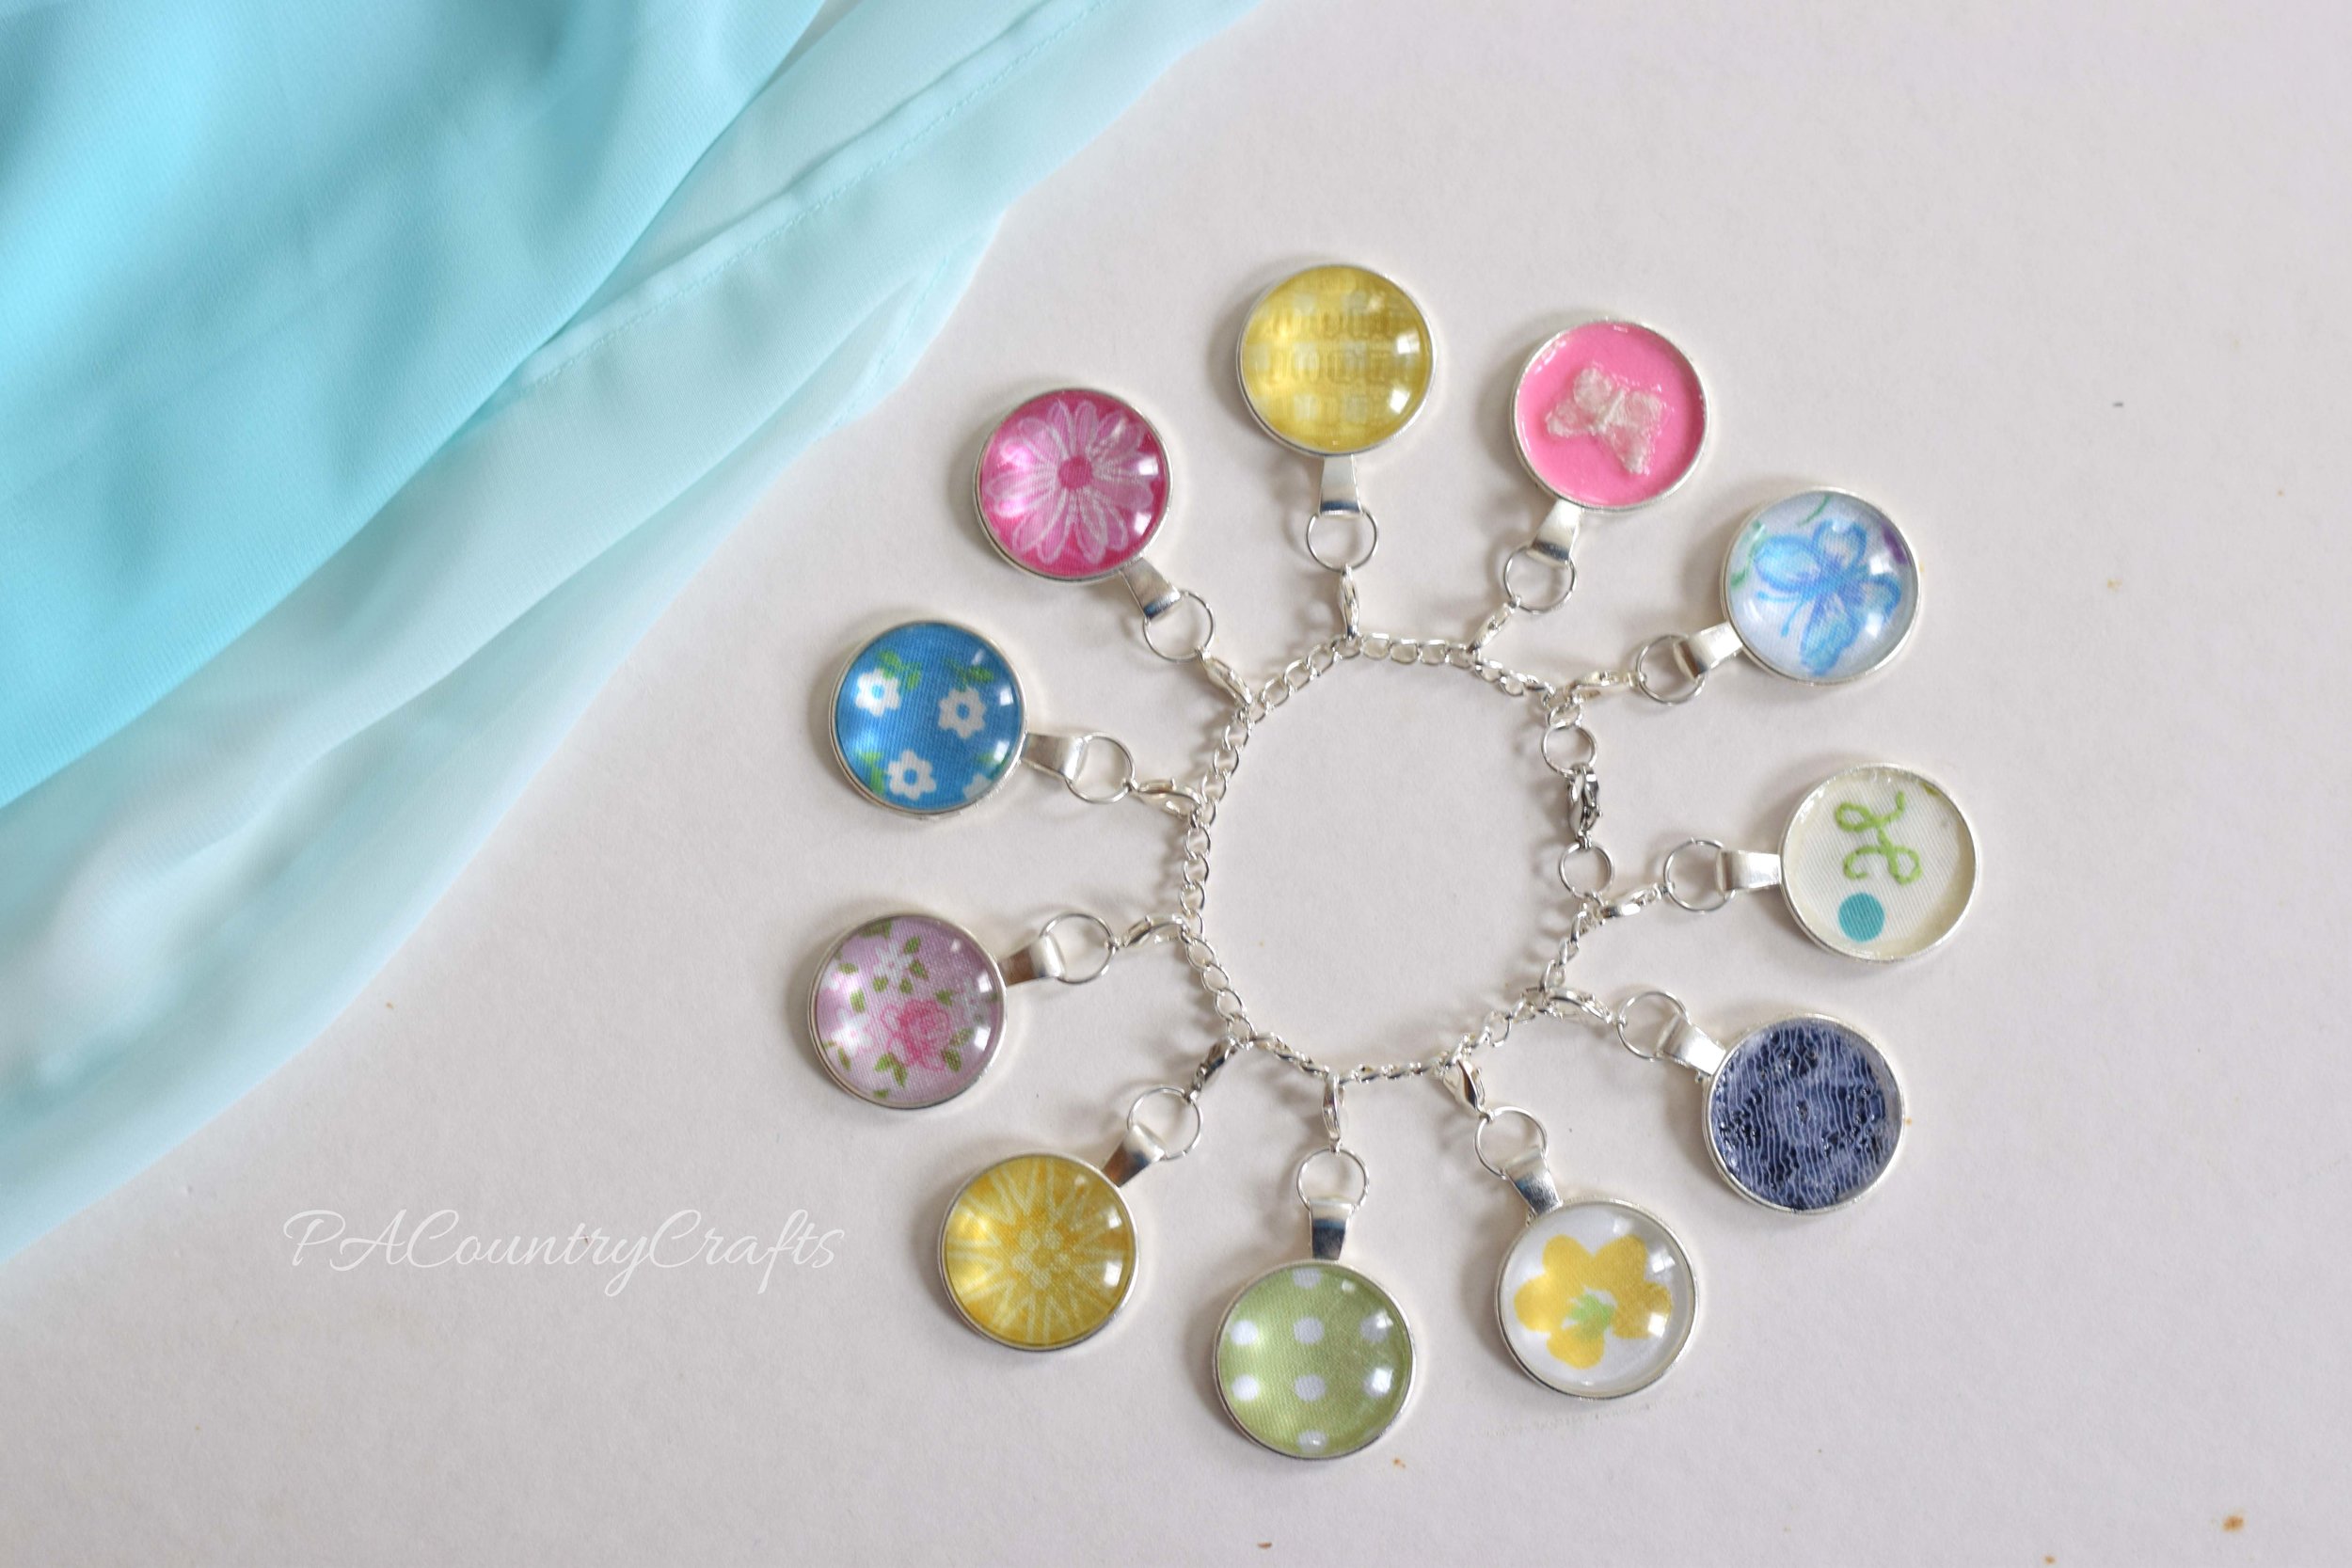
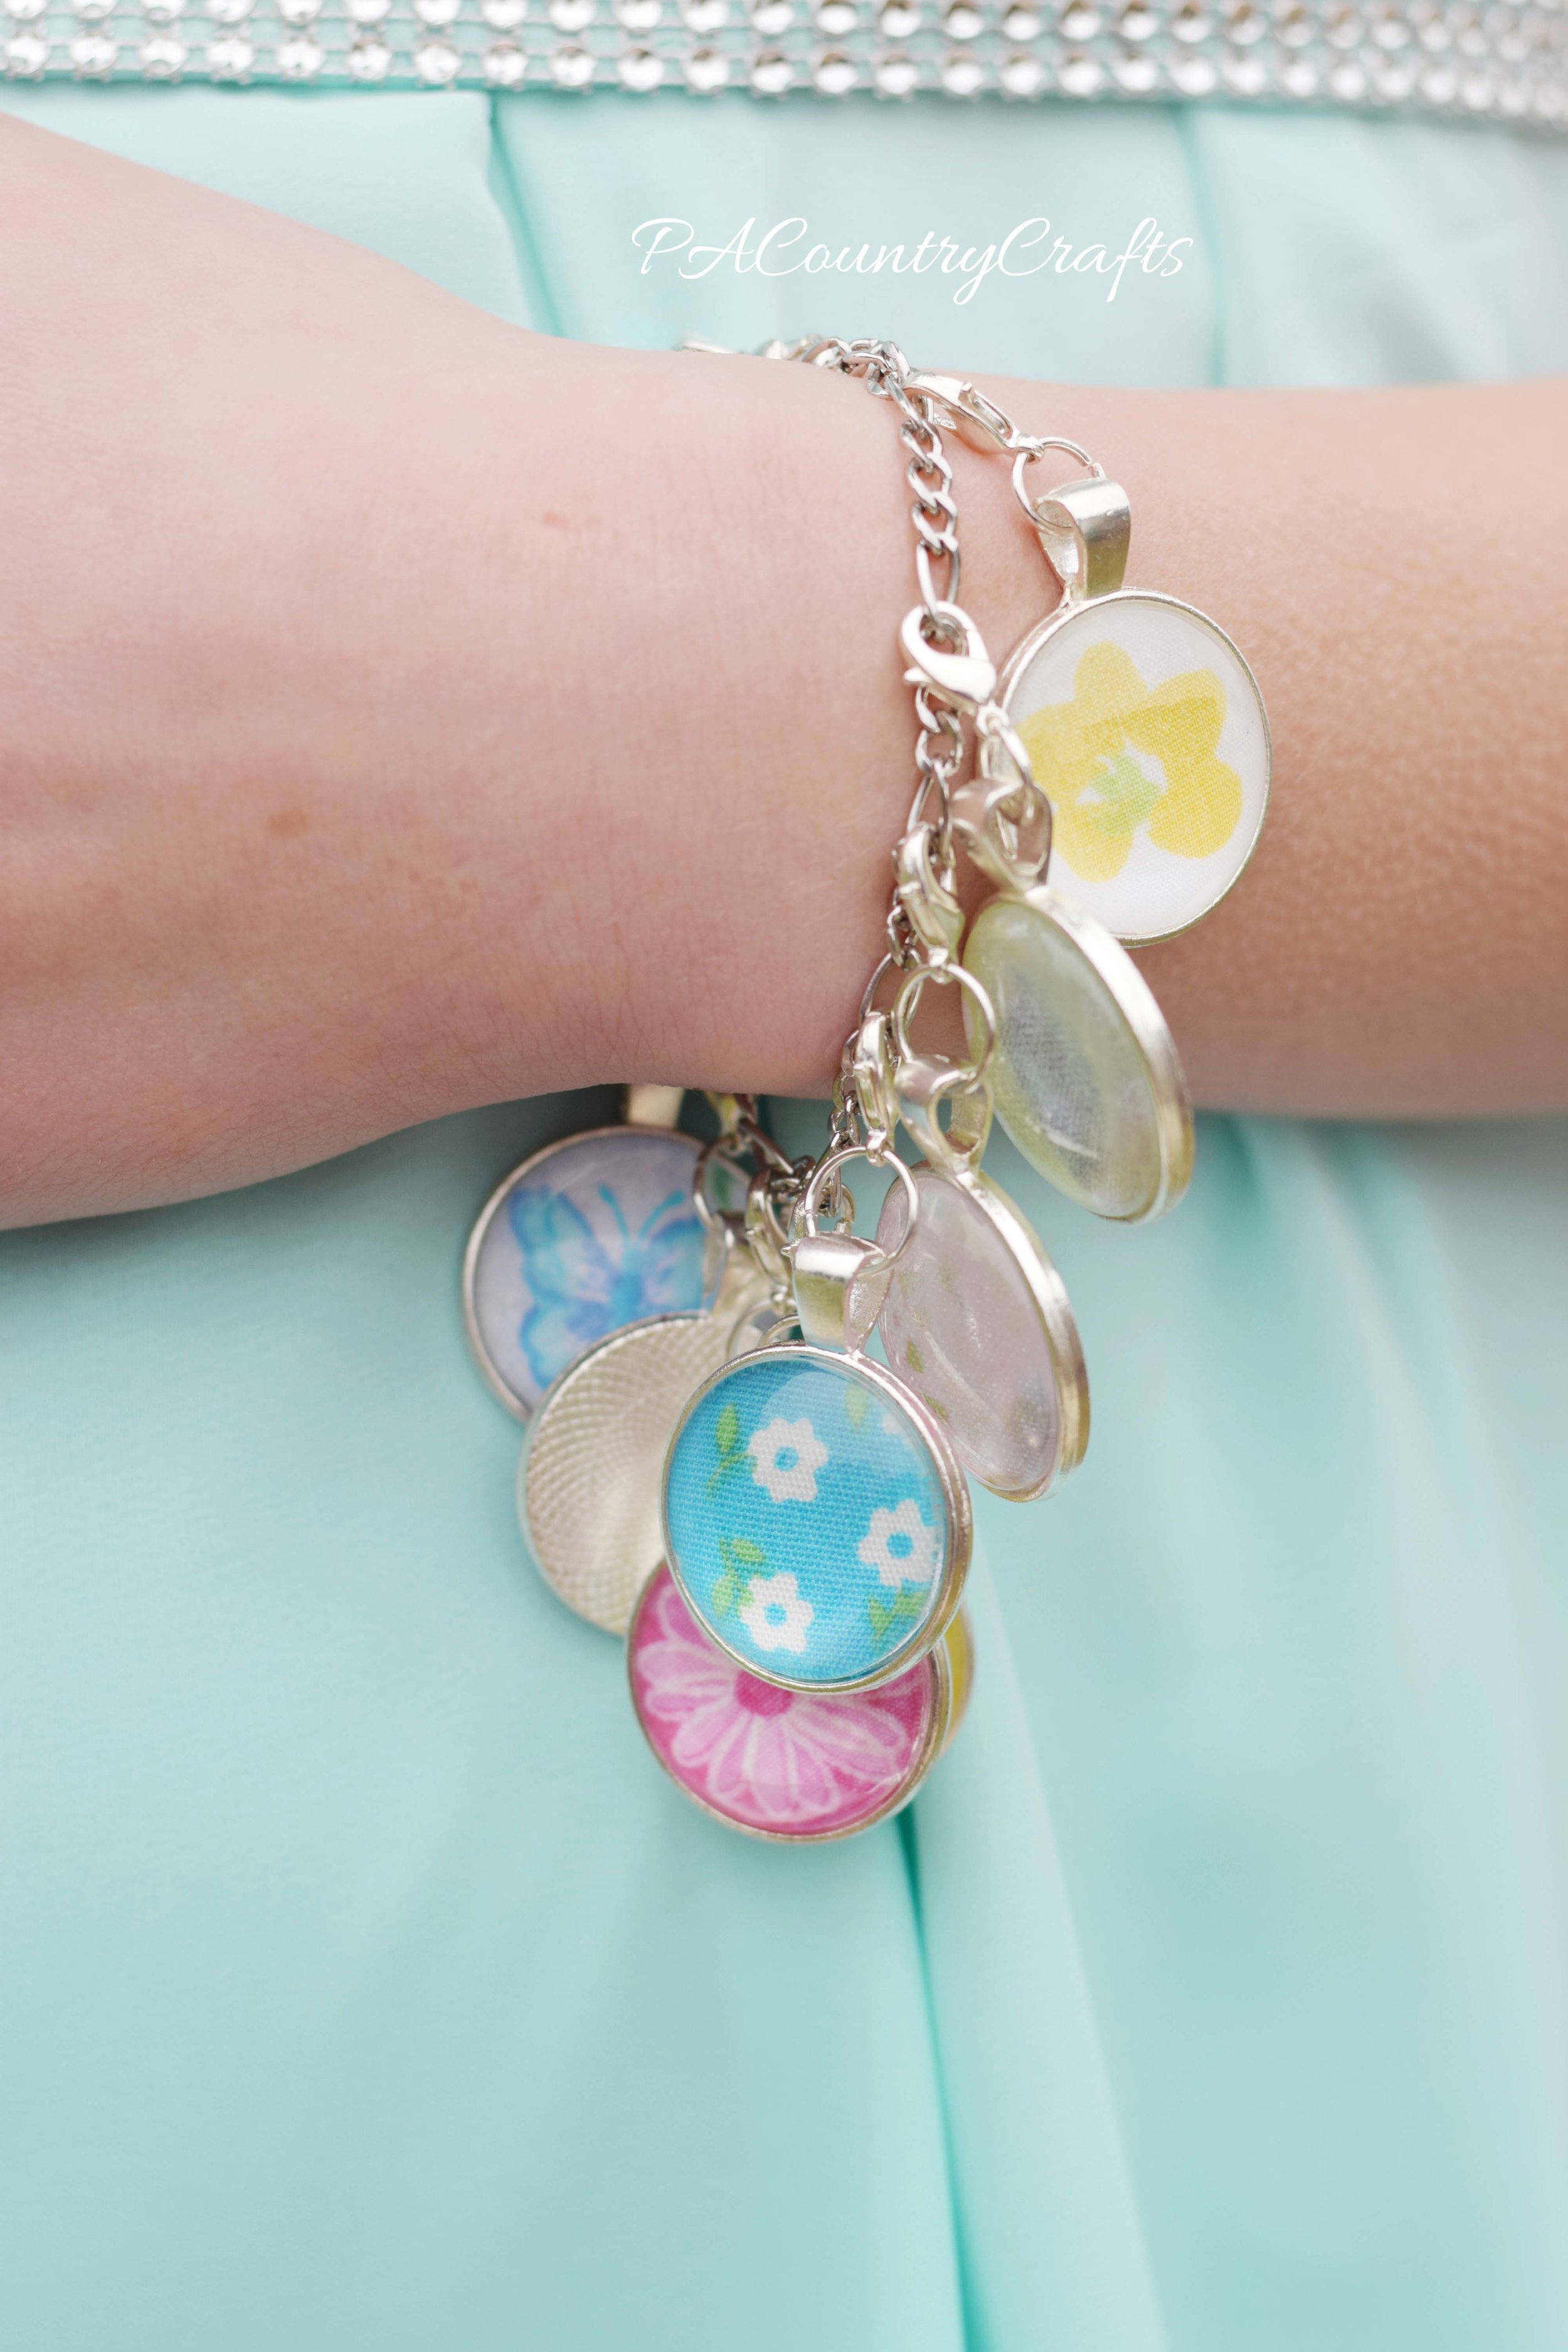
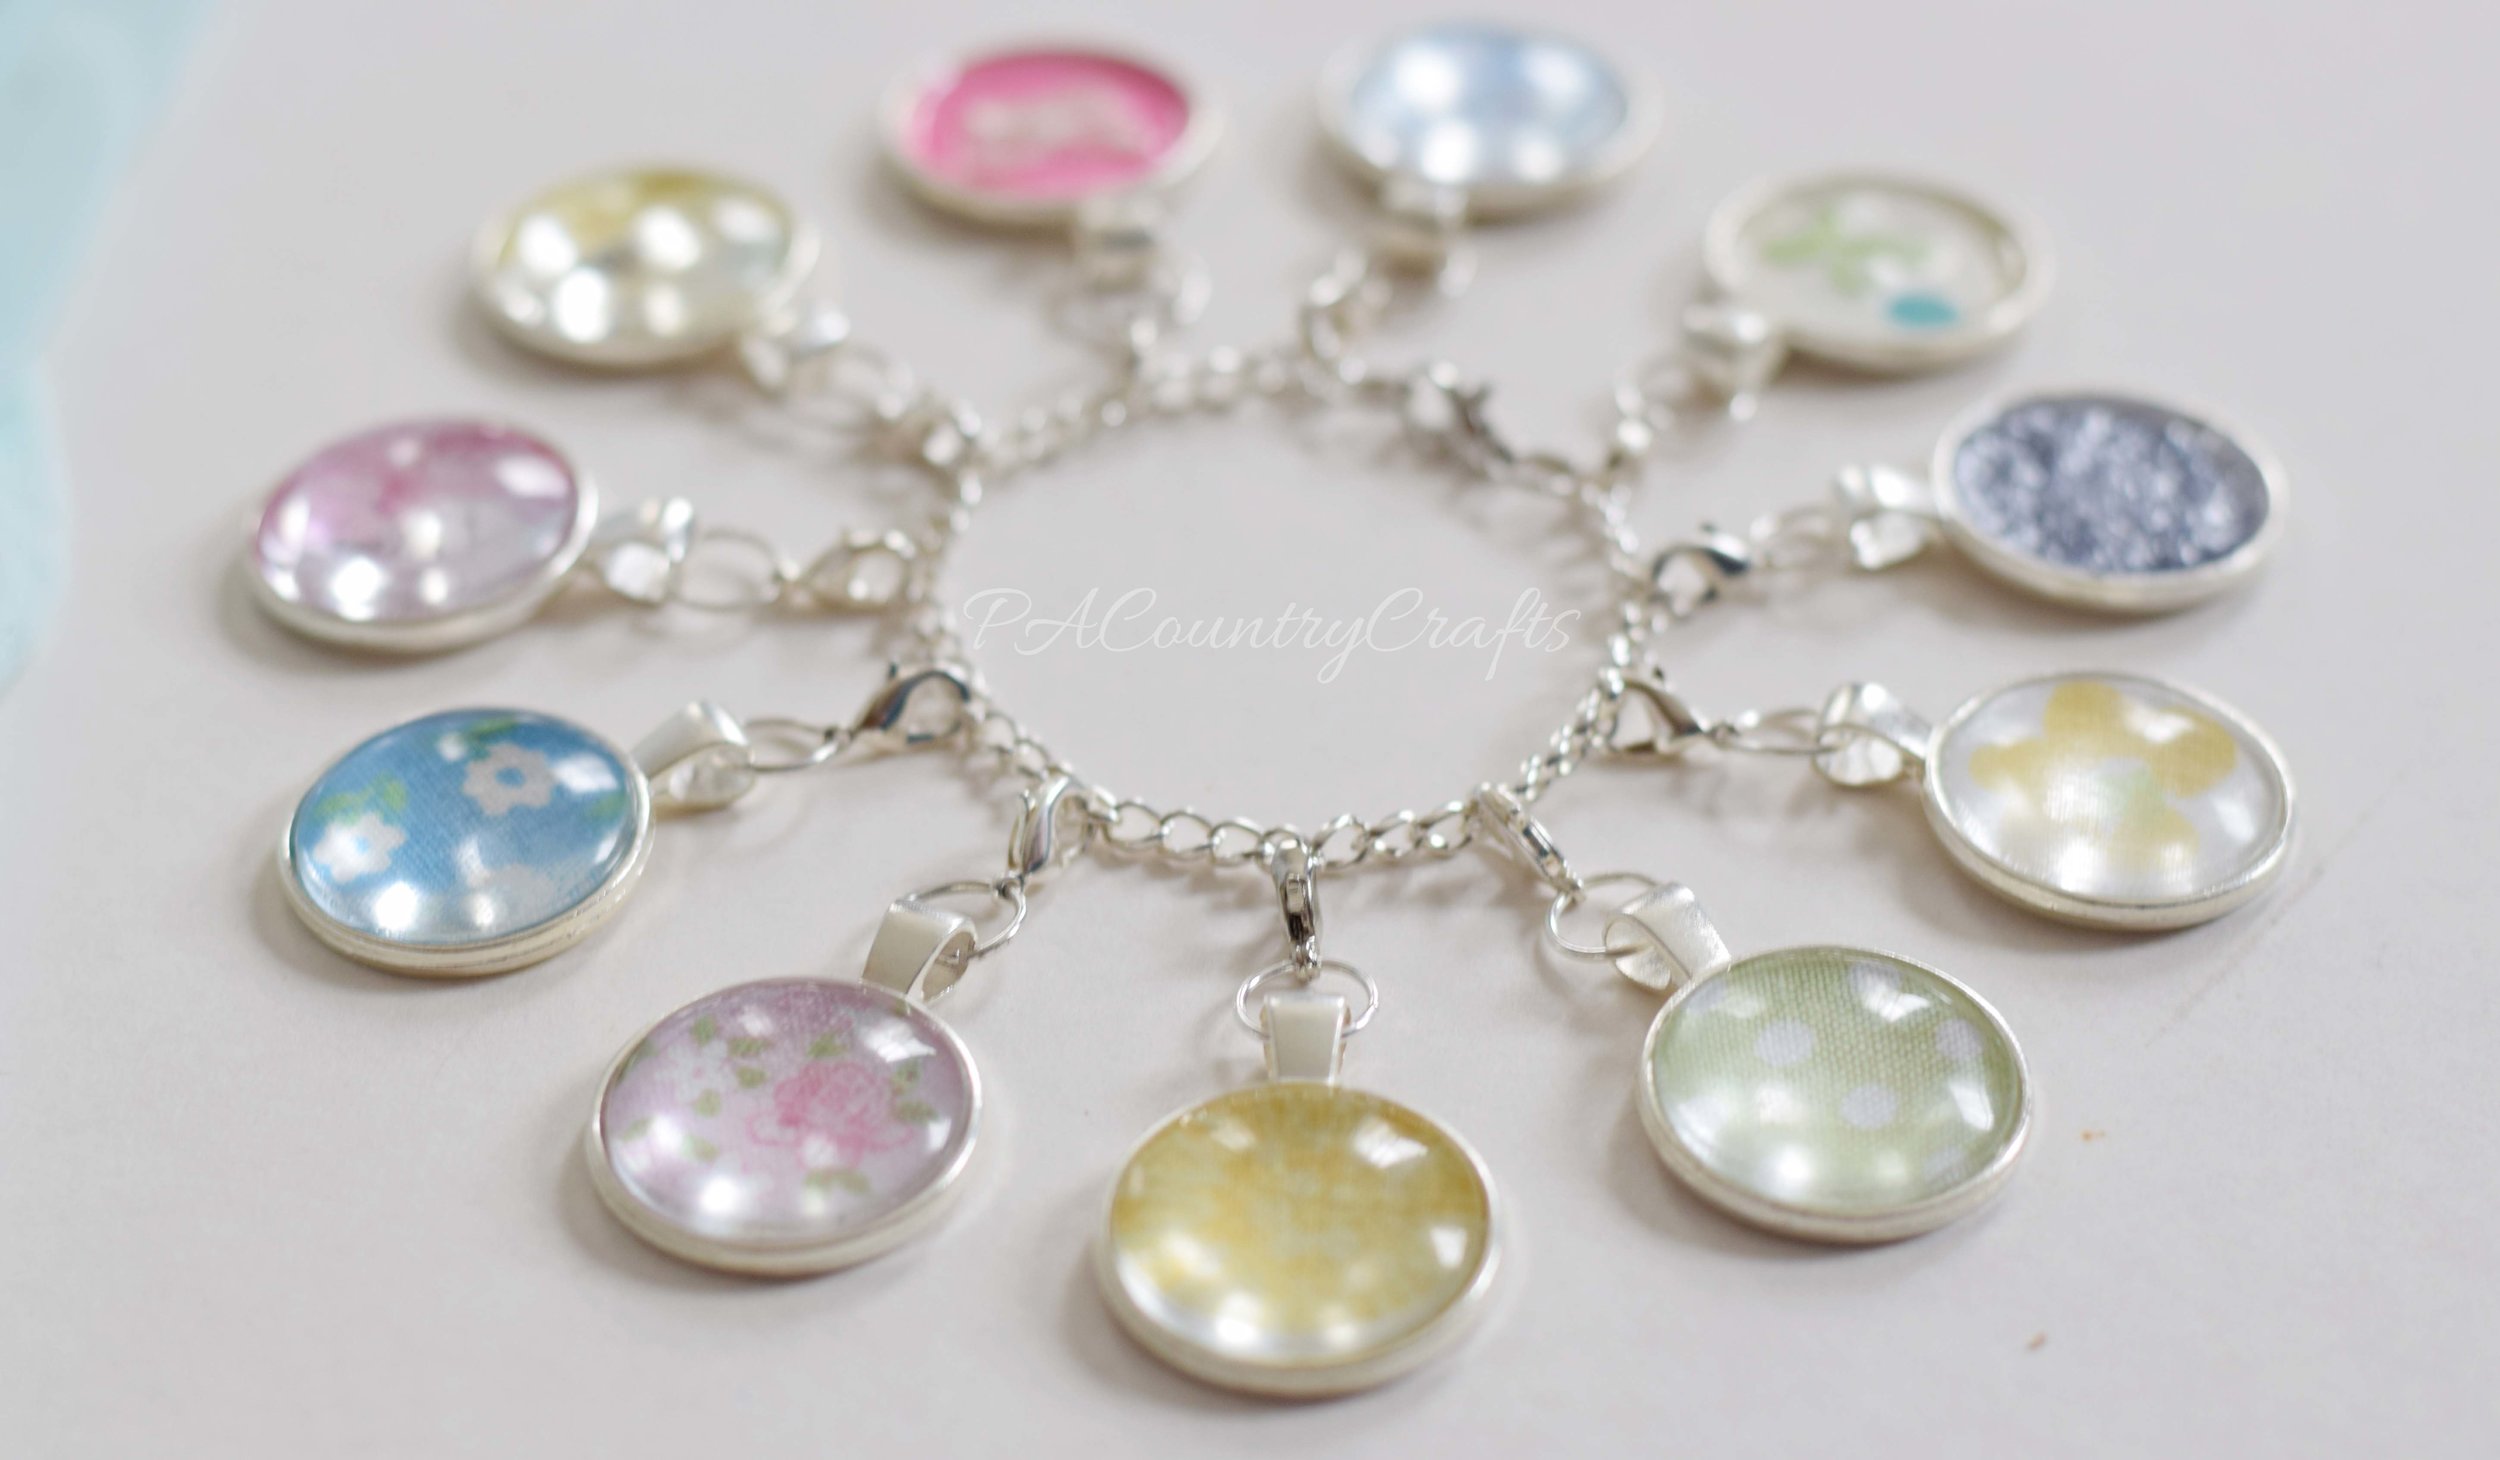
Finally, because I am sappy and sentimental, I got out the scraps from every Easter dress I have made for her and created a charm bracelet. There is a trick to it, so I will try to do a tutorial later. I used glass domes on most of them, but a few were too thick so I just coated them a glaze. I was really sneaky, so I was able to surprise her with the bracelet during the photo shoot! Also, I have just enabled fabric hoarders everywhere because this is another great idea for tiny scrap pieces. You are welcome!
I am a little sad to see my girl so grown up. It is bittersweet. We have both changed a lot.
https://www.youtube.com/watch?v=clcNB_EUao8
Put away the tissues and go vote HERE for the Project Run and Play Season 13 final round!!!
I am overwhelmed with the amount of support I have received from family and friends during this competition! Thank you so much!!! You are all amazing!!!

My great-grandmother, Caroline, was Bohemian; so "boho" means a little something different to me because I think of her. I remember her fierce hugs and the stories of her spunk and determination. Widowed, with three young children, she moved from the city to rural PA and married a bachelor farmer. I have always thought she was brave, and I wouldn't be here if she hadn't taken a chance. Characteristic of her generation, she was very resourceful. My baby quilt is pieced from flour sacks and her quilt templates were cut from old cereal boxes. One Christmas, we all got stuffed pigs made from polyester scraps. She also worked hard and never gave up. She had to quit school to help at home, but got her GED in her 80s because it was something that she had always wanted to do. I still remember her showing us the certificate hanging proudly in the frame on her living room wall. She made the best out of any situation with creativity and determination. That is a bit of what I tried to do this week. We had 2 feet of snow and 3 snow days, so I had to "make do" with what I had on hand, although it meant a lot more work. In the end, both outfits cost less than $5 to make and all that I had to purchase when I finally was able to leave the house was some thread, embroidery floss, and buttons.
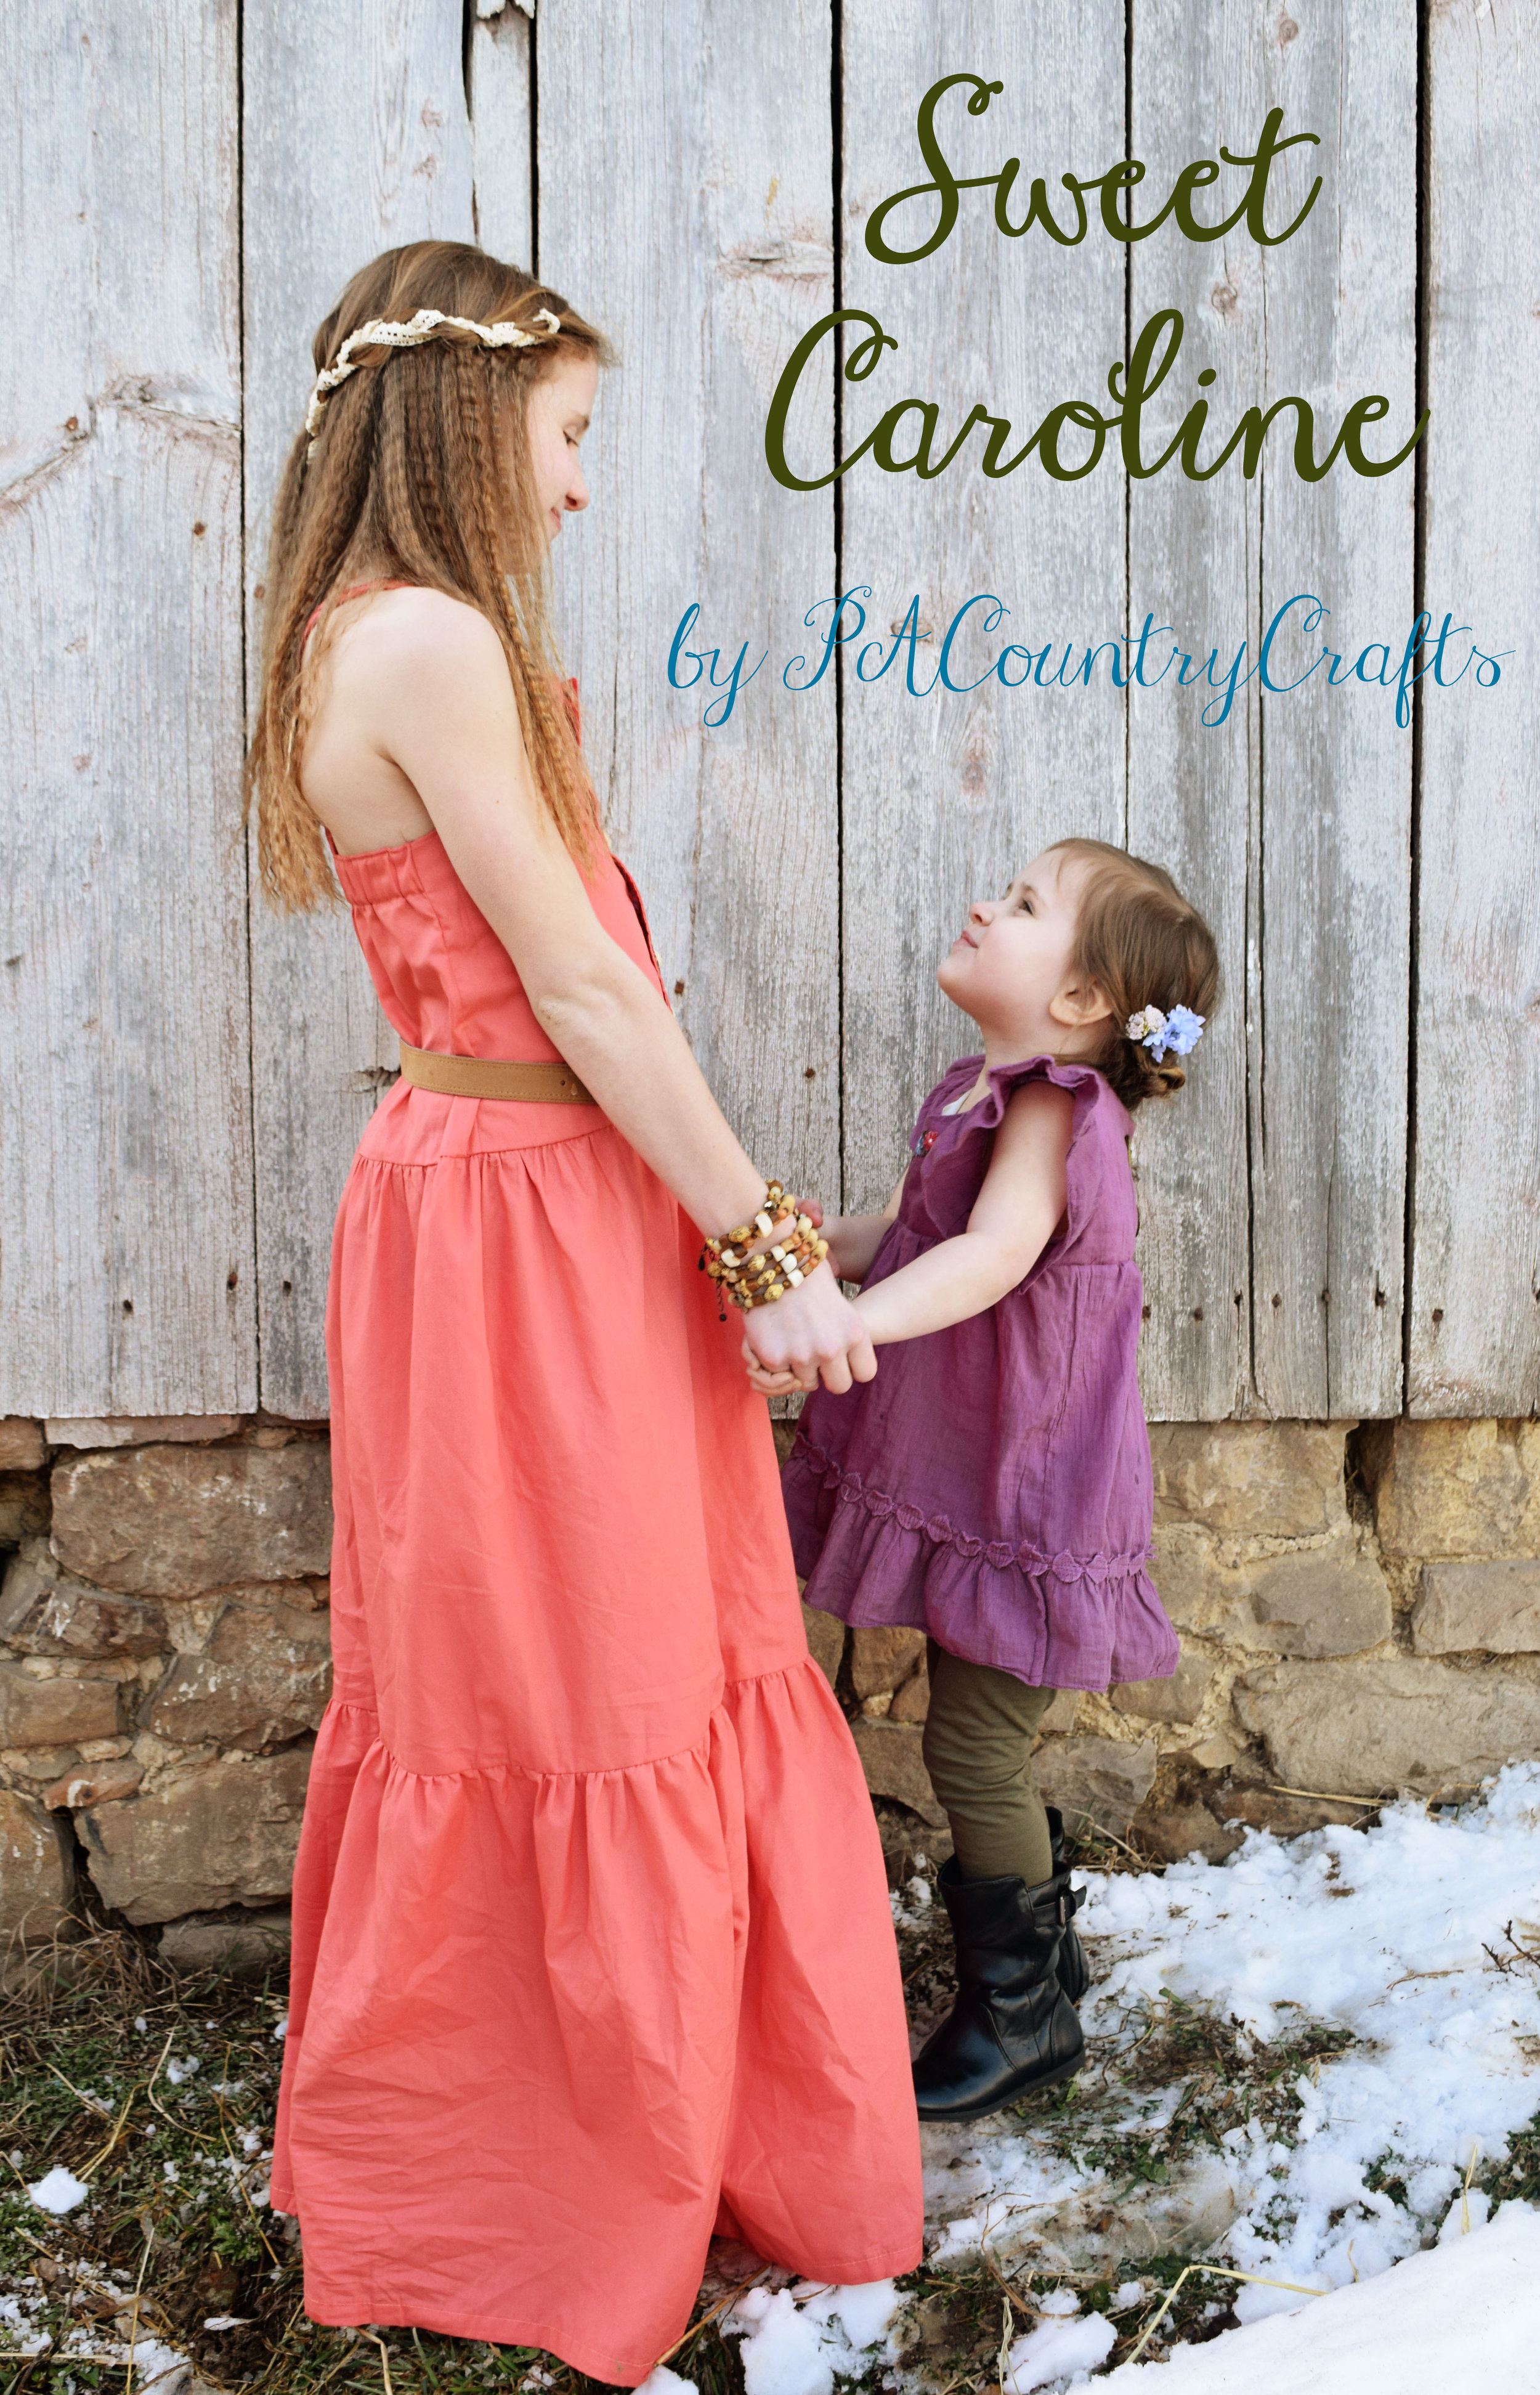
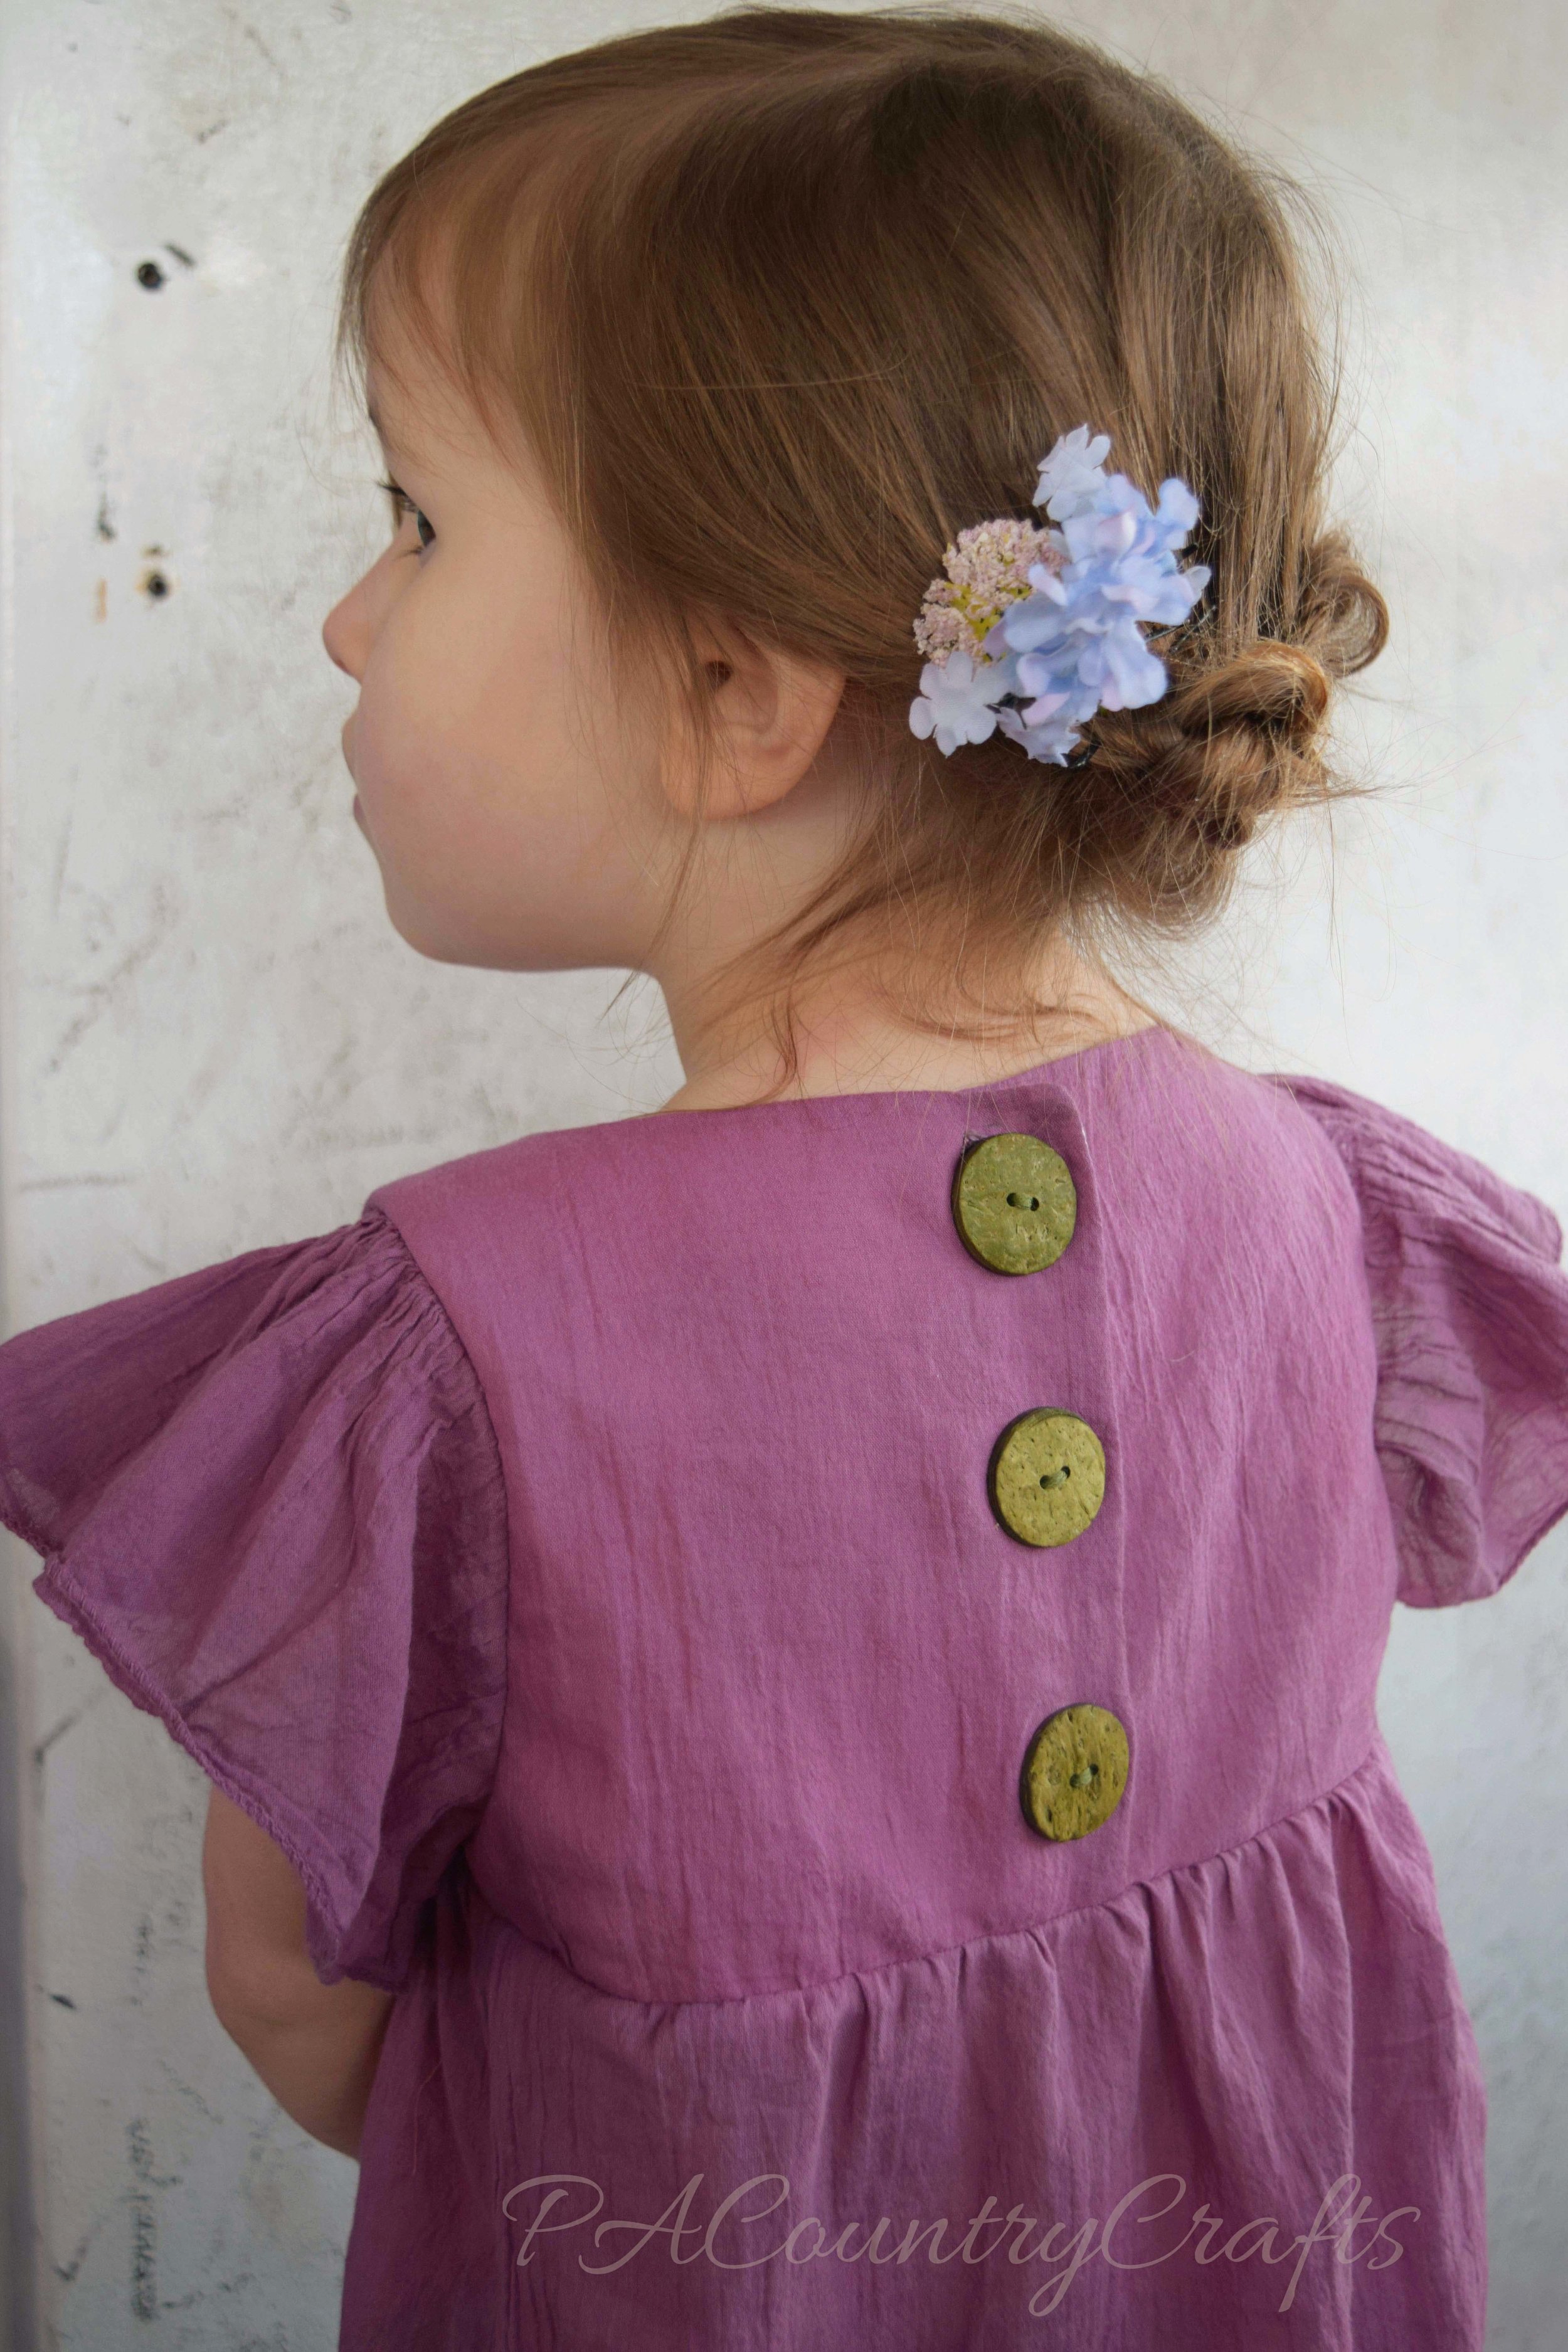
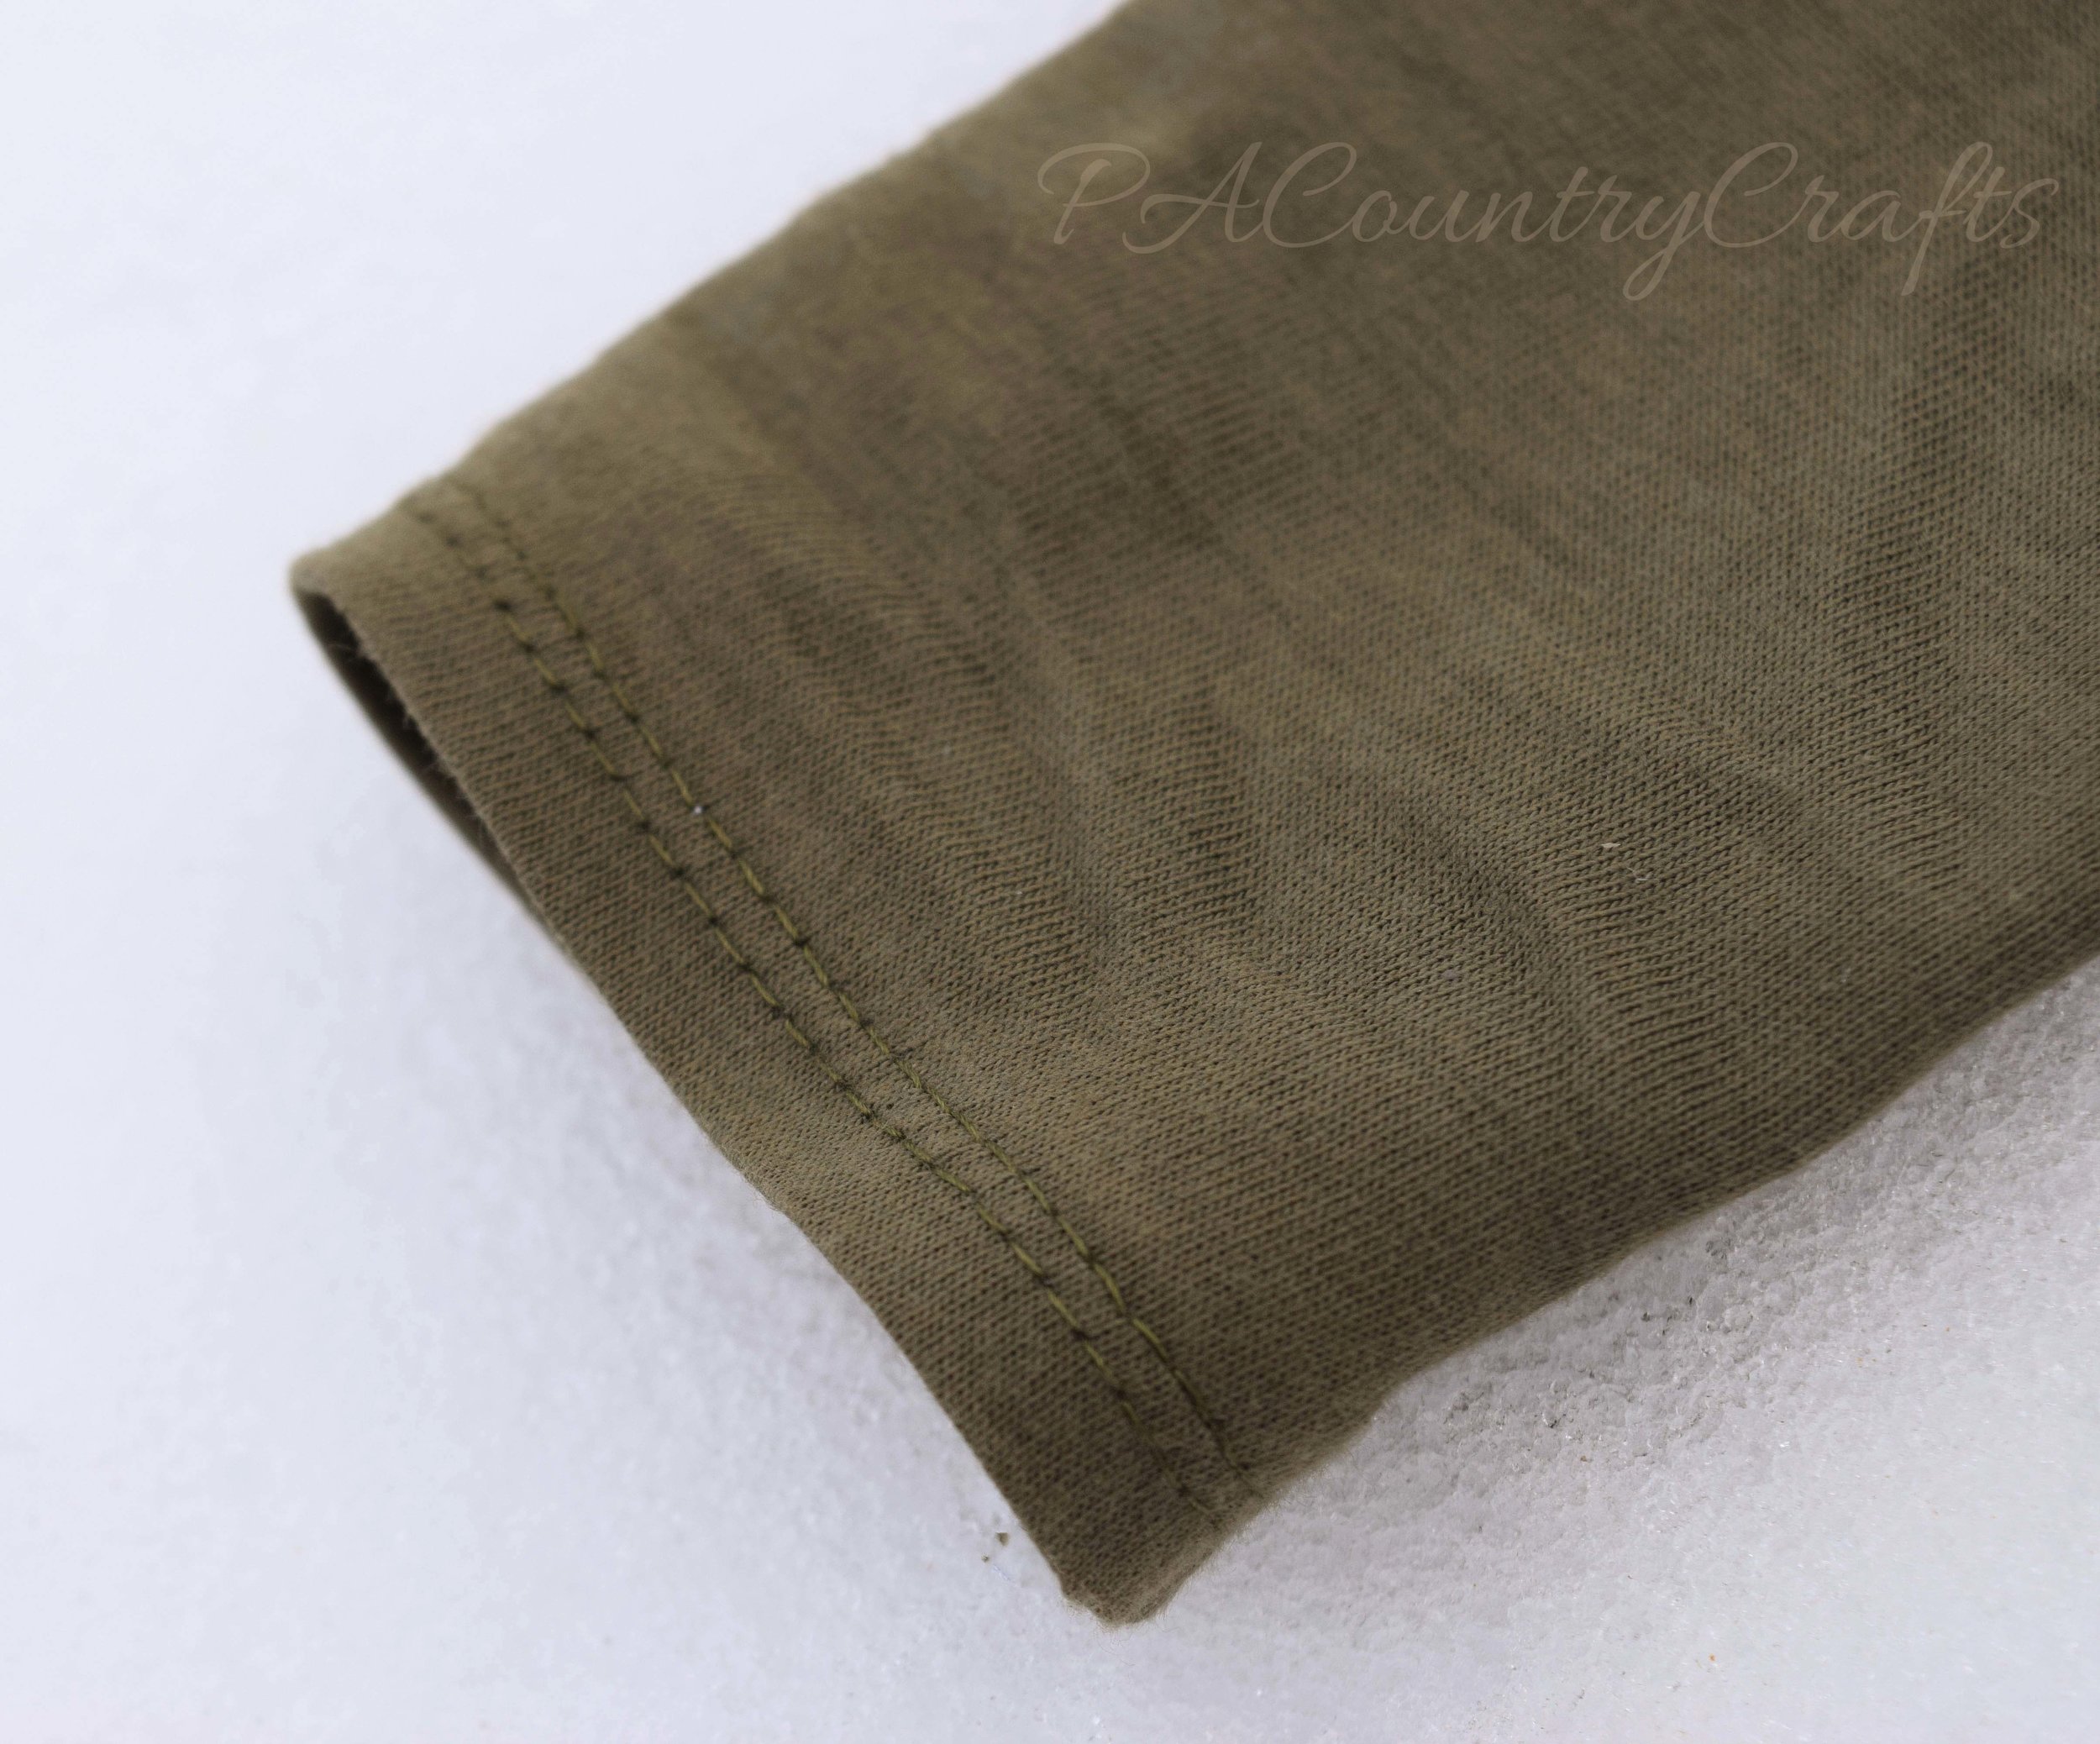
I still tried to incorporate the modern "boho" style in my designs. First, I made a tunic from an old shirt that was given to me. I loved the color (with a slightly uneven dye effect) and it was a thin, flowy fabric perfect for what I had in mind. I removed the bottom ruffle (the open part was badly torn) and the bottoms of the sleeves. Then, I carefully cut the rest of my pieces from what was left of the shirt. I drafted a bodice with a curved front and trimmed the front of the bottom skirt portion a bit to create a high-low effect. The original ruffle was resized and sewed onto the bottom of the tunic. I embroidered the neckline with some simple flowers and vines. It took awhile, but it was definitely worth it to add some lovely detail. The top is lined with remnants of a really soft sheet I used to line THIS dress and I understitched along the inside neckline. I reshaped the sleeves to create a loose, flutter sleeve with a bit of gathering at the top. Then, I sewed it to the bottom and added buttons on the back. I also made a pair of leggings from some olive green knit fabric that I found in a tote after digging a path to my storage shed.
Before...

After...




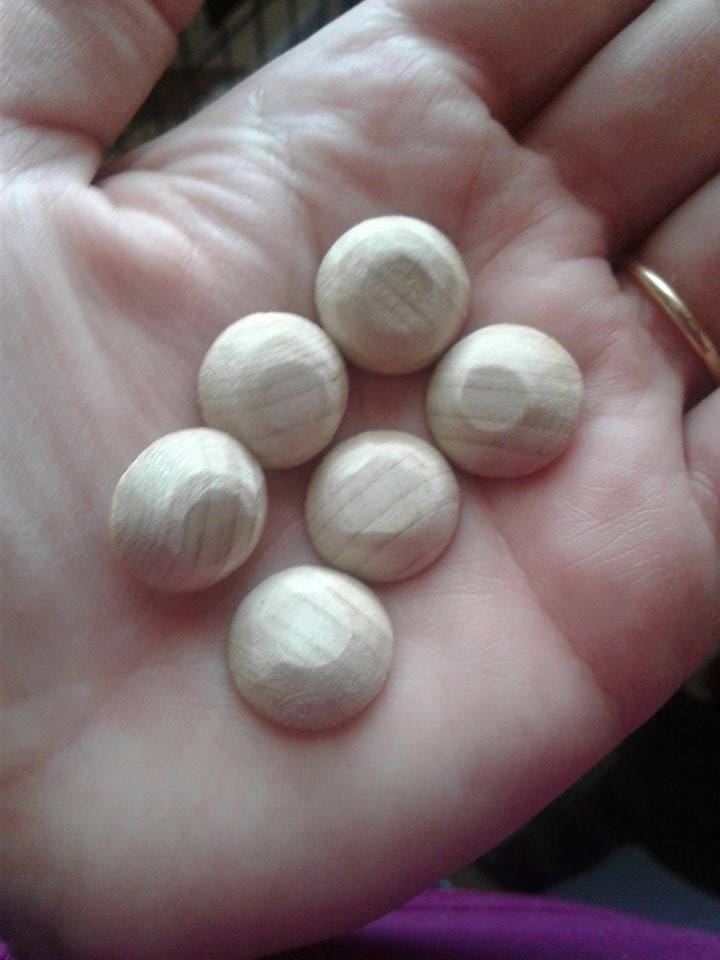
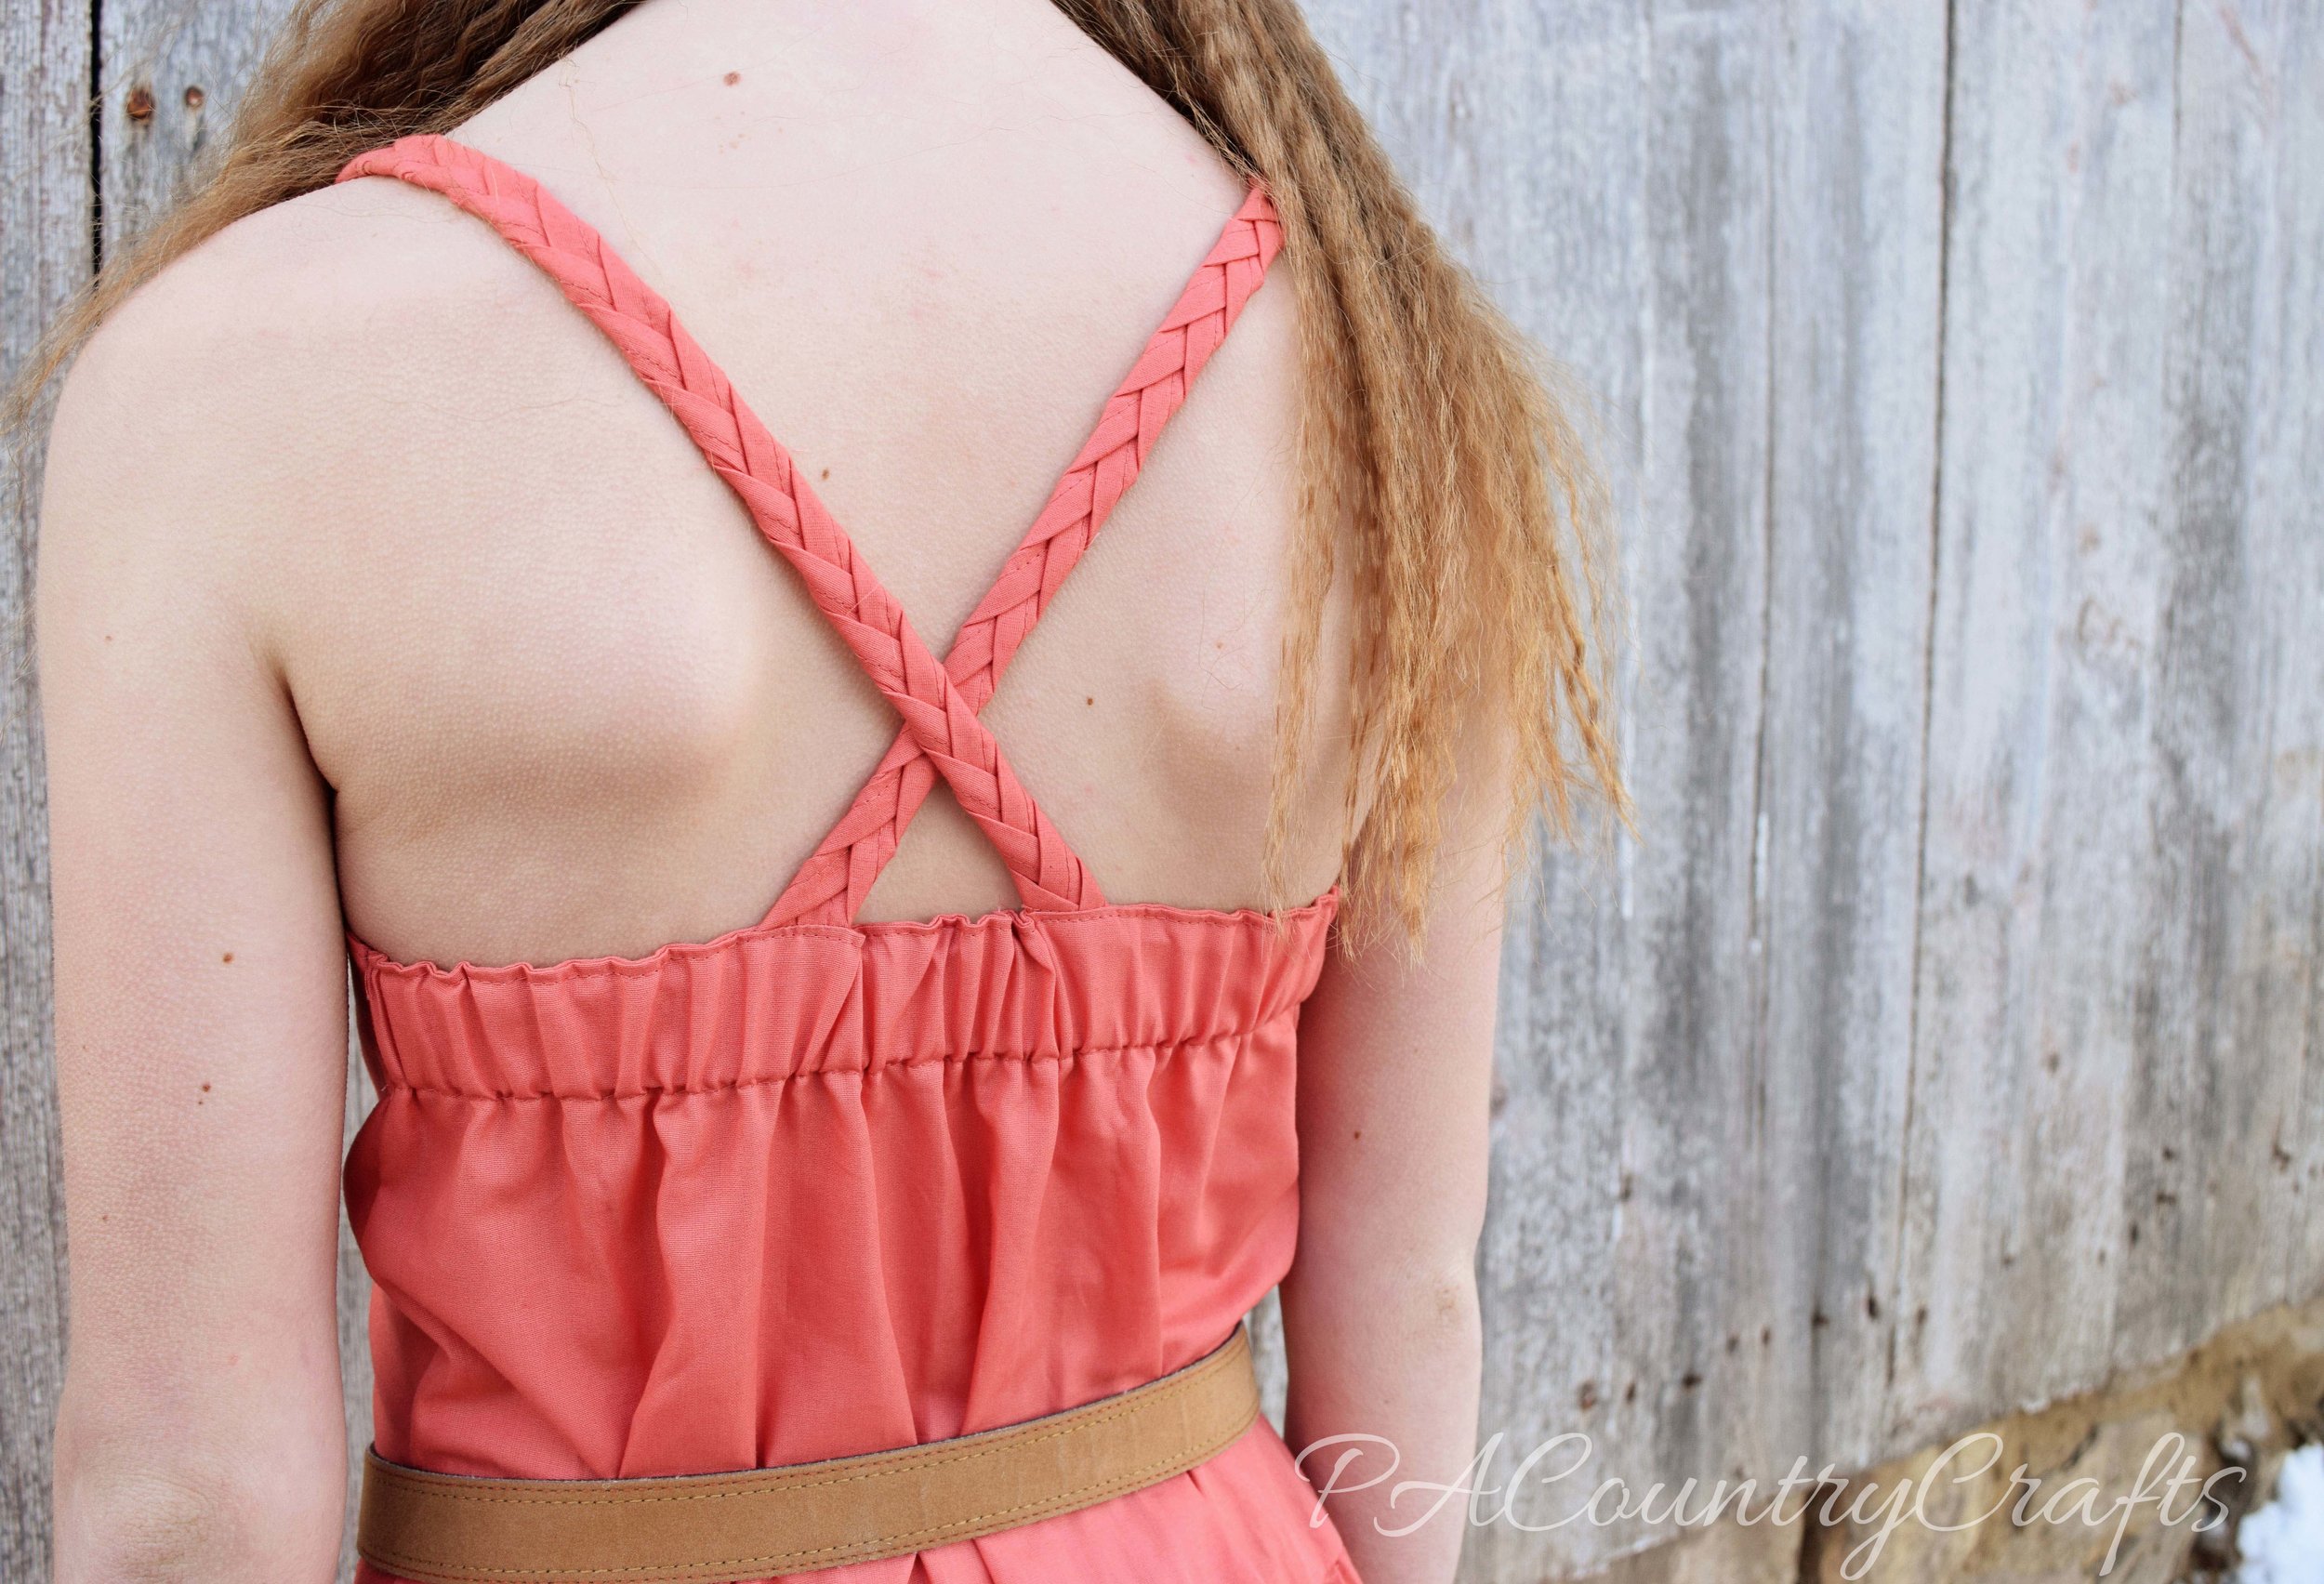
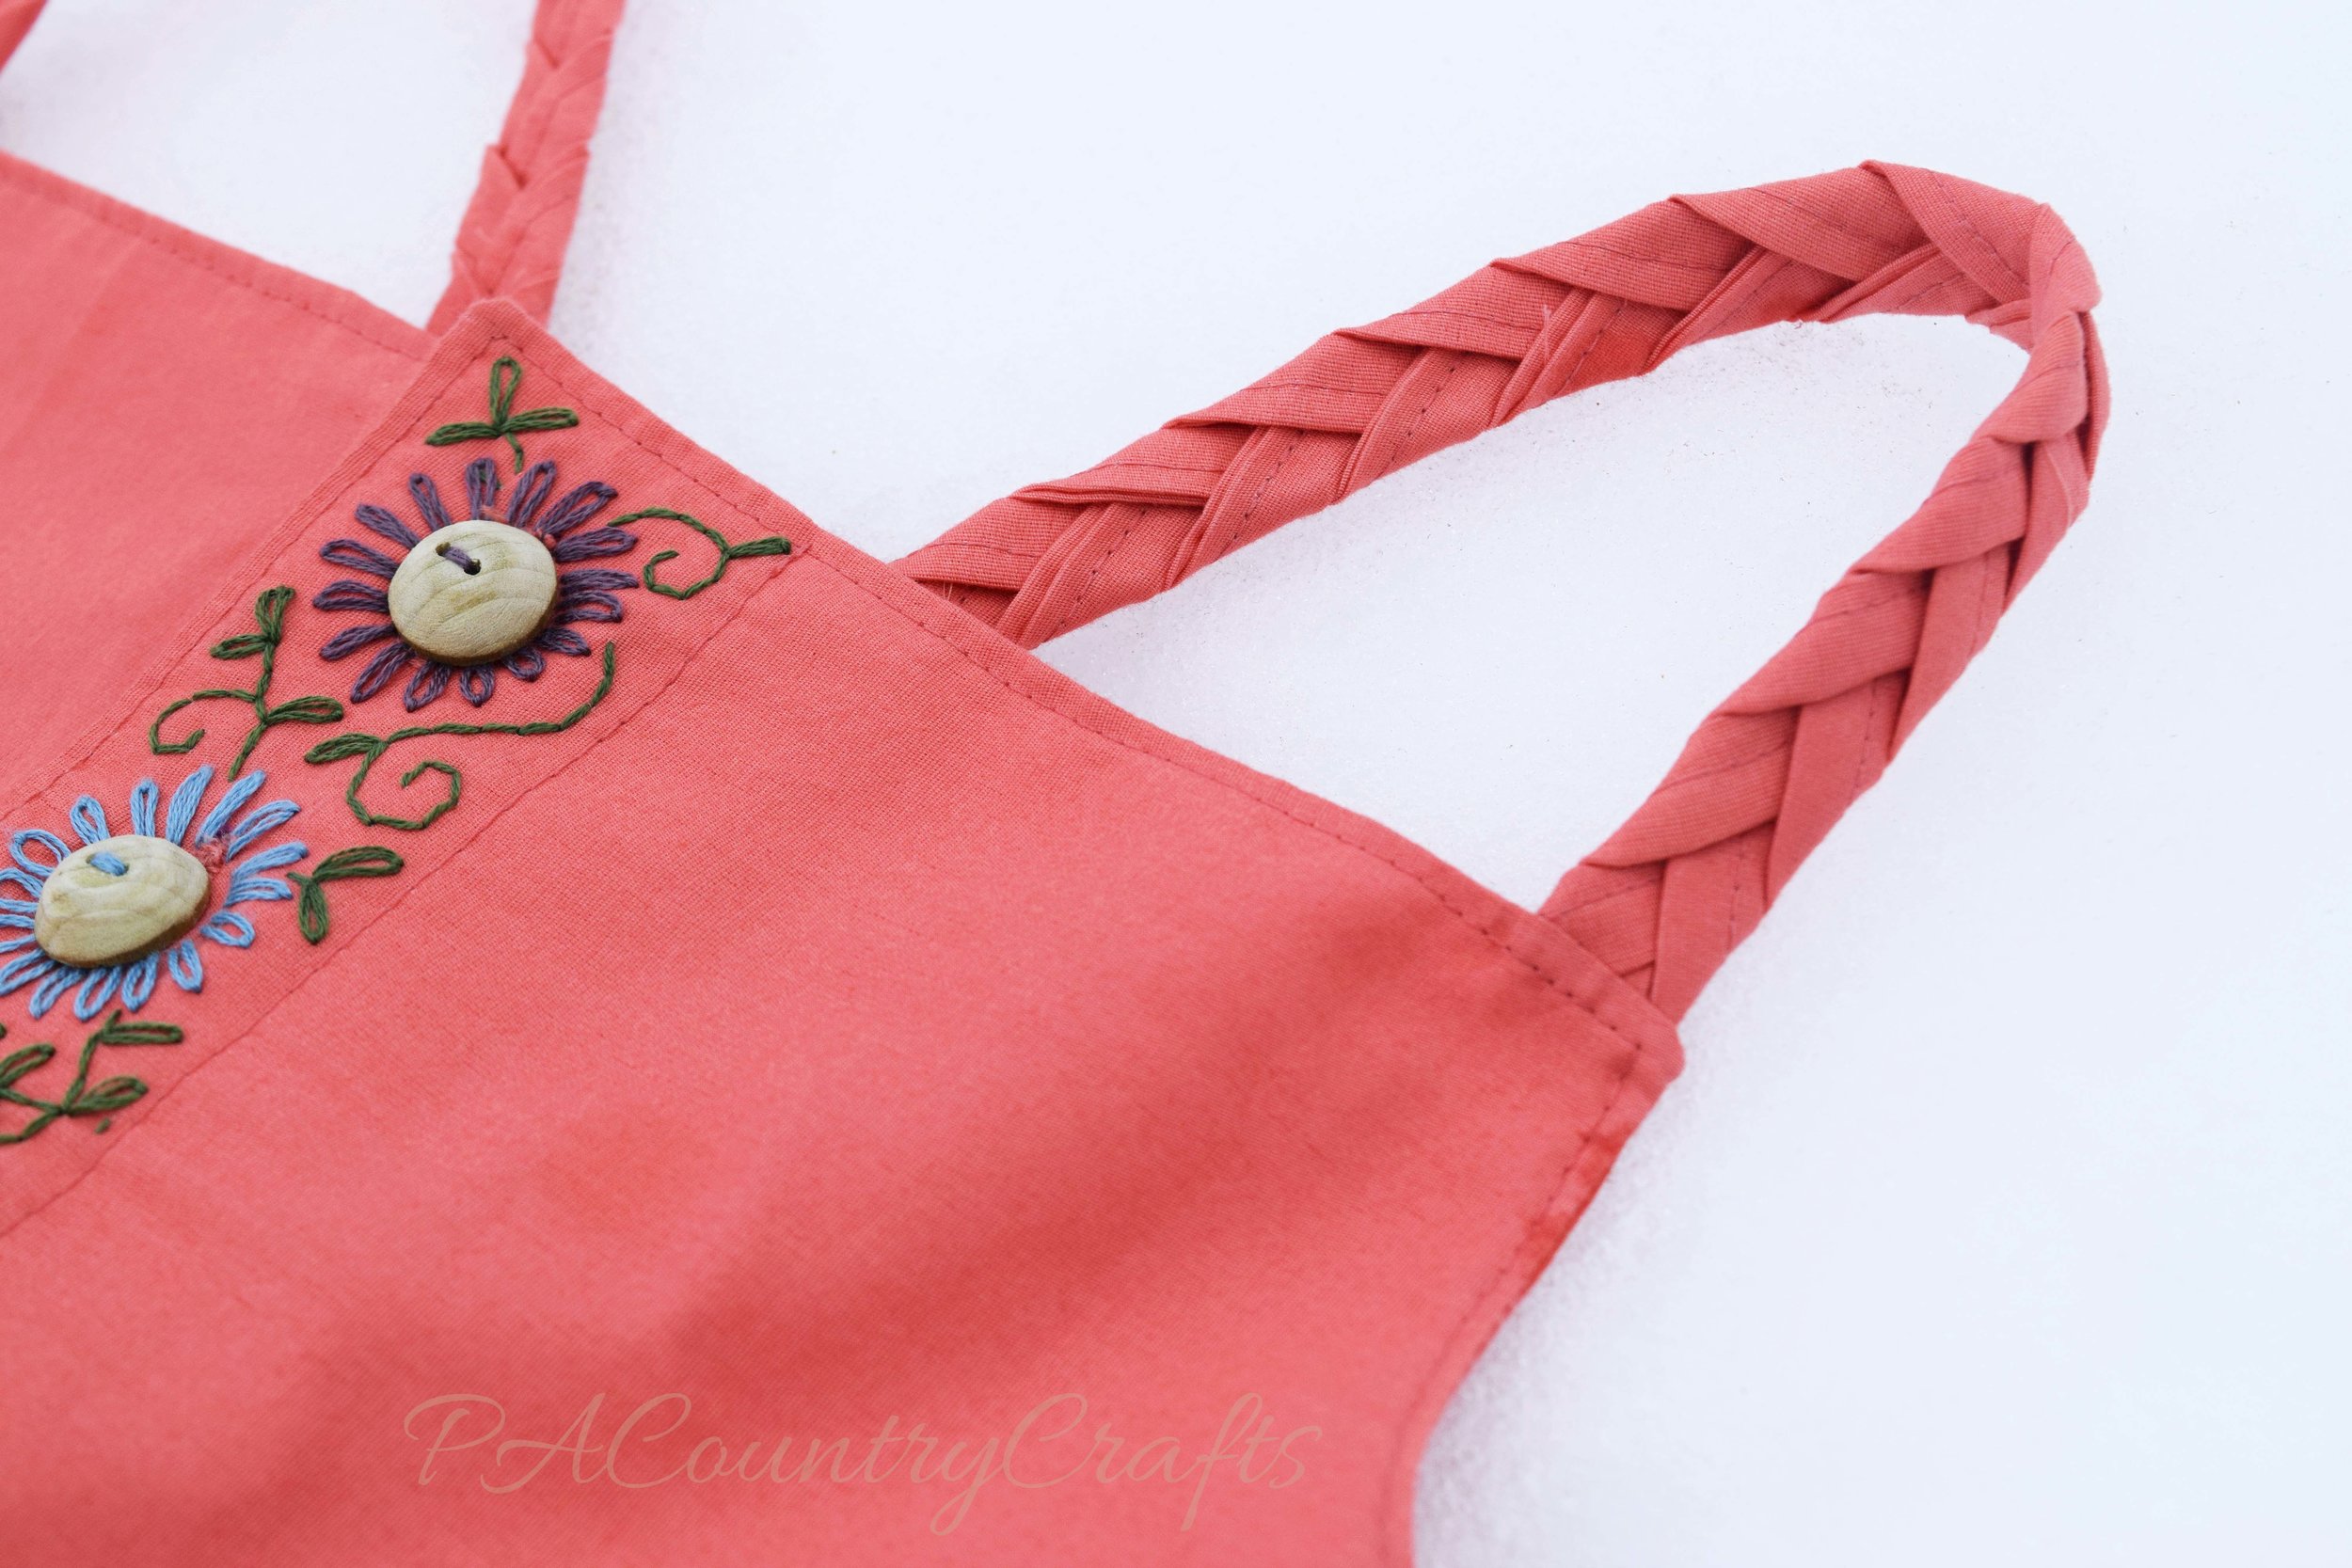
My other daughter wanted a maxi dress and I found a dusty coral sheet I had purchased years ago on clearance at Target and stuffed under my fabric table. I only used about half of the sheet to make this dress. I drafted the pattern to have a drop waist and long, gathered tiers. I was careful in my cutting and able to use the original sheet hem, too! Yay! This time, I put the buttons in the front and hand embroidered the button placket in the same intricate flowers and vines. Oh, and those buttons? My husband made them from a dowel rod! He sanded them on the belt sander to make them round and carefully sliced them off of the dowel. I sanded them by hand to smooth and even them out. After a last-minute trip for 1/16th inch drill bits, he drilled holes in them for me. The straps are made from braided strips folded like bias tape and sewn together. They cross in the back and I added an elastic casing so that it would fit well and not gap in the back.
Some more before pictures...

After...
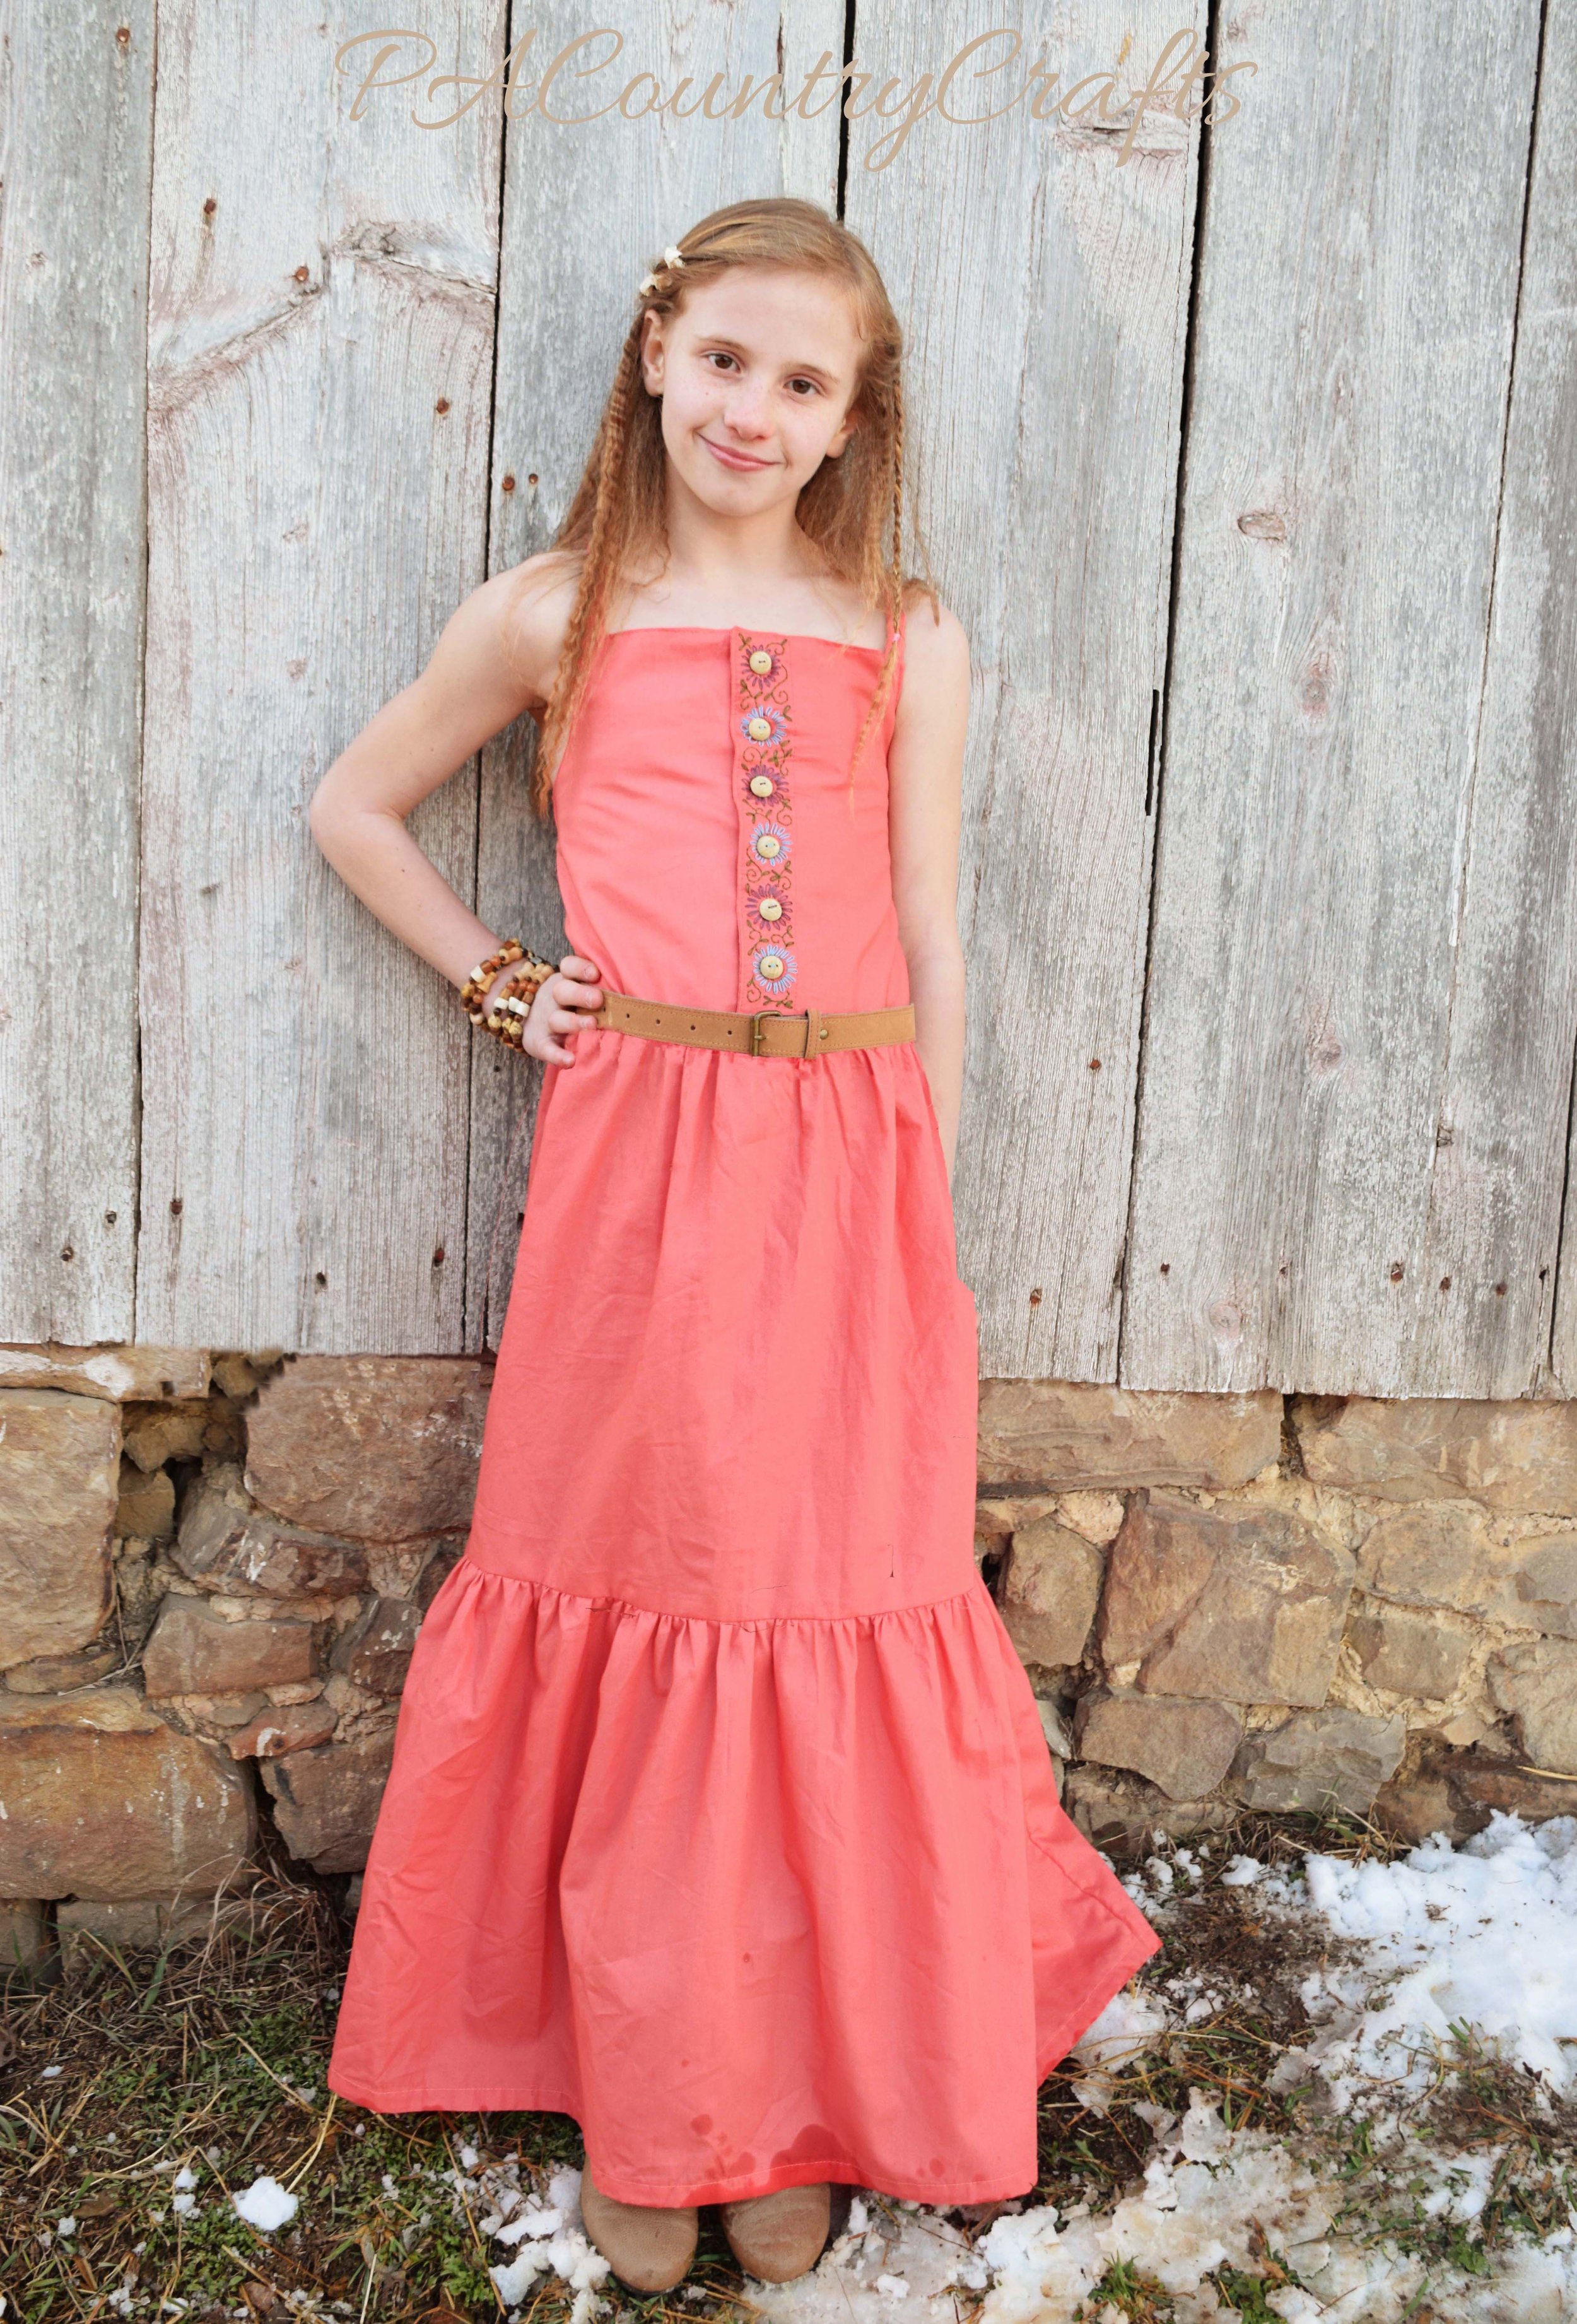


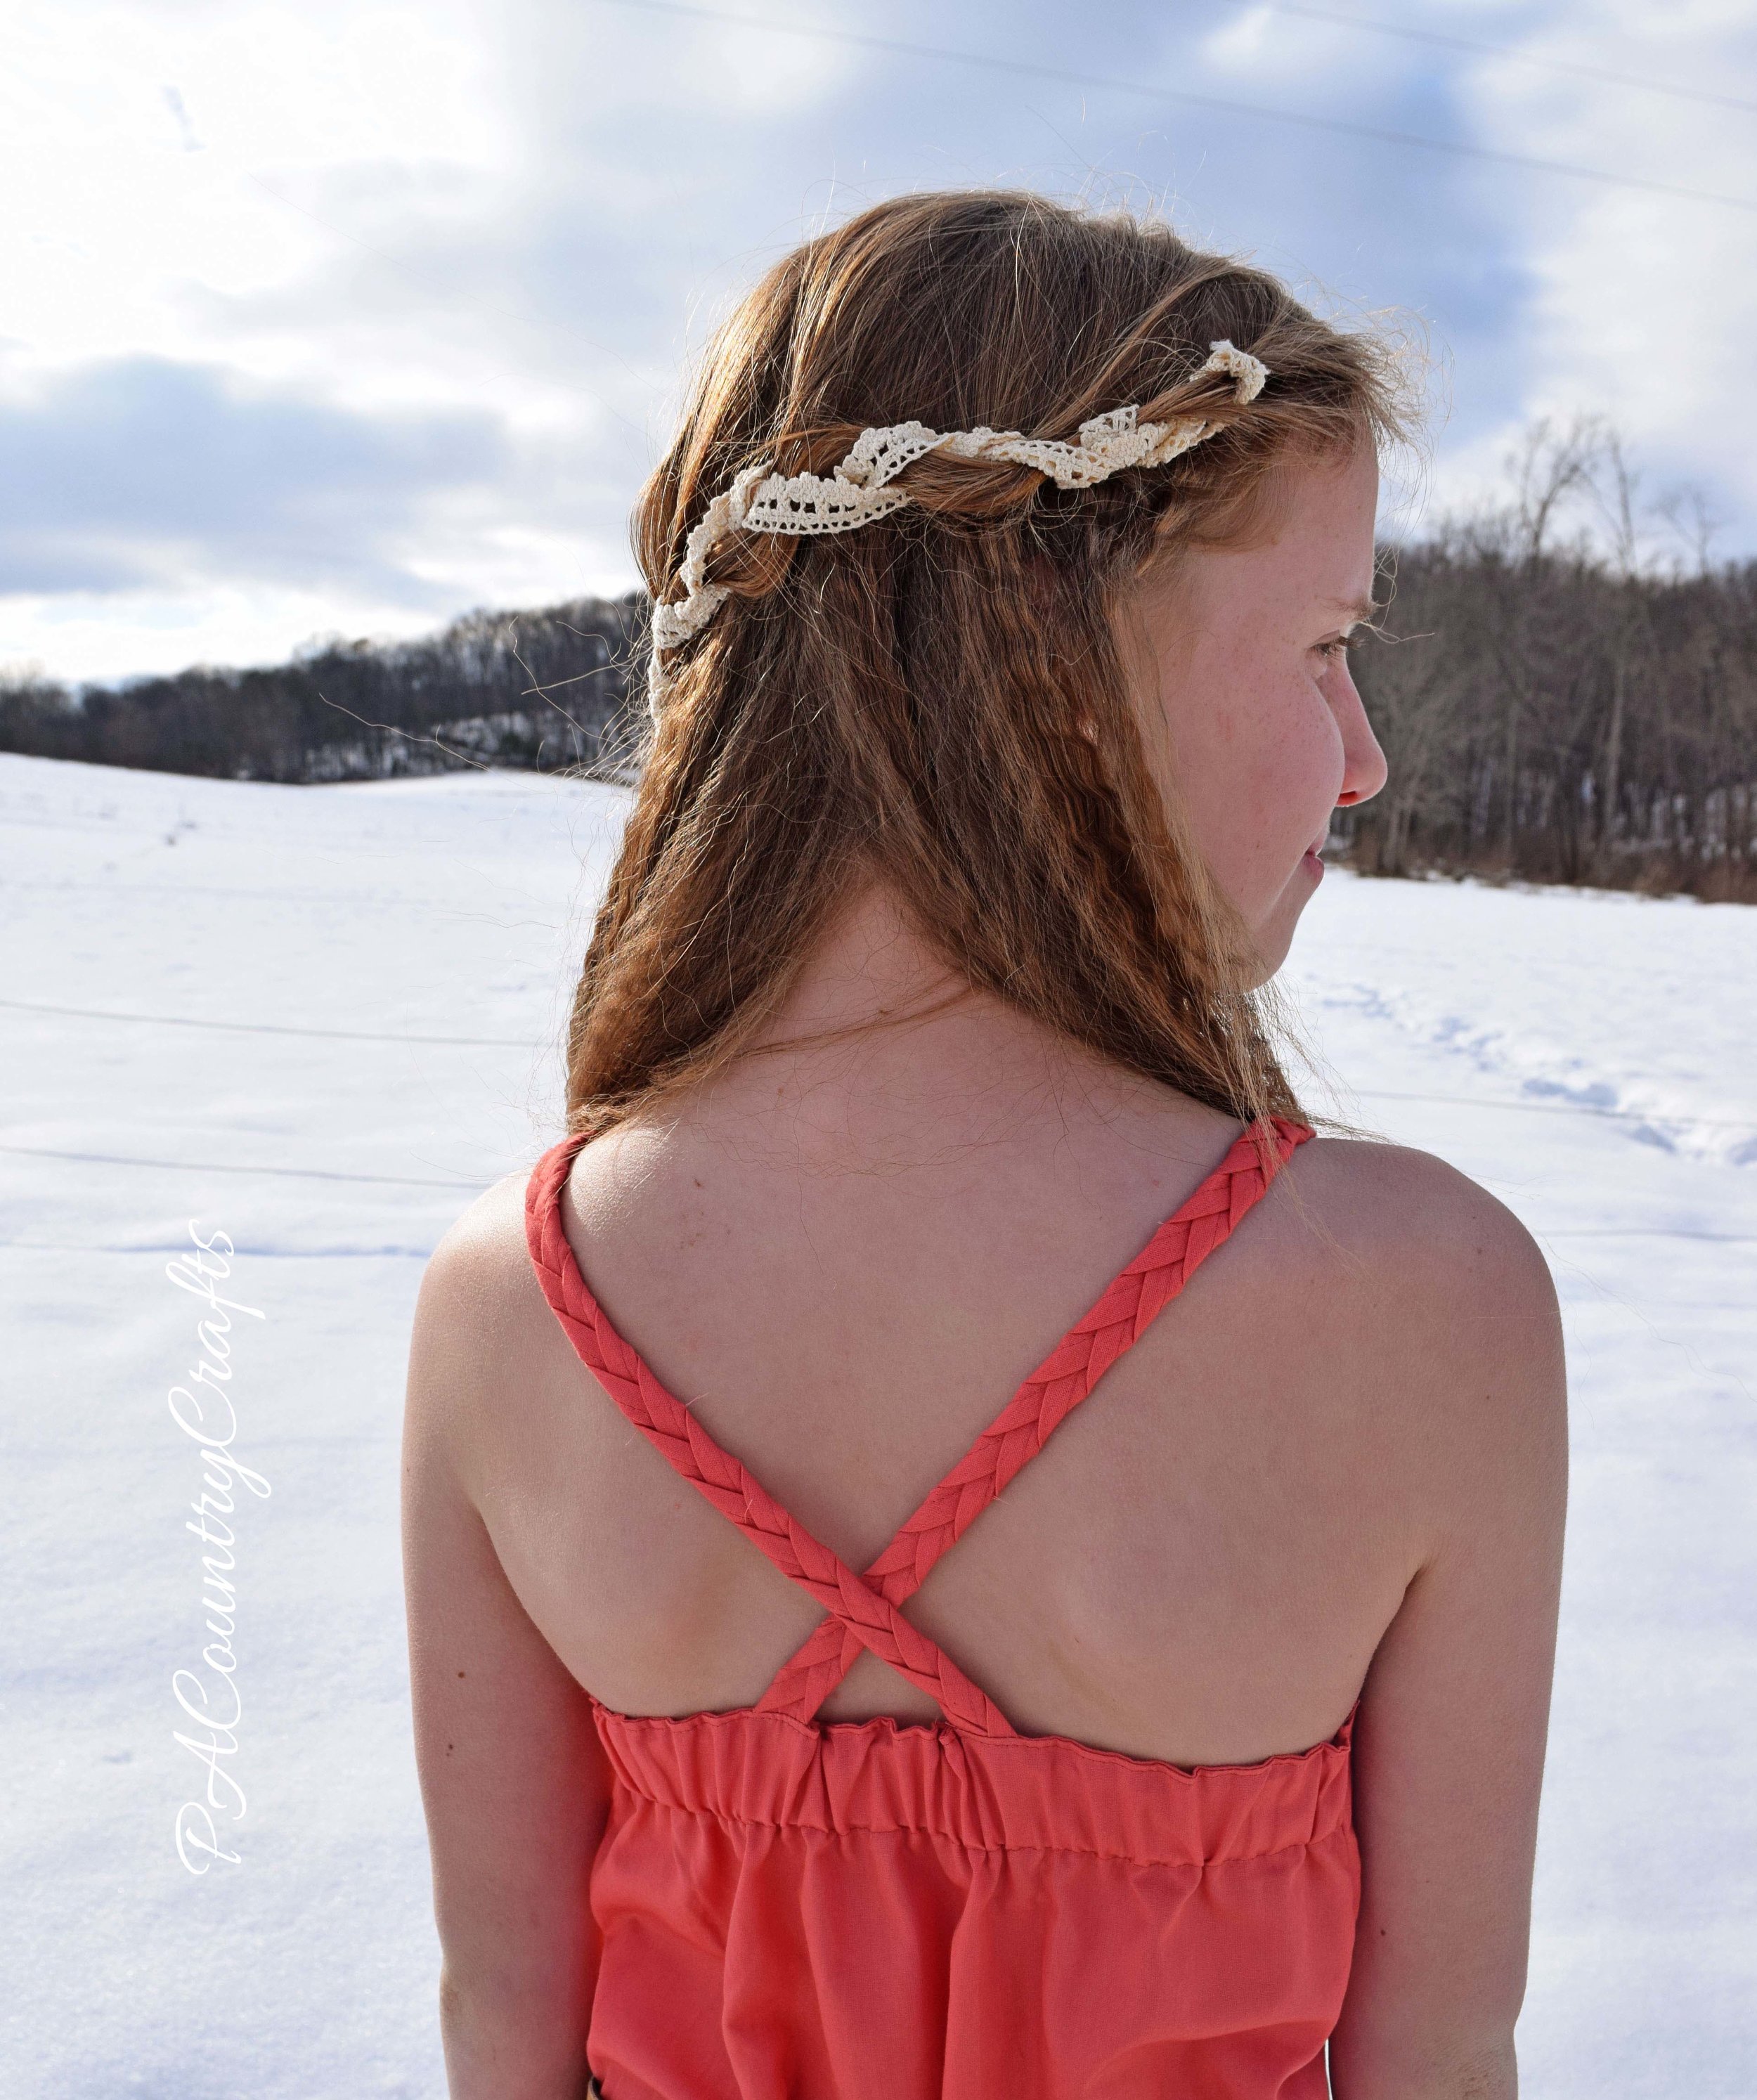

We tried to do a farm themed photo shoot, but it is hard because our options right now are: a) snow or b) mud. At the end, I decided to try to take some pictures with our new chicks, but it was clearly a bad idea. Let's just say that this was the second week in a row that an outfit had to be washed right after the pictures. Ew!!!


You can vote for your favorite "boho" look HERE over at Project Run and Play!
Thank you again to all of those who have voted and shared and supported me!!! Thank you to Aunt Karen for the purple shirt. A very special thank you to my sisters this week! Loni, you did an awesome job as my hairstylist and ironer. (Also, thank you for returning my vintage crimping iron.) Thank you to my husband for those awesome buttons and for carrying girls over the mud for pictures! Thank you most of all to my grandmother and other family members who pass down stories and leave a legacy to inspire future generations.

Sewing, crafts, tutorials, recipes, and a little look at our life in the country - raising half a dozen children.

Hi! Thanks so much for stopping by! My name is Lindsay and on this blog you will find sewing, crafts, decorating, recipes, and tutorials with a little bit of honesty and encouragement.