About a year and a half ago, I figured out how to do hand embroidery and I have been selling "framed stitcheries" in
my etsy shop. A friend of mine asked me to teach her, so I snapped some pictures of a piece I am working on that will look the the one above when I am all done. (If you find that my pictures are not phenomenal, I am blaming most of it on the dreary weather. The rest I blame on rushing through it to get back to a cranky, teething baby.)
Materials:
~embroidery hoop
~fabric
~warm'n'natural batting
~DMC floss
~embroidery needle
Step 1:
I always trace my design by holding my paper and fabric up against a (clean) window so that I can see through the fabric to the design on the paper underneath. You can also tape them on if it is something more detailed or you can't hold it still.
I use batting underneath my fabric when I can to give it more stability and so that you can't see the threads behind it. Then I put them together and place it in an embroidery hoop.
For the floss, I separate out 2 strands (it comes in 6 strands twisted together if you but the little 35-cent DMC floss at your local craft store). Then I just thread it through the needle and knot the end.
Now you are ready to go!
Step 2:
This one was already started, so ignore the "bel" there.
Poke your needle up through where you want to start.
Step 3:
To begin... JUST this time... take a regular stitch.
Step 4:
Pull that through all the way and then comes the tricky part. Poke the needle back up through about the same distance ahead as your first stitch. You want to keep them as even and as close in size as possible. There will be a little gap between where you are pulling the thread back up and the first stitch.
Step 5:
Now, put the needle back in at the end of the first stitch you took.EXACTLY at the end of that stitch or else you will have gaps and it won't look as nice.
Step 6:
Pull the thread all the way through, and then come back up again a stitch-width in front of the one you just did. Just keep going backwards like this, keep the stitches as close in size as you can, and don't leave gaps between your stitches. Pretty easy once you get the hang of it!
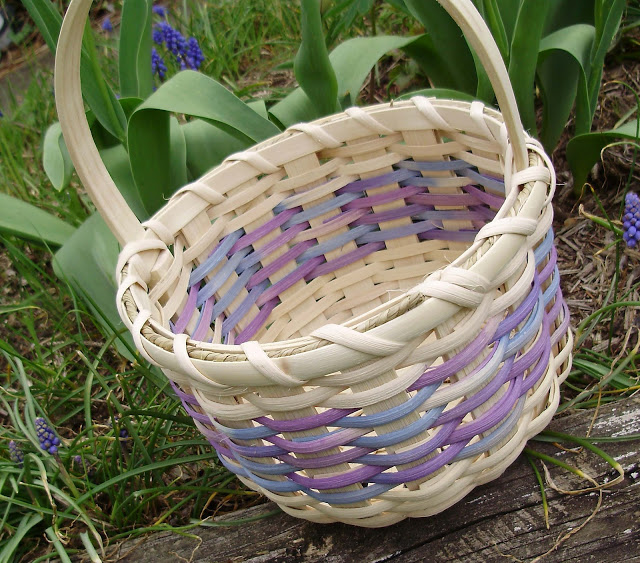
I have also been using this technique to hand embroider Easter basket liners. I love the way this one turned out (she chose great colors).
I hope you found this tutorial at least a little helpful. Now I have to get back to weaving. Hippity hoppity, Easter's on its way!
Pin It




.jpg)


.jpg)


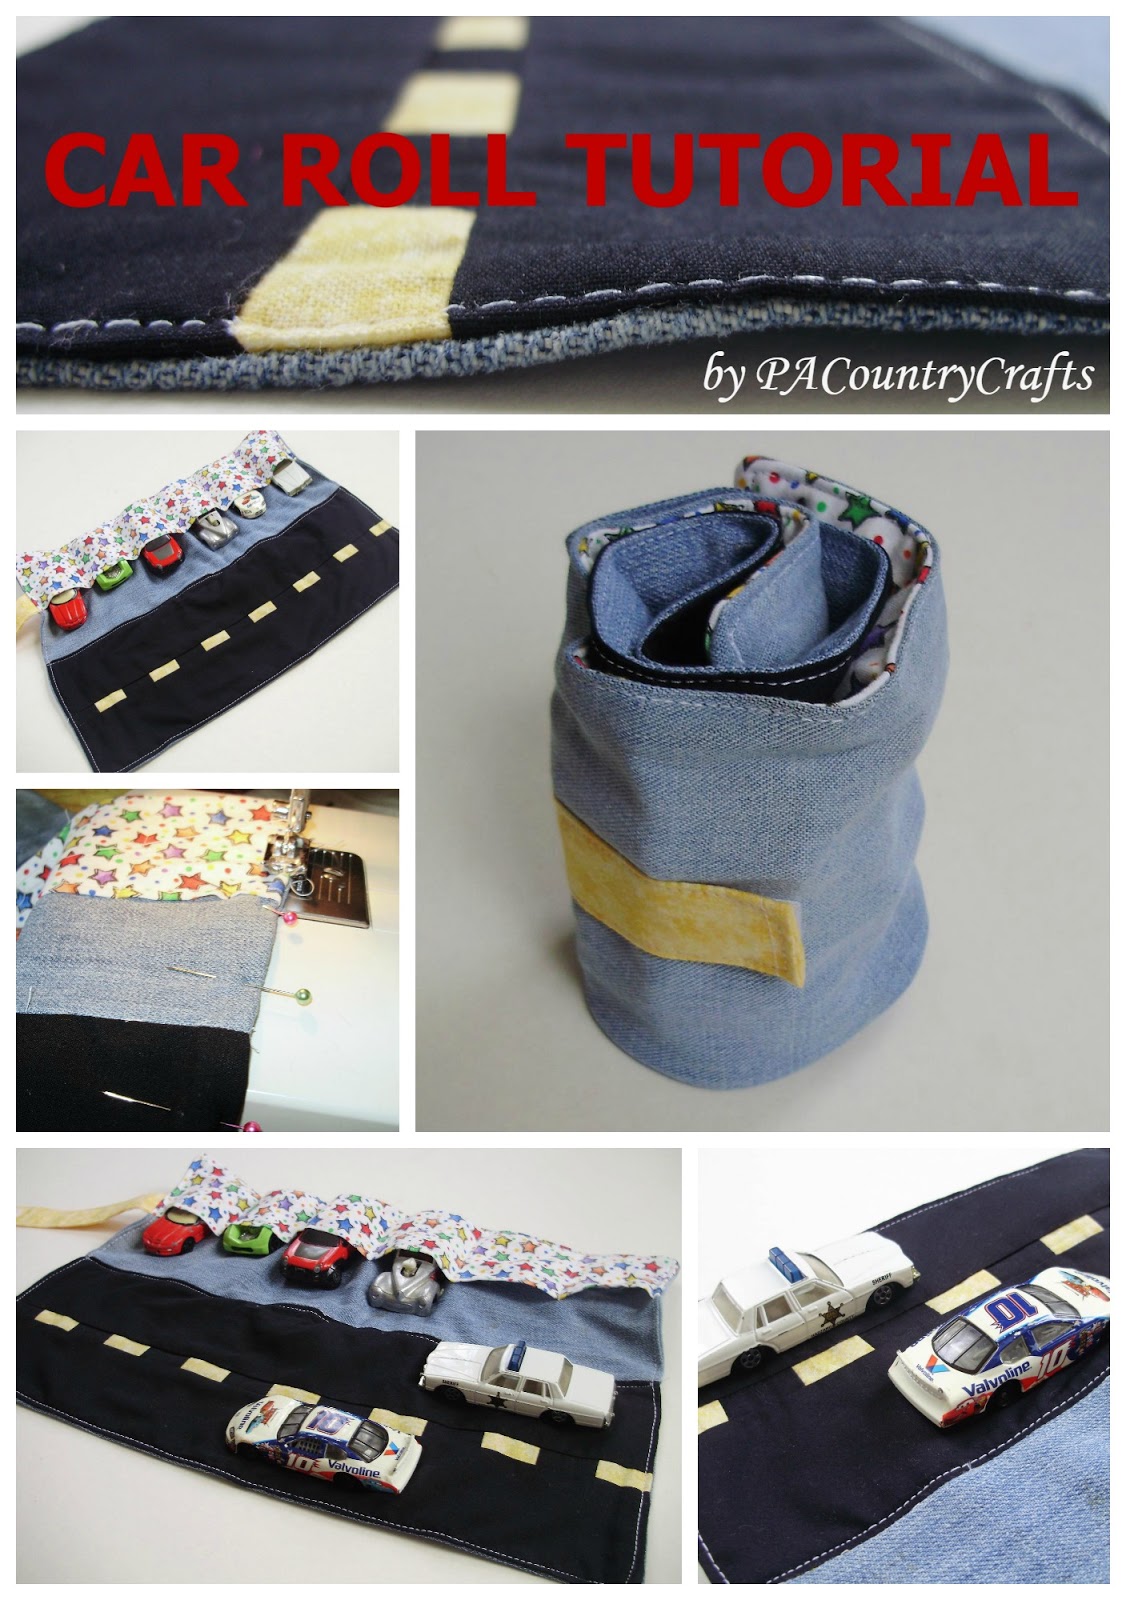
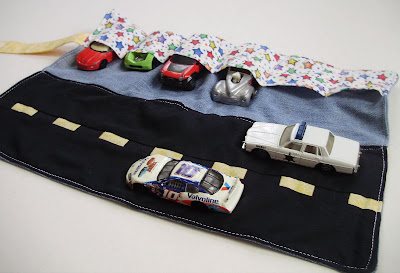 In my attempt to be the coolest aunt ever (I have 22 nieces and nephews so far!), I made this cute little car roll. It is made from some fabric I had on hand (it’s hard to find non-girly stuff in this family!) and some size 4T jeans that were headed for the garbage.
  I was inspired by
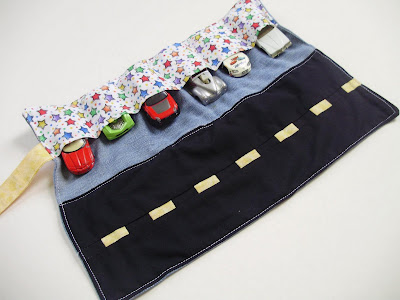
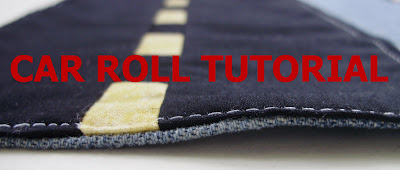 Look at that- a title photo just for this post! I am going all fancy here (OK, so I just got a cool close up and wanted to use it). I took the best pictures that I could get since PA is seeming more like Seattle these days. Of course, the sun came out when I was done, but I am not complaining ‘cause I missed it sooooo much! So forgive all of the poor quality pics. I tried.

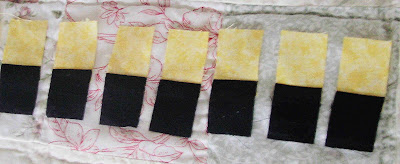 Sew them all short ends together, alternating yellow and black.
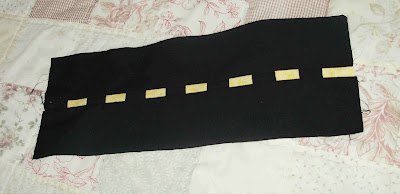
 Then sew this row between the strips and press towards the "lanes" and you are all done with the road! EASY!
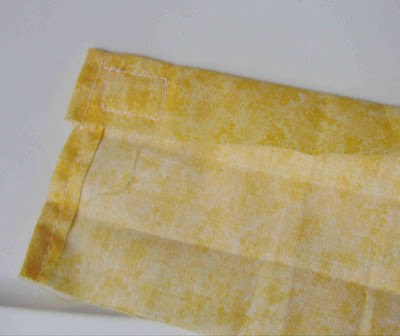 Fold the sides toward the center...
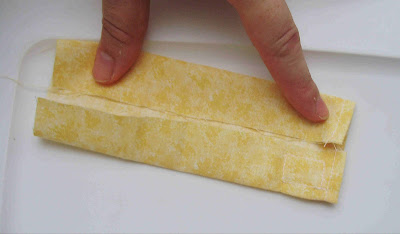 ...and press it half.
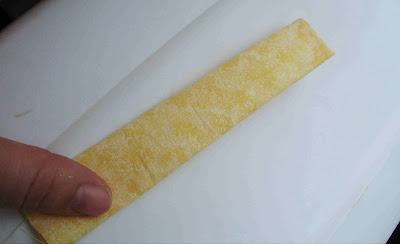 Then topstich around three sides, leaving the non-velcro side alone.
 See? No box on the other side.
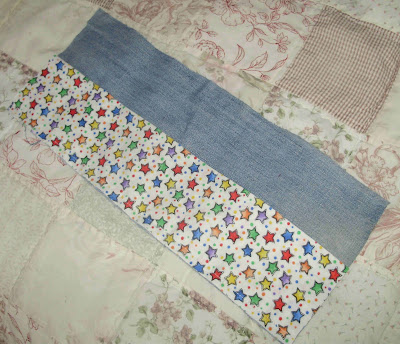 Topstitch the folded edge of the cotton just to keep it in place better.
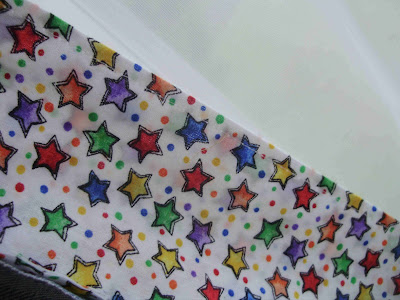 Then sew lines for pockets - mine were at about the the following intervals: 2 5/8", 4 7/8", 7", 9 1/8", and 11 1/4"
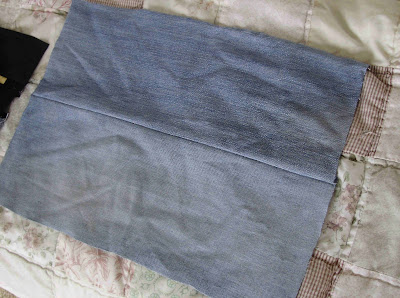 Sew the fuzzy piece of velcro on at 6" from the left end of the bottom piece and about 2 1/2" from the bottom edge.
 Sew the raw-edge end of the velcro strip to the bottom, velcro up, lined up with the edge of the pocket. Go over it a bajillion times.
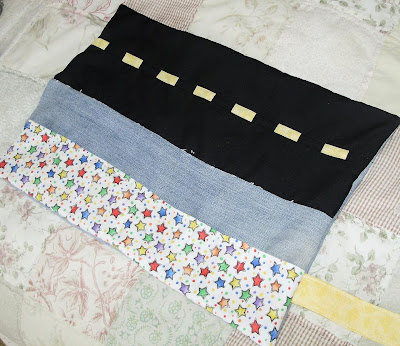 Fold the opening edges in and topstitch the whole way around and down the middle, too.
 I used white thread cause I didn't feel like changing it, but I like it! It's kind of like road edges.
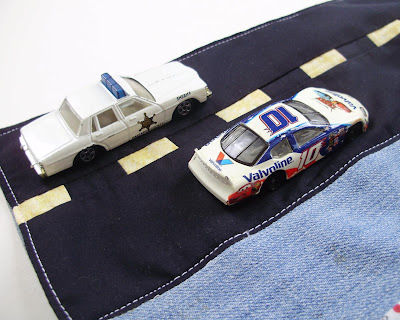 Fold.
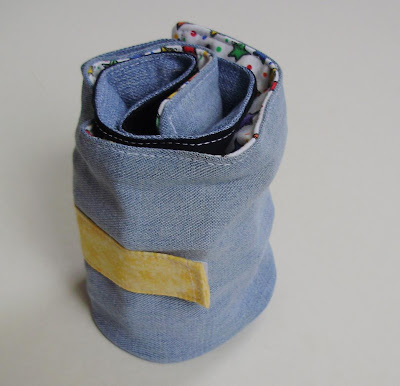
Fold.  And roll. Secure with velcro.
 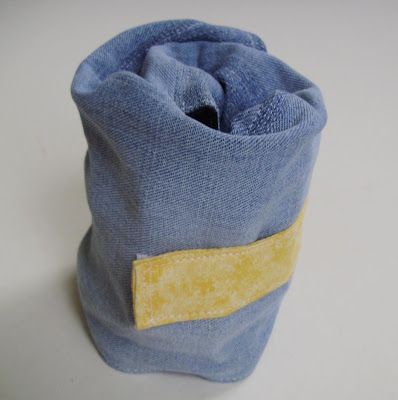 Perfect to tuck away in Mom's purse or a backpack!

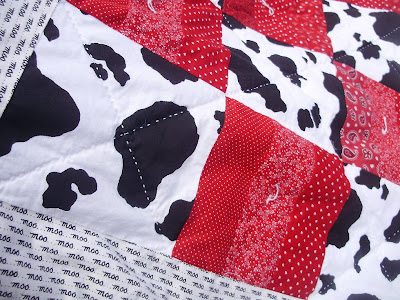
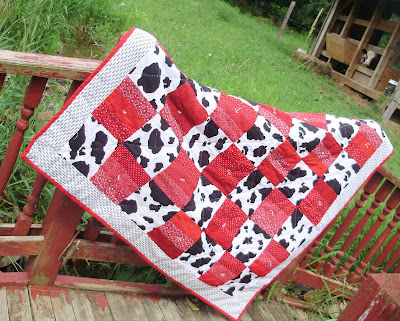
 Not my best quilt ever, but it is FINISHED!!! AND I got it done BEFORE her first birthday (with 4 hours to spare). I originally wanted to machine quilt this one, but since I can't lower my feed dogs, it was a failure. :( So, rip, rip, rip it was.
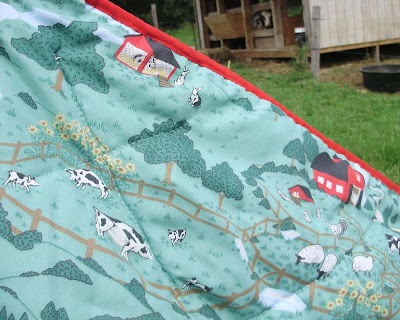
 The back is a cute farm print that I had and the reds are all leftover from a red tractor quilt I made a few years ago (I pieced this top in my "pre-baby rearranging use it or move it sewing stage").
 I love the little "moo" fabrics on the border and the red binding, too.
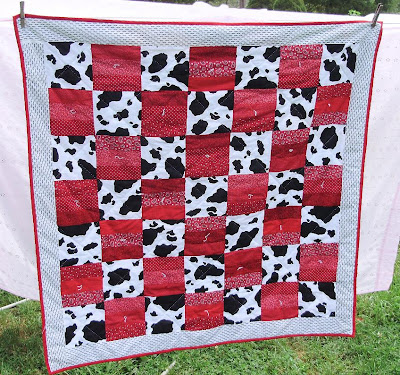

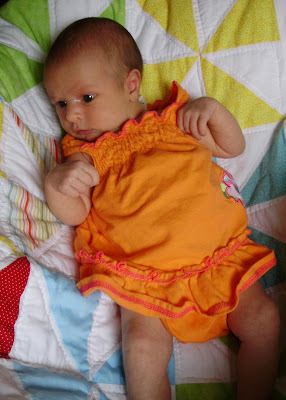 They are both sooooo cute!!!
 See that red pinwheel? Those are what I was cutting when I cut my fingertip with the rotary cutter. :(
 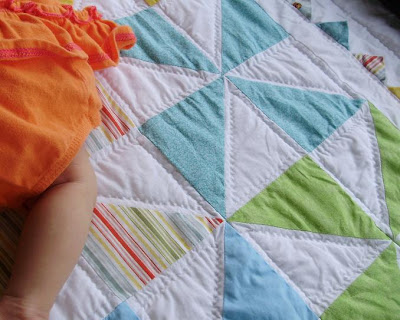 I hand quilted this, of course. Just oulined the white triangles in the pinwheels and around the border.
 When I saw that the 3D triangles were called prairie points I had to try them. Anything with the word "prairie" just sounds adorable and makes me think of Laura Ingalls!
 But frankly, they were a pain. I couldn't get the spacing right and the more I tried to fix them, the worse it got. AND I couldn't hand quilt along this edge (which I thought it needed to keep them in place) so I had to stab stitch one stitch at a time the whole way around.
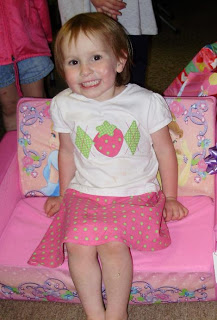
 I just blatantly copied Strawberry's dress by sewing a semi-circle skirt to the bottom of a white T-shirt.
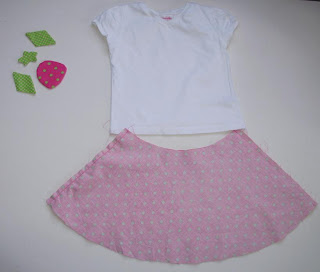 It turned out pretty good, but my brain does NOT function well lately, so I had a few snags. I accidentally made the skirt twice as big as I needed to (should have divided the waist by 4 instead of 2!) so I cut it in half and now I could make another one if I need to (and I might because this is a white shirt after all!) I originally wanted a full circle skirt, so it isn't as twirly as I wanted, but it is actually closer to the "real" one.


