Lace Overlay High Low Dress

navy2Band2Bwhite2Blace2Bgirls2Bdress.jpg

I should be getting ready for Halloween, but I am procrastinating. Instead, I am backtracking and blogging about another Easter dress.

This was one of the dresses that was completely dictated by my daughter's preferences. It also ended up costing me nothing to make! So, we both won.

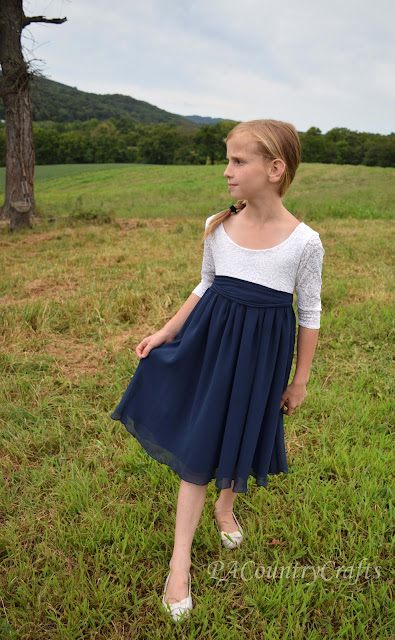
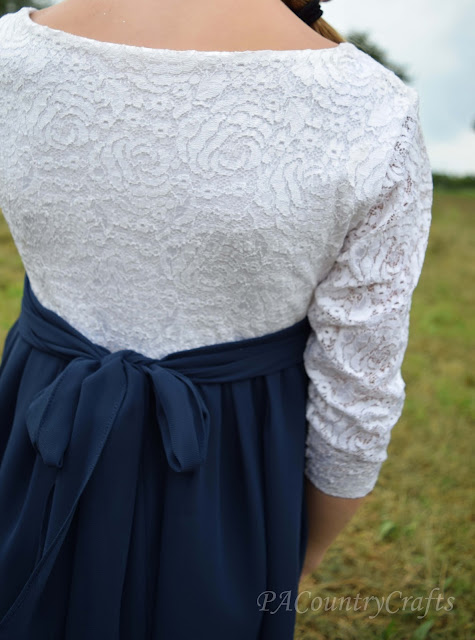
The navy lining, made from another layer of my old bridesmaid dress, stops above her knees and the high-low lace overlay is much longer. It is a basic, gathered skirt, but I cut the hem in a curve.

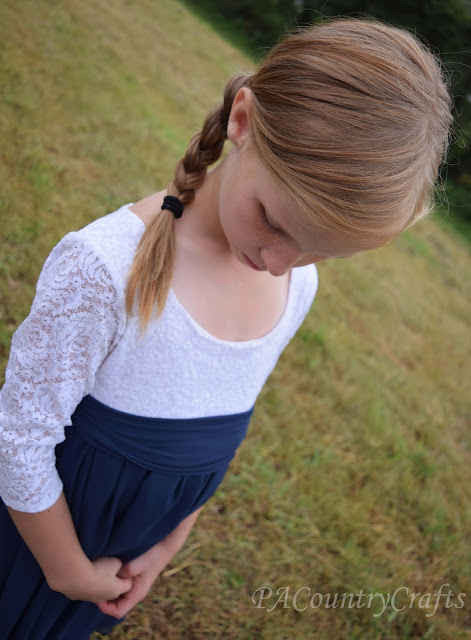
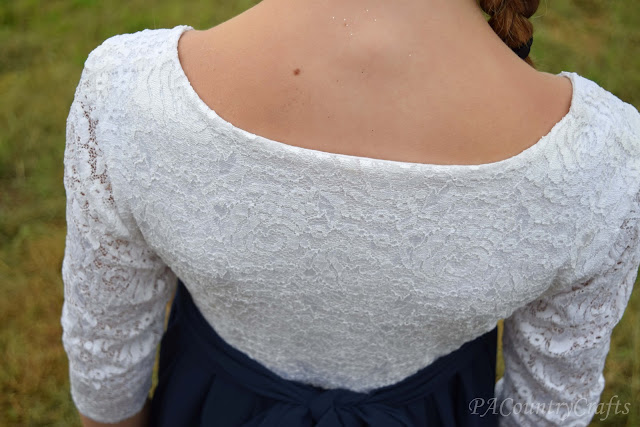
A friend gave me this beautiful lace to work with- it is a heavier, stretch lace, but I didn't use the stretch factor in the design. I just drafted a basic bodice pattern and cut the lace. I left the shoulders and top of the bodice unlined for a sheer lace effect. So, I pieced the unlined and lined portions together and overlocked the inside seam. Then, I used some vintage navy bias tape around the neck and arms. Using wash-away wonder tape was key for holding that in place to sew. The back has an invisible zipper (which I already had from changing my mind last year and using buttons).

One thing I loved about these navy and white dresses is how fun they are to pair with contrasting accessories. The box dress has a yellow tie, the lace and chiffon dress was paired with an aqua statement necklace when she wore it on Easter, and this dress is fun with pink contrasting shoes. It looked a little better back at Easter vs. the fall when I did the photo shoot, but I had put all of her white shoes away (as per the Labor Day rule) and told her to put these on. It is still fun.
Two more dresses to go, but first, I need to finish an Elsa cape. Happy Halloween!

Link Parties where I sometimes hang out...

Upcycled Bridesmaid Dress ~ An Uptown/Downtown Dress Pattern Hack

walking2Bgirls.jpg

The next Easter dress I made cost me absolutely NOTHING to make! Sweet!

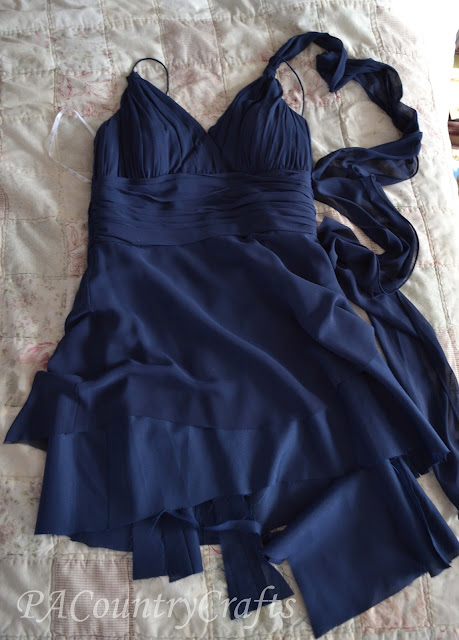
Does anyone else save old bridesmaid dresses? I am pretty sure I am not the only one. I mean, you spend a ridiculous amount of money on them so it seems a shame to throw them in the donation bin. Even if you HATED the dress! (Sorry, Sis!) It wasn't an UGLY dress. It just wasn't flattering on me. (I have wide ribs.) Then, they ordered the wrong size and my other sister and I got in a big fight when she made a joke about mine not fitting. I really just hated everything about this dress. So, naturally, I hung it in my closet for 6+ years where I could see it every day.

Well, now it is not in my closet. Now, it looks like this:

The rest of it has been transformed to create several of this years' Easter dresses including this one.

The bottom of the dress is made from the top two layers of the bottom of the bridesmaid dress. The sash is made using the strap from one side. The hardest part of making this dress was cutting the slippery, chiffon fabric to make it straight. The full skirt with lightweight fabrics makes for lovely twirling, though. The twirl factor is always appreciated by the girls.

Isabelle drew me a picture of the dress she wanted. The sleeves were such an issue of contention between us. I didn't want to make long, 3/4 length sleeves from sheer lace. I really don't like to do sleeves. I ended up making the top out of some stretch lace from a friend and an old white T shirt. 

I used the

Uptown Downtown dress pattern

 to create the bodice.

It was actually very easy!

 The pattern is on sale right now. I know, I usually talk about how I hate patterns, but

this one

has so many variations and it is so versatile that it is worth it. I am not being compensated in any way for this endorsement.

Directions were included for a lace overlay version, which is mostly what I used. I just altered it to let the sleeves unlined. I hemmed the sleeves by hand sewing them. 

There was no hemming required around the neckline because of the lining.

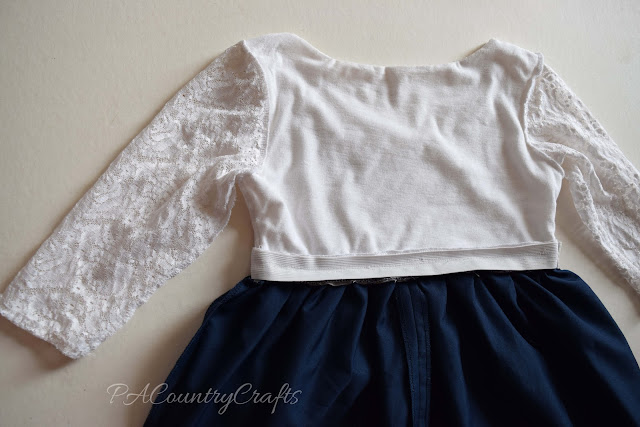
The trick to this dress was attaching the bodice to the skirt. I wanted to maintain the stretch of the fabrics so that it would easily slip over her head. So, I got some 1" elastic from my stash, sewed it in a loop and made Isabelle try the loop on to be sure the elastic would stretch enough to get the dress on. Then, I sewed each piece -top and bottom- to the elastic. Here is what the inside of the dress looks like.

One of the shoulder straps from the bridesmaid dress was converted to a sash to tie around the waist. 

Now I have one less bridesmaid dress in my closet and my daughter has a lovely dress! Win win! 

I used more of the bridesmaid dress on the next Easter dress I made, but we haven't had a "real" photo shoot yet. Right now I am super busy canning tomatoes and chasing the last bit of summer. So, when I get around to it I will show you that one, too. :)

Elastic Waist Doll Dress Pattern

elastic-waist-peasant-doll-dress-1.jpg

Happy World Doll Day! In honor of this day, I would like to encourage you to use up some of that scrap fabric (I have WAY too much!) and make some doll clothes for organizations that donate dolls to children who could use a little joy in their lives. Here are some that I have found- some accept clothing donations and some do not but you may be able to help in some way or be inspired to start your own organization:

The Broken Doll - restores dolls and gives them to girls in foster care and hospitals
Broken Dolls Healing Hearts - creates care packages for children, including restored dolls
Hope Through Broken Dolls
Janie's Dollys for Recovery - dolls for girls undergoing extensive medical procedures

If you know of others, please share the info!

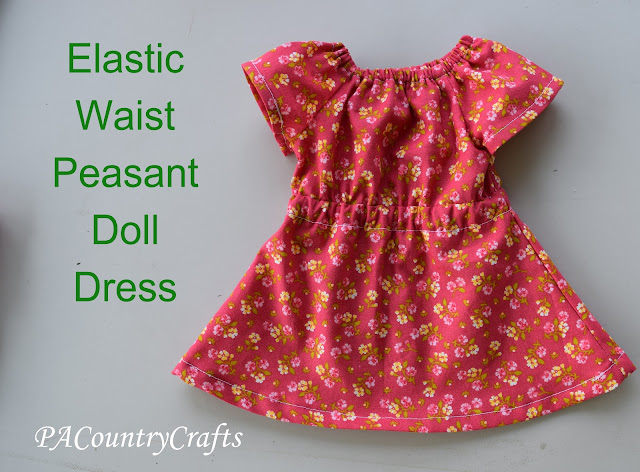
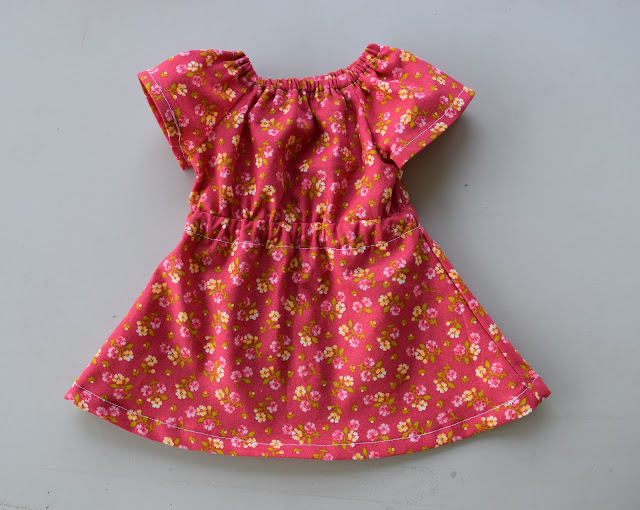
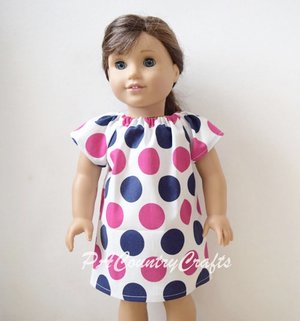
To get you started, I have a free doll dress pattern and tutorial for you today! This is a doll-sized version of the teen peasant dress from yesterday.

This really isn't too hard. I whipped this one up in about a half hour. It will fit an 18" doll like American Girl, Our Generation, or My Life. It would probably work for smaller dolls with some adjustments on the elastic length.

UPDATE 11/2019 - I now have a printable pdf pattern and step by step tutorial posted on the blog! See it HERE.

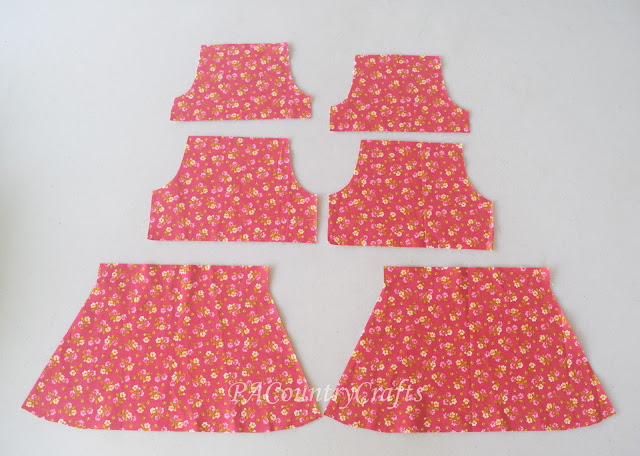
I am still working on the pdf pattern (which means it is burried on my sewing table somewhere) but you can cut these pieces with measurements.

Sleeves: 7" wide by 4 1/2" high
Tops: 8" wide by 5 1/2" high
Arm Scythes: 1 1/2" wide by 3" high (just curve it a little as shown)
Skirt: 7 1/2" high, 8" at waist, 14" at bottom (make initial slit 1" deep)
Waist elastic: 12" (1/4")
Neck elastic: 8 1/2" (1/4")

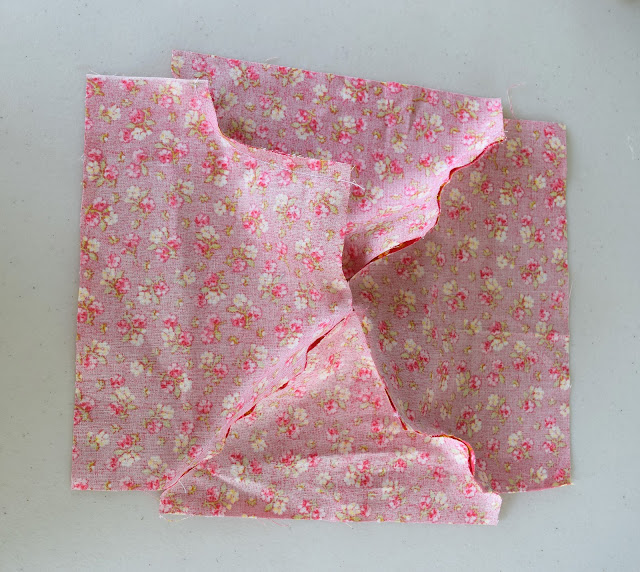
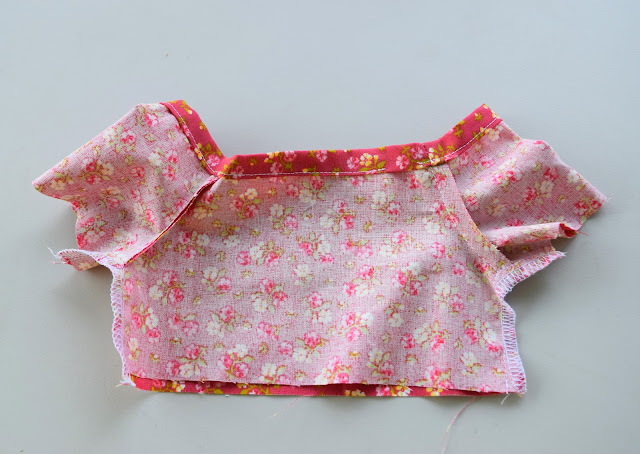
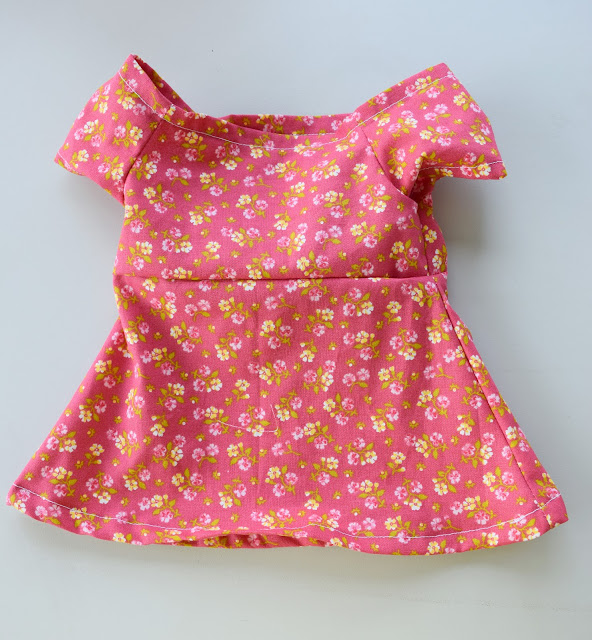
The sewing process is the same as the teen peasant dress (see THIS post for instructions!) The only differences are that I used a smaller seam allowance- 1/4" and made the elastic casings a tiny bit smaller. Also, it would probably be easier to hem the sleeves before sewing the sides.

It is really very straightforward. Just follow the same directions I gave HERE.

If you want to make puffy sleeves with elastic casings, increase the width to 9" and the height to 5".

Please use this pattern for personal, non-commercial, or charity use only. If you make one or more of these I would love to see it! You can contact me via facebook or email pacountrycrafts at gmail dot com.

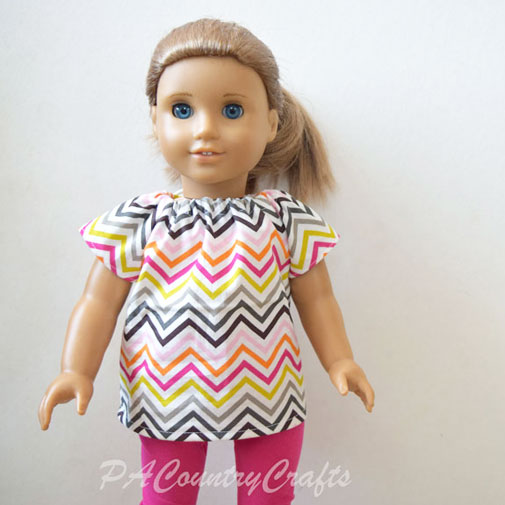
I have other free doll clothing patterns available, too! They are all made to fit 18" American girl dolls. You can see them all under my tutorials menu, but here is a sampling:

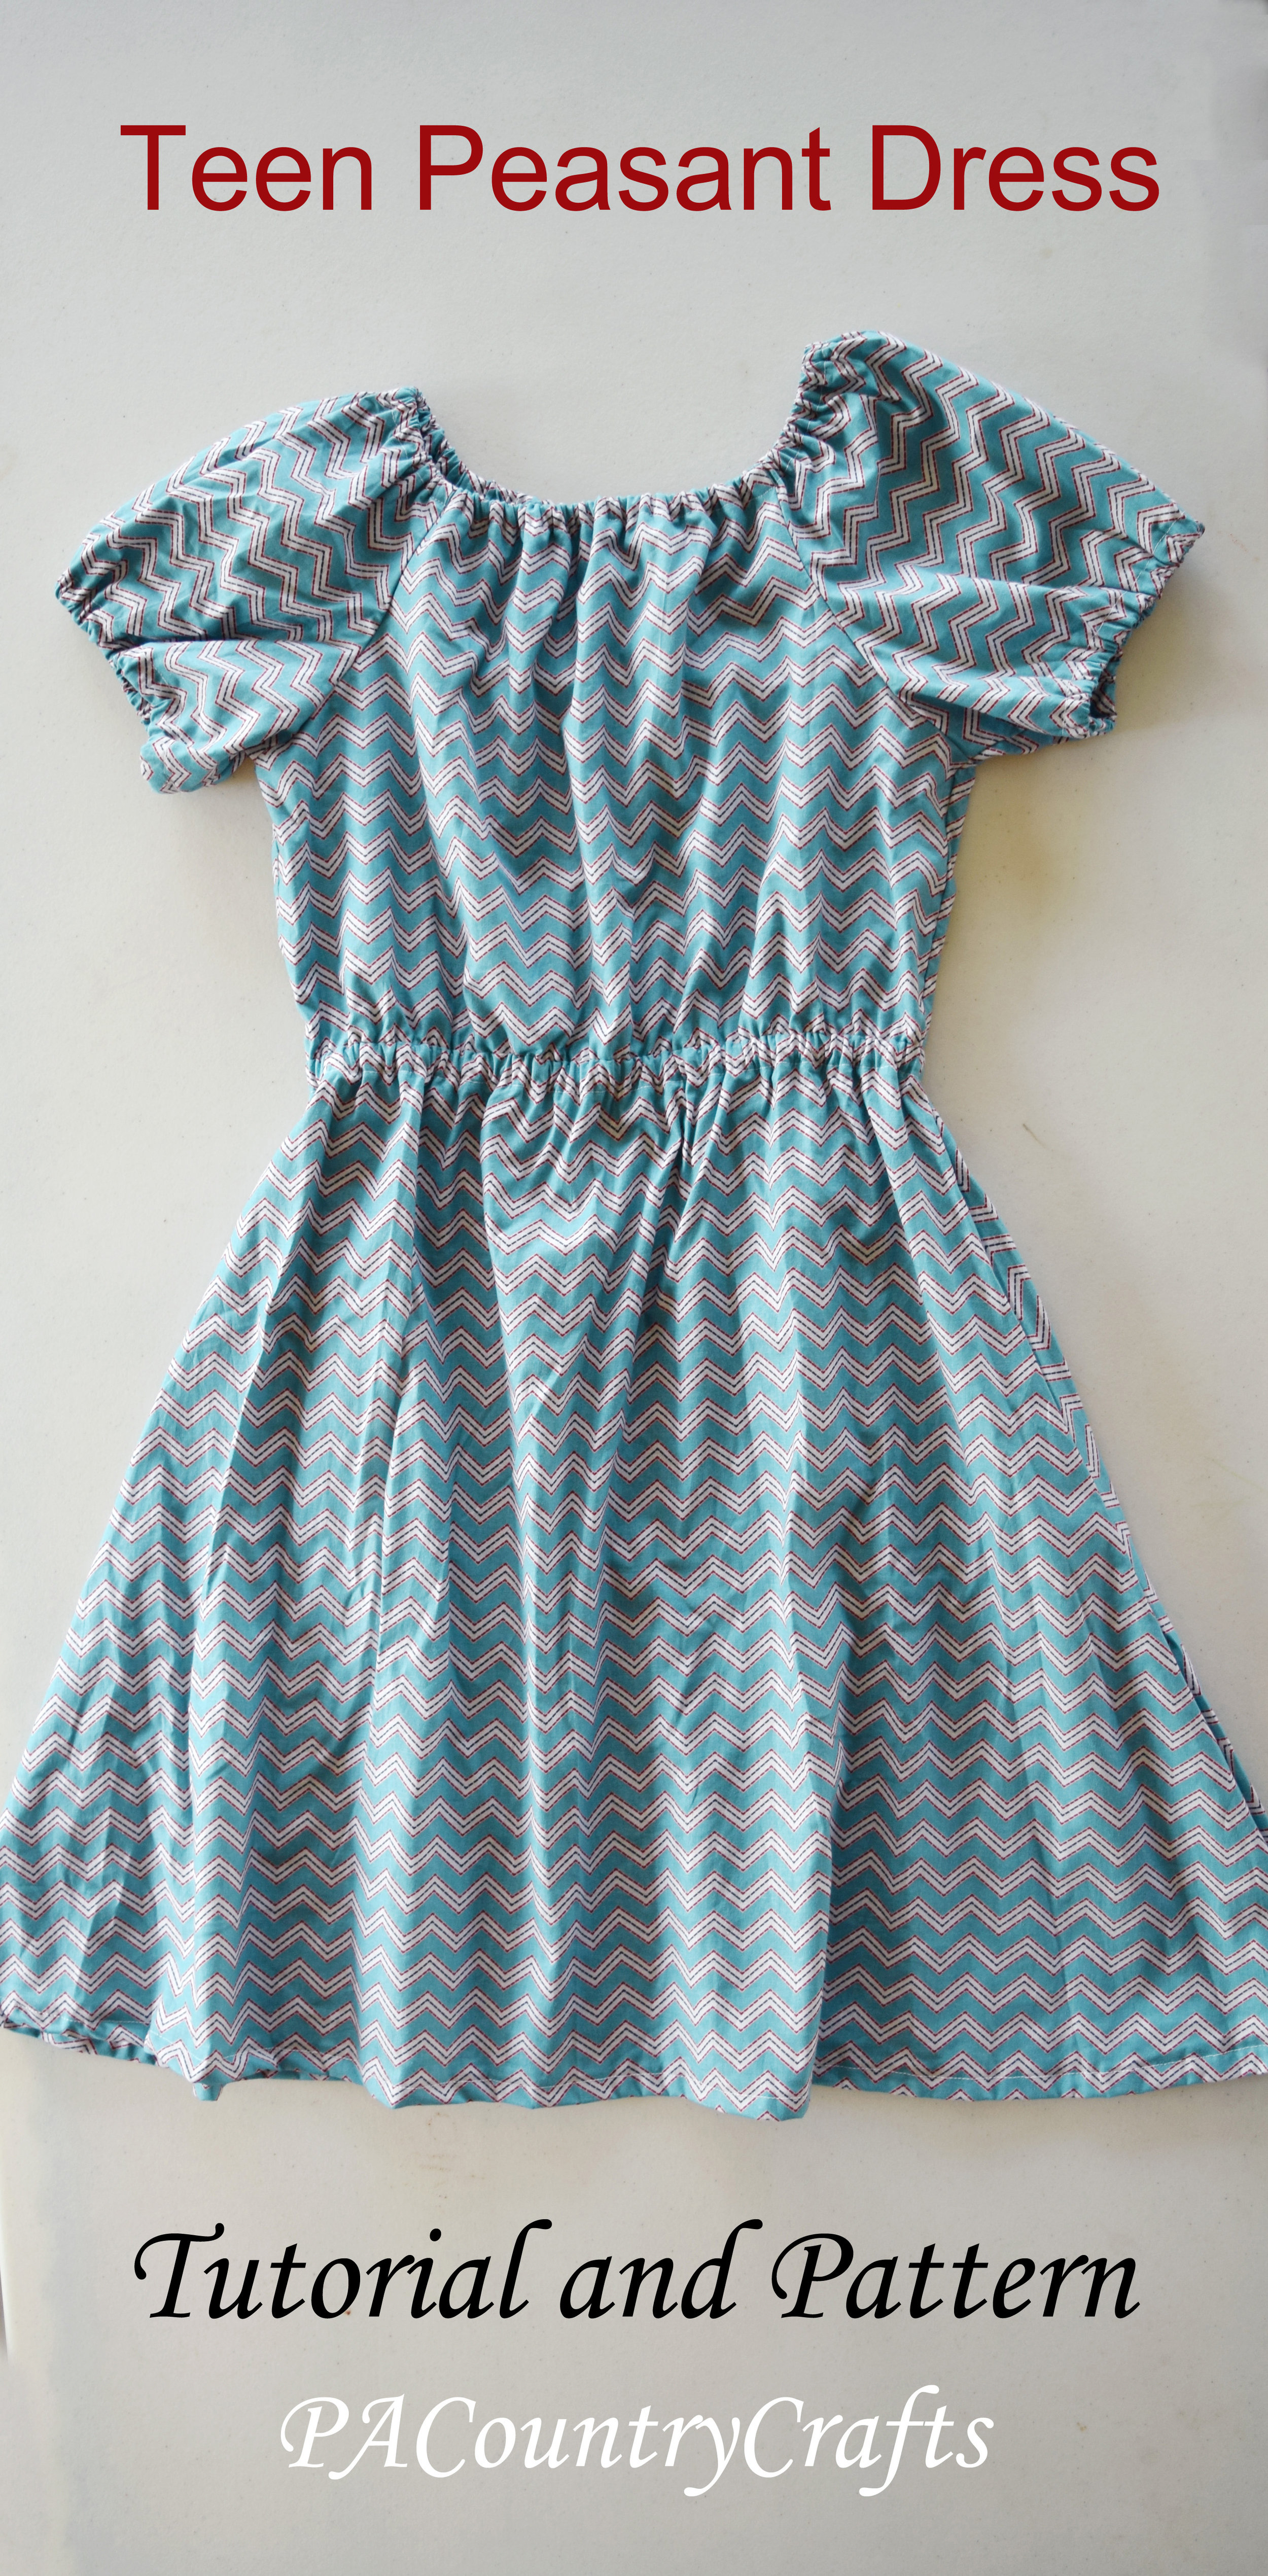
Teen Peasant Dress Pattern and Tutorial

teen-peasant-dresss-tutorial.jpg

This year, Project Yesu was looking for some dresses for the older girls of ages 12-16. I challenged myself to create a variation of the peasant dresses we normally make that would meet some of the unique challenges of making larger sizes. It is longer, but has enough width at the bottom to allow for easy movement. I also lined the top to allow for more modesty. The elastic waistband is another nice feature that just makes the dress a bit more mature.

This dress is in a 14-16 girls size.  If you need help choosing fabric see my post HERE. You can do contrasting sleeves. The top and sleeves can be made from a different print/color to give a faux two-piece effect. It would be easy to adapt my regular peasant dress to add the elastic waistband, too.

Reading my tutorial for quickly cutting peasant dresses would be very helpful for understanding how these dresses are cut.

For the skirt portion, keep the fabric folded with the selvage edges together, just as it comes off the bolt. I always cut four layers at once, taking the cut edges together on the end. Cut two strips the width of the fabric by 25".

Then, to make the most efficient use of the fabric, refold it by taking one side of the selvage edge (I cut both pieces at once) and fold it towards the middle 15".

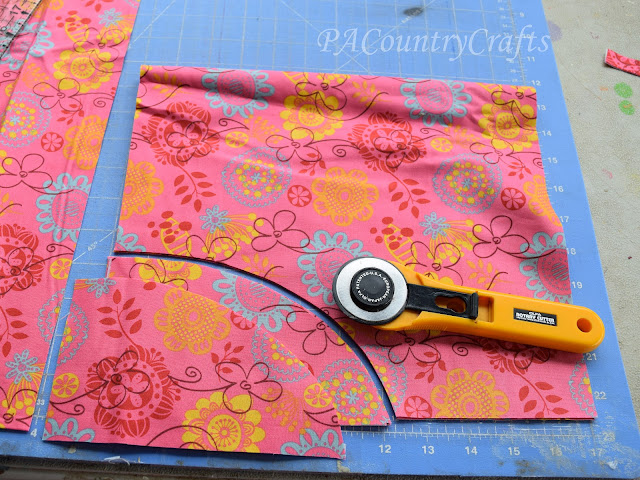
Cut a slit 1 1/2" into the fabric 10 1/2" from the fold (for a total width at the waist of 21").
Then, use the ruler to cut an angle towards the corner from the end of the slit.

This is what you should have so far... a funky looking trapezoidish thing.

Now, something that will help the hem A LOT: trim off the corners so that the distance from the waist to the bottom is a consistent 25". (I showed this in my doll maxi skirt tutorial if you need a better explanation/pictures.)

 A quick tip... the reason I refold the fabric is because if I cut 2 skirts from the same fabric, I can piece together the remaining fabric and make another skirt. It just has a seam in the middle- I use those for the backs.

For the top, cut a strip the width of the fabric by 15".

Trim off the fold and selvage to make two pieces EXACTLY 21" wide.

Fold the pieces in half and cut an arm scythe 4" wide by 7" high. Save the pieces that you cut off so you can trace them later.

Make one lining out of thin, smooth cotton or a poly cotton blend for the front. Cut is the same as the top.

Cut two sleeves the same way, but make them 12" instead of 15". Fold and use the pieces that you cut away from the top as a guide for cutting the arm scythes.

Now, something that I found helped it to fit MUCH better...

Cut one inch from the top of the front an lining. Then, angle the sleeves by cutting one inch from the front side and angling up to the back.

That should give you all of your pieces. Now, sew the top together just like my regular peasant dress tutorial. You have to be careful to line up the shorter sides of the sleeves with the front of the top.

To line the front, just sew it with the lining and front held together as if they are one piece.

Sew the side seams using a PRECISE 3/8" seam allowance. That is really the only tricky part to this. Serge the sides. Then, sew the elastic casings for the neck and also for the sleeves. Again, I explain that method HERE.

See? The top is all finished! Now, sew the skirt with the right sides together using a PRECISE 3/8" seam allowance. This is important to make sure the top and bottom line up. Serge those sides, too. Do yourself a favor and hem the bottom before you attach it- it is easier when there is less fabric to deal with. Just fold it under 1/2" twice and sew. Now, turn the skirt right side out and line up the waists.

Make sure the seam allowances press one direction so that the elastic can be pushed through.

Sew the top and skirt together with a 3/8" seam allowance. Then, sew again 1/2" from that stitching line and leave an opening to thread elastic. Serge the raw edges.

Now, to take it one step further, you can press the casing towards the skirt and topstitch on top of the seam allowance. It makes the waist lay flatter. I didn't do this with all of the dresses we made (I forgot) but it does make them better.

The elastic for the waist will need to be inserted from the outside and hand stitched shut with a ladder stitch. (It really isn't that hard.)

For the neck, use 1/4" elastic at 25" long. 
For the sleeves, use 1/4" elastic at 12 1/2" long. (Cut 2- one for each arm.)
For the waist, use 3/8" elastic at 27" long.

You can see how I insert the elastic and sew it together HERE.

That is it! I can sew one of these up in 30-45 minutes, including stuffing the elastic in the casings.

Here is one I made with a shorter top and longer skirt. If you cut the skirt 28" long there will be enough left to make 2 drawstring bags for Days for Girls hygiene kits. I have way too many scraps, so I am always looking for good causes to sew smaller things for.

I am posting the pattern and tutorial for these dresses for personal, non-commercial, or charity use only. Do not sell this pattern or sell things made from this pattern. I spent a lot of time tweaking it to get it just right so please respect my intentions.

If you have any questions, just let me know! You can contact me via facebook or e-mail pacountrycrafts at gmail dot com. I would LOVE to see pictures if you make some of these dresses. 

An easier version of this dress can be made for smaller girls, too. I have several recent posts about those. 

Would you like to help? You can contact Project Yesu about dress donations. They are also asking for donations of just $10 to help cover the costs of transporting supplies to Uganda this summer. If you would consider donating that amount- less than the cost of some sewing patterns- it would be greatly appreciated! You can also pray for their work there and for the girls who will wear these dresses.