Easy Mason Jar Snow Scenes

The girls and I had a "craft day" over winter break. Christmas flew by in a blur and we still had a lot of craft projects that were still just big ideas and a pile of supplies. Honestly, some of the supplies were several years old because this seems to happen every year. One of the things that I wanted to make was a "waterless" snow globe decoration. The little plastic deer and bottle brush trees kept disappearing on me over the past year or so. Some of the deer didn't make it because their legs were chewed on. :( I picked up a few more things when Christmas shopping in early November, so before we had any more casualties, I wanted to make this one a priority.

Mason Jar Snow Globes

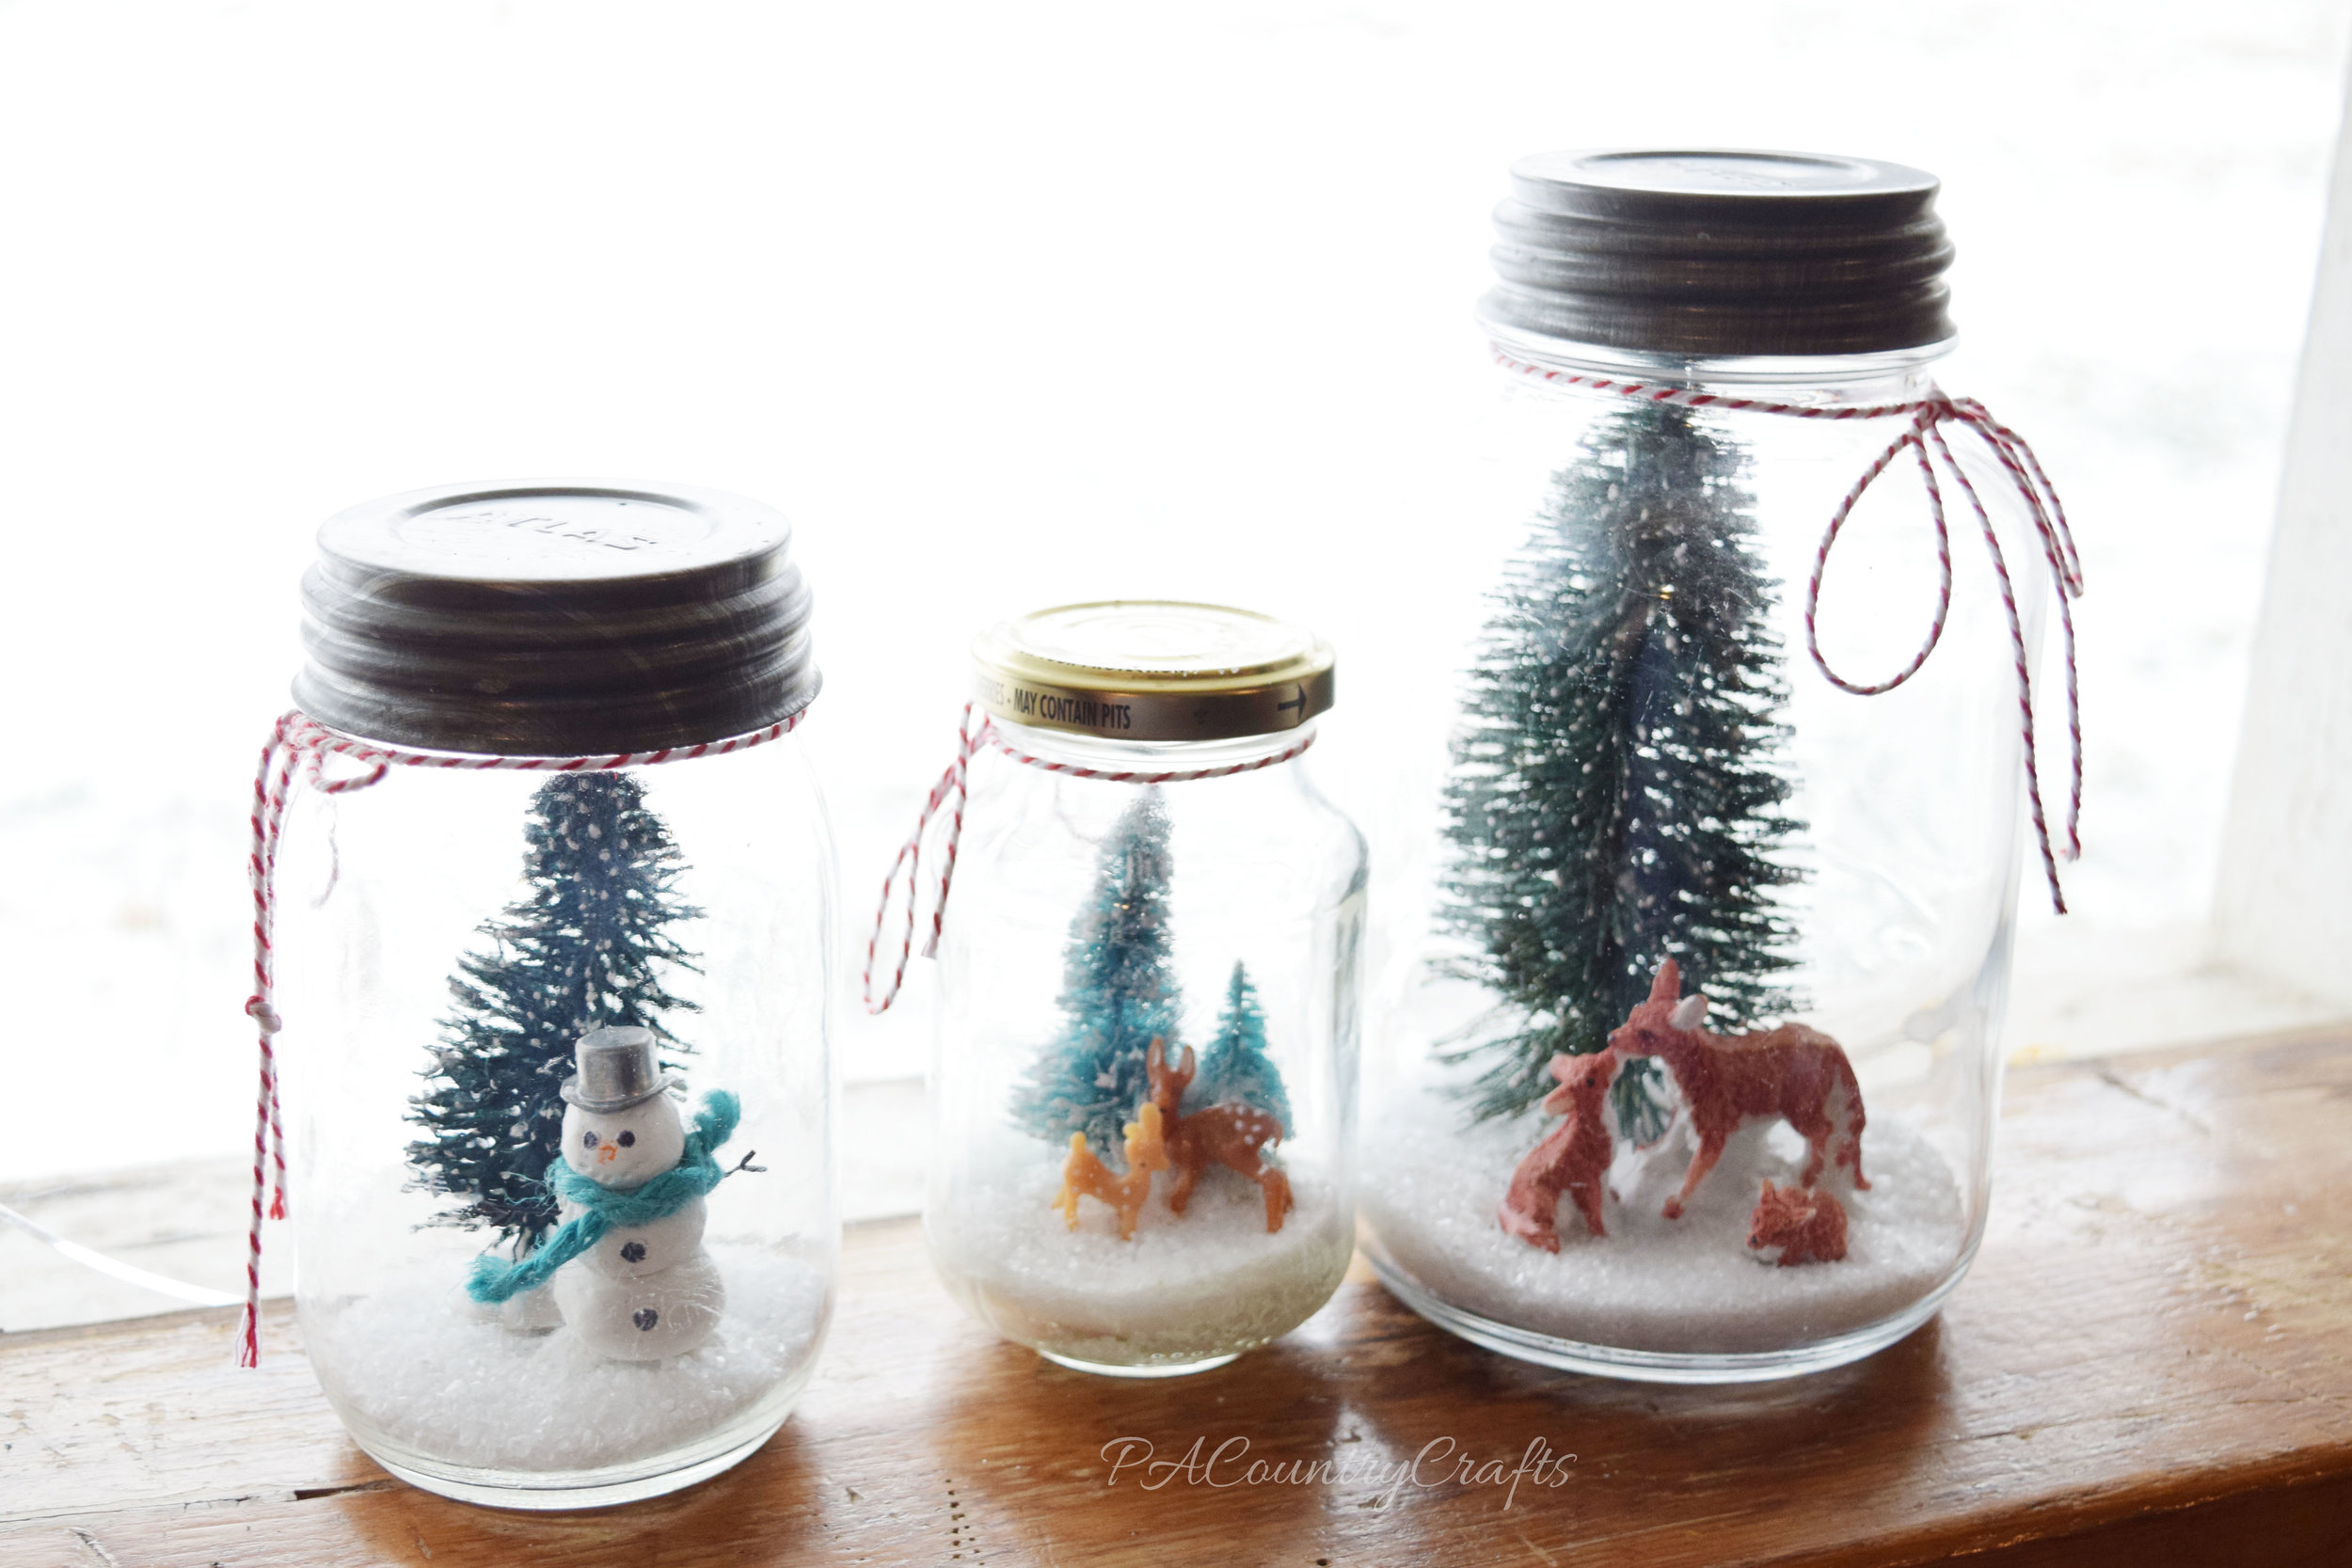
We used some "mason-type" jars. The "real" mason jars I use for canning, but there were some smooth sided jars mixed in my supply I didn't mind forfeiting.

Mason Jar Snow Scenes

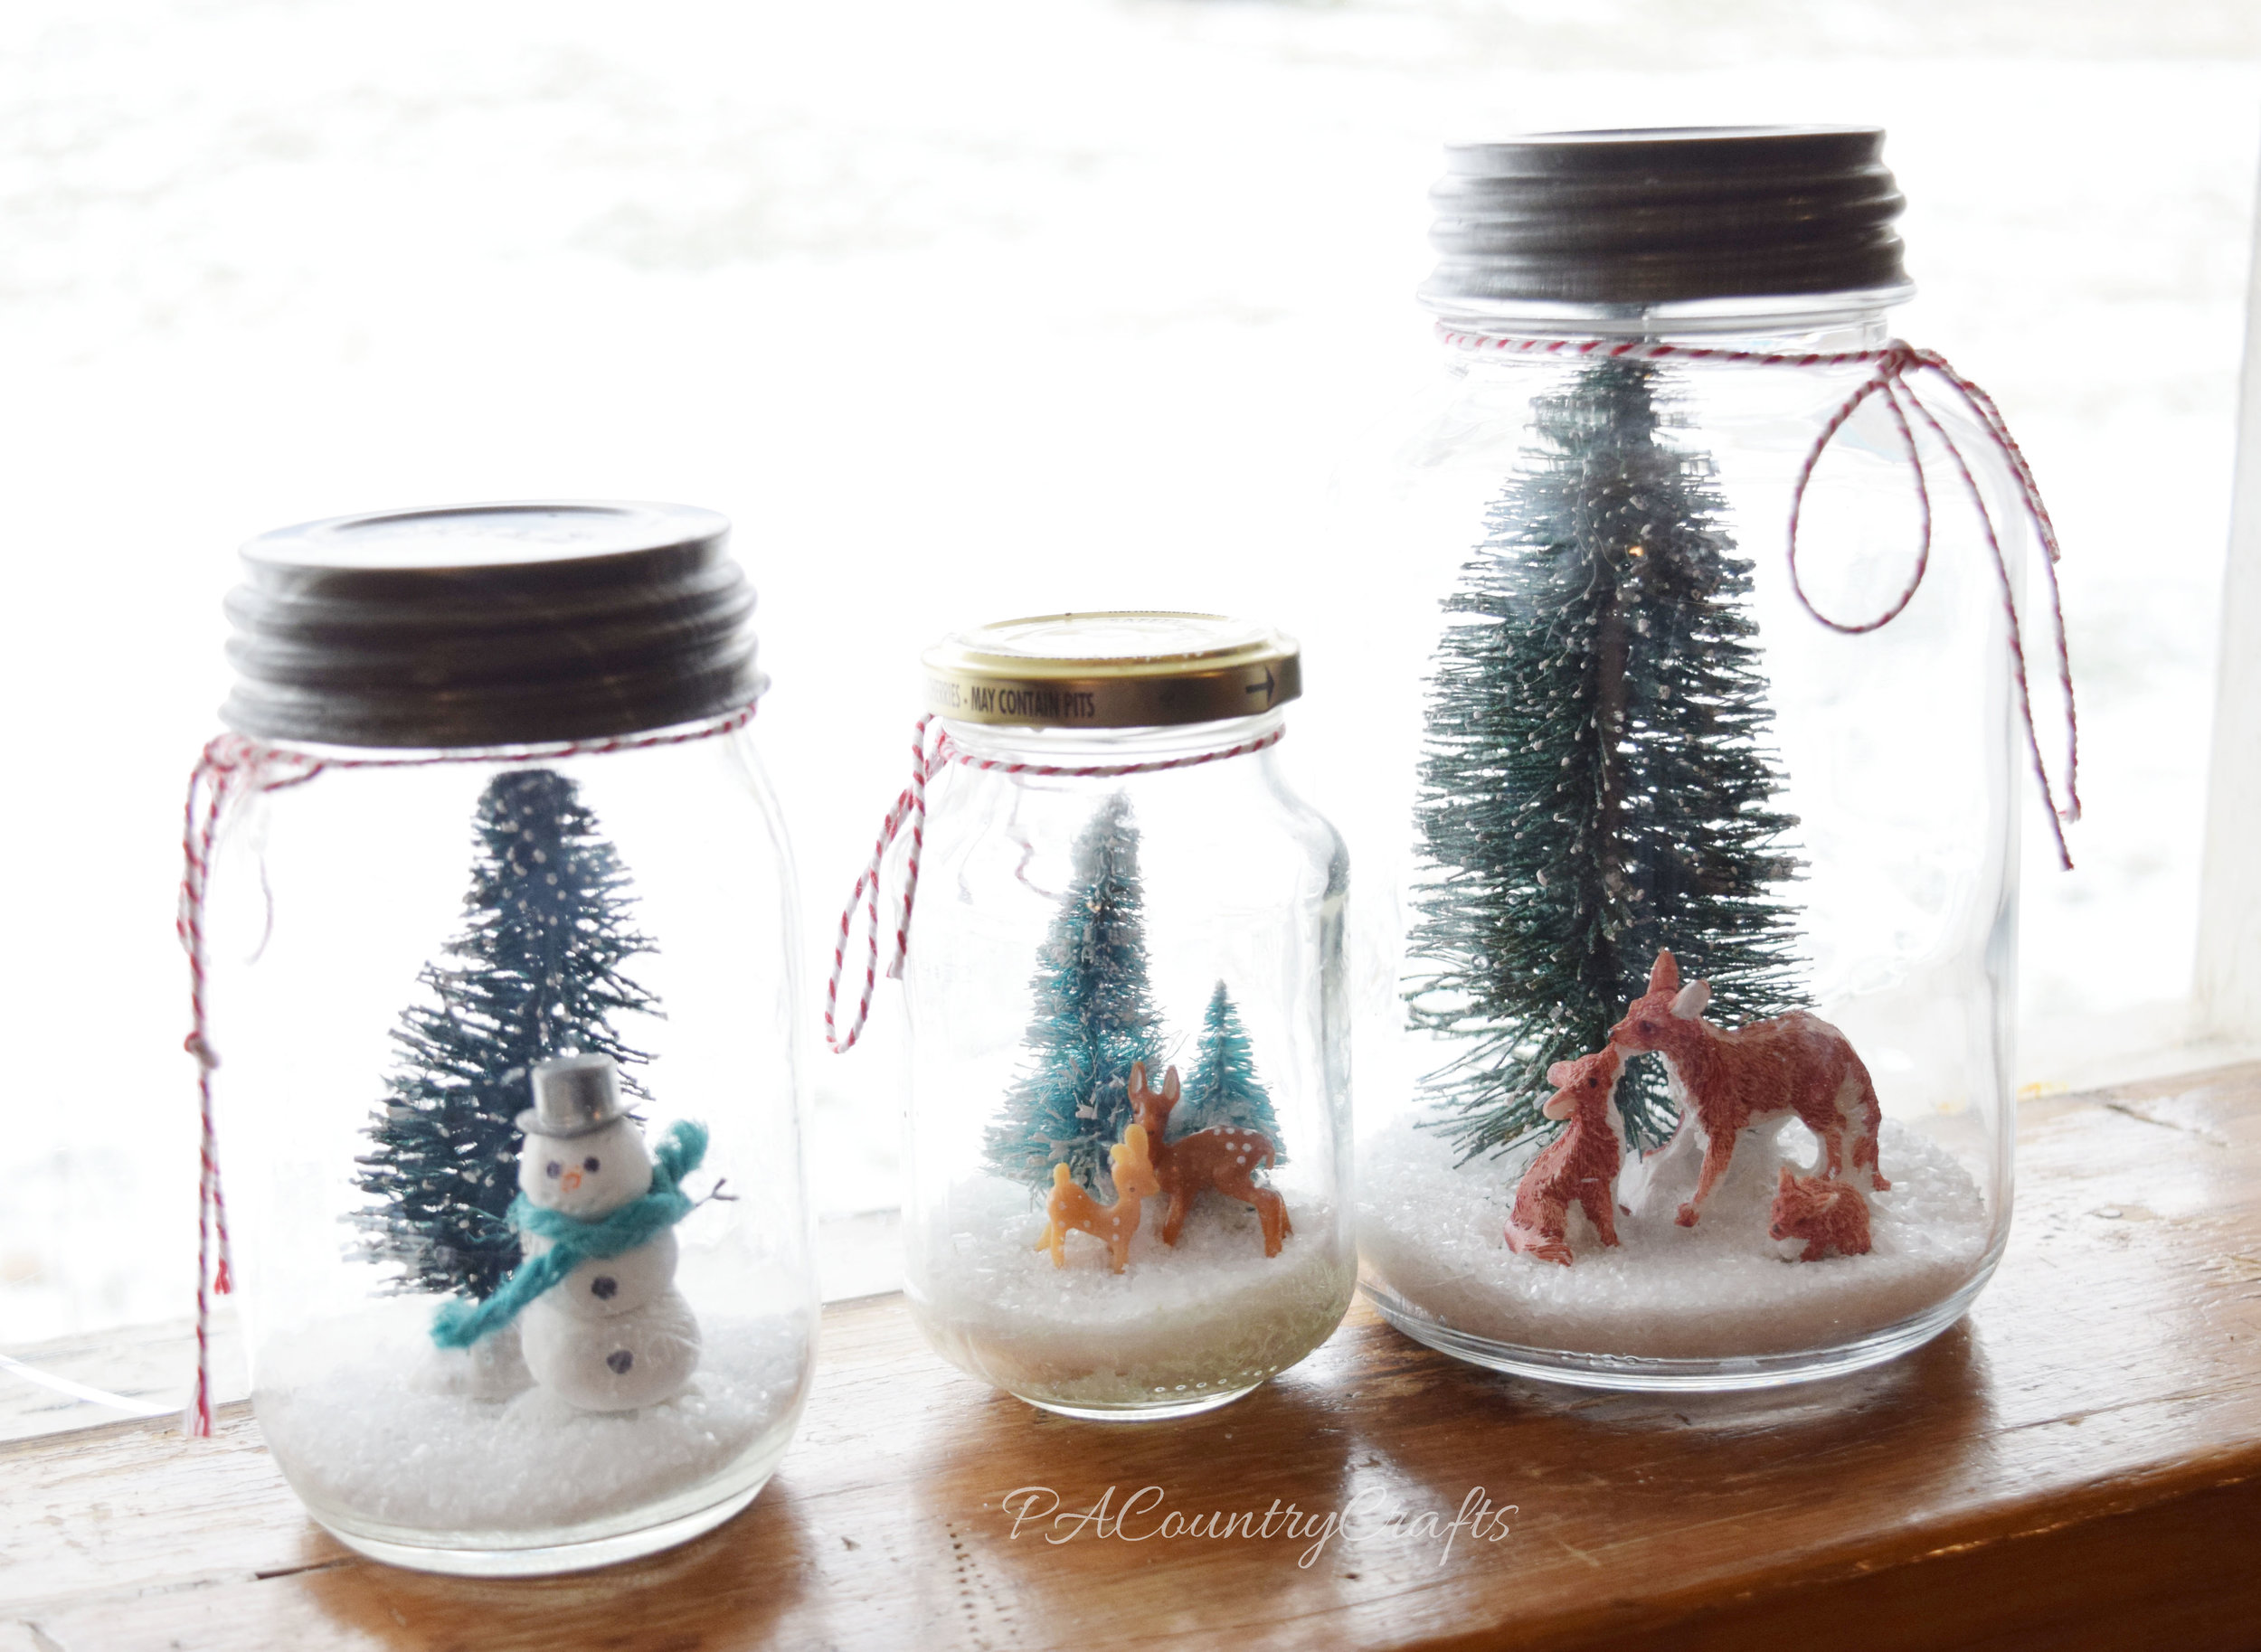
The first one was the easiest. It is a little ceramic fox family and bottle brush tree from the Christmas village section at Walmart. I just stuck them in the jar and my 5yo added epsom salts. I did use a vintage lid and tie some baker's twine around the neck of the jar just to add a little more detail.

Easy winter scene in a mason jar.

The deer scene was probably the hardest. The supplies came from Michaels last year, so they were not in good shape. I made a snow mound out of clay and stabbed the trunkless trees and plastic deer into it. Getting those deer to stay in place was a pain and I needed pliers to push them down in firmly. Then, we also poured in some epsom salts, but I should have let the clay dry first.

Simple DIY waterless snow globe.

The snowman was made out of clay with wire arms, a play-doh orange nose that fell off, a jute scarf, sharpie dotted buttons, and a hat borrowed from our Monopoly game. There is a lollipop stick (unused) to hold all of the layers together, including a rounded base underneath the snowman. Unfortunately, I did not let the clay dry first and the moisture as it dried caused the epsom salts to crystallize up the sides of the jar. I had to take the whole thing apart and redo it. So, if you are making these, have a little patience and wait a few days for the clay to dry.

CLay Snowman Mason Jar Snow Globe

These were really simple to make and the kids like them! It is a nice decoration that I can leave out all winter long.

Easy Mason Jar Snow Scenes

DIY I Spy Bottles

I have so many crafty things to share on the blog, but I just haven't had time to edit pics and type up posts. I don't things will ever settle down around here. Here is another MOPS craft projects. We did this at our open gym gathering. Usually the kids just run loose and we can chat while we let them burn some energy. I just set up a table off to the side with this extra craft project to do with the kids if they were interested. It seemed to go really well and the kids had fun choosing items to put in their bottles.

I-Spy Bottles MOPS craft

I-Spy Bottles MOPS craft

I Spy Bottles for MOPS Creative Activities- fun to do with the kids

I Spy Bottles for MOPS Creative Activities- fun to do with the kids

You will need...

~plastic bottles ~rice ~funnel ~scoop ~sharpie marker ~hot glue gun ~assorted trinkets

For the trinkets to include in the bottle, some of us just collected assorted choking hazards and craft supplies. We had alphabet beads, seashells, buttons, toys, feathers, colored beans, metallic confetti (this looked great in the bottle!), animal beads, charms, etc.

They were really easy to make...

  1. Choose a clean, dry, plastic bottle. I brought small Gatorade bottles, but some people had some really nice bottles from other beverages.

  2. Fill the bottle partway with rice. We used a funnel and a scoop.

  3. Choose small trinkets to place in the bottle.

  4. Add more rice until the bottle is nearly full, but leave plenty of space to roll the rice around.

  5. Hot glue the lid onto the bottle.

  6. The step we skipped... write the child's name on the lid with a Sharpie.

I love craft projects with kids that are actually useful and last more than a few days!

Composition Book Journals

recovered-compostion-books_edited-1.jpg

composition-book-journal
I am super excited to be leading creative activities for our MOPS group this year! For our first meeting, I was asked to come up with a craft project. I put a lot of thought into it and spent a lot of time on Pinterest. ;) I ended up deciding on these composition book journals. It was a very economical craft project and there are some materials left over for some future projects, too. I got a cute scrapbook paper pad on sale at Joann's, then cut each of the 180 pages into pieces the size of the composition book covers. (That took a long time!) I gathered some cute embellishments- ribbon, ric rac, lace, stickers, washi tape, etc. I also stamped some cardstock with some cute rubber stamps and cut them out to give more options. Extra paper trimmings, cardstock, and even paint samples gave everyone a lot of options. I cut some tag shapes out with my paper punch and stamped them with phrases like "starry eyed", "hope", and "wonder" to incorporate this years' theme. We also gave the options of using glue sticks or mod podge to adhere the paper to the book. Both seemed to work fine.

These are my best tips:

  • I cut my paper at 9 3/4" by 6 5/8"- double check your notebook size and if in doubt cut it bigger and trim later. It was more effecient to make a template, then use it mark the back of a paper lightly with pencil. Stack 3 or so together and use a paper slicer to cut them all at once. The leftover strips were spread out at the tables to be used as accents.
  • If using glue sticks, apply heavily to the paper, especially the edges. Use the side of your fist to smooth it all out.
  • If using mod podge, brush a thin layer onto the book and carefully smooth the paper onto it. Do NOT mod podge over the paper.
  • Keep checking the corners to see if they are lifting up and reapply glue as needed.
  • After it is dry, open up the book and trim any excess that may stick out over the edges and the corners.
  • Use hot glue to apply ribbon and ric rac. Other embellishments seem to be fine with glue sticks.
  • We added envelopes inside the covers to hold notes, papers, etc. Someone also covered the inside cover with scrapbook paper, which looked great if you have extra paper!
  • Make sure you have a wide variety of embellishments that coordinate with the papers.
  • Spread the embellishments out and make sure that there is enough room for people to gather around the tables.

These are the samples that I made before the meeting. They will be used as gifts to welcome new moms during the year.

Recovered Composition Books
The backs are also covered with coordinating papers.

Recovered journals- MOPS craft idea
MOPS Creative Activities Journals

Altered notebook craft project

Composition Book to Journal

Scrapbook Paper Covered Journals

I think this one is my favorite. It is simple, but so pretty!

Altered Composition Book
I incorporated this years' theme verse on the cover of this one. I couldn't find papers that coordinated with the Starry Eyed theme, so I added it in a few of the journals as best as I could.

DIY Bible Journal
MOPS Starry Eyed Journal Craft Idea

Altered Composition Books 
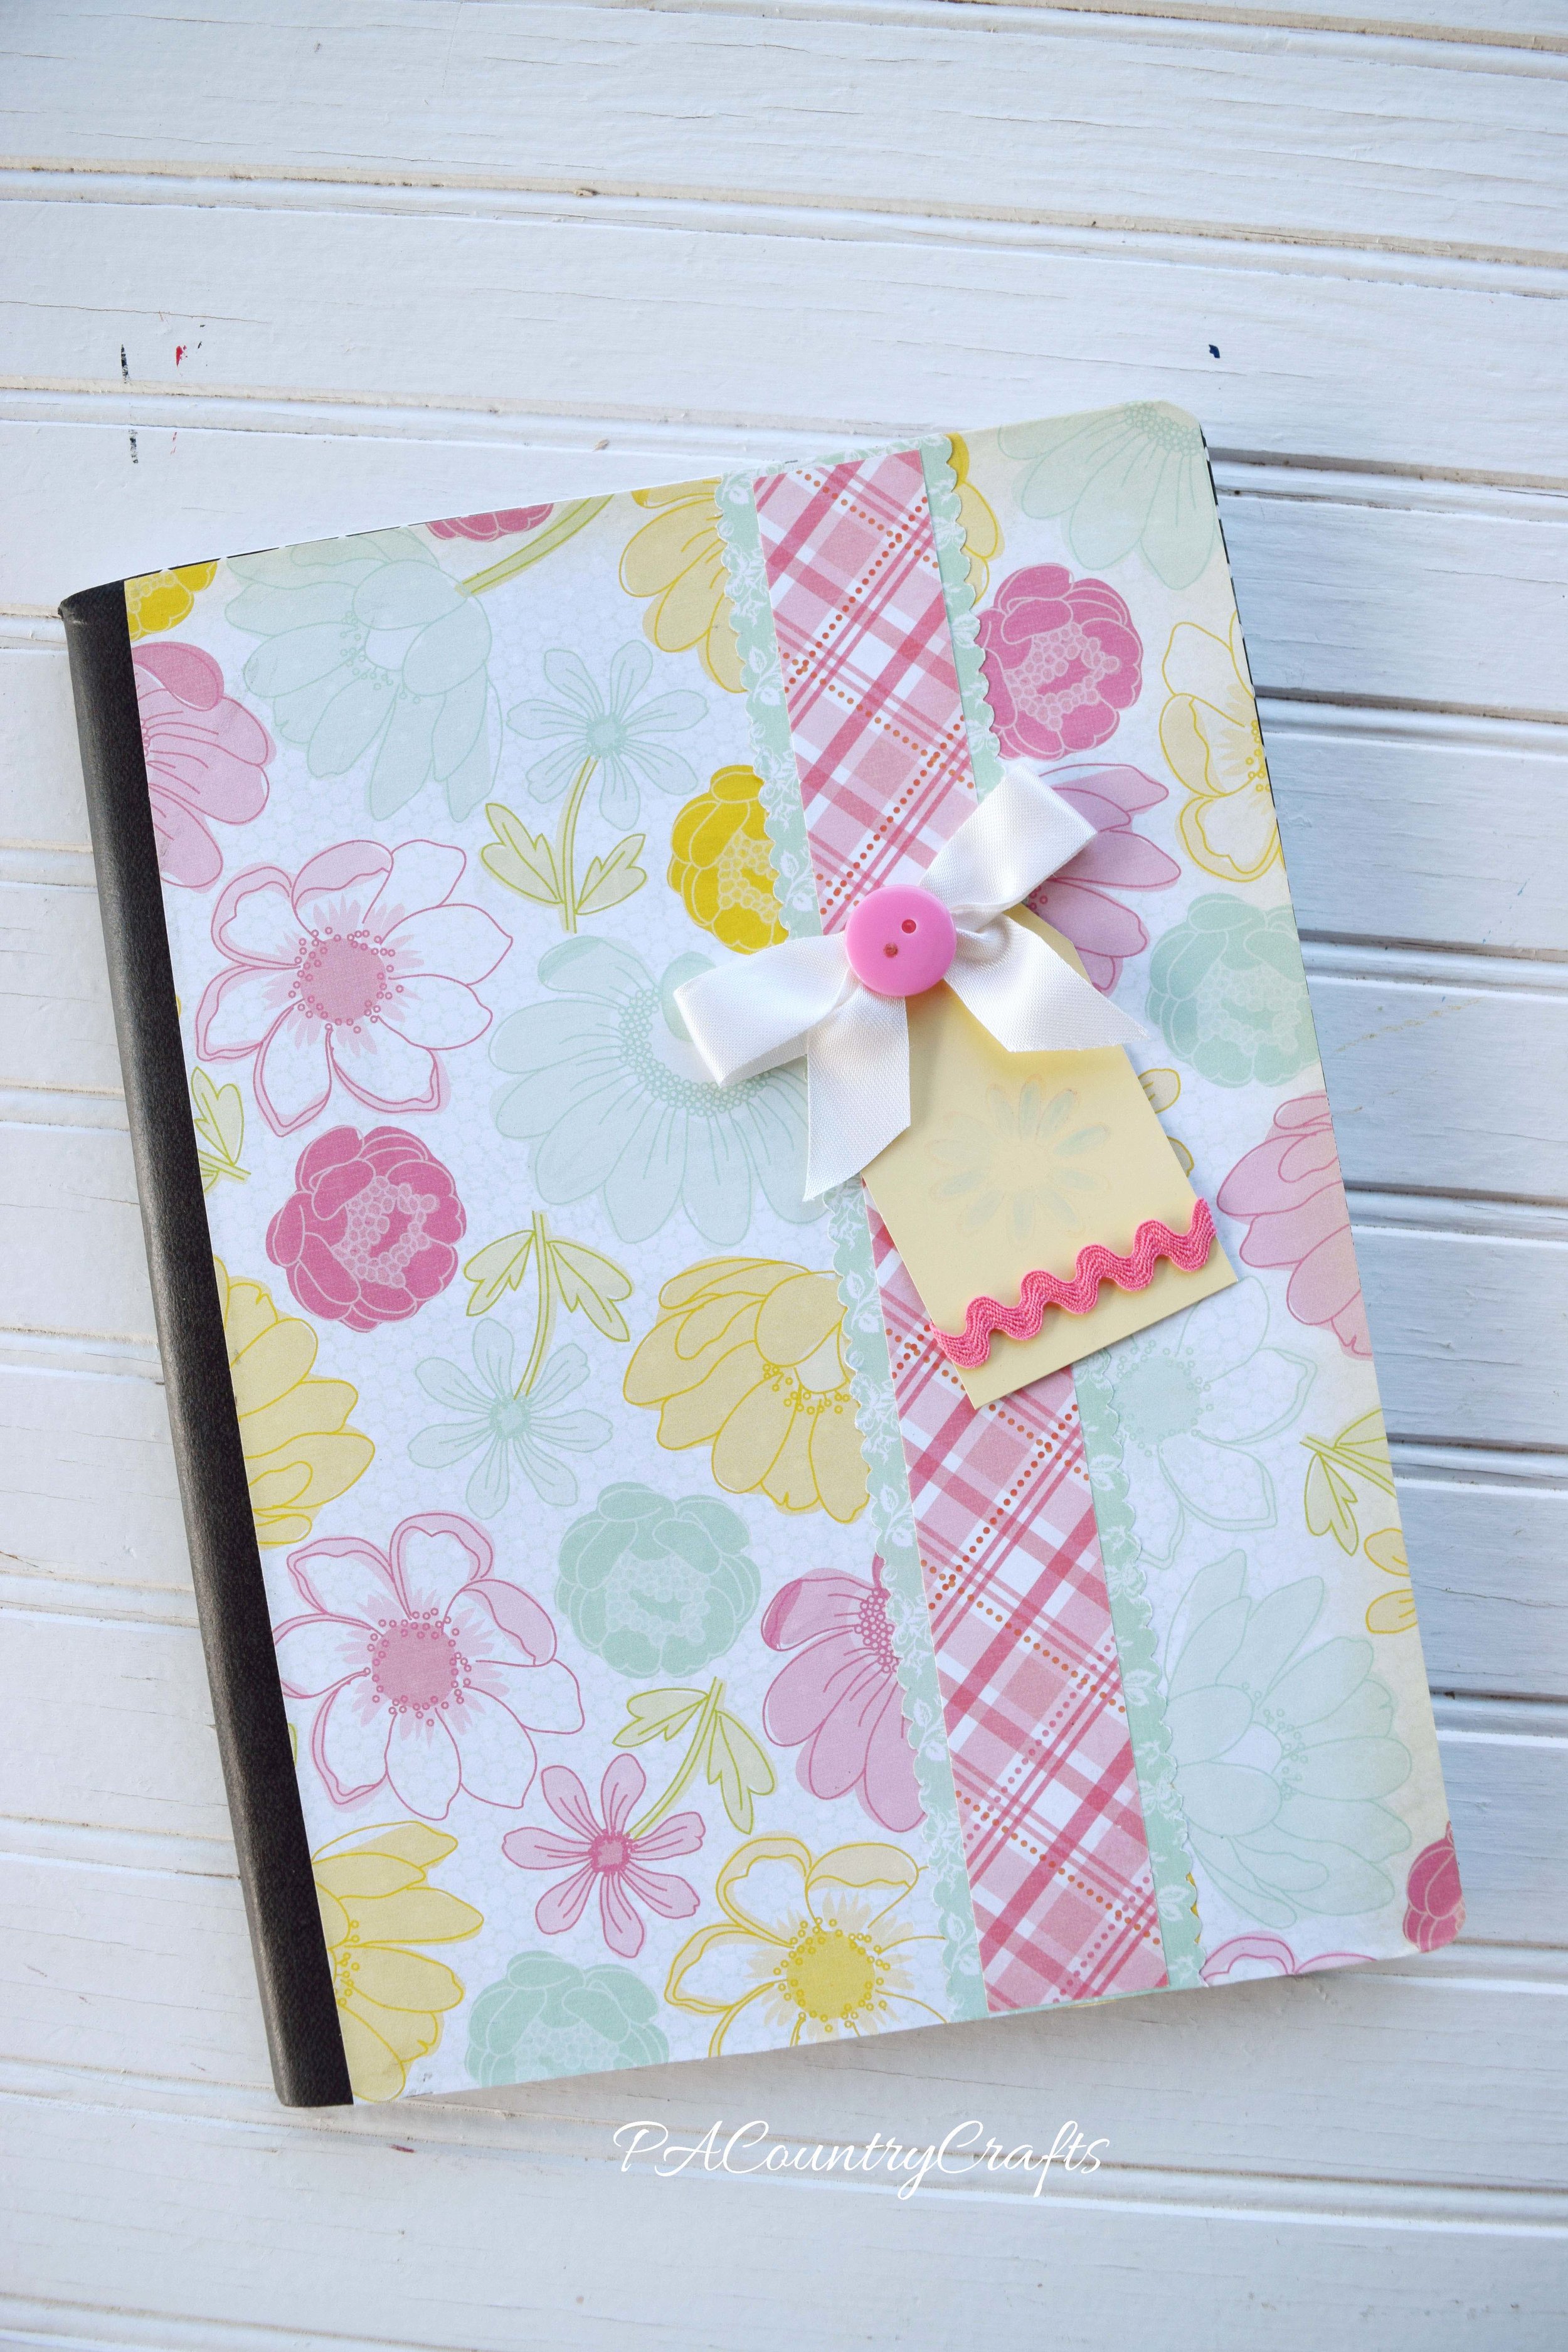
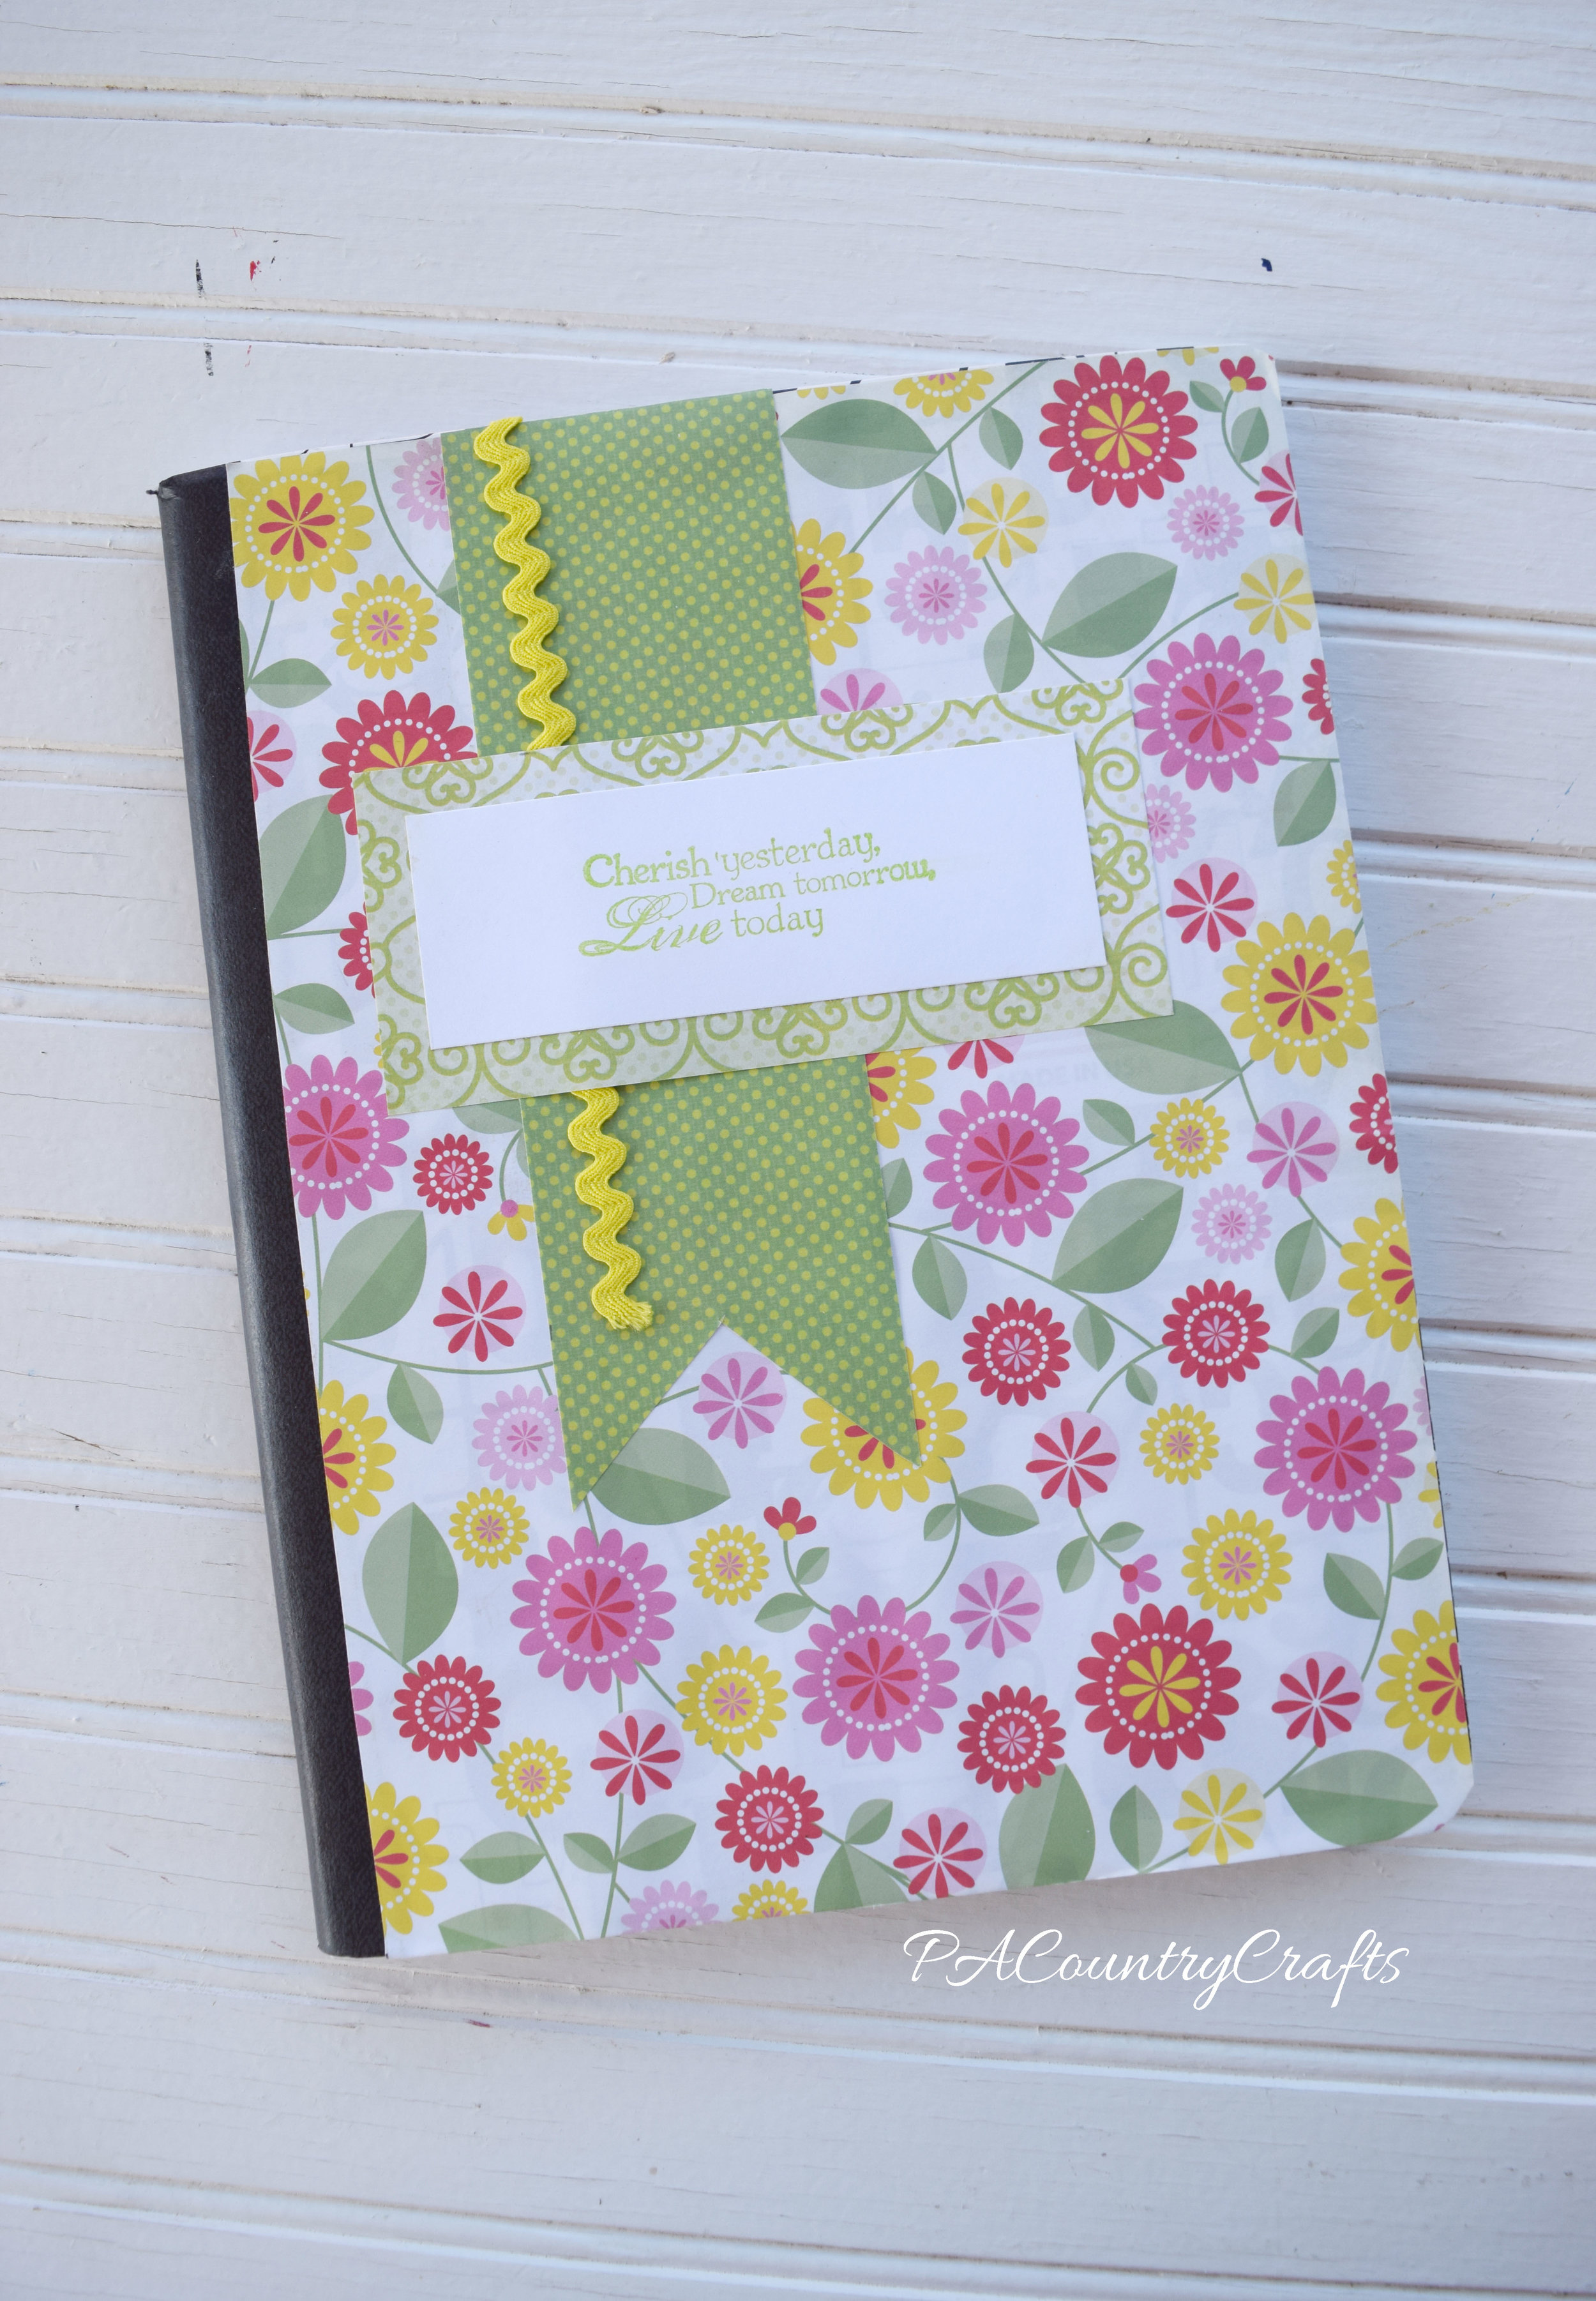
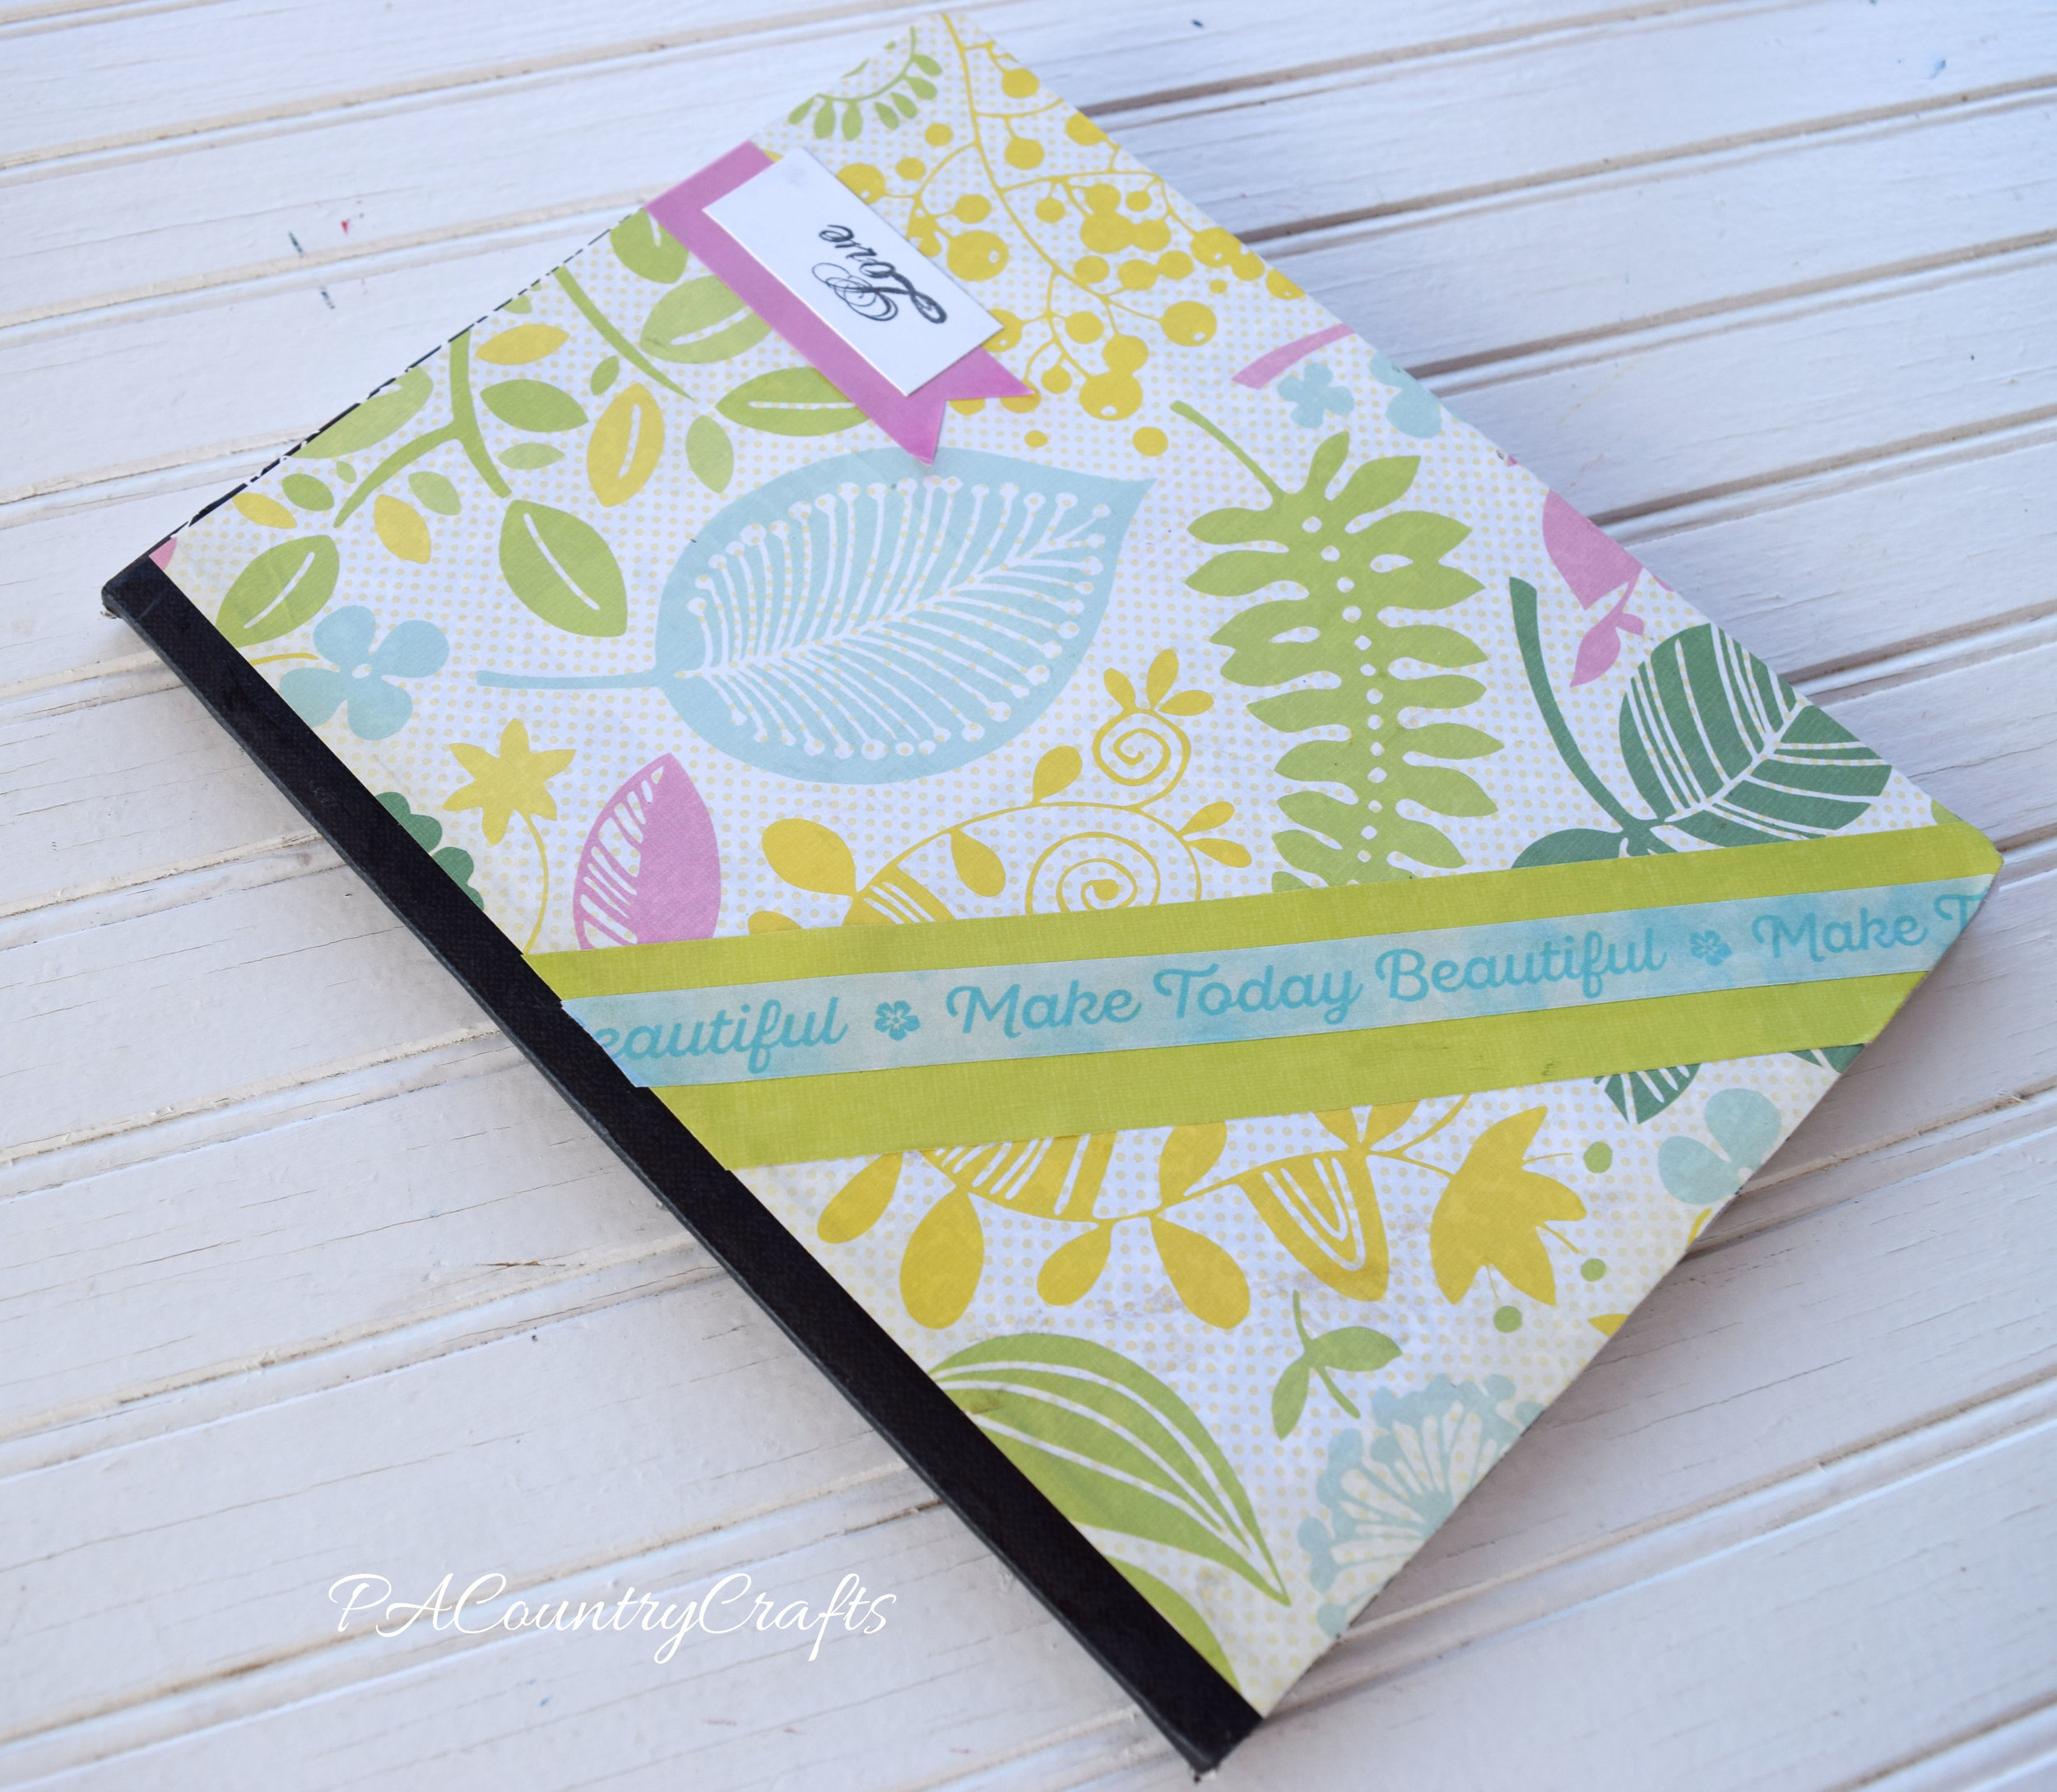
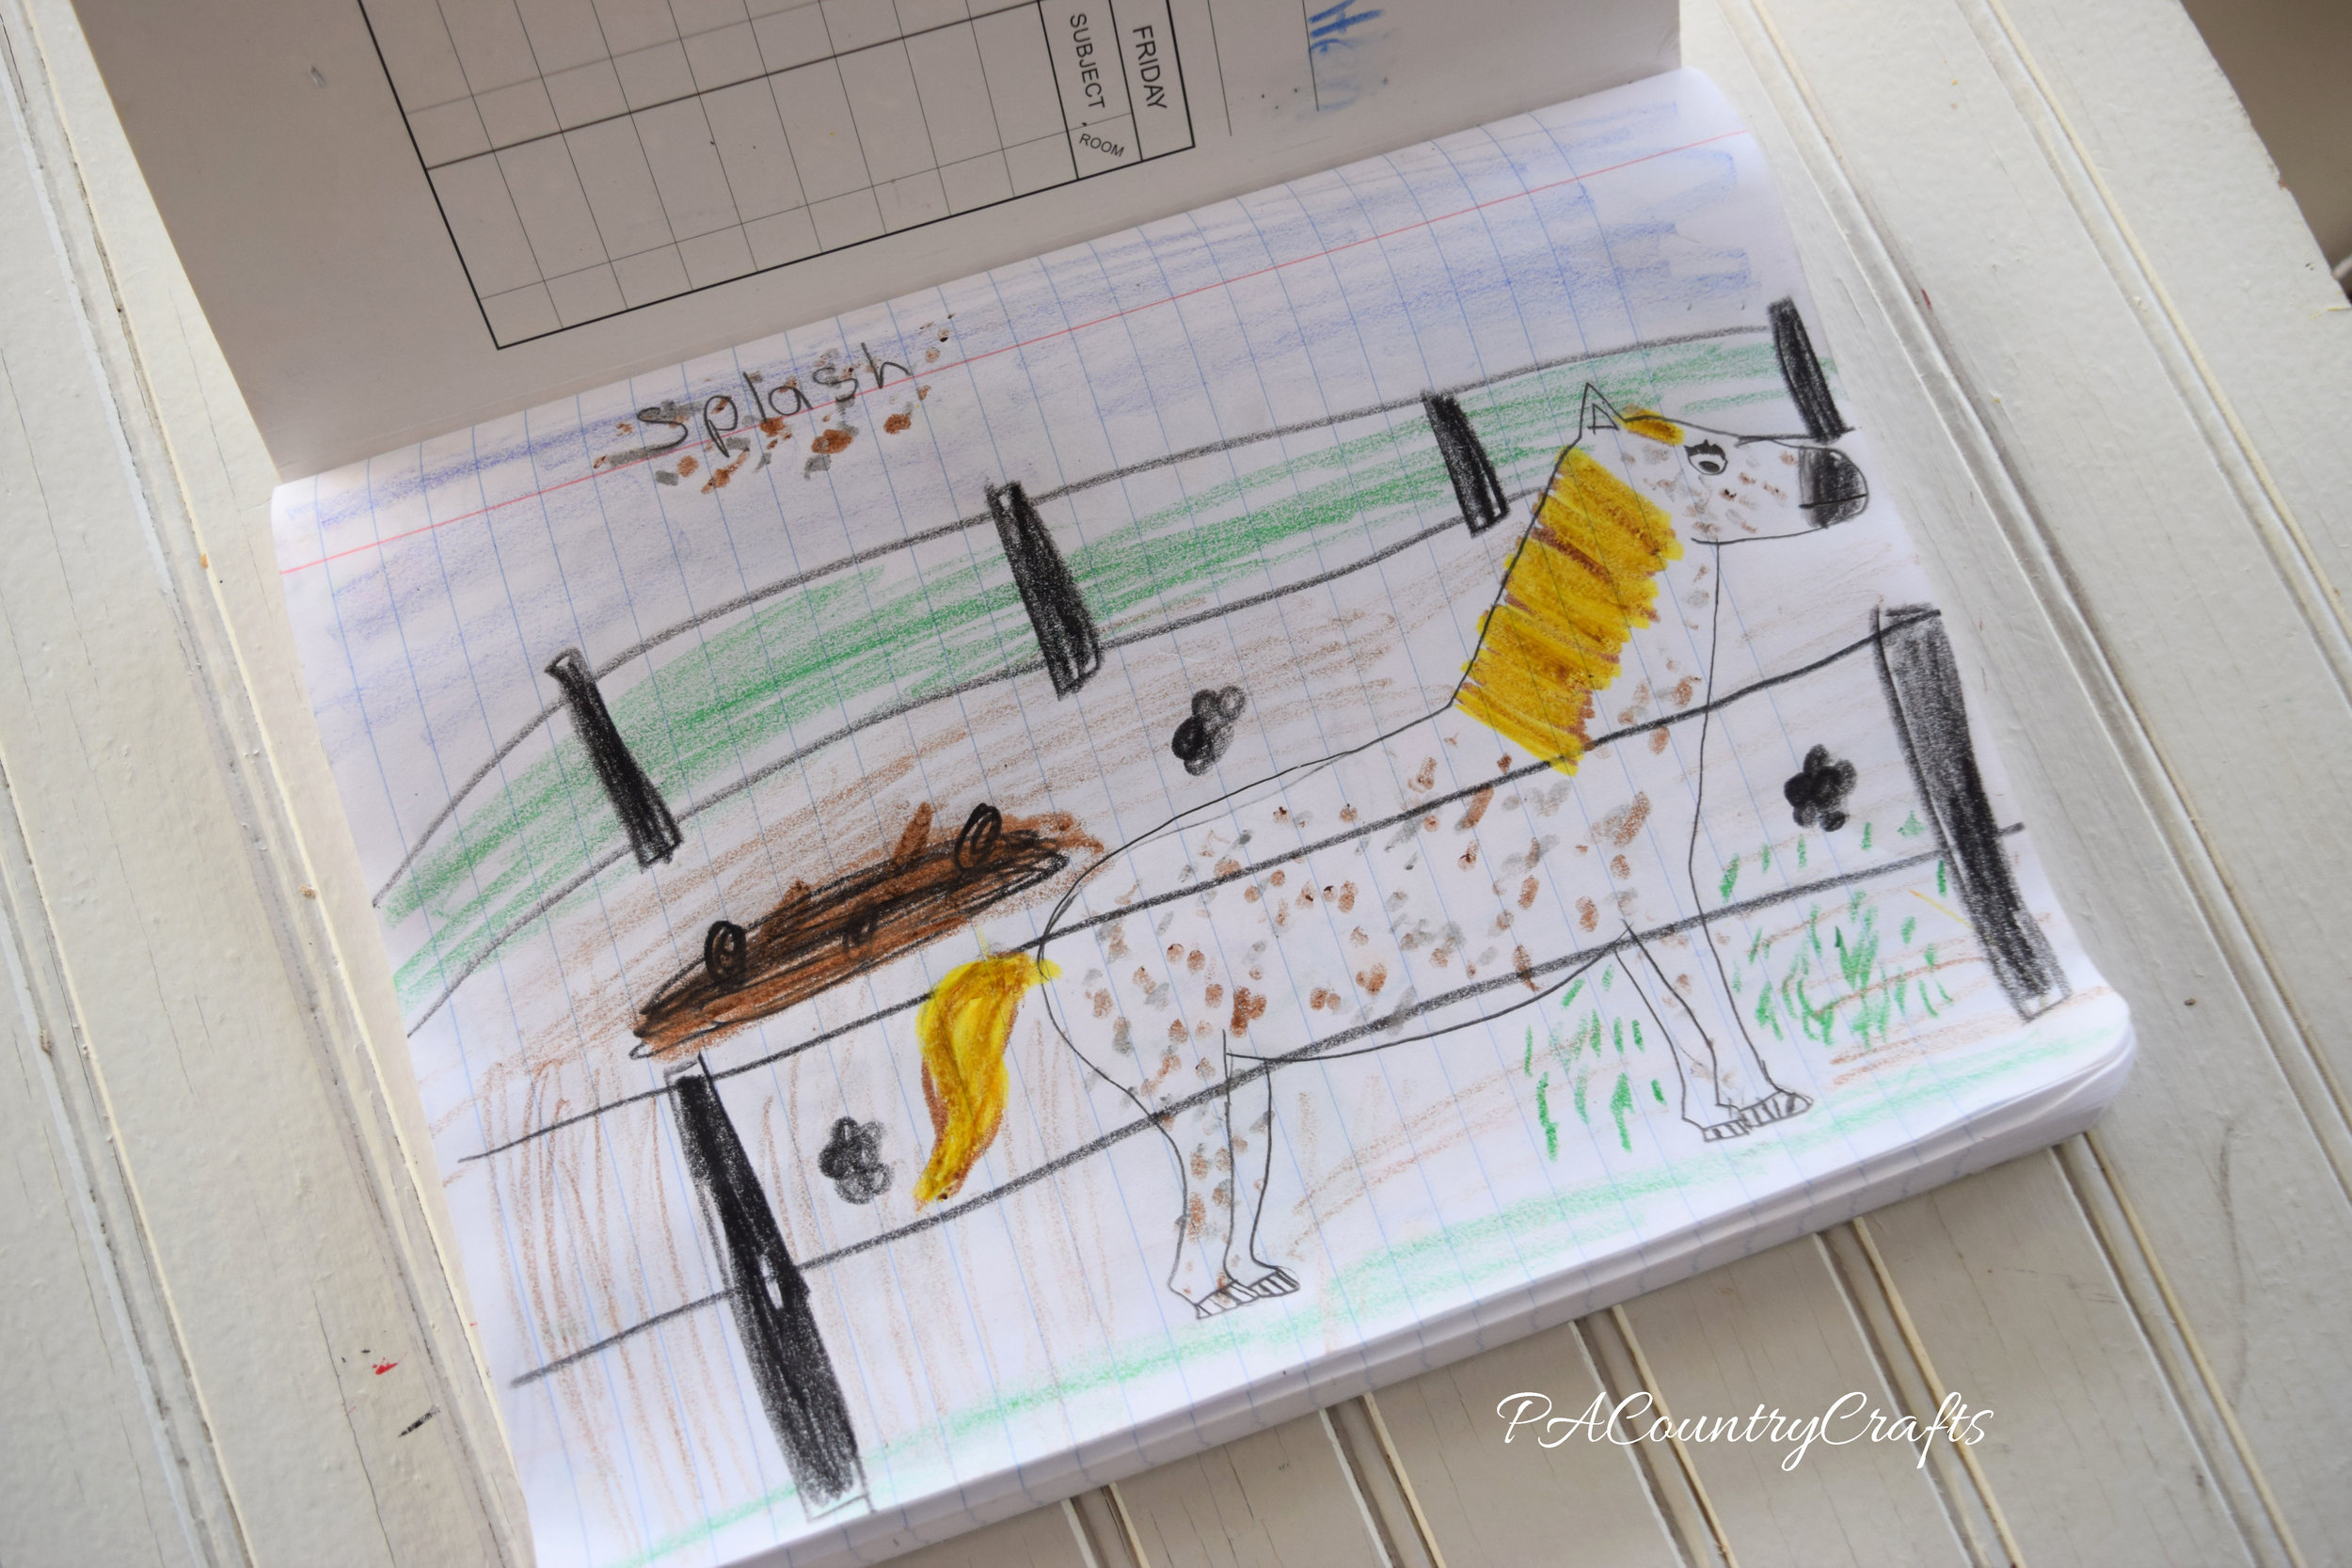
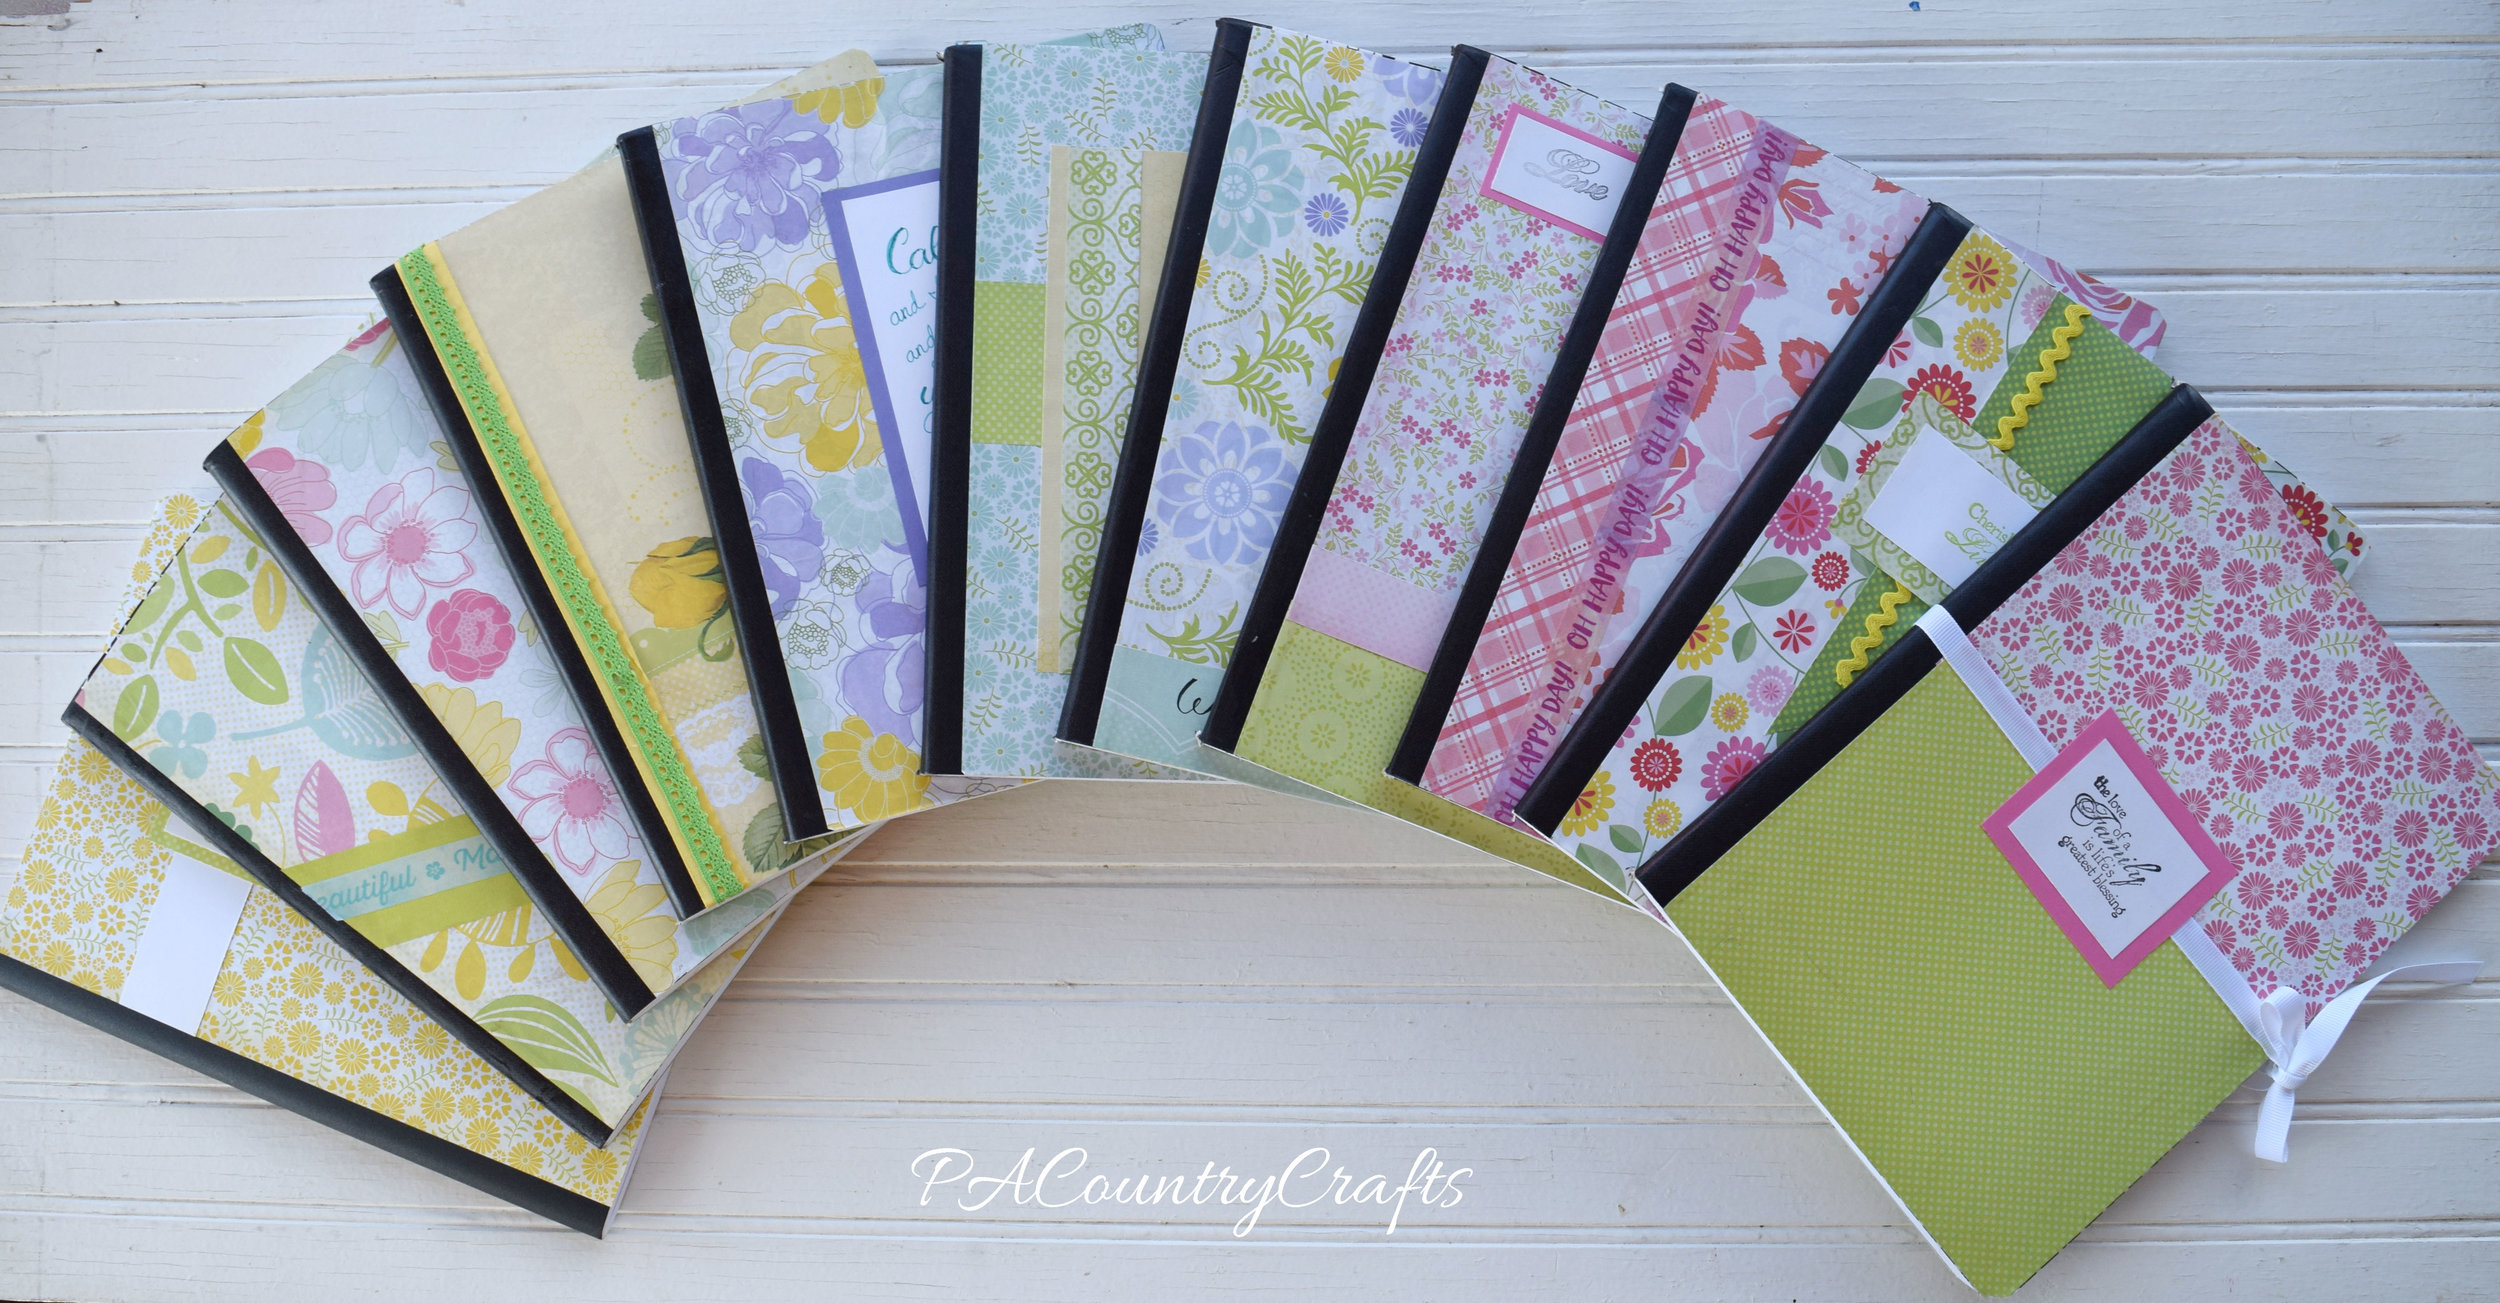
After the meeting, I found composition books on clearance SUPER cheap, so I got some more. I had bought another pad of paper for myself because I loved the prints and colors. So, my daughters helped themselves to my craft supplies and made their own journals. Apparently, this makes a really easy kids craft, too!

Kids craft journals

They are being used as art and writing journals. They made a few others that I didn't snap pics of and are using them at school. They used glue stick and they are still holding up well.

horse-drawing-journal

They even found some mini ones and made a coordinating doll journal!

American girl doll journal

Overall, this was a successful and EASY craft project! It was simple enough that anyone could do it, but had so many creative options for those who want to challenge themselves a bit more.

You may also like...

Use scrapbook paper and cheap wood frames to make a cute craft - perfect for craft nights and groups!

washi tape crafts and ideas

Valentine's Day Home Decor

Please don't think I am actually early for something.

These are actually pics of my Valentine's Day decor from last year. We did some renovating last year shortly after I took these pictures and I haven't found a new spot to decorate yet.

I love my old barn window frame and I always have it decorated with some of my favorite black and white photographs of each of the kids. They have been hanging around for a few years now and are starting to curl up.  I just used red baker's twine and mini clothespins to hang them.

I made these LOVE blocks with some scrapbook paper and trims mod podged onto 2 x 4 scraps.

I made the tray, too. It is a metal serving tray from Dollar Tree with aqua paint on the edges and chalkboard paint in the center. The paint chips easily, so if you try this, be careful!

Last, the girls and I made this cute wreath for the front door. Red glitter paint was used to freezer paper stencil hearts onto burlap. I cut them into triangles and used jute to hang them across a grapevine wreath I already had. 

I love the pops of color these decorations add to the cold, winter months. The $1 tray was my only expense, too. I need to figure out where I am decorating this year because it has been so dreary and I could definitely use something cheerful around the house! 

Do you decorate for Valentine's Day?

The PACountryCrafts Fall Collection 2014

entire2Bfall2Bcollection.jpg
There are some big changes coming around here, so I have been kicking it into high gear with my etsy shop lately!
I tried to create items that would fit well with traditional fall decor or a more neutral color palette.

I still make my pumpkins and indian corn baskets.

I also added hand painted signs this year!

You can purchase these items HERE in my etsy shop.

Leave a comment below and let me know if there is anything else you would like to see!