

Blushing Izzy Dress Tutorial
/
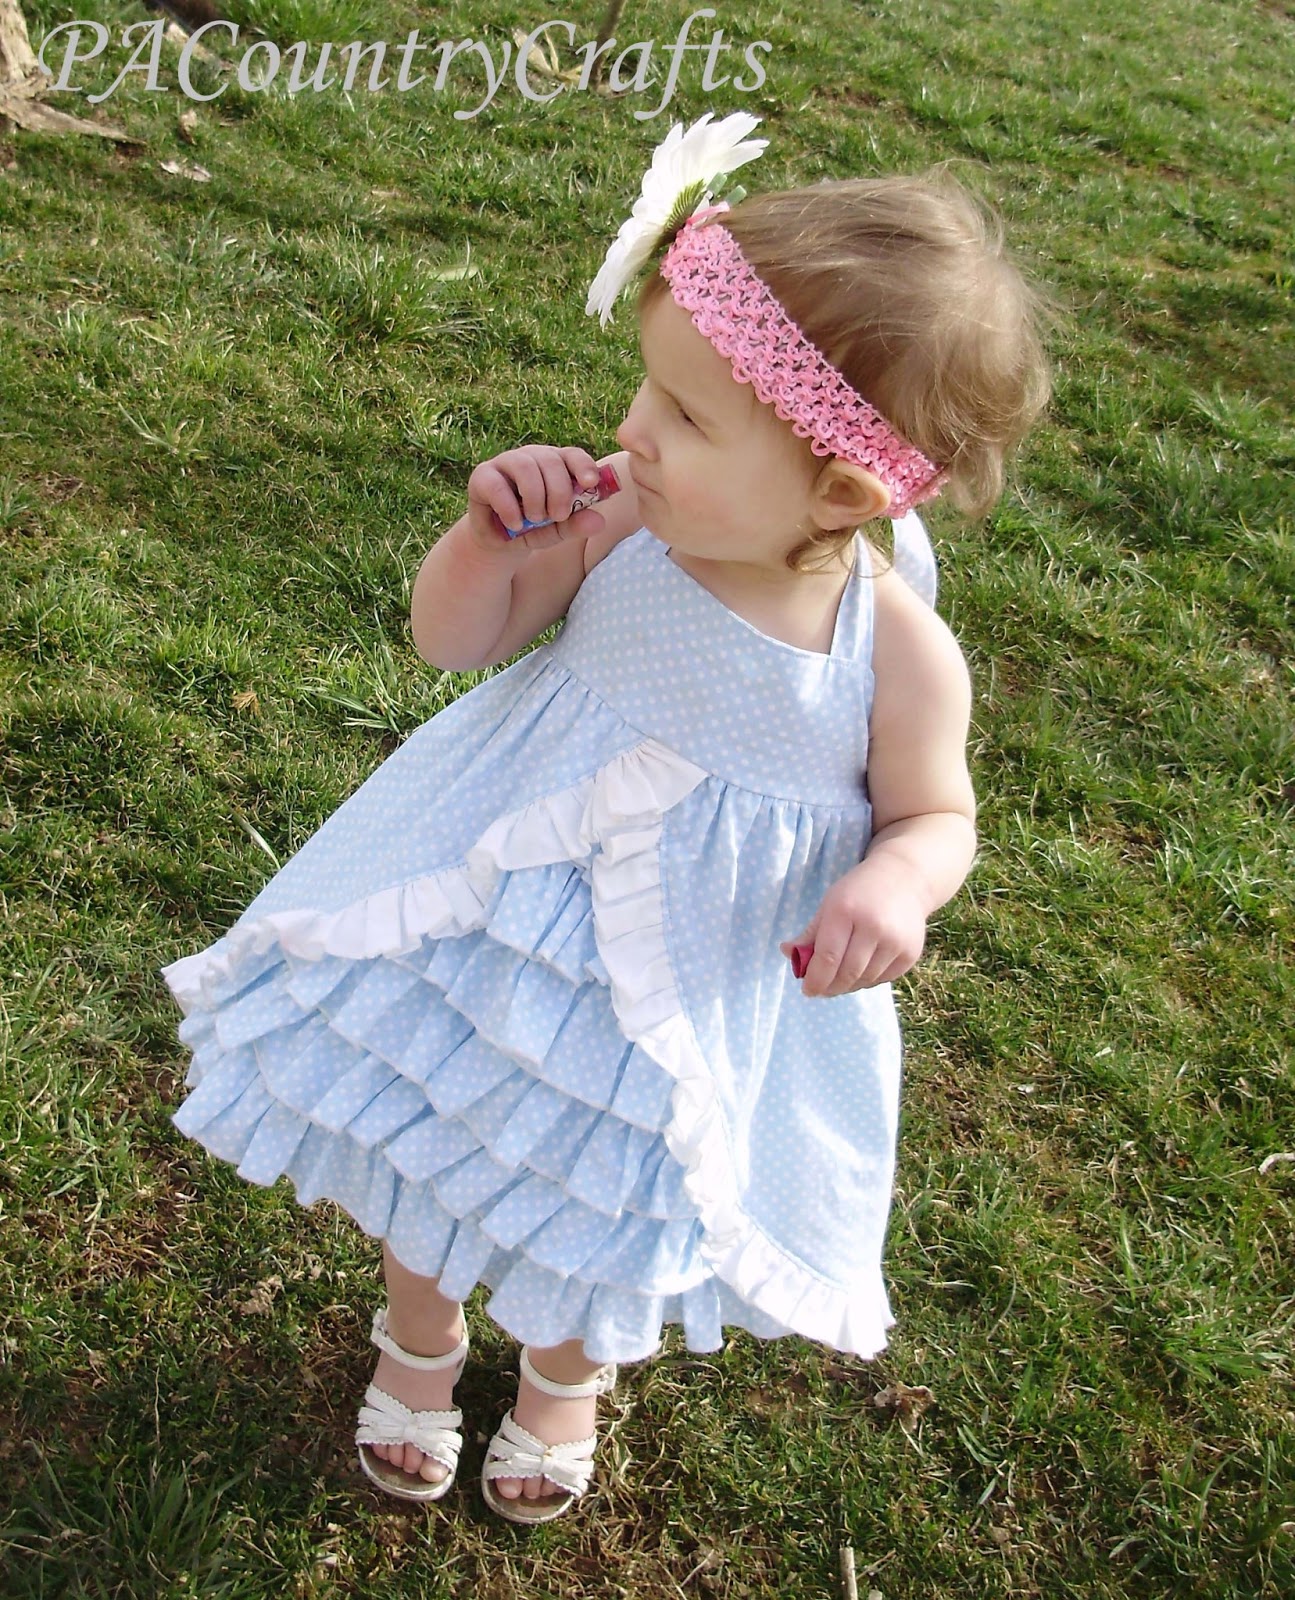
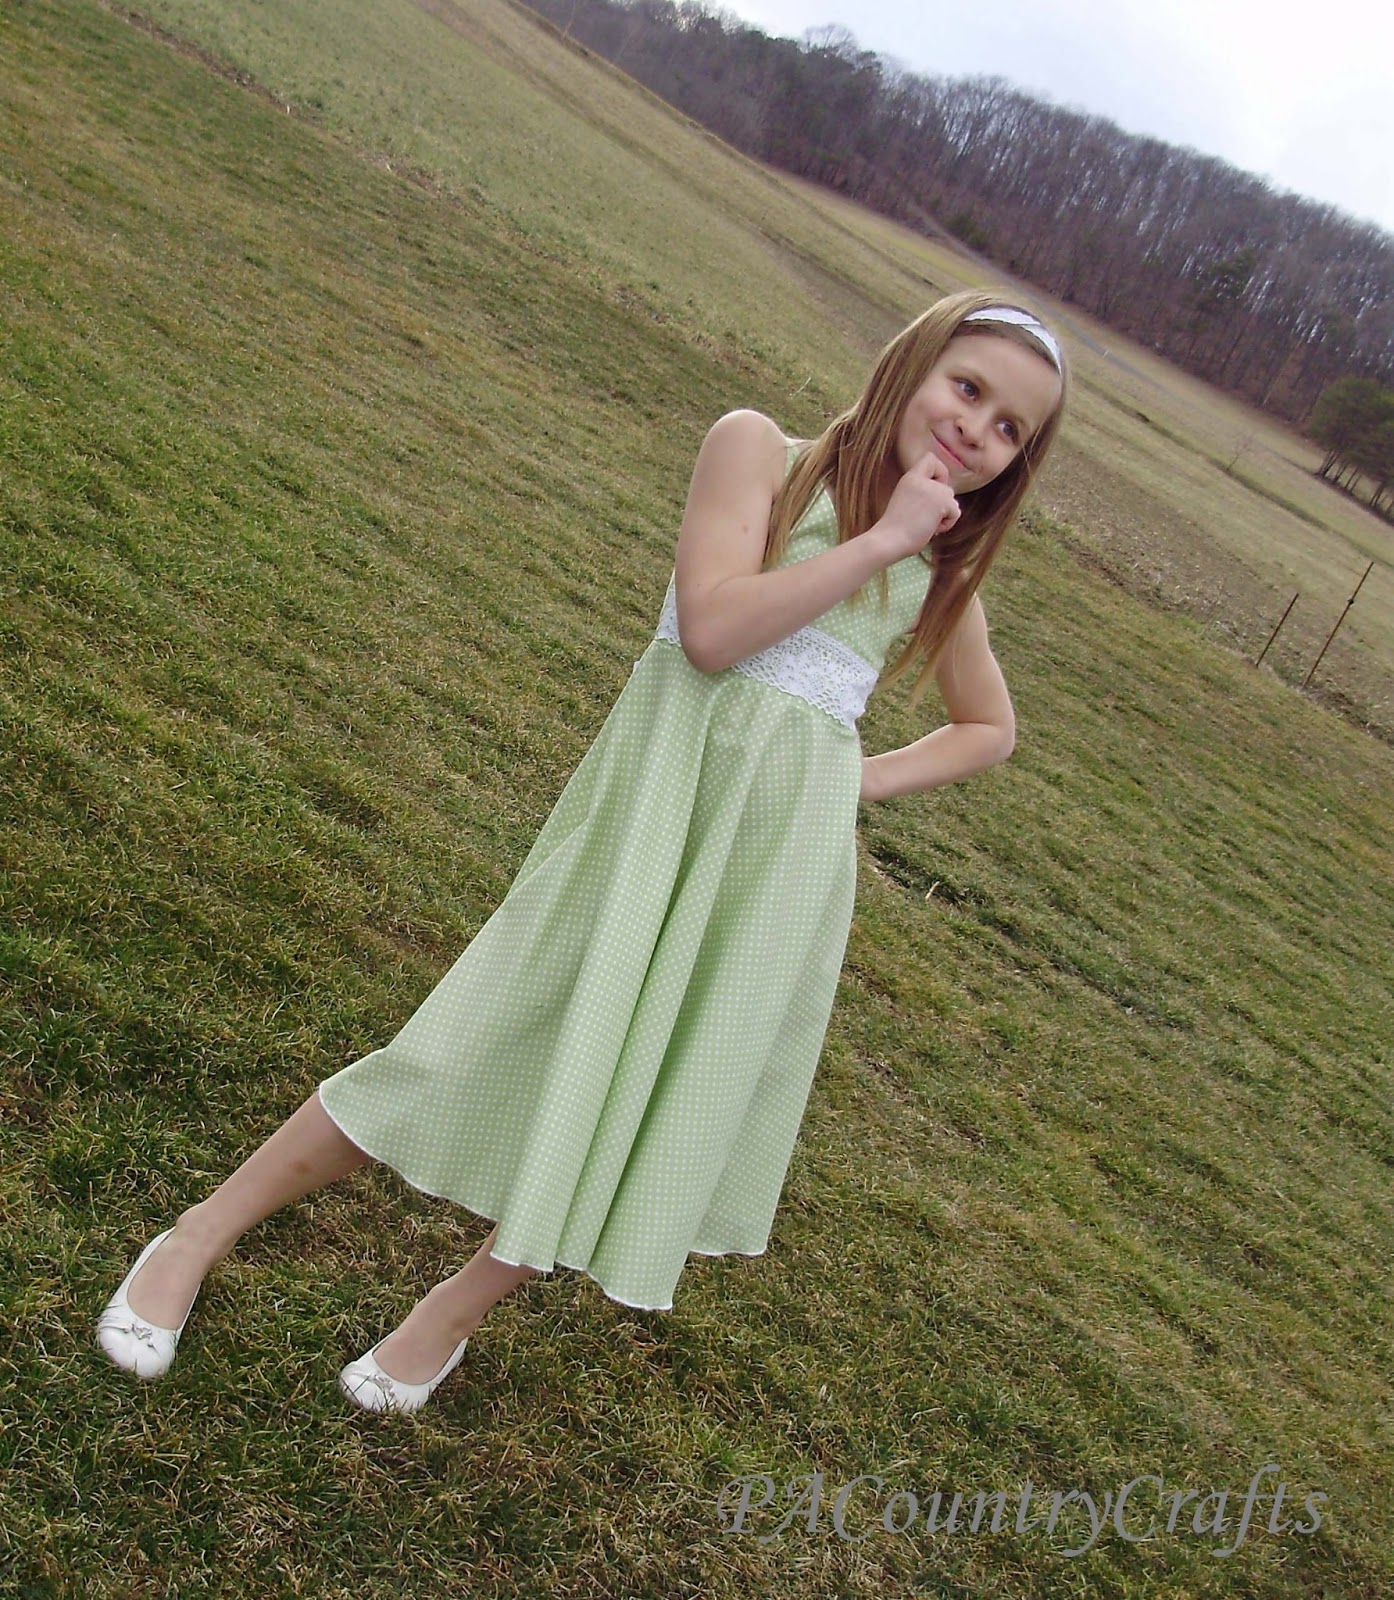
Vintage inspired girls dress tutorial with a gathered, cross-front bodice, V back, zipper, and full, gathered skirt with a built in petticoat lining. It is made from vintage sheets.
Read MoreVintage inspired girls dress tutorial with a gathered, cross-front bodice, V back, zipper, and full, gathered skirt with a built in petticoat lining. It is made from vintage sheets.
Read More
Oooh- the word "vintage" has become oh, so trendy.
Yes, I am jumping on the bandwagon.
It started out with this...
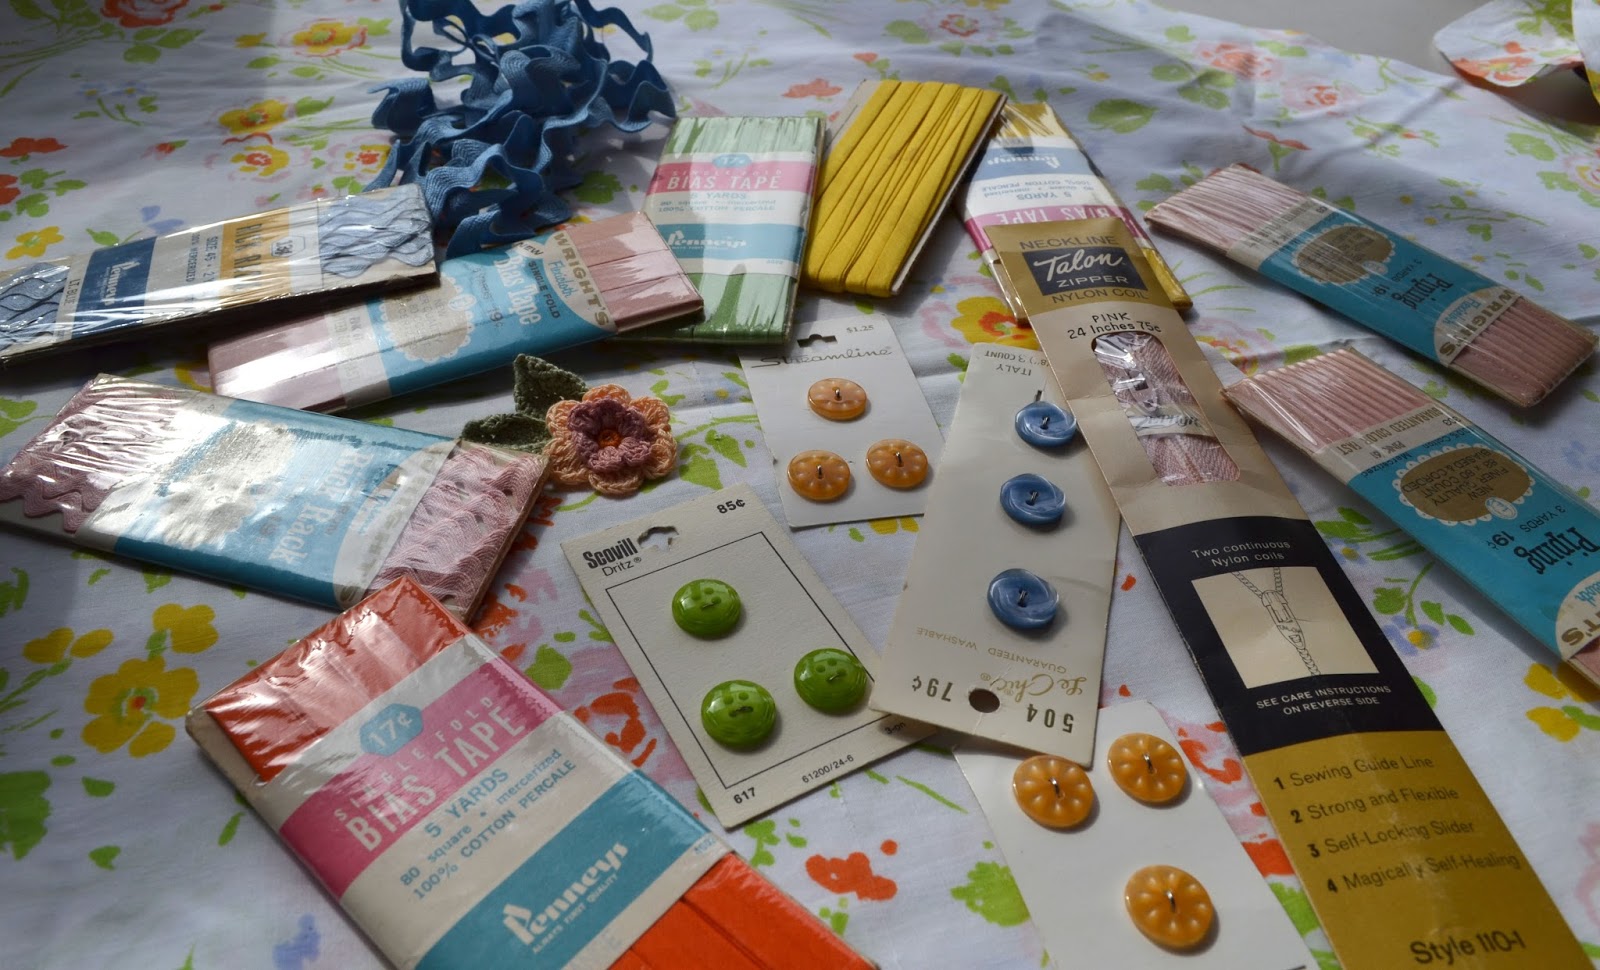
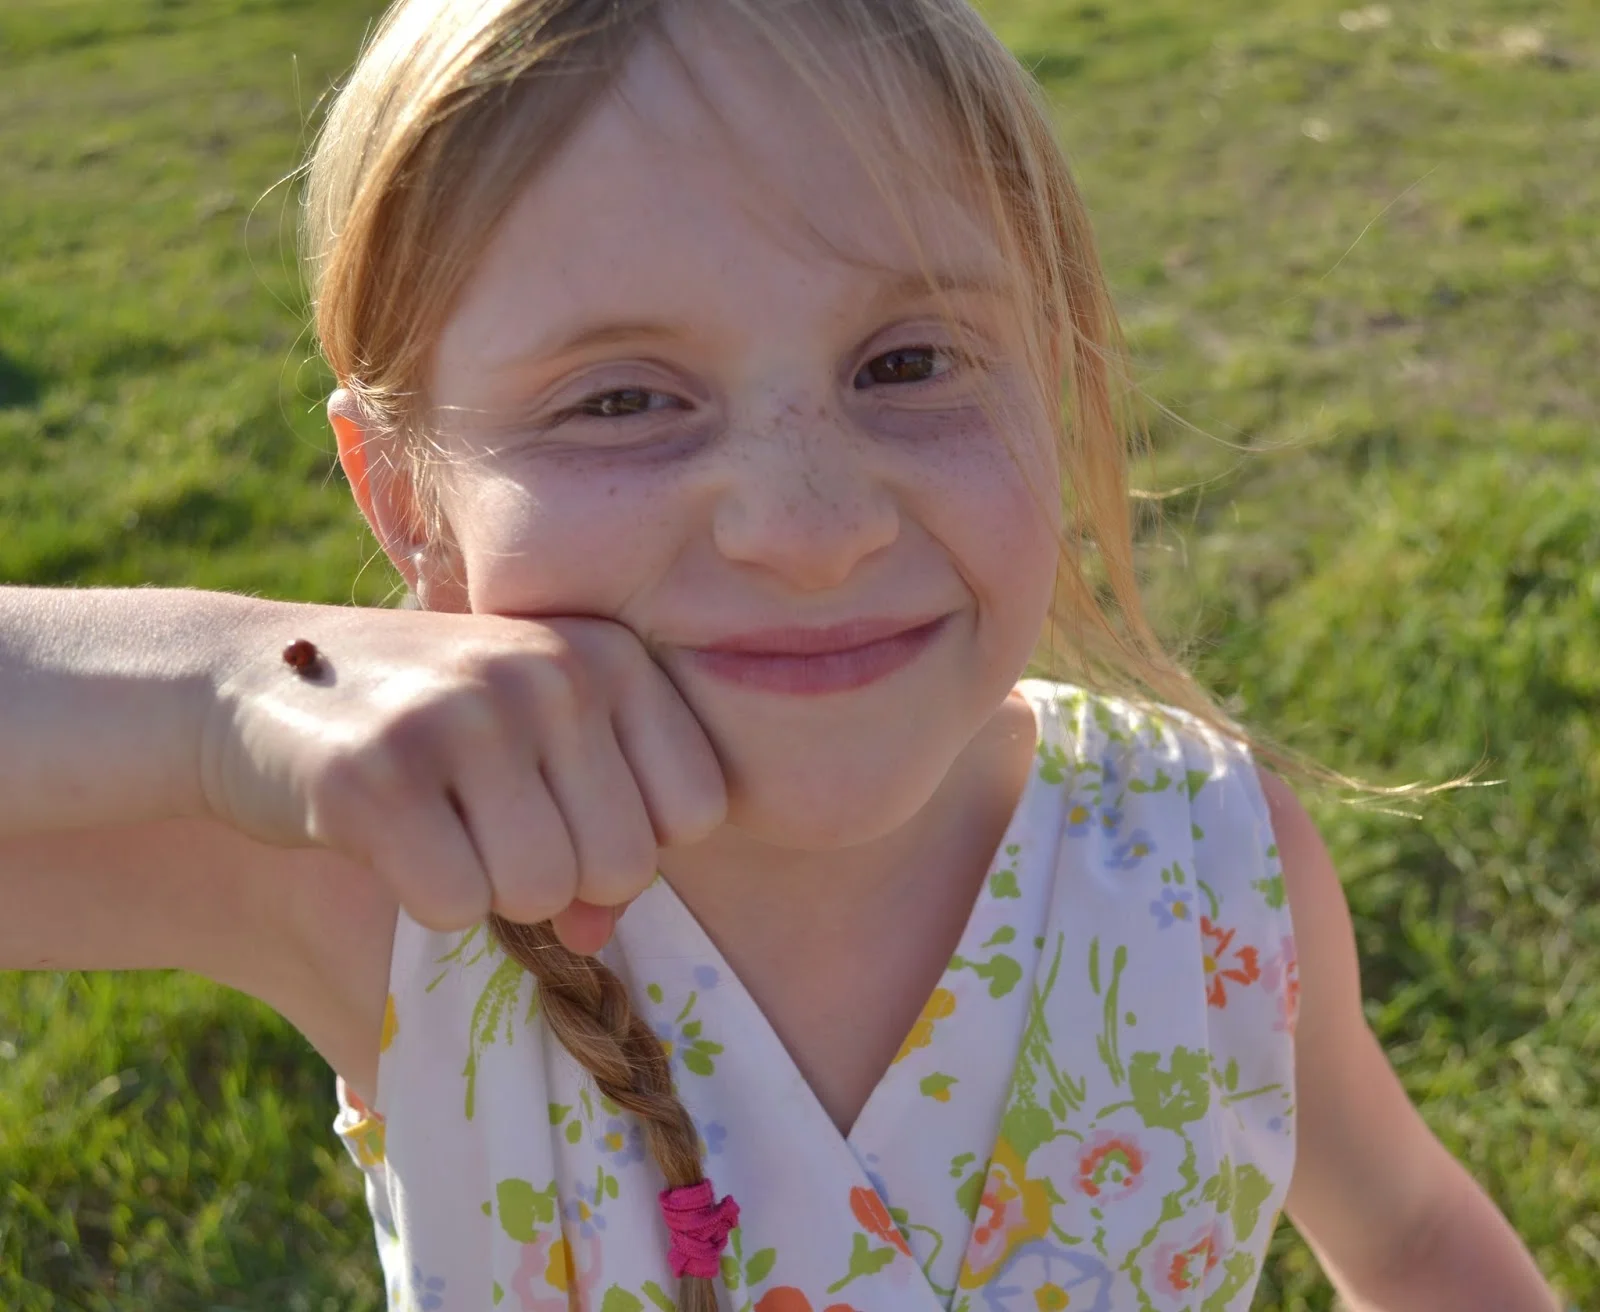
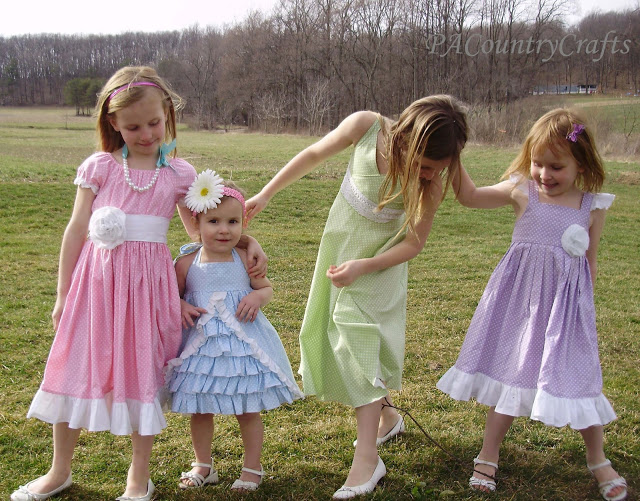
...two flat vintage sheets that my nana bought maybe in the 1970s and vintage trims, notions, and buttons given to me by some friends. The colors matched perfectly. There are 5 colors in the sheets (other than white) and I have 5 girls, so they each got their own accent color.
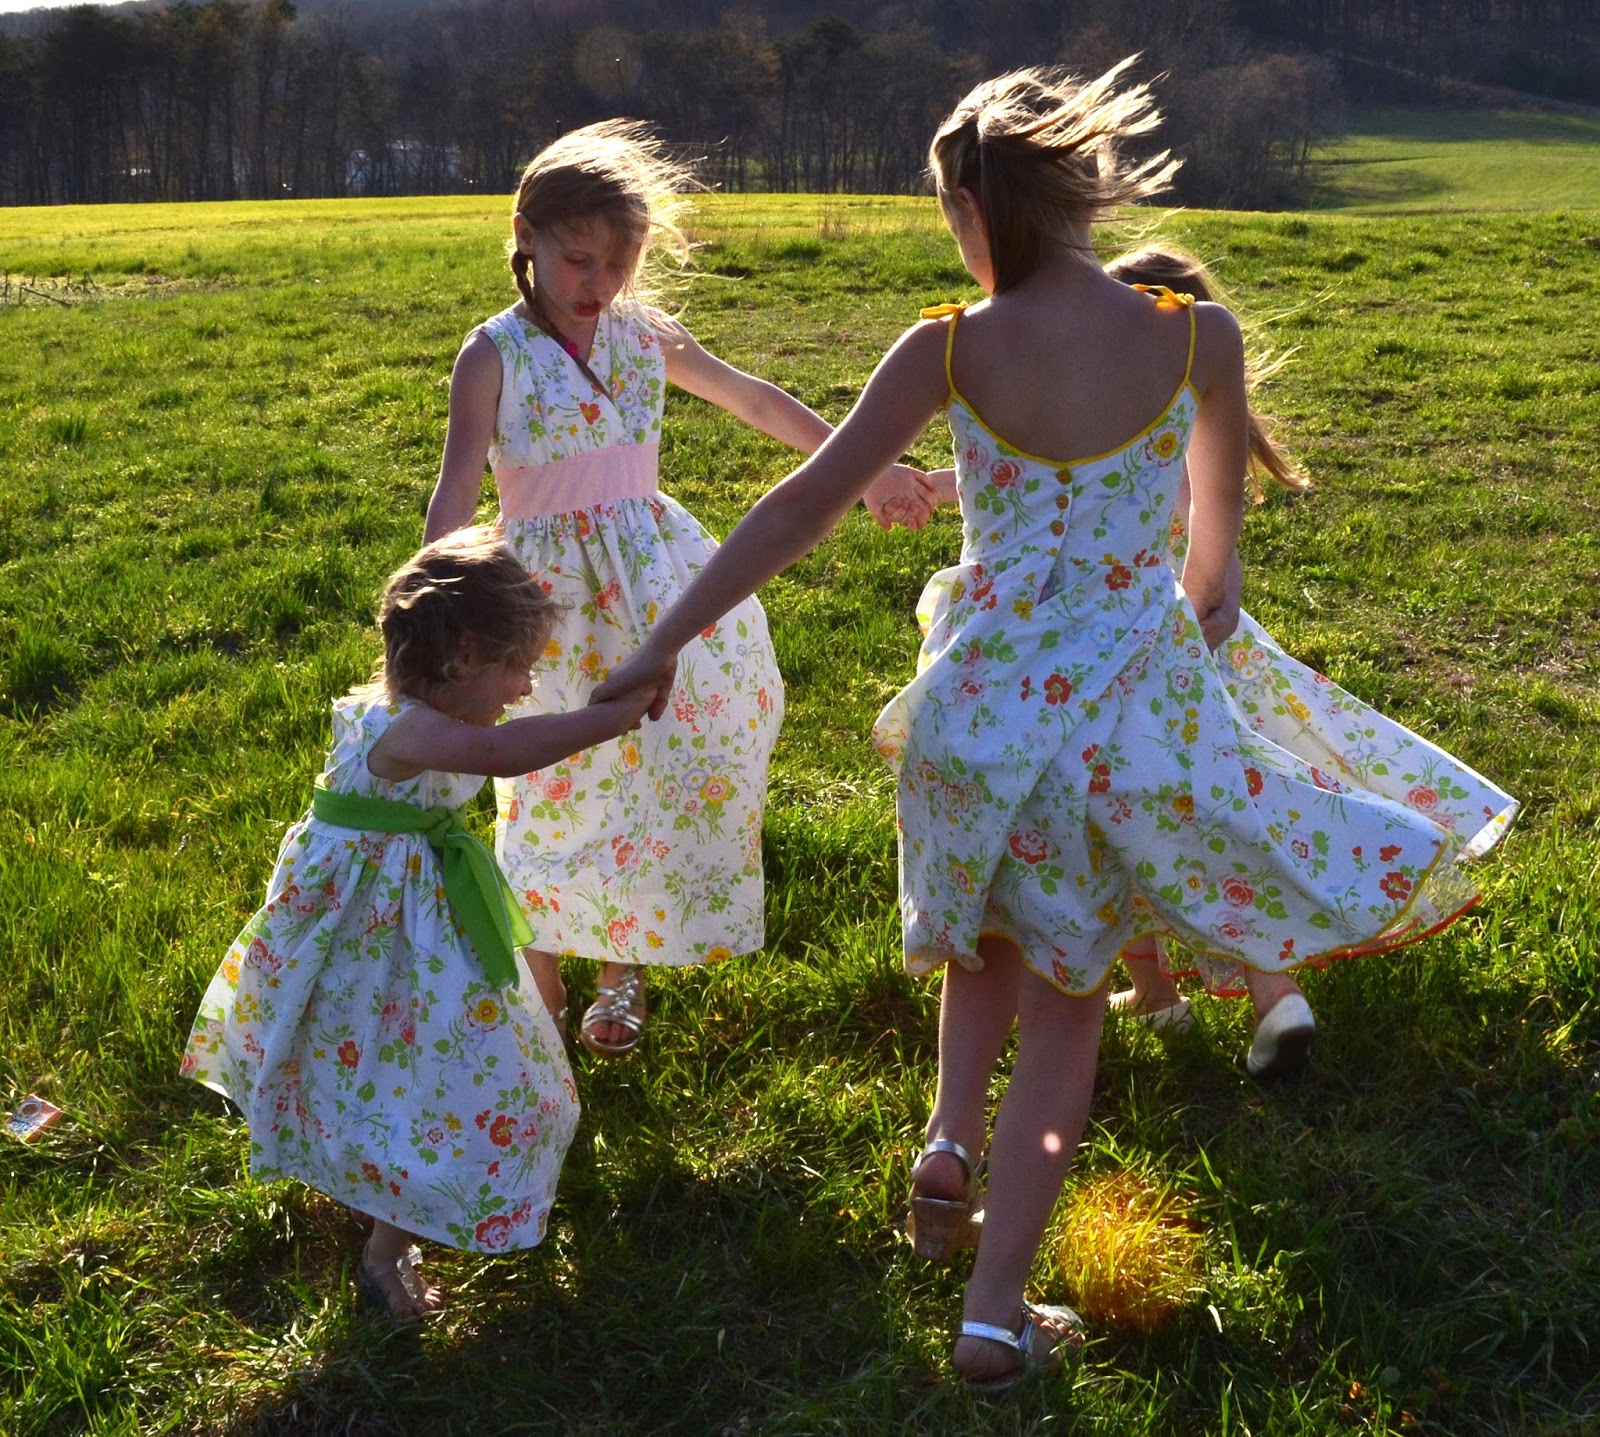
So, after 6 days of wild sewing, early Easter morning my girls were wearing new dresses from the vintage sheets that belonged to their great-great-grandmother.
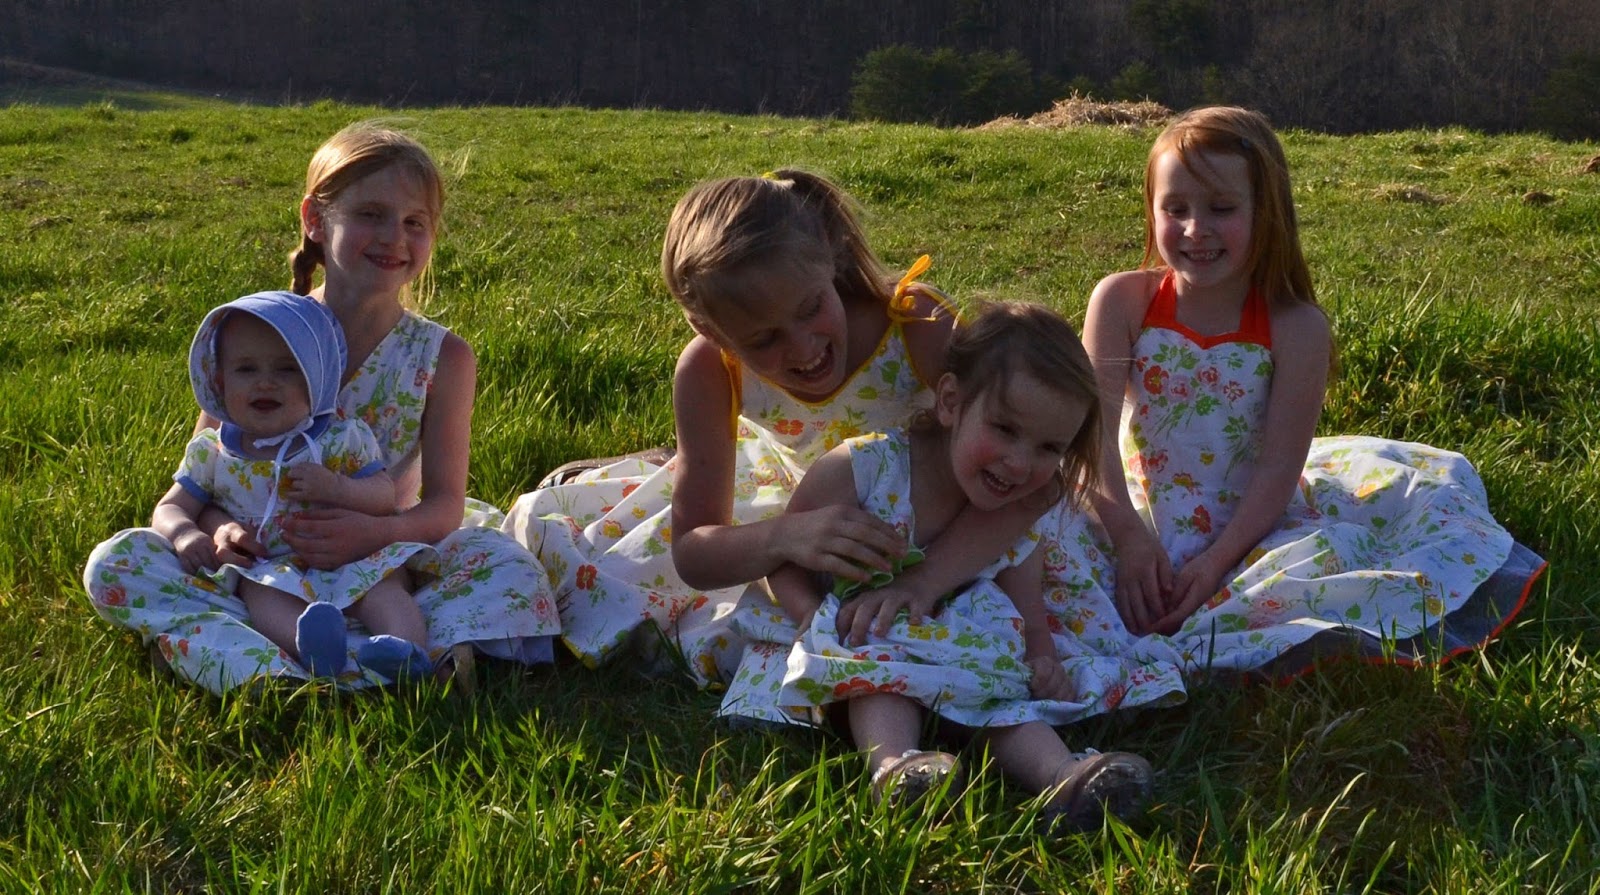

I am so blessed to be able to do something special like this for my girls.
Tutorials coming soon(ish)...
***UPDATE*** Here are the tutorials and full posts for each dress!

vintage-sheet-easter-dresses
.jpg)


.jpg)
.jpg)
.jpg)
Next Easter, I wonder if I will have four or five dresses to make? :)
I am linking this up to Project Run & Play's Sew-Along for Week 4: Spring Formal Wear. I just couldn't wait until Week 4 of their competition to show everyone what I made this year. :) These dresses make a great formal wear collection all together, although the Little Diva Dress is probably the fanciest one. :) You can read more about Project Run & Play HERE.
Linked up at: Craftastic Monday, Take A Look Tuesday, You Inspired, Show Off Your Stuff Party, Whatever Goes Wednesday, Make It Wear It Thursday, Somewhat Simple, What We Wore, Read, and Made, Sugar and Spice, Friday Favs Party, Show and Tell Saturday, and Threading Your Way.


.jpg)

One more Easter dress left to show you! I am saving the best for last!!!
UPDATE: If you would like to see step-by-step pictures of how I made this dress, essenitally, you can click HERE. I made a doll-sized version- the only differences are that I did a snap instead of a zipper and, of course, the sizes.
Linked up at: You Inspired, Show Off Your Stuff Party, Make It Wear It Thursday,and Threading Your Way


Two more Easter dresses to go! Stay tuned...
UPDATE: If you would like to see step-by-step pictures of how I made this dress, you can click HERE to see the matching doll-sized version. The process is exactly the same!
Linking up at: Take-a-Look Tuesday, You Inspired, Show Off Your Stuff Party, Make It Wear It Thursday, and Threading Your Way.

I am busy sewing up a storm over here! One Easter dress is totally finished and two more are started. The other one is still just a sketch and some random scribblings. I usually like to wait until they are all finished, but I am so excited about this one and I also wanted to audition for The Sew Off, so I only have a few hours to spare before auditions close. :)
I designed this dress for my oldest daughter from various elements of other dresses I have seen and liked. I am still thinking of a name for it, too. I will give the full tutorial later, but in the mean time, here are some of her modeling shots.

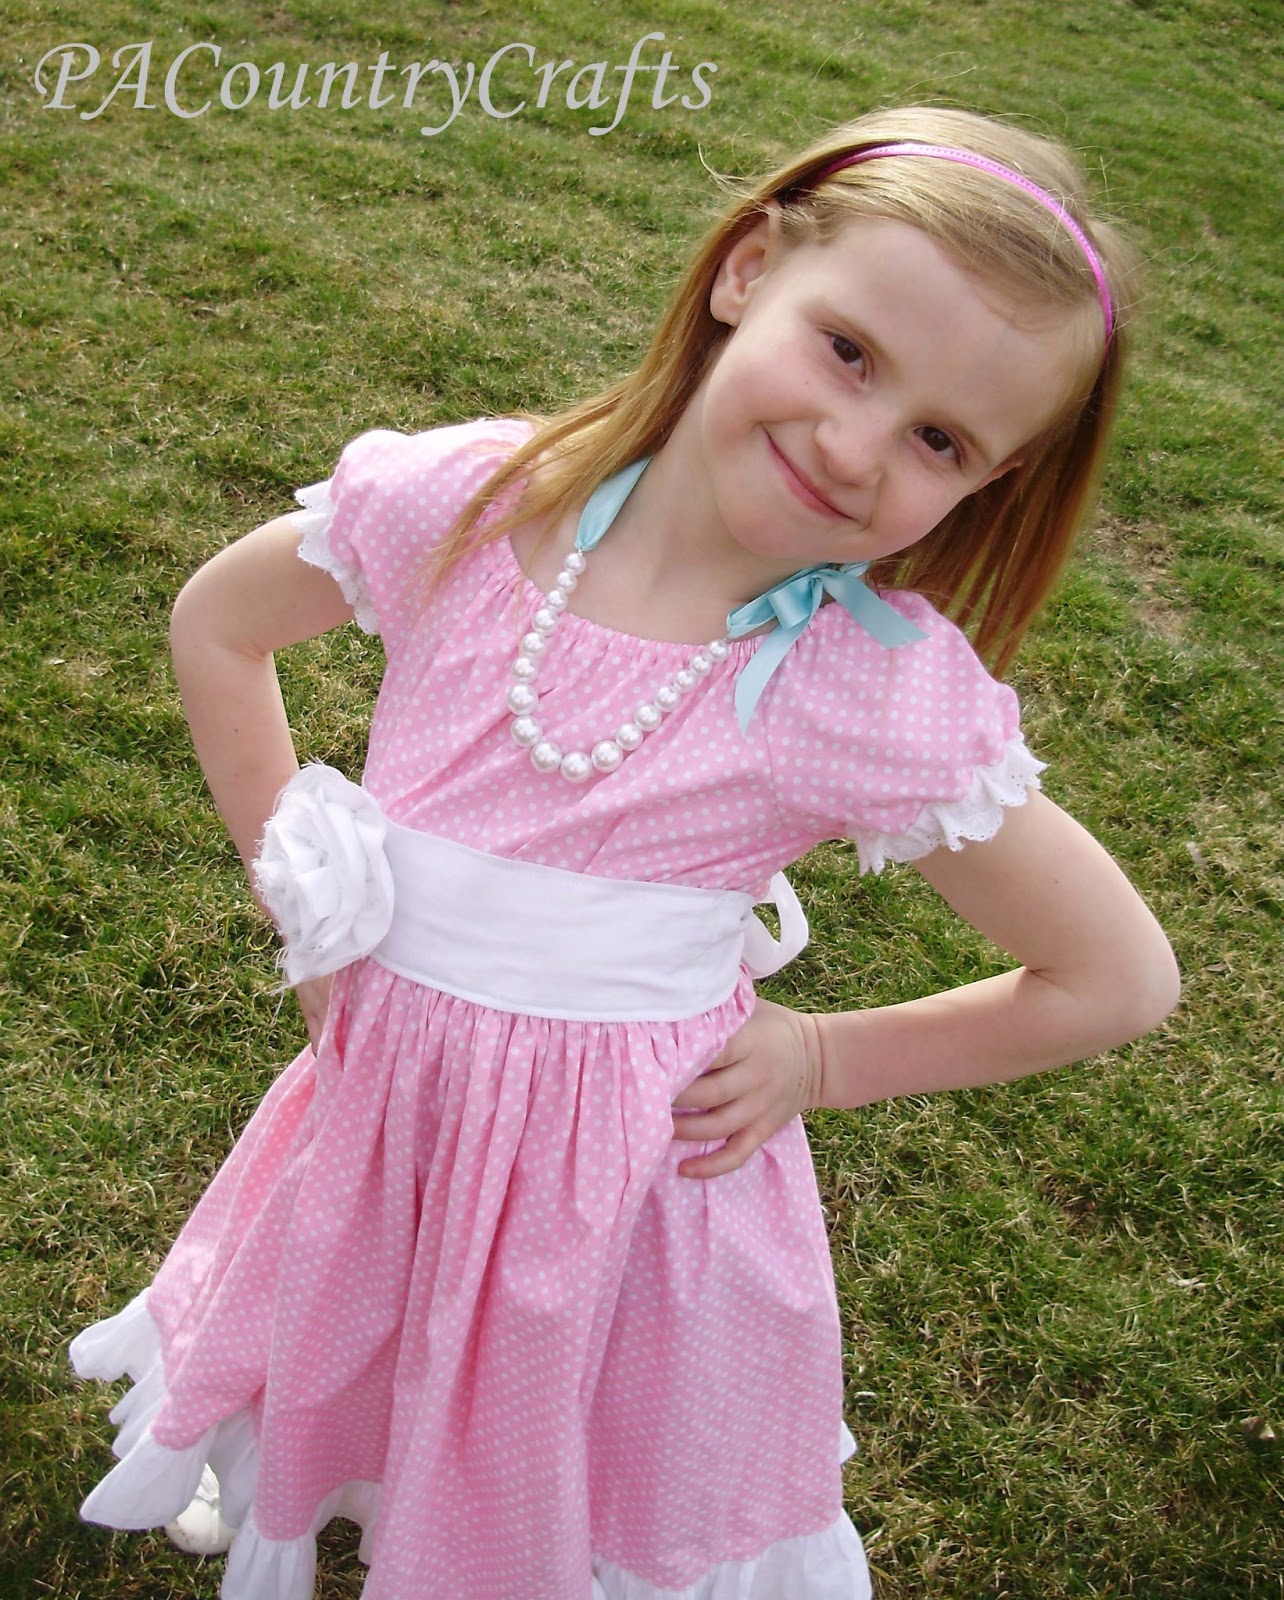
It has a cross-front bodice, just because I have never made one and wanted to try it. I also fell in love with the idea of a wide band overlaid with crochet lace trim.

What little girls wouldn't love a pretty laced up back?
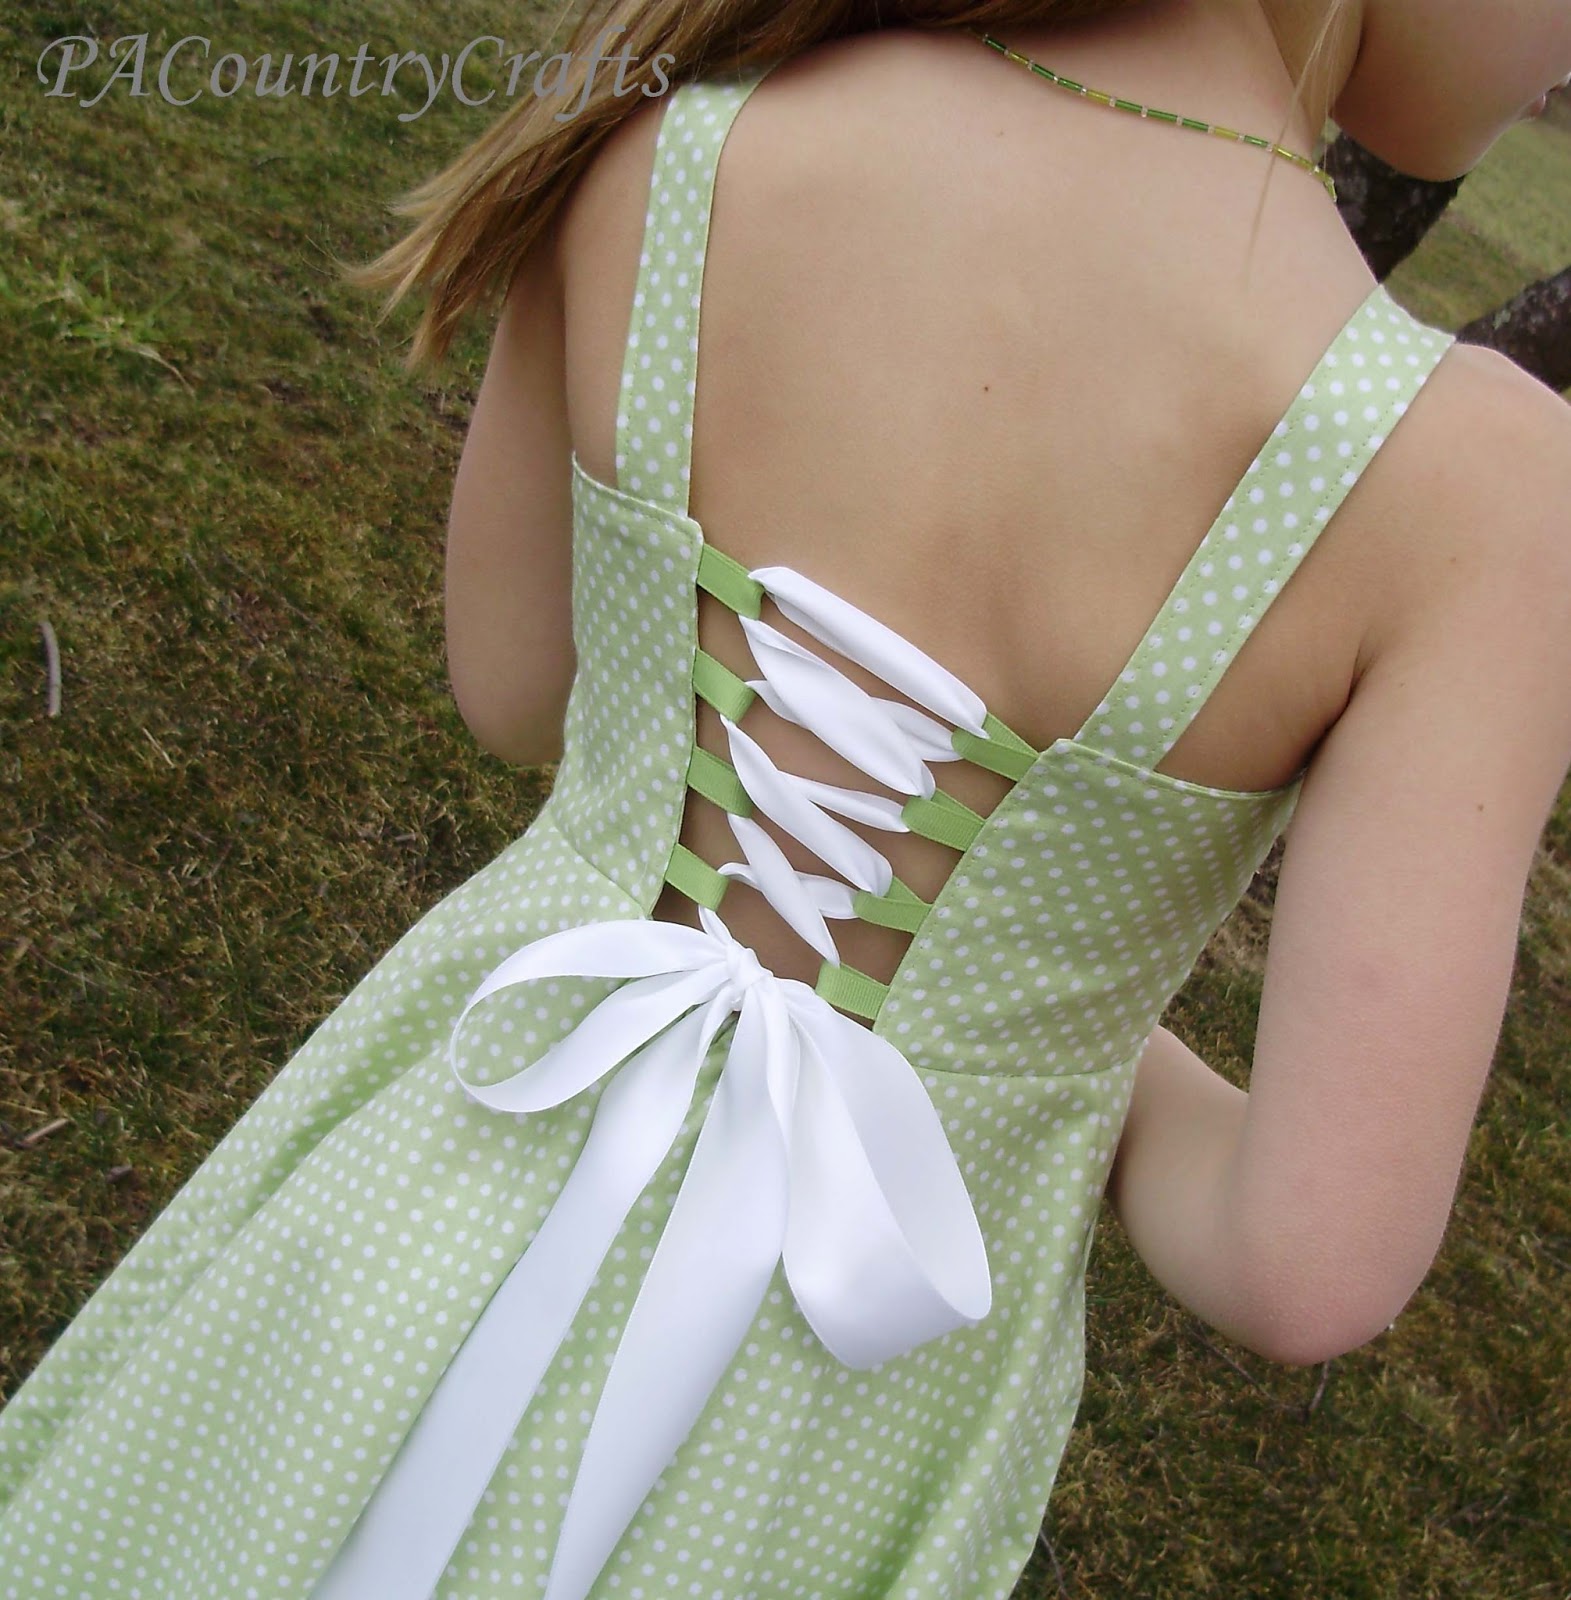
The challenge was getting the lacing to work with a full circle skirt. She specifically asked for one that twirled, which meant that I had to make a dash to the store for more fabric last night.


Pin all the way around the top, lining everything up...

Sew in place. If you flip it, now it should look like this...

But, wait! We need the straps! You probably could have put some of them in before sewing, but I figured it was enough to worry about getting everything lined up. So, turned it inside out and seam ripped a little to put the strap and a tie in like so...

I tried the dress on her first to get the angles- you can do that or just estimate from this picture.
For the back side, I did the tie the same way, but the strap I just inserted from the right side.

Then I topstitched the back to hold it in place. (Don't look too close! My totpstitching stinks!)

I added a ruffle at the bottom, too, for more length and more white to match the other dresses. It is just a strip 6 inches by about 90 inches pressed in half, gathered, sewed on, and topstitched. Kinda basic, but if you have any questions, let me know!


I also used some scraps to make her a cute, rolled rosette fabric headband. You can find tutorials on those everywhere... just do a search for it.

I hope this one is a lot more clear than yesterday's Bubble Dress Tutorial. It is a totally different style. Just like my girls.
Well, that wraps up my Easter dress posts for this year... four dresses, four colors, four styles, four sweet girls! Thanks so much for letting me show all of them off a bit! =)

Sewing, crafts, tutorials, recipes, and a little look at our life in the country - raising half a dozen children.

Hi! Thanks so much for stopping by! My name is Lindsay and on this blog you will find sewing, crafts, decorating, recipes, and tutorials with a little bit of honesty and encouragement.


