Boutique Style Peasant Dress (and Ribbon & Pearls Necklace)
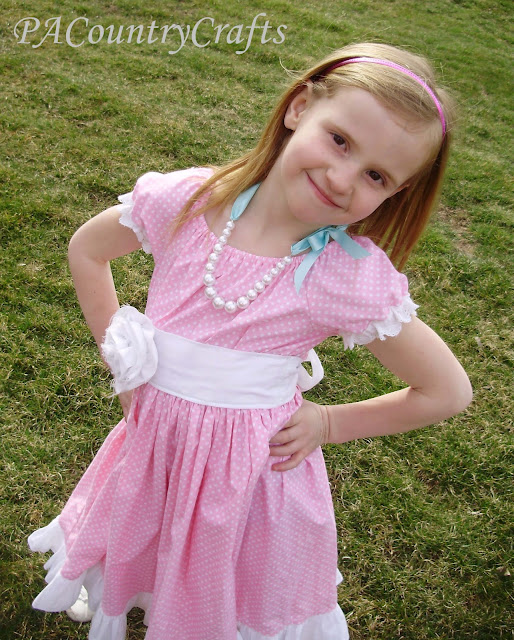
/This dress was simple to make... in theory. :) I didn't take pics of the whole process since I made changes along the way, but I will explain it a little bit here. I made the bodice in a peasant dress style (doesn't get too much easier than that!)
I trimmed the sleeves in eyelet lace after my first idea didn't work out. I had JUST enough on hand- only an inch to spare!
She wanted to be able to twirl around like here sister, so I made the skirt extra full. It is two full widths of fabric- that is a lot of gathering! But, it twirls...
...and this one is losing her shoe. I really need to work with these girls on their twirling.
So, two full widths of fabric to make the skirt meant that the ruffle was FOUR full widths of fabric! I gathered all of that by hand. It took FOR. EV. ER. I was going to make two ruffles at the bottom, but ran out of ambition after the first one. Oh, and I used pink thread to hem the ruffle for contrast. When I get a new sewing machine with fancy stitches I will try some of that on my hems for fun.
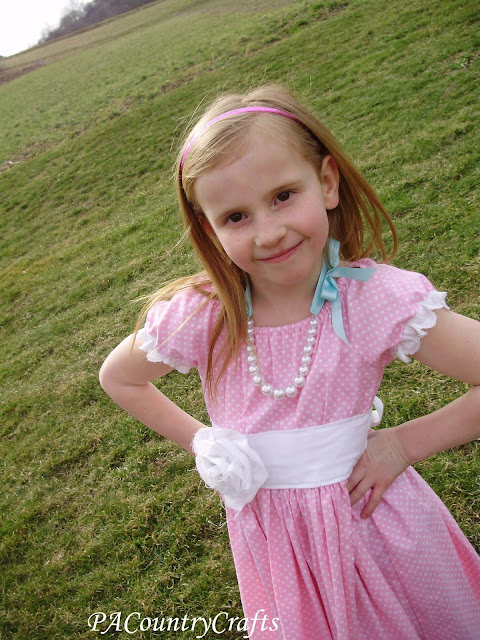
So, to pull all of that fabric from the loose-fitting peasant top together around the waist I added a contrasting white sash. It is sewn to the bodice with the topstitching at the top and bottom across the front of the dress. Then it doesn't wiggle around and pulls the bodice in more evenly. It just ties in the back so that it is still loose enough to be easy to put on and take off.
To really make it "pop" I added a BIG, frayed-edge fabric flower. I used THIS tutorial from Girl Inspired. It is backed in felt and pinned to the dress so I can still throw the dress in the washing machine.
I thought the dress still needed a little something and talked about it with my sister. She mentioned something about beads and suddenly a light bulb and a thought cloud with a ribbon pearl necklace were floating above my head. I was going to use pink or white ribbon, but didn't have enough on hand. The aqua gives it a nice contrast, though!
It was super easy to make and I already had the beads from something I was going to make years ago that I never got around to doing.
So, put it all together and this is what you get:
Two more Easter dresses to go! Stay tuned...
UPDATE: If you would like to see step-by-step pictures of how I made this dress, you can click HERE to see the matching doll-sized version. The process is exactly the same!
Linking up at: Take-a-Look Tuesday, You Inspired, Show Off Your Stuff Party, Make It Wear It Thursday, and Threading Your Way.


