Crochet Yoda Hat
/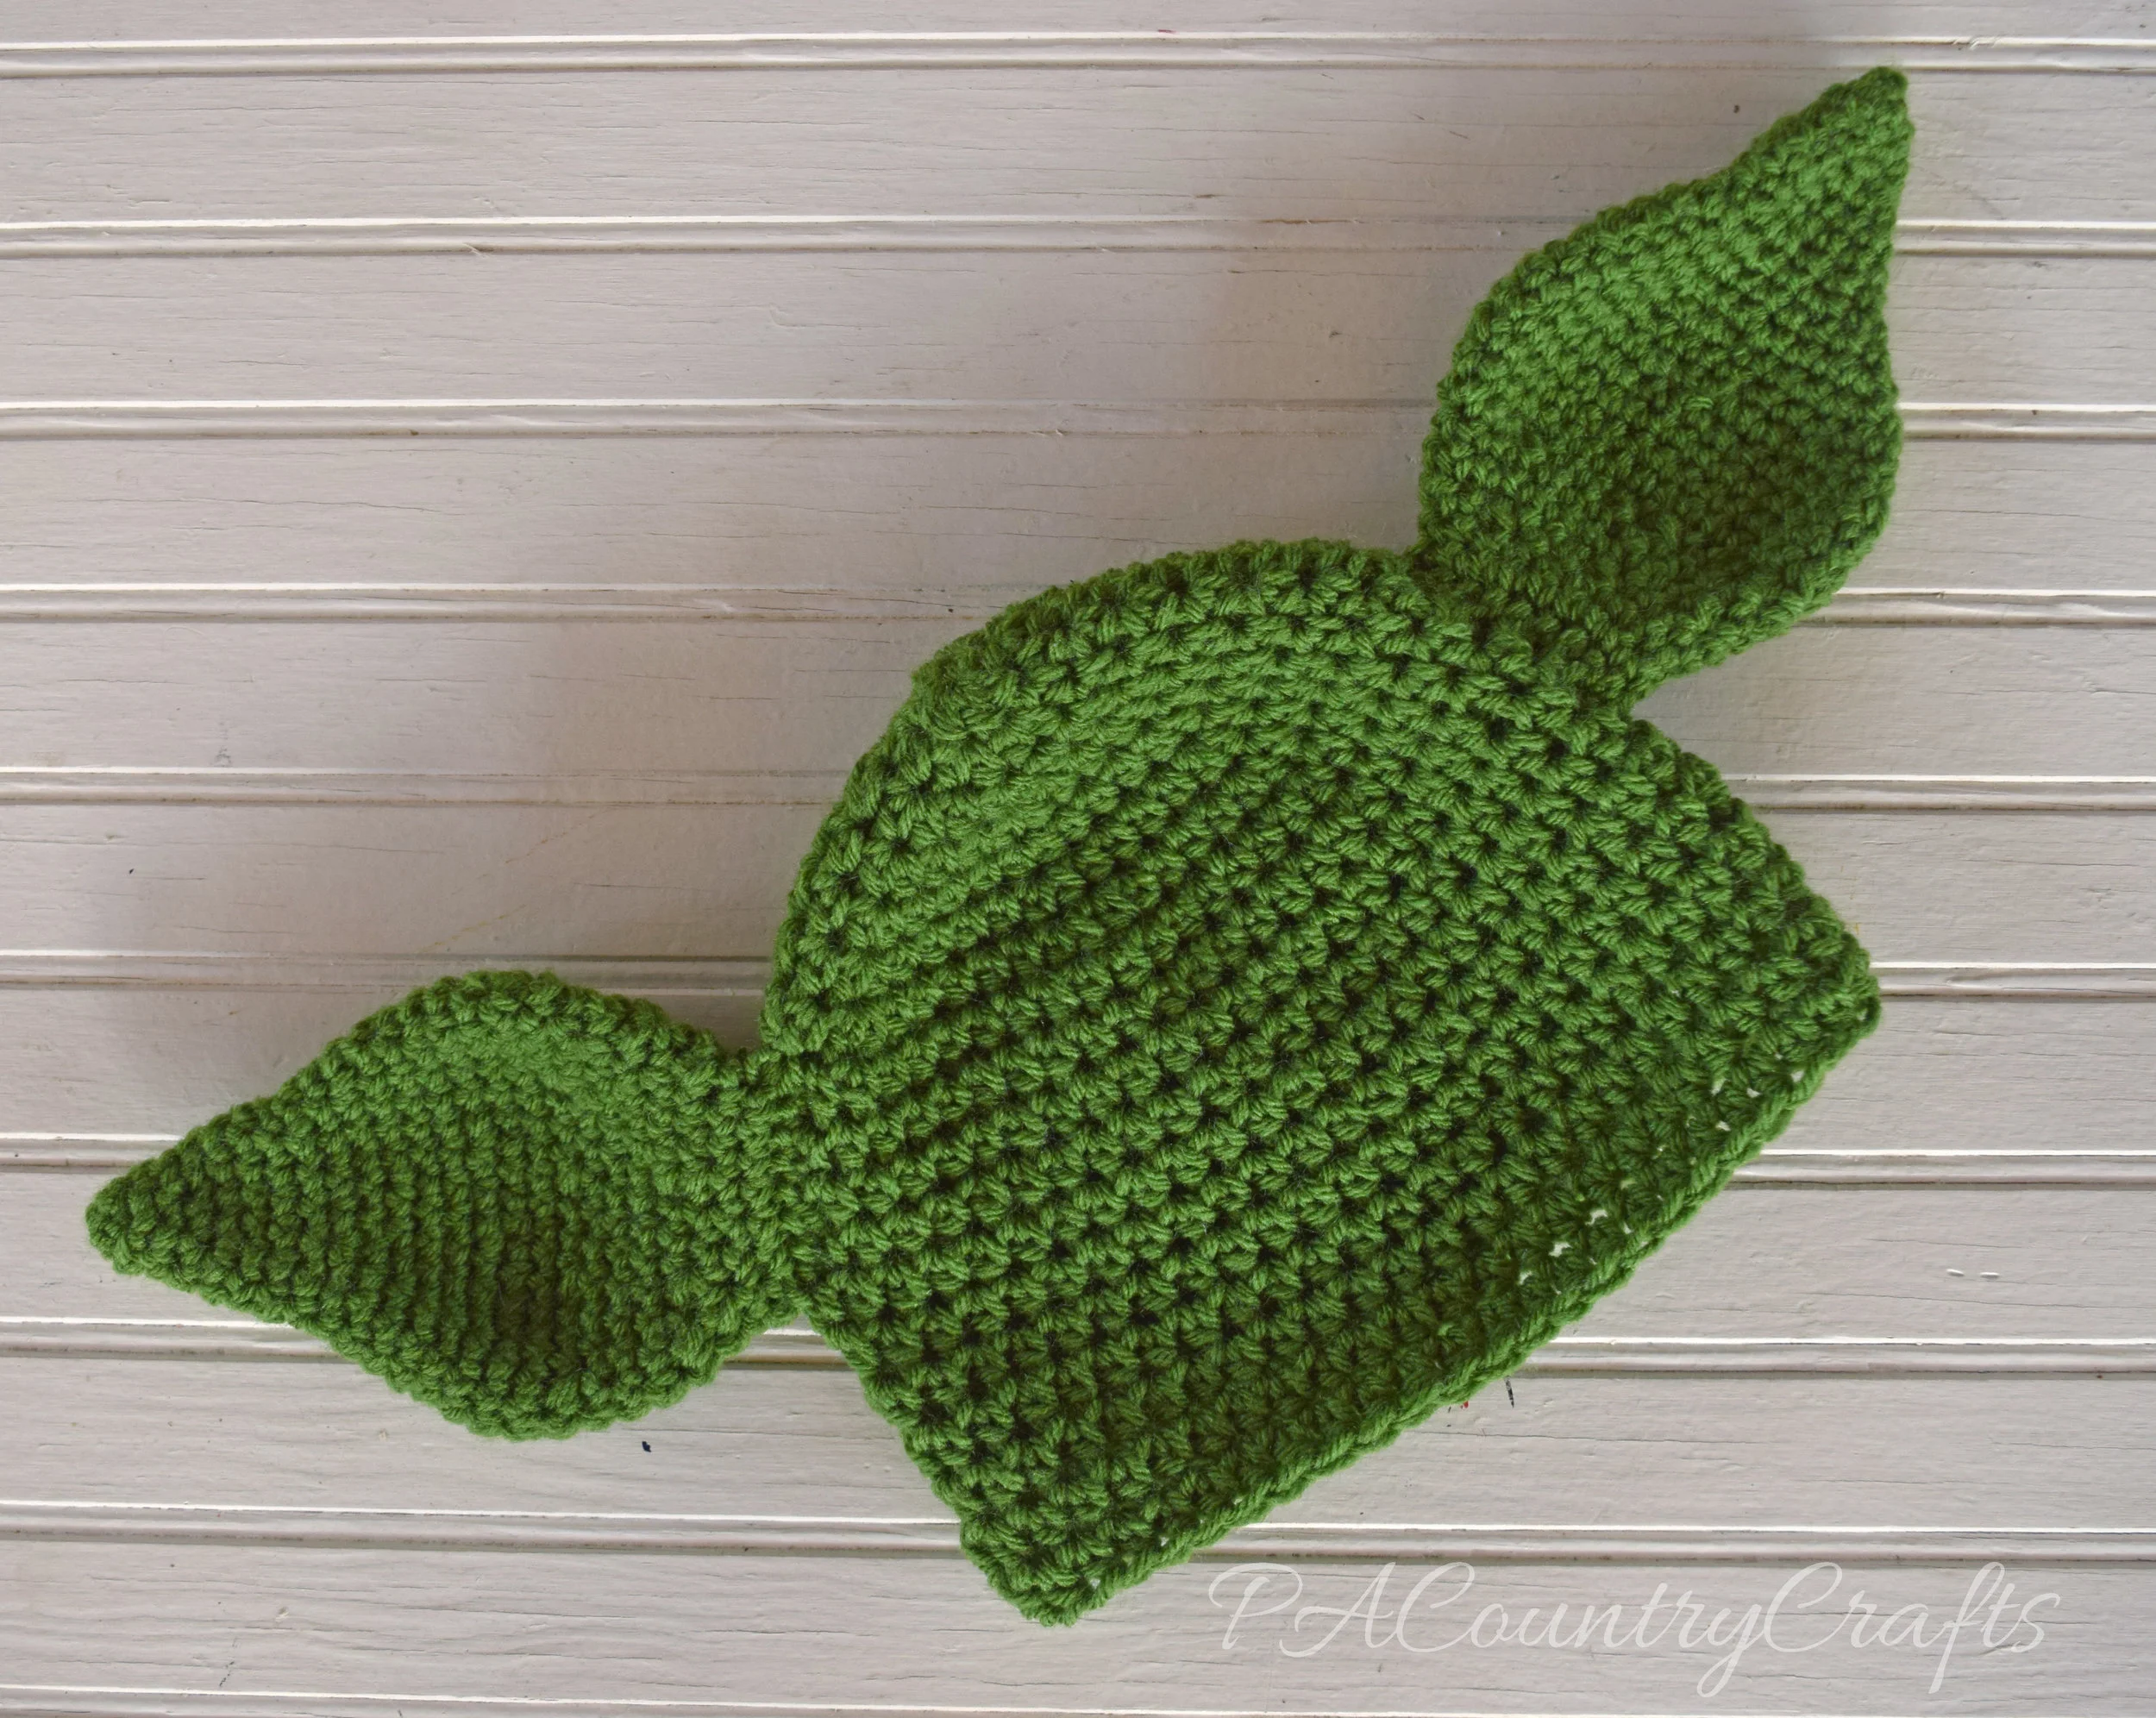
Crochet yoda hat with link to the free pattern…
Read MoreI have so many crafty things to share on the blog, but I just haven't had time to edit pics and type up posts. I don't things will ever settle down around here. Here is another MOPS craft projects. We did this at our open gym gathering. Usually the kids just run loose and we can chat while we let them burn some energy. I just set up a table off to the side with this extra craft project to do with the kids if they were interested. It seemed to go really well and the kids had fun choosing items to put in their bottles.

I-Spy Bottles MOPS craft

I Spy Bottles for MOPS Creative Activities- fun to do with the kids
You will need...
~plastic bottles ~rice ~funnel ~scoop ~sharpie marker ~hot glue gun ~assorted trinkets
For the trinkets to include in the bottle, some of us just collected assorted choking hazards and craft supplies. We had alphabet beads, seashells, buttons, toys, feathers, colored beans, metallic confetti (this looked great in the bottle!), animal beads, charms, etc.
They were really easy to make...
Choose a clean, dry, plastic bottle. I brought small Gatorade bottles, but some people had some really nice bottles from other beverages.
Fill the bottle partway with rice. We used a funnel and a scoop.
Choose small trinkets to place in the bottle.
Add more rice until the bottle is nearly full, but leave plenty of space to roll the rice around.
Hot glue the lid onto the bottle.
The step we skipped... write the child's name on the lid with a Sharpie.
I love craft projects with kids that are actually useful and last more than a few days!


These are my best tips:
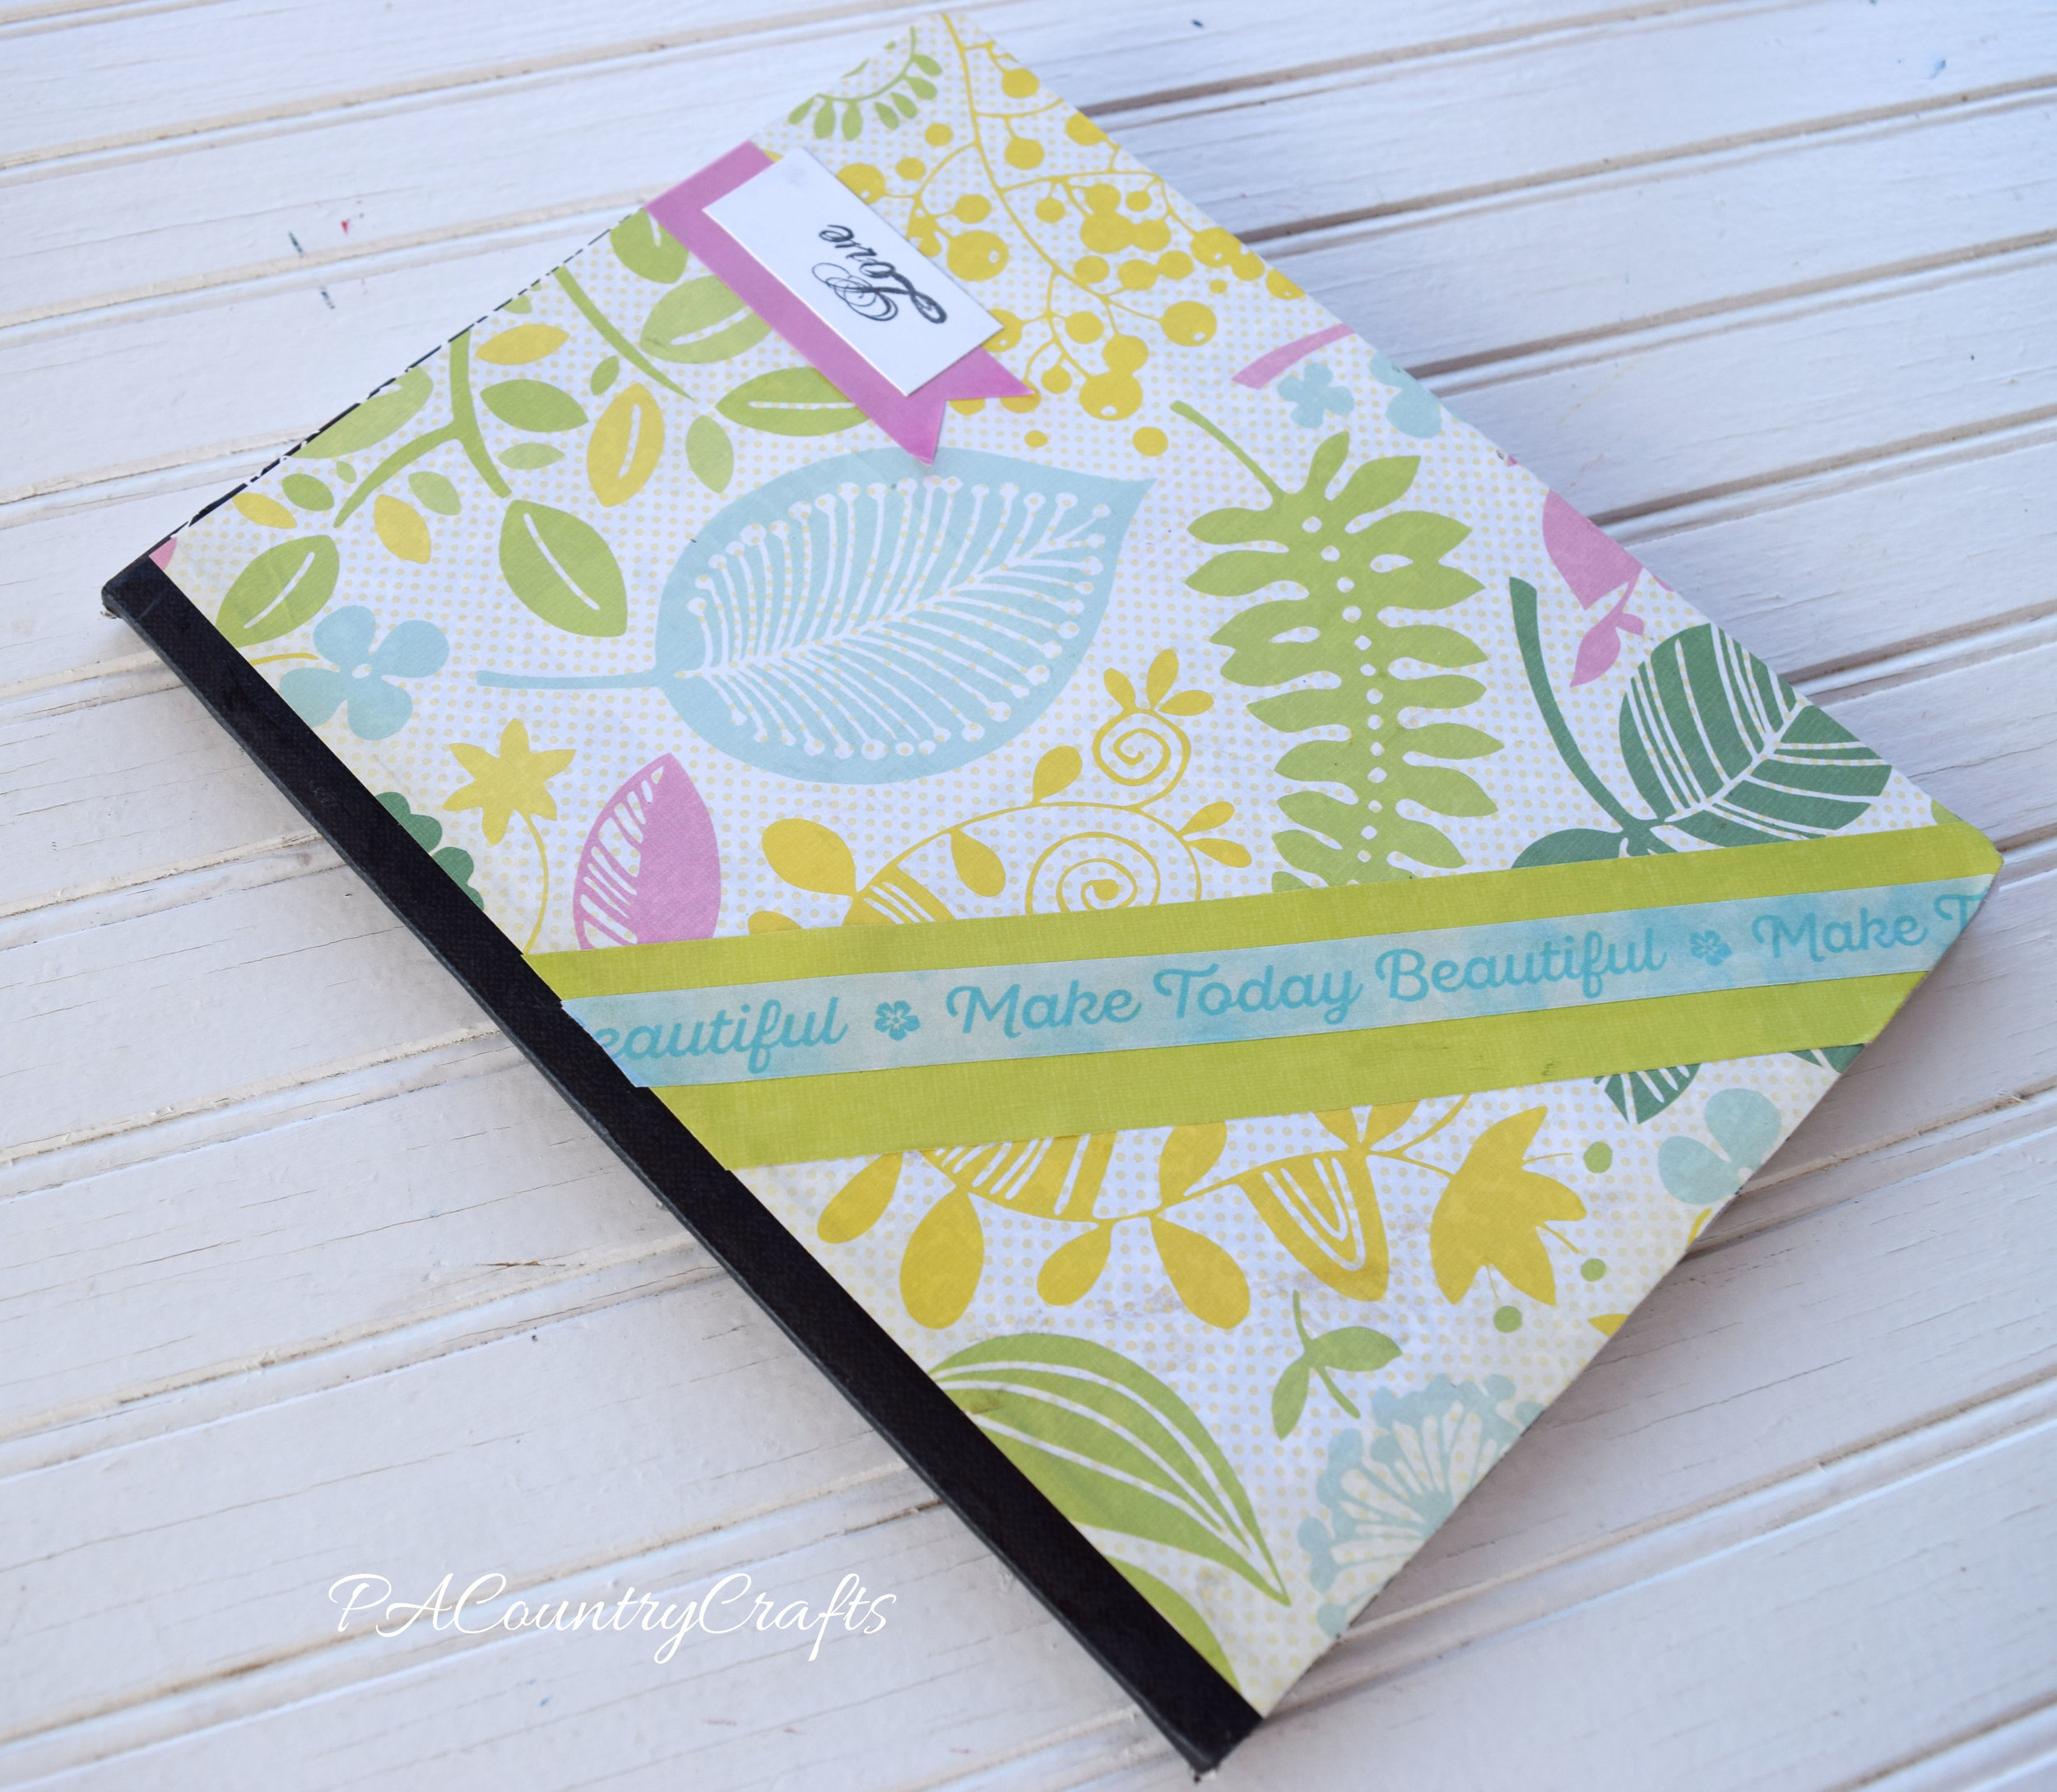
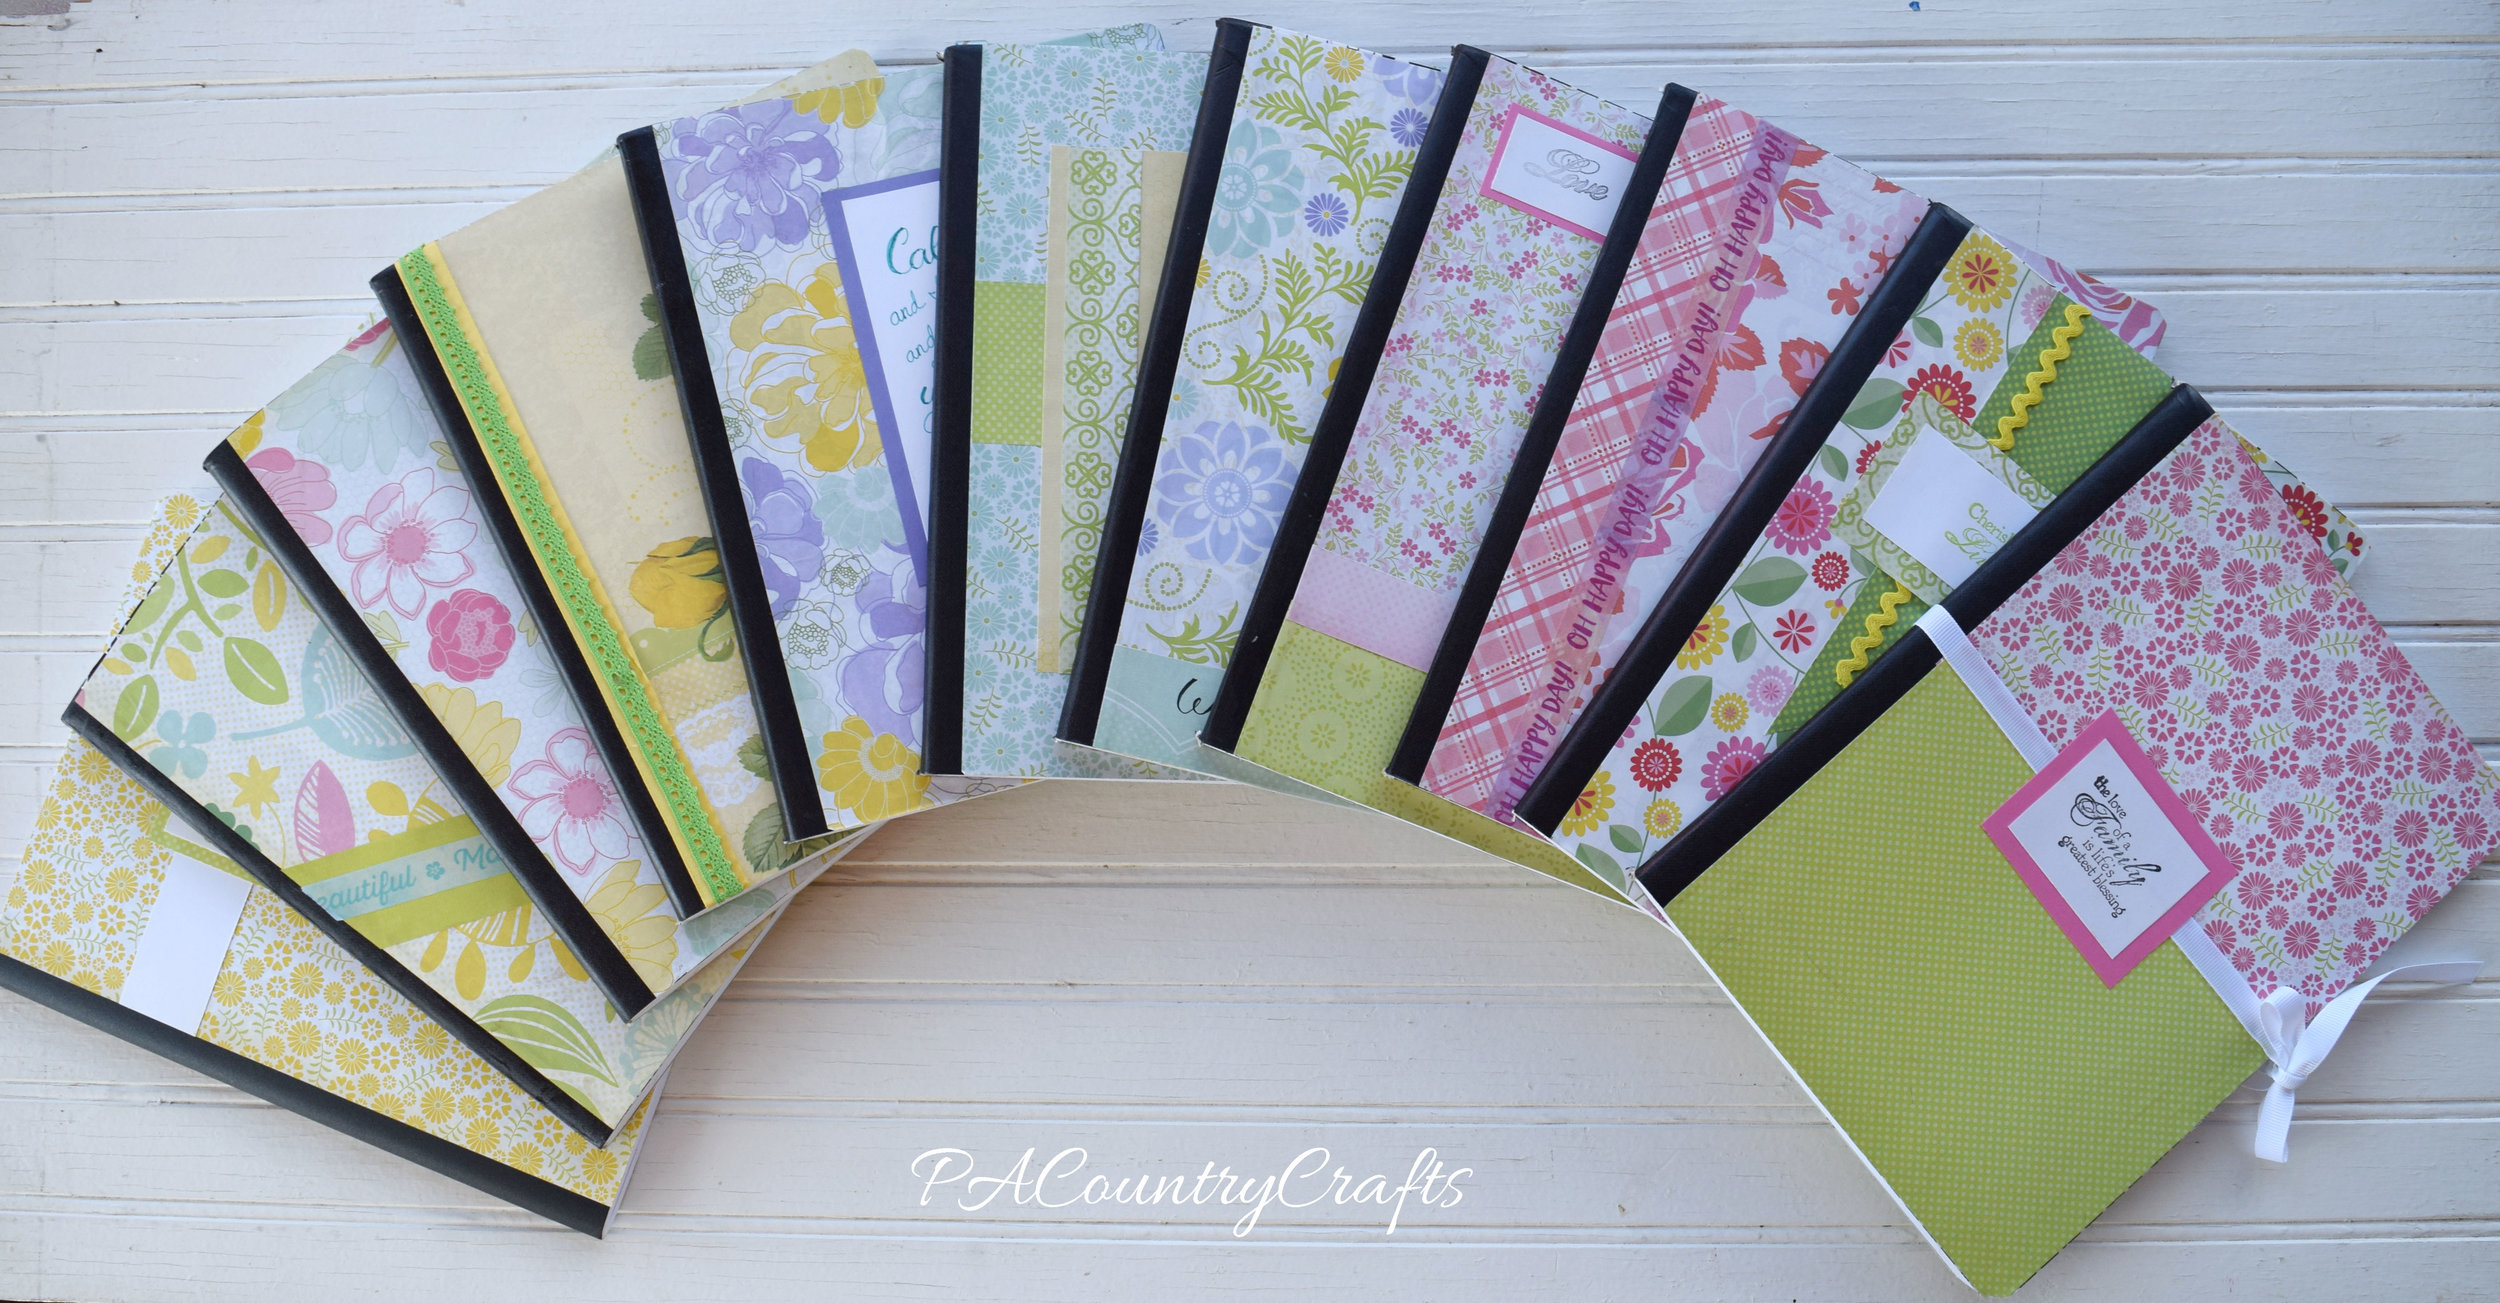
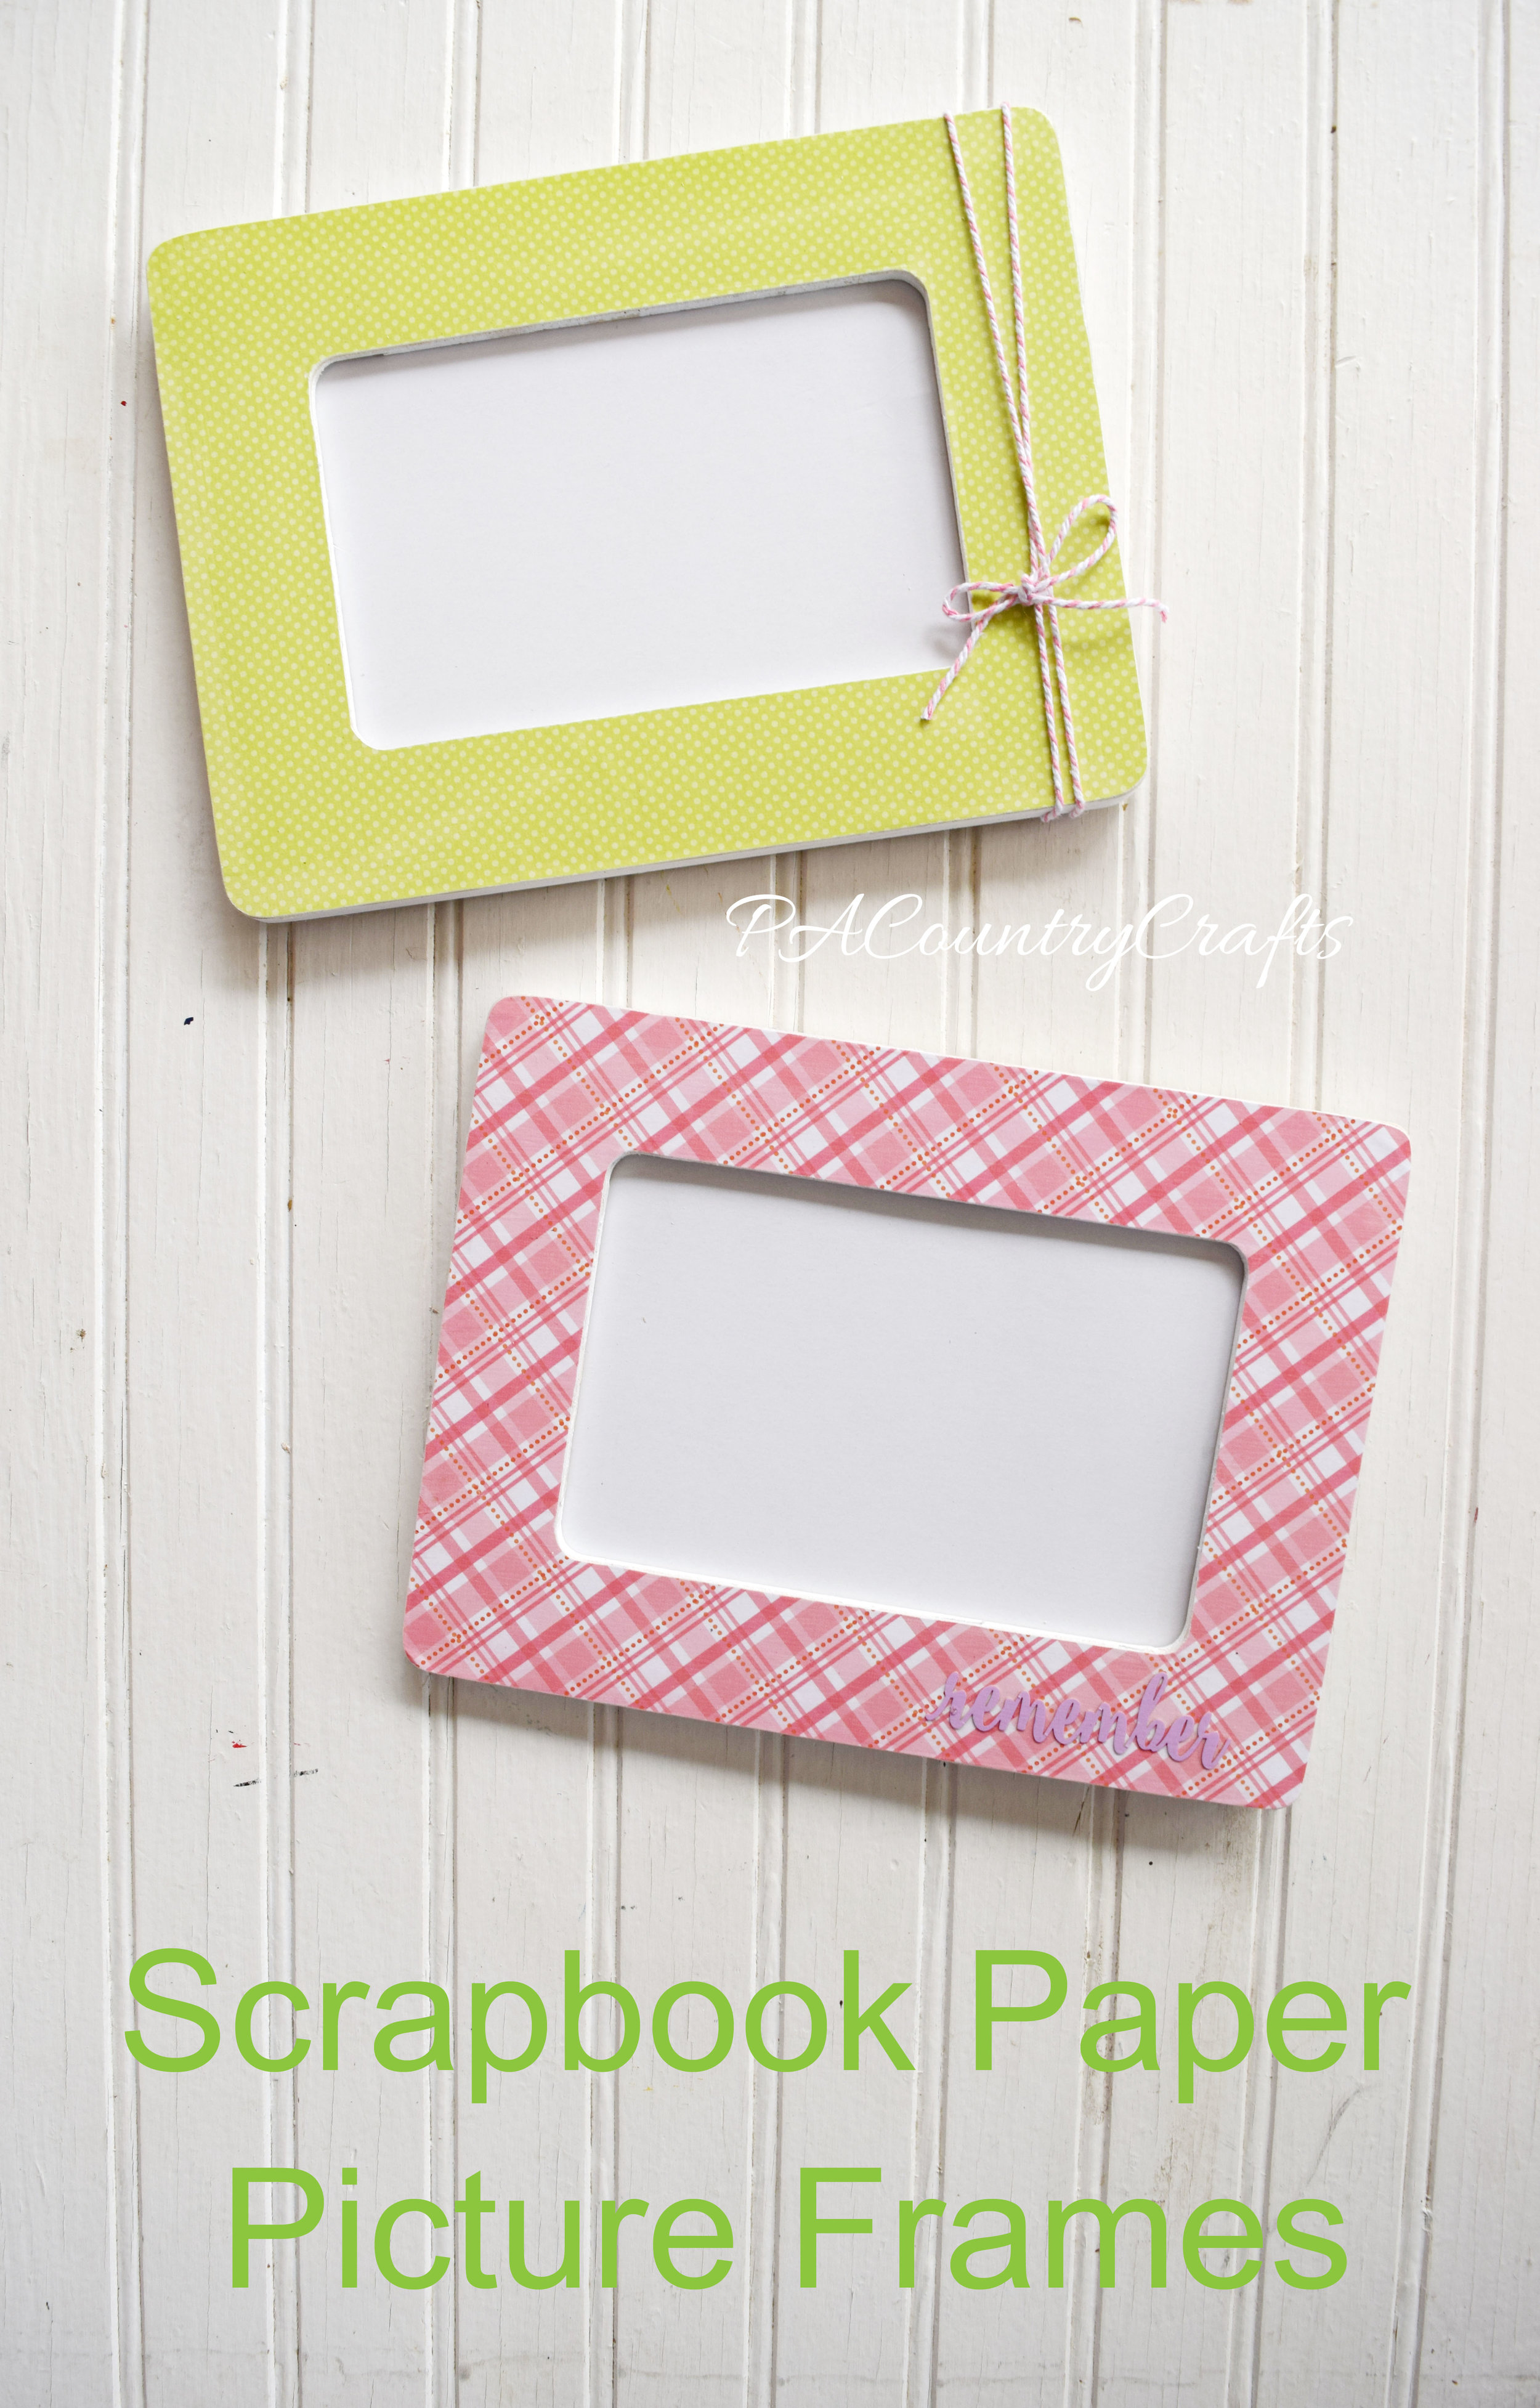
These are the samples that I made before the meeting. They will be used as gifts to welcome new moms during the year.


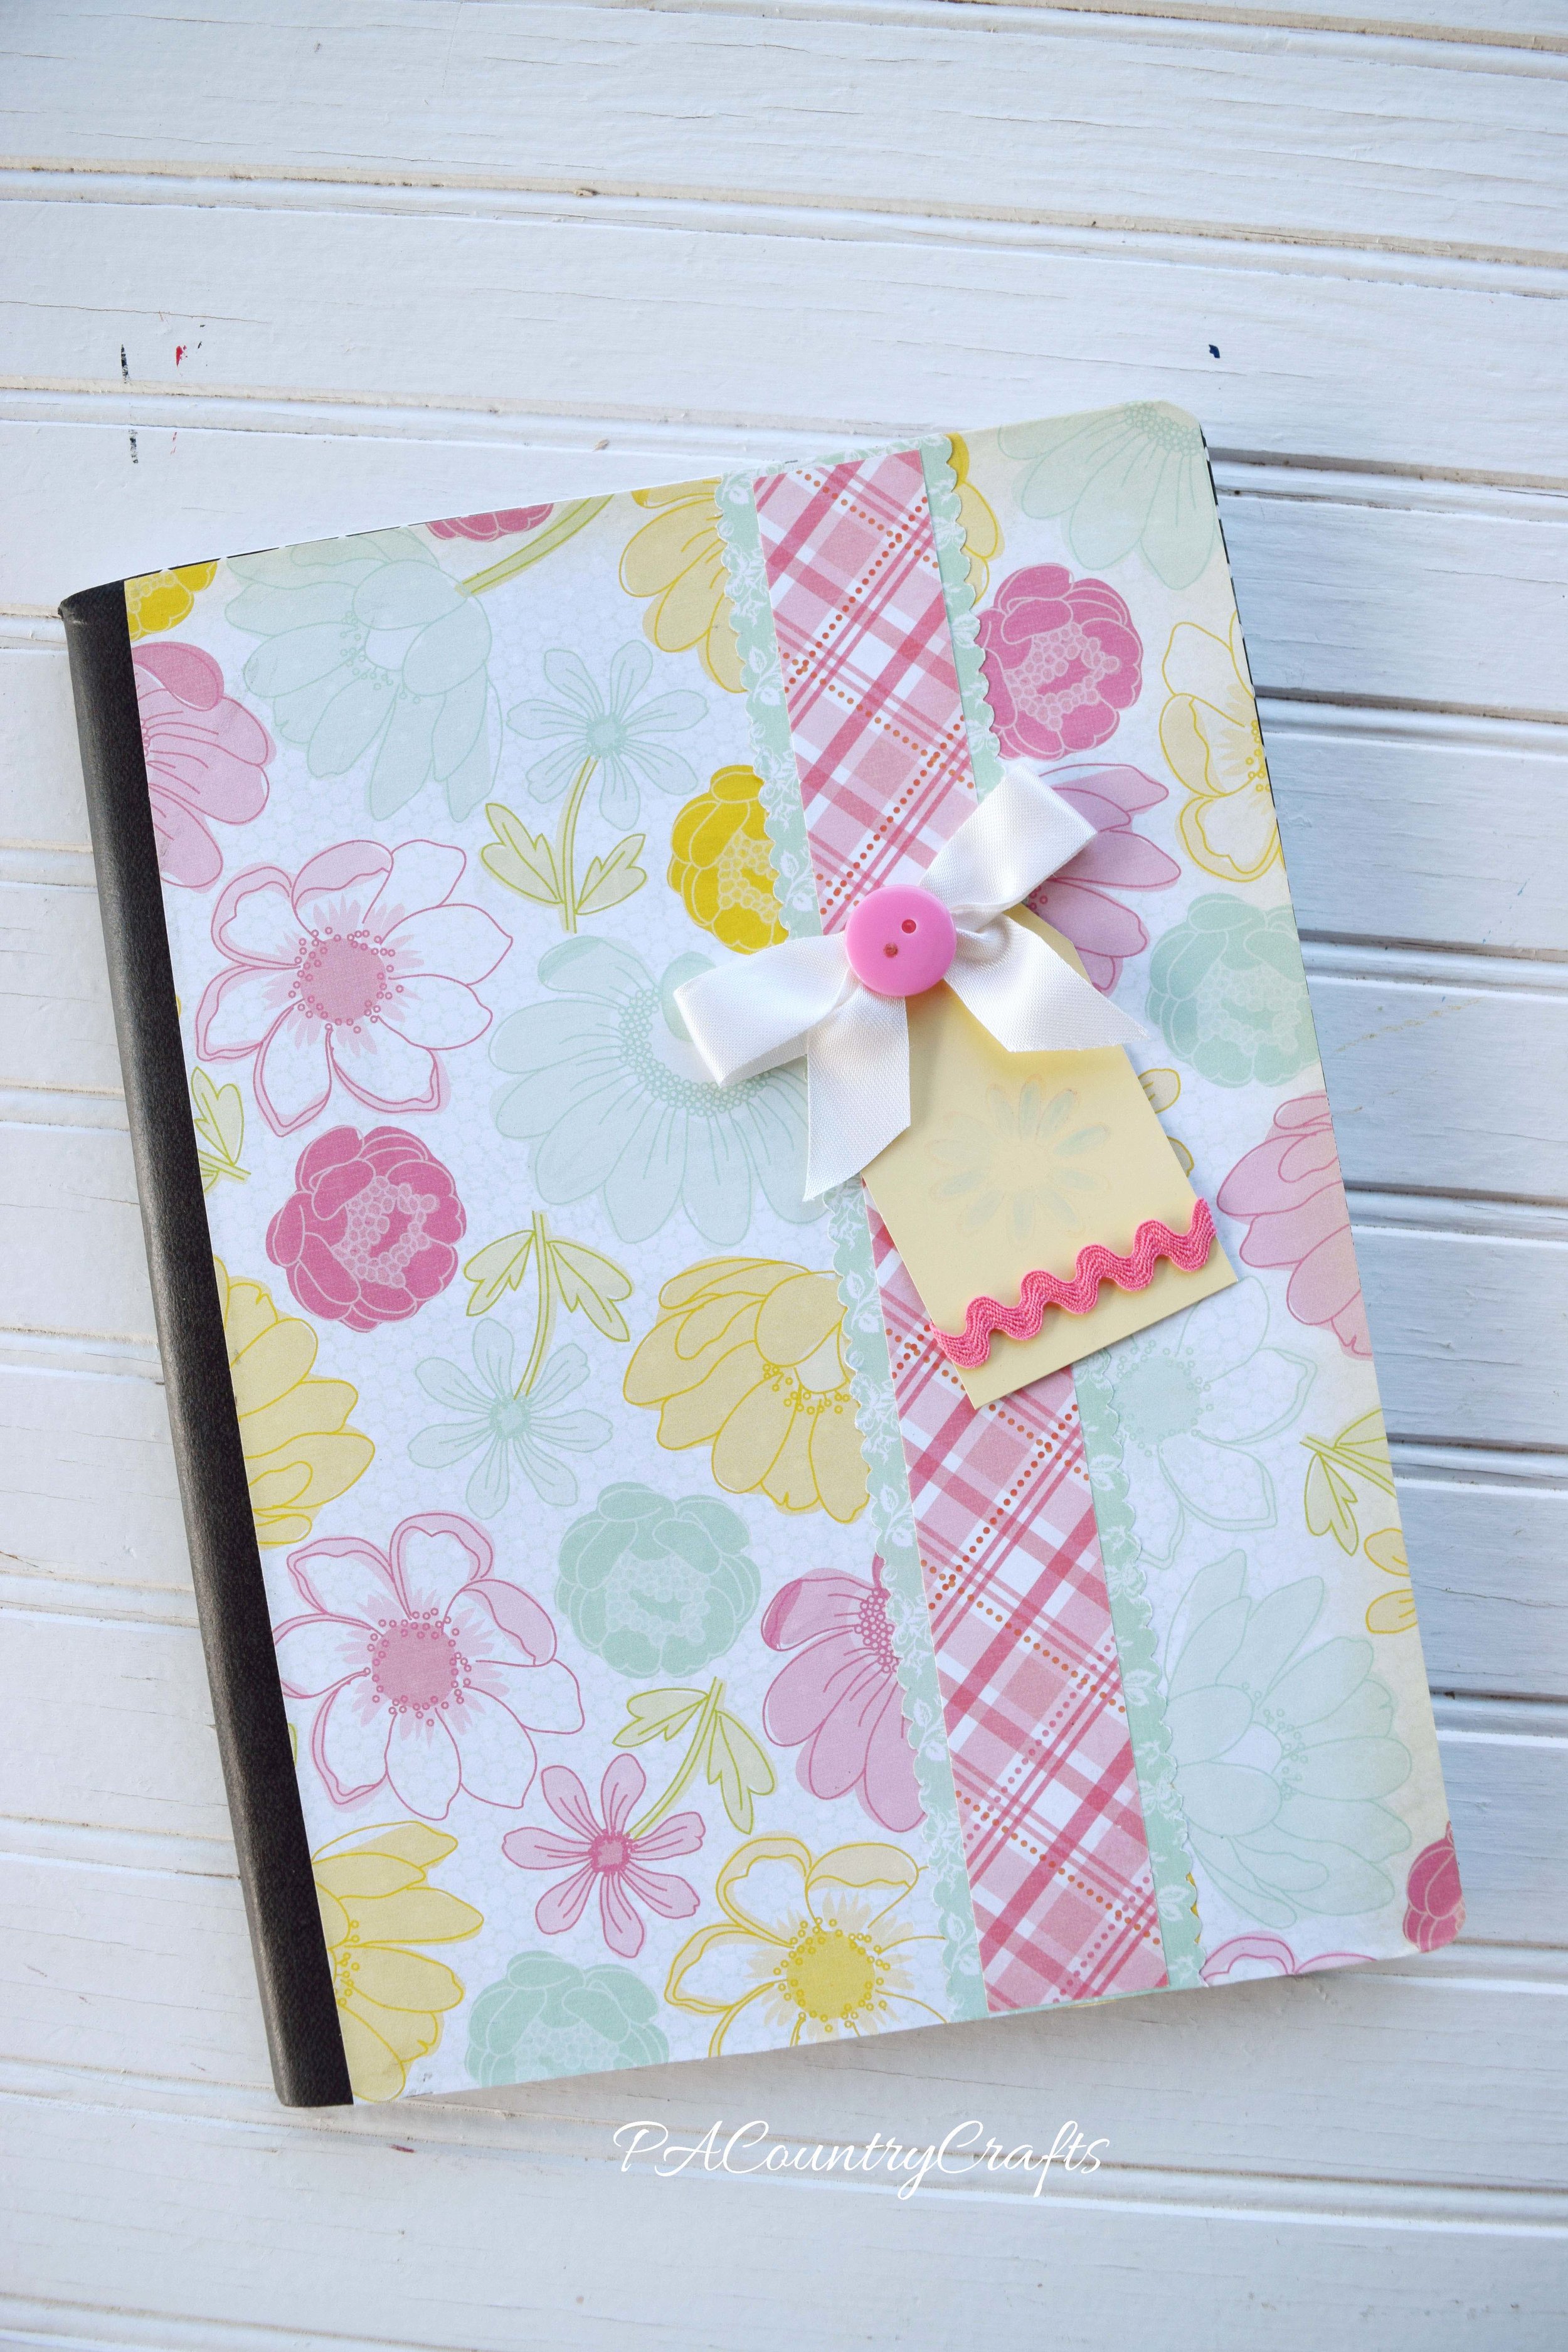
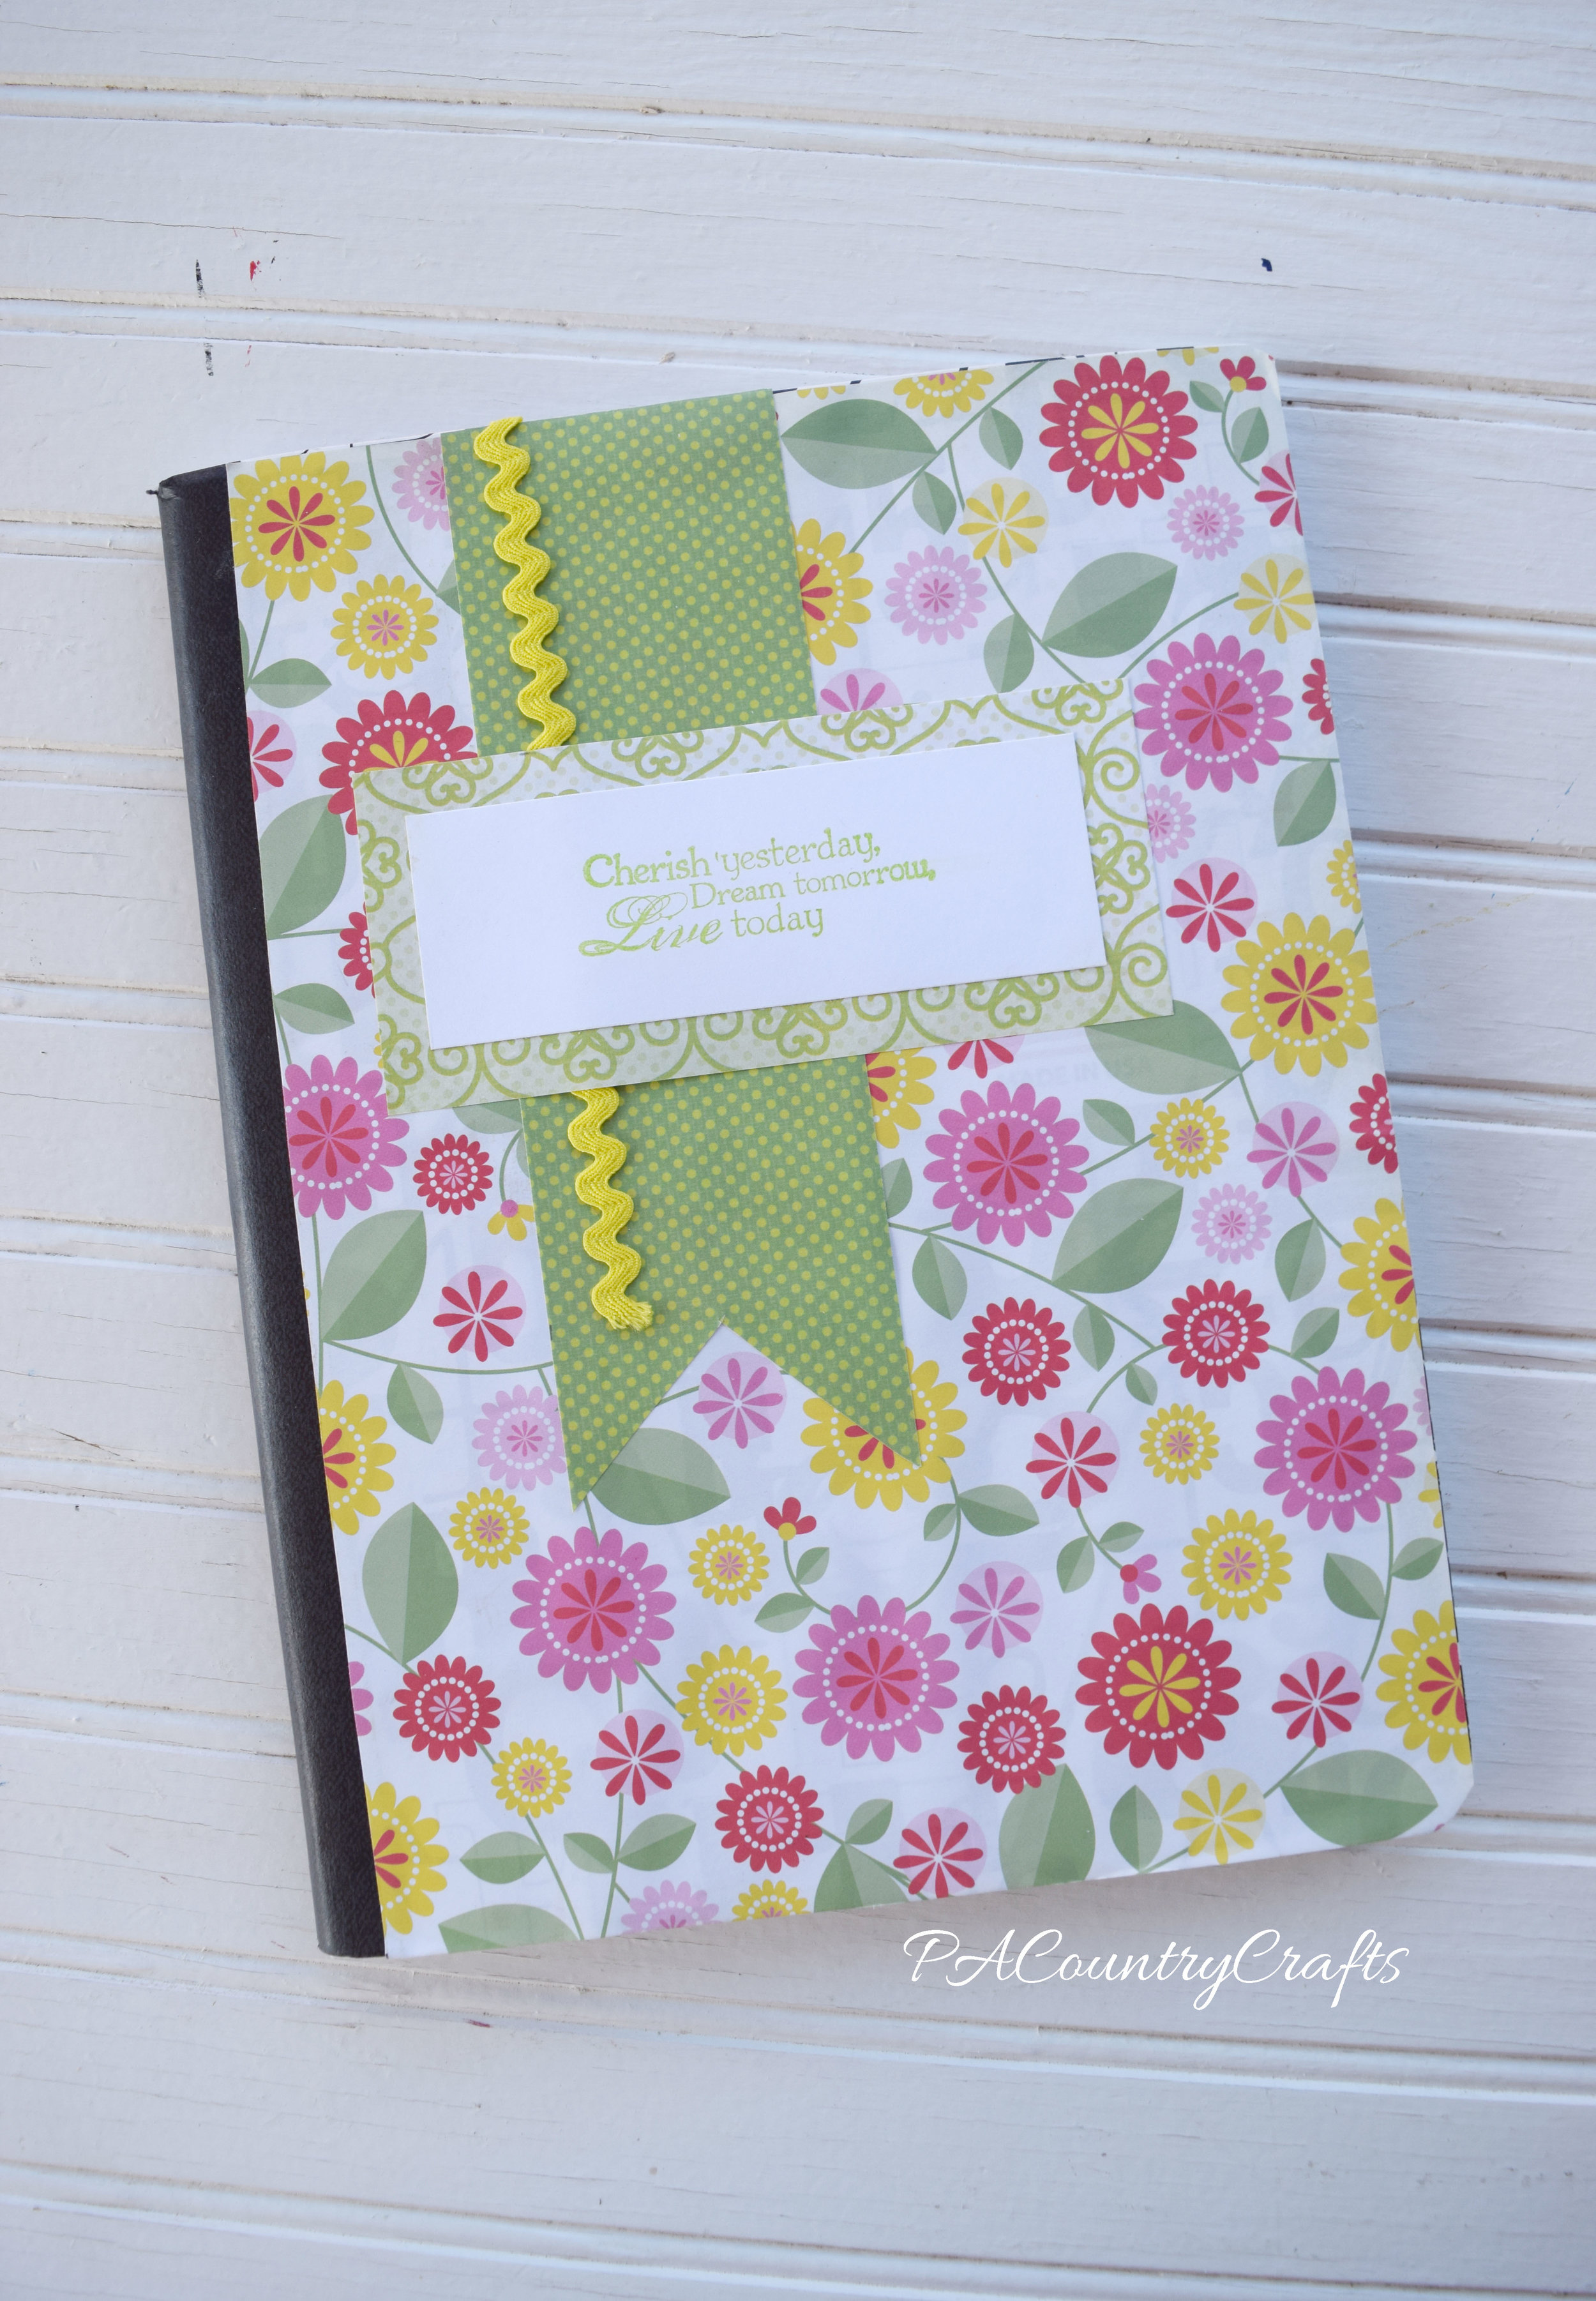
I think this one is my favorite. It is simple, but so pretty!


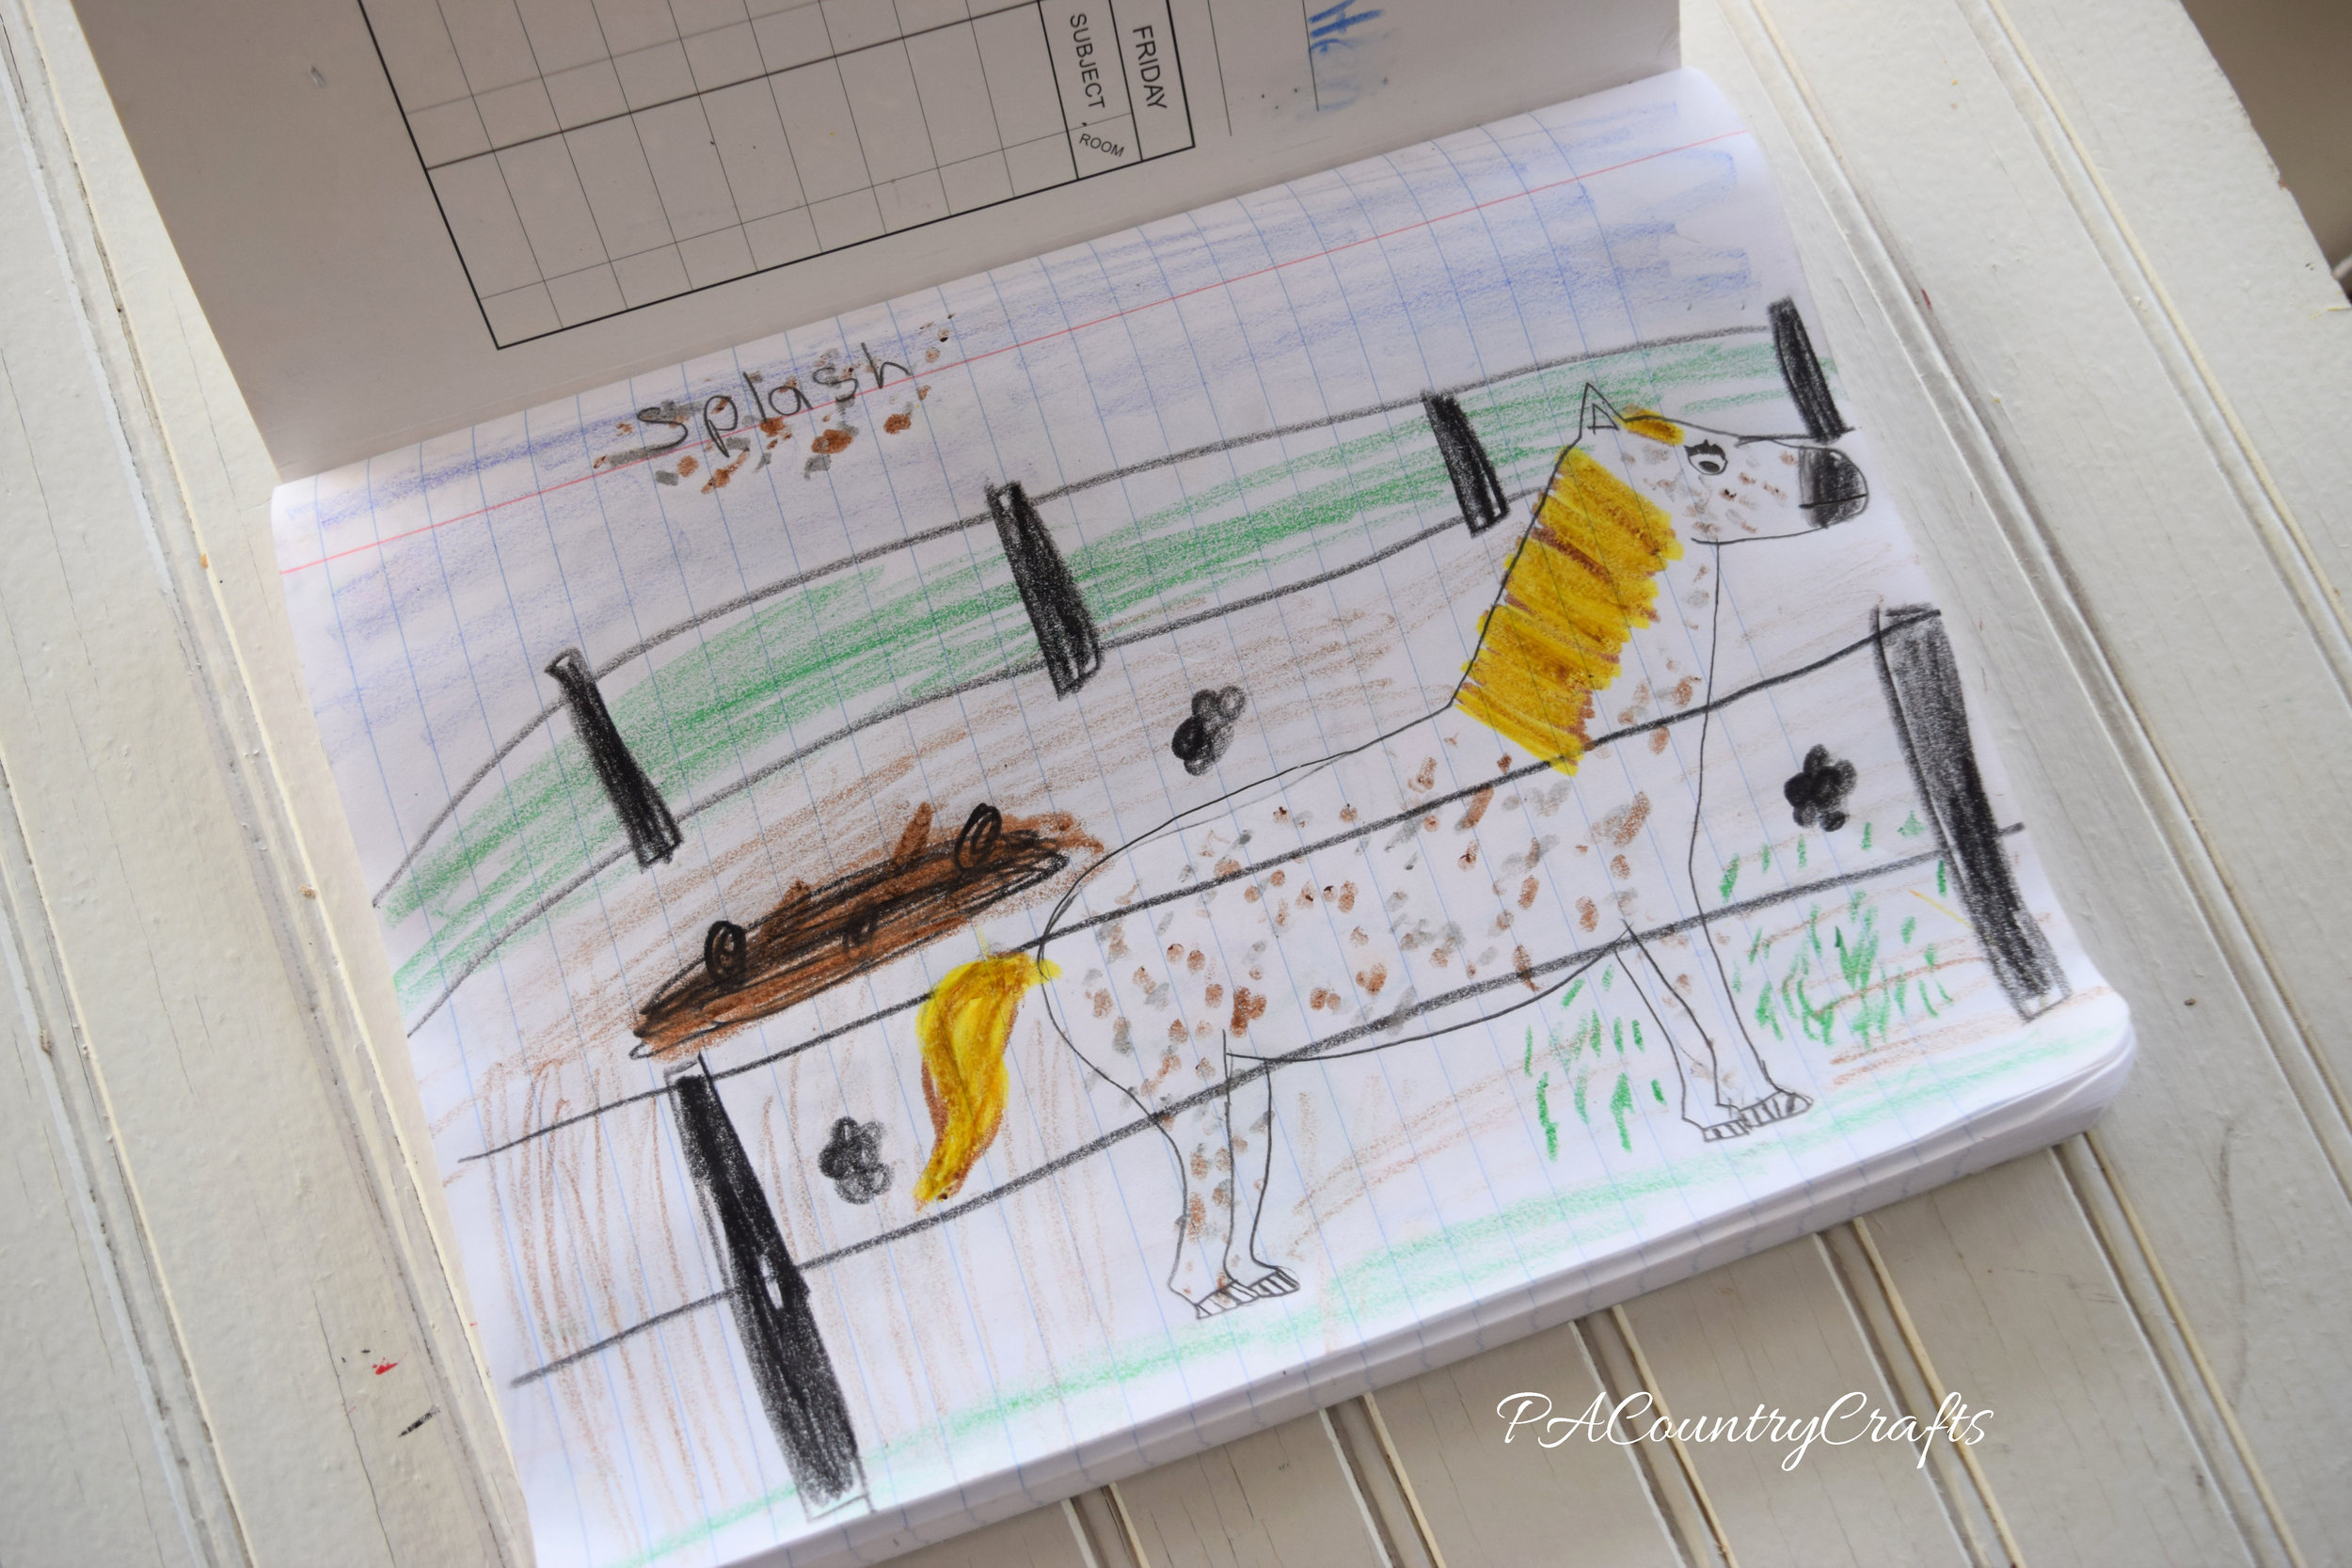
 After the meeting, I found composition books on clearance SUPER cheap, so I got some more. I had bought another pad of paper for myself because I loved the prints and colors. So, my daughters helped themselves to my craft supplies and made their own journals. Apparently, this makes a really easy kids craft, too!

They are being used as art and writing journals. They made a few others that I didn't snap pics of and are using them at school. They used glue stick and they are still holding up well.
They even found some mini ones and made a coordinating doll journal!

Overall, this was a successful and EASY craft project! It was simple enough that anyone could do it, but had so many creative options for those who want to challenge themselves a bit more.
You may also like...
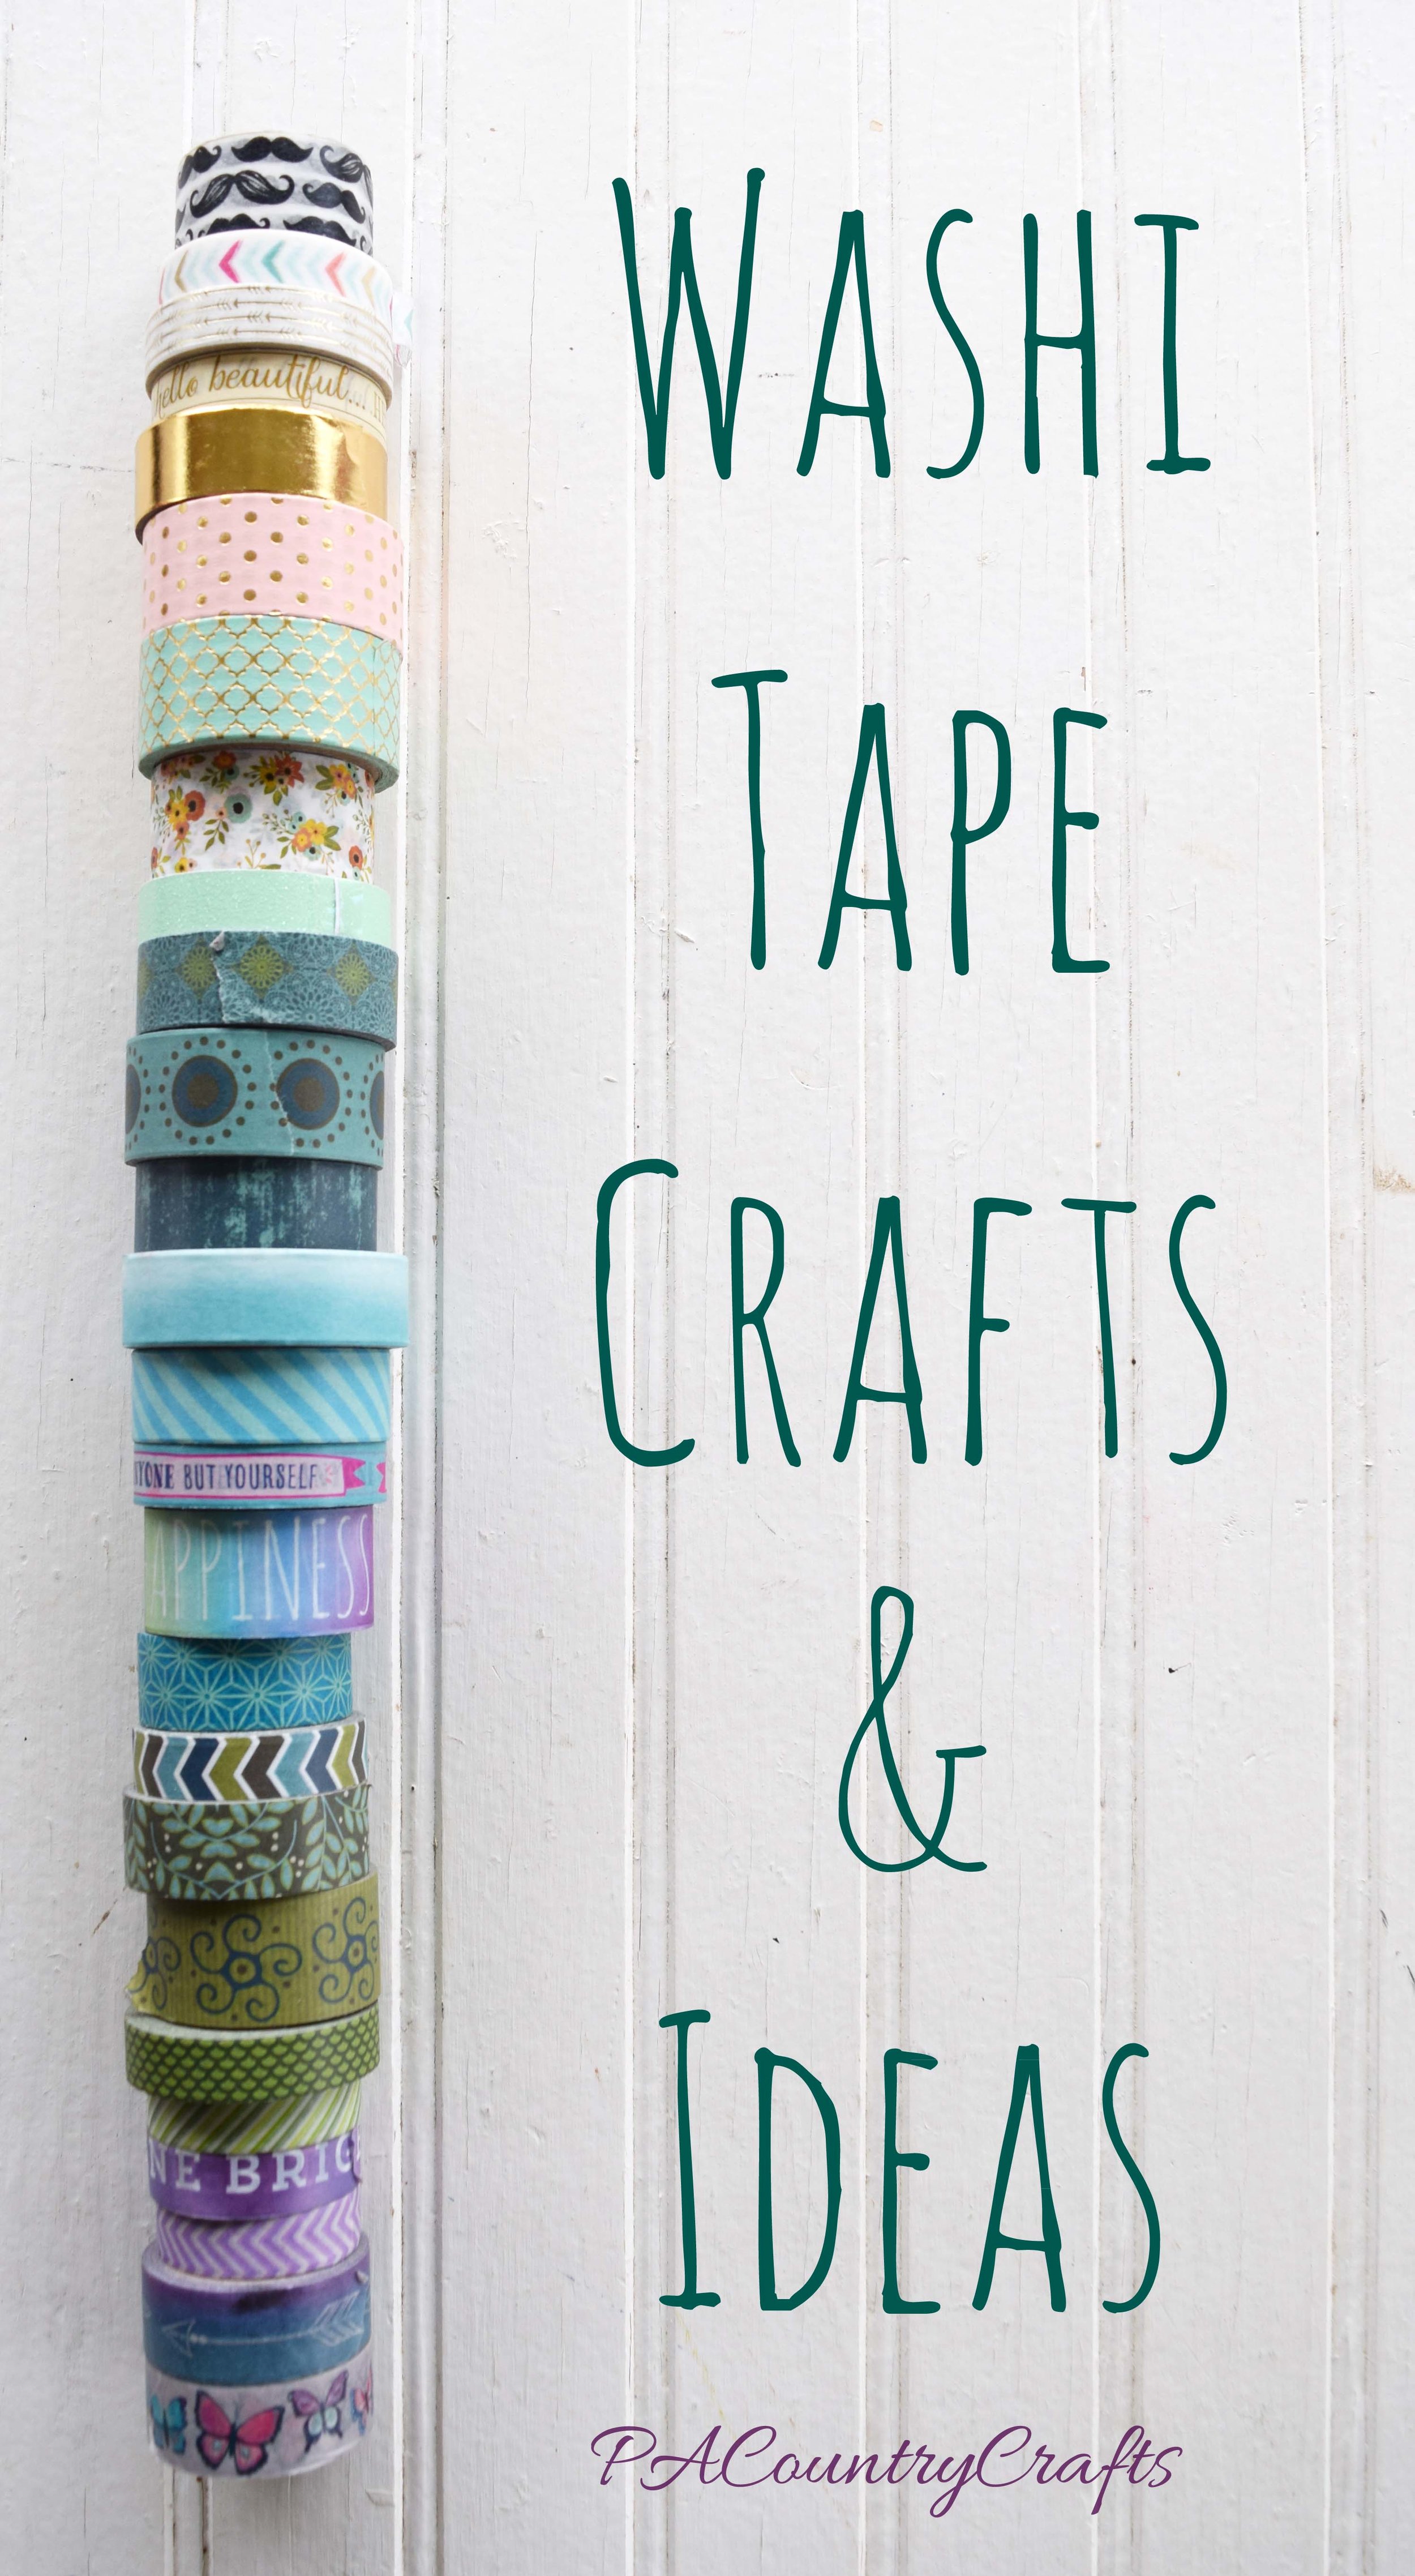
My 12yo daughter began making doll clothes this summer. She wanted some expensive shoes for school and would have exceeded her school shopping allotment. So, I told her she had to find a way to earn money to buy them herself. She began designing and sewing doll clothes (with a lot of help) and earned enough to get those shoes (YAY for a sale!), some additional clothes, gifts for friends, and add to her washi tape collection. She began by using clothes from our donation bag as a fabric source. So, the initial start-up was $0. It was hard to find things that matched in the bag. Some of the finished doll clothes had to be kept because they didn't pass my quality control. I also had to help her a lot with the T-shirts.
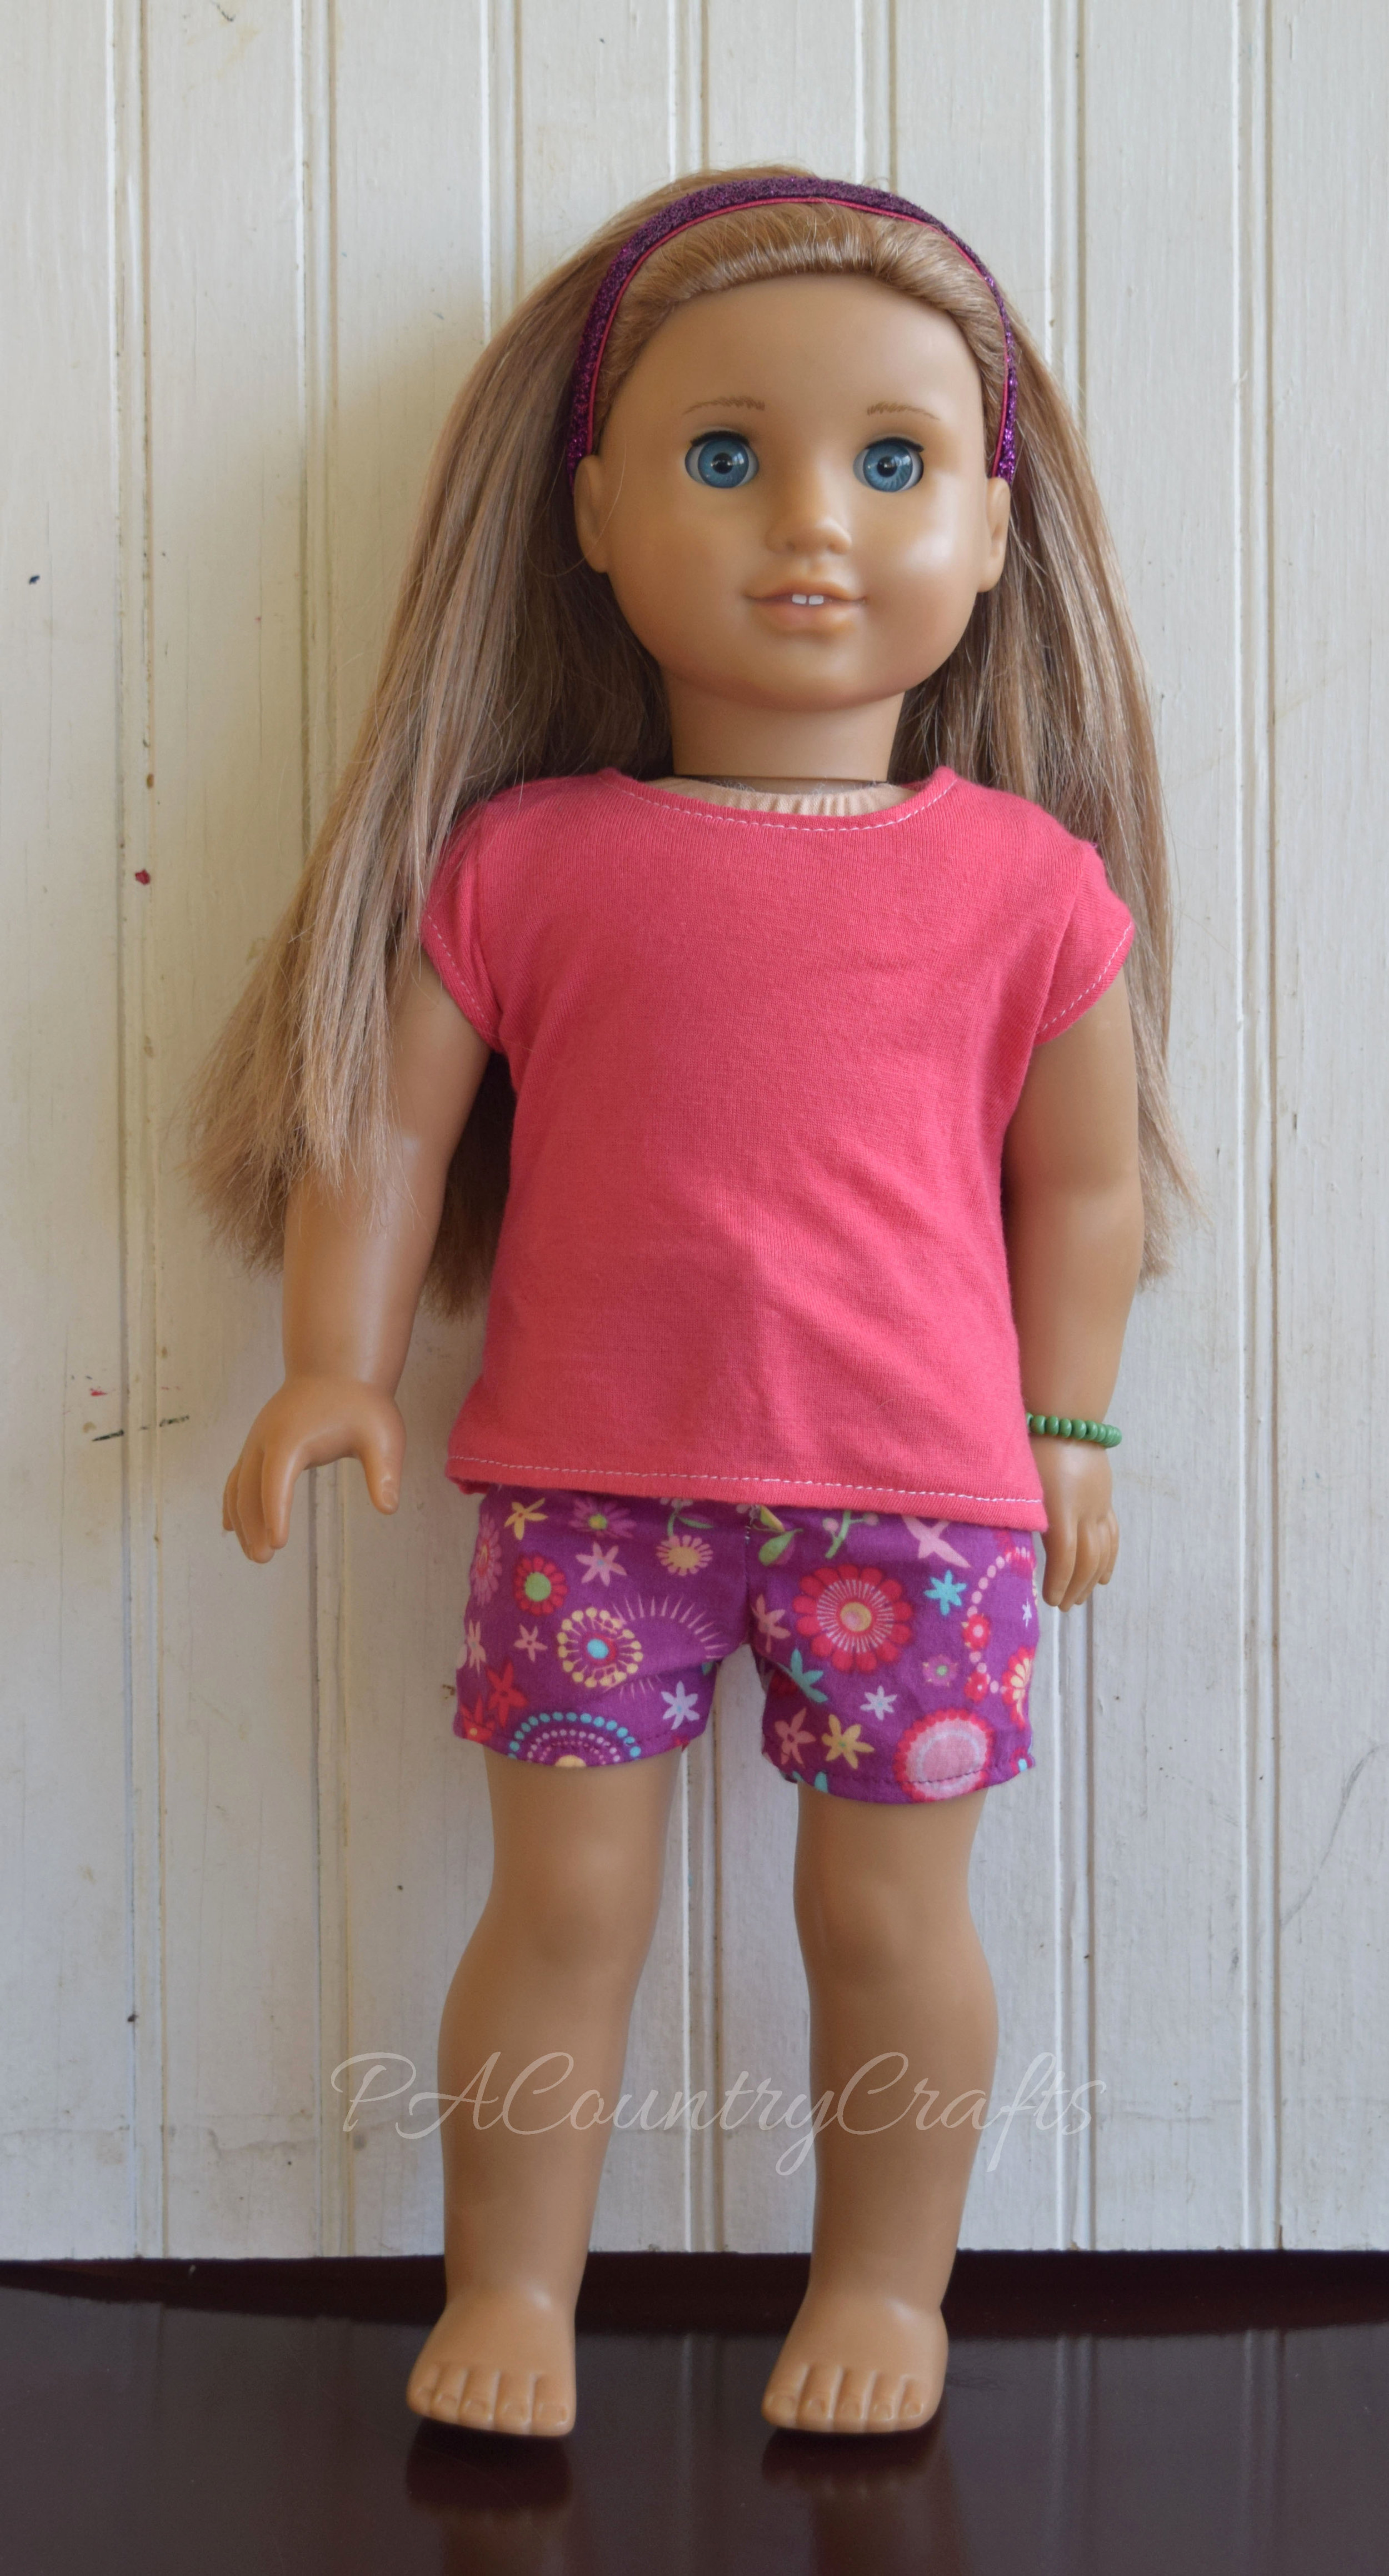
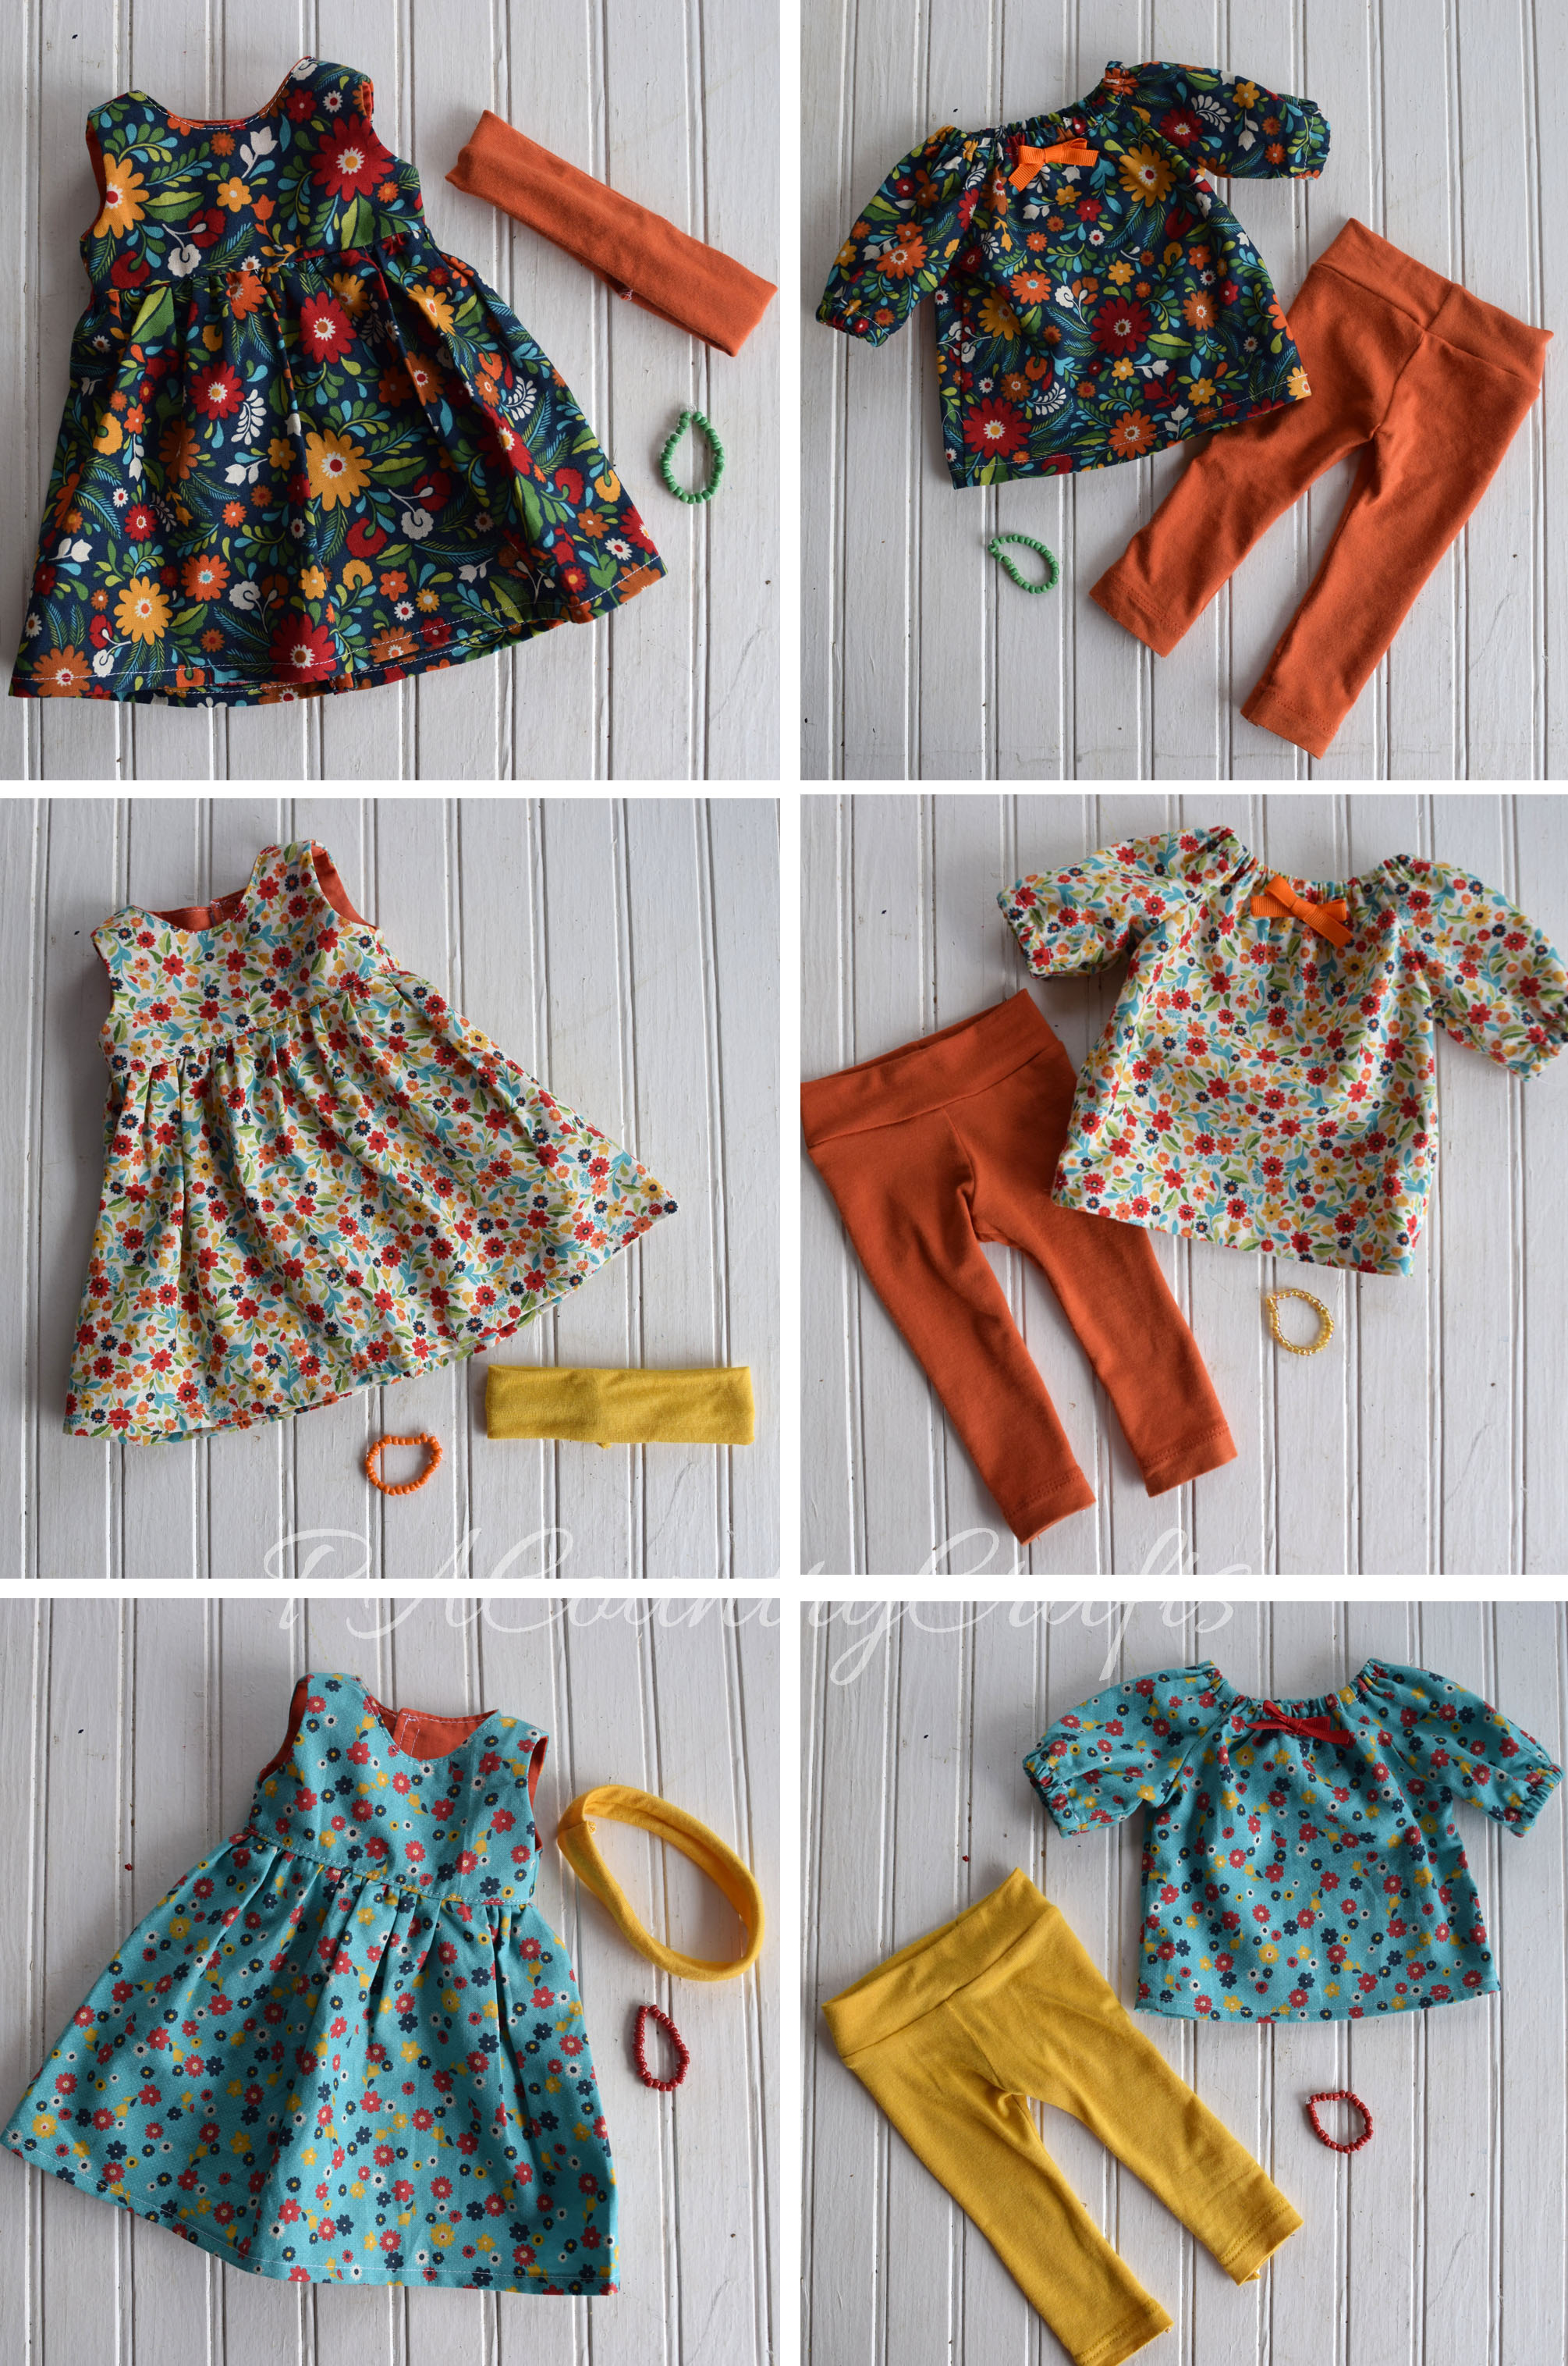
She also made matching beaded bracelets to go with each outfit as her signature accent.
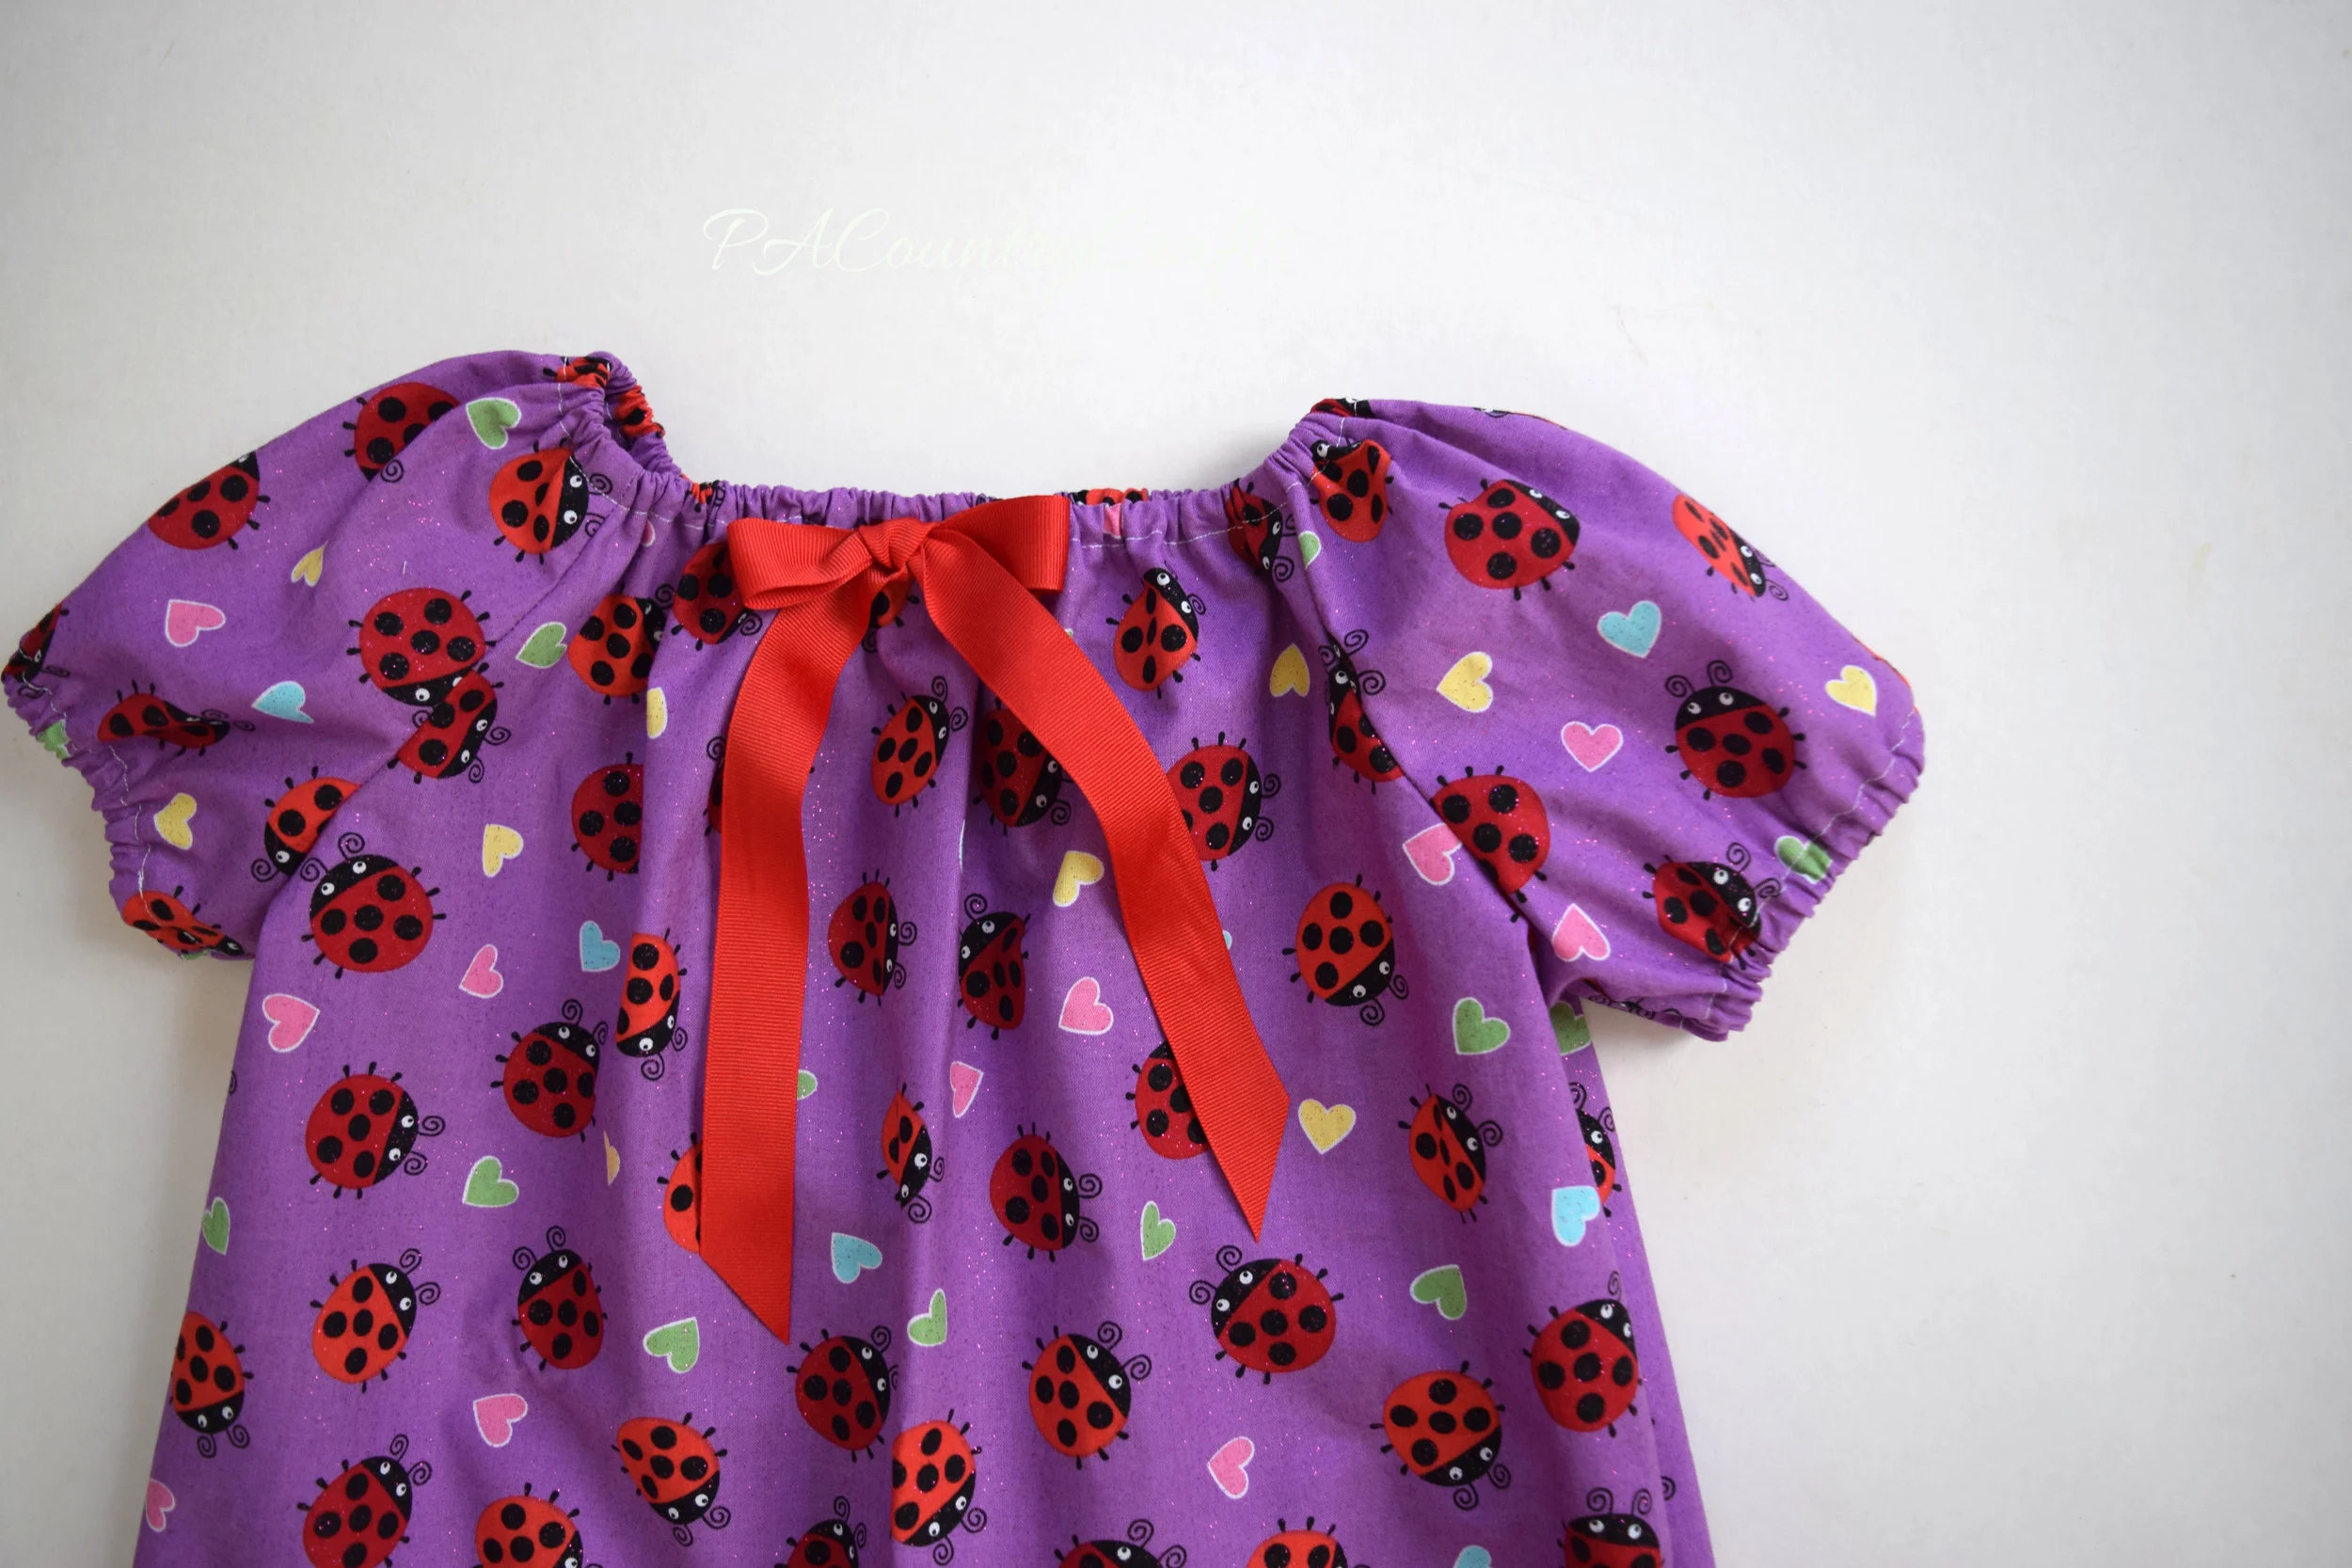
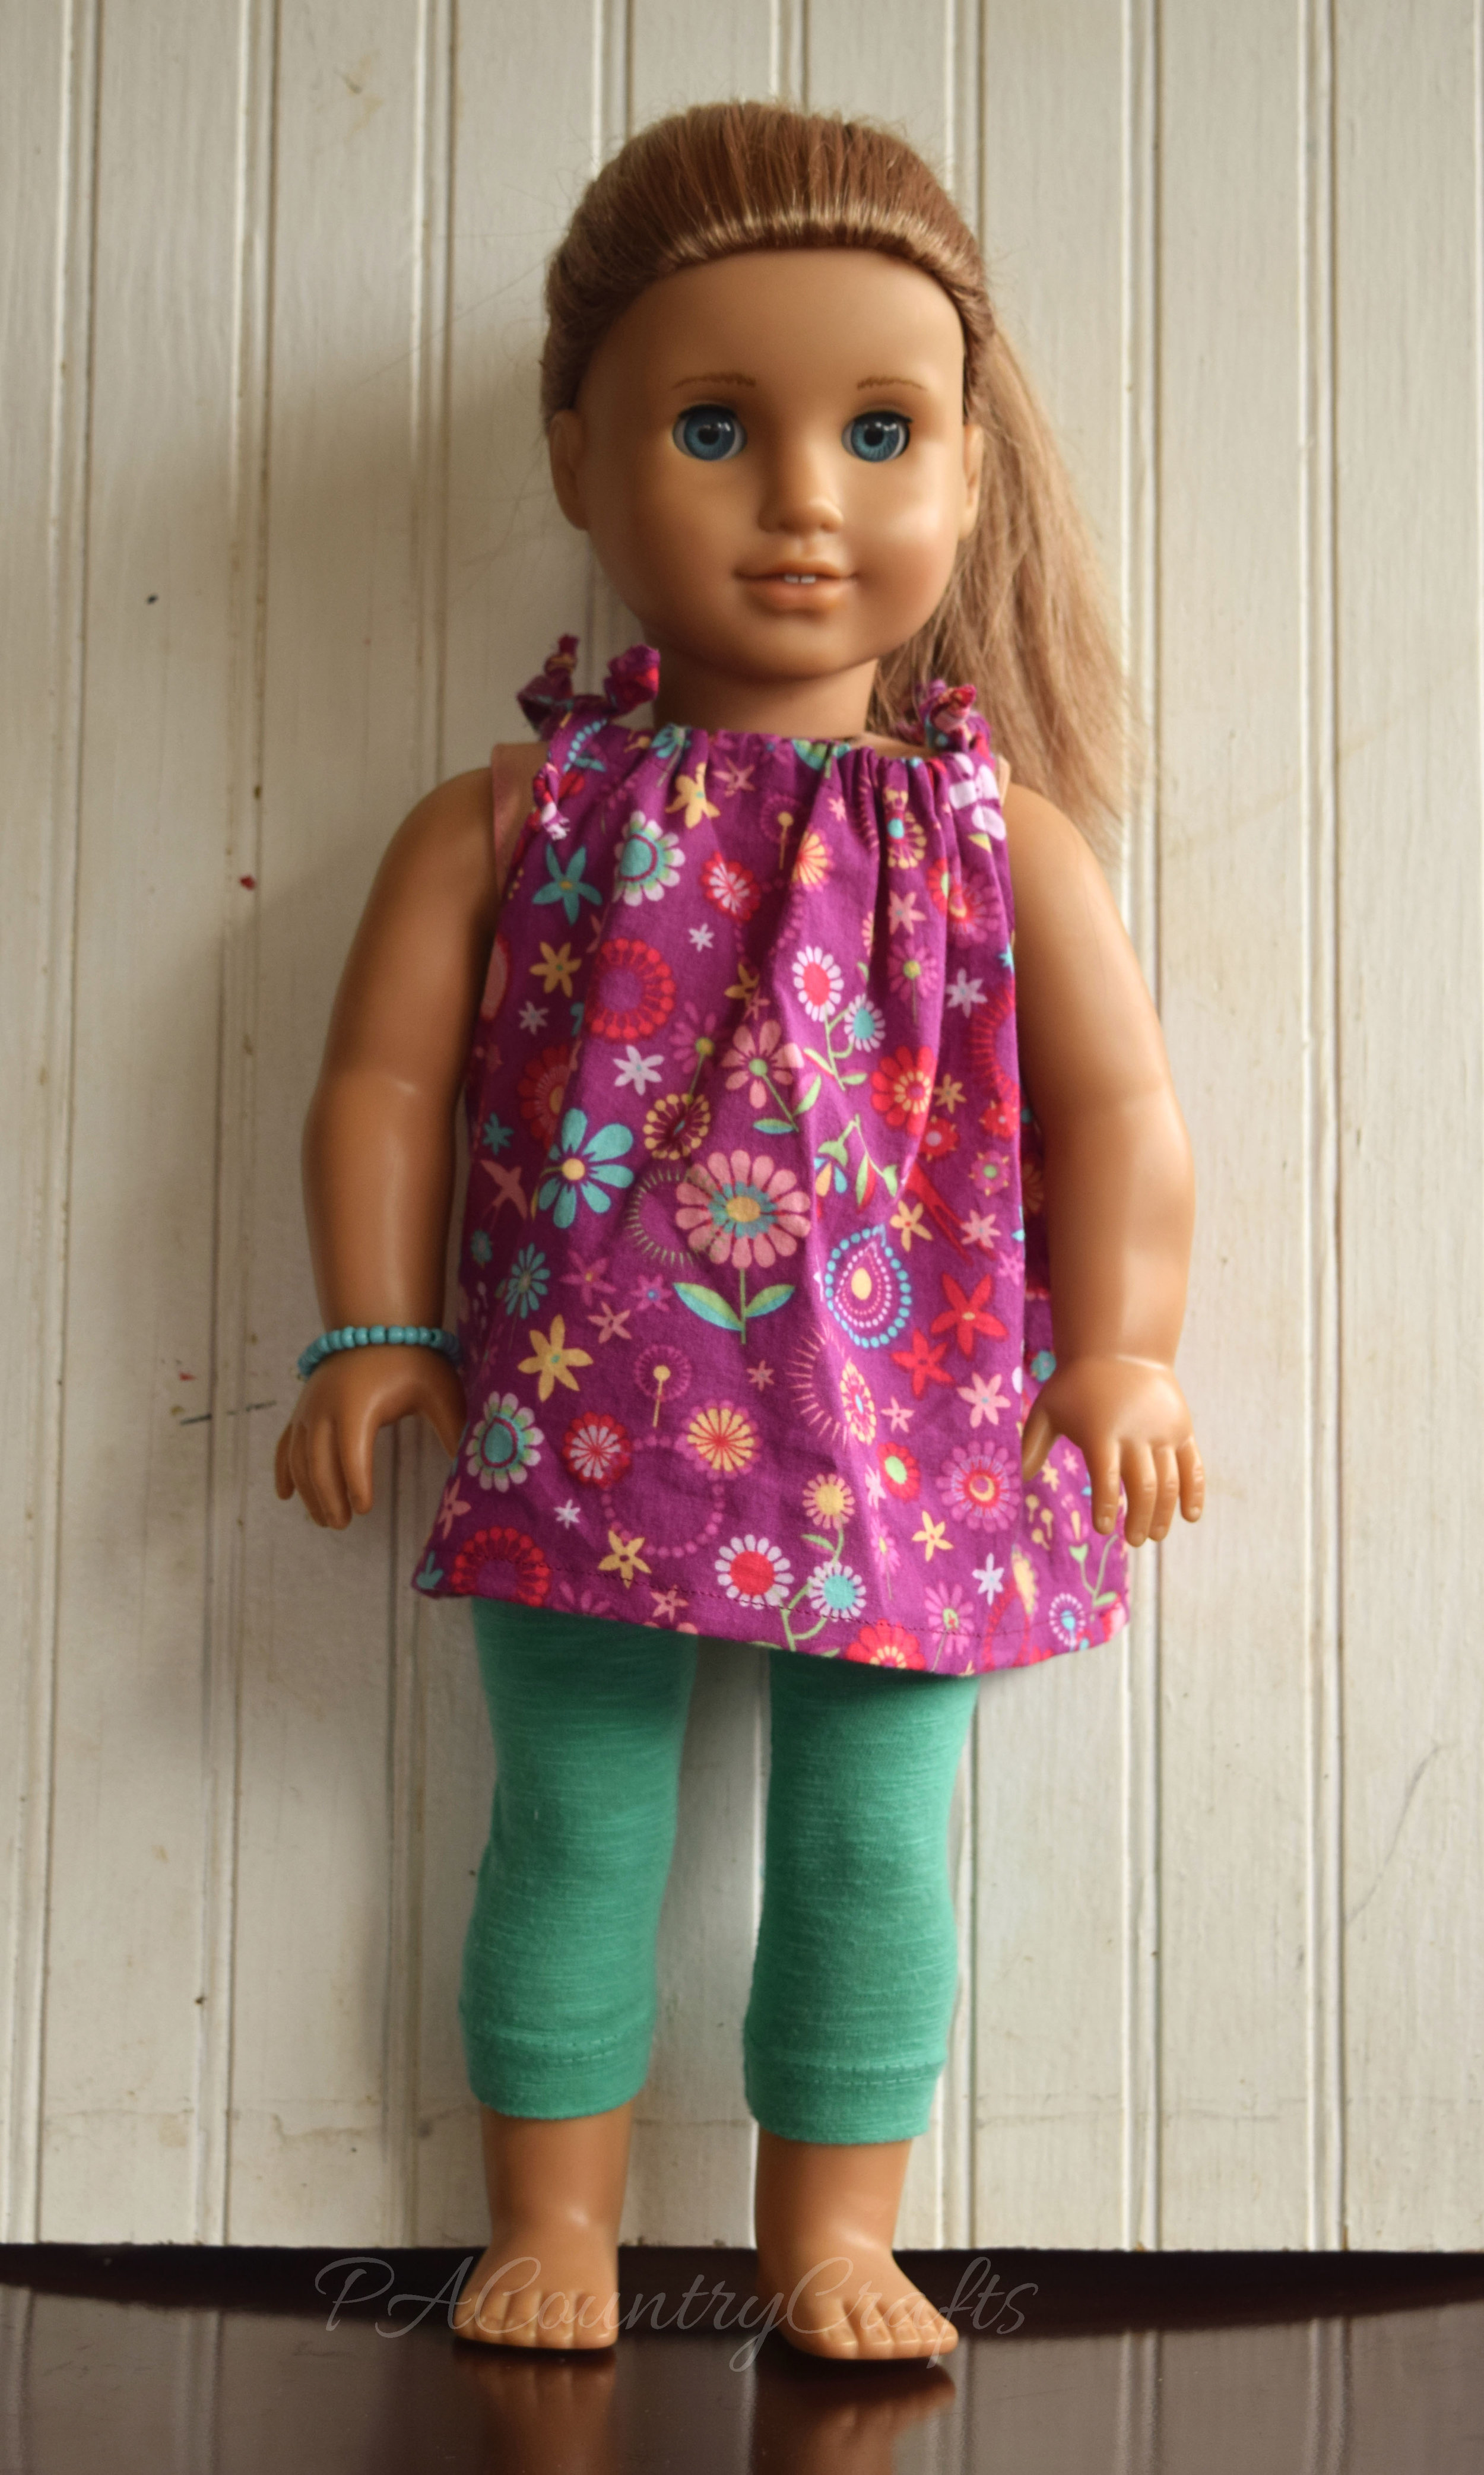
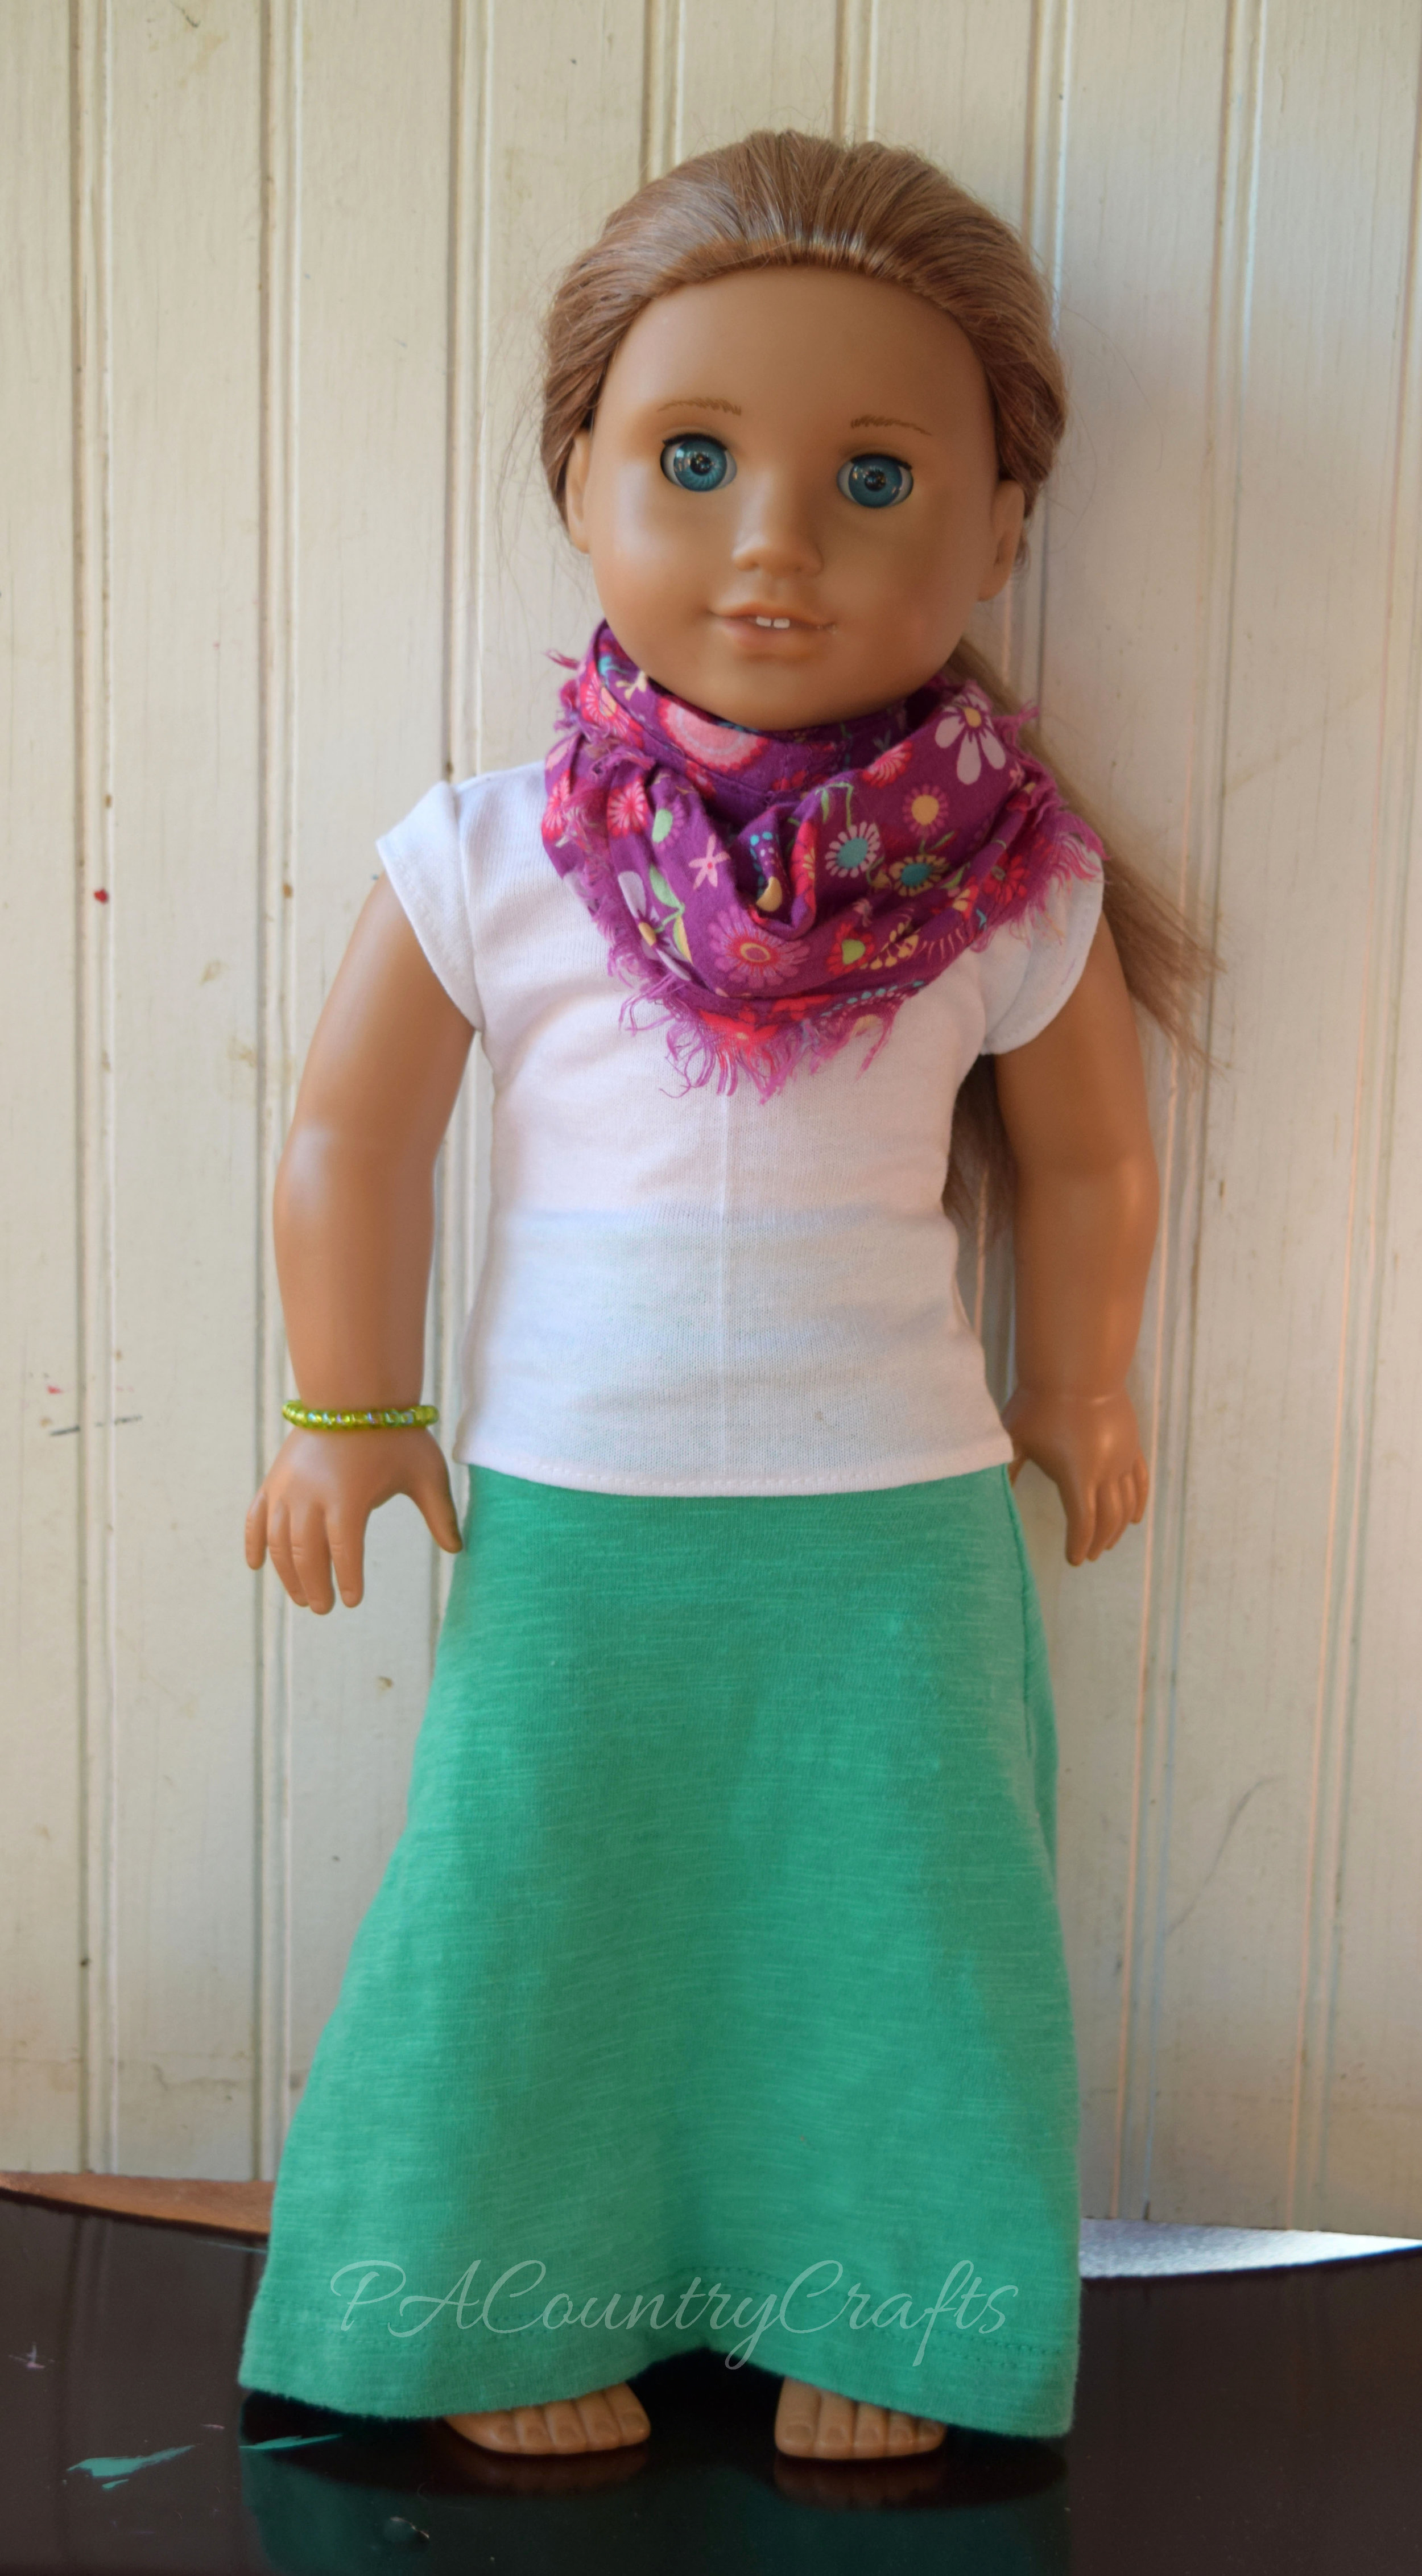
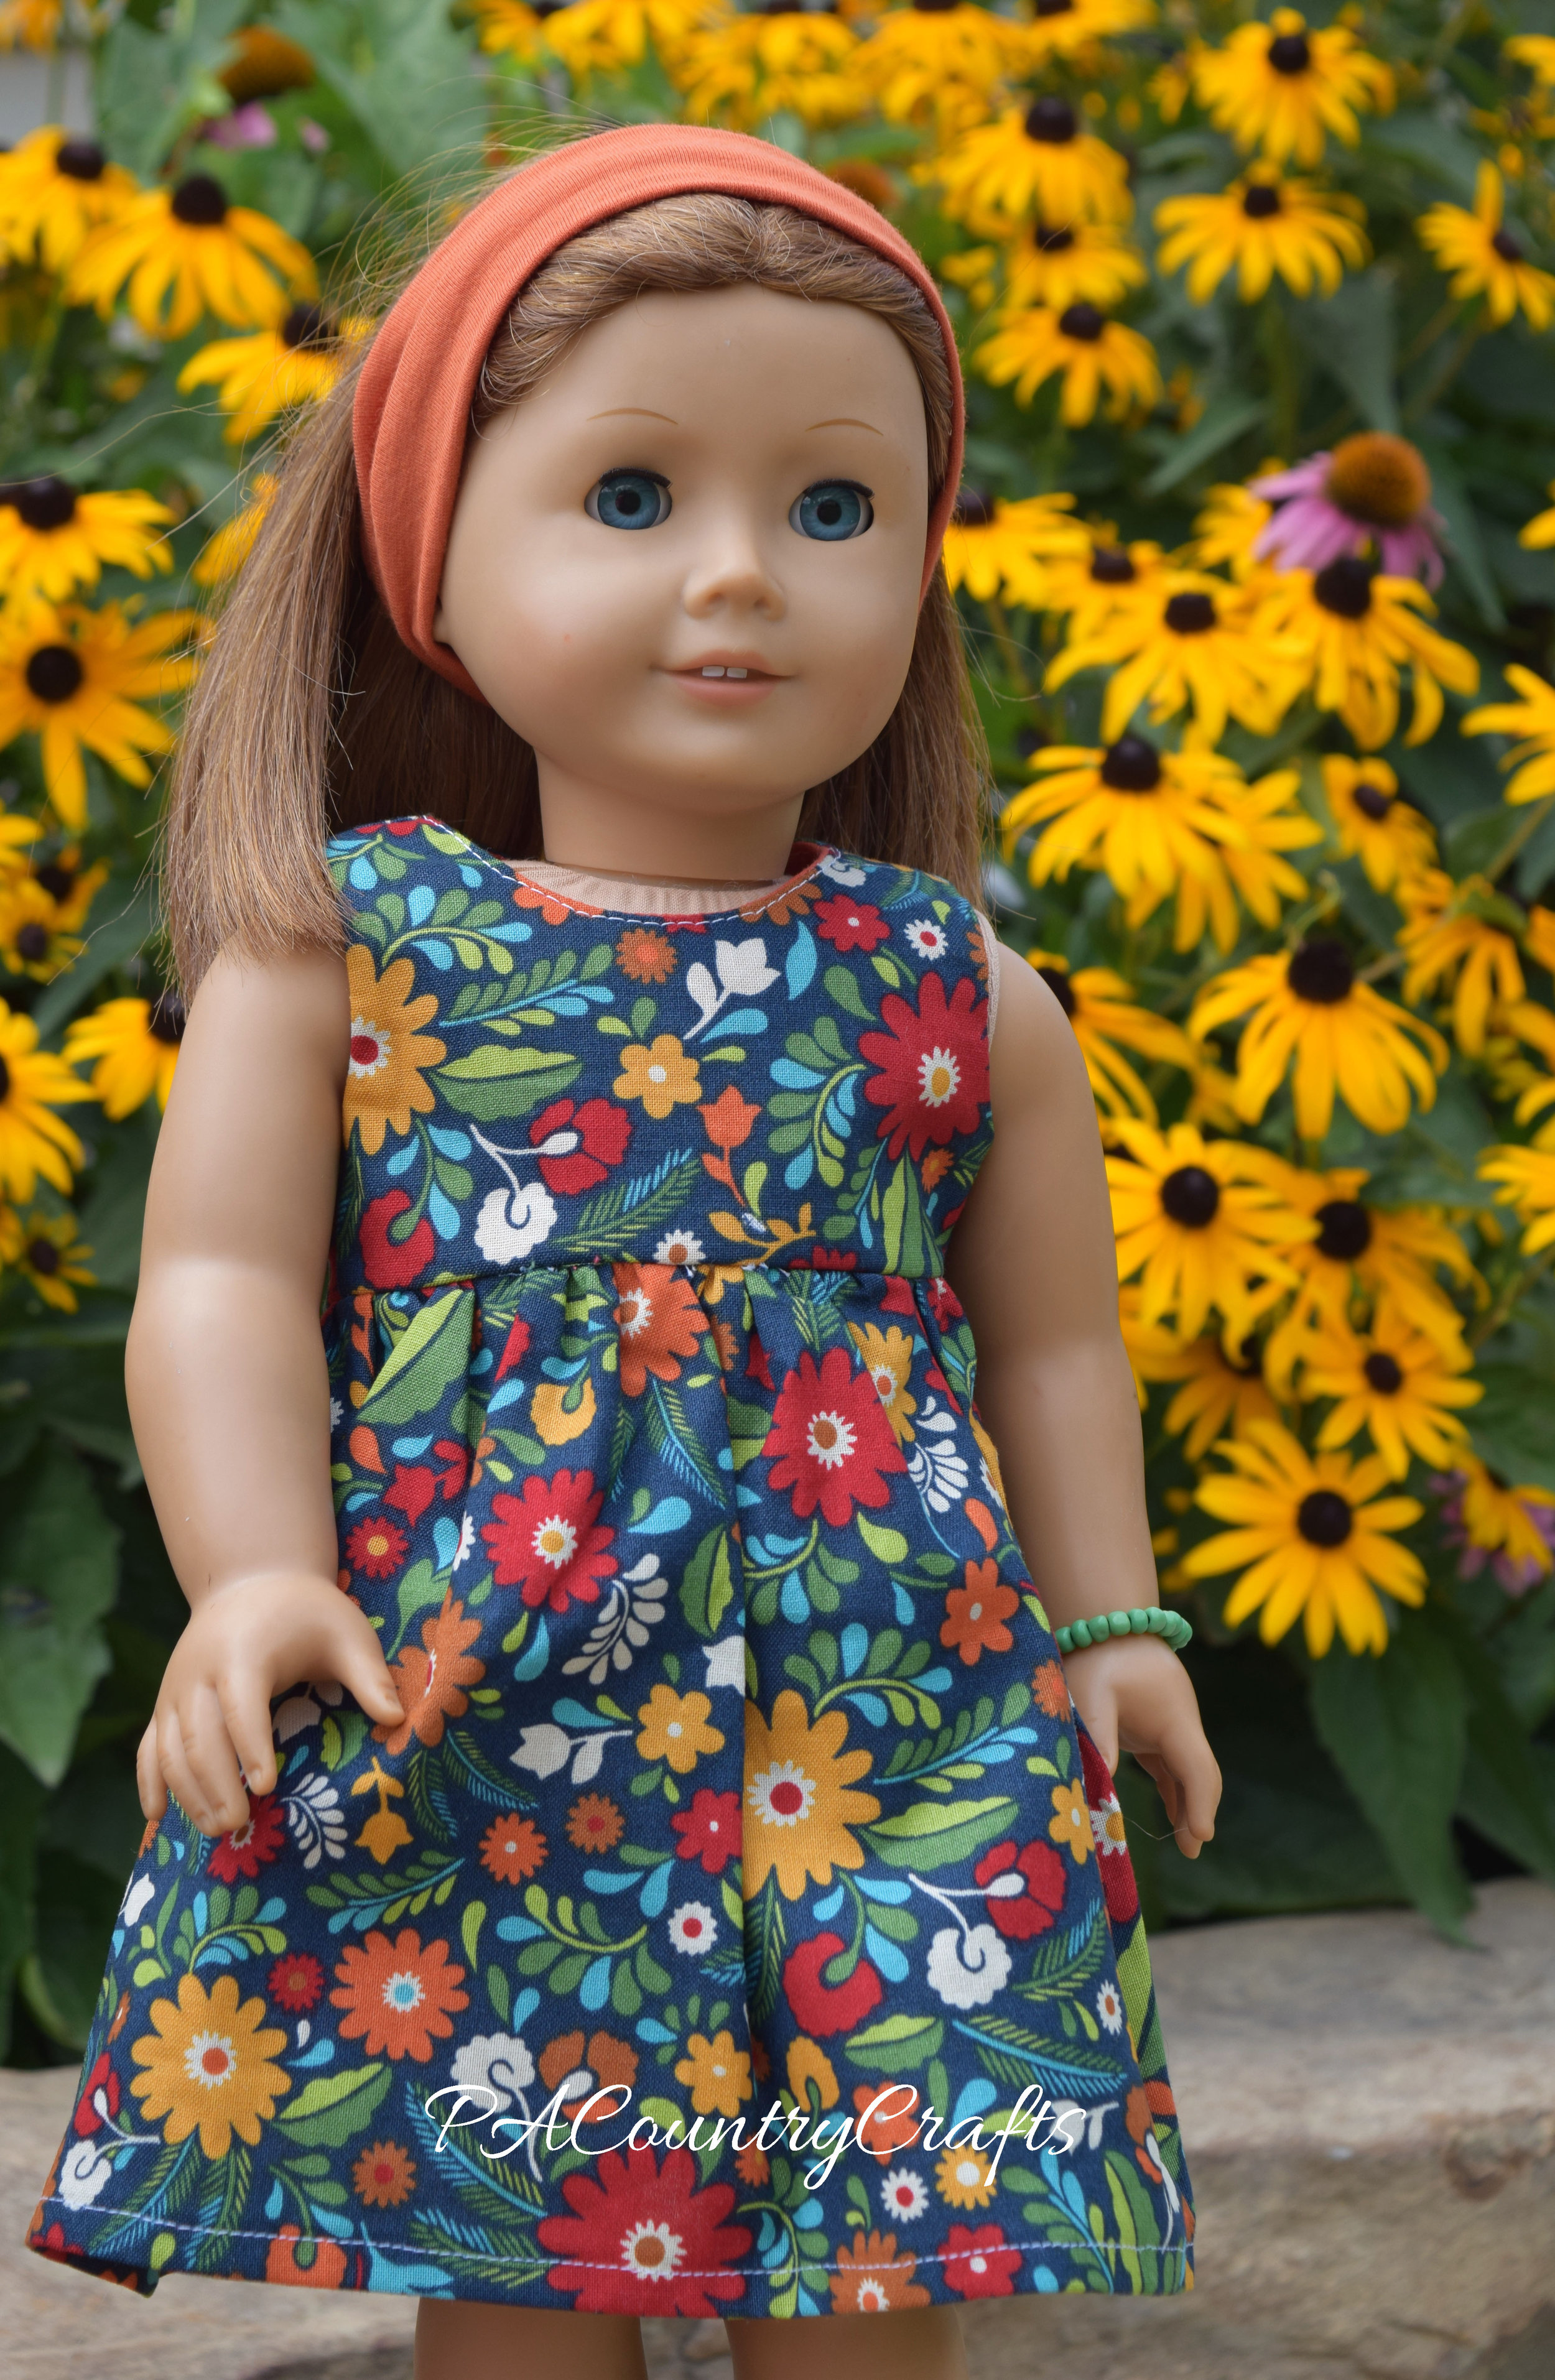
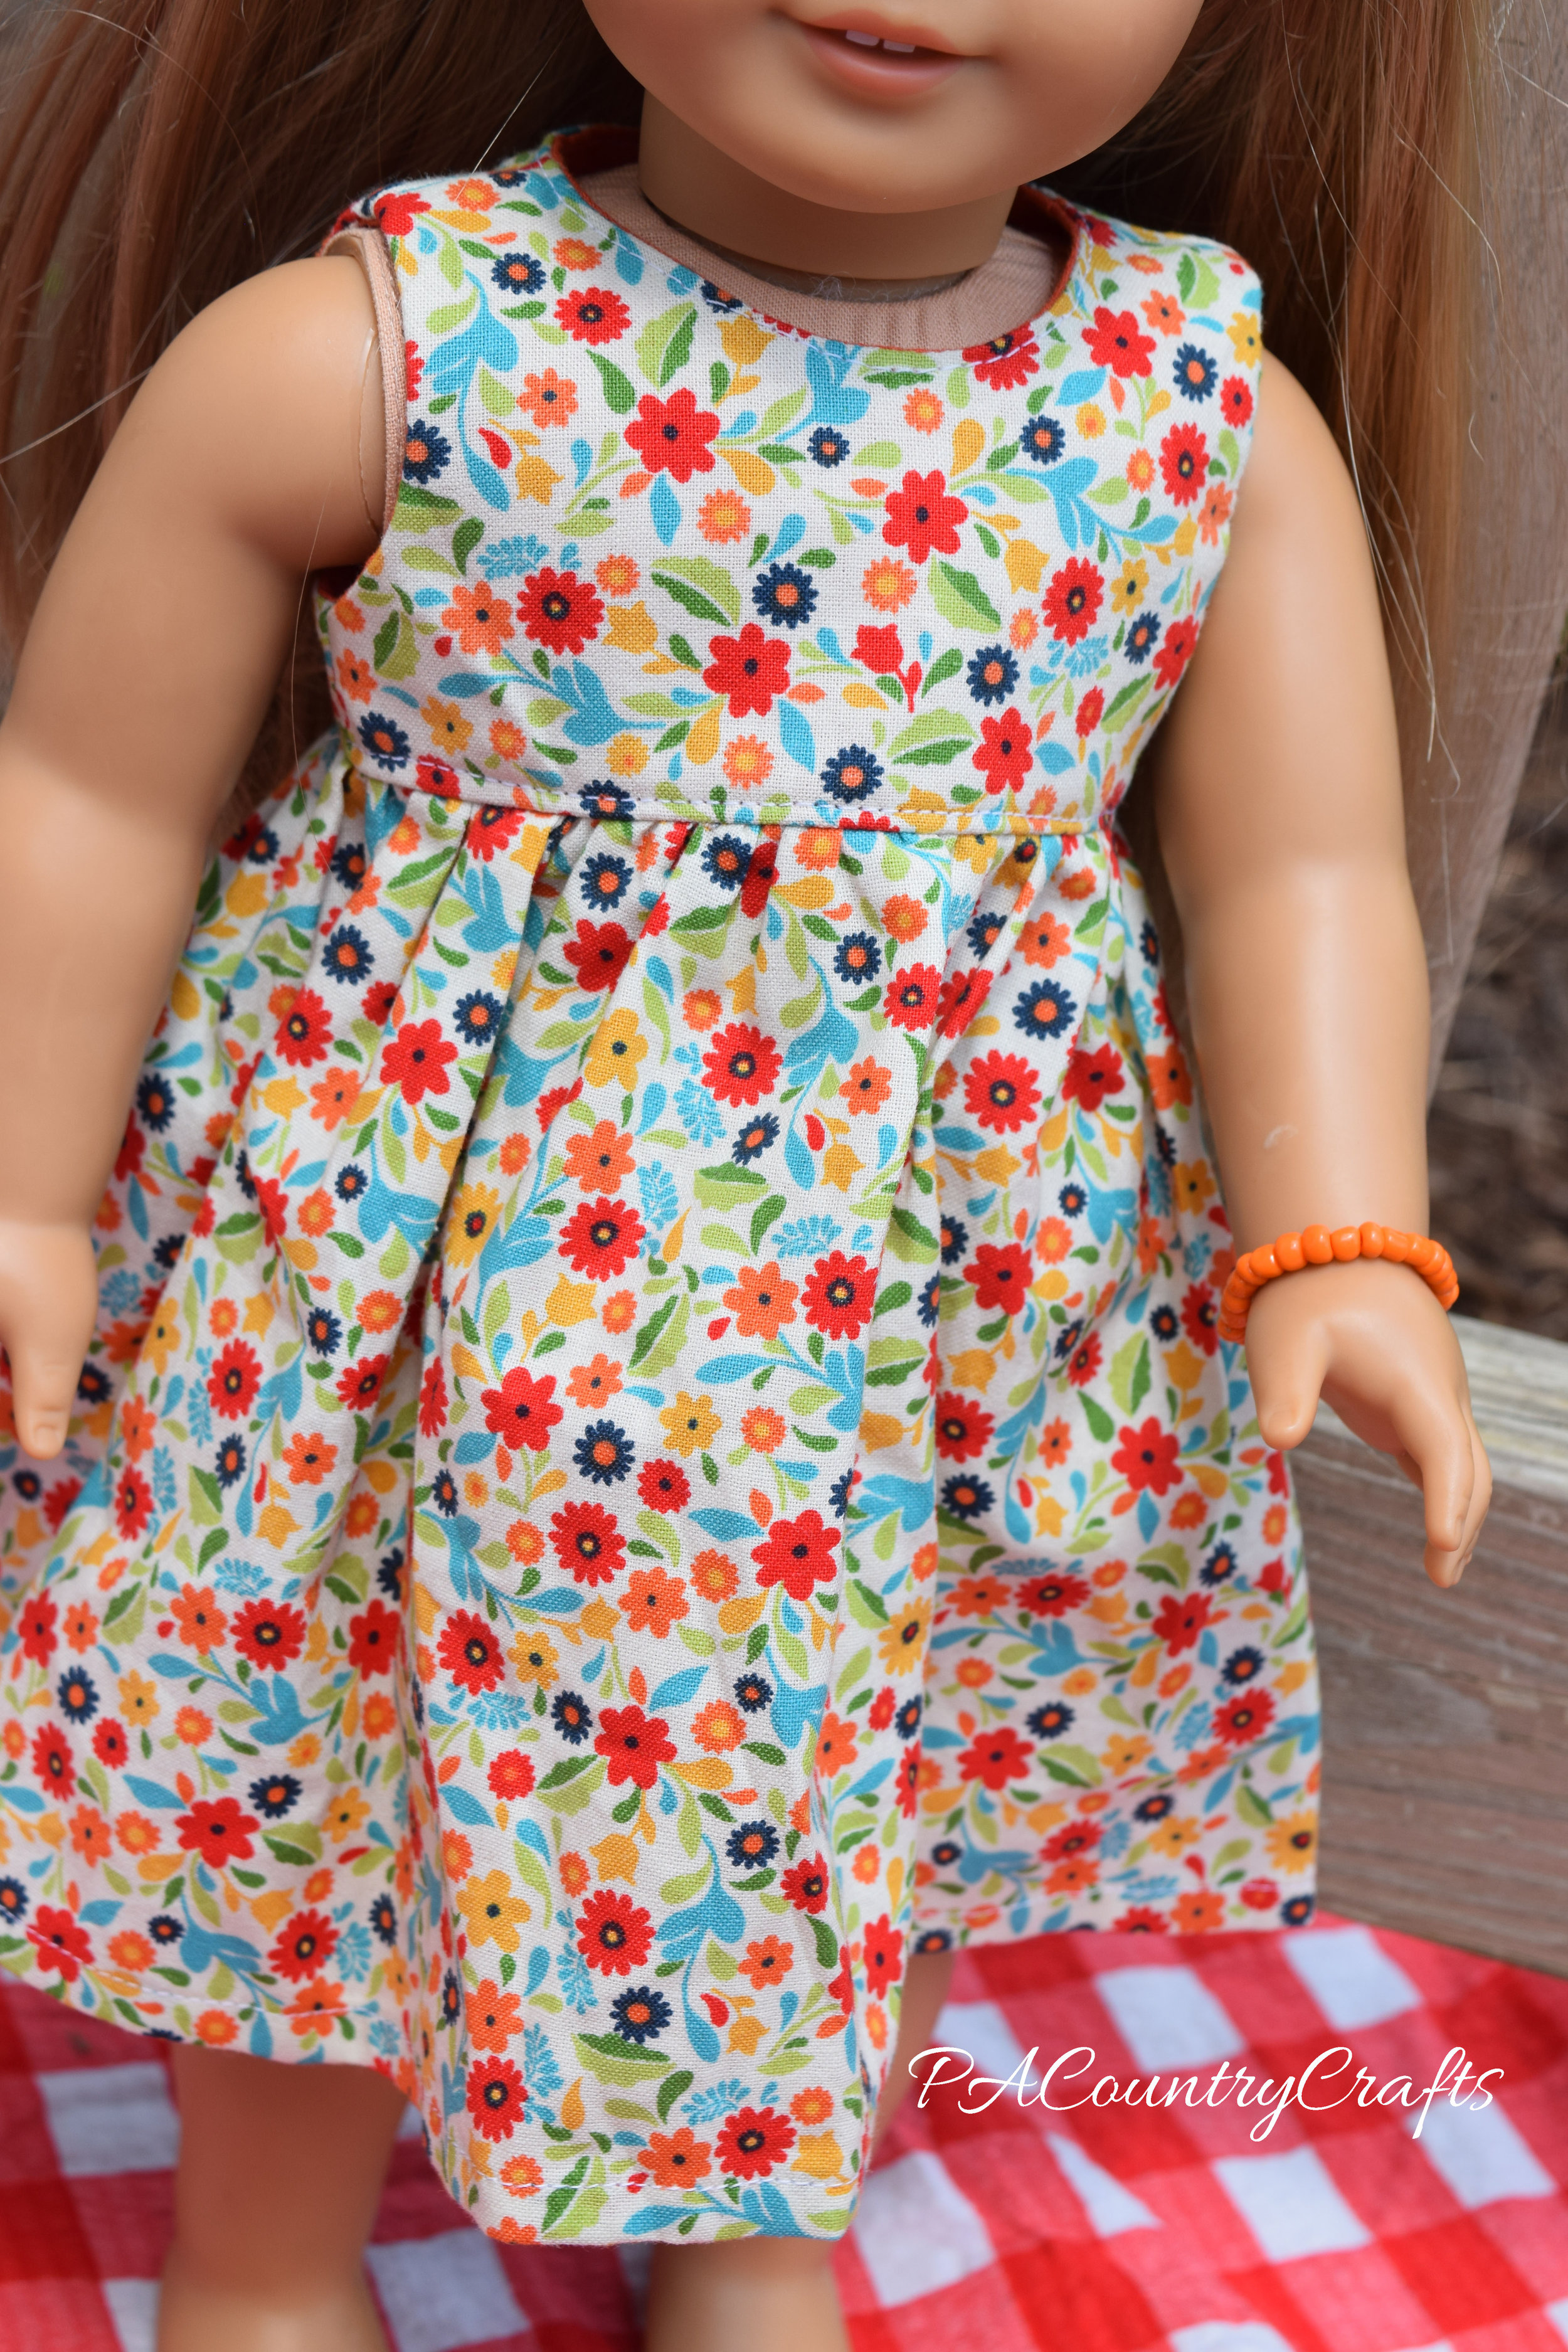
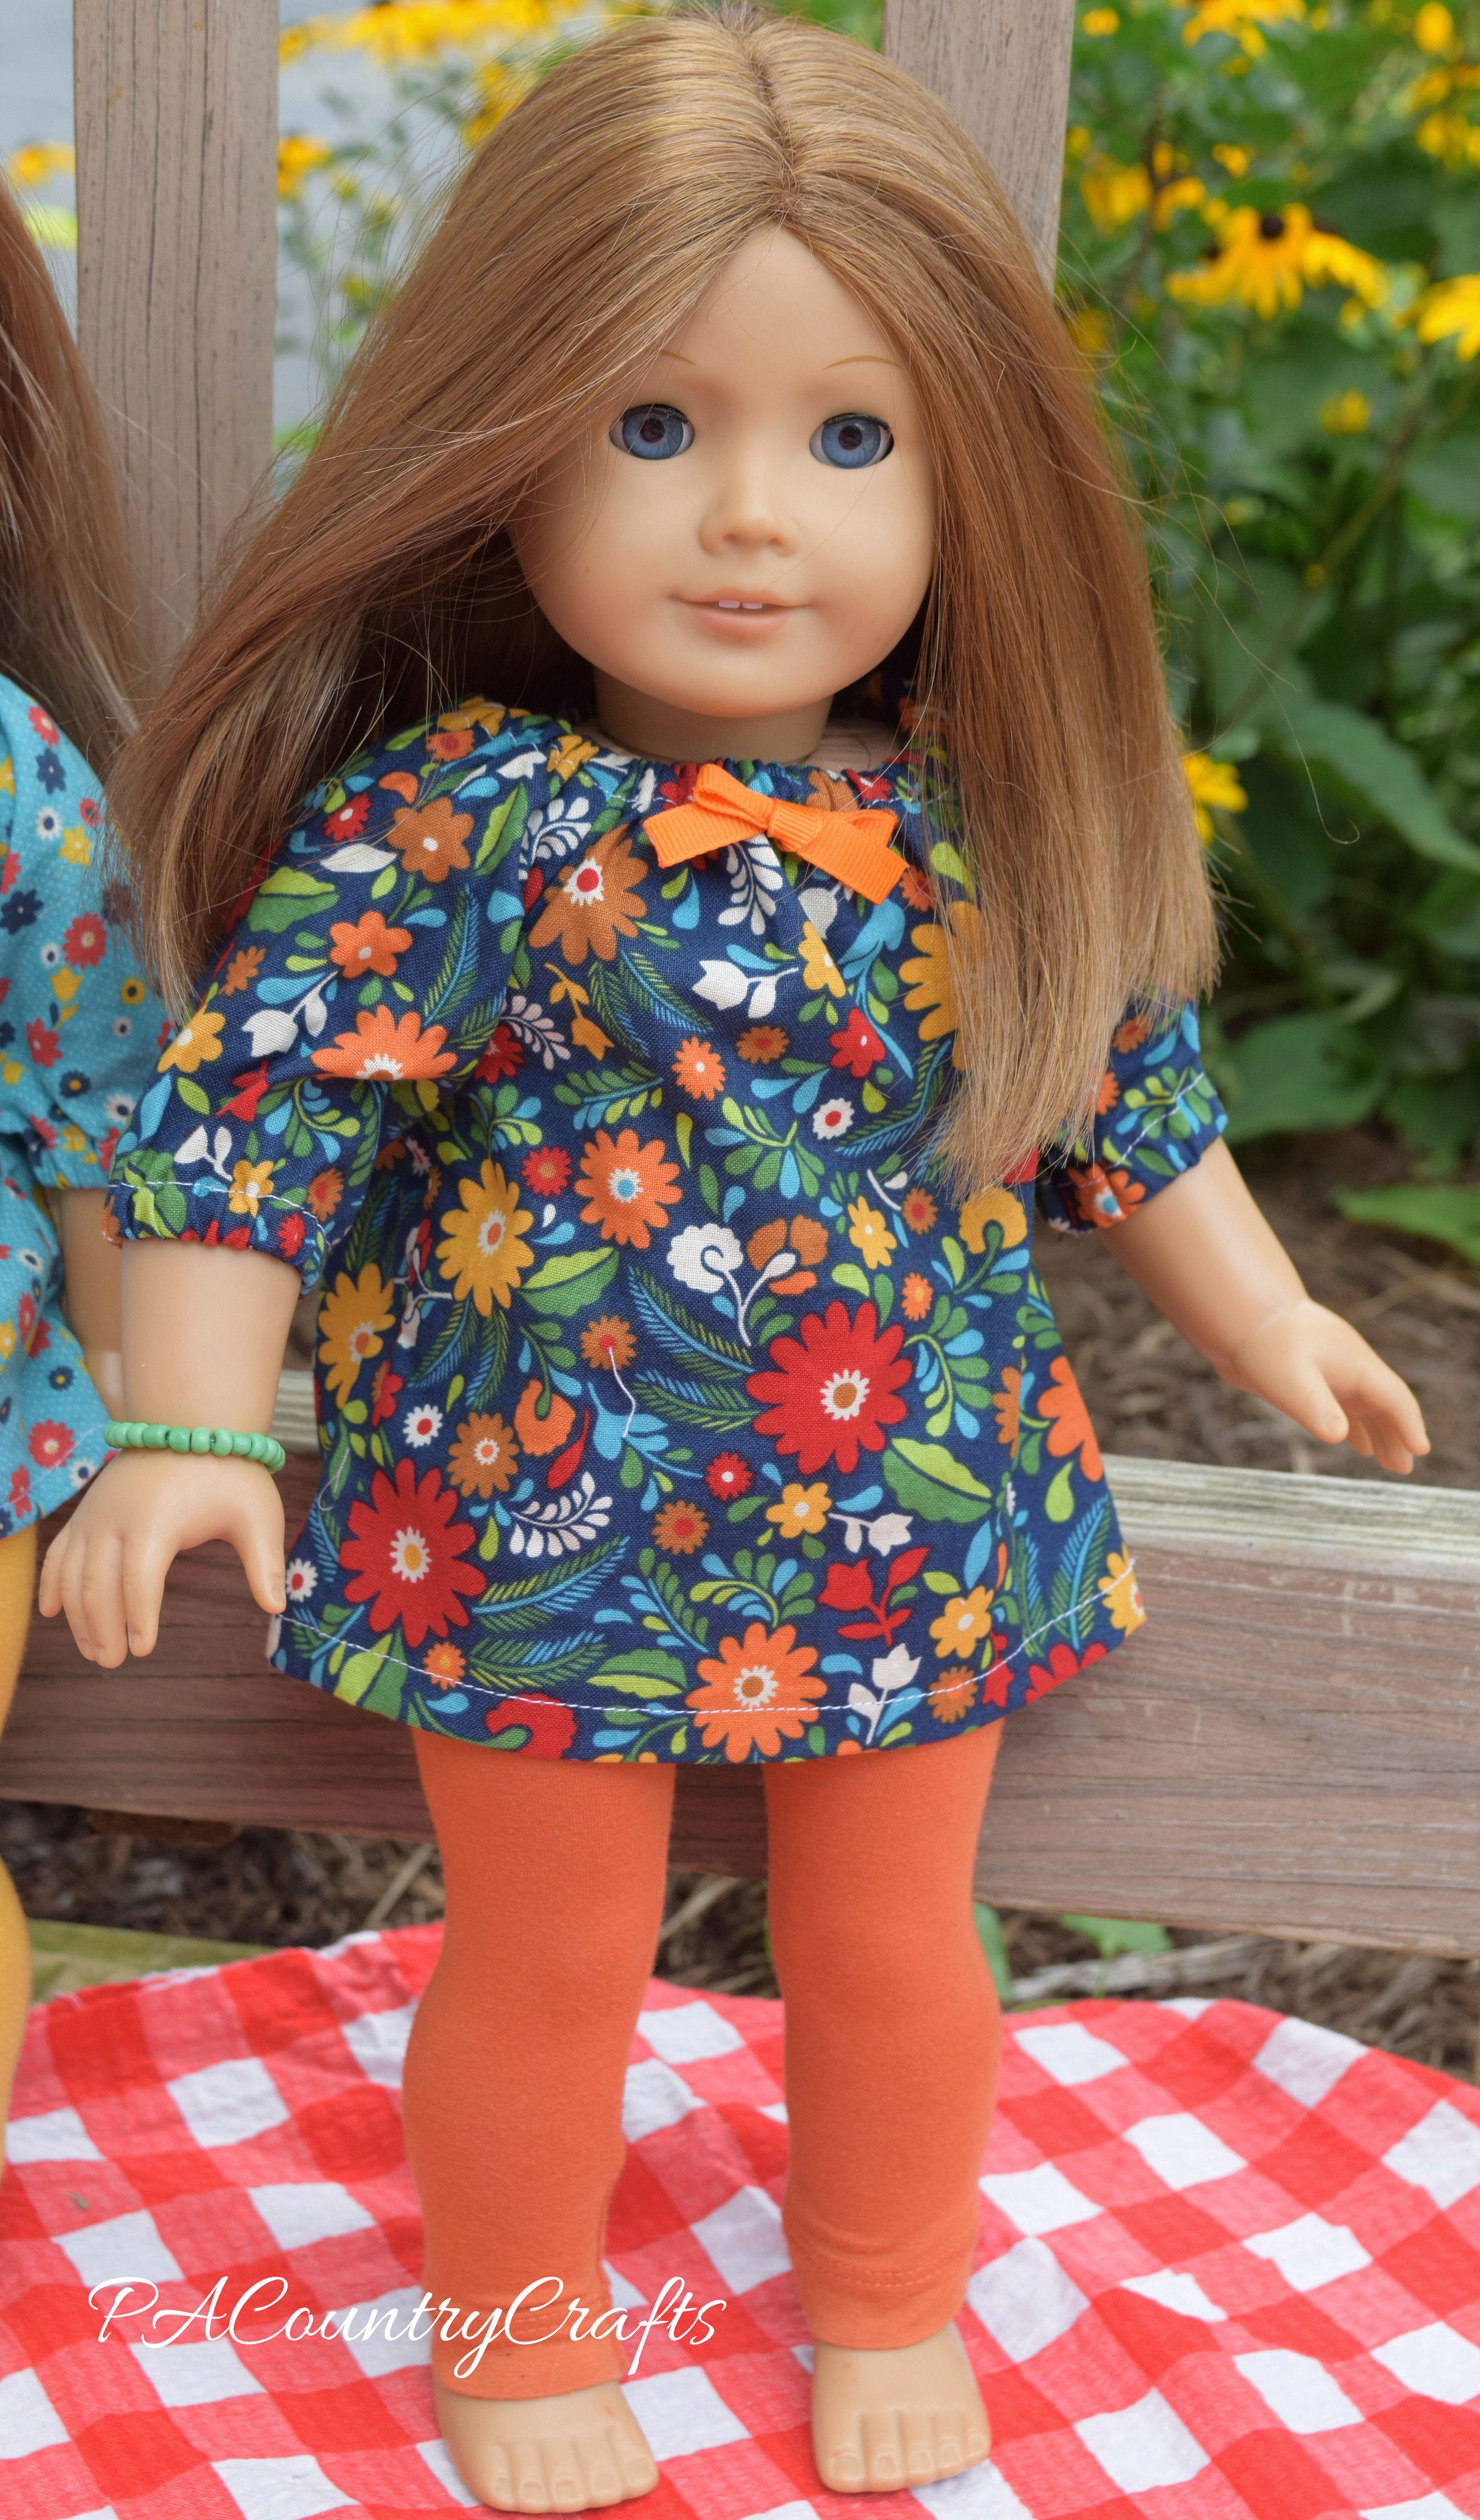
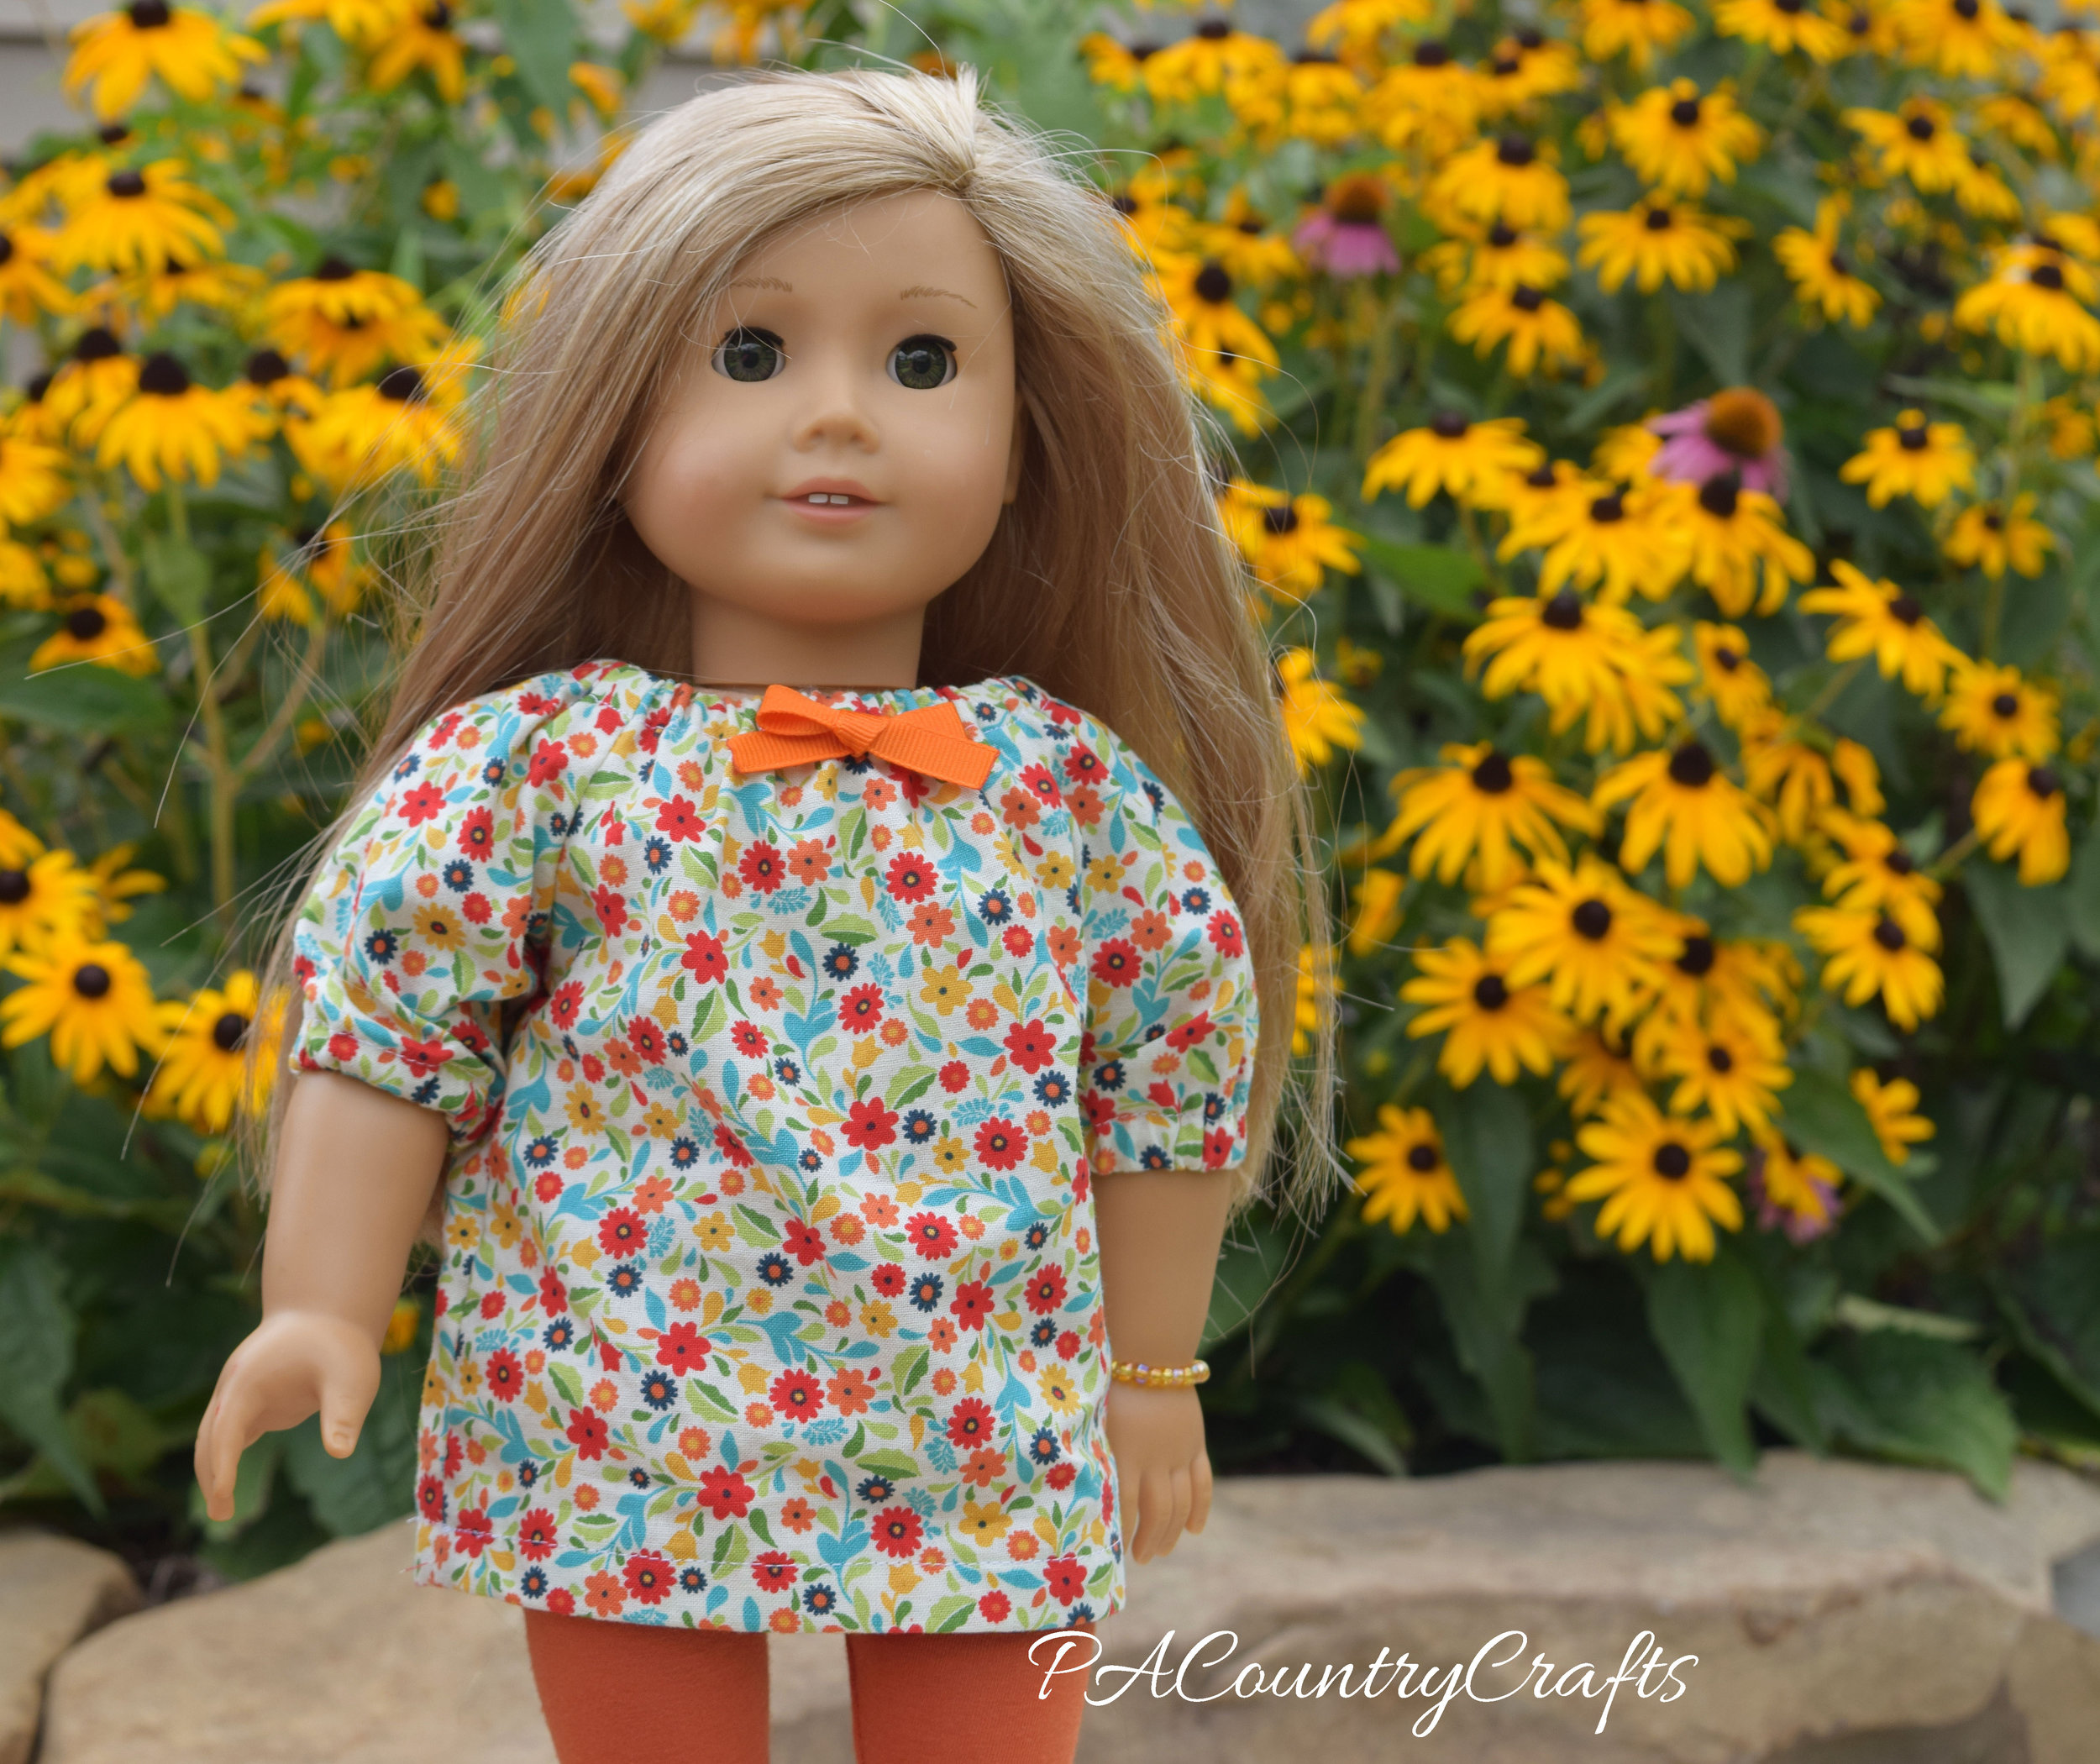
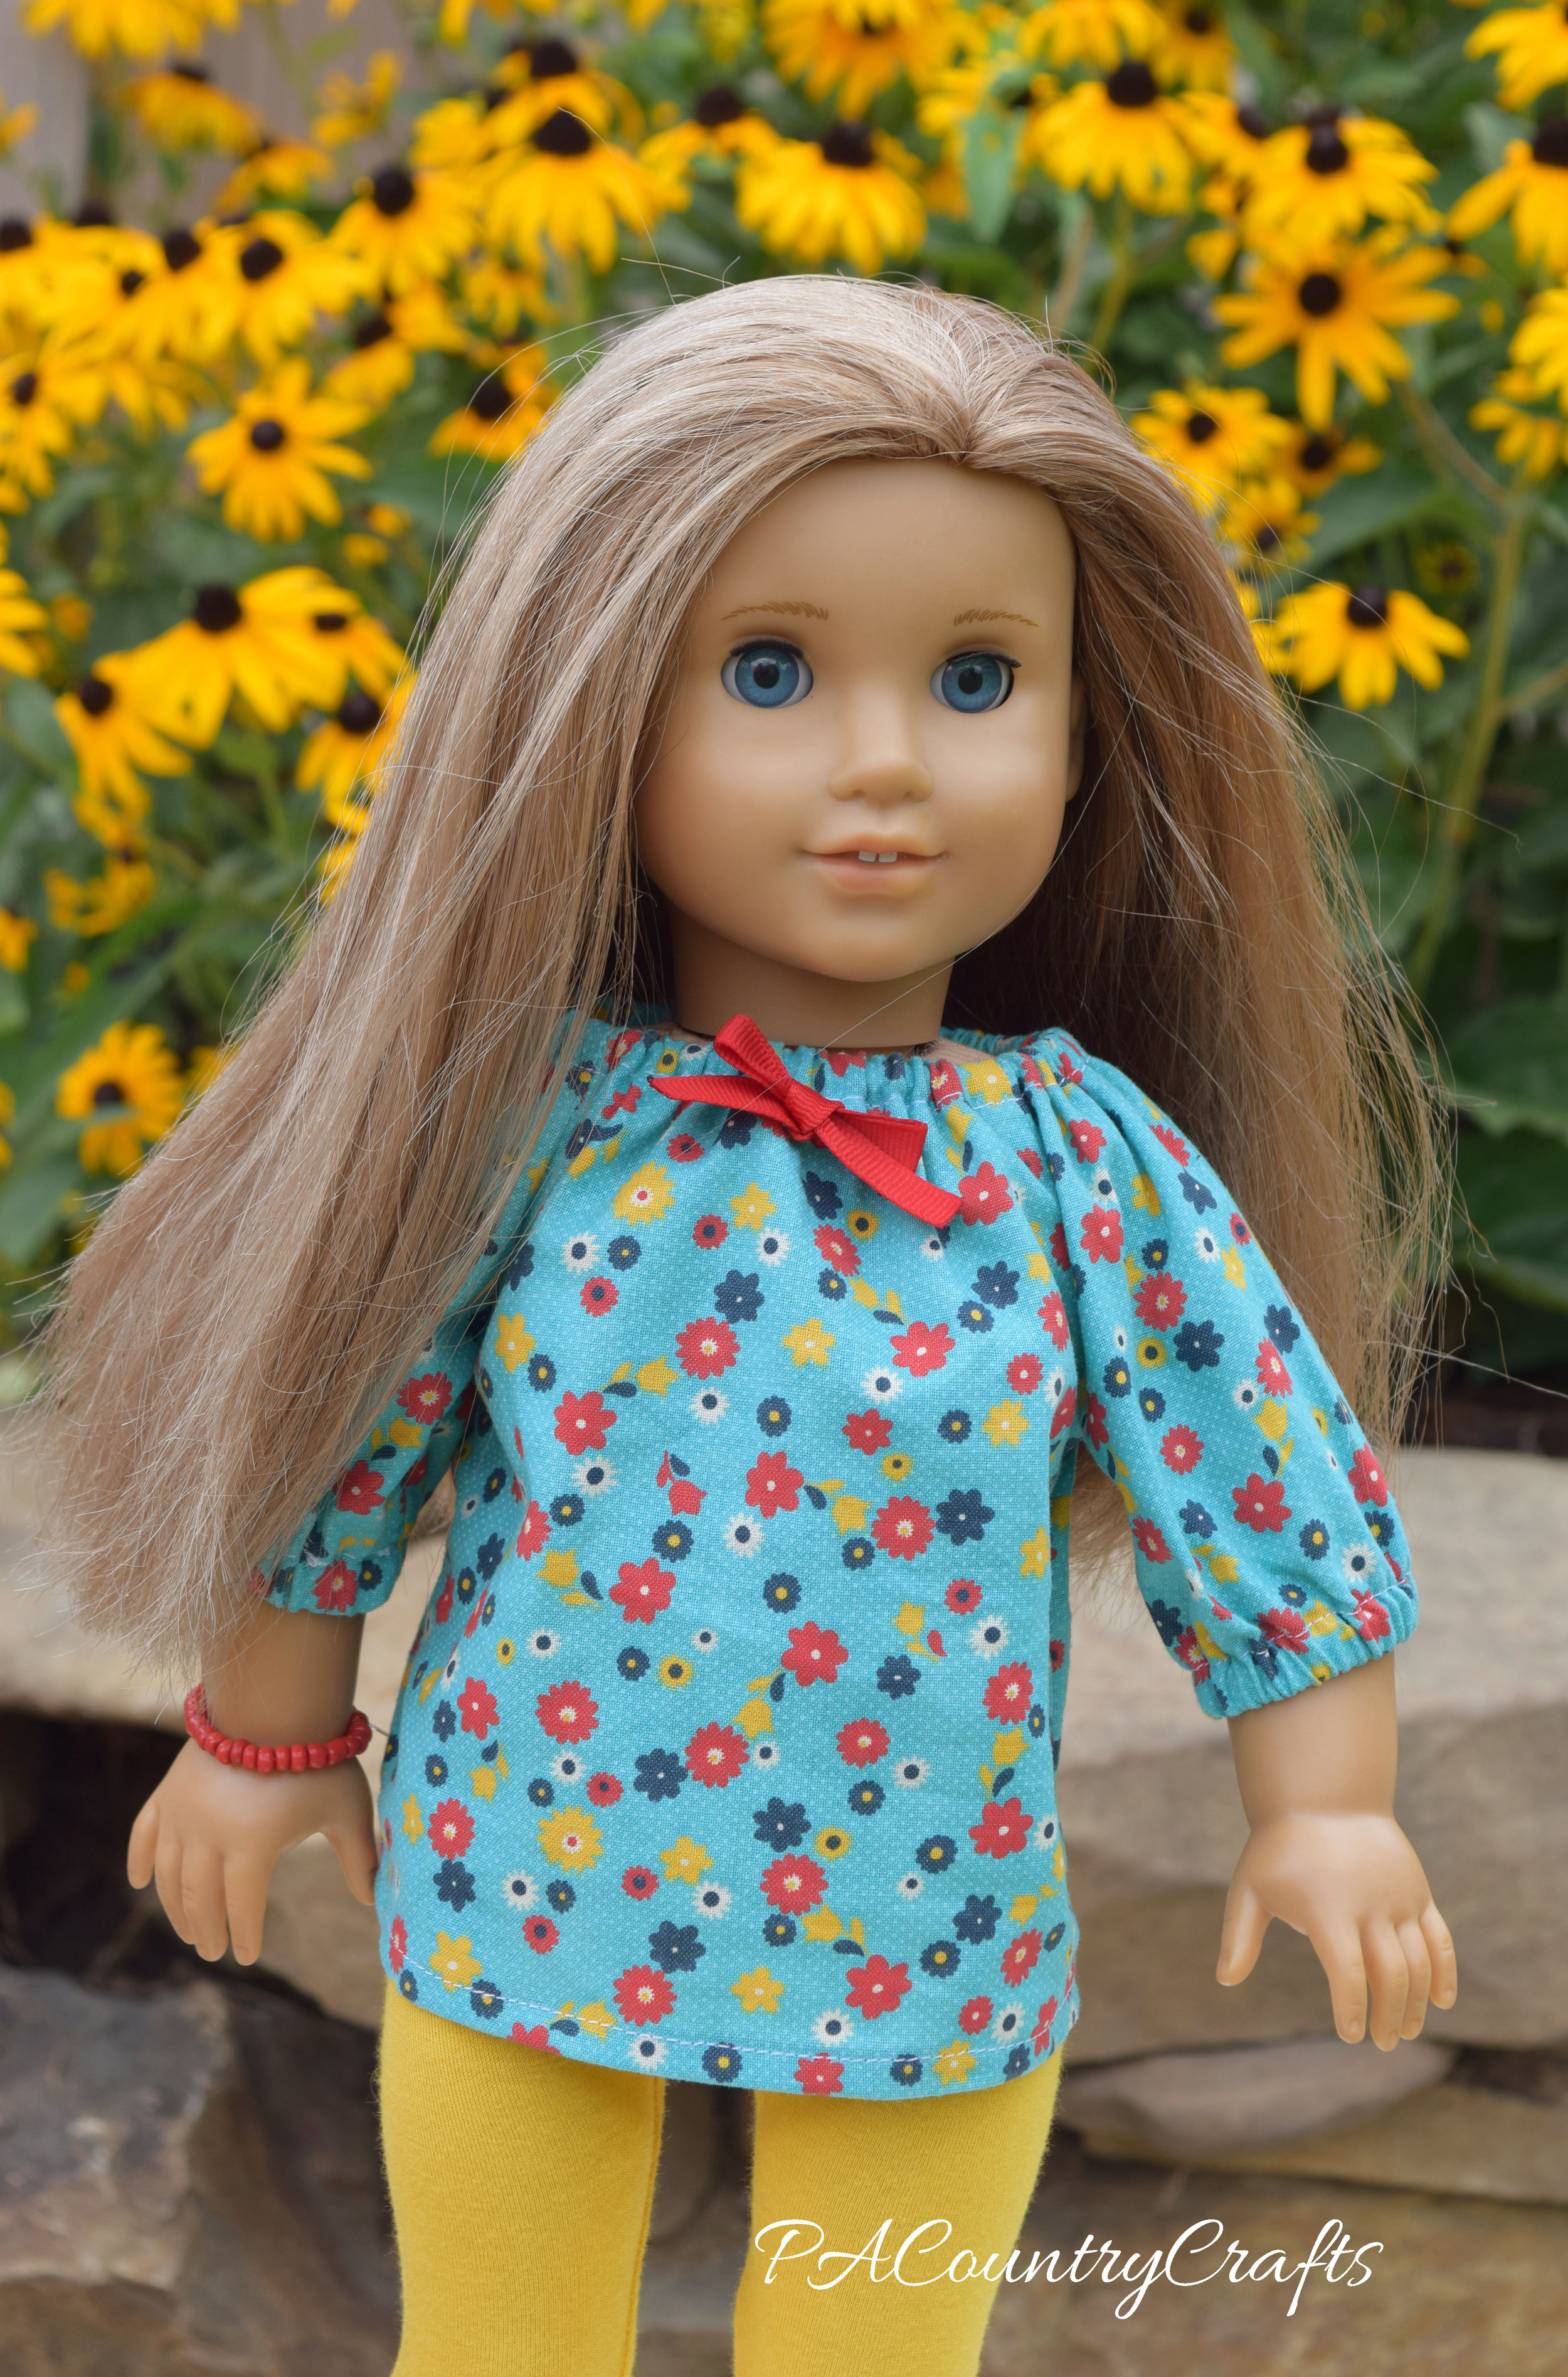
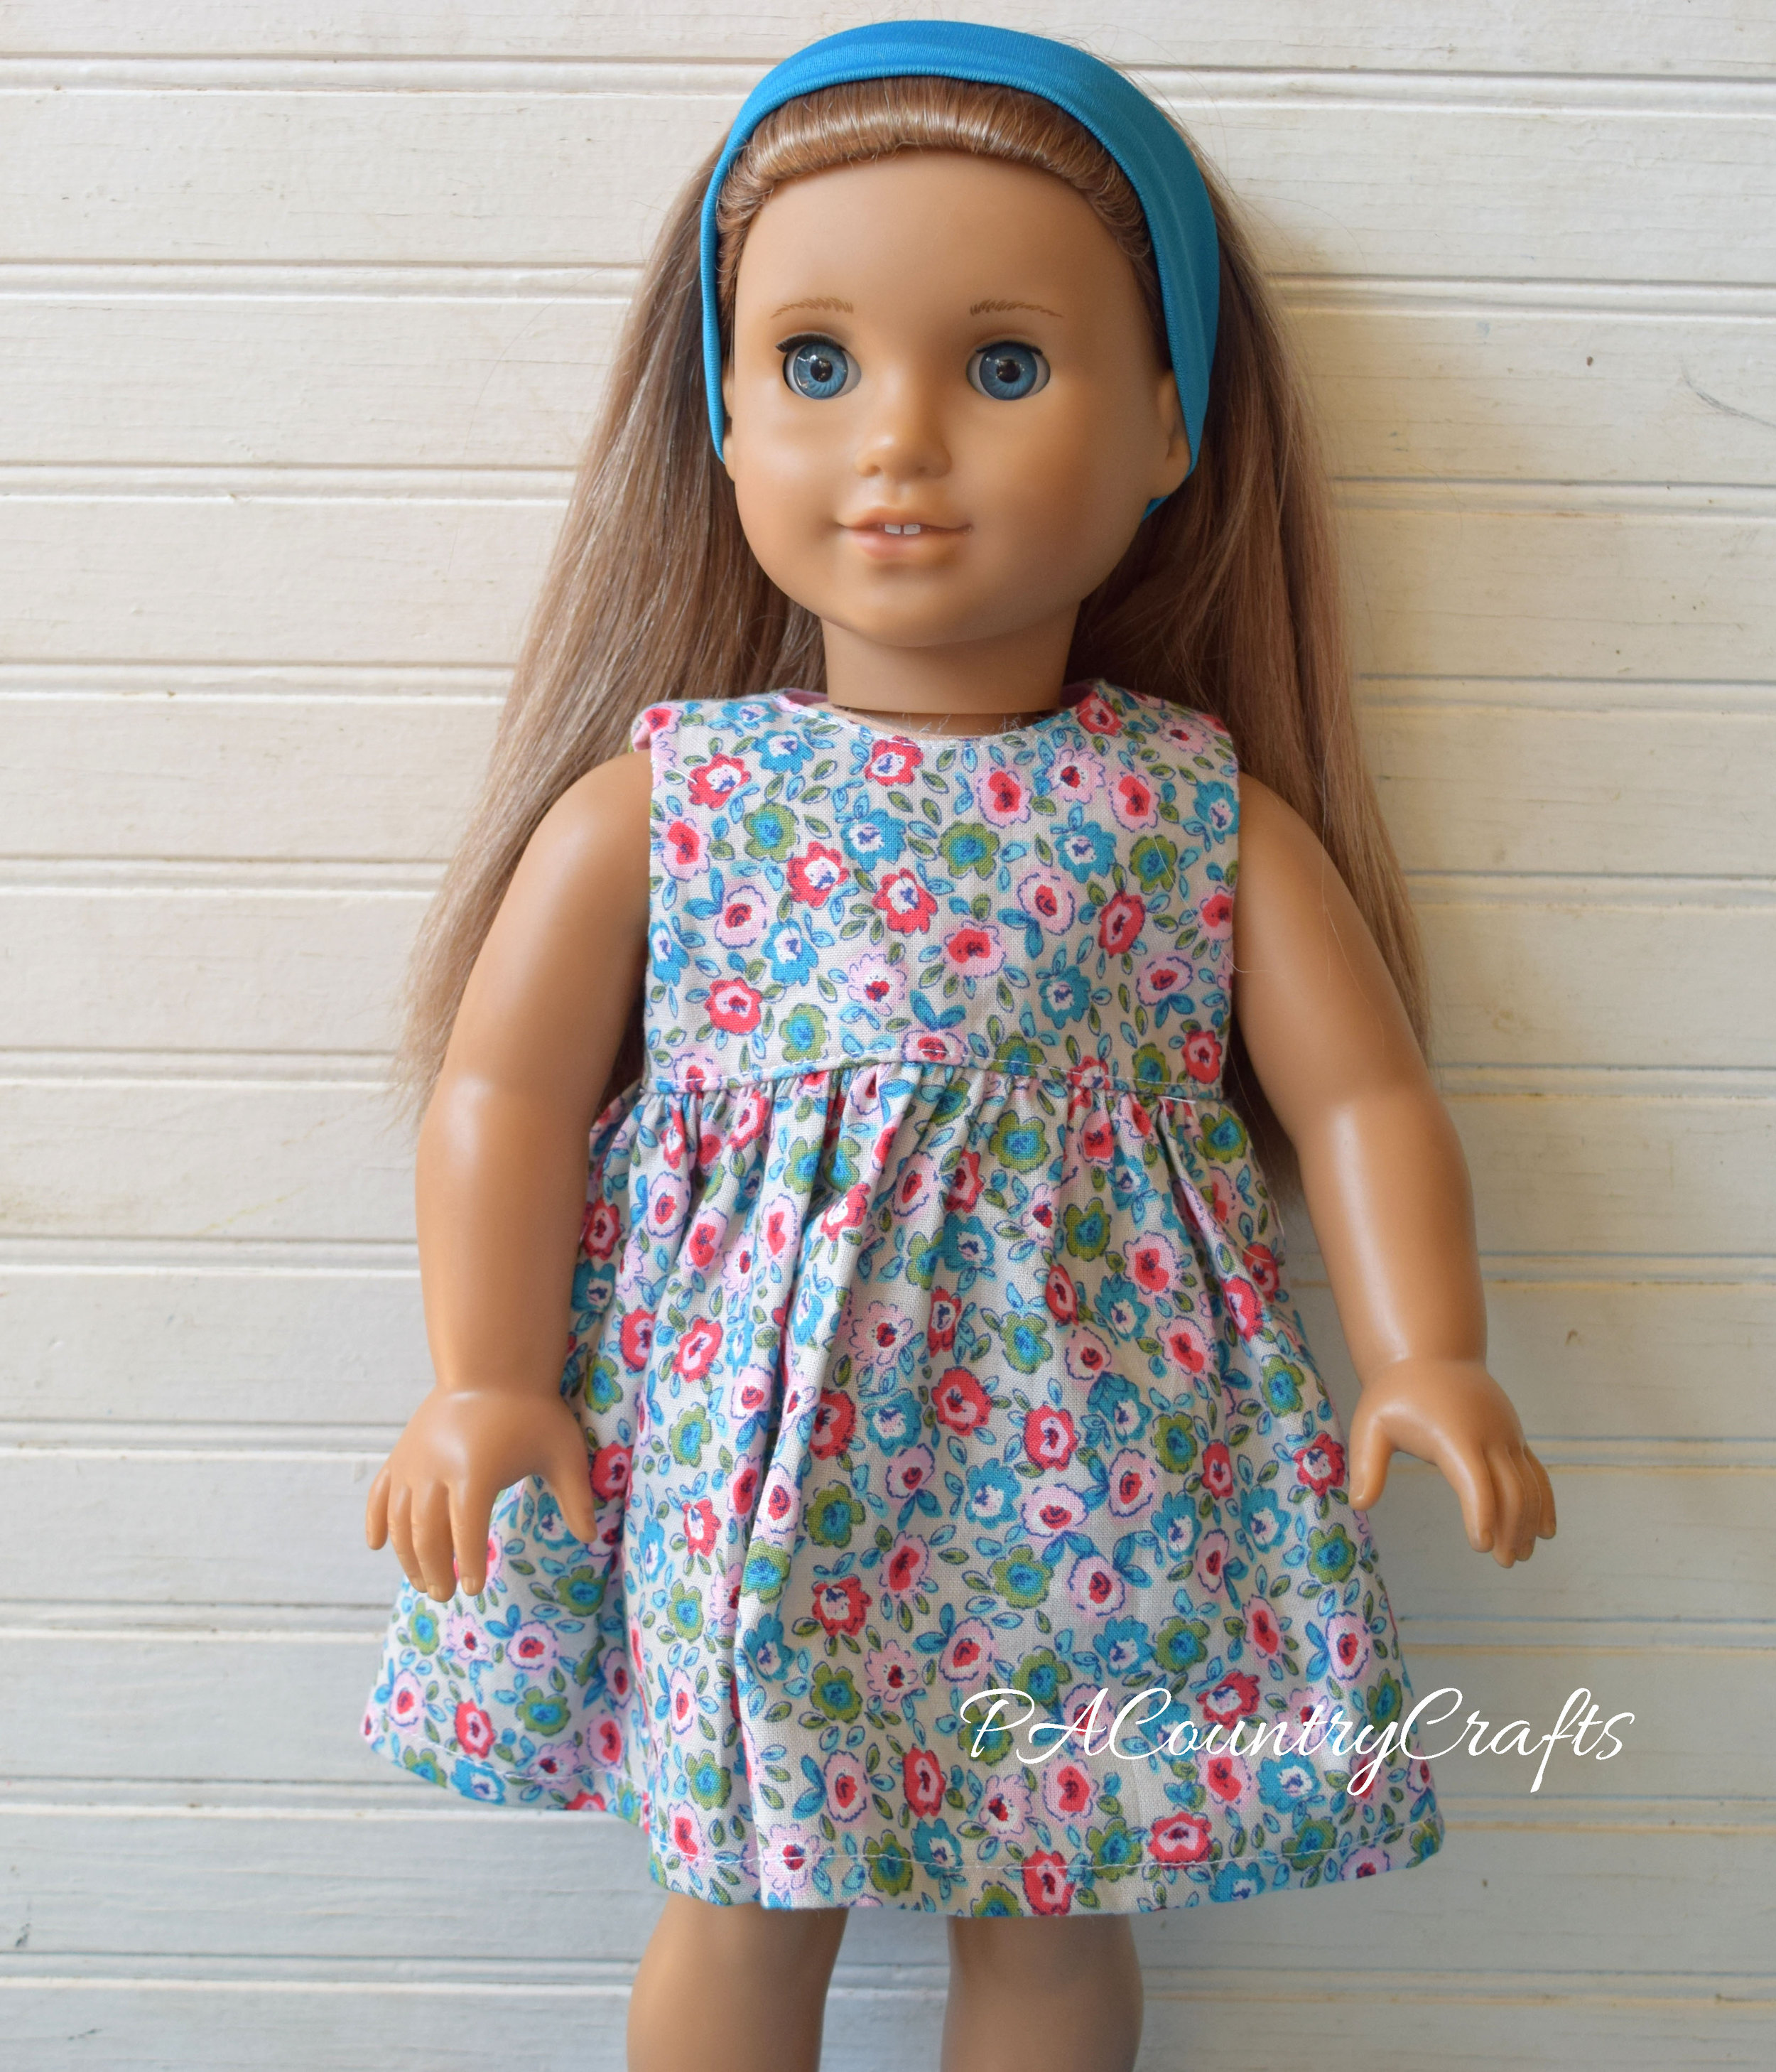
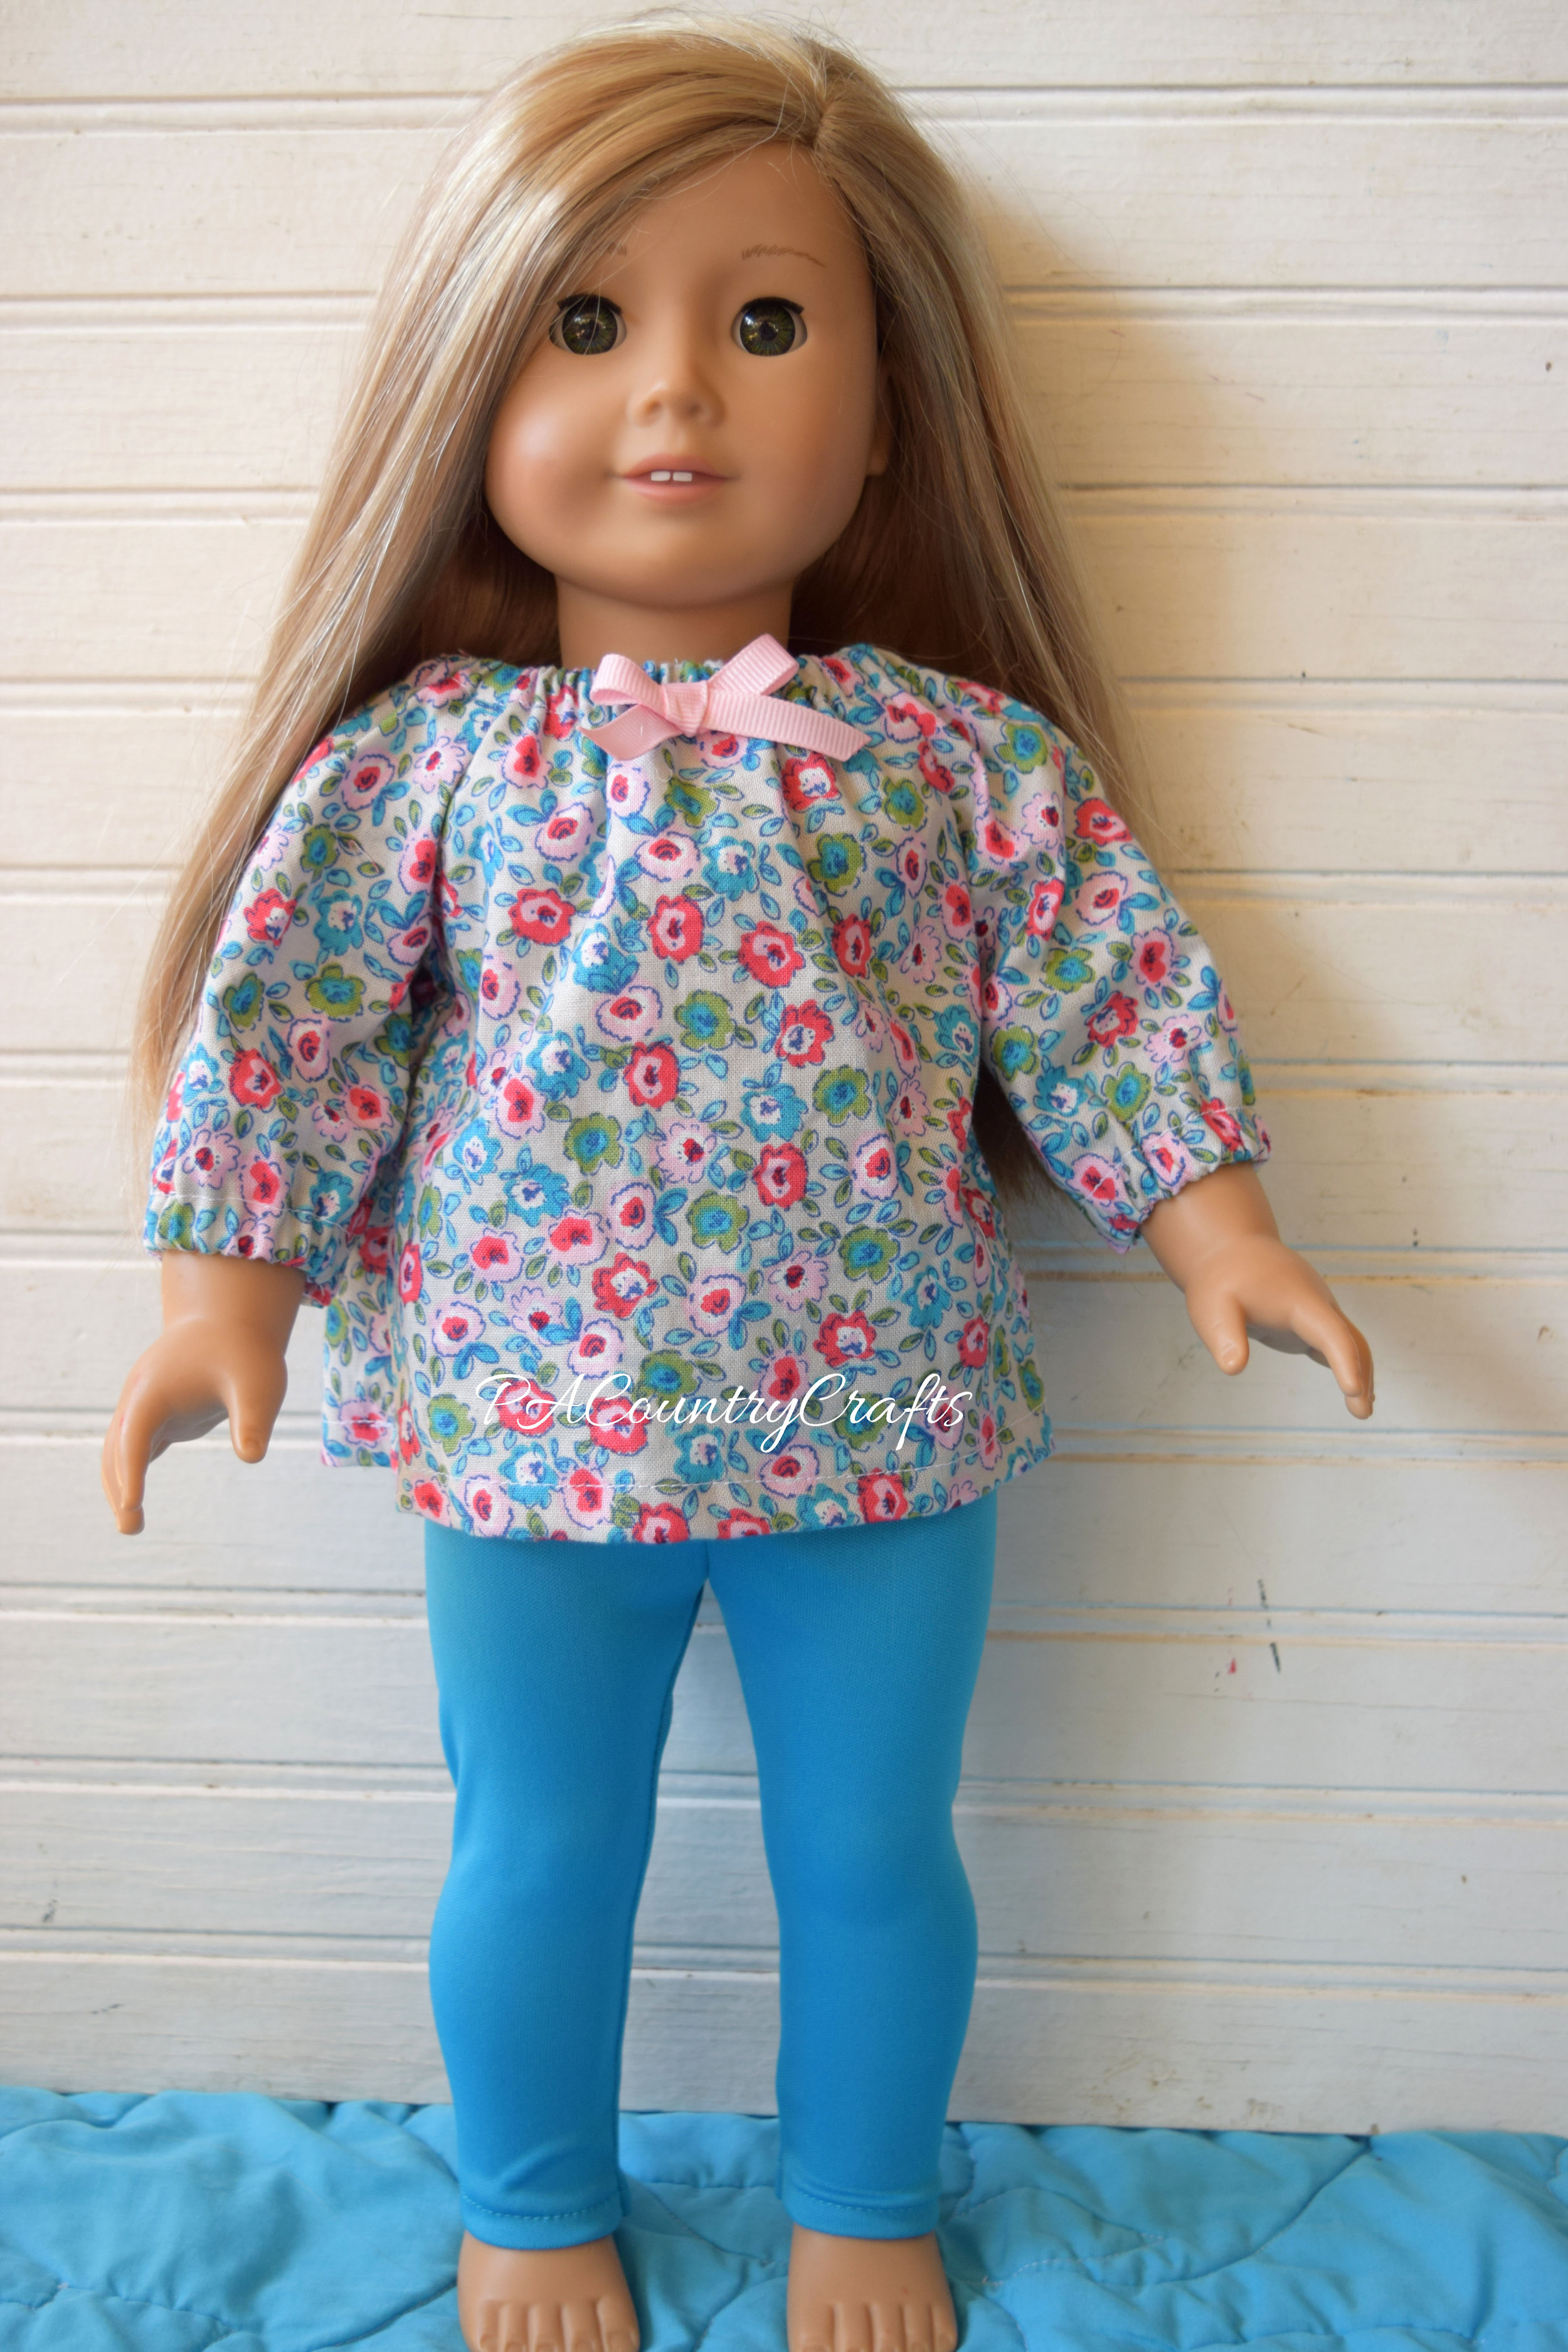
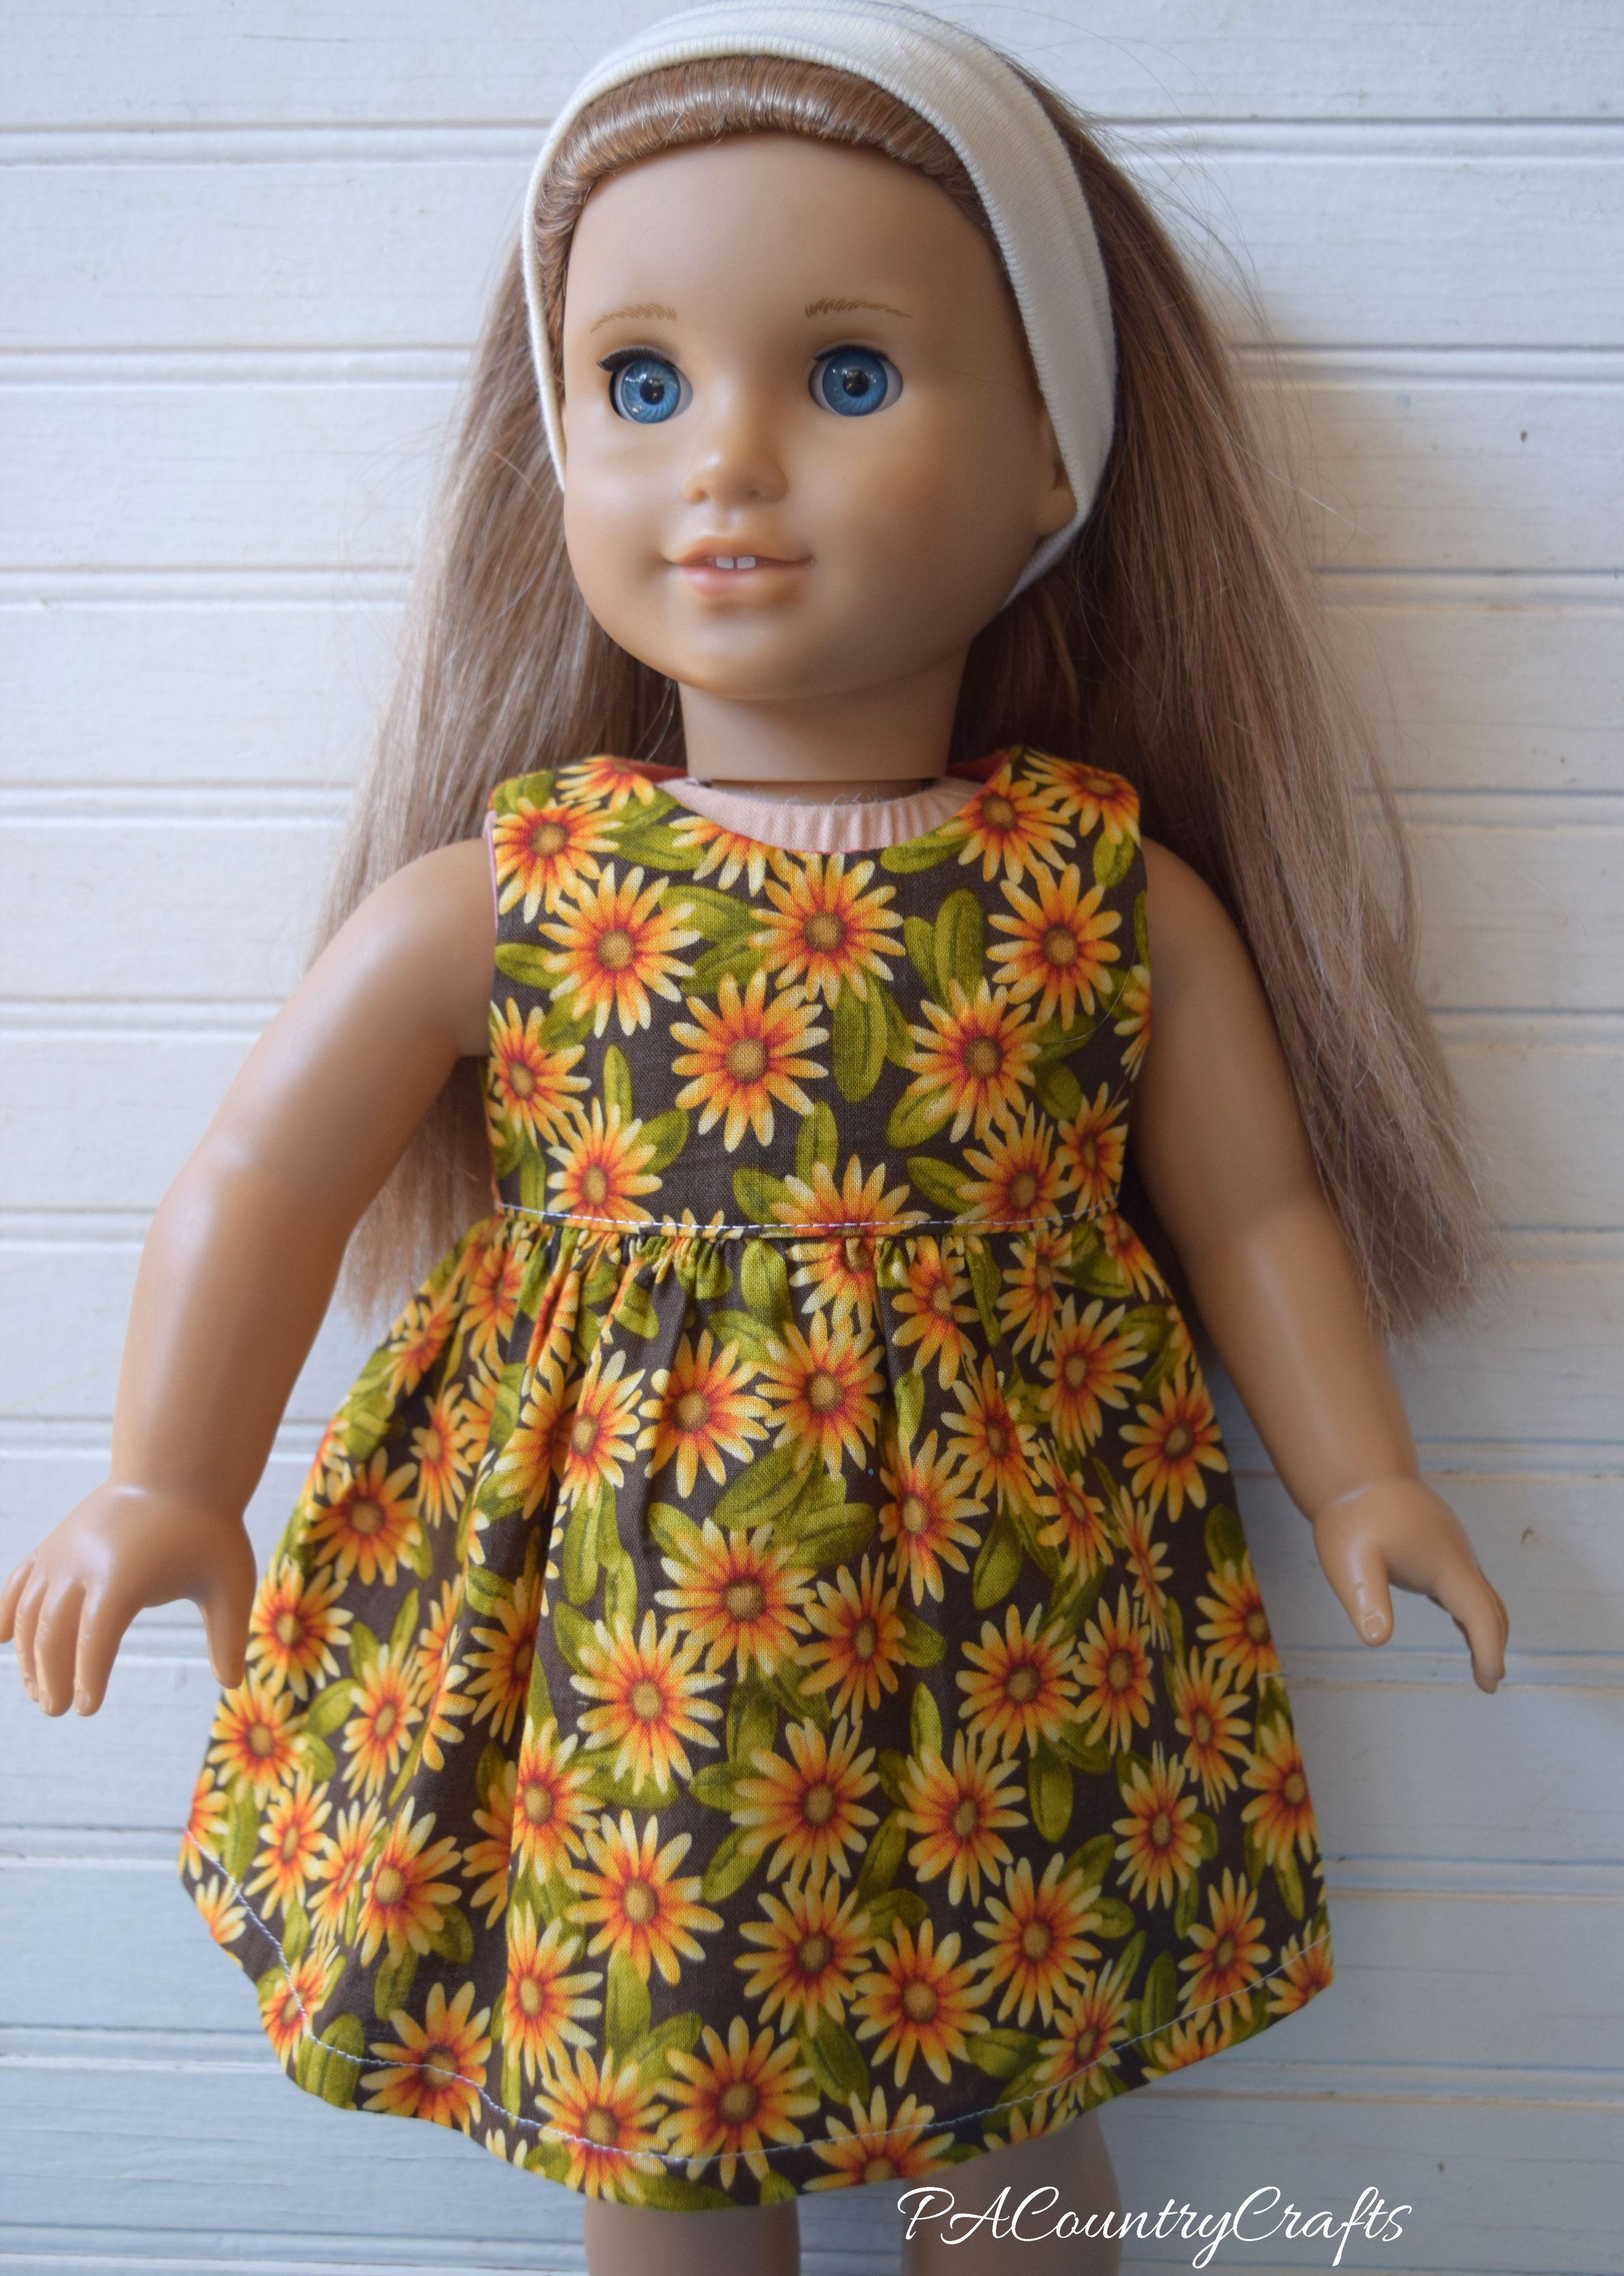
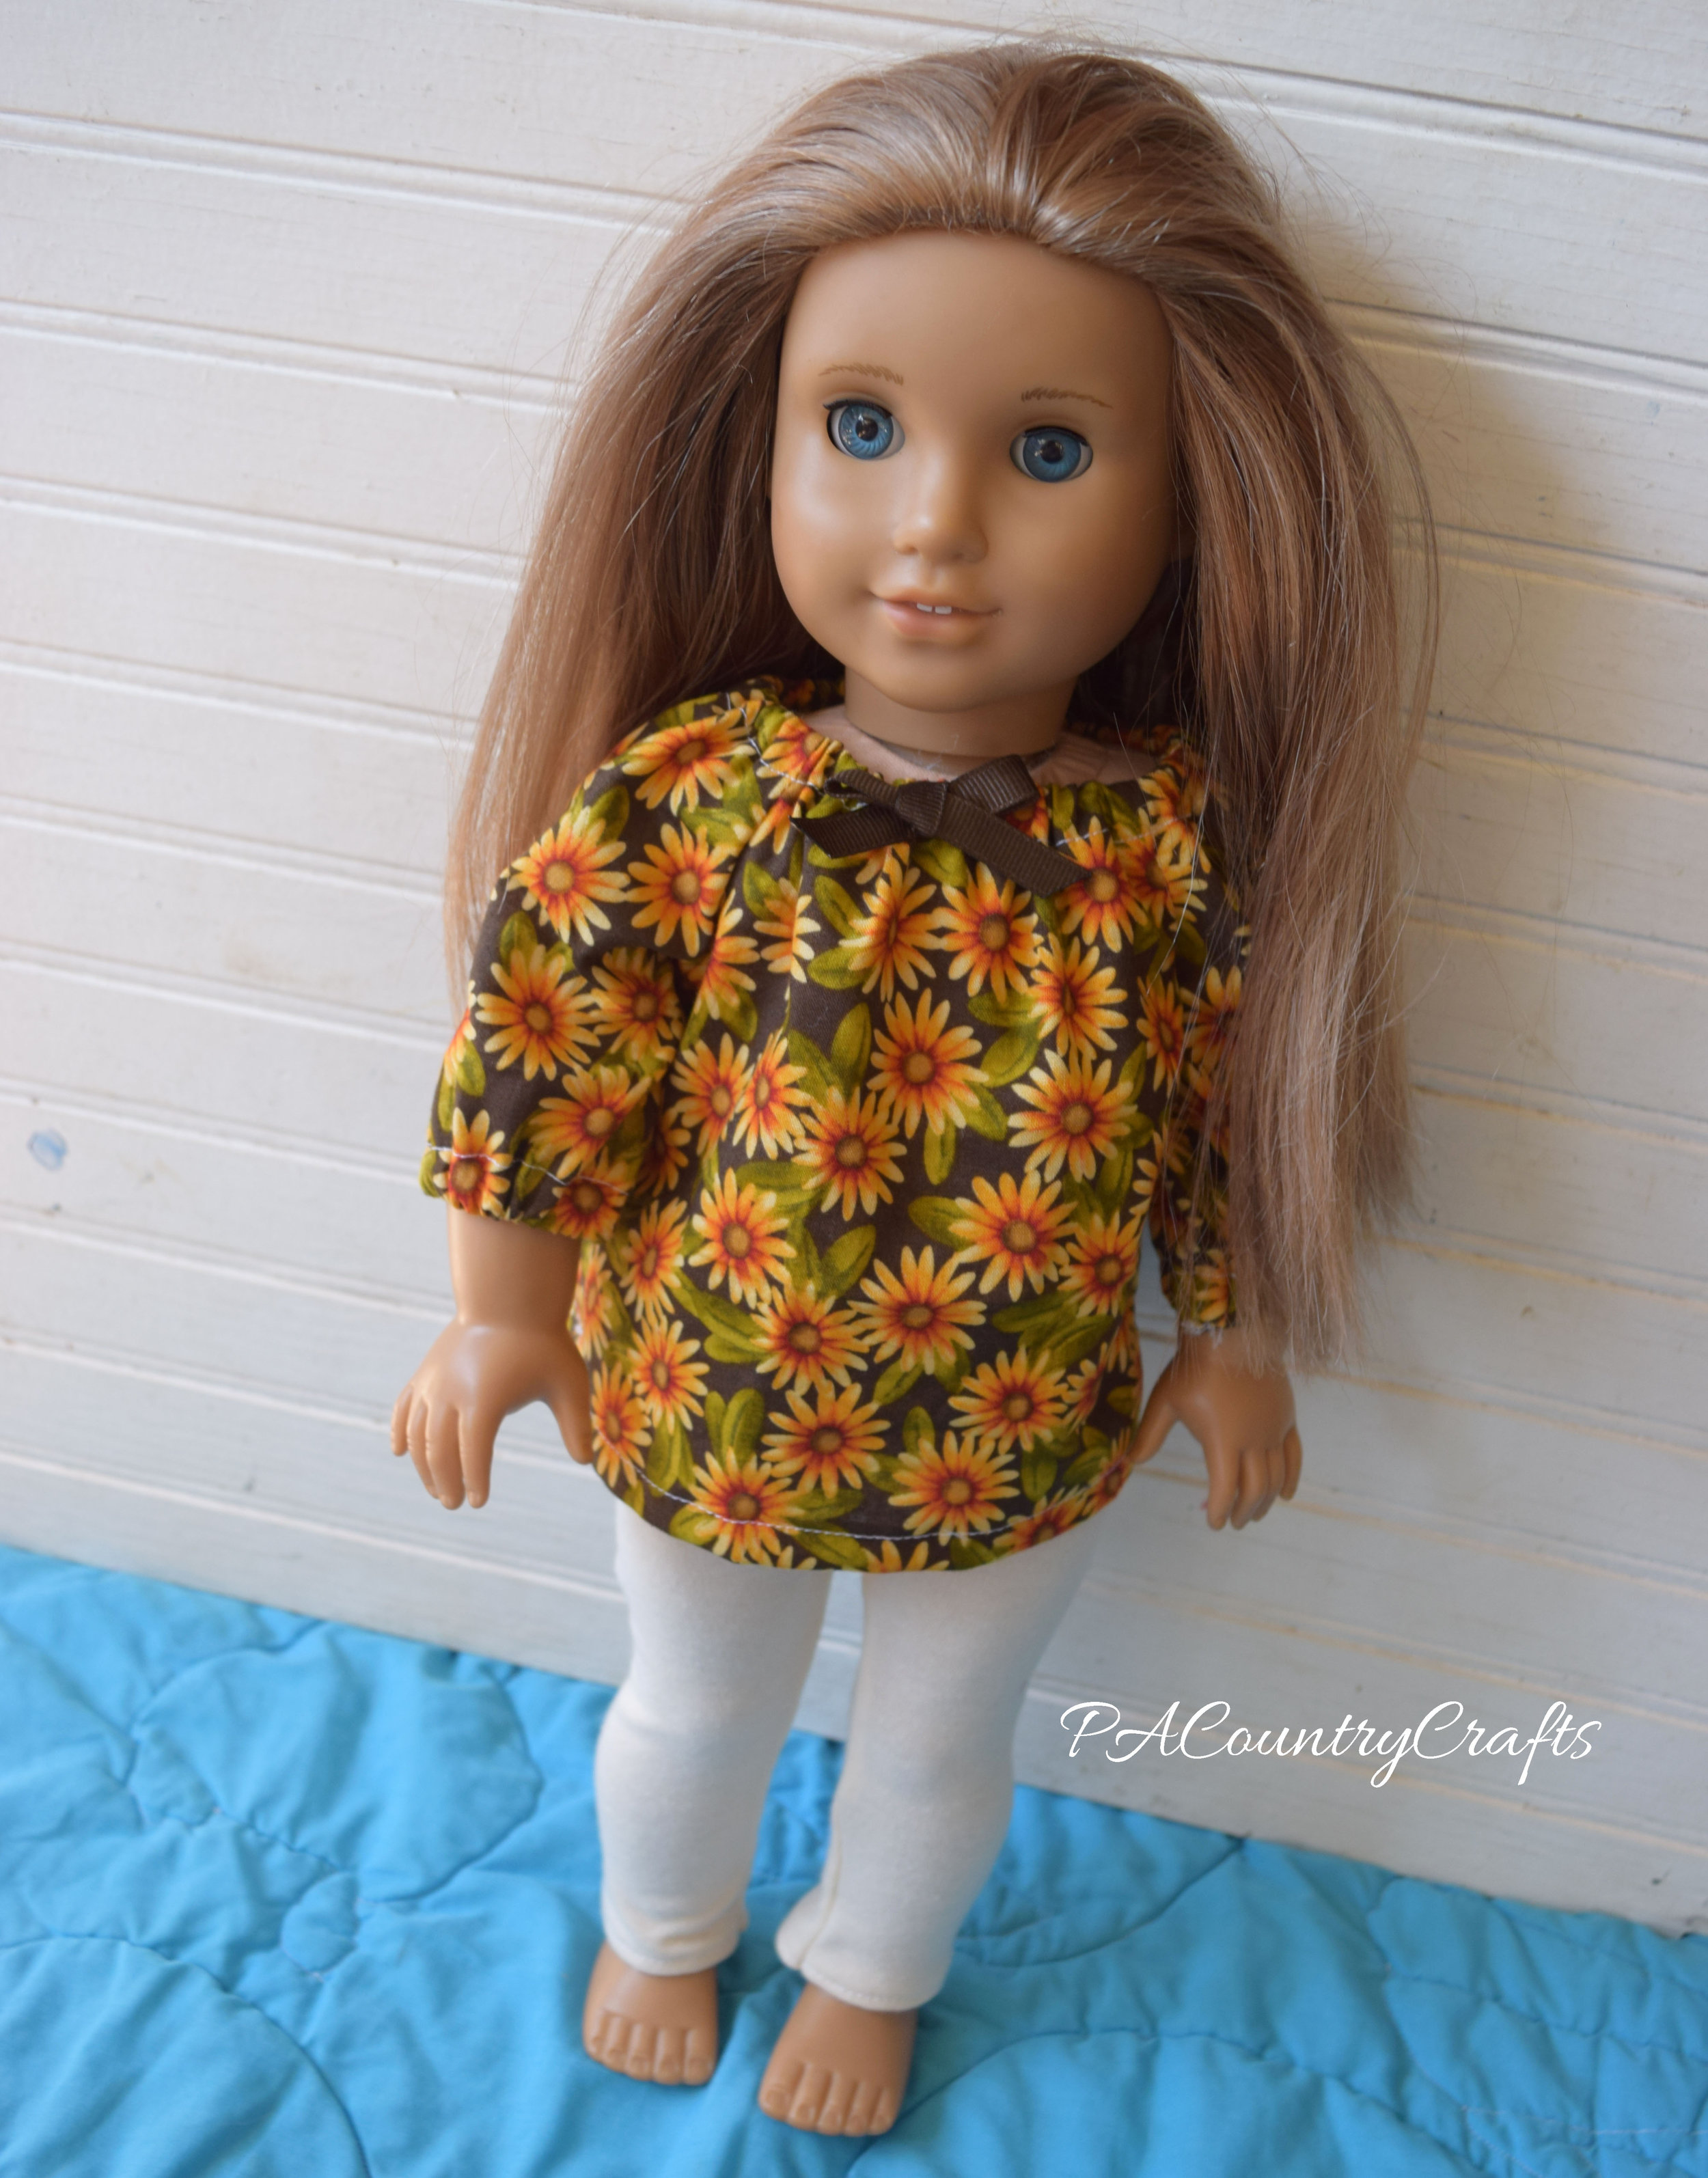
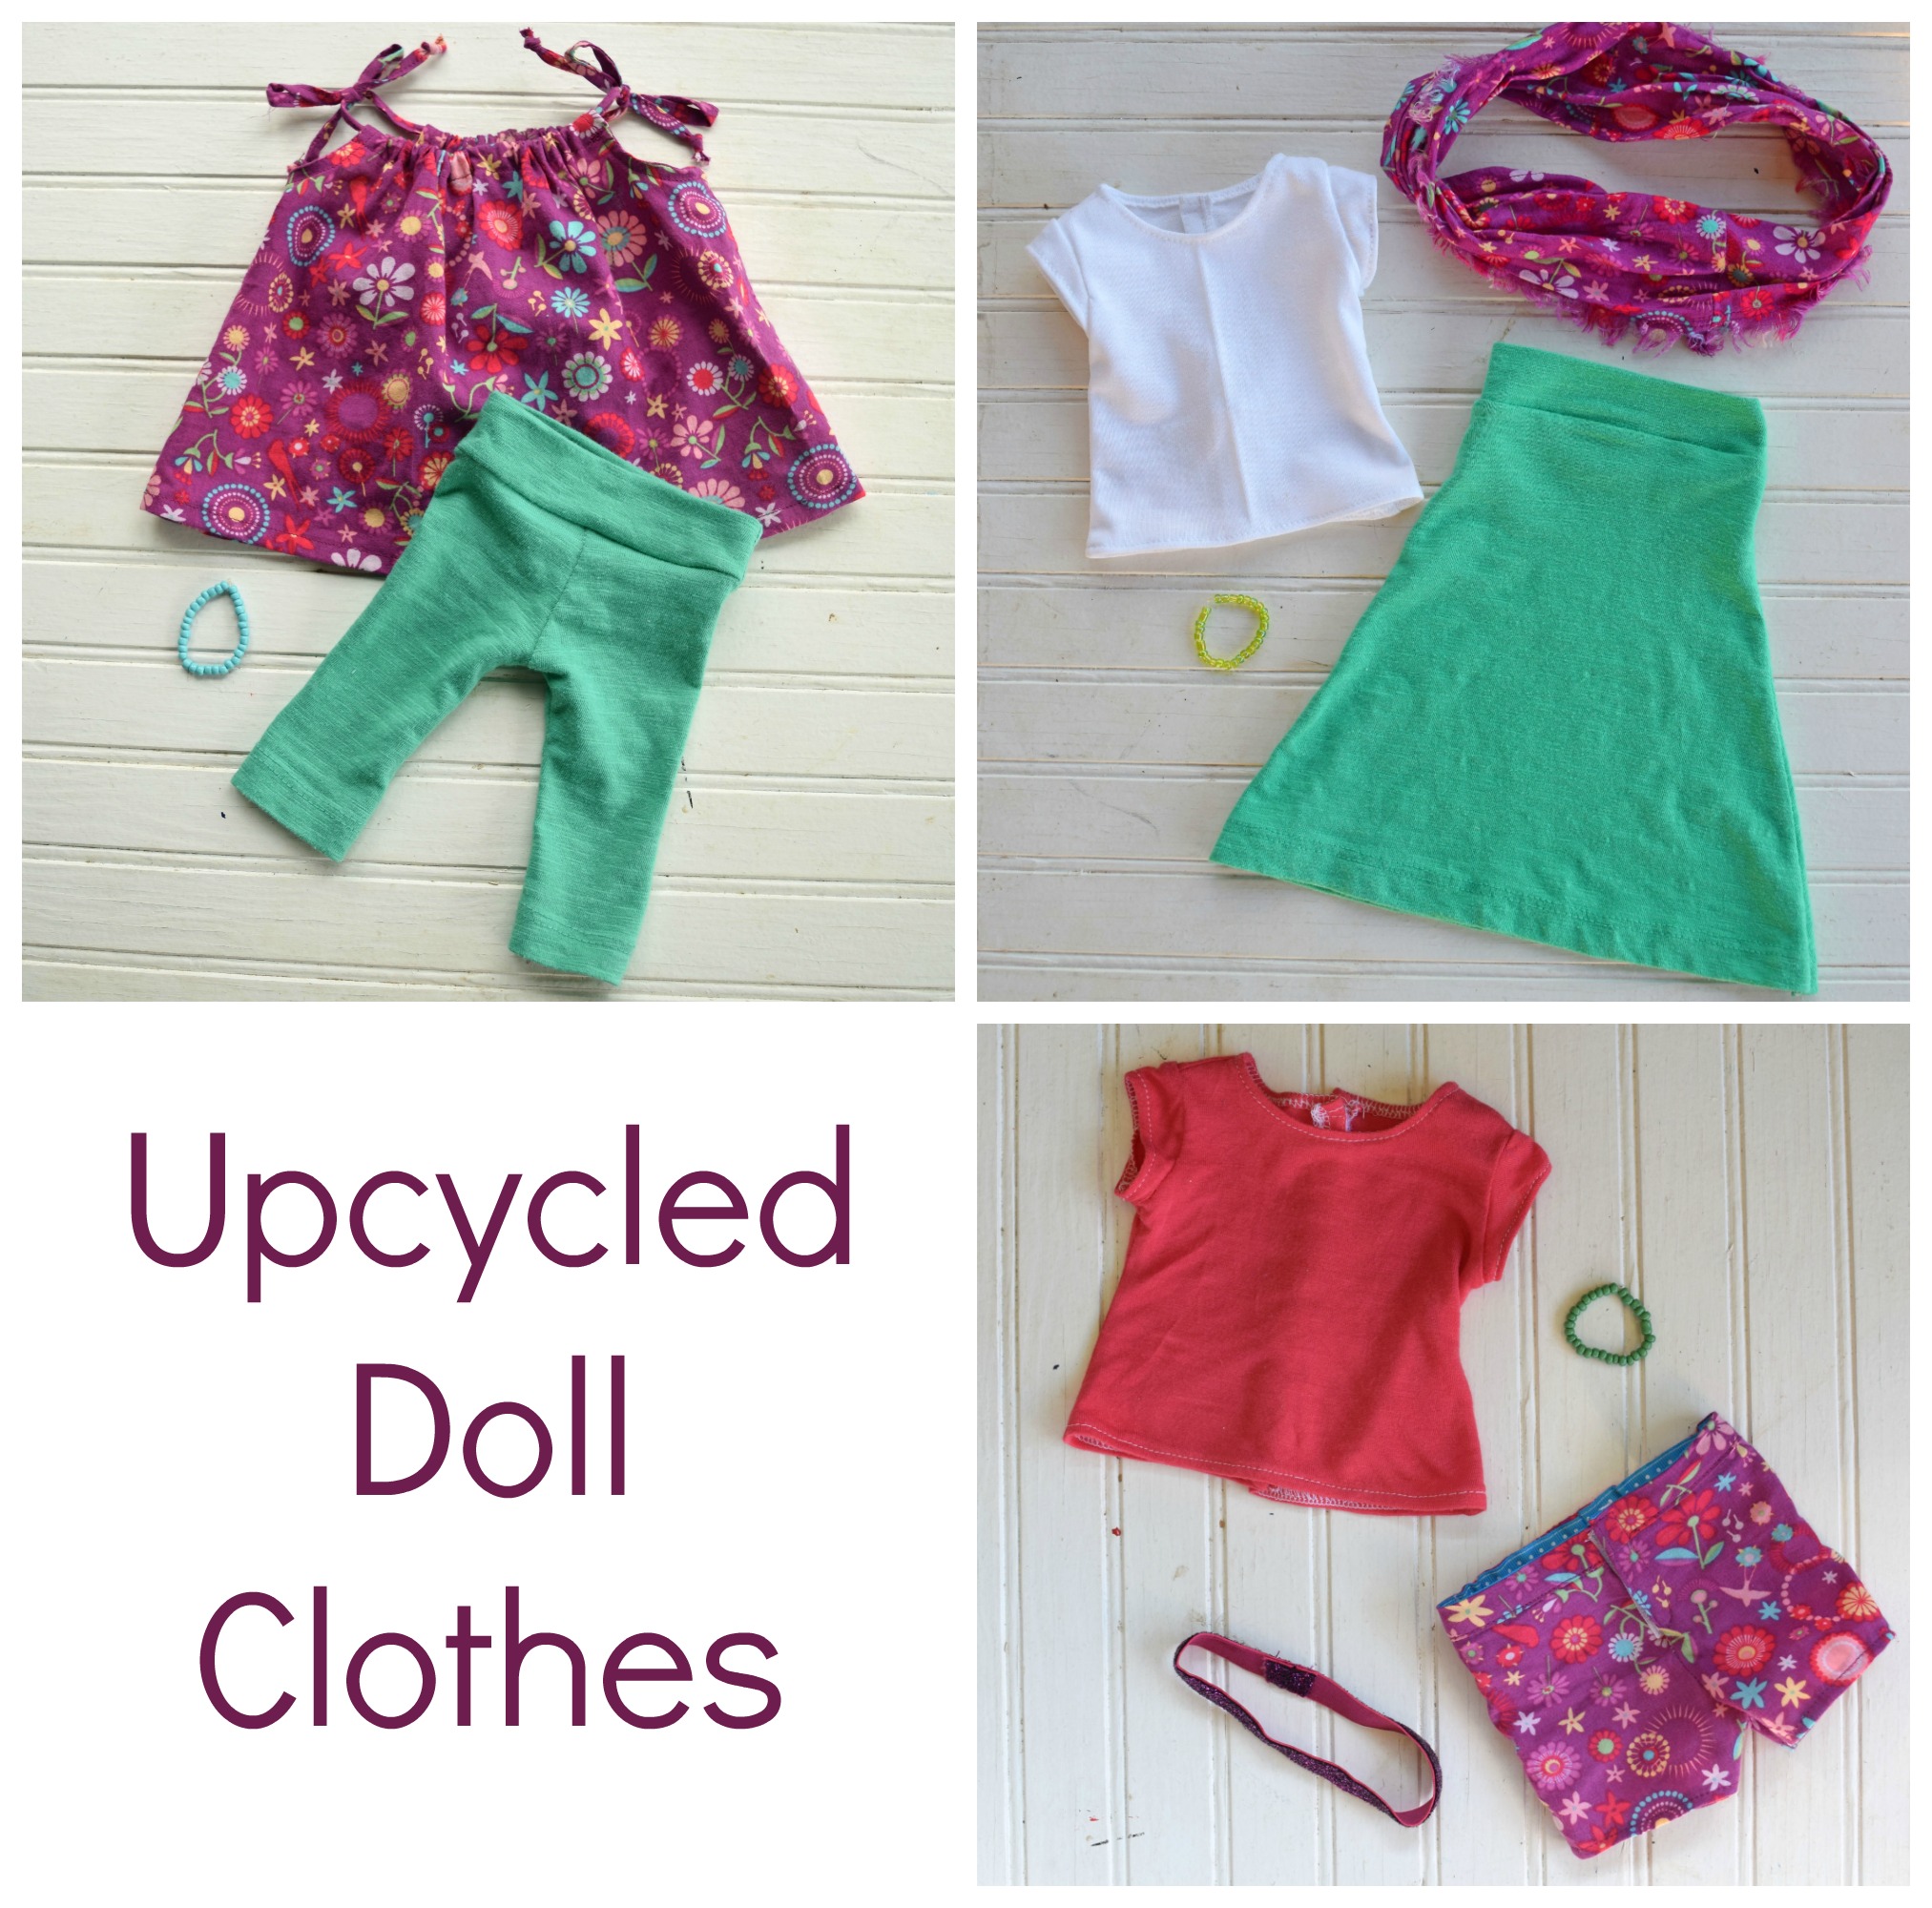 After the first doll clothes sold, she reinvested a small amount in fabric with plans to create a "fall collection". We came up with two simple patterns that worked well with cotton fabric- a 3/4 sleeve peasant tunic and a simple dress. She upcycled some shirts from the donation bag to make the leggings and headbands, which were soooooo soft! This time, she only needed a little bit of help with sewing some details, like velcro or topstitching. When everything was finished we did an official photo shoot.
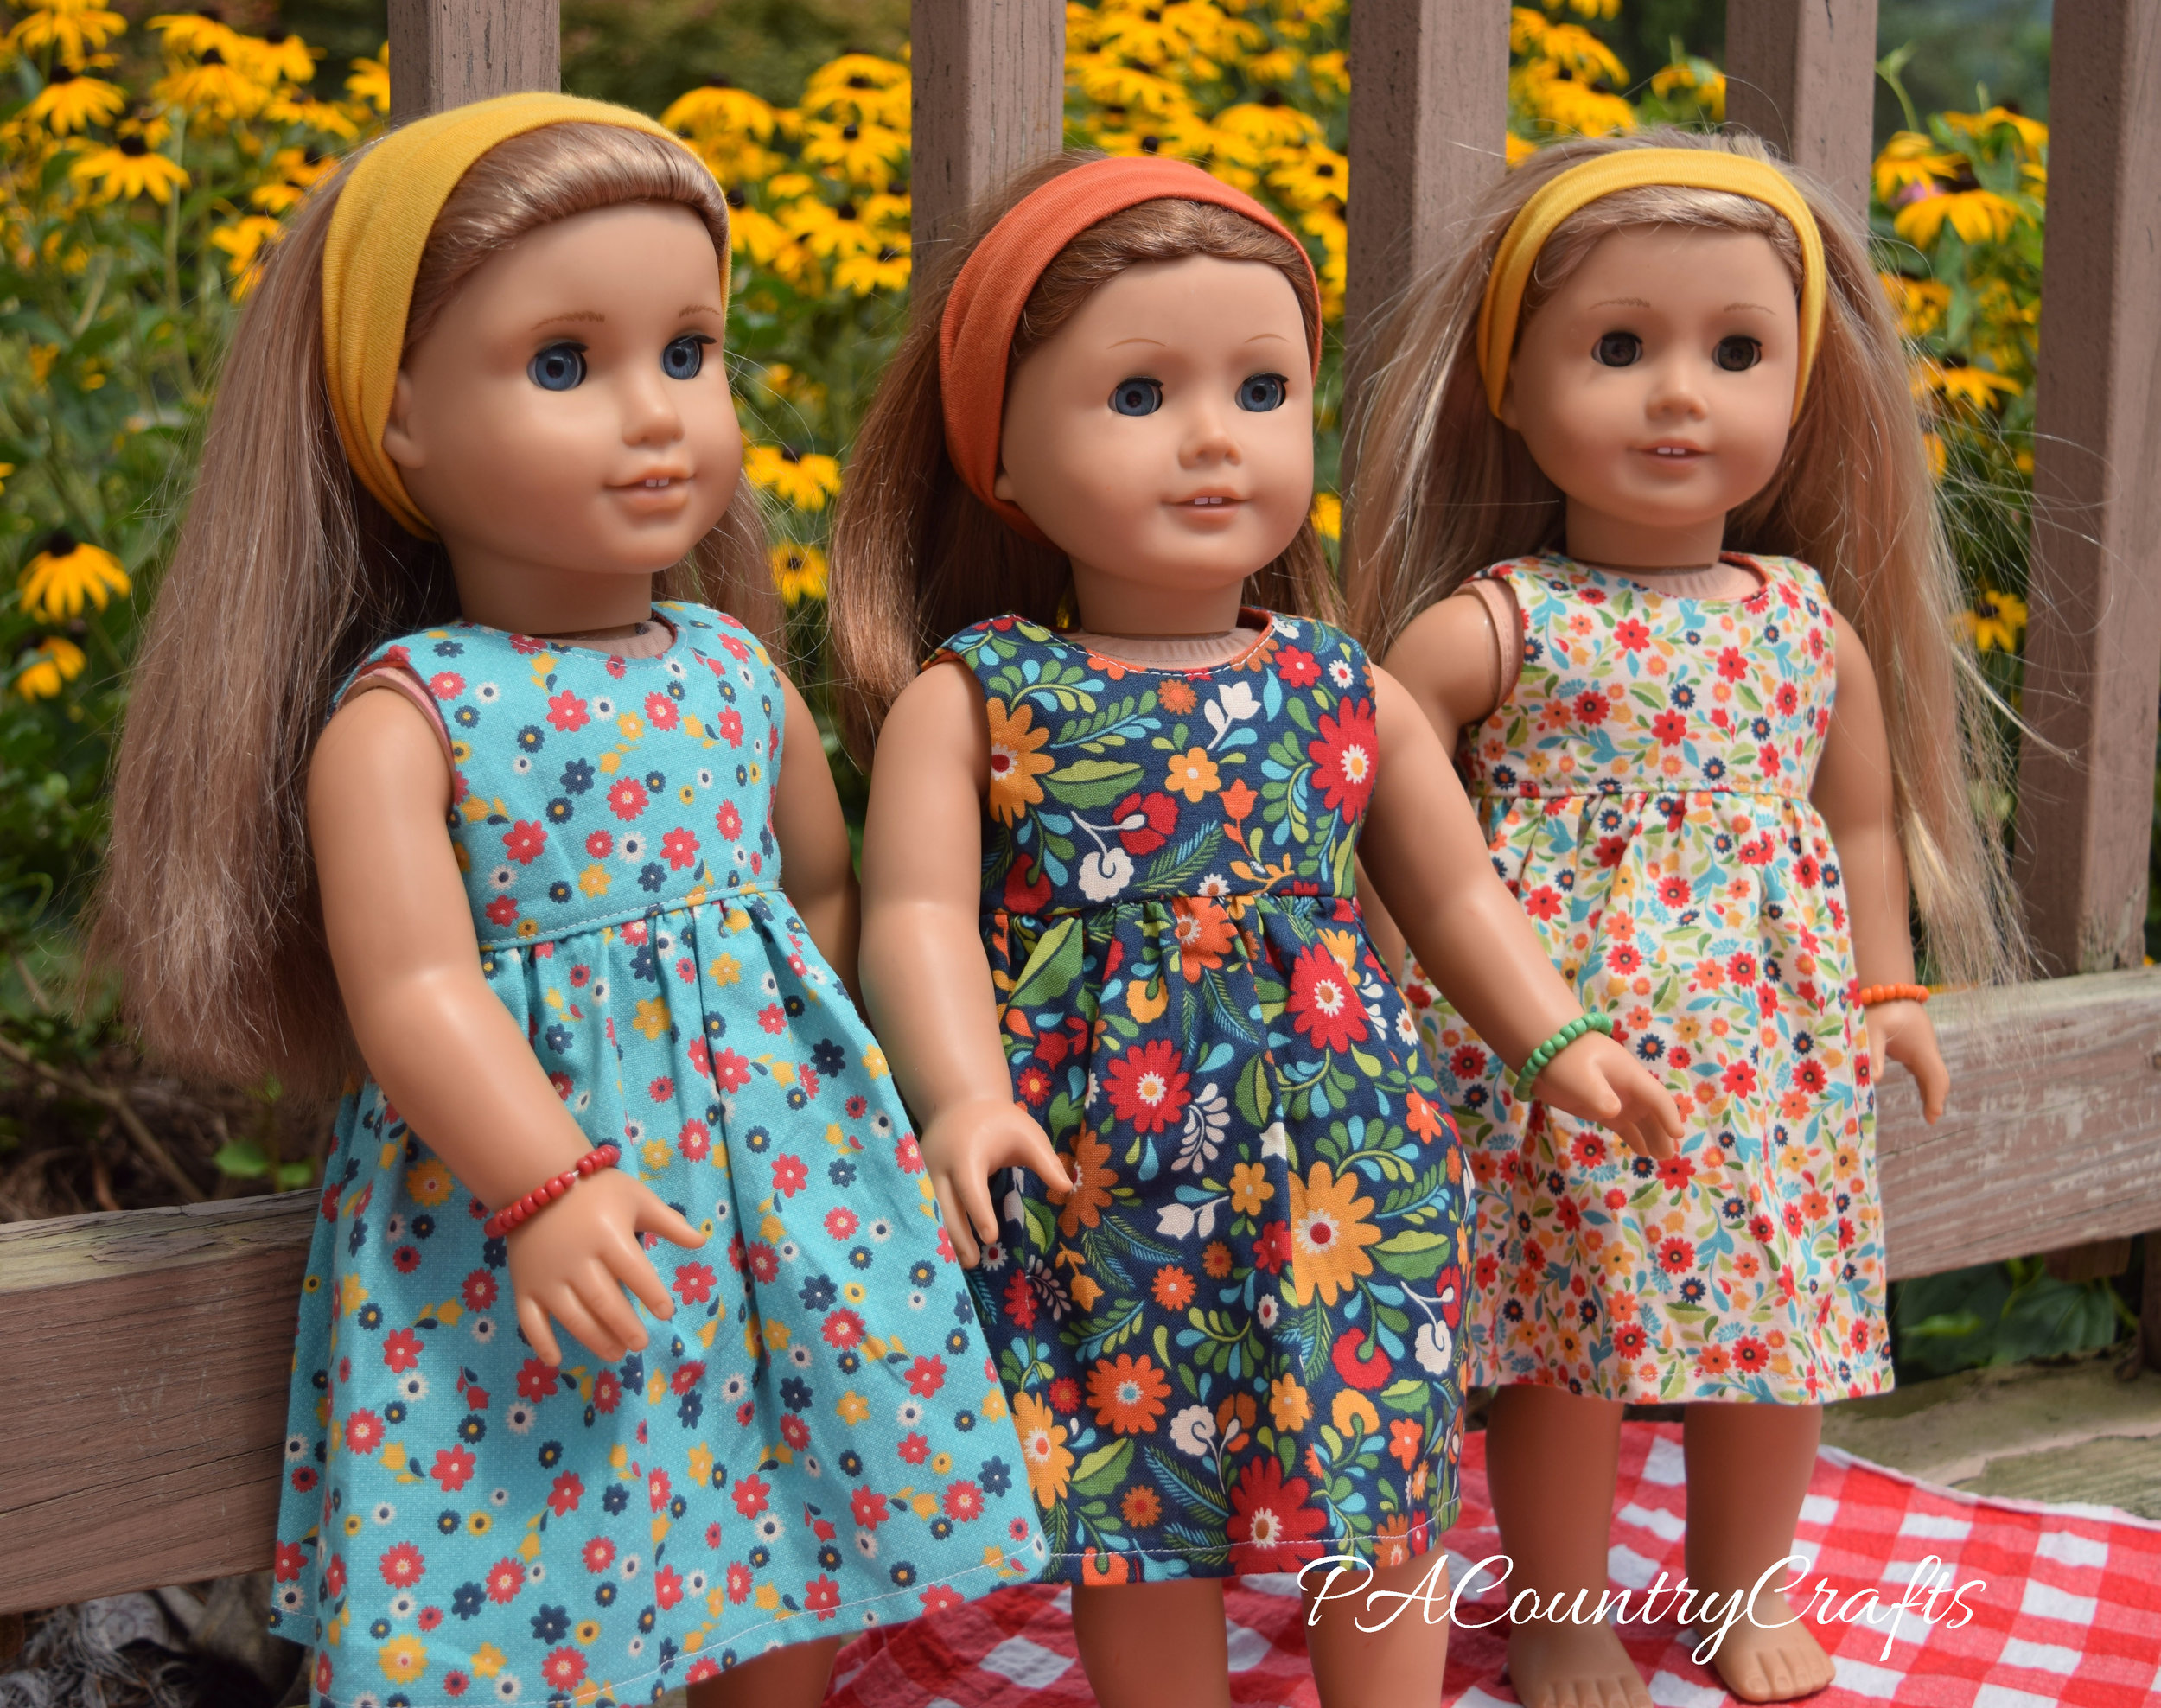
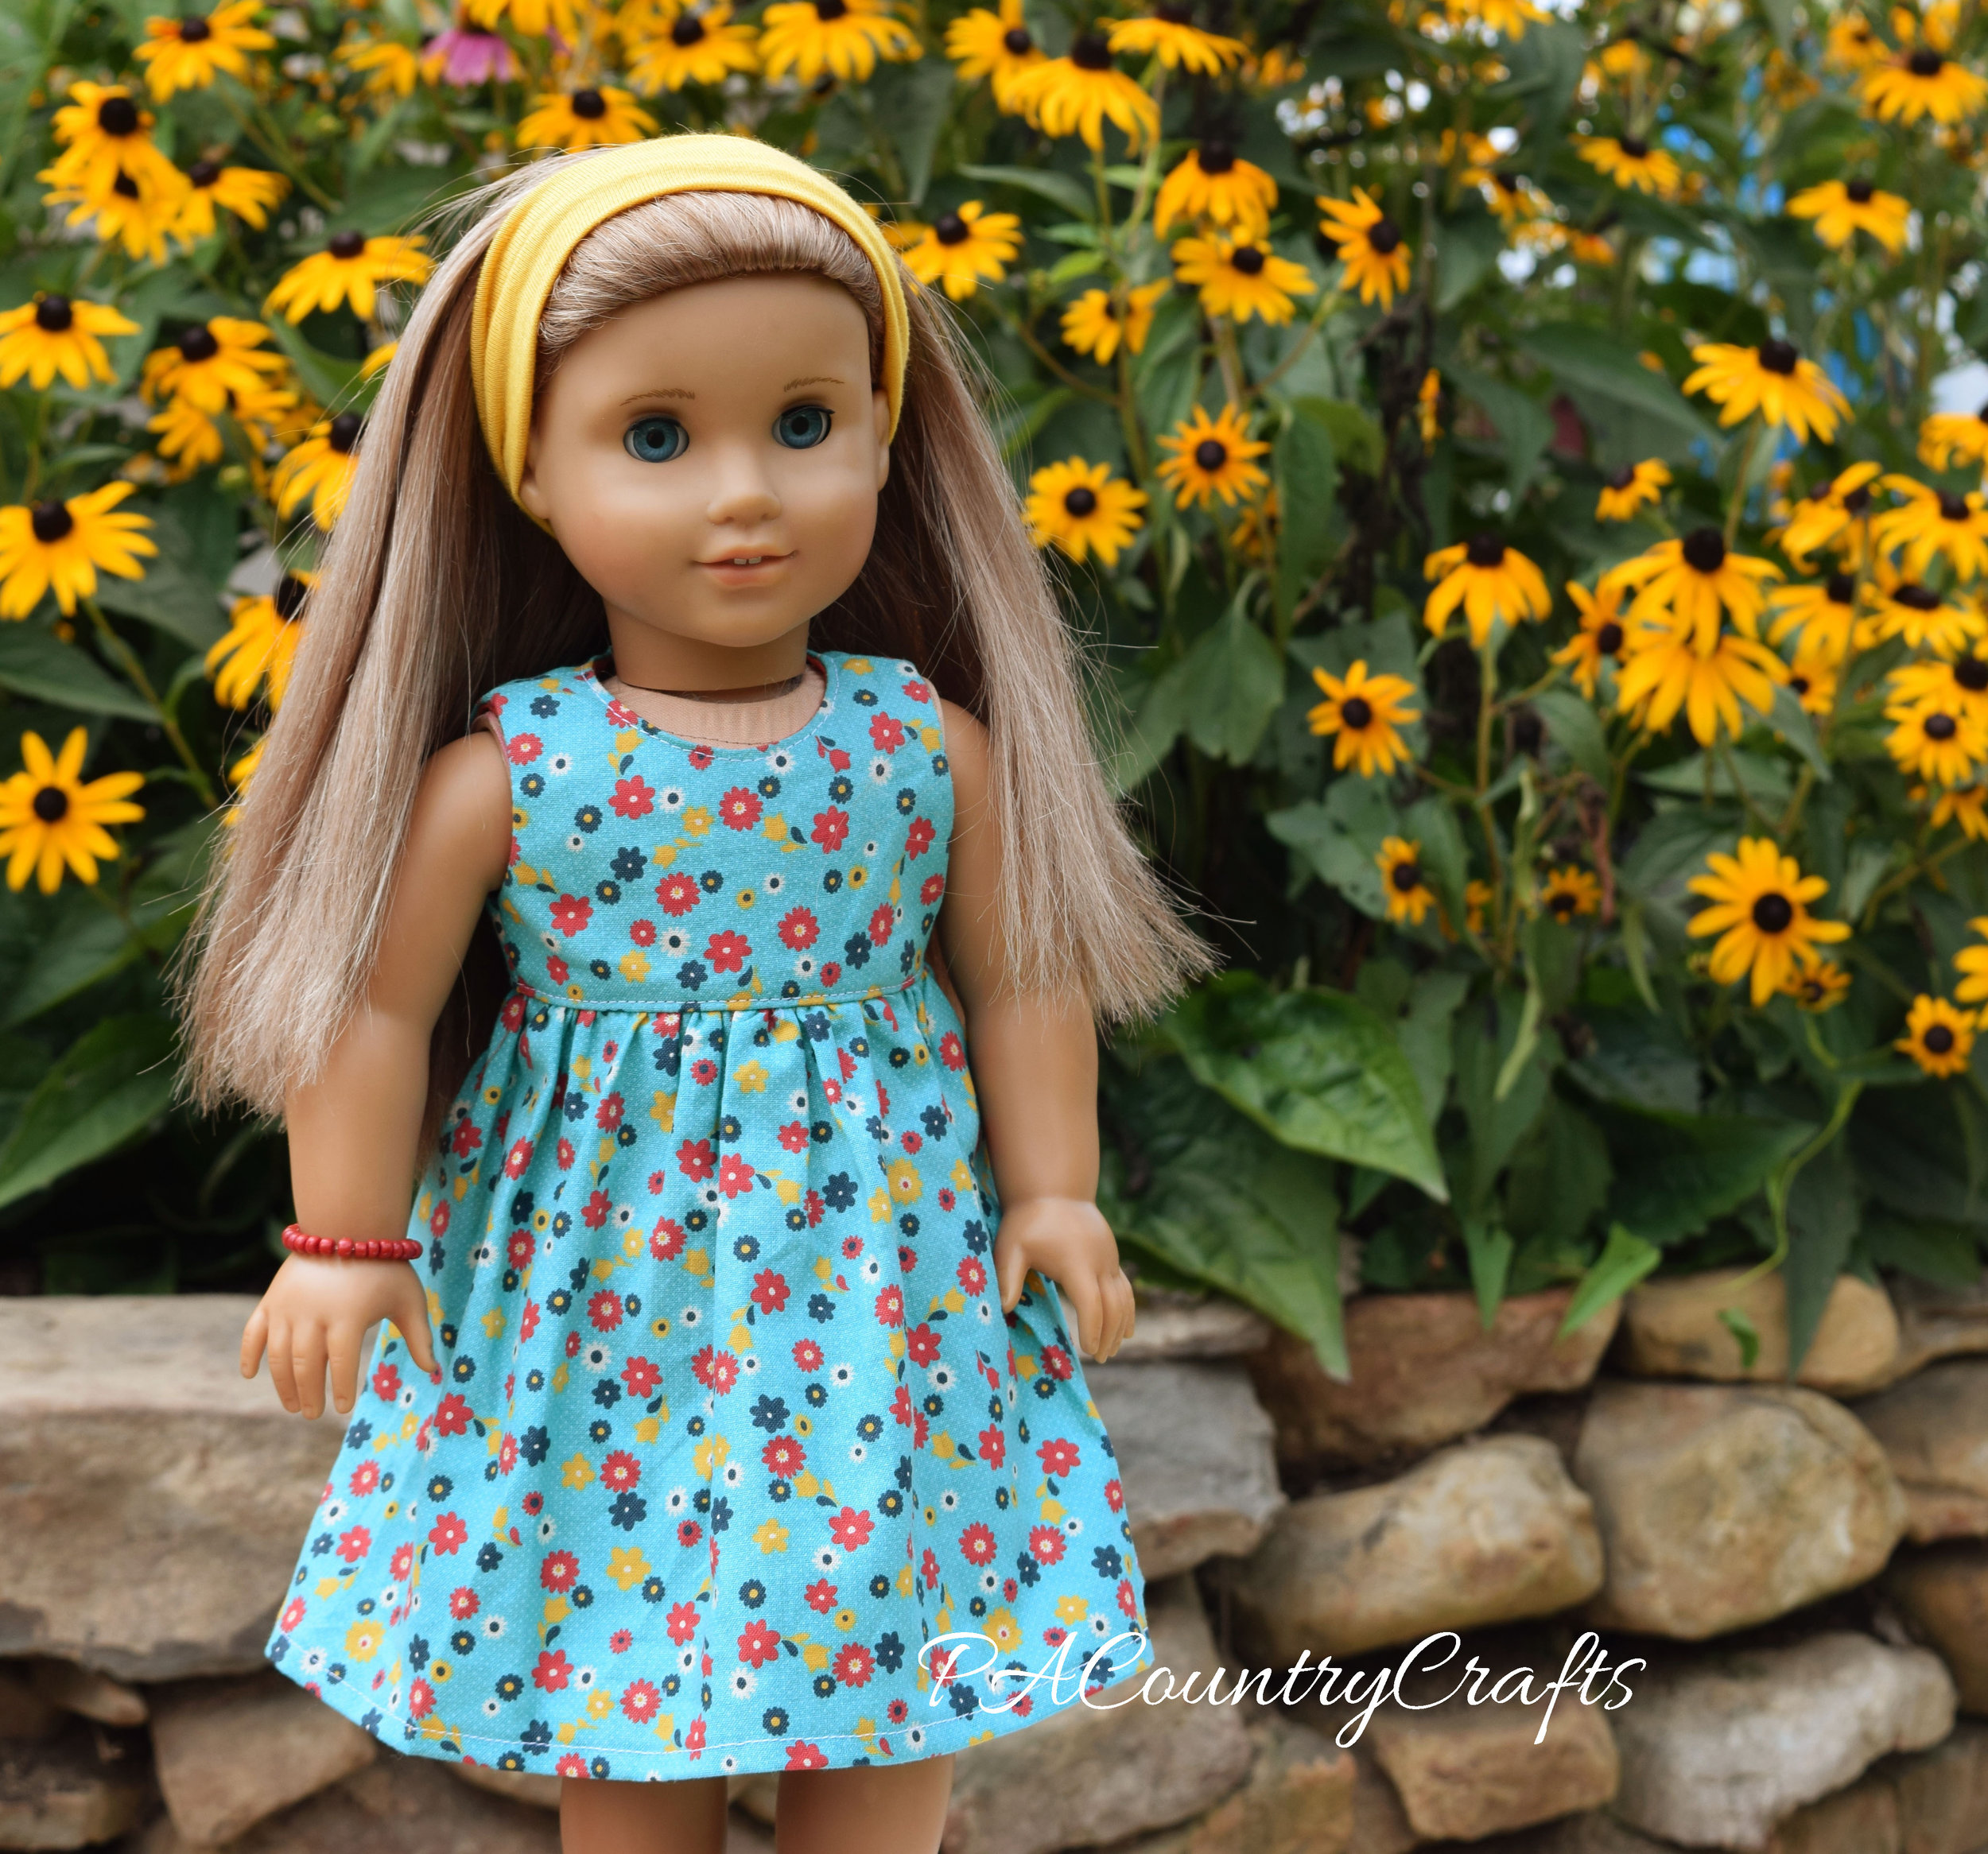
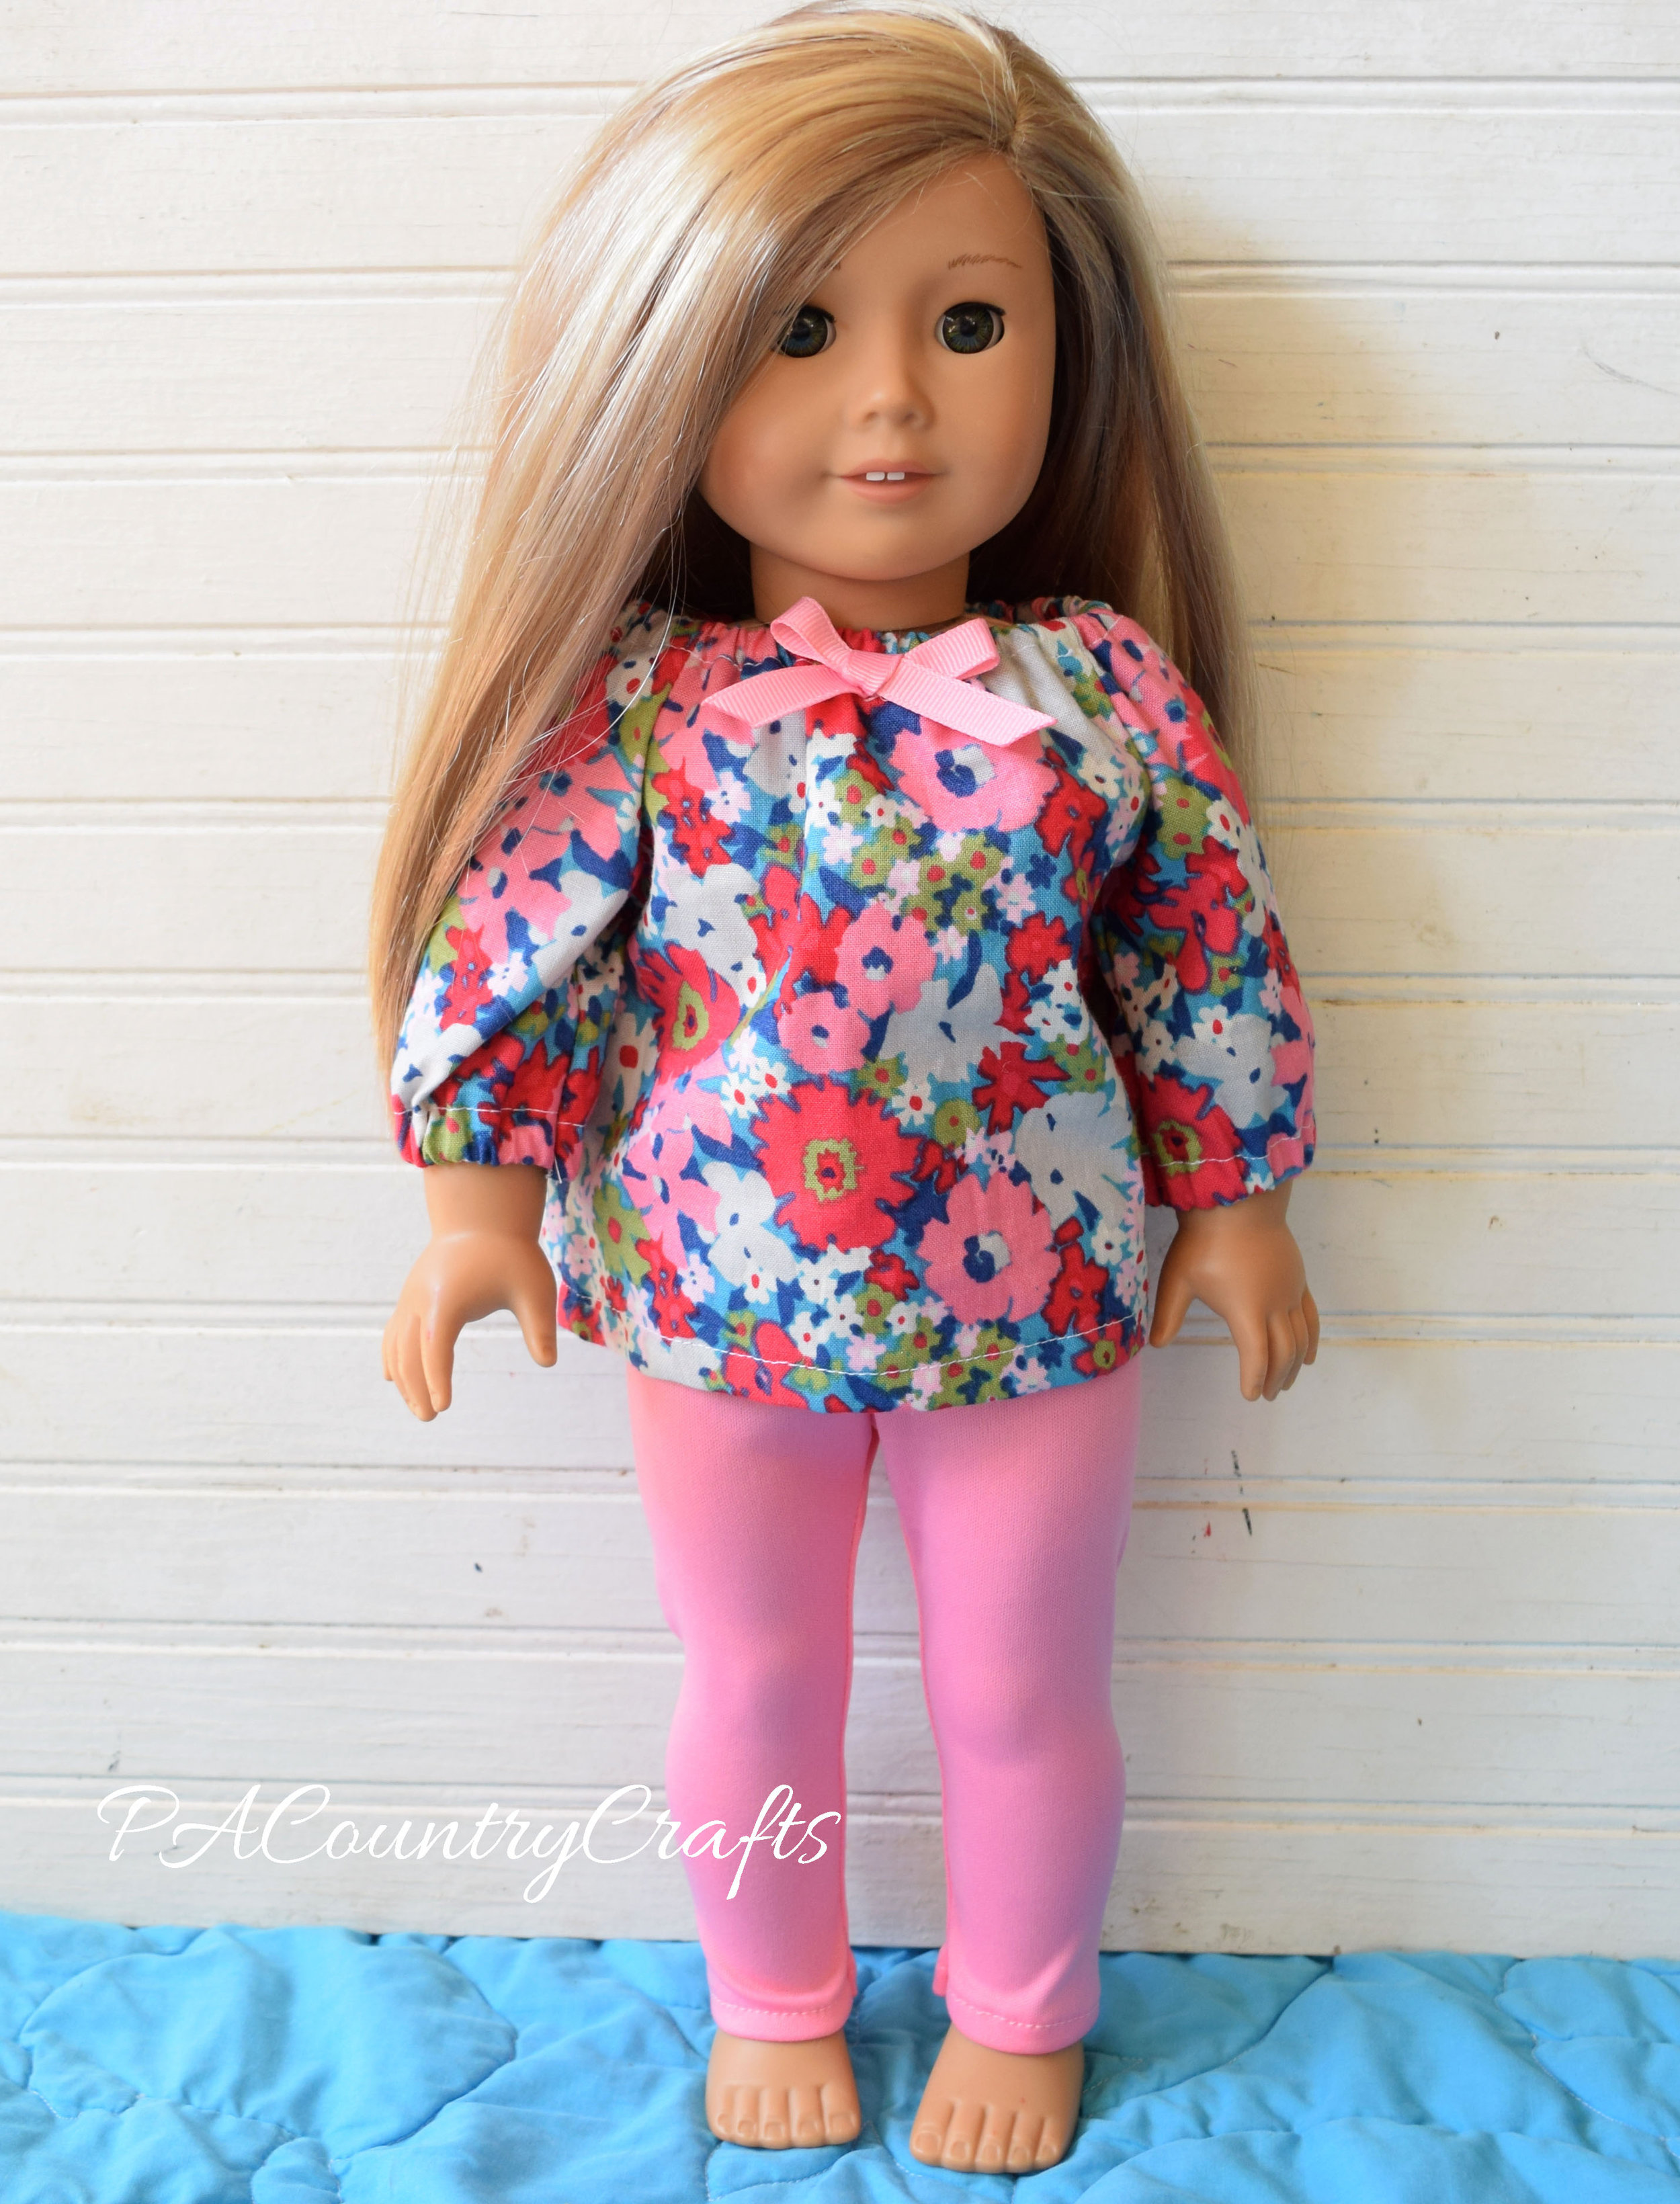
She sold out very quickly and had requests for more, so she decided to make a few more outfits. Again, she reinvested part of her income to get more fabric. This time, she also bought knit to match her fabrics, so the leggings had to be hemmed. For some reason, things didn't go as well this time. I unknowingly folded the top of a pattern piece before we cut the fabric and several pair of leggings came out too short. She had to do a lot of seam-ripping for various errors. Also, she accidentally ruined the skirt of a dress by catching it with the cutting blade on the overlock machine. She wanted to quit several times and learned an important sewing technique... walking away! After a few weeks they were finally finished.
![]()
She wants to make more in the future, but this was a good lesson for her. She learned some sewing skills, but she also learned to persevere when things are challenging and how to work towards a goal. Sometimes, the work ethic and thought process that accompany learning something new can be the truly valuable lesson.
Free downloadable pattern for a star doll quilt or table topper. Also, check out this cute farmhouse doll bed made from free woodworking patterns.
Read More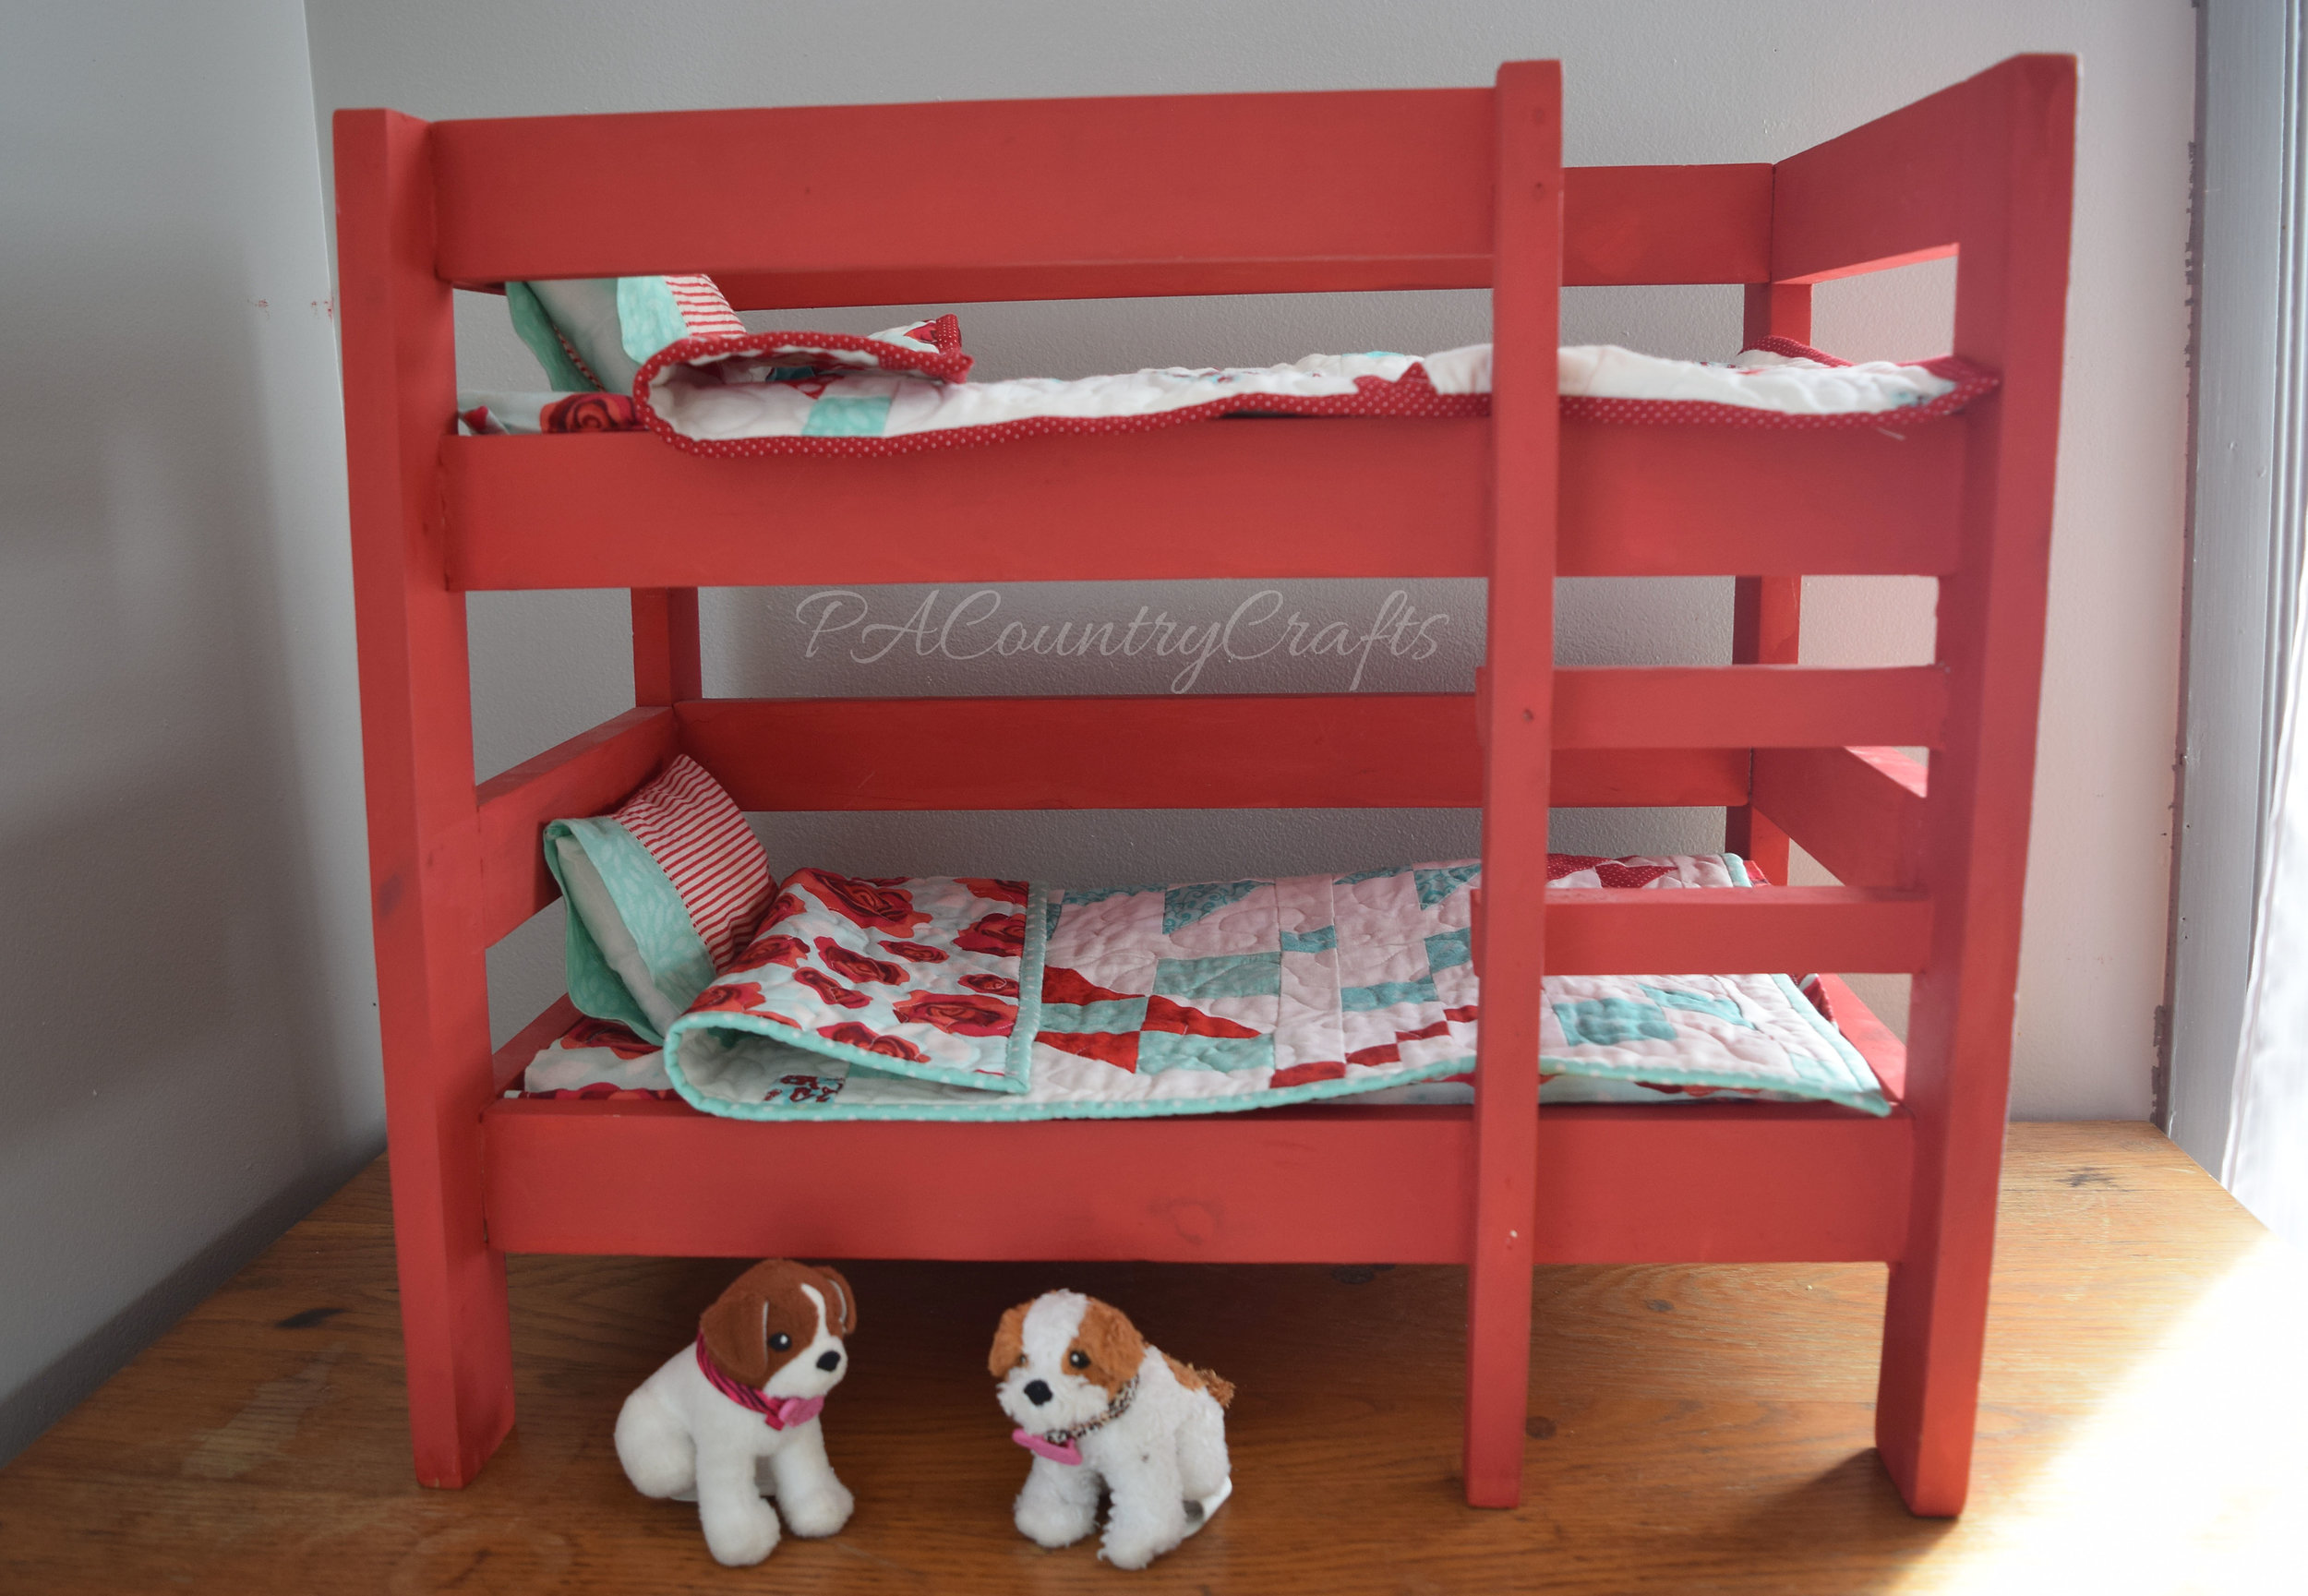
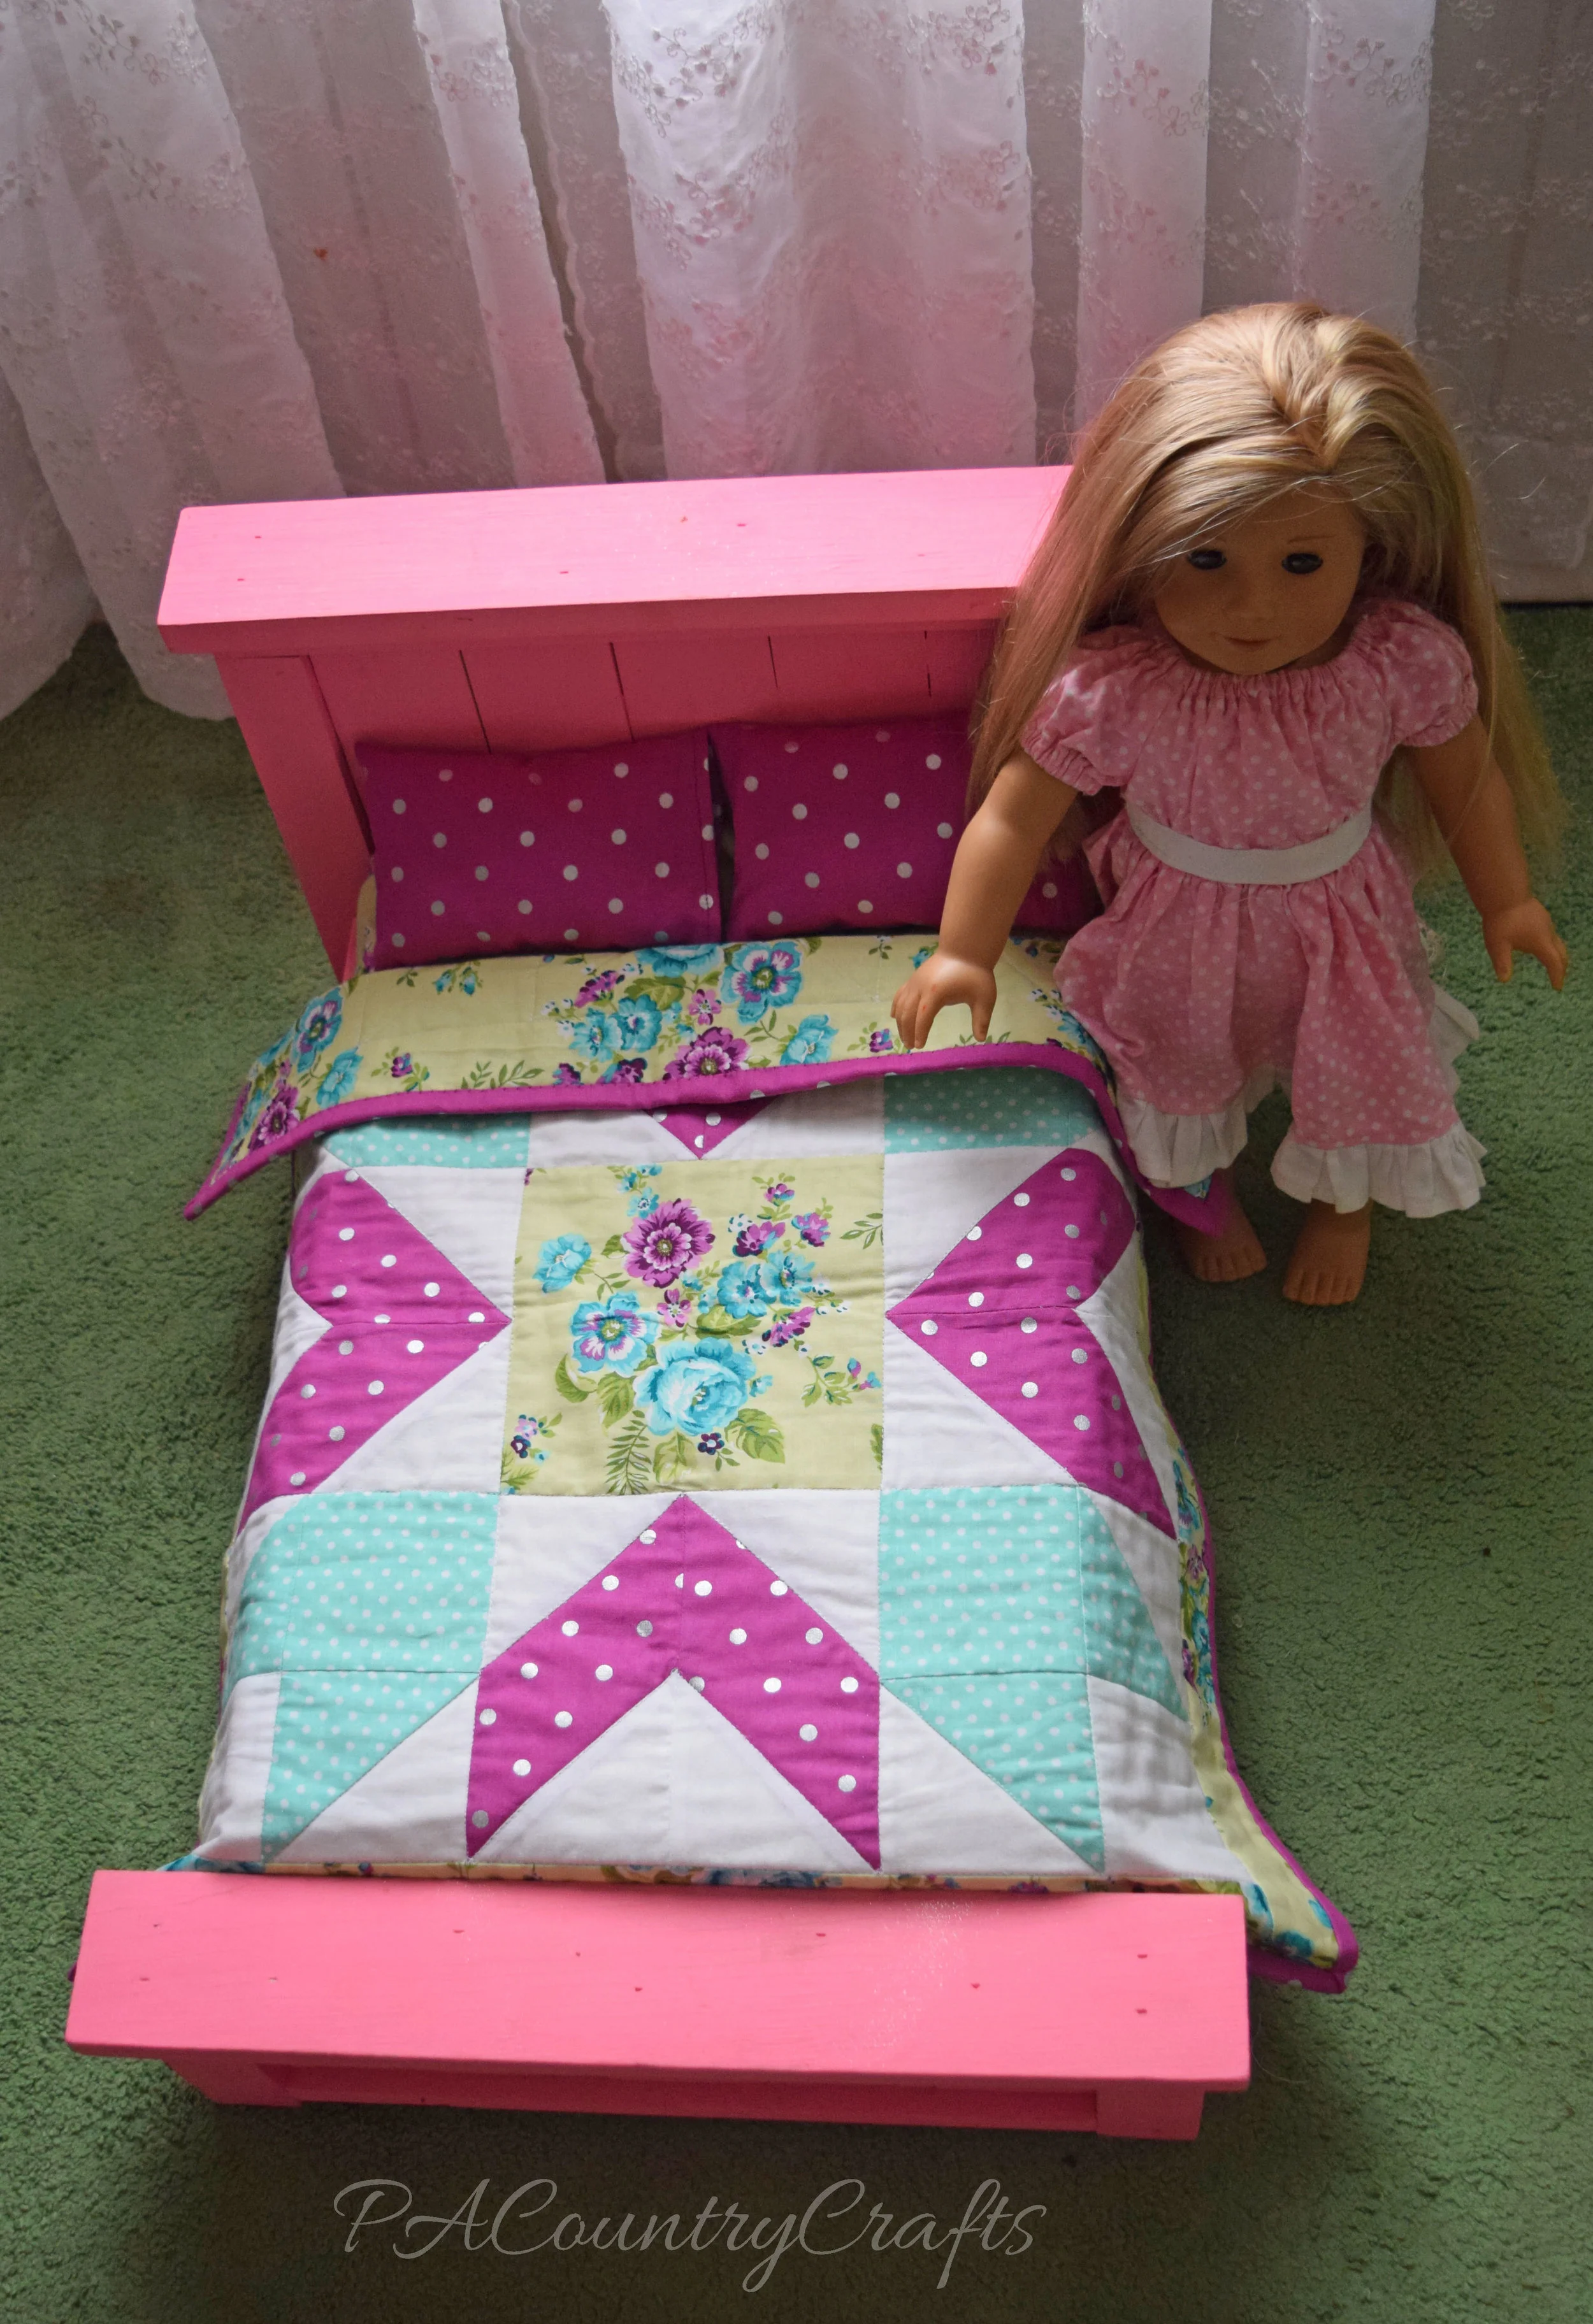
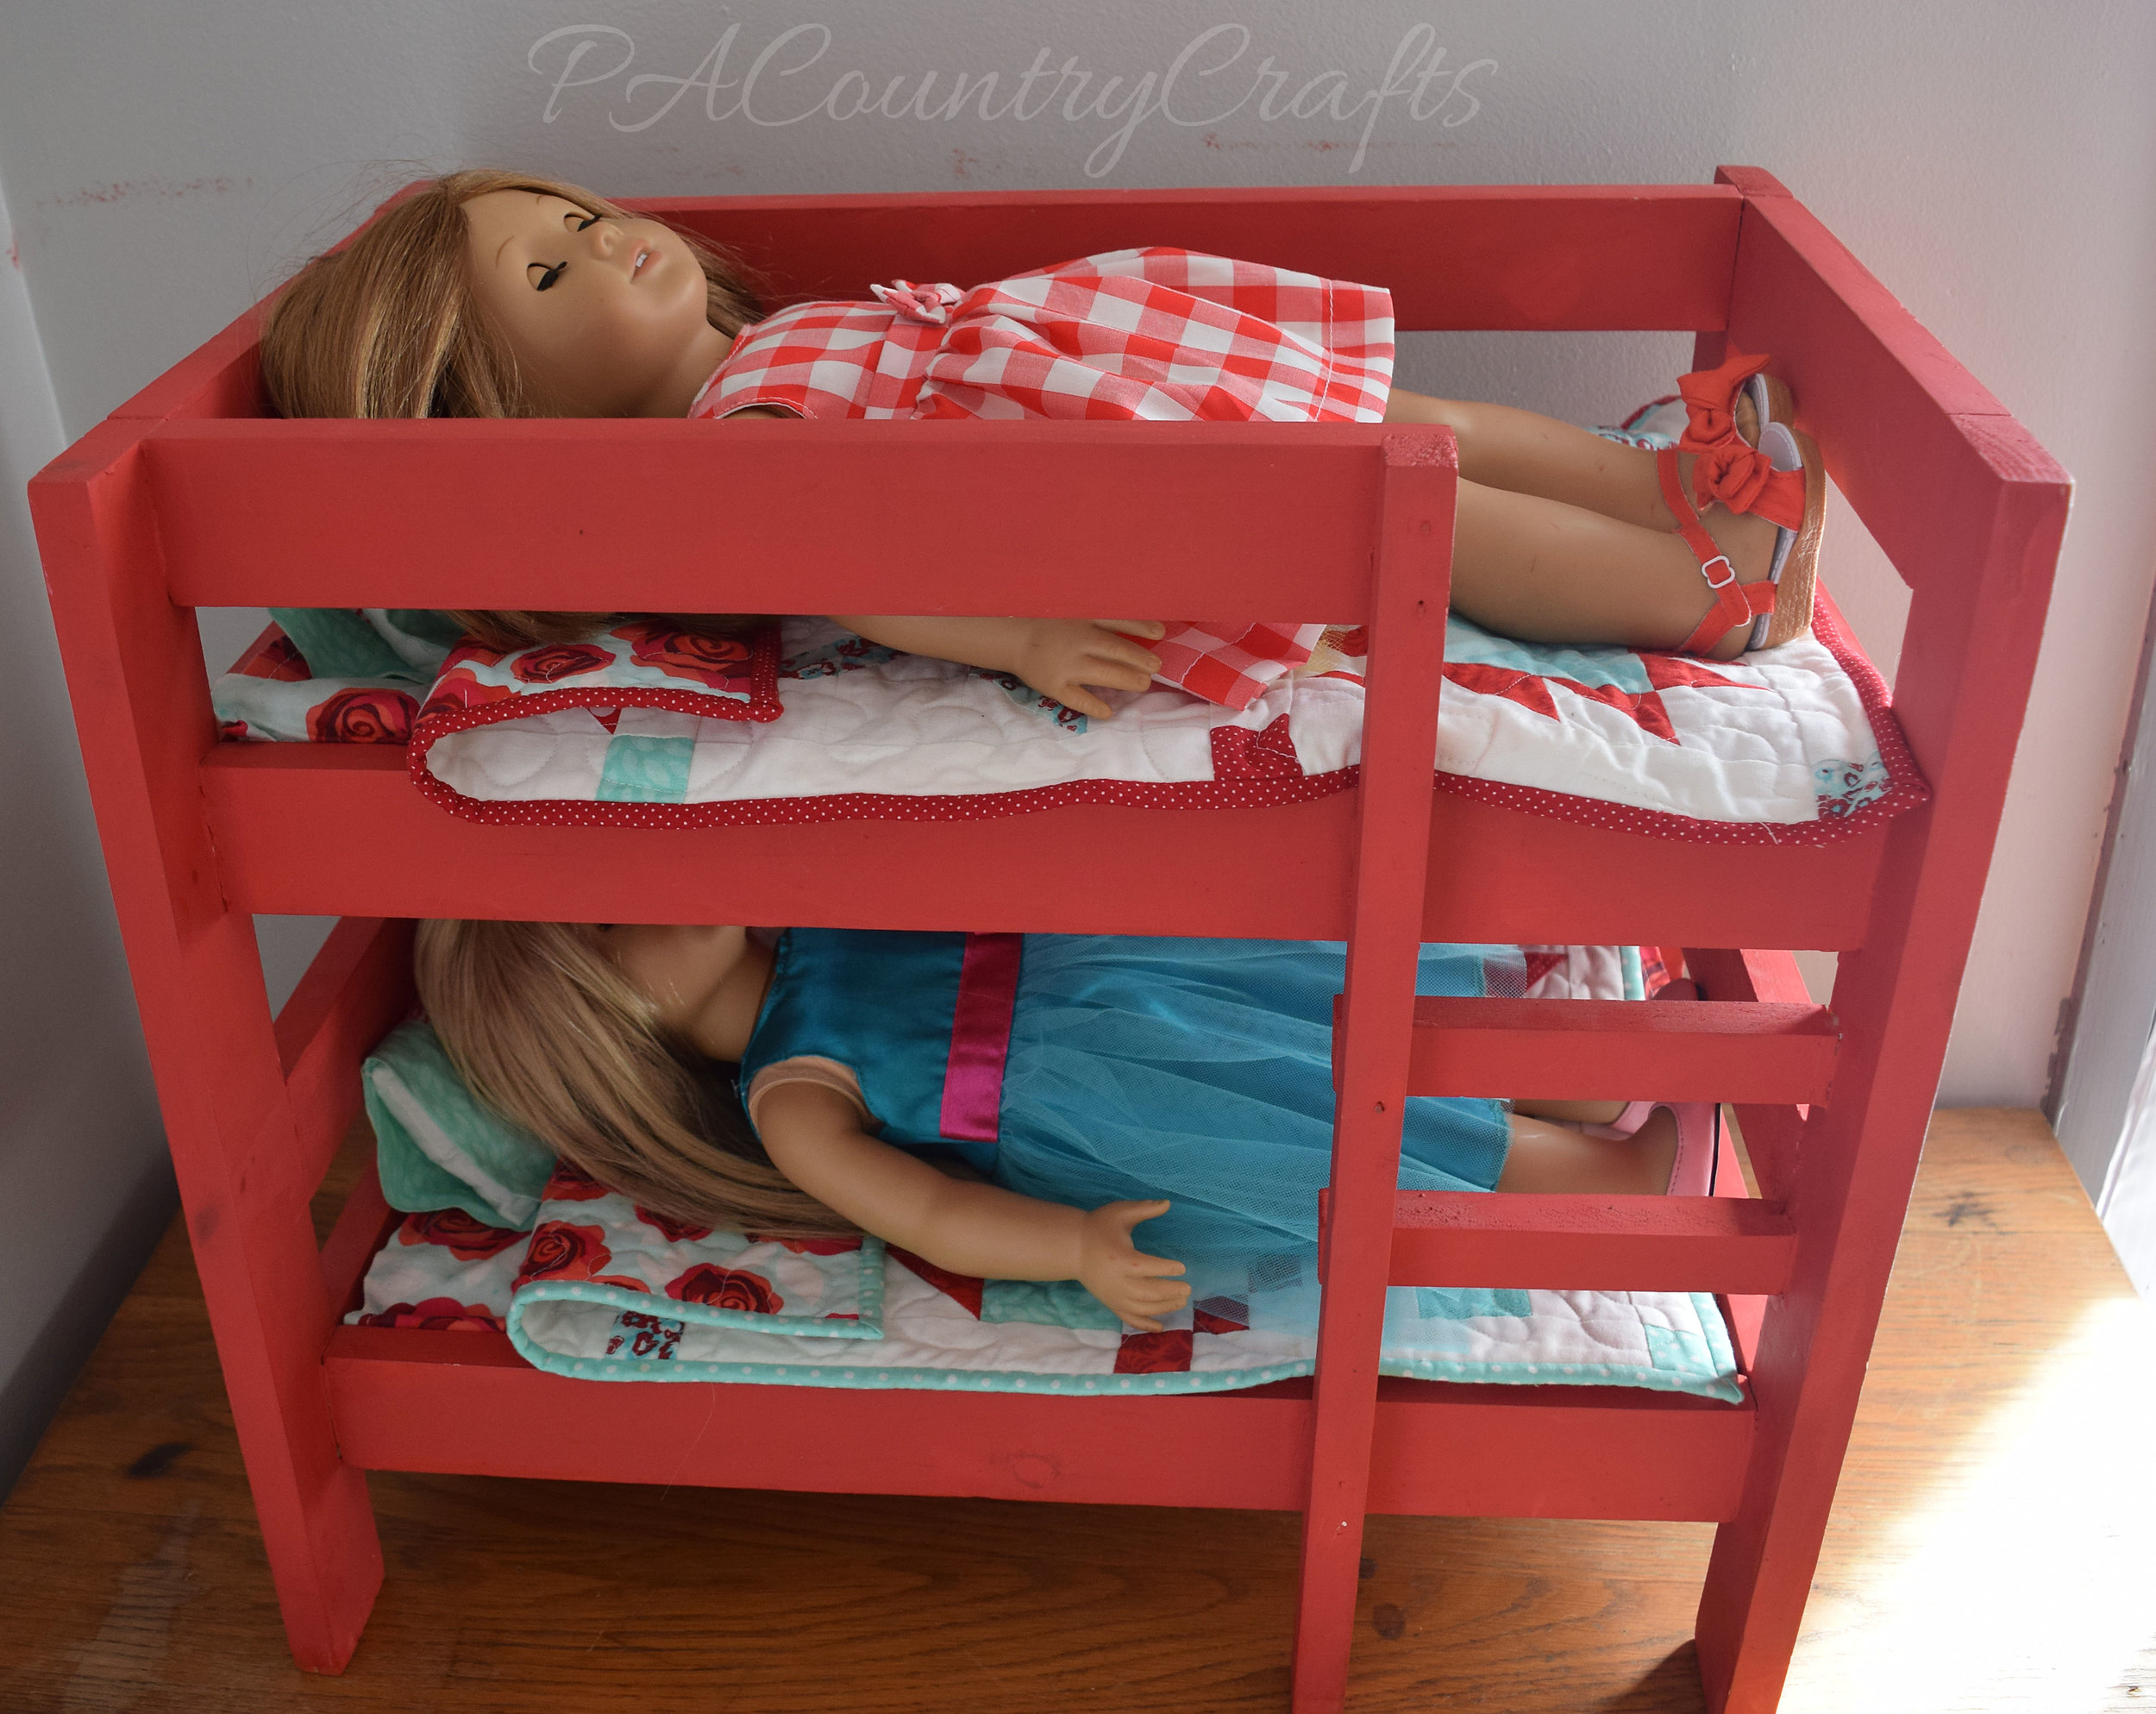
For Christmas 2014 I got my husband to build our daughter bunk beds for her American girl dolls. Of course, it was finished just before Christmas, and I was sneaking down to the basement for a few minutes at a time to paint them red, her favorite color. I was so surprised that I was able to pull it off! (I also had a gigantic trapping basket in the tub hidden behind the shower curtain that day! I am pretty sure I inherited a gene for last-minute-homemade-gift-making.)

To build the beds, I found free plans from Ana White (available HERE). My husband did find a small error in the directions and it is important to note that these beds are not made to withstand children climbing on them. Not that ours would do that...
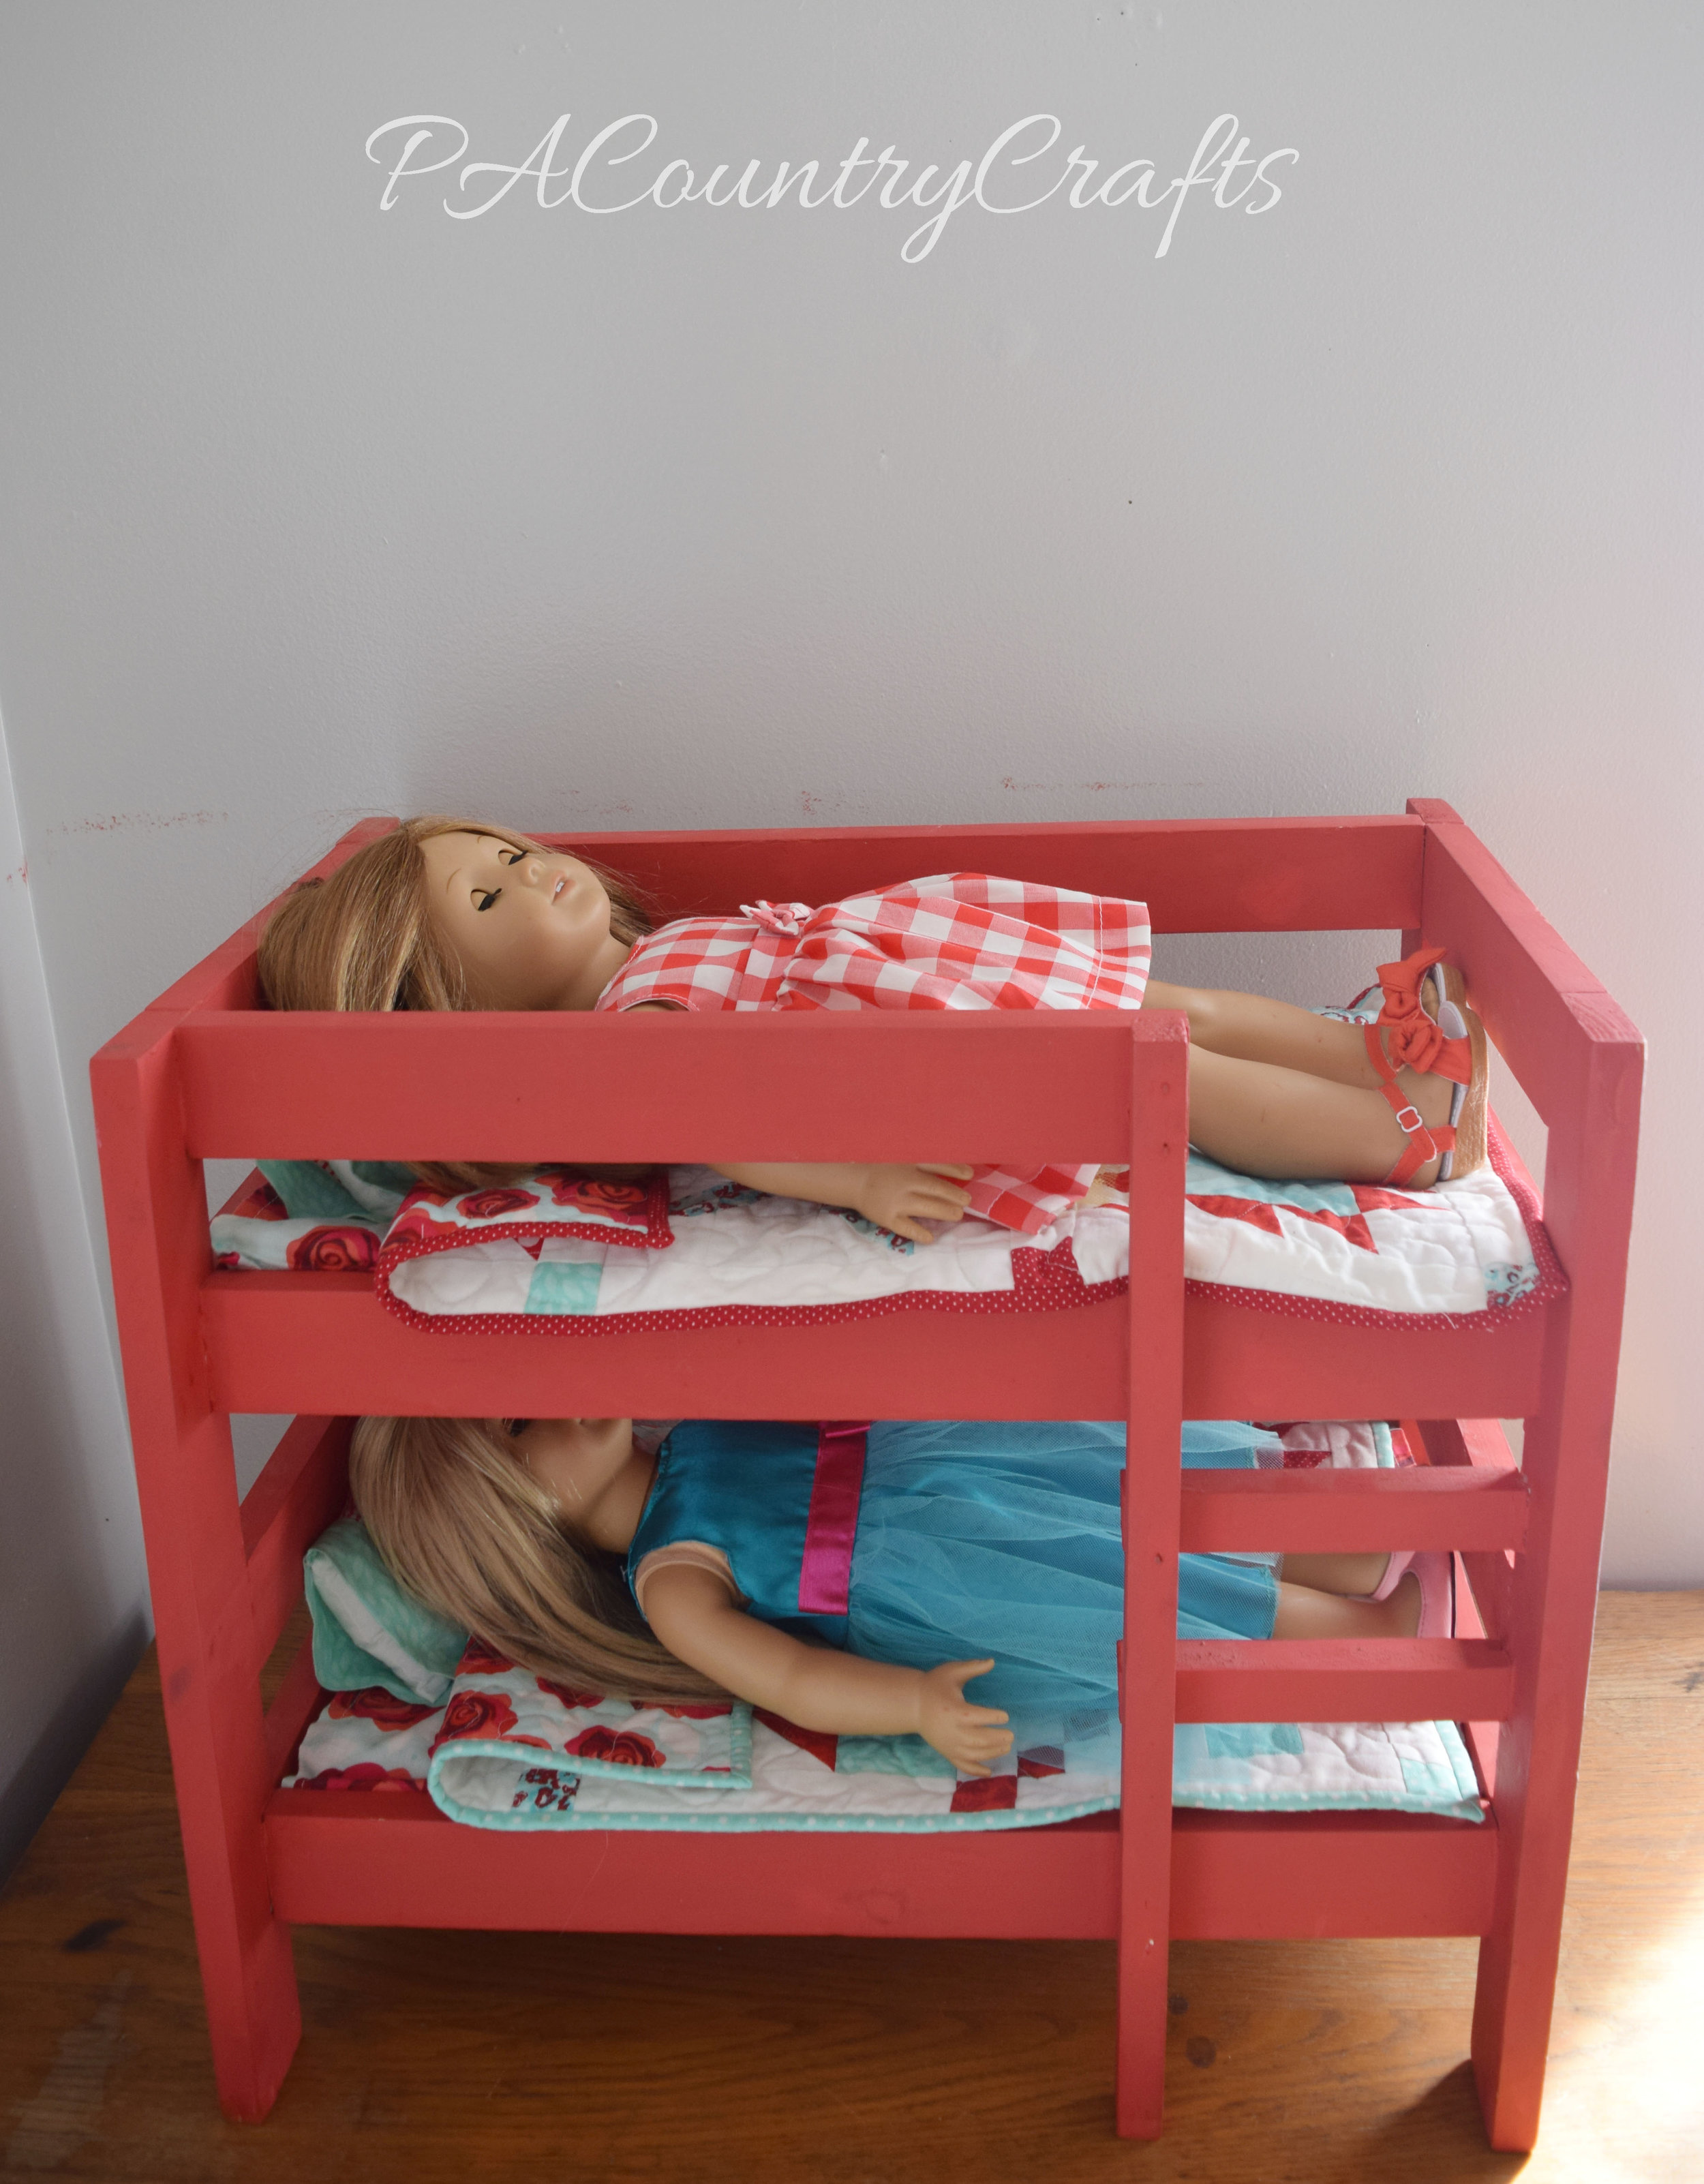
The other part to this gift was that I took her fabric shopping to choose fabric for the bedding. It was a painful experience. I did a post on the sampler quilts HERE. They took forever.
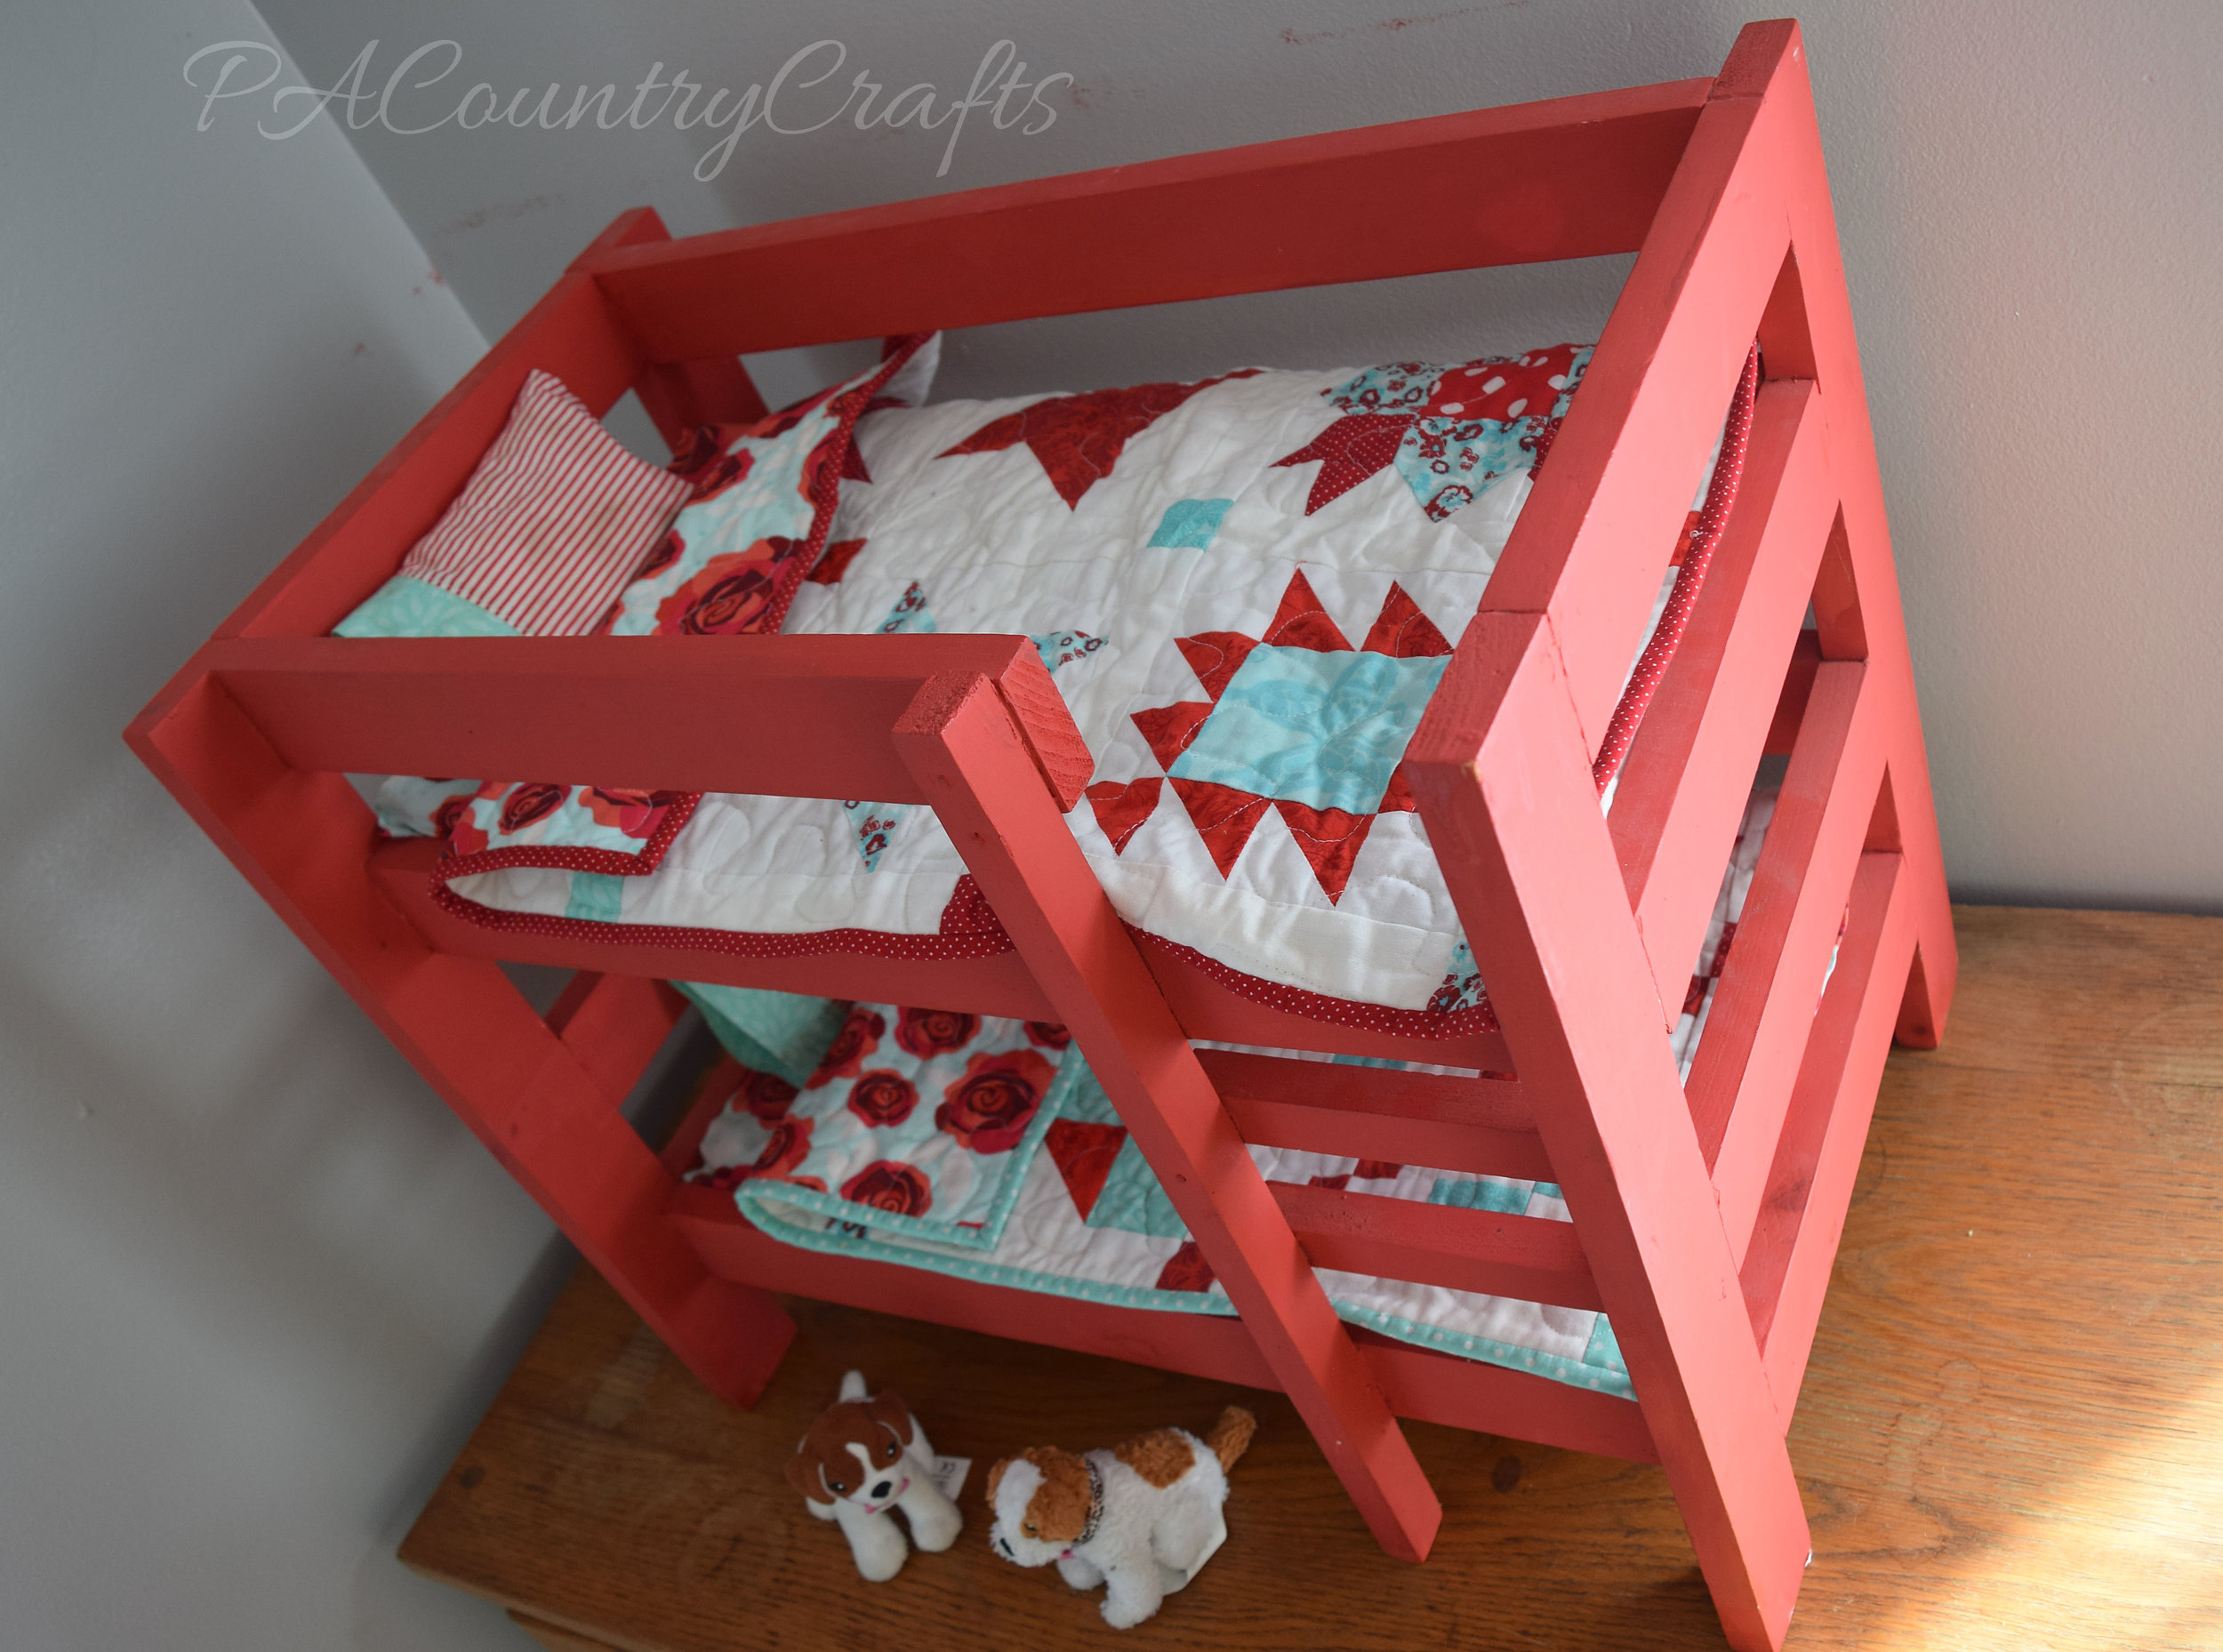
It fits the dolls nicely and it coordinates really well with their bedroom. (You can see the collage wall and free printables HERE).
Free sewing tutorial for a peasant dress with elastic sleeves. These dresses are perfect for charity sewing projects, nightgowns, or just cute dresses for little girls.
Read MoreSewing, crafts, tutorials, recipes, and a little look at our life in the country - raising half a dozen children.

Hi! Thanks so much for stopping by! My name is Lindsay and on this blog you will find sewing, crafts, decorating, recipes, and tutorials with a little bit of honesty and encouragement.