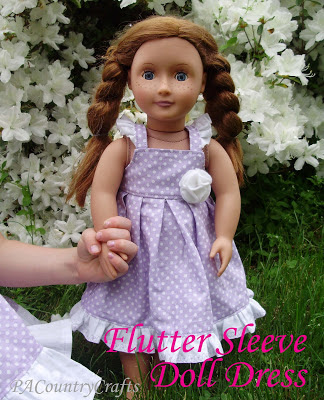
Flutter Sleeve Doll Dress

americangirldolleasterdresscollection.jpg

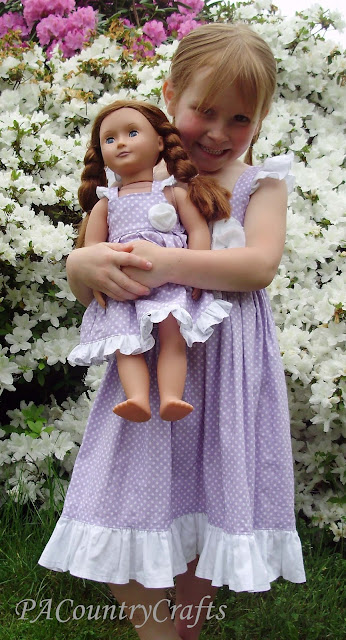
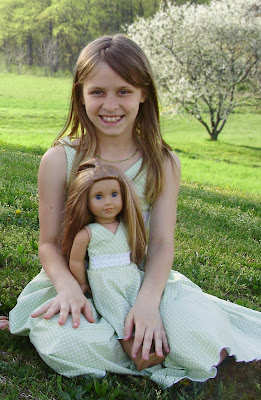
When my 5yo got her own "fake American Girl doll" for her birthday, she immediately began nagging incessantly for a doll dress to match her Flutter Sleeve Sundress. Since I made them for her sisters, it was only fair, so I whipped one up as soon as I got a chance.

She loves it! Again, I took pictures this time since I didn't have a deadline and could sew in the daylight hours, so you are getting a tutorial! YAY!

I made a pattern for you (again, this is for personal, non-commercial use only and don't sell this pattern, please and thank you). You can download the pdf pattern HERE. 

For the bottom ruffle and side ties, cut two strips 2" by the width of the fabric (about 44"). Cut one of those strips in half.  The bottom ruffle will take 1 1/2 strips.  Take the remaining half strip and cut that in half. Those are your side ties.

This is all of the pieces:

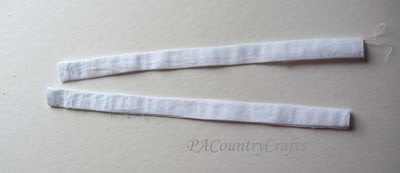
Let's start out with the straps. I used a rolled hem edge on the ruffles, so if you don't have a serger, you can cut them a bit wider and do a small folded hem instead. I sewed a long, gathering stitch along the bottom edge.

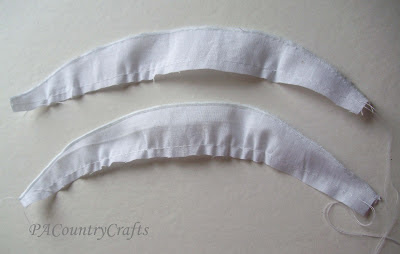
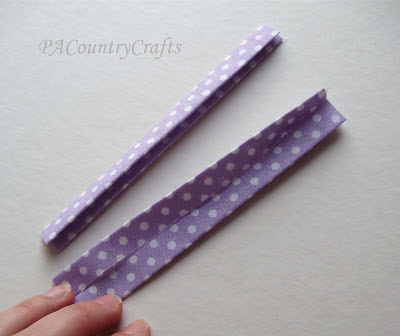
To make the straps, press the fabric like you are making double-fold bias tape.  Press the long edges to the center, then press again to fold it in half.

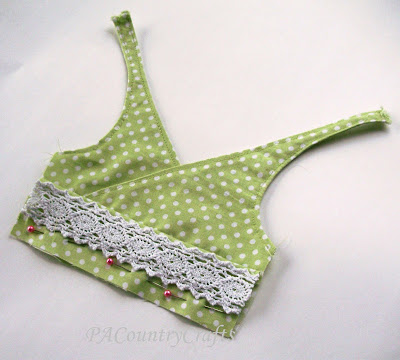
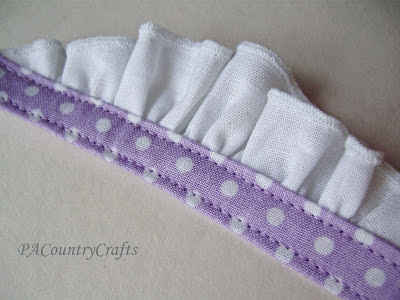
Gather the ruffles and sandwich them into the straps with pins. I left a little extra room on the ends in this pic, but the ends of the ruffles should be about 3/8" from the edge of the strap.

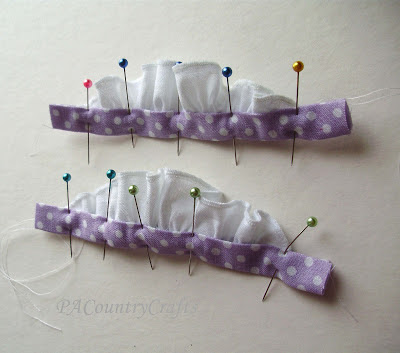
Sew about 1/8" or less from each side to attach the ruffle and topstitch. It looks so professional this way!

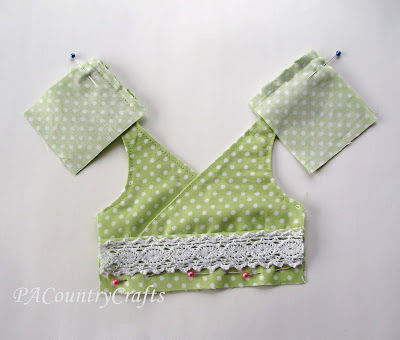
Pin the straps to the bodice, sandwiching them between the front and back pieces and leaving 1/4" seam allowance to the corners. 

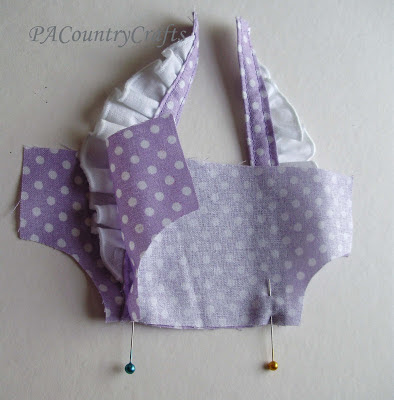
Clip the curves, flip, and press.

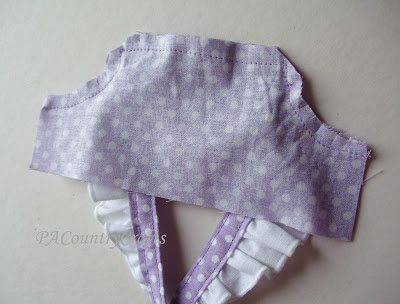
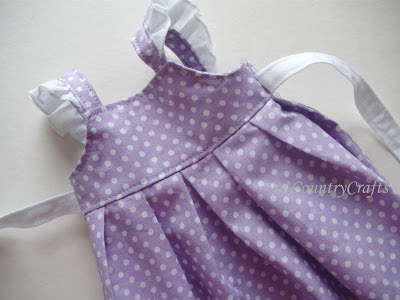
Attach the straps to the back pieces the same way.  The strap should be about 1" from the inside edge of the back and angled slightly as shown. (I left one of the back pieces off for the picture so that you can see the angle- they should be sandwiched when you sew it.)

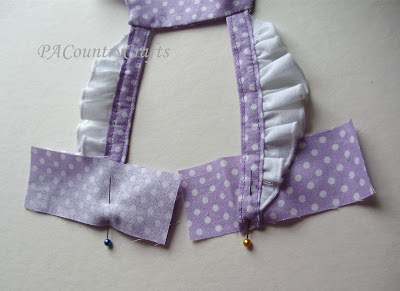
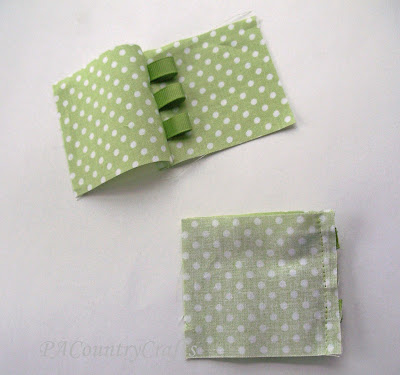
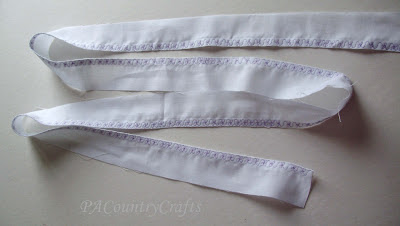
Make the side ties by sewing right sides together, flipping, and pressing neatly.

I topstitched all the way around and hemmed the ends, too. I just didn't take a picture of that. Now, I skipped some pictures here, but all you have to do is pin the straps into the sides 1/2" above the bottom edge and then sew the sides together. I serged them for more stability, too.  Then, I totstitched all the way around the edge of the bodice. Sorry, I know that is a lot at once.

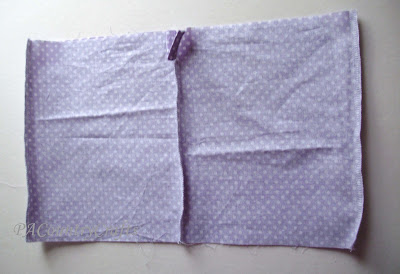
OK, for the skirt portion of the dress... sew the sides together and sew up the back center seam, leaving the top 2" open. Overlock or zig-zag over the raw edges.

Make a button placket to cover the opening. I am not going into detail on that part because I already did that HERE if you need help.

Then, just make your pleats using good ol' trial and error and pin the skirt to the top, right sides together.

Sew and overlock or zig-zag the raw edge and topstitch in place on the bodice about 1/8" above the skirt.

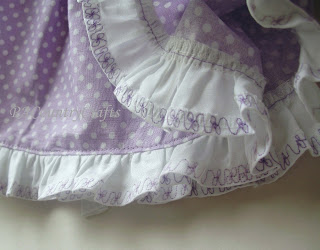
Almost done! Make the bottom ruffle by sewing the two pieces together and hemming the bottom edge.  I was playing with my new machine and made a fancy stitch here.  

Gather and sew it to the bottom edge of the skirt. Overlock or zig-zag stitch over the edge and then topstitch it in place.  

Insert a snap in the back...

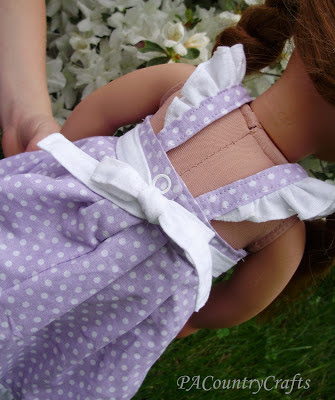
...and make a little felt flower for the front.
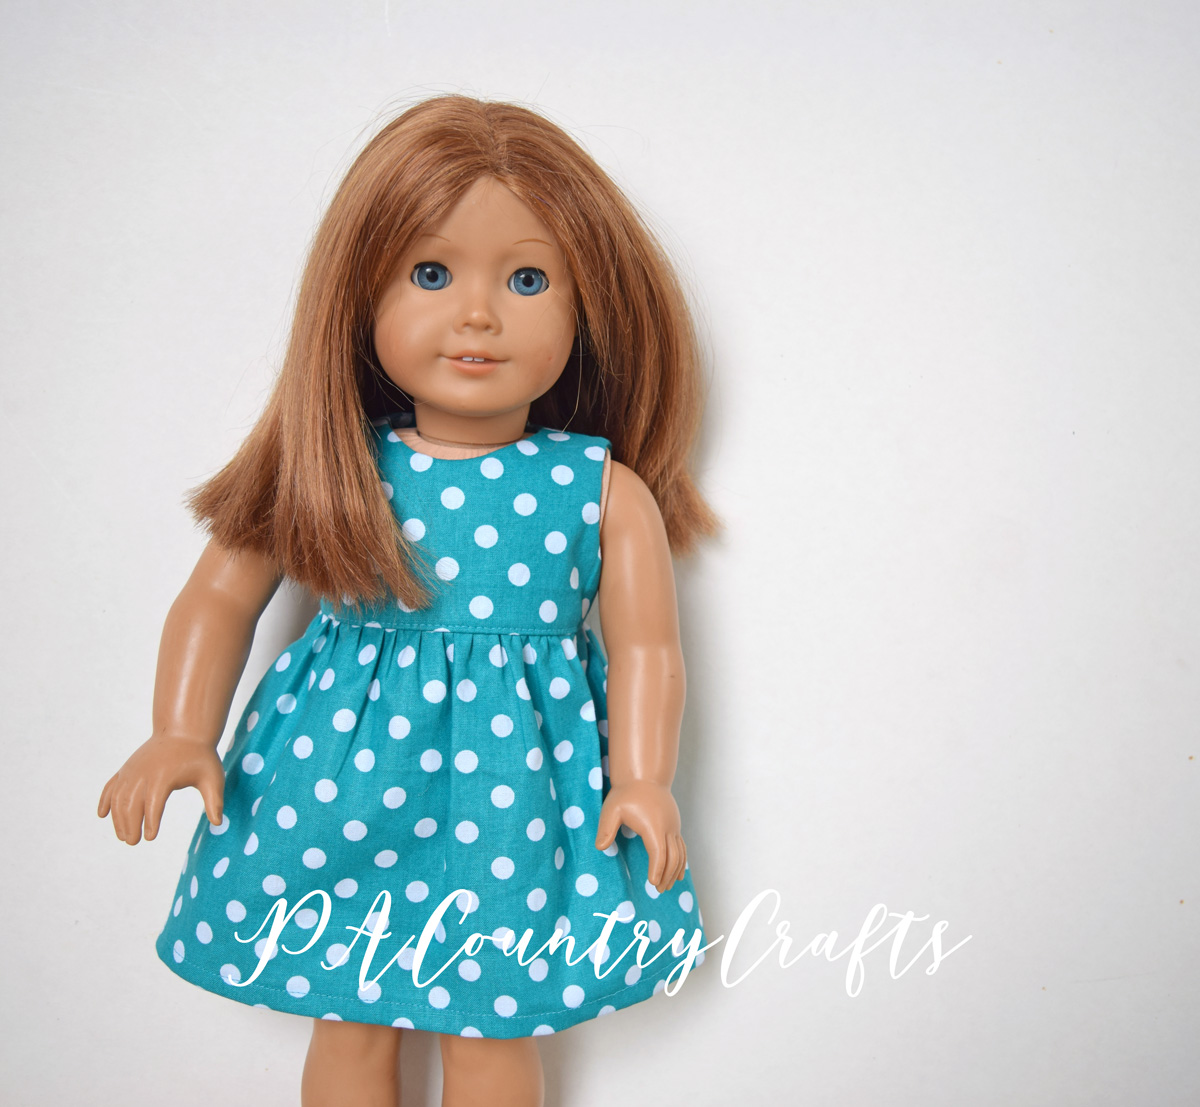
TADA!

It made her so happy!

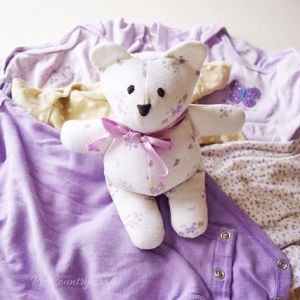
It makes me very happy that Grace isn't old enough to ask for a doll and matching dress for her Little Diva Dress though. I loved all those ruffles, but a doll is not worth that much effort to me.  I want to make her a matching purse instead, since she loves purses right now.

So, my 5yo wanted to take a picture of all of the dolls together...

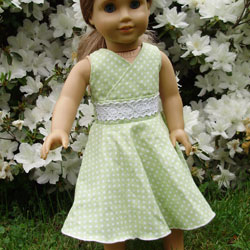
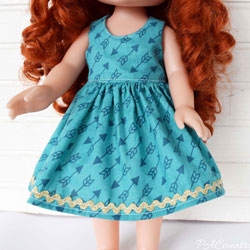
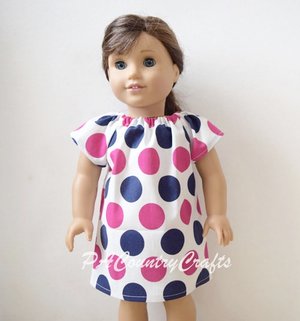
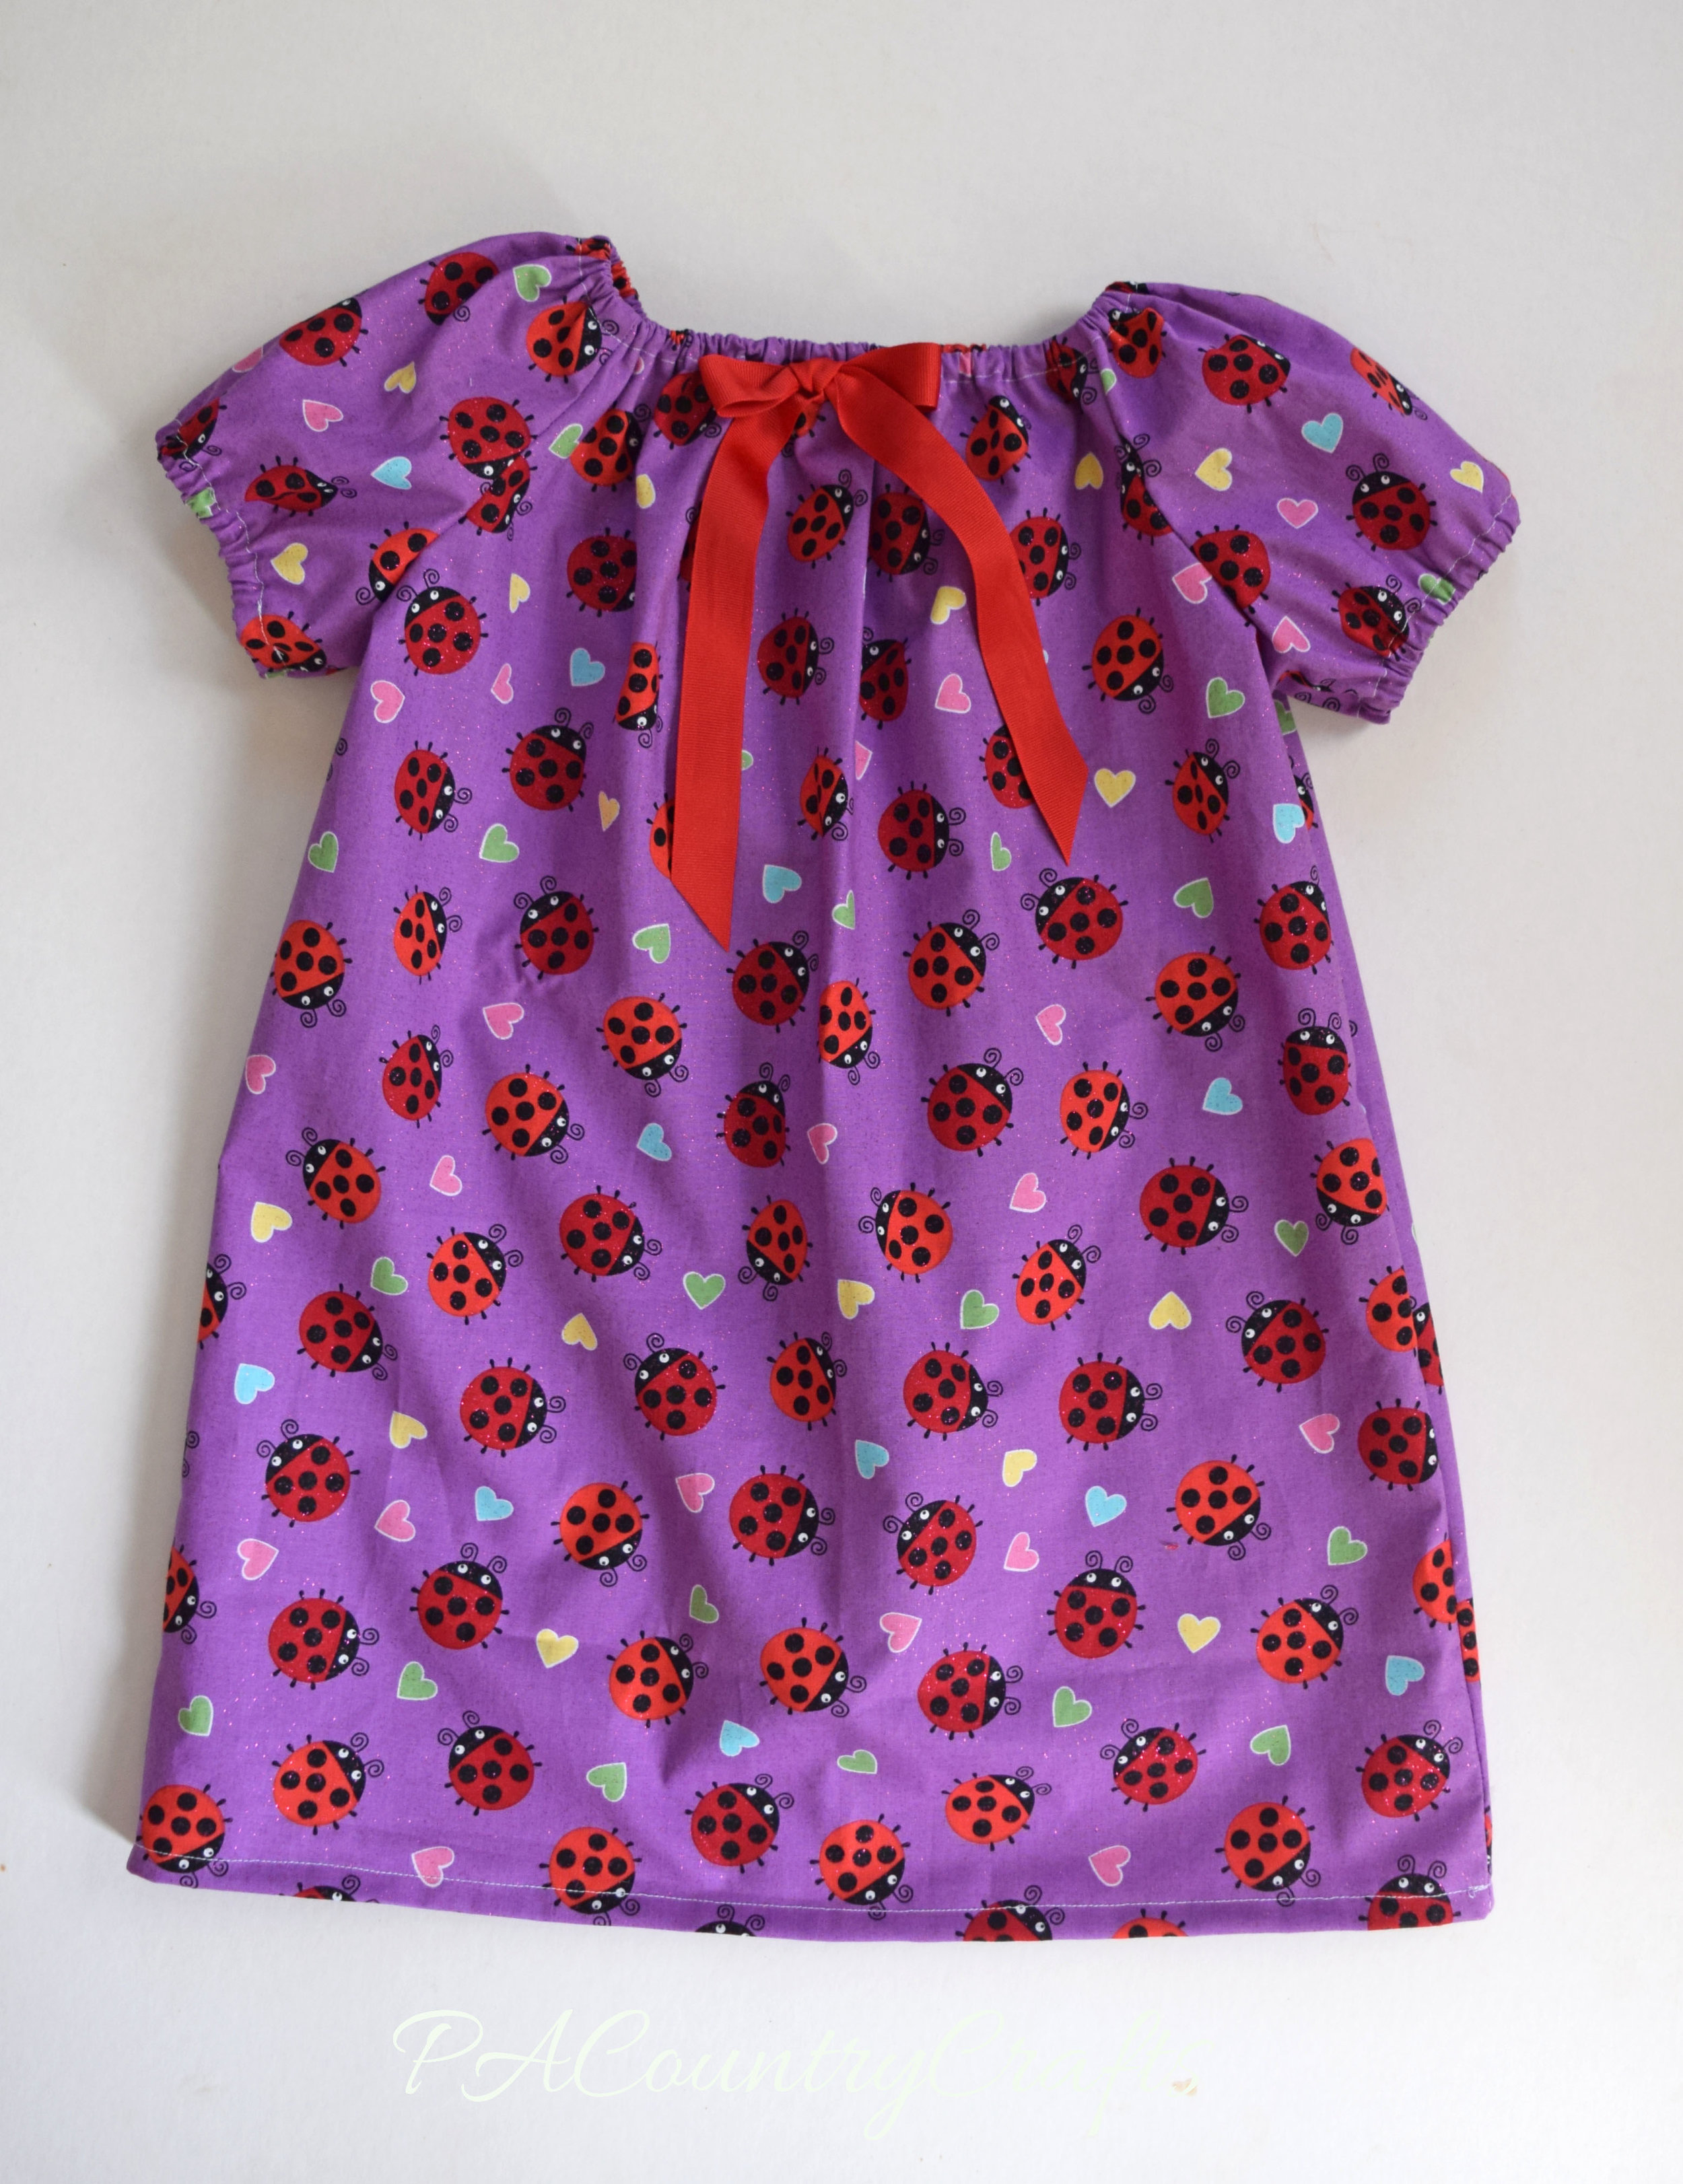
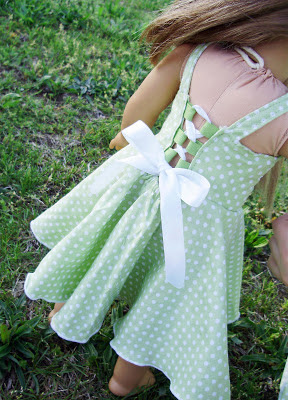
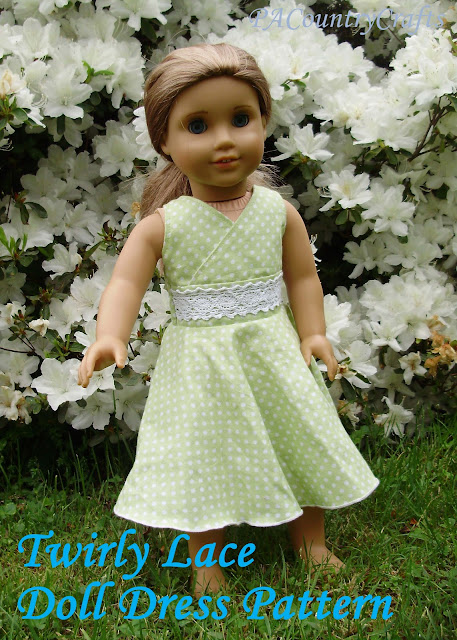
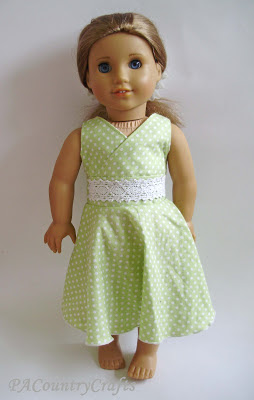
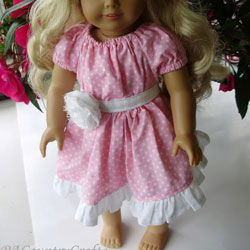
From left to right... Twirly Lace Doll Dress, Flutter Sleeve Doll Sundress, and Boutique Peasant Doll Dress.

If you make a dress using one of these patterns, I would love to see it! If you have any questions, just send me an e-mail. :)

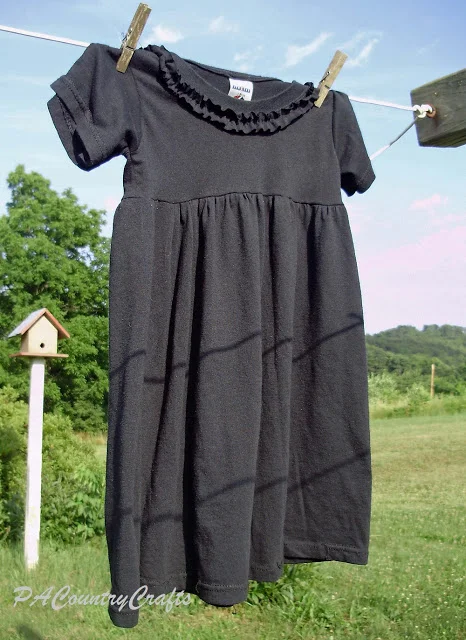
Here are some more doll dress patterns you might like:

Boutique Peasant Doll Dress Pattern

boutiquepeasantdolldresstitlepic.jpg

I was surprised that so many people were interested in the pattern for this dress! So, I redrew it from my scribbled up copy and copied all of the measurements onto the same paper. Here ya' go! The downloadable pdf pattern is available HERE. (Updated 3/20/16)

If you have trouble, please just e-mail me at pacountrycrafts at gmail dot com and I will send you a copy of the pattern.

I hope this helps! The directions are in the original tutorial HERE.  If you make one I would just LOVE to see it! 

Again, this pattern is for your own, personal, non-commercial use. Please do not copy the pattern and sell it yourself. (As my 5yo would say, "Don't you know? That is actually rude!" Kinda' makes me wish I could upload sound on here for you to hear just how funny it sounds coming from her.)

Happy sewing! I hope I can help make some other little girls just as happy as mine were!

Twirly Lace Doll Dress Pattern

backoftwirlylacedolldress.jpg

I had some fabric left over from the girls' Easter dresses, so I decided to make matching dresses for their new American Girl dolls. They loved this!

For this dress I actually made two because I am a perfectionist like that. It really took hardly any fabric, though, and I came up with some things to make it better.

First of all, the bodice and straps are all one piece:

For the back, first I basted the ribbon loops into the back pieces...

...then sewed the straps in along the tops like so...

This was much more efficient. I whipped the second dress up in less than an hour.

Everything else in the dress construction follows the Twirly Lace Dress Tutorial found HERE.  Use a 1/4" seam allowance for the doll dress. If you would like, for your own personal, home use only, here are the patterns that I used:

18" DOLL TWIRLY LACE DRESS

Here are some more patterns and tutorials you might want to check out...

Hole in the Barn Door Quilt

WOOHOO! I finished it, and it didn't even take me HALF of the month of May! Sweet!!!

And then, because I am lazy uncomfortably pregnant, I walked a few feet outside to our garden, which is planted  for grazing this year to give it a rest, flopped it on top of the spelt, and snapped a few pictures as the sun was going down.

Instead of hand quilting this one, I decided to try out the new sewing machine and machine quilted this one in a simple grid pattern.  I was hesitant, because it really was difficult to climb around on my hands and knees on the kitchen floor to baste this one.  It was even harder to keep Grace from running back and forth on top of the quilt while I did that and I used a thicker batting because it was what I had on hand.  So, I wasn't confident that my basting was smooth enough, but that walking foot is amazing! No puckers on the back. YAY!


I bought the backing fabric a loooooong time ago and designed the rest of the quilt around this fabric.  It has cute little farmer boys on Farmall tractors and says "What Happens on My Tractor Stays on My Tractor." The stripes didn't line up perfectly on the back, but it isn't horrible considering a toddler was running around on it as I basted.

OK, so the details of why I designed the quilt this way:

~The "fussy cut" squares were from a cute panel I bought a long time ago and I wanted to use some up.(Overly ambitious Plan A was to hand embroider little farm animals on the center squares.)
~The blue bandana print fabrc against the off-white background is because the parents' wedding colors were blue and white (inspired by their silos).
~At the time I was starting to plan this, they were constructing a blue pole building for their new business, but it did not have doors on it yet when I last drove by. When I found out that the churn dash block is also called "Hole in the Barn Door" I thought it fit perfectly! Plus, this block style looked very "traditional" and "old-fashioned" to me.
So, you can see, there was a logical thought process going on here. :)
 

And another great big WOOHOO because I can link up with Fiber of All Sorts' A Lovely Year of Finishes for a chance to win prizes for my May finish!!!

Also linking up here:

IMG_6373

And here:

Cozy Knit Maternity Skirt

myskirt.jpg
Last week I whipped up this skirt for myself. Yes, I sewed something for myself. That was not a typo. 
I am not usually comfortable having my picture taken, but for my loyal readers I will make this sacrifice.  :)  I walked up to the edge of the fields with my oldest daughter and gave her the camera.    She did a fantastic job!
Oh, and before you think that belly is so adorable, let me put it in perspective.  I am only 21 weeks. Yup. It is gonna be a looooooong summer! Good thing this knit has a lot of stretch!
Last time I was expecting I tried to make one of these skirts and it was a giant FAIL. This time, I messed up the exact same way (UGH!) by sewing the skirt on inside out, but I was able to save it. I sewed everything on my serger this time, too.  I can, hopefully, wear this one after the baby is born with the yoga waistband folded down.  If I need to, I can easily rip it apart and take it in, and I might shorten it some, too.  It is so incredibly comfortable and you can find the tutorial I used HERE.

 I have JUST enough left over that I think I am going to make a skirt for one of the girls. However, I love the detail on this shirt (Thank you, Loni!) and I am considering trying to make a similar design on the knit using a bleach pen. Do you think it will work?

I am linking up at the brand new Project Sewn and The SewOff Flickr Pool and Make for Mom.