Backstitching Embroidery Tutorial

emmerie.jpg
About a year and a half ago, I figured out how to do hand embroidery and I have been selling "framed stitcheries" in my etsy shop.  A friend of mine asked me to teach her, so I snapped some pictures of a piece I am working on that will look the the one above when I am all done.  (If you find that my pictures are not phenomenal, I am blaming most of it on the dreary weather.  The rest I blame on rushing through it to get back to a cranky, teething baby.)
Materials:
~embroidery hoop
~fabric
~warm'n'natural batting
~DMC floss
~embroidery needle
Step 1:
I always trace my design by holding my paper and fabric up against a (clean) window so that I can see through the fabric to the design on the paper underneath.  You can also tape them on if it is something more detailed or you can't hold it still.
I use batting underneath my fabric when I can to give it more stability and so that you can't see the threads behind it.  Then I put them together and place it in an embroidery hoop.
For the floss, I separate out 2 strands (it comes in 6 strands twisted together if you but the little 35-cent DMC floss at your local craft store).  Then I just thread it through the needle and knot the end. 
Now you are ready to go!

Step 2:
This one was already started, so ignore the "bel" there. 
Poke your needle up through where you want to start.

Step 3:
To begin... JUST this time... take a regular stitch.

Step 4:
Pull that through all the way and then comes the tricky part.  Poke the needle back up through about the same distance ahead as your first stitch.  You want to keep them as even and as close in size as possible.  There will be a little gap between where you are pulling the thread back up and the first stitch.

Step 5:
Now, put the needle back in at the end of the first stitch you took.EXACTLY at the end of that stitch or else you will have gaps and it won't look as nice.

Step 6:
Pull the thread all the way through, and then come back up again a stitch-width in front of the one you just did.  Just keep going backwards like this, keep the stitches as close in size as you can, and don't leave gaps between your stitches.  Pretty easy once you get the hang of it!

I have also been using this technique to hand embroider Easter basket liners.  I love the way this one turned out (she chose great colors). 

I hope you found this tutorial at least a little helpful.  Now I have to get back to weaving.  Hippity hoppity, Easter's on its way!

Pin It

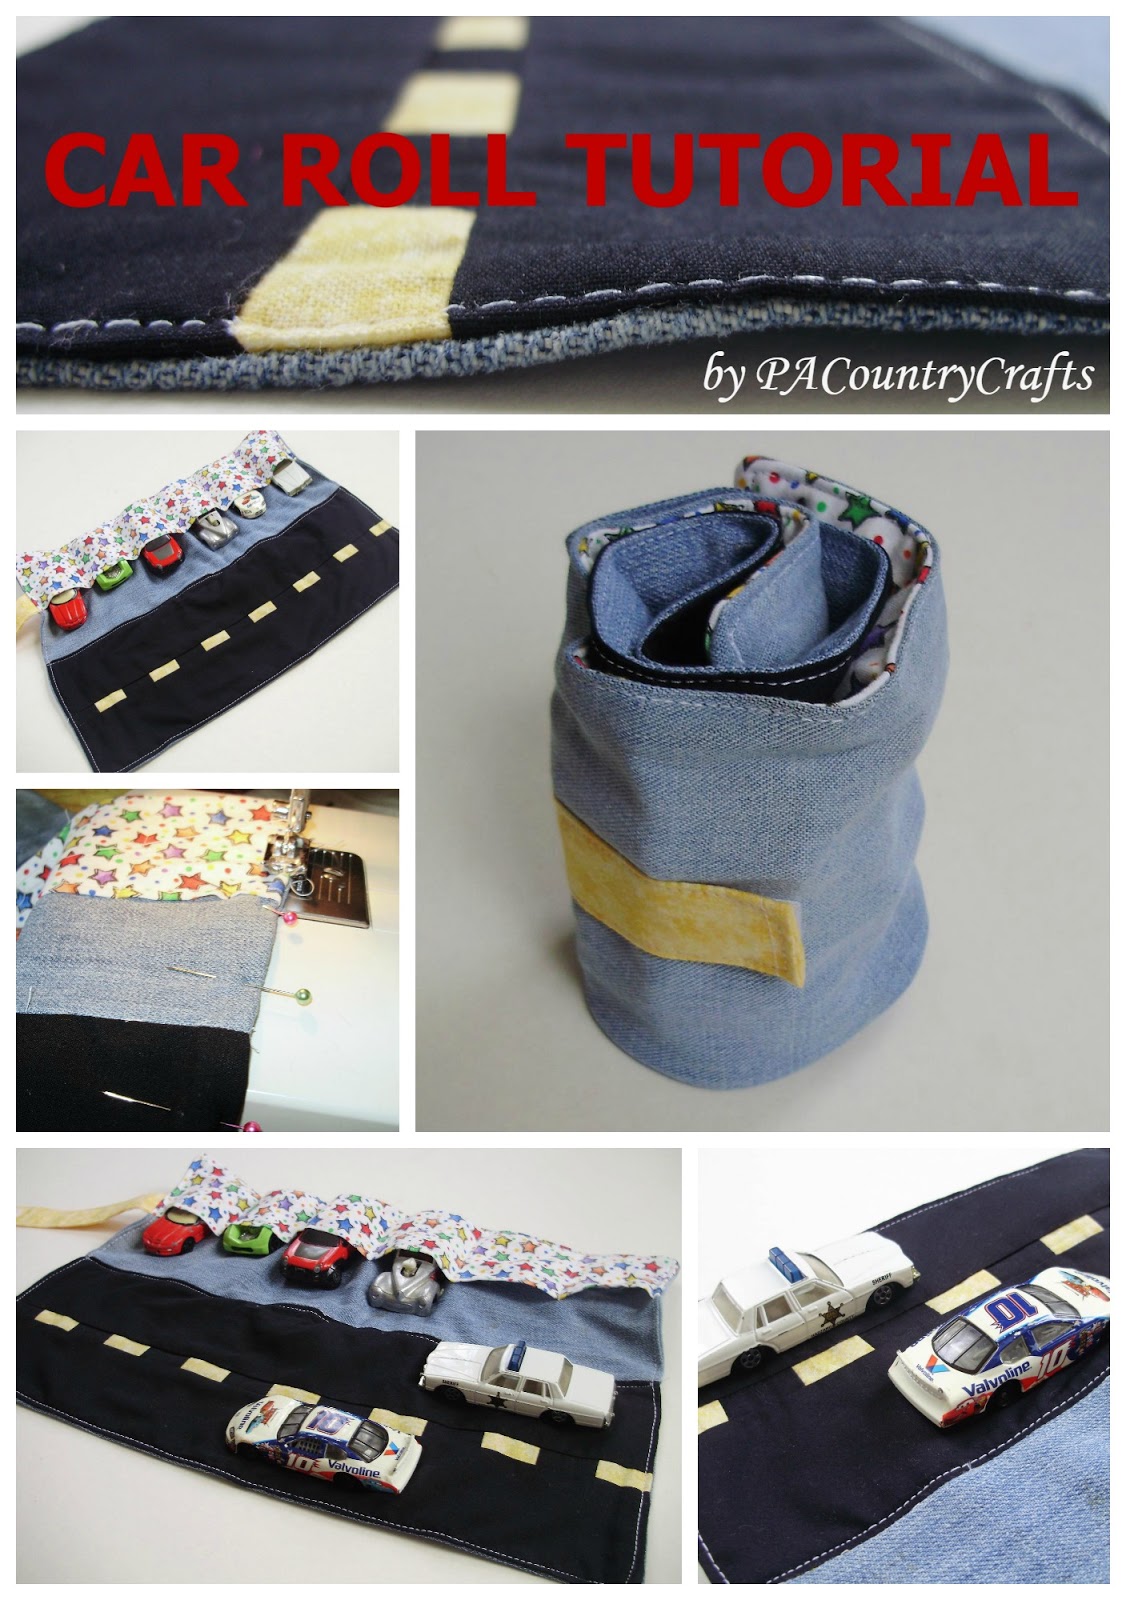
Car Roll Tutorial

Car2BRoll2BTutorial.jpg

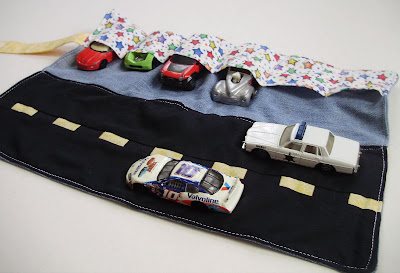
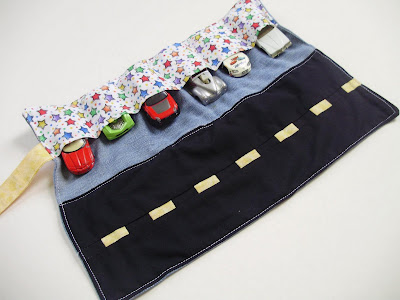
In my attempt to be the coolest aunt ever (I have 22 nieces and nephews so far!), I made this cute little car roll. It is made from some fabric I had on hand (it’s hard to find non-girly stuff in this family!) and some size 4T jeans that were headed for the garbage. I was inspired by THIS tutorial, but I wanted to do a few things differently:
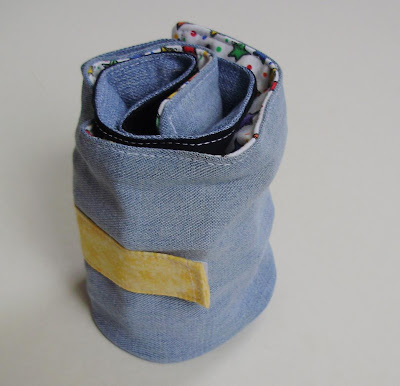
a) I don’t have duck cloth and I don’t know where to get it. Hence the denim.
b) Sewing on little bitty pieces of yellow felt didn’t sound like fun. So I channeled my inner quilter and made the road that way.
c) I rolled it instead of folding so I didn’t go all fancy on the outside and I skipped the stenciling cause I didn’t feel like it.
d) I made my own strap to velcro on from fabric.

So without further ado... here is my version of the Look at that- a title photo just for this post! I am going all fancy here (OK, so I just got a cool close up and wanted to use it). I took the best pictures that I could get since PA is seeming more like Seattle these days. Of course, the sun came out when I was done, but I am not complaining ‘cause I missed it sooooo much! So forgive all of the poor quality pics. I tried.

Materials:

Black cotton
Yellow cotton
Any cotton for the pocket
1 ½ legs from an old pair of kids’ jeans
3/4" piece of Velcro
Thread

Part 1: The Road

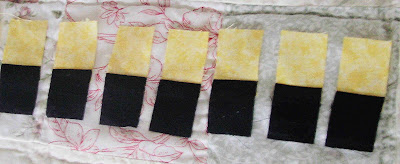
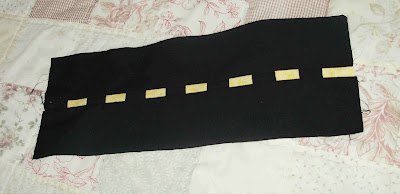
Do all the cutting first and get it out of the way. You will need 2 pieces of black cotton measuring 2 3/4" by 14" for the "lanes" and for the "dashes" in the middle, you will need one piece EACH of black and yellow measuring 1 1/2" by 14". Sew the 2 small strips of black and yellow together lengthwise, then cut into 1" strips. Sew them all short ends together, alternating yellow and black. Then sew this row between the strips and press towards the "lanes" and you are all done with the road! EASY!
Part 2: The Velcro Strip

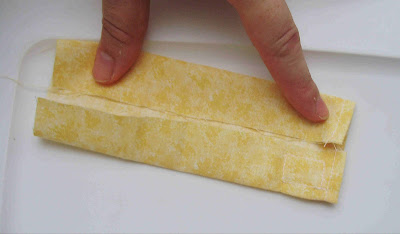
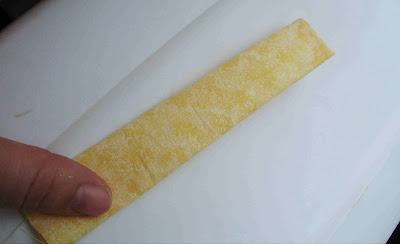
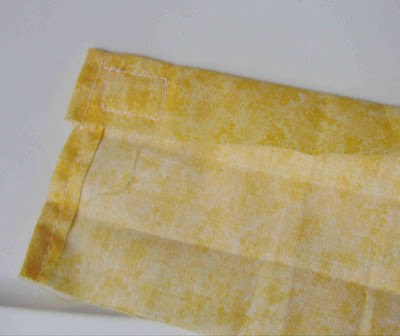
You will need a piece of cotton measuring 4" by 6" ( I just used yellow cause it was already 4" wide). Lots of ironing here- press in half lengthwise, open, and then press the edges in toward the center. Open it all up, hem in the end 1/4", and then sew your loopy velcro on one side just after the hem so the little box will be hidden. Fold the sides toward the center... ...and press it half. Then topstich around three sides, leaving the non-velcro side alone. See? No box on the other side.
Part 3: The Pockets

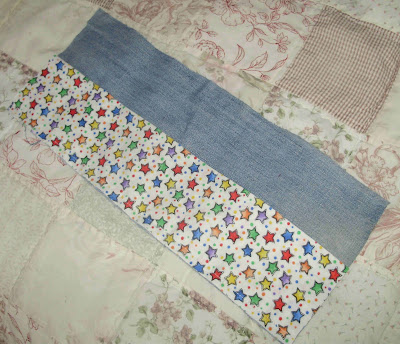
Now we are getting into the denim. Cut one piece from the pants 14" by 5 1/2" and from your other cotton cut a piece 14" by 6". Press the cotton in half, wrong sides together, and sew the raw bottom edges of the denim and cotton together (Good way to cover up a few stains here!)Topstitch the folded edge of the cotton just to keep it in place better. Then sew lines for pockets - mine were at about the the following intervals: 2 5/8", 4 7/8", 7", 9 1/8", and 11 1/4"
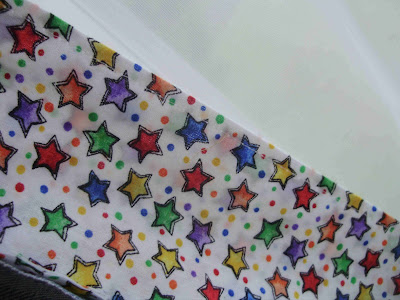
Part 4: The Outside

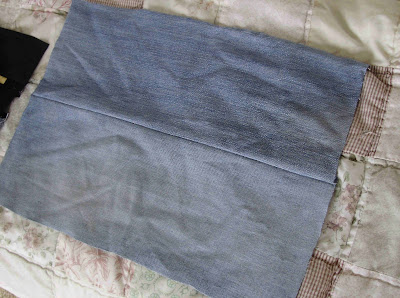
Take the remaining 2 pieces of denim, cut them to 14" by 5.5", and sew them together lengthwise and press the seams open.Sew the fuzzy piece of velcro on at 6" from the left end of the bottom piece and about 2 1/2" from the bottom edge.
Part 5: Assembly

Sew the two inside pieces together.Sew the raw-edge end of the velcro strip to the bottom, velcro up, lined up with the edge of the pocket. Go over it a bajillion times.
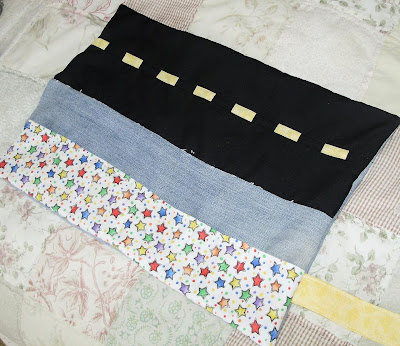
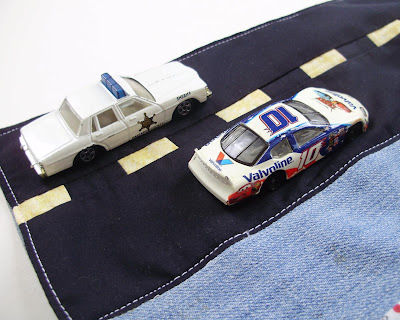
Sew the outside and inside together, right sides together, leaving the non-velcro end open, and flip (push those corners out real good!)Fold the opening edges in and topstitch the whole way around and down the middle, too. I used white thread cause I didn't feel like changing it, but I like it! It's kind of like road edges.
Part 6: PLAY!

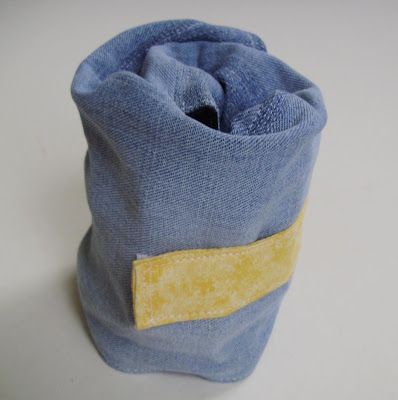
I was so disappointed that I could only find Sheriff Rosco's car and not the General Lee. :( But Rosco always loses! Fold. And roll. Secure with velcro. Perfect to tuck away in Mom's purse or a backpack!
Decoupage Recipe Box

soup2B0452B252822529.jpg

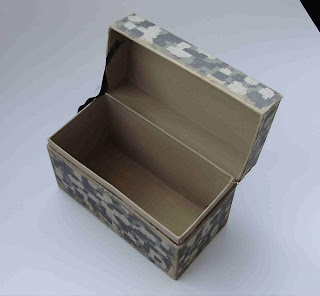
My brother is in the United States Army. He is a do-it-yourself kind of guy. He can build things, fix things, and now, probably because he is sick of fast food and microwave pizzas, he is learning to cook things. A looooooooooooooooong time ago he asked me for some recipes. Well, I just can’t do anything simply. I wanted to make him a recipe box, too. I finally got around to it and here it is:


TA DA!

I decoupaged fabric onto a cheapy $1 recipe box and touched it up with some paint. Here is how:
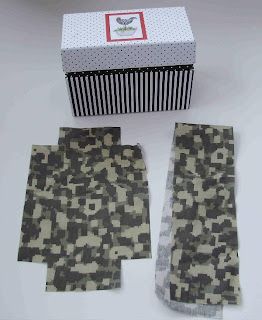
I measured VERY carefully and cut out a piece of fabric to wrap around the bottom, plus a little overlap, and a piece for on top with the corners cut out so it could come down over the sides.

Then I used ModPodge to glue the material to the box. It didn't go as smoothly as I thought because it is very hard to watch the edges of all four sides at once and get everything straight. So, there was a little bit that didn't cover.
So, I just got out some Country Tan paint that matched pretty nice and looked like sandy dirt, and I used a sponge brush to paint the inside and smudge some here and there and all over the edges to give it a grungy effect/cover up my mistakes. In hindsight, I wish I had pained it FIRST, because some of those stripes show through (with the digital camo it is OK) and it would have been easier to cover up some of those mistakes.

Finally, I added some cute labels on top. I typed these on the computer using stencil font and printed them out. I have heard that a regular ink-jet printer will run when using ModPodge on it, so I put a strip of clear tape over the lettering. If nothing else, it kept the paper from wrinkling up where the tape covered when applying the glue.


So, now I can give him all the secret family recipes I want. Except we don't really have any.

I think, though, that doing recipe boxes like this could be really nice bridal shower gifts. The fabric could match their kitchen or wedding colors. I might try it again. If you make one, I would love to see it!

Manly Bunting

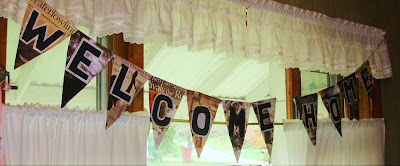
I am trying to do more craft projects with the kids because it affords me a few minutes where they are not inventing their own “projects.” So, while supper was cooking last night, we threw together a “Welcome Home” bunting for hubby who had to stay away for a night because of work. Since it was a last minute job, I used whatever I had on hand. I wanted to make it “manly” for him, so I stole a few old hunting magazines from the basket (Before you gasp at that- I usually purge them after they are 6 months old anyway and he doesn’t seem to notice or care.) I picked out the pages that were mostly pictures and cut them into bunting shape triangles for later.
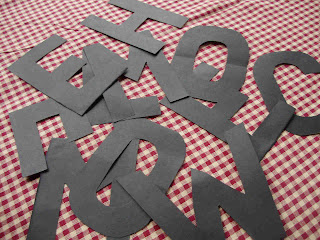
I cut out letters from a black gel pen paper tablet the kids have (Thank you, Mr. Schwalm, who made us learn how to cut out block letters every year in elementary! I still remember!)

Then, since I realized they weren’t gonna show up so well against the dark pages, so I had the girls glue stick them to some pages that were mostly black type on white background.
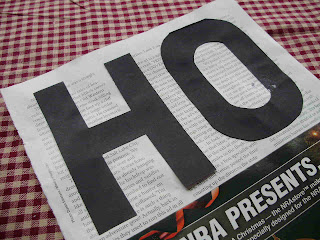
 

Then I cut around the edges of those and had them glue stick them to the triangles.


We folded over the back with the yarn in it and taped it down (this was a three person job- one to cut tape, one to hold, and me to stick it down- excellent because little hands were kept busy!) Then we hung it up in the window and waited for him to come home.


Of course, he didn’t see it when he stumbled in exhausted later that night, so I had to ask for a drink of water. But I was glad he was…

Play Pea Pods Tutorial

peasheep0062.jpg

As pomised yesterday, here is my new tutorial on the play pea pods I made with the girls.
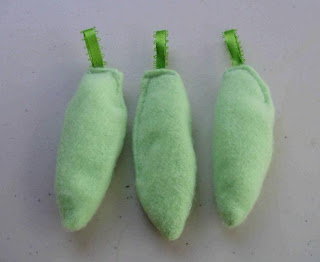
I used some old green fleece (felt would have been better but I didn't have any green), beads from a broken, gaudy, old Avon necklace, and some green ribbon.

First I made a pattern on an old index card and traced it on the fleece- this was cheapy, one-sided fleece, so I used the non-fleecy side. I folded it over and cut two layers at a time.

Then I sewed the right sides together and left the end and part of the side open to stuff with beads.

I clipped the curves a bit and turned right-side-out.

Then stuffed with these beads. There were different sizes- we used some medium and some large ones. Each one has a different numbers/sizes of beads so the girls can tell theirs apart by feeling them.
Then I folded the open edges in and stuffed a folded loop of green ribbon in there.
***IMPORTANT!!! The ends must be sealed- I didn't do this and they frayed and tore out right away because they were pulling on them while arguing over whose was whose.***

And... TA DA!!! Pea pods. I may be crazy but I am considering making play food as things come in season in the garden. Big ideas... maybe I should finish something else first!