Mend Holes in Jeans 3 Different Ways
/Mend holes in girls’ jeans three different ways! Iron-on patches, machine stitching lines, and embroidery with fabric!
Read MoreMend holes in girls’ jeans three different ways! Iron-on patches, machine stitching lines, and embroidery with fabric!
Read More
I give up. I am tired of waiting for the doll bed to be fixed. I am tired of waiting for decent lighting. I give up.
Even though it was overcast and raining today, I took some plain pictures inside of those doll quilts that I finished almost a month ago so that I could post them here. I am too much of a perfectionist sometimes!
I got the over-achieving idea to make sampler quilts for these. I started out with 8" blocks before I realized they would be too big. Then, I changed to 6" blocks, but with the sashing they are still a little too big. Oh well.
The red and aqua color scheme matches the backing fabric, also used for sheets, that my daughter chose. It matches the red bunk bed and their bedroom very well, too.
Here are some of the best blocks I made. 6" finished blocks are pretty difficult to make. I don't plan on making such small blocks again for a very long time!

I thought I would do another WIP Wednesday post to share what I have been doing around here lately. I may not have blog posts up to prove it, but I have been super productive!
I finished up 2 out of 3 doll quilts, but did not get any pictures of them yet. Those sampler ones took so long that they deserve a full blog post. :) Plus, there is a piece on the doll bunk bed that needs fixed and nagging has not worked thus far. I may have to do it myself.
I made two stuffed bears from outgrown baby clothes (that was the sneak peek at the end last time!) and even a little blanket for one bear. I plan on posting the pattern I made for those, but I didn't get it perfected yet. I might even do another one just to test it out.
I started a crochet cow hat! It is almost done. I made one of those last year while I was on a blogging hiatus, so I never posted about it. Maybe I will show those pics when I get this one done, too. The first one is better because it is a brown cow. :)
Oh, and I am trying to do the 40 bags in 40 days challenge to declutter my house. Yesterday's task was my embroidery floss. It was all over the place, so my sewing table is much cleaner and the floss is super organized! I only got a sandwich bag worth to throw out, but I am counting it. :)
Speaking of organizing sewing stuff, I got this bobbin tower on clearance at Michaels a few weeks ago and it is awesome! I love being able to just reach up and grab the bobbin I need and the threads aren't hanging all over the place. I highly recommend it!
Make an 18” doll apron to fit American Girl dolls. Free pattern for a matching girls’ apron, too! They are even reversible!
Read More
I have a lot of sewing projects going on right now.
A few weeks ago, I did my first ever free motion quilting! Now, don't laugh...
Any guesses as to what it is? And, more importantly, what it is made of?
Linking up at SillyMamaQuilts.

I have been doing a lot of craft projects for the kids/with the kids lately on these cold, snowy days. I made a few new things for their dolls a few weeks ago and ended up designing some new patterns. This one is a reversible doll dress.
I just haven't found two coordinating fat quarters that I really like to make another one and take pictures. Doll clothes are a little trickier because you can't use large prints.
We have had oodles of delays and an early dismissal this week. Yesterday I decided to bribe the girls to clean up with the promise of a craft project. I bought a heart paper punch when I couldn't take it anymore and ran away to the craft store one day this week. We raided my scrapbook cardstock and they got to punch hearts out. Then, I took the pile and ran them through the sewing machine to make a garland.
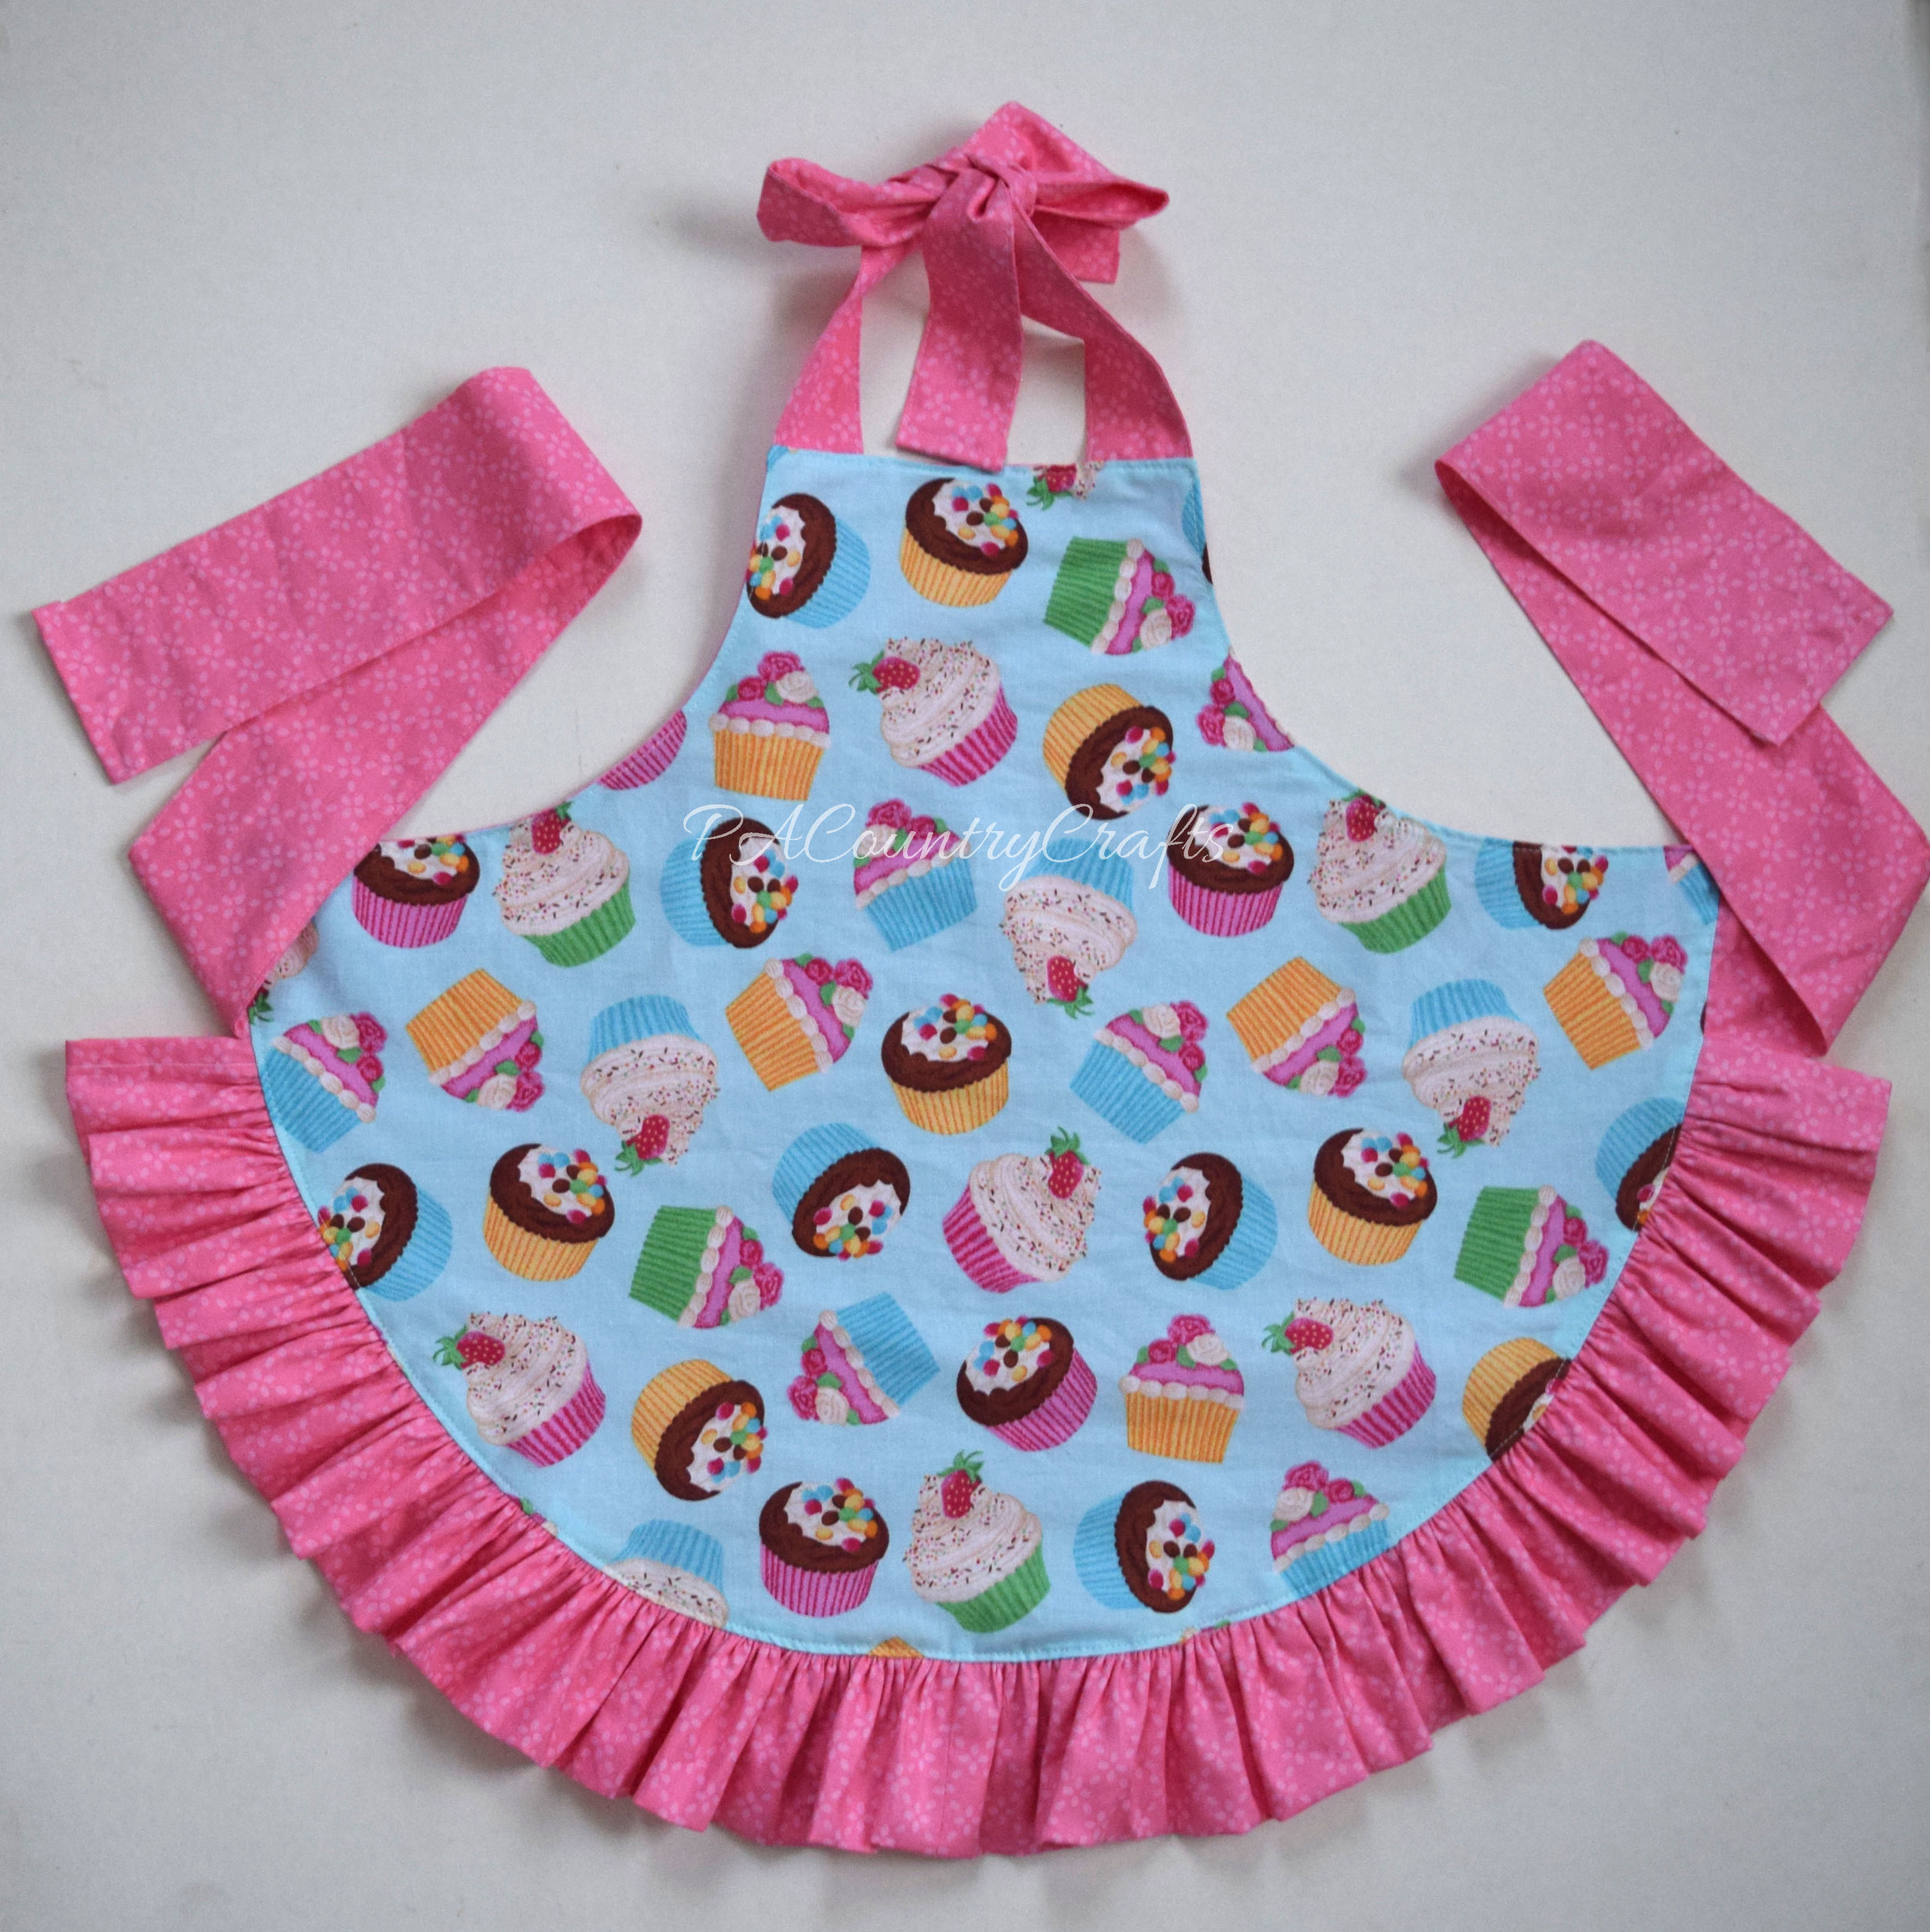
My 4yo has been not so patiently waiting for her new apron. Previously, she used a hand me down one from her sister, but it was getting pretty small. She wanted to match my cupcake apron, but I let her choose the fabric for the back, ruffle, and ties.
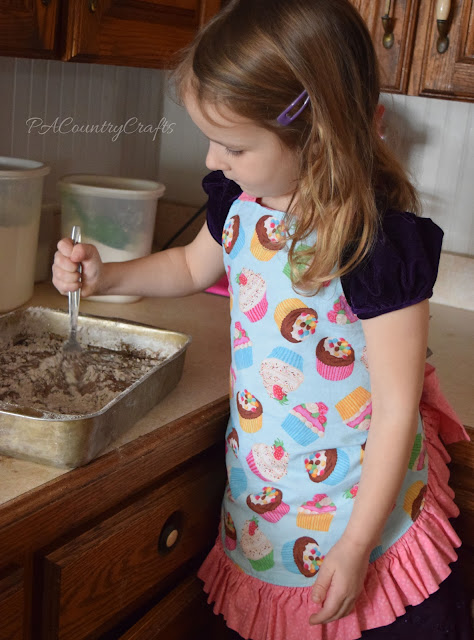
She LOVES to bake with me. Especially cookies or anything with sprinkles. And now we can match.
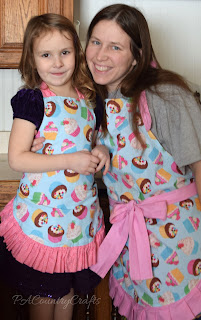
I took pictures as I was making this apron, so I am throwing together a little tutorial.
You can adjust the size of the main apron piece as needed. I have a smaller one that my 7yo is quickly outgrowing, so I made this one a little bigger. It fits my 4yo (who is tall for her age) with room to grow. I made a digital pattern and it requires 4 pages. Print them out (check the "actual size" box), tape them together (left to right, top to bottom in numbered order), and cut it out. It is available HERE.
As for fabric requirements, you will need 2 yards total- a half yard for the front, a half yard for the back, and a yard for the ties and ruffles (with some to spare).
Now, I learned to quilt before I sewed anything wearable, so I do a lot of cutting things in strips with the rotary cutter from fabric off the bolt. That is usually about 44" or so. The fabric should be folded with the selvage edges together.
Cut out your pieces as listed below.
Ruffle: Cut 2 strips 6 1/2" x width of fabric (WOF)
Waist Ties: Cut 1 strip 6 1/2" x WOF
Neck Ties: Cut 1 strip 4" x WOF
Front and Back: Cut 1 of each from pattern pieces- available HERE.

I started with the ruffle. Sew one edge of each piece together on the short ends to make one long strip.

Hem the short ends of the ruffle pieces. I just folded it under twice and stitched it down.
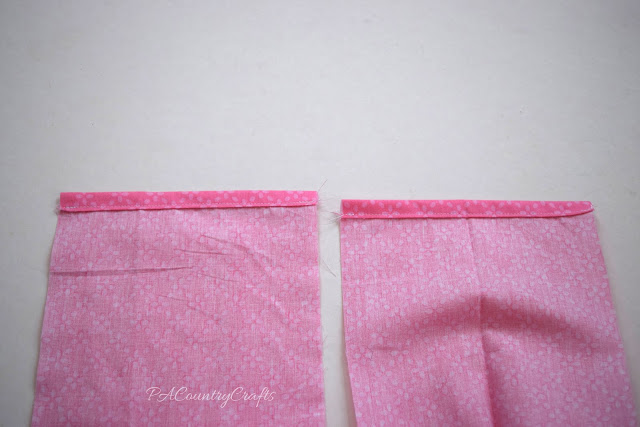
Press the long ends together so that there is a nice fold on the bottom edge of the ruffle.
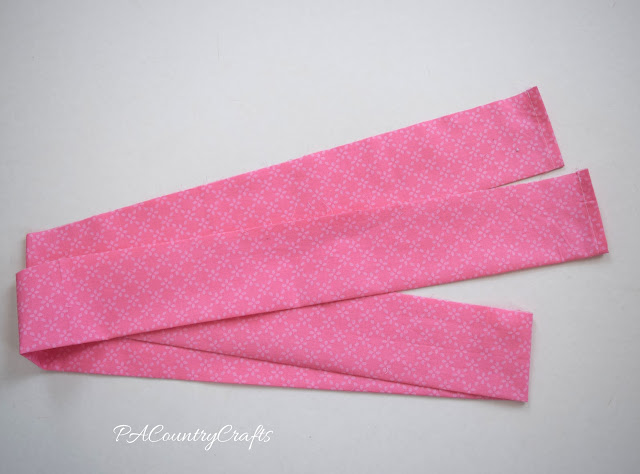
Sew two long gathering stitches and pull the bobbin threads to gather the ruffle. Pin it to the bottom of the apron, making sure the seam where the two pieces were joined is in the middle. Also, start 3 1/2" from the edge on each side to leave room for the waist ties and seam allowances.
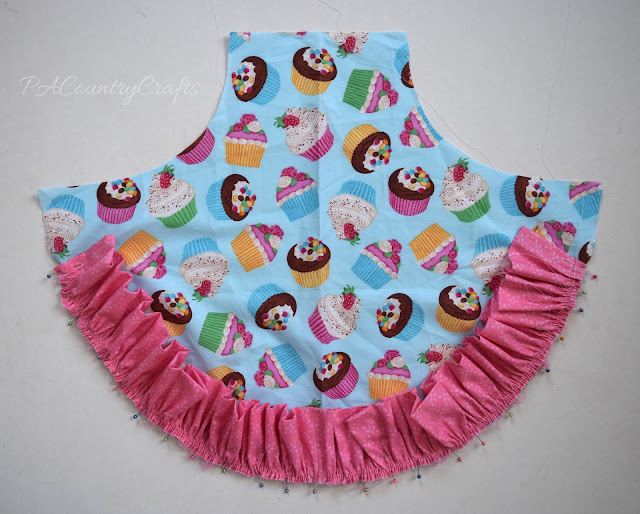
Baste the ruffle to the apron. It just makes it easier to work with later.
Now... for the ties...
Fold each strip in half lengthwise with the right sides facing in. Stitch 1/4" from the edge on each piece to make long tubes.
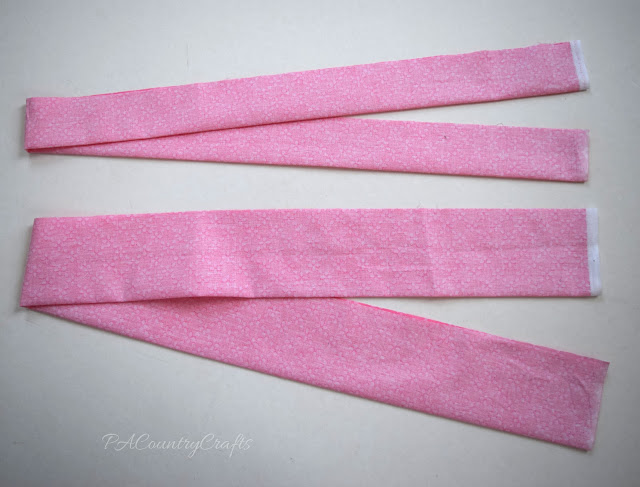
Cut each piece in half, flip right sides out, and press well. Top stitch 1/8" from the edge all the way around each tie, hemming one end by folding it under twice before stitching. When I topstitch, I usually increase my stitch length a bit (to a 3).
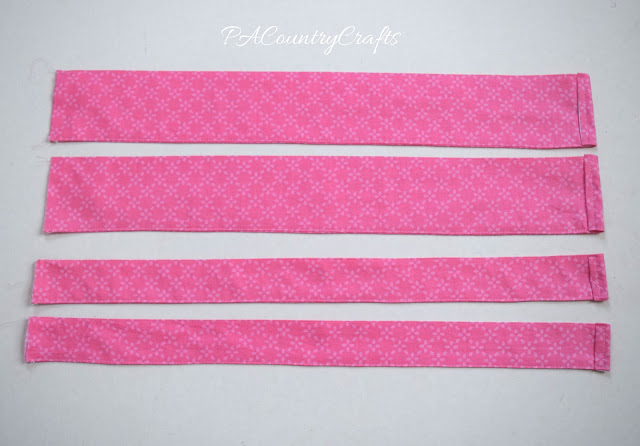
Pin the ties in place on the main apron piece, paying attention to the hemmed ends to make sure they will face the same way. Leave 1/4" seam allowance between the tie and the edge of the apron at the corners.
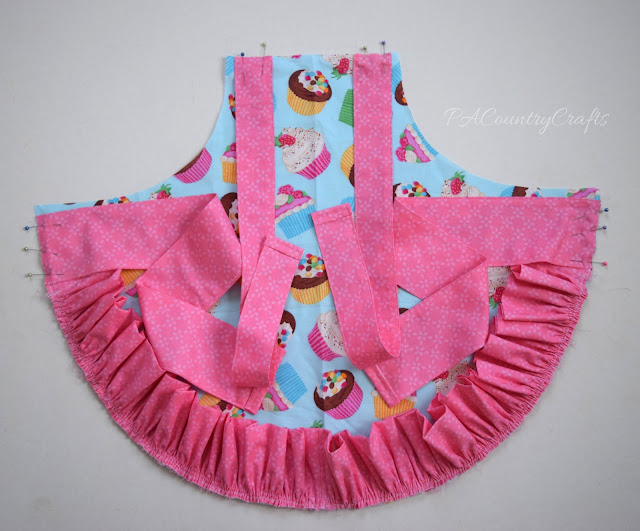
Pin the back of the apron to the front of the apron, sandwiching the ruffle and ties. Be careful to make sure the waist ties are folded down so that you don't catch the edge when sewing the waist area of the apron.

Sew all the way around the edge of the apron, leaving an opening at the top between the neck ties. Also, stitch over the ties several times to make sure they are held in place really well. Use the opening to flip the apron right side out. Press it really well. Finally, topstitch 1/8" from the edge all the way around the apron. This will also close the opening at the top that you used to turn it right side out.
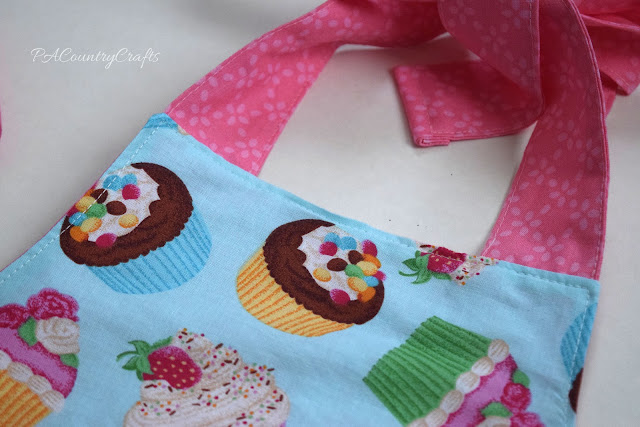
That is it! A pretty, ruffly apron!
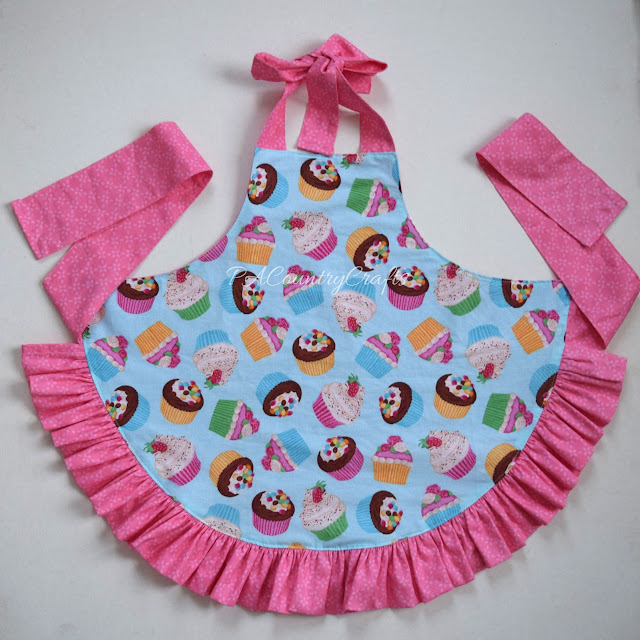
Now, some things I have done differently on other aprons...
~you can make the ruffle extend all the way to the corner and put the waist ties under it if you prefer
~pockets can be added to the main body piece which is also nice if girls want to play restaurant and have a pocket to put their order tablet in ;)
~interfacing can be added to the waist ties to make them a little sturdier
~the waist ties can me made twice as long so that they wrap around and tie in a bow at the front
~the back can be made of a more contrasting fabric so that it is clearly reversible
~the ruffles and ties can be made of contrasting fabrics
~pleats instead of ruffles can be made along the bottom
UPDATE- There is a matching doll version available HERE!
Sewing, crafts, tutorials, recipes, and a little look at our life in the country - raising half a dozen children.

Hi! Thanks so much for stopping by! My name is Lindsay and on this blog you will find sewing, crafts, decorating, recipes, and tutorials with a little bit of honesty and encouragement.