Ninja Turtle Baby Quilt

I finally finished it!  I started out with two yards of Teenage Mutant Ninja Turtle fabric that I had bought with the intention of making a quilt for my brother's first son.  That was years ago!  They weren't even engaged yet, but I was thinking ahead. :)  A little over 10 months ago, I finally got that nephew.  Then, I had to figure out what I was going to do with that fabric!
I hunted high and low for appropriate Ninja Turtle colors to match the fabric I already had.  These are the more recent movie version colors, and not the more traditional hues, so it was tough!
Then, I had to plan a quilt design.  Of course, I didn't follow that plan anyway, but it just sort of came together.
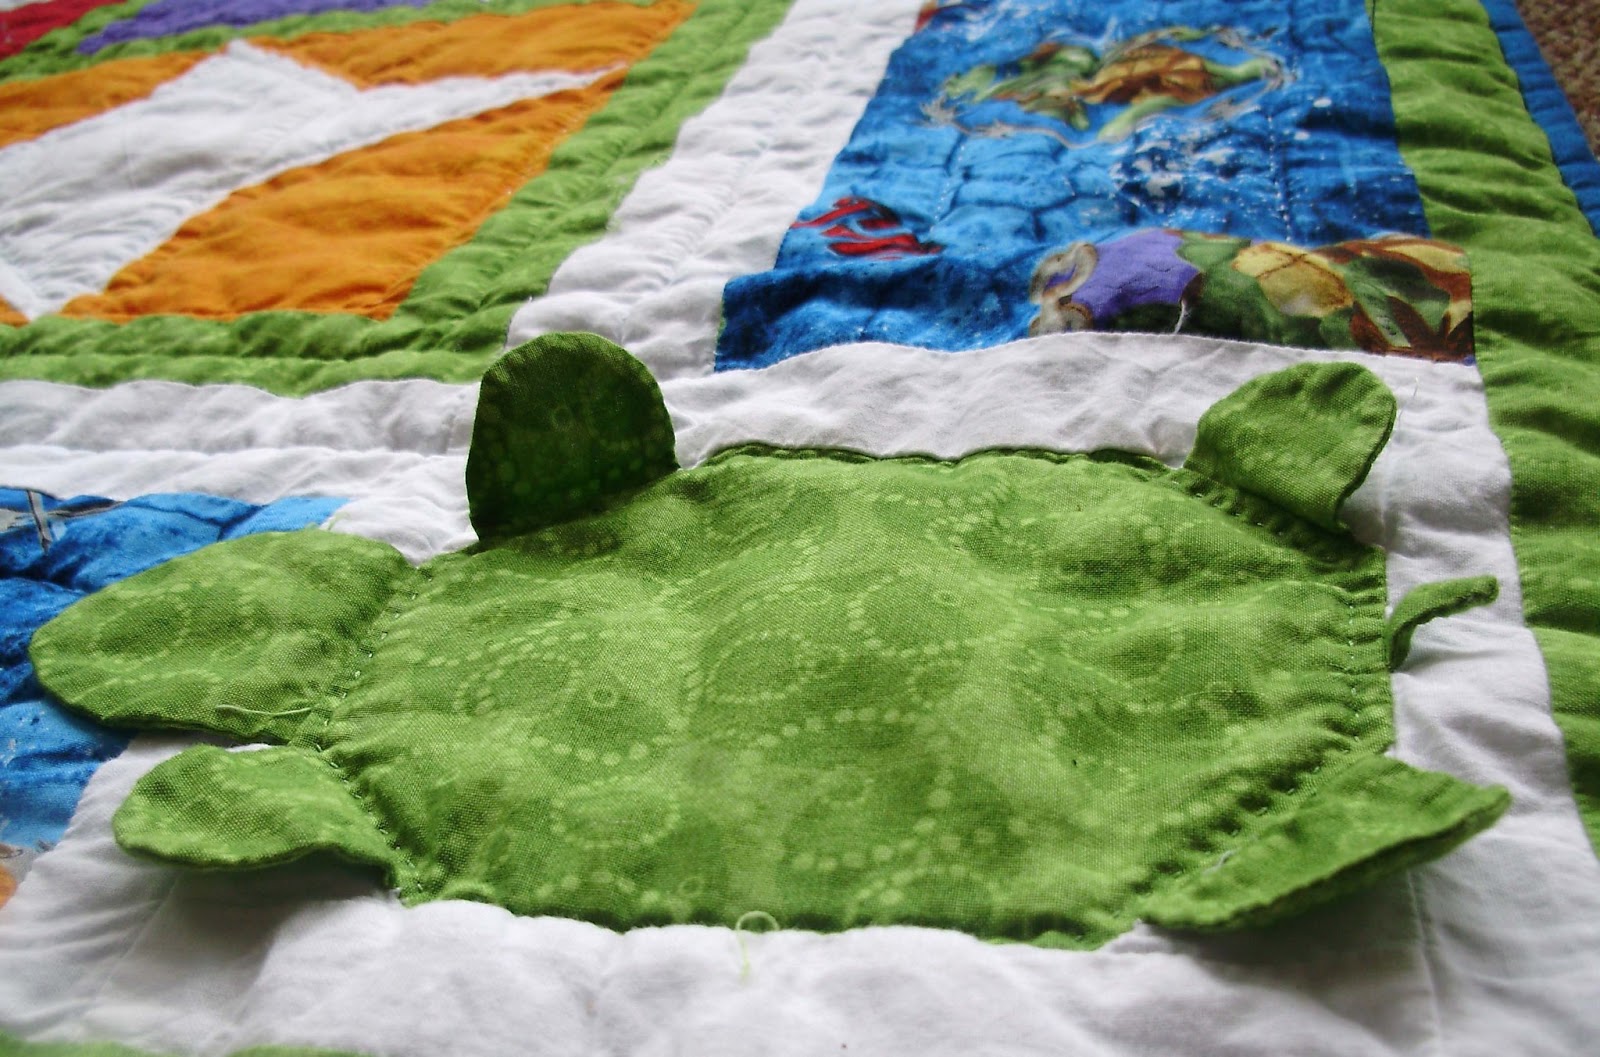
First, I made these adorable turtle blocks, thinking that the 3D effect of the feet, heads, and tails would make good chew toys.  Hey, he is teething right now, so I am just in time!
Then, I made the "ninja star" blocks.  They look like the paper "ninja stars" that my son likes to make, but this block is also called the "friendship star."  If you have ever seen the Teenage Mutant Ninja Turtles, you will understand just how fitting this is for them. :)
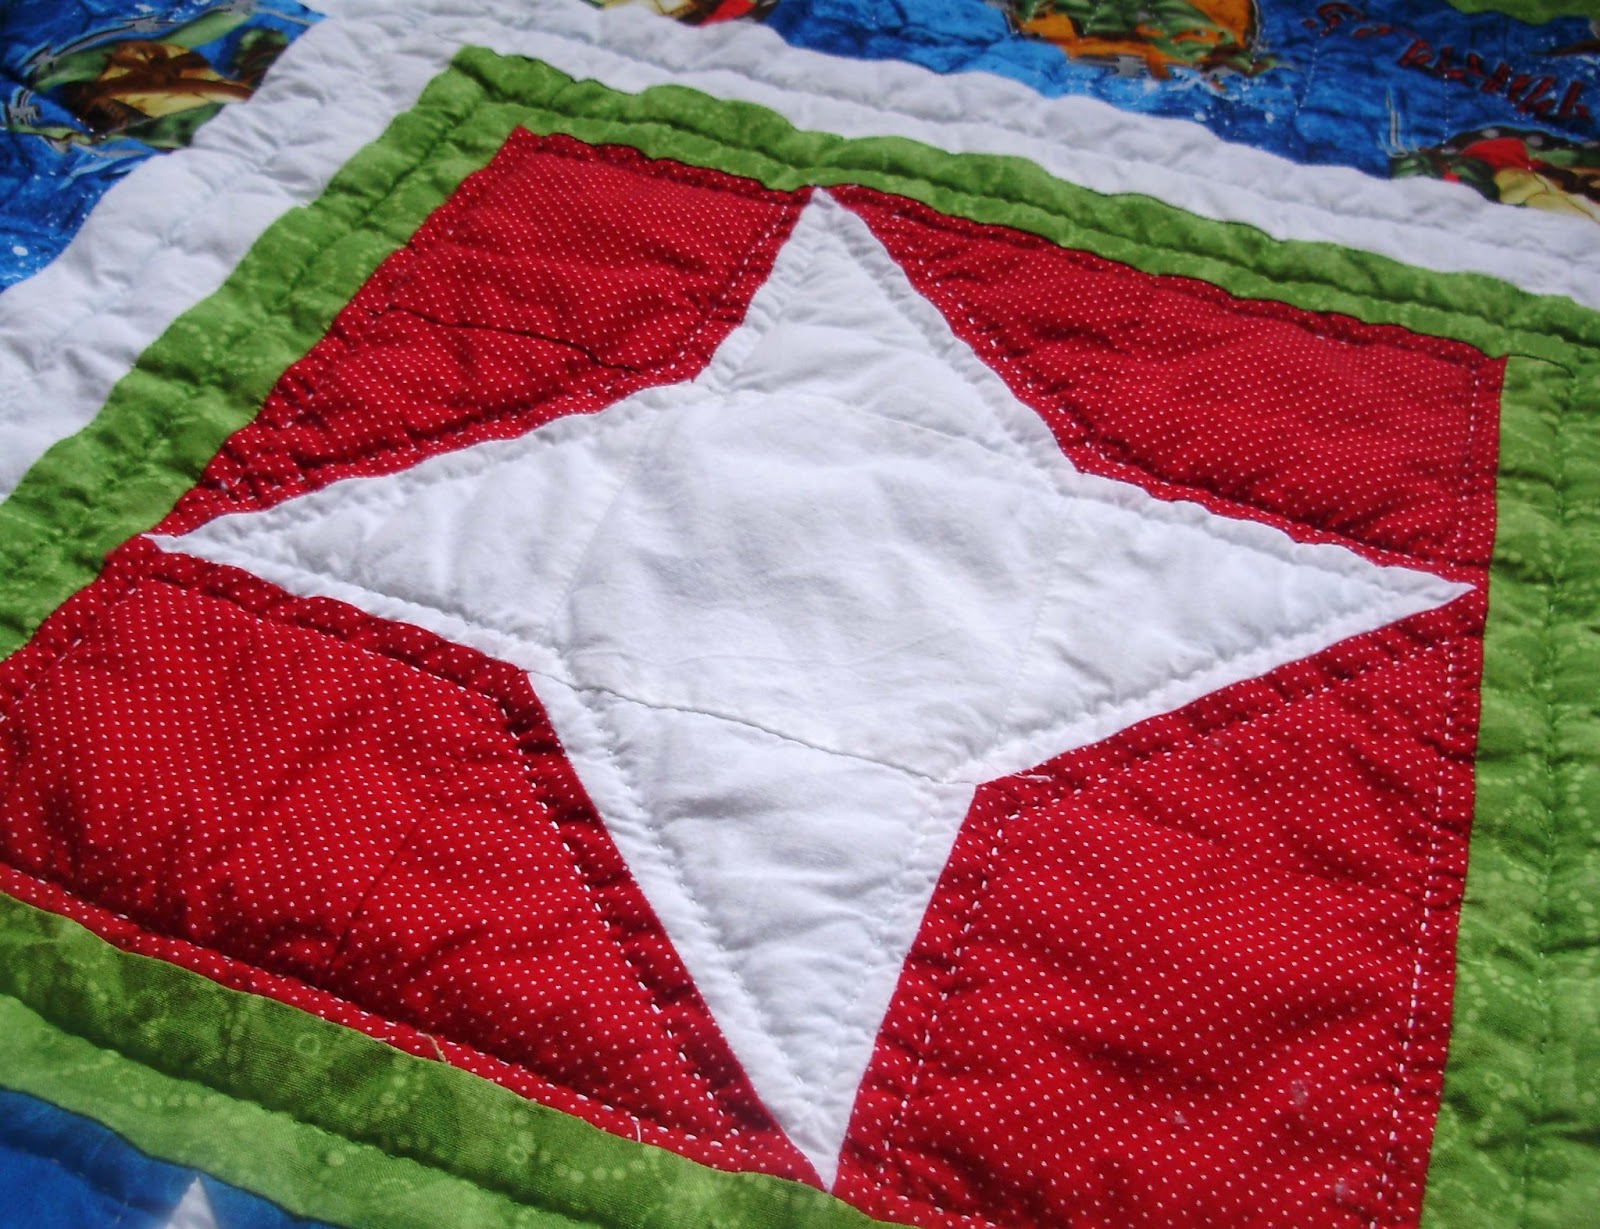
I also went with a twist on these, making the stars white and the backgrounds in their eye mask colors. (P.S. Michelangelo was always my favorite!)
I used green thread to hand quilt the sashing between each block and around the inside of the turtles. For the rest of the quilt, I used white cotton hand quilting thread, which is significantly thicker.  I quilted inside and around the stars and in the middle of the white borders.

On the wider borders with the Ninja Turtle fabric, I quilted in some of their catchphrases: "Cowabunga, Awesome, and Turtle Power."  On the remaining side, I quilted in my nephew's name.

Now, only one more nephew to go and I am caught up!
Little Star Quilt

macinequilting.jpg

 As I was stitching on the last little bit of the binding, I realized that I pieced this quilt 8 years ago!  WOW!  It isn't even a large quilt- only about 22 inches on each side.  Talk about procrastination!!!

I like the soft sage green and tan fabrics, but there is not much contrast between these colors.  The piecing is not perfect- I have definitely come a long way in the last 8 years!

I machine quilted it "in the ditch" to get get it DONE!  (I rarely machine quilt, but thankfully I didn't have any trouble with this one.)

I will be donating it to a good cause. :)

It also qualifies as another finish towards my 12in2012 goal of finishing half of the UFO list over there on the sidebar and the Quilter-in-the-Gap 2nd Quarter Finish-A-Long! Two things in one week! WOOHOOHOO!!

Puffy Petal Flower Tutorial

This week I made something special for my baby girl!  I am sharing the full tutorial over at Fireflies and Jellybeans next week, but here is a little sneak peek...

I made some fabric flowers with five petals to match the fabric and embellish her outfit a little bit.  I have made fabric flowers before, but after playing around for a few minutes, this just seemed like an easier way to do it.
Cut a piece of fabric 8" by 4" and fold it in half, right sides together.  Make a template 1" high by 1 1/2" wide and trace on five curves- keeping them tight together to create a scalloped edge.
Sew along the lines you drew, trim around the scallops, clip the curves, then flip it right side out.  It won't lay perfectly flat, which is fine and gives the flowers more poofiness anyway.  Sew a long basting stitch along the bottom about 1/4" from the raw edge.
Pull the thread to gather the petals together.
Sew it by hand to a small circle of felt.  You can pull and shape your petals a little better in this step.  The stitches do not have to be pretty- no one will see this. Then sew a button on top and attach it to your project, a hair clip, or a headband!  (Of course, the button is a choking hazard, so consider yourself warned.)
So pretty and cute! For the larger flower, I sewed each petal individually, which gave me more control over their shape and made them longer, but it wasn't as fast. 
 

Make sure to check out my tutorial over at Fireflies and Jellybeans!  I will update this post with the link when it is up!
UPDATE:  You can see my CUTE Sweet Summer Halter Top tutorial HERE!
Phillies Throwback Quilt

P4268546.jpg

I let my brother-in-law choose the colors for my nephew's baby quilt and he really likes the old school Phillies stuff.  To be honest, I had no idea what "throwback" meant, but I googled it.

Using the 1980's Phillies jerseys as my inspiration, I designed this strip quilt- very different than anything I have made before.  The maroon and white stripes remind me of the sleeves of the jerseys and just look plain ol' sporty!  I got the Robert Kauffmann baseball fabric on a little expedition to a fabric store trip last fall and the rest is just any blue fabrics I could find that resembled the old Phillies colors but did not have flowers. 

To try something new, I machine appliqued the baseball bat.  It went OK (I only had to seam-rip and redo half of it), but I would do it differently next time.

I hand appliqued and embroidered the little baseball.  I was going to do more, but I ran out of ambition and thought that one ball made more sense with one bat.  One thing I really like, though, was the quilting on the baseball fabric.  I stitched in the old Phillies logo and on the other strip of baseball fabric, I replicated the lettering to make my nephew's name.

It is not the best quilt I have ever made, but at least it is finally finished (Woohoo!  Check one off for the Finish-a-Long!)  I started it all the way back in November.  I embroidered the back with all of his birth info and a special verse:

Every good gift and every perfect gift is from above.  James 1:17

So appropriate.  That is my favorite part of this quilt. =)

Vintage and Lace Nightgown

P4148366.jpg

Next to nothing in the way of PJs or nightgowns survived the first two girls to be passed down to my 3yo. Nightgowns are, in my opinion, way too much $ for what they are to buy them in stores. I made it from some great giveaway prizes, so it cost me nothing but a little bit of thread, elastic, and time. Sweet! 

There is that picture smile again.
I whipped this one up in about a half hour, probably, and it worked out PERFECTLY with the amounts I had won.  I used some vintage material that I won from Quilting, Losing, and Tea that measured 24 inches by 36 inches and a package of perfectly matching flexi-lace hem facing that I won from Faith, Family, and Frugality that contained 2 1/2 yards of 1 7/8" wide lace.  I originally wanted to make a nightgown using THIS tutorial from icandy handmade, but I don't think that this is the same as stretch lace, so I did it a little differently.  That meant, I needed a piece of 1/2" elastic measuring an inch smaller than my daughter's chest. 
Here is how I made it...
First, I just serged the top and bottom edges.

Then, I sewed a yard of lace onto the bottom edge- directly onto the right side of the fabric because the pretty lace covers the serged edge.

I sewed another one yard strip of lace lined up with the bottom edge of the top row- 4 inches from the top- and sewed right down the center.

Then, I sewed the sides together- I didn't bother to serge it because it was the selvage edges.

Then, I took the leftover lace- 18 inches, and cut it in half to make straps (See?  The amounts were PERFECT!)  I pinned them two inches from the center on each side, but I forgot to figure in the gathering, so they should have been out another inch.  I turned the top of the fabric down 1 1/2 inches and sewed all the way around on the same line where I attached the lace.   I sewed back and forth several times over the straps to make it extra durable.

Then, I made a casing for the elastic.  I carefully sewed 1/2 inch from the top all the way around, leaving a small opening to insert the elastic.  I was careful not to catch the lace from the top edge, but I did sew the straps down again really well.

Finally, I inserted the elastic by putting a safety pin in the end and pushing it through.  I sewed the ends of the elastic together by overlapping them about an inch.

And that was it!  Very, very easy!

She loves it and I like its simple, vintage style... kinda' dreamy.

Thank you again to Karen and Carly for the great prizes. :)

I have decided to participate in Kids' Clothing Week Challenge since I have some other sewing projects in mind for my girls.  The goal is to sew for an hour a day, but for me, it will probably be little bits of time here and there as I can grab it.  Wish me luck!!