Peasant Dress Quick Cutting Tutorial and Pattern.

cut2Bdresses.jpg
Hi! Things have been going pretty well here for the last 9 months or so. I have still been sewing and crafting a lot, mostly for friends and family. We are also making dresses for Project Yesu again this year. Each summer, Mallory goes to Uganda and she has a pillowcase dress drive to take dresses along with her for the girls. We actually make peasant dresses, which are just a little easier, in my opinion, but they require a little more fabric for the sleeves. Here is what the finished dresses look like:

We have made many of these dresses over the years (the ones pictured above are from last year) and have worked out a few shortcuts for making the process more efficient. Today I am going to share the method we use for cutting these dresses out efficiently.
Set up your cutting table. We use plastic folding tables. Take a standard 18" by 24" (or bigger) rotary cutting mat and lay it on the table with the long edge parallel to the short end of the table. Measure 20" from the edge of the table to the 0" line and use masking tape to affix the mat to the table. (Masking tape works best, but I didn't have any this time so I made do with packaging tape.) Now you can add 20" to whatever the bottom edge reads when cutting the length of the front and back of the dress and you don't have to worry about the mat slipping on the smooth table. 
Start out with 44-45" width cotton fabric, folded in half. It usually comes this way off the bolt, but you need to make sure everything is straight and keep the selvage edges lined up. (The selvage edges are the ones that were not cut at the store that may have tiny holes or be white with printing.) You may need to straighten up the cut edge of the fabric with your rotary cutter and plastic ruler before you start. With the folded edge toward you, slide the cut edge out to the end of the table. (I have also marked a set line with masking tape instead of using the end as a guide if that is easier for you to see.) Now, cut the main dress pieces to length. These are the approximate lengths that we use. 
4-6: 28"
7-9: 32"
10-12: 36"
Throughout this tutorial, it is important to pay attention to the way the fabric is folded for cutting. It ensures the stretch of the fabric is in the correct direction.
Fold the piece you just cut in half widthwise or hamburger style, bringing the cut edges together on the left side. Mom and I do this together and she does the folding and I do the cutting. It goes really smoothly with both of us working together. 
Trim the selvage edge off the top and trim a tiny bit from the fold at the bottom. This picture is taken from the end of the table.
Now you have two pieces that are the desired length by about 22" or so wide stacked together. Open it back up and fold it in half lengthwise or hot dog style.
Here is a very unprofessional pattern to use for the arm scythes. I should get points for effort, though. You should be able to print it as a full page photo. I labeled the measurements so you can double check it.
Use the guide to cut the arm scythe out of the corner with all cut edges. Make sure the short side of the pattern is along the short side of the fabric. Not that I have ever done it the wrong way or anything... ;)
The front and back pieces of the dress are all cut and ready. Now, on to the sleeve. Cut a strip of fabric the needed length. Here is what we use:
4-6: 9"
7-9: 9.5"
10-12: 10"
I didn't have much left over from this piece. You can also do contrasting sleeves. We do that a lot, especially if the main dress print is really busy- a solid fabric for the sleeves looks really nice. Take note that the folded edge is along the bottom.
Trim the selvage edge from the top (not shown- blurry pic) and slide the cut edge to the top line on the mat. Cut the sleeves to the correct width. This is what we use:
4-6: 17"
7-9: 17.5"
10-12: 18"
There is a small piece left over on the bottom, but it is folded in half, so it is actually twice as wide as you see in the picture. It is a decent size scrap and could be used to make a pocket on the dress if so desired. 
At this point, the sleeves are two long rectangles stacked together. Now, fold the sleeves in half widthwise, or hamburger style with the cut edges down.
Now, cut the arm scythe out of the bottom edge with the cut edges as shown. Make sure to have the straight side of your pattern piece parallel to the fold. One year we sewed a whole dress together before realizing it was cut the wrong way. That was a lot of seam ripping...

If you have any questions, just let me know. I know this is kind of long, but I went in to detail and tried to break it down and explain really well. I would like to do a video sometime to show just how fast this really is. My mother and I cut most of these out in a few hours (with many kids to watch)
.
You can see the directions for assembling these dresses with a lot of tips for making it faster on my post HERE.
If you have any questions, please ask. You can e-mail me at pacountrycrafts at gmail dot com or find me on facebook. I would love to see any pictues of dresses you make with my tutorials and I would really, really, REALLY love if you could whip some up for Project Yesu!
Link Parties where I sometimes hang out if I get a minute...

Pink Lemonade First Birthday

comparison.jpg
My last baby is one year old. 
Yeah, I am tearing up a little just typing that.
Anywho... let's move on now. Since it was our last (sniff, sniff) first birthday I went all out! I have always wanted to do a pink lemonade theme and these silly kids keep going and getting their own opinions about things. This was probably my last chance.
We don't usually go "all out" for birthdays. Just our family and some cake, ice cream, and snacks. A pack of balloons and a little crepe paper if I feel ambitious. This time I put a little extra effort into the decorations, but only because they will be used in her nursery, too. We have parties in our sunroom since it is a large, open area. We actually set up picnic tables outside this time, but I kept the food inside. I just hung some pink balloons and yellow crepe paper (the other kids insist on this) and put some silk daisy bunches that I got on clearance at Joann's and Michaels in some clear vases.
pink lemonade first birthday party
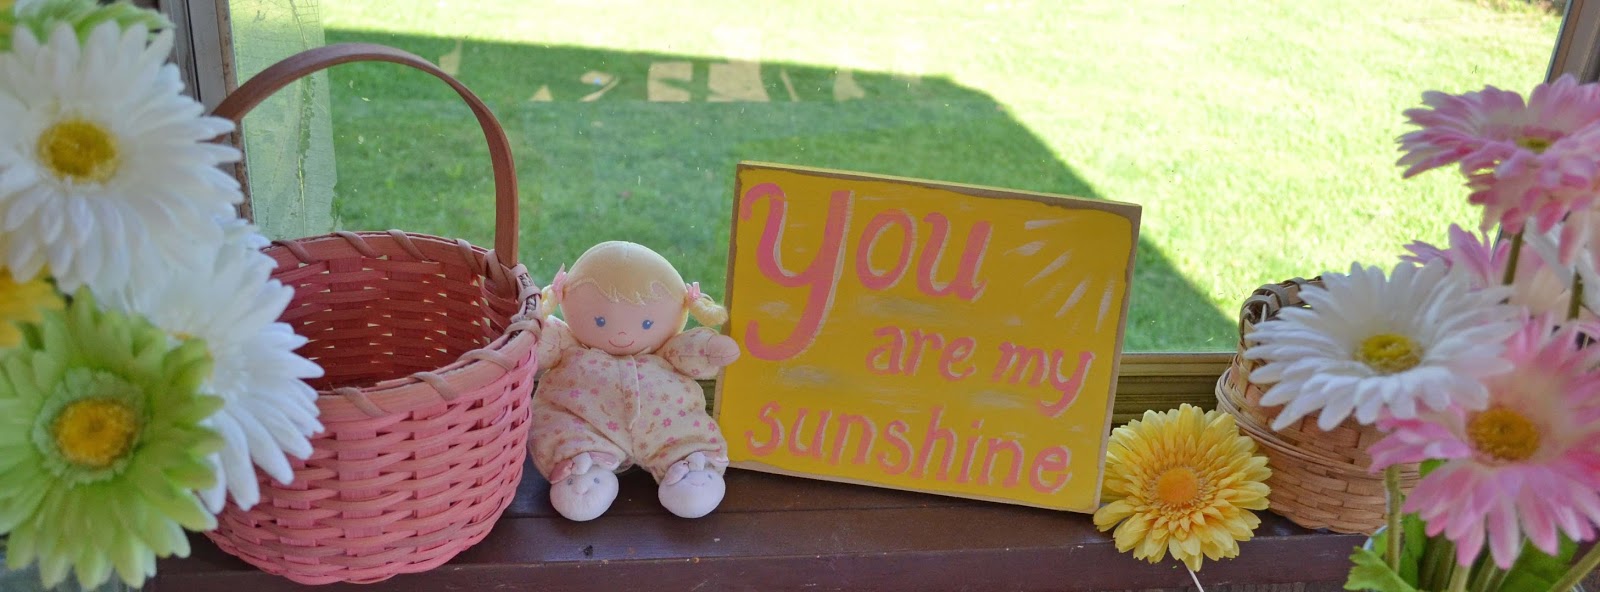
On the windowsill I arranged some pink and yellow items like her first dress (yellow) and her first hat (pink).
pink lemonade first birthday party
I also mod podged some frames I already had and printed out THIS free printable from Daisy Cottage Designs.
yellow honeycomb frame
pink and yellow frames
I painted some wooden signs, too, just 'cause I am on a sign kick for my etsy shop and felt like it.
pink lemonade sign
pink lemonade first birthday party

pink lemonade first birthday party
Yeah, I am totally redoing that one...

Oh, and each month I have been taking her picture in a washbasket, so I clipped those on the wash line that already hangs out in my sunroom.
For the food I found lemon and strawberry cake mix at the store so I did a batch of each in cupcakes. Of course, I added sprinkles. Gotta' have sprinkles! 
pink lemonade first birthday party
Of course, there was ice cream, pink lemonade, regular lemonade, and other goodies. I also made striped jello in lemon and strawberry.
The most labor intensive thing I did for Hannah's birthday party was to make her a romper. I have wanted to make her one for awhile now and this was a good reason. I got the fabric at Joann's and I actually bought a pdf pattern. I am not going to source the pattern because I was not very happy with it and do not think that it was worth the money. The final product was still pretty cute, though!
pink and yellow baby romper
yellow ruffle

I think it is too big, so maybe she will get to wear it some early next summer. The ruffles should be higher, too. Well, I learned some things anyway...

pink and yellow baby romper

Here it is compared to the very first thing I sewed for her

Oh, it is so tiny!!!
Excuse me. I am gonna go cry and eat some more of the leftover ice cream now.
 Link Parties where I sometimes hang out...

Vintage Baby Dress Collar Tutorial

vintage-baby-collar-puffy-sleeves-dress.jpg

Here it is! The last Easter dress for this year!
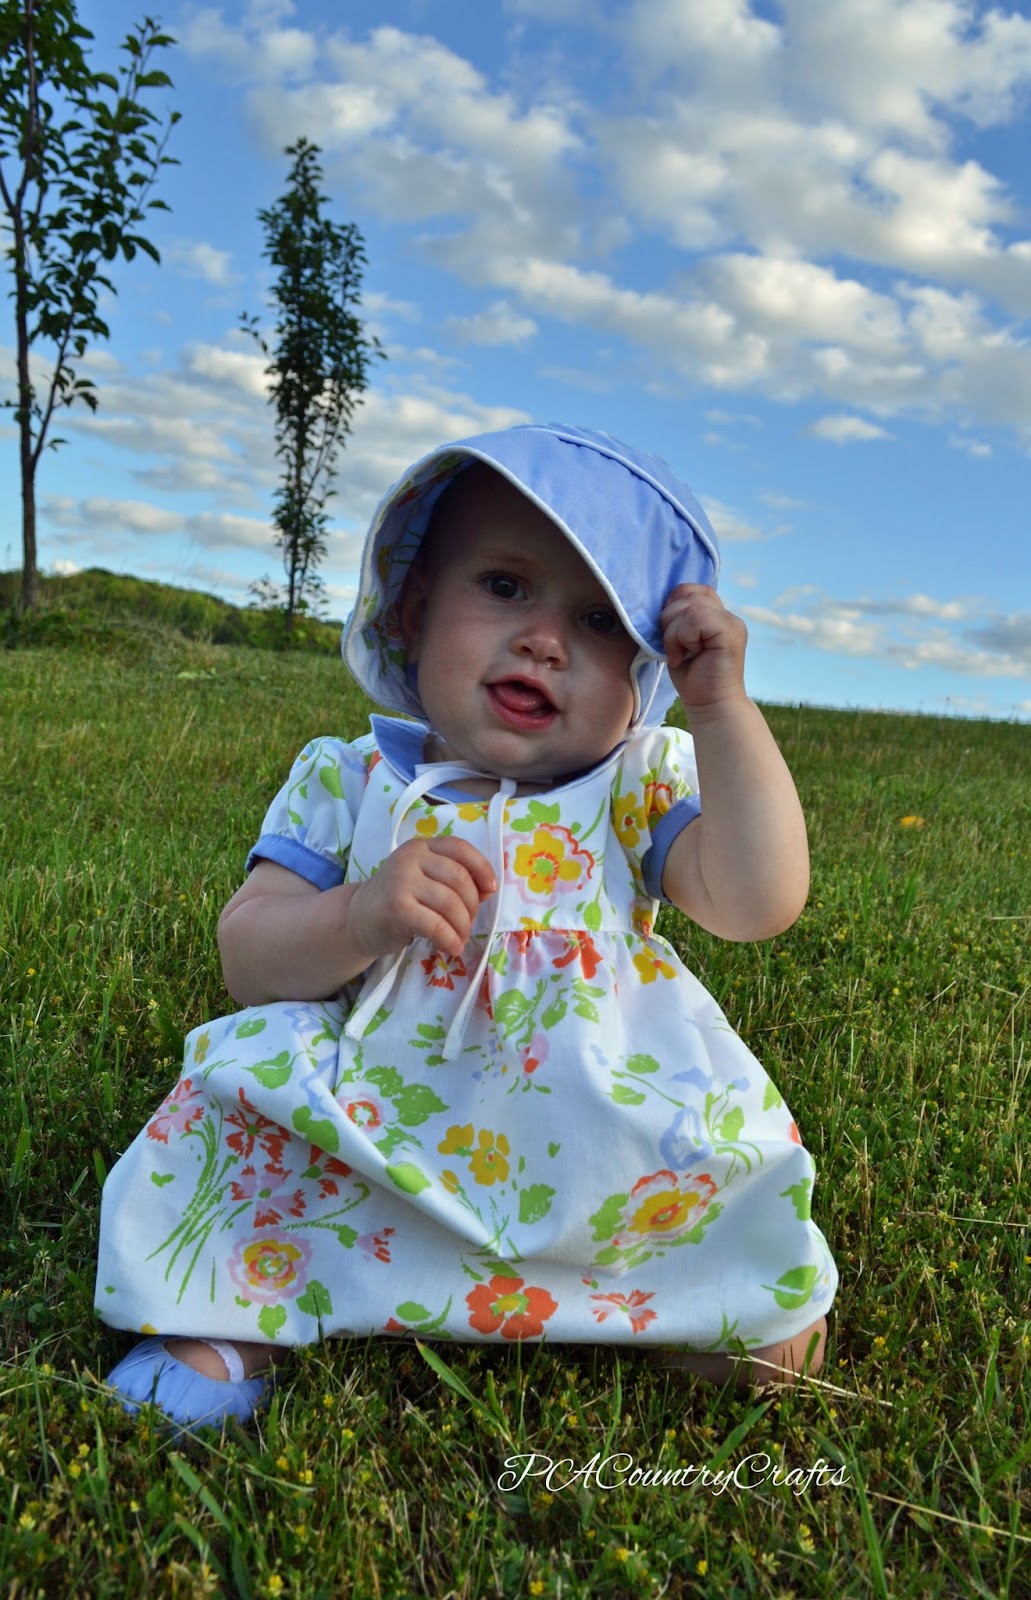
Vintage Baby Dress Collar Tutorial

I let the other girls have a little say (or a lot) in their dress designs. Hannah doesn't care. It is fantastic!
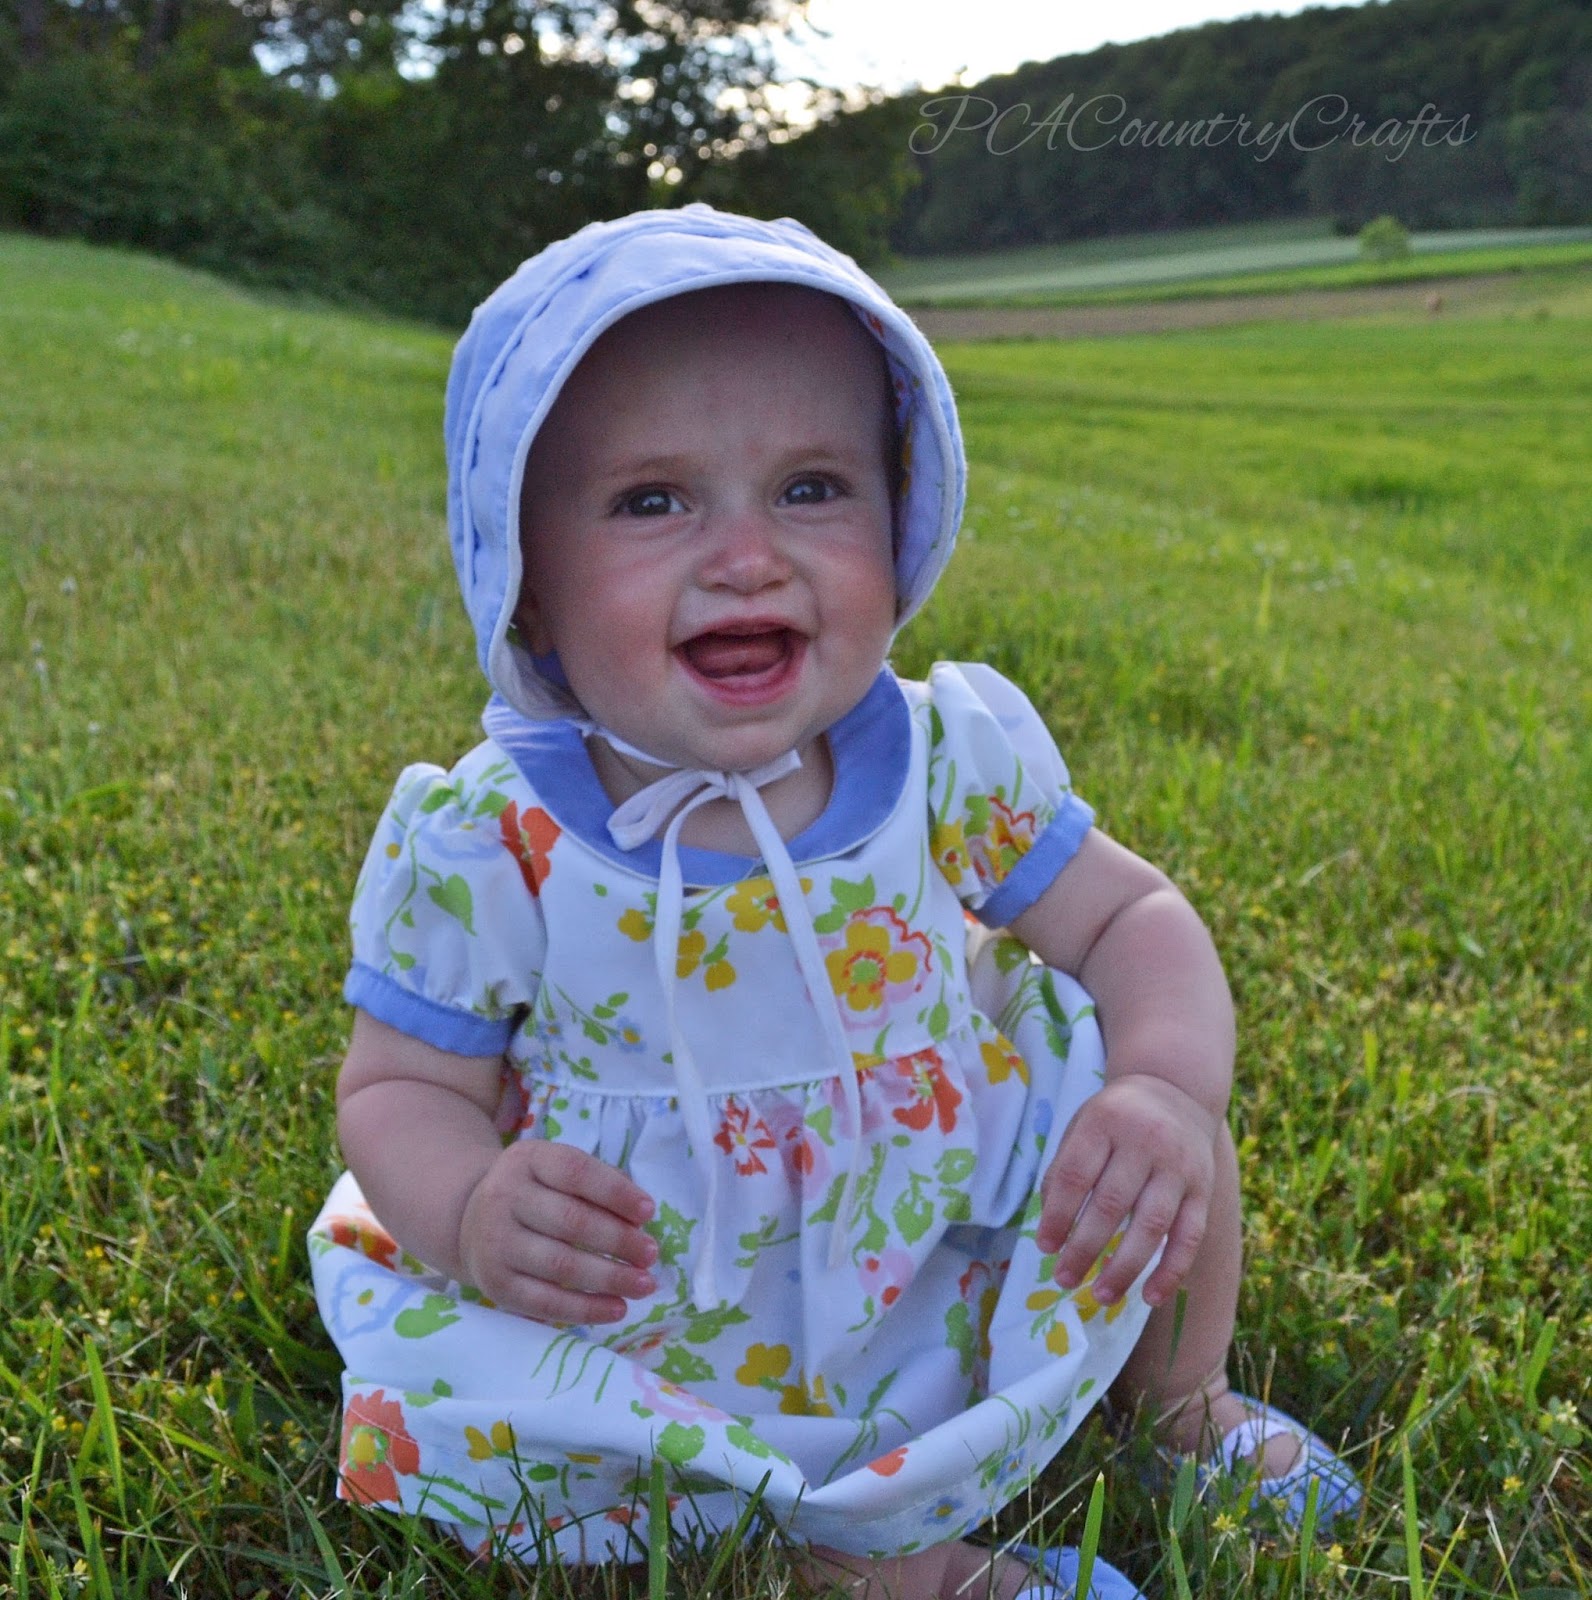
Vintage Baby Dress Collar Tutorial

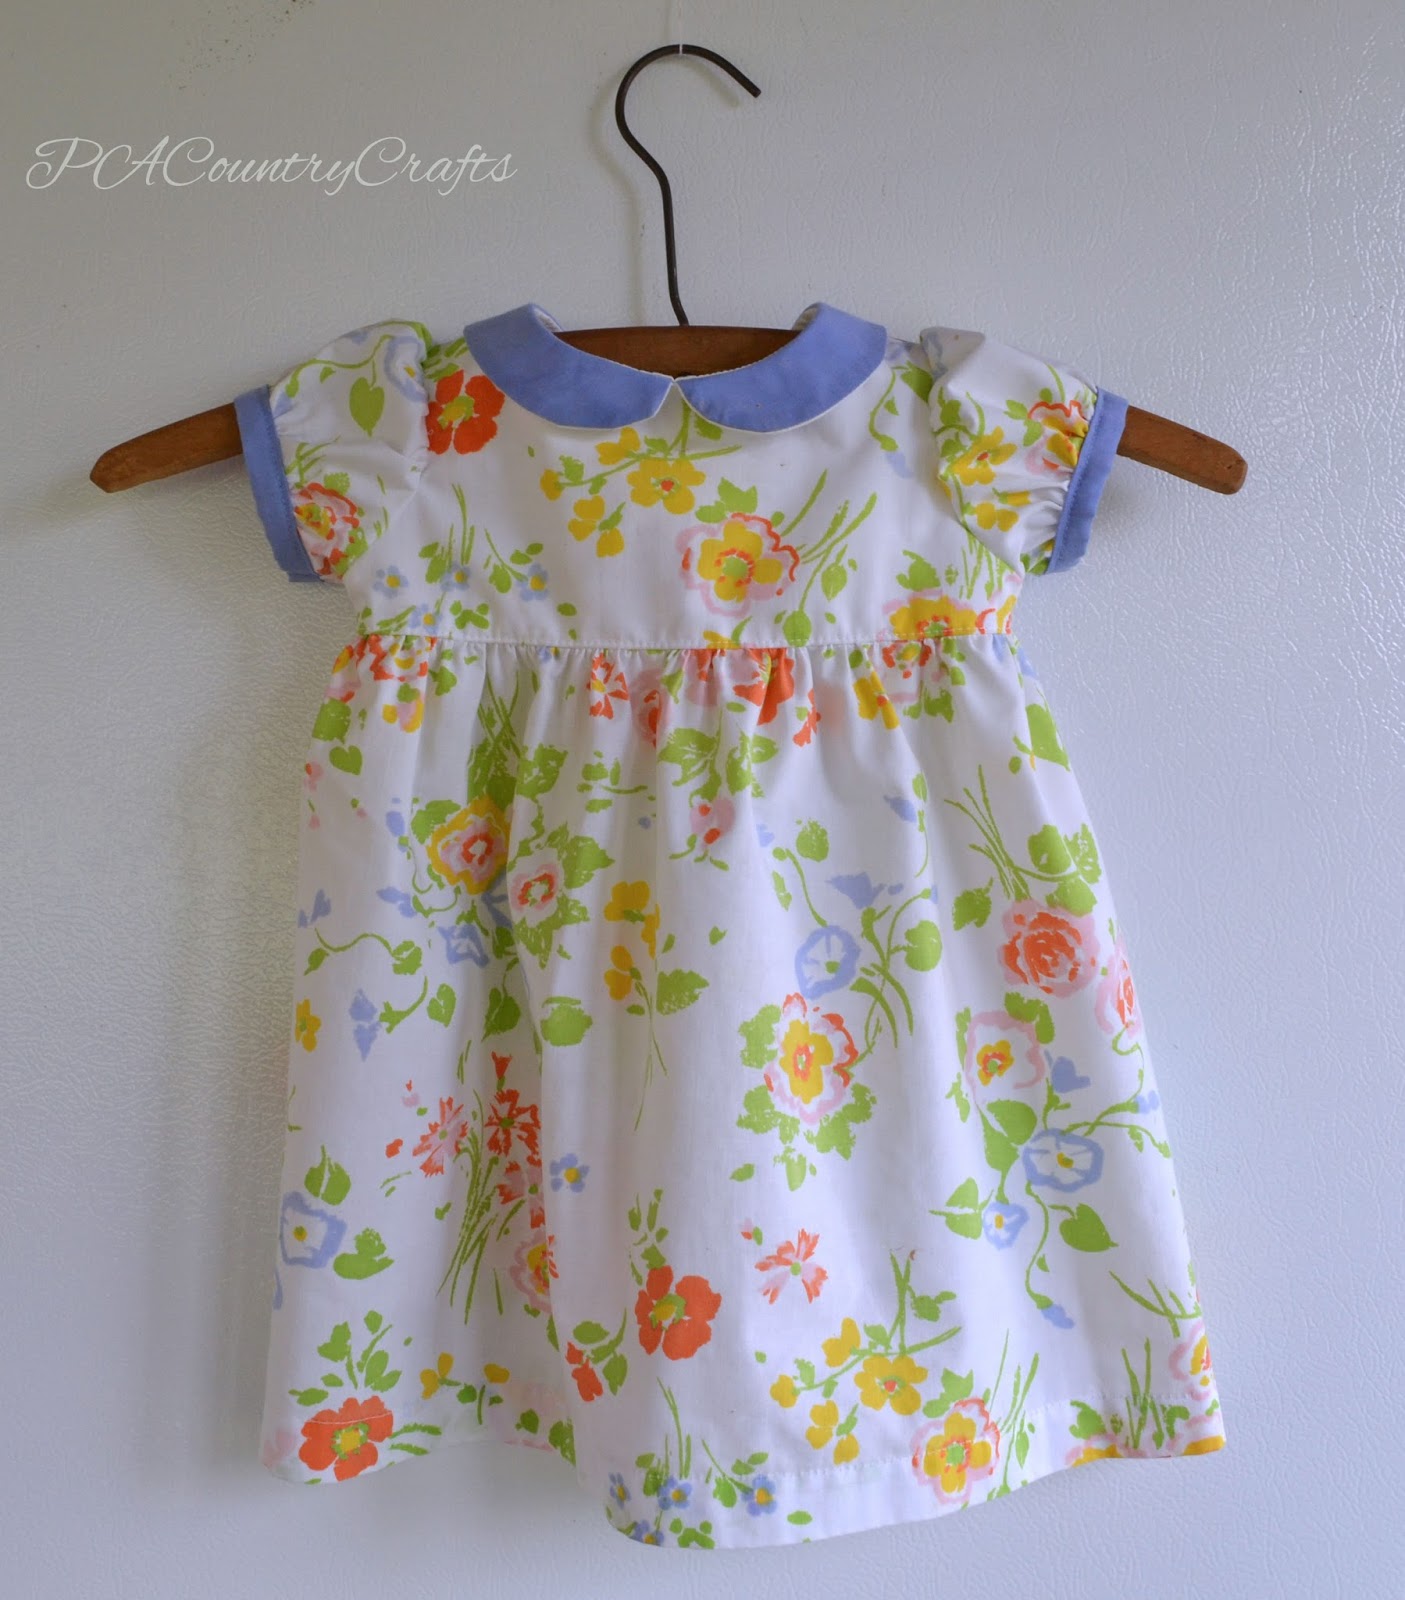
I wanted it to be simple. So unlike me, I know! I wanted little hints of blue and a sweet, vintage baby look.
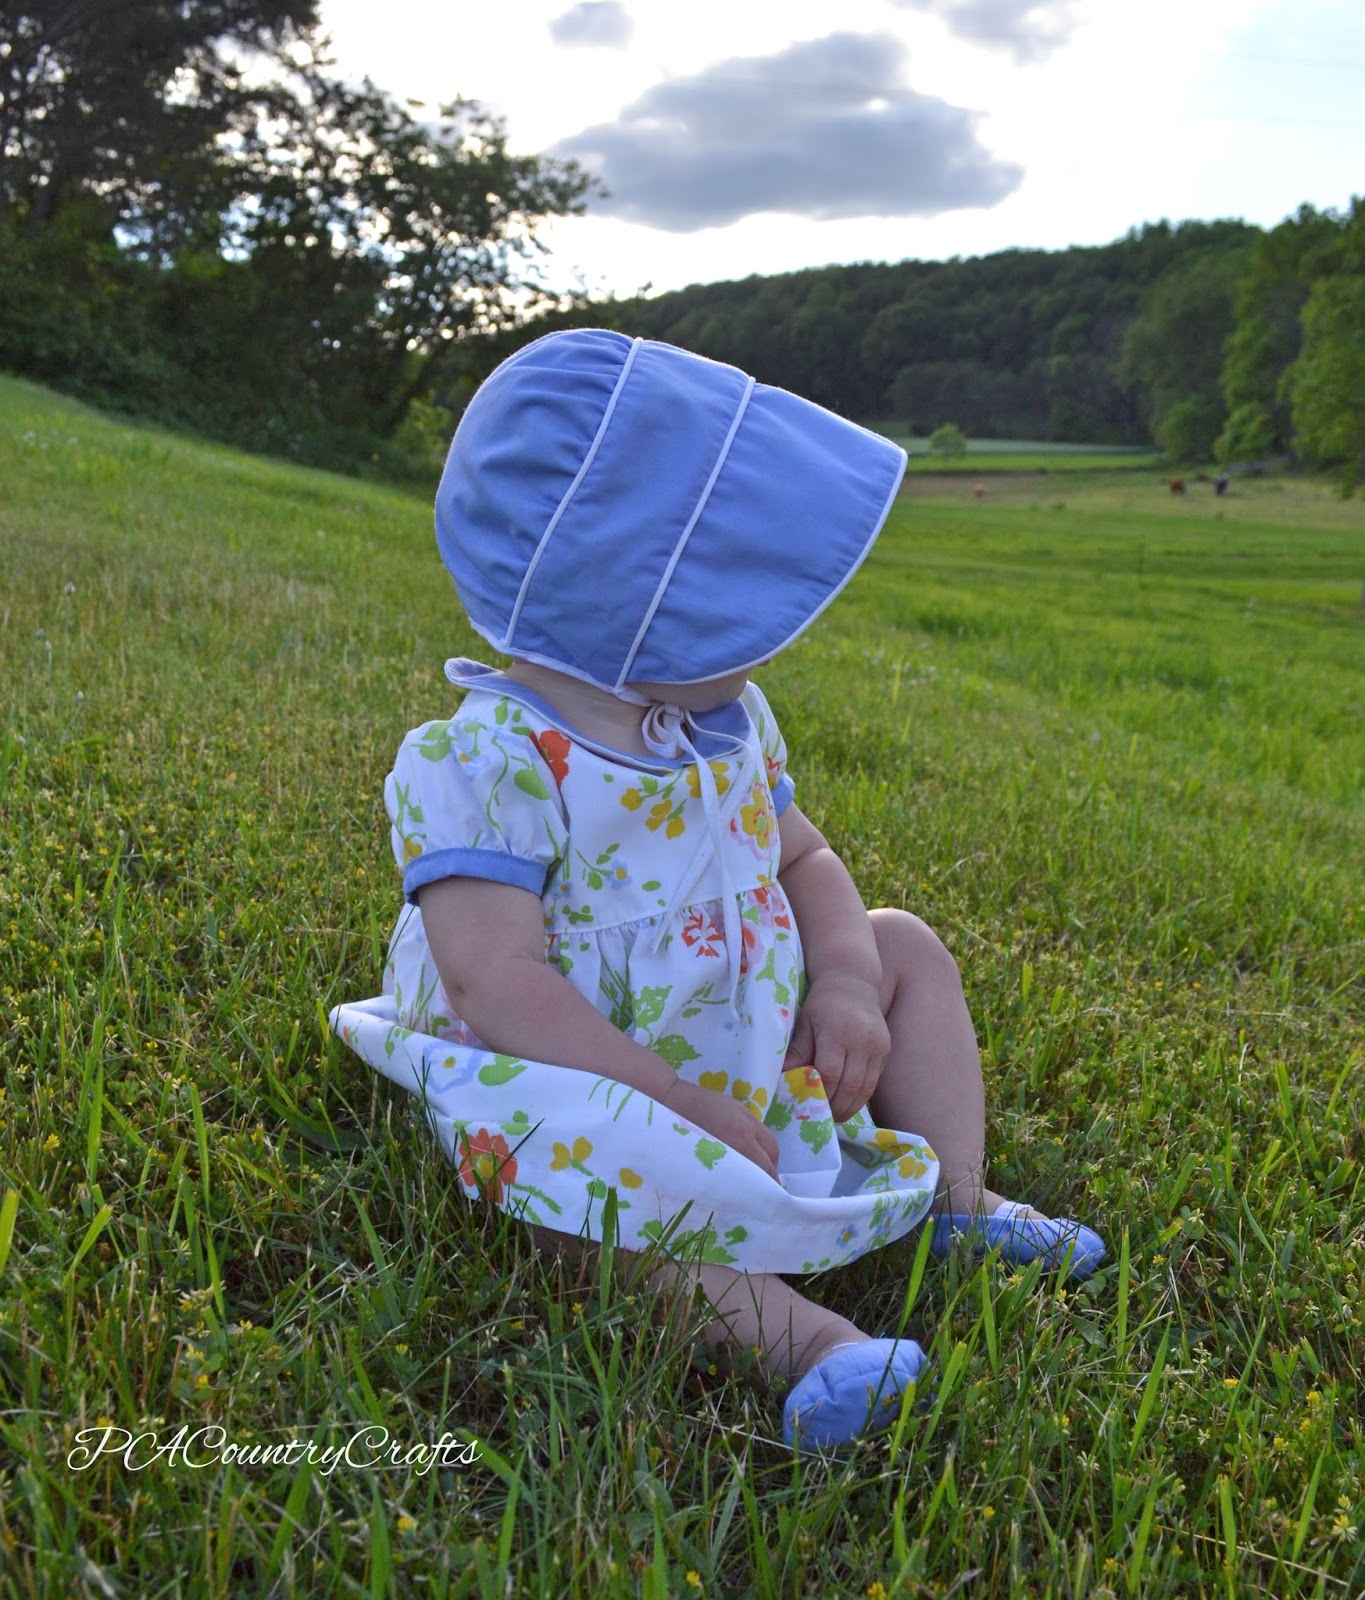
Vintage Baby Dress Collar Tutorial

Then, because I can't really let things be simple, I went over the top (after Easter) with a bonnet, shoes, and a diaper cover. Well, I didn't finish the diaper cover quite yet. I'm procrastinating...
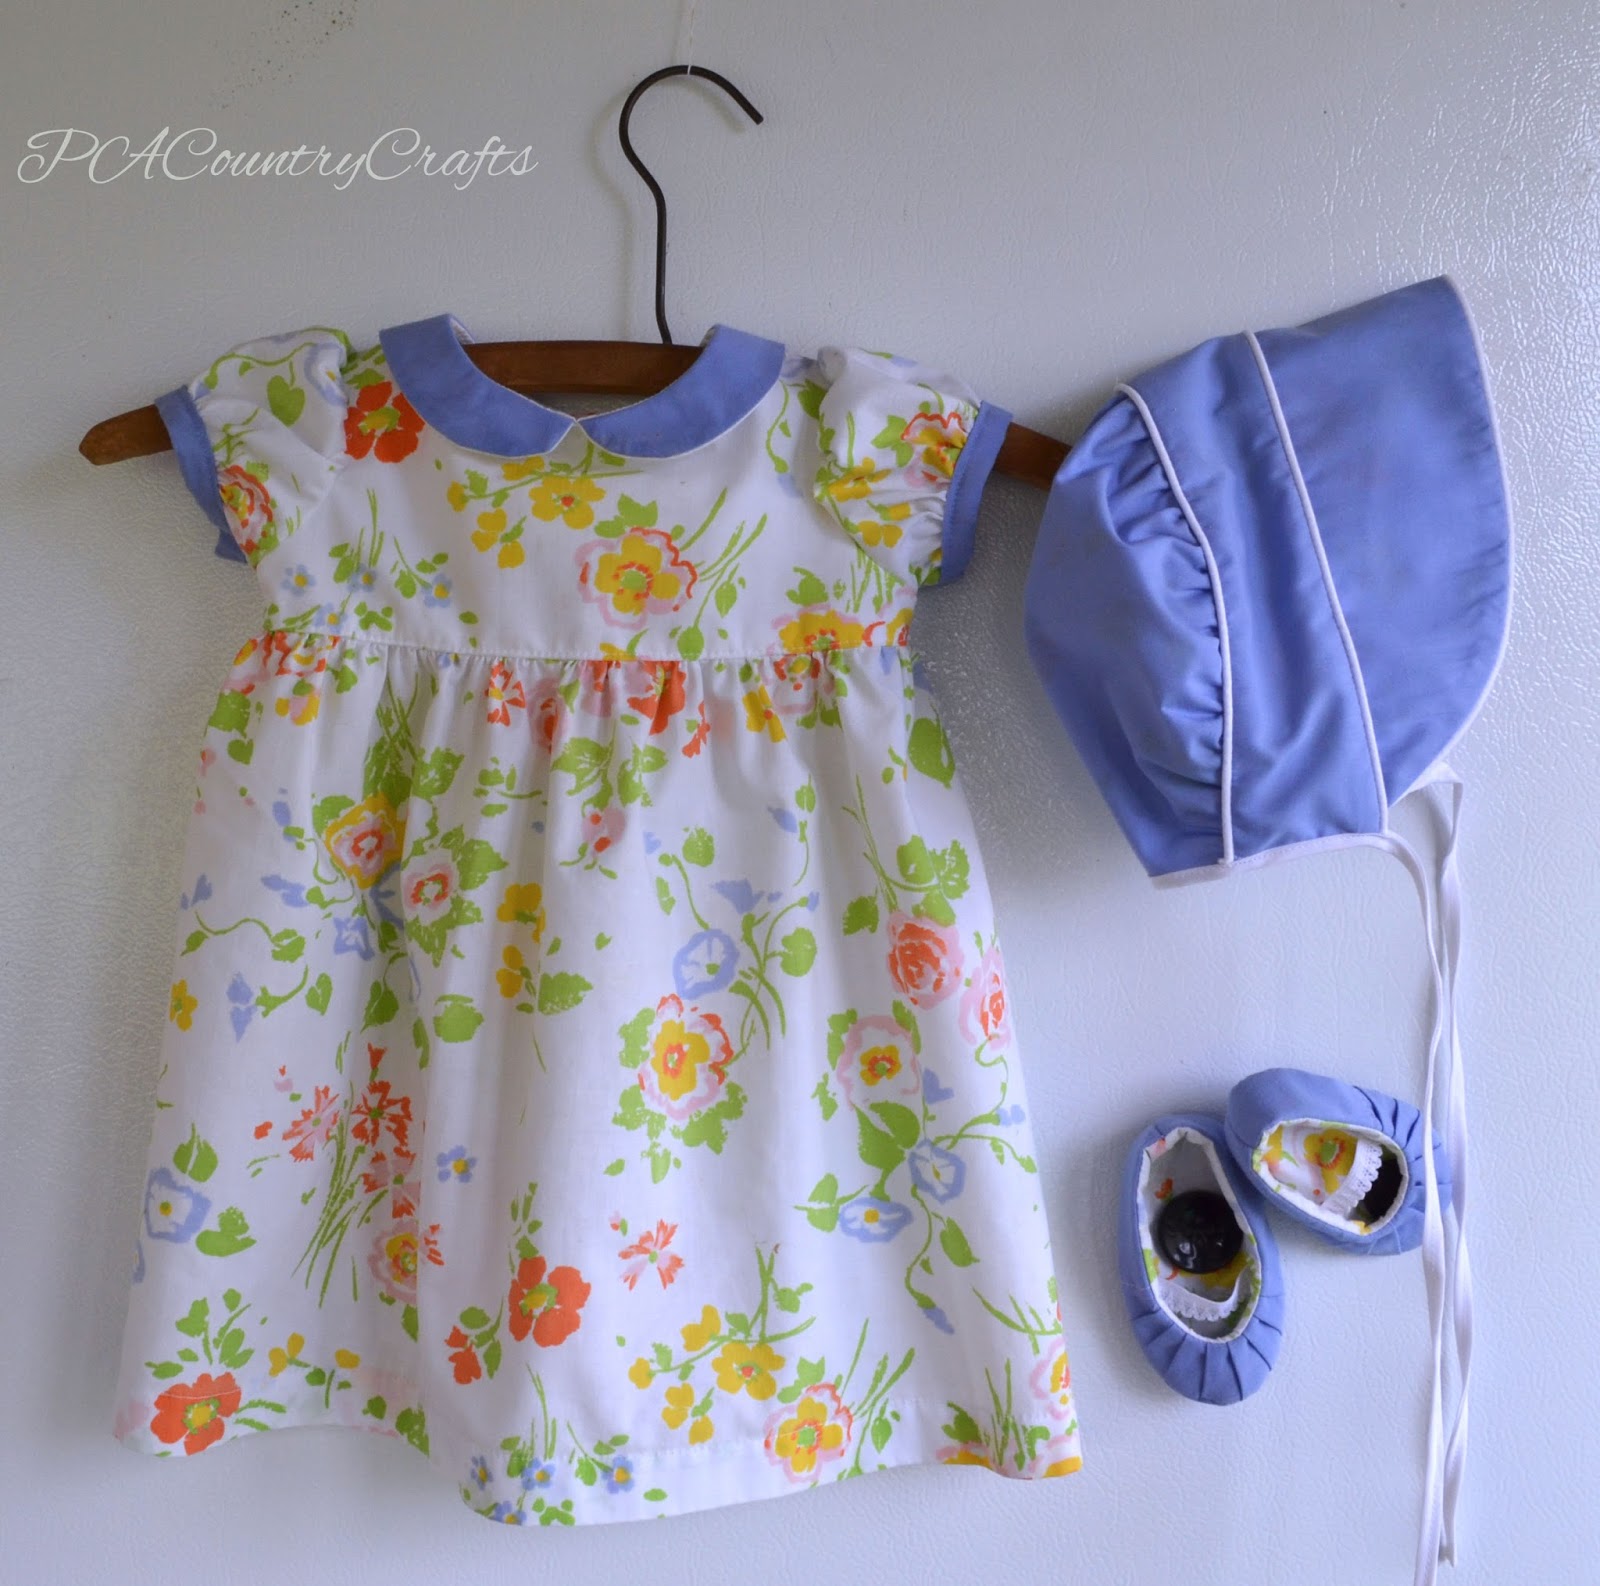
Vintage Baby Dress Collar Tutorial

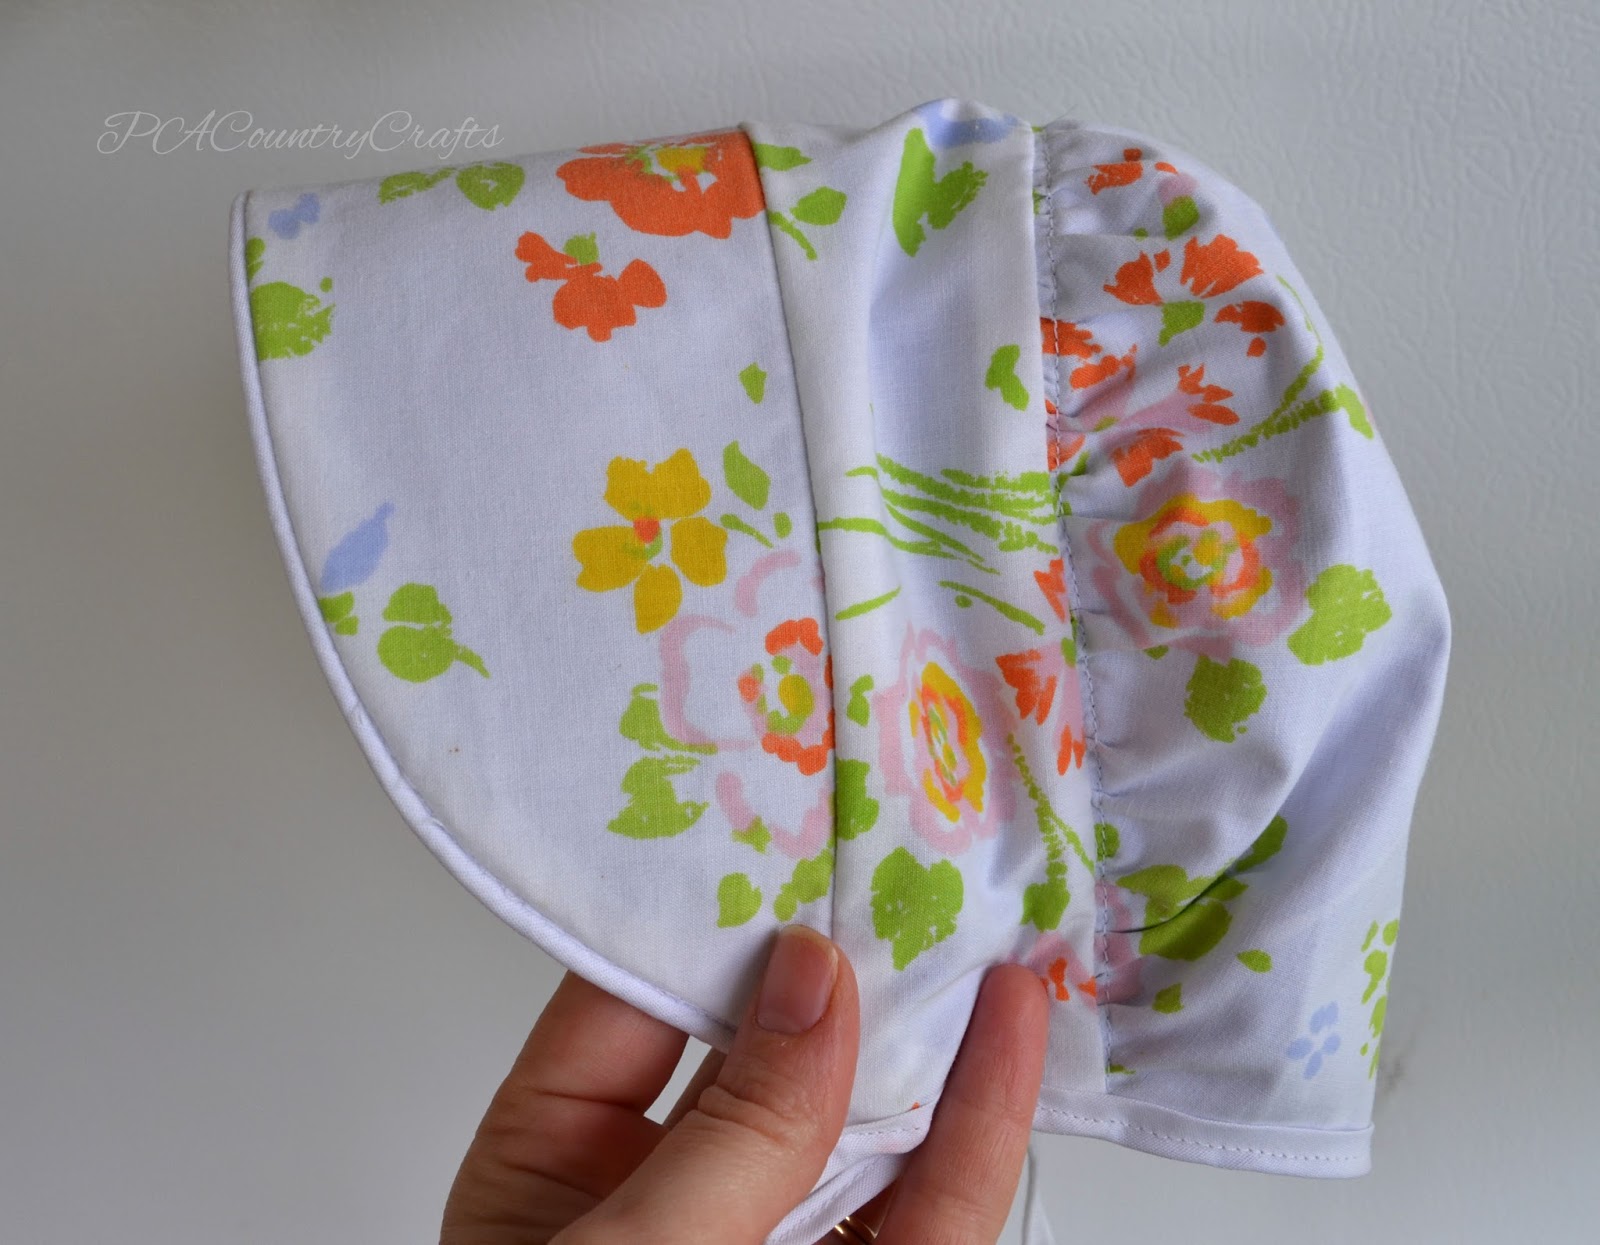
The bonnet is the Peekaboo Bonnet pattern I bought

HERE

. You can see the first one I made

HERE

when she was so teeny tiny. *sniff, sniff*

It is actually reversible, too.

Vintage Baby Dress Collar Tutorial

As you can see by these before and after pictures, she prefers not to wear the bonnet.

But, it keeps her safe from the sun, so too bad!

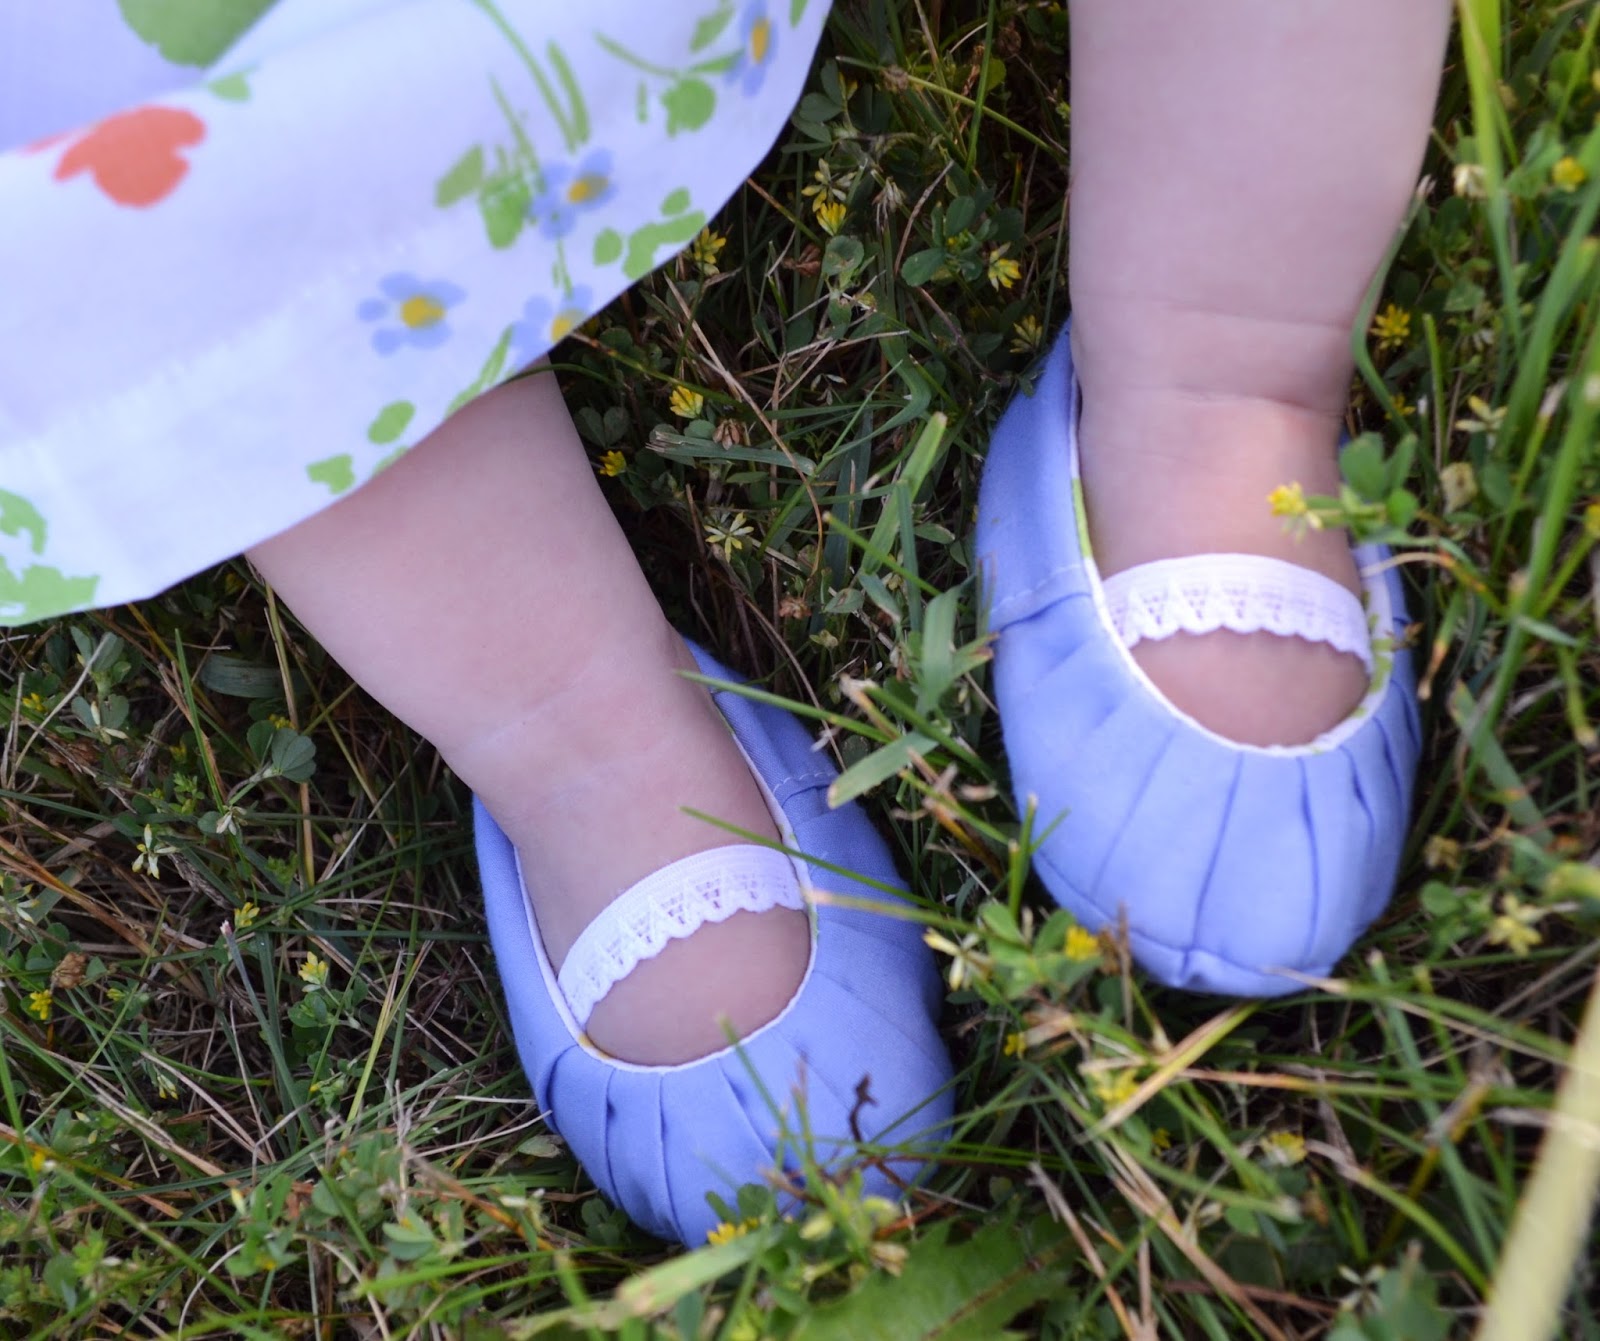
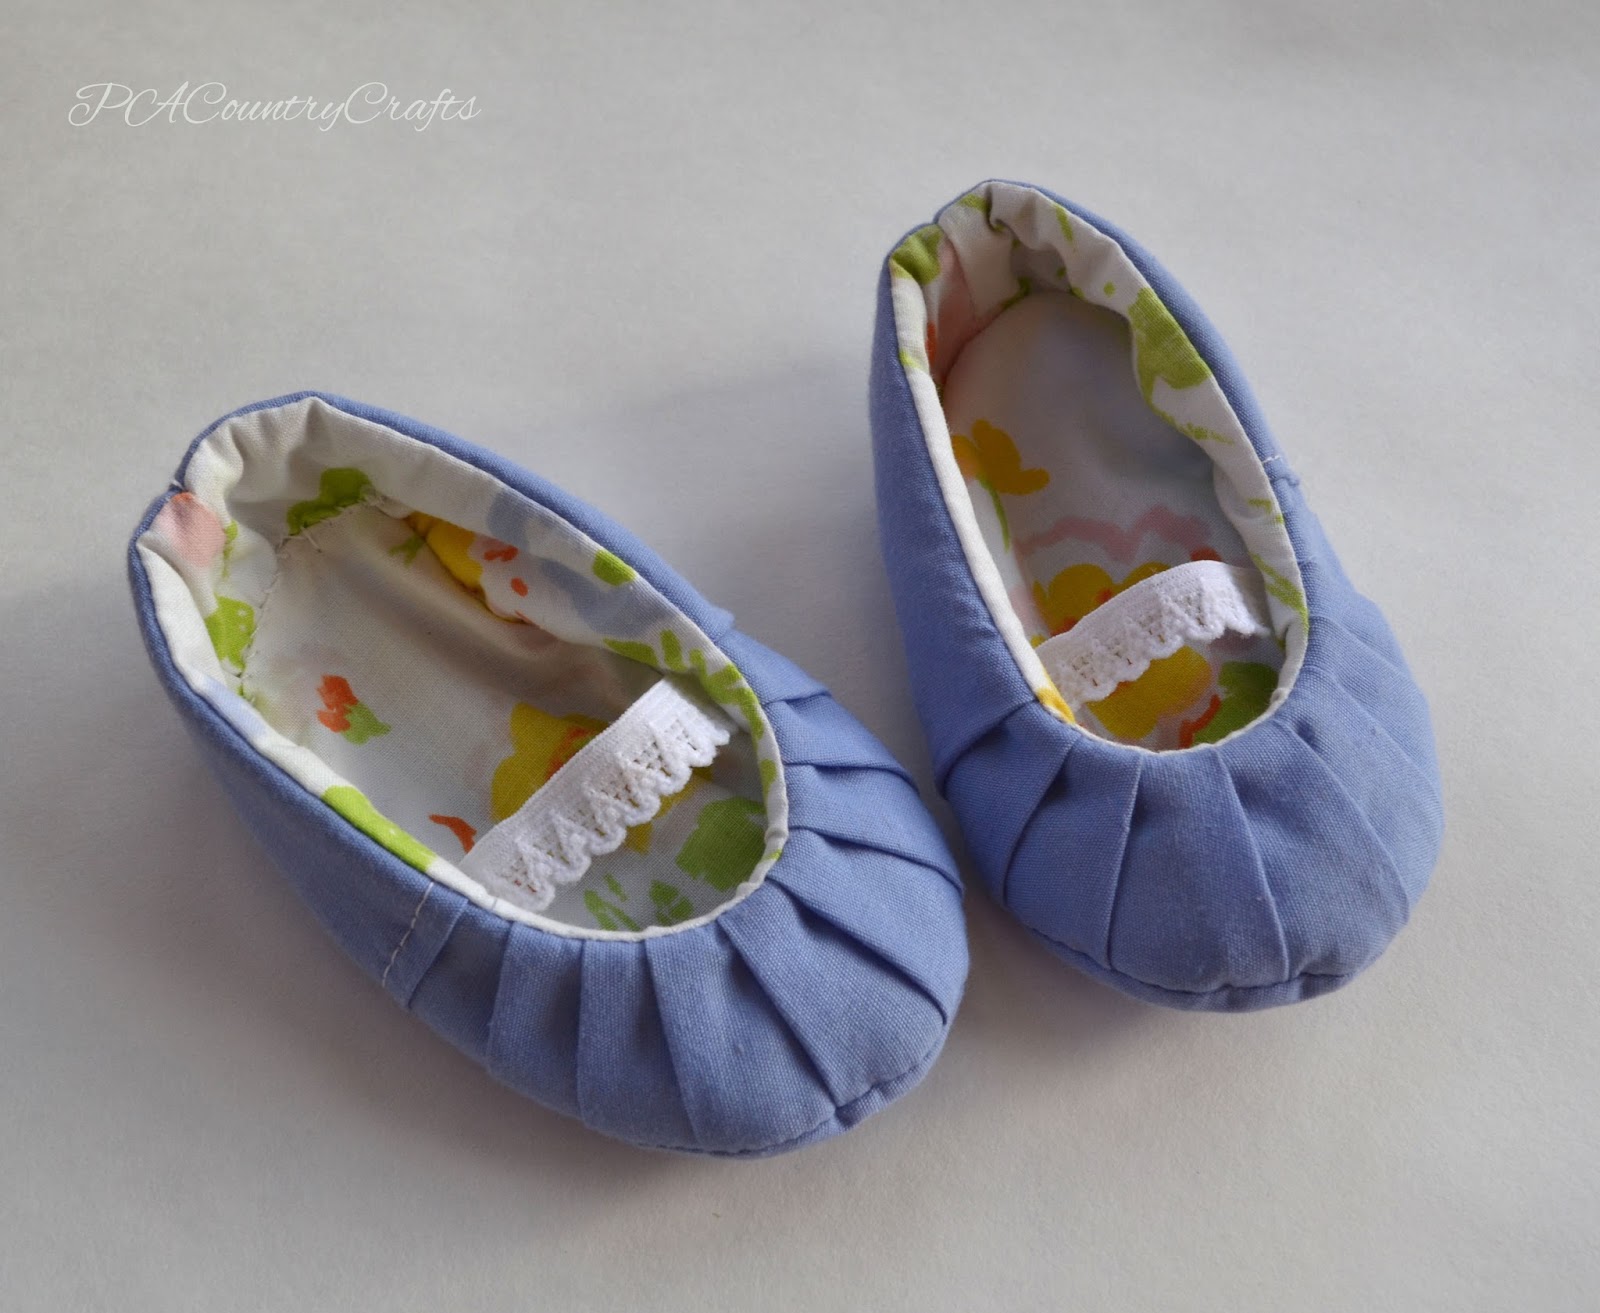
The shoes were made with

THIS

pattern. They went together pretty well, but this is the second time I have made baby shoes and the little buggers do not want to stay on. I guess all baby shoes are like that, but they look cute anyway. :)
Vintage Baby Dress Collar Tutorial

So, back to the dress...

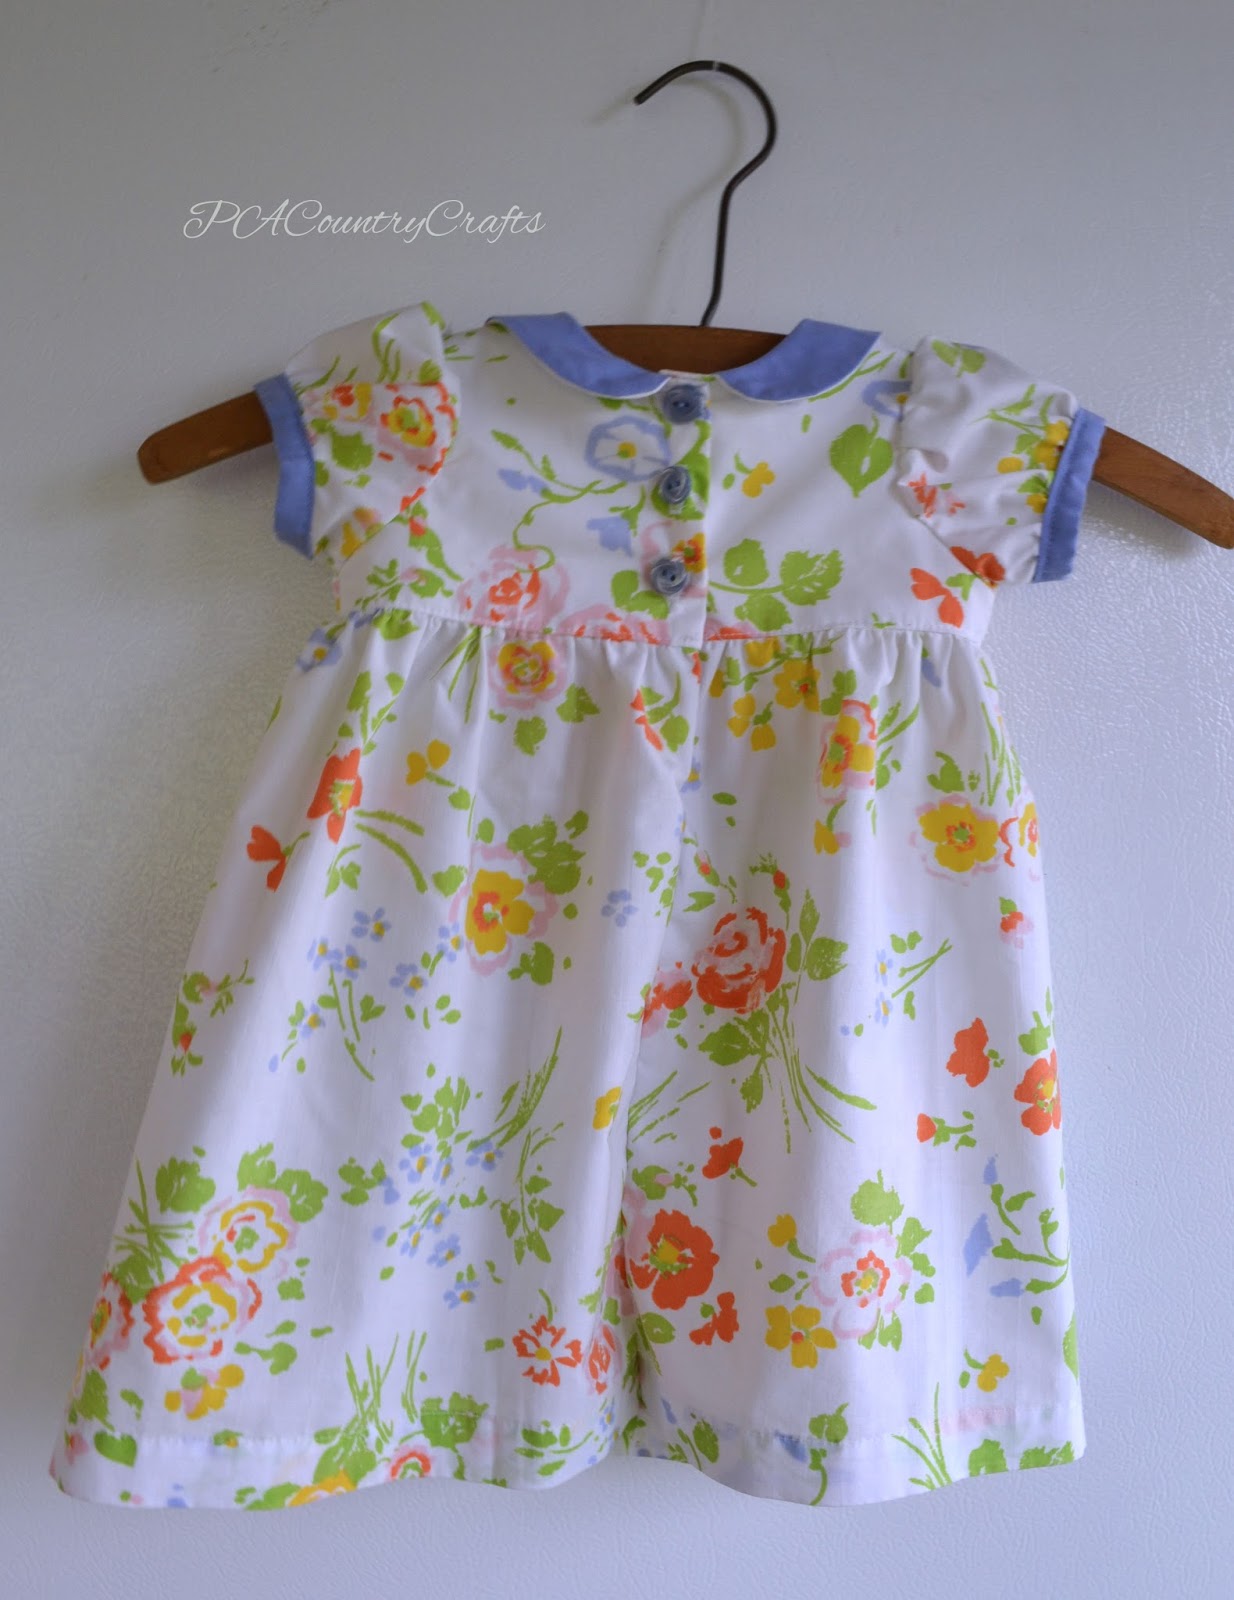
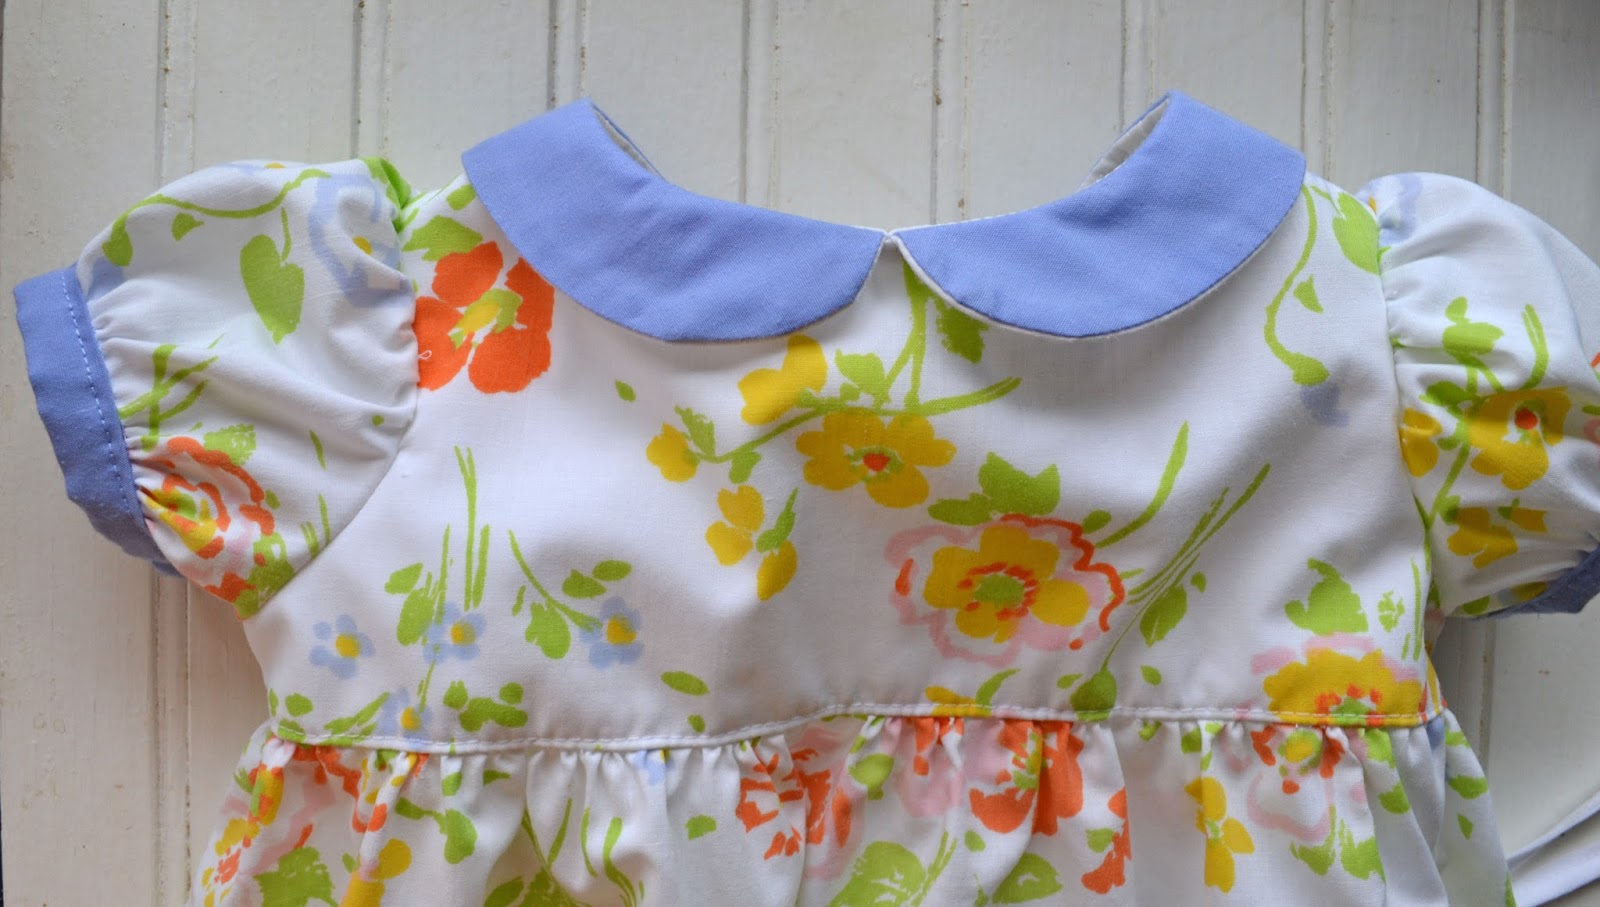
It is just a basic dress with puffy sleeves, a collar, and buttons in the back. I was a little intimidated by the collar, but it isn't hard after all.
Vintage Baby Dress Collar Tutorial

I didn't take too many pictures as I was sewing (and it really isn't anything wildly original anyway), but I did get enough to show you how I did the collar.

Vintage Baby Dress Collar Tutorial

So, get your dress pieces all cut out and ready to go...
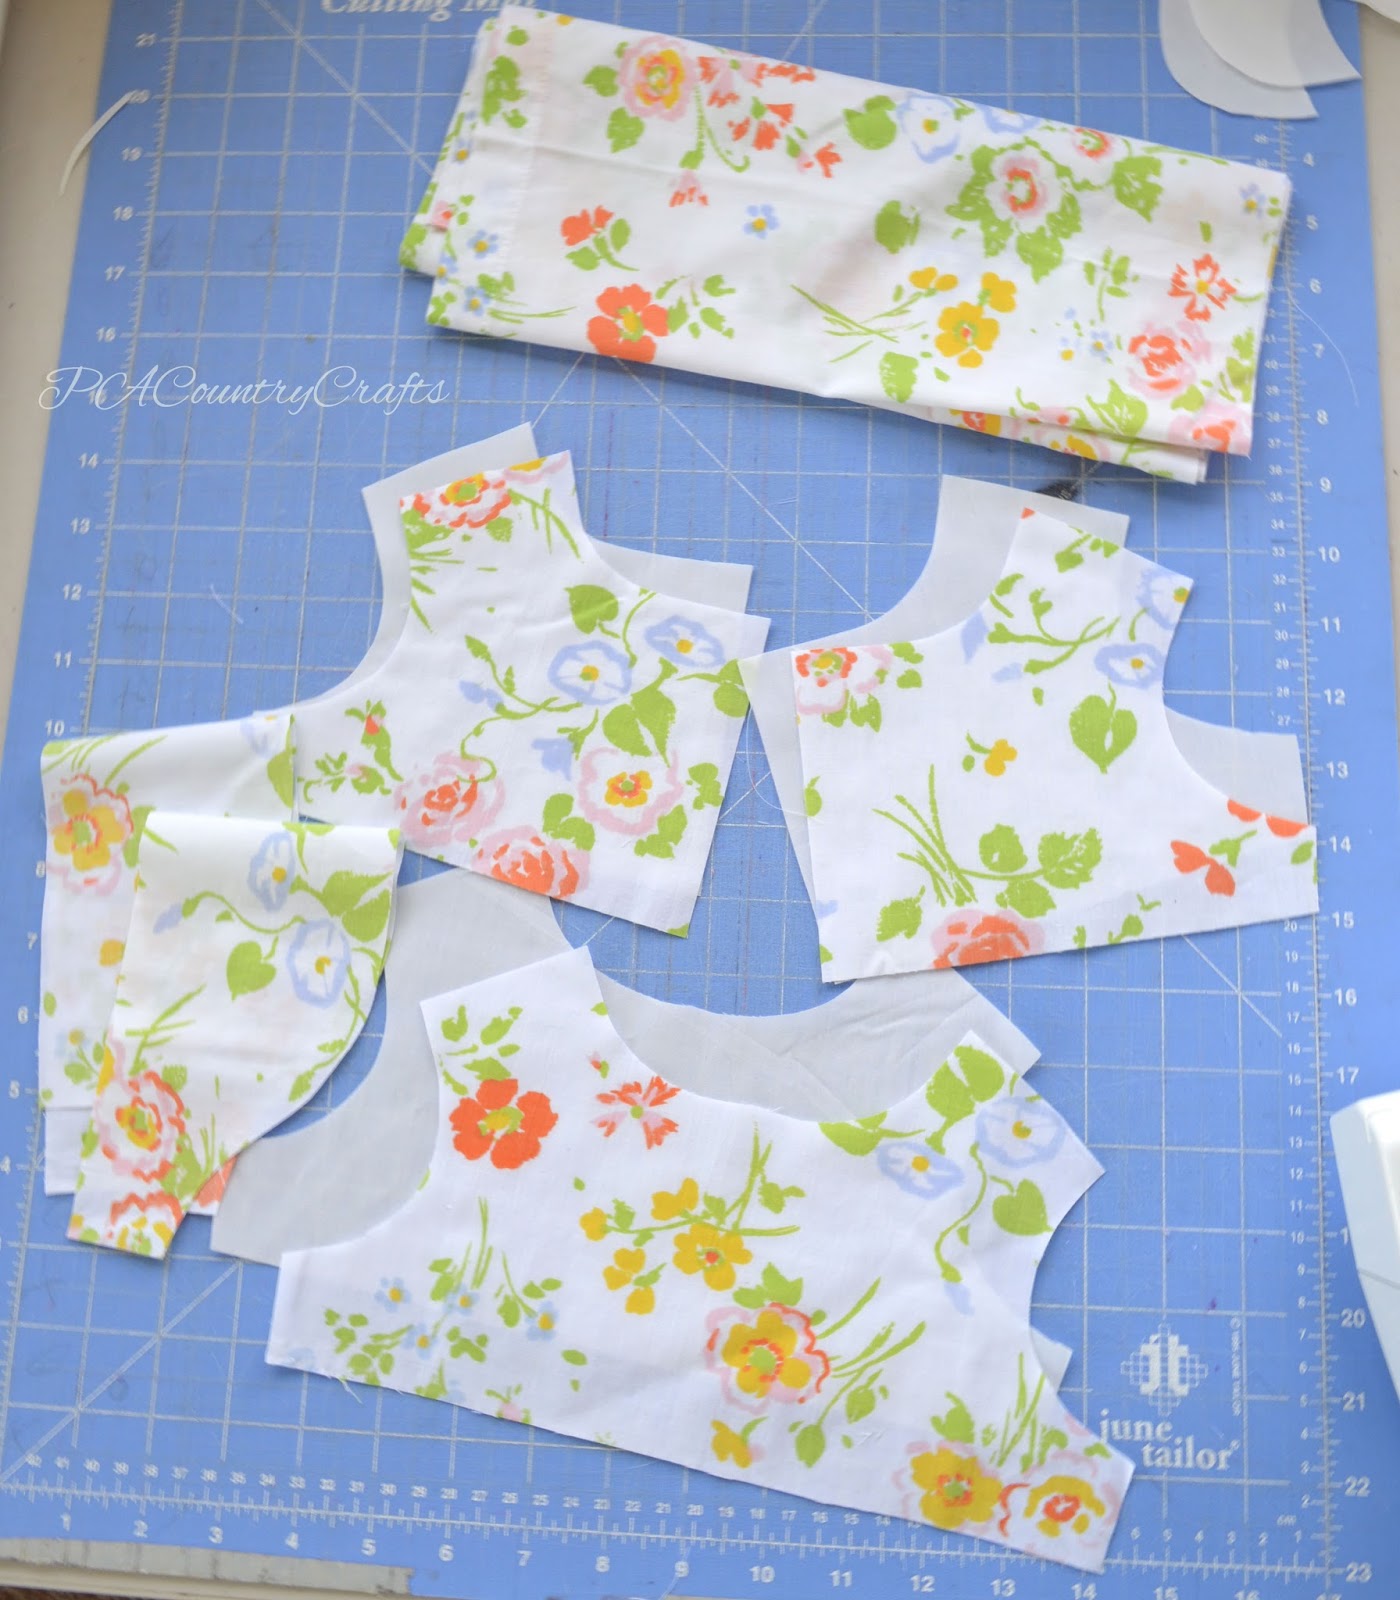
Vintage Baby Dress Collar Tutorial

Sew the shoulders seams of the front and back bodice pieces of the main fabric and lining.
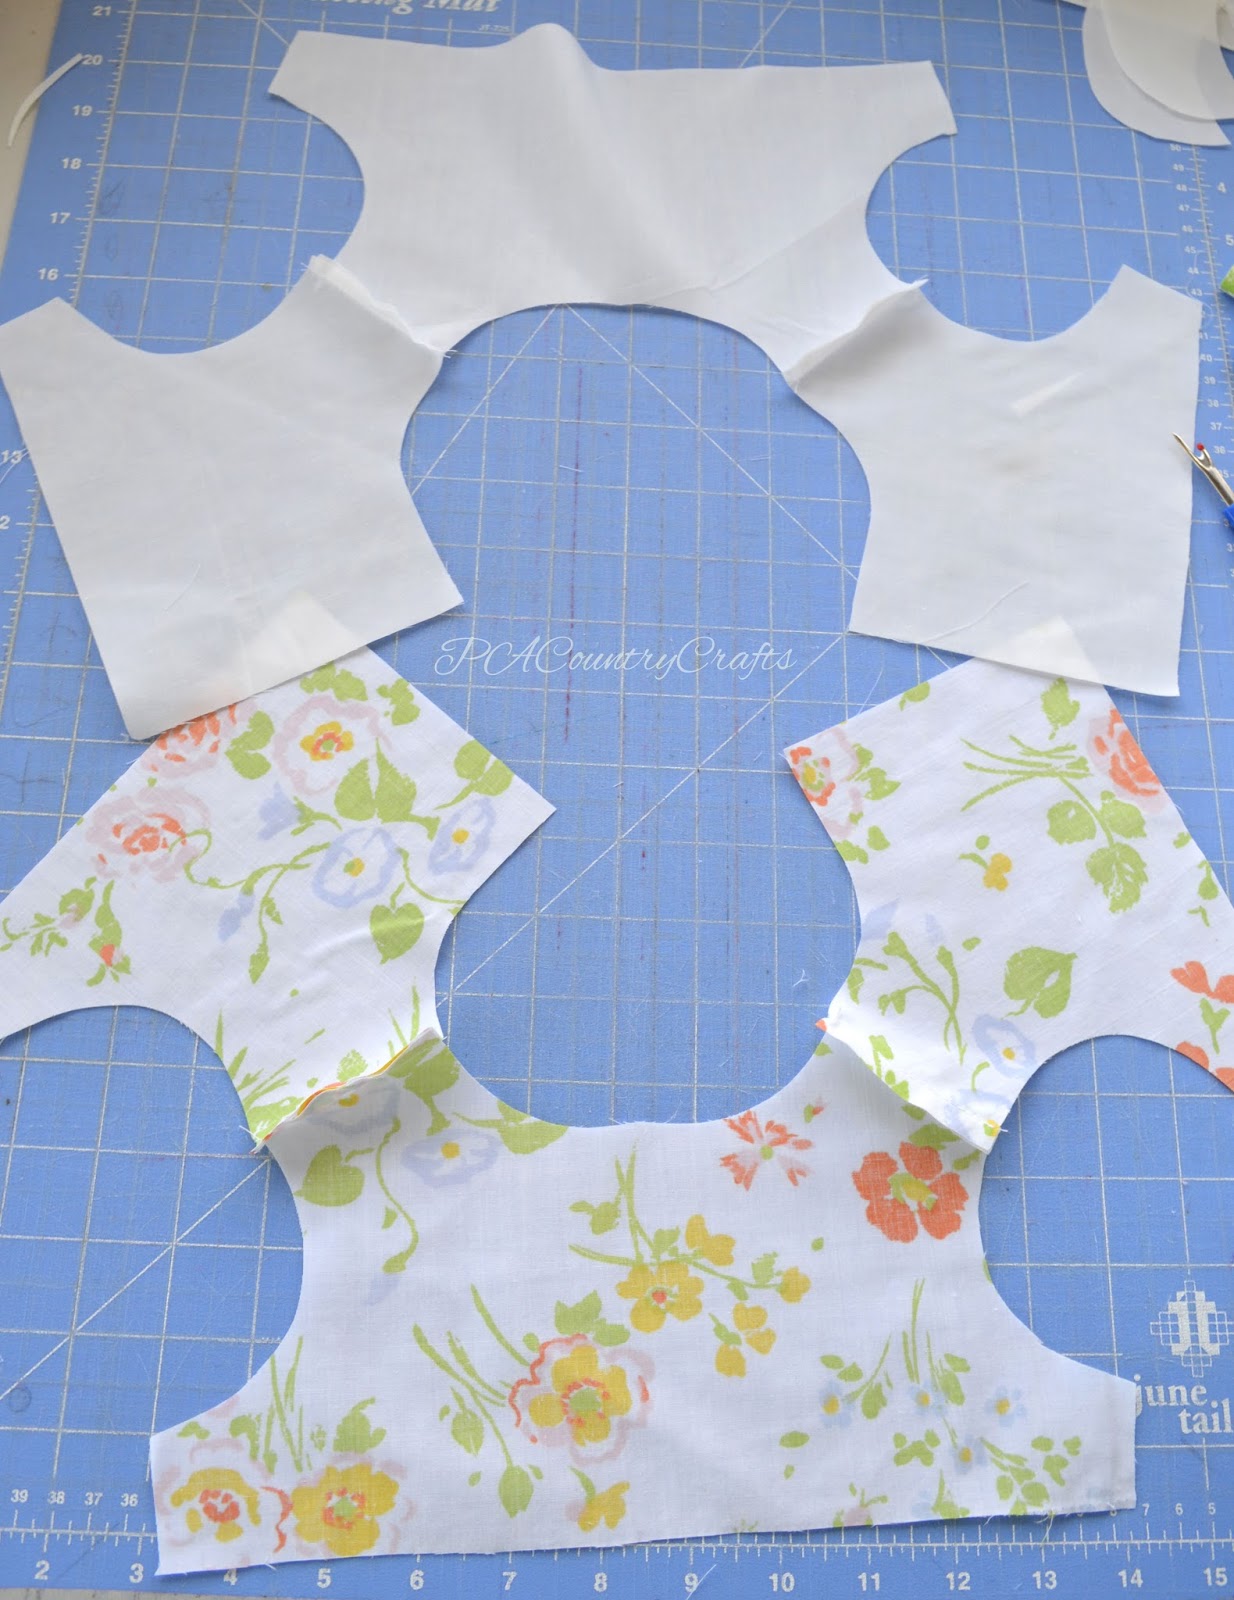
Vintage Baby Dress Collar Tutorial

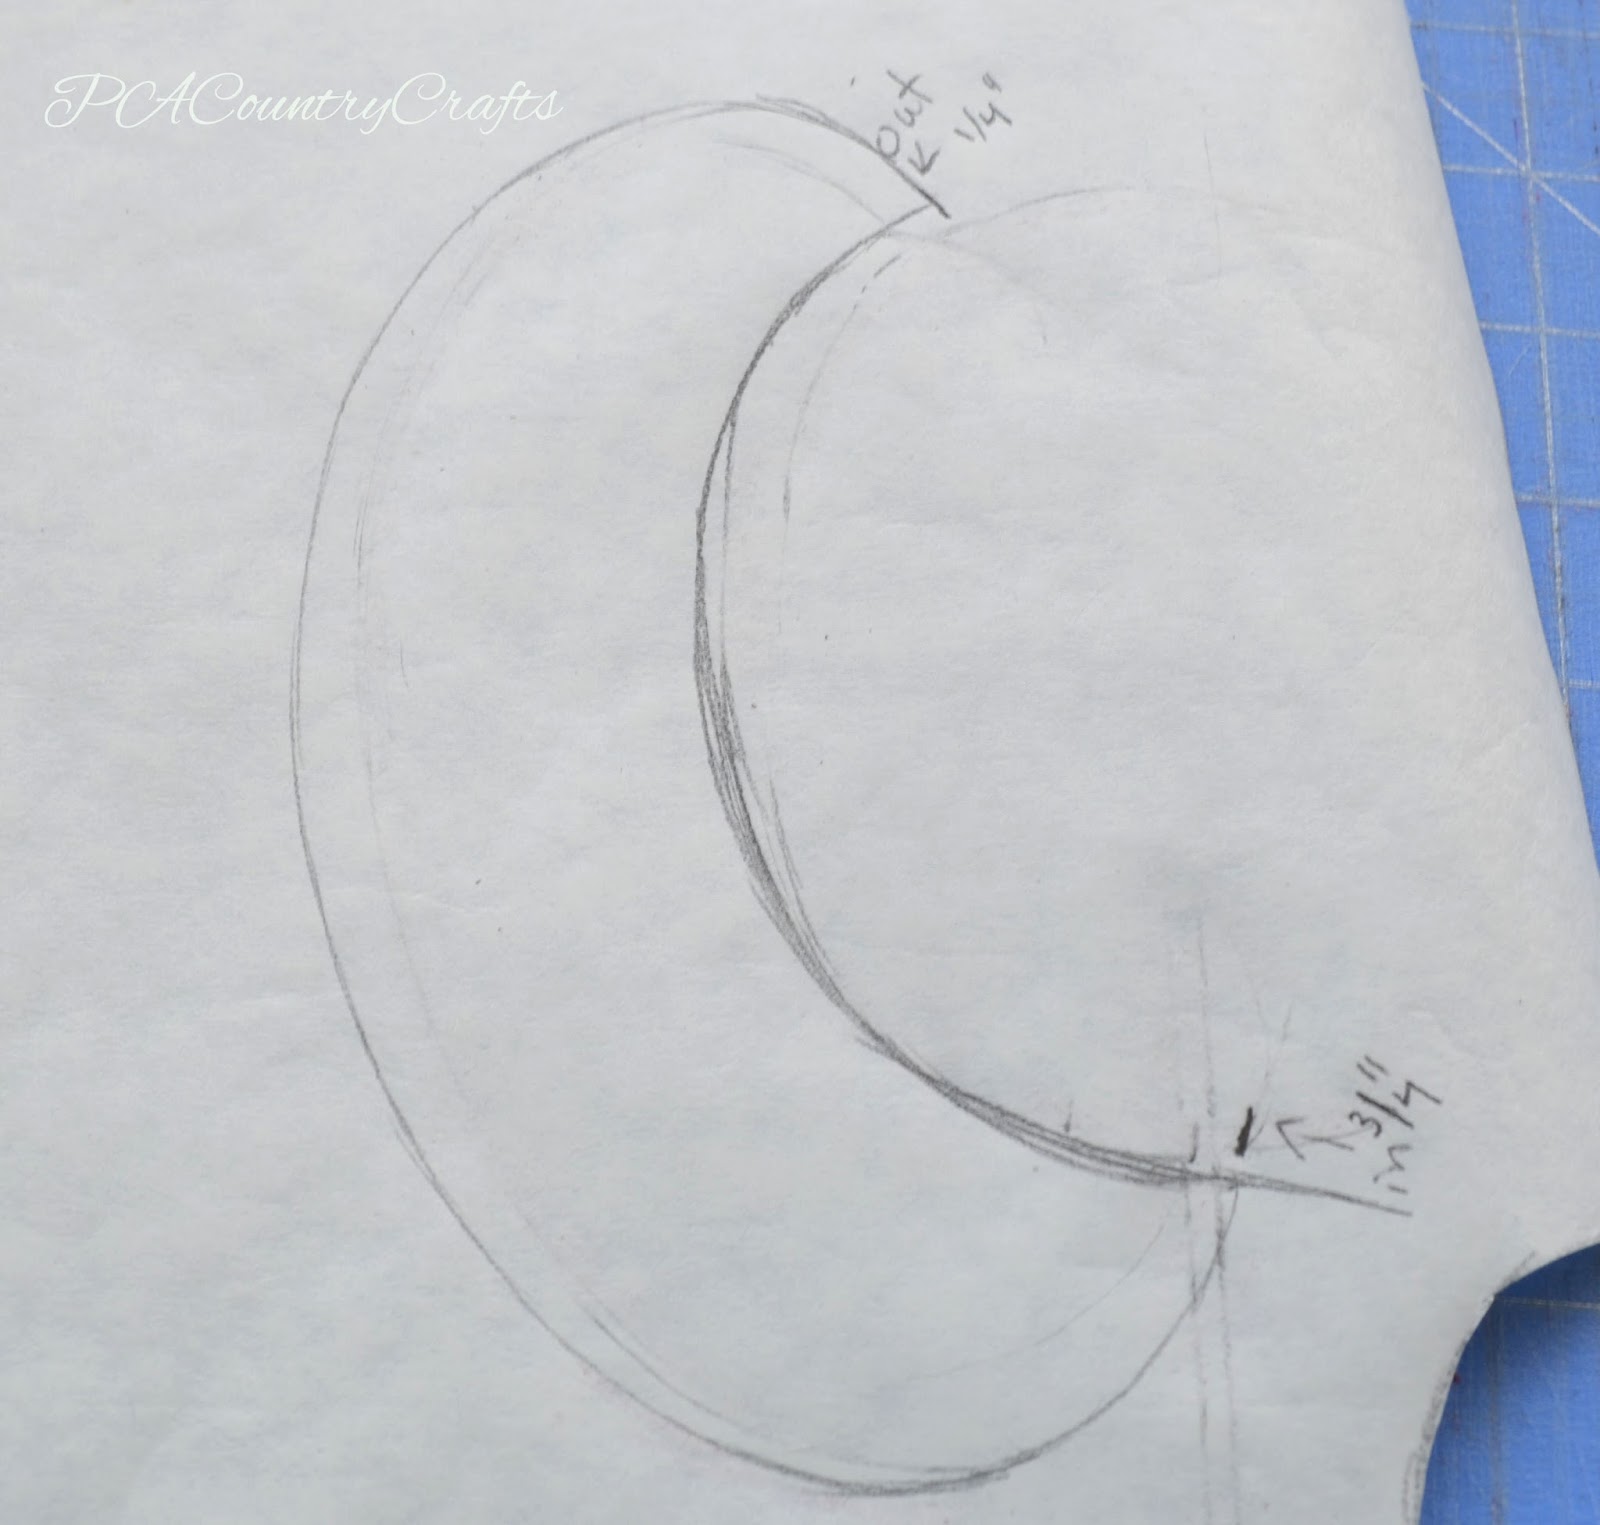
Use the sewn bodice, folded in half, to draft a collar pattern. It needs to extend

out

1/4" in the center for seam allowances and shift 

in

3/4" at the back for the button closure.
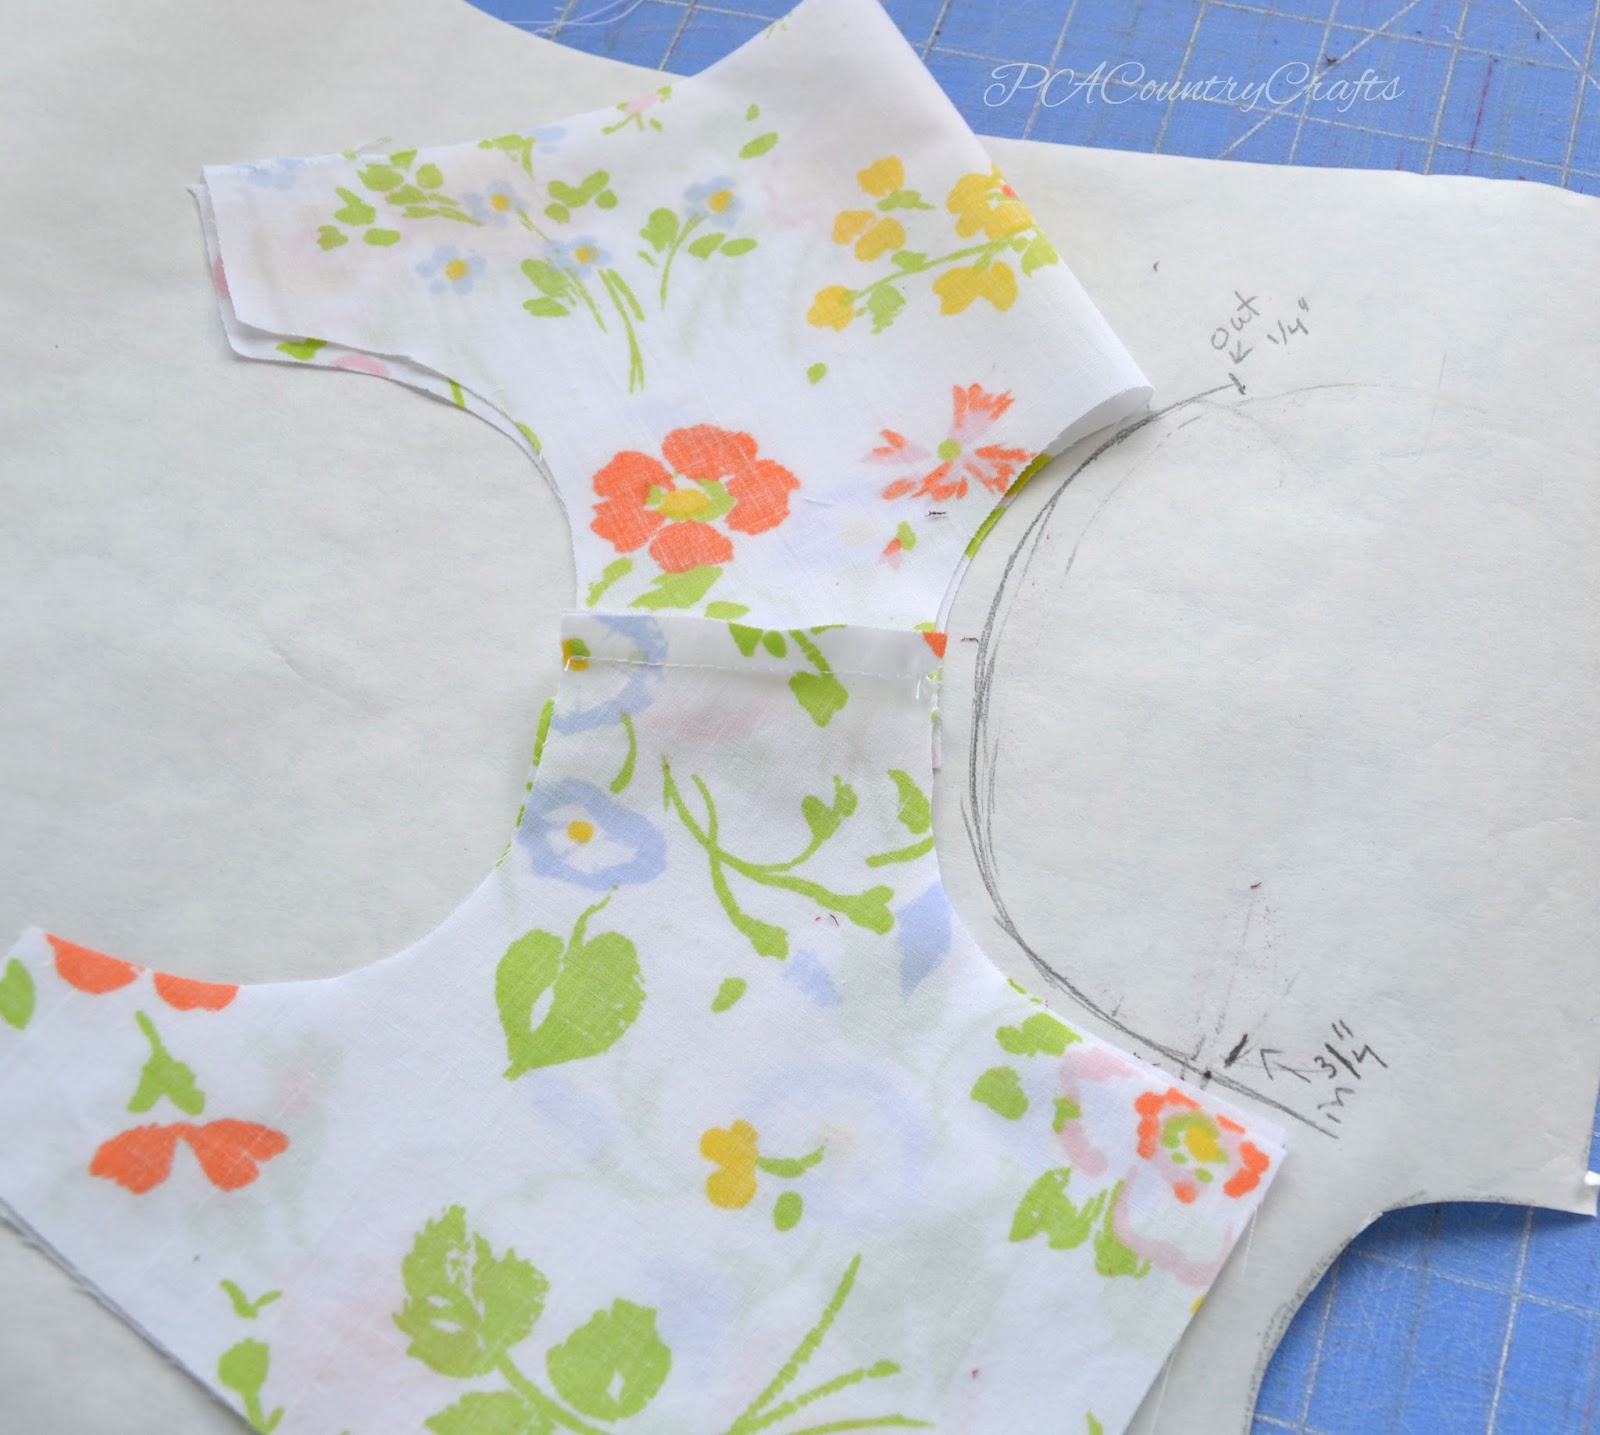
Vintage Baby Dress Collar Tutorial

Cut two contrasting collars and two linings (they can be the same fabric, but I was making do.) Interface one side of each collar- I used a midweight interfacing.
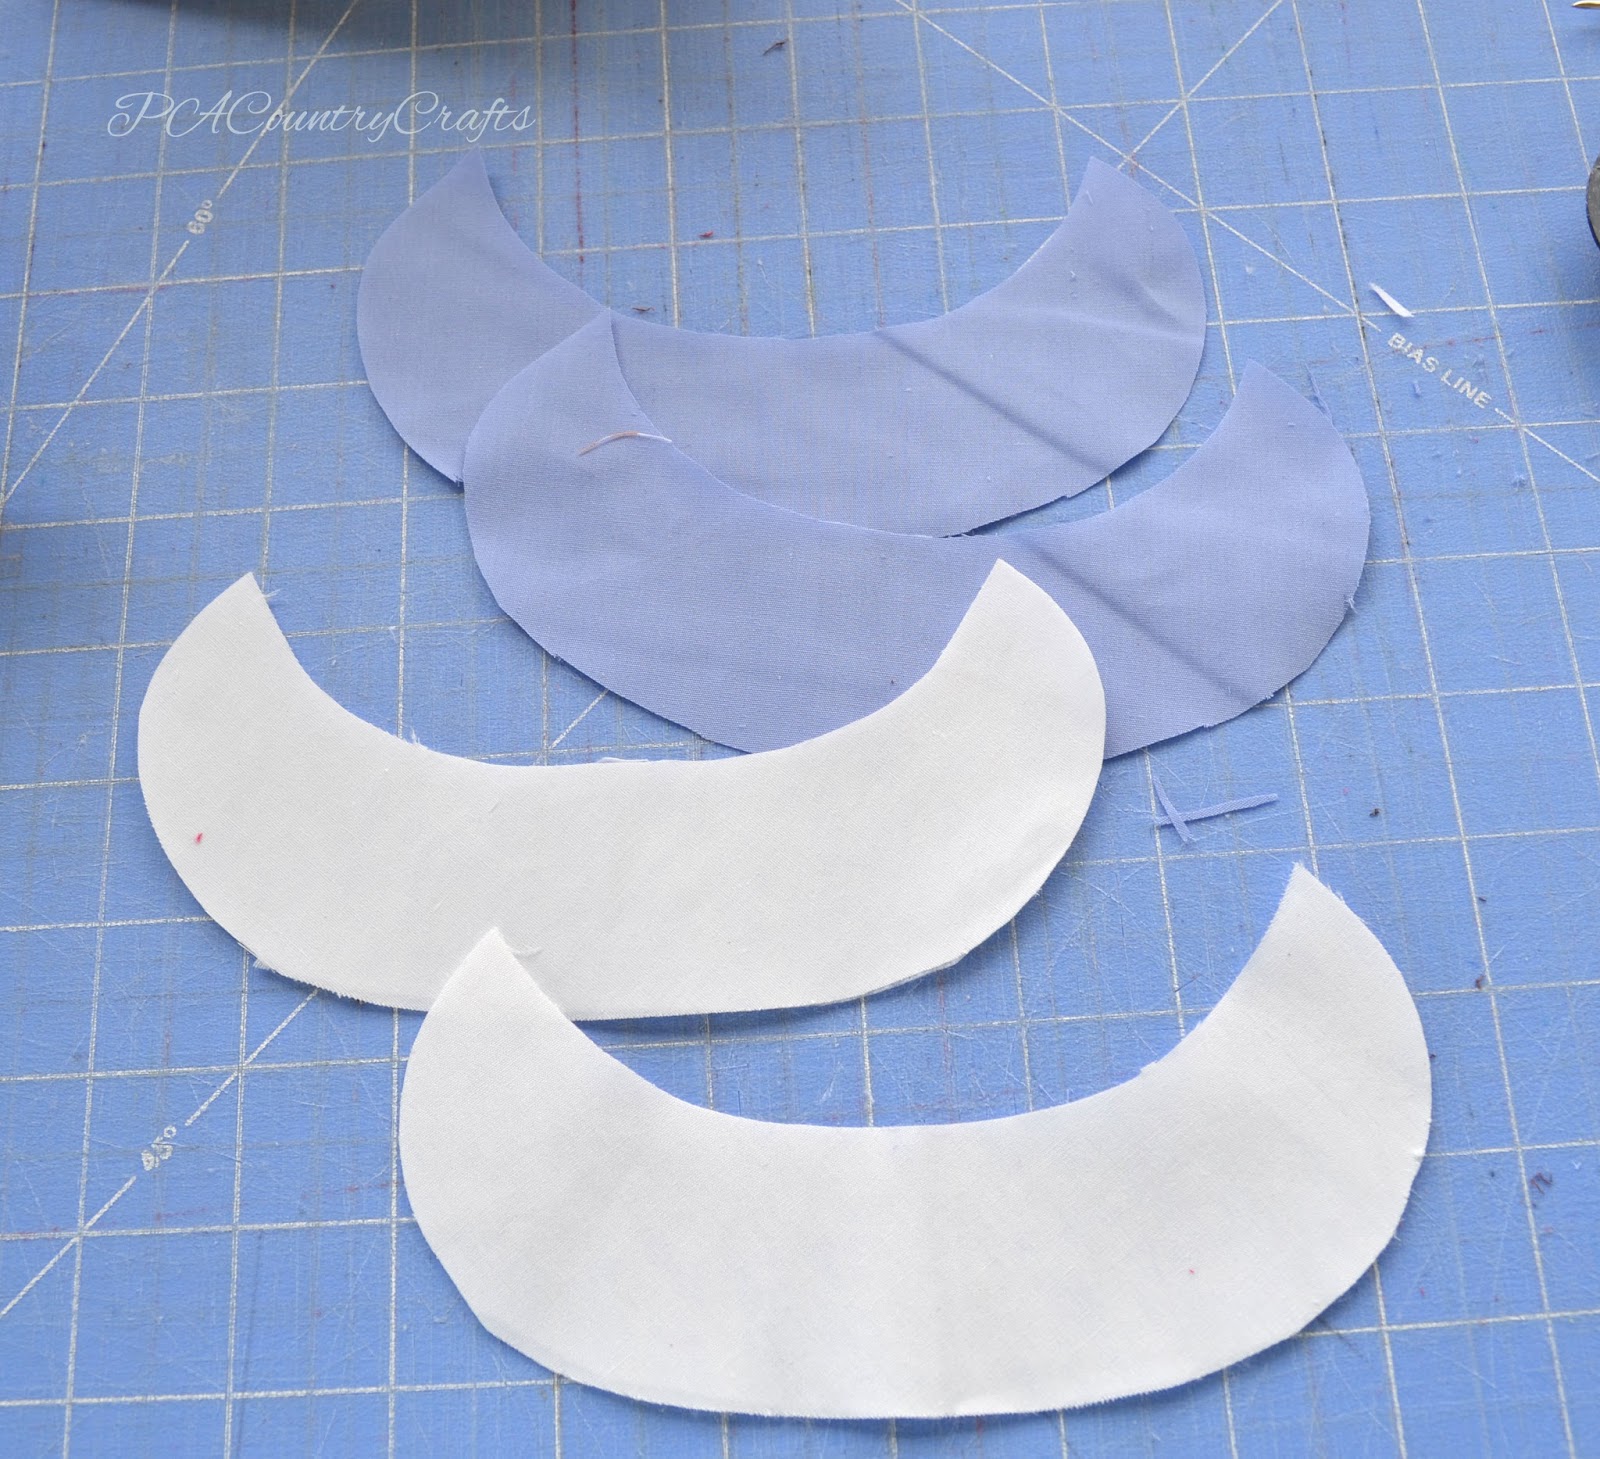
Vintage Baby Dress Collar Tutorial

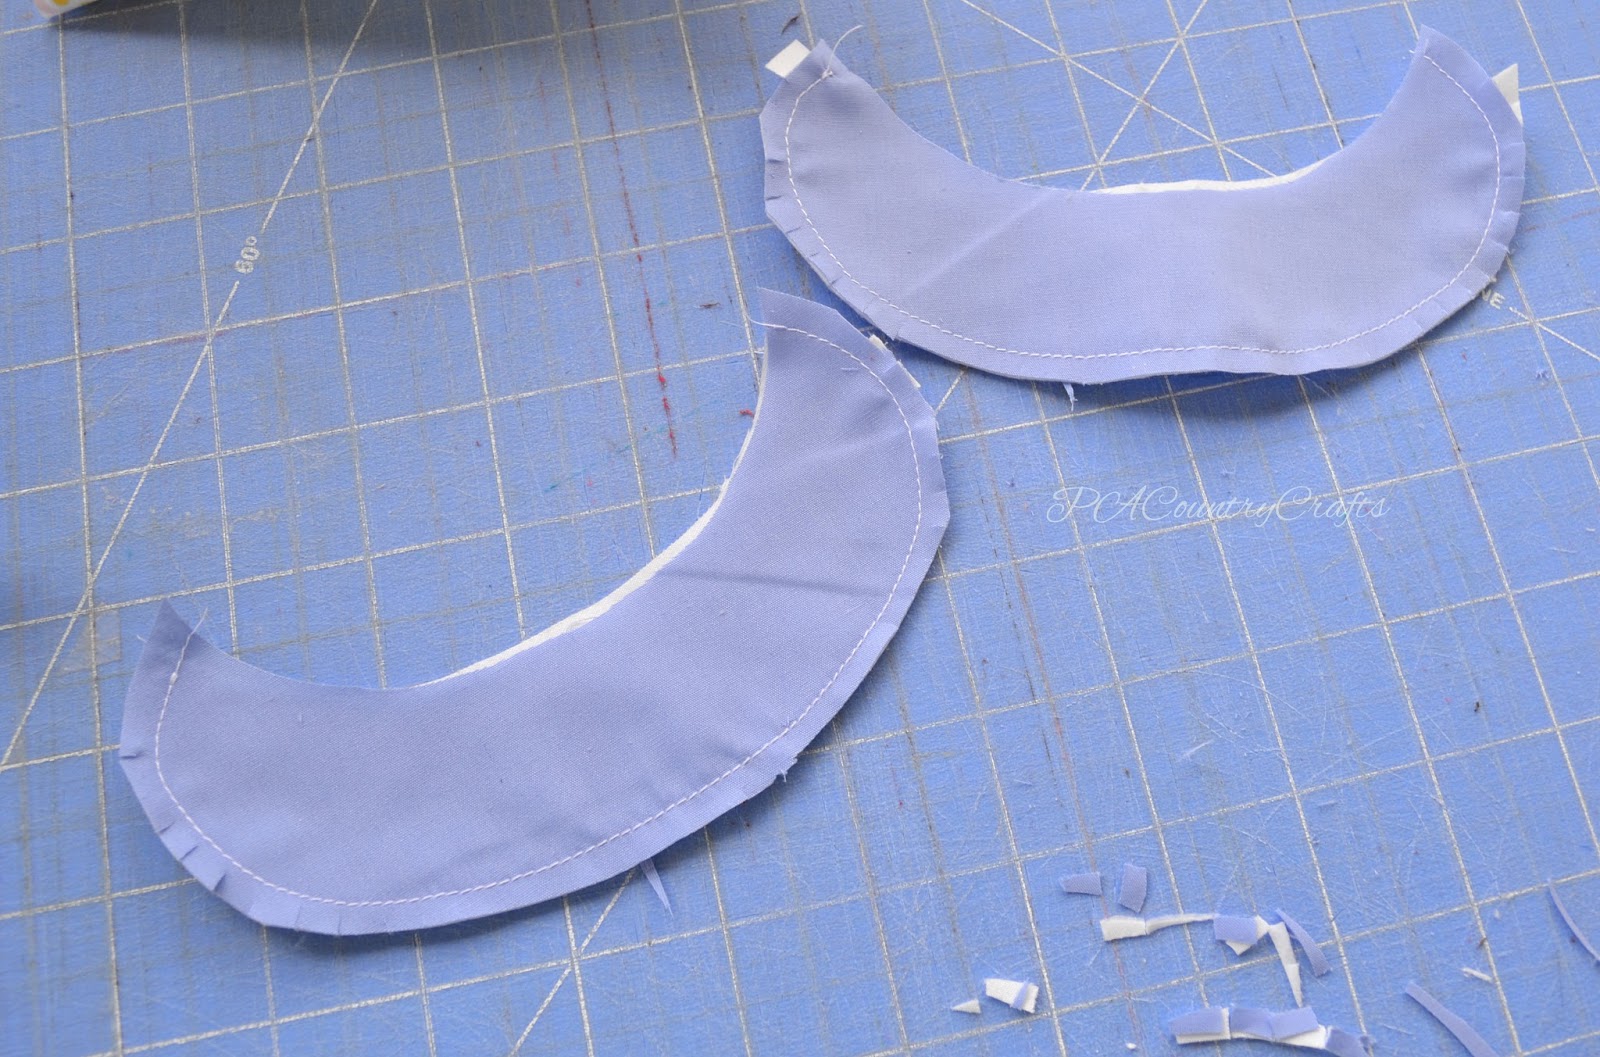
Sew the right sides together using 1/4" seam allowance and clip the curves.
Vintage Baby Dress Collar Tutorial

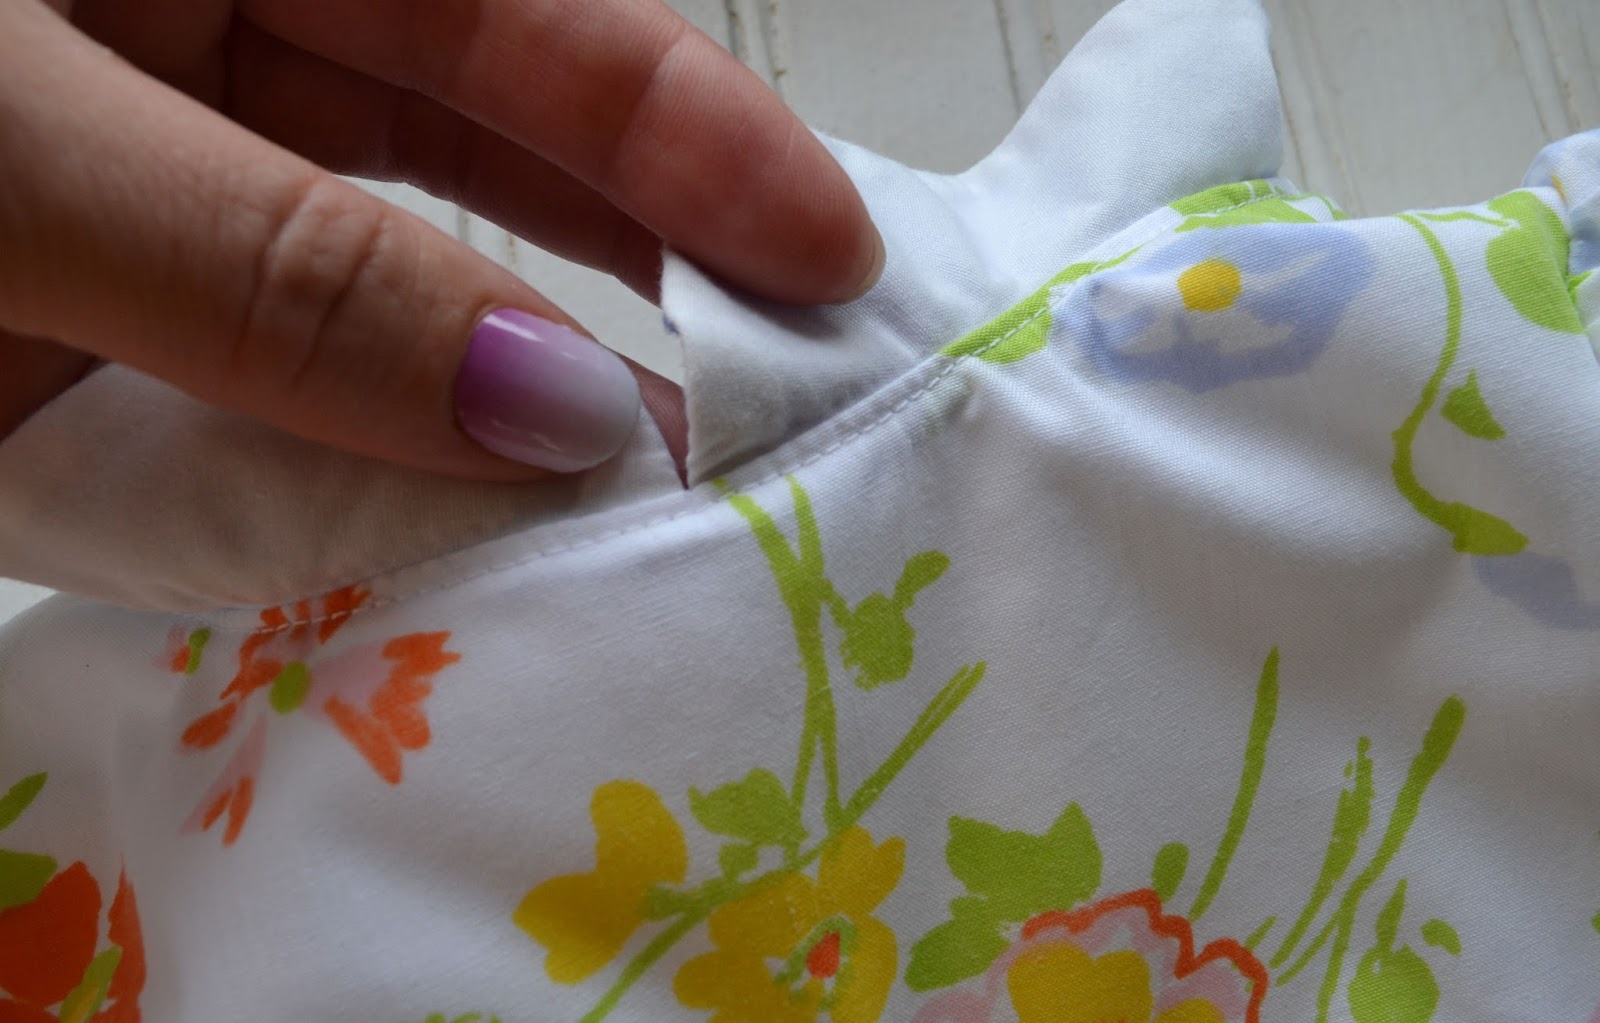
Flip and press really well, then sandwich the collars between the main fabric and lining. To hold the collar in place nicely, topstitch the edge of the bodice underneath the collars. This will hold the seam allowance in place and keep the collar from flipping up.
Vintage Baby Dress Collar Tutorial

If you want to make trimmed, puffy sleeves like these, Jess has a great tutorial 

HERE 

(although mine have a little more poof at the top.) The rest of the dress was made just like my Gracie Dress shown 

HERE 

and I cut the skirt from the edge of the sheet (no hemming! Woohoo!) 

Vintage Baby Dress Collar Tutorial

Here are the rest of the dresses in case you missed them...
Lydia's Sweetheart Dress
Gracie Dress Tutorial

Until next year... 

OK. Not really. I have a few more tutorials and fun projects in the works here. If you don't want to miss out on that you can follow my blog with GFC,

RSS feed

bloglovin

' or subscribe by email over there on the sidebar. I am also on

Pinterest

and

Facebook

!

Link Parties where I sometimes hang out...

Sew Can Do

Motivate Me Monday

Anything Goes Monday,

Take a Look Tuesday

Naptime Creations

Carolyn's Homework

The Winthrop Chronicles

,

 Handmade Tuesdays

,

Inspire Me Wednesday

We Did It Wednesday

Adorned From Above

Your Whims Wednesday,

Not Just a Housewife

Weekly Homemaking Party

,

Create It Thursday

The 36th Party

Friday Favs Party

Saturday Sewing

Think Pink Sunday

, and 

Threading Your Way

.