Flutter Sleeve Sundress

twirlygirls.jpg
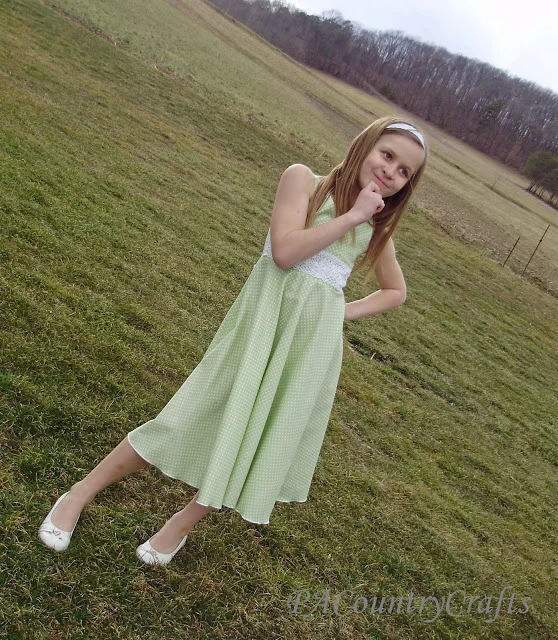
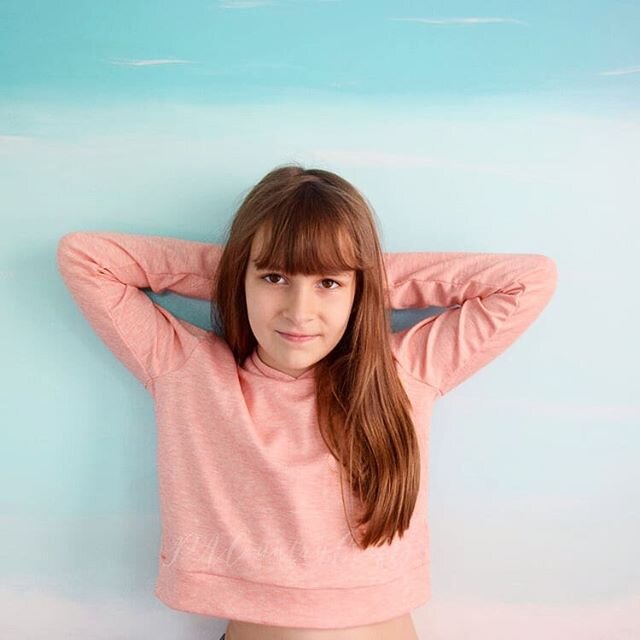
Besides the zipper, this dress was the easiest Easter dress I made this year. Making the dress was definitely easier than taking pictures of her wearing it! You see, she has an ever-evolving "picture smile" and it has recently morphed into this:
Painful, right? One day she will be very embarrassed that I posted these pictures. I am sorry, dear. Just keep practicing that smile, OK?
I even tried to get a picture of her having a ridiculous tantrum, but she flipped back to that smile before it snapped.
OK, but this post is not about her modeling skills. It is about the dress...
I was tired of gathering after the last dress, so this waist has pleats instead. Love them!  It has fluttery sleeves that were super easy (especially with my new rolled hem skills)
For a little something extra, I made a fabric flower for the front to pin on. It is made similarly to THIS one, but I used scraps of the white cotton fabric instead of felt.
The back has an invisible zipper that tripped me up a little. I couldn't find my zipper foot and tried to make do (not a good idea there) and then I found out I got carried away and twisted it so I had to start over. Oops. The sash in the back ties things together nicely and fancies things up a bit.

I did make a ruffle at the bottom. Bleh. :P Ruffles. Can you tell that I am sick of ruffles? Wait until you see the next one!
So, here is the finished product:

One day I might make a tutorial for this one. It was easy enough. One day. Maybe. I am not promising anything.
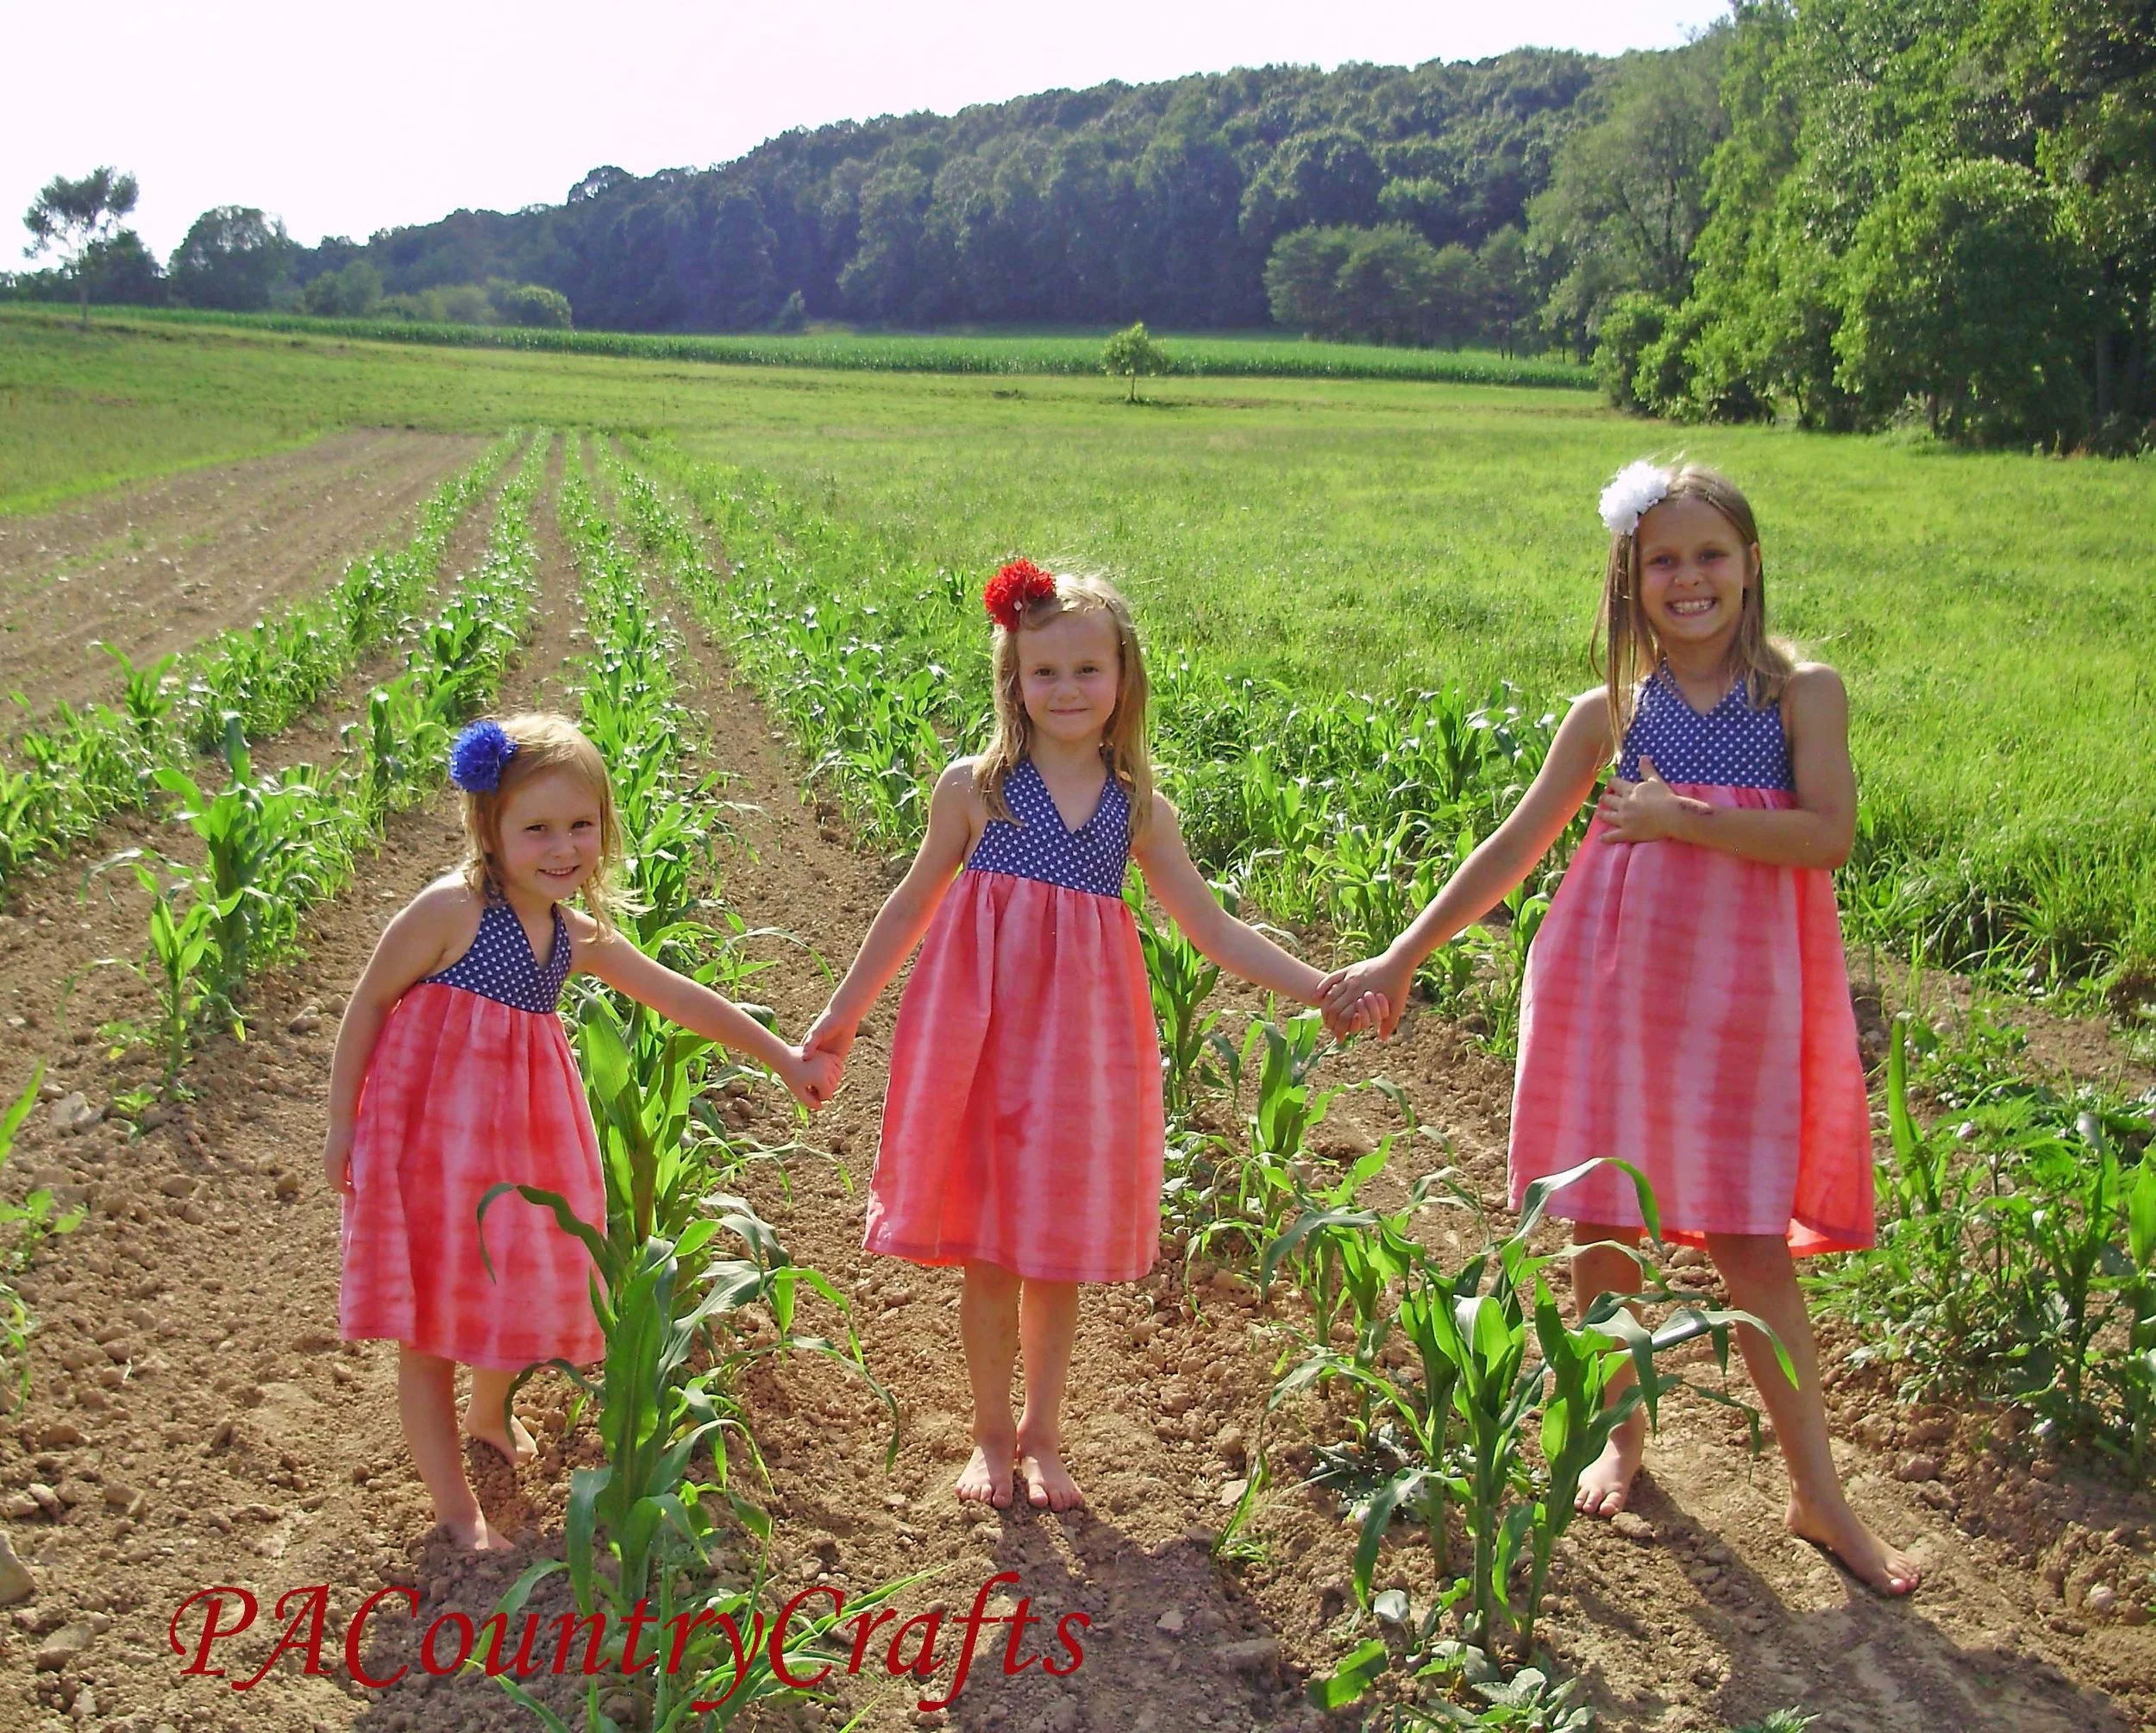
This dress was super easy and I was happy with how it turned out.  The important thing is that she can still twirl with her sisters...

One more Easter dress left to show you! I am saving the best for last!!!

UPDATE: If you would like to see step-by-step pictures of how I made this dress, essenitally, you can click HERE. I made a doll-sized version- the only differences are that I did a snap instead of a zipper and, of course, the sizes.

Linked up at: You InspiredShow Off Your Stuff Party, Make It Wear It Thursday,and Threading Your Way

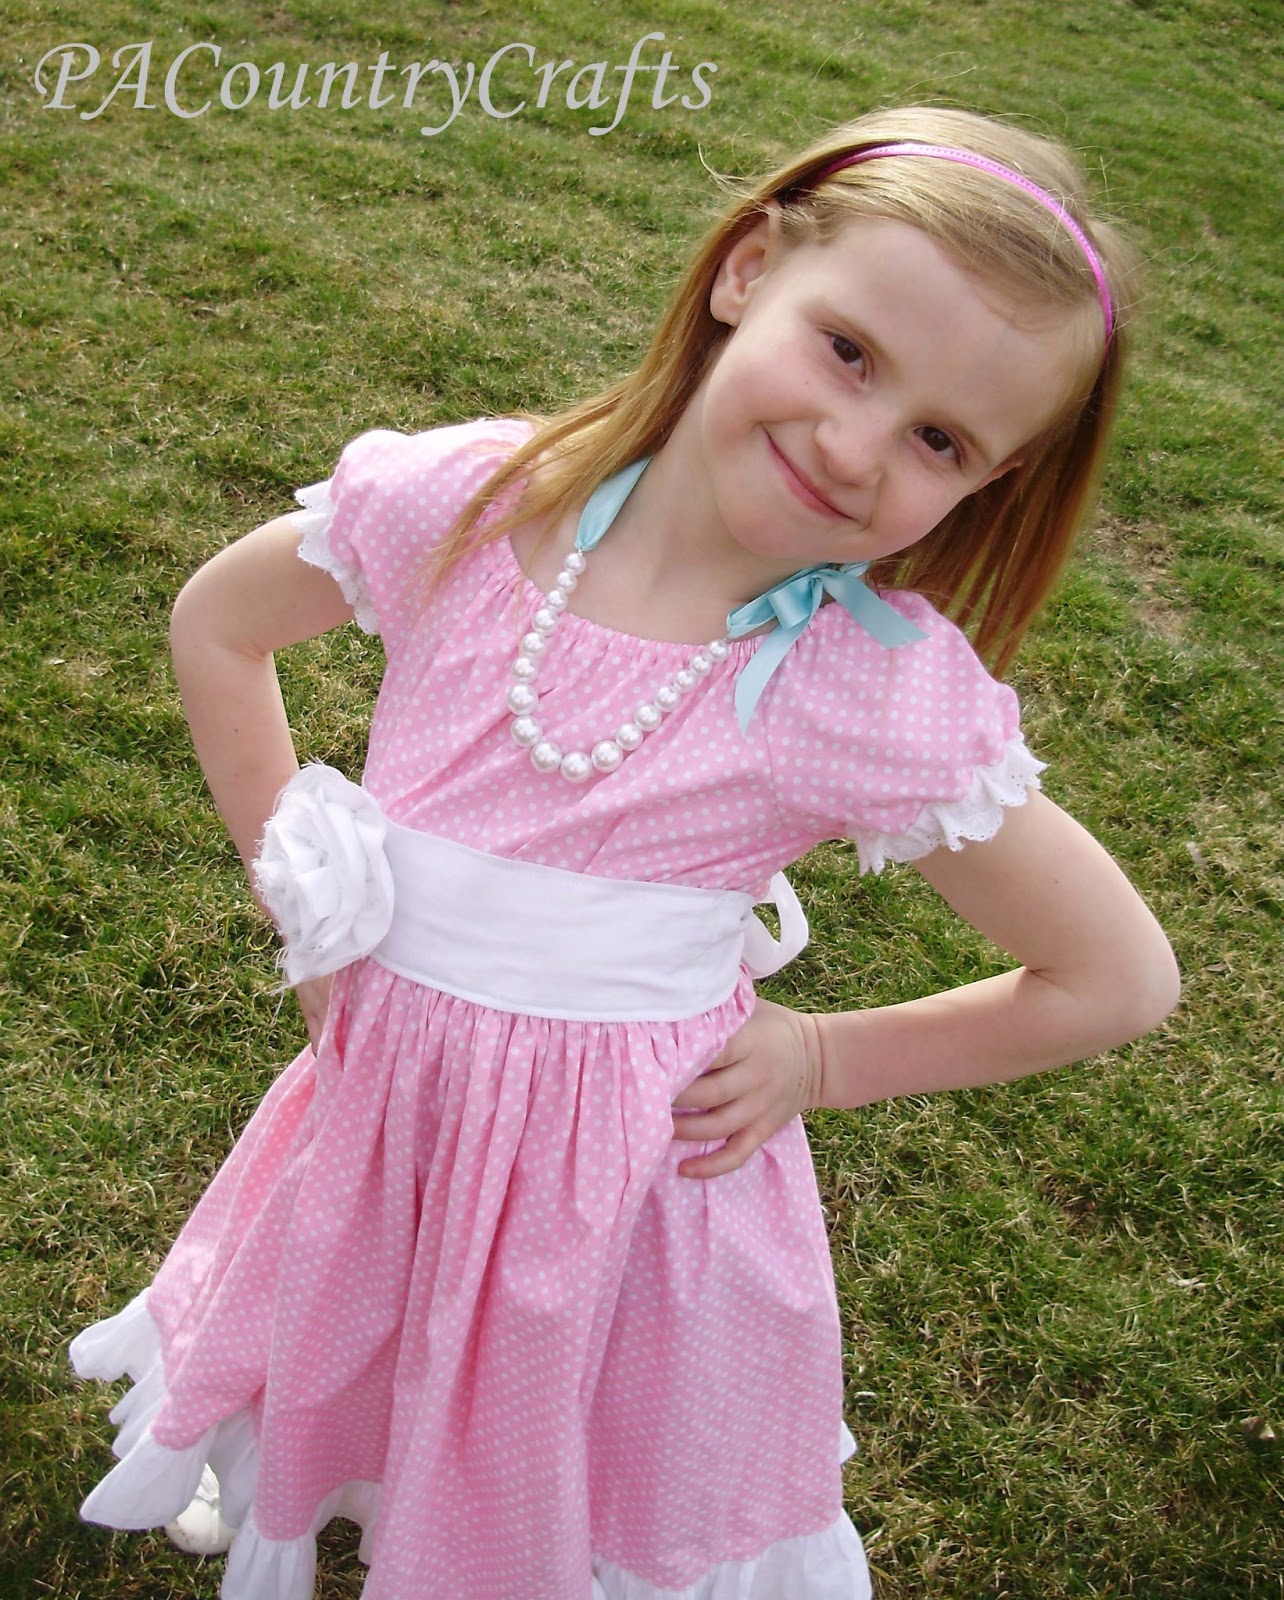
Boutique Style Peasant Dress (and Ribbon & Pearls Necklace)

backofdress.jpg
This dress was simple to make... in theory. :)   I didn't take pics of the whole process since I made changes along the way, but I will explain it a little bit here. I made the bodice in a peasant dress style (doesn't get too much easier than that!)
I trimmed the sleeves in eyelet lace after my first idea didn't work out. I had JUST enough on hand- only an inch to spare!
She wanted to be able to twirl around like here sister, so I made the skirt extra full. It is two full widths of fabric- that is a lot of gathering! But, it twirls...
...and this one is losing her shoe. I really need to work with these girls on their twirling.
So, two full widths of fabric to make the skirt meant that the ruffle was FOUR full widths of fabric! I gathered all of that by hand. It took FOR. EV. ER. I was going to make two ruffles at the bottom, but ran out of ambition after the first one. Oh, and I used pink thread to hem the ruffle for contrast. When I get a new sewing machine with fancy stitches I will try some of that on my hems for fun.
So, to pull all of that fabric from the loose-fitting peasant top together around the waist I added a contrasting white sash. It is sewn to the bodice with the topstitching at the top and bottom across the front of the dress. Then it doesn't wiggle around and pulls the bodice in more evenly. It just ties in the back so that it is still loose enough to be easy to put on and take off.
To really make it "pop" I added a BIG, frayed-edge fabric flower. I used THIS tutorial from Girl Inspired. It is backed in felt and pinned to the dress so I can still throw the dress in the washing machine.
I thought the dress still needed a little something and talked about it with my sister. She mentioned something about beads and suddenly a light bulb and a thought cloud with a ribbon pearl necklace were floating above my head. I was going to use pink or white ribbon, but didn't have enough on hand. The aqua gives it a nice contrast, though!
It was super easy to make and I already had the beads from something I was going to make years ago that I never got around to doing.
So, put it all together and this is what you get:

Two more Easter dresses to go! Stay tuned...

UPDATE: If you would like to see step-by-step pictures of how I made this dress, you can click HERE to see the matching doll-sized version. The process is exactly the same!

Linking up at:  Take-a-Look TuesdayYou InspiredShow Off Your Stuff Party, Make It Wear It Thursday, and Threading Your Way.

Puffy Petal Flower Tutorial

This week I made something special for my baby girl!  I am sharing the full tutorial over at Fireflies and Jellybeans next week, but here is a little sneak peek...

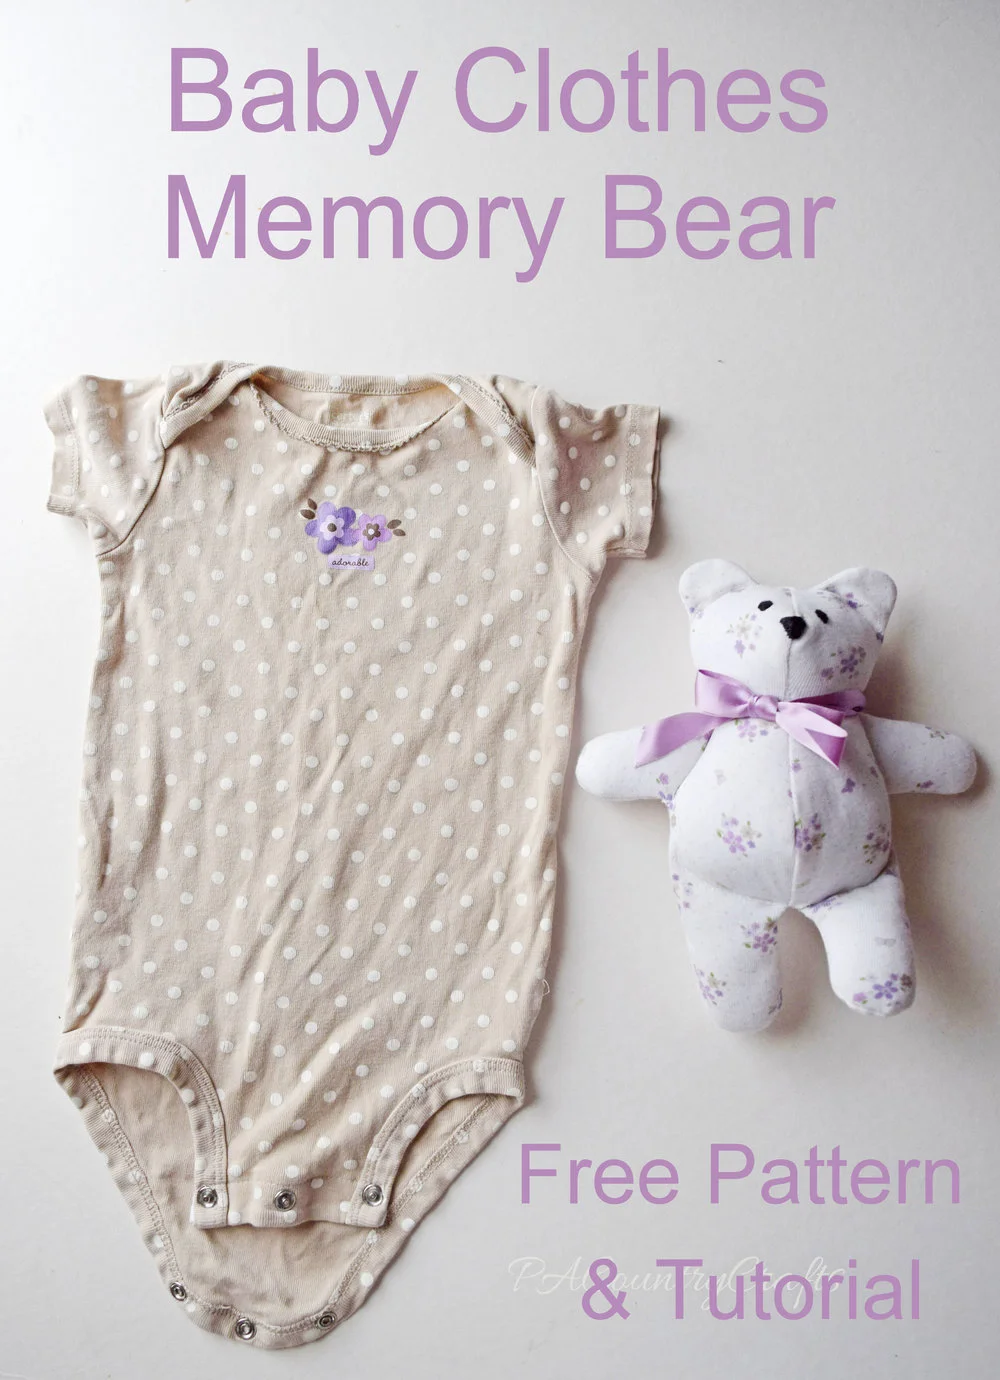
I made some fabric flowers with five petals to match the fabric and embellish her outfit a little bit.  I have made fabric flowers before, but after playing around for a few minutes, this just seemed like an easier way to do it.
Cut a piece of fabric 8" by 4" and fold it in half, right sides together.  Make a template 1" high by 1 1/2" wide and trace on five curves- keeping them tight together to create a scalloped edge.
Sew along the lines you drew, trim around the scallops, clip the curves, then flip it right side out.  It won't lay perfectly flat, which is fine and gives the flowers more poofiness anyway.  Sew a long basting stitch along the bottom about 1/4" from the raw edge.
Pull the thread to gather the petals together.
Sew it by hand to a small circle of felt.  You can pull and shape your petals a little better in this step.  The stitches do not have to be pretty- no one will see this. Then sew a button on top and attach it to your project, a hair clip, or a headband!  (Of course, the button is a choking hazard, so consider yourself warned.)
So pretty and cute! For the larger flower, I sewed each petal individually, which gave me more control over their shape and made them longer, but it wasn't as fast. 
 

Make sure to check out my tutorial over at Fireflies and Jellybeans!  I will update this post with the link when it is up!

UPDATE:  You can see my CUTE Sweet Summer Halter Top tutorial HERE!

Vintage and Lace Nightgown

P4148366.jpg

Next to nothing in the way of PJs or nightgowns survived the first two girls to be passed down to my 3yo. Nightgowns are, in my opinion, way too much $ for what they are to buy them in stores. I made it from some great giveaway prizes, so it cost me nothing but a little bit of thread, elastic, and time. Sweet! 

There is that picture smile again.
I whipped this one up in about a half hour, probably, and it worked out PERFECTLY with the amounts I had won.  I used some vintage material that I won from Quilting, Losing, and Tea that measured 24 inches by 36 inches and a package of perfectly matching flexi-lace hem facing that I won from Faith, Family, and Frugality that contained 2 1/2 yards of 1 7/8" wide lace.  I originally wanted to make a nightgown using THIS tutorial from icandy handmade, but I don't think that this is the same as stretch lace, so I did it a little differently.  That meant, I needed a piece of 1/2" elastic measuring an inch smaller than my daughter's chest. 
Here is how I made it...
First, I just serged the top and bottom edges.

Then, I sewed a yard of lace onto the bottom edge- directly onto the right side of the fabric because the pretty lace covers the serged edge.

I sewed another one yard strip of lace lined up with the bottom edge of the top row- 4 inches from the top- and sewed right down the center.

Then, I sewed the sides together- I didn't bother to serge it because it was the selvage edges.

Then, I took the leftover lace- 18 inches, and cut it in half to make straps (See?  The amounts were PERFECT!)  I pinned them two inches from the center on each side, but I forgot to figure in the gathering, so they should have been out another inch.  I turned the top of the fabric down 1 1/2 inches and sewed all the way around on the same line where I attached the lace.   I sewed back and forth several times over the straps to make it extra durable.

Then, I made a casing for the elastic.  I carefully sewed 1/2 inch from the top all the way around, leaving a small opening to insert the elastic.  I was careful not to catch the lace from the top edge, but I did sew the straps down again really well.

Finally, I inserted the elastic by putting a safety pin in the end and pushing it through.  I sewed the ends of the elastic together by overlapping them about an inch.

And that was it!  Very, very easy!

She loves it and I like its simple, vintage style... kinda' dreamy.

Thank you again to Karen and Carly for the great prizes. :)

I have decided to participate in Kids' Clothing Week Challenge since I have some other sewing projects in mind for my girls.  The goal is to sew for an hour a day, but for me, it will probably be little bits of time here and there as I can grab it.  Wish me luck!!

Halley's Plan B Dress

ruffle.jpg
Halley's dress was not what I intended to make.  It was supposed to have a yoke across the neck and ties on one side, but I just could not get it to lay flat, so I ended up ripping it apart and going to Plan B!  It still has the big bow on one shoulder like she wanted, so it works. 
I also found a way to incorporate some extra white into the dress so that it would coordinate with her sisters' dresses. 
Here is a little tutorial of how I saved the day made it...
(Everything has a 3/8" seam allowance.)
I started with the main dress piece that I salvaged from the first idea- here are the top measurements (my daughter is a size 8).
It is cut in an a-line shape to be 24" high and 24" wide at the bottom.  You will need to cut two of the main fabric and two of the lining.  I already had the sides sewed together since I messed up Plan A, but you can do this before or after you sew the bands on the top... whatever.
To incorporate more white, I cut top bands 2" by 7" - you need four of them.
The shoulder strap is made from a yellow piece 4 3/4" by 9" - sew long sides together, flip, press, and topstitch edges.
To make the ties for the CUTE bow on the other shoulder, take strips measuring 4 3/4" wide by 28" long, fold in half lengthwise, sew, flip, and topstitch the edges.  I sewed across the bottoms of mine on an angle instead of straight across cause the "pointiness" just looked better for this style.
I gathered the tops and pinned a band to each one.
Sew the band on and then turn the lining inside out.  Stick the outside into the lining and put the right sides together like this...

Pin all the way around the top, lining everything up...

Sew in place.  If you flip it, now it should look like this...

But, wait!  We need the straps!  You probably could have put some of them in before sewing, but I figured it was enough to worry about getting everything lined up.  So, turned it inside out and seam ripped a little to put the strap and a tie in like so...

I tried the dress on her first to get the angles- you can do that or just estimate from this picture.
For the back side, I did the tie the same way, but the strap I just inserted from the right side.

Then I topstitched the back to hold it in place. (Don't look too close!  My totpstitching stinks!)

I added a ruffle at the bottom, too, for more length and more white to match the other dresses.  It is just a strip 6 inches by about 90 inches pressed in half, gathered, sewed on, and topstitched.  Kinda basic, but if you have any questions, let me know!

So, that is it!  Plan B Dress in a fraction of the time I struggled with the first idea.

I also used some scraps to make her a cute, rolled rosette fabric headband.  You can find tutorials on those everywhere... just do a search for it.

I hope this one is a lot more clear than yesterday's Bubble Dress Tutorial.  It is a totally different style. Just like my girls.
Well, that wraps up my Easter dress posts for this year... four dresses, four colors, four styles, four sweet girls!  Thanks so much for letting me show all of them off a bit! =)