Painted Plastic Eggs Tutorial
/Can you believe that these started out as regular, dollar store, plastic Easter eggs?
One of my very first tutorials was for painted plastic Easter eggs. I decided to write a new, updated blog post about painting plastic eggs just to freshen things up. I don’t have the first batch of eggs anymore, because my kids are destructive little monsters who won’t let me have nice things. These hold up fine for regular home decor, but with a lot of handling the paint will chip off.
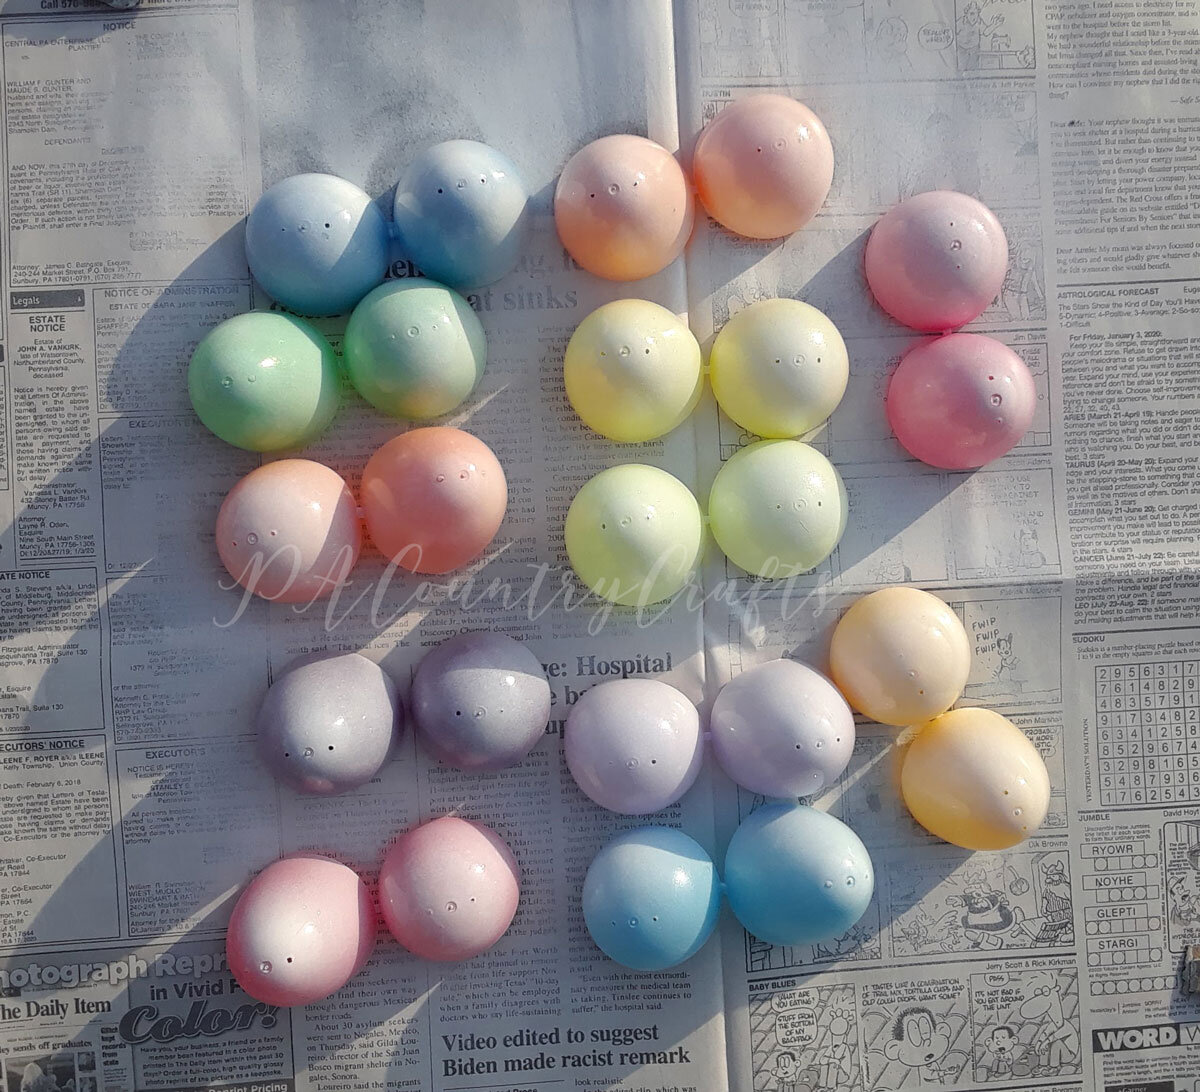
People are surprised to learn that you can simply paint plastic eggs. You don’t need special chalk paint. Regular acrylic paint is just fine. To make things a little faster, I like to give them a few coats with paint + primer spray paint first. You don’t have to do this- all coats can be done by hand, it just takes longer.
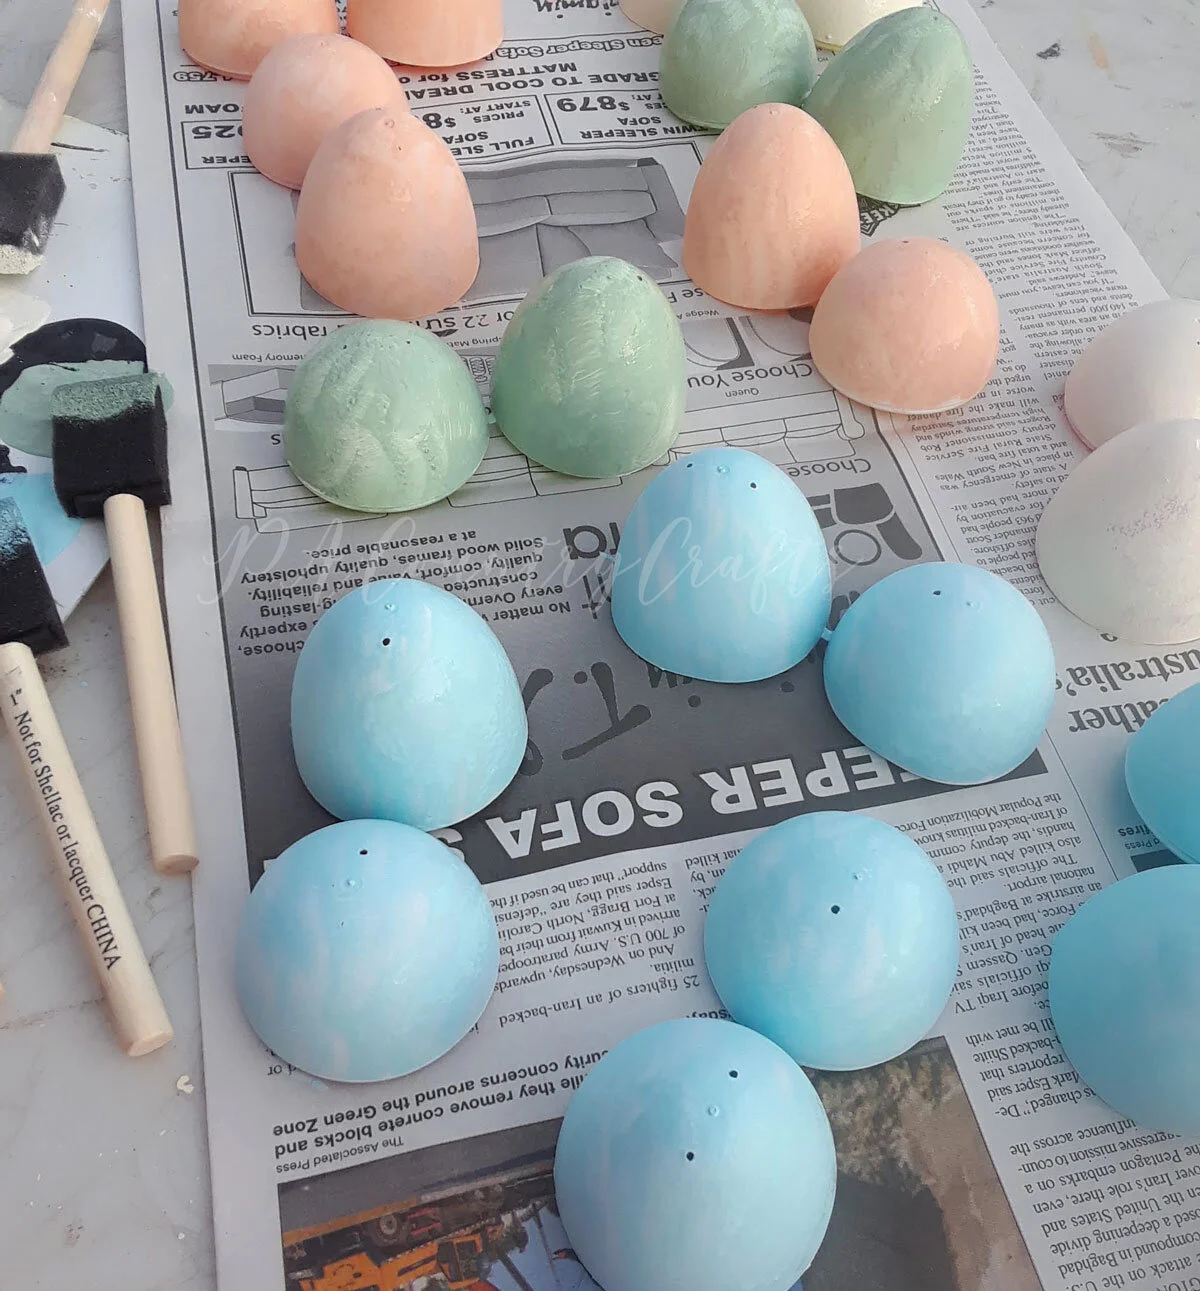
Then, I just use plain acrylic craft paint and sponge brushes. Maybe the key is dabbing it on with the sponge brushes? Regular paintbrushes would make brushstroke lines. This gives them more of an eggshell texture. If I spray paint them first I only need 2 coats. (Or maybe a few touch ups if I change my mind about the color after the first coat.) It is a little tedious and time-consuming. I hold the eggs by the insides and carefully sit them back down. It is kind of messy.
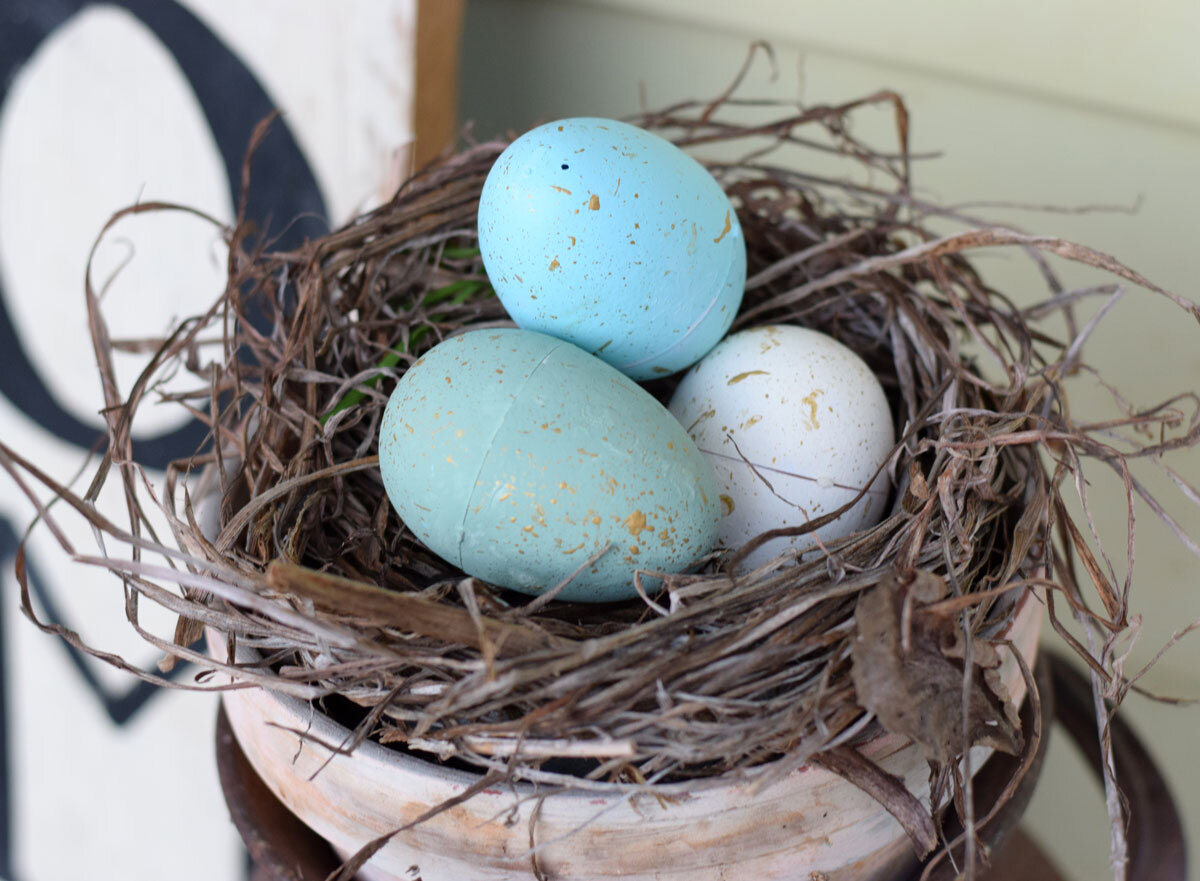
Finally, I like to use a toothbrush to flick paint onto the eggs for a cute, speckled look. Usually I use brown, but this time I used metallic gold.
There are a lot of ways to decorate with them. They look cute in baskets or trays with some Spanish moss.
You can layer a bunch of them in a big jar.
This “nest” is just an handful of dried out leaves from a daylily plant in my flowerbed. I twisted them into a circle and laid it on top of a flowerpot.
If you want to pin this for later…
You may also like…


