Decluttering Tips ~ Clothes and Bedrooms
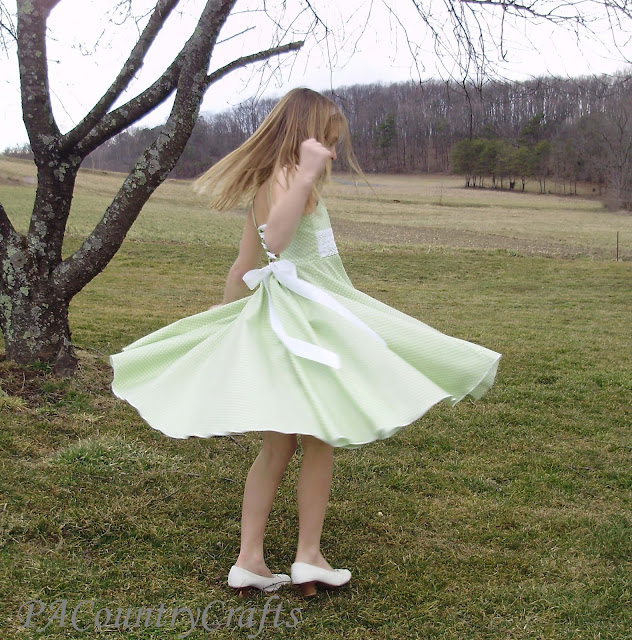
How is it going? Is it spring where you live yet? We might get a little snow today (CRAZY!) but at the end of last week it was 85. I decided that I have had enough and switched the girls seasonal clothes in protest. They still have pants and sweatshirts if they need to layer, but I got out the shorts and sundresses. In the process, I whittled down their clothes even more. I think everyone's things fit comfortably in their drawers and closets now. There is less in storage, also. Let's face it... some things that my oldest daughter wore are horribly outdated until the younger sisters grow into them. I actually found a red skort (yes, skort) that had a MaryKateandAshley brand tag! (My daughter loved that skort when she wore it... 10 years ago!)

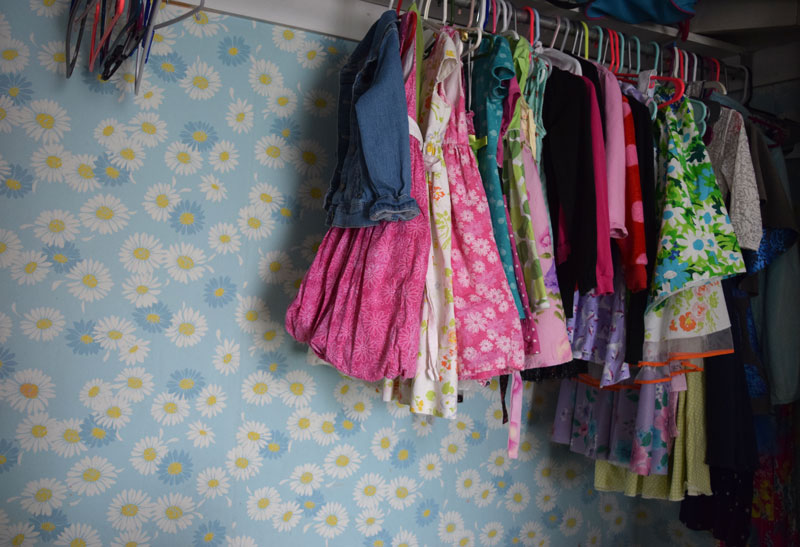
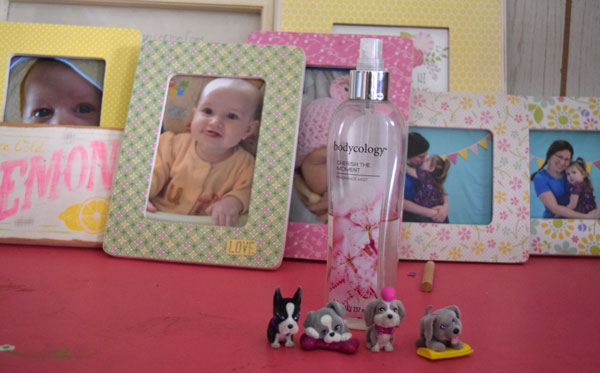
I also did some major cleaning in the girls' bedrooms. I was pretty ruthless. I got several garbage bags out of each room and no one has seemed to notice anything important missing. That is my rule, though. If their bedrooms get so messy that I have to clean them, I will toss whatever I want. I don't think they mind. Instead, they are happily arranging the tops of their dressers. My 4yo insisted that I take a picture.

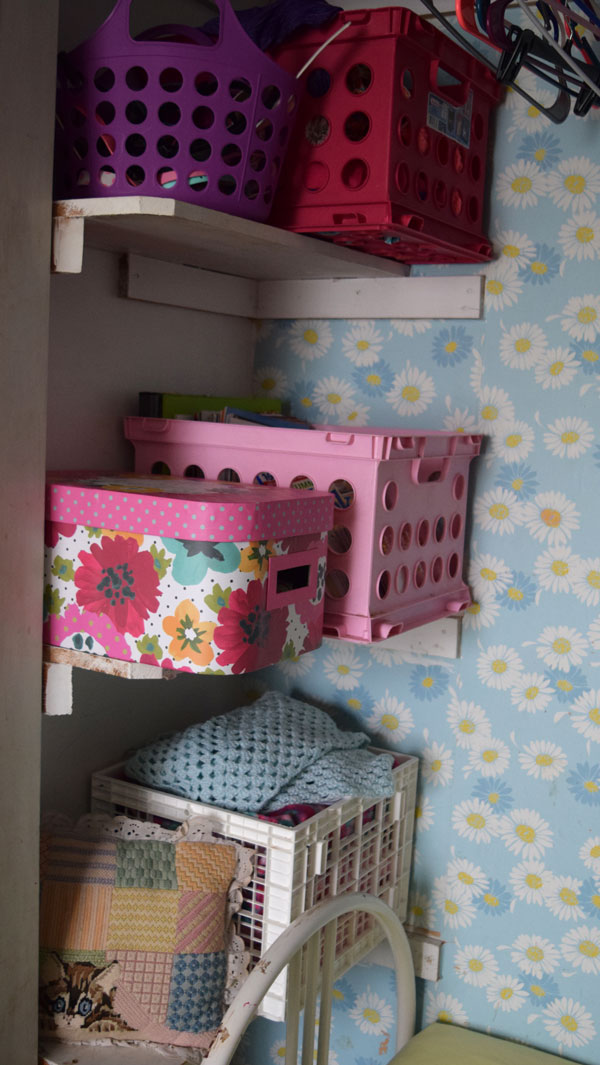
I hit up quite a few different areas of my home in my binge decluttering last week. I am now up to 20 garbage bags decluttered during the Spring Decluttering Challenge! My biggest accomplishments were definitely in the girls' clothes and bedrooms, so I thought that I would put together a list of some tips that are working for me. They may not work for you, but maybe they will at least be a start for something that you can adapt to fit your home.

  1. Don't store junk. When I am saving clothes for hand me downs, I save very few items of "play clothes." I consider that hand-me-down storage tote space to be valuable real estate and it is not worth it to me. I can go to the thrift store or a yard sale and buy a new play shirt for 50 cents if we really need them, but my kid generally get stains and make their own "play clothes" pretty quickly.
  2. The rule of 5. When their drawers seem to be full of junky clothes, I implement the rule of 5. I have them go through their clothes with me and choose their 5 favorite shirts, shorts, etc. (It is an arbitrary number I picked based on how fast I can get things washed and back in their drawers.) The rest get thrown away or used for rags.  They get more "good shirts" but we go through them together and they are free to get rid of anything they do not like or wear. I also pick arbitrary numbers for other items like pajamas, socks, undies, etc. In the winter, they each get 3 hats, 3 pairs of gloves, and 3 scarves. It helps them to choose what is really their favorites and I don't have to keep storing things that no one likes.
  3. Find 3 things. If I don't have time to go through clothes with each child individually, but I know things are getting out of hand, I will send them each to find 3 things that they no longer wear. I am trying to encourage my daughters to make decisions and train them to declutter on their own, so I rarely question what they bring to me, even if it is something that I made for them. I then decide whether to store it for the next daughter or just get rid of it.
  4. Get it out of the house FAST. The longer things hang around, the longer they junk up my house. Yard sales are not worth it where we live. I donate anything decent that we do not need because many people have given us things over the years. I am just paying it forward. Most of the time I use a grocery bag because it fills up faster and then I take it straight to the back of the car. It is ready to be dropped off the next time I go past the thrift store or a donation box.
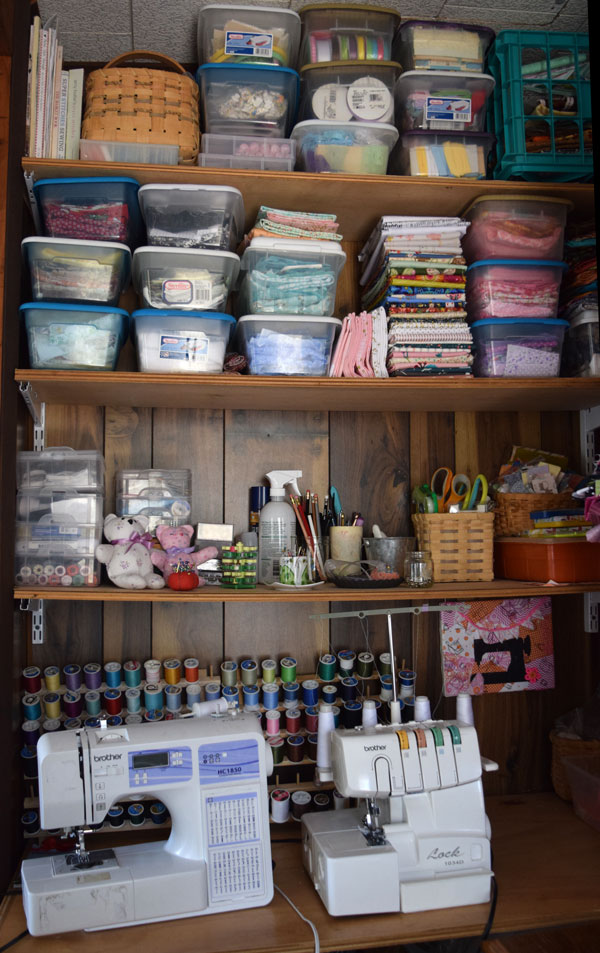
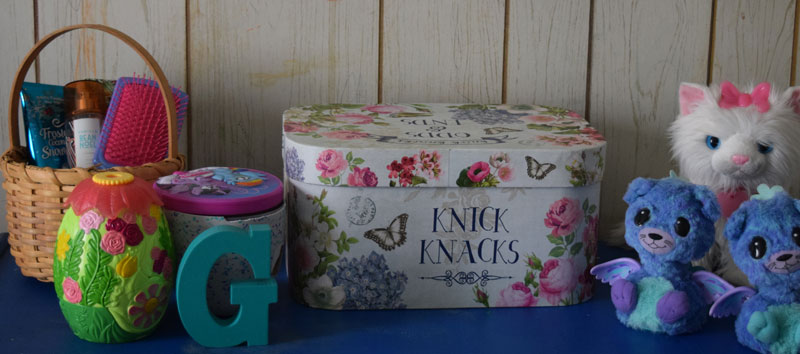
  5. Memory boxes. I have one tote for each of my children to store special items. To warrant space in the tote it must be really special. My children also have their own boxes. They tend to hoard things that they think are wonderful so I have gotten each of them a box to store their "treasures" in their own bedrooms. The junk is contained and they cannot exceed that box. I won't "accidentally" throw anything away that they consider important enough to place in that box. I got the boxes with coupons at Michaels.

Don't forget about the Spring Decluttering Challenge! Only a few weeks to go! If you want to join in it is not too late!!!

Hipster Cat Dress

My niece just turned 5 years old and she is such a cutie pie! She has big, pink glasses and she was wanted a "kitty" birthday party. When I saw THIS fabric on Joann's website I knew that I had to make her a special dress for her birthday.

She is also very thin with long legs so I thought it would be nice for her to have something sized just for her. I decided on the Charlie dress pattern from Violette Field Threads (one of my Project Run and Play prizes!) because it has a retro feel that worked well with the fabric. It has that cute, knot detail in the front, a very full skirt, and pockets in the side seams.

I happened to have JUST ENOUGH of the pink polka dot fabric in my stash and it matched perfectly! I lined it with a matching, bubble gum pink solid. I debated on which buttons to use and took an instagram poll with the pink ones winning.

This pattern went together pretty well. I did have some trouble with the cap sleeves/enclosed side seams so I rigged it. If anyone has a technique for that, please teach me!

I wish I had had enough fabric left for the matching knot headband. Bummer! The free pattern for that is HERE if you want to check it out!

Fabric: Joann and my stash Pattern: Charlie from Violette Field Threads

You may also like...

Twirly Lace Dress Tutorial


The Flower Girl Dress


Isabelle's Bubble Dress Tutorial


Unicorn Dresses

A few weeks ago someone absolutely destroyed my sewing scissors. I still don't know who or how it happened. I don't think that mere paper could have caused those nicks and warped the metal blades. It is a mystery.

But I was in the mood to sew something, so I turned to the pile of projects that I already had cut out.

I am not 100% happy with these, but they will probably stain and destroy them fast enough anyway. At least they are finished.

Fabric- Joann Pattern- Uptown/Downtown Dress

My girls love unicorns! If you like them too you might want to check these out...

Unicorn Parade London Dress

The Easiest DIY Unicorn Costume Ever!

Spring Decluttering Challenge Update

How is it going? We are 1/3 of the way through the Spring Decluttering Challenge. I know a few people are joining me, so I hope you are keeping track of how many garbage bags of stuff you declutter. (You can read the initial post HERE.)

I have 6 bags so far! I have had a few cleaning binges, but most of it has just been done in one small area at a time. The goal is to work on at least one small area per day. It seems like a daunting task, but if you break it down it is not so bad!

I decluttered the linen closet one shelf at a time. I decluttered my clothing one or two drawers at a time. I decluttered my craft supplies one shoebox tote at a time.

Another thing that I am finding is that I tend to have too many baskets or totes sitting around to collect miscellaneous items. I am trying to get better about finding a home for these items and then getting the basket out of my house so that there is not another place for random stuff to accumulate.

I also have a basket of bags of stuff that need to go to other people. I am trying to be intentional about delivering those things and getting them out of here!

Finally, I am trying to be a little more creative and practical about storing the things we do need.

So, do you have any tips? Do you have any success stories to share? Go ahead and leave a comment!

Ribbon Bow Mini Hair Clips Tutorial

Several years ago I was very ambitious and made hair clips for my girls. I got a bunch of supplies to get started. Then, over the years, I collected more. And more. And more. And made less. And less. And less.

They are so cute! You can make them for holidays, stocking stuffers, and Easter egg fillers. At one point I wanted to have headbands or hair clips to match all of my girls' outfits!

Ha! I am happy if I can find a plain, black hair elastic most days. (Seriously! Where do they all go?!?)

But in my #springdeclutteringchallenge I purged a lot of my ribbon and trims. It needed to be done because I had way too much stuff. I also used up a lot of what I had, even inviting a friend over to make hair stuff with me. (There were unfinished felt flowers in my box that we made last time- just before her 5yo was born!)

Since I was mass producing these adorable (and EASY!) little bow clips I decided to put together a tutorial. We had a Nor'Easter here at the time, so the pics are kinda dark. That is PA spring weather for you, though. Anyway, here it goes...

Here are the supplies you will need:

I used 3/8" glitter ribbon from the Target Dollar Spot that I got around Valentine's Day. Grosgrain ribbon also works. I got my 1 3/4" double prong alligator clips from etsy (in bulk) but if you just want to make a few of these you can pick some up at craft stores.  That bottle with the lettering worn off is my fray check. :)

Side note: The U.S. government has all sorts of safety rules to keep our kids safe from lead, so please be aware that there are regulations out there if you sell things like this!

You will need to cut two pieces of ribbon 4" long and one piece 1 1/2" long. Seal the ends with fray check. If I am using grosgrain I carefully melt it with a lighter.

Wrap one piece of ribbon around the hair clip, using hot glue to attach it. The underside of the bent, top prong will have ribbon over them, but the bottom prongs on the flat side do not. These clips are actually really cute with only the glitter ribbon covering them so you could stop there if you would like. I usually add the little bow, though.

To make the bow, take your other 4" piece of ribbon and overlap the ends, hot gluing them together. Then, glue the top and bottom of the circle together in the middle. Be careful to make these loops the same size!

Next, glue the bow to the center of the top of the hair clip. I just glue it down in the middle. You could glue more if you would like.

Finally, use the short pieces of ribbon to wrap the center of the bow. Glue it on top and overlap both ends on the bottom of the upper prongs. You have to squeeze the clip to open it up so that you can get to the underside. If you have non-slip grips you can put them on the underside of the top prongs as well. I don't have any.

Finished! These only take a few minutes to whip up. Can you see why I overbought supplies? I am being good now, though. I promise!

If you want to pin it for later...

Make these easy ribbon bow hair clips in just a few minutes! Tutorial with clear, step by step pictures...

You may also like...

Puffy Petal Flowers


Fabric Bow Tutorial