WIP Wednesday ~ Doll Quilts

bear2Bsneak2Bpeek.jpg

I have a lot of sewing projects going on right now.

A few weeks ago, I did my first ever free motion quilting! Now, don't laugh...

For a first time I don't think it is too bad. I still need to add the binding to this scrappy doll quilt. 
After my practice round, I quilted two more doll quilts that I am making for my daughter. These sampler blocks took for. ev. er. so I didn't want to mess the quilts up. I definitely got better at FMQ as I went. I still need to finish these bindings, too!
I am also working on a free pattern for an 18" doll version of the ruffle apron I shared last week. I just need to find the pattern and scan it... I misplaced it. That happens a lot around here.
Finally, a friend of mine had a special request and I just finished it last night. I need to take better finished pictures, but here is a peek of the work in progress...

 Any guesses as to what it is? And, more importantly, what it is made of?

Linking up at SillyMamaQuilts.

Freezer Pancake Breakfast Sandwiches

freezer2Bmcgriddles.jpg

I am not really a morning person.

My husband gets up really, really early for work and knows better than to try to wake me up lets me sleep. In appreciation for this, I try to make sure that he has something that he can grab for breakfast. These pancake breakfast sandwiches are his favorite! It is basically like a McGriddle from McDonald's. Except I know what is in these.

I like to make a big batch of them at once and put them in the freezer so that he can microwave them before he leaves for work. I do a lot of multitasking so it saves on cooking time, too.

Here are some of the things that I do to make this work:

  • Make your pancakes a little thick so that the syrup soaks in and it is a better sandwich size. 
  • Use a cookie scoop to put the batter on the griddle. It keeps them all about the same size.  
  • When they are cooked and cooled slightly, match them in pairs. Place one pancake on a plate. and pour about a tablespoon of maple syrup in the center. Quickly put the other pancake on top and flip the pancakes over so that it runs down into the second pancake, too. It might get a little messy, but you can use the next pair of pair of pancakes to wipe the plate off and soak up any excess syrup.
  • I used ham lunchmeat this time because I got a good deal on it locally. However, bacon or sausage patties would also be delicious. Bacon is, of course, his favorite.
  • Assemble the sandwiches and wrap them in a bit of Glad Press'n'Seal. It is a bit thicker than plastic wrap, so it makes it a little easier for him to eat on the go.
  • Place all of the wrapped sandwiches in a freezer bag so that they aren't getting lost in your freezer. Although, that has happened and it is a nice surprise if I find it in time.
  • To reheat, vent the Press'n'Seal and microwave on high for 2 minutes. Be careful!
These are great because I get to sleep in and he gets a nutritious breakfast. It also saves a lot of money vs. him stopping to get breakfast on his way to work.
Do you have any tips to make breakfast a little easier? I would love to hear about it!
UPDATE! I found a faster and healthier way to make the eggs for these sandwiches! See it HERE!
Link Parties where I sometimes hang out...

Sneak Peek of Doll Dresses and Some Valentine Stuff

pug2Bvalentine2Bbox.jpg

I have been doing a lot of craft projects for the kids/with the kids lately on these cold, snowy days. I made a few new things for their dolls a few weeks ago and ended up designing some new patterns. This one is a reversible doll dress.

Reversible Valentine doll dresses made with fat quarters and bias tape.
It was surprisingly easy and I hope to release a pattern to go with it soon. It only requires two fat quarters of fabric and some bias tape.

I just haven't found two coordinating fat quarters that I really like to make another one and take pictures. Doll clothes are a little trickier because you can't use large prints.

We have had oodles of delays and an early dismissal this week. Yesterday I decided to bribe the girls to clean up with the promise of a craft project. I bought a heart paper punch when I couldn't take it anymore and ran away to the craft store one day this week. We raided my scrapbook cardstock and they got to punch hearts out. Then, I took the pile and ran them through the sewing machine to make a garland.


Paper punched hearts sewn together to make a fun Valentine garland!


I just made a longer stitch and was sure to tie the ends together when I was done. These are fun and didn't take too much effort. That is my kind of project when there is a school delay.


There are some other things that aren't finished or are top secret, but I can show you this one, last Valentine project...
Pugs and Kisses Valentine box made out of a cereal box and kraft paper.
It is my daughter's Valentine box and it is made from an old Cheerios box and some brown packaging paper. I think he turned out pretty cute!
Happy Valentine's Day!

Girls Ruffle Apron Pattern and Tutorial

girls-ruffle-apron.jpg

My 4yo has been not so patiently waiting for her new apron. Previously, she used a hand me down one from her sister, but it was getting pretty small. She wanted to match my cupcake apron, but I let her choose the fabric for the back, ruffle, and ties.

She LOVES to bake with me. Especially cookies or anything with sprinkles. And now we can match.

I took pictures as I was making this apron, so I am throwing together a little tutorial.

You can adjust the size of the main apron piece as needed. I have a smaller one that my 7yo is quickly outgrowing, so I made this one a little bigger. It fits my 4yo (who is tall for her age) with room to grow. I made a digital pattern and it requires 4 pages. Print them out (check the "actual size" box), tape them together (left to right, top to bottom in numbered order), and cut it out. It is available HERE.

As for fabric requirements, you will need 2 yards total- a half yard for the front, a half yard for the back, and a yard for the ties and ruffles (with some to spare).

Now, I learned to quilt before I sewed anything wearable, so I do a lot of cutting things in strips with the rotary cutter from fabric off the bolt. That is usually about 44" or so. The fabric should be folded with the selvage edges together.

Cut out your pieces as listed below.

Ruffle: Cut 2 strips 6 1/2" x width of fabric (WOF)
Waist Ties: Cut 1 strip 6 1/2" x WOF
Neck Ties: Cut 1 strip 4" x WOF
Front and Back: Cut 1 of each from pattern pieces- available HERE.

I started with the ruffle. Sew one edge of each piece together on the short ends to make one long strip.

Hem the short ends of the ruffle pieces. I just folded it under twice and stitched it down.

Press the long ends together so that there is a nice fold on the bottom edge of the ruffle.

Sew two long gathering stitches and pull the bobbin threads to gather the ruffle. Pin it to the bottom of the apron, making sure the seam where the two pieces were joined is in the middle. Also, start 3 1/2" from the edge on each side to leave room for the waist ties and seam allowances.

Baste the ruffle to the apron. It just makes it easier to work with later.

Now... for the ties...

Fold each strip in half lengthwise with the right sides facing in. Stitch 1/4" from the edge on each piece to make long tubes.

Cut each piece in half, flip right sides out, and press well. Top stitch 1/8" from the edge all the way around each tie, hemming one end by folding it under twice before stitching. When I topstitch, I usually increase my stitch length a bit (to a 3).

Pin the ties in place on the main apron piece, paying attention to the hemmed ends to make sure they will face the same way. Leave 1/4" seam allowance between the tie and the edge of the apron at the corners.

Pin the back of the apron to the front of the apron, sandwiching the ruffle and ties. Be careful to make sure the waist ties are folded down so that you don't catch the edge when sewing the waist area of the apron.

Sew all the way around the edge of the apron, leaving an opening at the top between the neck ties. Also, stitch over the ties several times to make sure they are held in place really well. Use the opening to flip the apron right side out. Press it really well. Finally, topstitch 1/8" from the edge all the way around the apron. This will also close the opening at the top that you used to turn it right side out.

That is it! A pretty, ruffly apron!

Now, some things I have done differently on other aprons...

~you can make the ruffle extend all the way to the corner and put the waist ties under it if you prefer
~pockets can be added to the main body piece which is also nice if girls want to play restaurant and have a pocket to put their order tablet in ;)
~interfacing can be added to the waist ties to make them a little sturdier
~the waist ties can me made twice as long so that they wrap around and tie in a bow at the front
~the back can be made of a more contrasting fabric so that it is clearly reversible
~the ruffles and ties can be made of contrasting fabrics
~pleats instead of ruffles can be made along the bottom

UPDATE- There is a matching doll version available HERE!

Scrapbook Paper Collage Canvas Art ~ Zebra & Elephant

zebra2Bcanvas2Bcollage2Bart.jpg

My daughter and I made more collage canvas art pieces featuring jungle animals. (You can see the hippo and tiger that we made before HERE.)

First, we did a purple elephant on an aqua background.

Then, she changed her mind and did a zebra on a pink background. The ribbon on the edges has polka dots.

One thing we learned is that using larger pieces for the background reduces the bubbles. 
All it takes is a canvas, some mod podge, bits of scrapbook paper, ribbon, and a little paint for the details. These are pretty easy to make and it is definitely a project worth trying with the kids! 
 Link Parties where I sometimes hang out...

Easy Chocolate Cake with Peanut Butter Frosting

chocolate2Bcake2Bpinterest.jpg

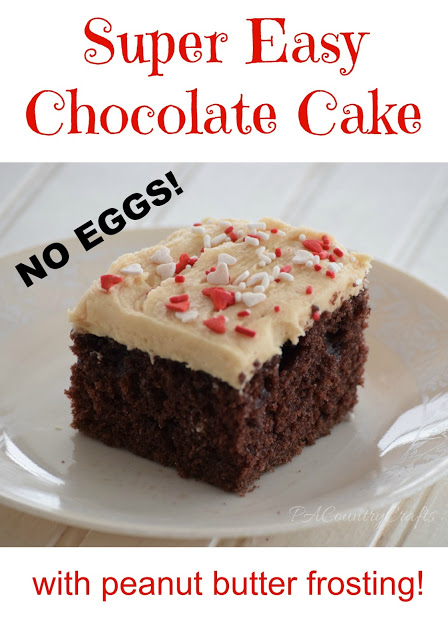
Today I am sharing one of our best family recipes! We always called this "Silly Cake" because it has no eggs and mixes up right in the pan. It is perfect if you have an egg allergy or if you ran out but still want chocolate cake. Also, having no bowl to wash is great if you don't like washing dishes. Are you sold on this cake yet? You should be. It is awesome!

Also, I think the chocolate cake with peanut butter frosting (actually, we say "icing") is pretty much a standard dessert where I live. It might be a PA Dutch/central PA thing. Peanut butter and chocolate are a great combination, so it just makes sense.


But, there is a funny story behind this cake recipe. I mention on my "about page" how I used to be an awful cook. Well, the first time I tried to make this cake, I used tablespoons for everything. Salt, baking soda, etc. When it came out of the oven and looked a little funny I was very insulted because Mom didn't want to put icing on it until we tried it. Poor Dad got the first piece. We asked if it was OK and he shook his head "yes", then his eyes got wide and he violently shook his head "no" as he rushed to spit it out. He said that he had never had a cake grow in his mouth before!

Thankfully, I learned the difference between tablespoons and teaspoons.

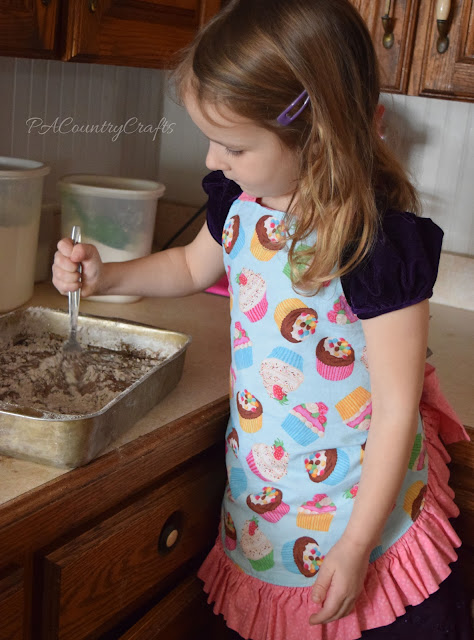
Don't let that story scare you. My 4yo and I made this cake last week and I took pics so that I can show you how easy this cake is to make.

Mix the dry ingredients together in a 9 x 13 baking dish. We usually use a metal pan but glass is fine, too.

Next, make two wells in the dry ingredients. Put the vinegar in one and oil in the other.
Then, pour water over everything...
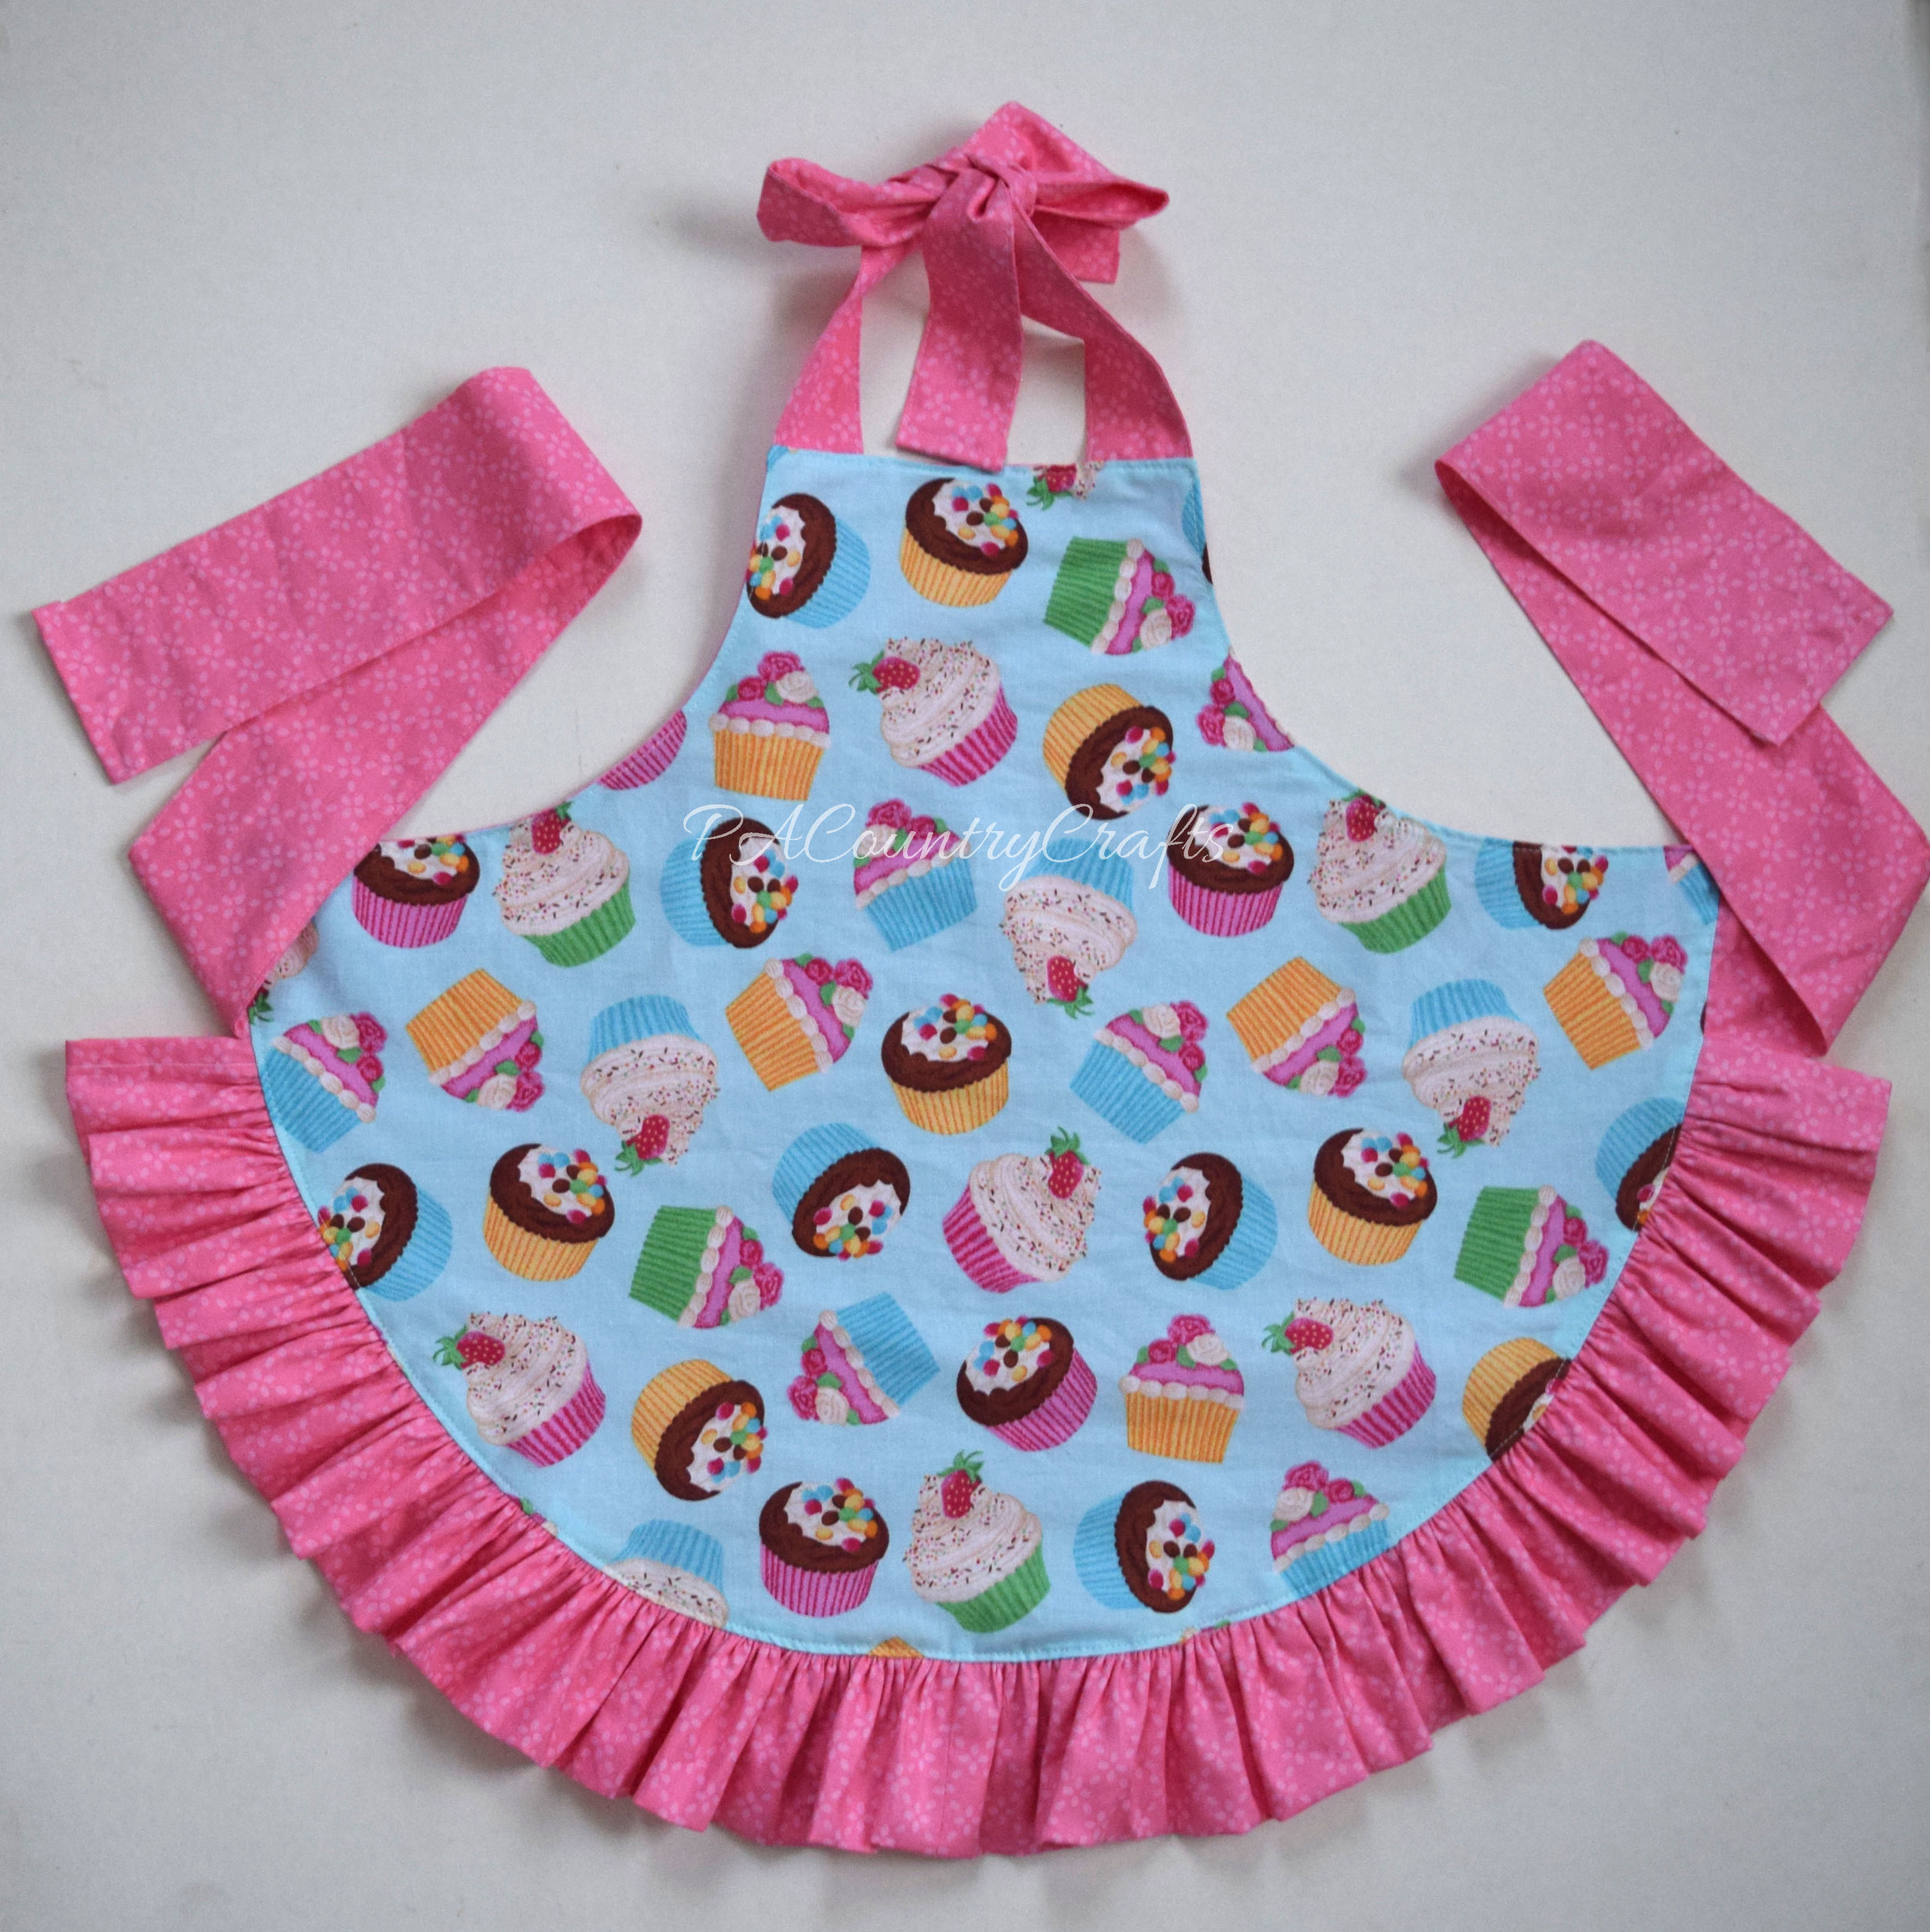
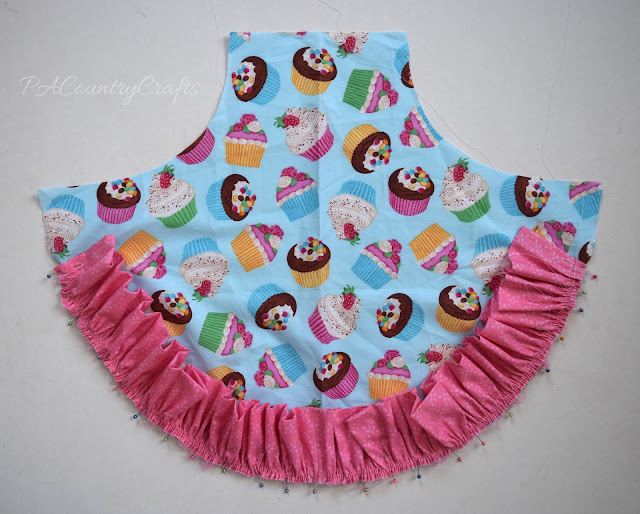
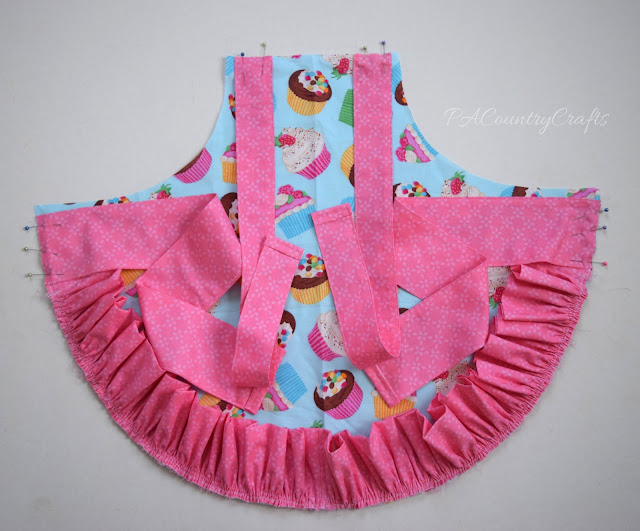
...and mix together really well. (Sneak peek of an apron tutorial that is coming soon!)
It will look like this:
Bake at 350 degrees for 30-35 minutes or until a toothpick comes out clean when you poke it. Top with frosting (and sprinkles if your 4yo insists on them).
Here is the full recipe:
Silly Cake
3 c. all-purpose flour
2 c. granulated sugar
3 Tbsp. unsweetened cocoa
2 tsp. baking soda
1 tsp. salt
2 Tbsp. vinegar
2/3 c. vegetable oil
2 c. water
Combine dry ingredients in baking dish. Make two wells in the dry ingredients for the vinegar and oil. Pour water over everything and mix well. Bake at 350 degrees for 35 minutes or until toothpick inserted in cake comes out clean.

Peanut Butter Frosting
1 stick butter or margarine
4 c. powdered sugar
4 Tbsp. milk
1/2 c. peanut butter
Cream butter and half of the powdered sugar. Stir in 4 Tbsp. of milk and the remaining powdered sugar. Mix well. Add in 1/2 cup of peanut butter and beat until fluffy. (You can add more or less peanut butter as desired.)
 Link Parties where I sometimes hang out...