When I am feeling particularly ambitious, the kids and I make homemade soft pretzels. They like playing with the dough to make different shapes and sometimes we use them as buns.
This is a recipe meant to be like those pretzels you get at the mall. They are awesome! Here is how we make them...
Sprinkle yeast onto the warm water. (Ooooh... fascinating!)
Stir to dissolve.
Add brown sugar and mix that up, too.
Then add the salt and stir. (Must be getting boring already!)
Pour everything over into the mixing bowl (or you could have done it all in there to begin with, but I wasn't thinking.)
Add in the flour... one cup at a time.
Let the mixer do the work. It should sorta' clean the sides by the time it is all mixed up well.
Cover and let rise somewhere warm. It should double in size- how long this takes depends on how warm it is, but about a half hour to an hour is about right.
Then, get ready to make pretzels! You will need to mix up the baking soda bath...
...and flour your rolling surface really well...
...and DO NOT FORGET TO GREASE YOUR COOKIE SHEET! (If the all-caps make you think I am yelling at you- I AM! I have forgotten this so many times and it is a bugger to get them off of the tray.)
Knead the dough slightly, just until it isn't sticky anymore.
Pinch off bits to roll out- a ball about 2 inches across is a good size. Roll into a long rope about 1/2" thick and 18 long. (My 6yo did a good job photographing this step for me!)
Twist 'em, twist 'em, twist 'em like a pretzel! (Sorry, wrestling cheerleading flashback.)
Dunk it in the baking soda bath real quick. (Keep stirring this bath from time to time in between dunks.)
Then flop it onto the cookie sheet.
They need to rise again to get nice and puffy- about 10 minutes should do the trick. Pop 'em into the oven.
While the pretzels are baking, get your butter ready.
Melt and stir in some sugar - that is key!
All done! I took these out a smidgen early- you can let them get a little darker if you want.
Dip in the butter (faster than brushing it on).
Sprinkle with Kosher salt (or you can dip them again in a cinnamon-sugar mixture and just gobble them up. Mmmmmm...)
They are soooooooooooo goooooooooooooood!
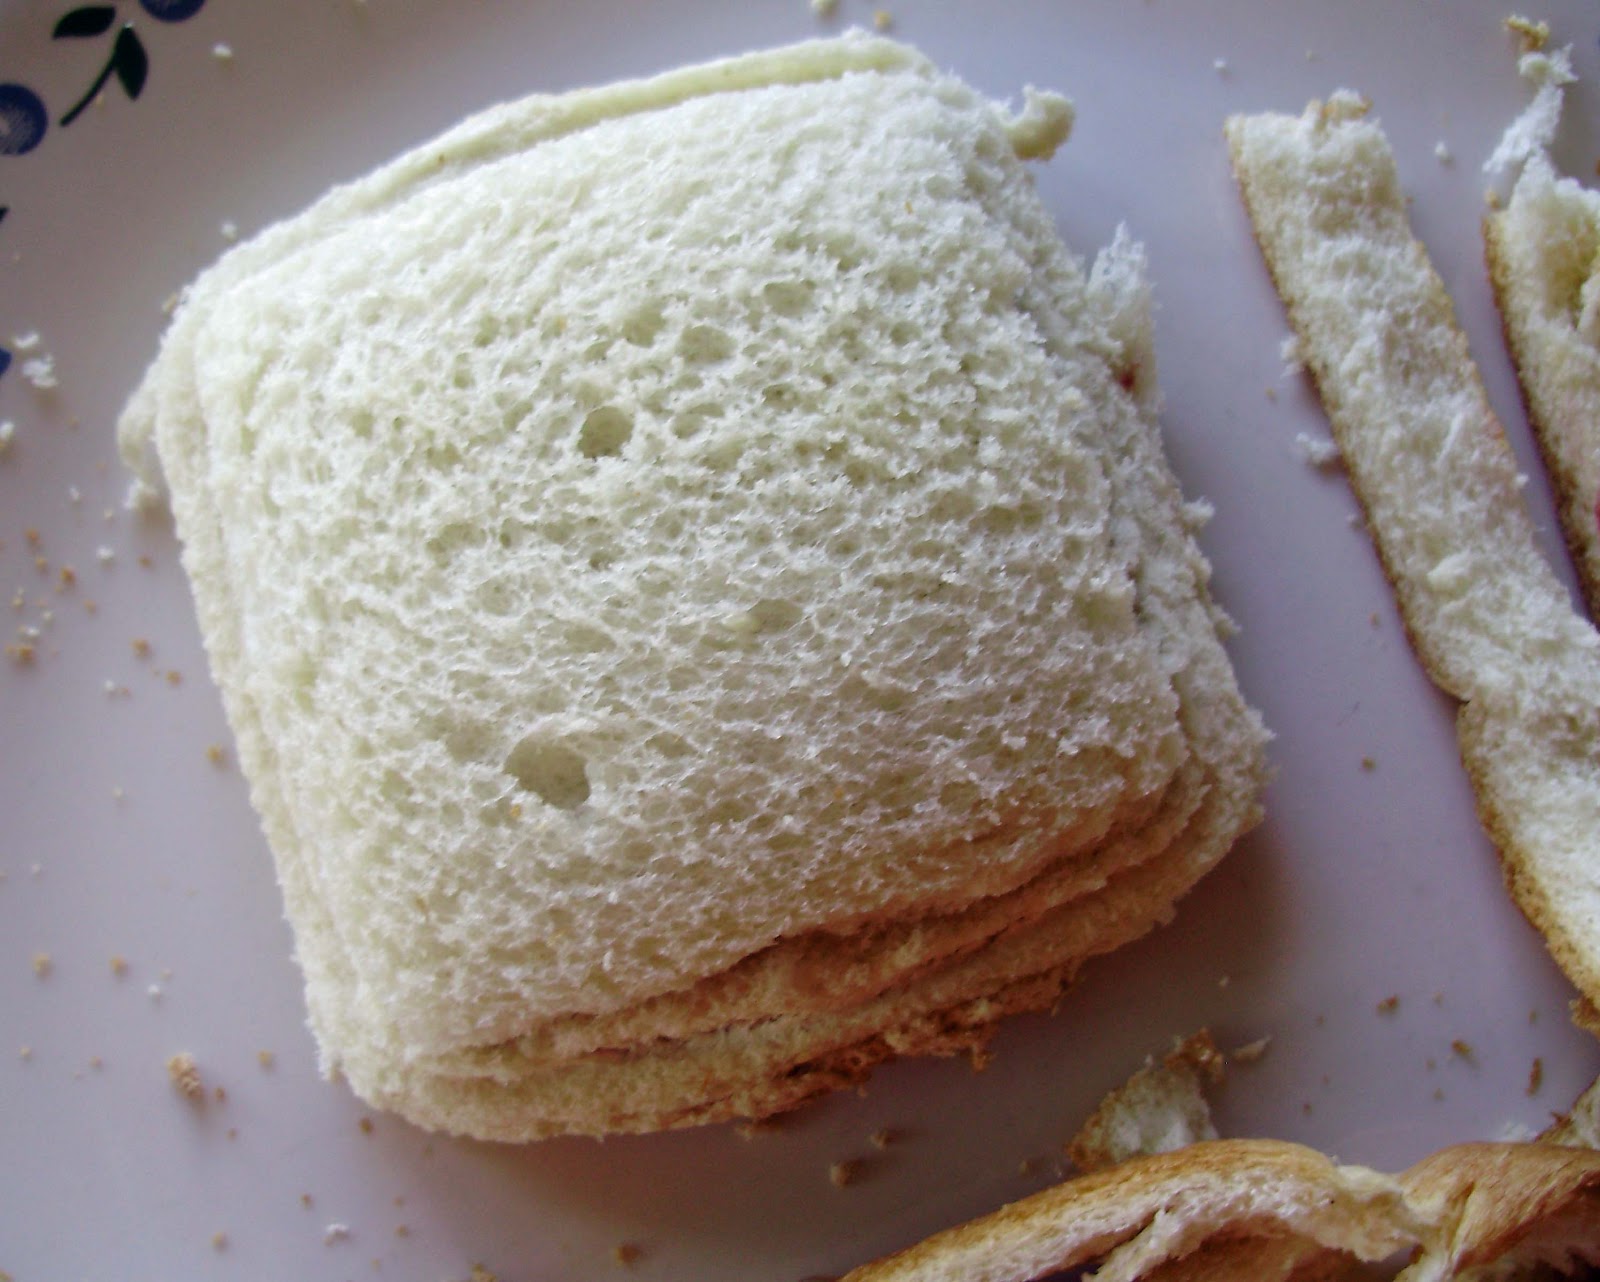
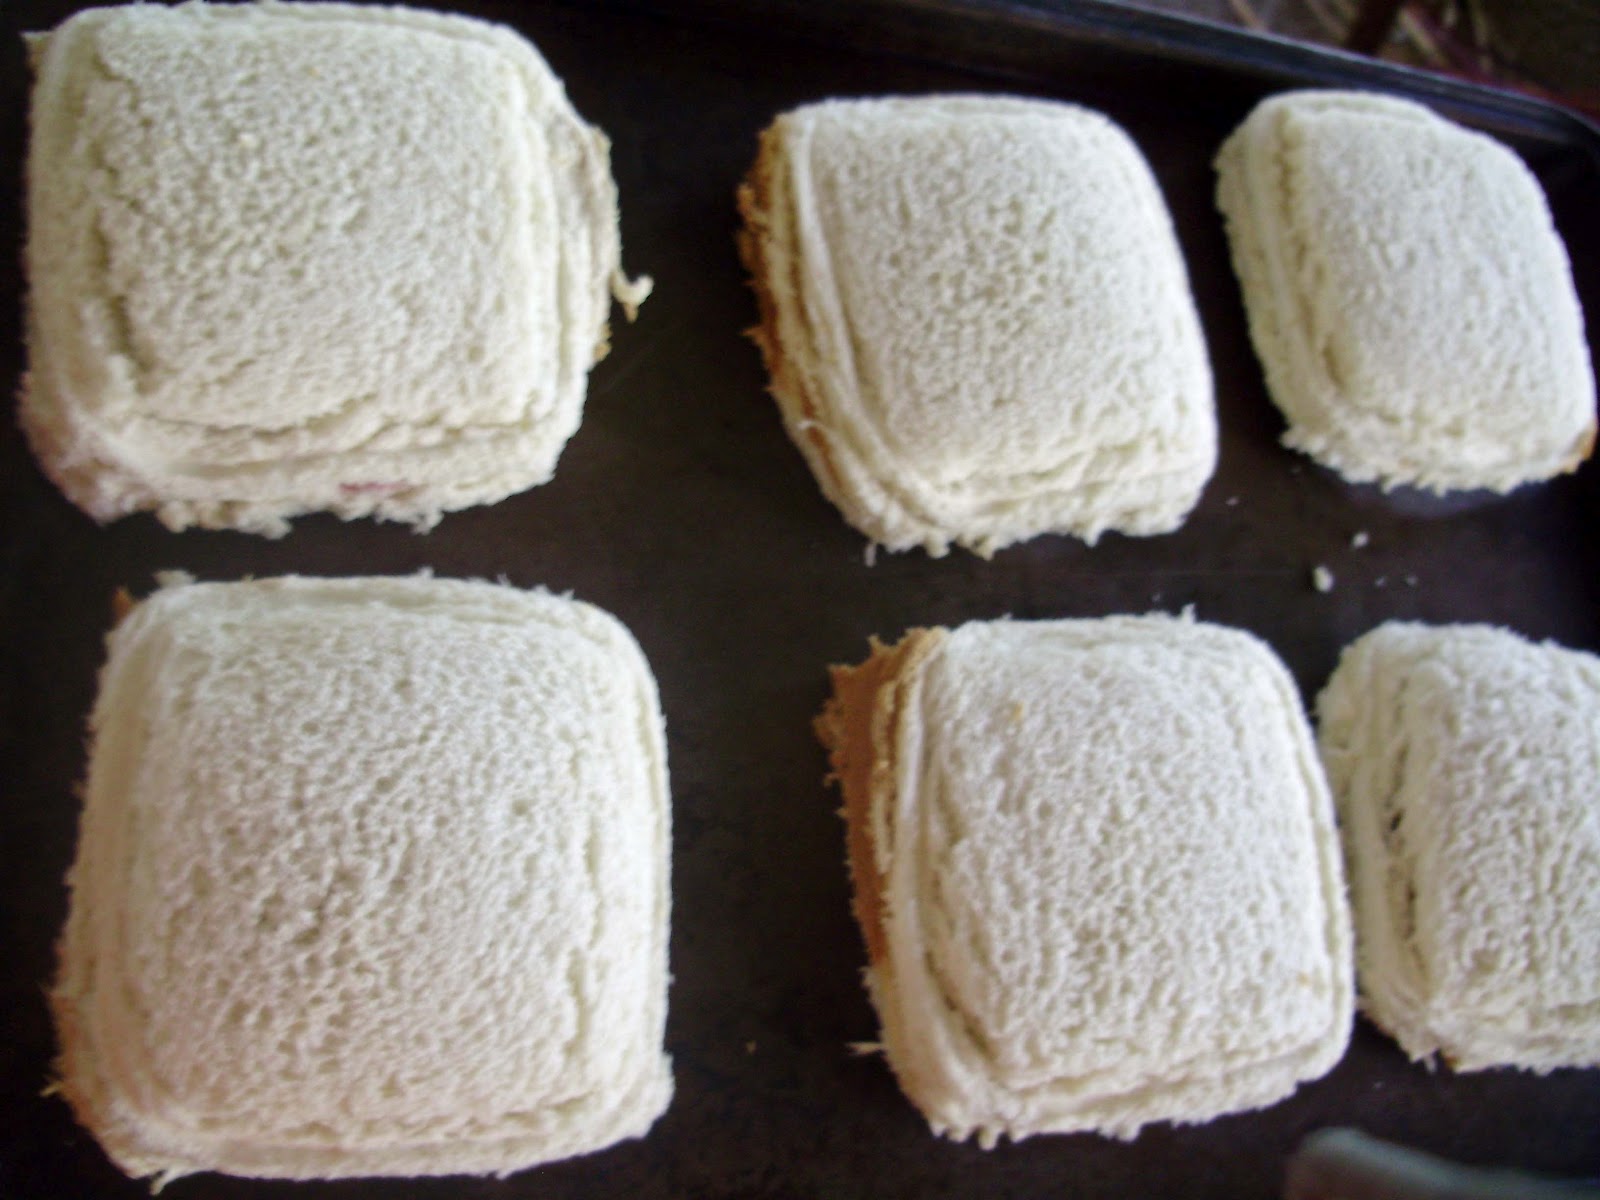
With these, I sliced them down the middle and filled them with leftover turkey, bacon, and cheese. About 10 minutes in a 350 degree oven and we had yummy pretzel melts for supper.
A quick thank you to my two lovely assistants...
And now for the recipe...
Soft Pretzel Buns
Pretzels:
1 1/2 cups warm water
1 package active dry yeast
2 Tbsp. brown sugar
1 tsp salt
1 cup bread flour
3 cups all-purpose flour
Baking soda bath:
2 cups warm water
2 Tbsp. baking soda
Toppings:
coarse salt- I use Kosher salt
4 Tbsp. melted butter
1-2 Tbsp. sugar
Sprinkle yeast on lukewarm water in mixing bowl. Stir to dissolve. Add brown sugar and salt. Stir again. Add flour, one cup at a time, and mix well. Let rise until doubled (at least a half hour.)
Prepare a baking soda bath with 2 cups of warm water and 2 Tbsp. baking soda- stir often.
After dough has risen, pinch off bits of dough and roll into a long rope and shape. Bake at 450 degrees about 10 minutes or until golden. Dip in melted butter and sprinkle with salt.