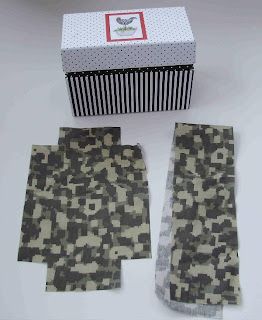
My brother is in the United States Army. He is a do-it-yourself kind of guy. He can build things, fix things, and now, probably because he is sick of fast food and microwave pizzas, he is learning to cook things. A looooooooooooooooong time ago he asked me for some recipes. Well, I just can’t do anything simply. I wanted to make him a recipe box, too. I finally got around to it and here it is:

TA DA!
I decoupaged fabric onto a cheapy $1 recipe box and touched it up with some paint. Here is how:
I measured VERY carefully and cut out a piece of fabric to wrap around the bottom, plus a little overlap, and a piece for on top with the corners cut out so it could come down over the sides.
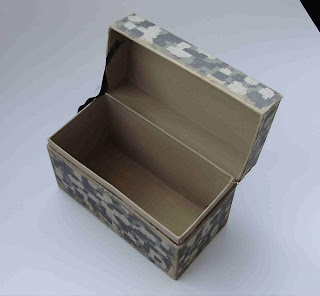
Then I used ModPodge to glue the material to the box. It didn't go as smoothly as I thought because it is very hard to watch the edges of all four sides at once and get everything straight. So, there was a little bit that didn't cover.
So, I just got out some Country Tan paint that matched pretty nice and looked like sandy dirt, and I used a sponge brush to paint the inside and smudge some here and there and all over the edges to give it a grungy effect/cover up my mistakes. In hindsight, I wish I had pained it FIRST, because some of those stripes show through (with the digital camo it is OK) and it would have been easier to cover up some of those mistakes.
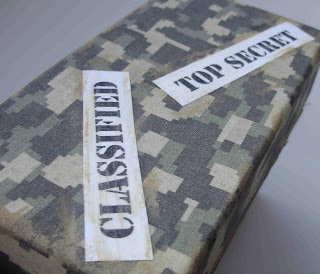
Finally, I added some cute labels on top. I typed these on the computer using stencil font and printed them out. I have heard that a regular ink-jet printer will run when using ModPodge on it, so I put a strip of clear tape over the lettering. If nothing else, it kept the paper from wrinkling up where the tape covered when applying the glue.
So, now I can give him all the secret family recipes I want. Except we don't really have any.
I think, though, that doing recipe boxes like this could be really nice bridal shower gifts. The fabric could match their kitchen or wedding colors. I might try it again. If you make one, I would love to see it!


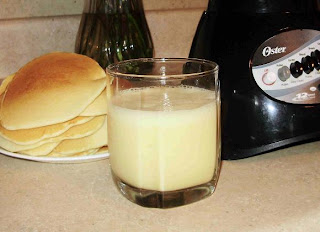 Well, so much for making up school days! President's Day was a snow make-up day, but we got MORE snow so it was cancelled. So, I used up all my daily ambition first thing in the morning and made a nice breakfast for the kiddos. One of their FAVORITES is Orange Julius. I have also made this for brunch showers and the like and I get many requests for the recipe. So, here you go!


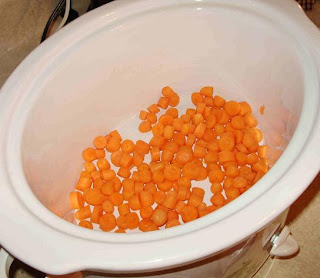 I used baby carrots because they were buy one get one free and what I had on hand. Although more of a pain to chop, they will be eaten more easily by the kids than big slices of carrot.
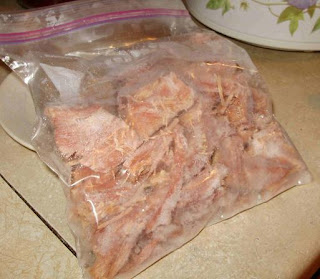 When I boil a large ham, there is usually an excess of meat, so I cut it up and freeze it in smaller quantities to use in recipes later. This is a great idea if you can get a big ham on sale around holidays, like Easter. If you don’t have the freezer space for a big ham- cook it right away and make a big pot of ham pot pie or ham and green beans (typical PA Dutch foods), freezing the rest of them ham for later. You can get several meals out of it this way.
 Potatoes are a big food staple in this house. We grow a lot but we need a better way to store them…
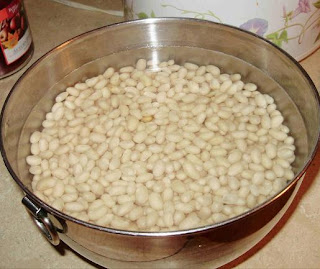 Remember to soak your beans the night before! Dry beans are really cheap and they take up less space in your cupboard than canned ones.
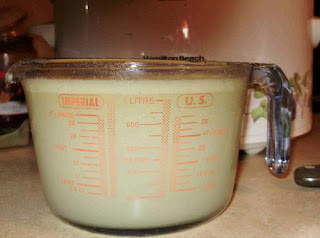 Instead of canned chicken broth, boil some chicken and save the broth. The chicken was used in zucchini casserole, but other than casseroles, I sometimes use the meat in chicken wraps for lunches, too. I boil the broth down to condense it sometimes, then freeze it in old margarine or sour cream containers. Another great way to take advantage of a good sale on chicken, or better yet, get your meat directly through the farmer- you will cut out the middle man and save! If you want it to be lower in fat, you can let it cool and then skim the fat off of the top.
 It was pretty good. Next time, however, I might try to use ham soup base instead of chicken broth. I am used to my regular ham bean soup with that good, smoky flavor. Bacon would really make this, too. :)
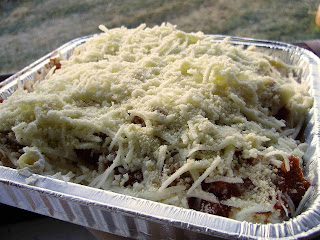 (Note: it is not cooked in this picture- just ready to freeze!)


.jpg)
.jpg)


