

How to Cook a Pumpkin
/Our pumpkins did very well in the garden this year! We have some really big ones! We plant them just for fun/decorating, but this year they have another fate...
I have always been partial to Libby's canned pumpkin, but since there was a pumpkin shortage last year in the US- there was NO pumpkin in the stores until recently, I have decided to try eating our pumpkins. So I called my bestest friend to find out how to do it and now I am going to share it with you all!
I have our pumpkins lined up on my front porch, and I just go out and pick one to cook. I keep picturing horrified jack-o-lantern faces on them as they wait to see who is next!
This one was a funny shape and flat on the one side.
Step 1: Wash it off.
Step 2: Slice in half..jpg)
Step 3: Scoop out the seeds and schmutz! (PA-dutchified word).jpg) Step 4: Chop it up into pieces if it is too big for your roaster(s) and put the pieces in the roasting pans with enough water to cover the bottom of the pan.
Step 4: Chop it up into pieces if it is too big for your roaster(s) and put the pieces in the roasting pans with enough water to cover the bottom of the pan..jpg) Step 5: Bake at 350 degrees for an hour or more... until you can stick a fork through the rind and it is soft.
Step 5: Bake at 350 degrees for an hour or more... until you can stick a fork through the rind and it is soft..jpg)
Step 4: Chop it up into pieces if it is too big for your roaster(s) and put the pieces in the roasting pans with enough water to cover the bottom of the pan.
Step 5: Bake at 350 degrees for an hour or more... until you can stick a fork through the rind and it is soft.
Step 6: Use a fork to scrape the pumpkin off of the rind. A lot of water should be draining off of the pumpkin pieces..jpg)
I throw the pumpkin right into my colander in the sink so that more water can drain off. I am not straining it really, just letting the water drain out on its own. I just give the pumpkin a little stir once in a while. It really is key to let a lot of water drain off so that it is not runny..jpg)
.jpg) I got the recipe from GroovyPumpkin HERE. Mine look a little flatter than hers, but I am guessing it is the pumpkin. They are so soft and so, so good! I did some with and some without chocolate chips in them. Yummmmmm....
I got the recipe from GroovyPumpkin HERE. Mine look a little flatter than hers, but I am guessing it is the pumpkin. They are so soft and so, so good! I did some with and some without chocolate chips in them. Yummmmmm....
Step 7: Puree in a food processor or blender..jpg) Then you can use it to make pumpkin pie, pumpkin roll, pumpkin bread, pumpkin pancakes, or even these DELICIOUS pumpkin cookies!!!
Then you can use it to make pumpkin pie, pumpkin roll, pumpkin bread, pumpkin pancakes, or even these DELICIOUS pumpkin cookies!!!
Then you can use it to make pumpkin pie, pumpkin roll, pumpkin bread, pumpkin pancakes, or even these DELICIOUS pumpkin cookies!!!I got the recipe from GroovyPumpkin HERE. Mine look a little flatter than hers, but I am guessing it is the pumpkin. They are so soft and so, so good! I did some with and some without chocolate chips in them. Yummmmmm....So, if you have any pumpkin recipes, feel free to pass them on! I told you our pumpkins did well- they are BIG!!! I am getting 12 cups or so from each one! Geez!!!

.jpg)
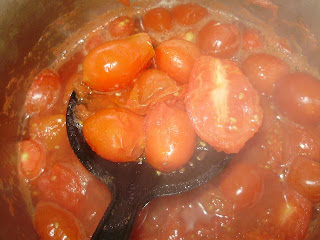
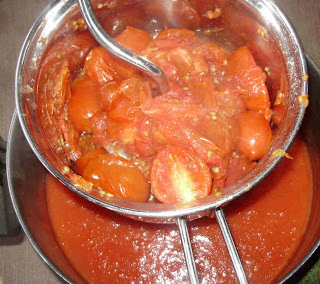
 This is what comes out the bottom!
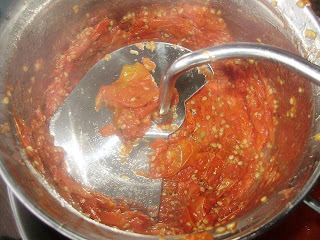
.jpg) I cook that down for a loooooooong time until it is about halfway.
I cook that down for a loooooooong time until it is about halfway..jpg) Then I add, for every one cup of sauce I estimate is in the pot...
Then I add, for every one cup of sauce I estimate is in the pot...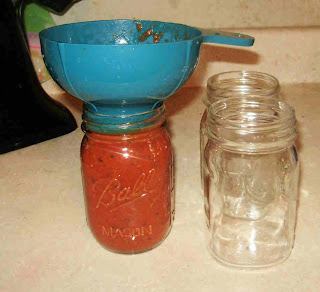.jpg)
.jpg)
.jpg)
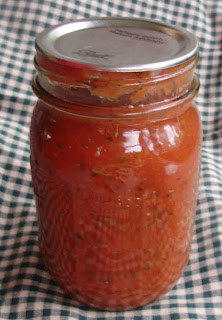
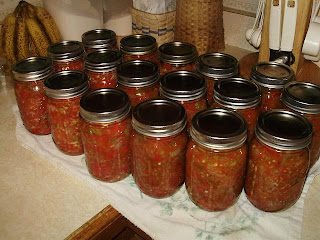
 See? Only 3 jars- this is a very small batch!
.jpg)

.jpg)
.jpg)


.jpg)
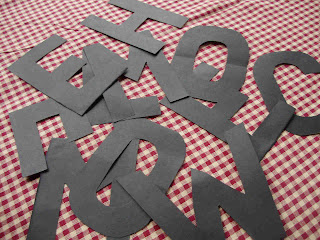.jpg) Then, since I realized they weren’t gonna show up so well against the dark pages, so I had the girls glue stick them to some pages that were mostly black type on white background.
Then, since I realized they weren’t gonna show up so well against the dark pages, so I had the girls glue stick them to some pages that were mostly black type on white background.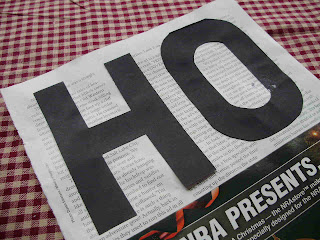.jpg)
.jpg)
.jpg)
.jpg)


