Winter Quiet Book

I made a quiet book for my youngest daughter sometime late last winter.

Just because.

I originally planned to make one for each season, but that hasn't happened. :)

It is much smaller than the other quiet books I have made because I wasn't going into as much detail. You can see my other quiet books HERE. It is totally doable to whip up a quiet book before Christmas if you are still looking for gift ideas- just do one page at a time! 

For this winter themed book, I really wanted a scrappy look and I decided to use a color scheme inspired by the movie Frozen. (You may have seen it or heard that "Let It Go" song before. I know I have- a few million times!) I dug through my scrap basket and pulled out anything in the colors I was after so I didn't buy anything to make this book.

The cover has the adorable little penguin appliqued on it- the white is actually made of satin. I did french knots for the eyes and sewed on a tiny bow. The snowflake buttons were left over from a costume I made (will blog about that eventually). 
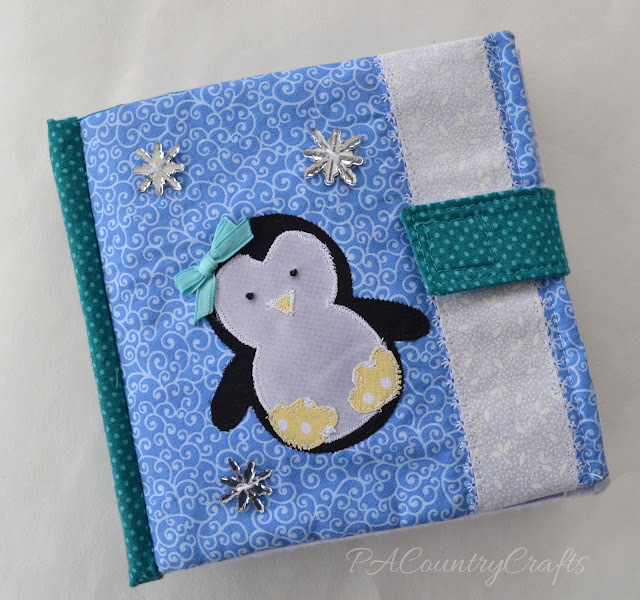
I even did a fancy stitch to applique the white strip on the side. Oh, and I finally remembered to add a little strap to velcro it closed- another reason for the white (the velcro blends in).

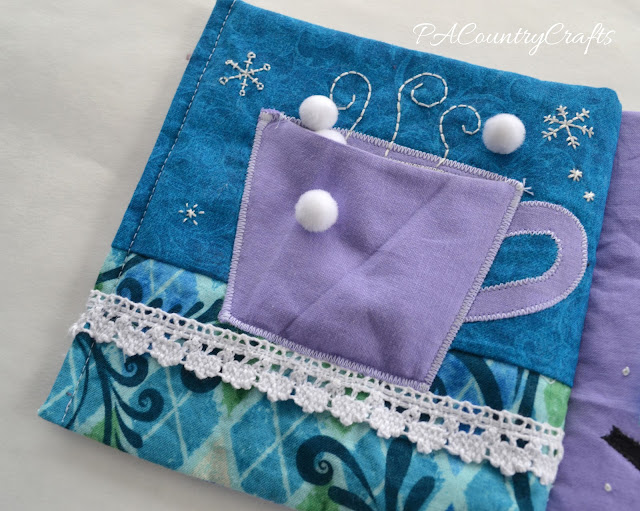
Next up is the hot cocoa page. The cup makes a little pocket and I stuffed in some white pom poms to make pretend marshmallows. The inside of the cup has a brown fabric for the hot chocolate, too (it is the same stuff as the heel of the skate on the next page). I hand embroidered the snowflakes and steam likes to embellish it a little more. Oh, and the crochet lace was a fun touch, too!
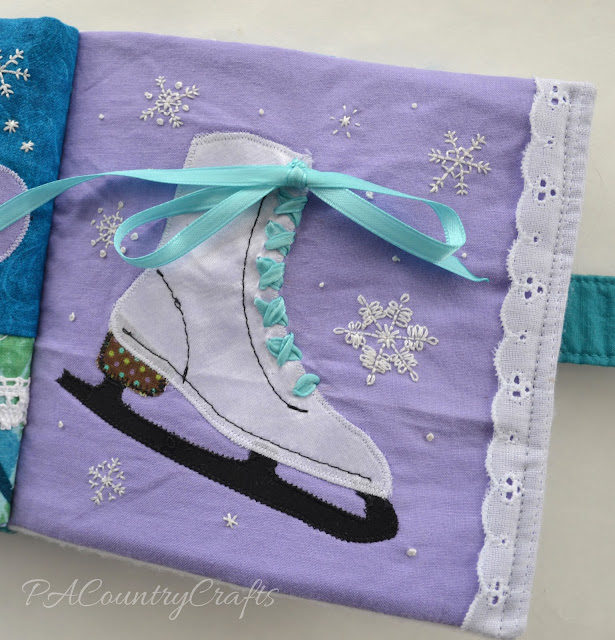
I used more white satin on the ice skate page.  The satin ribbon was hard to sew through those layers for the laces, but I got it eventually- I just used an upholstery needle. Again, I embroidered a bunch of snowflakes on there to dress up the solid background. I also added white eyelet to the edge of the page to make it a little fancier and keep up the scrappy look.
These winter woodland pages are the most played with, but I both love and hate them. I love the birch trees and the little felt animals. But, the little birds snap on and off and my little girl needs help to do that, so I am CONSTANTLY and LOUDLY being bothered to help her with that. It kinda' defeats the purpose of a "quiet" book. I should have used velcro. 
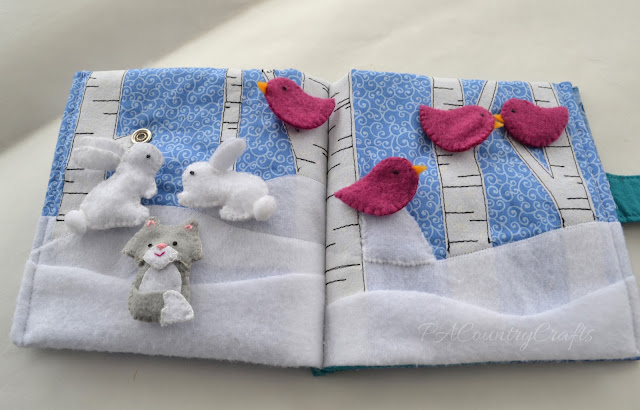
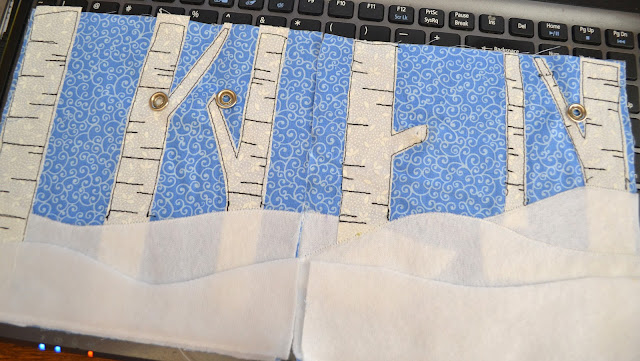
Also, the pages are on backwards. I messed up when I sewed everything together and the fleece snowbanks didn't line up. I tried to fill it in a little, but it isn't as cute as it would have been.
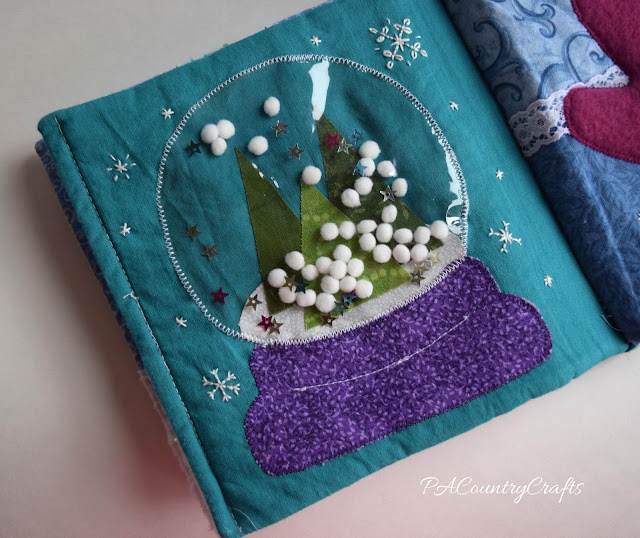
I also did a snow globe page! It is adorable, but the little star sequins and mini pom pom snowballs don't have enough air in there to really move around easily. I wonder if there is a way to puff it out a little more. The clear plastic is cut from a bag that curtains came in. 
The fleece mitten page has a scrappy background, too. The mitten is a little small, so I had to make the wrist portion under the ribbon loose at the sides so that she can fit her hand in there. She really doesn't play with this page too much.

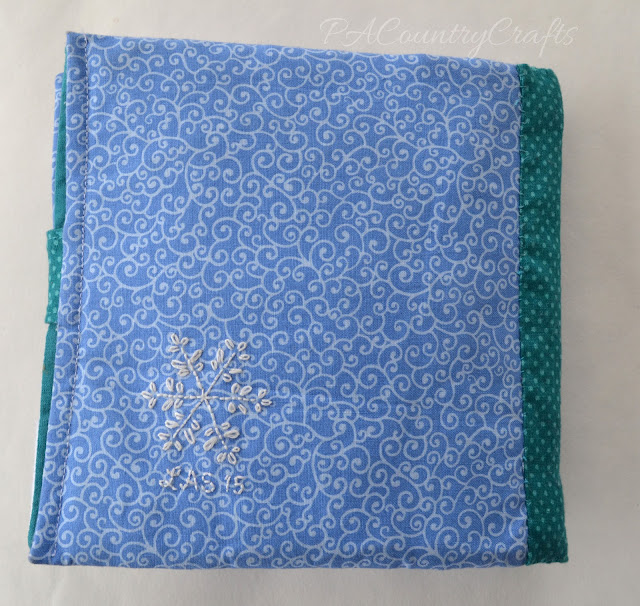
On the back cover I embroidered a really intricate snowflake and my initials and the year, but it doesn't stand out so well. But, I know it is there and it is pretty.
I really like the durability of fabric quiet books and they are great to take along to church, sporting events, doctor appointments, etc. Next time I will try to save my patterns and scan them to share. I hope this at least gives some inspiration to others!
 

Vintage Sewing Machine Mini Quilt

vintage2Bsewing2Bmachine2Bmini2Bquilt.jpg

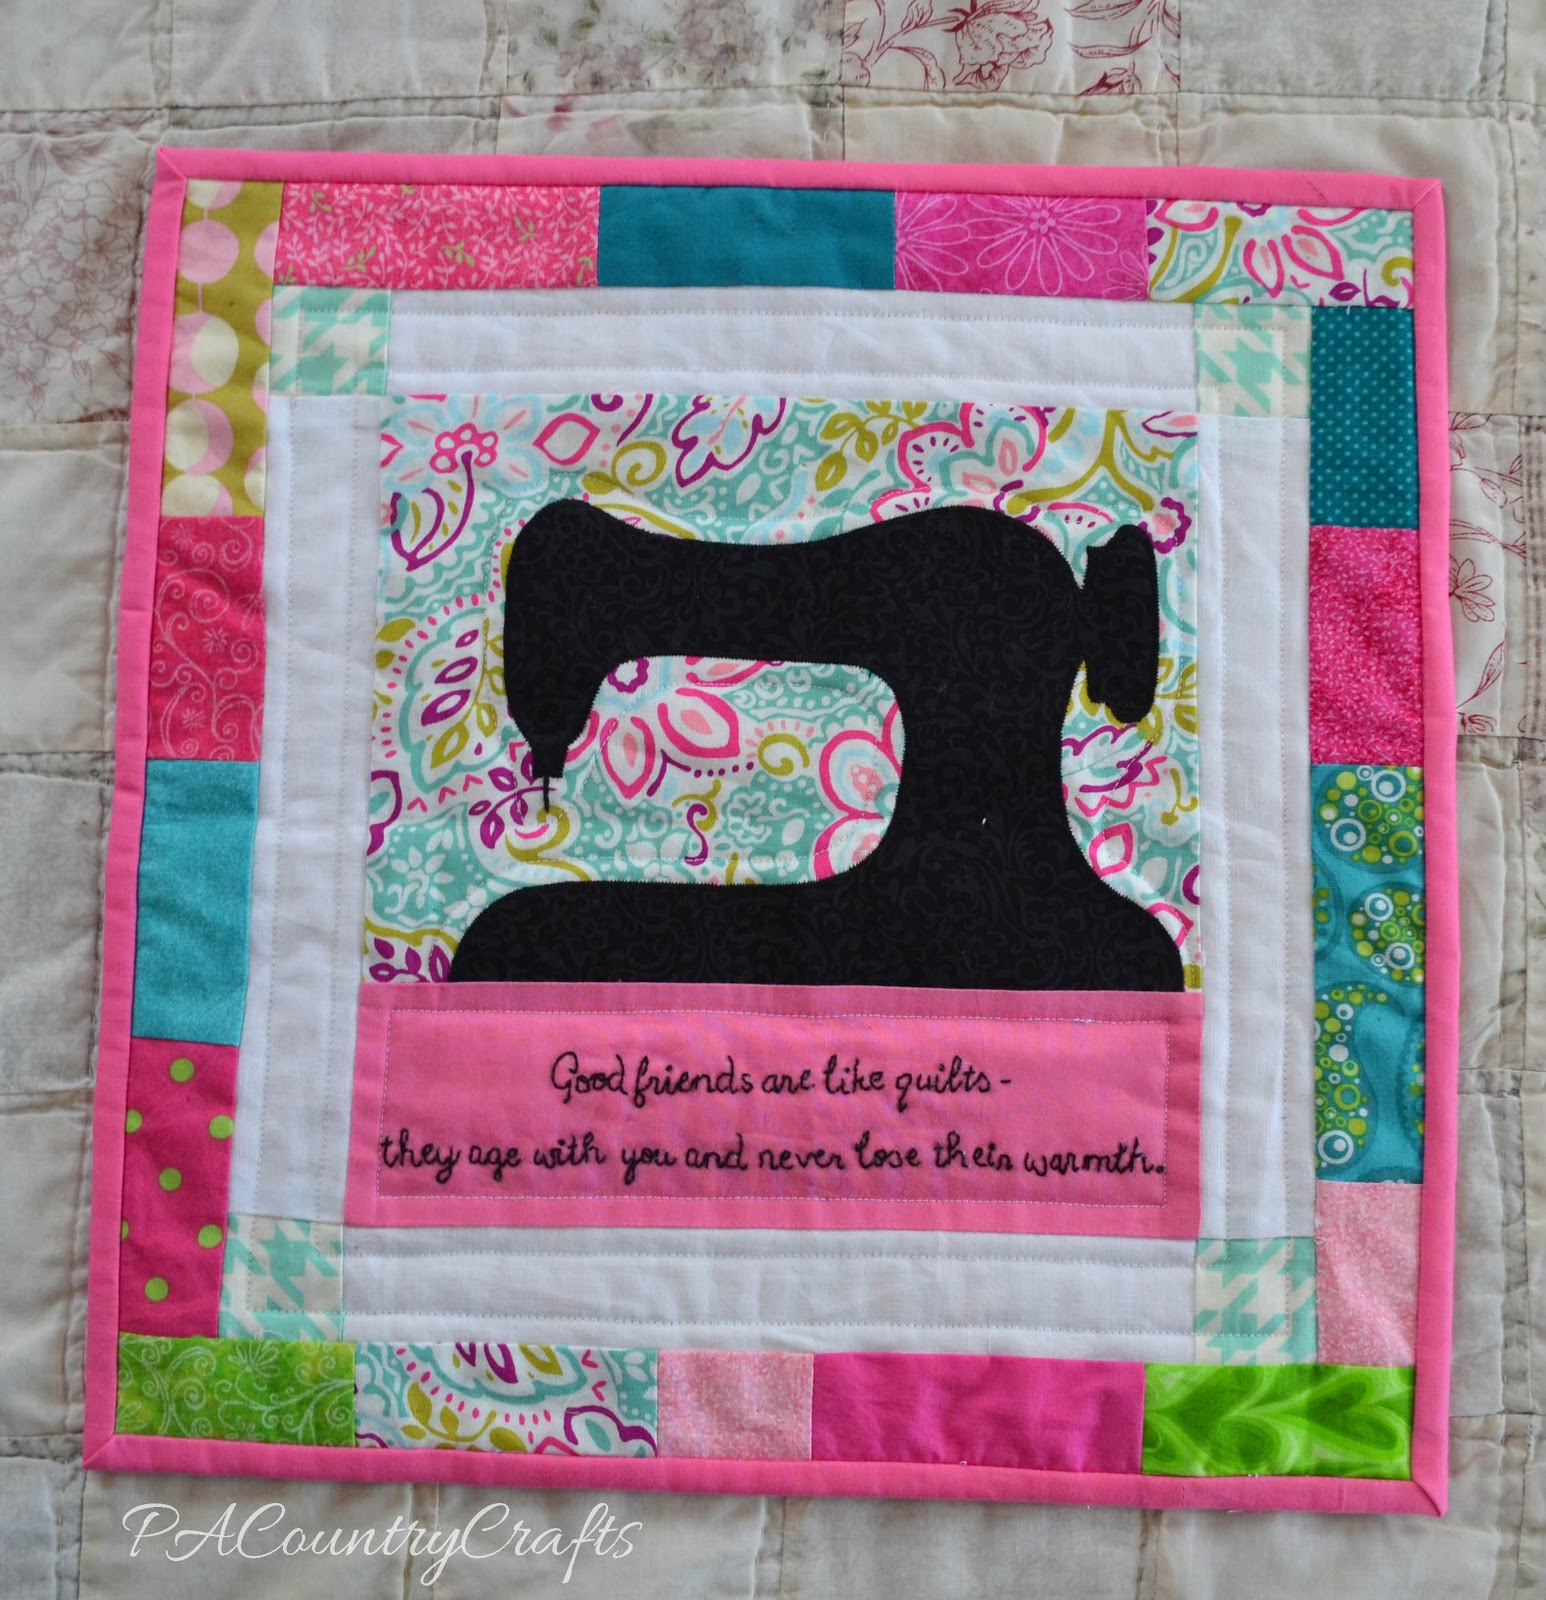
When I made Grace's quiet book sewing machine page a friend of mine joked that she would take a wall hanging like that, so I made one for her as a surprise.

I added some hand embroidery on the "table" below the machine. It says:


Good friends are like quilts- they age with you and never lose their warmth.

I even tricked her into choosing the saying. Heehee!
The background is leftover from Halley's retro apron and the border is pieced from my scraps.  The backing is a cute novelty print I got at Joann's and I thought it went along perfectly! I know it will be against a wall, but it is still cute.

So, there is another quilt I made this year - back in February- that I never blogged about. I doubt I will finish any large ones this year, but there is always next year!

Wave Fabric T Shirt Dress

navy-chiffon-rosette.jpg

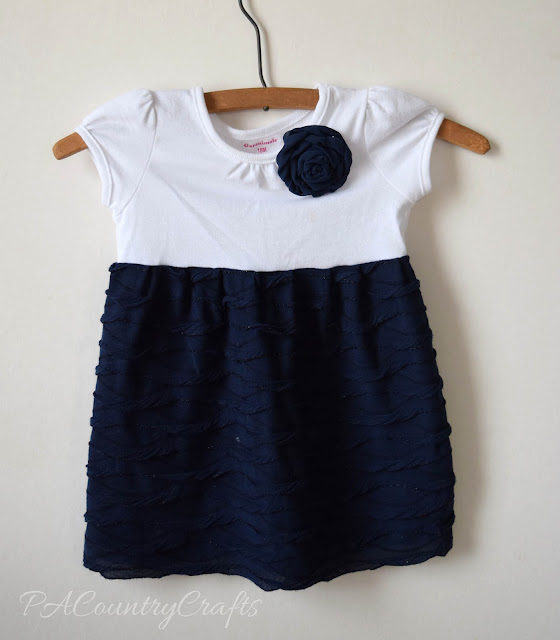
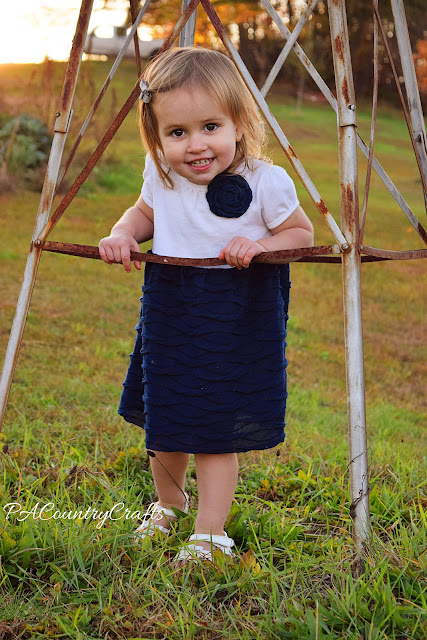
When I was making Easter dresses this year, I started to run out of ambition. I ended up making a cheater dress for the youngest. She can't voice her opinion yet and my best friend reminded me that there are no others to pass it down to later, so it would get less wear than the other dresses. I liked that logic.

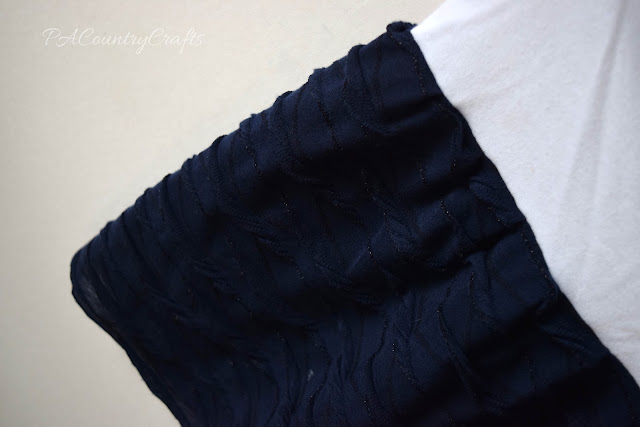
It is just a simple T shirt dress. I got a basic Garanimals shirt at Walmart for the top. I found this navy wave texture fabric in the remnant bin at Joanns for the skirt.

I chopped a few inches off the bottom of the shirt, sewed the skirt in a tube, and then attached them with my serger. It was ridiculously easy.

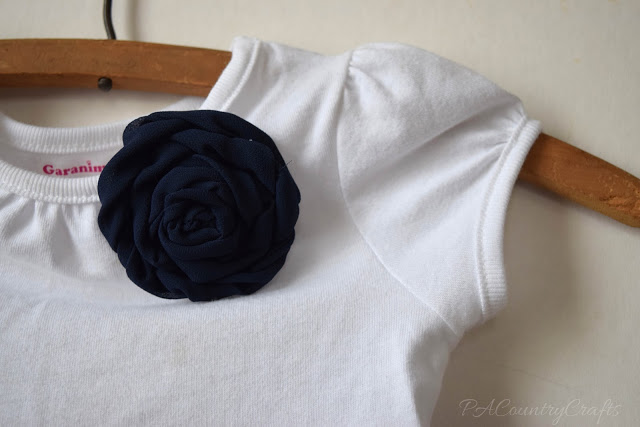
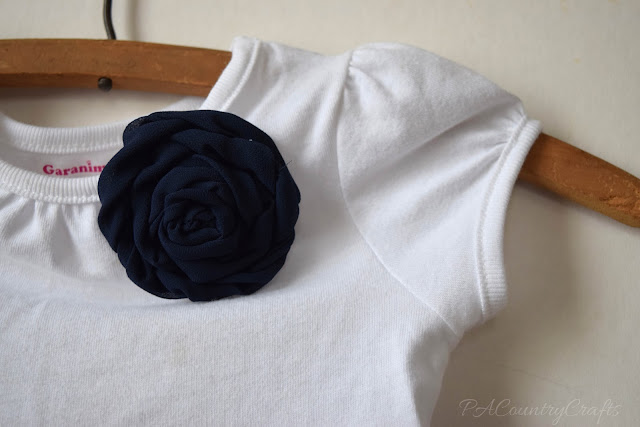
To add a little something to the top I made a navy, chiffon flower out of some scraps from the

bridesmaid dress

and sewed it on.

Even with my minimal effort, it is still a cute dress and it is a little more practical for a toddler, too.

So, that is it! These are all of the Easter dresses I made this year. I love the navy and white, which I have mentioned a few times already. You can see the other dresses by clicking on the pictures below.

The Poofy Dress

the2Bpoufy2Bdress-1.jpg

So, it is November and I still have not finished blogging about the girls' Easter dresses. The thing about the navy and white theme this year is that they are so versatile. It just looks classy for any season.

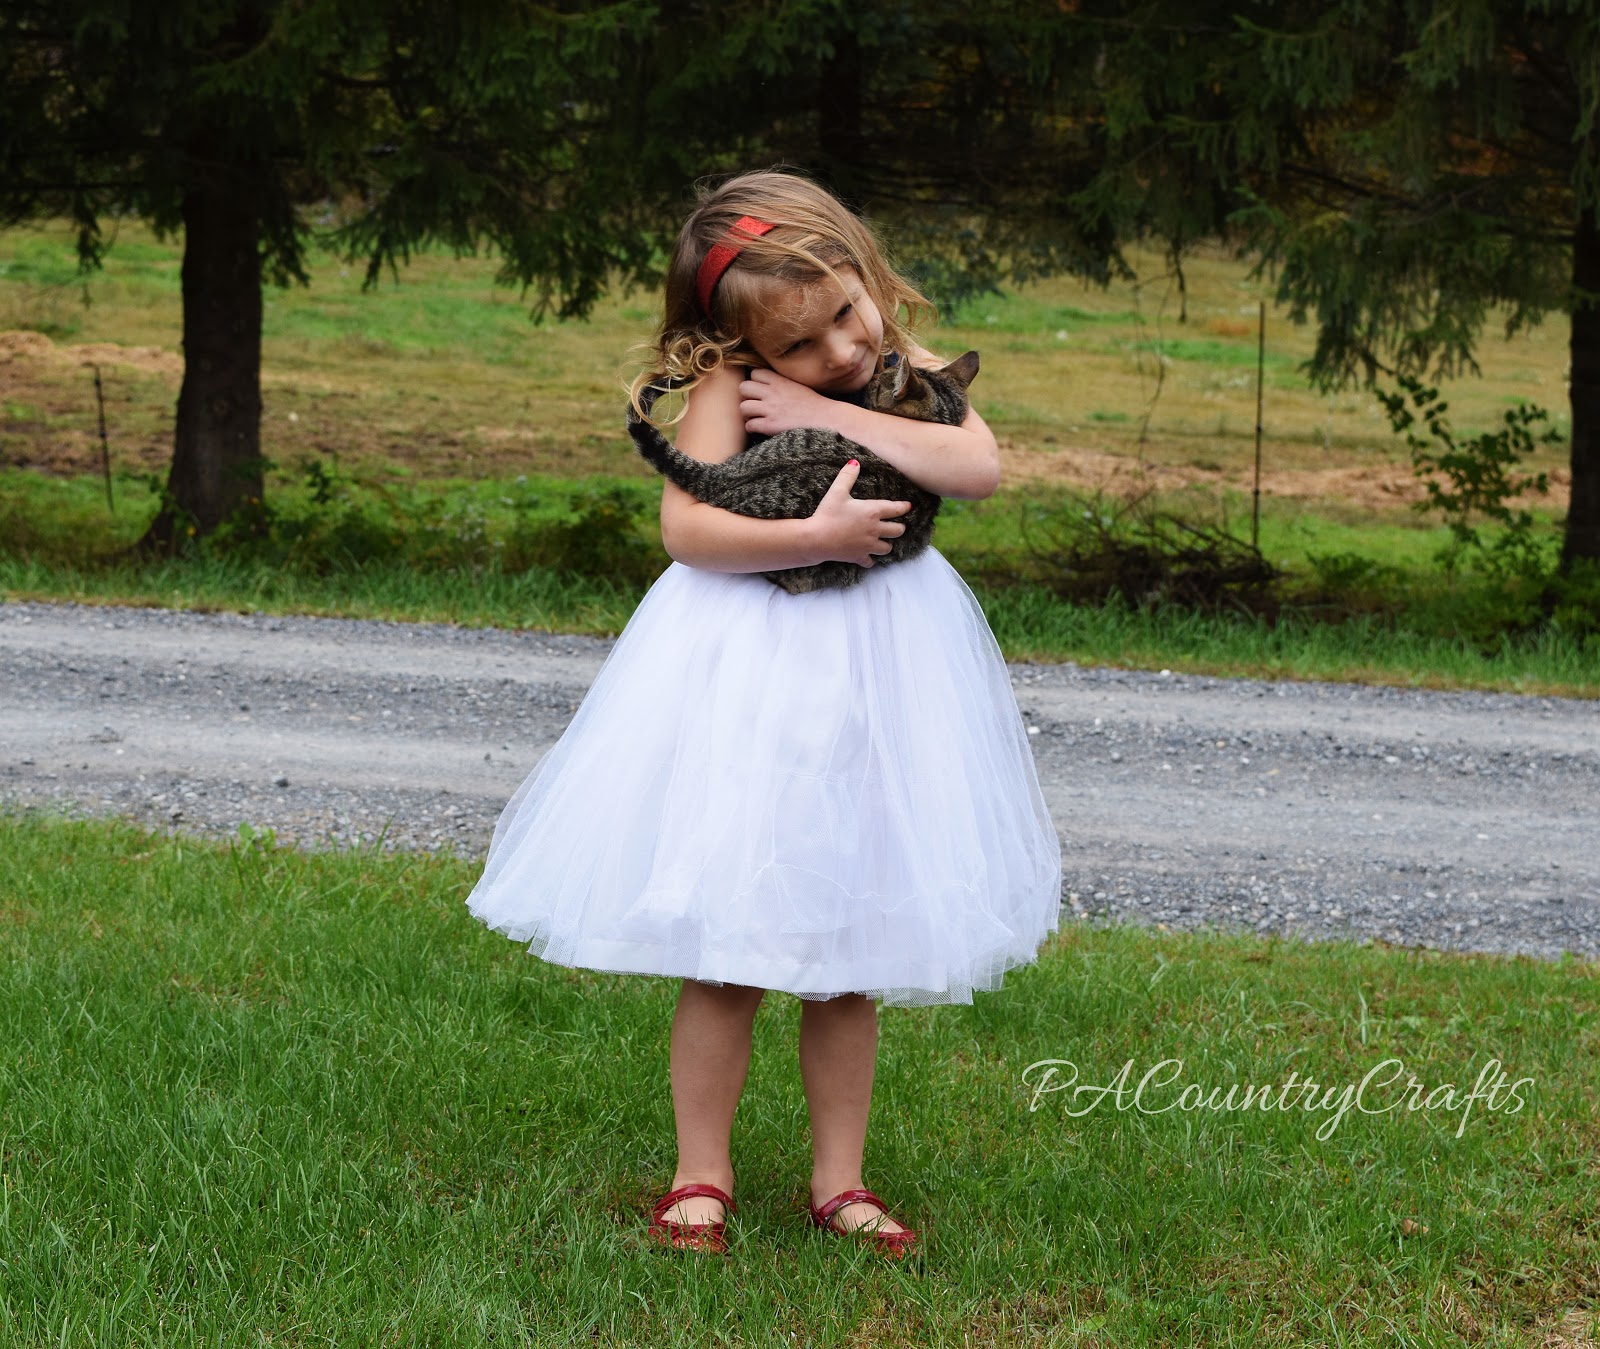
This dress turned out so beautiful and - even if the pictures don't show it by her refusal to smile - she loves it! I made a sparkly satin bodice (remnant from Joann's) using The Party Dress free pattern from Cottage Mama. I adjusted it to use buttonholes in the back, though.

The skirt is about 3 yards of shimmer tulle that was cut into strips the desired length, sewn together to make one very long piece, and gathered tightly to fit the bodice. I added a lining with a built in petticoat for a little more "poof" at the bottom. Gathering the tulle was very tedious, but definitely worth it. She calls it her "poofy dress."

The other reason I have not blogged about this dress is because within minutes of putting it on Easter morning, she went up the steps and stepped on it, ripping out a chunk of tulle from the front. I sewed it back together, but it is still visible. It just about broke my heart.

I have been meaning to fix it, but just haven't gotten around to it because I know it is going to be a huge pain in the behind. In the meantime, I have relaxed a bit and if she wants to wear it "just because" that is OK with me. You probably would not have even noticed it before I mentioned it, but now you can't unsee it. Right?
However, she loves it and wears it often. I might get around to fixing it in time for her younger sister to wear it as a hand me down. My mending pile is very neglected. Does anyone else that sews have that problem?
Link Parties where I sometimes hang out...

Lace Overlay High Low Dress

navy2Band2Bwhite2Blace2Bgirls2Bdress.jpg

I should be getting ready for Halloween, but I am procrastinating. Instead, I am backtracking and blogging about another Easter dress.

This was one of the dresses that was completely dictated by my daughter's preferences. It also ended up costing me nothing to make! So, we both won.

The navy lining, made from another layer of my old bridesmaid dress, stops above her knees and the high-low lace overlay is much longer. It is a basic, gathered skirt, but I cut the hem in a curve.

A friend gave me this beautiful lace to work with- it is a heavier, stretch lace, but I didn't use the stretch factor in the design. I just drafted a basic bodice pattern and cut the lace. I left the shoulders and top of the bodice unlined for a sheer lace effect. So, I pieced the unlined and lined portions together and overlocked the inside seam. Then, I used some vintage navy bias tape around the neck and arms. Using wash-away wonder tape was key for holding that in place to sew. The back has an invisible zipper (which I already had from changing my mind last year and using buttons).

One thing I loved about these navy and white dresses is how fun they are to pair with contrasting accessories. The box dress has a yellow tie, the lace and chiffon dress was paired with an aqua statement necklace when she wore it on Easter, and this dress is fun with pink contrasting shoes. It looked a little better back at Easter vs. the fall when I did the photo shoot, but I had put all of her white shoes away (as per the Labor Day rule) and told her to put these on. It is still fun.
Two more dresses to go, but first, I need to finish an Elsa cape. Happy Halloween!

Link Parties where I sometimes hang out...