Grace's Quiet Book- Sewing Machine Page

sewingmachinequietbookpage.jpg
Grace's Quiet Book- Sewing Machine
OK, so I made this page because I like to sew, but my other daughters have shown interest and once I got the idea for this page I just HAD to go with it!
Grace's Quiet Book- Sewing Machine
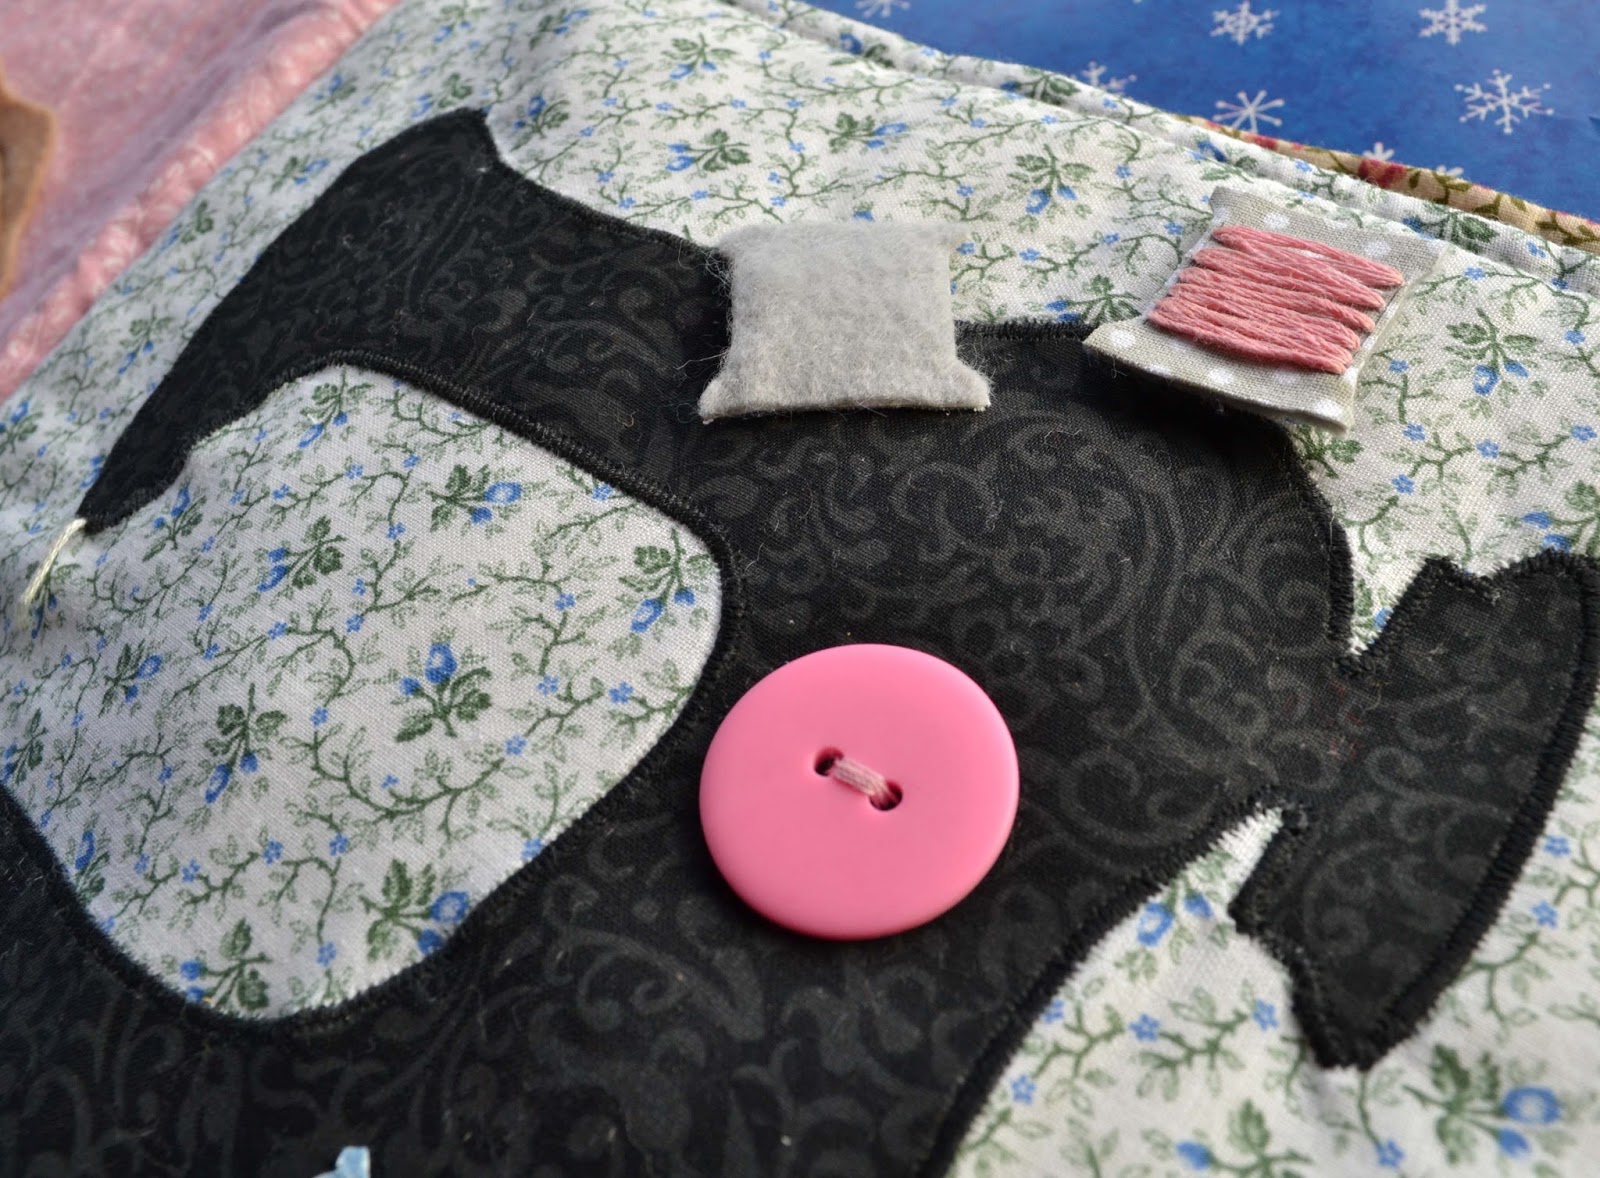
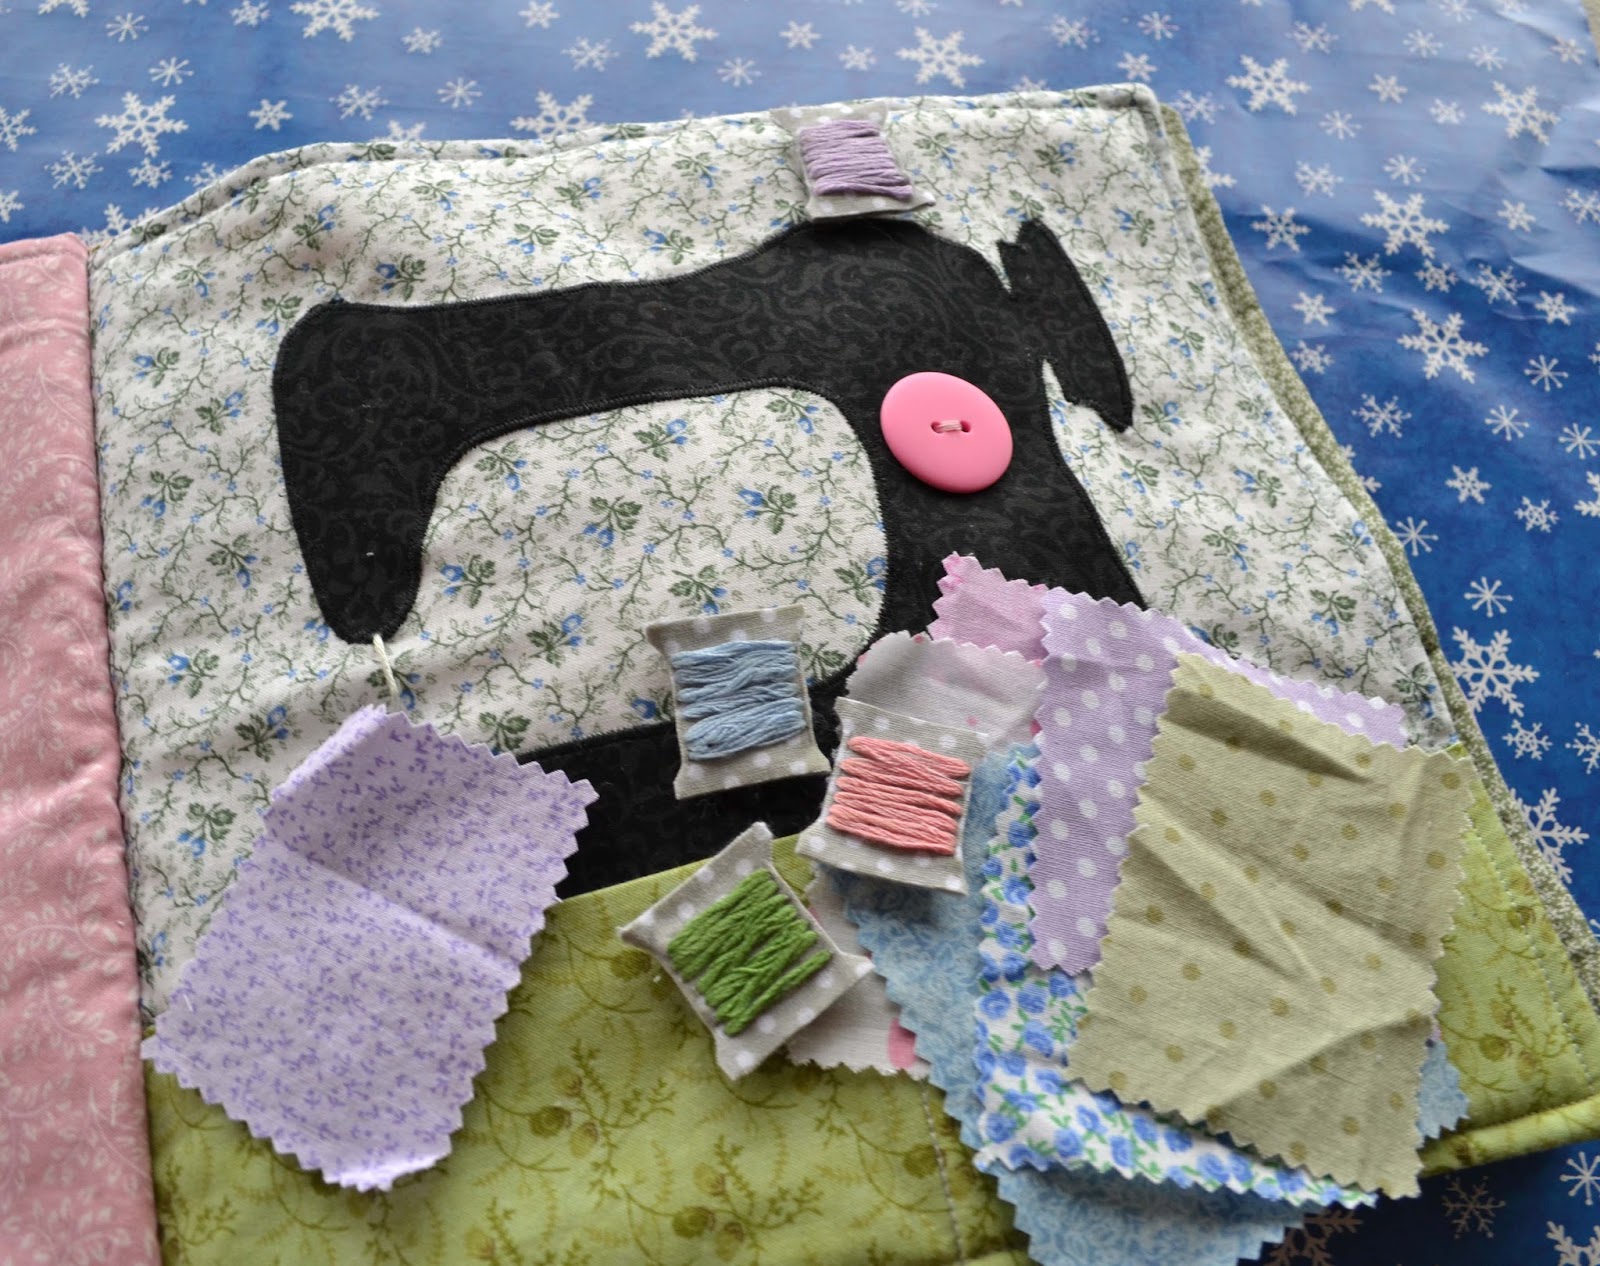
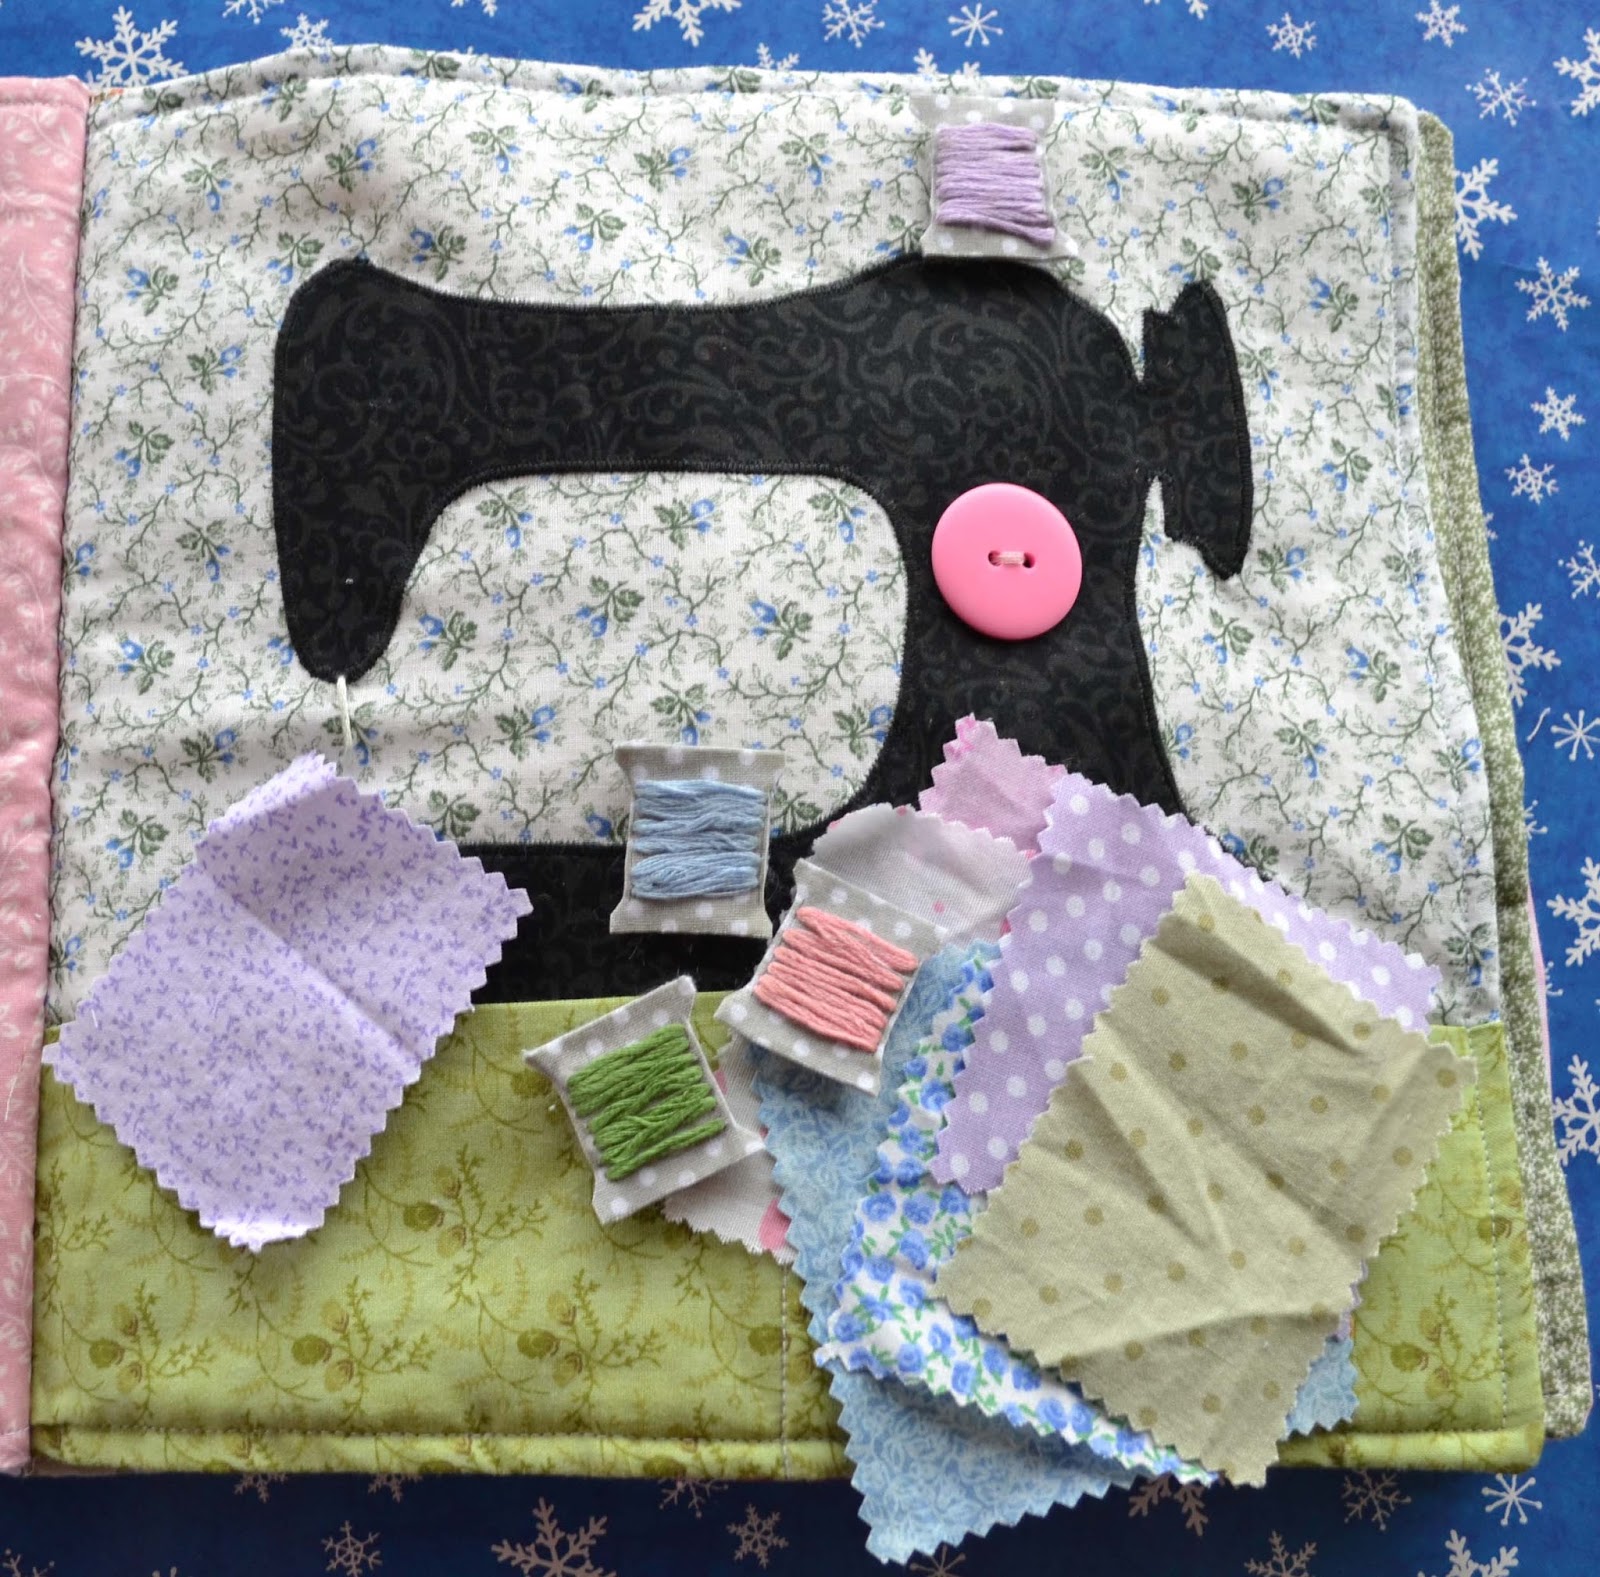
I wanted to make a vintage style sewing machine and I had this black swirl fabric I had been hoarding that was just perfect!!! I drew my own template that was very much inspired by the lovely art a good friend made for my sewing area. ;) Again, I just used heat'n'bond and a zig zag stitch to sew it to the background. The "needle" is just some gray embroidery floss. It is missing a presser foot and, to be honest, that really bugs me.
Grace's Quiet Book- Sewing Machine
I debated for a long time about adding that pink button on there because it isn't quite so "vintage", but I wanted her to be able to pretend she was turning a knob to adjust stitch settings. At the top of the machine there is a piece of velcro that is used to hold the spools of thread.
Grace's Quiet Book- Sewing Machine


I made those from two layers of gray polka dot fabric leftover from THIS tie. I stitched some embroidery floss on there and then used- yeah, you guessed it- heat'n'bond to attach it to some gray felt. The felt makes it stick to the velcro and hides the ends of the floss.
Grace's Quiet Book- Sewing Machine
There are several different spools of thread so that they color can be matched to the scraps of fabric hidden in the sewing table/pockets.
Grace's Quiet Book- Sewing Machine


I just grabbed random scraps of fabric from my scrap bin that matched the floss. I cut the edges with pinking shears to prevent fraying. I think I will probably go back and trim them so that they are all the same size square. Then, she can lay them out in a pattern to make a quilt. So, that makes this page good for pretend play, color matching, and patterns. OK, and mostly for making Mommy smile. :)

Grace's Quiet Book- Sewing Machine

You can check out all of the quiet book pages in this series HERE.

If I get a moment or two, I will try to link up at these parties:

Grace's Quiet Book- Pie Page

piepagepic.jpg
Grace's Quiet Book- Weave Pie Crust

This was definitely my easiest page and only took about 15-30 minutes. It is a little too advanced for her at this age (2 1/2) but she should grow into it and it is good motor skills practice. Maybe one day she will want to weave baskets like Mommy! ;) (shameless plug for my etsy shop here.)

The pie page of Grace's quiet book was inspired by THIS one.  I used leftover blueberry fabric from THIS apron and some light tan felt.  I traced a CD for the "blueberry pie filling" and used heat'n'bond to attach it to the background. For the crust, I made the center circle a little smaller than a CD and eyeballed the wavy edge. 
Quiet Book Pie Crust Page
I cut the strips of felt using pinking shears and put them under the crust on two sides. After lots of pinning, I used a simple zig zag stitch all the way around the circle to hold everything in place. Then, I trimmed the ends of the strips to follow the curve of the crust.

Quiet Book Pie Crust Page

Felt Pie Crust
My zig zag skills aren't perfect, but it works.Now, remember the whole blueberry pie thing, because it will come back a little later in the book. :) Stay tuned... The next page is my favorite!!! 
If I get a moment or two, I will try to link up at these parties:

Grace's Quiet Book ~ Introduction

quietbookbinding.jpg
This might be the best Christmas present I have ever made! I have been wanting to make a quiet book for a long time. I even blogged about the time I found the paper doll fabric I used. It was originally supposed to be for my daughter who is now 5 and (so I thought) too old. Thankfully, I have a few more in line after her so I could still make one. I really need to stop procrastinating! :)
Grace's Quiet Book Introduction

Grace's quiet book was inspired by THIS one. I like the "shabby chic" look and I made this book entirely from my stash. The pages are all very "girly" and things that I thought she would like. I was going to put it into one big blog post, but it would be super duper long. I am breaking it up so that I can describe how I made each page and help anyone else who is looking to make a quiet book. I will warn you that they are a lot of work. It was really fun, though, and I think she really likes it.

Grace's Quiet Book Cover
For the backgrounds of all of the pages I used some fabric from my stash that had the same colors and "shabby chic," vintage look.  (A project like this would be great using a layer cake or cutting it from a fat quarter bundle.) My pages were about 11" square. The letters on the cover used fabric from my scrap bin (Oh, I used so many scraps in this book!) and they are attached with heat'n'bond and a satin stitch.  Each page was made by sewing two pages right sides together on the three outer sides, flipping right sides out, inserting a piece of batting, then sewing 1/4" from the edge all the way around the three sides to hold it in place. Then, the pages were all stacked together, in order, and sewn 1/4" from the edge. (Use a heavy needle!)

Grace's Quiet Book Binding

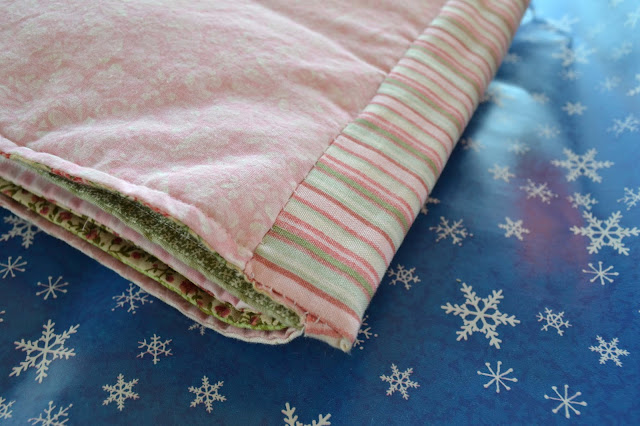
For the binding of the book, I just used that striped fabric to sew it on like quilt binding, but wider (although it doesn't have to be.) At the ends, I left the binding about a half inch longer than the book and folded the fabric in before hand stitching it in place so it is all neat and tidy.

So, that is a bit about the basic construction of the book.  For the next few weeks, whenever I get an opportunity, I am going to post about the individual pages. I am super happy with how they turned out and hopefully they will be helpful to someone else looking to make a quiet book. If you have any questions, just let me know!

UPDATE: You can see the first page, Weave Pie Crust, HERE.

Turtleneck to Maxi Skirt Tutorial

maxionswing1.jpg

This one has been a long time coming! I finally got some cute pics of my daughter in her maxi skirt so that I could finish up this post!  Last spring, when I was on my maxi skirt sewing kick, my 5yo had requested a RED one. Well, I thought I would just pick some fabric up at a nearby Walmart, but they no longer carry ANY knit at that store! :( So, I wandered over towards the clothing and found a Women's XL red turtleneck on clearance for $1!

This was a super cheap and easy project. I even had enough left over to make her a headband (which we forgot about when taking these pictures- that is what happens when you wait all summer!) and a matching skirt and headband for her doll (see THIS post if you care.)
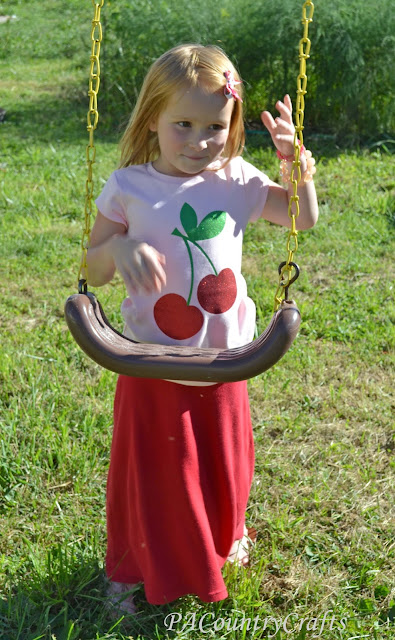
I am not sure what she is doing with her hands here...
This skirt is so comfy (not that I actually wore it, but, you know, she did) and it doesn't slow her down and keep her from playing hard- which is a must for kids' clothing. Are those enough selling points for you? Well, they should be. If you make one, pretty please show me some pics! OK?  Good.  Here is your free tutorial...
I thought the neck looked like it would fit her waist so I had her try it on. It was a perfect fit! (My kids might think I am crazy. You know, "Here, honey. Put this turtleneck on, but put the neck around your waist. OK?") If it is too big, you can just take it in after you cut it off. You want it to fit snugly, so it has to be a little smaller than the actual waist measurement. (I guess I could have just measured instead.)
Anyway... cut the neck off, then fold the shirt in half. Measure the height needed from waist to ankles.  Starting that distance from the bottom, draw a line that is one quarter of the total measurement of the neck/waist/whatever. Then, draw an a-line to the bottom of the shirt. You are keeping the original hem of the shirt (SWEET!) I hope this step is not too confusing.  Just follow the picture...

Sew the side seams of the skirt, right sides together.  You can use a zig-zag or stretch stitch or a serger. I used a stretch stitch and then overlocked the edges for extra durability.

Pin the neckband to the inside of skirt.
Sew it together. This is what it looks like, inside out.

Flip it around and press.

TADA!  It really only took about 15 minutes to make.  Definitely a hit!

As always, this tutorial is for personal, non-commercial use only. No copycats. Got it? Thanks!

I LOVE Baby Girl Sewing!

bearhatcreampink.jpg
I absolutely LOVE sewing cute baby things! Especially baby girl things! :D
So, do you remember the Easter dresses I made this year? (If you don't they are shown at the end of THIS post.) I also made a matching tie for my son later this summer (shown in THIS post) but he didn't want the "girly" yellow I picked out so I used grey instead.  That meant I had a half yard of coordinating yellow polka dot fabric just waiting for Hannah to be born. I guess it was meant to be. ;)
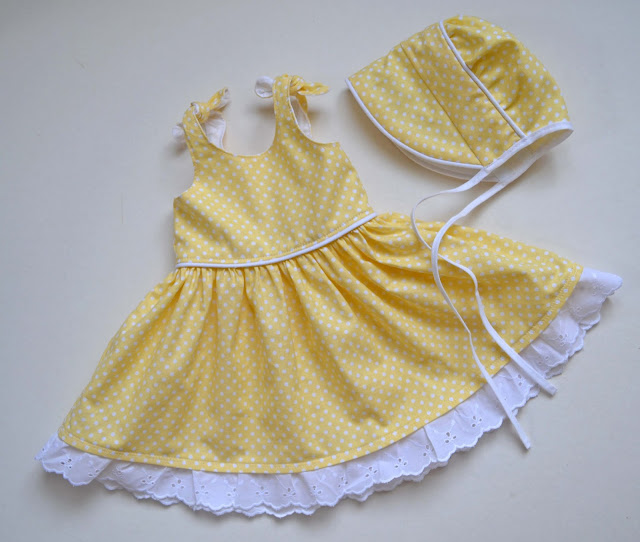
So, I whipped up an Itty Bitty Baby dress (free pattern available HERE) and then went overboard with a Peekaboo Bonnet (pattern for sale HERE). 
I know, I almost never ever buy patterns, but I have always wanted to make a bonnet and this was my last chance! Oh, it is sooooo cute, too!  I am super pleased with how these turned out. I love piping and eyelet lace trim. (And tiny little baby feet, too!) LOVE!
I also love the sunshiney yellow color, and it matched the dress I wore for a pic taken 12 days before she was born when I was ginormous, so we did a little "after" pic to go with the "before" one.
Before...
...After.
Actually, first I made another dress for my niece so that they could match. The cousins were born two days apart and we all got to hang out at the hospital together. How cool is that? Of course, my niece was a big girl, so I made her dress in the 0-3 month size instead. Since this was my sister-in-law's first girl, I knew a little pink was in order, too. :)
I ran out of piping to do another bonnet, but I also made her a crocheted bear hat (using my free pattern HERE) that should fit her this fall and increased the size on that one as well.

I know I used the word "LOVE" an awful lot in this post, but making things for baby girls, especially girls this cute, really does that to me!